Wintum, A time for a clean out and change over

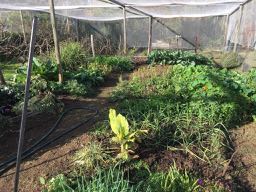
Here we are on the last day of autumn, on the threshold of winter. All the garlic that I planted on the evening before setting off for China is up and thriving. Garlic loves to get an early start. Late Feb and early March seems to suit it best around here. I know this because this is when all the old, last-years cloves that  missed harvesting, all start to shoot up, looking for the last of the warmth as the days get shorter. If these little fellows know that it is time to shoot up, then this must be the time. So in they go, or went in this case. I didn’t get time before leaving in the hectic weeks before setting off. So it was a case of do it now in the evening dusk or miss out. I’m glad that I made the effort now.

IMG_6568  IMG_6571

Its a very much smaller crop than I have managed in previous years. This time about 100 plants. It’ll have to do. At least it is something. I realise that I can’t do everything. I’m very happy with what I have achieved.

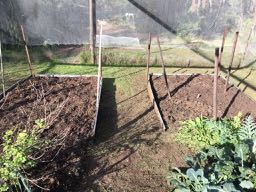
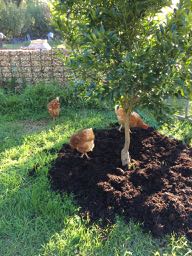
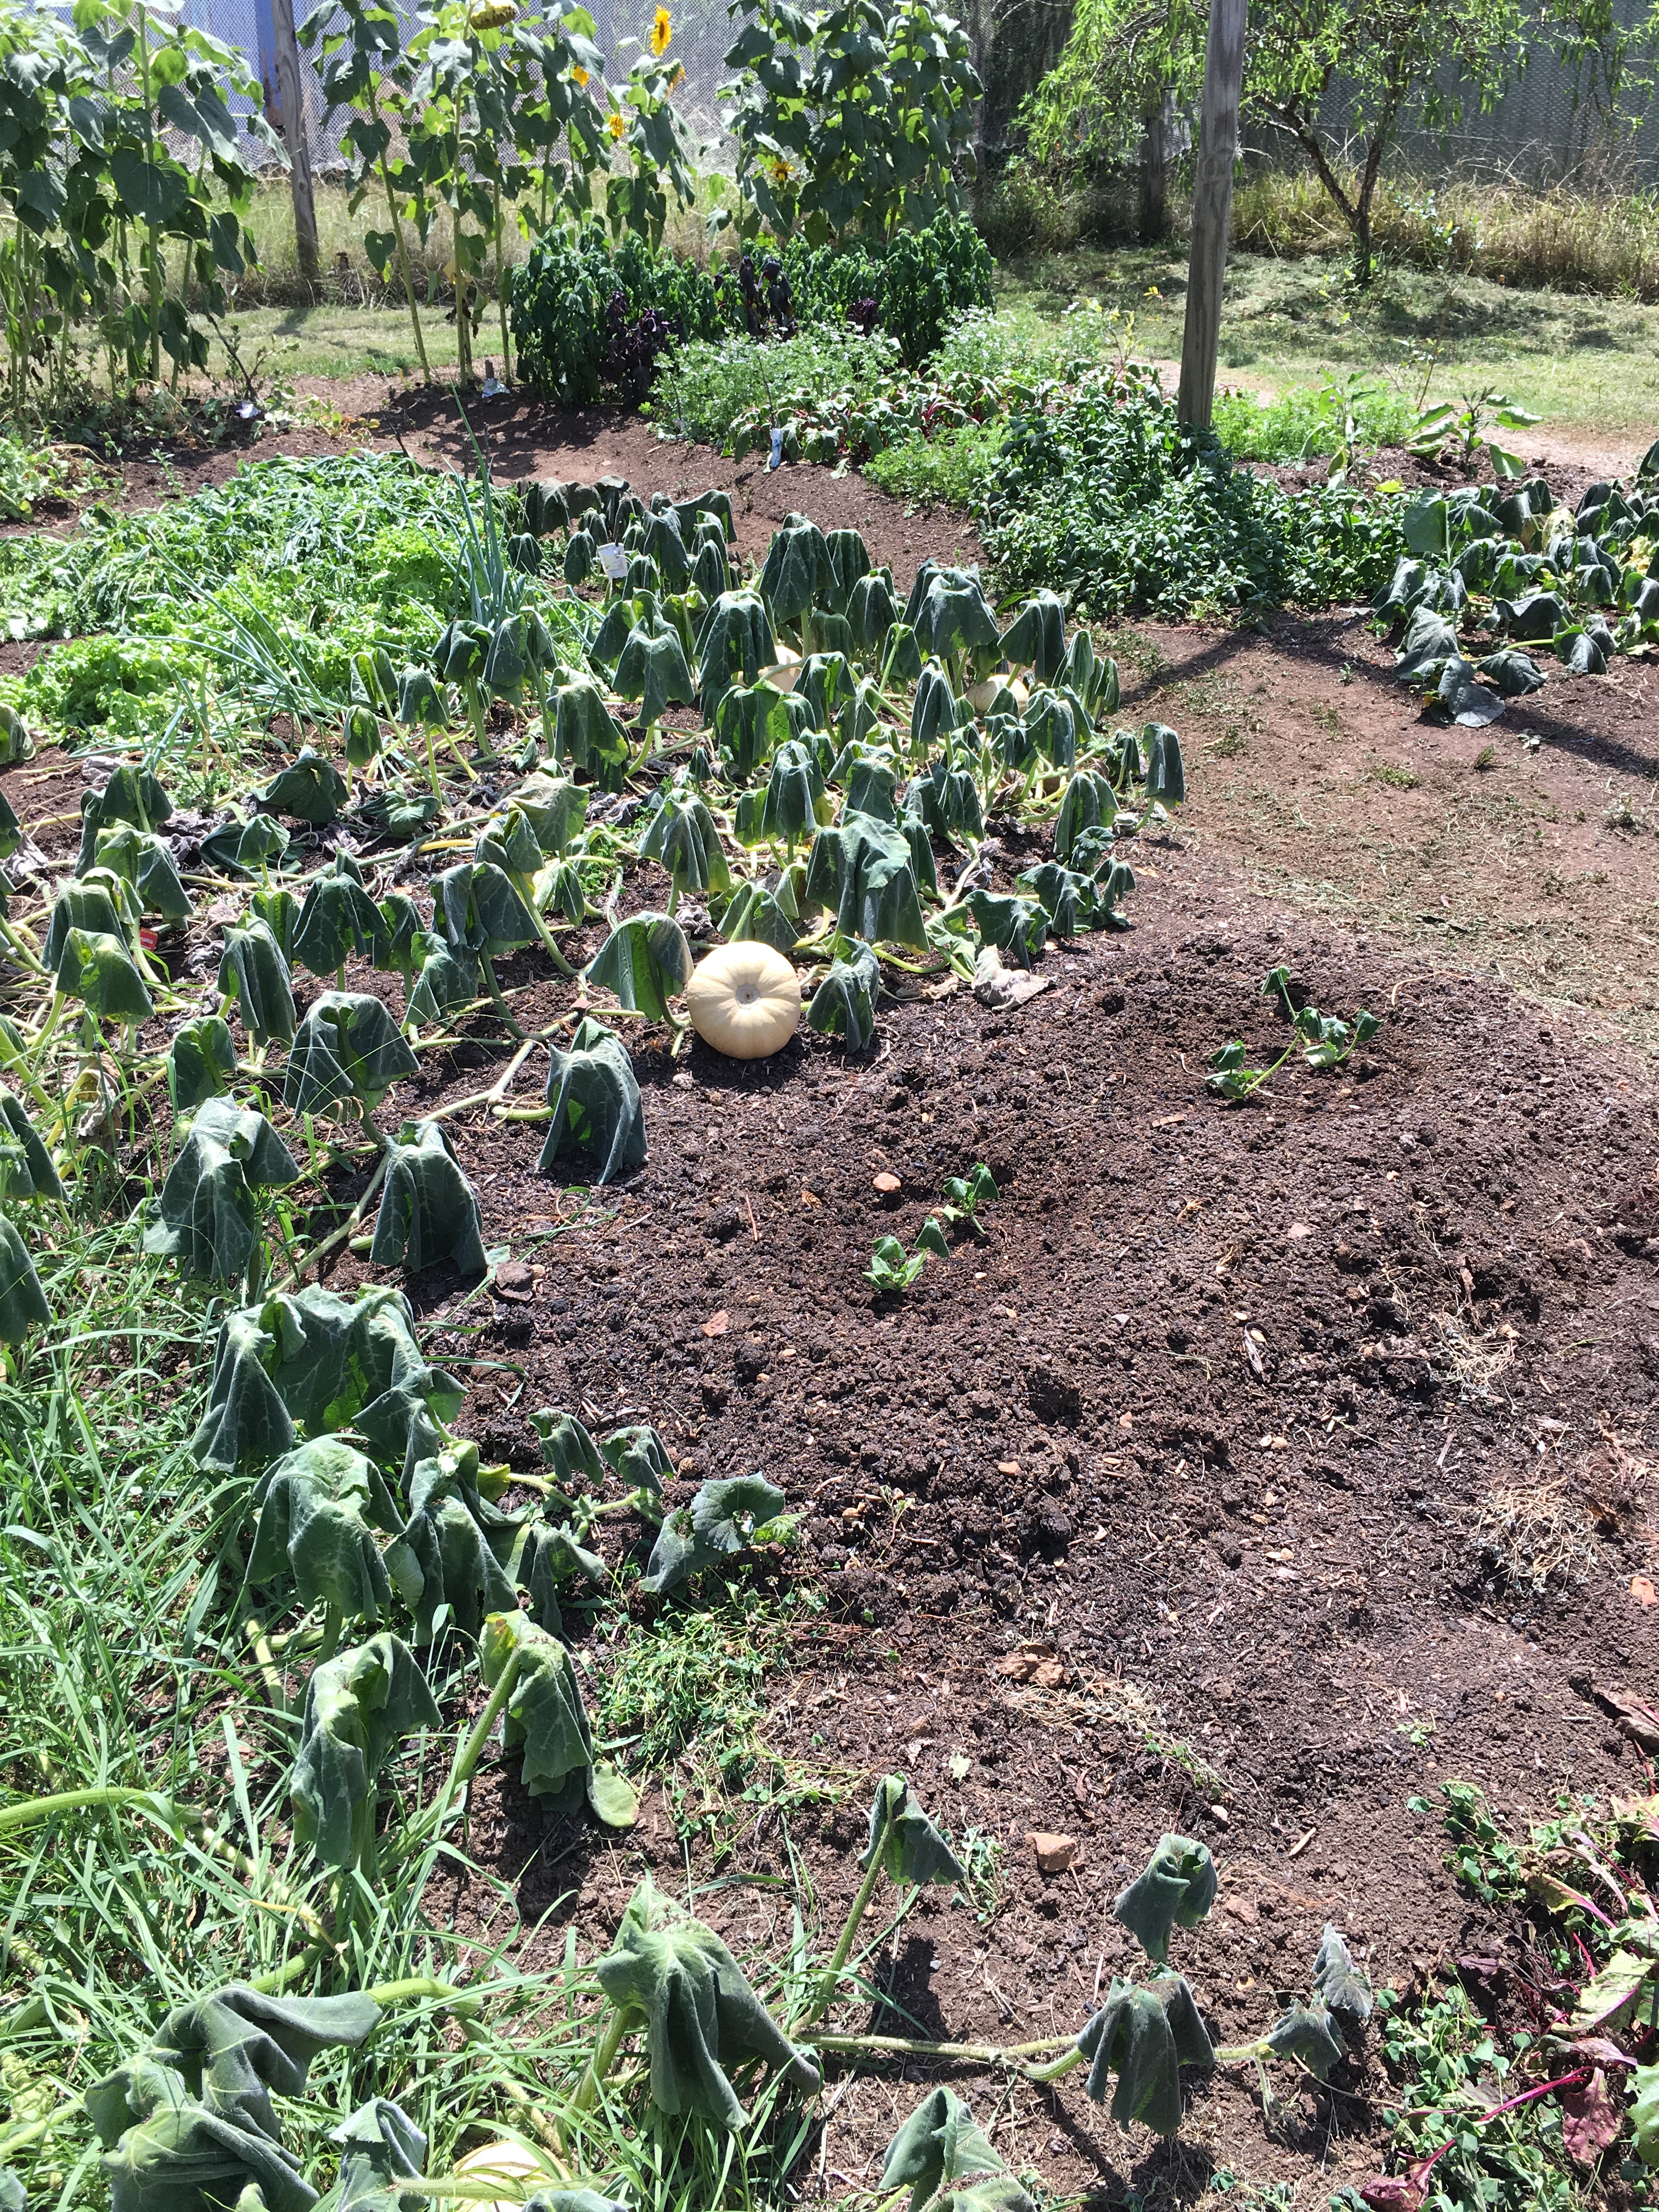
When I returned from our little break away in Canberra, but before we left for Cambodia. Apart from building a kiln and making some more porcelain stone bodies from my recycled turnings. Janine and I managed 2 half days in the garden. Cleaning out all the old dead and finished summer plants. It was all cleaned out and taken to the big compost heap behind the pottery. This is one of the chooks favourite places. They can spend hours in there. They really want to get into the vegetable garden to ‘help’ us! But alas, they are kept locked out. We don’t need their kind of help in there just now.

  IMG_6563.jpg  IMG_6562

The chooks like to see what is going to the compost and ambush Janine on her way demanding to see what is nice and possibly edible in the wheel barrow. They decide that un-ripe, green  and sour golden berries are just what they love. and as long as we peel of the paper coating, they gobble them down.

We prune off all the dead asparagus fronds and top dress the 2 beds with compost. It all starts to take on a look of care and attention again, instead of the wild riot of form and colour that was there at the end of the rampant summer growth. Janine mows the orchard while I wheel-barrow compost and spread over the garden beds and all around the citrus trees.

IMG_6567 IMG_6566

I will be time to start pruning the orchards and grape vines soon. But before I can do that, I have some Korean sericite porcelain to make. Everything in its own time.

Nothing is ever finished, nothing is perfect and nothing lasts.

However, for now, the garden and orchards look loved again.

IMG_6659 IMG_6660  IMG_6661

Welcome home

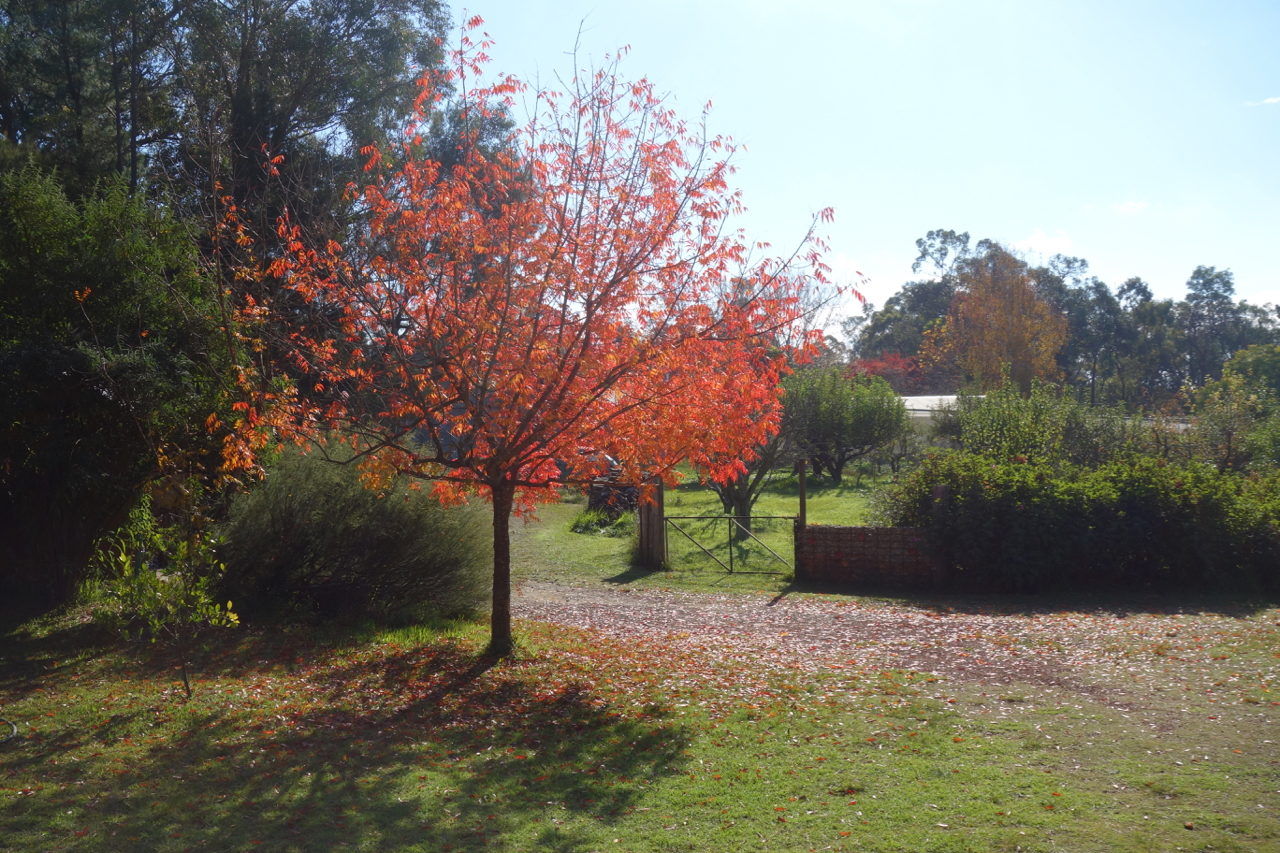
We arrive back home at the end of Autumn. The pistachio tree has turned red in our absence and the liquid ambers are loosing their leaves. We head straight to the chook house to see how the girls have been faring without us. Perfectly well it appears. They have changed their allegiance to Annabelle Slugette, because she has been living here, working in the pottery and feeding them treats for the past few weeks. Hens live for food! I know that it is only cupboard love, but I do feel a little bit abandoned. I’ll need to find them a few snails or other special treats to win their hearts ( and stomachs) back.


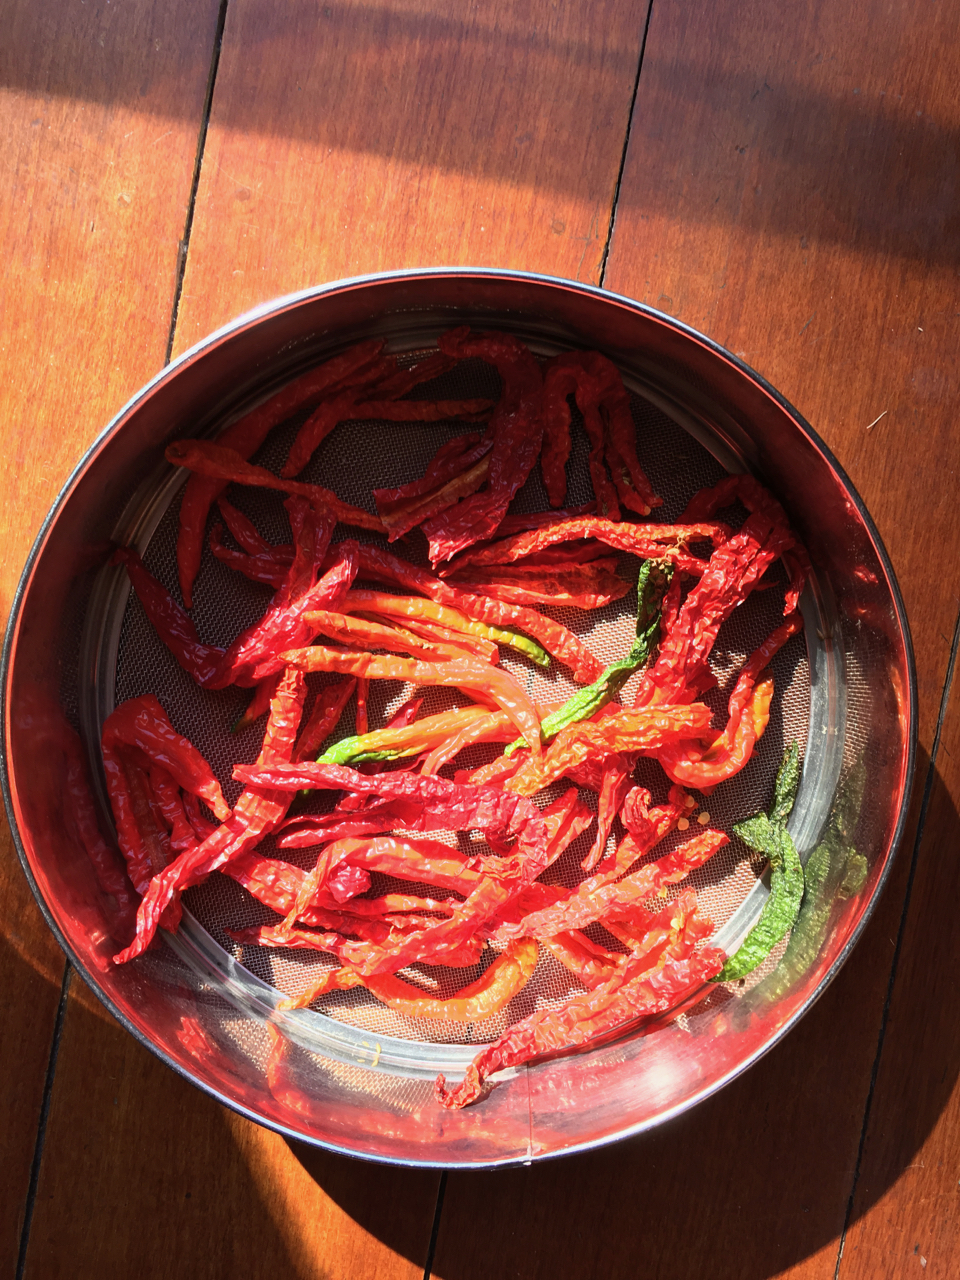
We head to the garden to see what there is for dinner. We find our selves in that special period of the year when there are just a few summer vegetables hanging on, while the winter crops are just starting, so we pick the last zucchini and the first cauliflower. There are only a couple of weeks when you can eat this combination of garden produce. The chillis have ripened a lot more while we have been away, so we pick some and dry them.


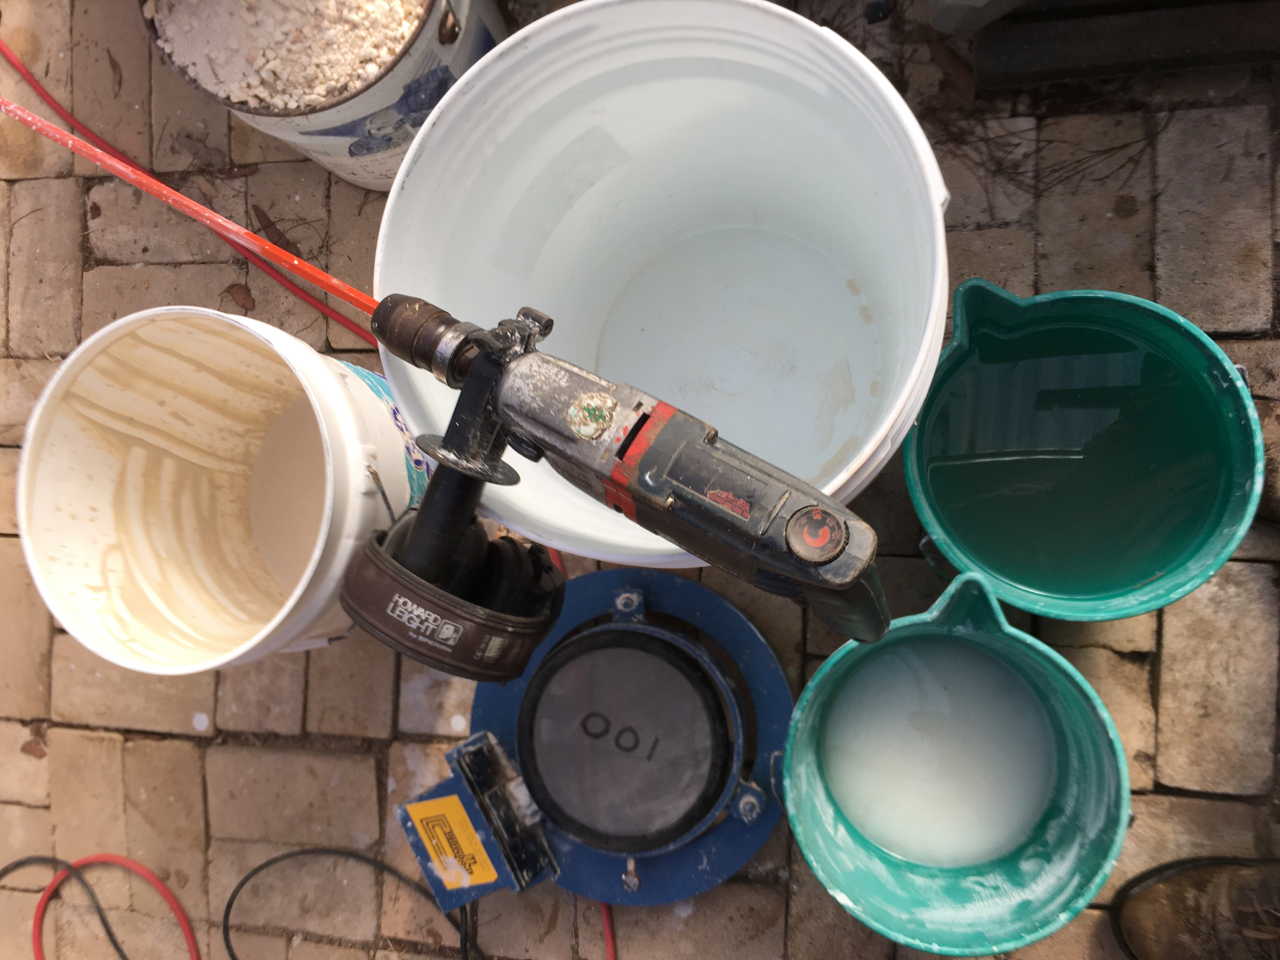
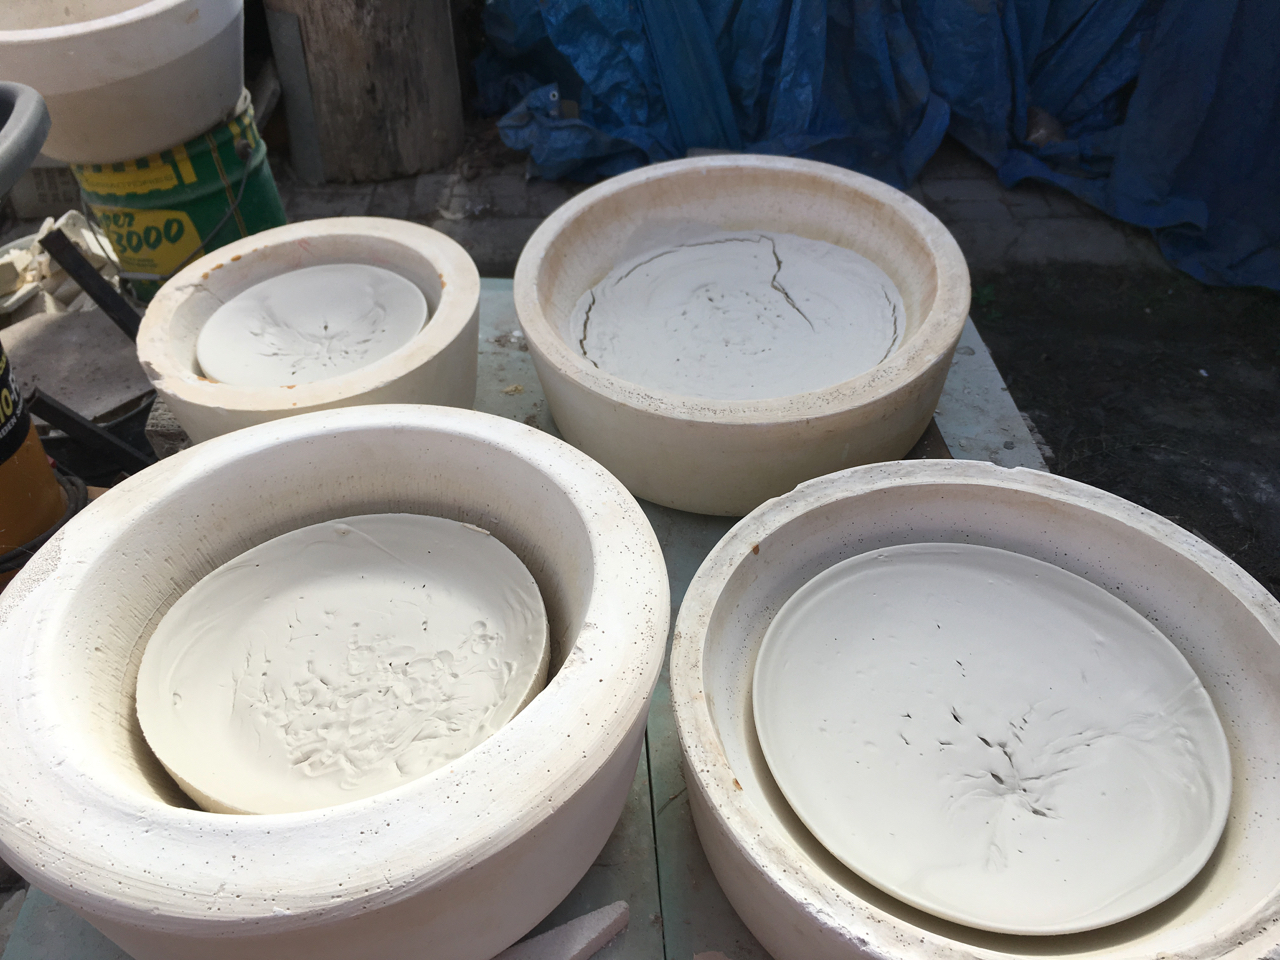
The next day I’m back at work in the pottery. I have  to slake down all my turnings that have dried out while I’ve been away. Clay slakes down so much faster when it is bone dry. I have lots of small batches to deal with. I have been working on my collected samples of porcelain stones from all around the world and I have to keep all the turnings from each batch of pots made from each special rock completely separate and well-marked, so that I don’t get mixed up or confused about which is which. I have 10 buckets marked with masking tape and felt fen, so as to keep it all under control.

I start with the first 5 batches. I slake, blunge and sieve them all through a 100# mesh screen, then flocculate them and decant the excess water, it takes a while to get its all done. Eventually, they make it out onto the plaster drying tubs that I use for small batches of re-cycling like this..


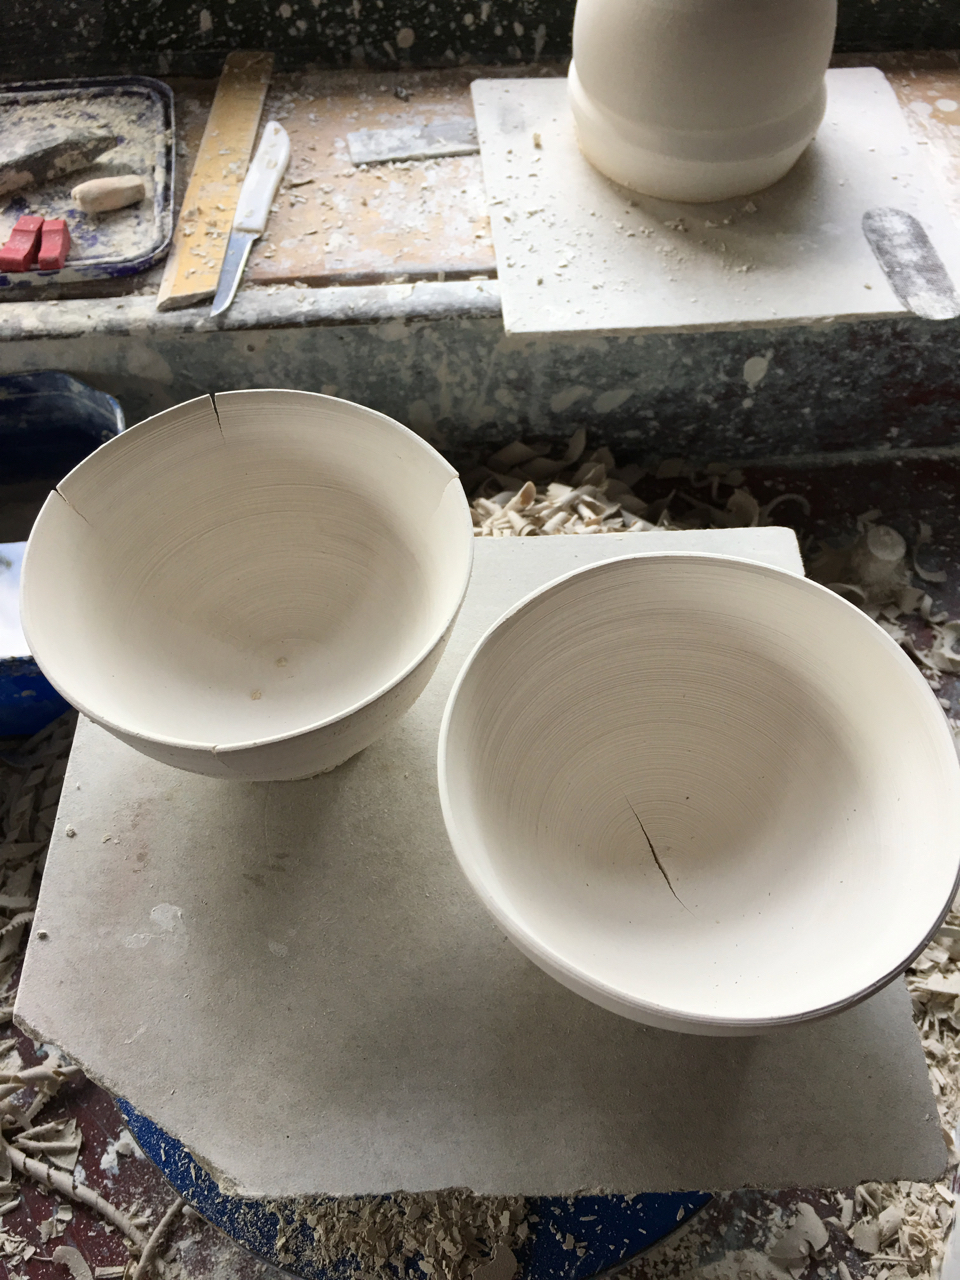
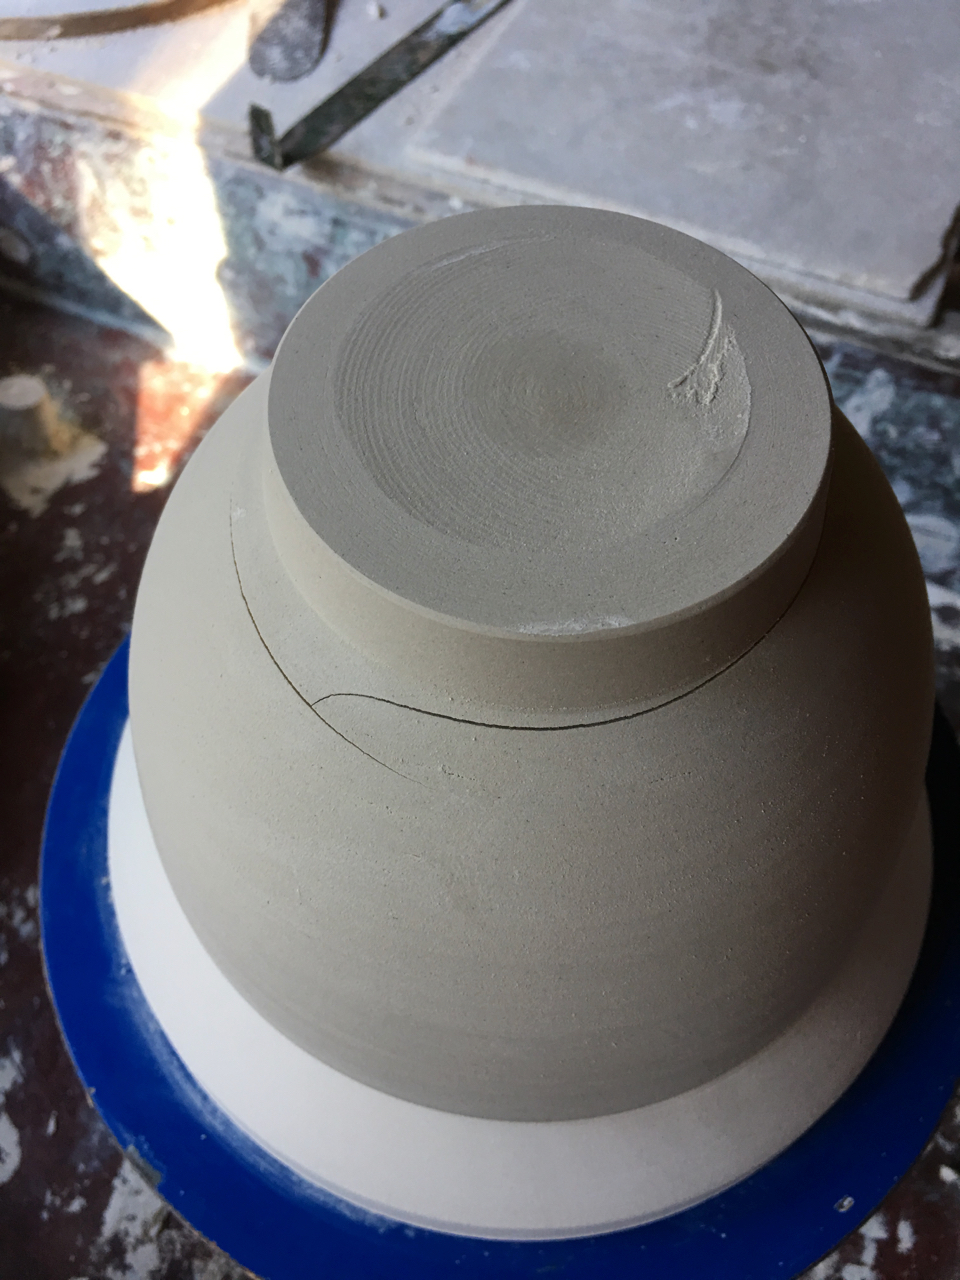
I’m not just dealing only with turnings here. Many of my pots don’t even get to the turning stage. These ultra-fine, ground stone bodies, with virtually no real ‘clay’ content, based solely on mica and quartz, with just a little illitic material. Consequently, they have no dry strength. They sometimes just split as soon as they are placed on the chuck, some don’t even get to the chuck, as they split during drying. Other decide to part company with themselves after the first turning at the ‘roughing out’ stage.


Some others tear themselves apart after the second trimming. Only a few make it to the final turning and bisque kiln. The only good thing about pots cracking during drying, is that at least I can re-work the material and have another go at making something that might survive to the kiln. What happens in the glaze kiln is another matter. I’ll find that out for these samples soon enough!


Porcelain, blah, blah, blah!

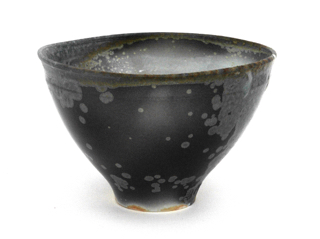
Not all porcelain is white.

The countryside around Mittagong is one of the few places where native porcelain stone occurs. 15 years ago, I discovered porcelain stone and it has enabled me to develop my wood fired porcelain and proto-porcelains made from this native rock. They aren’t the most translucent or the whitest of porcelains. But they are mine. I’m not pretending that just because I dig the stuff up, it makes for good pots. Good pots are made by good potters, by skill, judgement, intuition and innate ability, coupled with loads of practice. The ‘stuff’ doesn’t necessarily come into it. I’m not a good potter, but I enjoy what I do, and sometimes I think that I’m getting better, as some of my pots turn out to be quite lovely. But only some. There is still a lot of luck involved.

During the development of this work it became obvious to me that if I wanted this ground-up rock to have any sort of plasticity. It would need to be aged for several years. I set about doing this in ernest, over a decade ago.

This work is my attempt to produce a local product. Something that has all-but disappeared from Australian and other first-world economies in recent years. This work, with all its limitations and faults, and all its local character, can be described using the French word, ‘terroir’ that expresses some of this unique quality of ‘locality’.

The search for a personal aesthetic based on the essence of my locality and life experience is also the search for the essence of the potter. This is such an unpopular and old-fashioned concept, but I believe that this work grows out of the fact that I have lived and worked here for over 40 years. I’ve walked a lot of this country. I’m assuming that this is not an issue for most other potters, but it is for me. I exist and work, intimately connected to this place where I live.

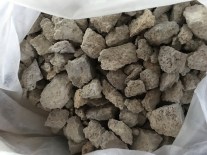
I am a ceramic lacavore, I have chosen to limit myself to the 50 km palette of materials. I grow a lot of my own wood. I make the fire bricks for my kiln by hand, from local refractory white bauxite. My glazes are made from the porcelain stone or other local igneous rocks, shales, gravels and ashes, all crushed, processed and milled in my workshop inefficiently, in small batches often by hand, in a workshop built by my partner Janine and myself from mud bricks that we made from local clay. We also grow all our own green food in our extensive vegetable gardens and orchards.

It couldn’t be more wholesome, corny, or sickeningly idyllic. Homespun, organic and self-reliant as it all is, it is not for everyone, in fact, it’s most likely not for anyone these days. The sixties are over! But it suits me, someone who still believes in romance, passion and ideals. I’m firmly rooted in the  truth, i.e. (pre)post-truth era!

Many potters these days love to use the international, trans-global, ultra-white, concoctions of porcelains. These ‘international roast’ of clay bodies. They are very good! So white! But a lot of the work starts to look a bit the same for it. One local show of porcelain was apparently described as just so much ‘blah, blah, blah!’ recently, I wasn’t there, but I think that I know what one of those ‘blah’s might mean. One gallery director said that any work that values the material that it is made from or the method of its making can never be considered as Art.

Fair enough, I call myself ‘potter’, not artist, just a person revelling in the innate qualities of my own unique, wood fired, local porcelain stone. The wood firing draws out some unusual and interesting surfaces, not normally identified as those of porcelain. So what is porcelain anyway? Seeing that it is concerned with material ‘stuff’, it can’t be Art. The Orientals would have us think that it is all about the sound, what one hears when a porcelain bowl is struck. So, therefore its all about glaze fit. I don’t mind a bit of crazing, in fact I quite like it. So my work doesn’t always ‘ring’. One definition involves light shining through the thin sections. So that’s translucency. However, most people would think of the supreme whiteness, but porcelain isn’t always white, mine certainly isn’t. My pots don’t always ring and they don’t always show light through either. So my work only contains a bit of ‘blah’! Maybe it’s not porcelain?

I’ve come to the conclusion that I don’t really know what defines porcelain. What I do know is, that whatever it is that I’m crafting here in my pottery through old fashioned techniques and lots of attention to detail, but mostly a lot of time. It ends up having some lovely qualities that I can’t seem to achieve any other way.

It’s mine, it’s local, it’s ethically sourced, it’s low carbon, it’s pretty much unique to here and I love it. Blah, blah, blah, blah, blah!

What else do I need to know?

DSC_0006 copy (1) DSC_0038_01 copy 2 (1)

DSC_0048 copy 2 (1) DSC_0056_01 copy (1)

Environmental fellowship

We have had a Danish potter staying with us for the past month. He won the Environmental Ceramics Fellowship for for 2016, but for both of us it was just too difficult to complete it last year, so we postponed to this year.

He is a potter from Denmark who is interested in sustainability and new ways of exploring how to make a living in this new digital age. He has his own web presence in Denmark where he markets Potters wheels, kilns and clay bodies, as well as making his own work. He is a digital native. Whereas, I am, on the other hand, a dig-it-all-native. Making everything myself from the ground up – and that is what he is here to learn.

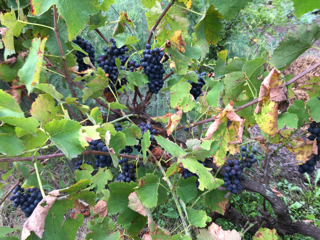
We crushed porcelain stone in the big jaw crusher to make single-stone porcelain body. We made clay tests to investigate unknown clays. We worked in the gardens and orchards. Ate all our own produce. Cooked up some wonderful meals. Lauge is a great cook, so that helped. We went on a geology excursion to look at some of the local stone deposits. Harvested the shiraz grape crop and made dark grape juice from the grapes.

IMG_4683 IMG_4684.jpg

All in all, the month flew by and it all went too fast, leaving so many things un-explored. A month just isn’t enough time to experience everything that we do here.

Janine and I are planning to do some volunteer aid work overseas soon. So we are working towards this by making clay tests out of the local clay that has been posted over to us to process. Our Guest lends a hand in everything that we do.

IMG_4764  IMG_4766

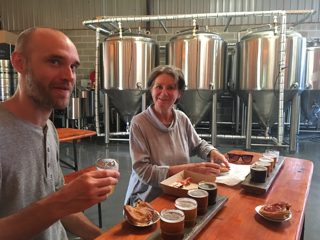
We decide to go exploring and looking at a few rocks for making glazes. Then, to complete the true ‘Australian’ experience, we take him to the local micro-brewery and have a meat pie with tomato sauce, accompanied by a tray of the brewery’s sample beers for lunch. Fantastic! I haven’t eaten a meat pie since I was a kid, so it was an experience for me too!

 IMG_5065 (1)IMG_5068

IMG_5006 (1)

You have to look closely at the image of the analcime basanite deposit above to focus on the small figure in the foreground.

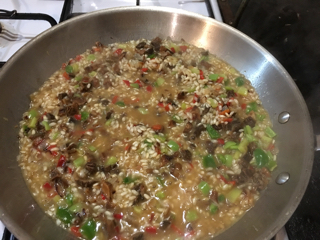
We cook and eat what is in season in the garden this autumn equinox. An autumn garden risotto, a fresh garden salad of shaved beetroot, cucumber, raddish, quince. Served with wasabi rocket, lettuce, beetroot tops, chilli and crunchy pan-roasted almonds.

IMG_4977 (1) IMG_5076

We also make an alternate version of okonomiaki, using some very firm, third pick, red cabbage, our own home grown eggs, garlic, chilli and shiso. Everything from the garden. Red cabbage is too slow to cook straight off as a cabbage pancake. So I pre-cook the cabbage to soften it down before I blend in the pancake mix and all the other ingredients. It’s not really a traditional Japanese okonomiaki. It’s an improvised Aussie OKA-nomiaka. Served with mayonnaise and Japanese okonomi sauce. Topped with bonito flakes and some Japanese pickled ginger.

IMG_5072 (1) IMG_5074 (1)

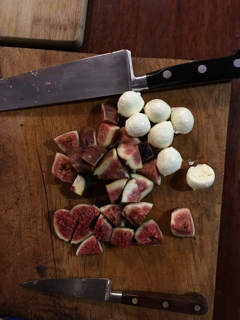
We finish the meal with fresh figs and soft white cheese. We do this desert a lot at this time of year while the figs are coming on. We try it with all manner of different soft cheeses. Boconcini isn’t the best, but you don’t know these things until you try them out. We’ve tried it with blue cheese, fetta and soft white goats cheese which was best.

IMG_5073

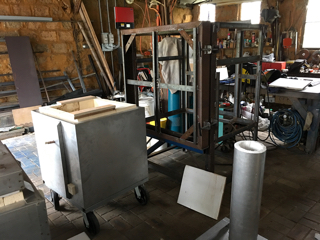
Lauge helps me finish off the internal fittings for the 8 little dalek kilns. These are now  almost all delivered, leaving space for me to start welding up my 2nd kiln job of the year. There is just enough room to get both jobs in the factory at the same time, but it takes a little bit of planning and maneuvering to get everything into the tight space.

Now the shed is almost empty, with the big new frame gone off to be galvanised and all the little ones gone to good homes:)

IMG_4999 (1) IMG_4998 (1)

IMG_4997 (1)

Platform Heal

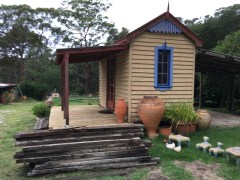
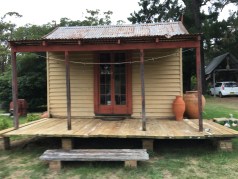
We bought the old Balmoral Village Railway Station building to save it from demolition back in the 70’s. The local ‘Loopline’ train line had been closed to passenger trains and all passenger services were replaced by a bus service. The line was still open to the odd freight train, or it was used as an alternate line to the main line if there was a derailment on the main line, which actually happened in 1978.

For a whole day and night we got all the Sydney to Melbourne train traffic off the main line diverted along our old loopline tracks. We got to see the Sydney to Melbourne Inter-capital Daylight Express and the Southern Aurora rumbling along past our house at 20 kms hr. on our old, little used, light gauge tracks.

We live on this old and now closed line. It was originally the main line south for about 50 years. It came through here in about 1864 and was replaced by the new main line in about 1916. The old line through here is now just a ‘loop’ off the new line.

The original line was difficult for some of the older steam engines, as the gradient was very steep. Digging cuttings through the hard rock of these steep hills was time-consuming and expensive. There is an extremely deep cutting just up the road from here. I was told that it was the deepest railway cutting in the Southern Hemisphere when it was built. This cutting allows the line up through a difficult part of the terrain to the next village that was originally called ‘Big Hill’.

Our village was, at the time, a place to keep and maintain an extra steam engine. When the Sydney train arrived here. The spare locomotive was hitched on to the train and used to pull the carriages up this steepest part of the line. Even so, it was a very slow and difficult job to get the train up the big hill.

There is an old story, and I can’t vouch for its truth, about a bush ranger stepping up onto the very slow-moving train at the front and robbing everyone on the train as he walked down through the carriages, and then hopping off again, not too far from where he got on!

There were originally 7 stations along this part of the original train line, now the ‘loop’. We live right in the centre of the loopline. As we are half way between the two ends of the loop. It was decided that a School would be built at the half way point to service all the children of the track ‘fettlers’ and engine maintenance men that were stationed here.

The school was opened in 1893 and operated full-time until the line was relocated to the new route in 1919 and the population started to decline, as the railway men and their families slowly moved away. The school then operated as a part-time school for a few more years, and then closed. It reopened during the Second World War as a part time school, sharing a teacher between here and the now named village of Hill Top, higher up the line. The school closed permanently at the end of the war. The station remained open until the line was closed to passenger traffic.

Once the line was closed to passenger traffic and the bus service instigated. It was decided to tender all the stations along the line for demolition. The first station to be offered up to tender for demolition was Hill Top station, next door. We heard on the grape-vine, that the only bidder just wanted the tin off the roof to build a chook shed, so only offered $2, won the bid, took the iron off and burnt the building down to comply with the clause that stated “remove to ground level”.

When the Balmoral Village station came up for tender next, we were keen to see it preserved and not destroyed, so we bid the ridiculous price of $250 to make sure that we would win and could preserve it. $250 was about half the cost of the wood to build a new one. We won of course. No-one in their right mind would pay that much for what amounted to a little old wooden shed.  A very old wooden shed indeed. It is thought to have been installed in 1864 or there-abouts, when the line opened. Making it the oldest building in the village. We thought it worth saving.

We measured it up and built footings to suit, then hired a crane and low-loader. We picked it up and drove it home to the school in one piece. Then lifted it into place. It was the biggest job that I have ever attempted and it all went like clockwork. It turned out to be the least troublesome thing that I have done. However, I did spend a lot of time planning, preparing and choreographing it.

Once we realised that we now owned all (both) of the public buildings in the village and there is no water works to buy. We could put a motel on Pall Mall and charge all passers-by to pay $200 dollars to pass ‘GO’!

Instead, we decided to sand blast off all the old flaky paint when we sand blasted the old School classroom. We had hired all the equipment for the weekend and had some spare time and ‘shot’ left on the Sunday evening, so we cleaned it back. I bought undercoat and we made some top coat our selves. We bought a one gallon tin of pale yellow oil based gloss top coat, then added an equal amount of turps mixed with mica and talc dust 200# that we had in the pottery for making our glazes. This gave us 2 gallons of paint. This rock dust saturated oil paint is still as good as new today. No drying out or flaking off. The stone particles guarantee that there will be no UV penetration. The little weatherboard waiting room is still in good shape. Well the paint job is anyway.

Interestingly, we noticed that after we cleaned and painted the waiting room. The train line fettlers that passed along the line each few days, saw the station building in its new location and new clothes and waved to us and we waved back. They saw that we thought that the building had some historical merit and was worth saving and restoring.

After that no more stations were offered for demolition. All the others have now been restored and painted creamy yellow! Personal activism does work sometimes.

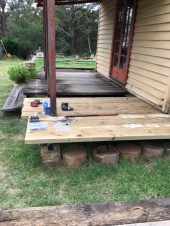
Well that was 40 years ago, and the poor old wooden sleepers on the platform have been weathering away. I have no idea how old they are. Not 153 years I shouldn’t think. I’m sure that they are not original. Perhaps they were replaced in the 60’s when there was a derailment at the station when a goods carriage came off the line and ploughed into the end of the station destroying the Ticket Office building. Perhaps the original sleepers on the platform were replaced when the platform was repaired?

They are sill in good shape where they are under cover of the verandah, but the exposed ends are rotting away. We have our wet weather clothes line under the verandah and Janine has stopped using it because she feels that it is too unsafe.

I take a day ‘off’ and go down to the timber yard and buy new ‘treated’ sleepers. I slowly remove each of the old sleepers a few at a time, and replace them with the new ones. It all goes pretty much to plane and is finished by the end of the day. However, I still have to put up the new guttering.

Everything goes to plan, except that I drop one of the old heavy hardwood sleepers on my recently damaged and recovering finger, which splits it open again.

No good turn ever goes un punished. I’ve healed the platform, I now have to wait for my hand to re-heal.

img_4508 img_4506

img_4510 img_4509

We Are Cooking in the Heat

This last few days of heat has really set the garden back. We are out early and late watering. I watered for an hour, early this morning, but by lunch time everything was drooping with this blast of oven temperature air.

img_4607 img_4608

Because it is so baking hot, I have been out cutting bracken fronds and sticking them into the seedling beds to give some shade to the young transplanted seedlings. I transplant them in the evening when it is cool and give them overnight to settle in before the next hot day. They seem to be surviving OK so far.

I have been harvesting the summer excess. A bucket of beetroot, a bucket of cucumbers a bag chillies and another red cabbage.

img_4571 img_4579

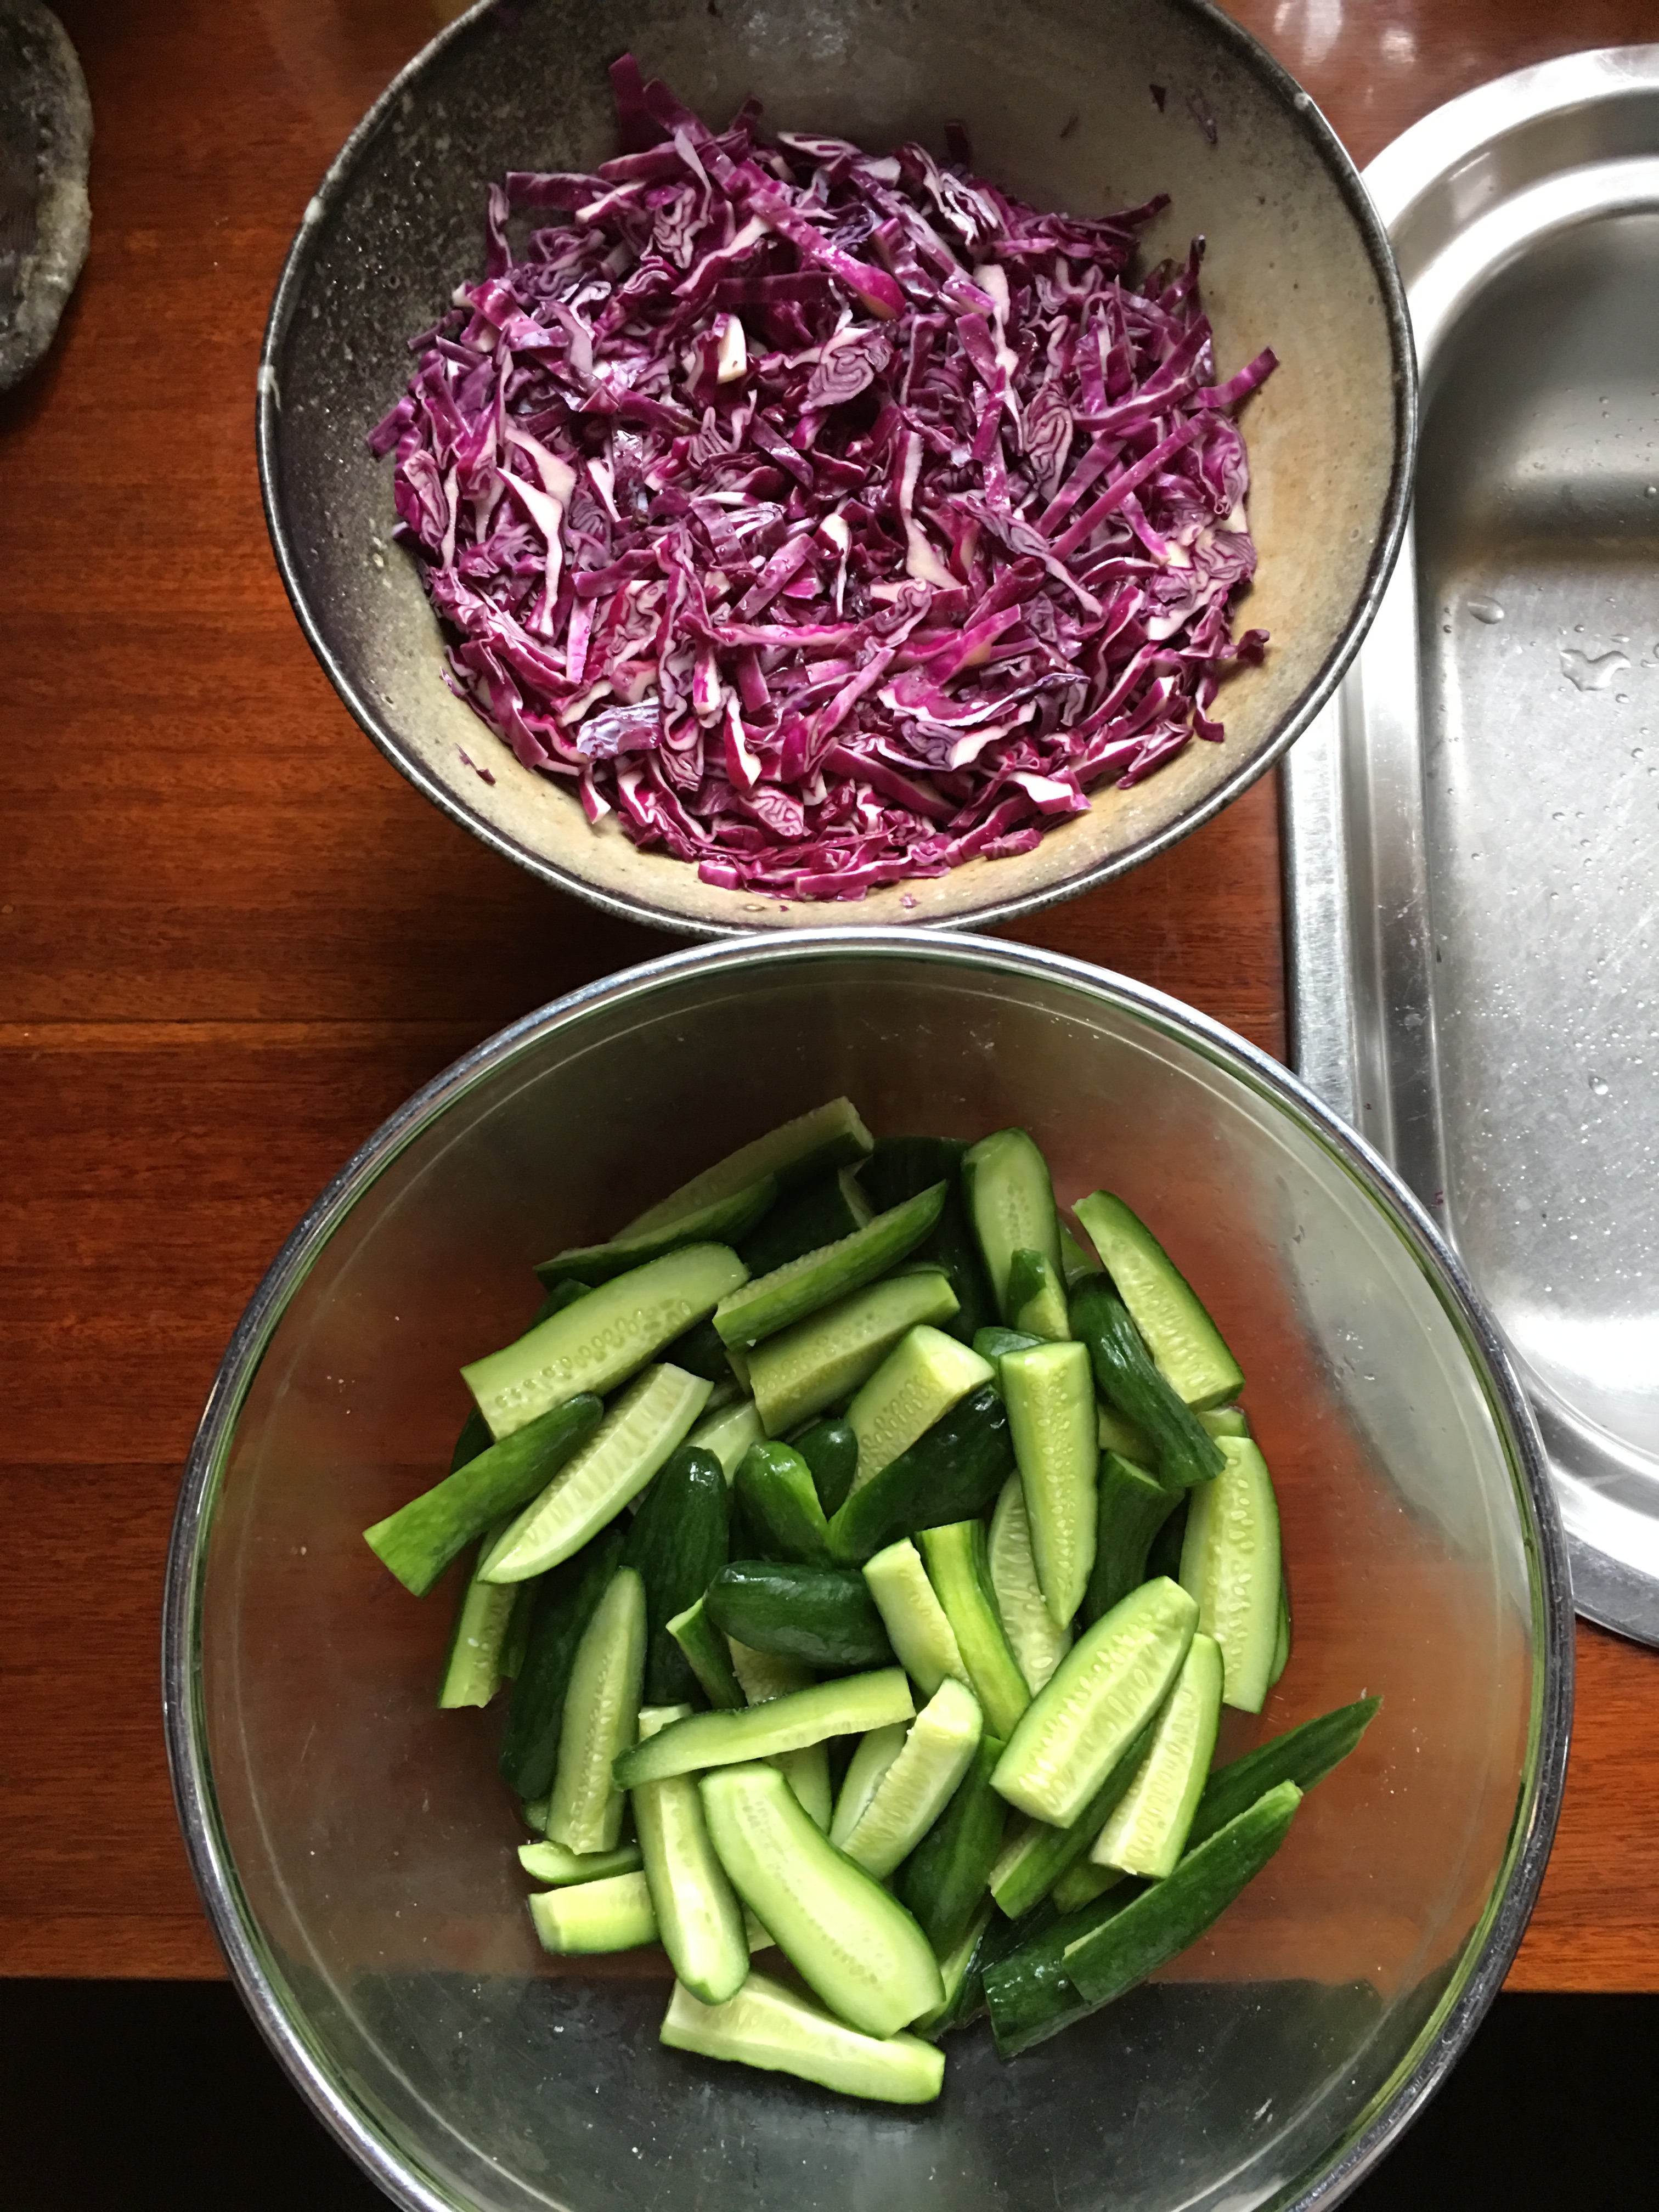
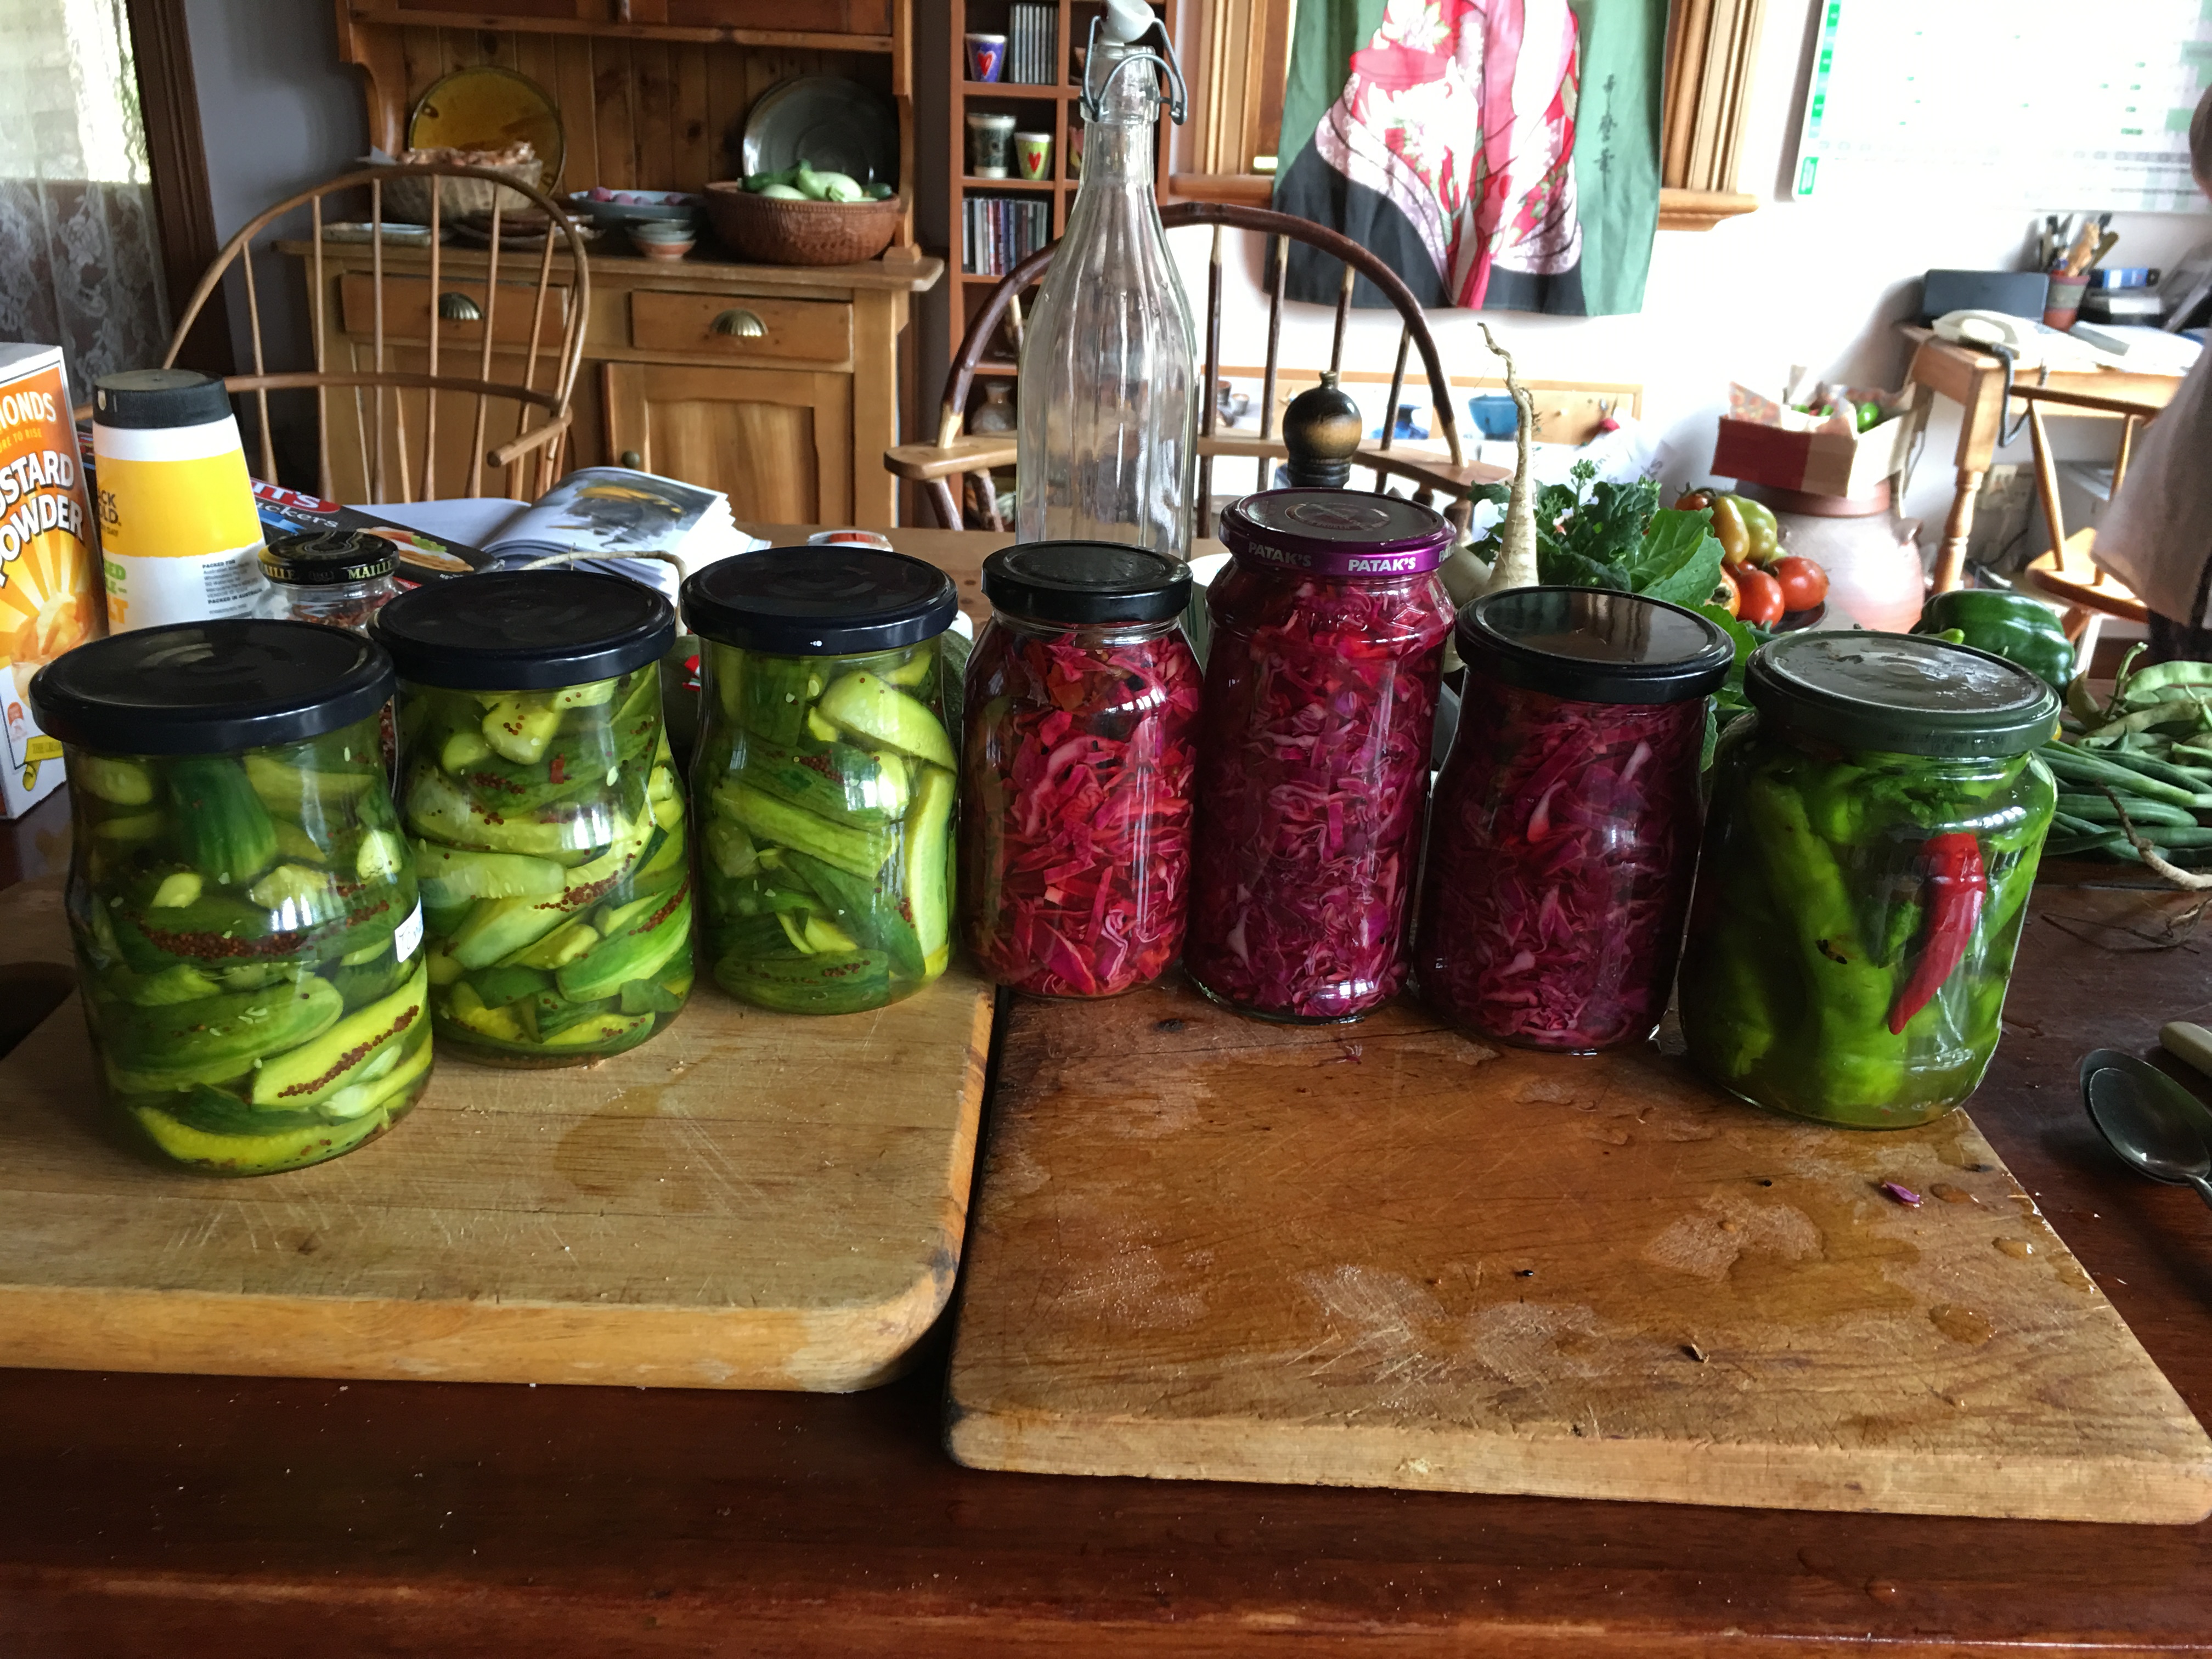
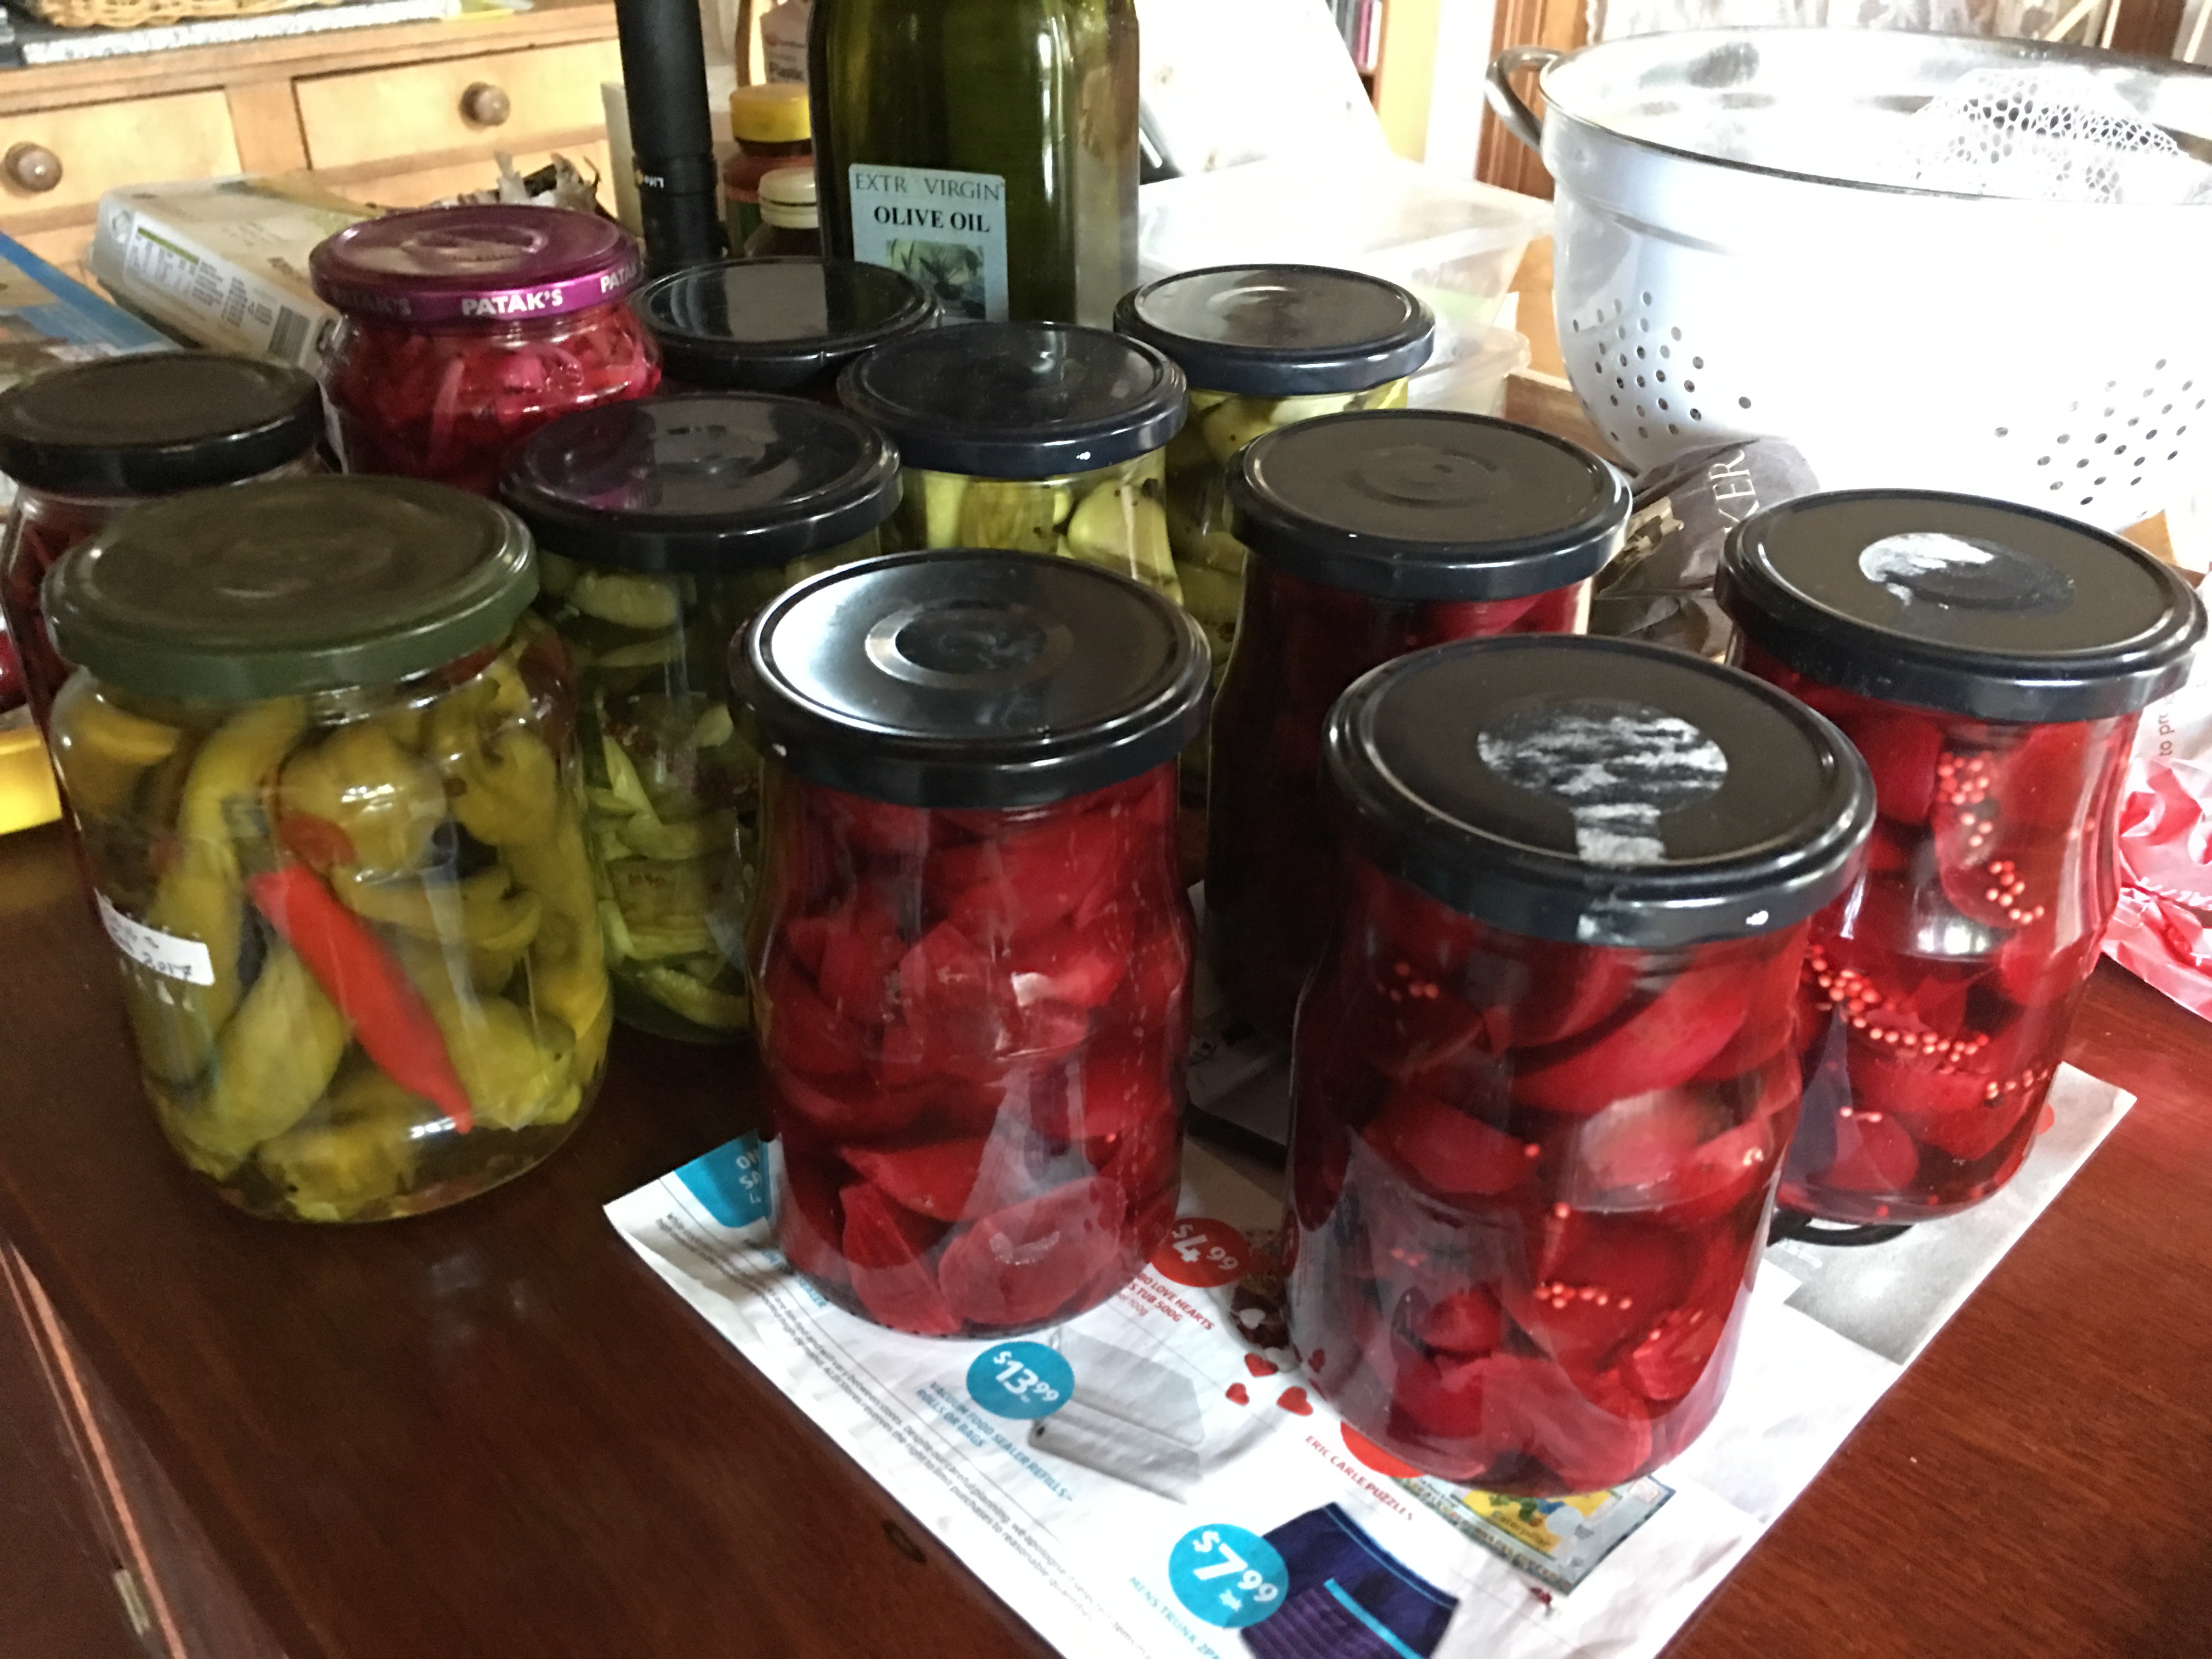
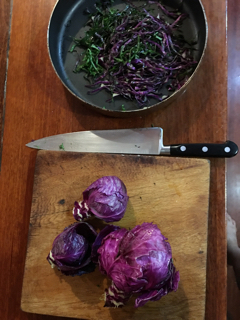
I decide to make pickles, I wash, chop and thinly slice the cabbage, then soak in a brine of 2 cups of salt to 1 litre of water. The cabbage collapses over night and in the morning it is completely submerged. I rinse it twice to get a lot of the salt out, then pack it in hot sterilised jars from the oven and cover with hot pickling vinegar, then seal down the lids.  I hear them ‘pop’, and vacuum seal themselves when they cool, as I go about dealing with the cucumbers. They have been sliced and soaked in brine too. I rinse them and pack them into hot jars, cover with more of the pickling vinegar.

img_4580

While I’m at it, I stuff another large jar with whole chillies, that I have sliced open on the side to allow the pickling liquid in. My final job is to peel, then slice a big boiler full of cooked beetroot. They are a really wonderful colour. I bring them back to the boil for a minute or two in their original juice, I get 4 jars packed tight. I fish out a chilli, some cloves, pepper corns and a small piece of cinnamon bark to add to each jar. Then cover with the last of the vinegar.

img_4597 img_4598

img_4602 img_4604

I have to go back to work tomorrow in the kiln factory. I have 7 kilns ordered, so far this year already. I’m booked out till September.  I have to get busy. My summer break is over. I started back a couple of weeks ago to get an early start on all these orders, but then I sliced my knuckle open. So that was that till now. With the scorching heat, I don’t fancy working in the tin shed that I call the factory. But needs as needs must. I think that I’ll be running the sprinkler on the roof during the hottest part of the day.

Of Passata and Porcelain

The summertime heat brings on the tomatoes, zucchini, chillis, aubergines and sweet basil. They love this hot weather, as long as they get the water that they need. This means I have to start making passata sauce. We are now harvesting more than we can eat each day. This is just the start. At the moment we have to harvest the tomatoes each day in the small numbers that are ripening. It has taken a week to build up sufficient quantity to fill the boiler. This is the first batch of passata. Soon it will build up to 2 batches a week. I will continue to make this sort of tomato sauce right through the summer and into the autumn.

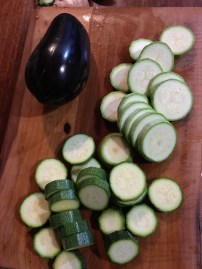
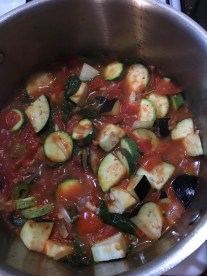
Tonight I’m making a small batch to start with for our dinner, so I’m including a lot of zucchinis and aubergines as well. This will be a sort of variation on the ratatouille theme. All these vegetables grow together, they ripen together and they taste so good together.

img_4528 img_4529 img_4533img_4534 img_4535

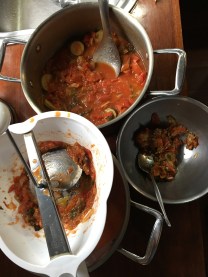
I bring it all to the boil and simmer it for a few minutes, just enough to soften the zucchinis and egg plant chunks, then scoop out a bowl full each for dinner. It’s summer on a plate!

After dinner, I add in all of the other chopped tomatoes and cook it down into a sauce. After it cools I put it all through the mouli sieve to remove all the seeds and skins, then reheat and seal in pre-heated jars to keep for the winter.

img_4531 img_4538 img_4539

The other thing that I like to do in this summer heat is to make porcelain from my collected stones. They are so hard that I need to put them through the rock crusher first thing to reduce them down to grit, then I can sieve the grit and re-process the larger pieces to get it all to pass through a 3 mm screen, then into the ball mill to be reduced to ultra fine grade.

 From this I can make glazes and/or more throwing body, as required.

img_4444


The Summer Vegetables have Arrived

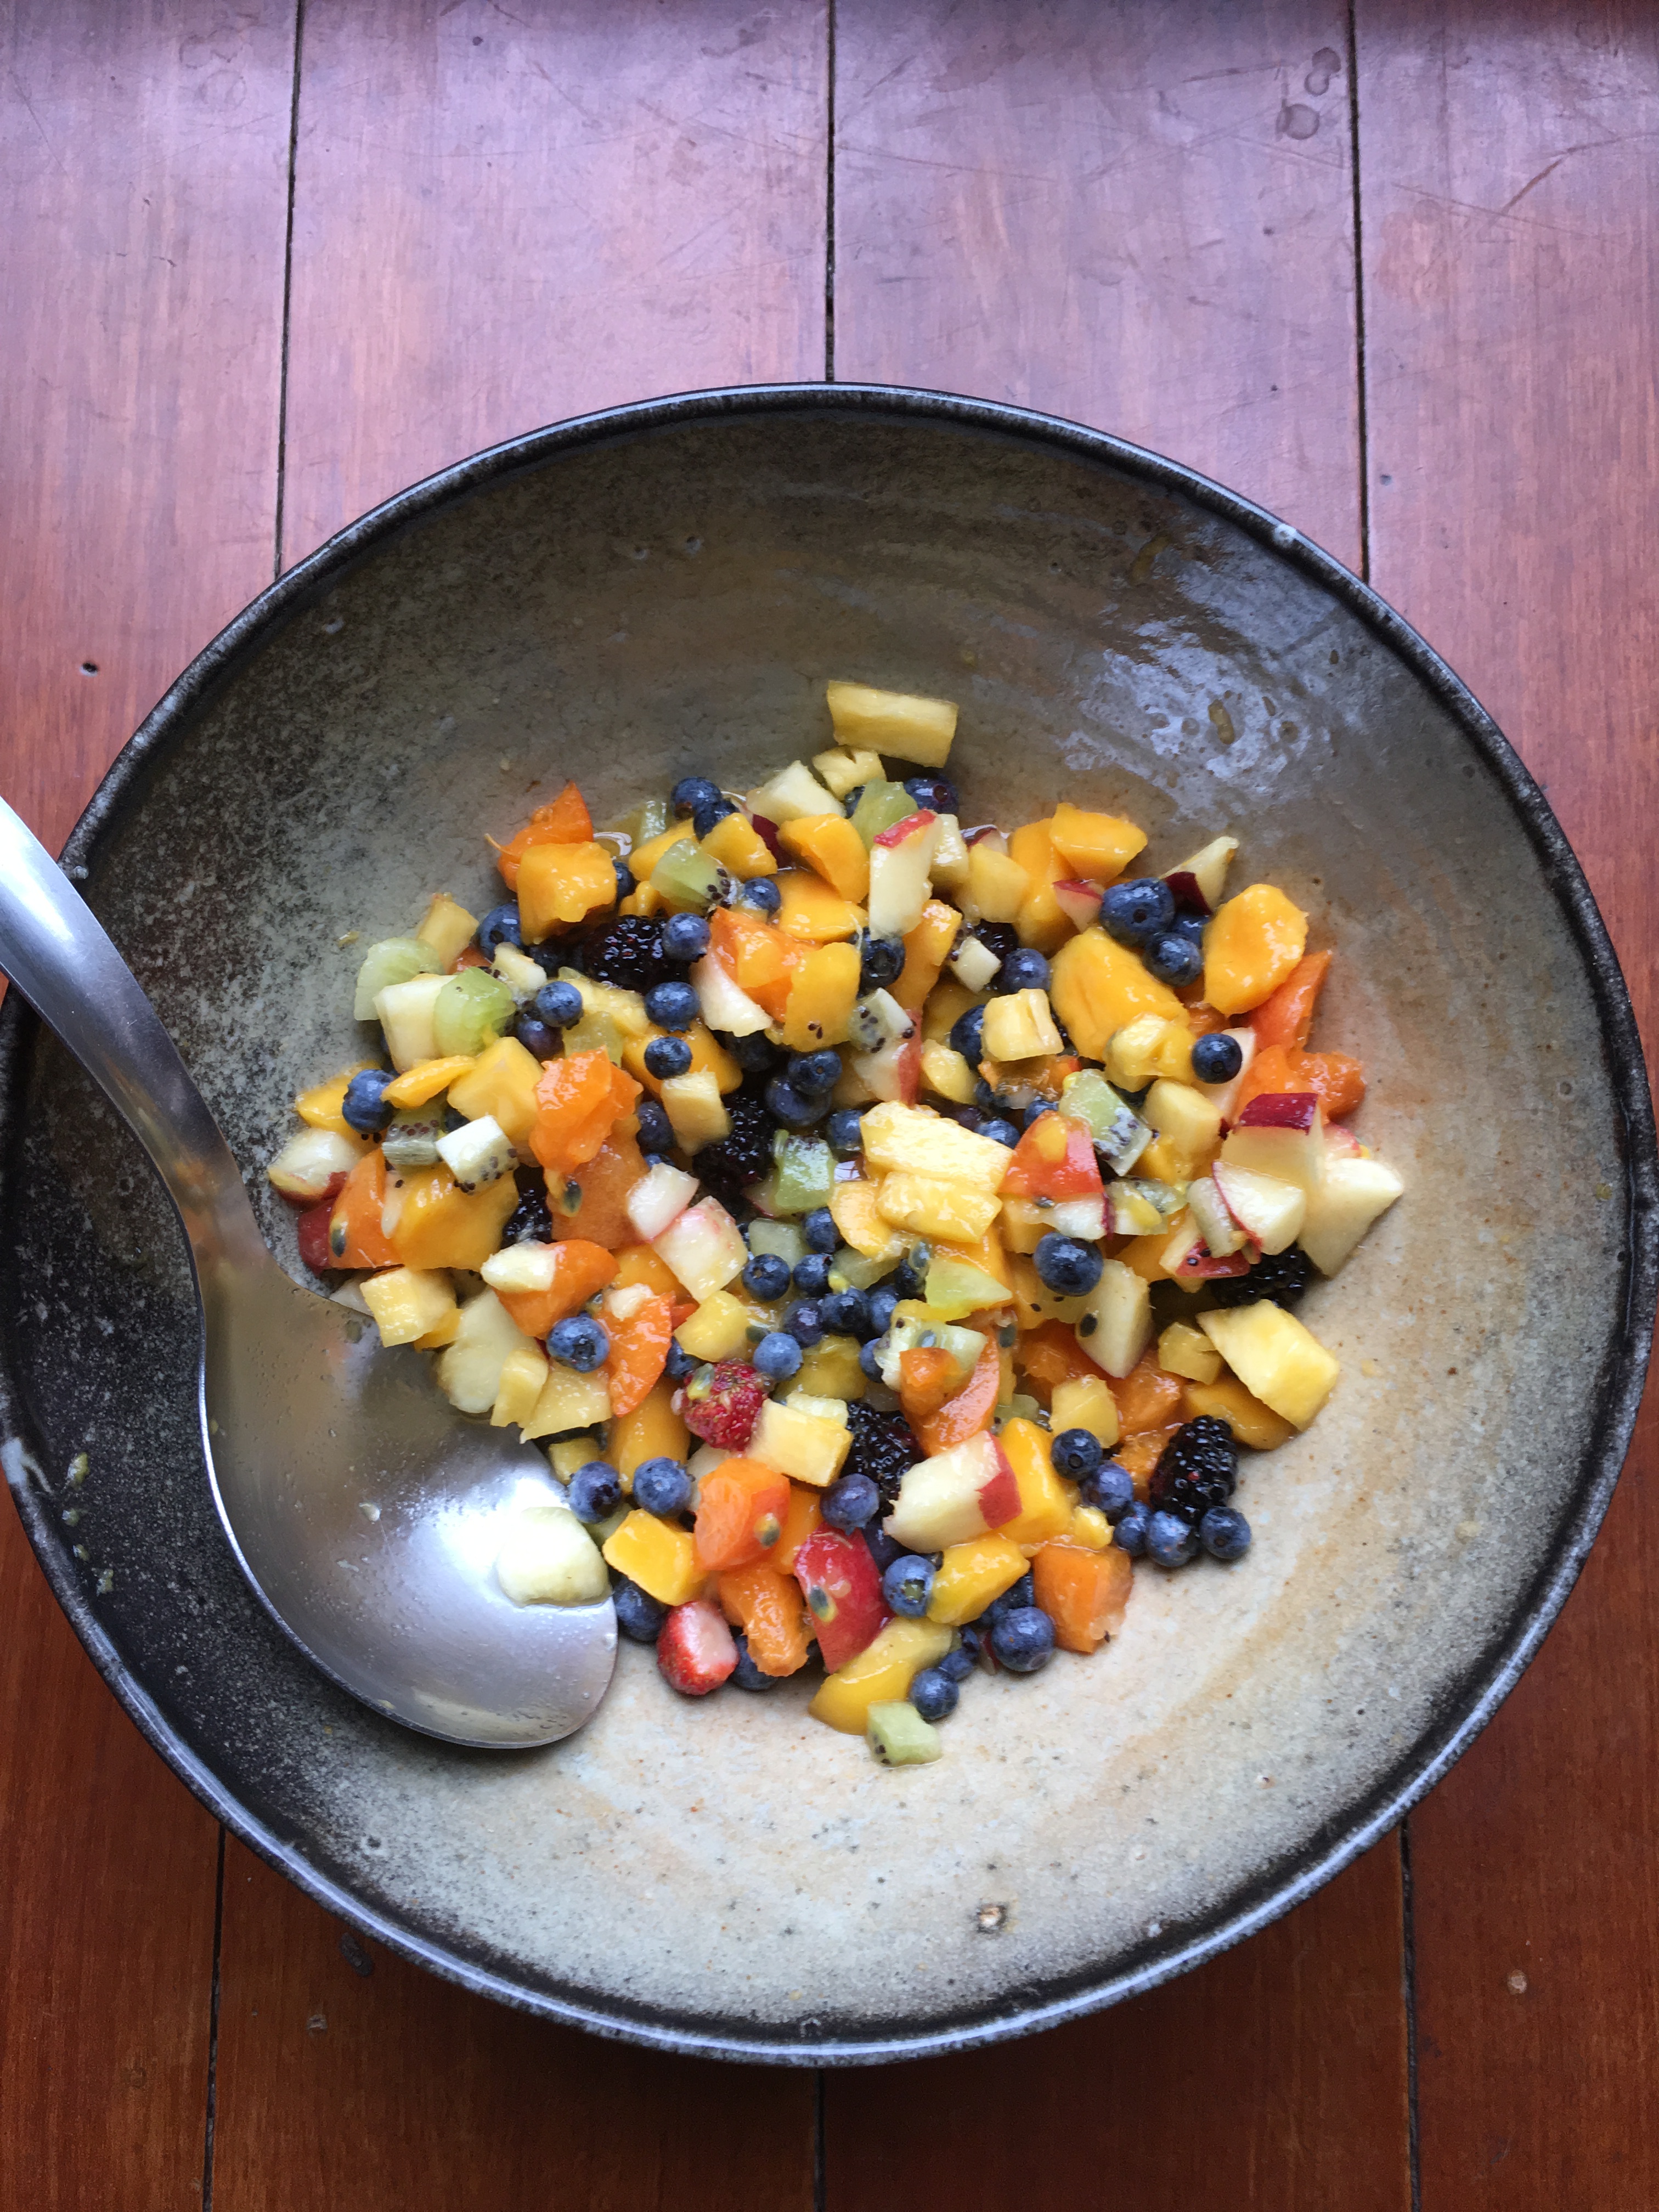
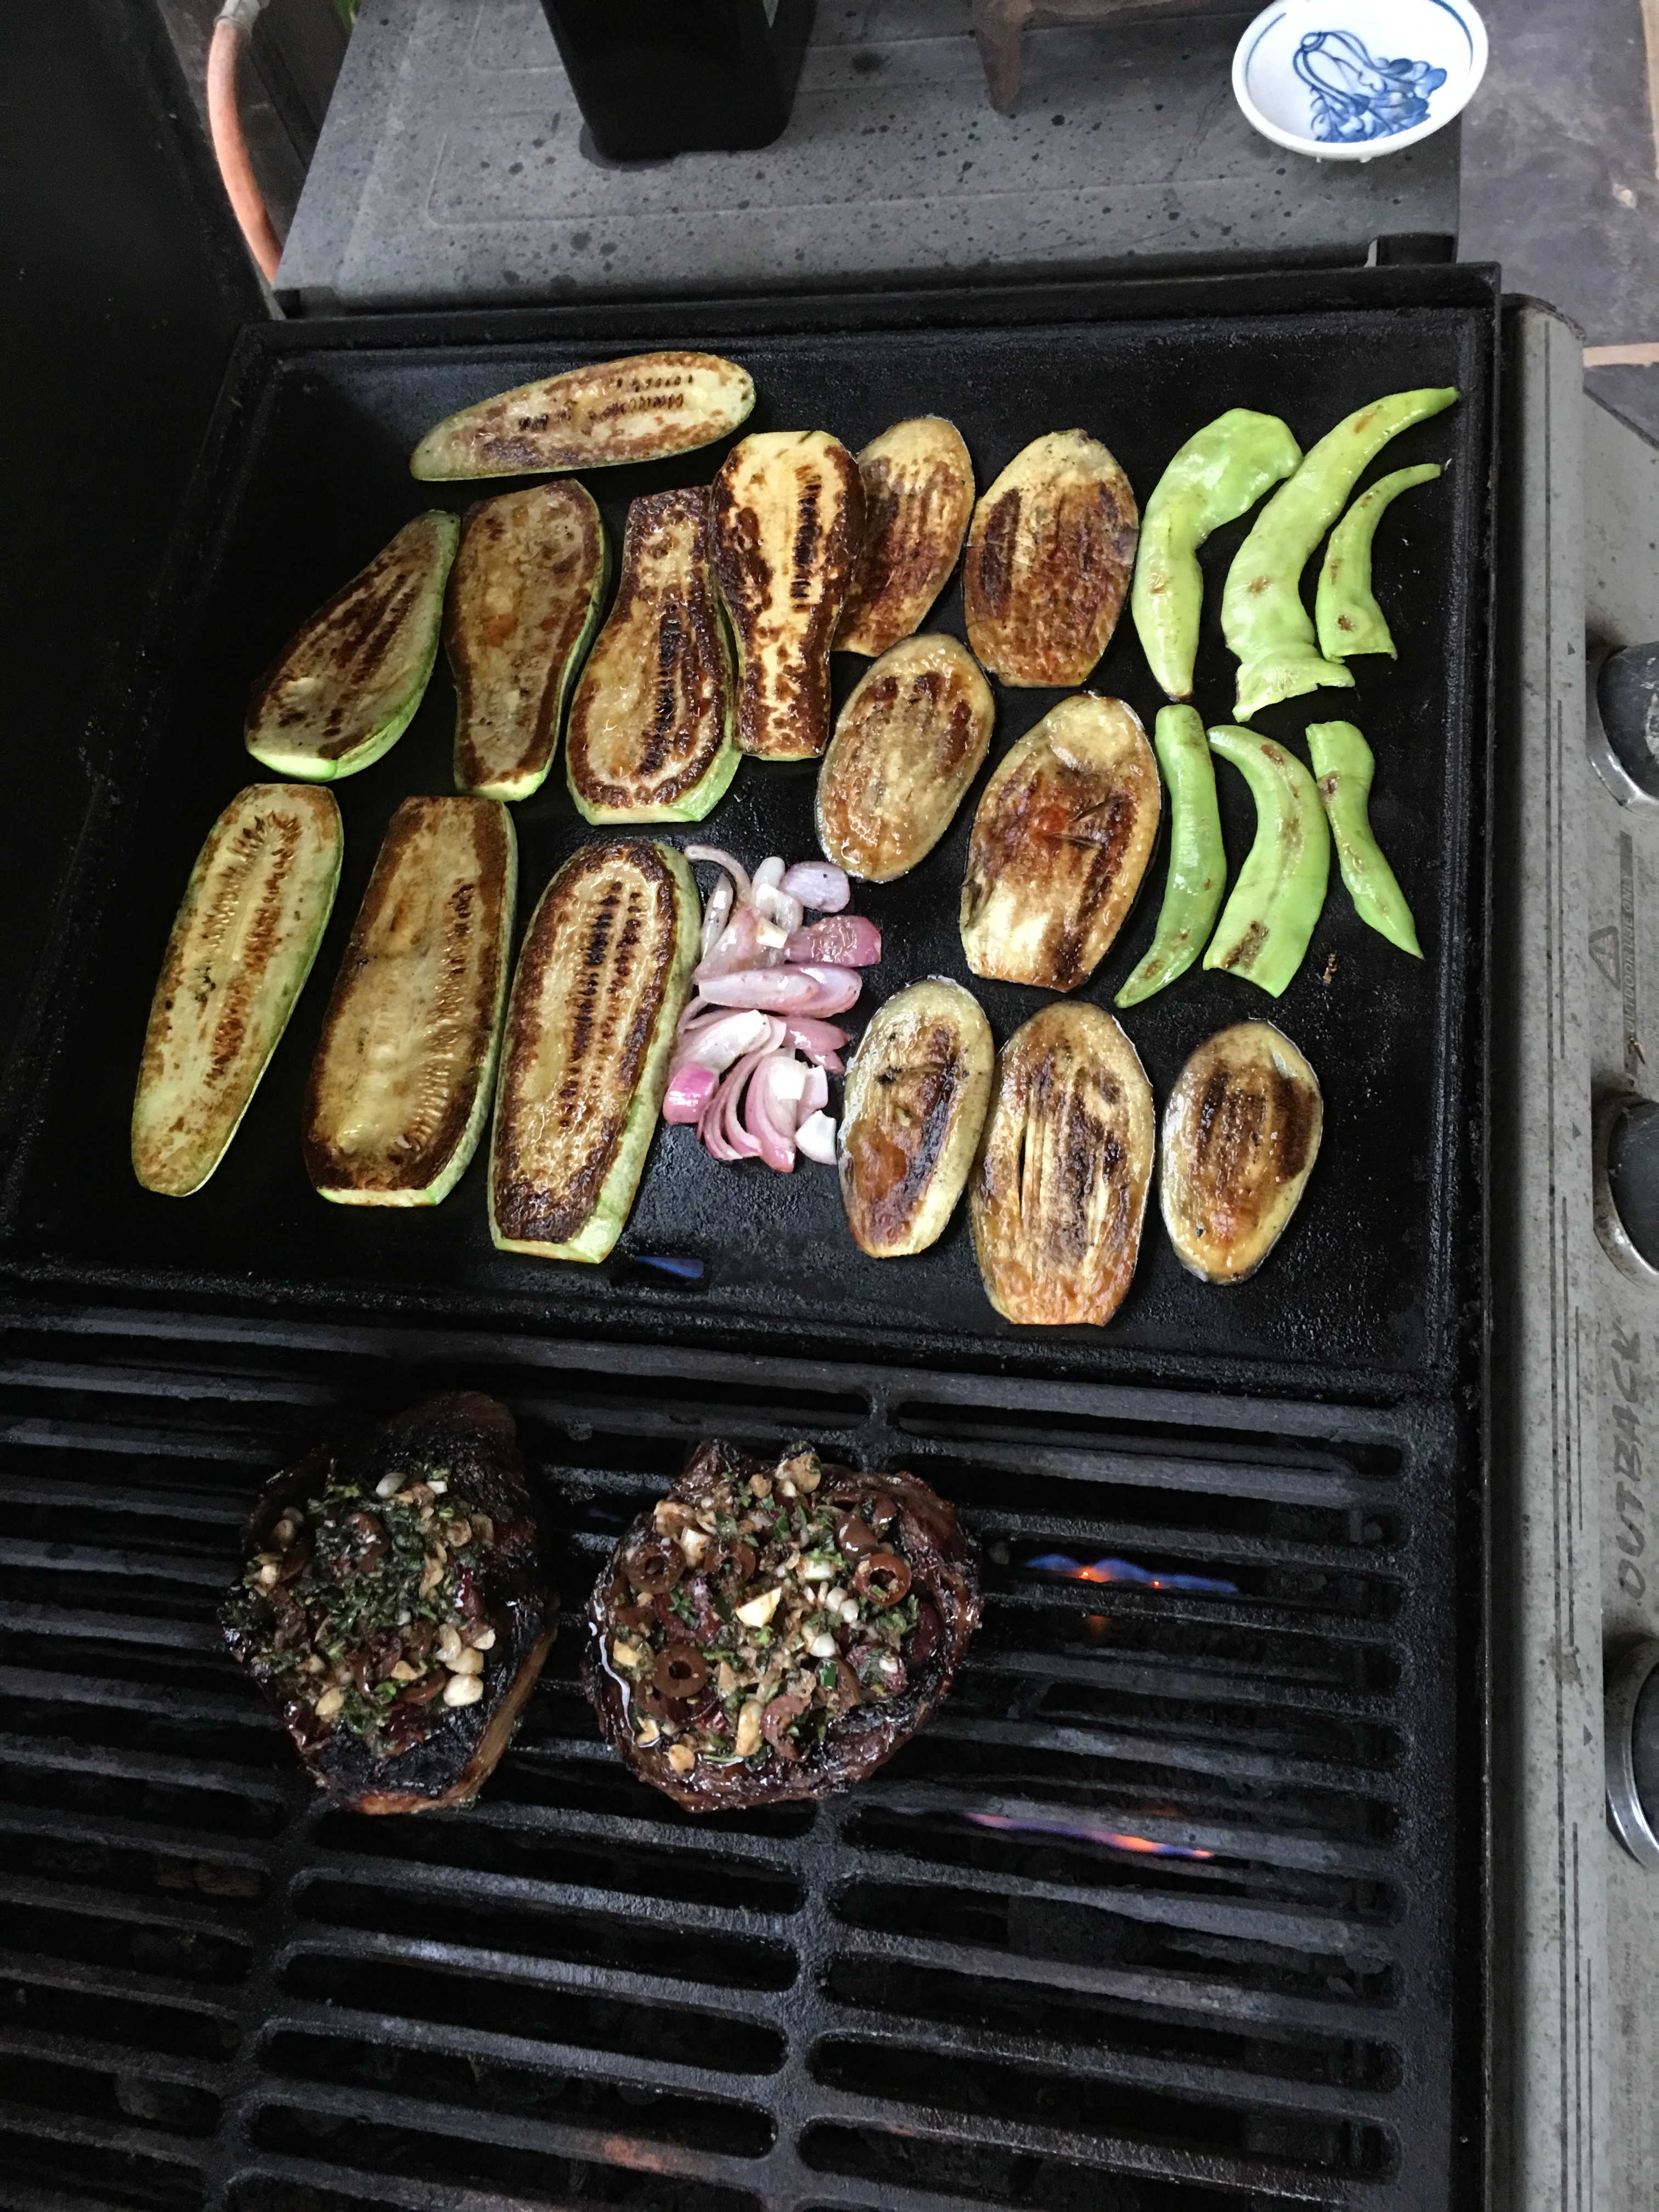
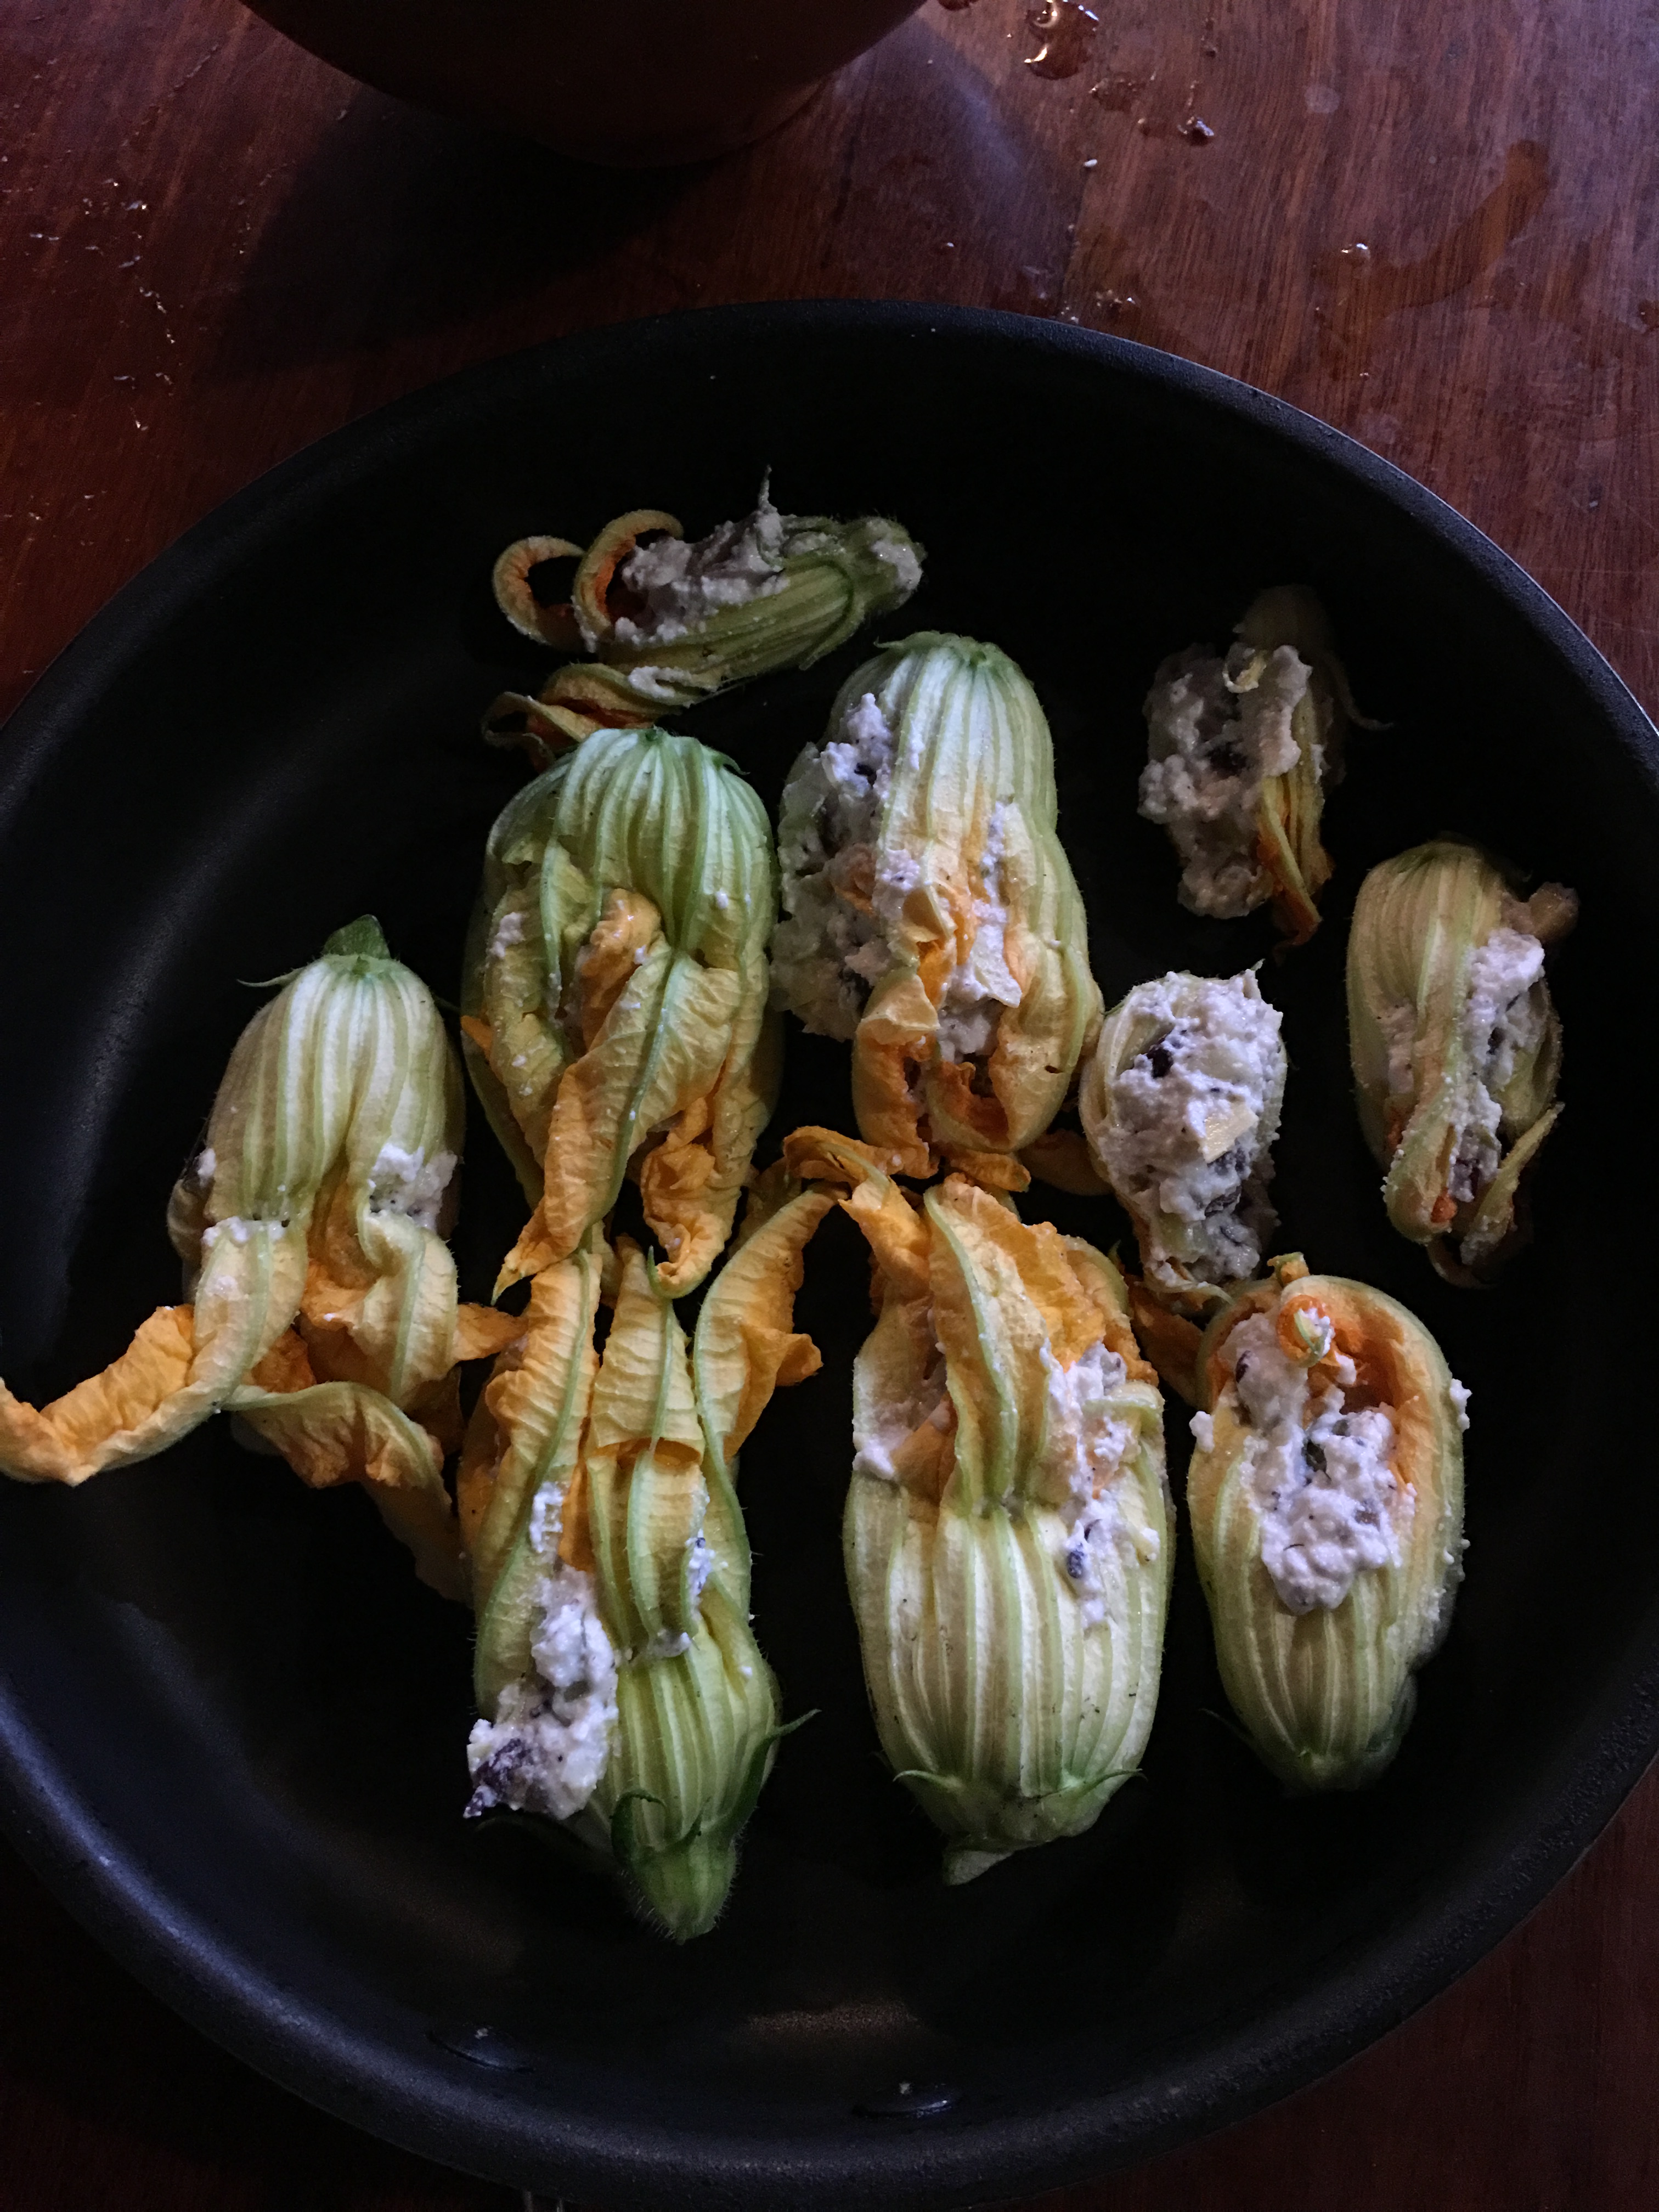
In these last few dying days of the old year, the heat has set in and all the summer vegetables that were dawdling along last month, are now racing in the heat and we have to water the garden every day. We had our first red tomato before the Solstice, as well as  beans, zucchinis and our first aubergines. There are lettuces shooting up, along with the radishes, mesclun greens and rocket. We have enjoyed the first meal of pan-fried, stuffed, zucchini flowers. It’s a rich and varied, fresh and crisp menu these days, with plenty of garlic, chilli and sweet basil. Roll on the summer days of veggie stir fries, BBQ’s and salads. Not to mention our blueberries, blackberries, golden berries, peaches and apricots for our breakfast fruit salads, all given a little bit of a lift with a squeeze of lime juice.

img_4317 img_4318

img_4319 img_4320

img_4332 img_4334

img_4242

How Many Potters Does it Take to Change a Light Bulb?

How many potters does it take to change a light bulb?

The answer is, only one. But it takes about one hour and lots of frustration. Actually it just took me over 2 hrs, because I couldn’t believe that such a simple job could be designed to be made to be so difficult and monumentally stupid by a car designer, so I spent an hour on the internet looking up what other people had done to solve the problem.

The problem is that the low beam head light bulb on our car wore out after ten years of use. I have no problem with this. It’s the first thing to have worn out on the car. A Mitsubishi Colt hatchback. It’s been a really good, reliable, fuel efficient, little car. Changing it should be simple. The light bulb can just be twisted and pulled out and unplugged. A new one plugged in and twisted back into the socket, BUT and its a BIG BUT. You can’t reach the back of the head light with your hand. It’s been designed to be located into such a cramped space, that access to the back of the light is not possible from the open bonnet.

The owners manual makes light of this. Just rotate the steering wheel in the opposite direction to make space in the wheel well, remove the liner and replace the bulb as shown in the illustration. It sounds so easy – just do it. The only problem is that it isn’t. It isn’t easy at all! When you get down to it, it is a lot more involved. So I read it up on the web. And yes, it is a lot more involved. Very much more.

One mechanic wrote that it is much quicker and easier to remove the entire front of the car. Front bumper and other fittings , then take out the entire headlight enclosure. It is so simple to swap the bulb once you have the entire fitting in your hands! He claimed that it only took him 1 hr! I doubt that, unless you do it all the time and are used to it.

I decided to follow the manual instructions, and go in the back way, through the wheel arch. Using the added advice from the web chat line and the 15 minute video of high lights on You Tube. I like watching highlights! It’s my favourite way to take in the Boxing day cricket test match too!

So, this is what you have to do. You have to jack the car up on one side, as it is too low and cramped to get in there if you don’t. Good advice from the web. Remove the front tire. remove the wheel arch liner, or at least most of it – about 3/4. This involves snapping off he plastic rivets that hold it in. These all need to be replaced, but the manual doesn’t tell you that. I’m a careful sort of guy and take my time with these things, but I could only manage to salvage one of the plastic gadgets for reuse. It doesn’t help that you have to lay on your back, in a very uncomfortable position, in a restricted space, with all the years of accumulated dirt and sand dropping in your eyes while you work.

Next, you peel back the liner and twist it out-of-the-way. Finally you get to see the back of the head light fitting, but you can only manage to fit one hand up there in the narrow gap.

You simply have to release a wire clip, by twisting lowering and pulling. Simple on the kitchen table, using two hands. But not so easy in the dark, up in the small cramped space allocated. I say in the dark, because when you insert your hand up there, it blocks out almost all of your vision, so the operation has to be done by Braille. Oh! And the other thing that I forgot to mention, is that you are not allowed to touch the light globe with your hands! You must always hold it by the mounting socket only, or it will explode!

I finally get the old unit released so that the fitting can hang down on its connecting wires, to where I can get two hands onto it. I have to wear plastic gloves at this point, to avoid touching the bulb. I swap it over, but it won’t go back in to where it just came out of. It sort of goes in but the wire clip won’t go back into place to secure it. I manage to tear holes in 3 rubber gloves trying to manage this. I decide that there must be a left and right, or up and down option for plugging the bulb into the socket, but it is too dark to see if there is and the wires aren’t long enough to bring it into view. I just take it all apart and try again in reverse. Non of this is mentioned in the manual or on the webinar.

This does work however, I swap my thin sensitive rubber gloves that I can feel through, for a pair of thicker, plastic, work gloves that are clumsy but more robust, and by now I know what I ought to be feeling/sensing through the gloves. The bulb goes in, the mounting eventually goes back in, and the clip finally gets secured. I replace the wheel arch liner with the one remaining good plastic rivet. I can’t drive anywhere in the car like this. So then I hop in my truck and drive down to Mittagong to get a packet of new plastic clips/rivets, but they only come in blister packs off 3! So I have to buy a dozen in 4 boxes. All unnecessary land fill.

I replace everything as it should be, refit the tyre and lower the car back down. It costs as much for the plastic rivets as it does for the bulb. But most of all, I have just wasted 2 hours of my life that I will never get back, and had to drive 100 kms! Someone once told me that the garage charged an embarrassing amount to replace a blown bulb. Based on this experience I can understand why.

Maybe next time, I’ll try dismantling the front of the car and go in that way? At least I’ll be standing upright! There is bound to be a next time, as the car is now 10 years old and the other side bulbs will be getting old too. At least I’ll know what to expect. I’ll buy all the plastic clips as well along with the bulbs. I console my self with the knowledge that I’ve just saved myself a few hundred dollars. This car has never been to a garage to be worked on. I’ve managed to keep it all tidy and well serviced for all these years. It’s all just a tiny part of being self-reliant and living frugally.

img_4282 img_4283

Berry Jelly

As we approach the summer solstice, the red berries are starting to ripen. We have to cover them with one of our large sheets of nylon bird netting. If we don’t cover the ripening fruit, the birds will take the lot in a couple of days.

We have made a few small picks over the last week, but now, the real crop is ripening. We go out early, before the heat of the sun builds up. We pull back the net half way and work over one side, then the other. In half an hour we fill half a dozen plastic tubs with luscious ripe red/black berries.

img_4026img_4027

We will do this every 2nd day for a week now and then once or twice more during the next week and they will all be all but gone before Xmas.
Back in the kitchen, Janine weighs the munificence of the canes. We have harvested 3 1/2 kilos this morning, and another 3 kilos the day before. It’s a great start to the day and the week.
img_4028img_4029
Bach in the cool of the house, we re-hydrate with a cup of last years preserved dark grape juice. It’s so thick and concentrated, it is 100% grape juice and nothing else, pasteurized and vacuum sealed. It’s really amazing stuff that bears no resemblance to anything that you can buy in a shop. The commercial grape juices that i have tried, taste like they are 80% water in comparison. This stuff is just so rich and thick and concentrated in comparison. So much so that it has to be mixed 50/50 with water, otherwise it is just too strong. It’s a great natural, flavourful thirst quencher.
While I go back to work down to the kiln factory finishing up the last of the work on the current job, that is due for delivery on Wednesday, Janine stays in the kitchen to make todays harvest into 3 gratifying indulgences.
First, a youngberry sorbet, which is made from the juice sieved from the berries, no pulp in there, she only adds a very small amount of gelatine and some orange juice and then it is churned in the freezer, until it sets.
img_4451
juice of 500g youngberries
juice of a couple of oranges
1 tbs of gelatine powder
img_4058
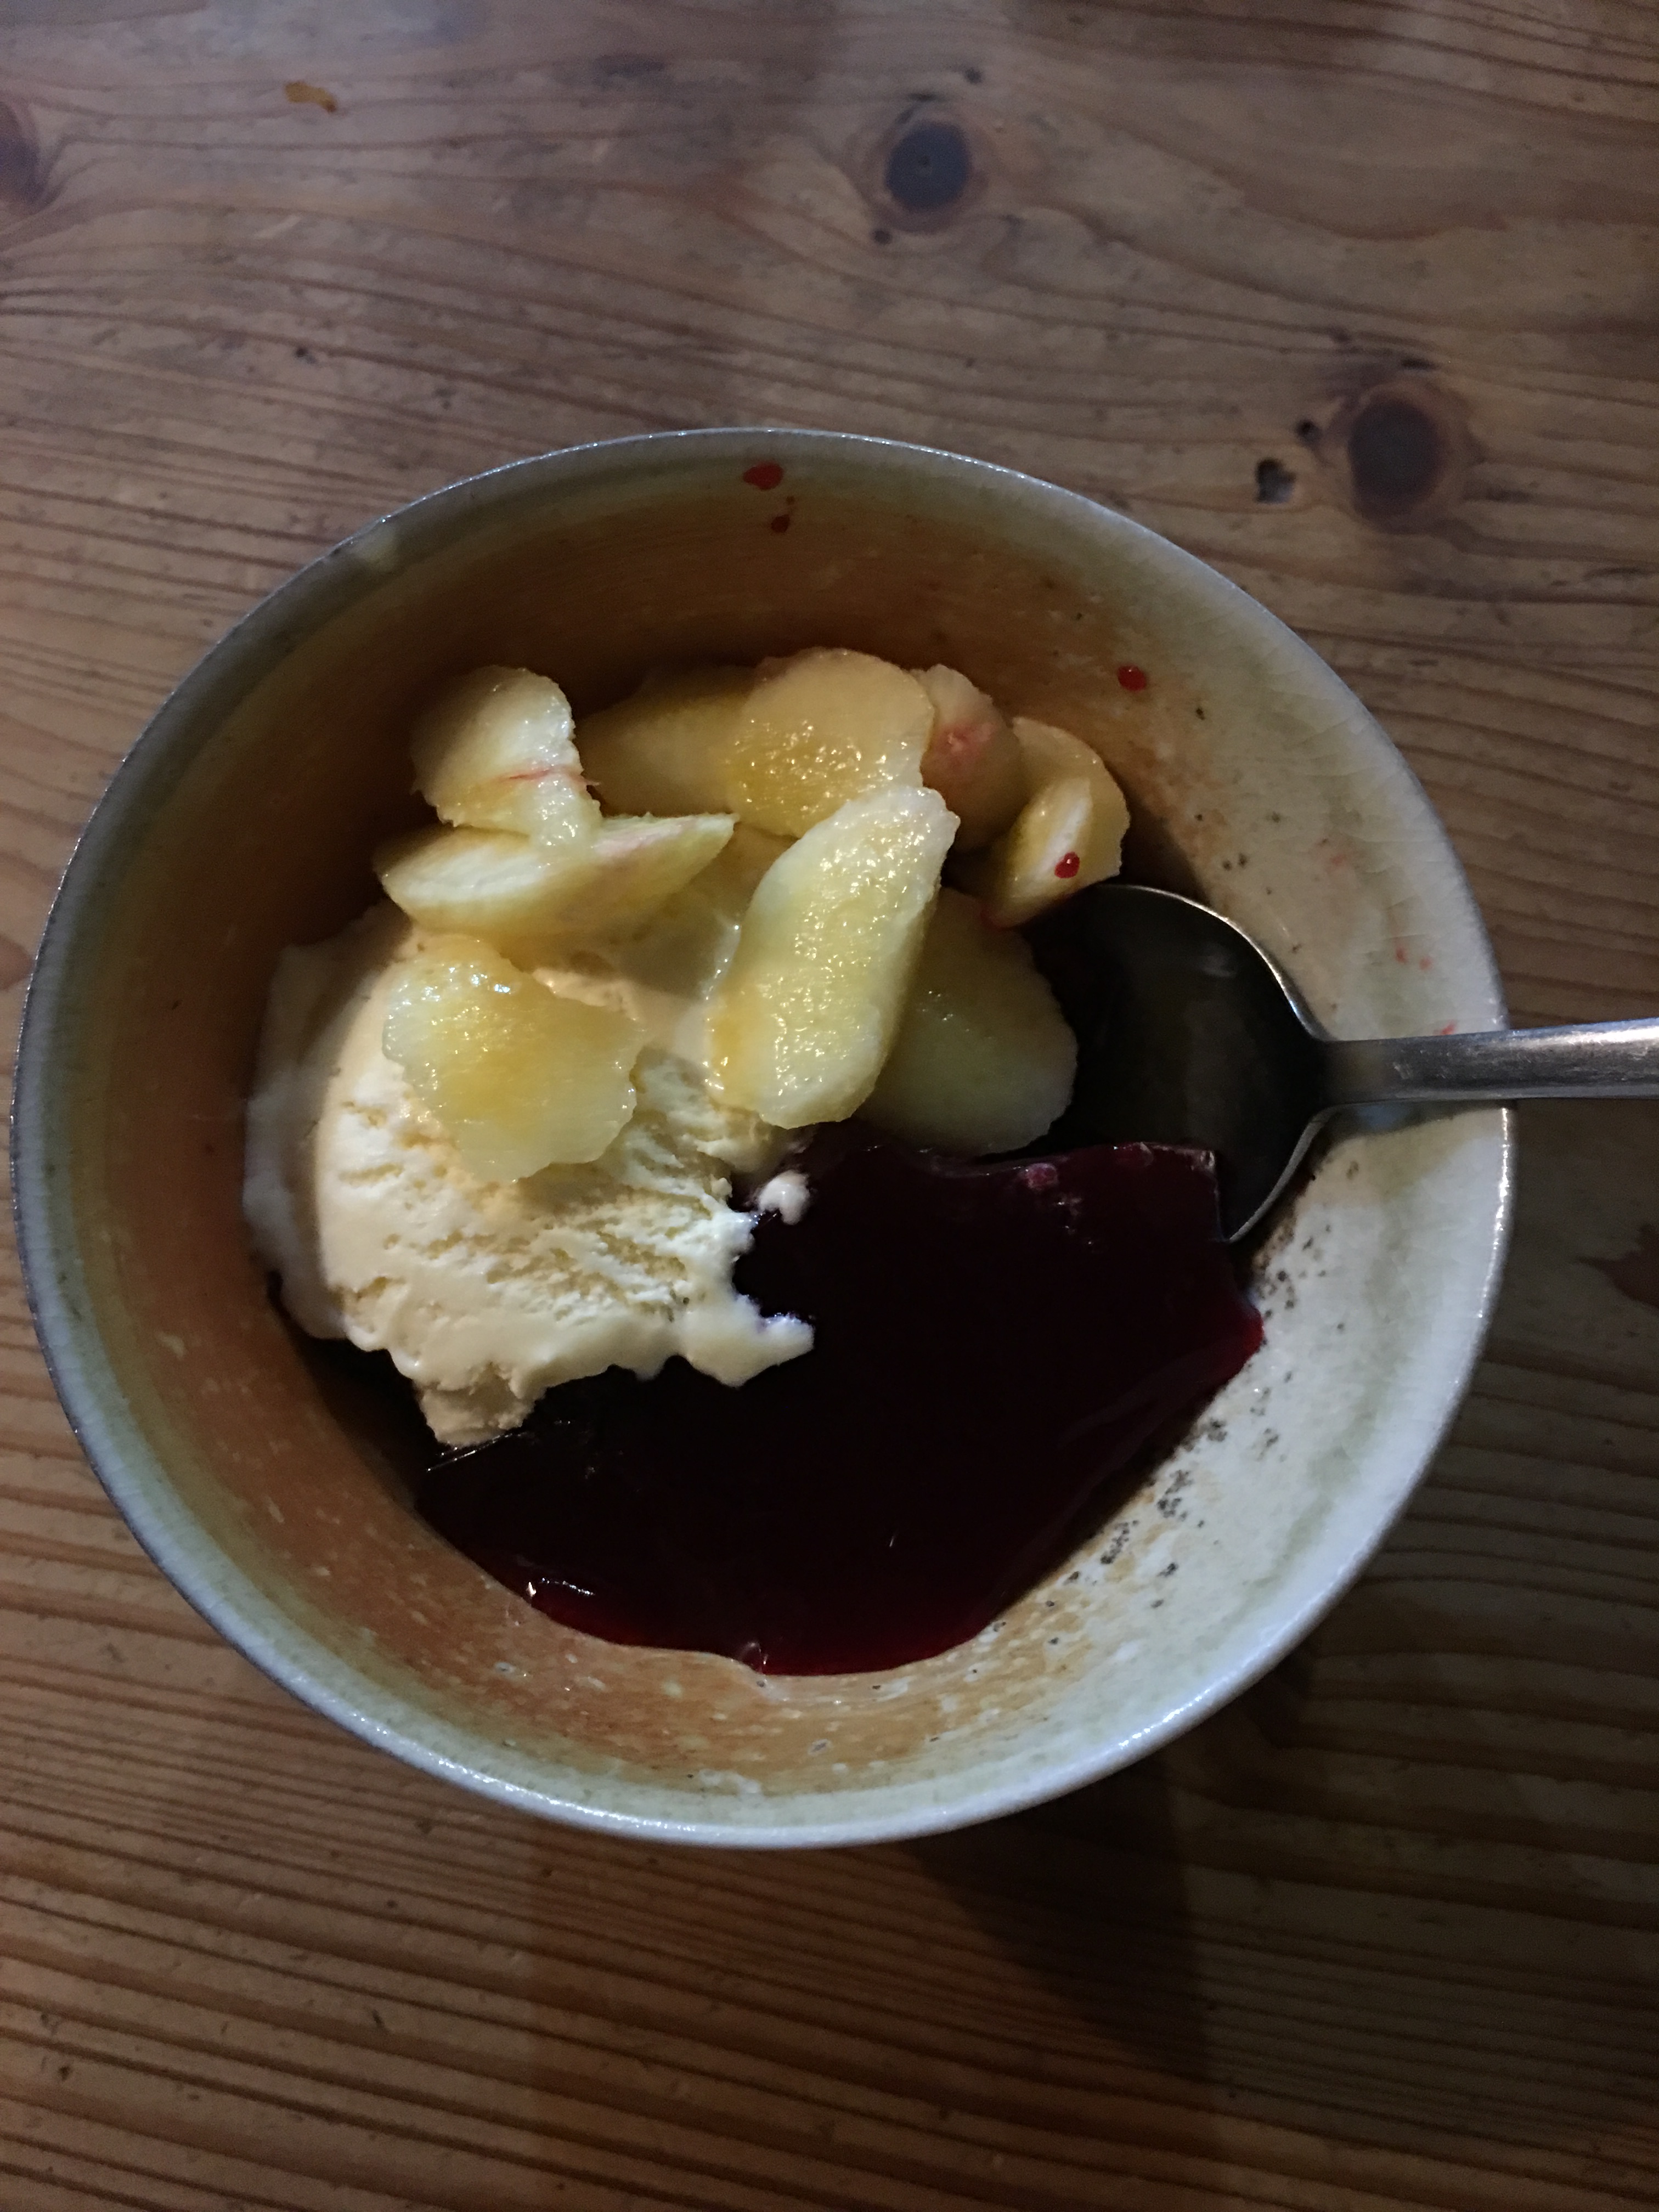
Second, she makes a youngberry jelly. This jelly is a desert jelly. It is made with the berry juice and gelatine and placed in the fridge until it sets.
First bring the whole fresh fruit to the boil and mash it all up with a potato masher as it is heating. This liberates the juice quicker. Pour through a sieve or cheese cloth to remove the pulp and pits. While still warm, pour the juice into a medium pottery bowl and add one tbs of dried gelatine and stir until dissolved. Leave to cool, stirring occasionally while cooling to keep the gelatine in suspension. Once cooled, place in the fridge to set.
Her third creation is youngberry jelly This is a fruit conserve jelly. The kind that you spread on toast at breakfast. This is really sensational. I think that this is the best thing that can be made from youngberries. Everything made with youngberries is good, but this is the best! The balance of concentrated fruit flavour, the natural fruit acid and the natural sweetness of the fruit is just amazing. It takes a bit of time, but it is all there, just for there making.
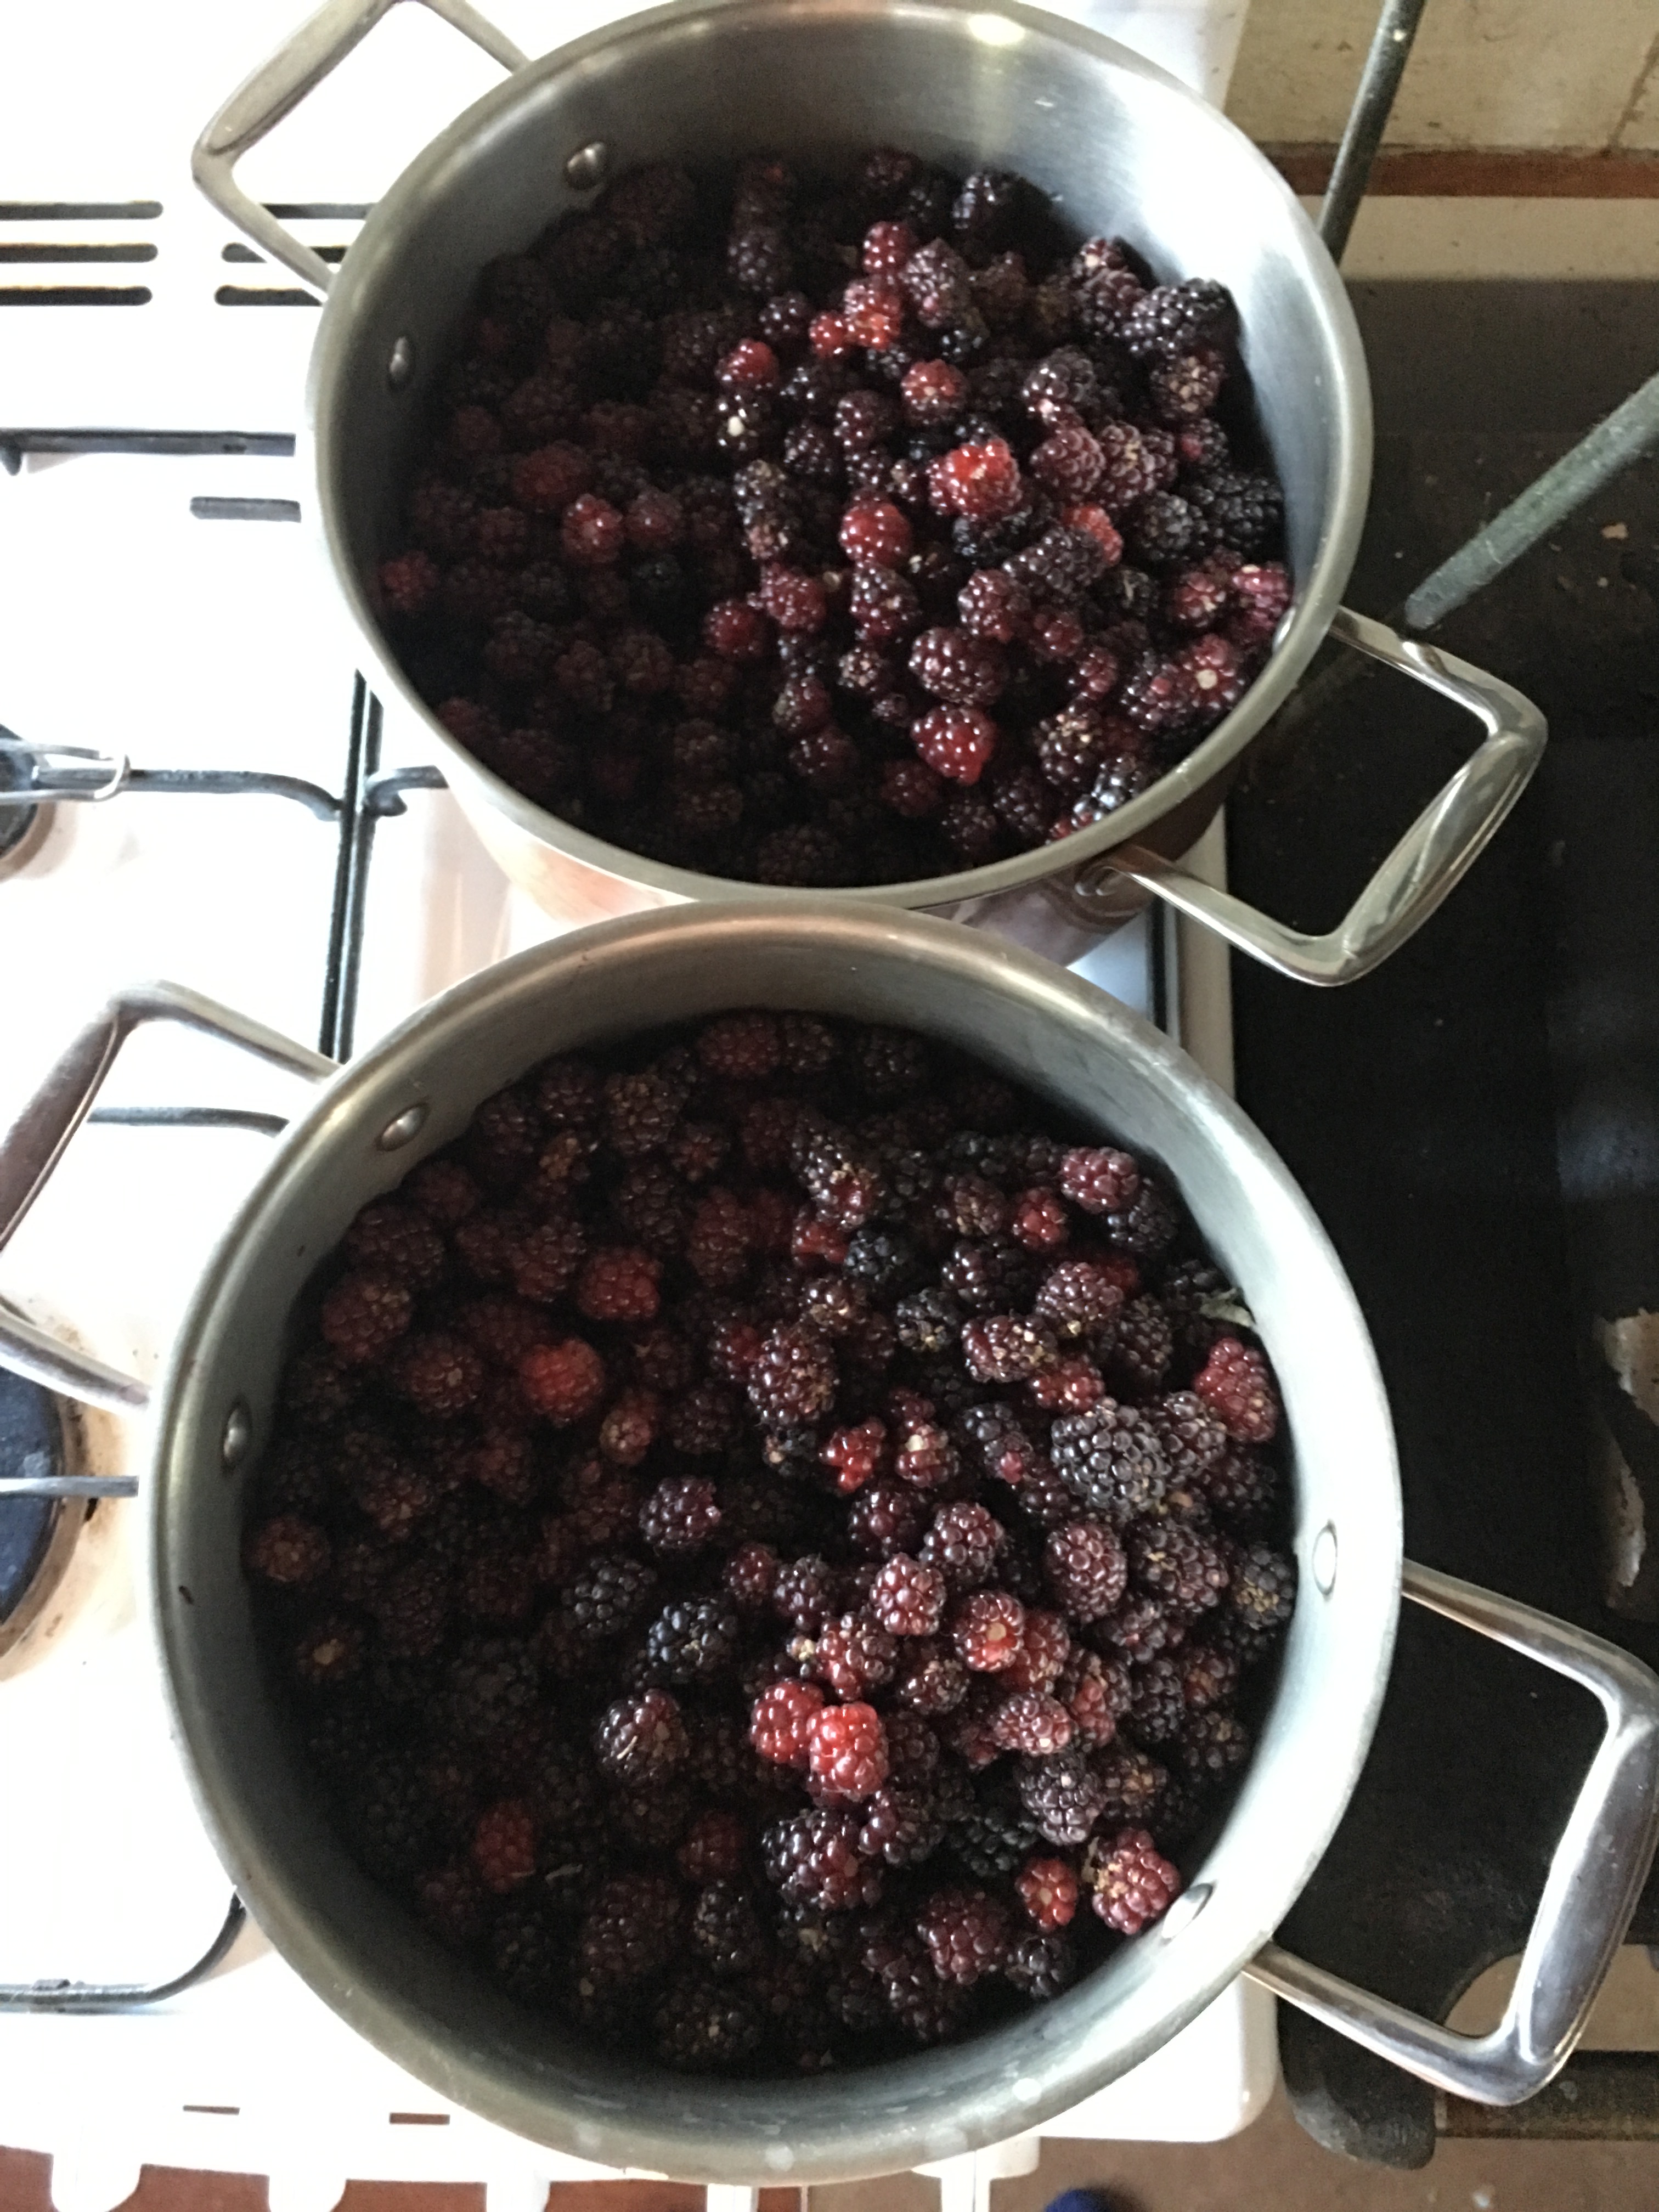
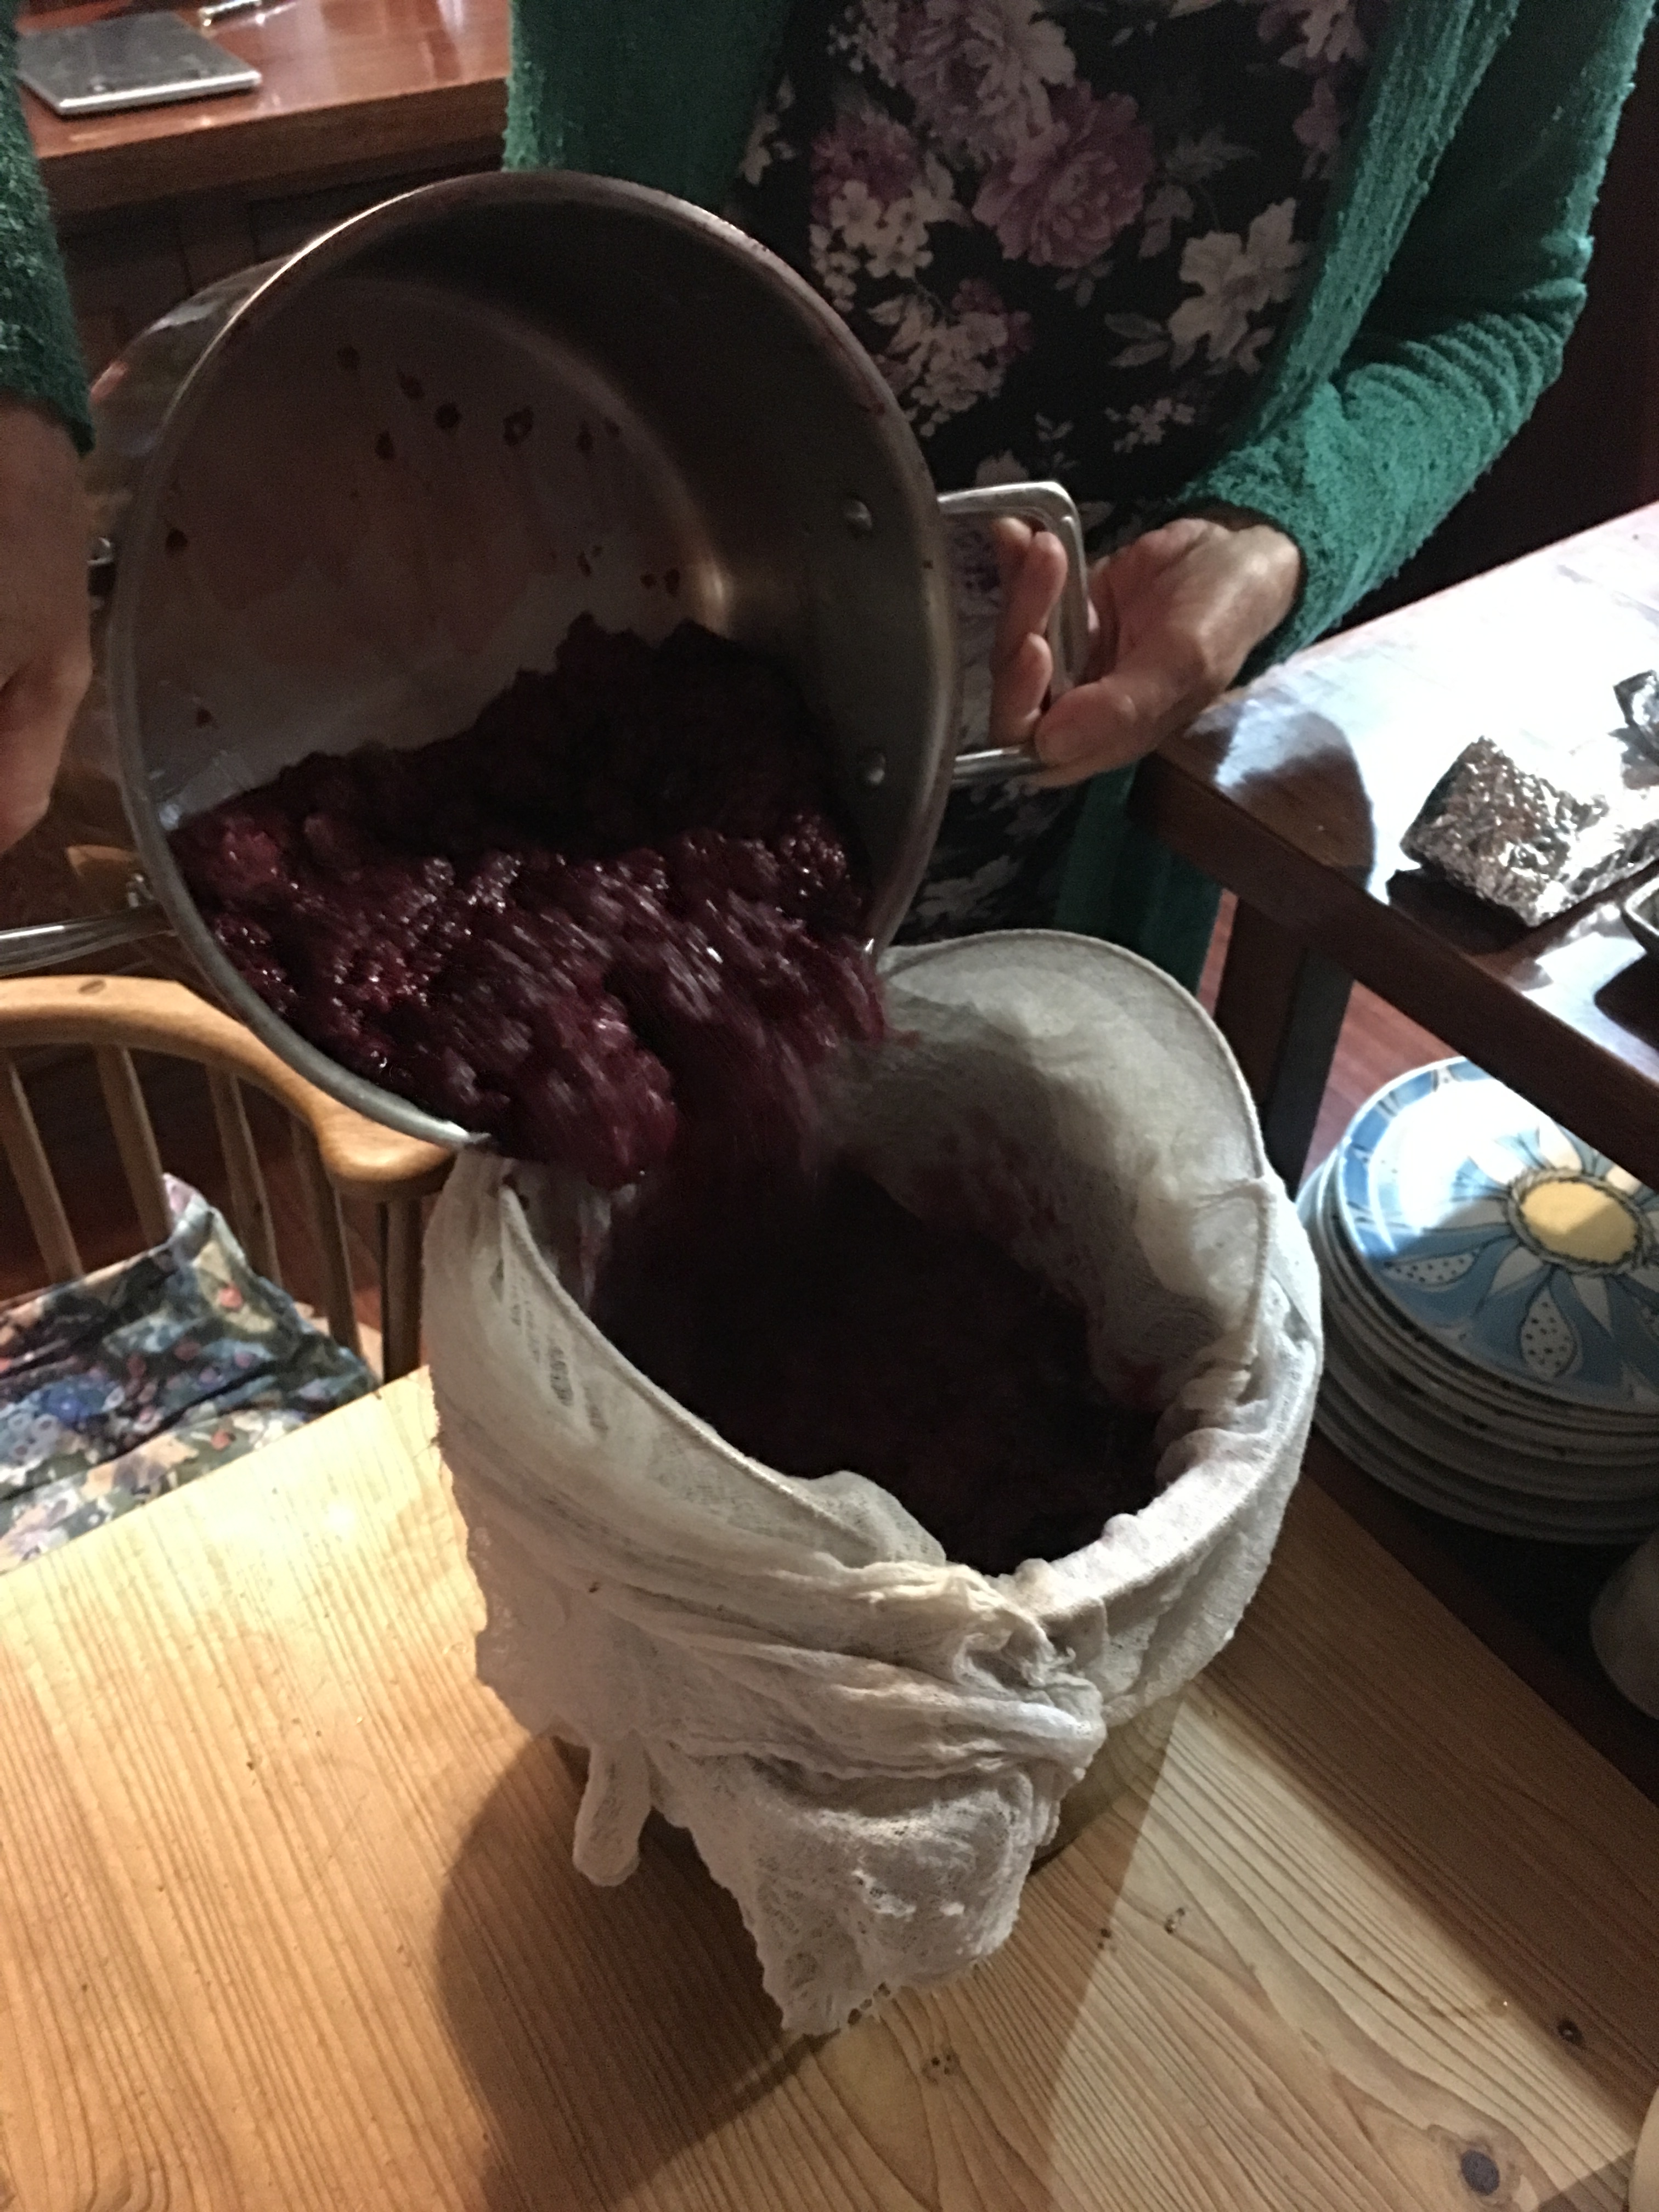
Fill two 5 litre boilers with fresh fruit. Bring the fruit to the boil and simmer for a short time, while mashing the fruit pulp to express the juice. When it has cooled, pour it through cheese cloth and let the liquid drain freely from the fruit for several hours, or overnight. Don’t squeeze of press the cloth to extract more juice, or the jelly will become cloudy. You can add a small amount of sugar to the clear juice and bring back to the boil. Most recipes say to add equal weight of sugar to that of the juice for this kind of jelly, but that makes it ridiculously sweet. However, it does ‘gell’ quicker. Janine only adds a 1/4 of that amount  of sugar and cooks it a little longer. This serves to concentrate it more and makes it all the more intense.
img_4050 img_4054
img_4059 img_4449
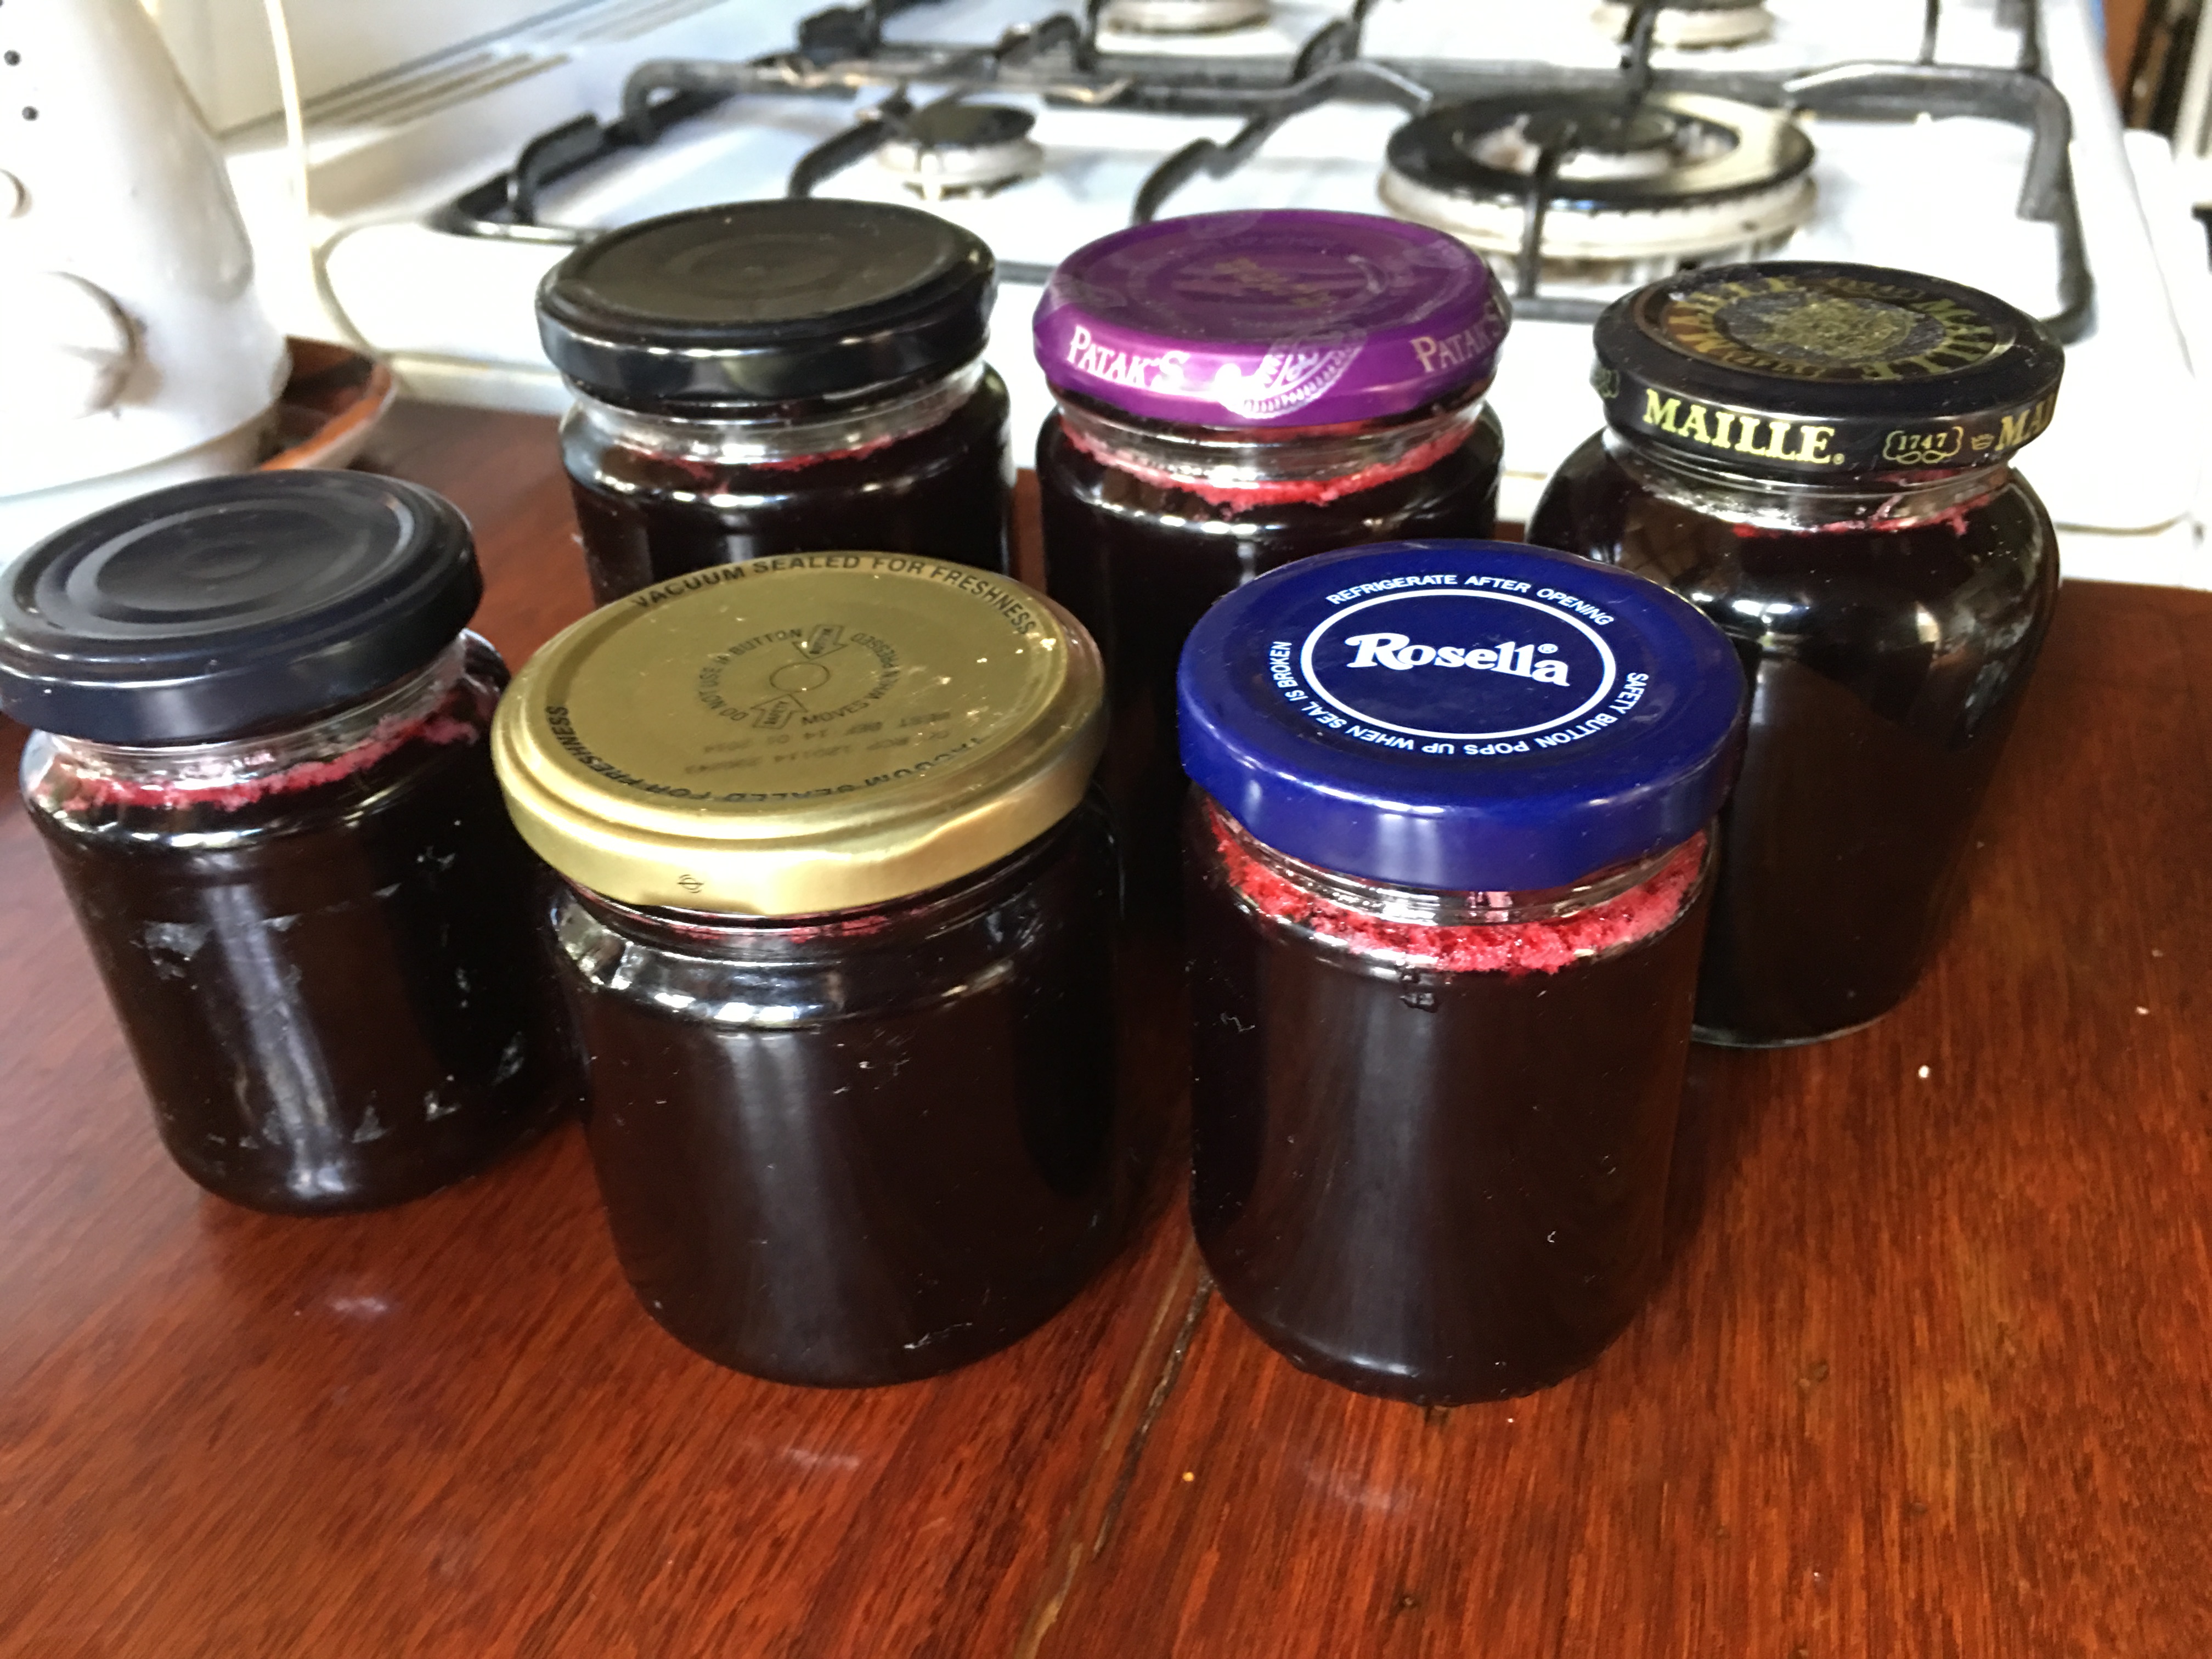
Simmer this mixture to allow the fruit flavour to concentrate and intensify. Test by putting a small sample on a dish and place it in the fridge until it ‘sets’. If it doesn’t ‘set’ , cook it for longer. This standard jam making procedure. Once ready, bottle in sterilized jars straight from the oven and screw the lids down tight.
Technically, it will keep for a year, but it never lasts that long. This jelly making activity makes the kitchen and most of the house smell so delicious. The sweet, acidic fragrance wafts right through the house. It smells so amazingly good. We polish off the first jar in just two sittings.
img_4037 img_4036
Janine also bottles the whole berries as simmered pulp, once sterilised it is bottled hot jars from the oven and keeps for ages. We made so much of this last year, we still have some left.
We are grateful for this largesse of our canes. They provide for us in this bountiful way each year in the early summer and I reciprocate in kind by diverting the underground seepage trench from the septic system over into their direction. These vines and the cherry trees below them are now well watered and well fed throughout the year by this artificially created underground spring of nutrient rich water. Totally natural, gravity fed and organic!
Best wishes Steve