Collecting and Restoring Some Old Pottery Equipment

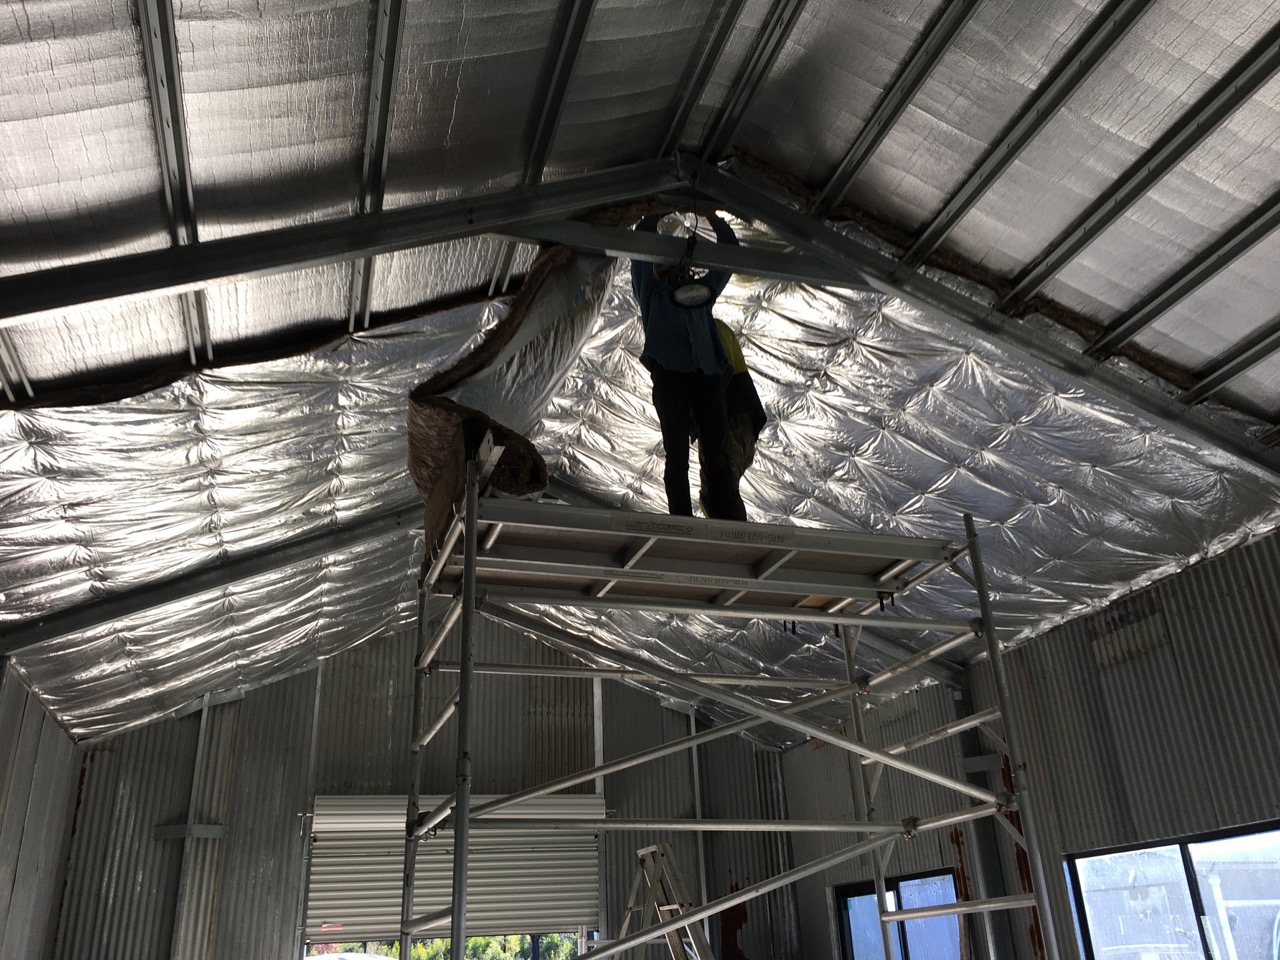
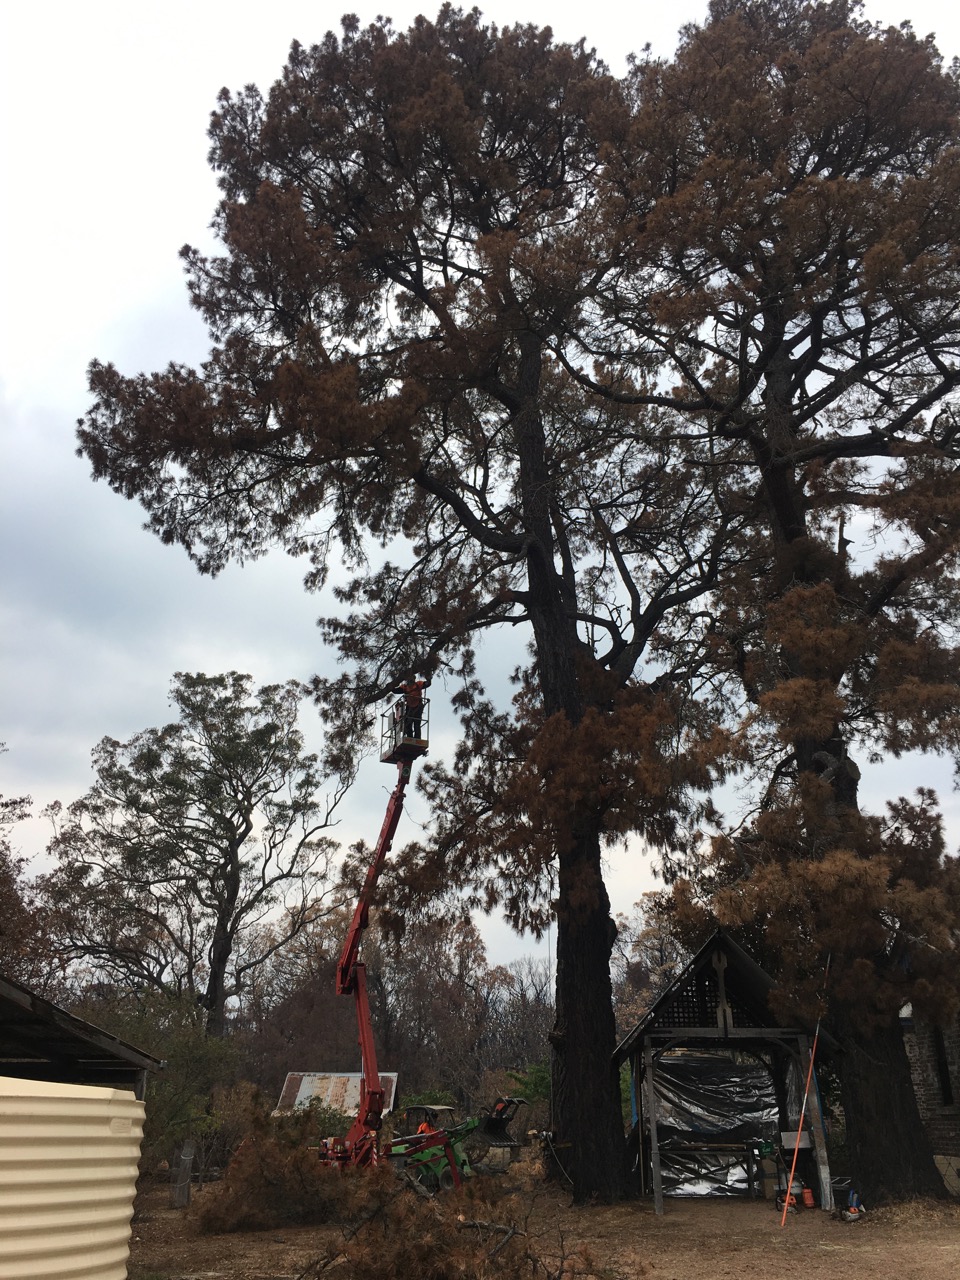
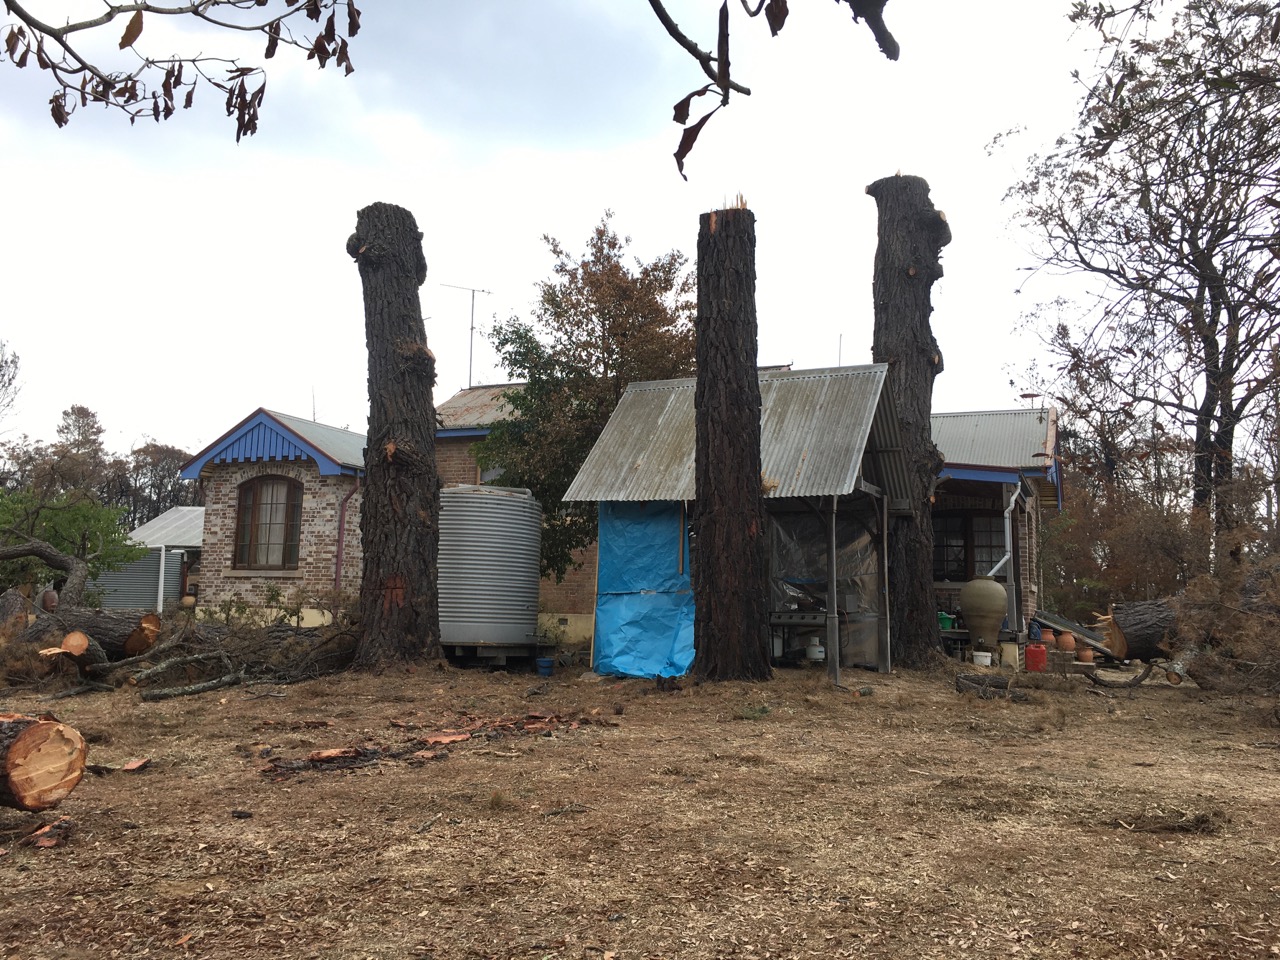
As the year has dragged on into 18 months since the fire. We are flat out busy with the re-building project. We had a slow start waiting for the insurance company to decide what to do, then putting plans to Council for building approval. Everything takes time. We weren’t sitting on our hands during this waiting period. We shifted the burnt out orchard and all its well composted and richly fertile soil up the hill so that we could build the new pottery on the old orchard site. We were able to get that done before the end of winter, so that we could plant all the new bare rooted fruit trees before bud burst.


Although we spend every day working on the building, there is always a few minutes or and hour here and there that can be stolen from the shed project to work on restorring these odd bits of old machinery. I found a couple of unloved bits of machinery that were worth restorring. One was so corroded that it took an angle grinder and then a hammer and cold chisel to clean the rust and scale out and get it unseazed and rotating again. I have become a lot more familiar with bearings, oil seals, gear boxes and pulleys these days.

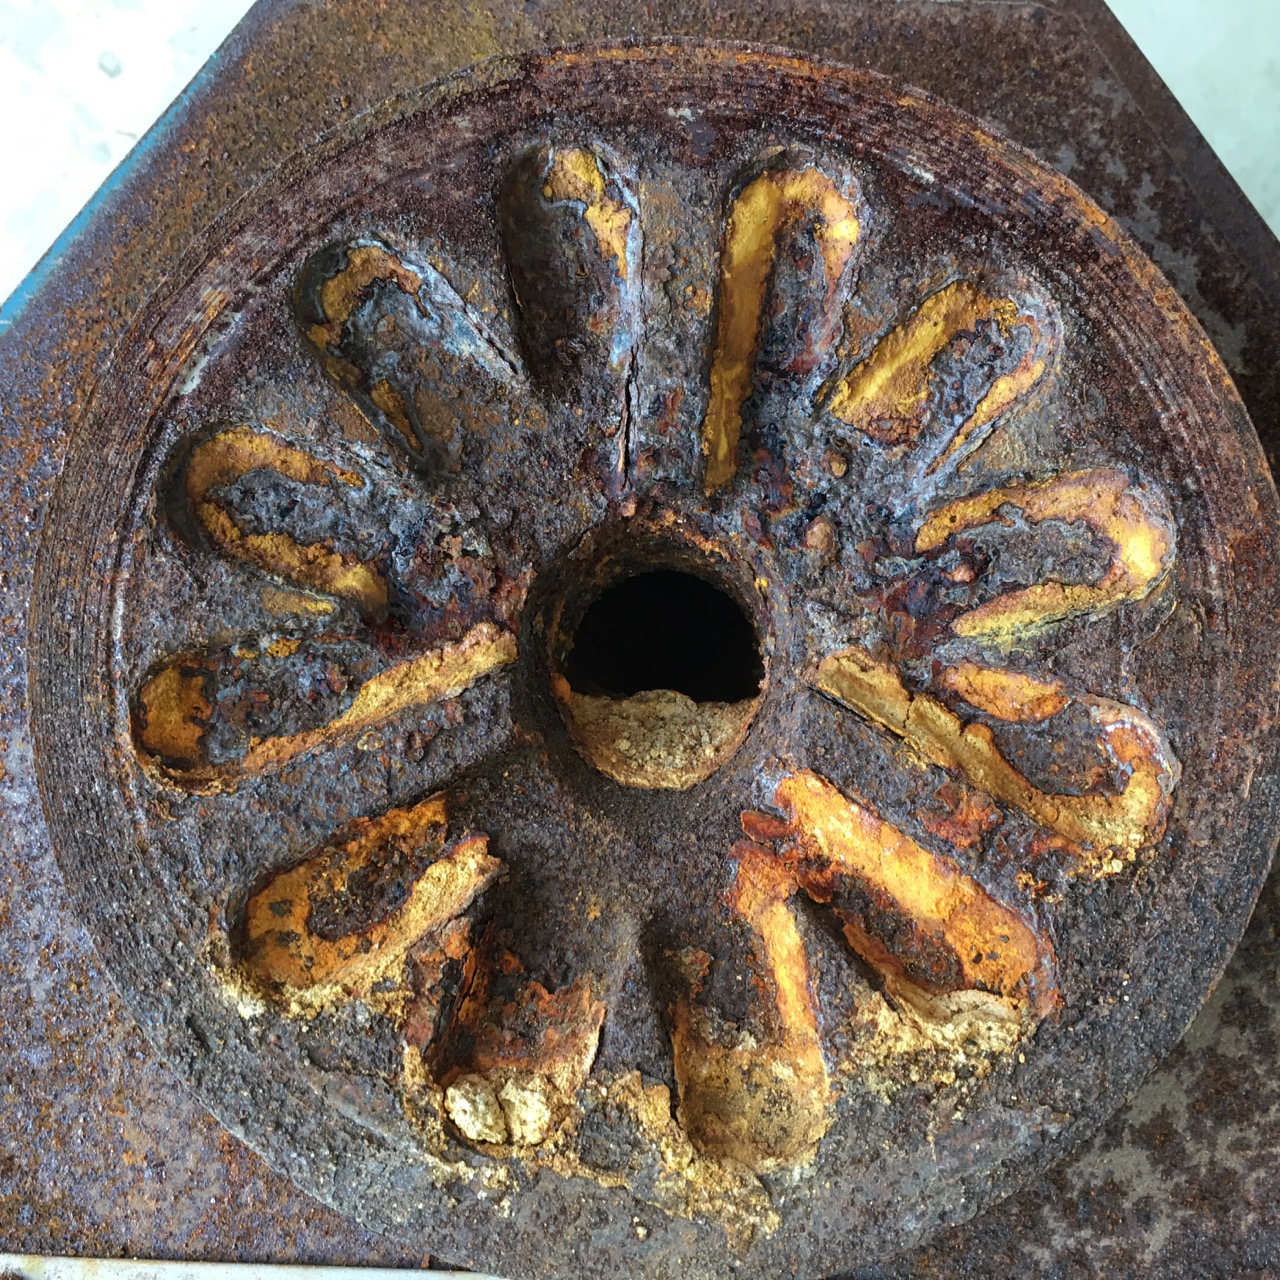
This is about as bad as it gets before the rust eats through the wall of the machine.

After chipping away at the flakey scale, then attacking it with an angle grinder with a rotary brush, then finally hitting at the stubborn bits with a hammer and cold chisel…

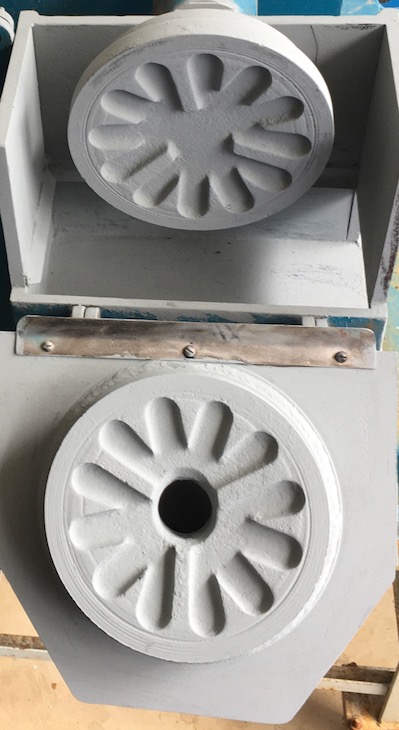
It has come good and has now had a coat of rust converter, phosphoric acid.

There isn’t much that an angle grinder, wire brush, hammer & chisel, then a few coats of rust converter and primer can’t fix. – and a week of evenings!

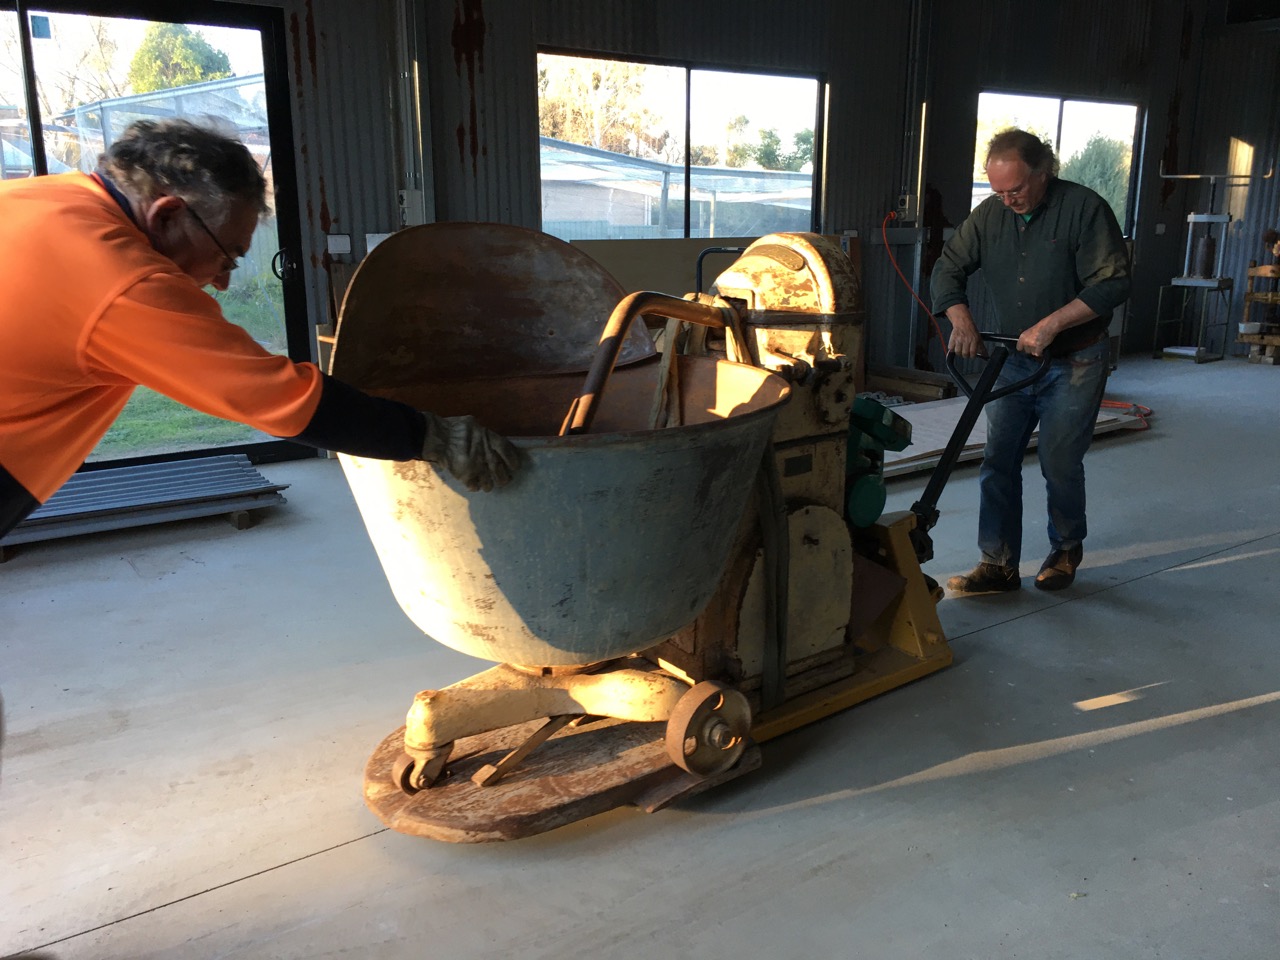
John Edye, eminent potter and my Friend and collegue of over 40 years has retired from making pots.  When I heard that he was retiring last year, I got in touch and asked what he was intending to do with all his equipment. I was very lucky that I was first to ask. As we lost almost everything to the fire in December 2019, It crossed my mind that he may be interested in selling some of it to me. I was particlarly interested in getting a dough mixer for my clay making. As our old one has now gone through two fires, in 1983 and again in 2019. I was lucky enough to get it going again in ’84, although it was quite wobbly afterwards. After this last fire the burning roof beams fell in on it and the main shaft was so badly bent, that I couldn’t rotate anymore.

We bought John’s dough mixer, damp cupboard and some pot boards.
It was a bit of a job getting them out of John’s very beautiful, but remote country property, deep in the wet forested gullies between Kulnurra and Wollombi. John was well prepared and had all the gear up on pallets, or steel pipe rollers. My friend Dave has a truck with a pal finger crane, so we were able to get in there and lift the gear out.
Everything was much easier at my end, as I have a concrete slab floor for the first time in my life and a pallet lifter trolley to move heavy bits of machinery.

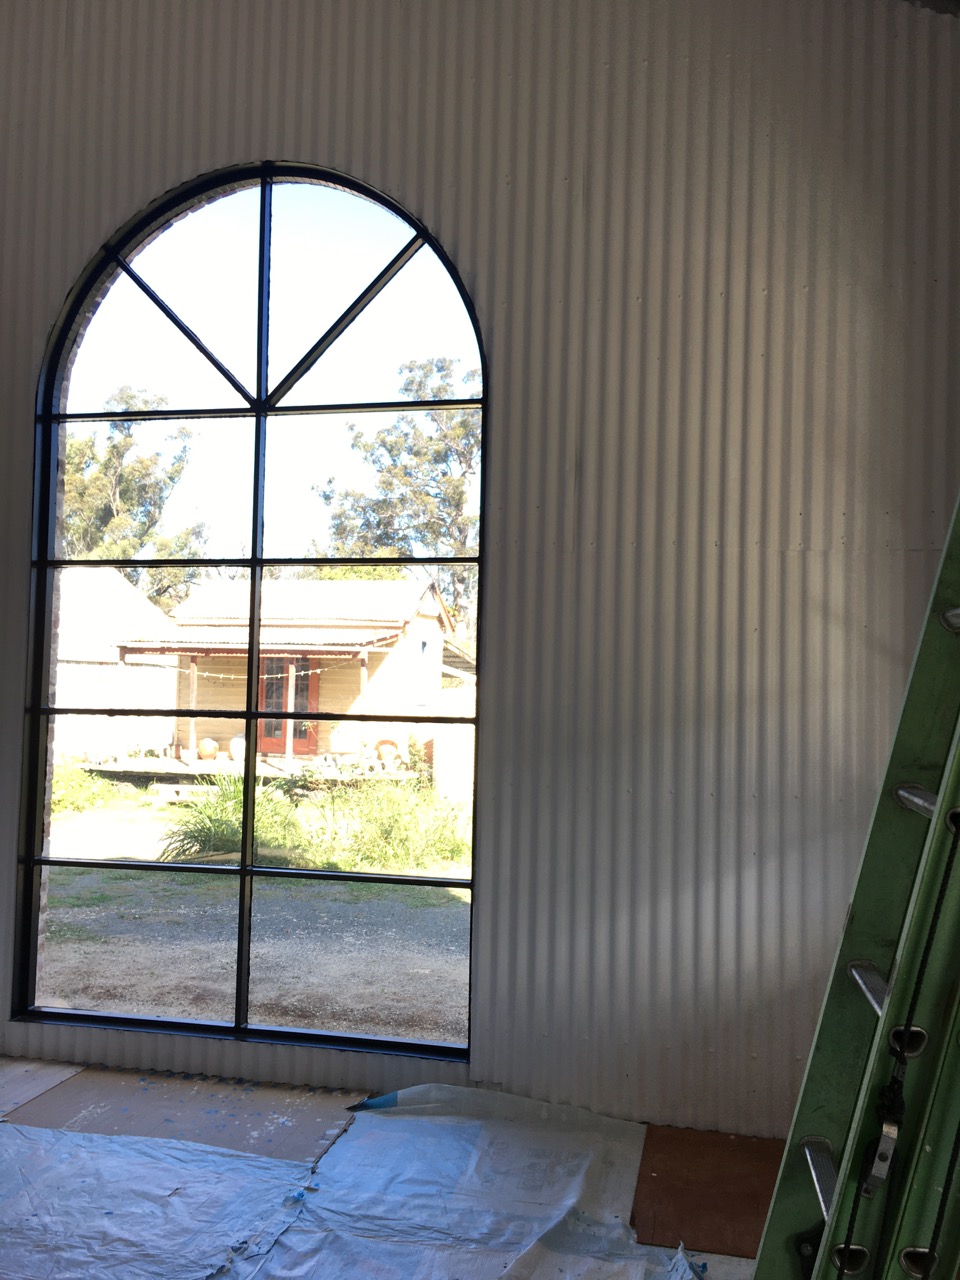
John’s mixer in its new home, with a nice view from the window.

I have started to grind and clean the inside of the bowl. It’s had its first coat of rust converter. it still needs a couple of top coats of a hard wearing oil-based machinery paint to suppress the rust.

I have also been offered a pug mill, shimpo wheel, Leach style kick wheel and various other bits and pieces of pottery gear from other friends who have surplus equipment, are also retired or are choosing to go smaller, but these are yet to arrive here.

The crusher room in the machinery shed is filling up slowly as I tinker away in my spare time after work between midnight and dawn as I slowly pull apart, clean or replace, then reassemble and finally paint this diverse collection of antique crushers and grinders. This is such a different aspect of my philosophy of self reliance, but actually quite rewarding and enjoyable.

I have painted them up in bright colours like big toys – just to cheer me up a bit.

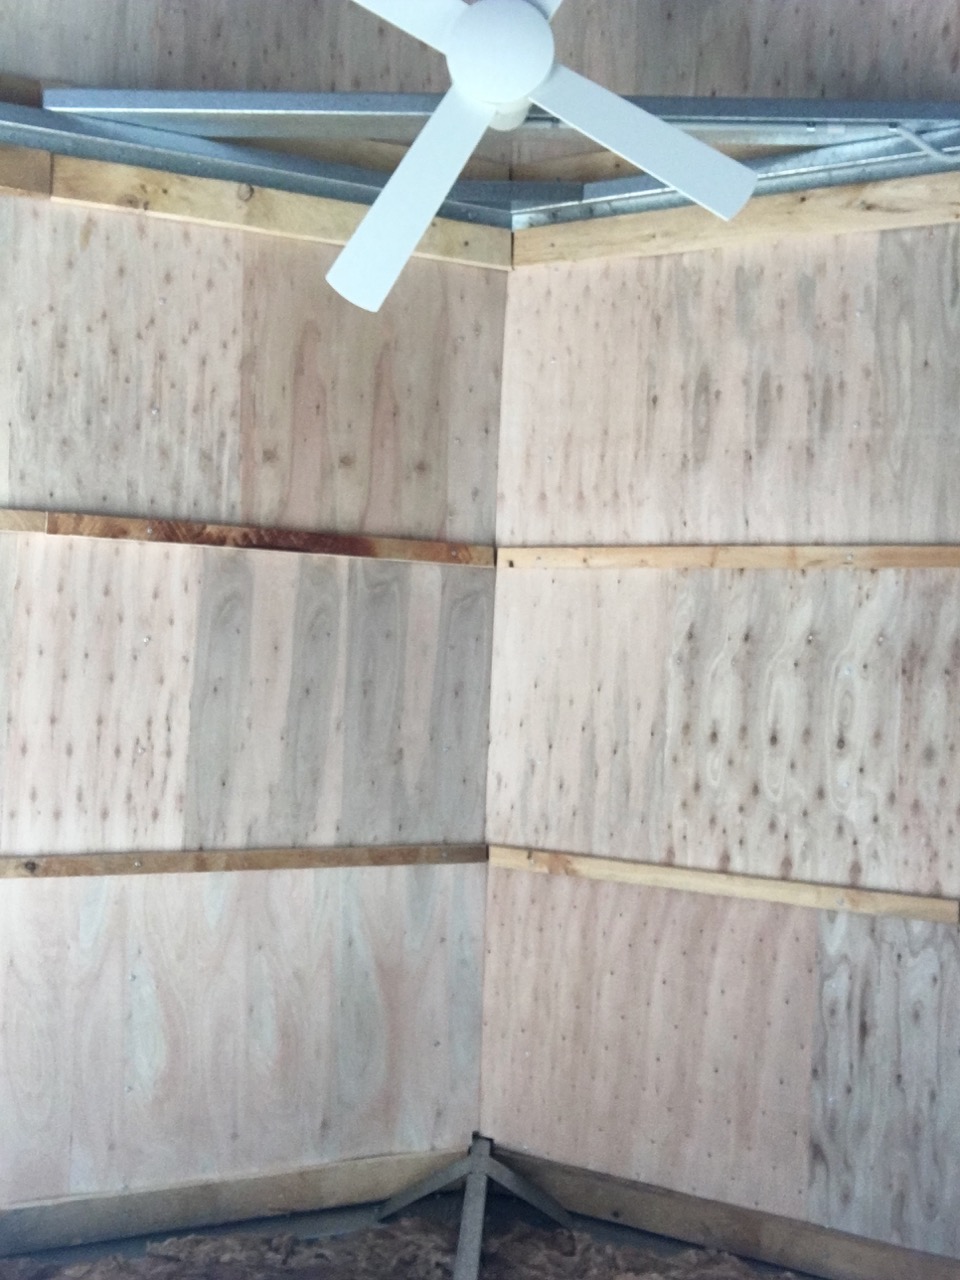
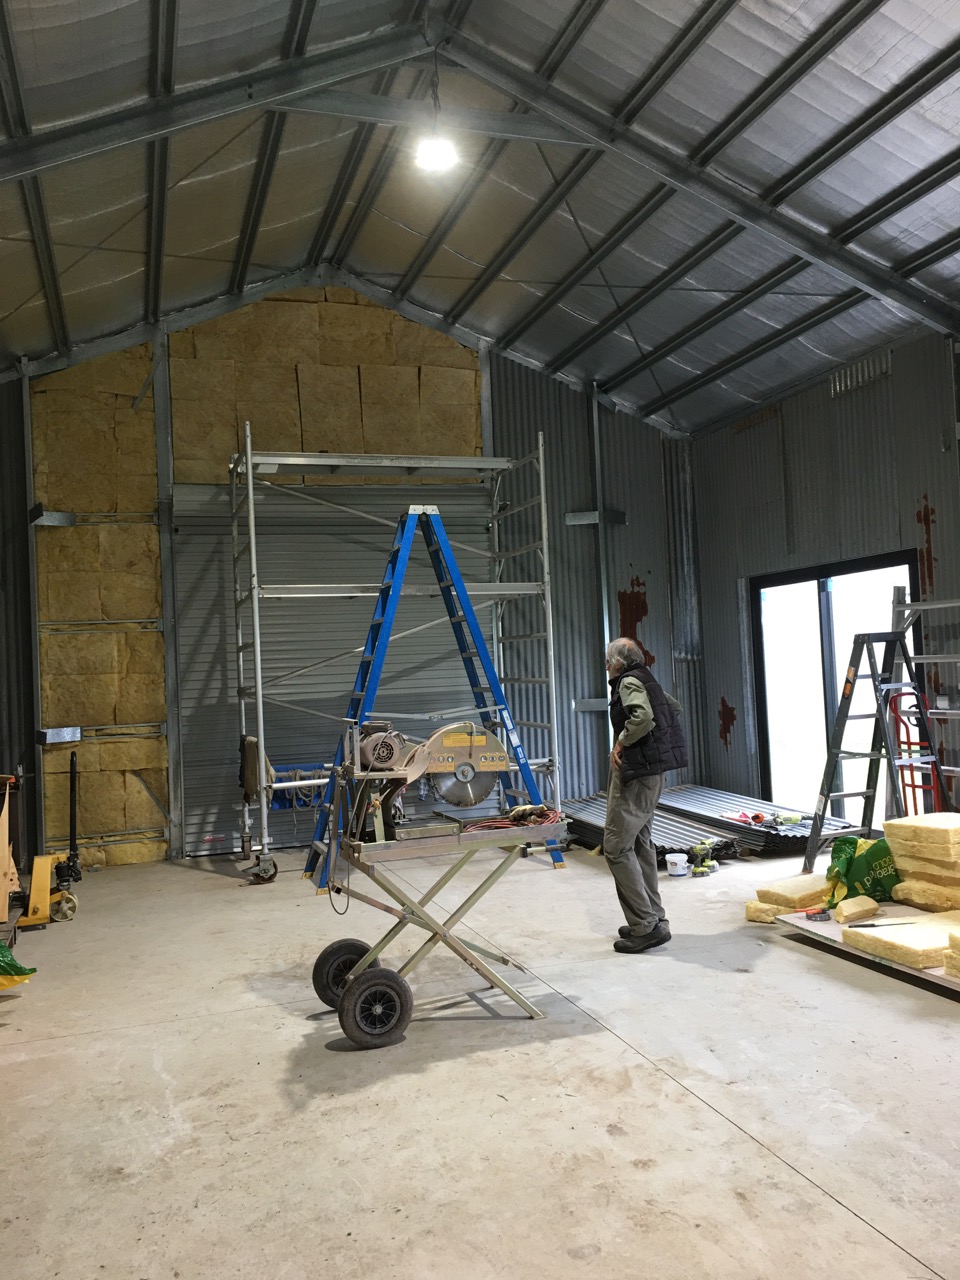
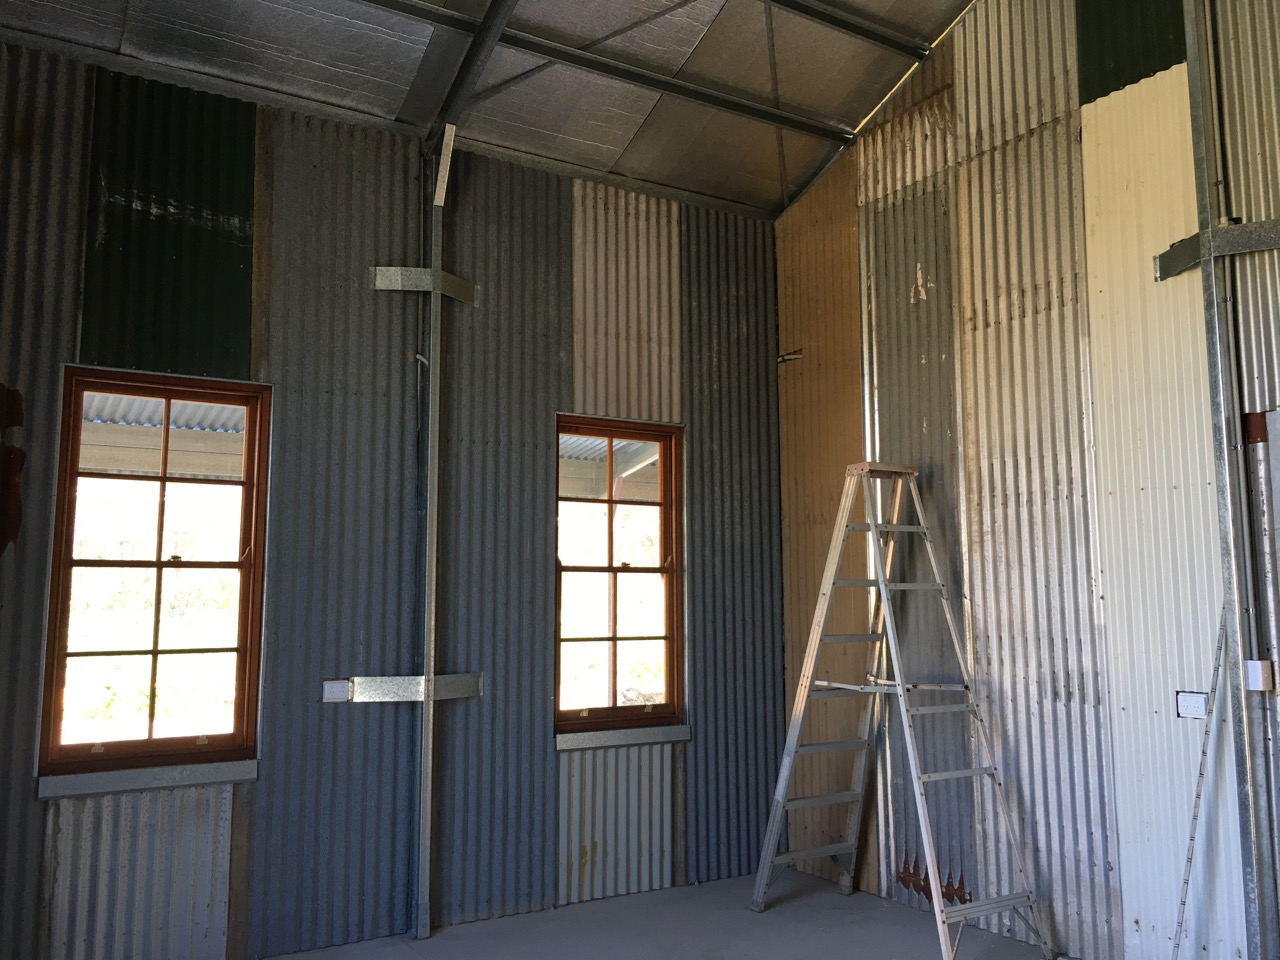
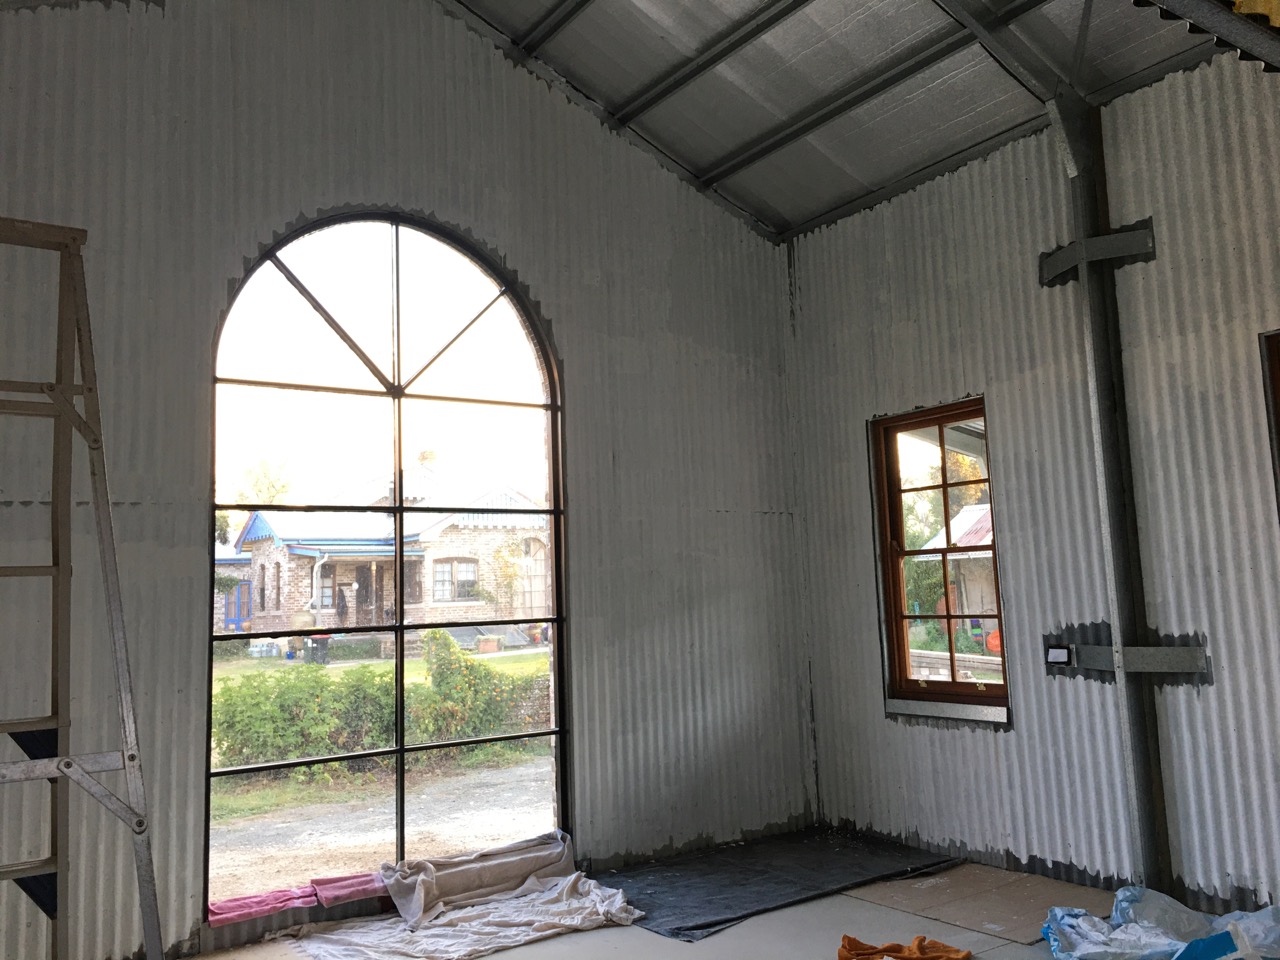
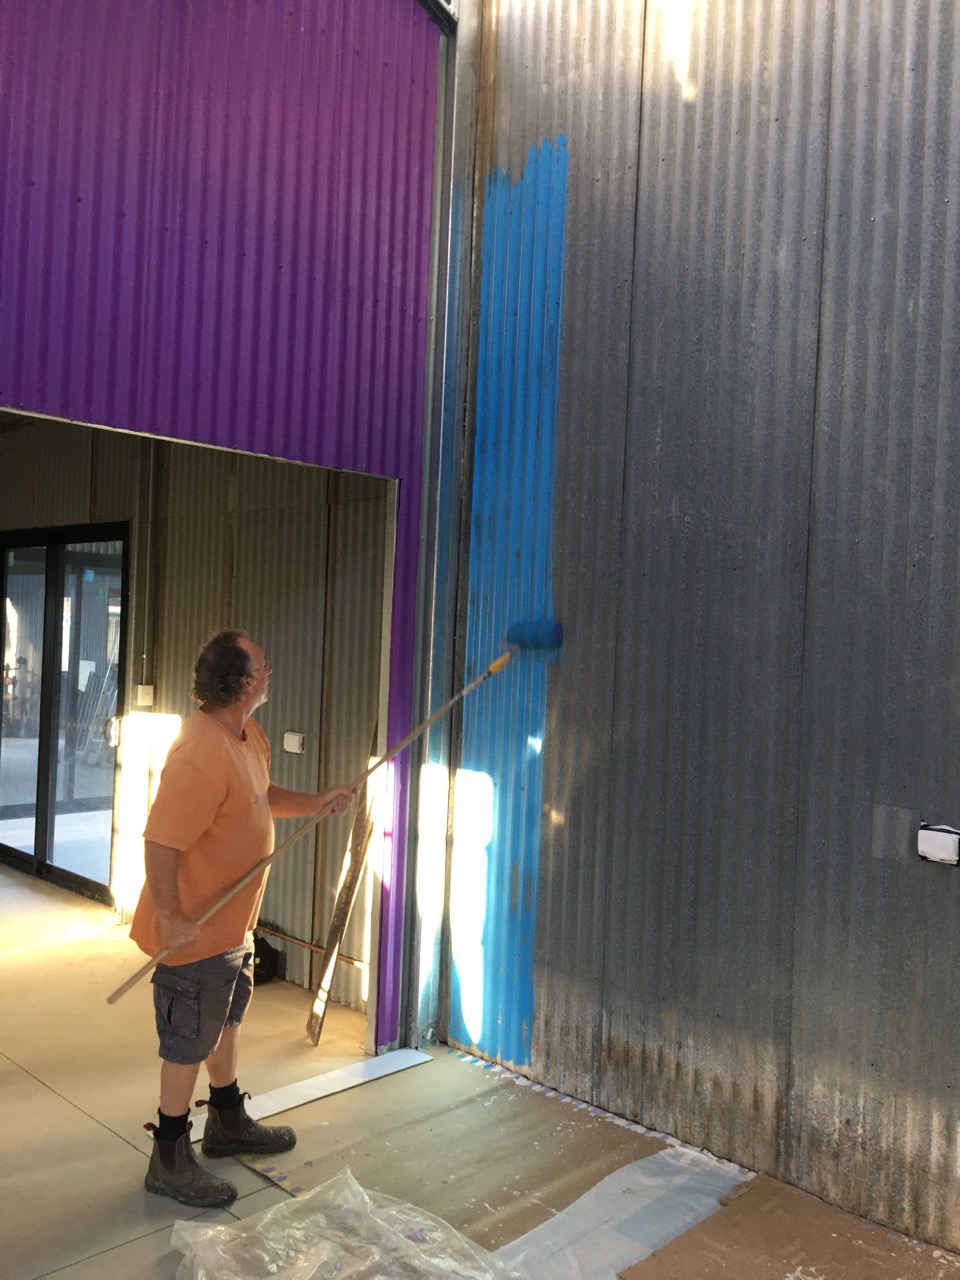
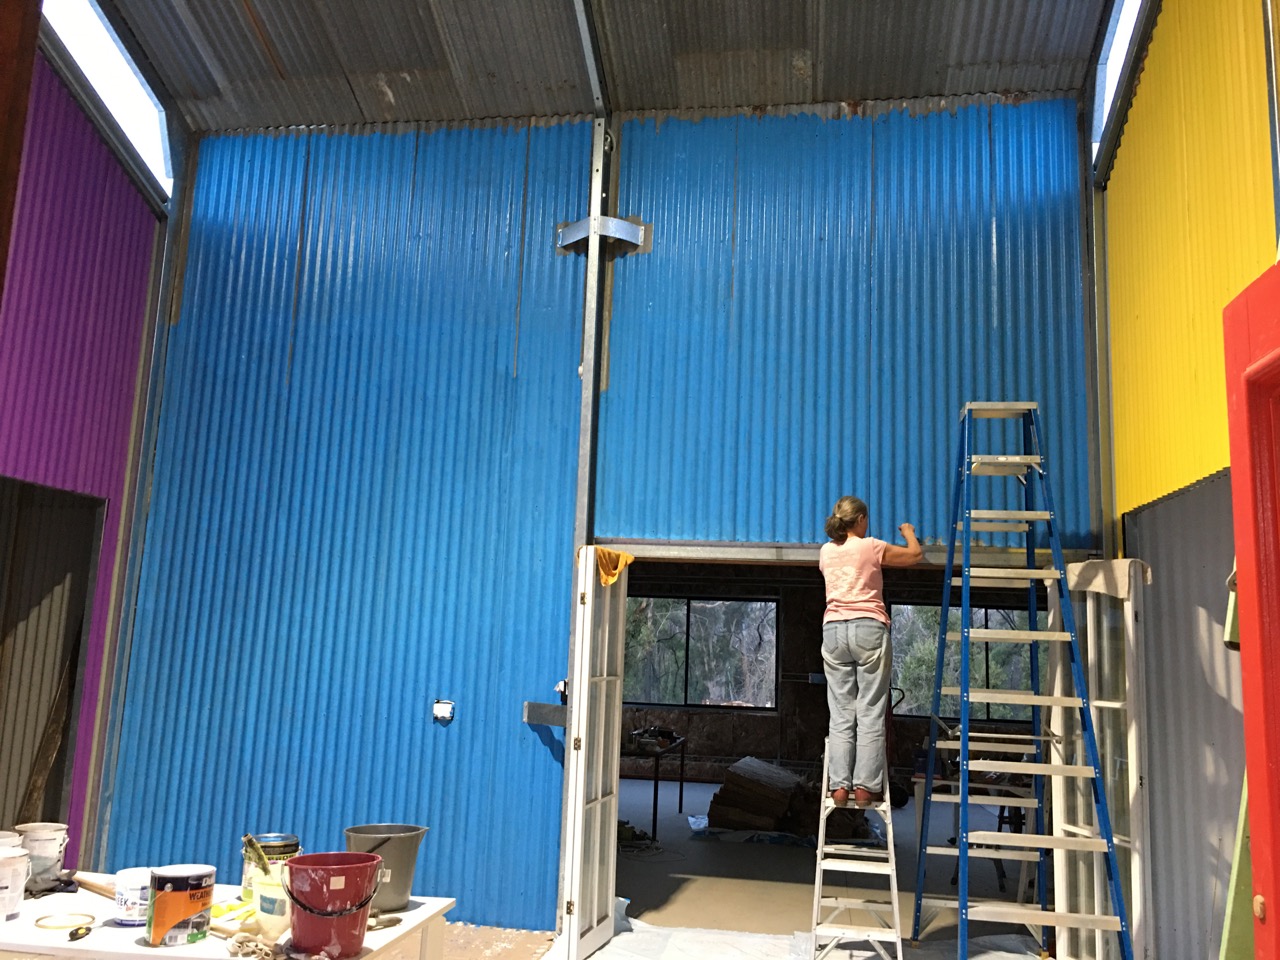
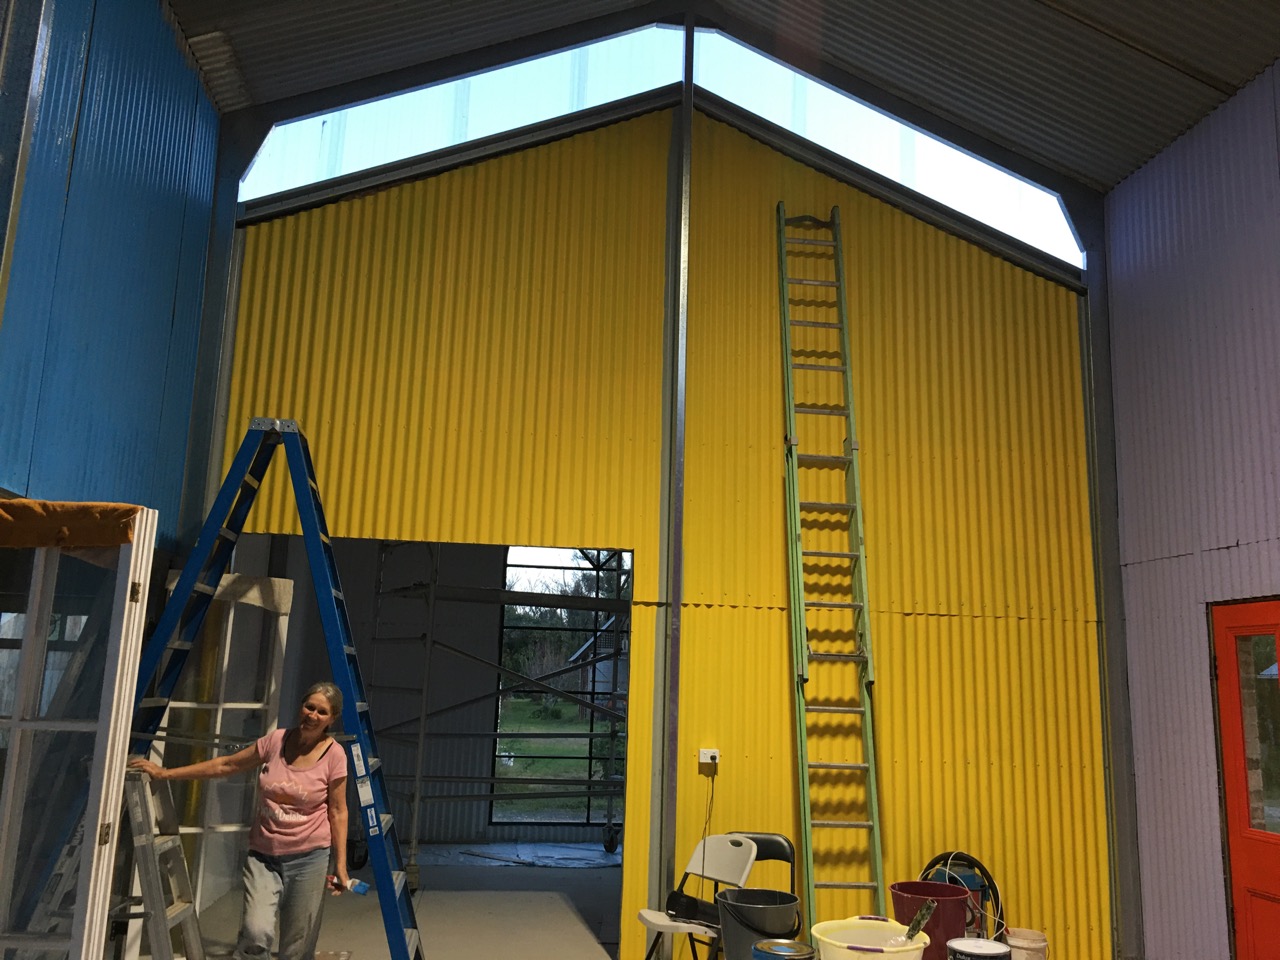
I need to stop lazing around and get some real work done! The pottery studio needs to be finished, as this is the last room to be completed. Then we can apply to the Council Inspectors to get our final inspection and a Occupation Certificate. I know that there will be many little items that will need to be done and ticked off to get it all through. I just don’t know what they will be yet, not until the inspectors tell me what are.

I’ll deal with them when the time comes.

The Day of the Long Knives

I have moved on to a good place this week. I have started to work on the wood work phase, lining the pottery studio with our own timber boards. I am much happier working with wood rather than steel. I can work with steel perfectly well, but I like the feel and smell of freshly worked wood. It’s somehow very satisfying. I have spent the past few days planing the pine boards that we milled out of our burnt pine trees last year.

I was tempted to call this post ‘Just Plane Board’. Not because, I’m just plain bored, but because ‘All I do is just plane boards’ all day long. Doing just this, I quickly wore out the old plainer blades, they were mostly pretty blunt from from doing a lot of work in the past, so I had to change them over, which wasn’t too hard. I found, without too much surprise, that the work went so much easier with the sharper blades, but after a few hours, it slowed down again. This 130 year old home grown Caribbean pine is very solid timber, very tough to mill and now just as tough to plane. I’m only 1/4 of the way through this job and I can see that I’ll soon need to change the blades in the planer again. I can only take 1/4 of a millimetre off the boards with each pass. Anything more stalls the machine and activates the overload switch.

I am quite capable of sharpening knives, scissors, tin snips and small hand planer blades. Any blade up to 100mm. wide. Above this length, it gets tricky, as my widest honing stone is 80mm. so after that I have work diagonally or lengthwise for the longer blades. This works well with hand held sharpening of curved chef’s knives. Geordie (my son, who is a chef) and I used to do a sharpening session every few months or so, and did all our kitchen knives in one big session. We got quite good at the fine grinding and gentle finishing on the 4 graded Japanese whetstones, ranging from 400# to 8000# grit.

However. When it comes to a very thin straight planer blades, these are called knives in the industry, then what I need is a very long stiff jig that I can bolt the blade onto to keep it stiff while grinding it. as these long knives are 330 mm long but only 1.5 mm thick x 200 wide. To hone a long thin and flexible knife like this, I would need a long grinding stone and then a very long honing stone, As the planer blades are 330 mm long, so I will need a honing stone at least this long, preferably longer. I don’t know if there are even stones this long available. Obviously there must be, because these blades are being manufactured somewhere. However, I suspect that these kinds of knives are sharpened in the industry on rotary grinders and honers.

My first thought was to contact the original retailer, only to find that they had discontinued this model of machine a decade ago and no longer carry any spare parts for it any more. I’m not surprised, it’s only a cheap hobby machine. I should have spent the extra money and bought a better quality ‘name brand’ that would still be available. I went on line to see if there were any non-branded, no-name products that might suit my machine. My initial search didn’t bring up anything that might fit this model. So with this option eliminated, I have to find a way of getting the only blades that I have resharpened.

The is a new shop in Mittagong specialising in sharpening tools! I noticed its sign in the street a while ago and made a mental note. I called in there today and asked if he could sharpen my planner knives. He couldn’t. Not only couldn’t he do it but the place that he sends difficult jobs to get sharpened professionally doesn’t do these very long thin knives either. They only do the thicker, stronger machine knives. So I was feeling a bit snookered. but my enthusiasm wasn’t blunted, in fact I’m keen to have a go at building a jig to hold them firmly supported while I pass them over my own bench grinder. It can’t be that difficult – can it? It’s the final honing of them on a 200mm long, or should I say 200 mm short, stone that is going to be the hard part.

The worst that can happen is that the knives shatter while I’m grinding them. If that doesn’t happen, then the next worst thing that will happen, will be that they aren’t completely even, or have a few rough areas along the knife edge. Well, as long as they are sufficiently keen and sharp enough to take off the circular saw blade marks, then that will be fine by me. Any little rough areas on the blade that leave long straight grooves in the wood can be sanded down with the belt sander. I’m doing this anyway because of the current state of the blades.

Watch this space.

Getting on top of it – 5th Ceiling done

Over the last week I got all the materials together for the completion of the large ceiling in the big machinery and maintenance shed.

In my Walter Mitty dream, I imagined that I would be able to collect together sufficient old recycled corrugated iron roofing to do this ceiling. But alas, I couldn’t find enough to do the job. I was sort of counting on one particular old rusty corrugated iron roof being replaced before now, and I had my name on it. But it stubbornly remained in place. I have run out of time now. I need to start to put some machinery in the shed soon, and once that is done, there is no chance of moving the mobile scaffolding around on the empty floor.

I managed to recover over 130 sheets of iron from the old feed mill demolition job, that my friend Andy helped me with, but that was only enough to finish all the internal walls and do 2 ceilings. I had 5 sheets left over at the end of that saga. That left 2 more ceilings to be insulated and lined. I decided to use some very cheap bracing plywood sheets to do the last two ceilings in the gallery and pottery. I was more or less out of options, as any other material is too expensive for our increasingly restrained budget. So I decided to ask Andy what he could think of, as he is a clever and very experienced builder, and I am running out of energy and ideas. He came up with the great thought of using rolls of ‘anticon’ style insulation. This is a type of wide roll of insulwool insulation bonded to a heavy duty layer of aluminium foil blanket.

This provides three solutions in one product.

1. It’s not too expensive.

2. it provides insulwool insulation 75mm thick, at an R factor rating of 1.8. Only moderate, but just enough to be useful. Better than the existing aluminised foil backed foam that I had the builder put up under the roofing as anticon. That aluminised foil backed foam only has an R rating of 0.2 So almost anything is better than not having any more insulation up there.

3. The silver fabric can be screwed to the ceiling top-hat rafters to hold it up in place with some wide washers. A little bit difficult, slow and fiddly, but not impossible.

4. It’s non flammable!

I had Andy and Tim here for one more day last week. That’s the 5th day that I have employed them, and we have completed 5 ceilings. We managed to get this ceiling up in the one day. Installing 11 rolls of insulwool and using almost 600 x 40mm. dia. wide washers and metal ‘tek’ screws to hold it all up.

This quilted looking ceiling is not my best option, but is what is achievable and affordable. It’s done now and will have to do.

A total of R2.0 insulation is OK and the 3 layers of silver foil with a confined, still air, gap will cut the summer heat very well I’m reasonably confident. it looks a bit Dr. Who – space age – 2001 A workspace odyssey. But I’ll be busy working in there and won’t be wasting any time spent looking up.

Finally, some woodwork – but not too much.

I spent the weekend milling and putting up the intermediate cover strips over the cheap plywood joints in the ceiling of the pottery studio.


I figured out a way of holding up the batons single handed using a couple of wooden props. They hold the wooden baton in place securely until I can get the screws into them, and fix them permanently.


Now that the ceiling is complete, it’s time to move on to the next job, which is to prepare the lining boards for the walls of the studio.We used to have three 120/130 year old pine trees growing over our old school house all our lives here for the past 45 years. They were quite skinny little things went we arrived here, as were we. But have put on quite a bit of girth over that time. As have I!


The fire killed them, so we had to cut them down before they started to drop the dead branches onto the roof.We managed to get them felled safely in January 2020 and hired a portable saw mill to cut up the logs into planks for use in rebuilding later on. 


It’s now later on. 16 months later on in fact, and we are ready to start lining the pottery studio walls.We milled over 100 planks at that time. They are now pretty well seasoned, having been racked and stacked in an airy covered pile for all this time.
The planks need to be milled through my very ancient little thicknesser for a few passes, each time taking another millimetre off the thickness.This poor old machine is only just capable of milling these now dry 250mm wide boards. I have to take it easy on the poor old thing. I need it to last the distance. It’s pretty worn out like me. It was just a cheap hobby machine when I bought it 20 years ago and not really meant for heavy work over long hours. nor am I these days!
I only still have this machine now, because i stayed to defend my home during the fire. This gadget was stored in the barn, which caught fire. I was lucky enough to be on hand and see the fire catch hold, and put it out. Actually I didn’t put it out. I called the fire brigade shed to ask for help, but they said there was no help available. In fact no fire truck ever came here until a full 8 hours after the fire. The first fire truck to come past was meandering along the road hosing out smouldering logs on the sides of the road. i saw them and called them in to finally put the fire out.
I had been carrying buckets of water for some hours, throwing it onto the burning corner of the barn. The power for the electric pump that was feeding all the wall and roof sprinklers on the barn came from the pottery, so when the pottery burnt down, the power went off to the barn, even though I had a Tesla battery to power the whole place, the line came via the pottery. There is a lesson here. Only use independent, petrol engined, high pressure, fire fighting pumps in future! 
The sprinklers saved the barn from the initial onslaught of crowning fire and ember attack, but when they failed the ground fire caught up to the building. I managed to stop the fire from spreading to the whole building, but couldn’t actually put it out. As every time I went back to the water tank on the station building 30 metres away to refill the buckets, the fire would re-ignite in some of the smouldering, heavy wooden beams in my absence. I was pretty exhausted after 8 hours of this and the fire truck from Sydney finally arrived.
So I’m lucky to still own this old planer machine. Once the planks are mostly smooth, but not perfect. I then use the belt sander to clean up the few hollow areas. I initially use a 40# grit sanding belt for the first pass, then a 60# grit belt for the second pass. These boards will still need another go over with an 80# grit sand paper on the orbital sander to finish them off.


They come out pretty well for home grown, home milled, home seasoned, and now home planed and sanded planks.


16 planks roughed out, 50 to go.
They won’t be prefect. They have loads of technical faults, but they are mine. I grew them and nurtured them, milled them and sanded them. Their faults are my faults.What is most important to me is that they are so completely local with no travel miles, carbon debt, no fertilisers or irrigation, no middle man, and no coal fired power was used. We run on sunshine here, just the way the trees do. All the electricity to power these electric tools comes directly off our roof from our new solar panels
They just grew naturally for the past 130 years, and soon they will contribute something positive to the new rebuilt pottery. I like the idea that there will be something of the old place incorporated into this new building. Some sort of continuity that we have managed to amalgamate out of the shreds of this disaster. Hopefully it will be a positive link to the past and not a terrifying one. My psychologist says that I’m doing well and has decreased the frequency of my appointments. So I’m hoping all will be OK in the end. But the eczema and irritable bowel syndrome that came on after the fire still persist.
All of the corrugated iron used on the out sides of these sheds was recovered from old building sites where they otherwise would have gone to the tip. All of the corrugated iron lining was likewise recovered and repurposed from the old Moss Vale feed mill. There are so few new materials in this shed. The use of these home grown pine plank lining boards will mark a fitting end to the saga of this building project, as this is the last room to be lined. I am concerned that having any wood at all in this shed will be a point of vulnerability. I’m just hoping that with the iron cladding pretty well sealed and then the 90mm of insulwool stuffed into the cavity, it will stop most of the sparks from the next fire from getting into the building and reaching the timber lining. Having lost the 3 previous pottery buildings to fire has made me very cautious.
I really like the concept of being self reliant. This project has given me the chance to be more completely self reliant, while also incorporating more ‘creative’ and ‘Green’ concepts in my day to day life. It’s been a wonderful opportunity to rebuild our life in a reasonably sustainable, clean, green way.

I stare at my ceilings, but all I see are their flaws

Over the past few weeks we have come to the phase of our recovery project, where we needed to put up some ceilings in our new shed.With such high ceilings, I realised that I needed to borrow some scaffolding from my friend, a semi-retired builder, who had this gantry set sitting idle.
The gantry, allowed us to get up high safely, and being on wheels, it made moving around the room so much easier. I am so grateful to my friends for all their help over the past 17 months of our ordeal. We wouldn’t be so far advanced in our recovery without all of you and your generous and thoughtful support.


To get this difficult job done as safely and quickly as possible. I decided that I couldn’t do this part on my own as I have with most of the other trade-related tasks. I employed our wonderful brick layers and electricians for this same reason. I could have completed those jobs on my own, but I would still be at the beginning. There are just so many man-hours involved in building a project like this.
So to this end, I employed my friend Andy and his off-sider Tim, for 4 days to help me get the ceilings done. One ceiling per day more or less, but we did a few other difficult jobs as well while they were here, Many hands etc.
With these two young blokes up on the moveable gantry and me on the ground cutting, prepping and passing up the materials. They were free to stay up there and get the job done efficiently. I learned this when I used the gantry myself last month to secure the tallest sheets of gal iron sheeting that I put up on the walls of the very tall maintenance shed. I spent more time climbing up and down the scaffold than I did actually working up there.


Tim and Andy were terrific and I didn’t get worn out as part of a 3 man team, although I was very tired by the end of each day and had to have a lay down before dinner. Now our ceilings are almost finished, I can stand back and admire what we have achieved. 
Two of the ceilings were made of corrugated iron sheeting, using up the last of the recycled roofing that I recovered when Andy and I demolished the old feed mill factory in Moss Vale. The other two ceilings were made of quite thin plywood. Not my preferred choice, but the best of a poor bunch of options that were available to us on our tight budget.To save money, I searched out some quite thin 4mm bracing plywood at just $11 per sheet. This is just one third of the price that the big hardware stores are charging. It is so thin, that is it easily deformed by the weight of the insulwool above it that it is supporting. But I can live with that. 


These sheets are intended to be used as bracing ply, and are not meant to be seen. They are not even flat, but quite wavy, even when laying flat on the pallet. I have attempted to minimise some of this wavy distortion in the ceiling, by adding pine cover strips that we milled ourselves from the dead pine trees next to the house that were killed in the fire.The pine strips don’t stop the distortion, but by creating a straight line next to the wavy ply, it distracts the eye from the unevenness and will stop the ply from distorting more over time from the weight of the insulation. A cheap and creative, but effective solution to a difficult problem.


I’m not too concerned about my cheap and amateurish look of this choice of ceiling wood work. If I were building a brothel, where 50% of the customers might be staring at the ceiling, then it might concern me!

But this is a pottery shed. No one will be looking at the ceiling!

White Room

Janine and I have been painting all the multicoloured different hued sheets of re-cycled corrugated iron sheeting that we used internally as lining for our shed. I spent 3 or 4 months collecting old roofing iron off a lot of buildings from Sydney to the Highlands. I spread the word among my friends and students. I would come and collect what ever was on offer.

Sometimes, I’d get a call in the morning saying you need to be here between 3 and 4 this afternoon, you can have the roof and we’ll help you load it, but if you aren’t here, it will all go to the tip. We can’t store it here on the building site. And I did, some of it wasn’t much good, but I could select was was useful to me and take the rest to the recyclers.

We ended up with a dozen or so different styles of old corrugated roofing in every imaginable colour, from straight silver-metal zincalume, through red, green, blue, brown, yellow and grey.

I chose to use the sheets in the necessary lengths required in each position. This resulted in a mix of rather unattractive colours that didn’t sit well together. We decided that we would have to paint it all one colour to get some aesthetic cohesion. Even if the profile of the different sheets, manufactured in different decades, by different companies, didn’t fully match, resulting in some rather big gaps in the overlaps. Well, beggars can’t be choosers!

We gave the room a first coat of very cheap ‘Aldi’ flat white acrylic to bring all the sheets to the same base colour. Then to save money, we bought one 4 litre tin of cheap commercial ‘pink’ tinted flat plastic and made our own blend of 3 parts, Aldi cheap white acrylic that just happened to be on special in the week that we needed it, and one part of the tinted pink paint. We ended up with a very pale pink that looked like a warm white. You can only tell that it is a pale pink, by comparing it to a otherwise supposedly ‘White’ test sheet.

Two coats of our cheapskate, ‘poverty pink’ and the room looks good and completely consistent in colour. We have gone through 16 litres of paint to get all 4 of the quite tall 4 to 5 metre high walls coated. Good value at $120.

Looking out of the big arched window that I made for the ‘gallery’ room. I can see the Balmoral Railway Station out in the garden. We bought the old Railway Station by tender, back in the 1970’s when the Railways Dept. had closed the line to passenger traffic, and kept it open as a solely goods line. They decided that they wanted the un-used timber stations removed from the line and the site cleared.

We thought that this was a shame, as the timber railway stations form part of the fabric of village history. The Station at Hill Top, the next village along the line, was the first to be sold off. It went for $2! the people who bought it only wanted the tin off the roof to build a chook shed. So they took the iron off the roof and burnt it down. That cleared the site, and fulfilled the contract! The what a shameful event.

We decided that this wouldn’t happen to our village station. When ours came up for demolition, we tendered to demolish it, but instead we picked it up in a couple of huge wire slings, lifted it onto a low loader and re-located it to our own back yard. That fulfilled the contract to clear the site. But most importantly, it preserved this valuable part of our village history for some time to come. The station building dates to about 1880 and although it is only small, we decided that it was too important to be destroyed.

Incredibly, it almost burnt down a few times during the catastrophic bush fire that raged through Balmoral Village on the 21st Dec. 2019. Embers lodged in the roof facia board and it caught fire. I was lucky to manage to see this early on and managed to hose it out before it spread to the whole of the roof. I was simultaneously fighting the fire that had caught hold of my barn at the same time and had t keep returning to the water tank on the station building to refill my buckets, because the pump on the barn had failed after half an hour. I saw the station roof burst into flames again, and again hosed it out. With the wind howling and the air temperature very high, and the constant shower of ember shrapnel flying through the air, my hair even caught an ember and caught fire at one stage. It’s impossible to forget the small of burning hair!

Even though I hosed the fire out very well and soaked the area around the fascia of the station roof. It soon dried out in the hot gale and burst back into flames. I had to return and put it out several times.

So I saved the Station – for a 2nd time.

Looking out at the station through the tall arched window from this newly painted white room. I am suddenly reminded of the lines of a song from my teen years, “In the white room, with no curtains, by the station” There was something else about tired starlings. but the important part is that we have a white room with no curtains, by the station.

That’s The Cream (on the cake for me)

Some colour in our life

We have been back in the pottery doing a little bit of painting, adding some colour to our lives. We decided on a cornflower blue for the east wall of the glazing room. The old gal-iron tin on this wall was in good condition, but just seemed a little dull against the other brighter walls. It had always been our intension to paint all 4 walls these bright colours. Principally to hide the vast range of pre-painted re-cycled drab colourbond roofing sheets that I had scrounged  from all over Sydney and the Highlands over the past year to clad and line this new more fire-resistant design of pottery shed.
However, when I put up these last full length sheets of perfect, matt grey, weathered and aged, galvanised iron. I couldn’t initially bring my self to paint them. I had to live with them a few weeks, before I came to terms with the fact that as perfect as they were, they would look so much better, and fit in with the original concept more completely, if they were painted cornflower blue. So it is done! I completed the second coat this evening after I finished work in the maintenance shed. I spent the day cleaning, grinding, repairing and painting bits of old rusted and burnt out machinery left over from the fire. The new colourful walls look great and give me an uplifting sense of pleasurable colour therapy whenever I walk in there. So much better than dealing with burnt-out and rusted junk machinery.
This bright colourful room is designed to be multi-functional. Primarily as the glazing and decorating room, but also doubling as display space when we take part in the annual Southern Highlands Artist Open Studios weekends in the first two weekends in November each year. I think that it will work. But time will tell.

Janine does the touching-up around the edges with a brush.


After work I spend a bit of time picking a range of some of our past-their-best, sub-prime, vegetables from the garden, stuff that is going to seed and past its best for salads. I make a wholesome vegetable stock with them. It’s a cold day, Janine has lit the wood fired stove and its so nice and toasty-warm in the kitchen when I come in from the garden.The vegetable stock is a little thin, but well flavoured. 
We decide to make an Italian inspired ‘risotto-like’ rice meal with loads of vegetables.This is not a real risotto because we have added far too many vegetables. This is more like a vegetable stir fry, except that we are boiling and simmering the rice and vegetables in stock. Not frying them. so its a vegetable boil-up. Doesn’t sound so good that way, does it.
Whatever this meal is called, its pretty good! And so organic, so immediately local, so fresh, low carbon miles, low fat, low salt, low GI and delicious.


I serve it up in a couple of our somewhat rough and heavily textured , ash glazed and wood fired rice bowls. Such is our self-reliant life.

Autumn in the garden

Janine and I have just had our first Covid jab and it has knocked us around a bit. Headache and achy bones, a few cramps, not sleeping well. I’m still working, but going slowly and had to have a rest after lunch.

Although we are working full time as builders, trying to rebuild our ceramic workshop after the catastrophic fires, we have still managed to keep a bit of spare time for the garden, as it is our chief source of food. It’s late autumn and the trees in the orchard are loosing their leaves. The cherries start first in early autumn, as they are the first to bud and sprout leaves in the spring, they are the first to go dormant.

In late march their leaves were starting to turn colour as the tree slowly withdrew its chlorophyll from the the leaves, this is converted to energy and stored in the sap to support the new growth in the next season. not much is wasted, just recycled and reused.

By April, most of the leaves are gone from the earliest varieties.

now, in May they are all bare.

The vegetables that we are using in our meals now are mostly all the brassicas.

The spinach is growing very well, so we are having a few spinach pies.

I like to mix in at least 2 different cheeses, one of which is a blue cheese to give the pie a little piquancy.

We have also been having a bit of our own home made junk food with a high GM like pizza and pasta as comfort food during this stressful busy time.

Janine has been making puddings for desert. Often a baked fruit sponge pudding using our own bottled fruit from our summer garden.

Sometimes served with Janine’s home made ice-cream. Yum!