
I have been working here as the Artist in Residence at the Craft Creation Centre, attached to the Yanggu, White Porcelain Museum.I am not Korean, or have any real insight into what it is to be Korean. So I’m staying well clear of any claim to insight, or knowledge of Korean culture. I love the rather unique, fully rounded, Moon Jars that are quintessentially Korean. However, I don’t want to make a copy, or worse still, some sort of cringe worthy, awful pastiche of this exquisite from.
I started my work on this trip, looking in from the outside, through the open window of this opportunity here, but with mixed results. I love what I see, hear, taste, smell and experience, but the window pane is frosted and the image is blurred. My early attempts to make something unique to me and interesting to Korean viewers were inadequate to describe my vision of living and ‘being’ here in this generous, creative, Artist-in-Residence opportunity.
I love the romance of the Moon Jar, but it ends there. What I make is not a moon jar, but an homage to the cultural artefact, and my viewing experience of enjoying them. It’s a very personal view. I have thought long and hard about how I might express my regard for these subtle objects. I had decided early on that it would be an insult to try and make a copy. No matter how close that replication might appear to be, it would always be a poor imitation, by an outsider, that would forever be seen as lacking. A clumsy attempt to impersonate, or worse still, to be a caricature.
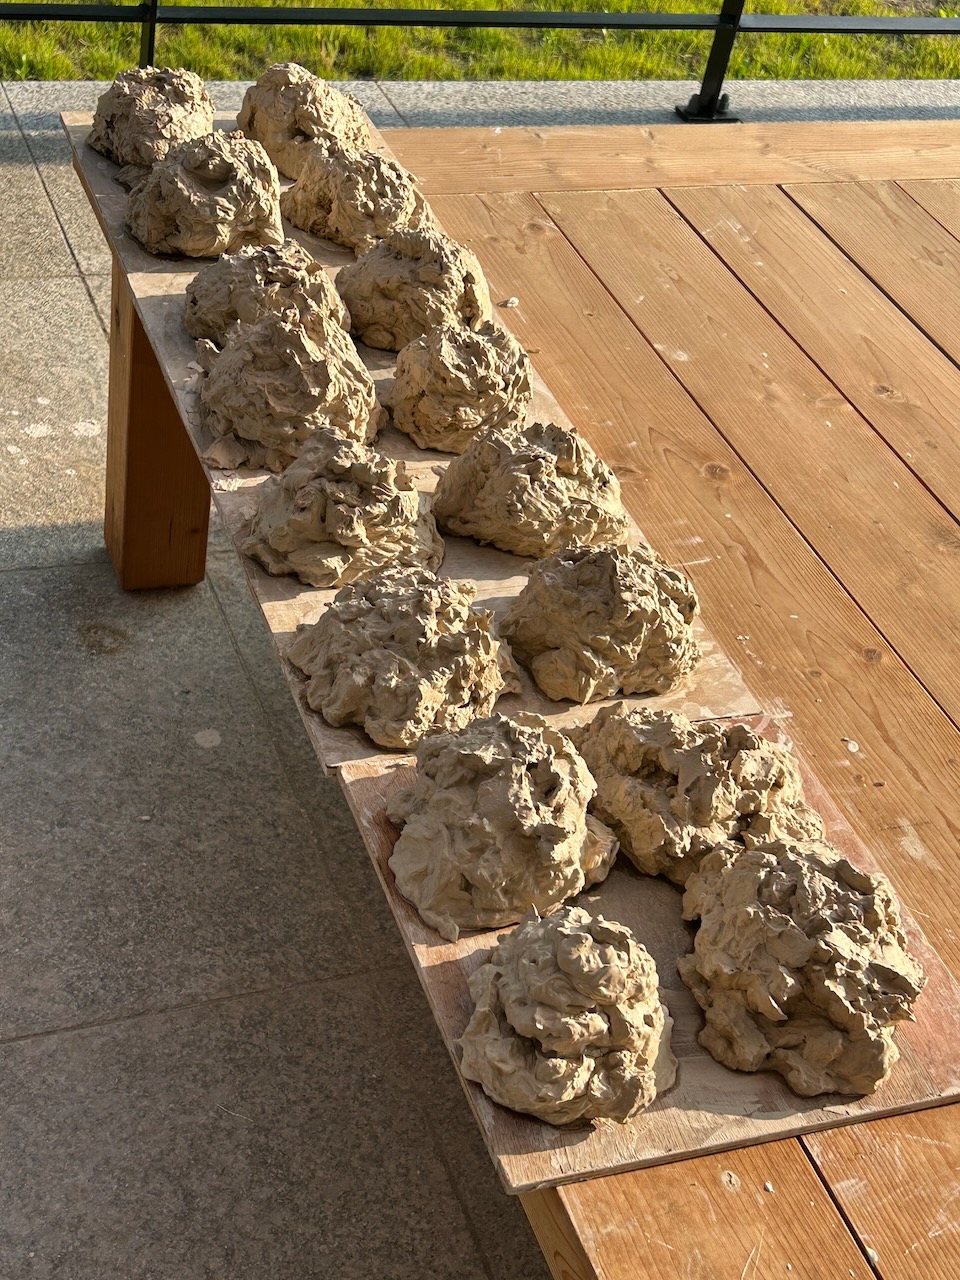
I went back to basics. I decided to make something that encapsulates my ceramic interests, my total life experience, including my Korean sojourn. These jars are made with the greatest respect and reverence for this place that I am coming to consider as being a kind of 2nd home, as this is my 9th visit here in 10 years. I have dipped my toe into Joseon Dynasty history and the influences of Confucian philosophy, and find that I have so much in common with this ‘ideal’ form of proscribed behaviour. This way of thinking, of being and living. Interestingly, I was brought up in that milieu. I know it, as I live it, but by another name. I was brought up in a buddhist/quaker household, with similar values.
It’s a calm, quiet, respectful way of living within a society, while also respecting nature and the environment that supports it. This is what engages my attention. The emphasis on virtue, harmony, and responsibility with benevolence and propriety. It just seems to be the right way to live and create, or at least attempt to. I have tried, and often failed, to live my life by most of these values, long before I learnt about Korean history. I simply call it living ethically. But I am no philosopher trained to think in those terms. I am just a simple potter who has chosen to live a sustainable life of minimal consumption, and all of the rest just followed.
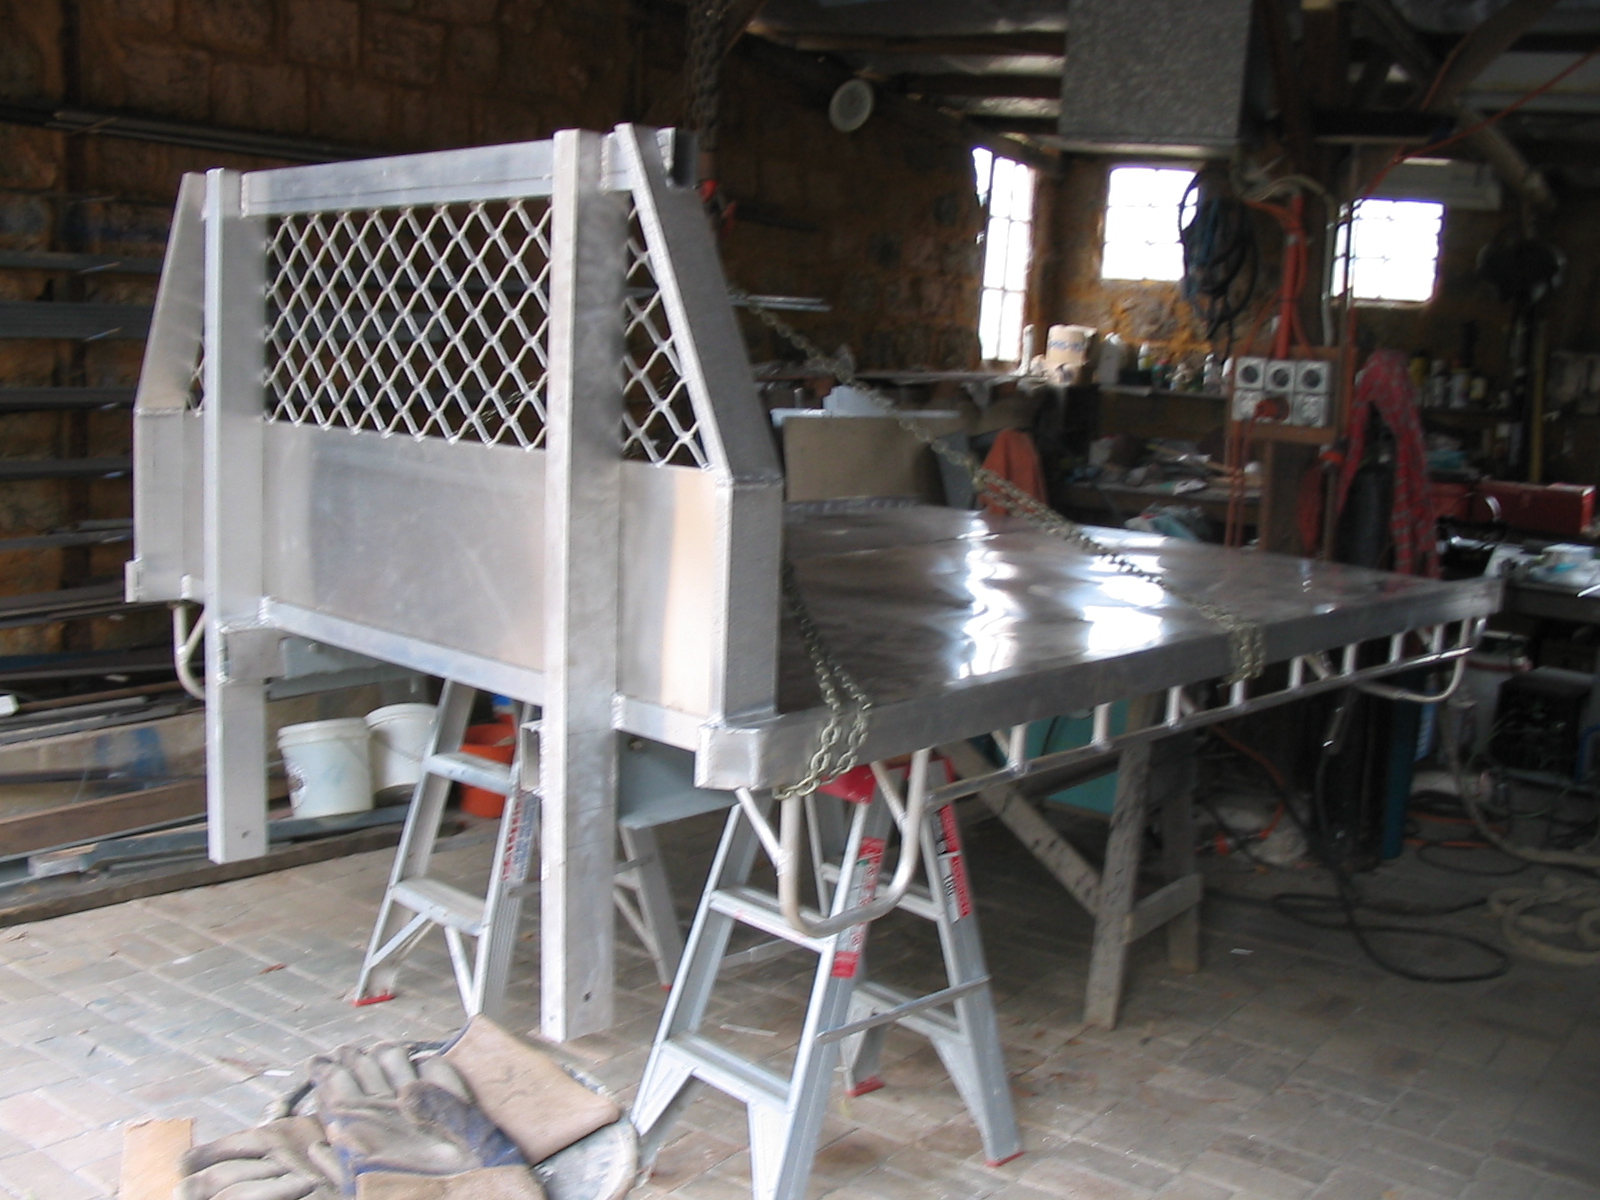
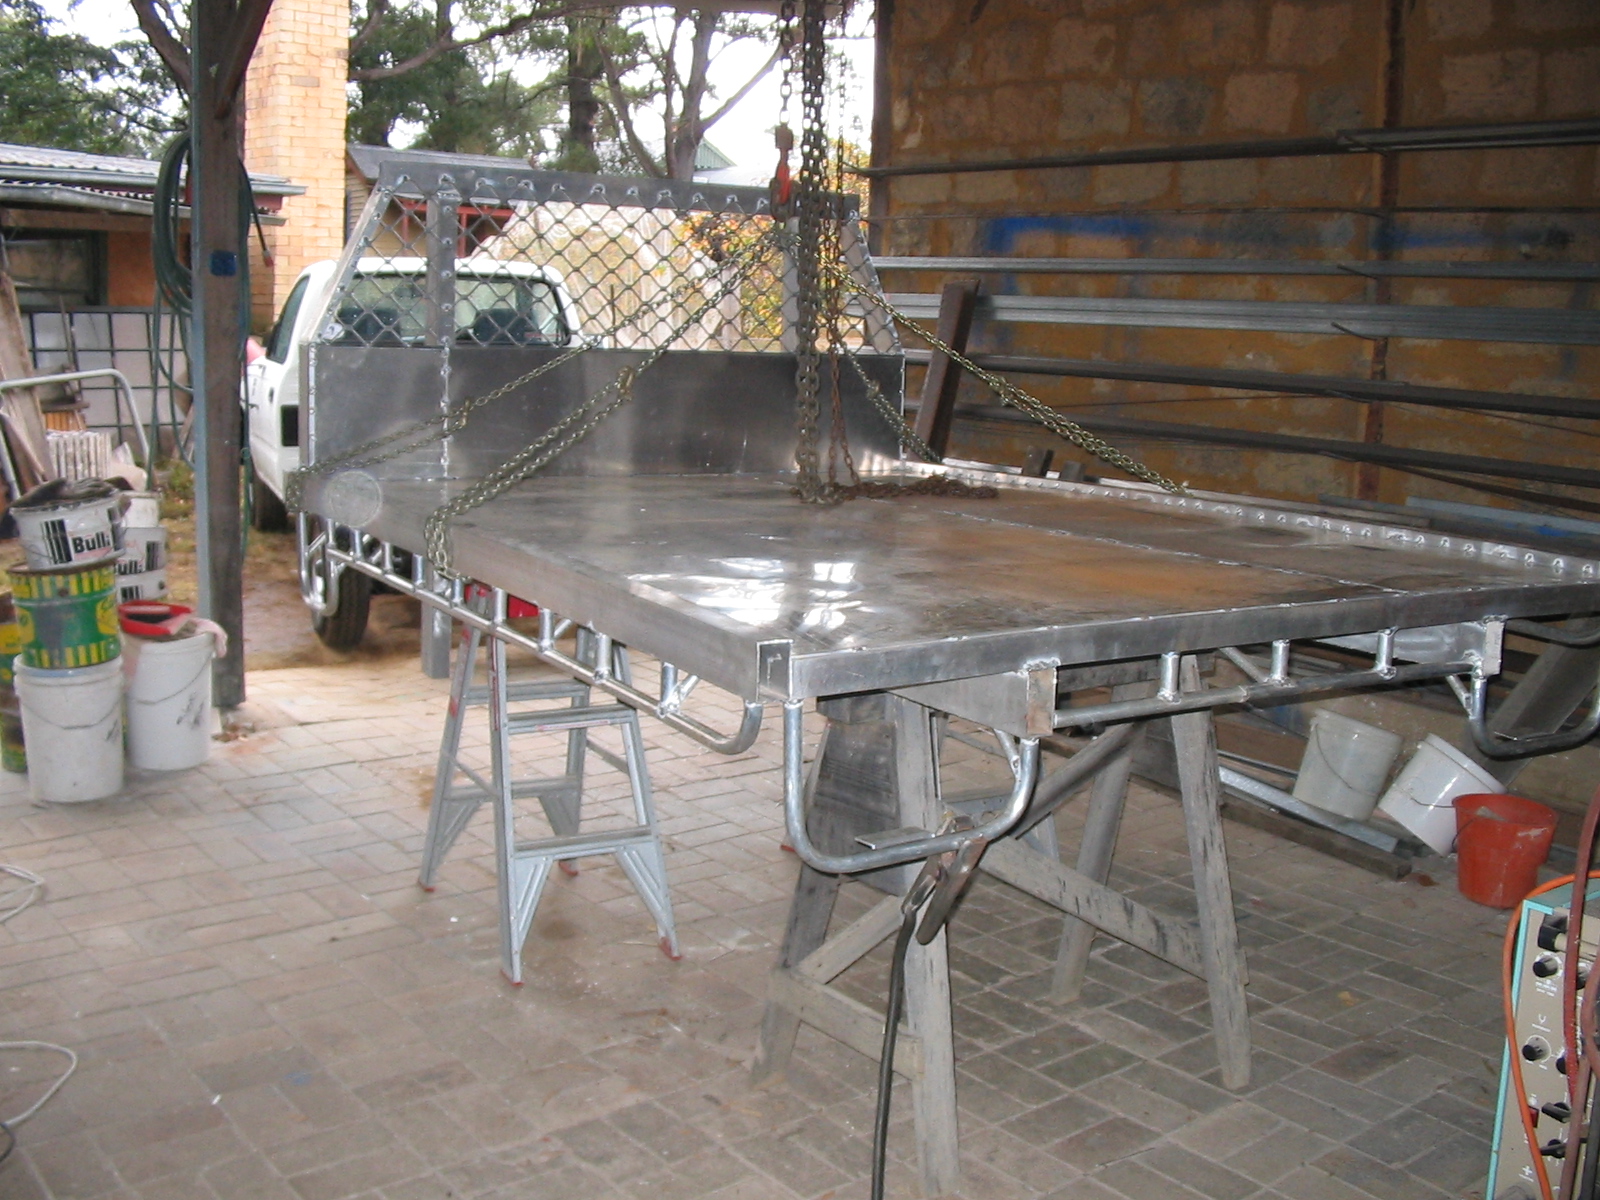
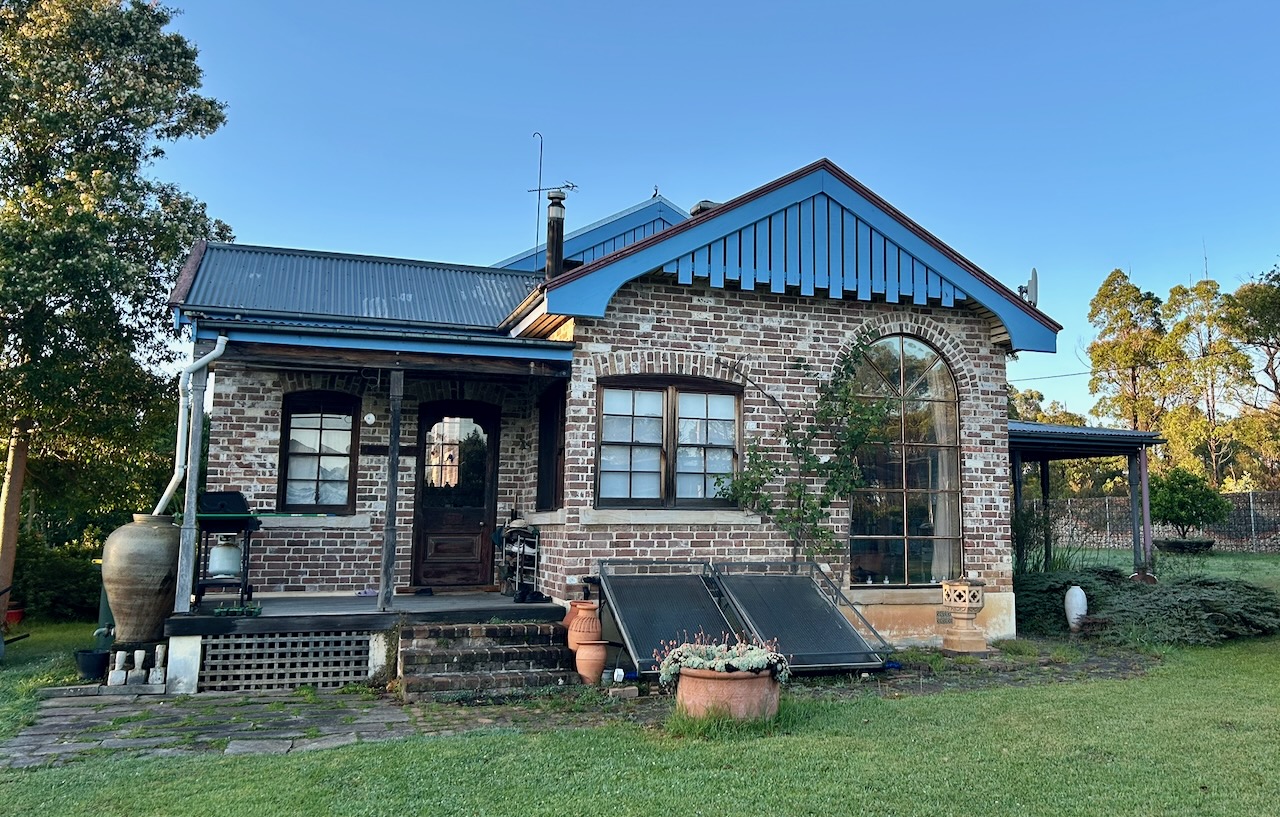
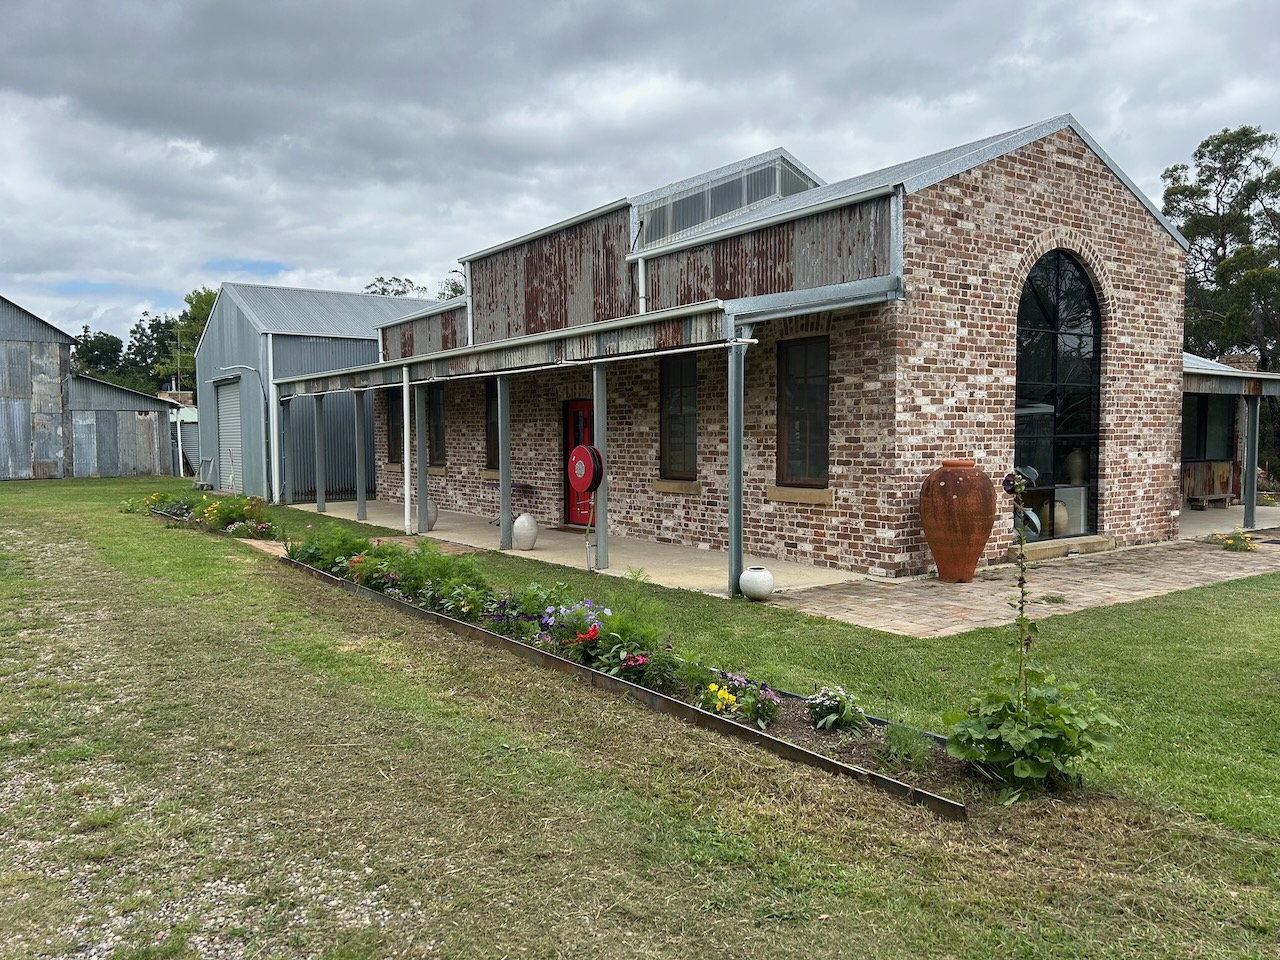
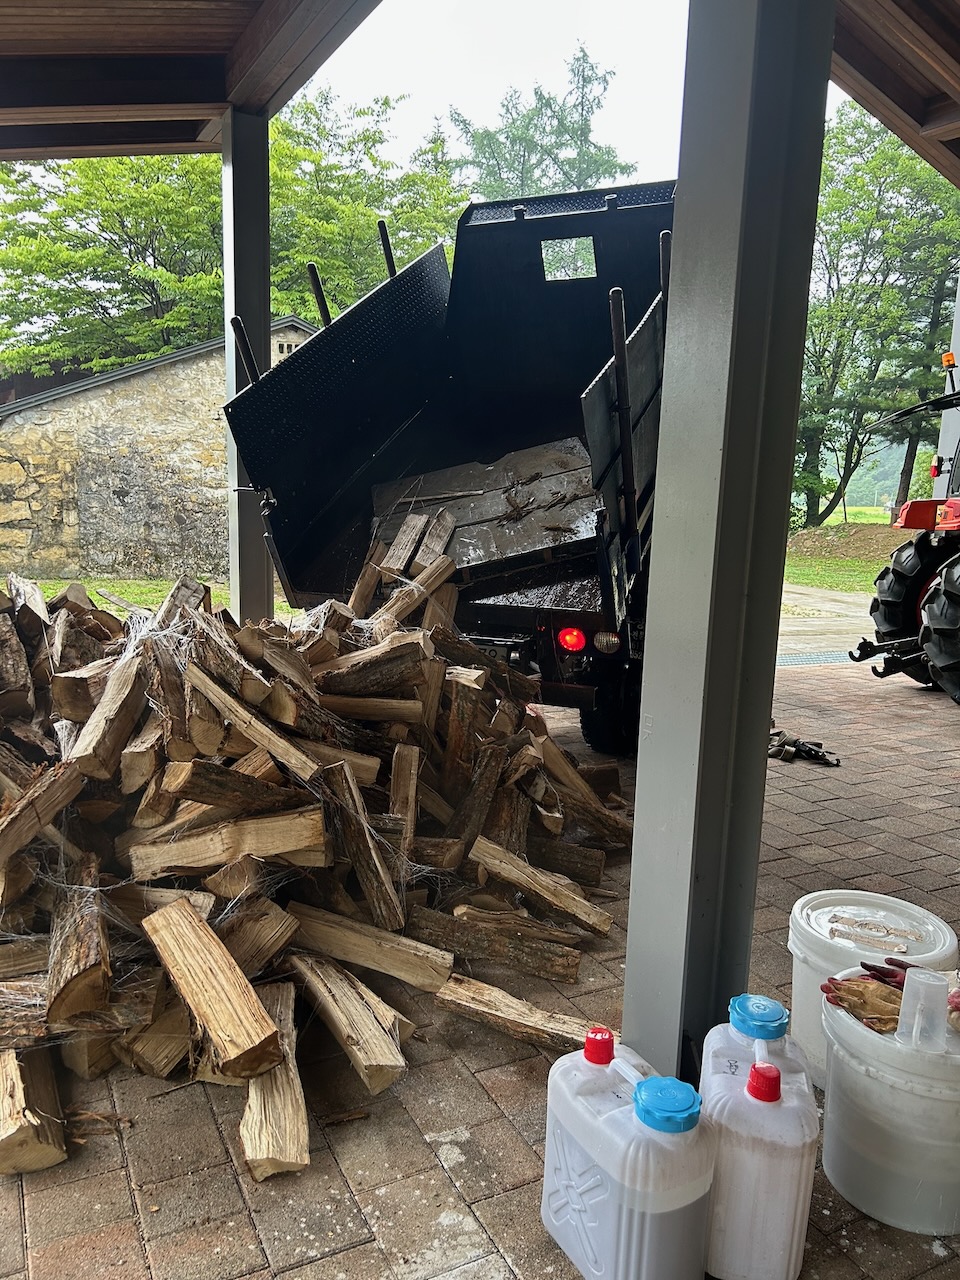
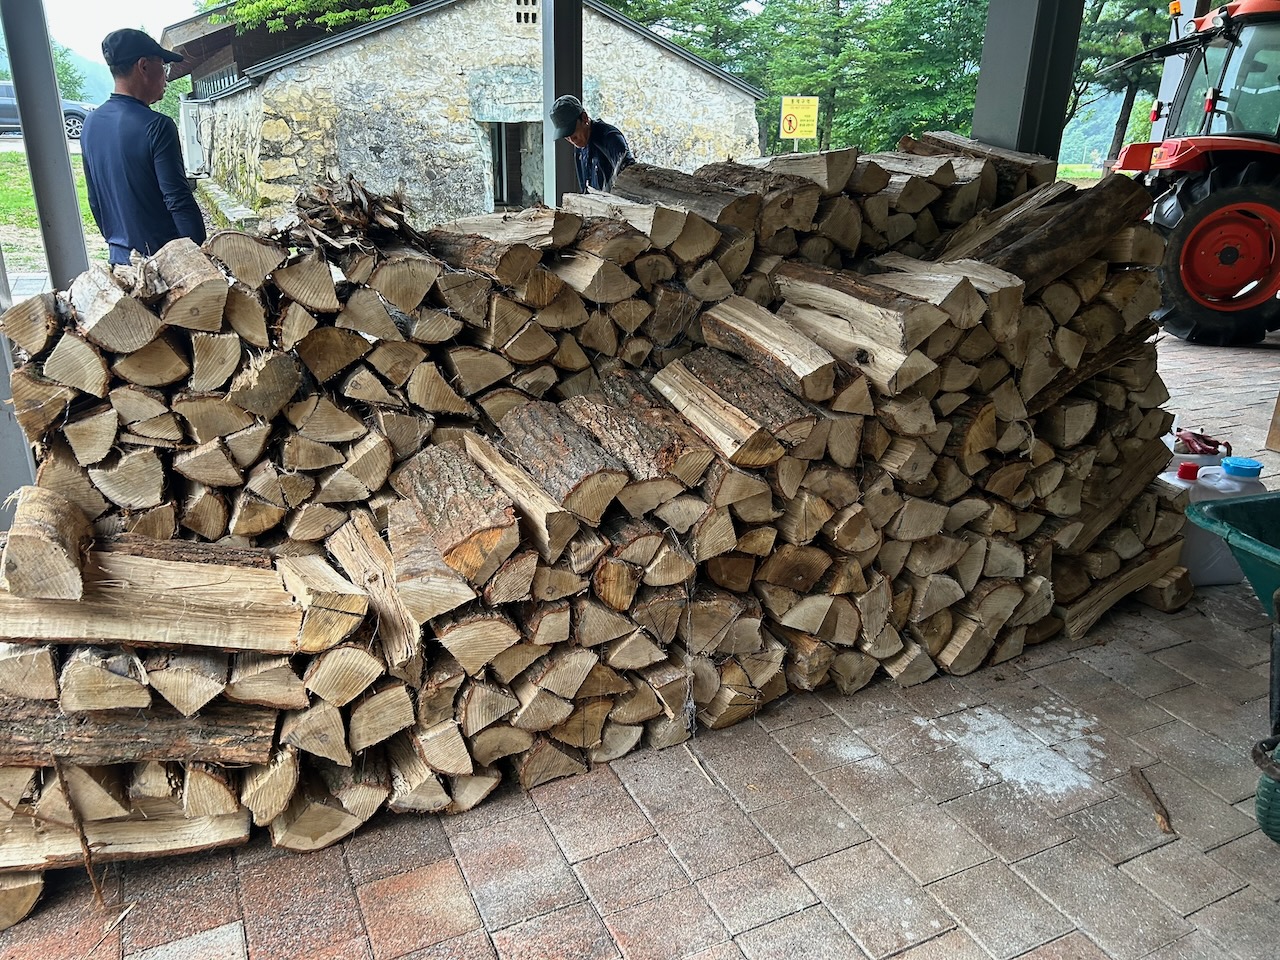
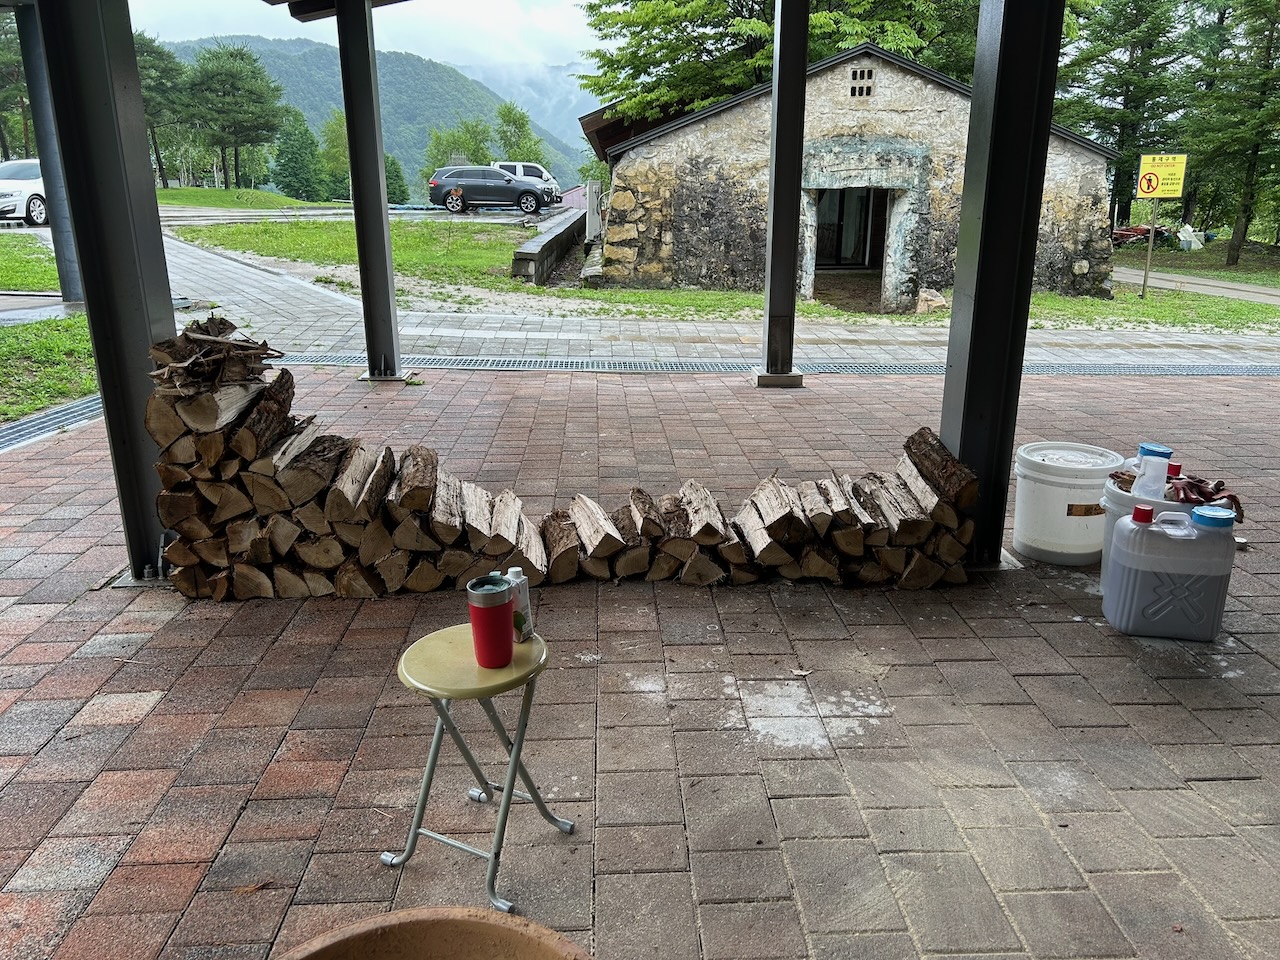
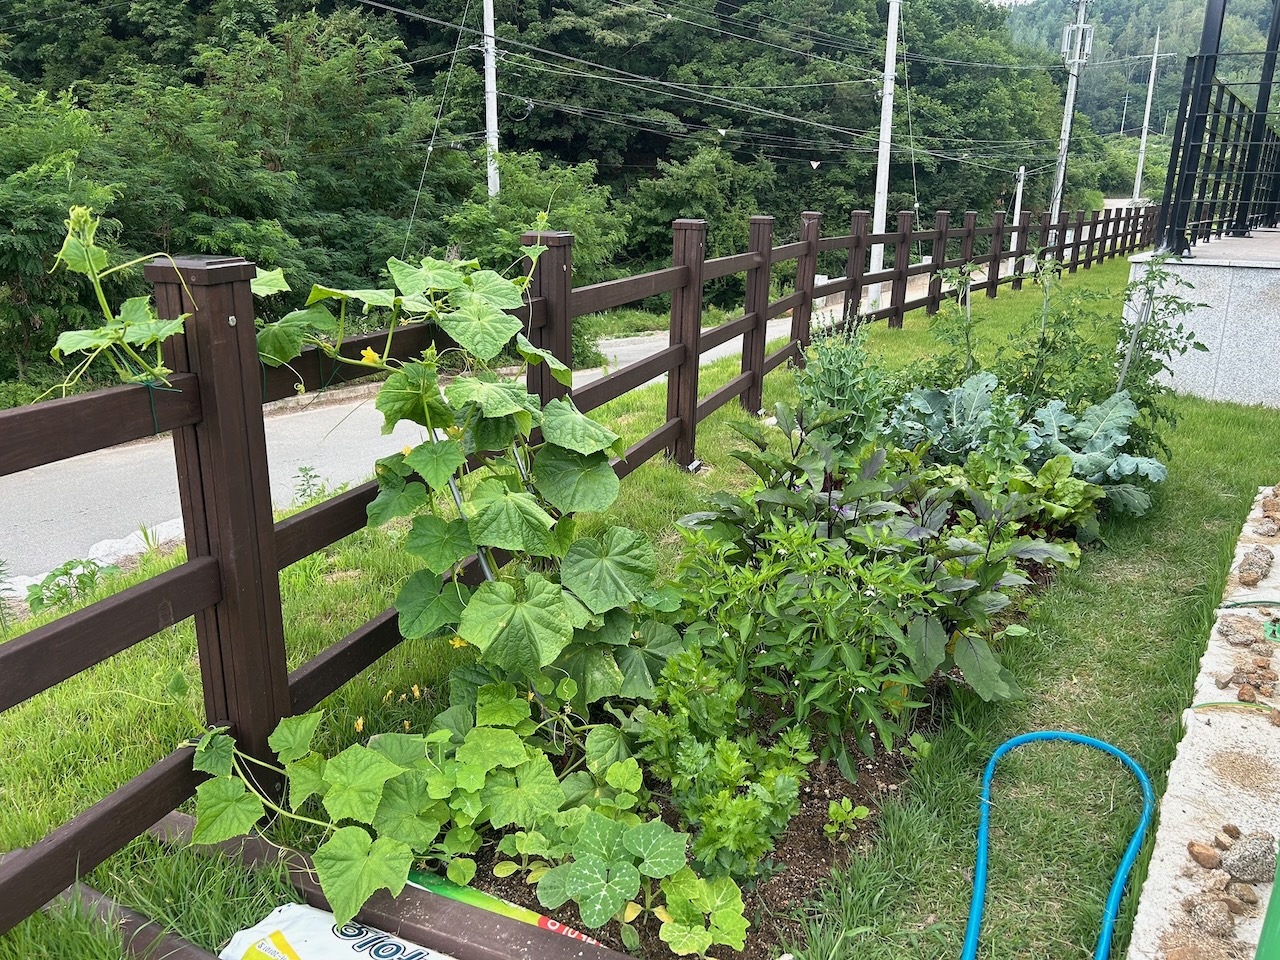
I endeavour to make sustainable, environmentally sensitive and socially responsible life choices and objects. From growing my own food, building my own home, growing my own forest, making my own furniture, and wood fired pots, as well as building my own truck from recycled materials. It’s a unique life, based on a complex set of choices and interrelated actions. I hope that the pots that I make here embody these principals to some extent.
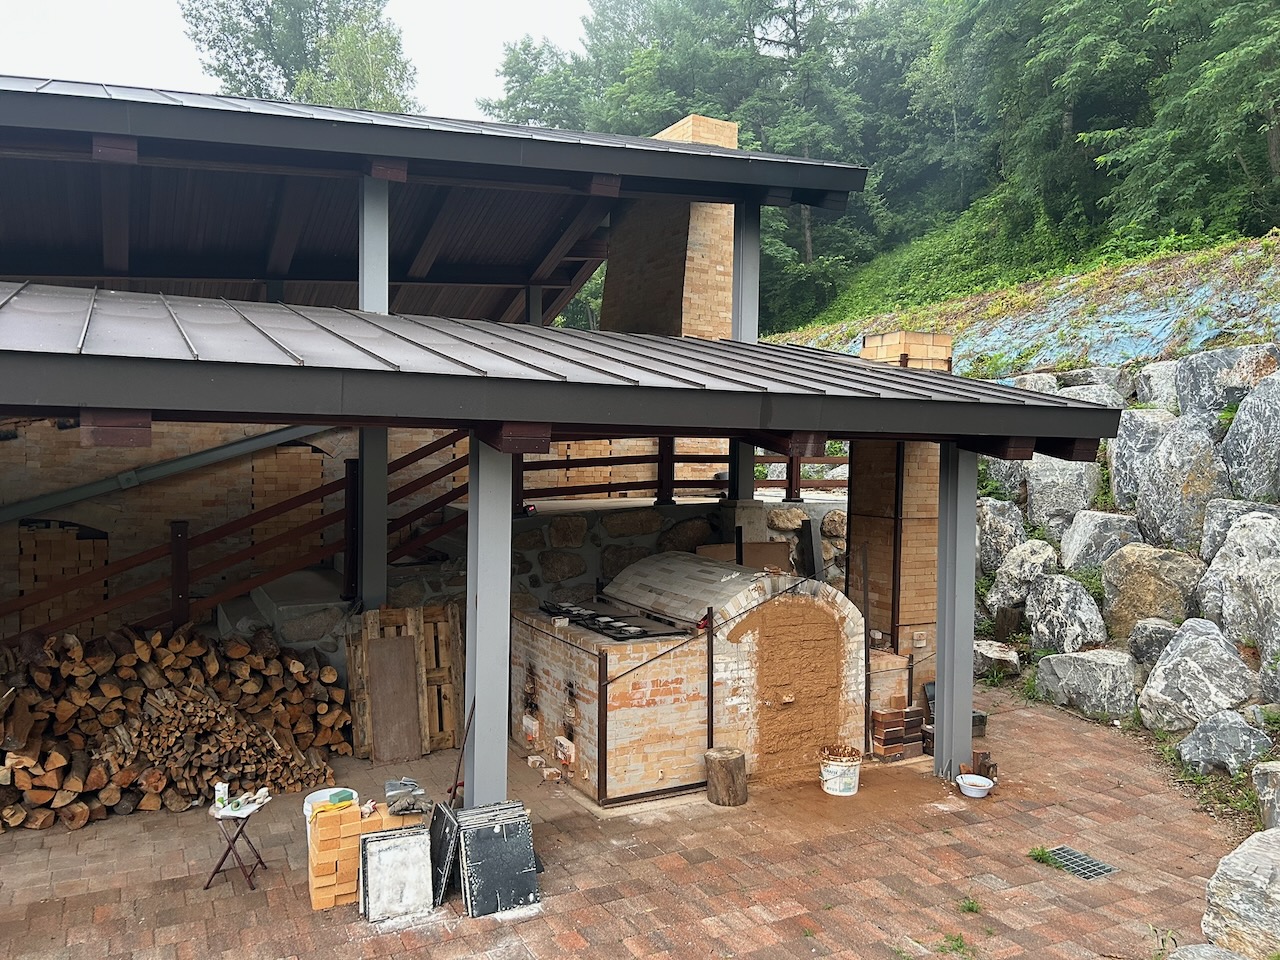
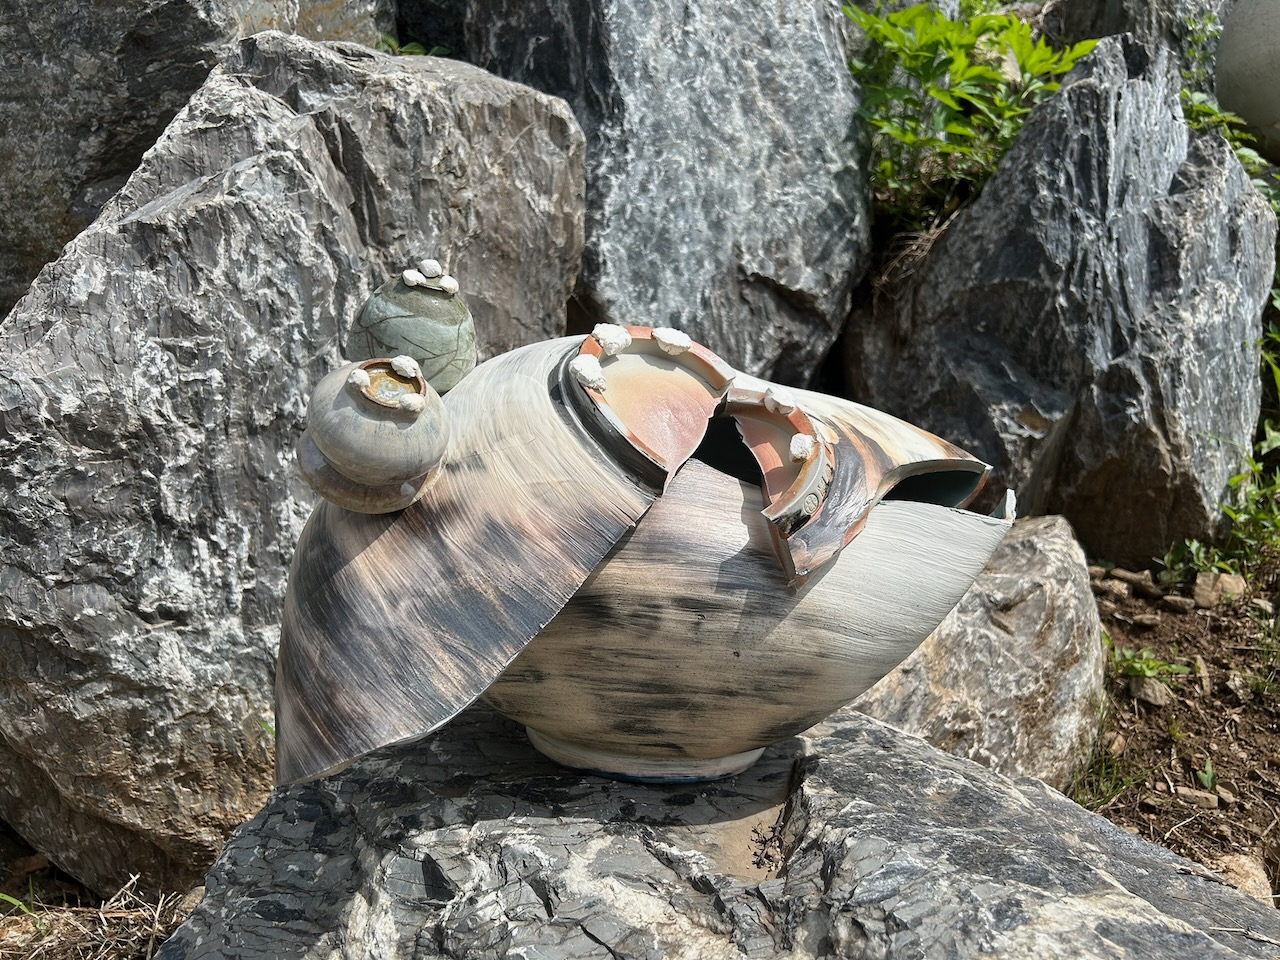
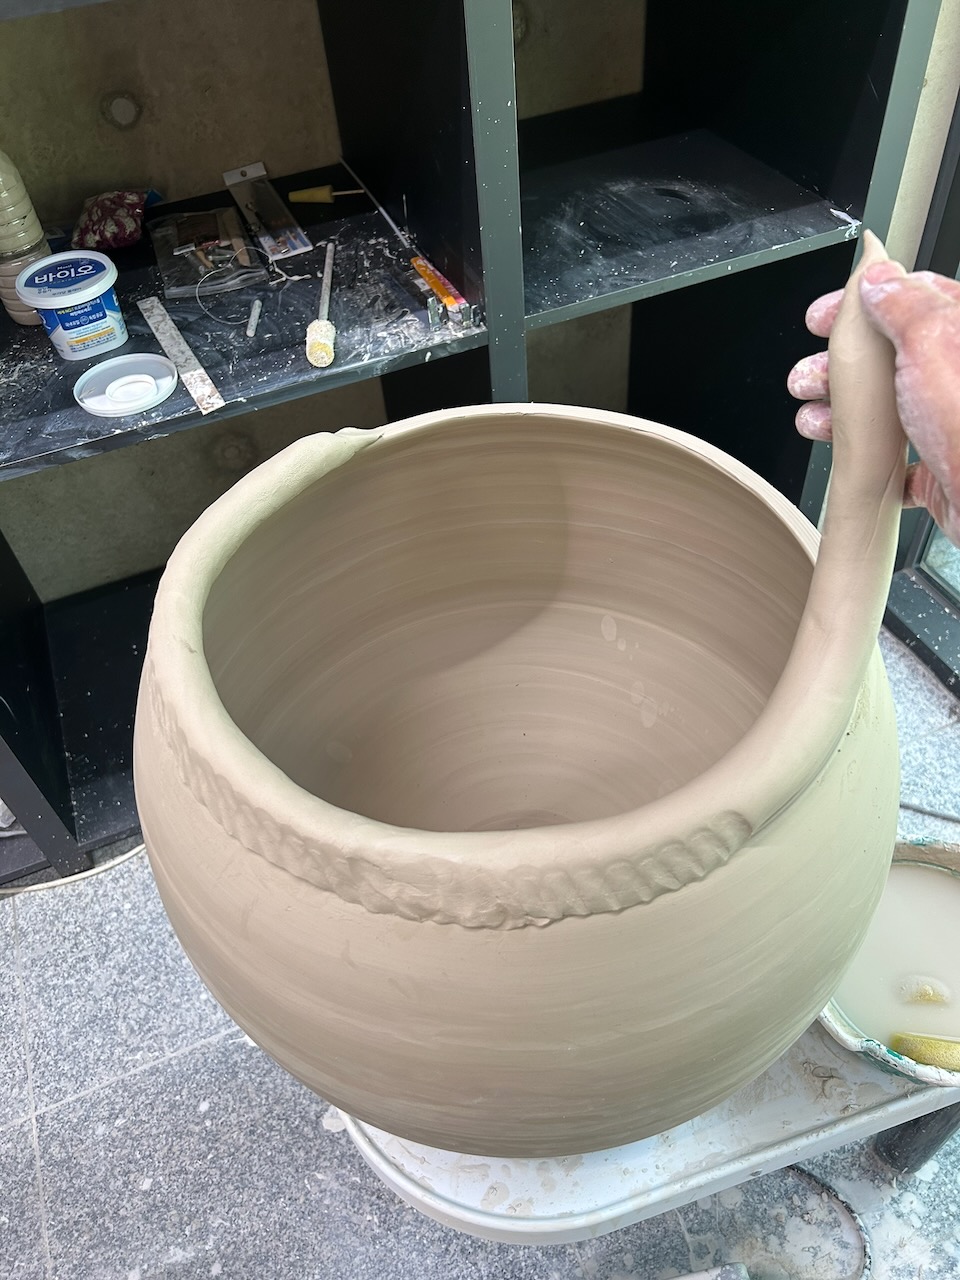
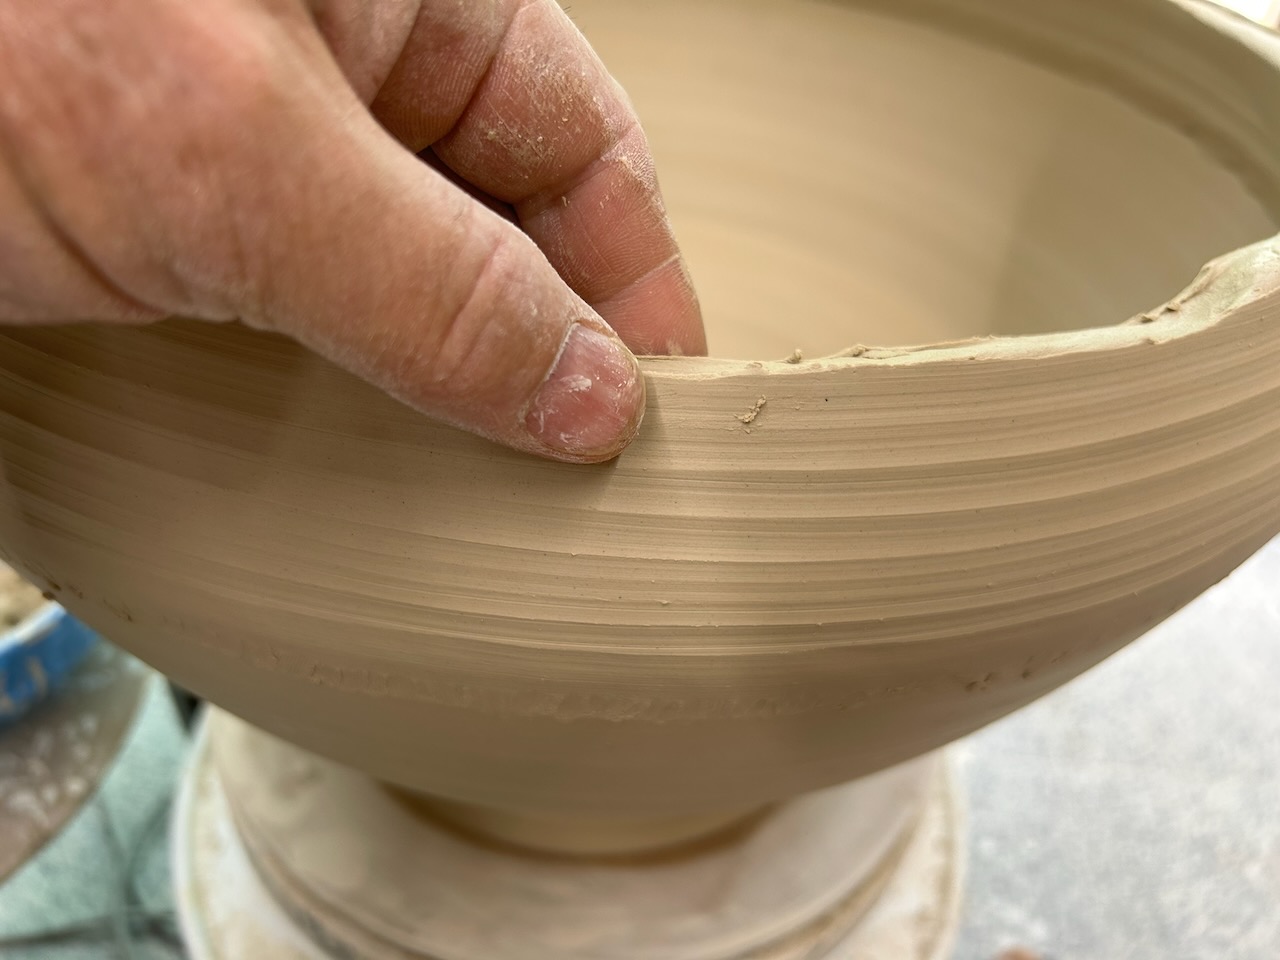
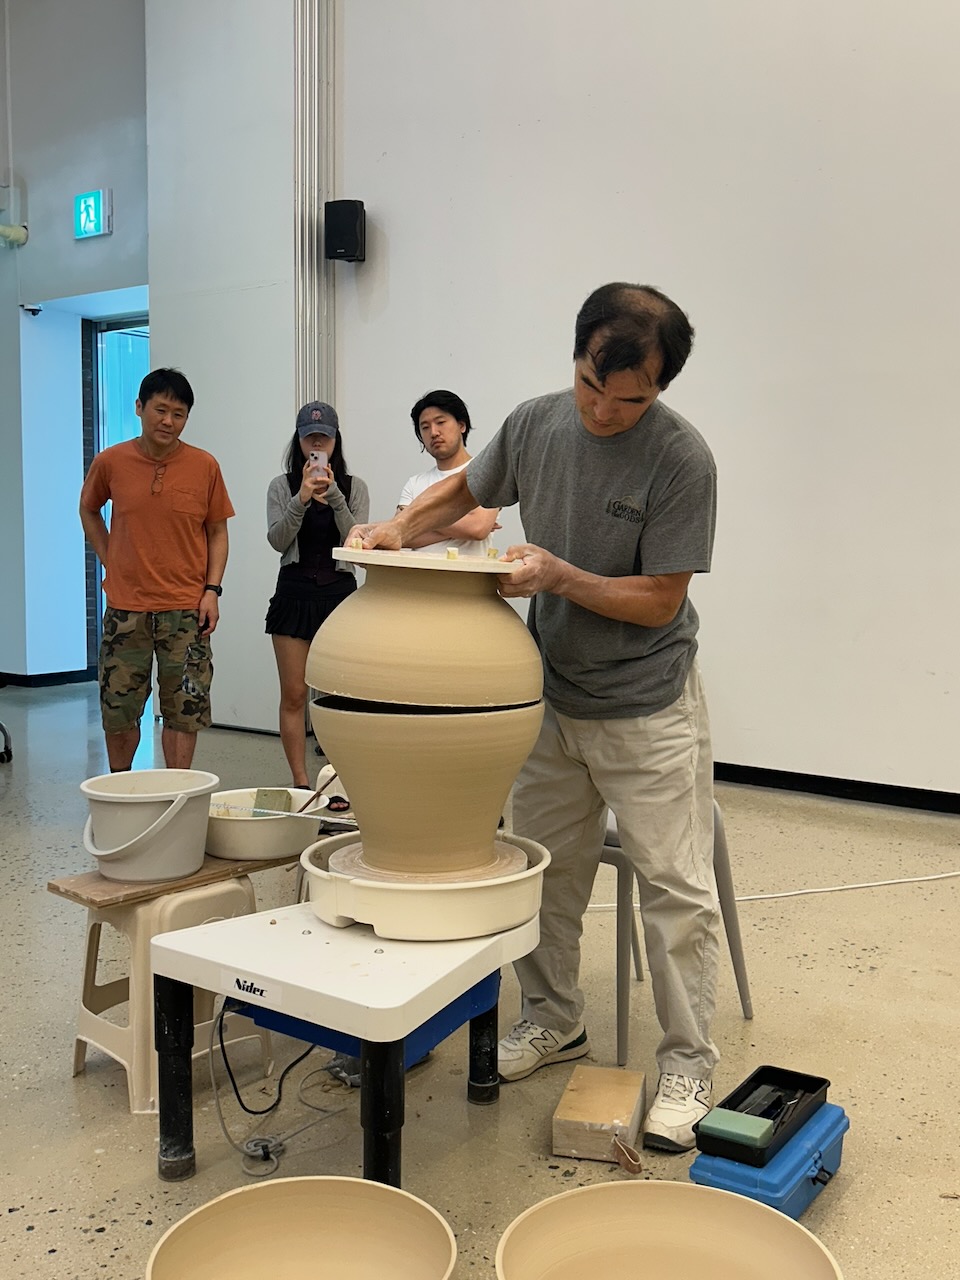
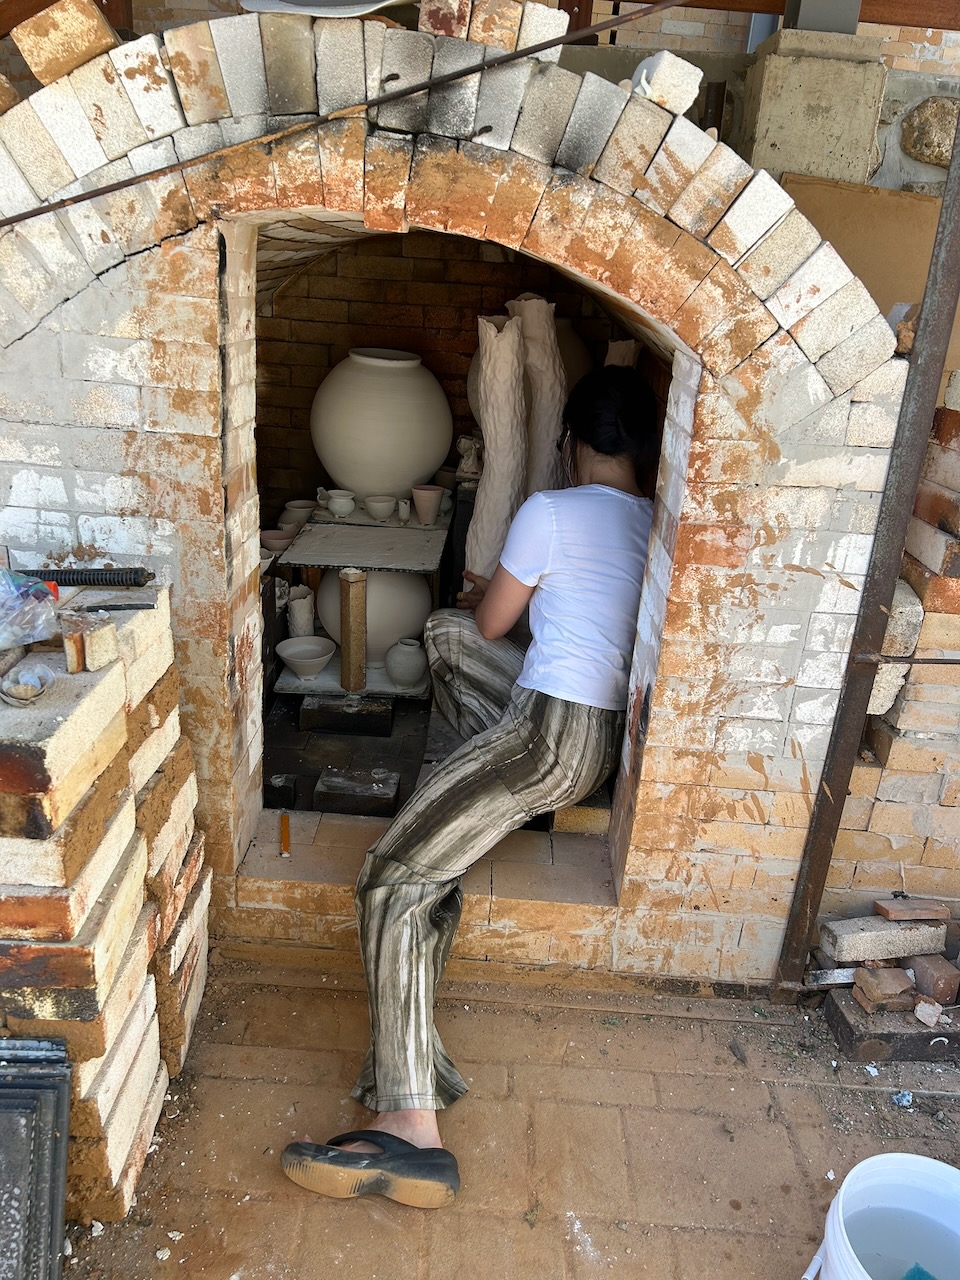
I am making what I hope will be seen as a respectful attempt to create beauty in my own way, with my techniques, showing my sensibilities, but with a Korean flavour. I use a very personal technique based on my explicit needs. A technique of mixed hand-building and throwing, on the wheel. I have also limited my attempts at throwing large scale jars. In my most recent work here, I found a great deal of pleasure in making smaller scale forms in one piece, faster and more freely. It also transpires that these smaller scale works are much better suited to this local clay and the kiln that I built here, so there are fewer losses in the firing. The work has slowly and naturally evolved into an expression of my personality, aesthetic choices, physical abilities, quirks, needs and peccadillos.
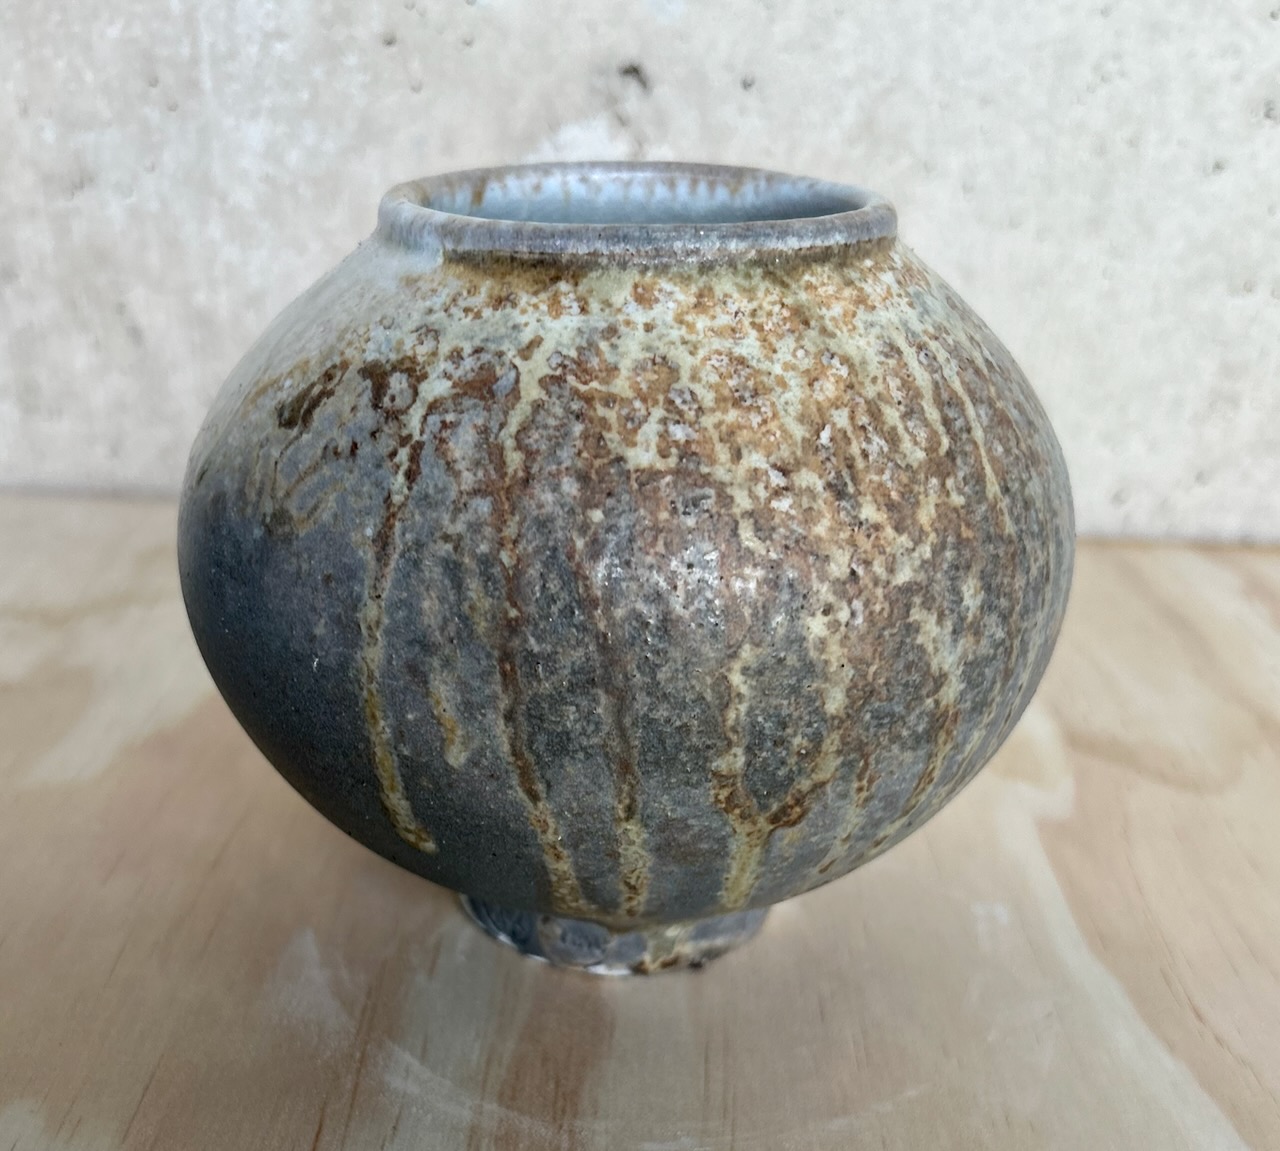
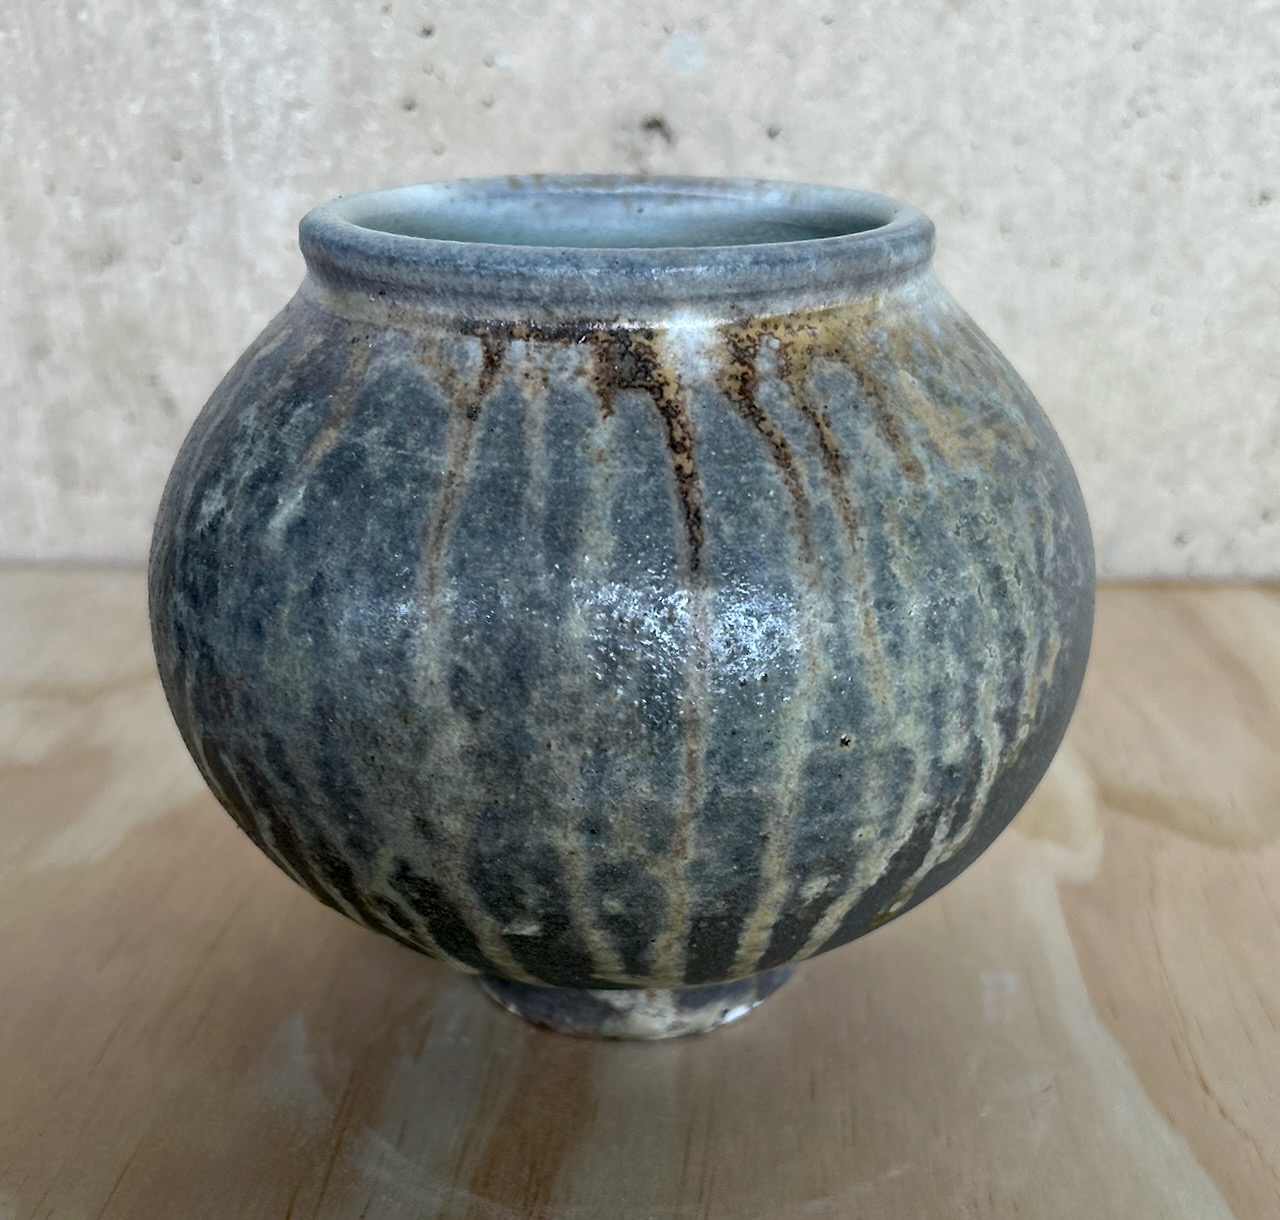
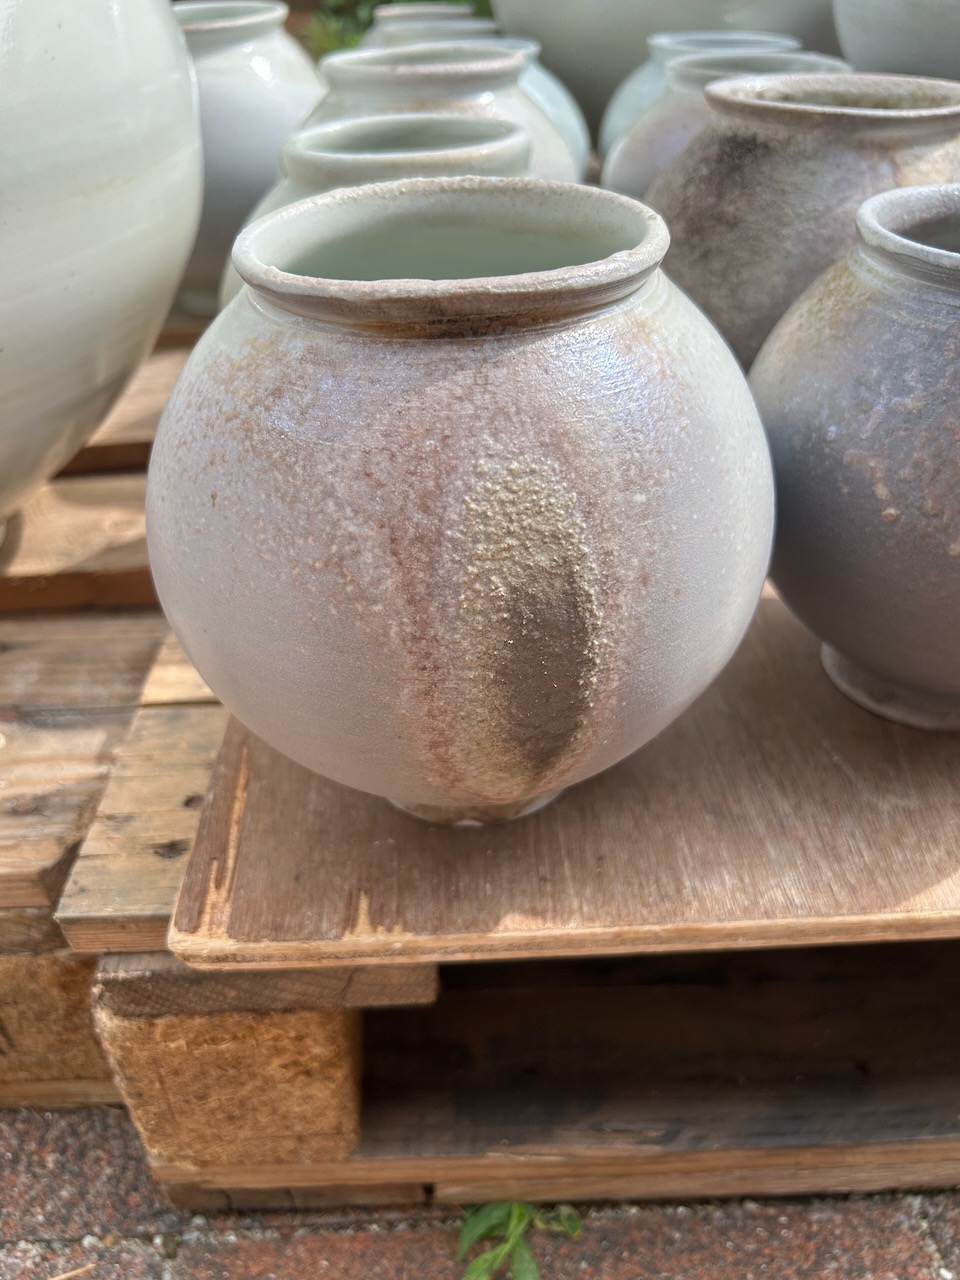
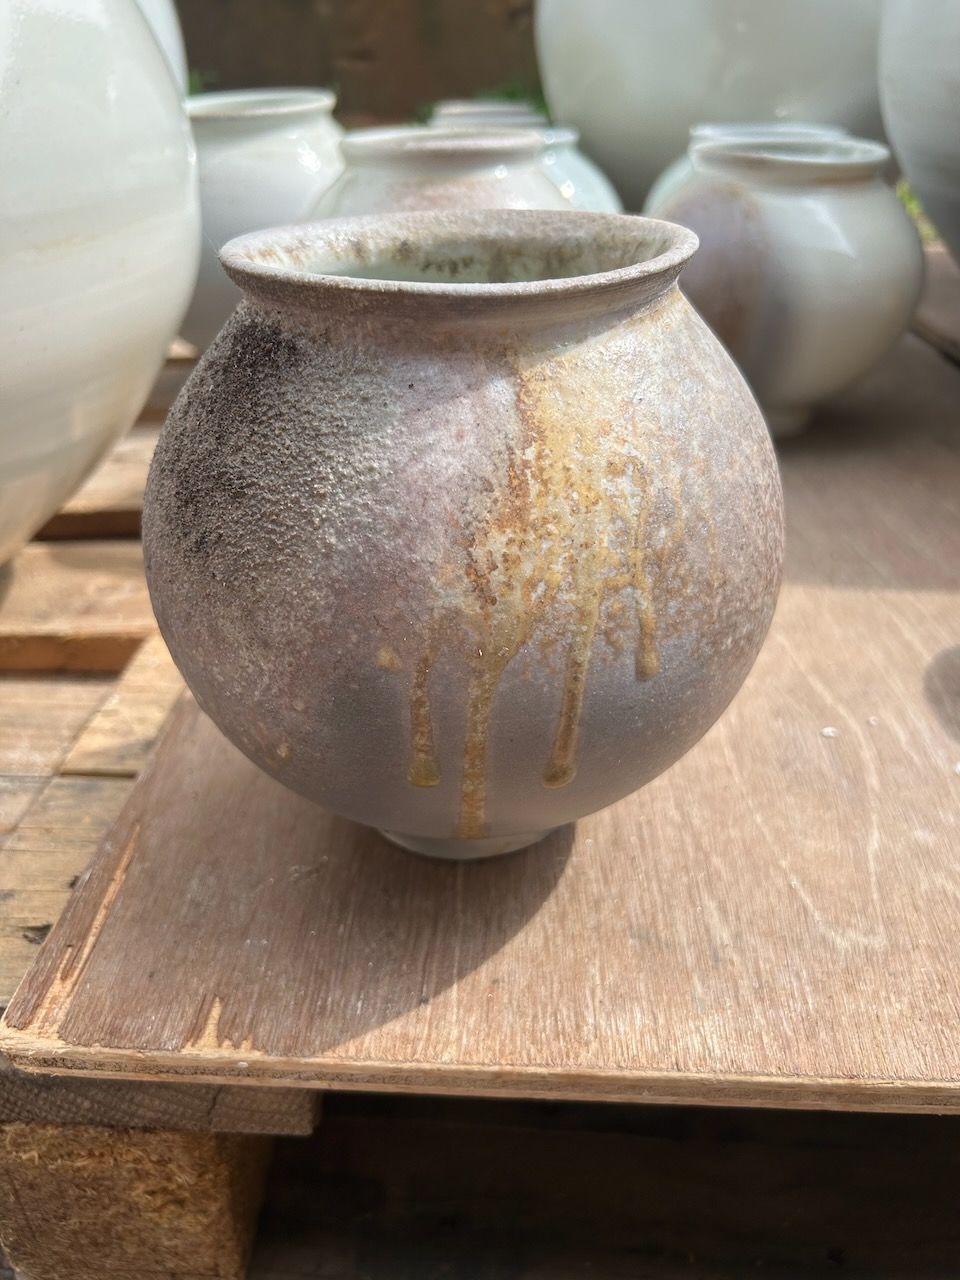
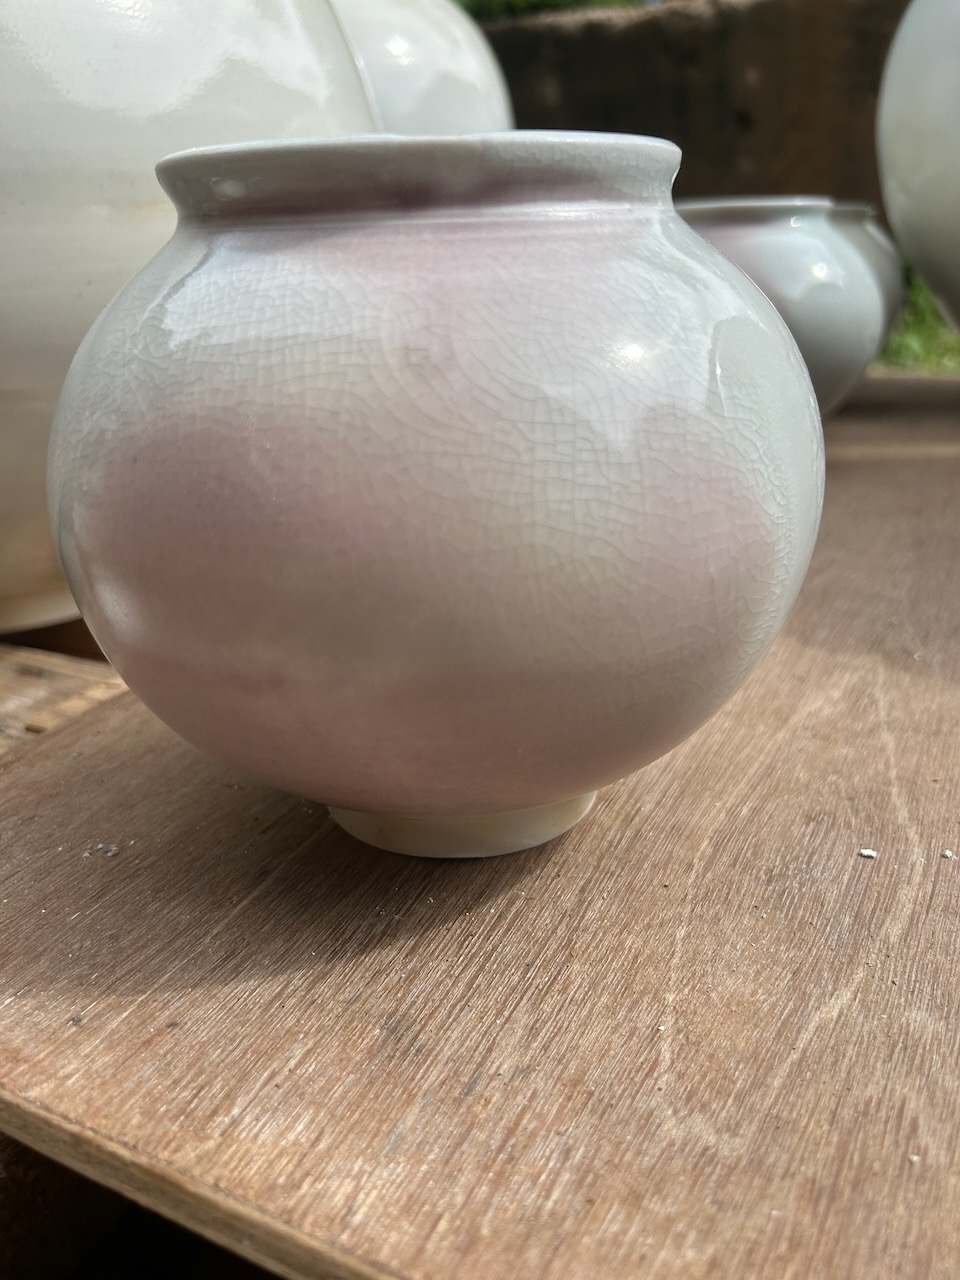
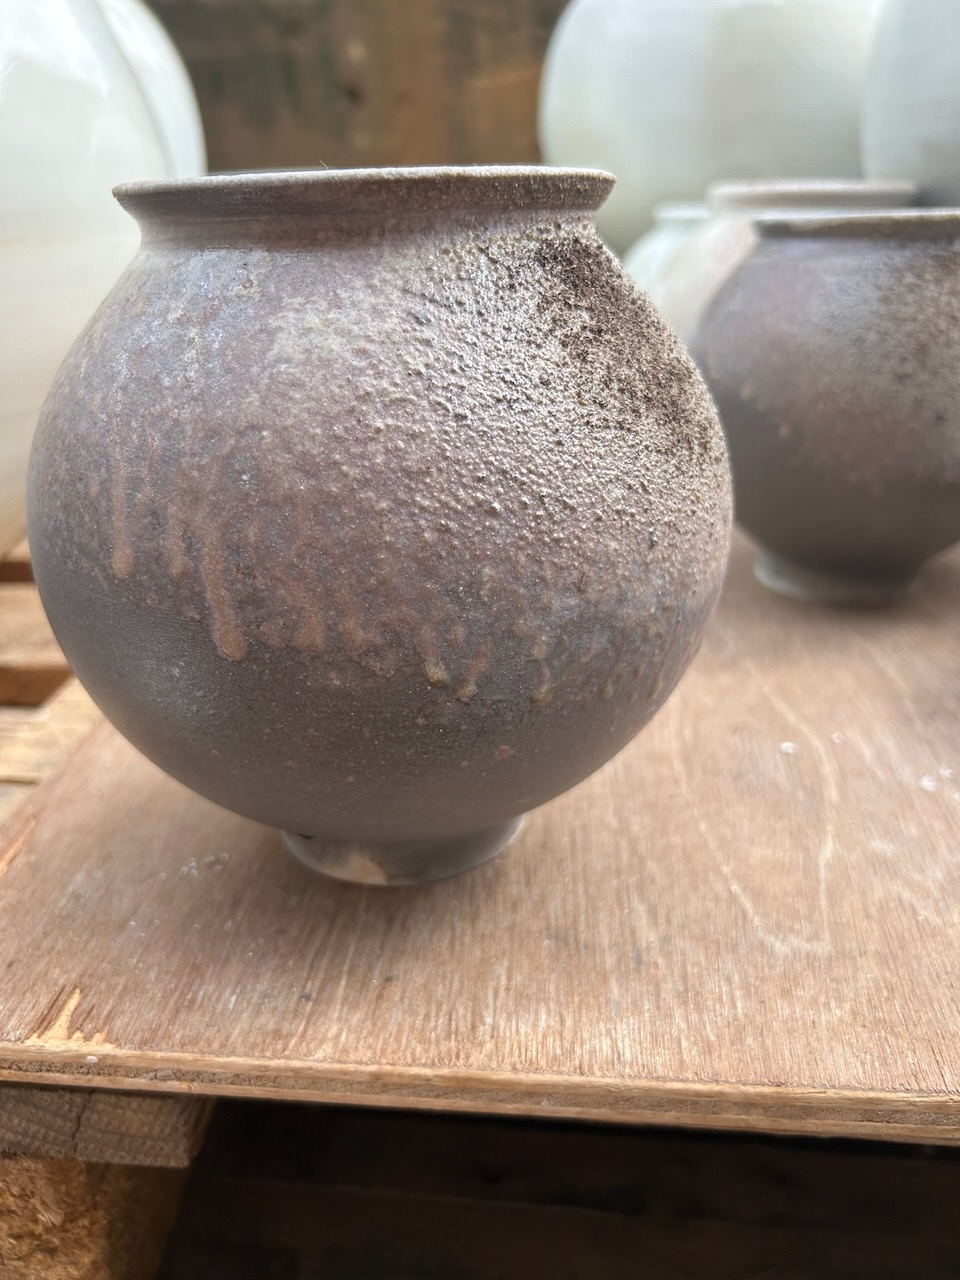
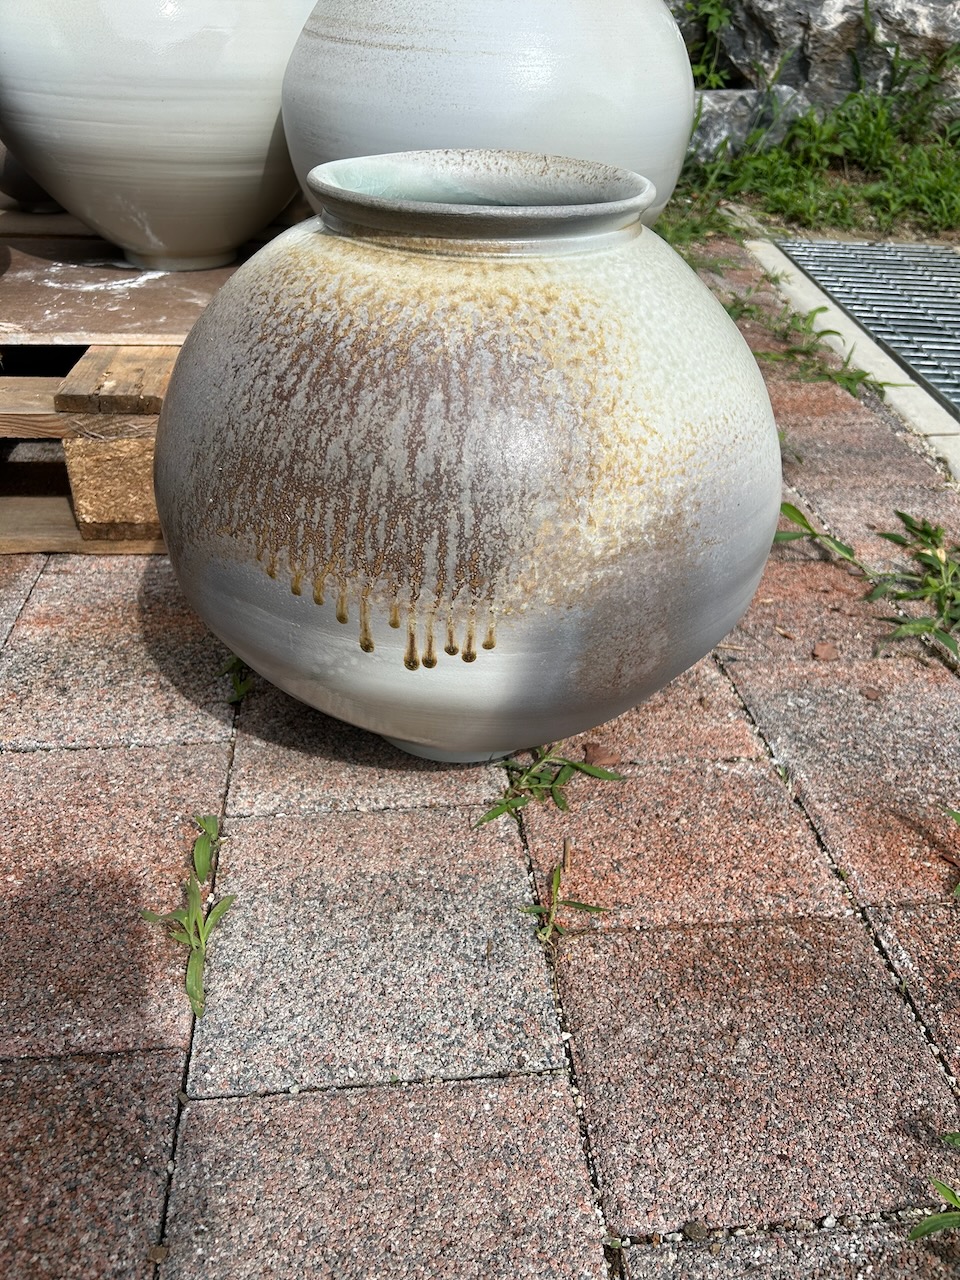
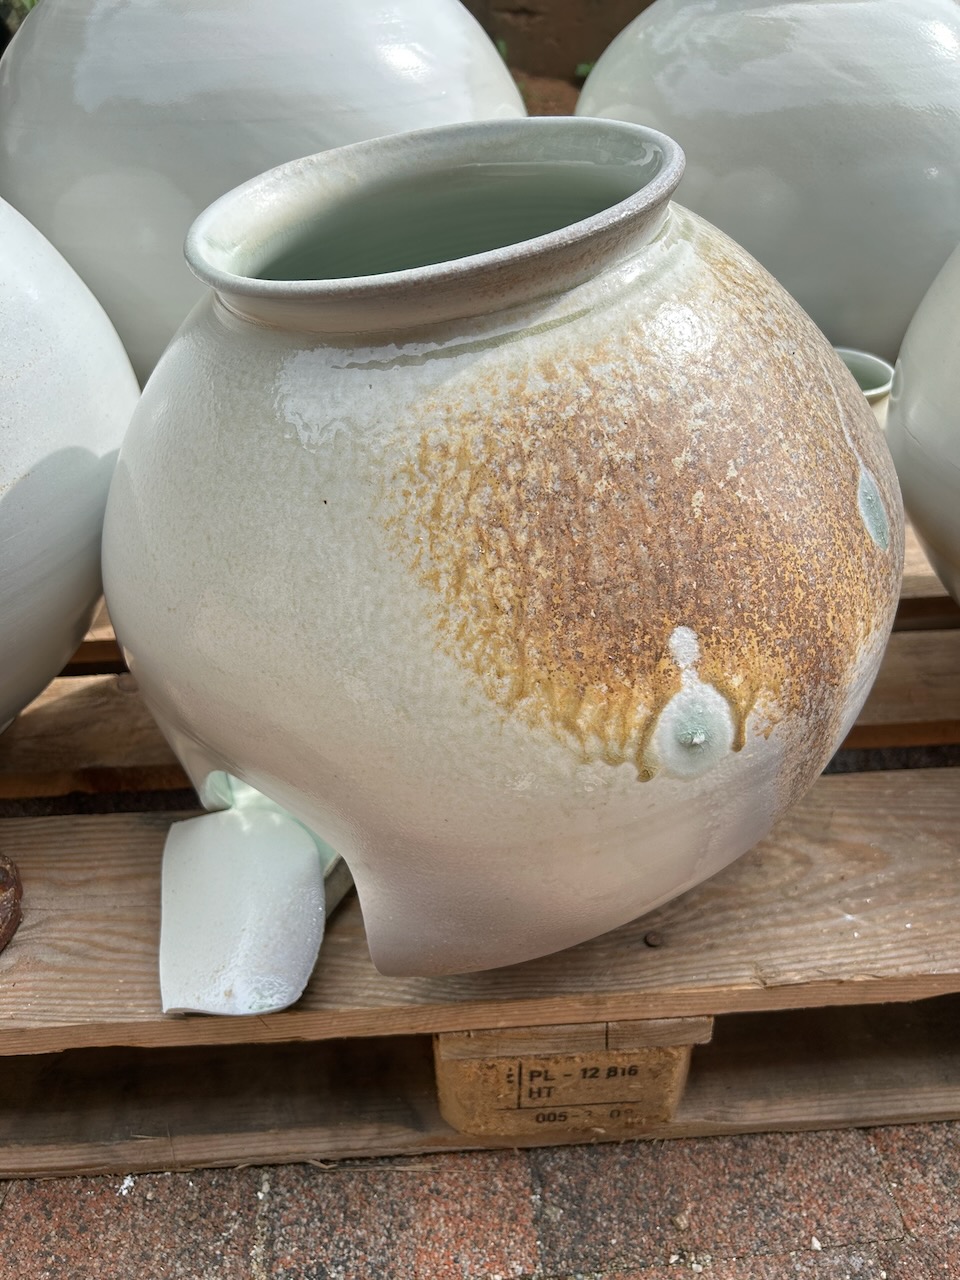
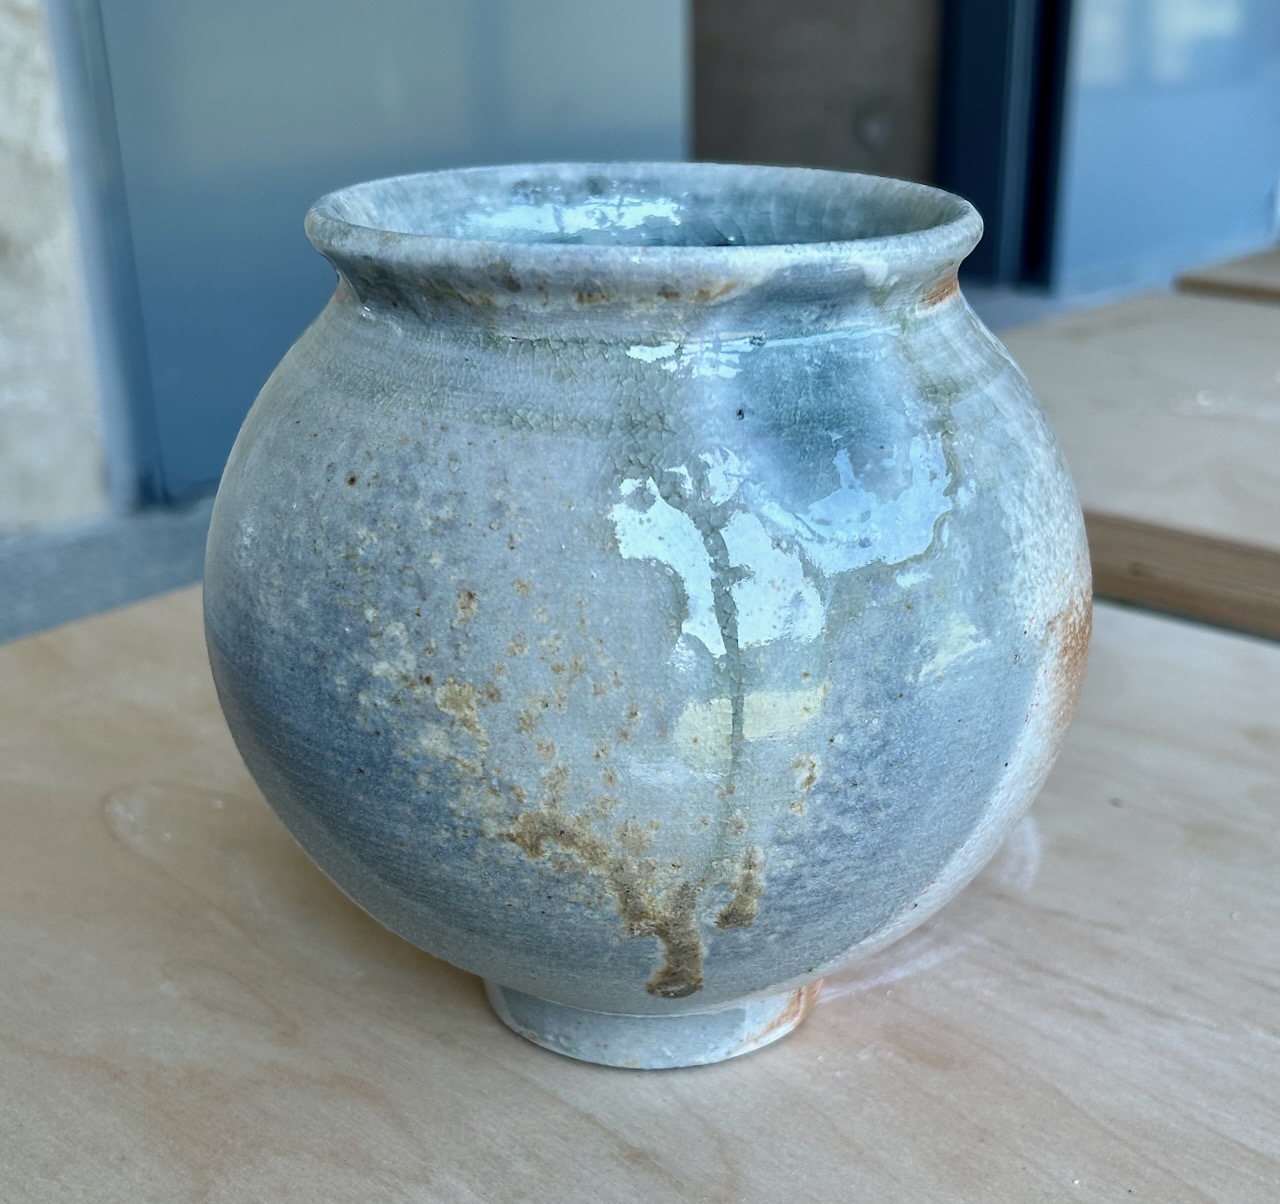
This smaller scale has also opened up a lot of other opportunities to fire more creatively and use the kiln’s creative and aesthetic possibilities in more adventurous, artistic and flexible ways. I’m very pleased with these latest works and their variable and expressive surfaces. The ash glaze deposits, the purple/mauve flashing and carbon inclusion. These are surfaces that represent me and my aesthetic.
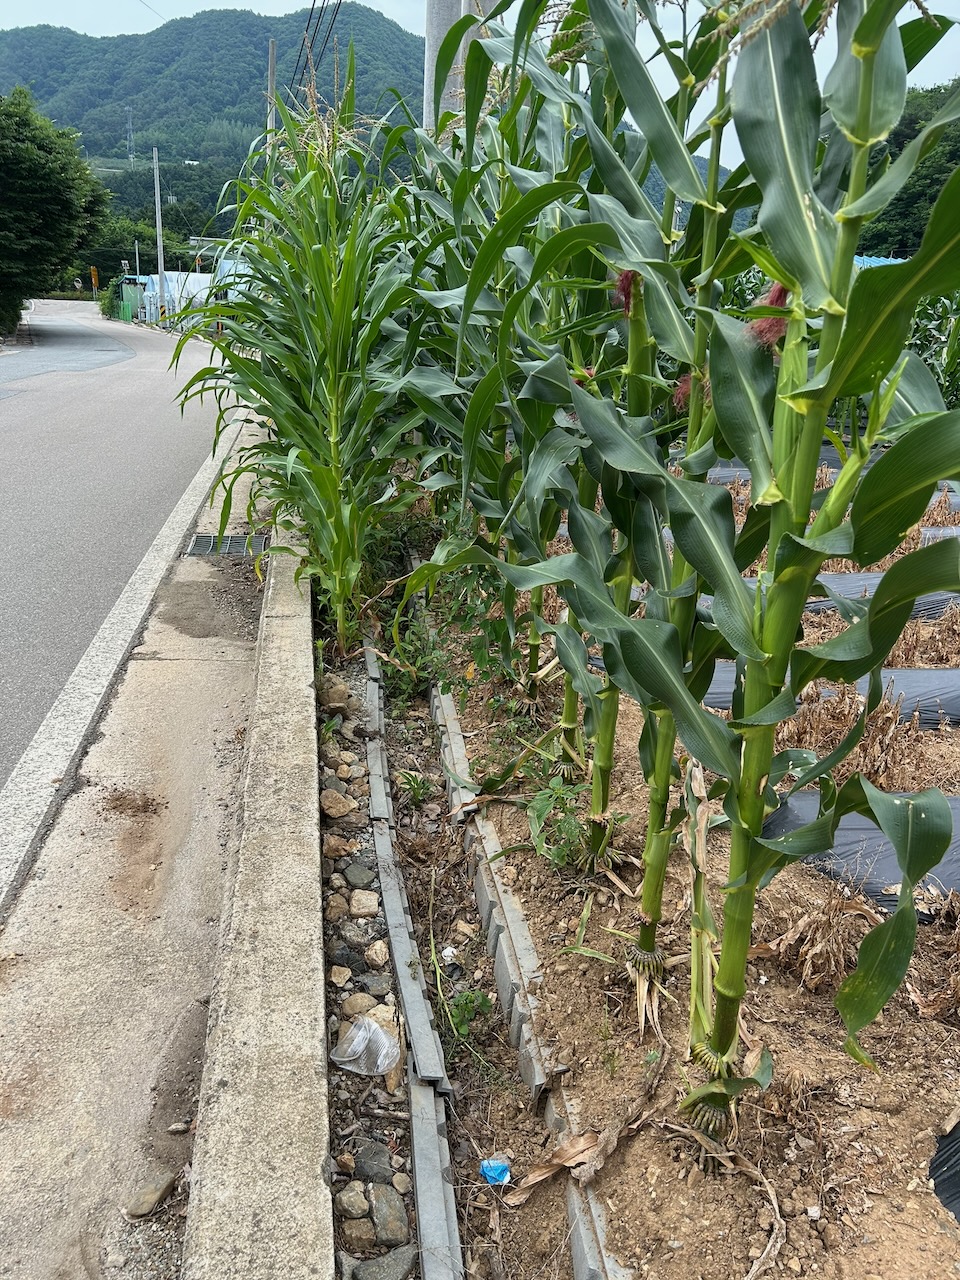
These surface qualities have become possible at this scale, in this kiln and with this clay, in this place! These pots belong here just like the plants that have self seeded, and grow wild along the edges of the roadside and fields.
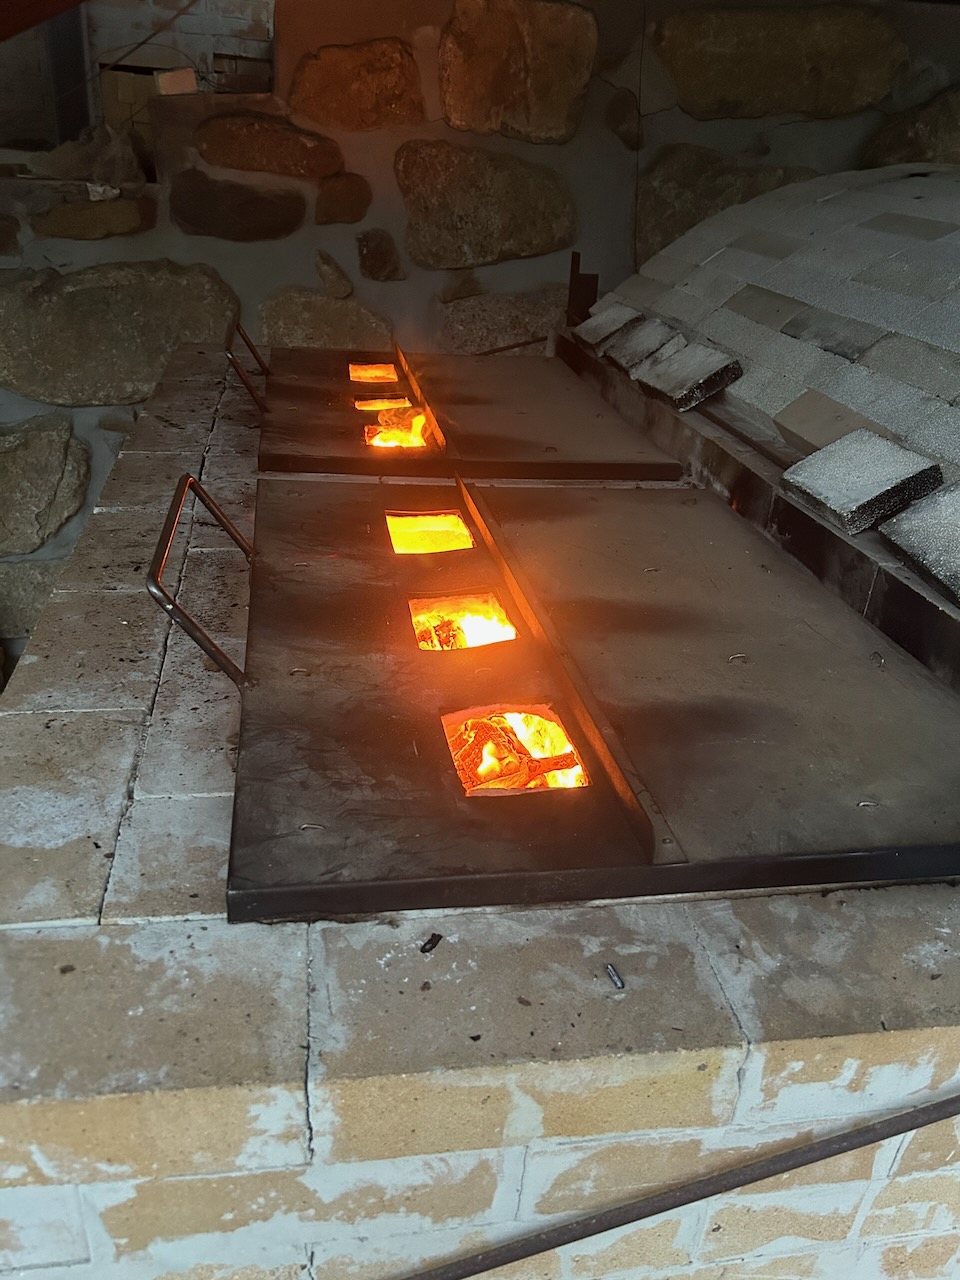
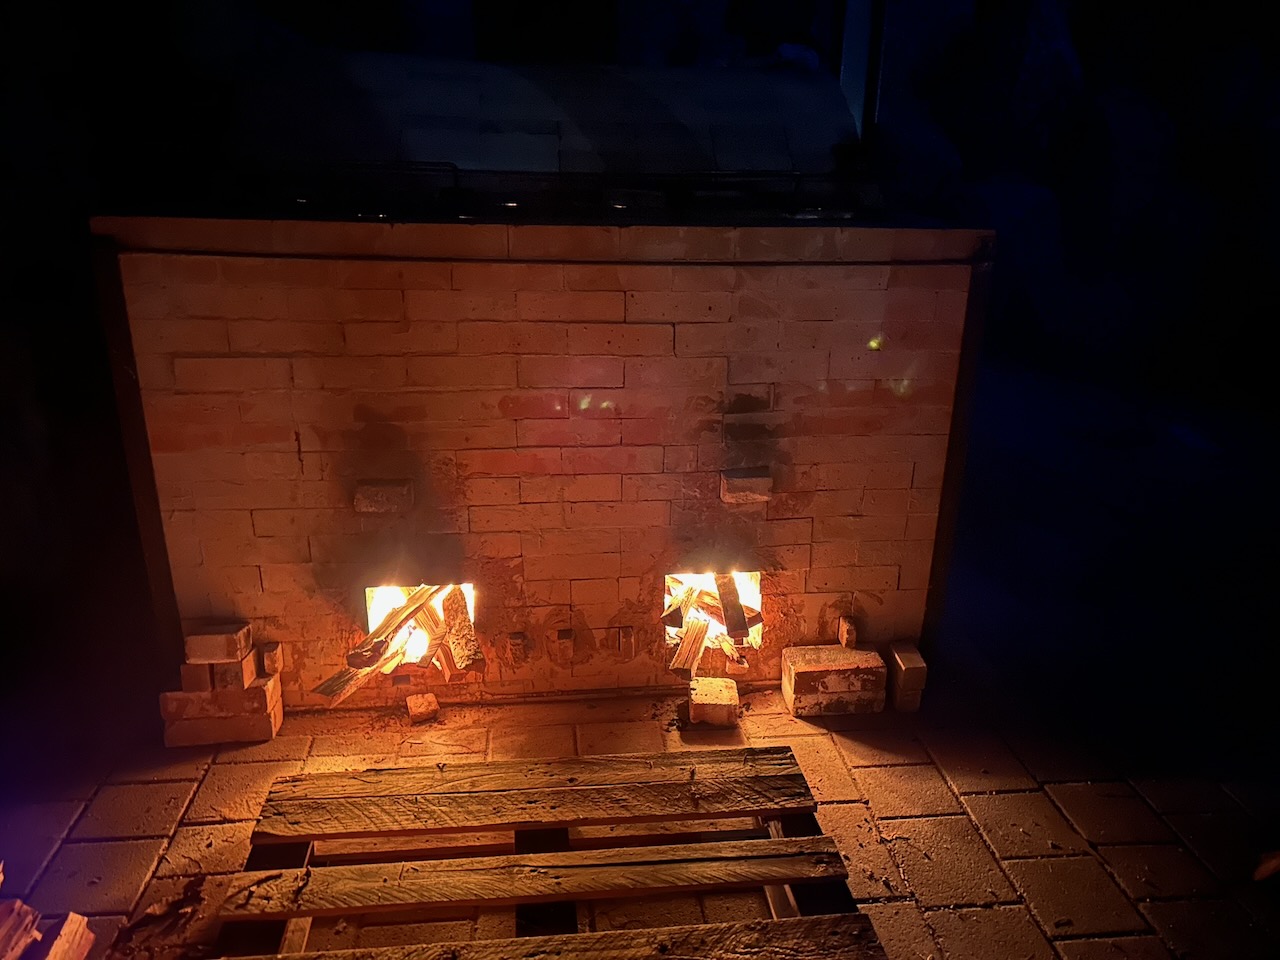
So there is a story here. This is a story of muted ambition. Of managing expectations, and keeping a clear vision of what is possible in making an interesting jar. Working in an environmentally sensitive way. Firing my kiln without smoke, and with minimal carbon pollution, but also of testing myself, going further, and living a commitment to an ideal. A dance between poetry and madness.
Was it some form of folly to decide to undertake this odyssey at my age? I could just as easily have made 50 porcelain jars at home, in my own studio, with more forgiving clay, much more conveniently and comfortably, in my well equiped studio, surrounded by my partner, friends, garden and chickens. I could have fired those home made jars using my own solar power in a much more sustainable way. All reliable and well understood techniques, equipment, clay and studio. Totally safe, with little challenge, but where is the poetry in that? It helps, I think, to live a little bit closer to the edge, to experience new insights, motives and perhaps just a little bit of madness? In doing so, I think that I might have just discovered the grit in the oyster?
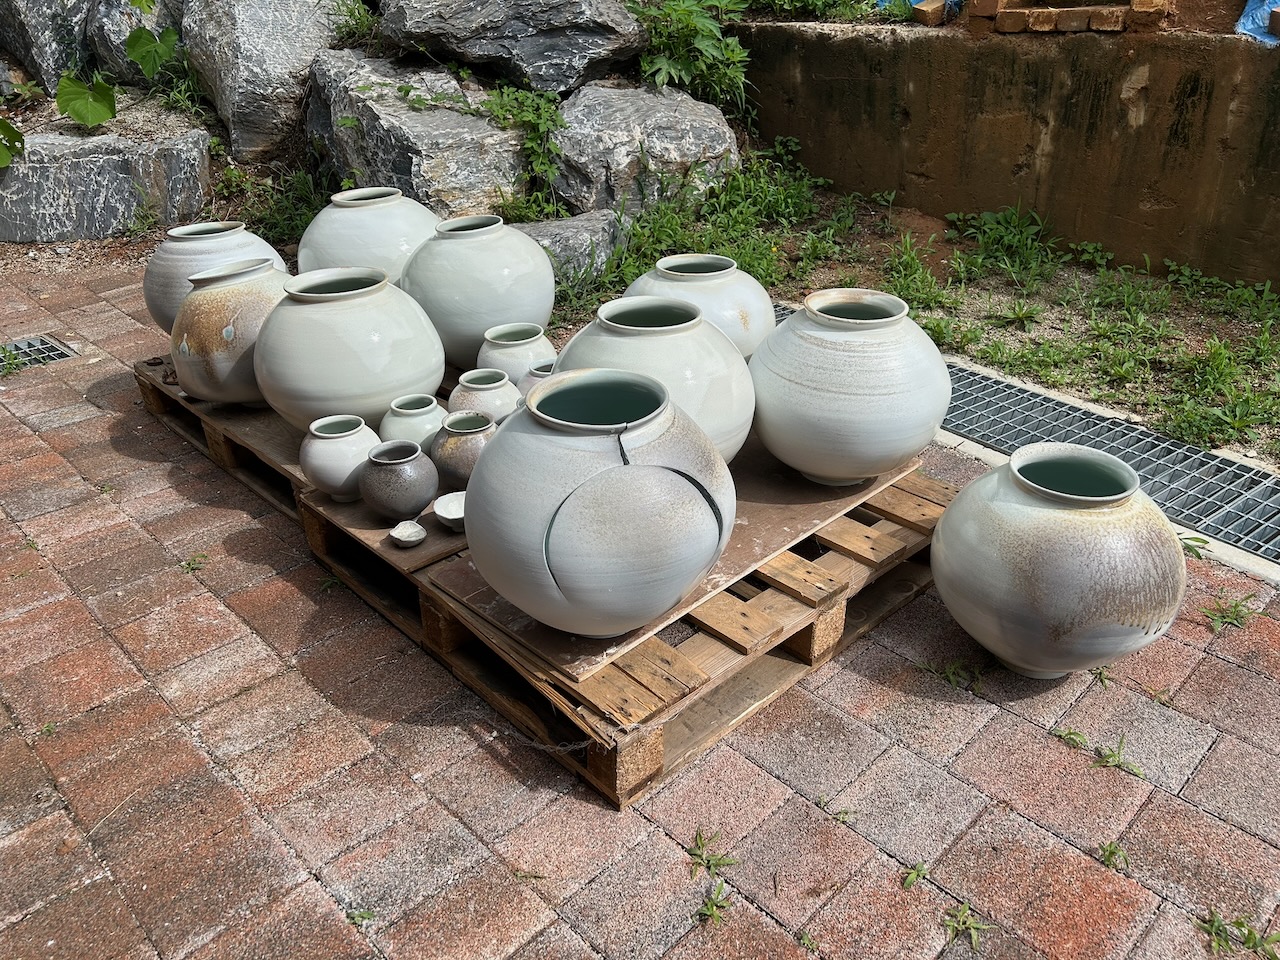
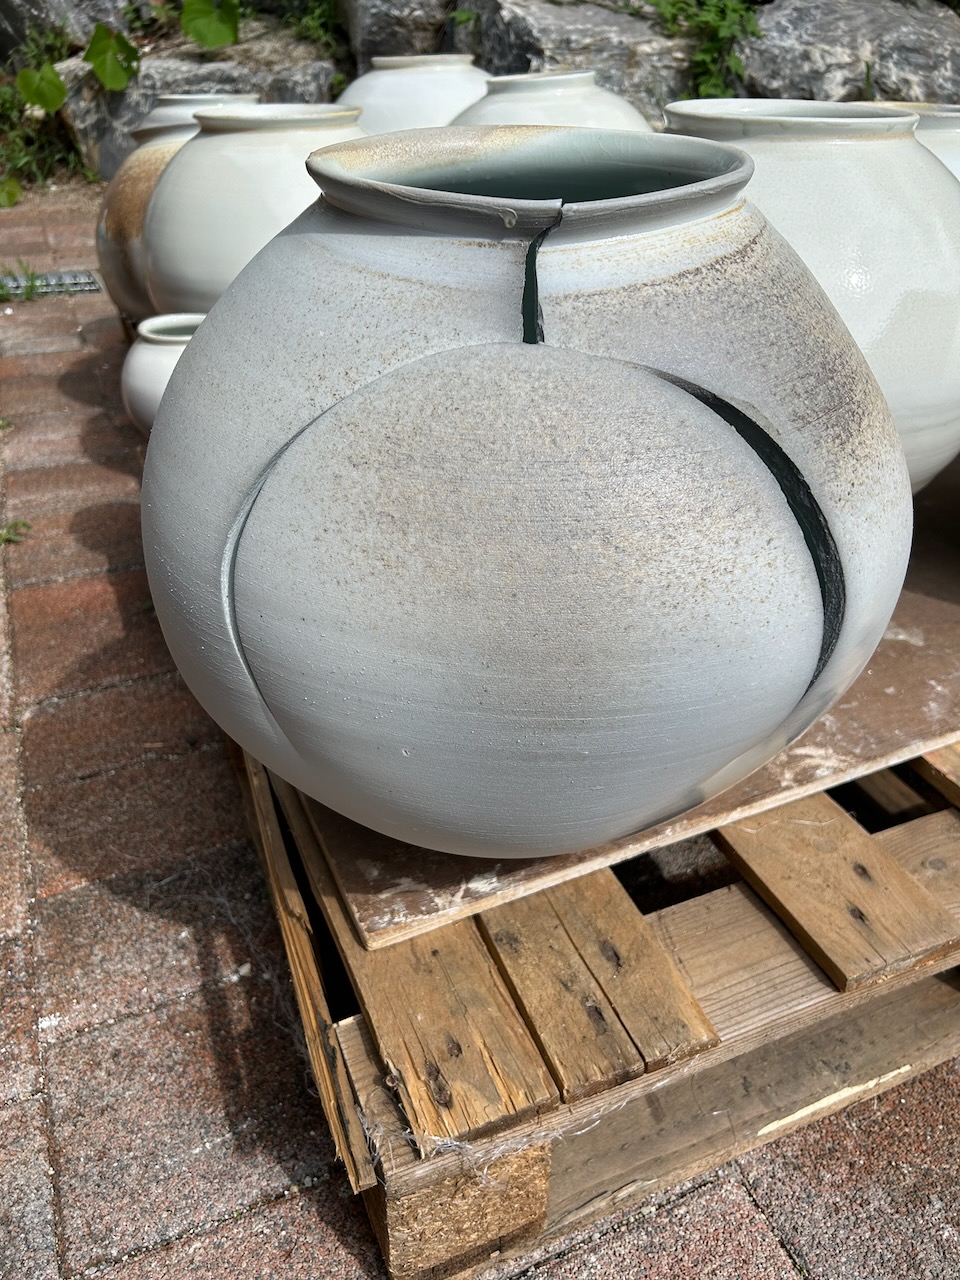
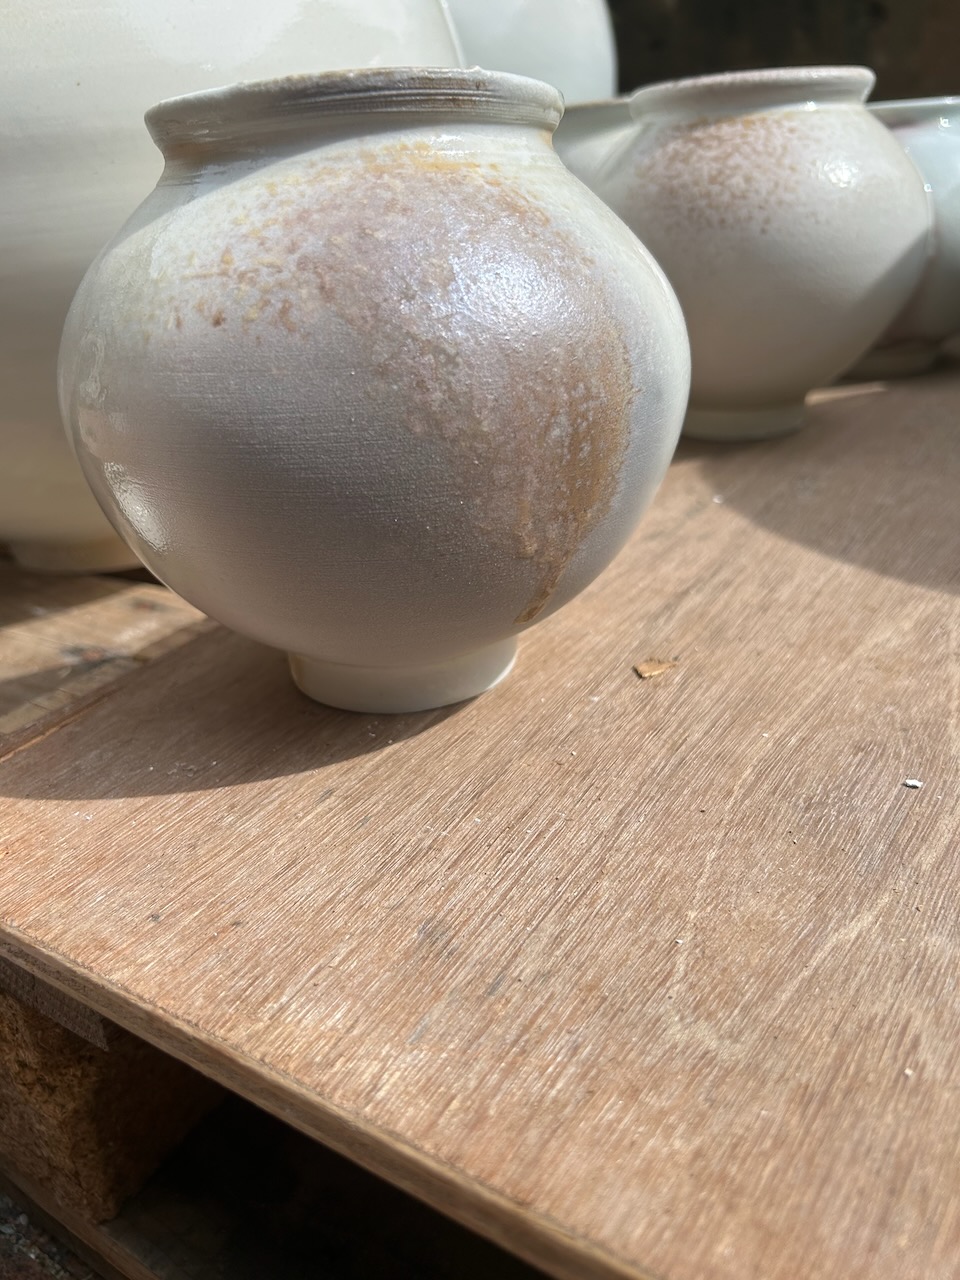
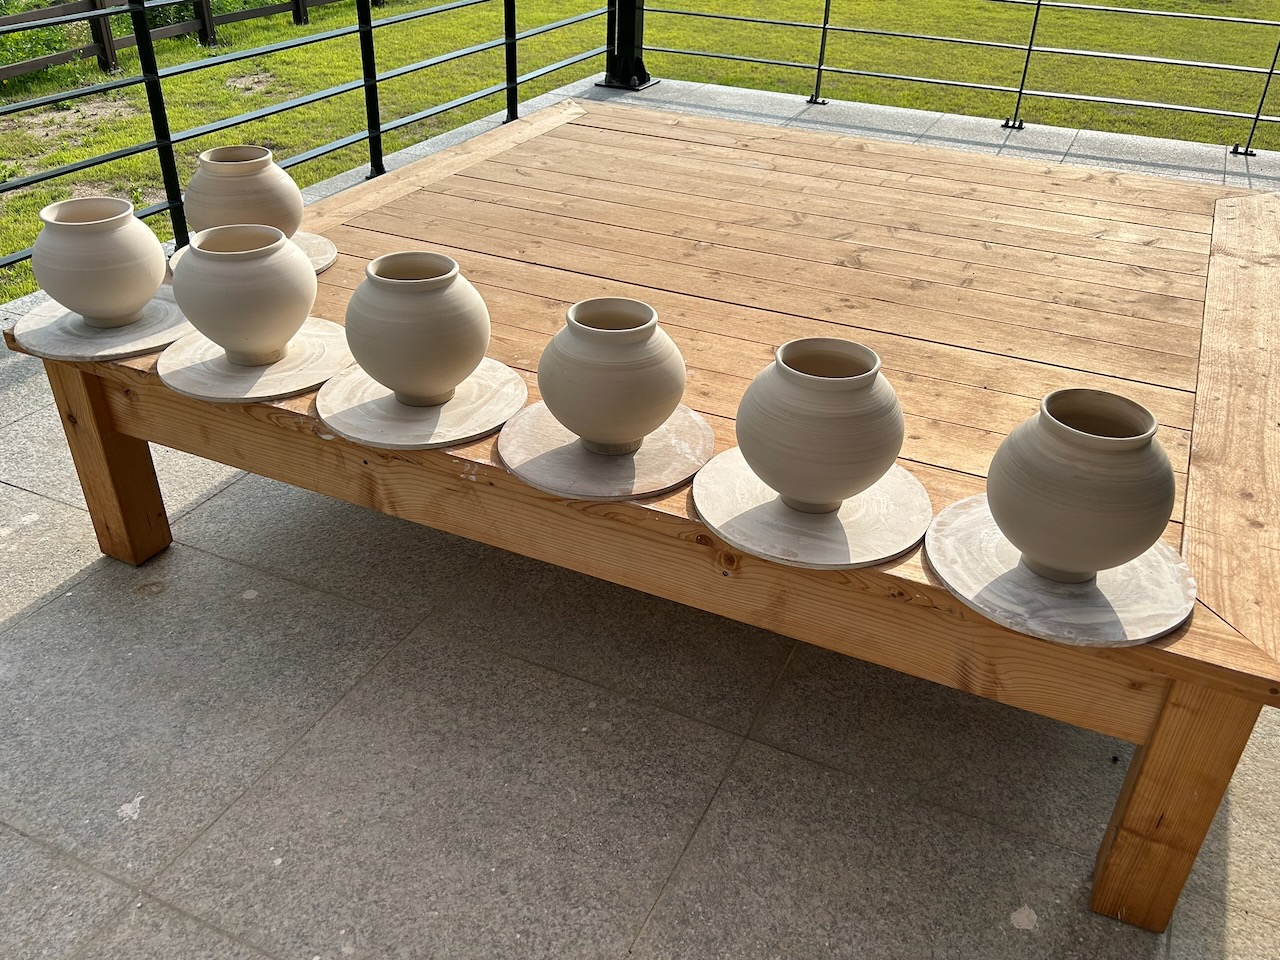
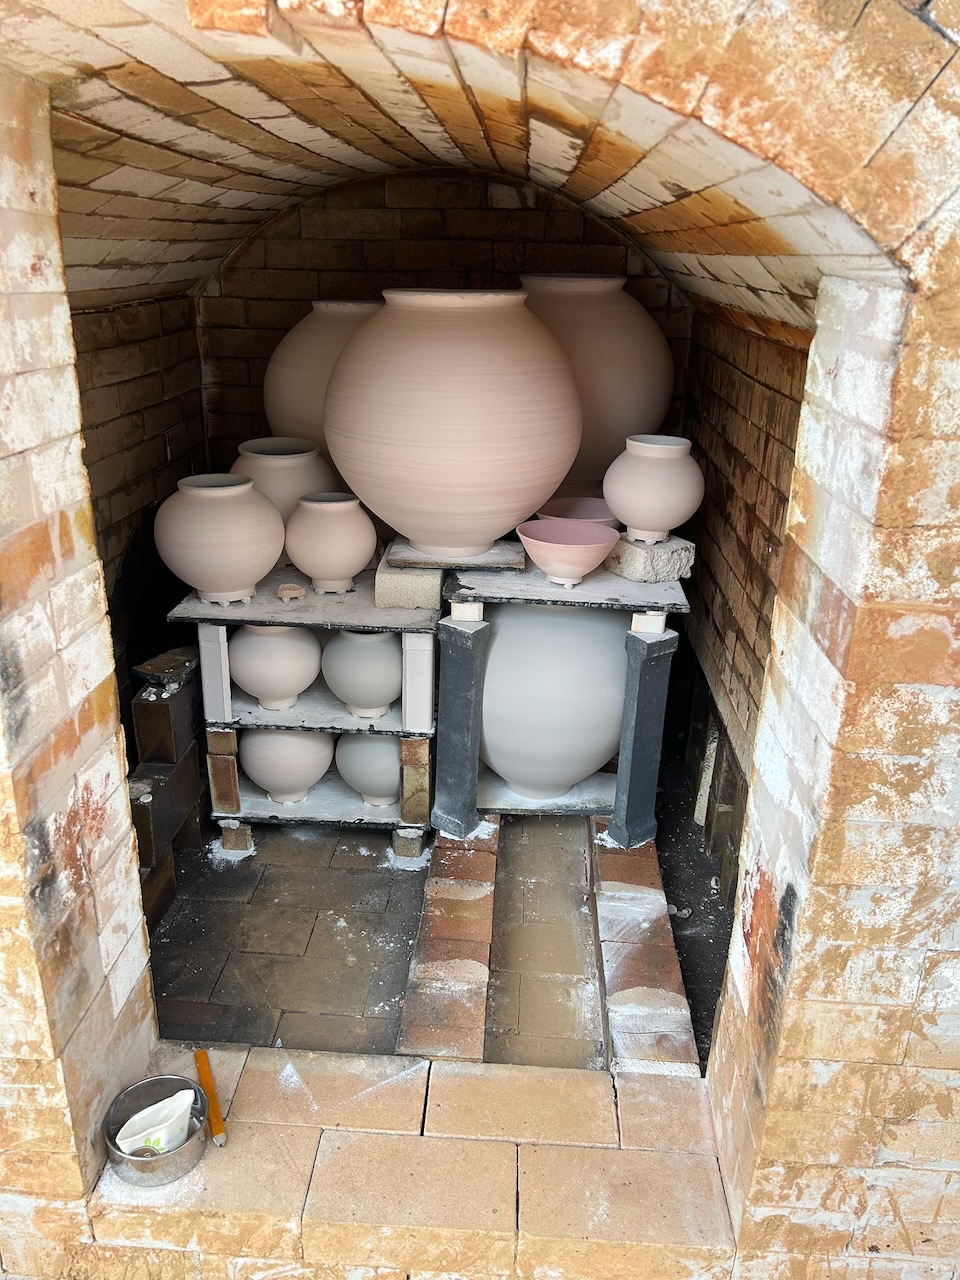
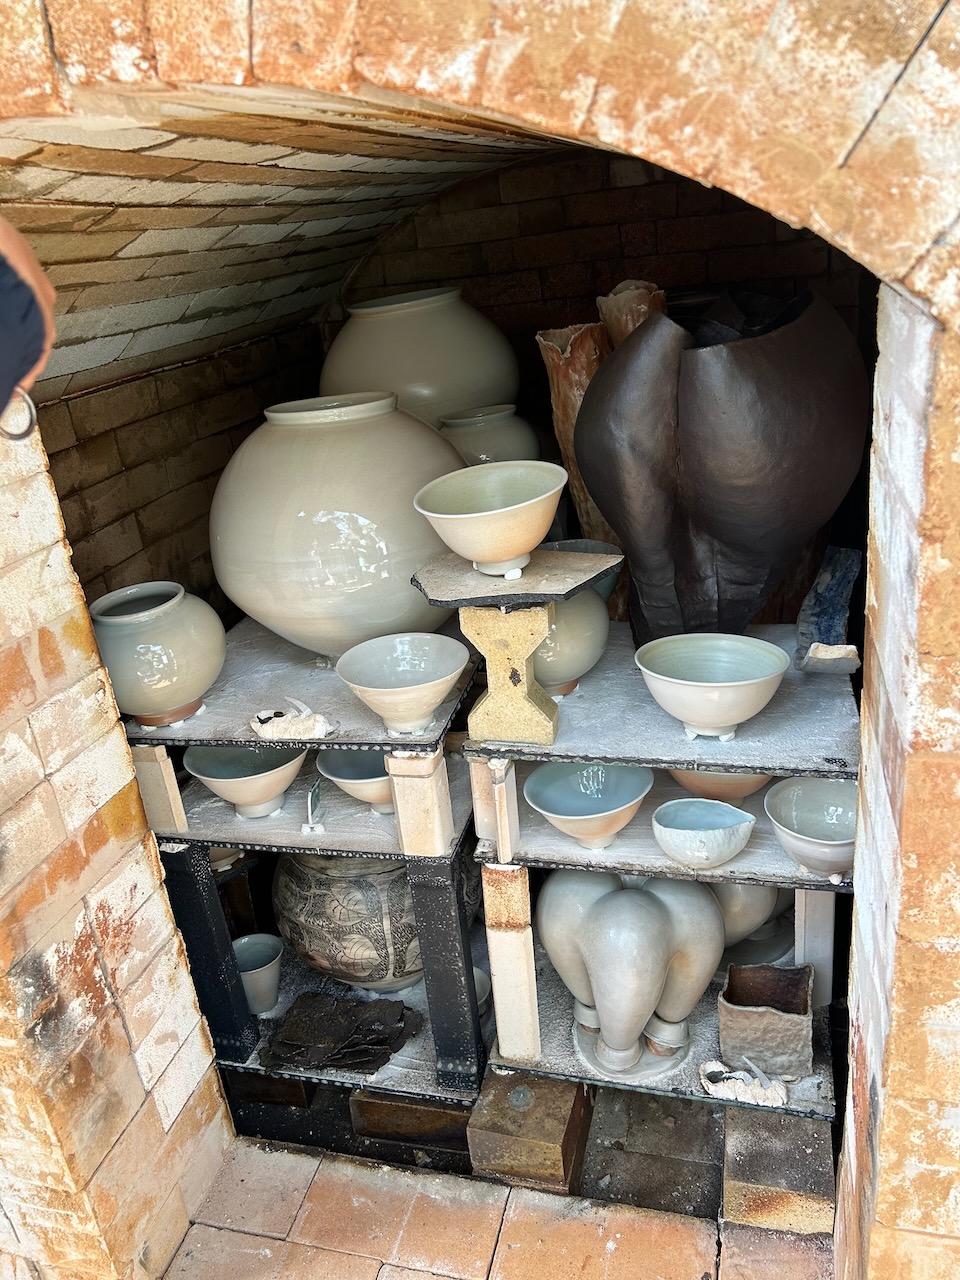
Below, A selection of jars that will be on show here in the Porcelain Museum Gallery from 16th of October to 31st of December.
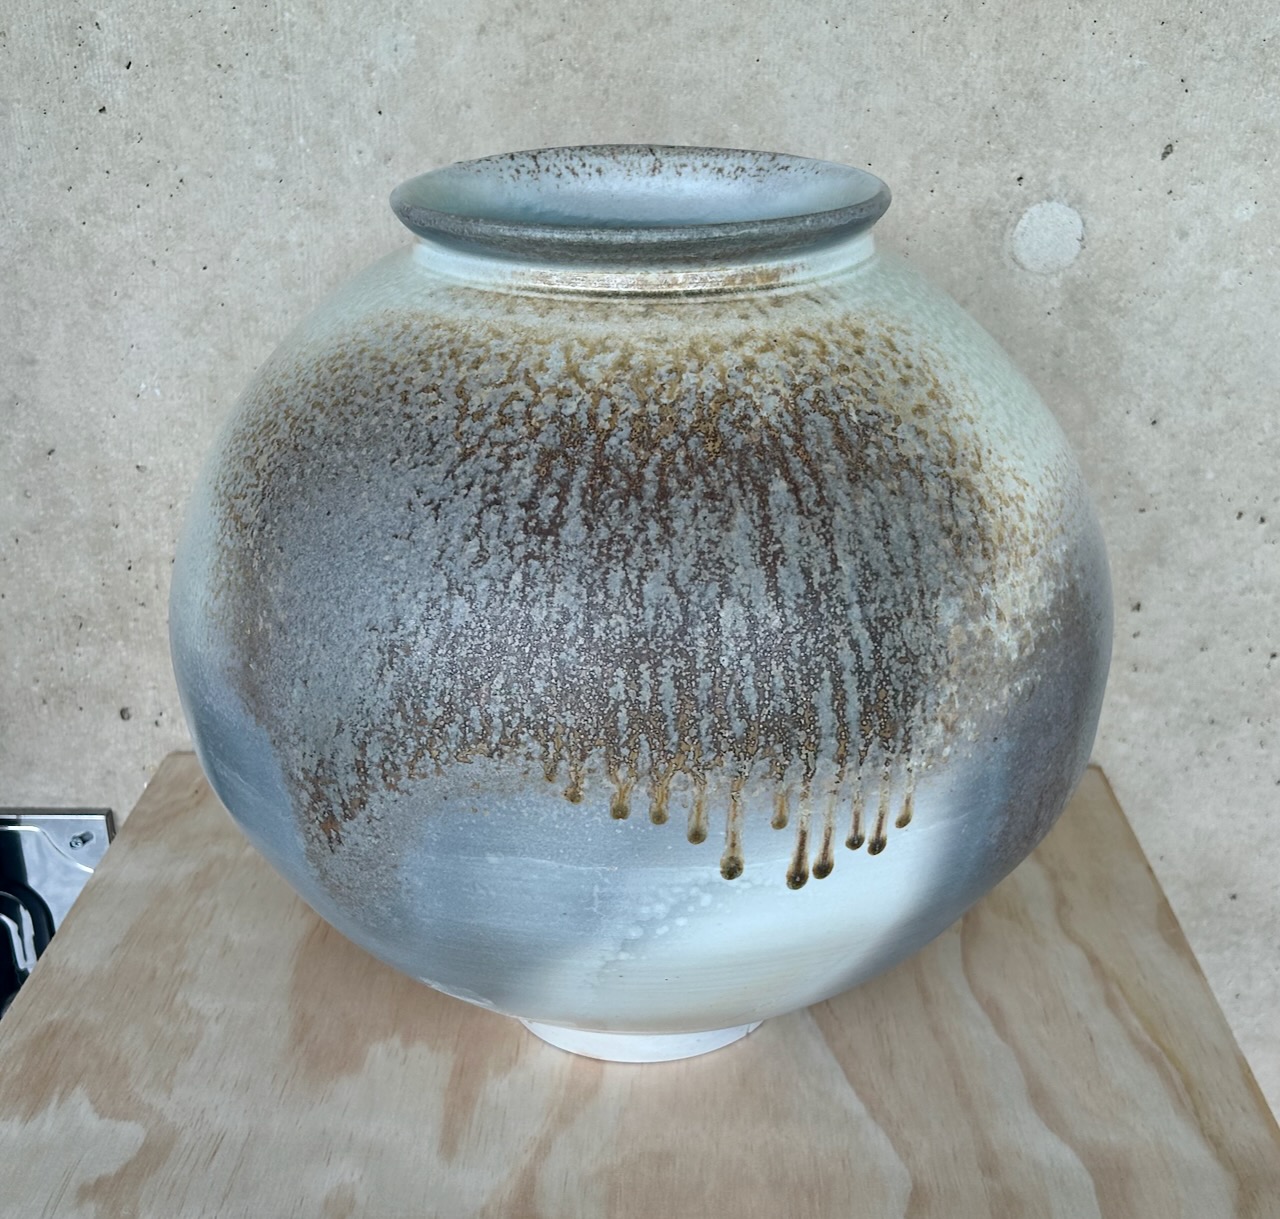
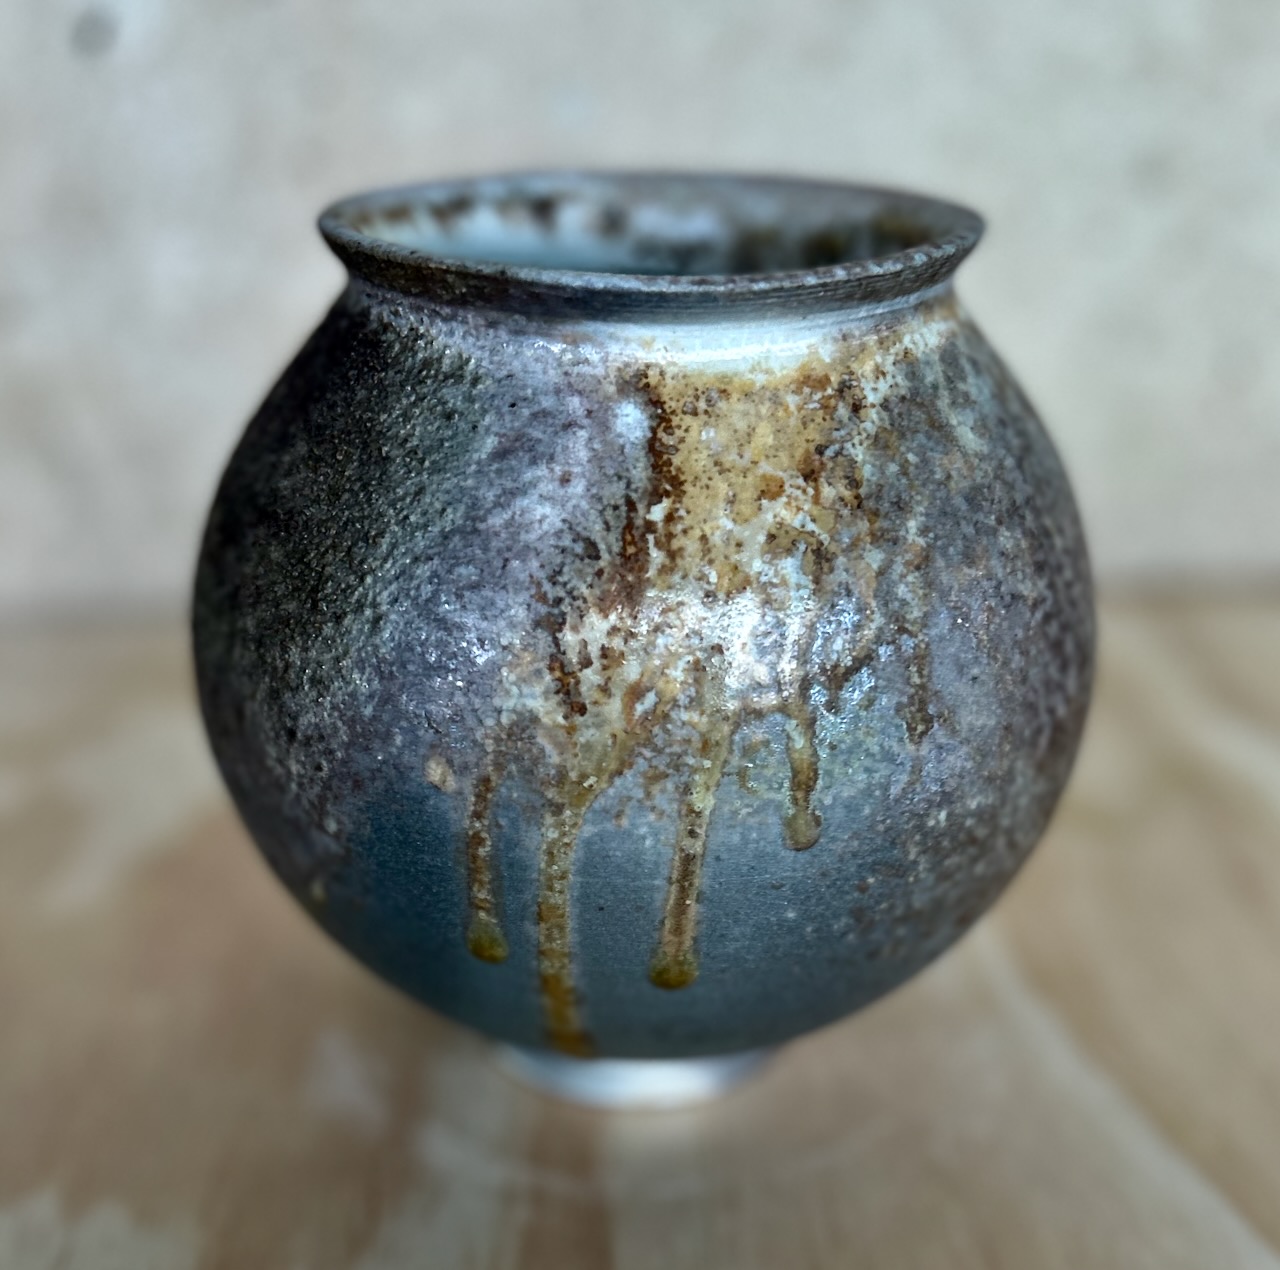
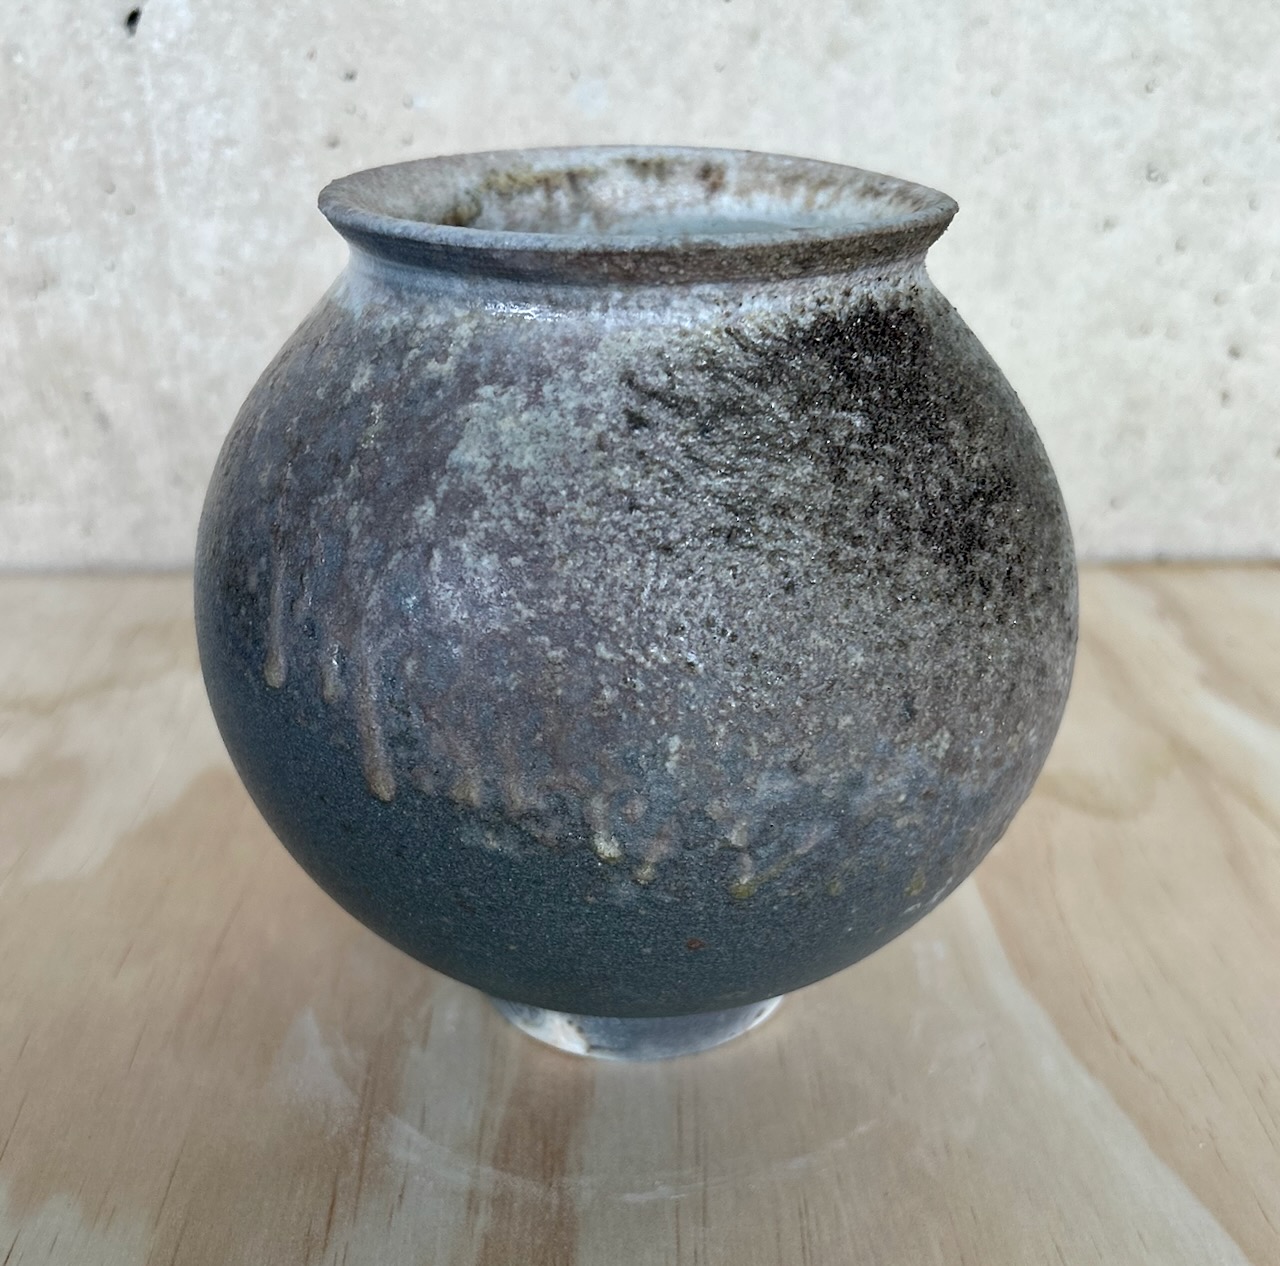
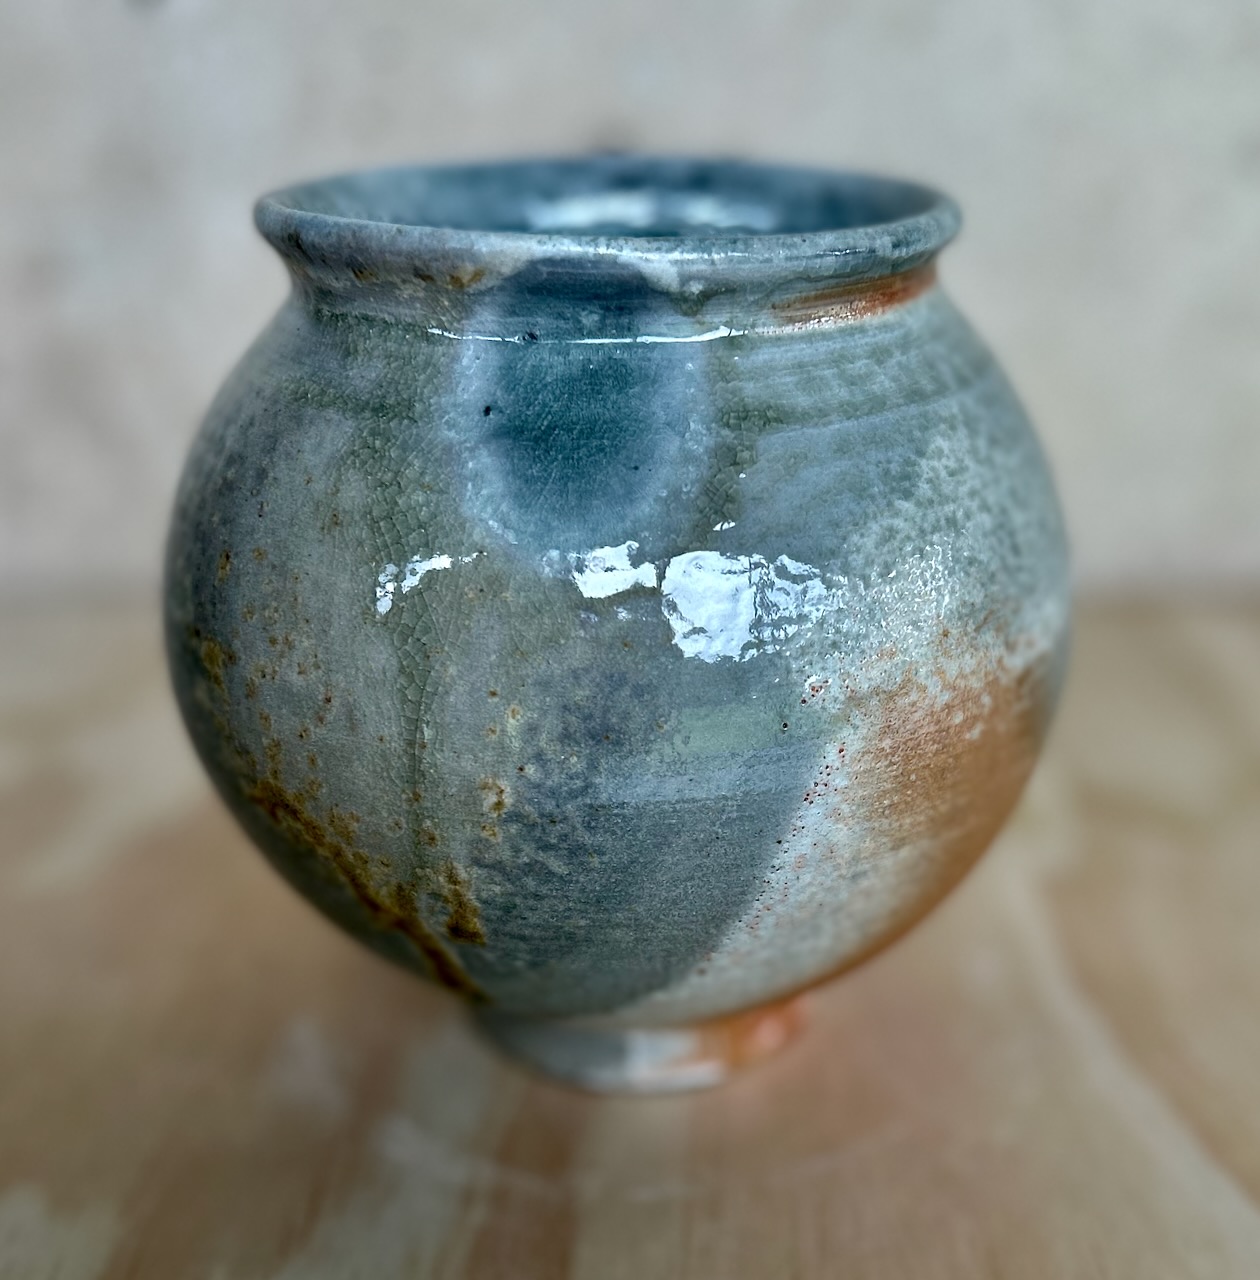

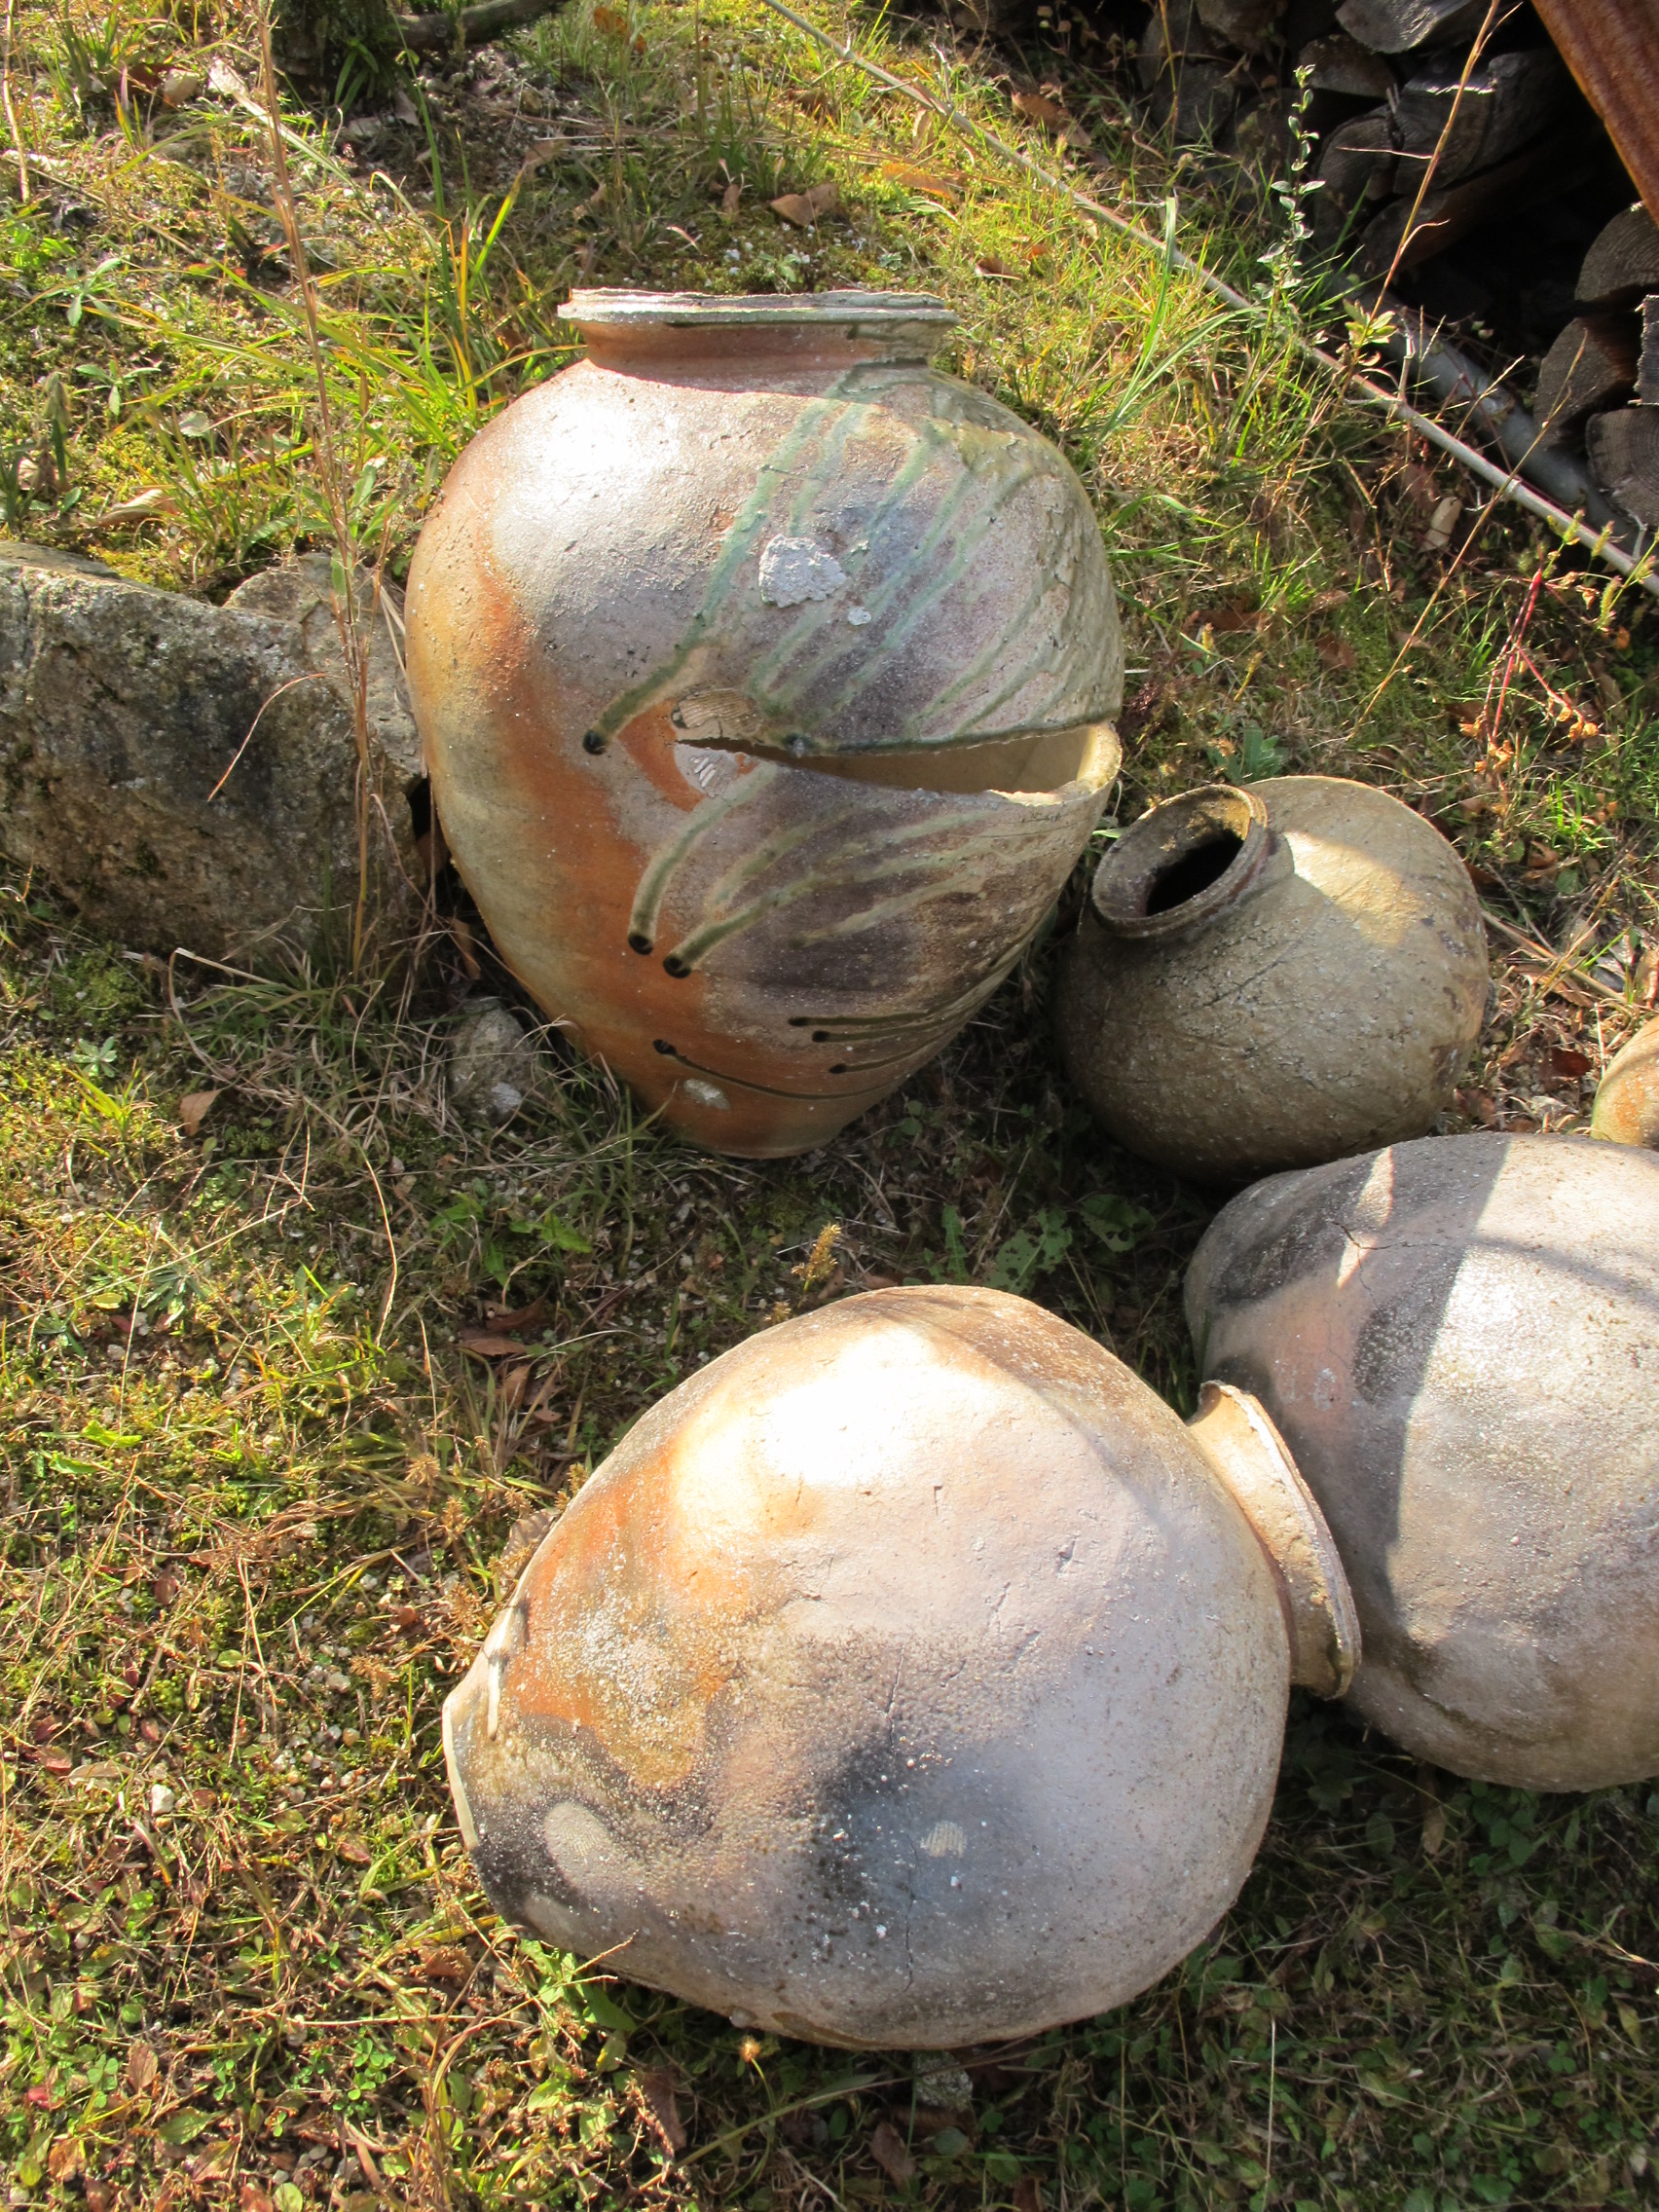
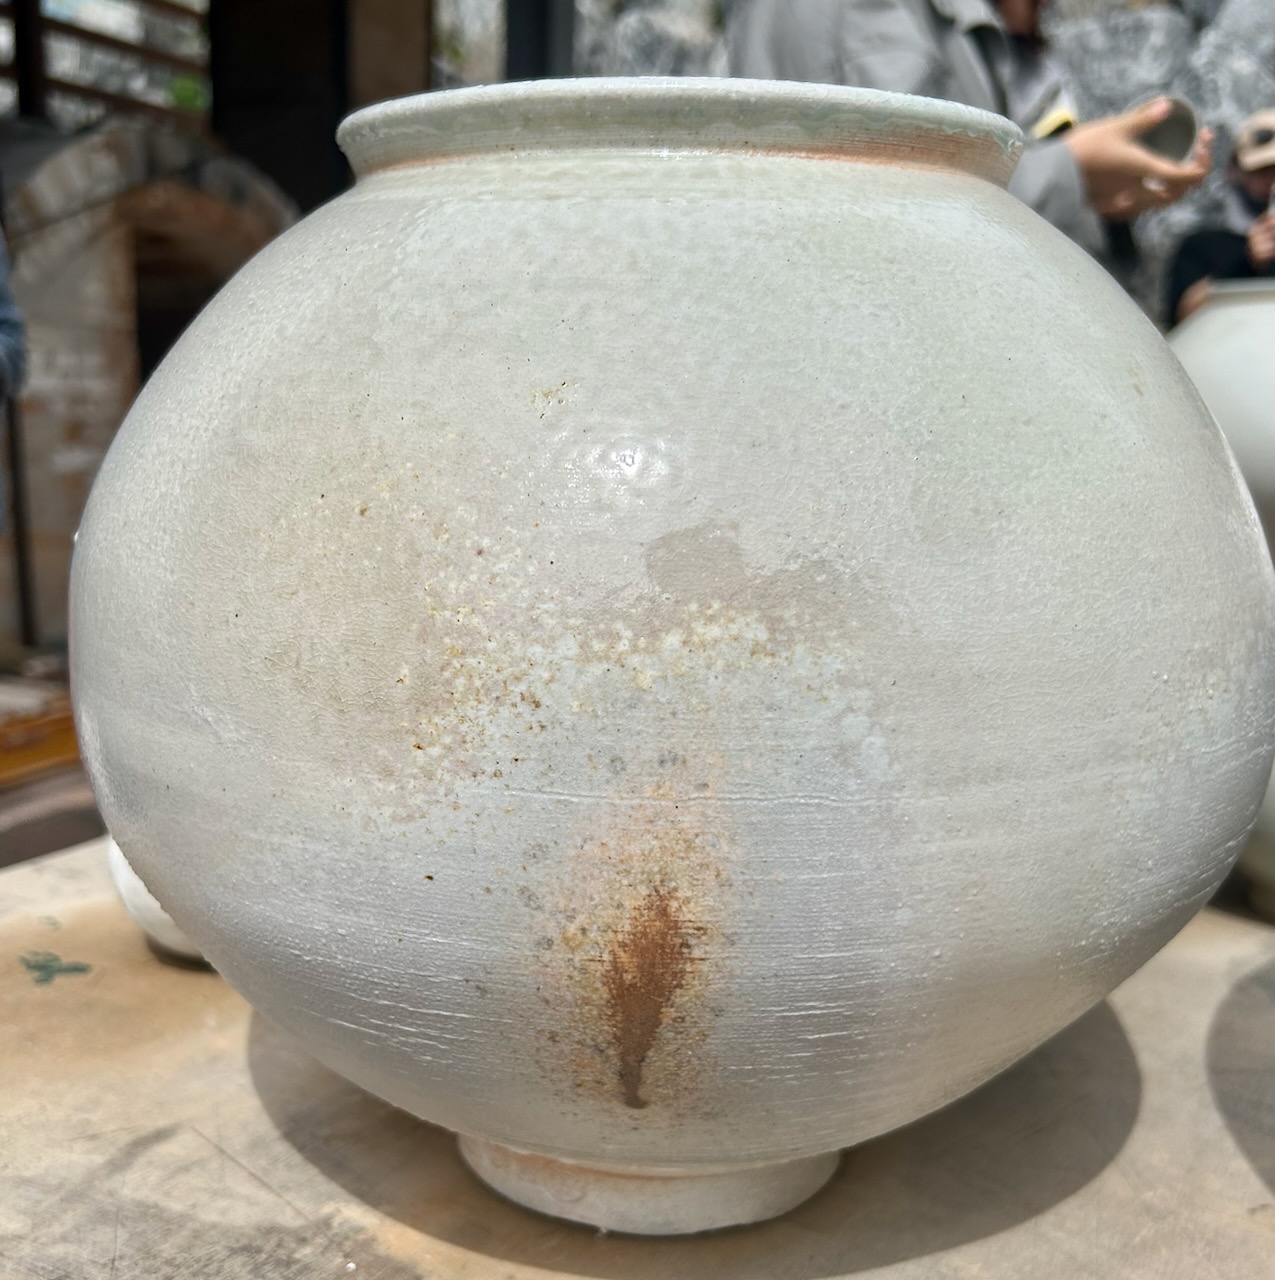
Hardly a perfect, pure white, porcelain sphere in sight, rather a collection of grey, black, mauve and yellow ash glazed, wood fired jars that reflect my aesthetic choices. No one will accuse me of copying, or stealing National cultural property.
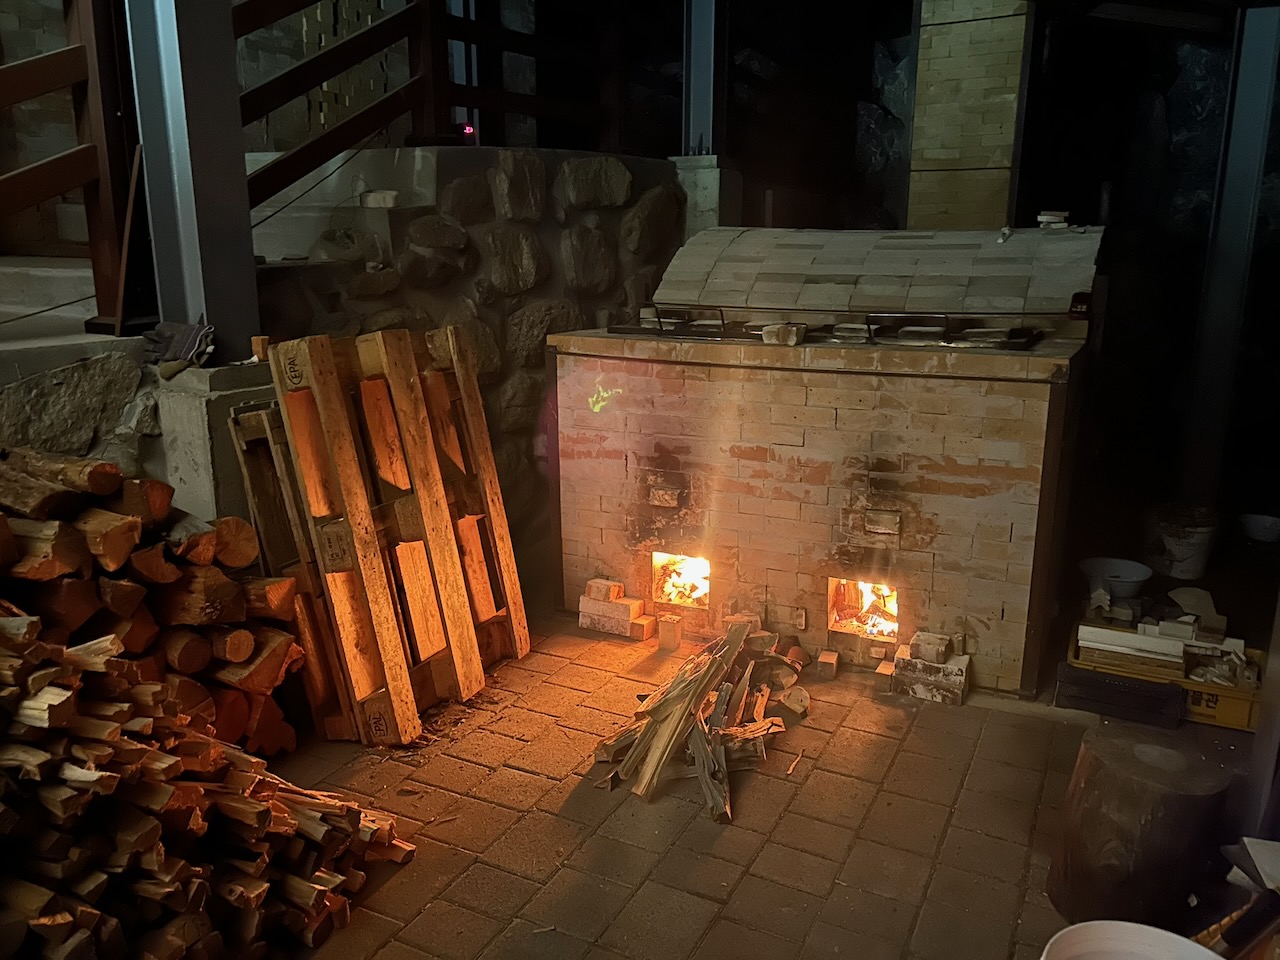
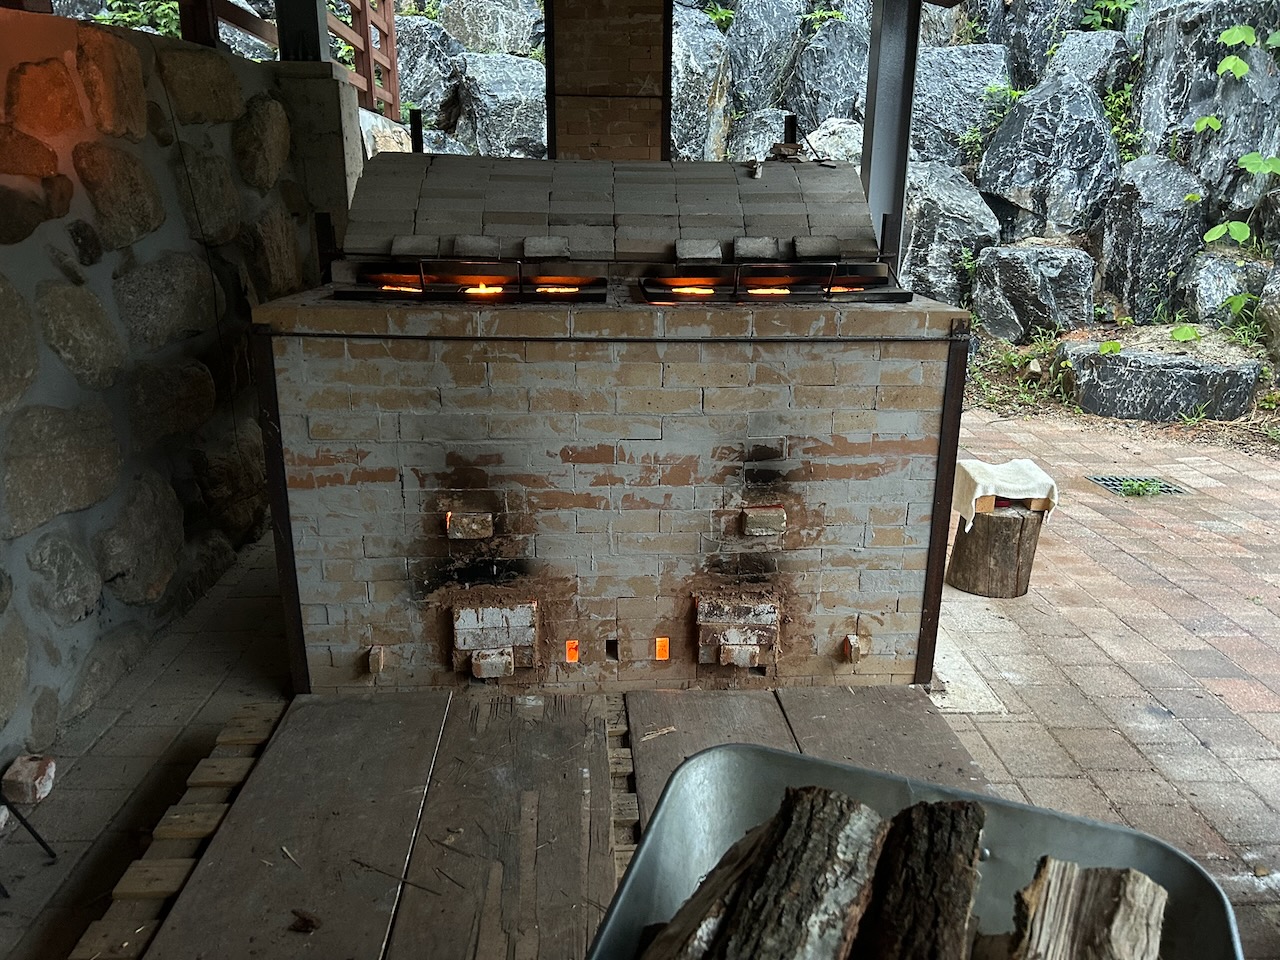
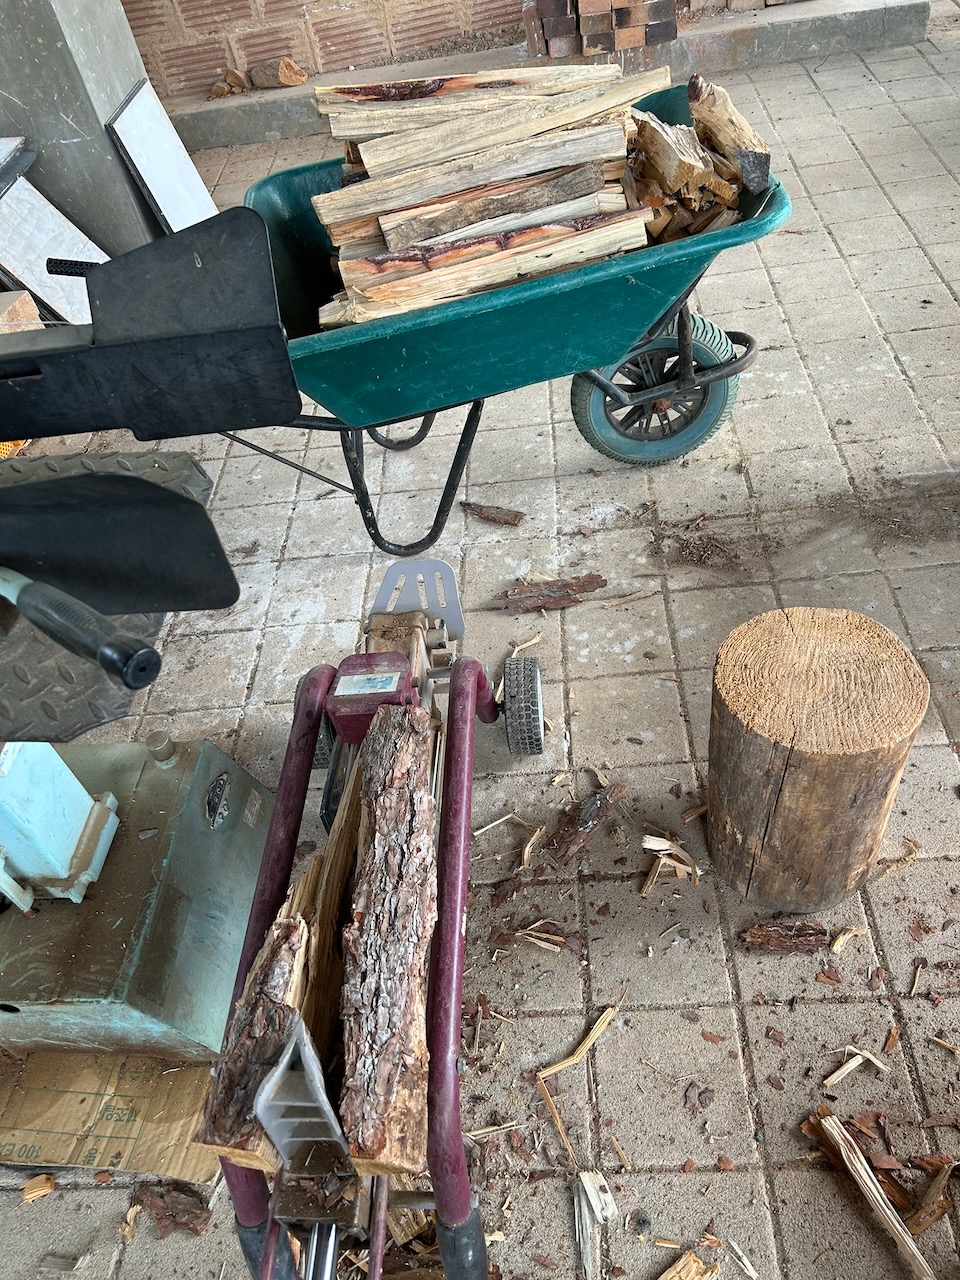
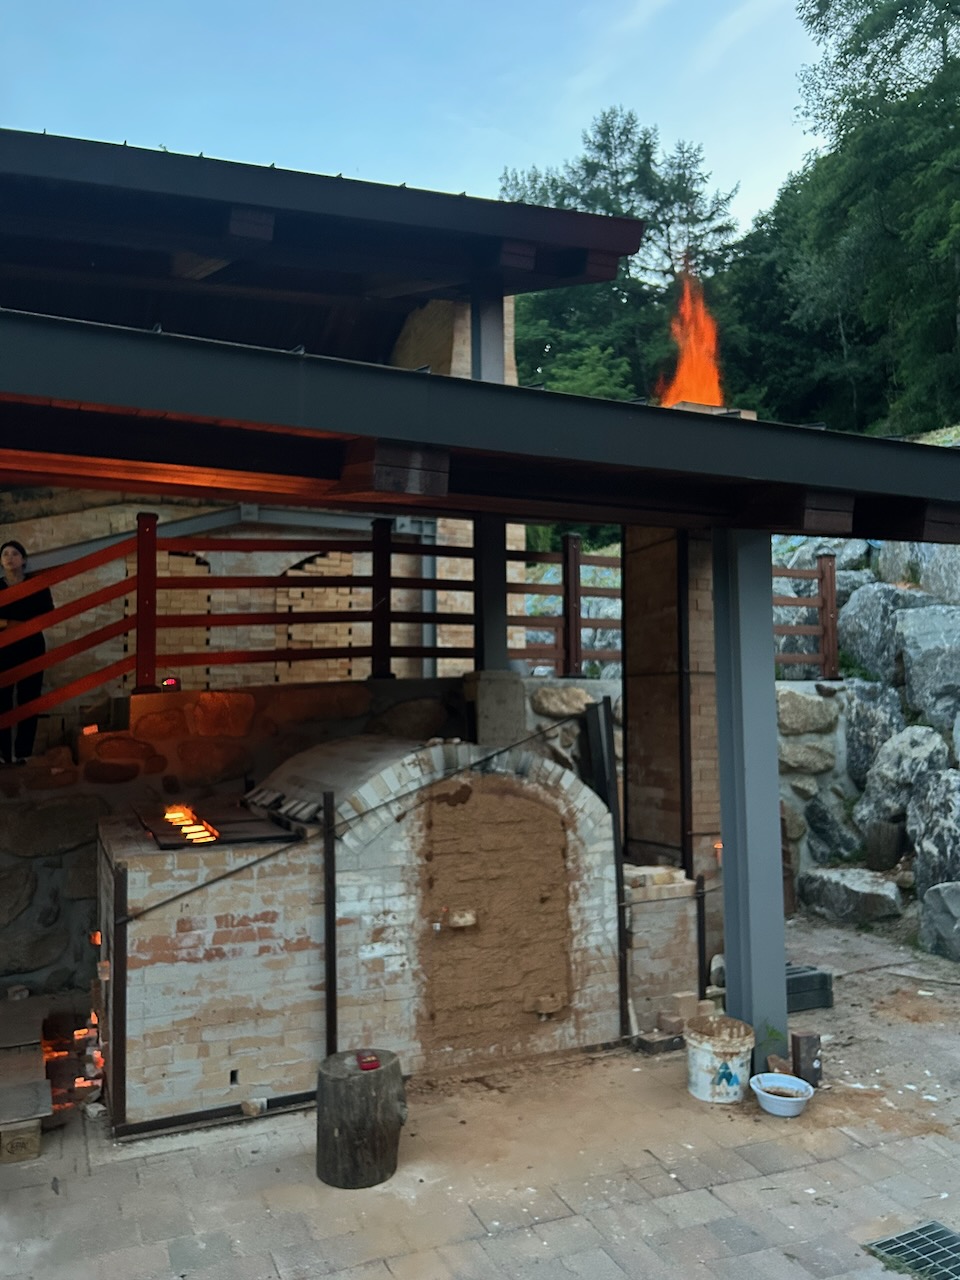
I did 3 firings. 14hrs, 19 hrs and 30 hrs, in my ‘Bourry box’ kiln. A satisfactory outcome I think.
Funnily, Looking at this collection of jars with their naturally ash glazed surfaces, I see a lot of influence from my friend Svend Bayer. I hope that he is not offended by that comparison. I do know that he was quite influenced by his visit to Korea earlier in his career. Perhaps Korea is the flux that has brought our two very distinctly different approaches closer together.
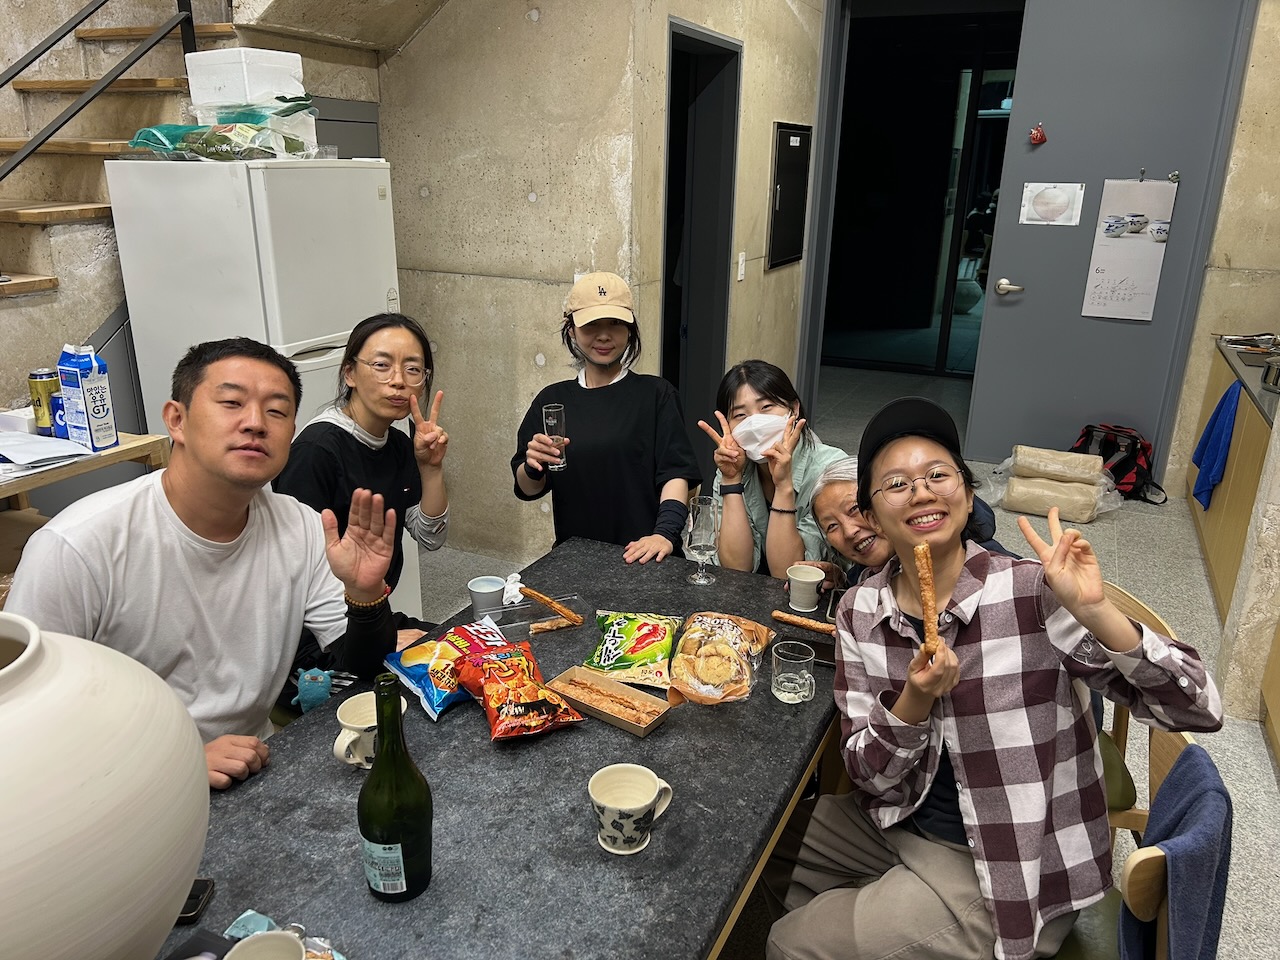
I fly out in 3 days, just enough time to clean out my fridge and studio, mop and scrub everything into submission, have a farewell party, then hop on the bus.


You must be logged in to post a comment.