
The Winter Solstice has come and gone and the days are going to start getting longer and the nights shorter, but the coldest part of the winter is probably yet to come.
We had a crackerjack frost a few days ago, Everything so shimmering silver/white. This mornings frost was much more mild, with just a light dusting of white in the open spaces, less so under the bare branches of the cherry trees in the Chekov orchard. The winter is really just starting, so there will probably be a few more frosts yet where that came from.
In the evenings, as there is nothing worth any attention on the idiot box. I have started to repair another pair of jeans.
These jeans are about 4 or 5 years old and the front of the thigh part has worn through. That is the most usual place for wear for me. They were the cheapest brand of jeans.
I had already replaced the pockets with some excellent, robust, pale yellow, linen cloth that should outlast the original flimsy thin cotton that wore through in just two years. Initially in the pocket where I carry my car keys, but then the other pocket as well, just after that. Then it was the edge of the pocket where the new linen lining meets the blue denim.
I reinforced that edge with some red Japanese silk, It look great when it was fist done, but it isn’t really up to it, and is already starting to wear through, so will also need to be redone in the future.
This time I added a front panel of indigo dyed cotton that I bought in the markets in Kyoto a few years back.
Every time I go to Japan, I keep my eye out for street or temple markets where I can find lengths of indigo dyed, or other interesting old fabrics. These are usually some old piece of clothing that someone has unpicked. The hems and loose threads along the edges where they were stitched together are often still visible. Much of this old cloth was woven on small looms in bolts that were only 13” or 330 mm wide. The clothes were assembled by stitching these long thin strips together, to get a wider fabric.
It is an interesting phenomena that cloth dyed in indigo does not rot easily, nor is it eaten by bugs. It seems to last for ages. It certainly makes good patches for work wear like shirts and jeans.

This pair will be good for another 5 years if I keep up the maintenance. The pair that I’m currently wearing to work in the pottery are over ten years old now and still going OK. They have patches on the thighs and knees, as well as new pockets.
My woollen jumper was new in 2004, or 2006. I can’t quite remember. It has quite a few patches of repair, where I have darned the holes where moths have eaten through it, or sparks from welding spatter, or possibly damage incurred during stoking the wood kiln have made holes in it. They all get mended in what I think is a complimentary colour to make a colour spill pattern. It’s a work in progress, It’s 16 or more years old and still very warm and wearable. I like to make things last. i never want to throw anything out until it is really worn out. Repair and reuse, before finally recycling.
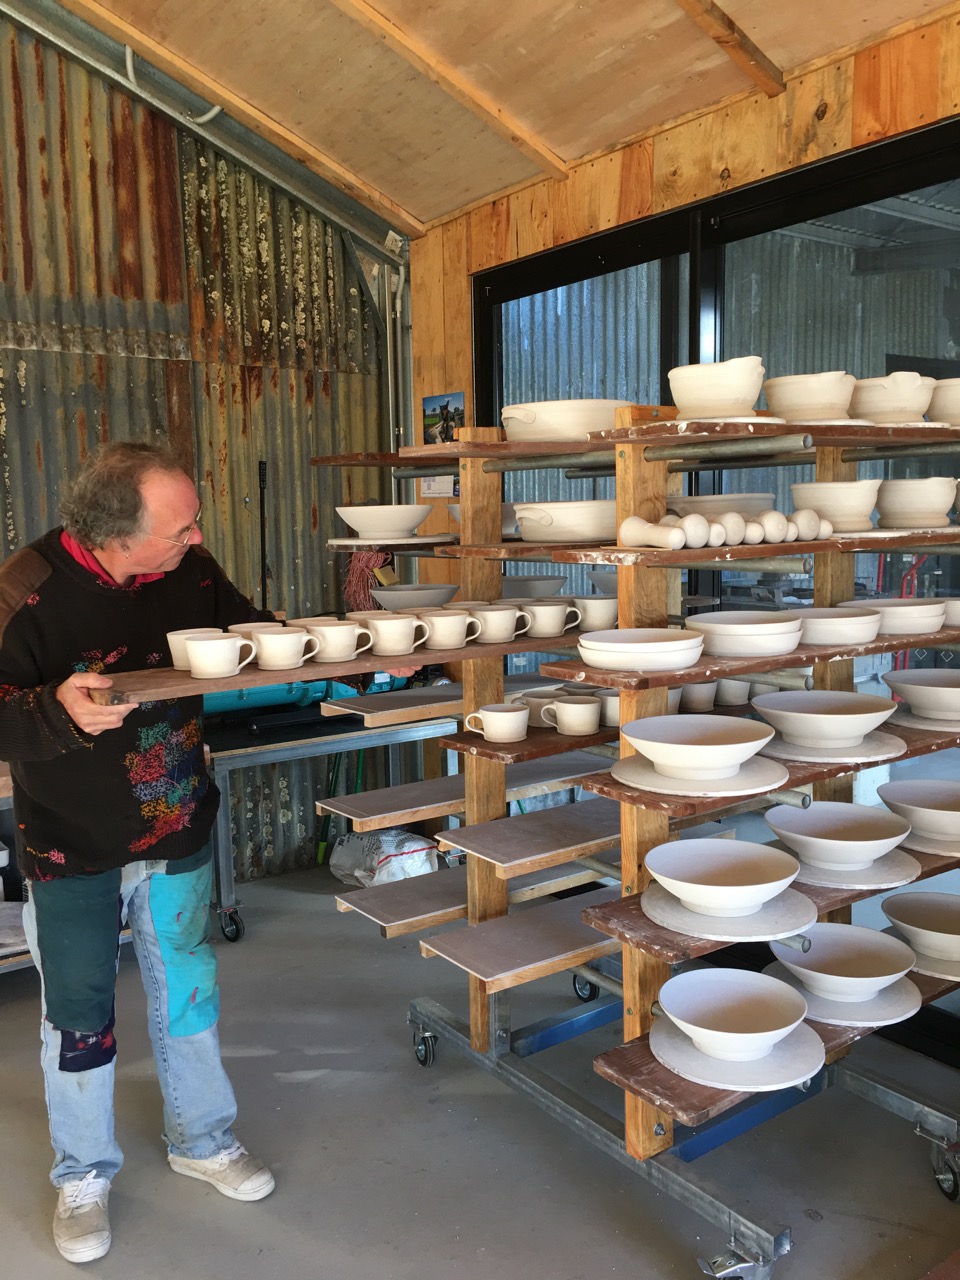

I just took a selfie of my Sunday morning jeans. I never take selfies. This must be the first time I’ve put one up on this blog. I’m dressed up to receive some very good friends for Sunday lunch, so I’ve got my best pair on. I’ve been working on these jeans for many years now. I still work in them, but this morning they are straight from the wash and are lovely and clean and suitable to welcome our close friends in. I wouldn’t wear them to try and pass through customs in. But my friends know and understand me. They won’t be affronted.
Actually, I think that work like this is verging on Art. If not a work of art, then its certainly involves some aspect of creativity. I don’t just slap on ‘iron-on’ patches from a sewing shop. I mix and match the patterns and colours to suit my mood and proclivity. Well, that’s my story and I’m sticking to it.

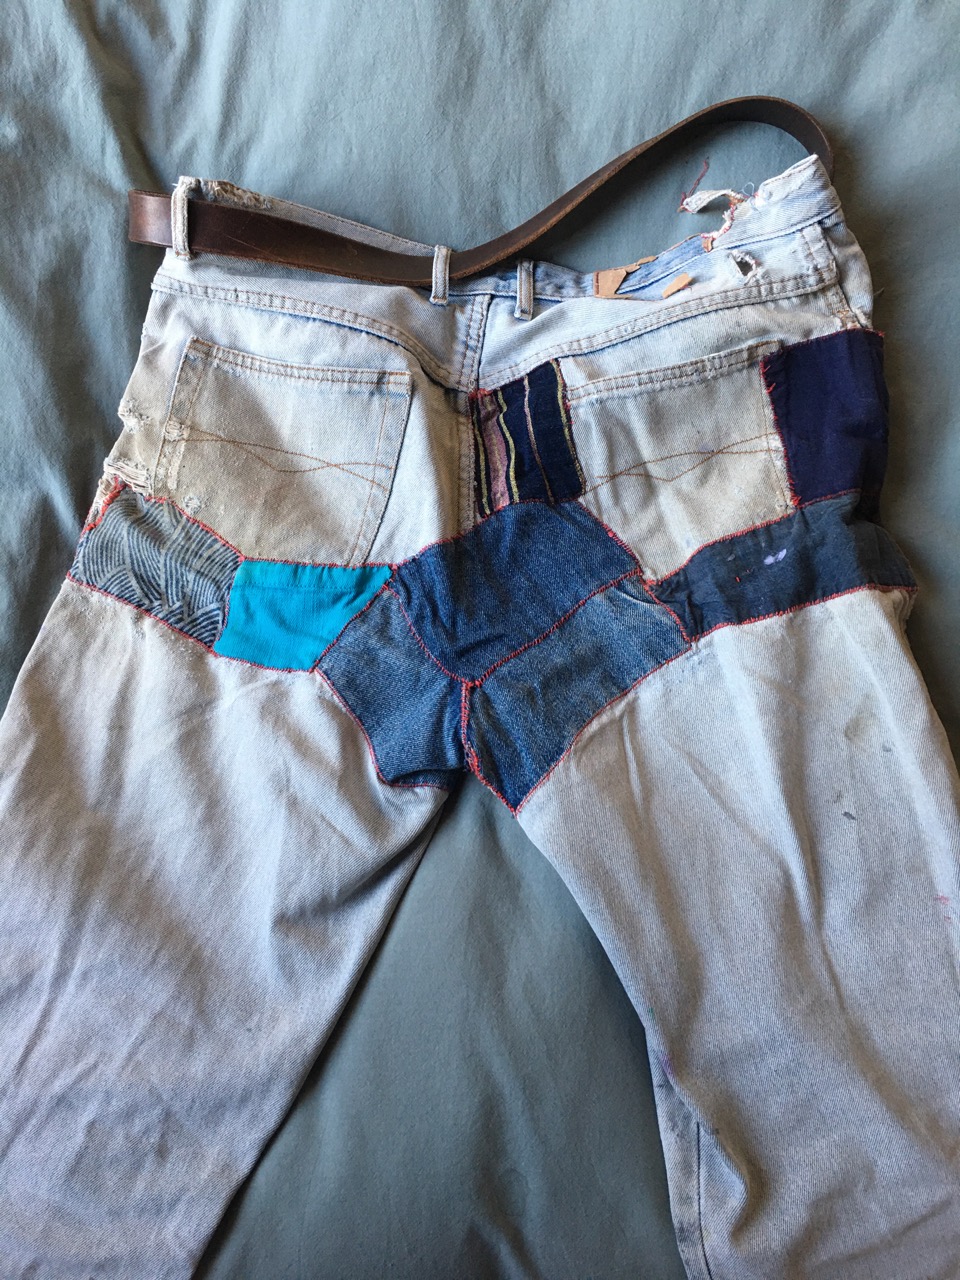
Even the arse end has some good work on it. This wear can be attributed to sitting on the wooden saddle-like seat of the ‘Leach’ treadle potters wheel. The slight swivelling/rocking motion of kicking the treadle with one lag seems to cause the butt end to wear out?
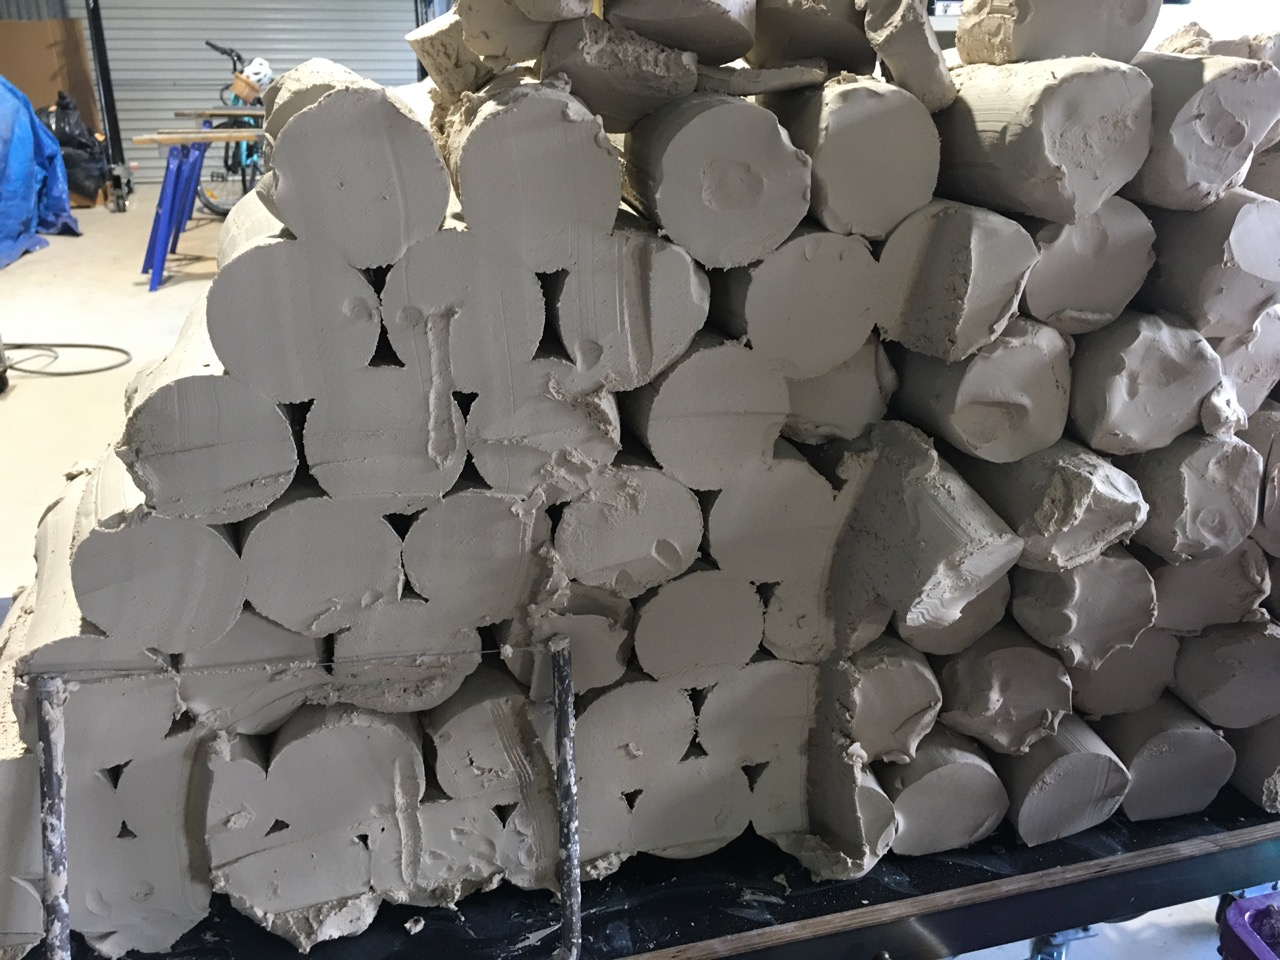
This last week we have made new batches of clay bodies to re-stock the clay boxes. I made a batch of the Mittagong halloysite porcelain from the mafia site.
This weathered stone is pretty well kaolinised, or in this case ‘Halloyositised’. This makes the stone somewhat crumbly and easily crushed, because the mica and felspars are broken down and weathered from igneous stone to clay-like substance, this causes the loss of some of the alkali fluxes. The stone can then becomes slightly clay-like and less stone-like. However, this creates a minor problem, because as the stone becomes more friable and easily crushed. It can’t be put through the jaw crusher, as the increased clay content causes the crusher to clag up and jam.
There are two options. The first is to calcine the stone in the bisque kiln and then it will become dry and brittle and easily passed through the crushers and ball mill, but this will completely eliminate the plasticity. So I only do this if I intend to make it into a glaze. If I want to make a porcelain body, I need to retain the plasticity, so the way to extract the clay fragment is to soak the sample in water and then stir it up into a liquid slip. This is called ‘blunging’. However, to make it smooth I need to pass it through a fine screen to eliminate all the unweathered stone fragments that are mostly mica, felspar and silica. In this case, I want all these minerals in the finished porcelain body to create the flux to make it melt and become translucent. This problem is solved by then ball milling the grit residue on the screen and then remixing to two together. This is a rather long and tedious job and I used to do this before I got a roller mill.
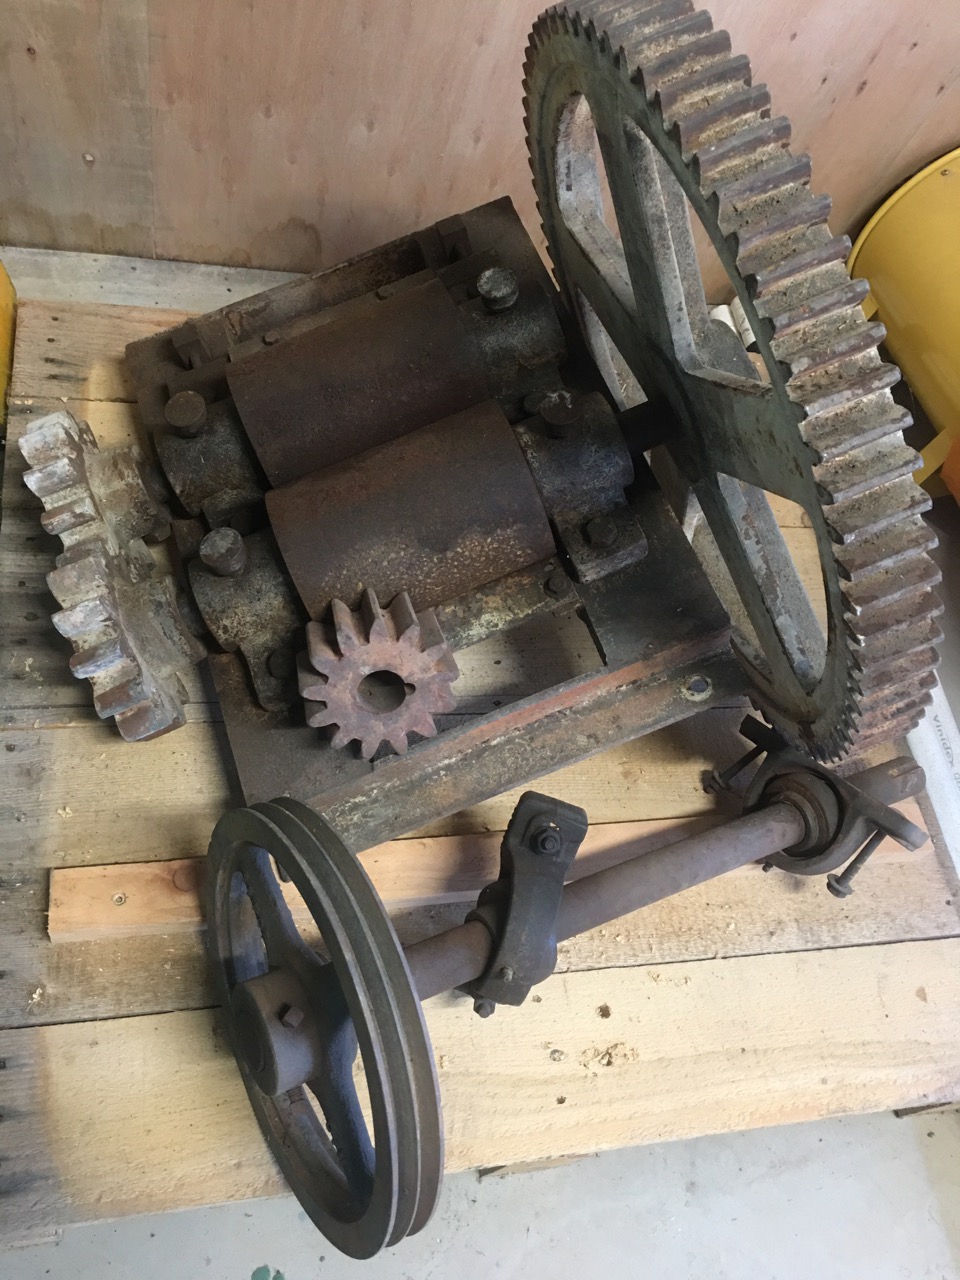
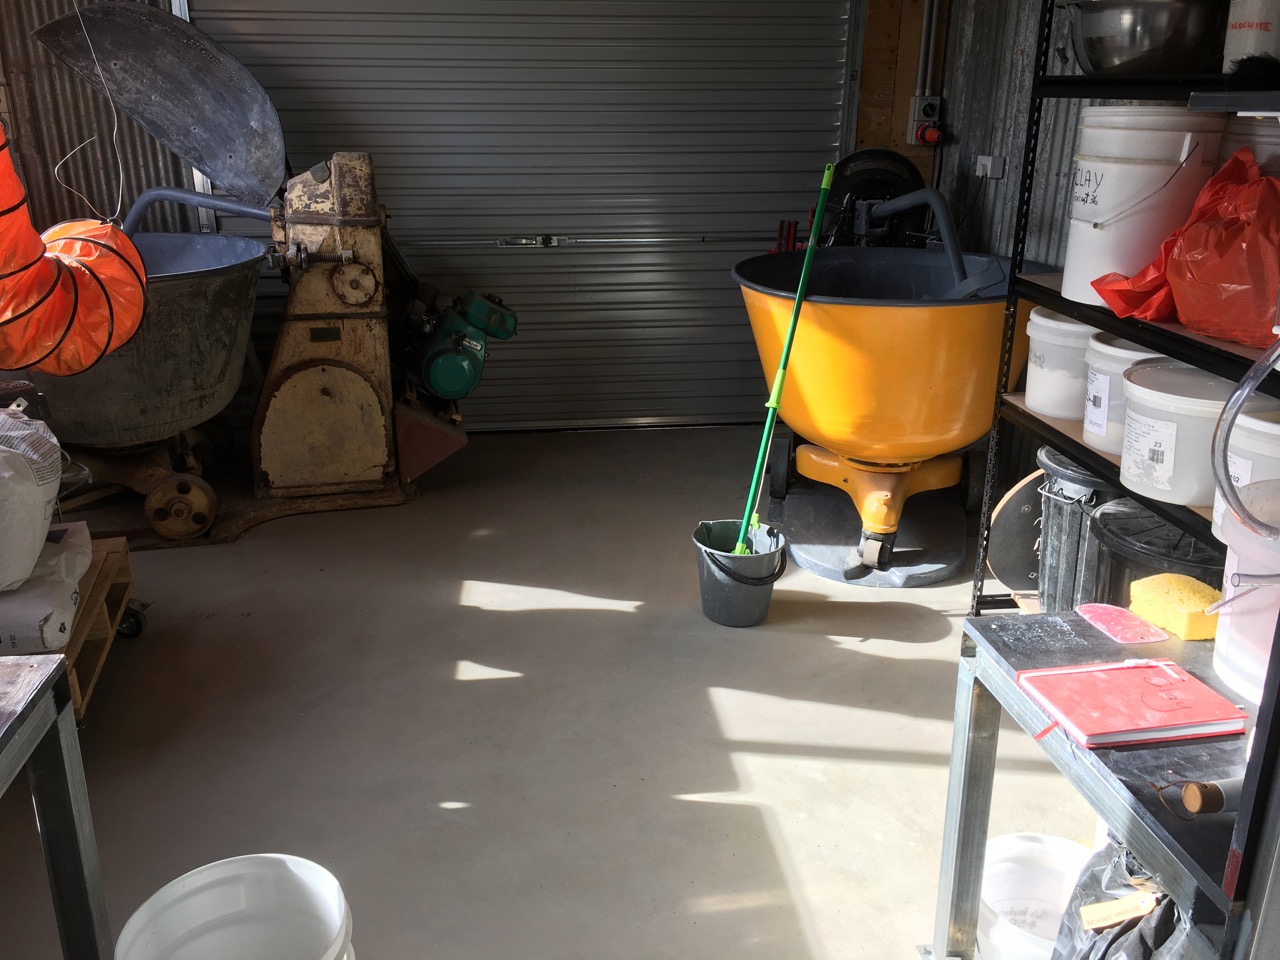
The best machine for this kind of material is a roller crusher. I actually have one of these, but it was burnt in the fire and I haven’t managed to find the time to rebuild it. It is still sitting on the crusher room floor in pieces waiting for a quiet period when I get bored 🙂 so that I can find the time to repair/rebuild it. Watch this space. Everything gets done eventually.
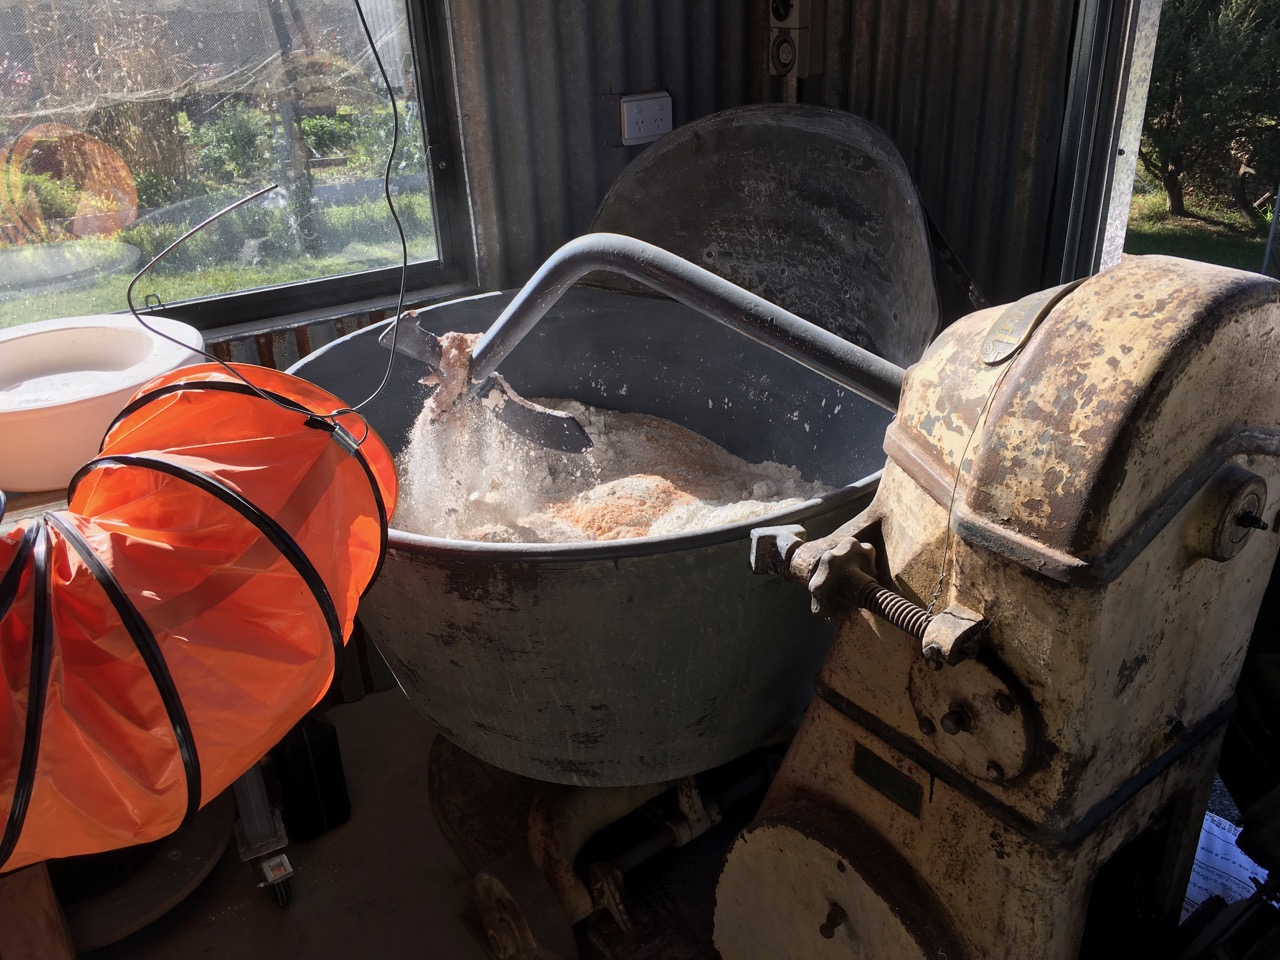
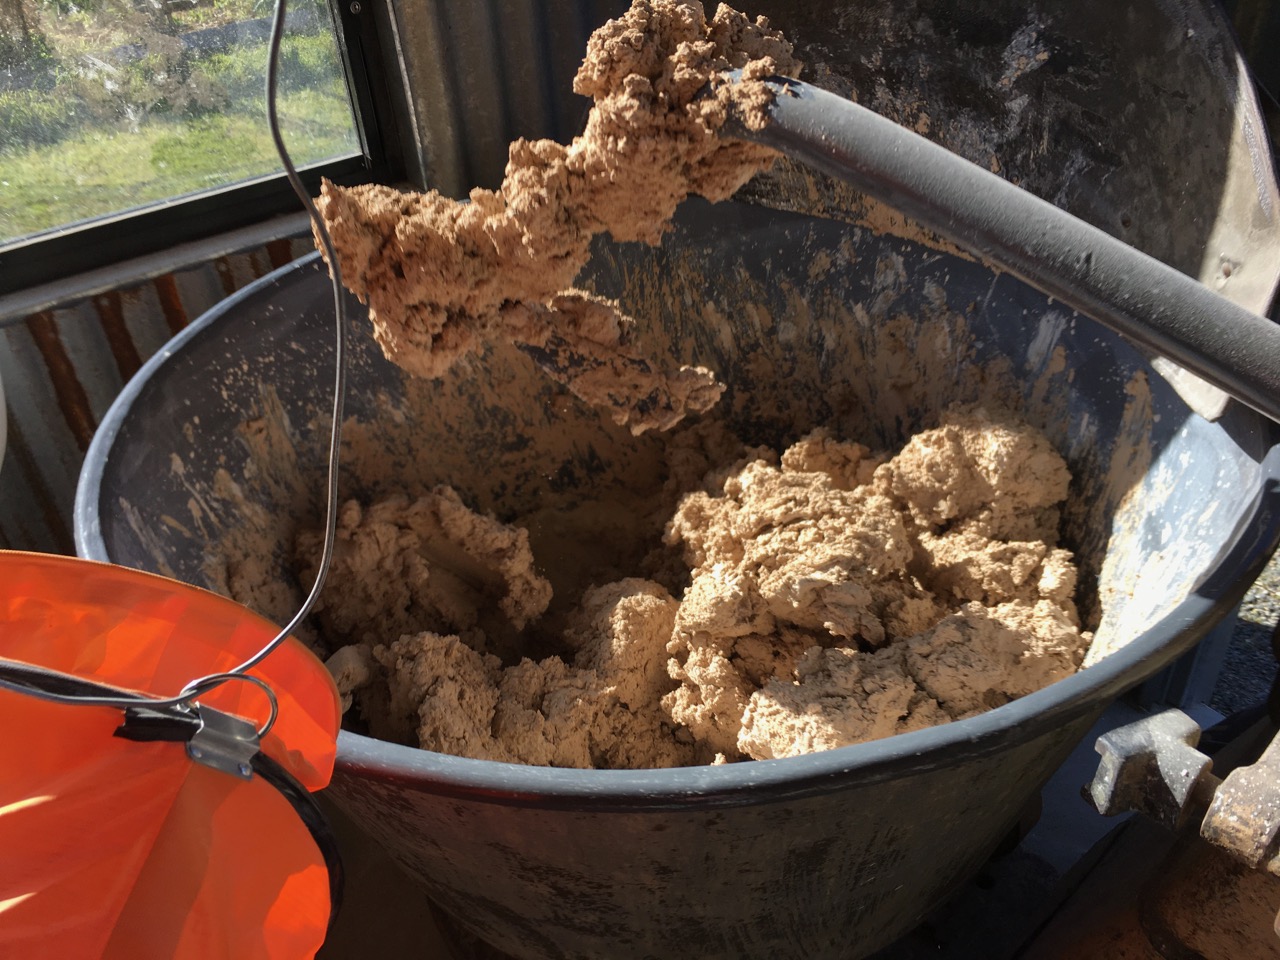
In the meantime, in the absence of any mechanical assistance. I decided to crush all the material by hand in the large mortar and pestle, before ball milling it all into a fine porcelain clay body. I used to do this when I was at Art School, as a mortar and pestle was the only piece of crushing equipment that I owned at that time. I still hand-crush small samples up to a few hundred grams for initial testing of field samples. It is quicker than cleaning out one of the bigger machines after use. It’s just like all those kitchen gadgets that are supposed to save so much time, but end up taking longer when you factor in the cleaning and drying, and then reassembly time before returning the gadget to the ‘stuff-that-is rarely-used’ cupboard.

Once reduced to a suitable size, it goes into one of the the mills.
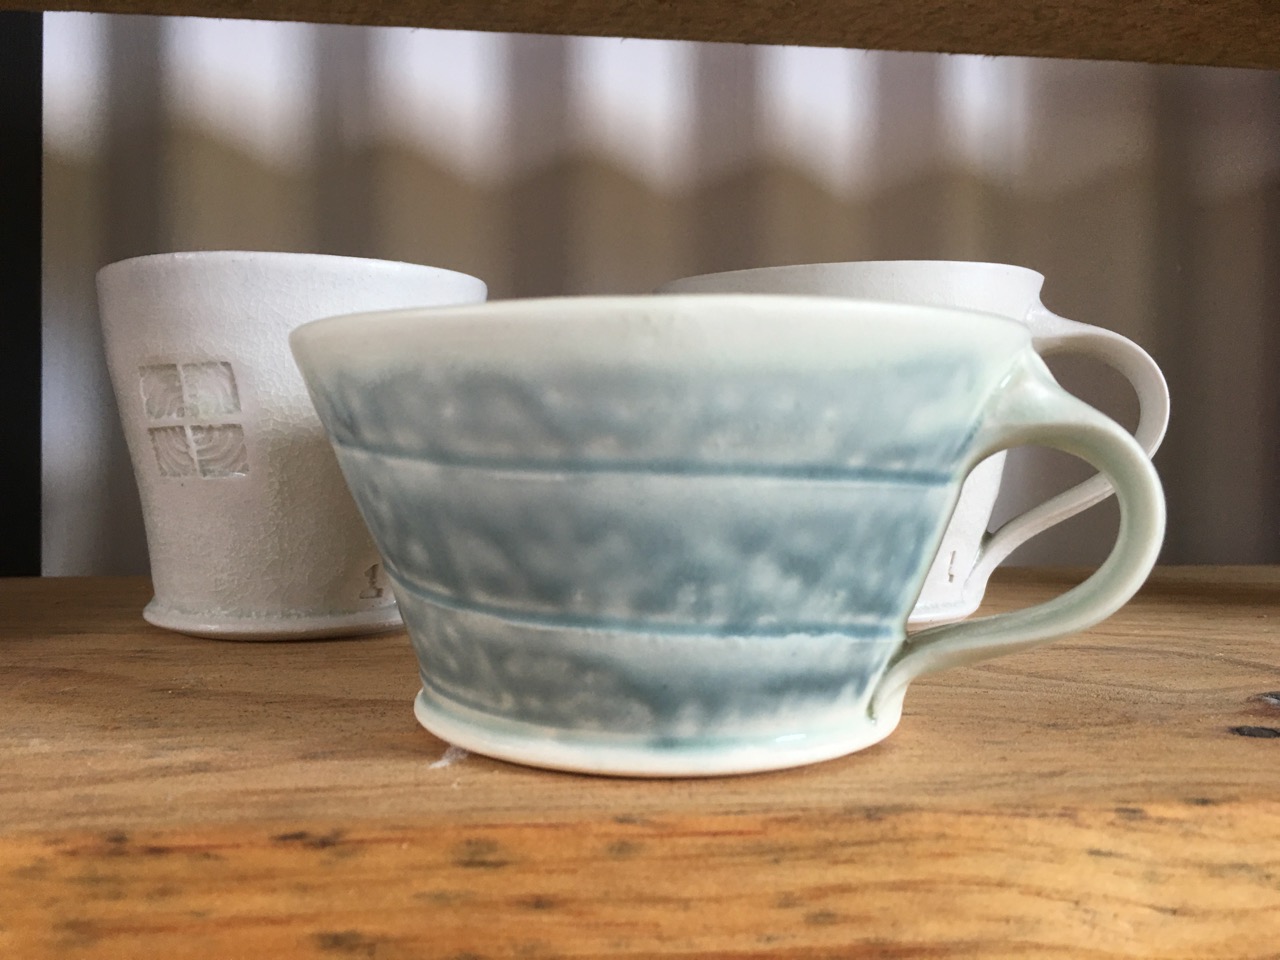
After ball milling, I pass the slip through a 100# screen to remove any coarse particles that may have escaped milling. This halloysite porcelain sample has some iron contamination, so appears a little yellowish in the slip form. This slight iron staining helps create a lovely mahogany ‘flashing’ on the surface during wood firing. The Mafia halloysite is quite variable and is prone to severe warping during the early stages of firing when the halloysite tube-like clay crystals break down and re-form as fractured platelet shards. In this unstable state, the pots can warp and/or crack, so I have found it wise to blend it with some of my other porcelain clay or plastic kaolin to help stabilise the body.
In this most recently collected Mittagong halloysite sample, the site had been eroded badly in the recent rains and all the best and whitest, material had been washed away. Simply because it was the most friable and easier to dissolve in water. Because the remaining material was less weathered and darker than I wanted, I blended it with some more reliable local kaolin based porcelain.
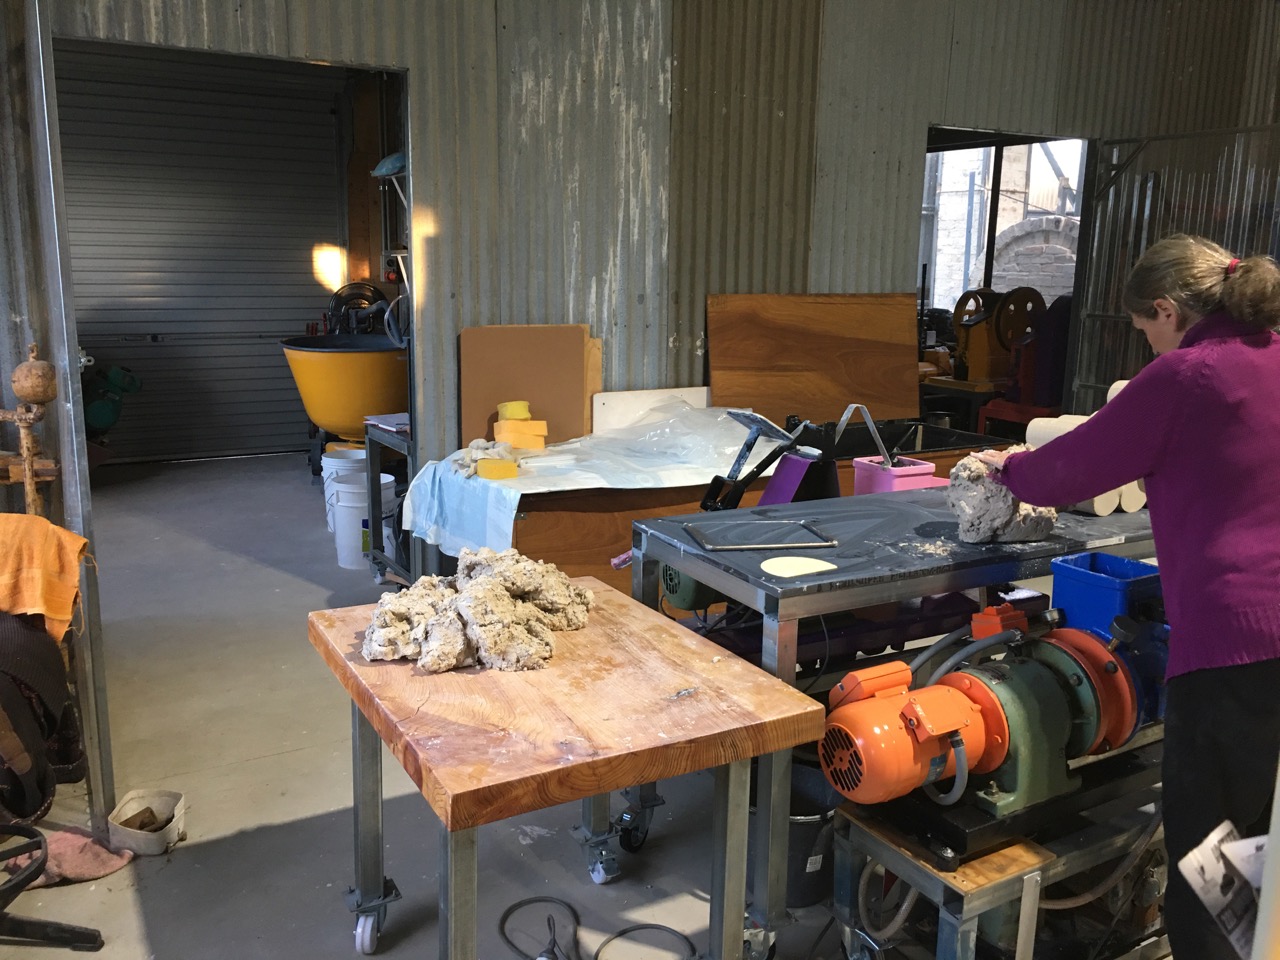
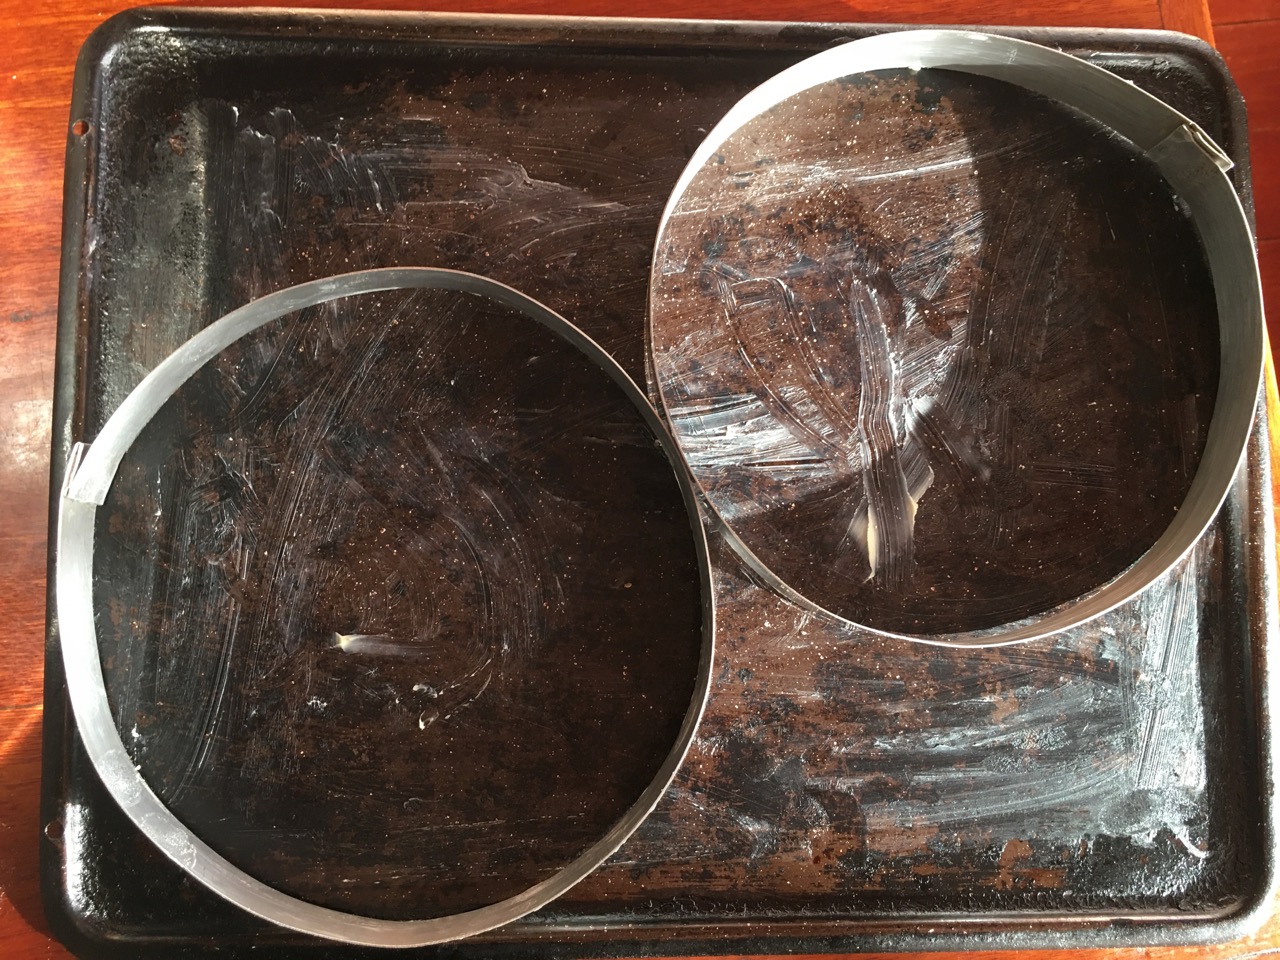
I have been finding the loading and unloading of the porcelain balls into the larger porcelain ball mill jar quite hard on my back as I age. I have had to load the balls in and out in small handfuls. It takes time and requires and lot of bending and effort. So recently, I built myself a couple of new PVC ball mill jars. These a significantly lighter, although the porcelain balls still weigh quite a bit. For these lighter PVC jars, I made a stainless steel mesh inset for the spare lid. I can easily change the lids and simply up-end the jar over a bucket and let the charge all drain out. I partially refill them with fresh water, roll them along the floor to rinse the balls clean then re drain into the bucket.
The jars are then ready for a refill and to be used again. The balls never leave the jar. So much quicker and easier.
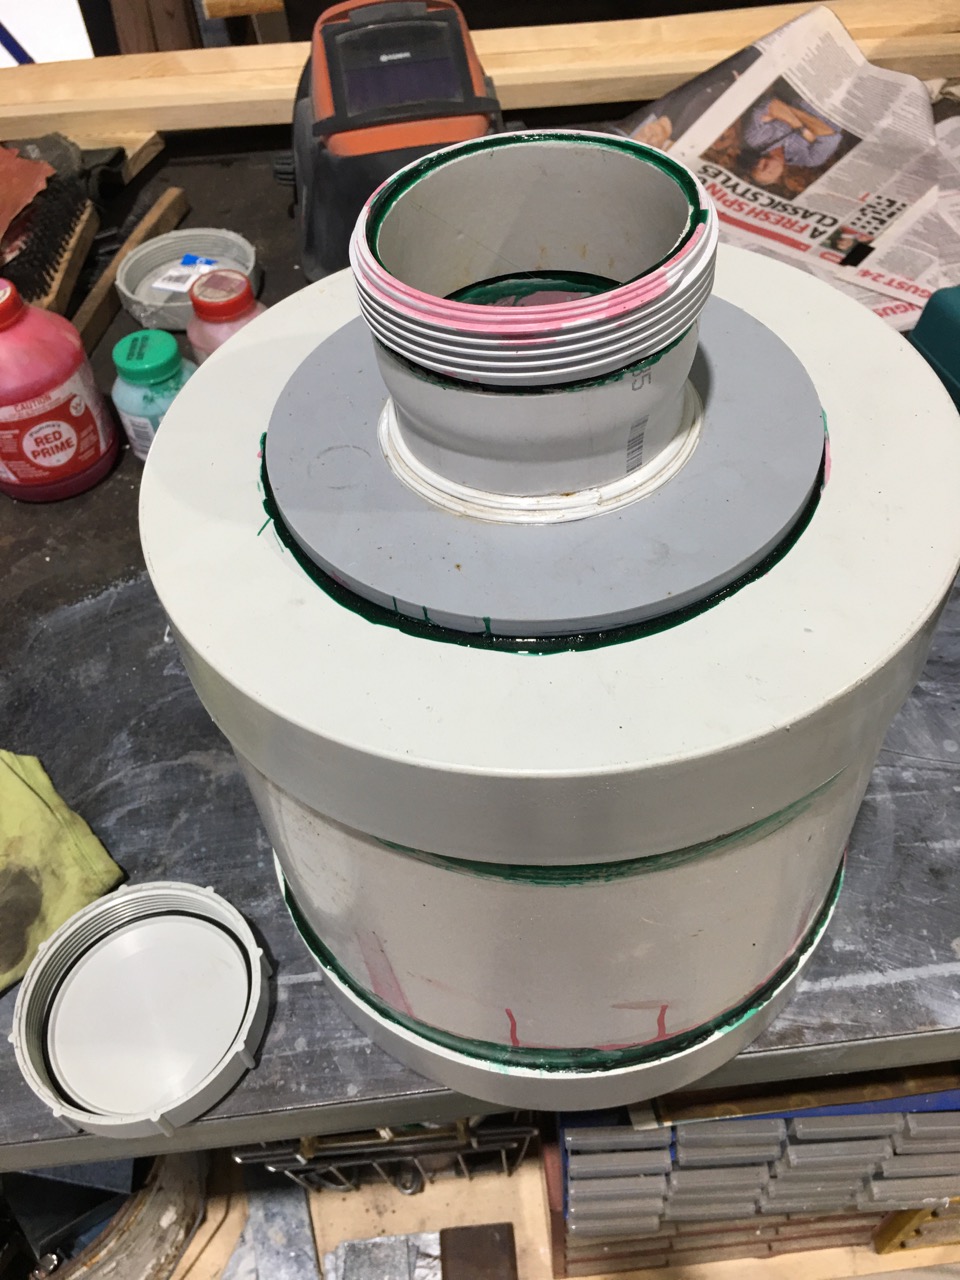


These new PVC jars are made from cheap, standard, over-the-counter, plumbing parts. They are larger, but lighter, than the old one, and I made them so that I can fit two of them on the roller at once. So now I’m able to get more done in the same amount of time..
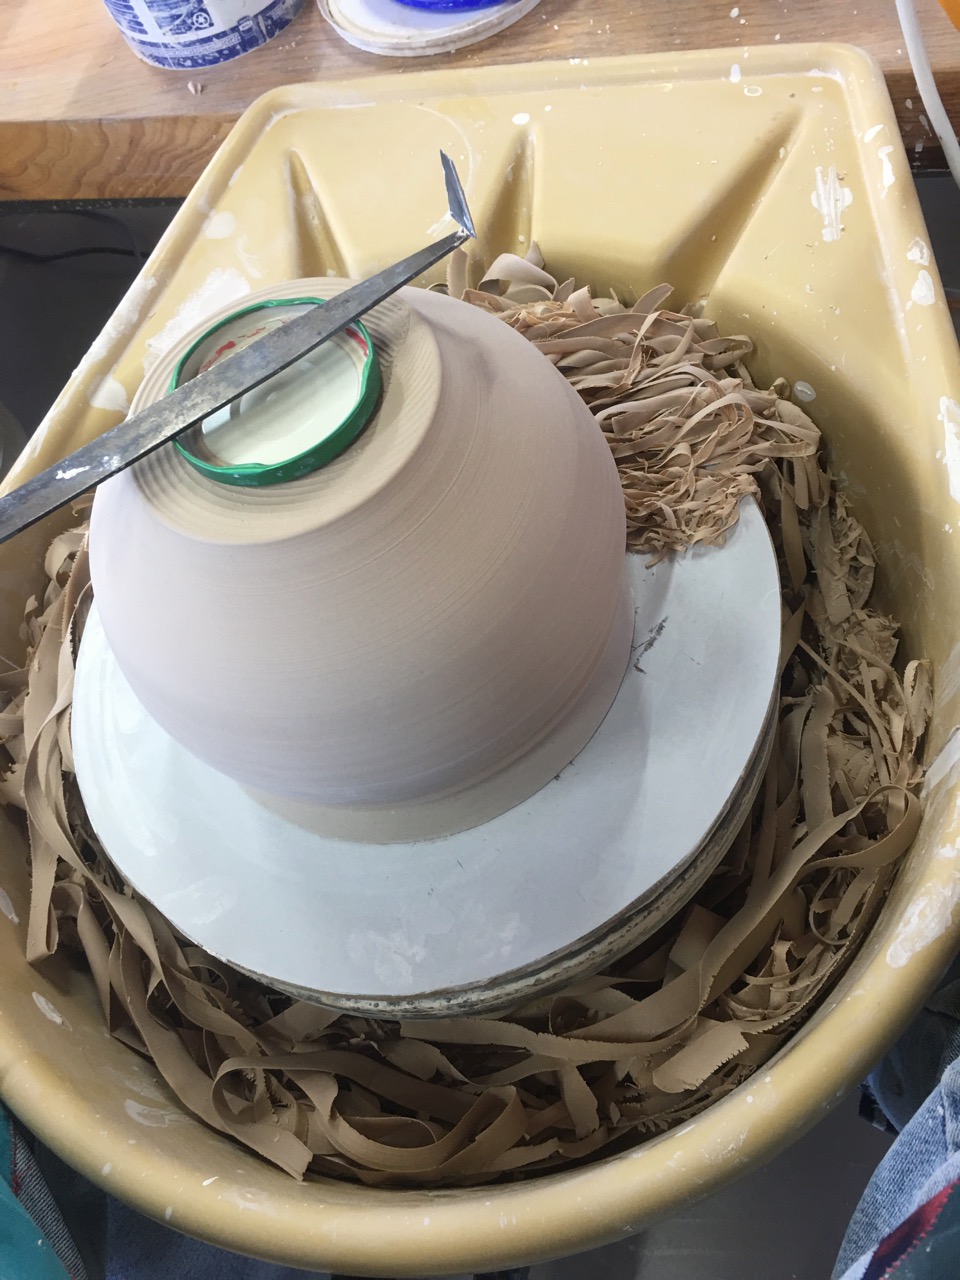
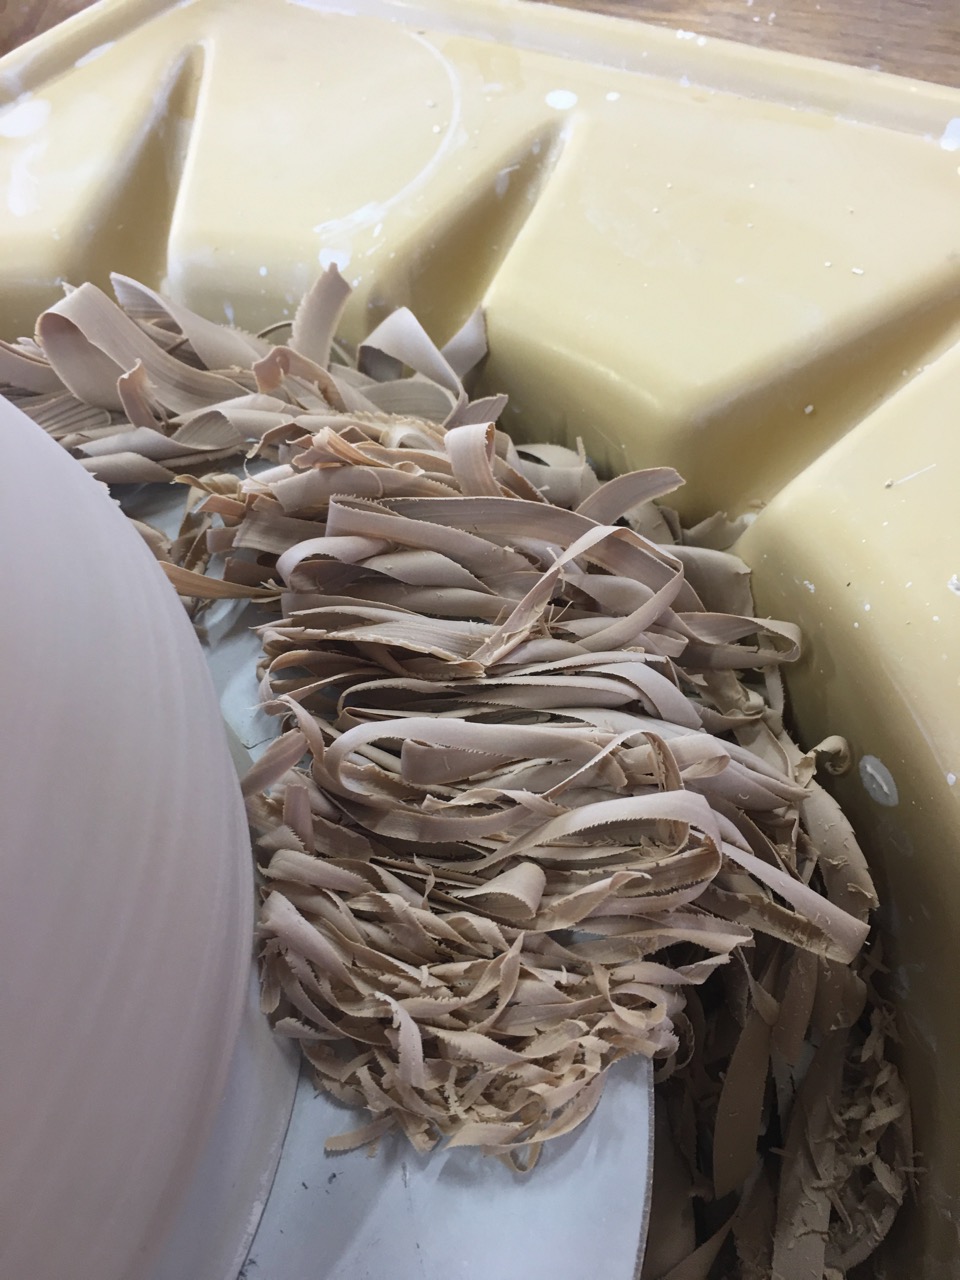
As I have been throwing and turning the porcelain. I have been collecting the turnings, they pile up like so much fettuccini pasta strands in the hopelessly small Shimpo wheel tray that need to be emptied every few minutes. In the old pottery, I took the plastic trays off and had the wheels in enclosures, so that all the turnings just spilt out onto the floor, but it was a big job to clean it all out and wasn’t suited to the sort of work that I now do, that involves using a large number of different, experimental, small batch, sericite and halloysite porcelain bodies.
So I persist with the tiny tray so that I can recycle each different sericite porcelain body separately to maintain its integrity.
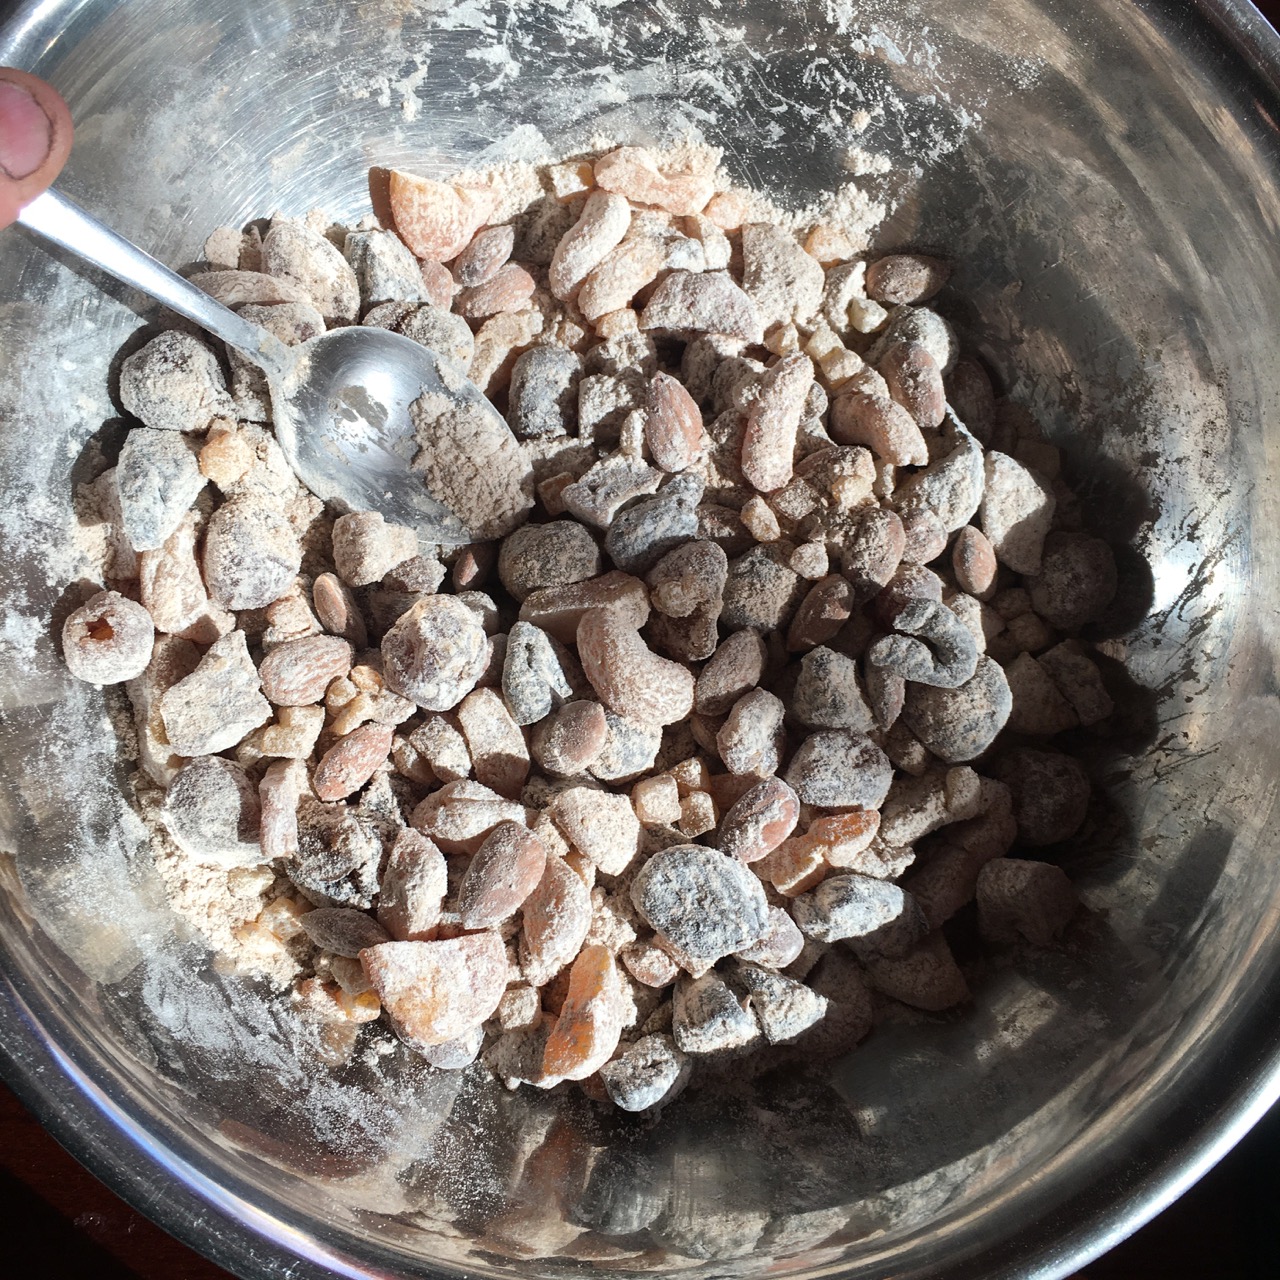
I have been collecting and drying the turnings, then calcining them in the bisque kiln and finally ball milling them to a fine powder to make a porcelain glaze from the porcelain body.


The same turnings after being fired in the bisque kiln. The low temperature oxidised firing turns the calcined porcelain slightly pink.

The powdered glaze material in the ball mill after milling, ready to make porcelain glaze. 80% porcelain body and 20% lime.
A simple glaze recipe, Self reliance all the way along the line. DIY.
Nothing is perfect, nothing is ever finished and nothing lasts.


You must be logged in to post a comment.