Winter Solstice, frosts, patchwork and clay/glaze making

The Winter Solstice has come and gone and the days are going to start getting longer and the nights shorter, but the coldest part of the winter is probably yet to come.

We had a crackerjack frost a few days ago, Everything so shimmering silver/white. This mornings frost was much more mild, with just a light dusting of white in the open spaces, less so under the bare branches of the cherry trees in the Chekov orchard. The winter is really just starting, so there will probably be a few more frosts yet where that came from.

In the evenings, as there is nothing worth any attention on the idiot box. I have started to repair another pair of jeans. 

These jeans are about 4 or 5 years old and the front of the thigh part has worn through. That is the most usual place for wear for me. They were the cheapest brand of jeans. 

I had already replaced the pockets with some excellent, robust, pale yellow, linen cloth that should outlast the original flimsy thin cotton that wore through in just two years. Initially in the pocket where I carry my car keys, but then the other pocket as well, just after that. Then it was the edge of the pocket where the new linen lining meets the blue denim.

I reinforced that edge with some red Japanese silk, It look great when it was fist done, but it isn’t really up to it, and is already starting to wear through, so will also need to be redone in the future.

This time I added a front panel of indigo dyed cotton that I bought in the markets in Kyoto a few years back.

Every time I go to Japan, I keep my eye out for street or temple markets where I can find lengths of indigo dyed, or other interesting old fabrics. These are usually some old piece of clothing that someone has unpicked. The hems and loose threads along the edges where they were stitched together are often still visible. Much of this old cloth was woven on small looms in bolts that were only 13” or 330 mm wide. The clothes were assembled by stitching these long thin strips together, to get a wider fabric.

It is an interesting phenomena that cloth dyed in indigo does not rot easily, nor is it eaten by bugs. It seems to last for ages. It certainly makes good patches for work wear like shirts and jeans.

This pair will be good for another 5 years if I keep up the maintenance. The pair that I’m currently wearing to work in the pottery are over ten years old now and still going OK. They have patches on the thighs and knees, as well as new pockets.

My woollen jumper was new in 2004, or 2006. I can’t quite remember. It has quite a few patches of repair, where I have darned the holes where moths have eaten through it, or sparks from welding spatter, or possibly damage incurred during stoking the wood kiln have made holes in it. They all get mended in what I think is a complimentary colour to make a colour spill pattern. It’s a work in progress, It’s 16 or more years old and still very warm and wearable. I like to make things last. i never want to throw anything out until it is really worn out. Repair and reuse, before finally recycling.

I just took a selfie of my Sunday morning jeans. I never take selfies. This must be the first time I’ve put one up on this blog. I’m dressed up to receive some very good friends for Sunday lunch, so I’ve got my best pair on. I’ve been working on these jeans for many years now. I still work in them, but this morning they are straight from the wash and are lovely and clean and suitable to welcome our close friends in. I wouldn’t wear them to try and pass through customs in. But my friends know and understand me. They won’t be affronted.

Actually, I think that work like this is verging on Art. If not a work of art, then its certainly involves some aspect of creativity. I don’t just slap on ‘iron-on’ patches from a sewing shop. I mix and match the patterns and colours to suit my mood and proclivity. Well, that’s my story and I’m sticking to it.

Even the arse end has some good work on it. This wear can be attributed to sitting on the wooden saddle-like seat of the ‘Leach’ treadle potters wheel. The slight swivelling/rocking motion of kicking the treadle with one lag seems to cause the butt end to wear out?

This last week we have made new batches of clay bodies to re-stock the clay boxes. I made a batch of the Mittagong halloysite porcelain from the mafia site. 

This weathered stone is pretty well kaolinised, or in this case ‘Halloyositised’. This makes the stone somewhat crumbly and easily crushed, because the mica and felspars are broken down and weathered from igneous stone to clay-like substance, this causes the loss of some of the alkali fluxes. The stone can then becomes slightly clay-like and less stone-like. However, this creates a minor problem, because as the stone becomes more friable and easily crushed. It can’t be put through the jaw crusher, as the increased clay content causes the crusher to clag up and jam. 

There are two options. The first is to calcine the stone in the bisque kiln and then it will become dry and brittle and easily passed through the crushers and ball mill, but this will completely eliminate the plasticity. So I only do this if I intend to make it into a glaze. If I want to make a porcelain body, I need to retain the plasticity, so the way to extract the clay fragment is to soak the sample in water and then stir it up into a liquid slip. This is called ‘blunging’. However, to make it smooth I need to pass it through a fine screen to eliminate all the unweathered stone fragments that are mostly mica, felspar and silica. In this case, I want all these minerals in the finished porcelain body to create the flux to make it melt and become translucent. This problem is solved by then ball milling the grit residue on the screen and then remixing to two together. This is a rather long and tedious job and I used to do this before I got a roller mill.

The best machine for this kind of material is a roller crusher. I actually have one of these, but it was burnt in the fire and I haven’t managed to find the time to rebuild it. It is still sitting on the crusher room floor in pieces waiting for a quiet period when I get bored 🙂  so that I can find the time to repair/rebuild it. Watch this space. Everything gets done eventually.

In the meantime, in the absence of any mechanical assistance. I decided to crush all the material by hand in the large mortar and pestle, before ball milling it all into a fine porcelain clay body. I used to do this when I was at Art School, as a mortar and pestle was the only piece of crushing equipment that I owned at that time. I still hand-crush small samples up to a few hundred grams for initial testing of field samples. It is quicker than cleaning out one of the bigger machines after use. It’s just like all those kitchen gadgets that are supposed to save so much time, but end up taking longer when you factor in the cleaning and drying, and then reassembly time before returning the gadget to the ‘stuff-that-is rarely-used’ cupboard.

Once reduced to a suitable size, it goes into one of the the mills.

After ball milling, I pass the slip through a 100# screen to remove any coarse particles that may have escaped milling. This halloysite porcelain sample has some iron contamination, so appears a little yellowish in the slip form. This slight iron staining helps create a lovely mahogany ‘flashing’ on the surface during wood firing. The Mafia halloysite is quite variable and is prone to severe warping during the early stages of firing when the halloysite tube-like clay crystals break down and re-form as fractured platelet shards. In this unstable state, the pots can warp and/or crack, so I have found it wise to blend it with some of my other porcelain clay or plastic kaolin to help stabilise the body.

In this most recently collected Mittagong halloysite sample, the site had been eroded badly in the recent rains and all the best and whitest, material had been washed away. Simply because it was the most friable and easier to dissolve in water. Because the remaining material was less weathered and darker than I wanted, I blended it with some more reliable local kaolin based porcelain. 

I have been finding the loading and unloading of the porcelain balls into the larger porcelain ball mill jar quite hard on my back as I age. I have had to load the balls in and out in small handfuls. It takes time and requires and lot of bending and effort. So recently, I built myself a couple of new PVC ball mill jars. These a significantly lighter, although the porcelain balls still weigh quite a bit. For these lighter PVC jars, I made a stainless steel mesh inset for the spare lid. I can easily change the lids and simply up-end the jar over a bucket and let the charge all drain out. I partially refill them with fresh water, roll them along the floor to rinse the balls clean then re drain into the bucket.

The jars are then ready for a refill and to be used again. The balls never leave the jar. So much quicker and easier.

These new PVC jars are made from cheap, standard, over-the-counter, plumbing parts. They are larger, but lighter, than the old one, and I made them so that I can fit two of them on the roller at once. So now I’m able to get more done in the same amount of time..

As I have been throwing and turning the porcelain. I have been collecting the turnings, they pile up like so much fettuccini pasta strands in the hopelessly small Shimpo wheel tray that need to be emptied every few minutes. In the old pottery, I took the plastic trays off and had the wheels in enclosures, so that all the turnings just spilt out onto the floor, but it was a big job to clean it all out and wasn’t suited to the sort of work that I now do, that involves using a large number of different, experimental, small batch, sericite and halloysite porcelain bodies.

So I persist with the tiny tray so that I can recycle each different sericite porcelain body separately to maintain its integrity.

I have been collecting and drying the turnings, then calcining them in the bisque kiln and finally ball milling them to a fine powder to make a porcelain glaze from the porcelain body.

The raw, dried turnings

The same turnings after being fired in the bisque kiln. The low temperature oxidised firing turns the calcined porcelain slightly pink.

The powdered glaze material in the ball mill after milling, ready to make porcelain glaze. 80% porcelain body and 20% lime.

A simple glaze recipe, Self reliance all the way along the line. DIY.

Nothing is perfect, nothing is ever finished and nothing lasts.

Moon jars and indigo in the UK

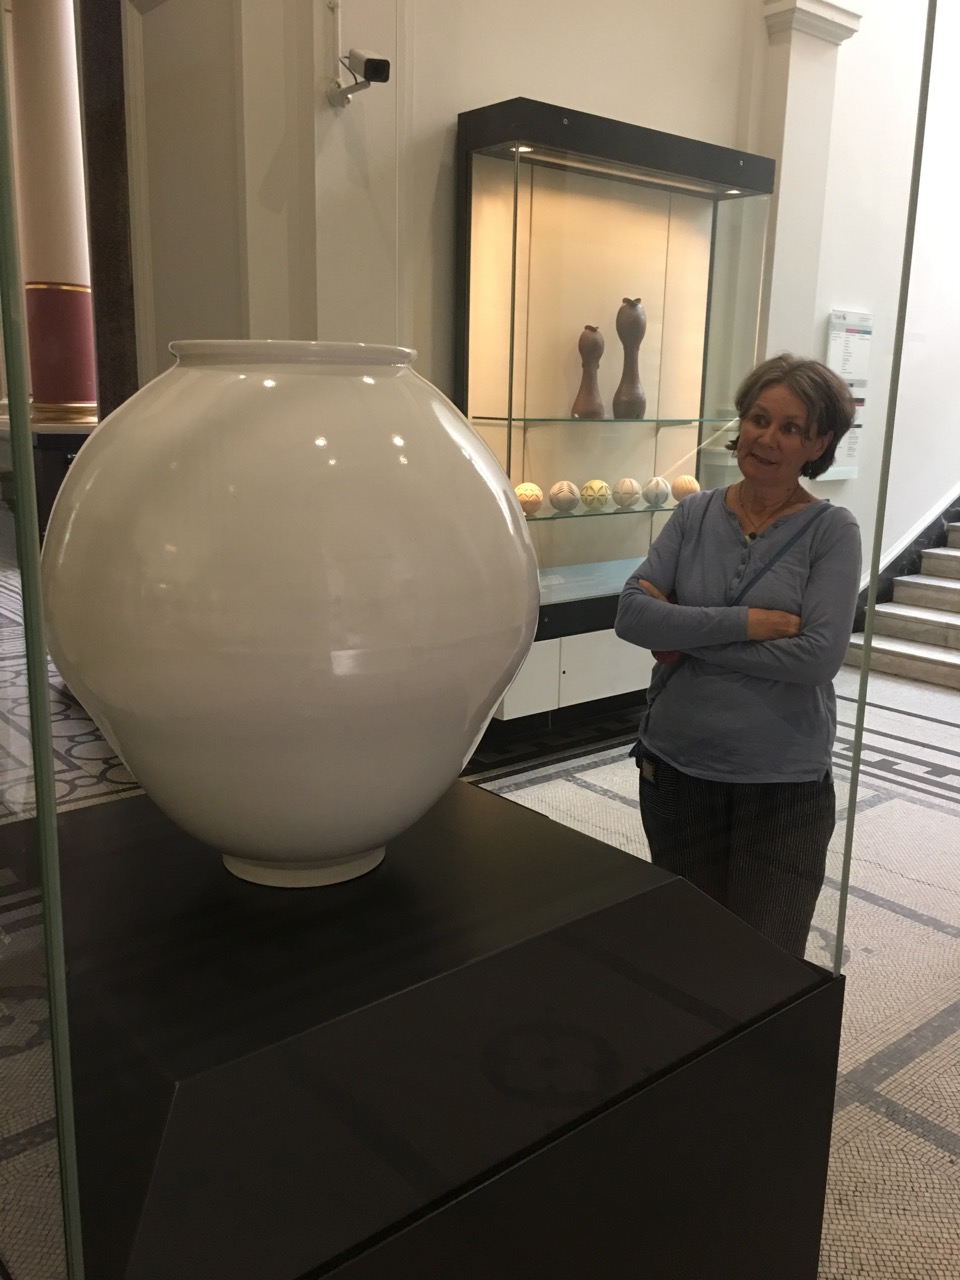
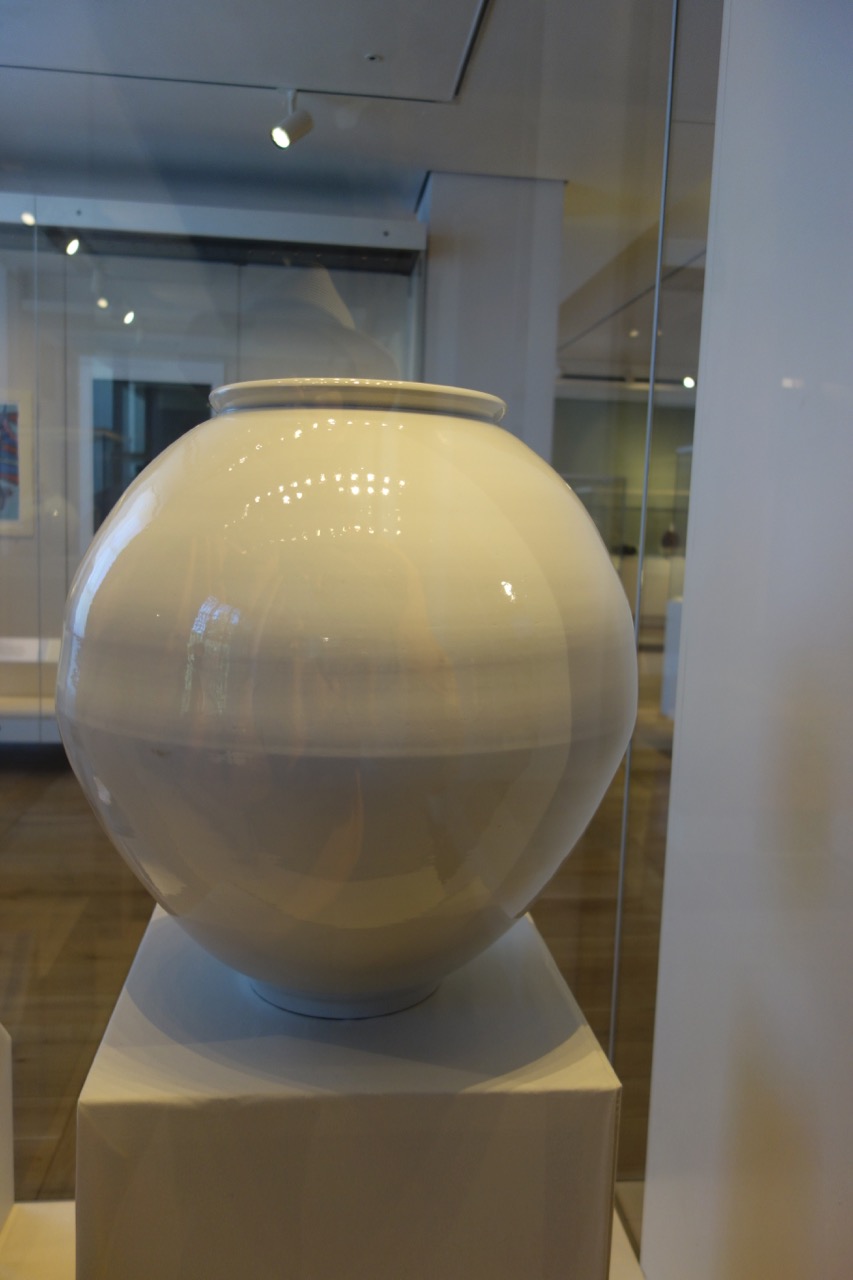
We fly into Heathrow. I can’t just get off the plane all jet-lagged and hire a car and drive off, so we stay in London for a couple of days to acclimatise a little. One of the first things we do is to go to the British Museum and the V&A.

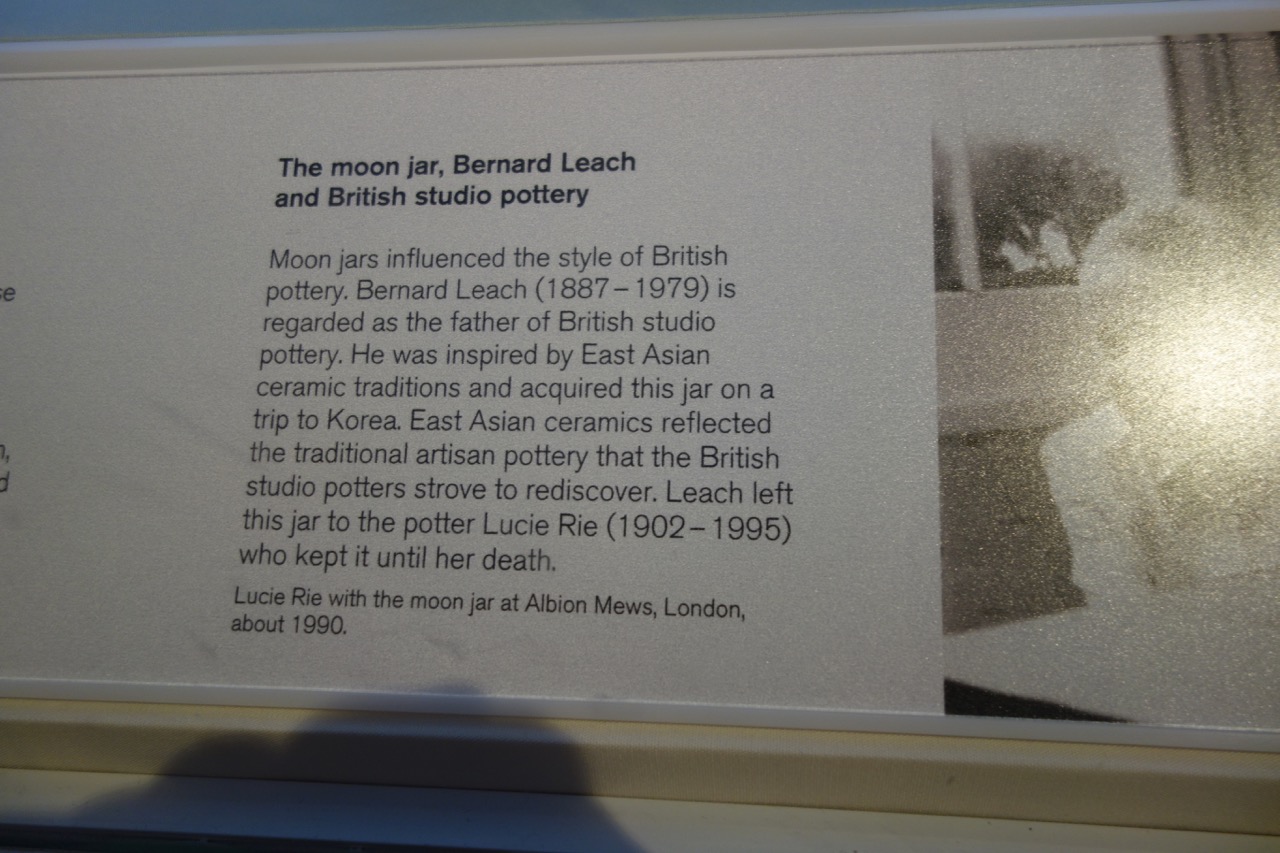
There is such a lot to see a day isn’t enough, and although we have been here before there are still a few surprises. Like this lovely pot. We’ve only just left Korea and here we are back in it’s orbit.

IMG_1551 IMG_1558

DSC03324 DSC03332

DSC03331

Out in the street we see that London is a decade ahead of Sydney in regard to electric vehicle acceptance and support facilities.

IMG_1556  IMG_1557

The next day we head to the Portobello road markets and what do we come across, but more indigo.  What with Moon jars and indigo, we can’t seem to leave our Asian adventures behind. This time it’s Chinese silk, dyed using Indian indigo, by a Nepali minority hill tribe, in a remote area in the mountains of Nepal. The lady is quite sweet, she tells us that she is here working and studying and travels home each year to visit family and bring with her new stock that here family have been making and dying at home. I choose the shiburi knotted, indigo dyed silk scarf on the far right.

IMG_1559

We eventually leave London and drive our hire car, which by the way is a ‘Smart for 4’ car and turns out to be not so smart and quite inefficient on fuel. I’m not impressed with it. Our 13 year old Mitsubishi Colt at home is more fuel efficient while being a bit more powerful. The original Smart for 4 was a rebadged Colt. The new model Smart for 4 is now built in Eastern Europe somewhere. We chose to buy the Colt instead of the Smart car, as the Colt was half the price. No need to pay for an expensive badge.

We head for Stoke on Trent to build our kiln, but on the way we stop off at the ‘Earth and Fire’ potters market, as it is on our way. We get to catch up with so many of our English potter friends, as they are all there selling their work. The standard of work that we see there is really high. We spend  the best part of  2 days there, meeting, catching up, chatting. We even buy a few small things.

IMG_2316

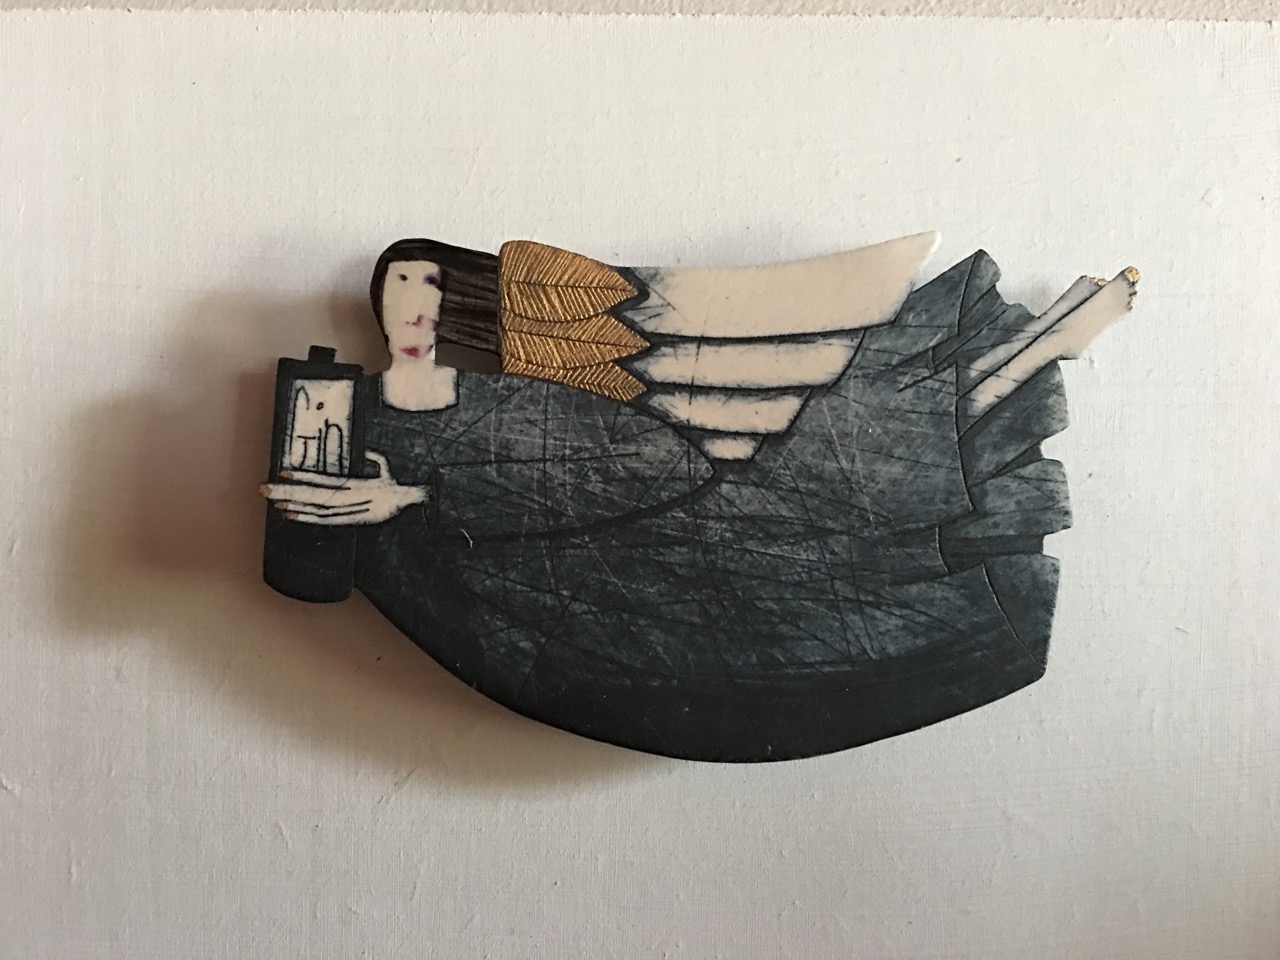
This is the ‘Gin Fairy’, I’m guessing that she turns up at about 4 pm for this potter and rescues her? I really don’t know. I just made that up. It’s a lovely image, so we bought it. It now hangs in our kitchen, but the icon hasn’t managed to work its magic yet on this side of the other hemisphere.

We turn up for work on the Monday morning at the ‘Clay College’ in Stoke. We introduce ourselves, show a short video and a presentation of other kiln building jobs like this that we are about to build.

IMG_1640 IMG_1641

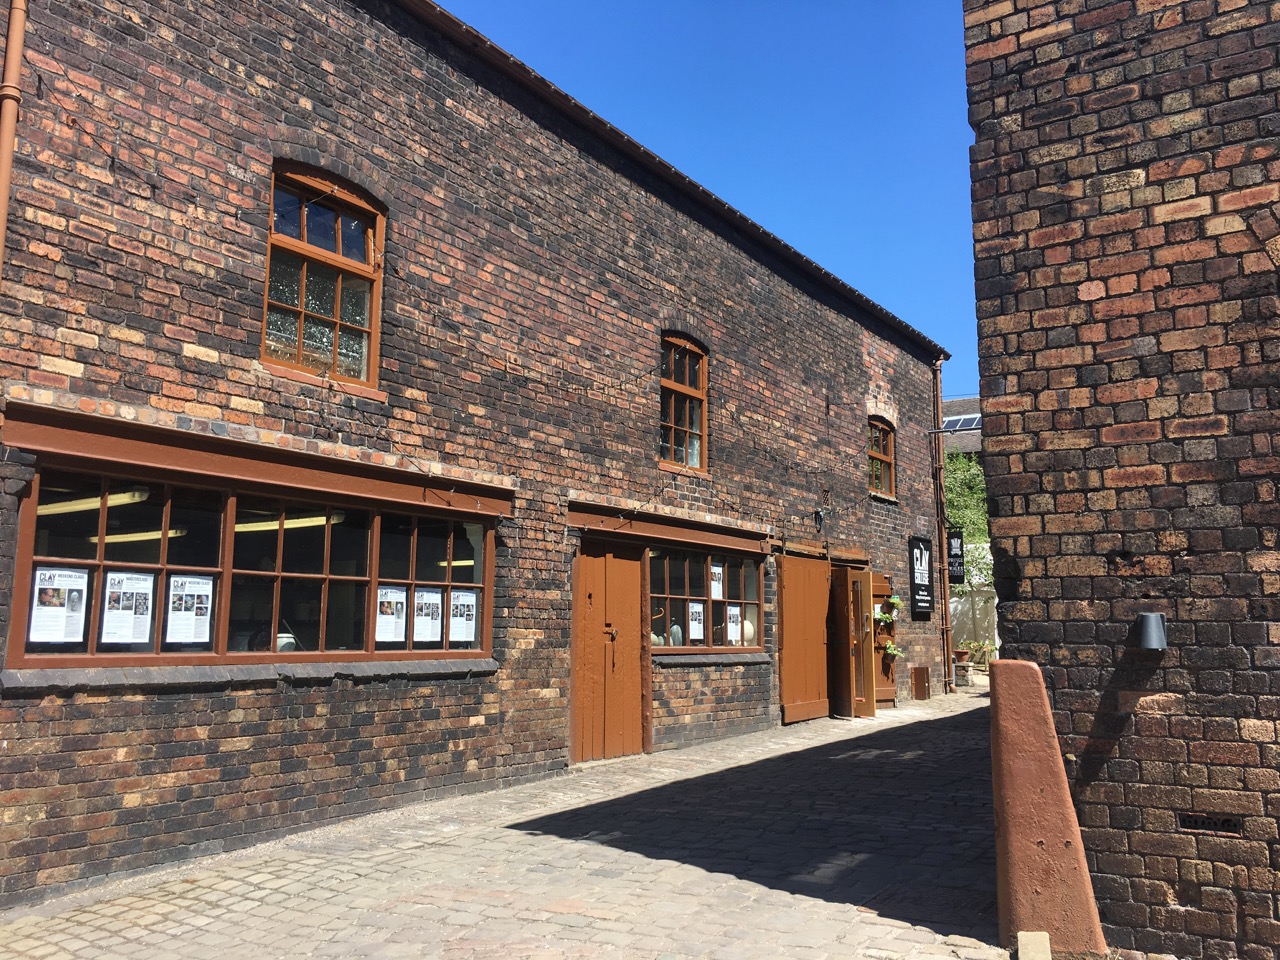
The Clay College is a brand new start-up pottery training college located in the grounds of the Middleport pottery factory grounds. The building is a grade 2 listed nation trust building that the Prince of Wales Trust has refurbished. The school is funded entirely by charitable donations and closely associated with the ‘Adopt-a-potter’ charity founded by Lisa hammond, who was recently knighted, if that is the correct term, with an MBE? So maybe she is now possibly Dame Lisa? I’m not too sure. I’m sure that someone will correct me. She has worked very hard to raise funds for the practical training of potters.

England didn’t have any full time practical hands-on pottery courses left. All the ceramics courses had been closed or converted into ceramic design courses over the past decade or two, so Lisa decided to start the ‘adopt-a-potter’ charity to fund apprenticeships with professional potters. That appears to have been very successful. So this is the next step.  Start your own Art School! I’m really pleased and honoured to be associated with the school and charity. I really believe in what they are attempting to do there.

IMG_1579

Old Middleport Pottery bottle kiln in the grounds of the Clay College.

To Korea

We start to think about what else we want to do in our last day in Kyoto. We fly out to Korea tomorrow and then on to London. We have a job in Stoke on Trent to build one of our small-scale, fuel-efficient wood fired kilns for the new ‘Clay College’ that has started up there this year.

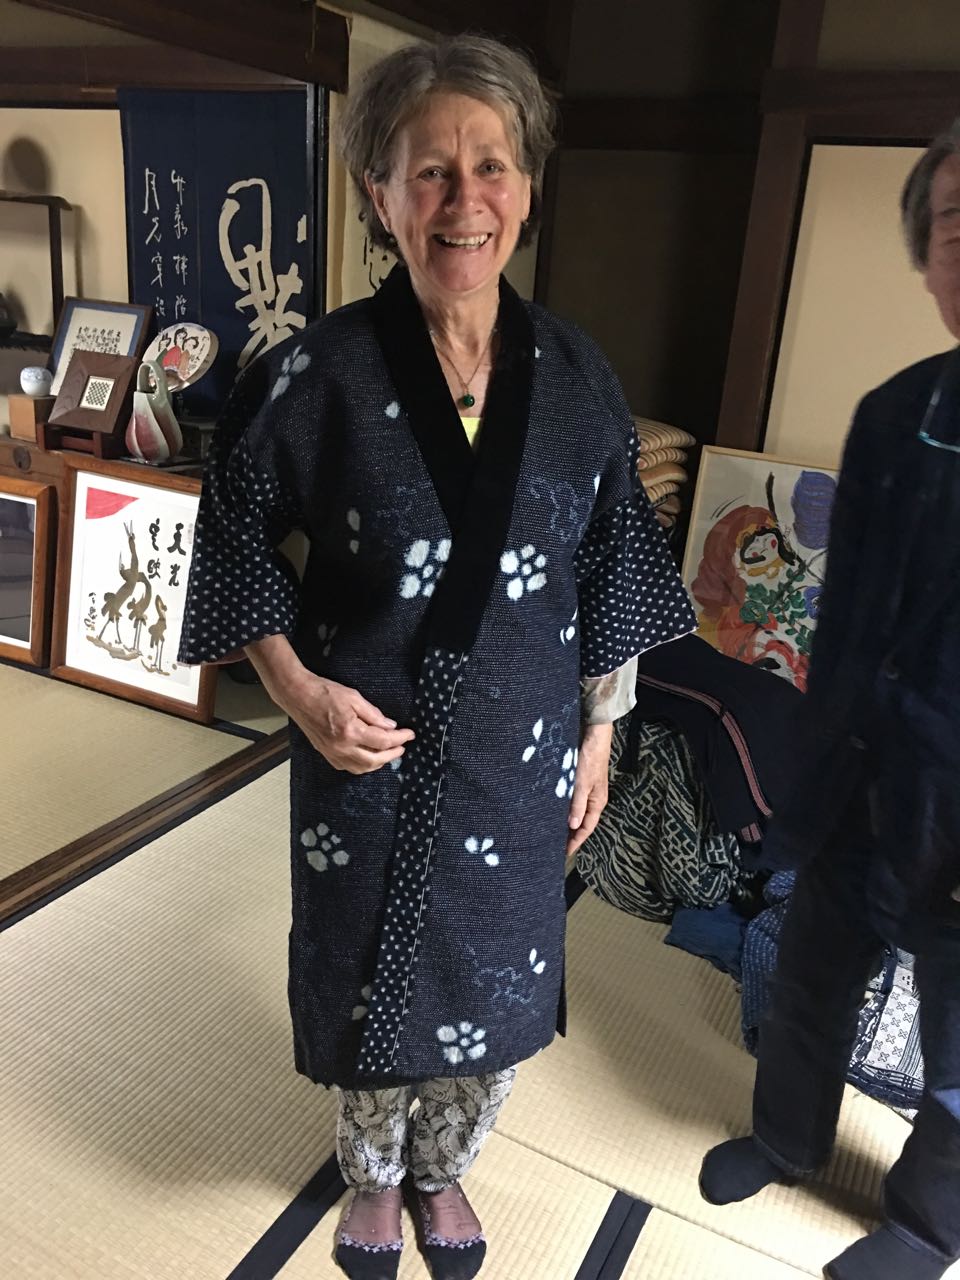
I decide that I will go back to the Aizenkobo indigo workshop and buy a jacket. I have been carrying the image with me of trying it on now for the whole time that we have been in Japan, as it was the first place that we visited when we arrived. I have chosen a hand dyed indigo, hand-woven, hand-made, tight, dense, cotton fabric, jacket. It’s more expensive than I have ever paid for any piece of clothing in my life at $300, but you only live once, so here goes. I really like it.

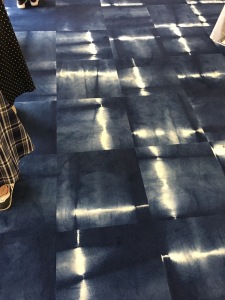
We arrive in Seoul and the first thing that I notice are the carpet tiles in the entrance area at the airport. I’ve been here a few times before, but I haven’t noticed them previously. Imitation indigo nylon carpet floor tiles. It’s the perfect segue from our indigo adventures in Japan to Korea.


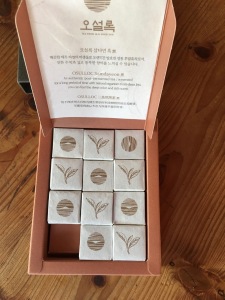
Miss Kang has given us a present of some special fermented tea from Jeju. Korea has an island to its south called Jeju island. It is a volcanic island and therefore the weathered basalt soils are very rich and fertile. It has elevated slopes that are just right for the cultivation of tea. Being south of the peninsula, it is sub tropical and warmer than the mainland, but being quite elevated, the higher slopes are cooler at night. Apparently it makes for an ideal tea growing climate. There is one particularly large tea plantation that draws all the tourists that visit the island. They grow several cultivars, each one specially suited  to each specific soil type, aspect and micro climate.

Miss Kang has chosen for us a particular blend of fermented black tea, that is very mild and low in caffeine. It is processed, fermented, dried, but then re-moistened with steam and pressed into little bricks, then re-fermented and aged up to 100 days in what is described as a Post-fermentation process. Each finished little brick is individually  wrapped and the whole lot packaged in tray that is then packaged a very impressive presentation box.


It’s really beautifully done! The packaging is certainly very impressive and the flavour of the tea is very mild, low in acid with a distinctive aroma. I haven’t come across anything quite like it before.

The little individually paper wrapped tea leaf brick is impressive. I like it. It swells up into a pot full of fully formed tea leaves. I have read about ‘brick’ tea in the past, but never actually come across it. It’s a particularly asian thing. As I understand it, ‘Brick’ tea, or blocks of pressed, dried tea leaves were used as a form of currency in China and also throughout parts of Southeast Asia in time past. It was light to carry, easily stacked and packed and could even be crumbled apart and eaten to get a bit of a buzz to keep the labourers going on long treks. There is a rather long listing on wikipedia about brick tea, particularly in regard to the tea trade from China up into Tibet.

I thought that I had better enlighten myself, so I downloaded this quote from Wikipedia;

Ya’an is the main market for a special kind of tea which is grown in this part of the country and exported in very large quantities to Tibet via Kangding and over the caravan routes through Batang (Paan) and Teko. Although the Chinese regard it as an inferior product, it is greatly esteemed by the Tibetans for its powerful flavor, which harmonizes particularly well with that of the rancid yak’s butter which they mix with their tea. Brick tea comprises not only what we call tea leaves, but also the coarser leaves and some of the twigs of the shrub, as well as the leaves and fruit of other plants and trees (the alder, for instance). This amalgam is steamed, weighed, and compressed into hard bricks, which are packed up in coarse matting in subunits of four. These rectangular parcels weigh between twenty-two and twenty-six pounds—the quality of the tea makes a slight difference to the weight—and are carried to Kangting by coolies. A long string of them, moving slowly under their monstrous burdens of tea, was a familiar sight along the road I followed.[2]

The brick tea is packaged [in Kangting] either in the courtyard or in the street outside, and it is quite a complicated process. When the coolies bring it in from Ya’an, it has to be repacked before being consigned upcountry, for in a coolie’s load the standard subunit is four bricks lashed together, and these would be the wrong shape for animal transport. So they are first cut in two, then put together in lots of three, leaving what they call a gam, which is half a yak’s load. Tea which is going to be consumed reasonably soon is done up in a loose case of matting, but the gams, which are bound for remote destinations, perhaps even for Lhasa, are sewn up in yakhides. These hides are not tanned but are merely dried in the sun; when used for packing they are soaked in water to make them pliable and then sewn very tightly around the load, and when they dry out again the tea is enclosed in a container which is as hard as wood and is completely unaffected by rain, hard knocks, or immersion in streams. The Tibetan packers are a special guild of craftsmen, readily identifiable by the powerful aroma of untanned leather which they exude.

Another prominent guild in Kangting is that of the women tea coolies who shift the stuff from the warehouses to the inns where the caravans start. They have a monopoly on this work and the cheerful gangs of girls are a picturesque element in the city’s life. They need to be immensely strong to do a job which consists of carrying over a short distance anything up to an entire yak’s load several times a day. Many of them are quite pretty (and well aware of the fact); they look very gay and rather brazen as, giggling and chattering among themselves, they move along with their heavy burdens, which are held in place by a woolen girdle around the chest.[3]

So brick tea has a very long history in China. This doesn’t really enlighten me about tea in Korea very much, but it is interesting to me just the same. The Osullooc tea plantation has only been in business since 1979. So it doesn’t have a long history in itself, but uses the long historical aspects of tea in all it’s advertising. The tea plantations are all certified organic, so that is a very good place to start.

I can say that post fermented tea is an acquired taste. The Osulloc company make many claims for the tea. A particular selling point is the clean environment of the island, but they also make special mention of the long, post-fermentation aspect of the curing process. They claim that they use the long and ancient history of Koreas skills in fermentation. As ‘fermentation’ is the current buzz word in culinary circles, I’m just a little bit suspicious, But that’s me. They also claim to use traditional Korean fermented pastes. I don’t know what these are, and they are not saying, it’s certainly not Kim Che.

I can’t say either way, as to whether it is good for you or not, but it has a unique quality. I think that it would possibly be a good bed time tea, as it is low in stimulants and that could be good? I’m certainly impressed with the effort that has gone into the presentation, pity it will all be thrown away! Maybe if they could develop a special paper made out of tea leaves, then we could infuse the wrapping as well, still have a great ‘cuppa’ and reduce waste?

Looking at all the effort that has gone into the presentation and advertising, I think that it just might be a triumph of style over substance.

Maybe it will help me sleep better?

Unfortunately, that isn’t one of their claims!

We enjoy our tea from a Gwyn Hansen Piggott tea pot with matching cup and saucer.


  1. [2]  Migot, André (1955). Tibetan Marches. Translated by Peter Fleming. E. P. Dutton & Co., Inc., U.S.A., pp. 59-60.
  2. [3]  Jump up ^ Migot, André (1955). Tibetan Marches. Translated by Peter Fleming. E. P. Dutton & Co., Inc., U.S.A., pp. 83-84.

Kita- a Japanese Mountain Village

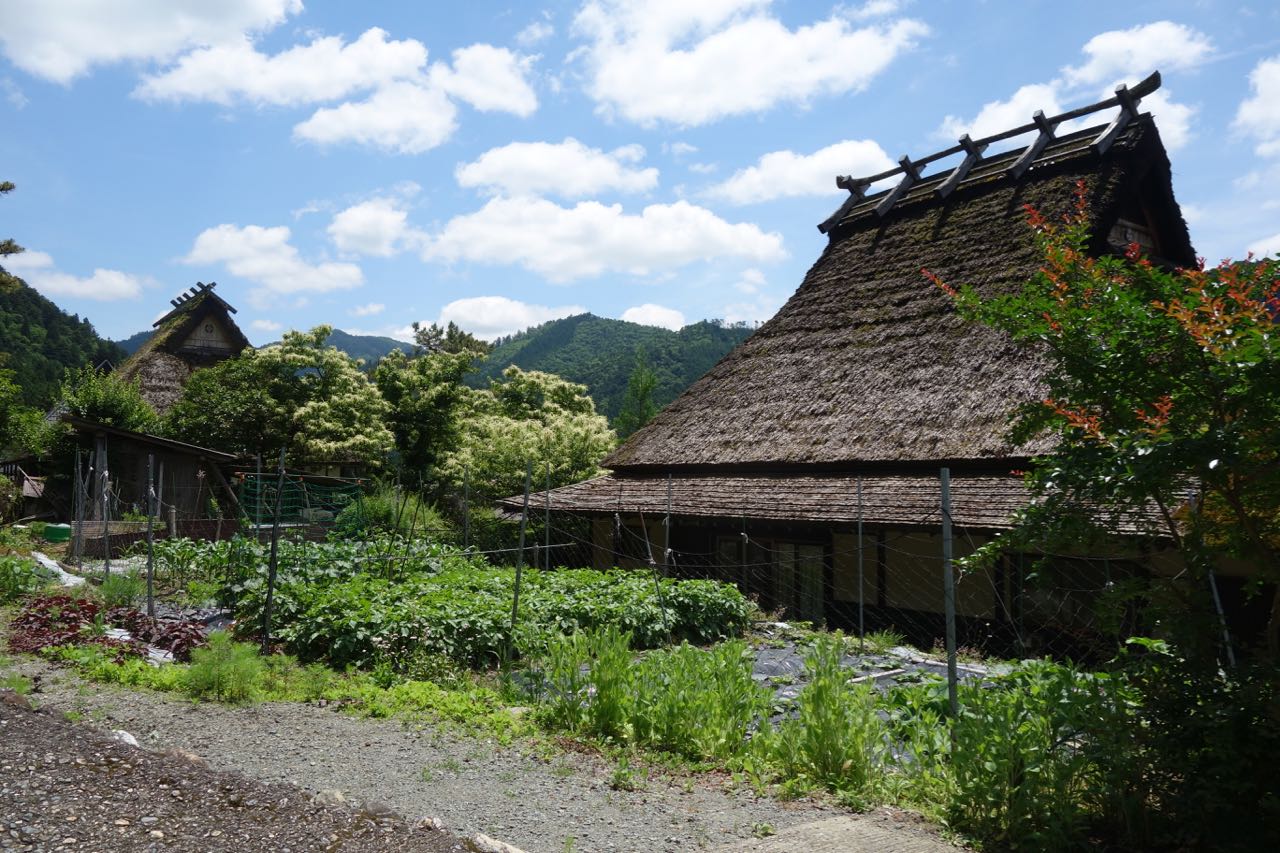
Janine and I are currently on the indigo trail. We have visited two indigo workshops in Kyoto and one in the north in Mashiko. Today we are making the trip to the Miyama Valley and the little village of Kita. This is rumoured to be a very pretty village of thatched roofed houses a few hours north of Kyoto in a mountainous region. although this sounds gorgeous, it is not the real reason to search it out.

The valley isn’t on any main road or train line, so the trip can be quite a long one, even though the distance isn’t particularly great. The isolation of the village has been its saving grace in terms of architecture, as not much has changed there in a long time.

We are advised to allow 3 to 4 hours for the trip. We can’t know the exact time, as we don’t know all the service times and connections. The journey will involve 2 train journeys and two bus trips. As it turns out, we seem to end up catching the wrong train, even with advice from the tourist information bureau. Our train stops a few stations short of the station that we need to get to in order to connect with the next train. We are a bit lost and bewildered by this, so by the time we get to ask the station master which platform we need to be on to get the next train north, he tells us that it has just left on the other side of the station.

This is a bit of a bummer, as the next train isn’t for another hour, then we need to connect with a local bus, that connects with a much smaller local bus to get us up the mountain to where we need to be. Our incompetence with the language and life in general puts a bit of a limit on our travels sometimes, but our optimism and luck is a good counter-balance on many an occasion, so we make the best of our situation. We decide to sit in the sun outside the station, but on the way out we see this sign.

IMG_1418

Luckily for us we have time to burn, so I decide to try and decipher it. Luckier still, it has some English on it. We march back in and ask the station master. He nods, Yes, the bus departs from outside in half an hour and goes direct. It has nothing to do with the railways. We will have to work it out for our selves. We sit and wait in the sun and as 10.30 arrives, a big coach pulls into the parking area. I wander over and ask in my clumsey, half-baked, abreviated Japanese. “Miyama desuKa”. The driver nods, “Hi desunae”.

It’s all good. We’re off again.

As it turns out, it just happens to be the first day of the summer tourist coach service company’s new offering to run a coach from this station to Kita village direct. It turns out to be a very comfortable one hour luxury coach service. As I remember, it cost us just $12 each. Excellent!

DSC03157

We arrive in the village cool and relaxed. As we desend from the bus, the driver is there at the foot of the steps holding a sign in Japanese that i can see has the time 15:30 written on it. I understand from this that we had better be back here a few minutes earlier than that time. I look at the driver and point at the ground at our feet. He nods. Here!

The village looks beautiful. I love Japanese thatched roofed houses at any time. The loverly and I made the pilgrimage to Shirakawago village up in the snow country a few years ago. That was a great experience. Staying overnight in an ancient thatched roofed minka house was a real cultural experience. The ancient lady who owned the ancient house cooked us a lovely multi-course dinner from an ancient recipe. I wrote about it at the time, it will be here on this blog back in the ancient past-posts somewhere, so I won’t bore you with it again here. Only to say that there are some similarities with Kita.

DSC03158

DSC03176

The big difference between them is that where as Shirakawago is all a ‘level 2 national trust preservation environment’, so nothing can be changed, up dated or altered, only maintained as-is. The up-side there is that you have to pay a fee to enter the ‘National Park’ status environment and all the money goes to the village to pay for it’s up-keep and re-thatching. Here in Kita Village, everything is privately owned and all the buildings are just peoples ordinary houses. The residents are farmers and some are commuters, so there are signs everywhere to remind us that we are on private property and not to disturb the residents or try to enter gardens or houses.

DSC03189

Kita is beautiful, but the main reason to come all this way is to visit the ‘Little Indigo Museum’. Hiroyuki Shindo came to live here many years ago to site his indigo dyeing workshop here. He has been working here ever since. His museum is situated at the top of the village and was once the village Headman’s house. It’s a large house with room for him to raise his family in one half, while his workshop is in the other side of the ground floor. His private museum is located in the roof, and what a beautiful roof it is. All bamboo poles lashed together with rice straw rope. A traditional thatched roof is a truely exquisite piece of craftsmanship.

DSC03226

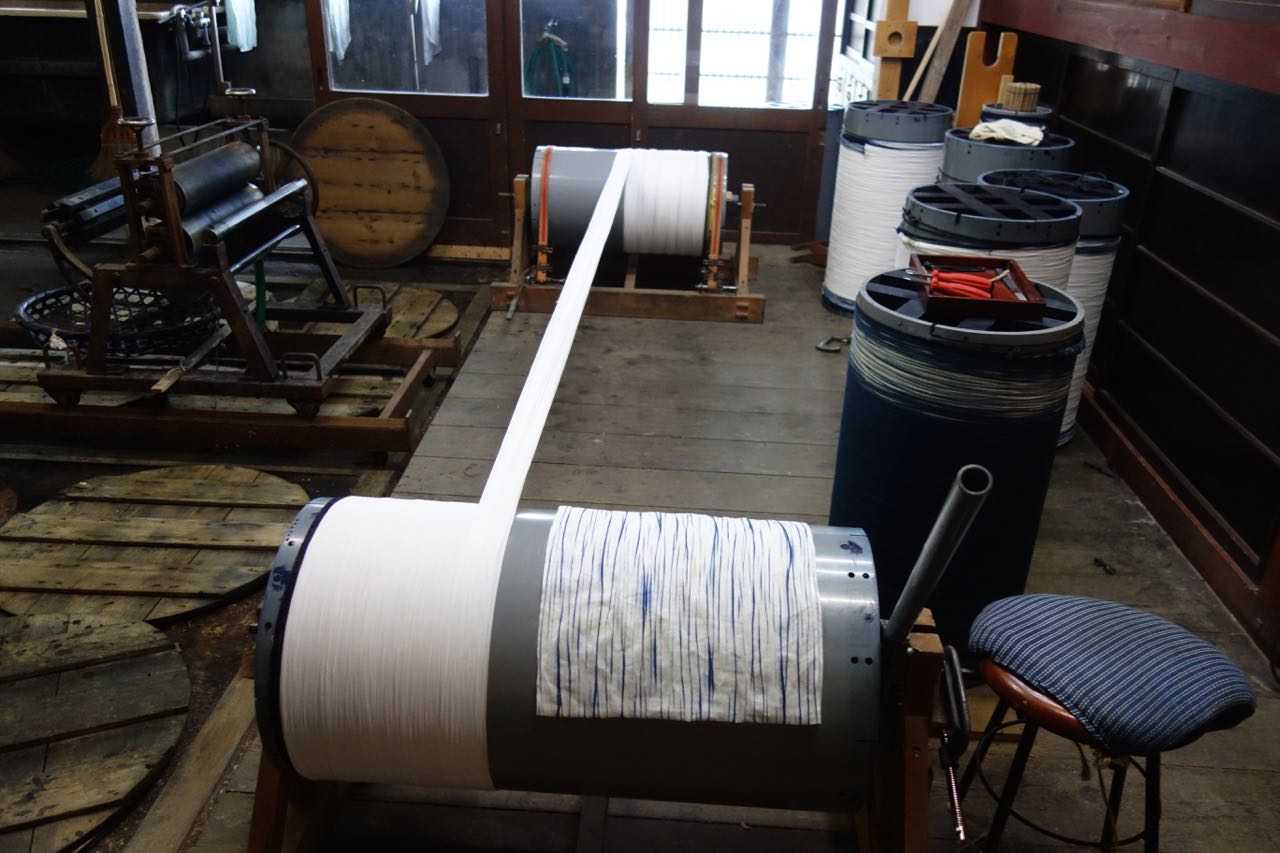
Shindo san is an internationally recognised indigo dye artist and luckily for us, he is a really nice guy who speaks quite good English. We get a tour of his workshop and some work in progress. He shows us how he winds the cotton fabric to get a striped effect in the dye bath and also shows us a finished piece of the work.

DSC03193

DSC03198

We buy a small piece of his work, We have to think small as we are in the first week of a 5 week journey and we have to watch our weight limits. Interestingly, Shingo san’s daughter is a potter and has her own show room on site. However, unfortunately, she is away at the time and the show room is closed.

DSC03176 DSC03260

Most of the houses have vegetable gardens in their back yards, it’s a nice place for me to wander, being a bit of a back yard gardener myself. The village has a restaurant – which you have to make advance booking for. That counts us out. Luckily for us it has a small cafe as well, right at the top of the hill. They use ‘illy’ coffee too, so the coffee is the best that we have had in Japan. The owners have spent time in Italy and the cafe is called the ‘Milan’ cafe.

We make our way back down the village and walk along the river to the bus stop, it’s quite idyllic. one of the beauties of living in a small village is the trust that the locals have for each other and everyone else here. The bus stop has a bunch of cushions provided by the residents for everybody to use while waiting. It’s a beautiful gesture.

DSC03286

The Fabric of Japan

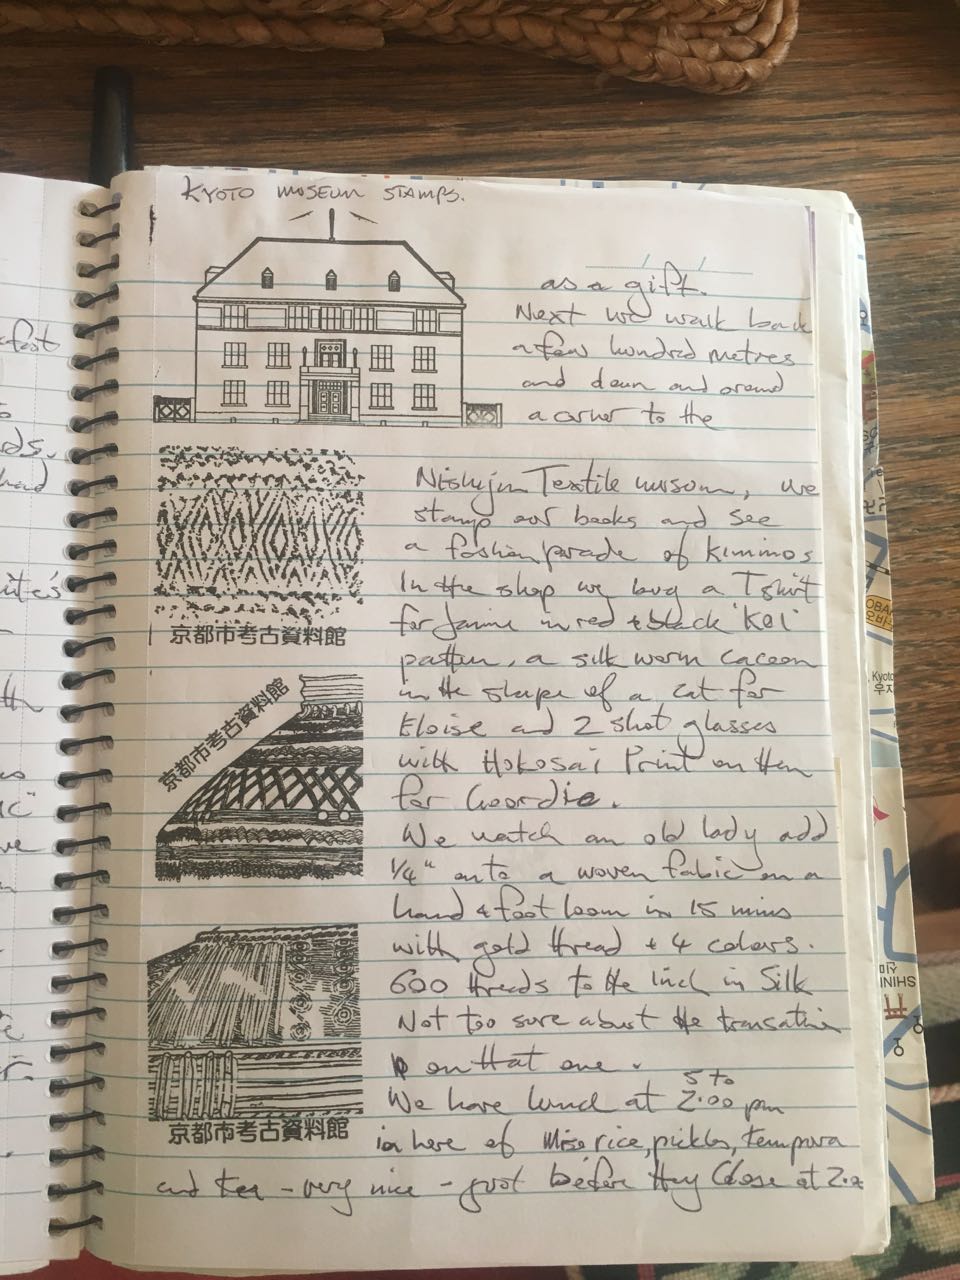
After we leave the Aizenkobo indigo workshop, we walk back to the main road and cross over to the Kyoto Archaeological Museum. It’s a small un-assuming building with a couple of exhibits on two floors, plus a research library. It’s free and quite informative of the local city archaeology. It dates back to the earliest inhabitants tools and objects, through the early ‘Jomon’ ceramic period, up to more recent periods. I liked it. We spent an hour in there.

Back out onto the road and we walk back to the big intersection where I know there is a big textile museum. I walked up to this part of town in the 80’s when I first came here. I remember, more or less where it is. The Nishijin textile museum is quite interesting, but not as interesting as being in an indigo artist workshop. We watch an old lady weaving with gold thread on an old wooden Jacquard card-programmed, semi-automatic loom. She is very quick at it after a lifetime of practice. We watch for 15 minutes and she gets just 1/4″ of an inch completed. She is working with some hundreds of threads per inch. it is unbelievably fine work. God only knows how much this length of fabric will end up costing? It’s destined for someone’s very special kimino I suppose.

We stop there for lunch in their cafe. Miso, rice, pickles, tempura and tea, all simple and just what the doctor ordered at 2.00pm after a long walk and a busy morning.

IMG_1939

We walk back across town and wait for a bus to take us halfway back to the city centre. This time we are heading for the Kyoto Shibori Museum. We find it easily, first time. It turns out to be exactly where I thought that it might be according to the map I have. I see it’s distinctive facade at a distance as we walk down the street. It looks a bit cheesy at first entry, but the girl at the door speaks really good English and welcomes us in, explaining what goes on here and how she can help us.  As well as being a private, family-run museum, they also teach Shiburi classes here, but that is not what we are looking for today. We want to see their private museum upstairs. We pay the $5 and she takes us up to the next floor so that we can watch an introductory video. We know next to nothing about shiburi techniques, having never attempted it, just a little general knowledge, so it is all very informative for us. It’s a really good video, well done and primes us to go into the museum to look at all the examples of what we have just seen on the screen.

IMG_1334

IMG_1335

A detail of a tightly knotted piece before dyeing.

This stuff is insane! We can’t believe what we are seeing and handling. This ought to be impossible. But here it is being done right in front of our eyes. The guide tells us that it is getting harder to get done, as a lot of the people trained in doing this are very old and are dying off. Soon there will be very few people left that are capable of doing it properly.

It’s a dying trade. Just like so many other skill-intensive craft-based industries. This loss of skill is not unique to here! But while it’s still being produced, it’s a joy to see and handle.

IMG_1340 IMG_1339.

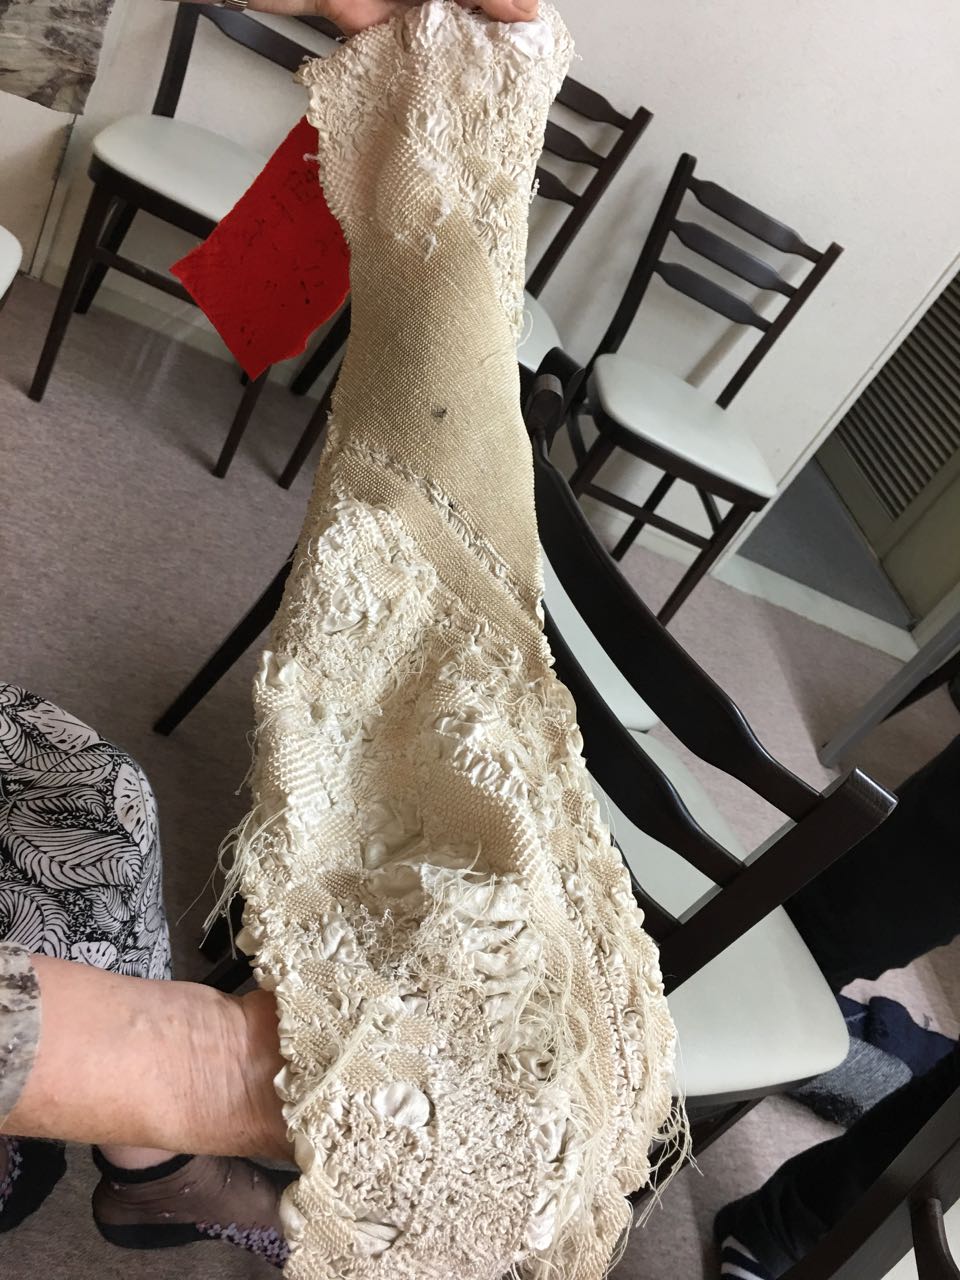
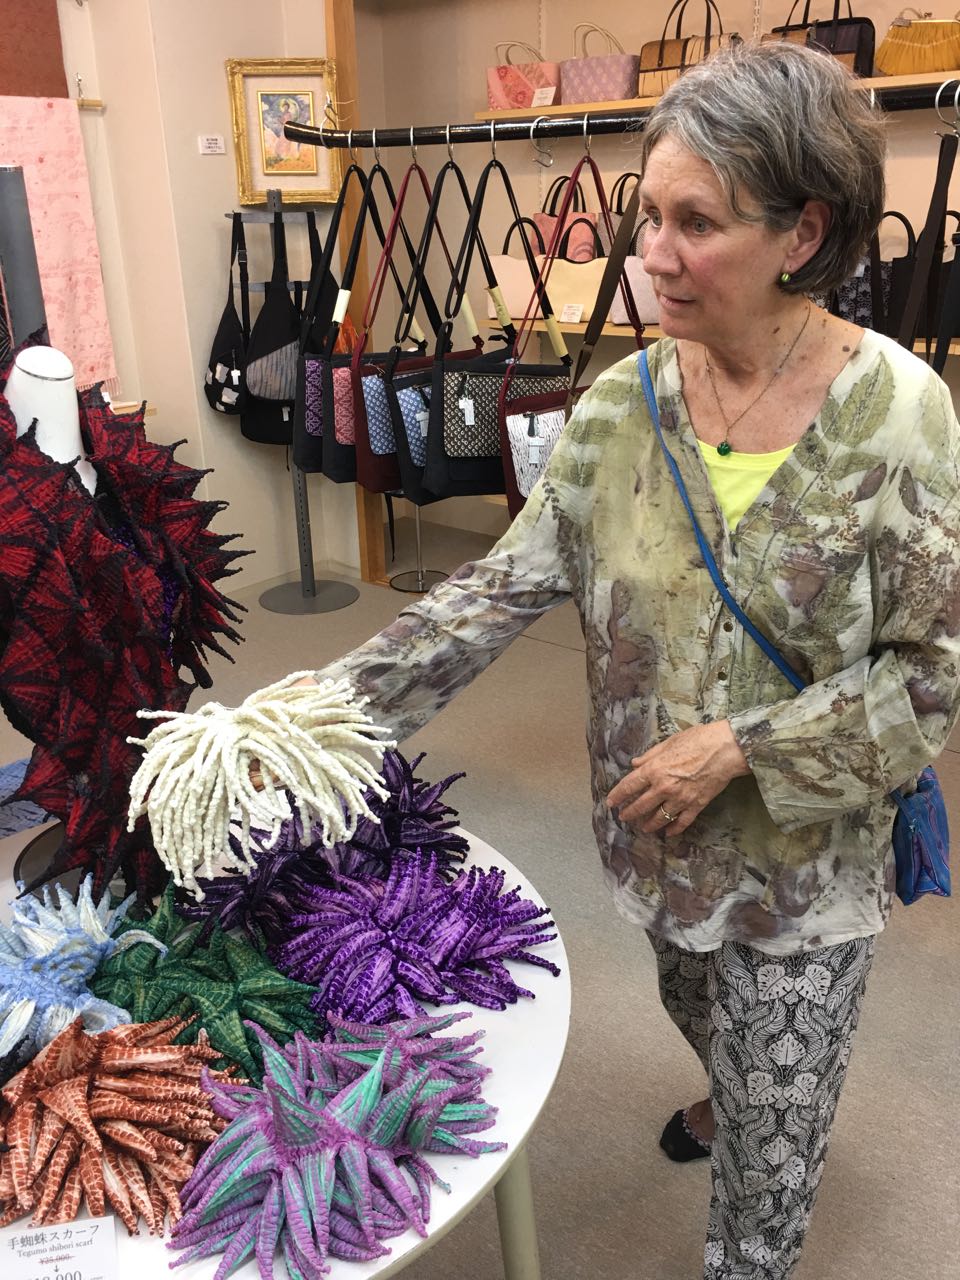
This white, tightly-bound Gorgons head of fabric becomes an amazingly compact stretchy scarf after dyeing and un-binding.

What an amazing experience to see a whole lot of techniques explained in such a short period of time. I loved it. I was informed, educated and entertained.

Wow!

Japan Blues

Janine and I have spent a short time in Japan. We are on our way to the UK via Korea, so decided to spend a week or so in Kyoto on our way to break the trip. We love Japanese culture and often visit Kyoto when we go to Japan as it is a favourite of ours. While in Kyoto we do all the usual ceramic related things, and spend time in the Higashiyama pottery district, looking at the ceramics, galleries, potteries and Museums, I have written a lot about this in the past so won’t bore you with it here. However, on this occasion, we also take a little bit of time to explore the north-west of the city and the fabric district.

I have had an interest in indigo dyed fabric for many years and always go looking for old second-hand indigo dyed fabrics when we visit the antique markets that are held towards the end of the month in the temples around Kyoto. I usually organise our visits to Kyoto to coincide with these markets each time. Some years ago, on a previous visit to Japan, we spent some time traveling in the north of Japan and found a very old indigo workshop that had a 600 year-long history. It was in a very beautiful old building constructed from twisted and bent beams, all mortised together in that unique Japanese way with amazing craftsmanship. Janine bought a lovely fine shiburi patterned top on that occasion. She still wears it often and has actually brought it along on this trip.
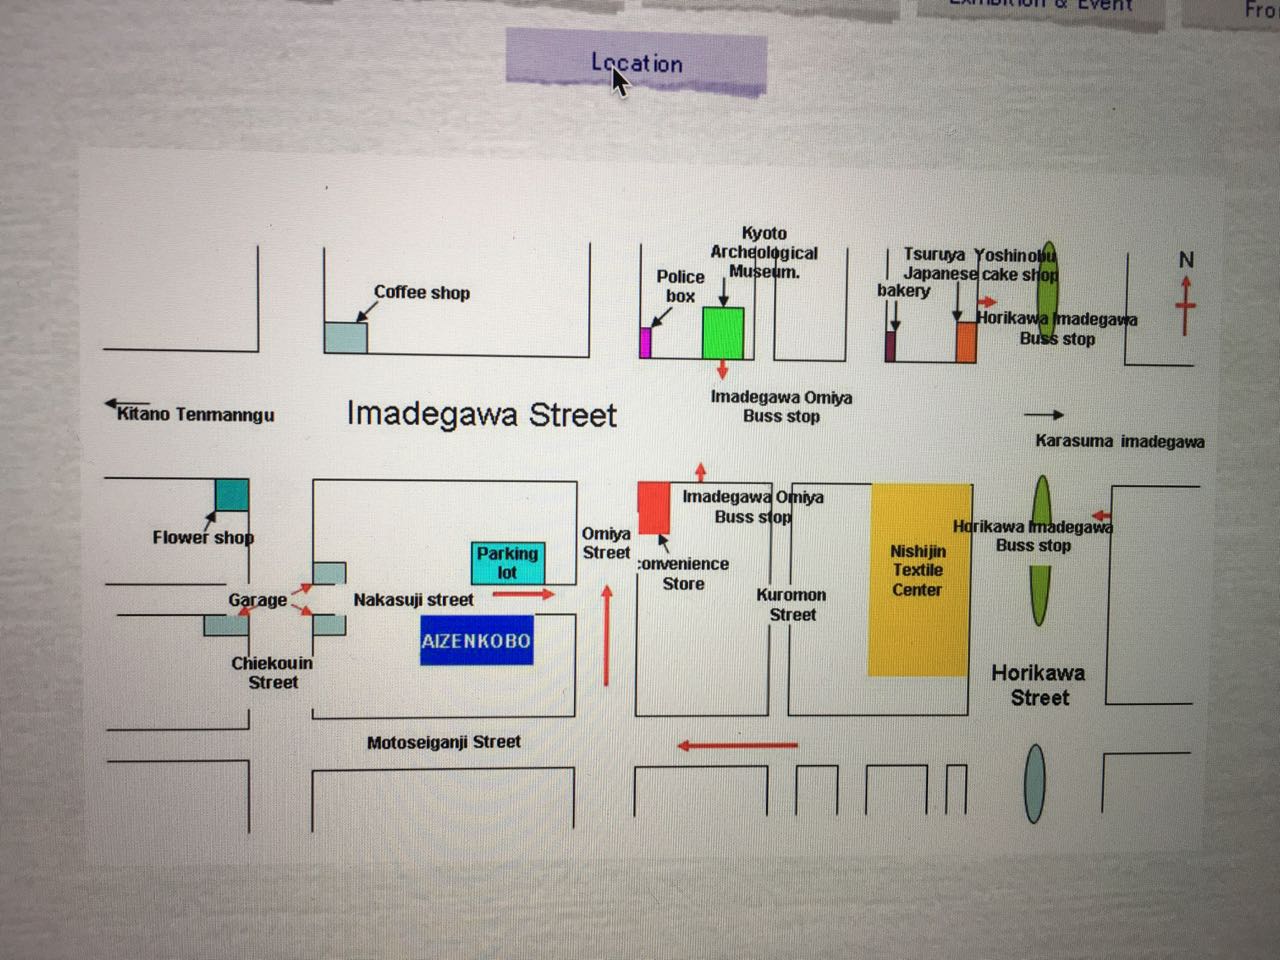
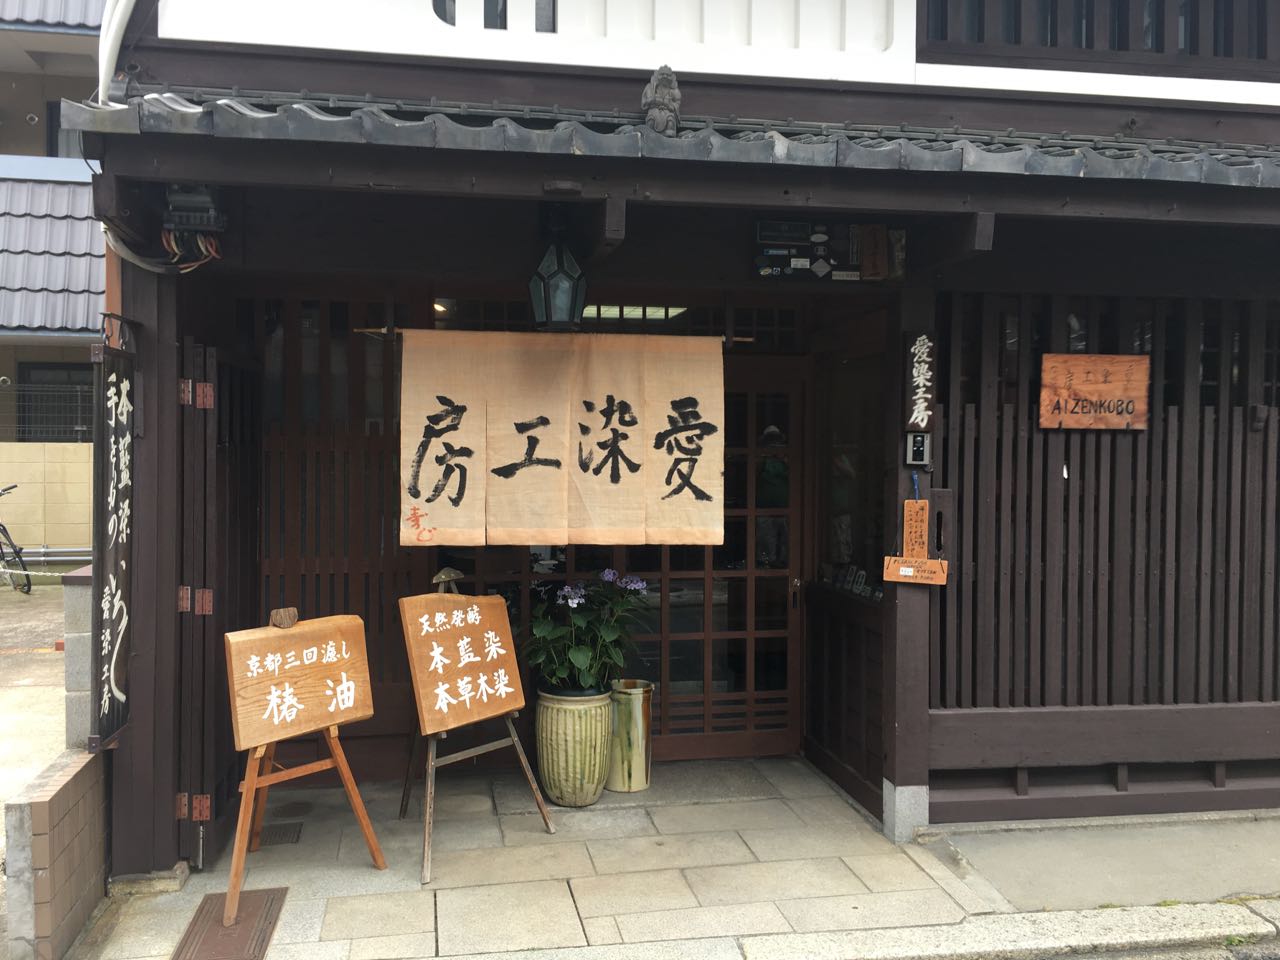
We take the subway to the north and then walk half an hour across town to the west to find a small indigo dyeing workshop called ‘Aizenkobo’ hidden away in a very tiny back street, or possibly more properly described and a lane way. The workshop wasn’t particularly well-marked on the day that we first arrived there, as it was a bit overcast and showery, so there were no signs out. I knew that we had found it however, because I took the liberty of looking it up on the internet before we left, so I had an idea of what I was looking for. On subsequent visits, the day is clear and the signs are out, but I already know where I am on these later occasions.
IMG_1276  IMG_1508
We are welcomed in by the owners, a husband and wife couple, possibly our age or a bit older? Janine gets to try on a 100 year old patchwork coat and an amazing fireproof, indigo dyed and hand stitched, multi-layered old fireman’s jacket and hat.
IMG_1303 IMG_1310
IMG_1292 IMG_1293
Janine buys a scarf that has been tied in the amazing shiburi style of micro tying technique and then dyed in multiple different strengths of indigo. A truly astonishing piece of work. We get to handle the product in the ‘before’ and ‘after’ states.
IMG_1286 IMG_1318
Before and after. This generous scarf which started life at 1.5 metres long, is reduced to 400 mm long after all the shiburi knots are tied, but before dying.
We are taken for a tour of the workshop and get to see the dying vats and hanging and drying areas out the back.
IMG_1509
One vat is slowly fading, as another is in full bloom, the older vat will be cleaned and re-charged with a new batch of indigo. It takes about two weeks to get the fermentation going and up to full strength. A vat lasts about a month, so the process is repeated on a regular basis to keep a continuous supply of fermenting indigo ready for use. As the traditional method requires a natural ferment of indigo, the temperature is critical to keep it alive and active. In the winter, the vats have to be kept wrapped in a doona-like cloth to keep them warm.
The workshop uses 4 x 60kg = 240kg packs of local composted and dried Japanese indigo leaf ‘cake’ each year.
Indigo is a very ancient dying technique and has been developed on most continents independently through time, with each continent using a different local plant material to obtain the blue dye. However, the resulting technique is remarkably similar. Washing the fresh leaves in water and thoroughly oxidising the watery mix, then reduction through fermentation, which is when the dye becomes active. The dye only affects natural fibres. So indigo is only used on silk, wool, hemp, cotton and/or other natural plant fibres. I saw one piece of cloth that had been stitched with nylon thread, so that after dying, the cloth was dark blue but all the stitching on the seams was stark white. I didn’t think that it was particularly attractive look, but I’m sure someone will love it. I didn’t.