Approaching my use by date

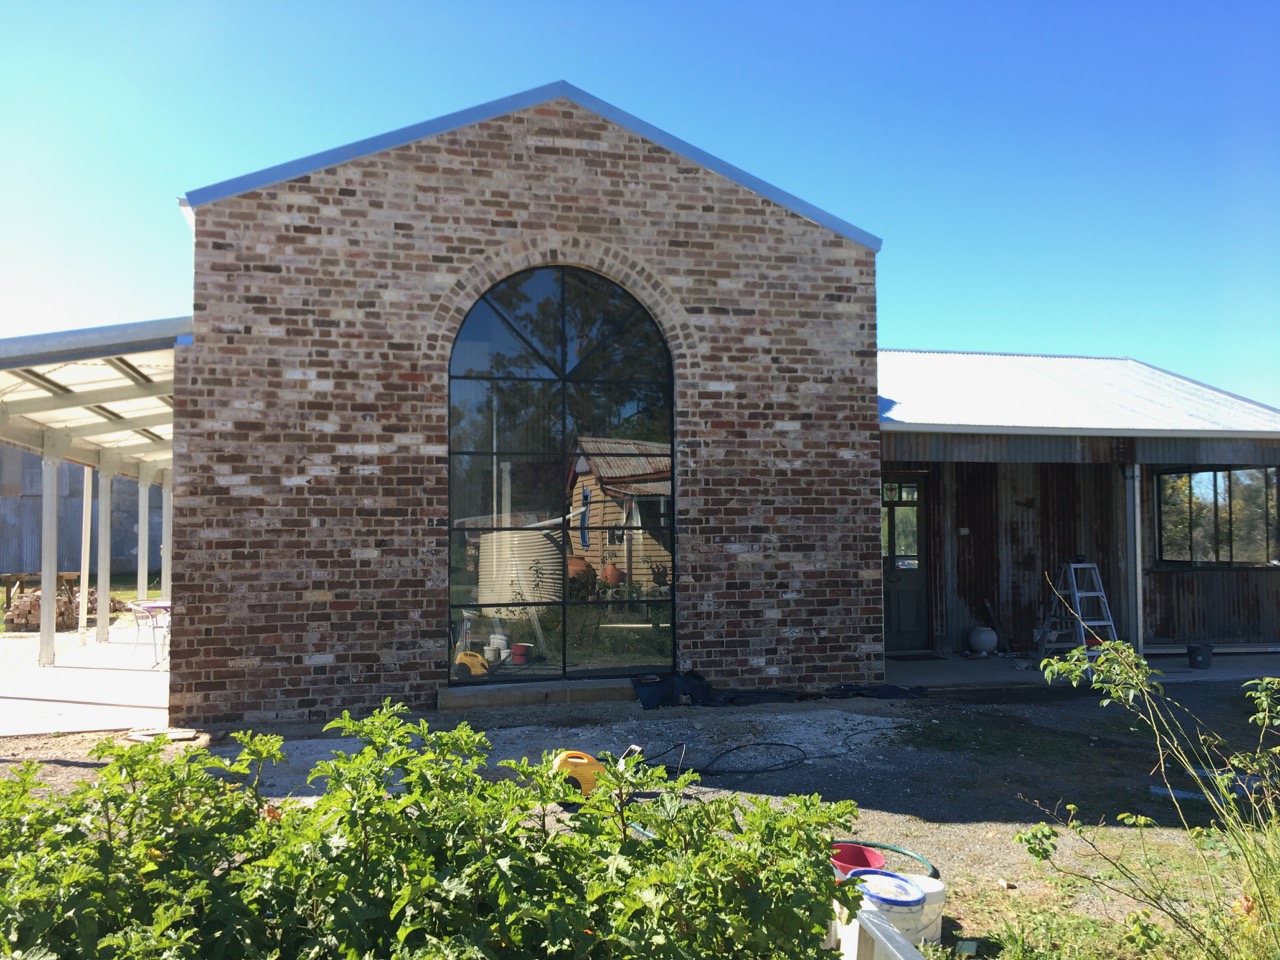
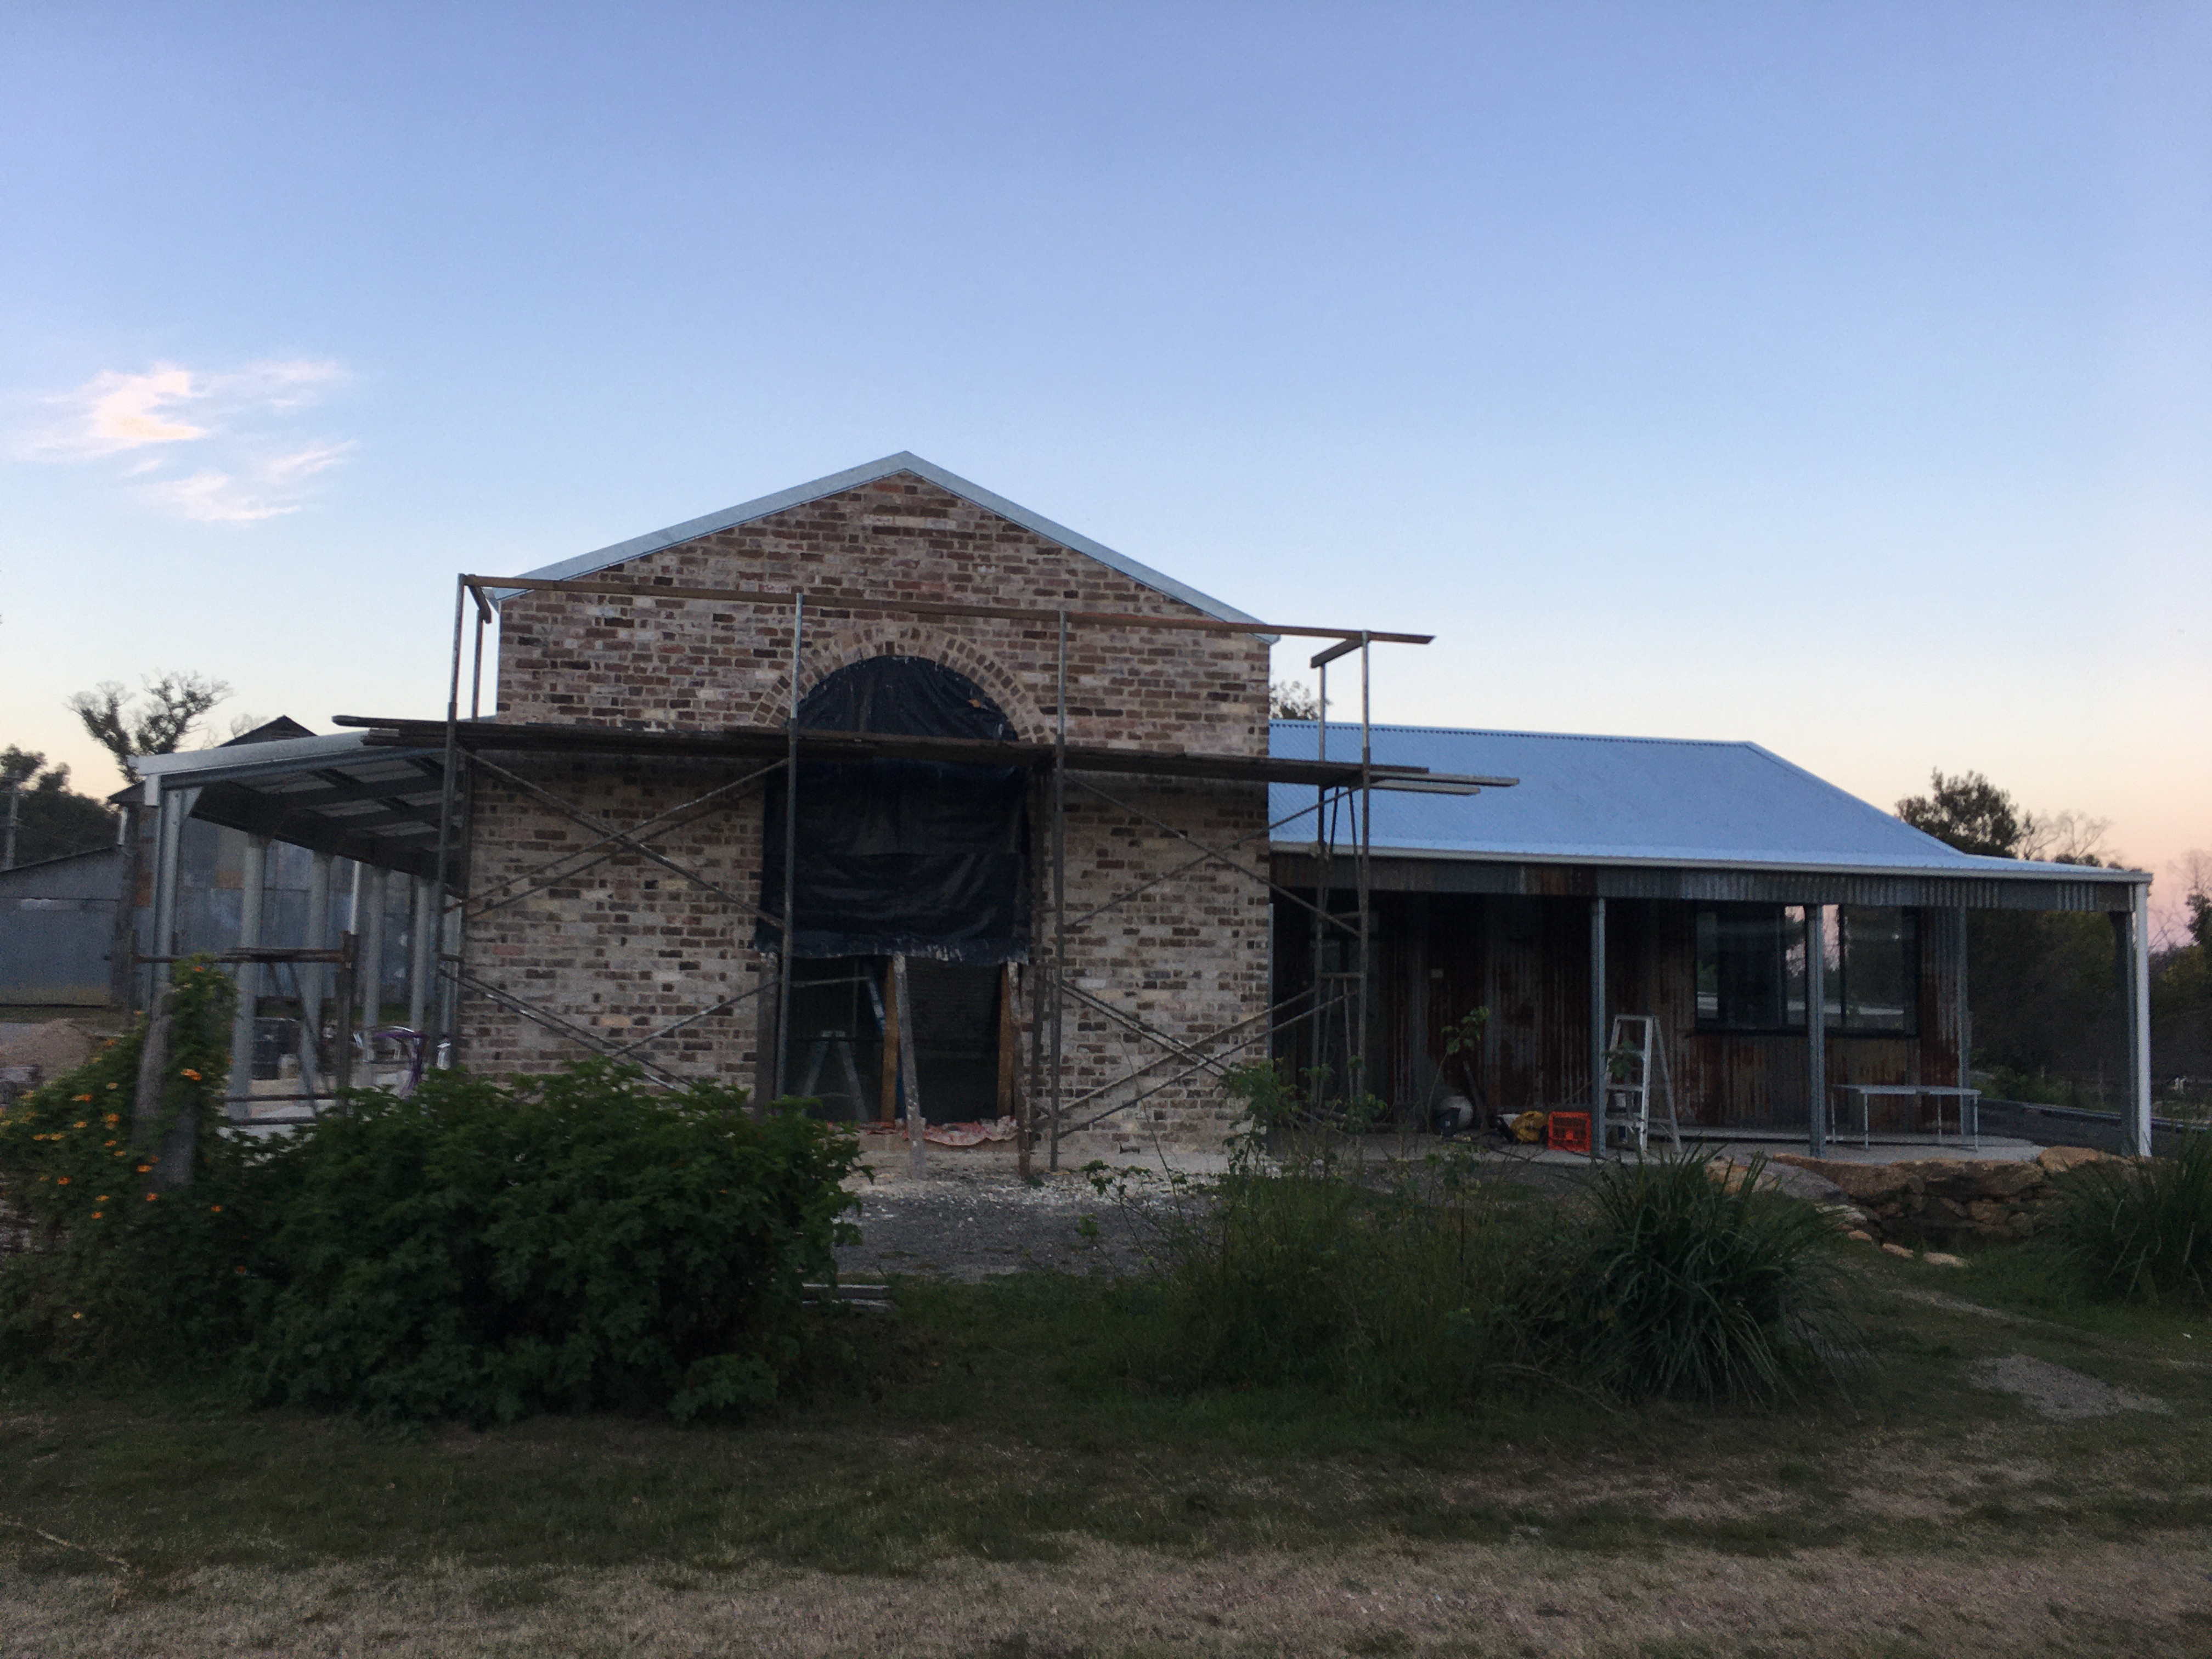
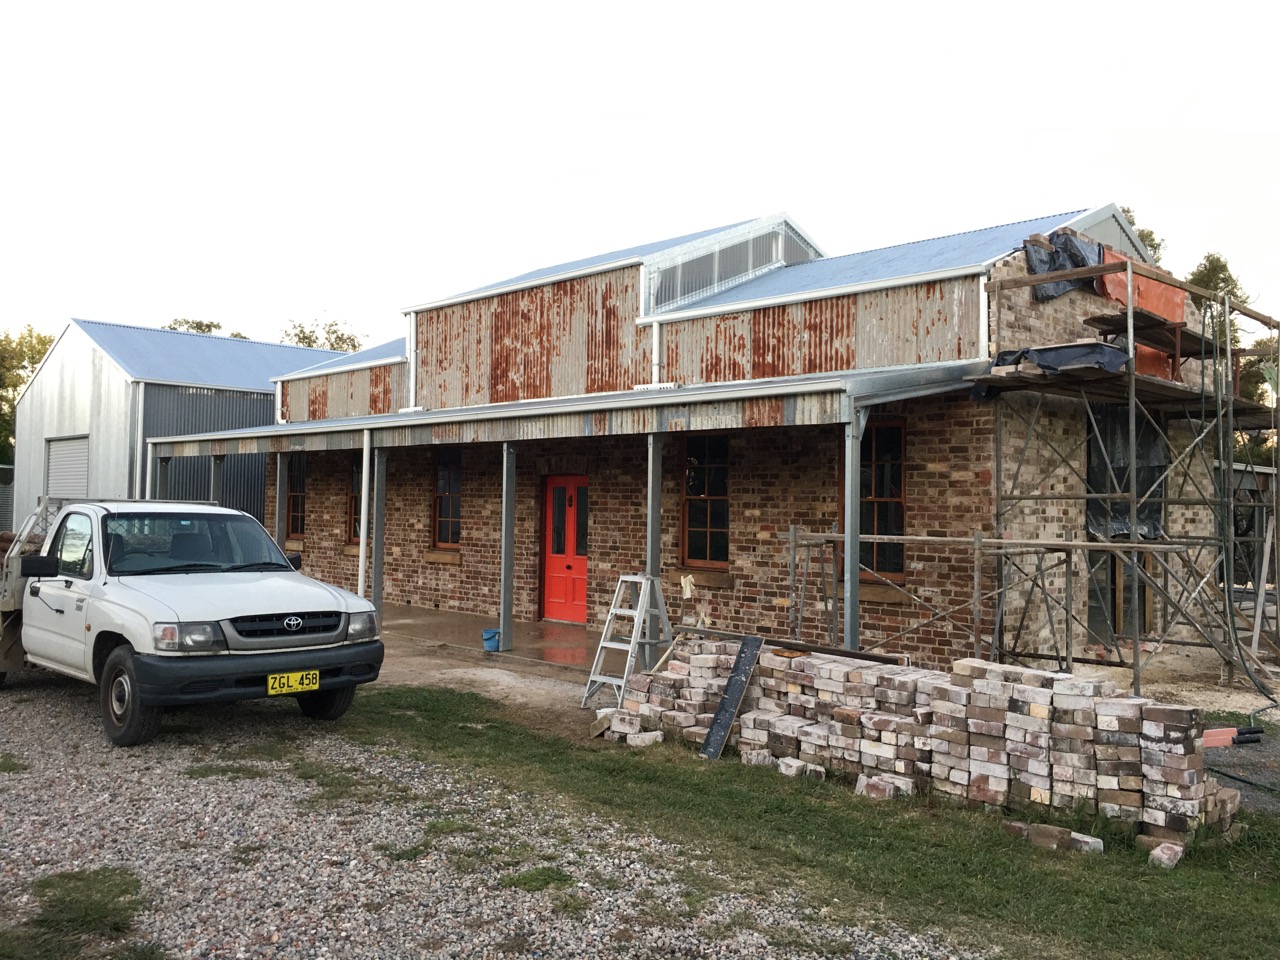
The outside of the shed is now finished. Although there will be a lot of cleaning up, organising drainage and landscaping to do, but that can wait.
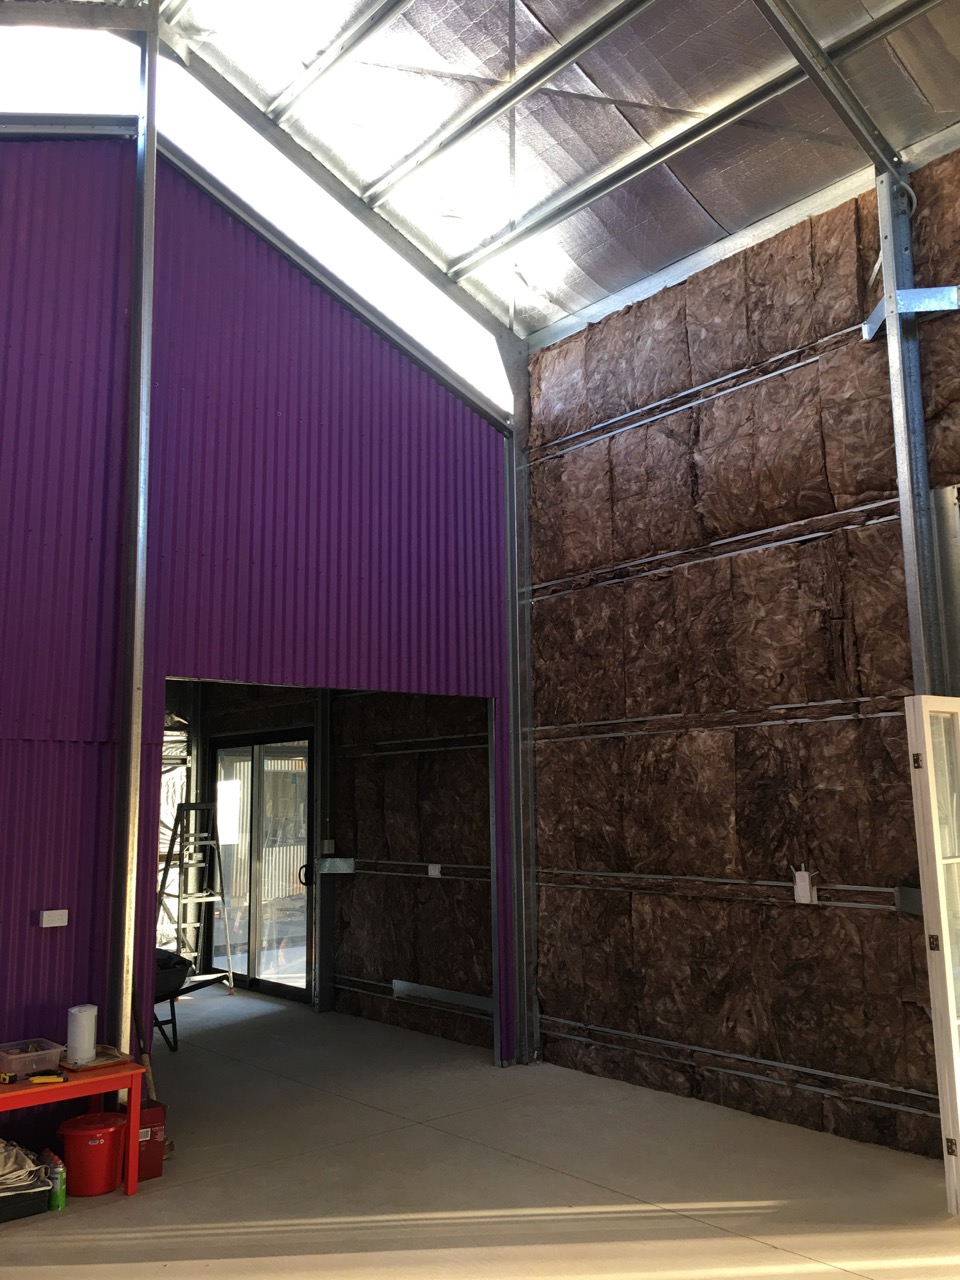
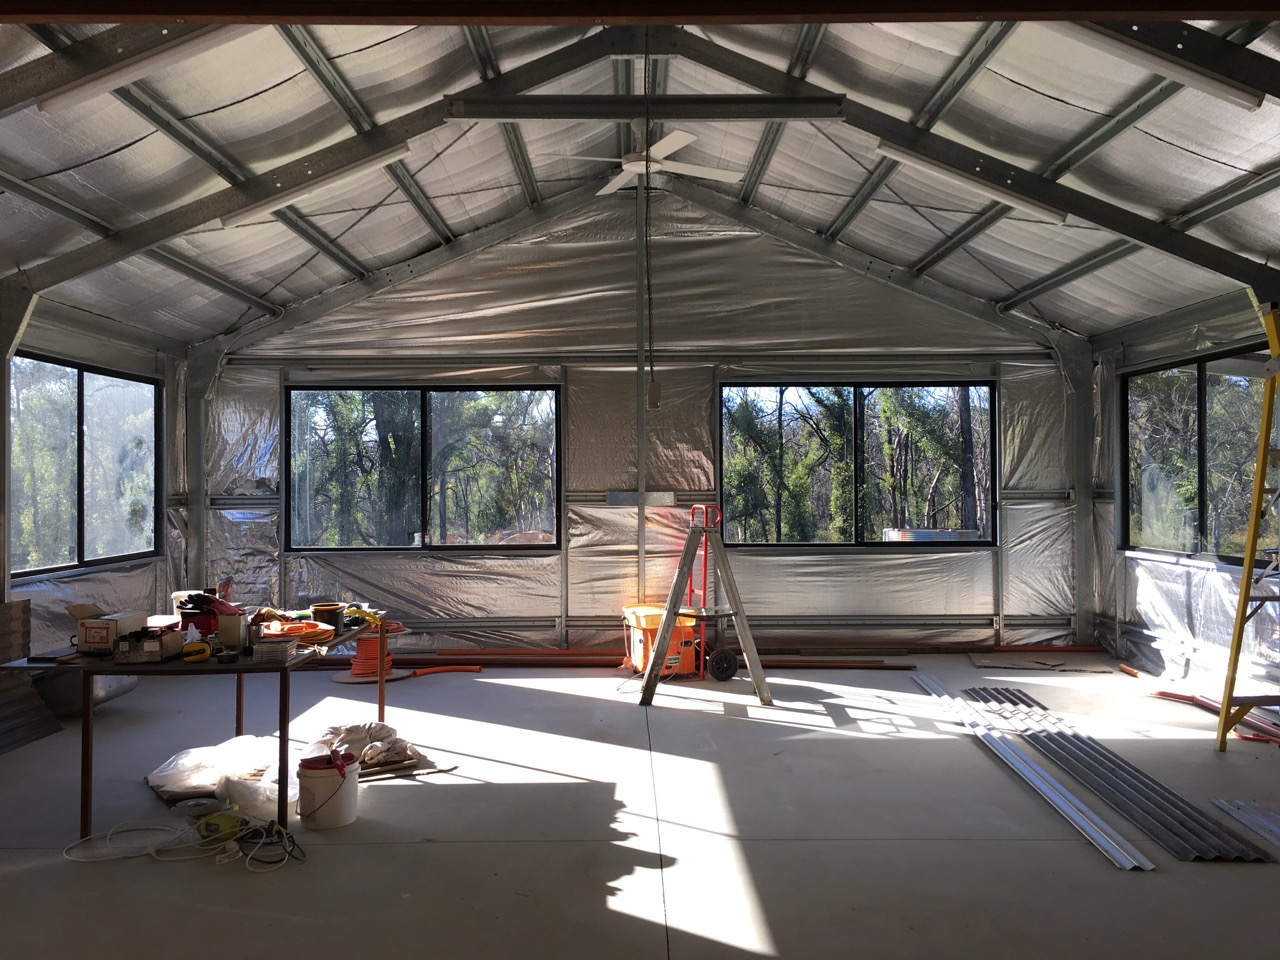
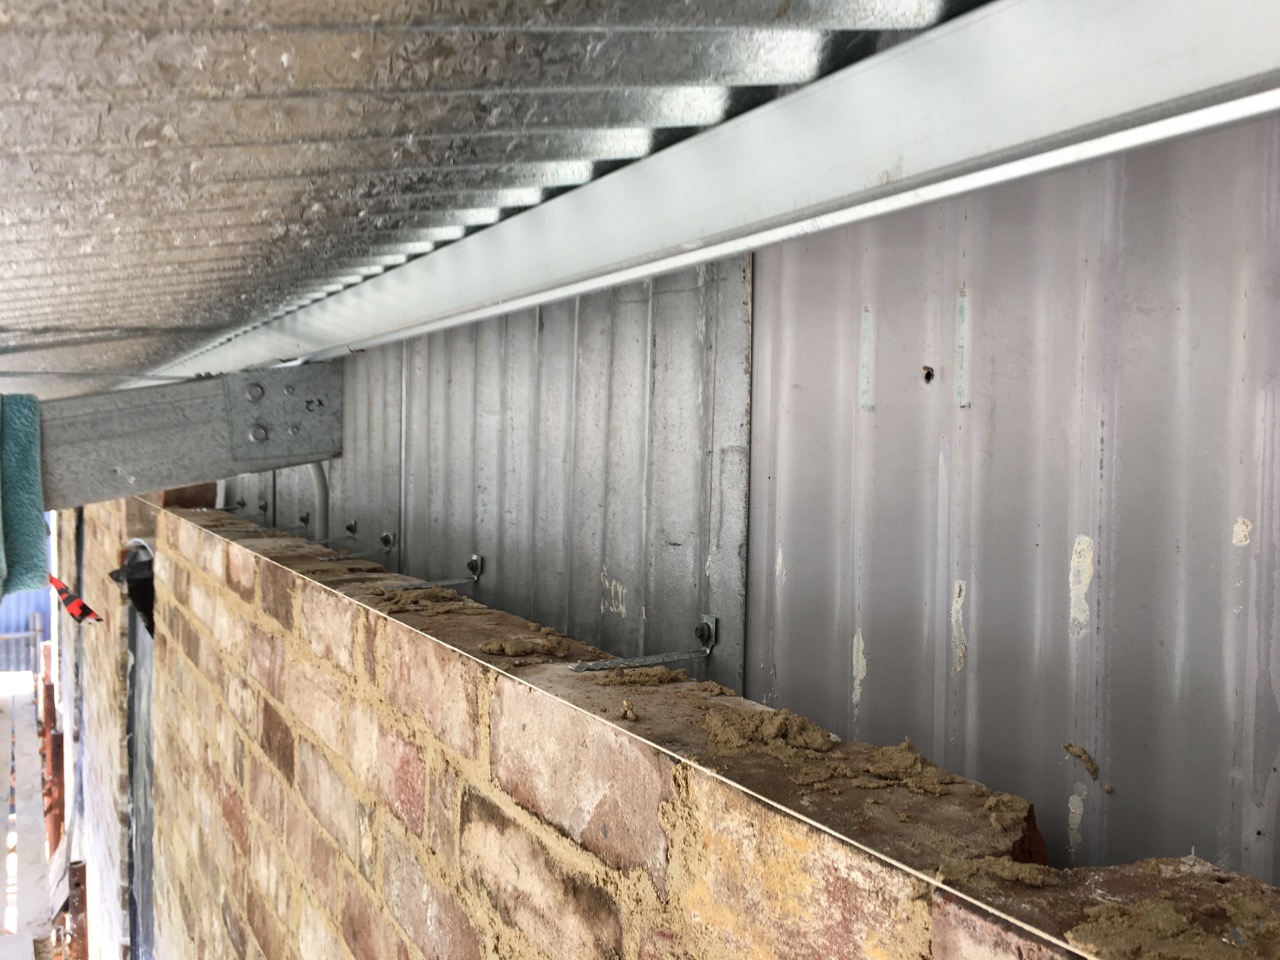
All the inside was just silver paper and a bare steel frame. We are working on putting the insulation into the wall cavity and then lining the internal walls with more old rusty gal iron sheeting. Then we have to paint it out and finally build some benches before we can start to install any pottery equipment. I think that there is still at least 3 months work in all of that. I’d really like to be in before the end of the year.
Then we can relax a bit and enjoy the results of our hard work, by doing what we are trained to do and are good at.
We have already started on lining the walls with insulwool insulation. We have chosen a product made from recycled beer bottles. Keeping it close to home!

We haven’t even started any internal work on the pottery studio yet. That will be the last room to be lined.

But we have completed the lining of the gallery room.

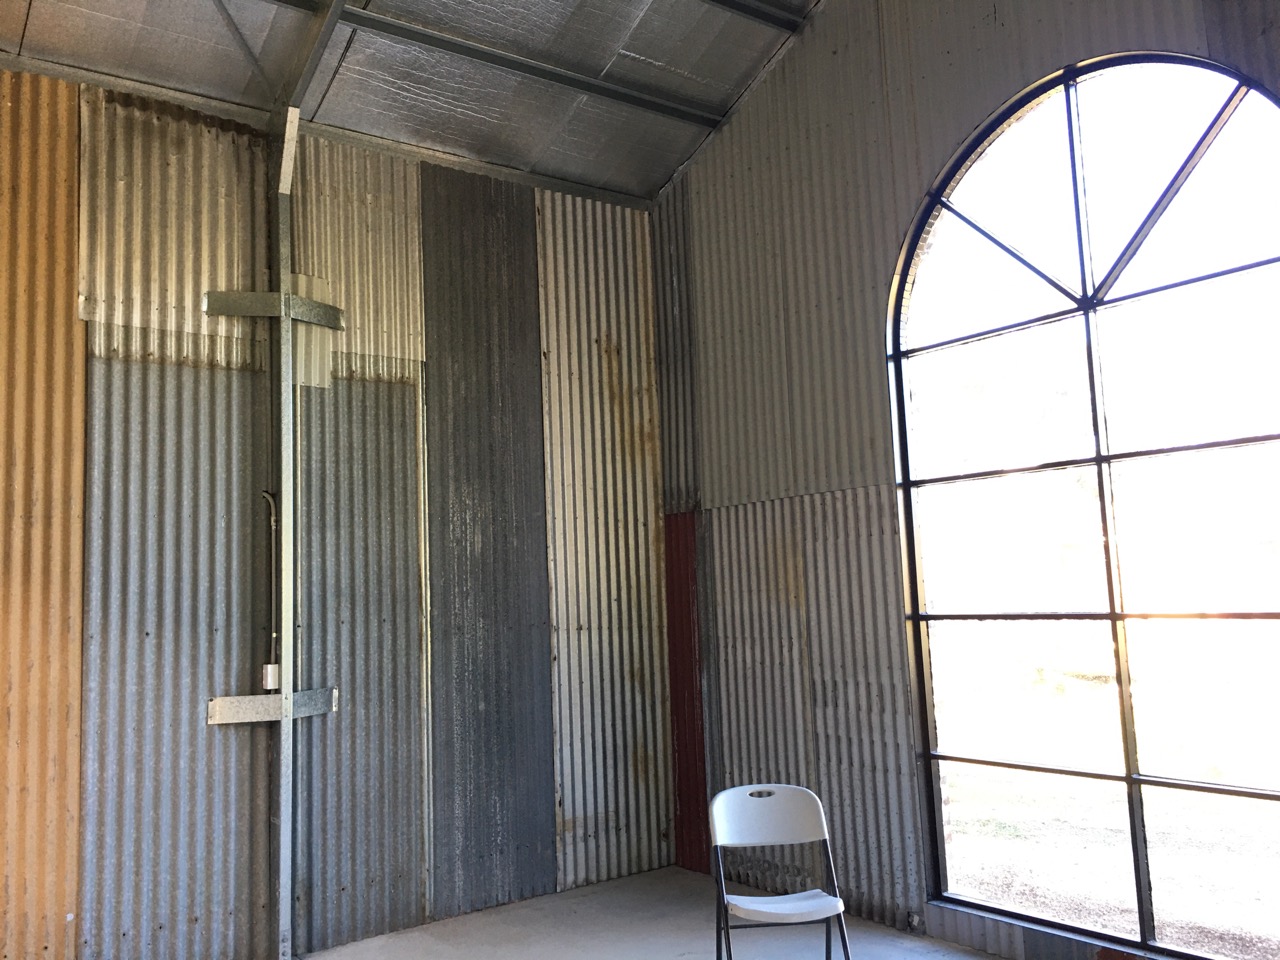
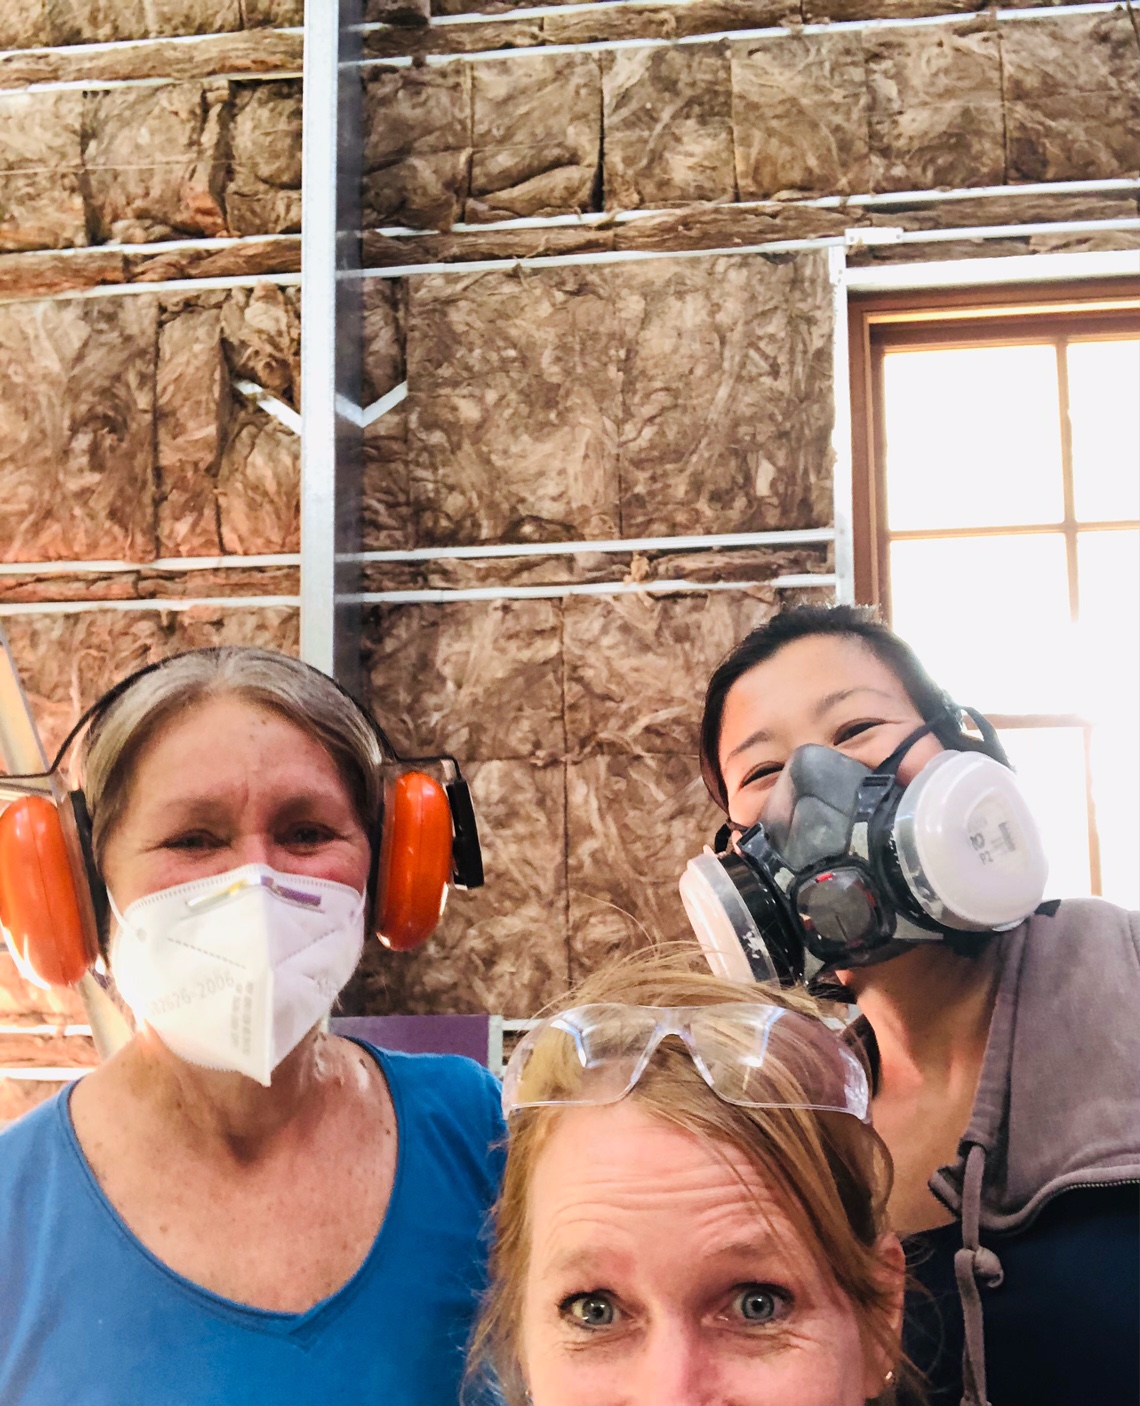
This ‘Gallery’ room is now ready for painting. We had a few friends here to help us get the insulwool installed and some sheeting done last weekend, Andy, Cintia, Fi and Brian – thank you! We wouldn’t be so far advanced without the help of so many friends, and Janine, of course!

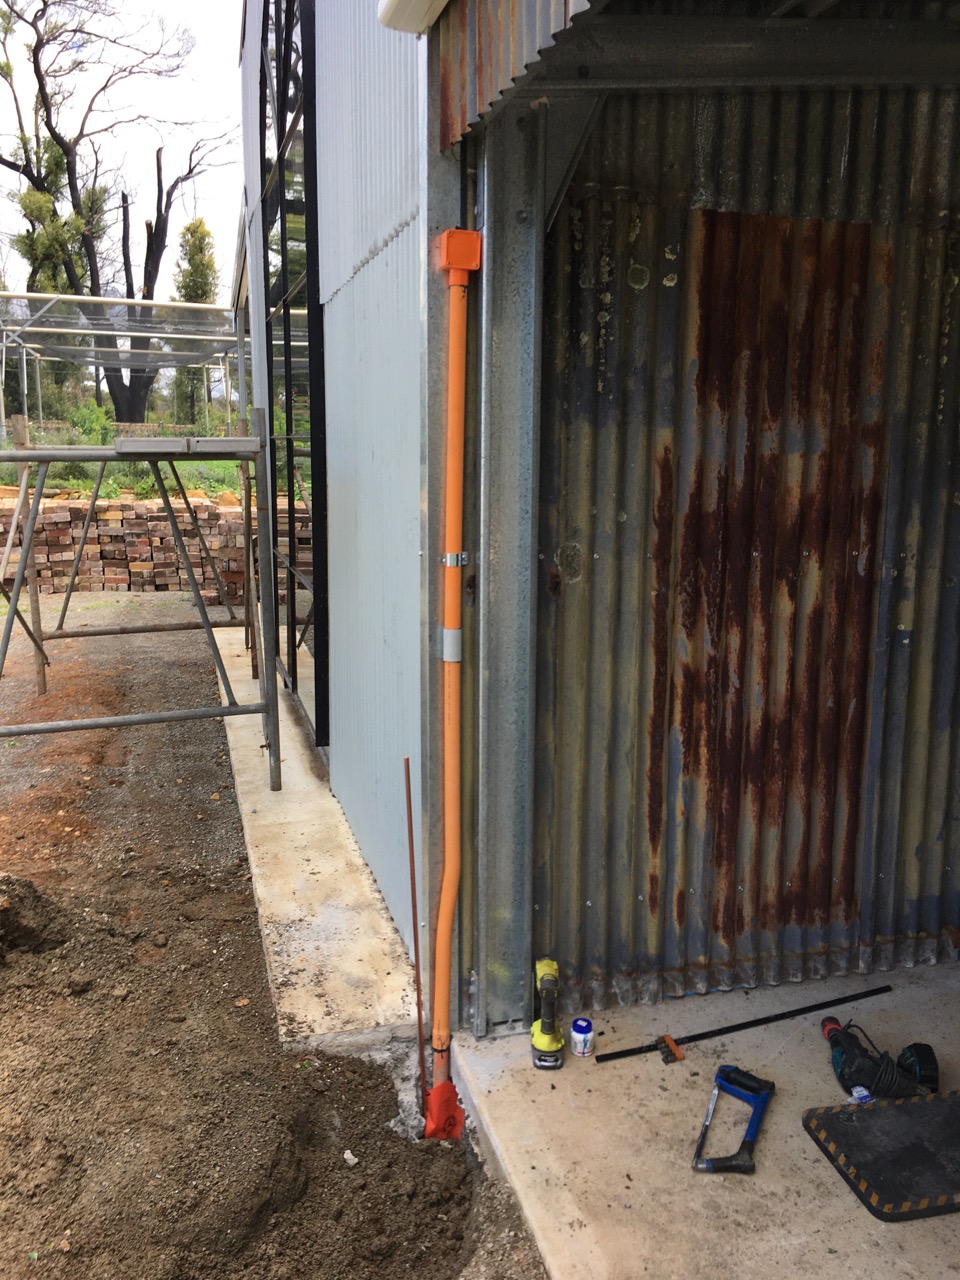
The gallery has so many different types, profiles and colours of old tin that paint is our only option. I might have preferred something else as a lining in there, but as I managed to scrounge enough old tin to do the job, and it’s free, then there was no issue, it had to be old tin to spare the budget. A lining of steel sheeting is also non-flammable.
The kiln room is still very much a work in progress, only partly lined, but we finished putting all the glass-wool batts in the wall cavity yesterday. A big job, but every job is a big job. It all takes its toll. We fall into bed straight after dinner.
Sometimes it all seems a bit too much. We just have to break every job down into manageable chunks and then bits of chunks, so that we can tackle one part of it each day. Just plodding along, bit by bit. It’s all a bit mind numbing in its endlessness. I just try not to think about it too much. Head down, butt up, gets it all done. There is an end in sight.

I got 3 long sheets of iron up before dark yesterday, but stretched, tore, pulled, or otherwise damaged a tendon in my left forearm trying to lift them up. They are 5.3 metres long and pretty heavy. So something had to give. I’m having a week off to let it rest a bit.


On the bright side, and there always is one. My damaged knee that I buggered up, 12 months ago next week, when I fell into the electrical trench, is getting a lot better. I can climb ladders again, but still have difficulty getting back up from being on my knees on that side without straining it.
As for ladders, I have re-written the rule that you shouldn’t climb ladders after you turn 60.  70 is now the new 60, as far as I’m concerned.

A 3 metre step ladder is only just high enough.
So, it seems that I’ve reached my limit. 
Pity, as there is still so much to do. Especially the ceilings, as they are quite high up and will involve a lot of lifting. I’ve come to the conclusion that I will have to pay someone to help me to get this finished. I’m past my use-by date for this much continual hard physical work. Once all this heavy work and ceilings are done. I can probably manage the painting and other lighter jobs myself.

Being high with acid

Now that all the brick work is finally complete on our tin shed has its brick veneer walls, I was able to get stuck into scraping, fettling and acid washing the tall Southern wall with the big arch window.

We used our ancient, but extremely solid old steel scaffolding that I bought 5th hand 40 years ago, from a guy who bought it from another guy who bought it from someone else, all owner builders all along the way. Each person bought the scaffolding frames, built their house and then sold them on to the next owner builder. I bought them originally to build our house, but then kept them, breaking the cycle. However, I did rent them out to other owner builders and professional builders over the years, even lent them to our close friends, anyone who needed them to do a job requiring scaffolding.

We built up a 3 level scaffold to get to the very top of the gable wall. Then I worked in reverse with the brick cleaning, working my way down again. As each level of scaffolding allowed me to get to the necessary part of the wall for the though scraping off of the spatter and dags of mortar. It wasn’t too hard a job to clean and acid wash all the bricks at each level.

I’ve never been particularly comfortable working at heights on scaffold or on very tall ladders. But I get used to it over time and find my builders legs. The first few hours are a bit shaky, but by the end of the first day I’m good to go and the second day up there seems somehow ‘normal’! We built a safety rail around the top, It’s not particularly robust, but just seeing it there gives me confidence somehow, even though I don’t go near the edge at all. Working with acid isn’t good at any height, even on the ground, but at height, it adds a certain tinge of danger that keeps me on my toes.

I concentrate on scrubbing the bricks clean and not getting any acid splashed on me. The brick surface with any lime mortar on it foams up and fizzes as the acid does it’s job of neutralising the lime, then a good fresh water rinse to wash off the residue and the brick work looks heaps better and the brick colours become brighter. As these are all thrice used sand stocks, there is a lot of both lime mortar and old lime wash paint on them. It takes 2 goes to get them reasonable. I don’t want them to look brand new, just a little brighter and less limey.

I was able to dismantle the scaffolding bit by bit, layer by layer, as I worked my way down the wall,. Finally, with all three levels of the scaffolding removed, we were able to get an uninterrupted view of the finished wall in all it’s impressive glory for the first time.

It’s better than I imagined when I drew the plans 12 months ago.

Something positive and creative emerging, kicking and screaming, by shear hard graft and determination, from this unmitigated disaster of a fire.

Flasher

This last week I have been finishing off the roof flashing. I spent time cutting up gal steel off cuts left over from the construction phase of the project. I have pieces of corner section, ridge capping etc. I cut them into narrow strips and then folded them into the pieces that I needed for each specific place.After the brickies finished the walls, there was a gap between the steel shed and the new brick veneer wall that needed to be covered.


In one spot on the wall where the corner meets the verandah. I had to cut and fold a special section that is folded in 5 different directions.


That was a very satisfying little job. I’m pleased that it worked out well. I have no idea how much that would have cost me to get a plumber to do these jobs. But it wouldn’t be cheap.

I also needed to cover the electrical conduit brnging the power into the workshop.


This conduit needed to be protected from sunlight, but also mechanical damage.


I have finally finished the capping on the roof between the new brickwork and the steel shed.
All done, now back to the acid cleaning of the brickwork. I had to finish the steel capping before I could afford to pull down the scaffolding. Without the scaffolding, I wouldn’t be able to reach the central capping safely. Every job has to be done in its own specific sequence.

I’ll be pleased to remove the scaffold, so that I can finally see the arched wall and window in its complete form.

Frog up, or frog down?

The brickies have finished. However, there is still a lot to do to clean it all up. I still need to scrub it all down, fettle it, then acid wash the surface and water blast it, but even at this stage it looks great to me.

I asked Bill, one of our brickies, if there was a rule about laying bricks with the frog up or the frog down, as I had noticed while securing the brick ties to the shed frame, that some of the bricks were laid either way. Bill explained to me that he was taught by the English Master Bricklayer Dave Smith from Leeds in Yorkshire to lay bricks frog down, so he lays bricks frog down unless there is a reason not to, such as the need to get a particular face out, or if the brick is warped and won’t sit flat any other way.

At this point, I should explain to those not familiar with bricks, that old fashioned sand stock or modern day dry pressed bricks have an indentation in one of the broad, flat faces. This has a few functions, but mostly to provide a ‘key’ to allow the mortar ‘grip’ the brick and lock it into the wall.

Modern extruded bricks have a lot of holes all the way through them, so don’t require a ‘frog’, the extrusions provide the texture for the cement to grip the brick. BTW, Bill told me that he refuses to work on jobs that specify extruded bricks. He said that they aren’t ‘real’ bricks, just rubbish.

So a frog is an indentation in the brick. In old, hand made, sandstock bricks like ours, the bricks were made one at at time in wooden mould, also hand made on site and not always exactly the same as the other moulds that were being used, so there is plenty of variation in the size and shape of the bricks, but particularly in the size and shape of the ‘frog’ indentation.

We have diamonds and ovals, but mostly a huge range of rectangular shapes.

It appears that each brick maker seemed to make his own mould and chose what ever piece of wood was available at the time to add to the mould to make the ‘frog’ indentation in the brick. There is a huge variation. I have read that as each frog was different, the shape of the frog in the brick was a way of counting up the tally of each individuals daily output, as the brick makers were paid per brick produced.

You can see above, many of the various shapes of the frog, these varied from long, narrow and deep, made by using a squarish baton of wood in the bottom of the mould or ‘Stock’, to very wide and shallow, with tapered edges. Warwick Gemmell in his book ‘And so we graft from six til six’ – Brick makers of New South Wales. states;

Having a wooden piece in the bottom of the mould also had the beneficial effect of pushing or ‘kicking’ the clay slop out to the corners of the mould. It is important to fill the corners of the mould to get a well shaped, square edged brick. Having a ‘kick’ in the bottom of the mould made this easier to achieve by kicking the soft clay out to the edges and allowed the brick maker to work faster with less ‘seconds’.

So where does the word ‘frog’ come from in brick making? The the OED vol 6. P208/6 quotes it’s first use in print in 1876. But gives no indication of it’s origin. In a book called “Des Brykes”, I read that fancy brick work in many old English stately homes was done by imported Dutch bricklayers, as the techniques of sophisticated and decorative brickwork were well advanced in Holland at that time. The Oxford Dictionary also quotes on the same page that Dutchmen were called ‘frogs’ as a term of derision in 1652.

Could it be that immigrant Dutch brick workers introduced the frog into English brick making? It just might be possible, because the ‘Kicker’ piece in the bottom of the mould is also the same word in Dutch (kikker) that means frog!

Just speculation, but food for thought?

Easter is a Pagan Ritual of fertility

Given that this long weekend is the Northern Hemisphere’s Pagan ritual of fertility. We decided to have a few days off from the relentless building jobs and spend a bit of time in the garden to try and resurrect it from the dilapidated state that it has slowly fallen into, we need to restore some of its fertility. We have been so busy building every day that the garden has been a bit forgotten. Luckily Janine has been going in there every day to pick our dinner from the encroaching weeds, and doing a bit of maintenance at the same time. Otherwise it would all be so totally over grown that there would be little to eat. Thank you Janine!
I started by spending a couple of hours fossicking through the tomato patches, filtering out all those tiny little last ditch efforts of mini tomatoes. The effort paid off and I collected about 7 kilos of the little gems. They will keep us in salads for the next week or so. I made all the sub-prime ones into a tomato passata sauce.


There were just so many of the little buggers. I stated off with onion and garlic in good olive oil, boiled down to a pulp.

Ten added sweet basil and simmered again for a little while. Finally passing the whole lot through the moulii sieve, then reducing the liquid down to half its volume and bottling it.

Janine also made some lilly pilli jelly at the same time.

The lilly pilli tree is loaded again this year. The rain has done it good. We pick all the low hanging fruit and even the not so low hanging fruit. I use the 8 foot step ladder to collect what I can safely reach. a couple of baskets full.This will ad to our breakfast toast options for a few more months.
After I picked most of the last tomatoes off the early plantings. They have done well for the past 7 months. I then spend a bit of time pulling out all the old vines and then weeding the patch. 

UNADJUSTEDNONRAW_thumb_a01a.jpeg

I also clean up the long row of garden that had all the summer veg. More tomatoes, Capsicum, egg plants, cucumber, chillies and pumpkins.Out they go and I dig over the bed ready for some winter veg.

In the new cleared beds I plant loads of garlic, about 400 cloves. I like to try and grow all of my garlic  for the year if I can. This is a good start. I should have got them in a month ago. But this will have to do. I can’t can’t do everything exactly as it should be. There just isn’t enough time. I may put in another 100 cloves later, if I can find the time. If half of them do well , we’ll be OK for garlic for another year.
While I was at it, I also planted out some lettuce seedlings and lettuce seeds as well as some radishes and rocket.

In the evenings I made bread, a flat focaccia loaf from rye flour and a few bread rolls for lunches.

They didn’t last long.While I was doing all of this Janine was harvesting out potato negra spuds.

She called out to me. She was cock sure that she had found something interesting, I pricked up my ears!

You can’t beat a good root crop!
This was our long weekend. All we have to do now is to think of some sort of pagan ritual involving a potato and a knob of butter.


A very Good Friday

Janine and I have been particularly busy today cleaning up the brickwork left as it was by our wonderful brickies, Gordon and Bill after they finished up their 4 day week on Thursday. They got the verandah wall all done, right up to the roof. That only leaves the top of the gable wall to be completed. If anyone needs a couple of very skilled and experienced brick layers to do a great job, contact me and I’ll pass their details. They only work a 4 day week, as with them both being well over 70, they can do that. We don’t want to wear them out.

What was particularly good about their working style is the number of times that they asked me what I wanted done here or there. What was I expecting. What did I think about this problem… How should the Sussex bond variation be interpreted and implemented here? etc etc. They’re always consulting and prepared to be flexible. Although I’m very tired from being the brickies labourer to two brickies. Constantly on the go, making mortar, or cutting special shapes on the brick saw, but mostly passing mud and bricks up onto the scaffold, I’m really glad the end of the day, and particularly now that this wall section is complete. We can stand back and appreciate the final ‘look’ of the project so far. And it looks great! Better than I imagined 12 months ago when I drew up the plans and started to get quotes on this crazy idea of buying 5 different ‘off-the-plan’ kit-form farm sheds of all different sizes, heights and shapes, and then bolting tham all together, to make something a little bit different and more interesting. It’s worked!

Today is Good Friday and everything is closed for some obscure ancient pagan reason, so we are working hard at home as usual. As the brickies have finished the verandah wall, we can start to fettle it and begin to wash it down with dilute hydrochloric acid and scrubbing brushes. I’m using a 0.5 norm muriatic acid from a big hardware chain. I’m diluting it to a 10% titration just strong enough to react with the lime in the mortar to dissolve the white ‘blush’ and occasional streak of smeared excess mortar from the brick face, but not strong enough to cause any damage to our skin if spilt. We are wearing long rubber work gloves and goggles, just in case.

We spent most of the day from 9.00 am to 7.00 pm. on the cleaning of the wall. We first went over the entire wall, every brick, brick by brick, scrubbing it down with acid, then follow this up with another going over with the water blaster gadget. The wall looks better, but not quite good enough or clean enough. There were still a few smudges here and there when we came back from lunch and got a fresh look at the surface.

We decide to go over it again with the dilute acid wash and scrubbing brushes. We follow this up again with the high pressure water blaster. Our supposedly, high pressure, water blaster is just a toy, We bought it very cheaply over 20 years ago and have hardly used it, as it’s not very powerful, but it does blow off just enough of the lime gunge without damaging any of the bricks or the environment. It turns out to be just perfect for this job. I wish that I had owned it 35 years ago when I had to wash all the brick work on the old school extension. I did all of that acid scrub and water rinse off by hand from buckets carried up onto the scaffold. It’s amazing how fast a bucket of water can get emptied by hand using a sponge. I spent more time climbing up and down the scaffold, than I did washing bricks.

But that was then and this is now. We have just had a massive down pour of rain last week, so we have an excess of water in the dams, as they are still over-flowing with the seepage from the saturated soil. So water supply is no problem for us this week. I can leave the pump on for an hour while I wash everything. The electric pump runs directly off the solar panels, it’s a sunny day, so we are just using up some of our excess solar-electric power as well.

The water is over-flowing from the dam, so If I don’t use it up in this way, it just flows out of the dam and out into the already saturated soil farther down the hill and into the ‘key-line’ system of dams that we have built over our 45 years years of living here. The water flows from one dam down into the next. We have 4 dams on the property, before the water leaves us and flows down the hill and into our neighbours dam.

We did the second acid scrub and water blast rinse, then stood back and had a good overall look. It looked better and was worth the extra few hours of work. Once the bricks were cleaned, it was time to dismantle the scaffolding piece by piece, removing all the planks and ply sheeting and stacking them all away for re-use again later. The planks and ply will be used as bench tops and tables in the pottery in a few months time when we get to that stage. They were 2nd hand when we got them given to us, as they came from a house that was demolished in Tahmoor. We had to de-nail them before we could use them as scaffolding, they will need to be heavily cleaned to remove all the spilt lime mortar before they can be used again. I will have to wash them and scrub them to remove all the sand before I can plane the surface without damaging the planer blades.

Once all the steel scaffold frames were removed and stacked on the ute, we could remove the plastic sheeting that I had stapled onto the timber windows to keep them clean. Only then could we get to see the outcome. The wall looks great. The Sussex brick bond variation that Gordon and Bill have created for us looks perfectly matched to the Old School building. It also matches the tone and hue of the old rusted galvanised iron sheeting that I used on the wall above the verandah.

I used almost 4 litres of acid to get this wall cleaned. I can see that I’ll use another 4 litres on the gable wall next week when that wall gets finished.

I’m starting to get a bit excited now as things are beginning to come together. The rest of this long weekend will be spent in the garden as everything is growing it’s head off and has been left somewhat neglected for a while now.