Warning! This post could be very boring if you are not a potter – and maybe even if you are?
Contains technical terms and traces of nuts.
.
Making clay while the sun shines is a very good idea and ought to be possible in summer, but not this summer.
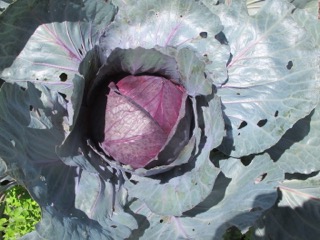
This has been the most amazing summer that we have had for many, many years. It’s hot, just like every year, but this year it has rained more than we can remember for a long time. We are having a great time. The rain combined with the warmth has made everything grow its head off. We have plenty of water in the dams and drinking water tanks, plus lots of food coming from the garden. We only have to water the garden every few days, as it usually rains in between at some point. Sometimes it rains hard enough to wet the soil sufficiently that we don’t need to water for a few days.

Earlier in the summer it was raining very hard and very often, but now that pattern has changed to occasional showers. So it is now dry enough under cover to get my milled porcelain stone slip to dry on the drying beds and in plaster basins. I’m aware that it is not wet like this everywhere. There are bush fires raging down south, while I’m clearing ditches to guide the excess water away from the pottery. When it is this wet, the humidity is so high that it is very hard to dry liquid clay slip. It just tends to sit there and go mouldy while rotting the fabric membrane underneath that separates the clay from the brick bed.
After 40 years of pursuing my project of self-reliance, I have decided to modify slightly my fundamentalist, hard-line approach of ‘total commitment to maximum achievable’ self reliance, to a more relaxed and flexible approach of ‘substantially committed to’ self-reliance.
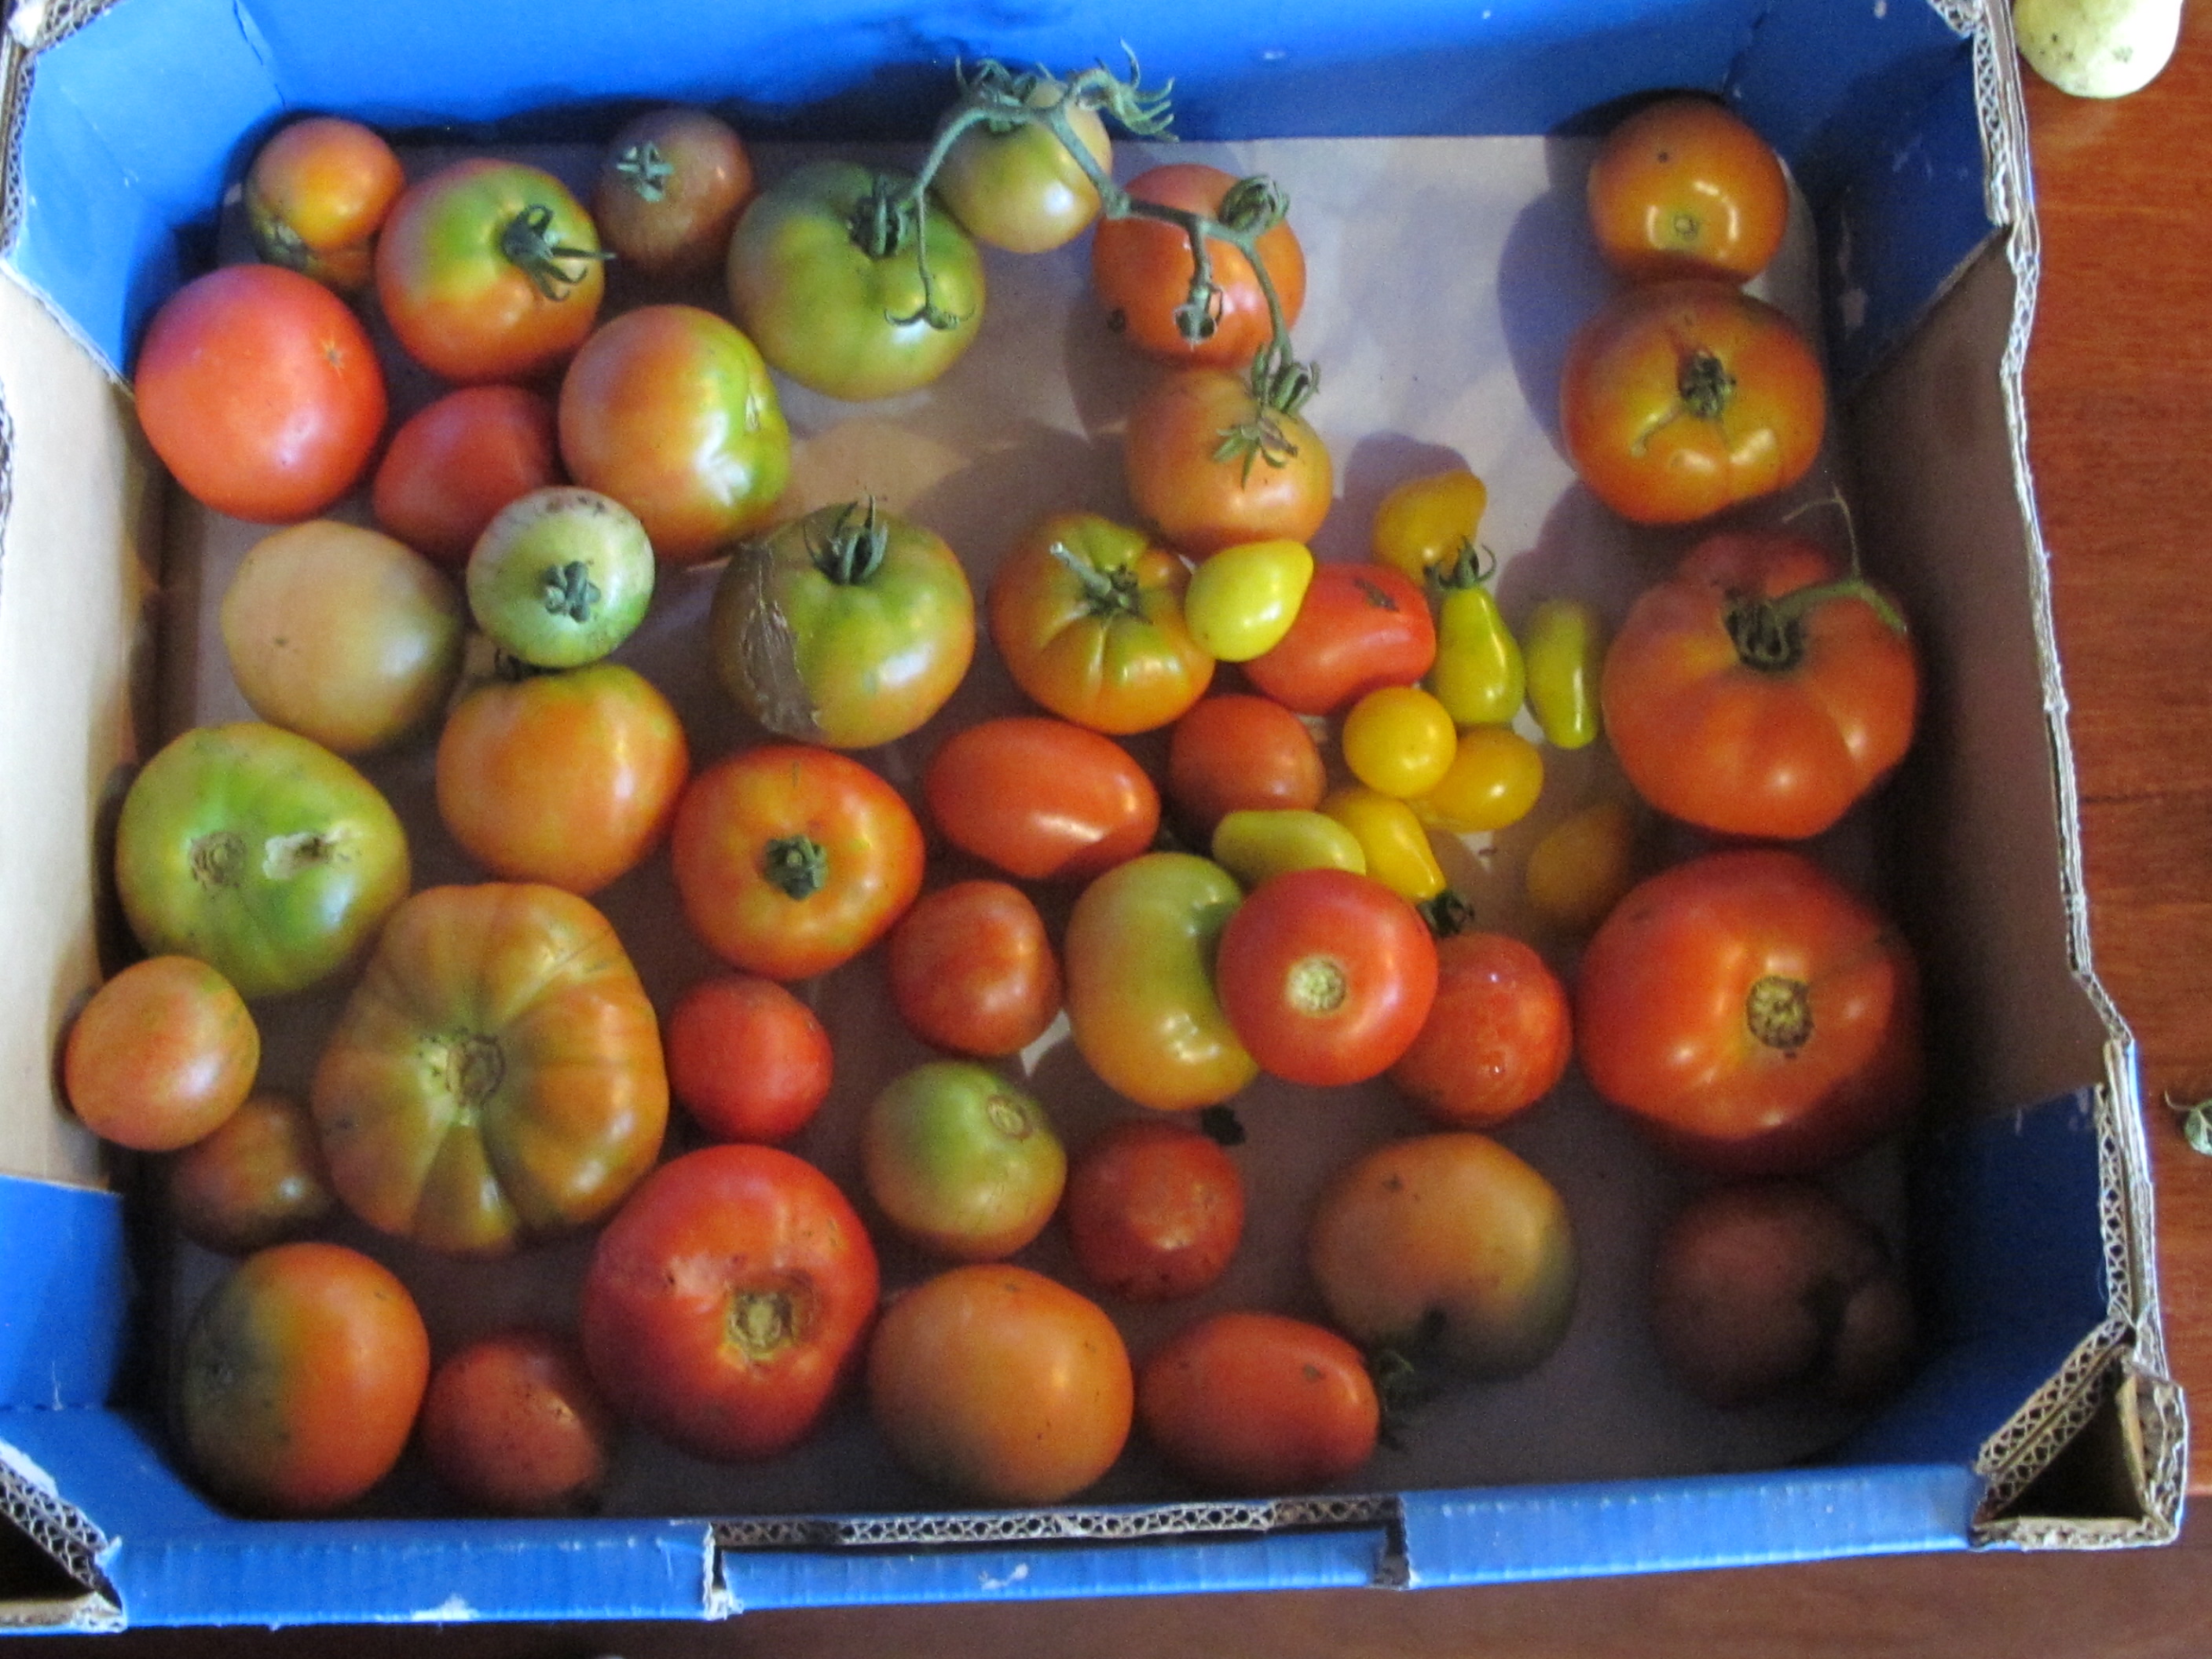
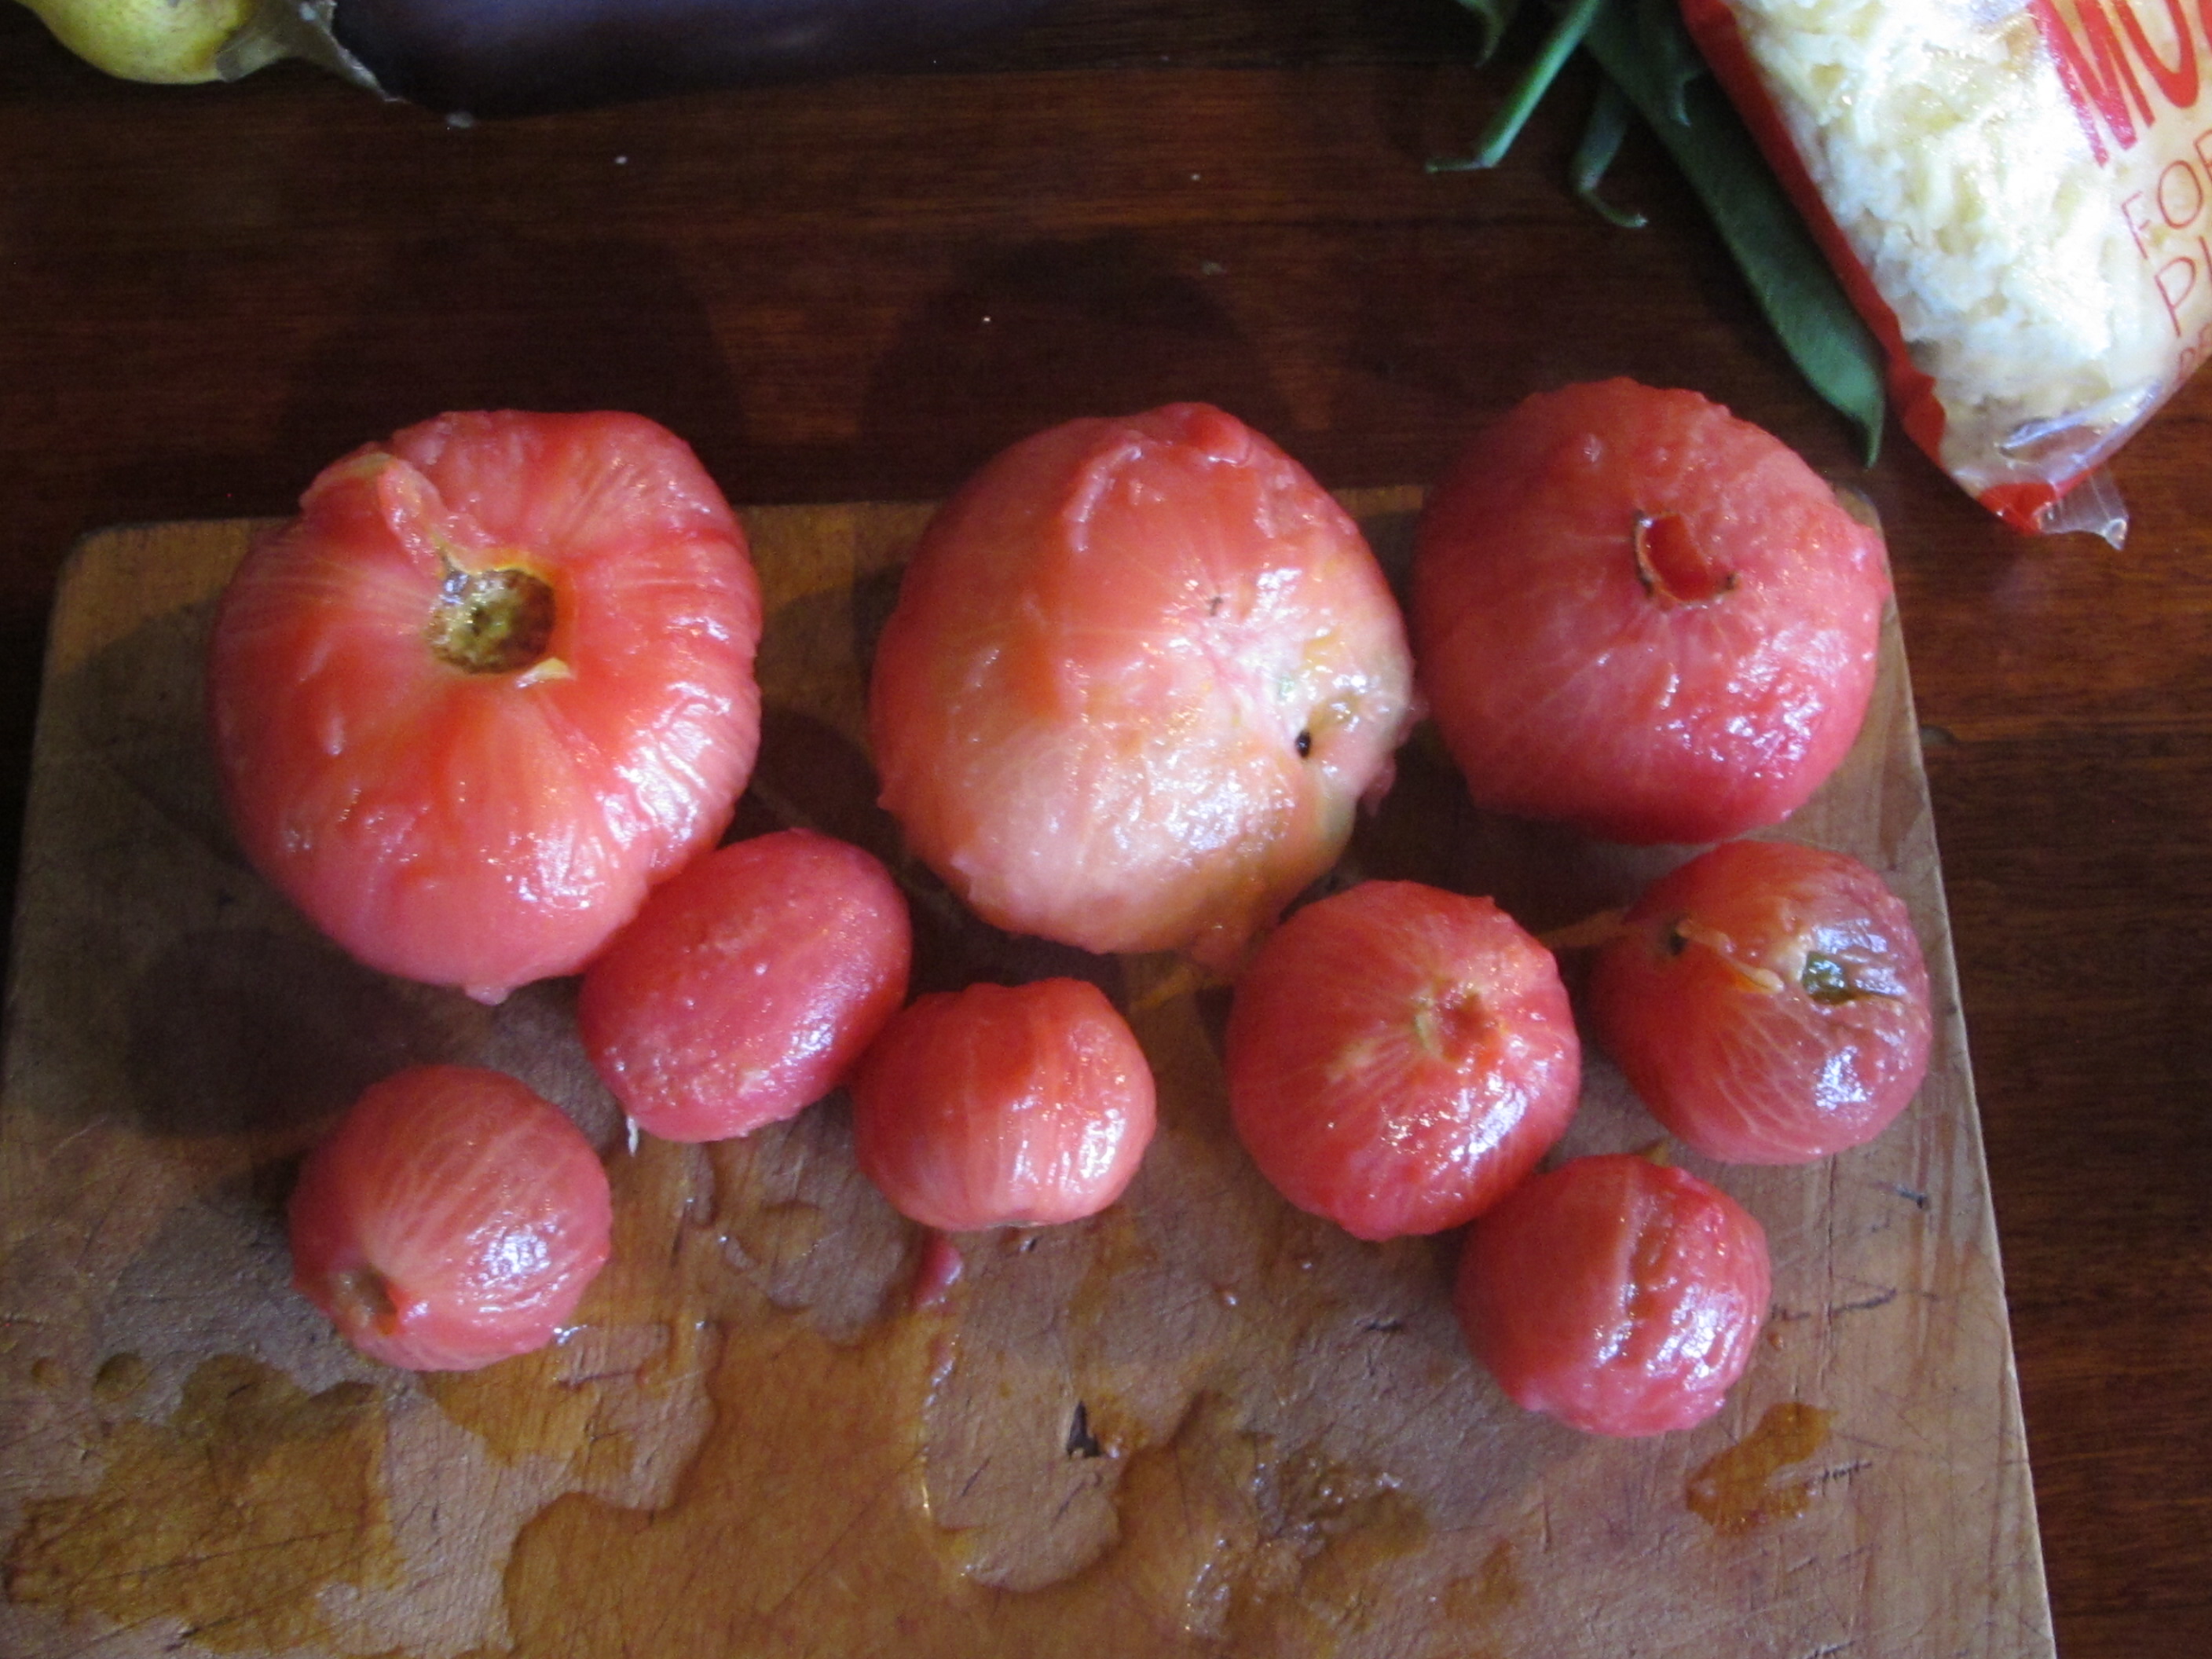
In this regard I have recently decided to allow myself some slack and buy in more processed product to allow for an easier life as I age. For example, When I returned from my studies in Japan, late last spring, it was getting a bit late to put in seeds and start a summer garden from scratch, so I decided to compromise and buy some punnets of vegetable seedlings to get the garden up and growing, while I planted my seeds and waited for this second planting to come along as a second, follow-up crop. This worked well and I’m very pleased with the serried plantings and how they are growing and providing a steady flow of tomatoes, sweet corn and zucchini etc.
It’s a small compromise, but once compromised, why not go with it?


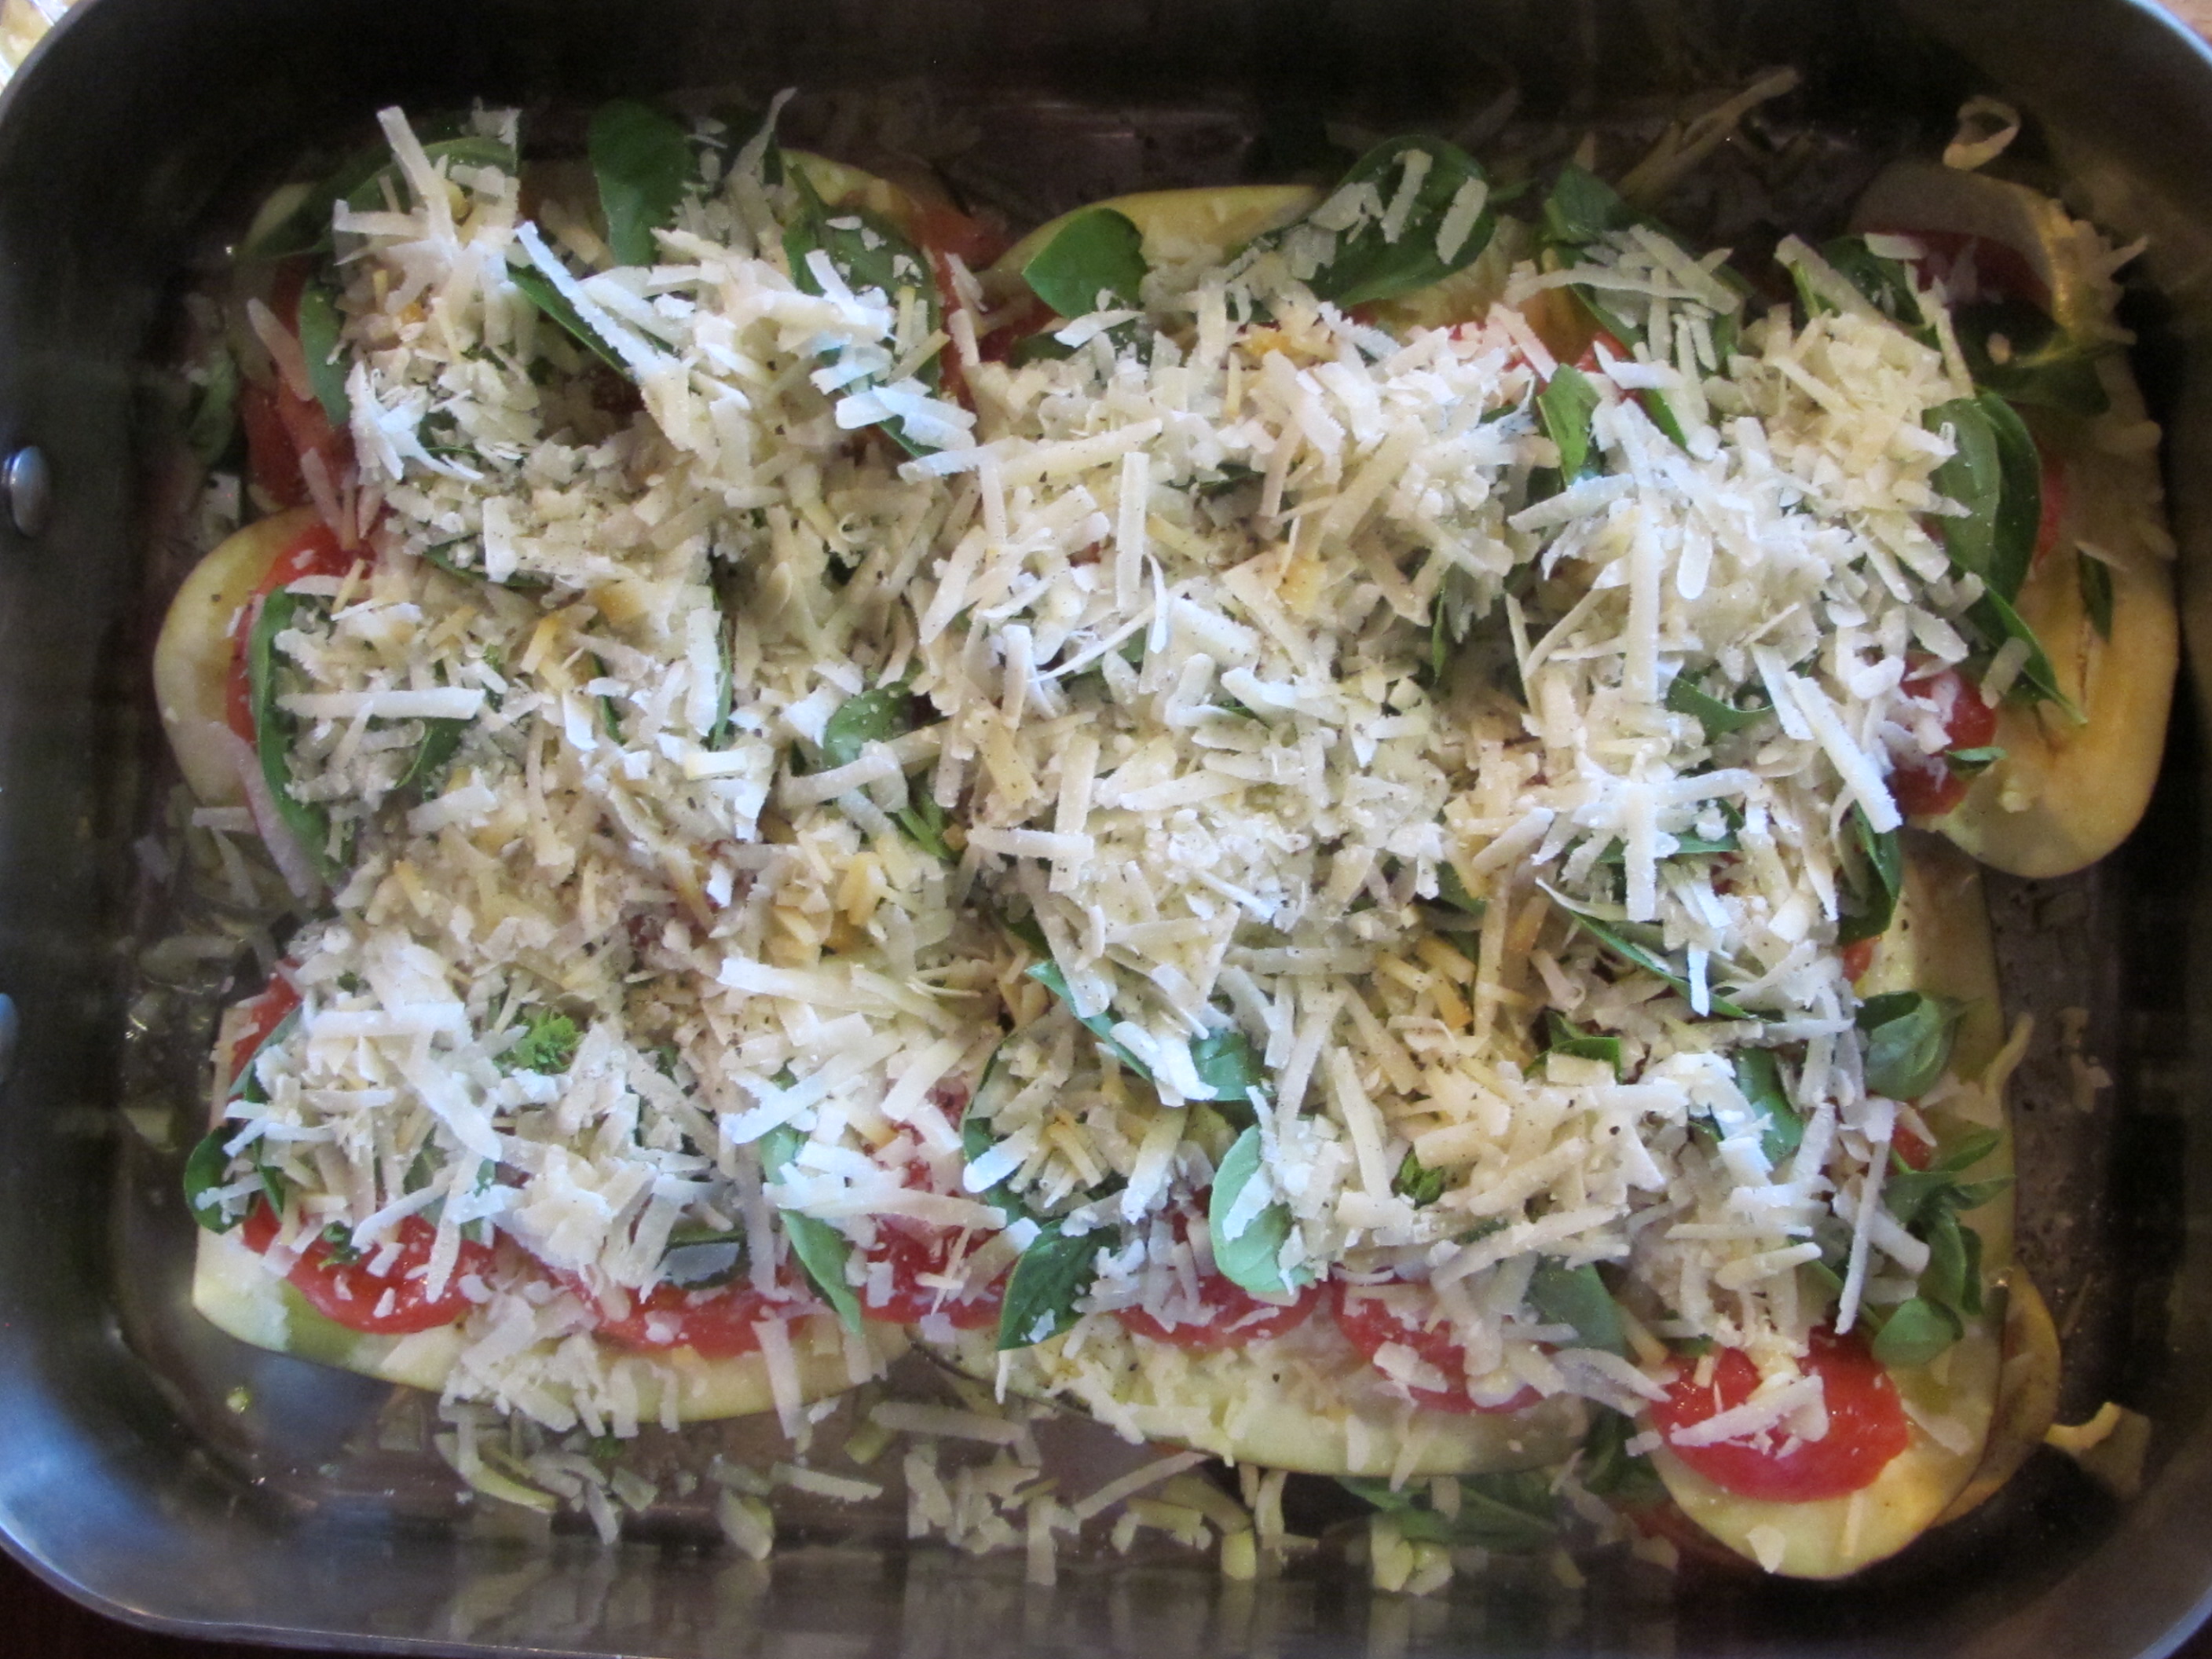
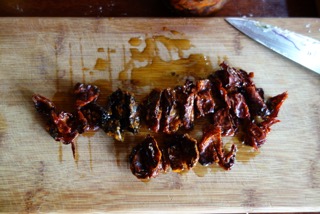
Blanched French beans served with fresh, home-made basil pesto.
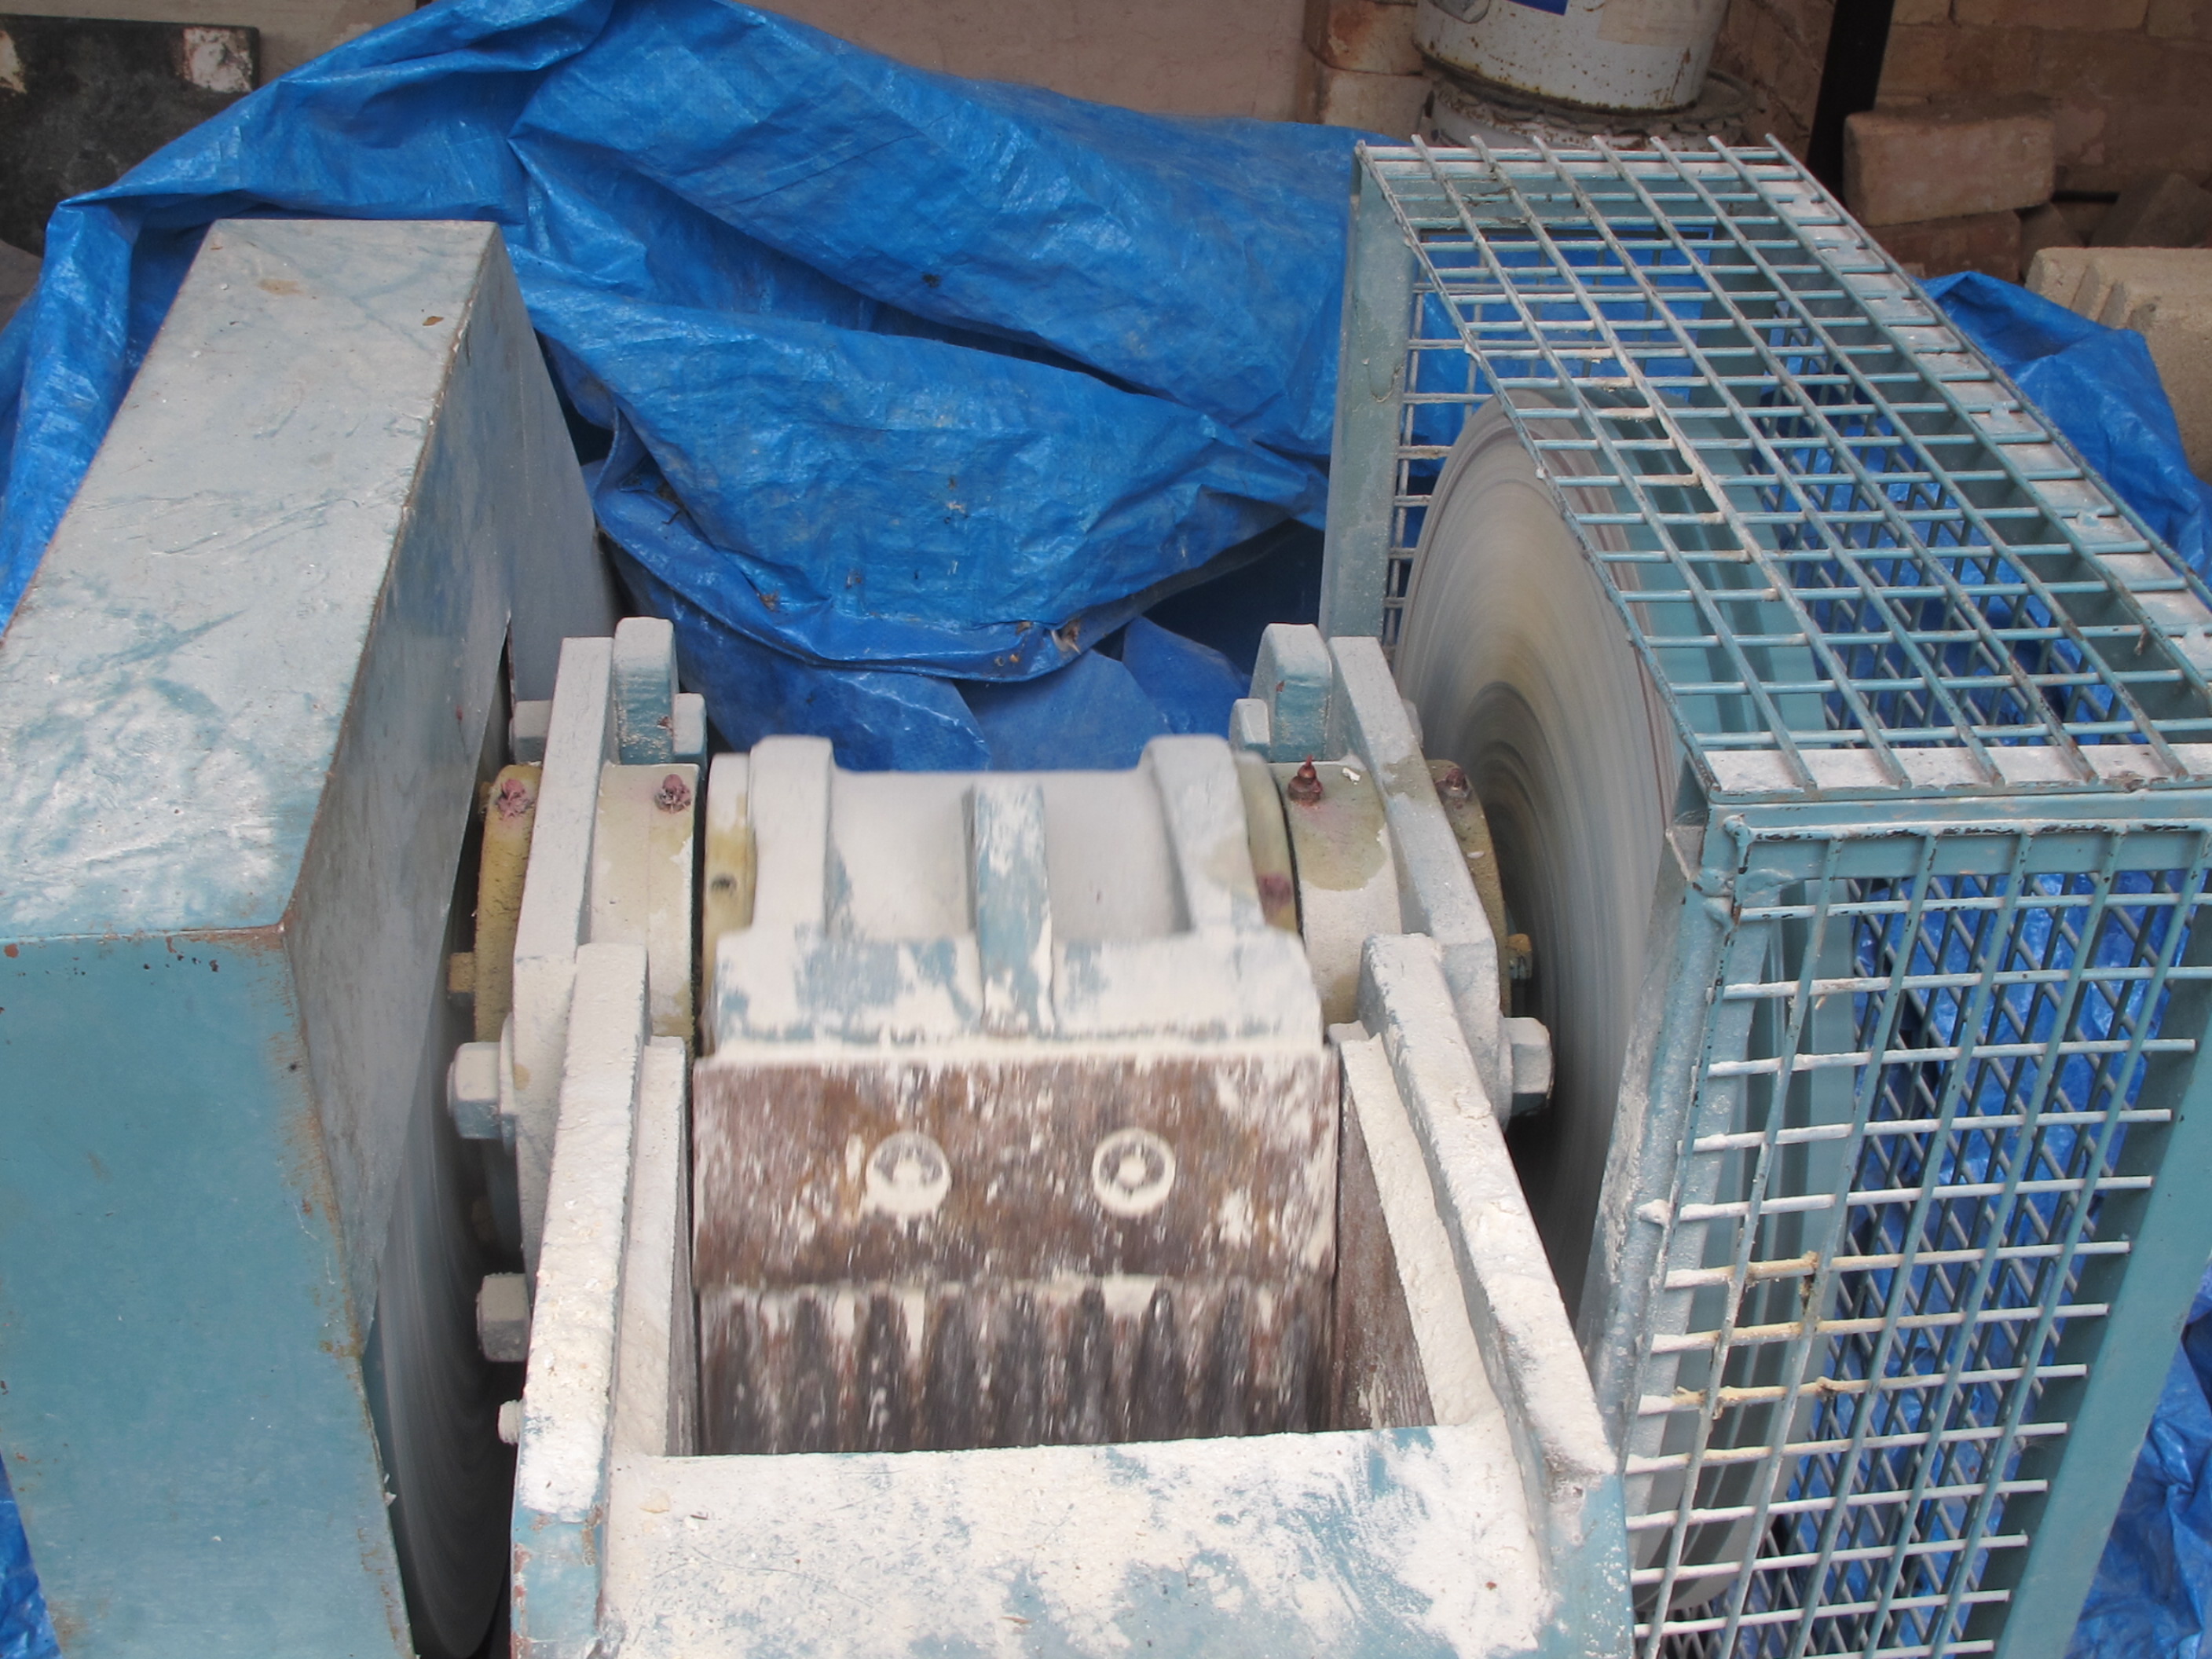
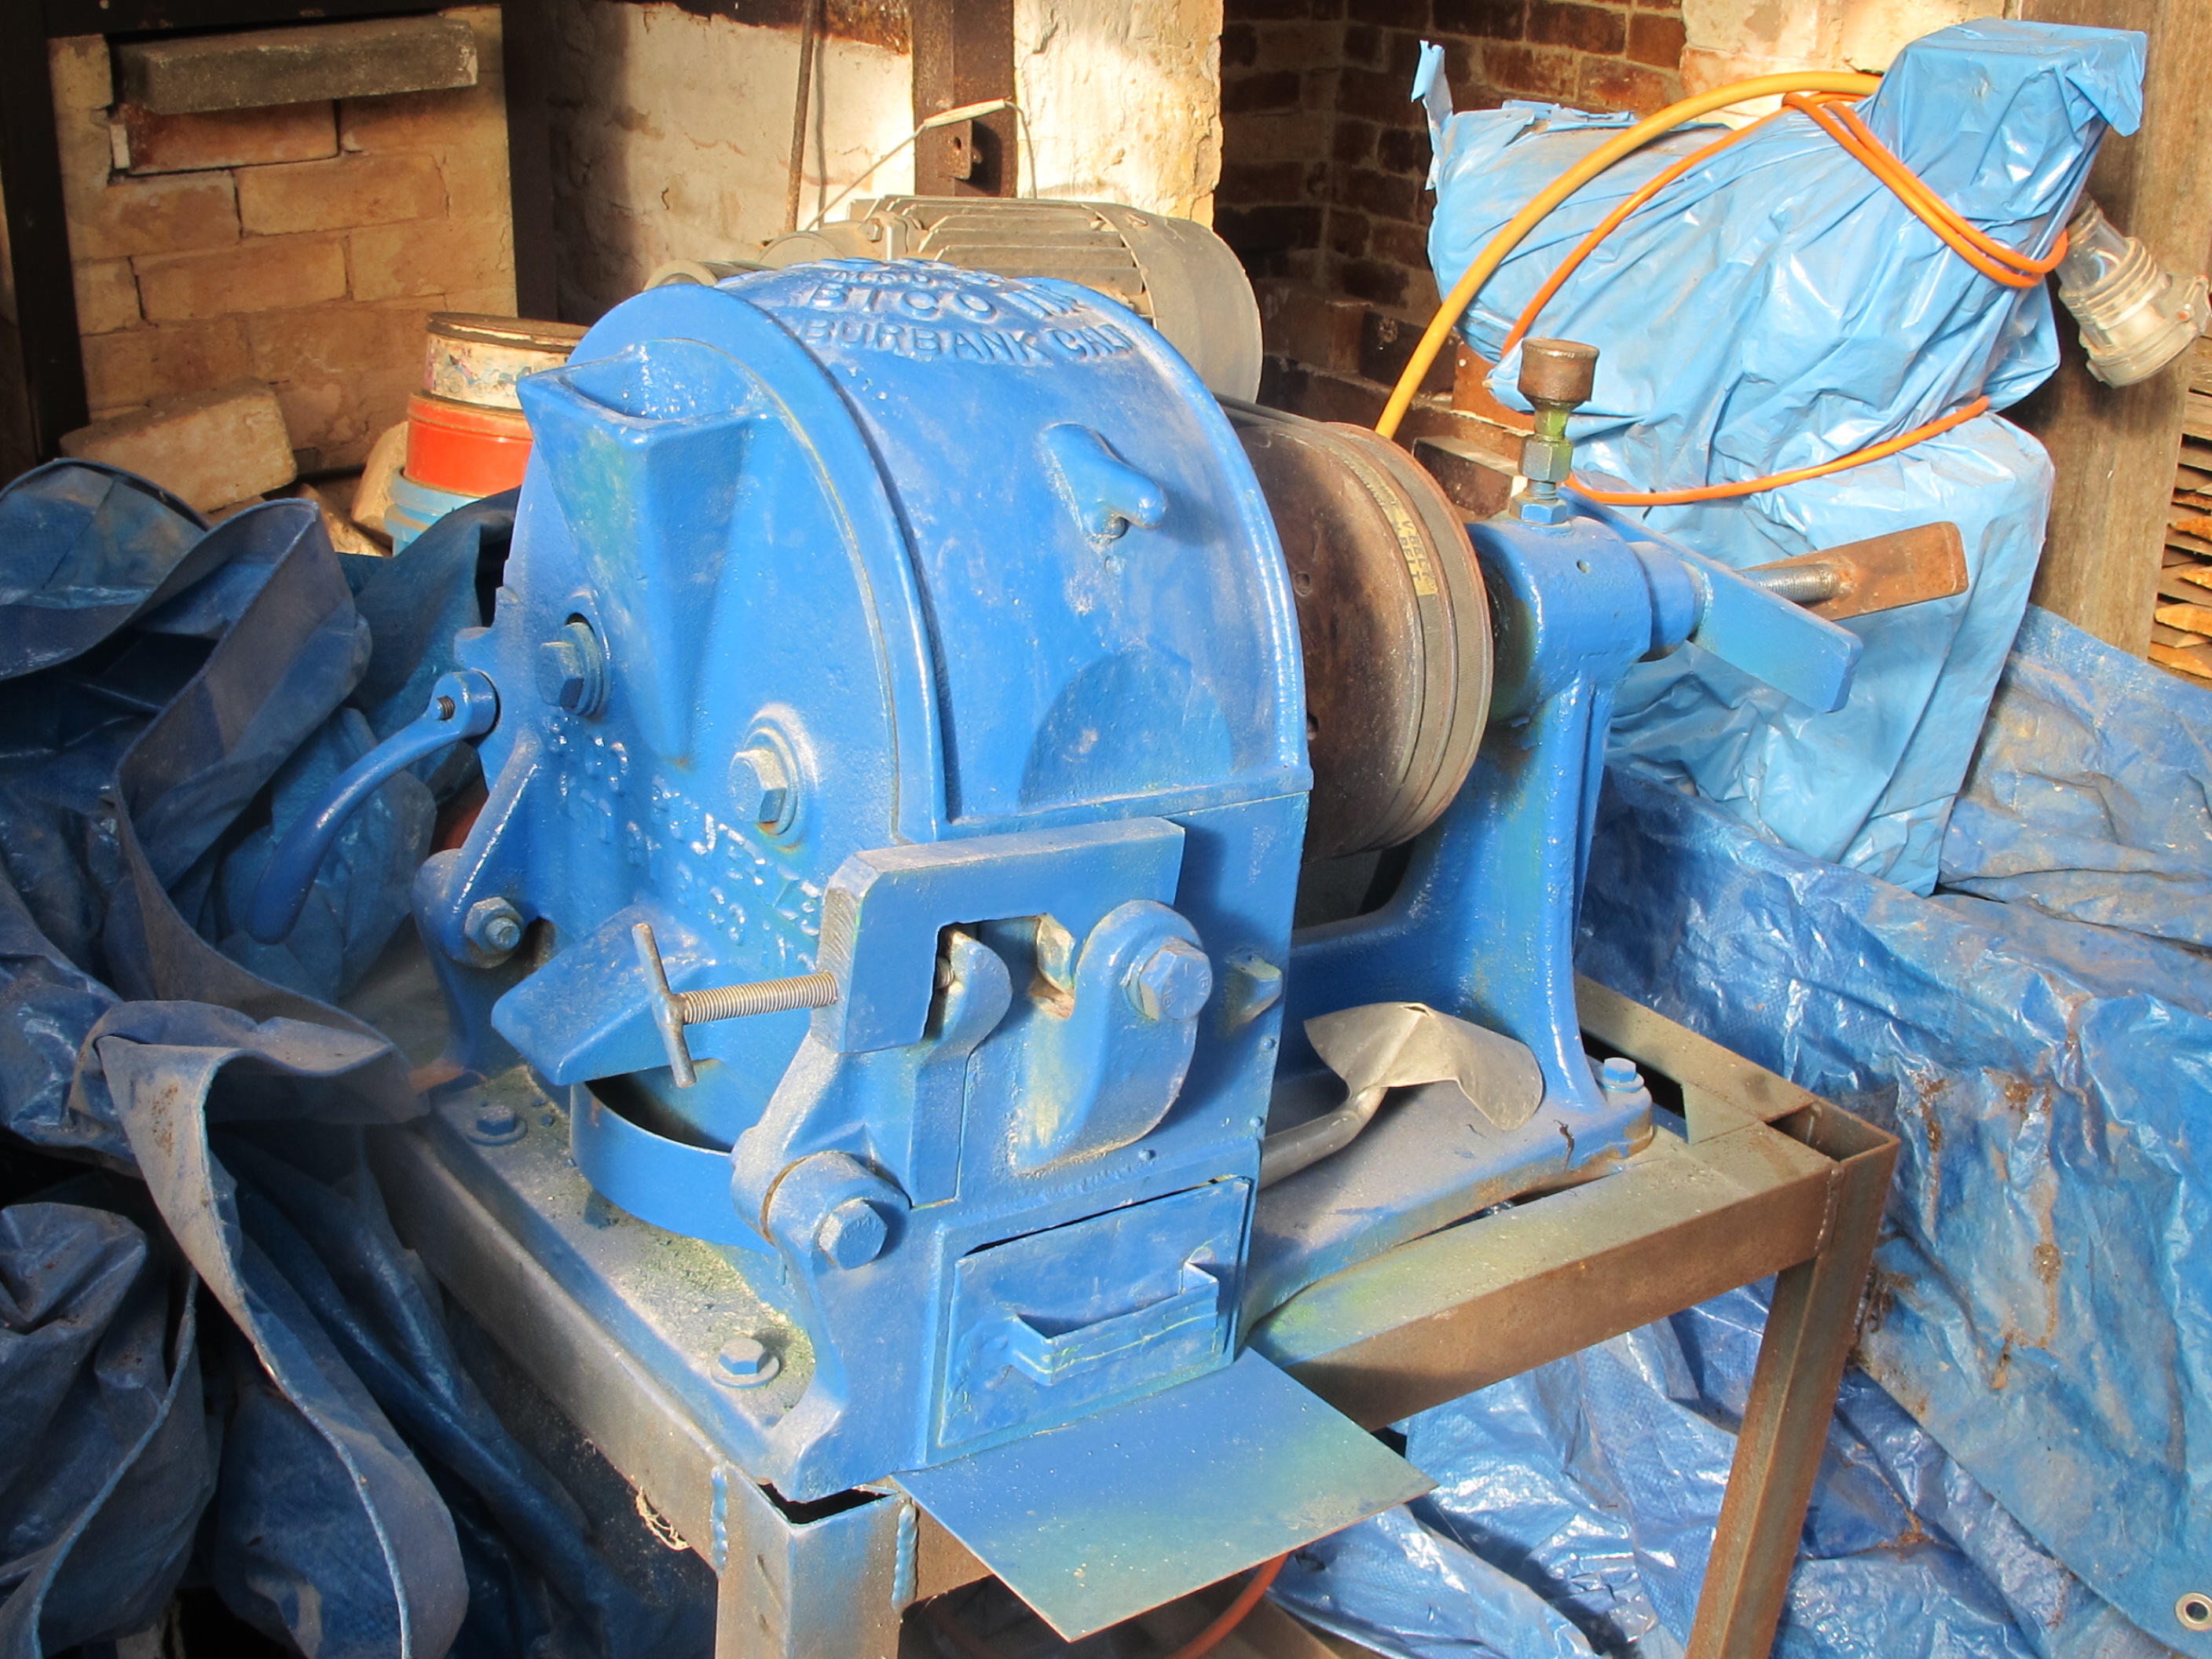
I have decided now to addapt this freer approach to my ceramic materials and my creative work. I have previously only used the rocks, shales and clays of my own local shire and I am still completely committed to this ‘local’ concept. I had found during this long extended period of research that although I tried very hard to locate everything that I needed to make my ceramics from only the materials that I discovered around me. I could not find any pale plastic throwable clay in a quantity that was useable. However, what I did find, was plenty of hard igneous rocks to make glazes and in the end I managed to make two really special, unique and very interesting stoneware clay bodies from self-processed, local rock dusts. To achieve this, I realised that I would need to add some bentonite (a very sticky clay) to bind and slightly plasticise these powdered rock bodies to make them useable. These rocks are so hard, that they need to be crushed first in a large jaw crusher, then a small laboratory jaw crusher and following that I put the grit through a disc mill and finally in the ball mill for 16 hours to get it really fine. Using this rather slow, convoluted and old-fashioned technology, that I obtained as industrial cast-off, from auctions and junk yards, I can process my finds from large rocks down to 200# powder in about 24 hours. It’s the drying out of the liquid clay slip from the ball mill that is taking the longest time and slowing the process down. Not helped by the continuing wet weather.
I never thought that I’d find myself complaining about rain!
Warning, there are traces of nuts showing in this image!
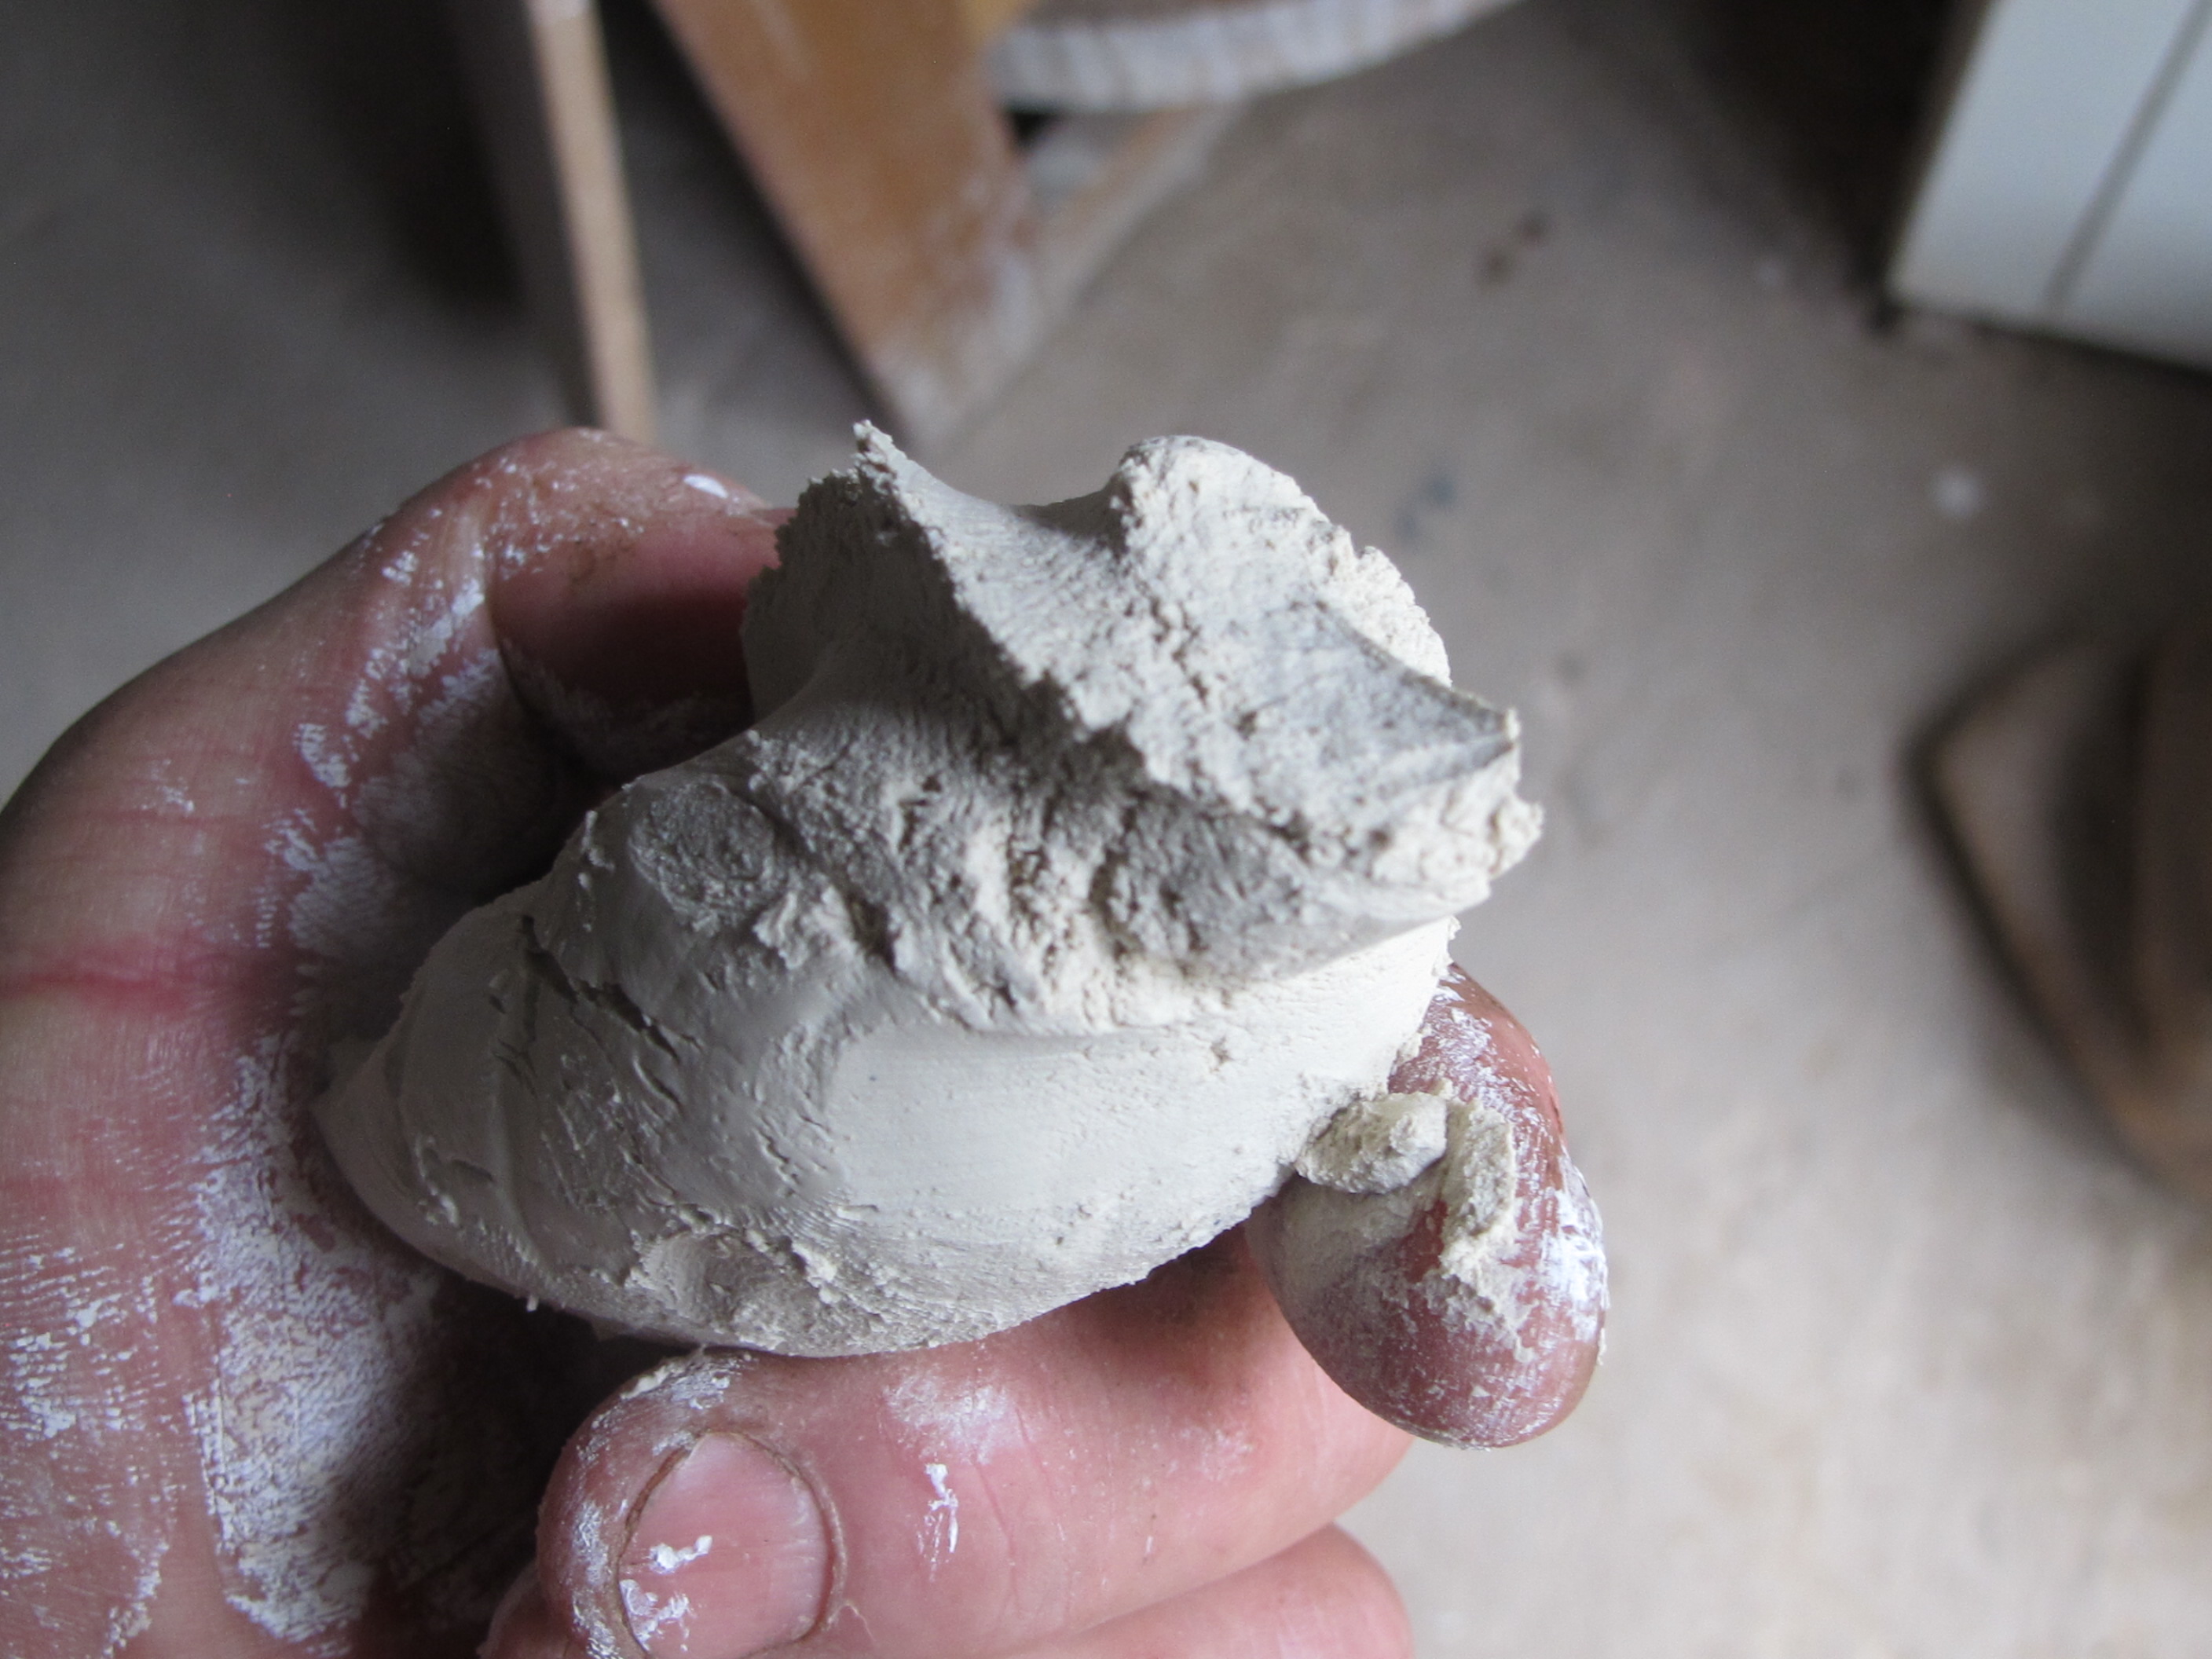
I pass the thin liquid slip through 100# sieve before settling out the solids.
So, bentonite was my first compromise. It may not be local, but it is Australian. I have bought 3 x 25 kg bags of bentonite during my career. I also found that I needed to buy in alumina powder to use as shelf wash. This wasn’t absolutely essential, it was just very much better than all the alternatives, so another compromise. I’m still using this original 25 kg. bag of Al203. I use it sparingly, so It will last a very long time.
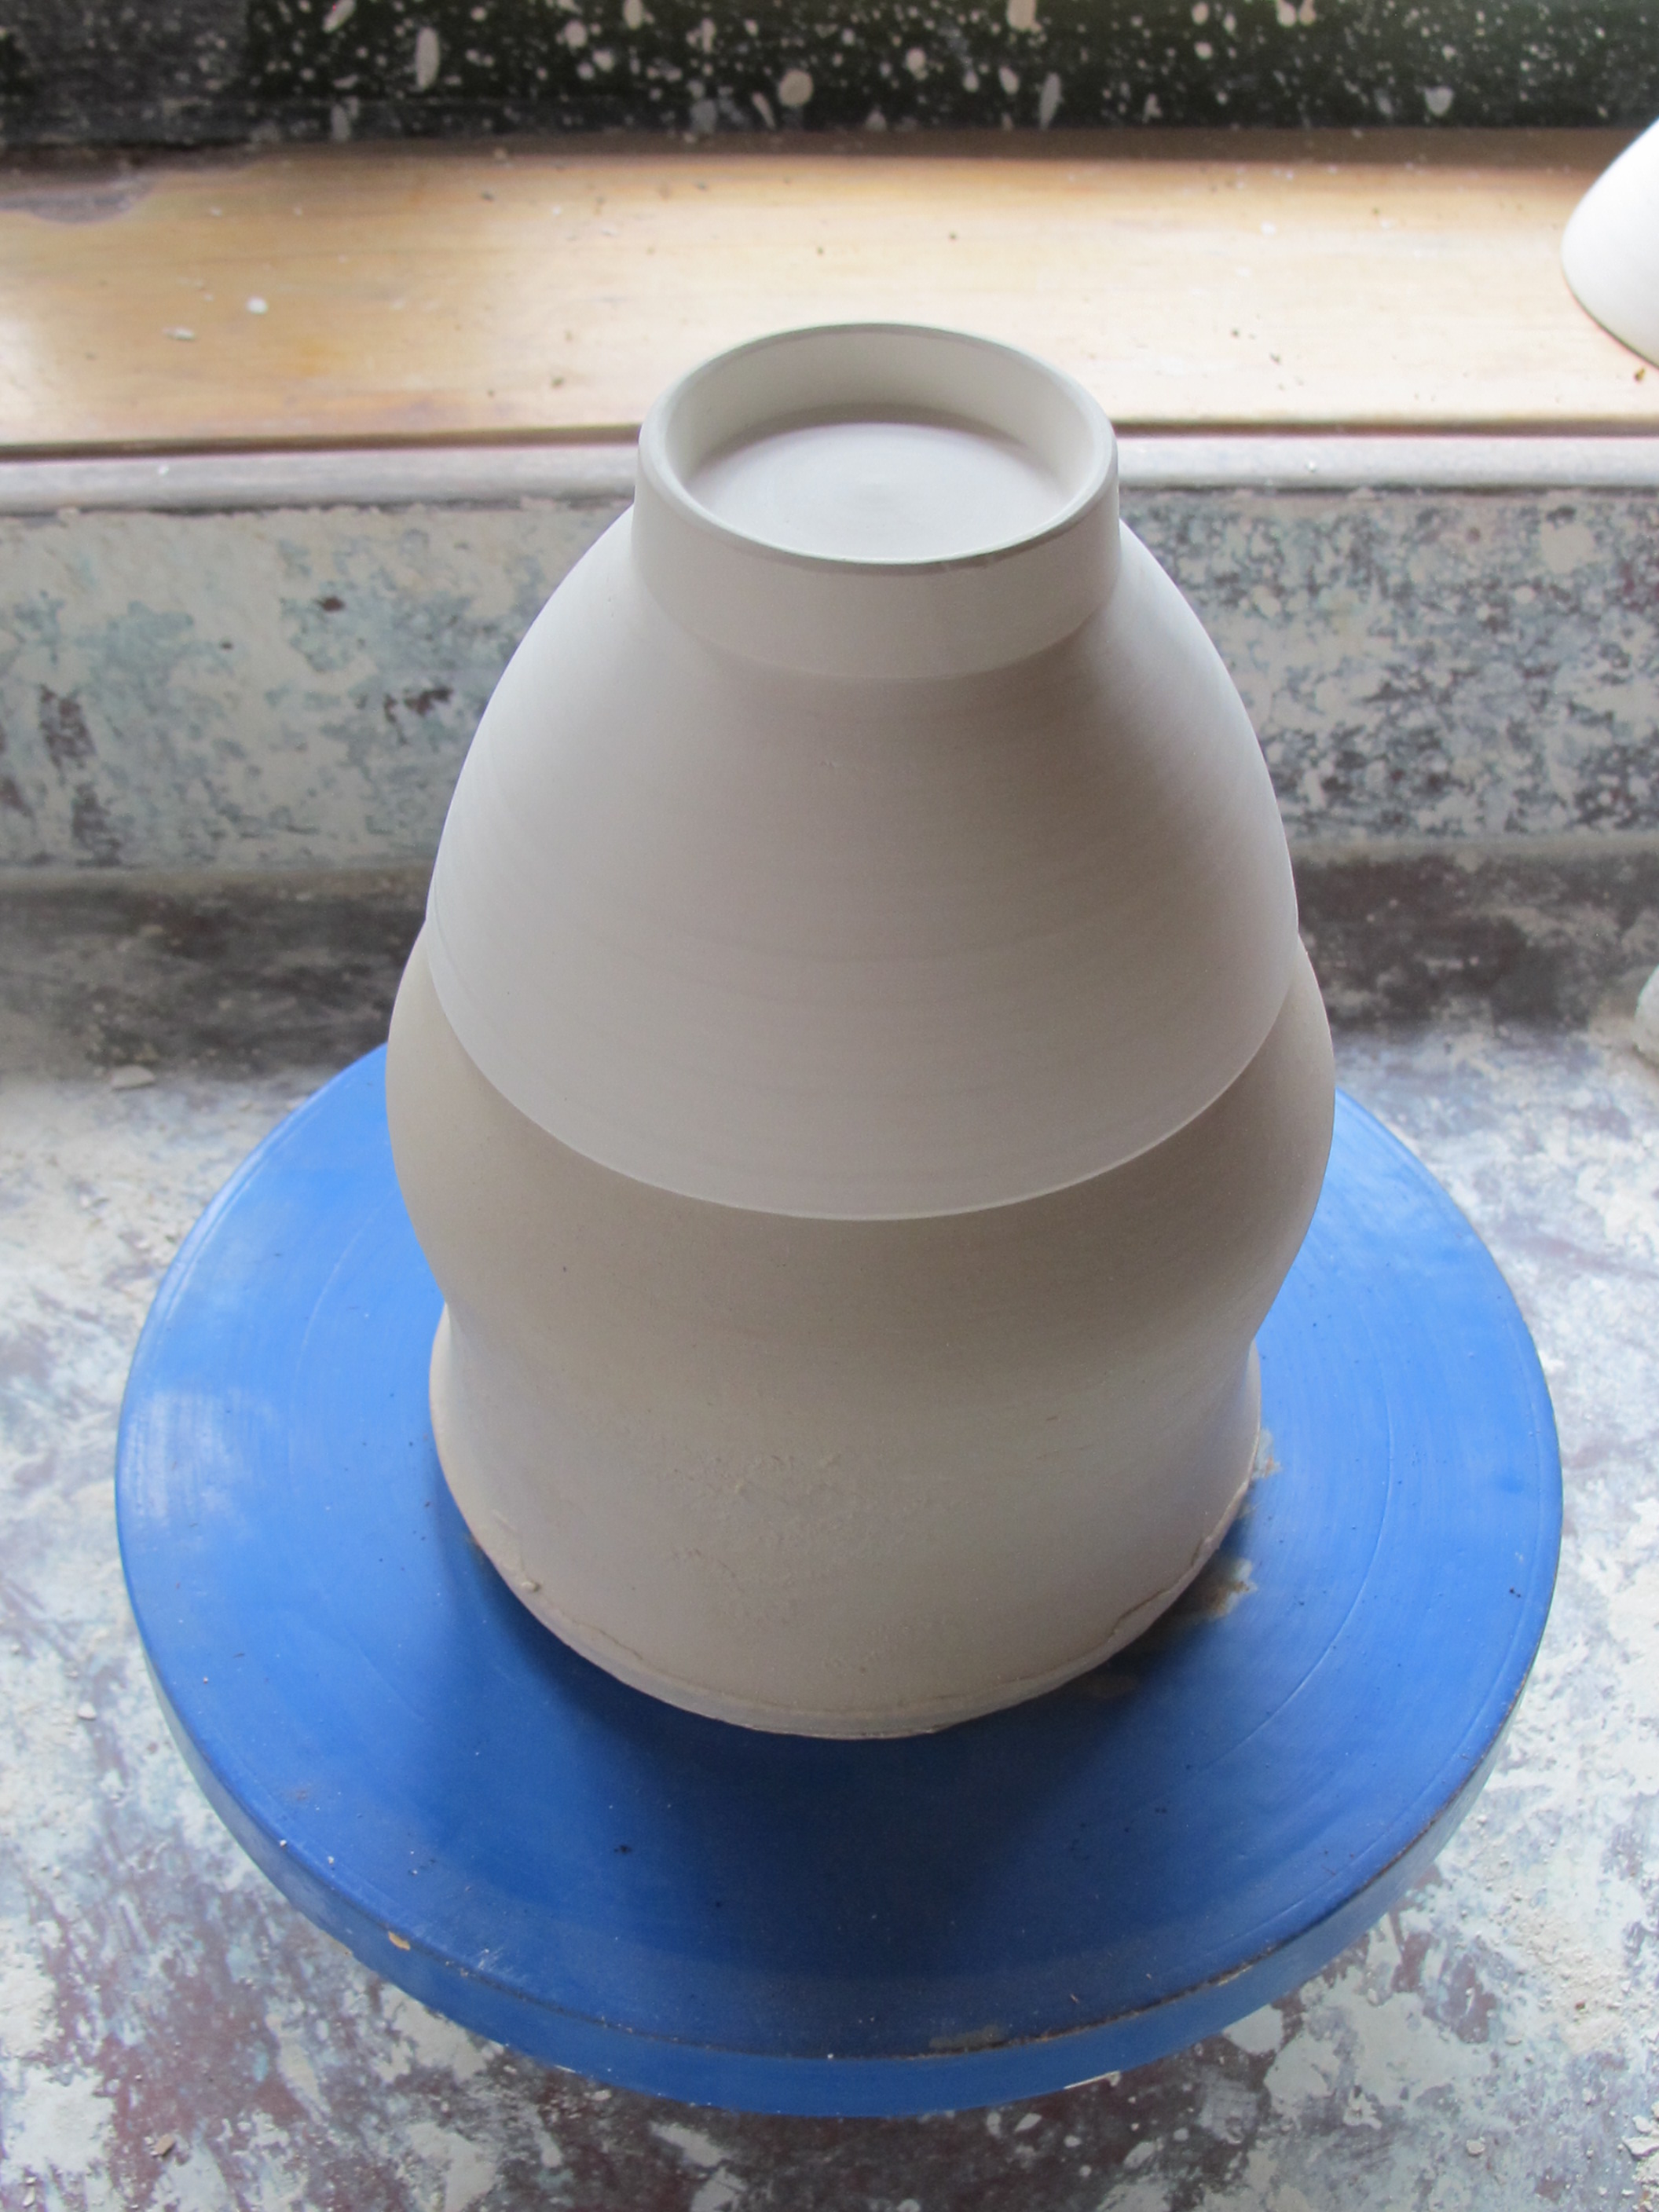
Recently, I decided to get some kaolin to add some slight increase in plasticity to my ground up local native porcelain stone bodies. This is not a local material either, as it comes from 300 kms away, but it’s closer than the bentonite. There must be something closer, I just haven’t found it yet. Proceeding on from my initial tests. I have decided to add 15% of this plastic kaolin to my ground porcelain stone body, it makes an enormous difference to it’s workability very quickly. I completed the first small batch tests of 5 kg each last year, before I went to Japan. So now I am making the larger 100 kg batches to see how they work on a larger scale. The tests were very promising, so I am eager to see them perform and feel them on the wheel. I was encouraged to follow on with this blending idea when I saw them making their porcelain body in Arita in Japan recently, using imported New Zealand kaolin. But I’m not prepared to go that far for some kaolin.
I have been told that the most famous porcelain body in Australia, which is exported all over the world, is made from Chinese kaolin, Indian felspar and American bentonite. At least the water is Australian!
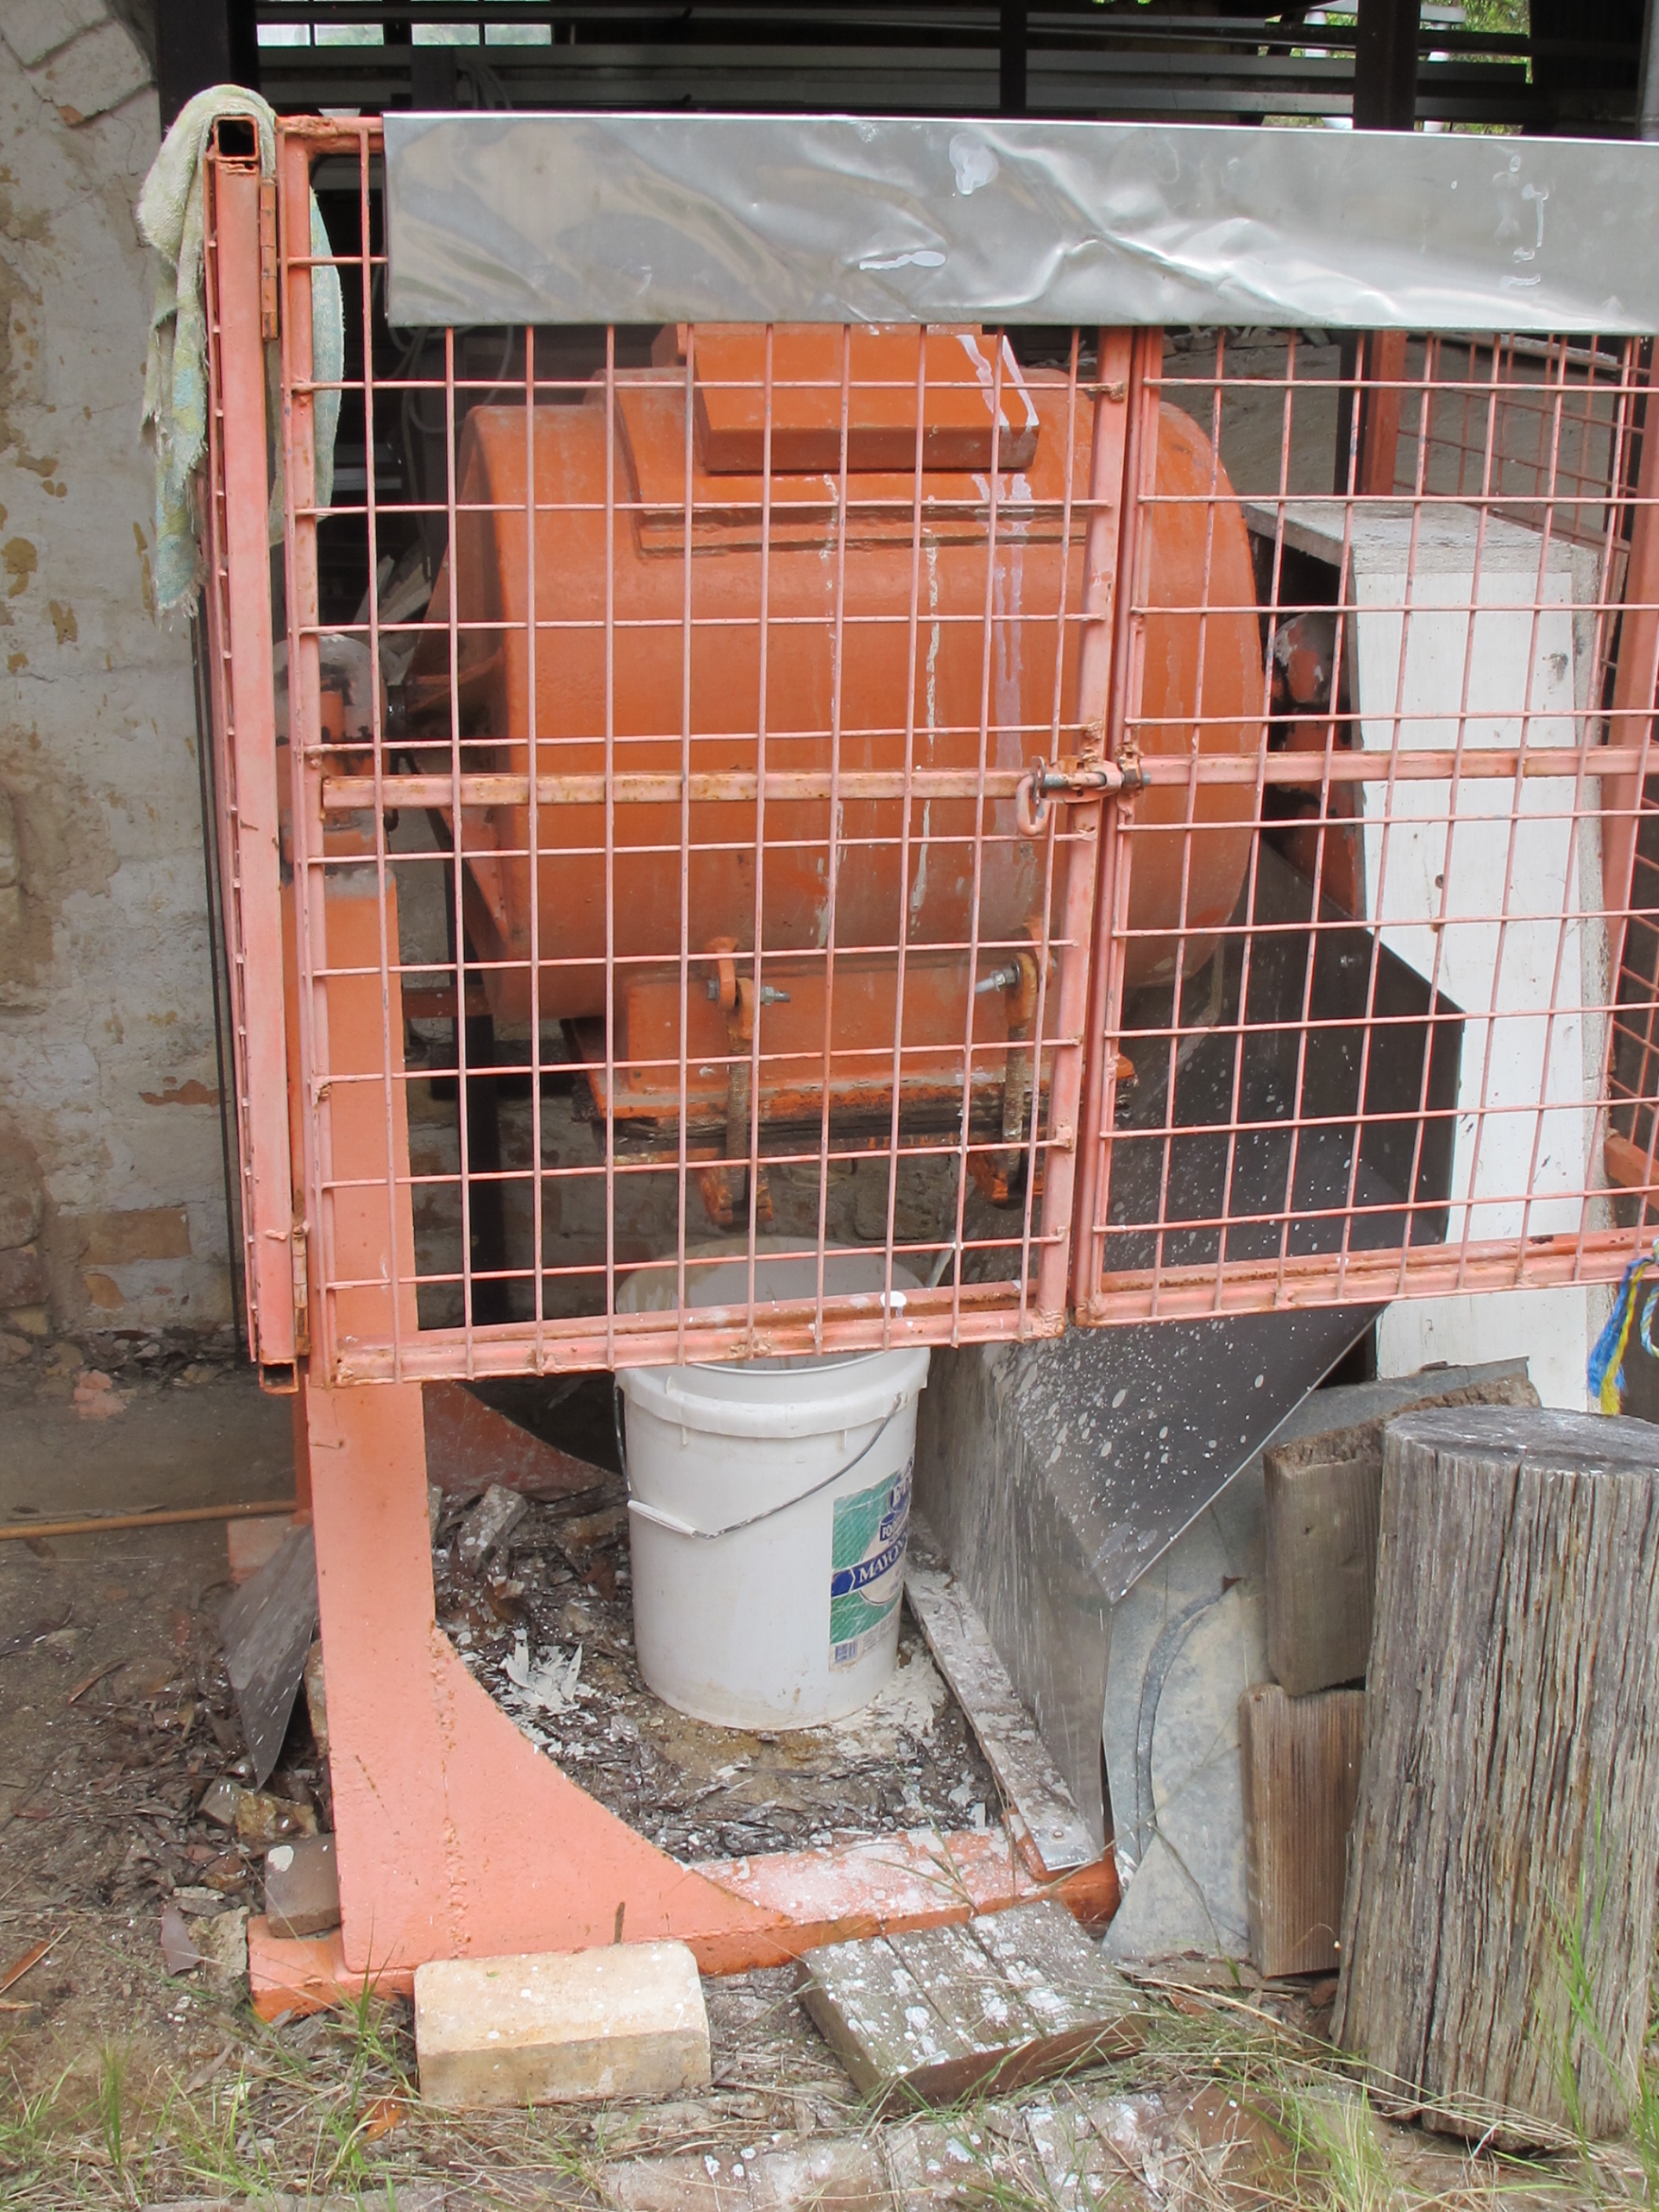
To aid the drying process of my ball milled (bai tunze) porcelain stone slip, to a stiff plastic, usable porcelain body, I make two batches. One of 30 kg in the big ball mill as a liquid slip. This slip has to be thin enough to allow the grinding down of the very hard rock granules from the crushers. After milling I allow the thin liquid to sit and settle for a day or so, to allow the very fine ceramic fragments to flocculate. I drain off the free water from the top of the settled clay material. At the same time I make a second 5 kg. batch in the smaller ball mill which is dry milled. I then add this dry material to the wet batch and mix them together. This significantly stiffens up the slip. I can then put it out on the drying bed or plaster tubs to firm up.
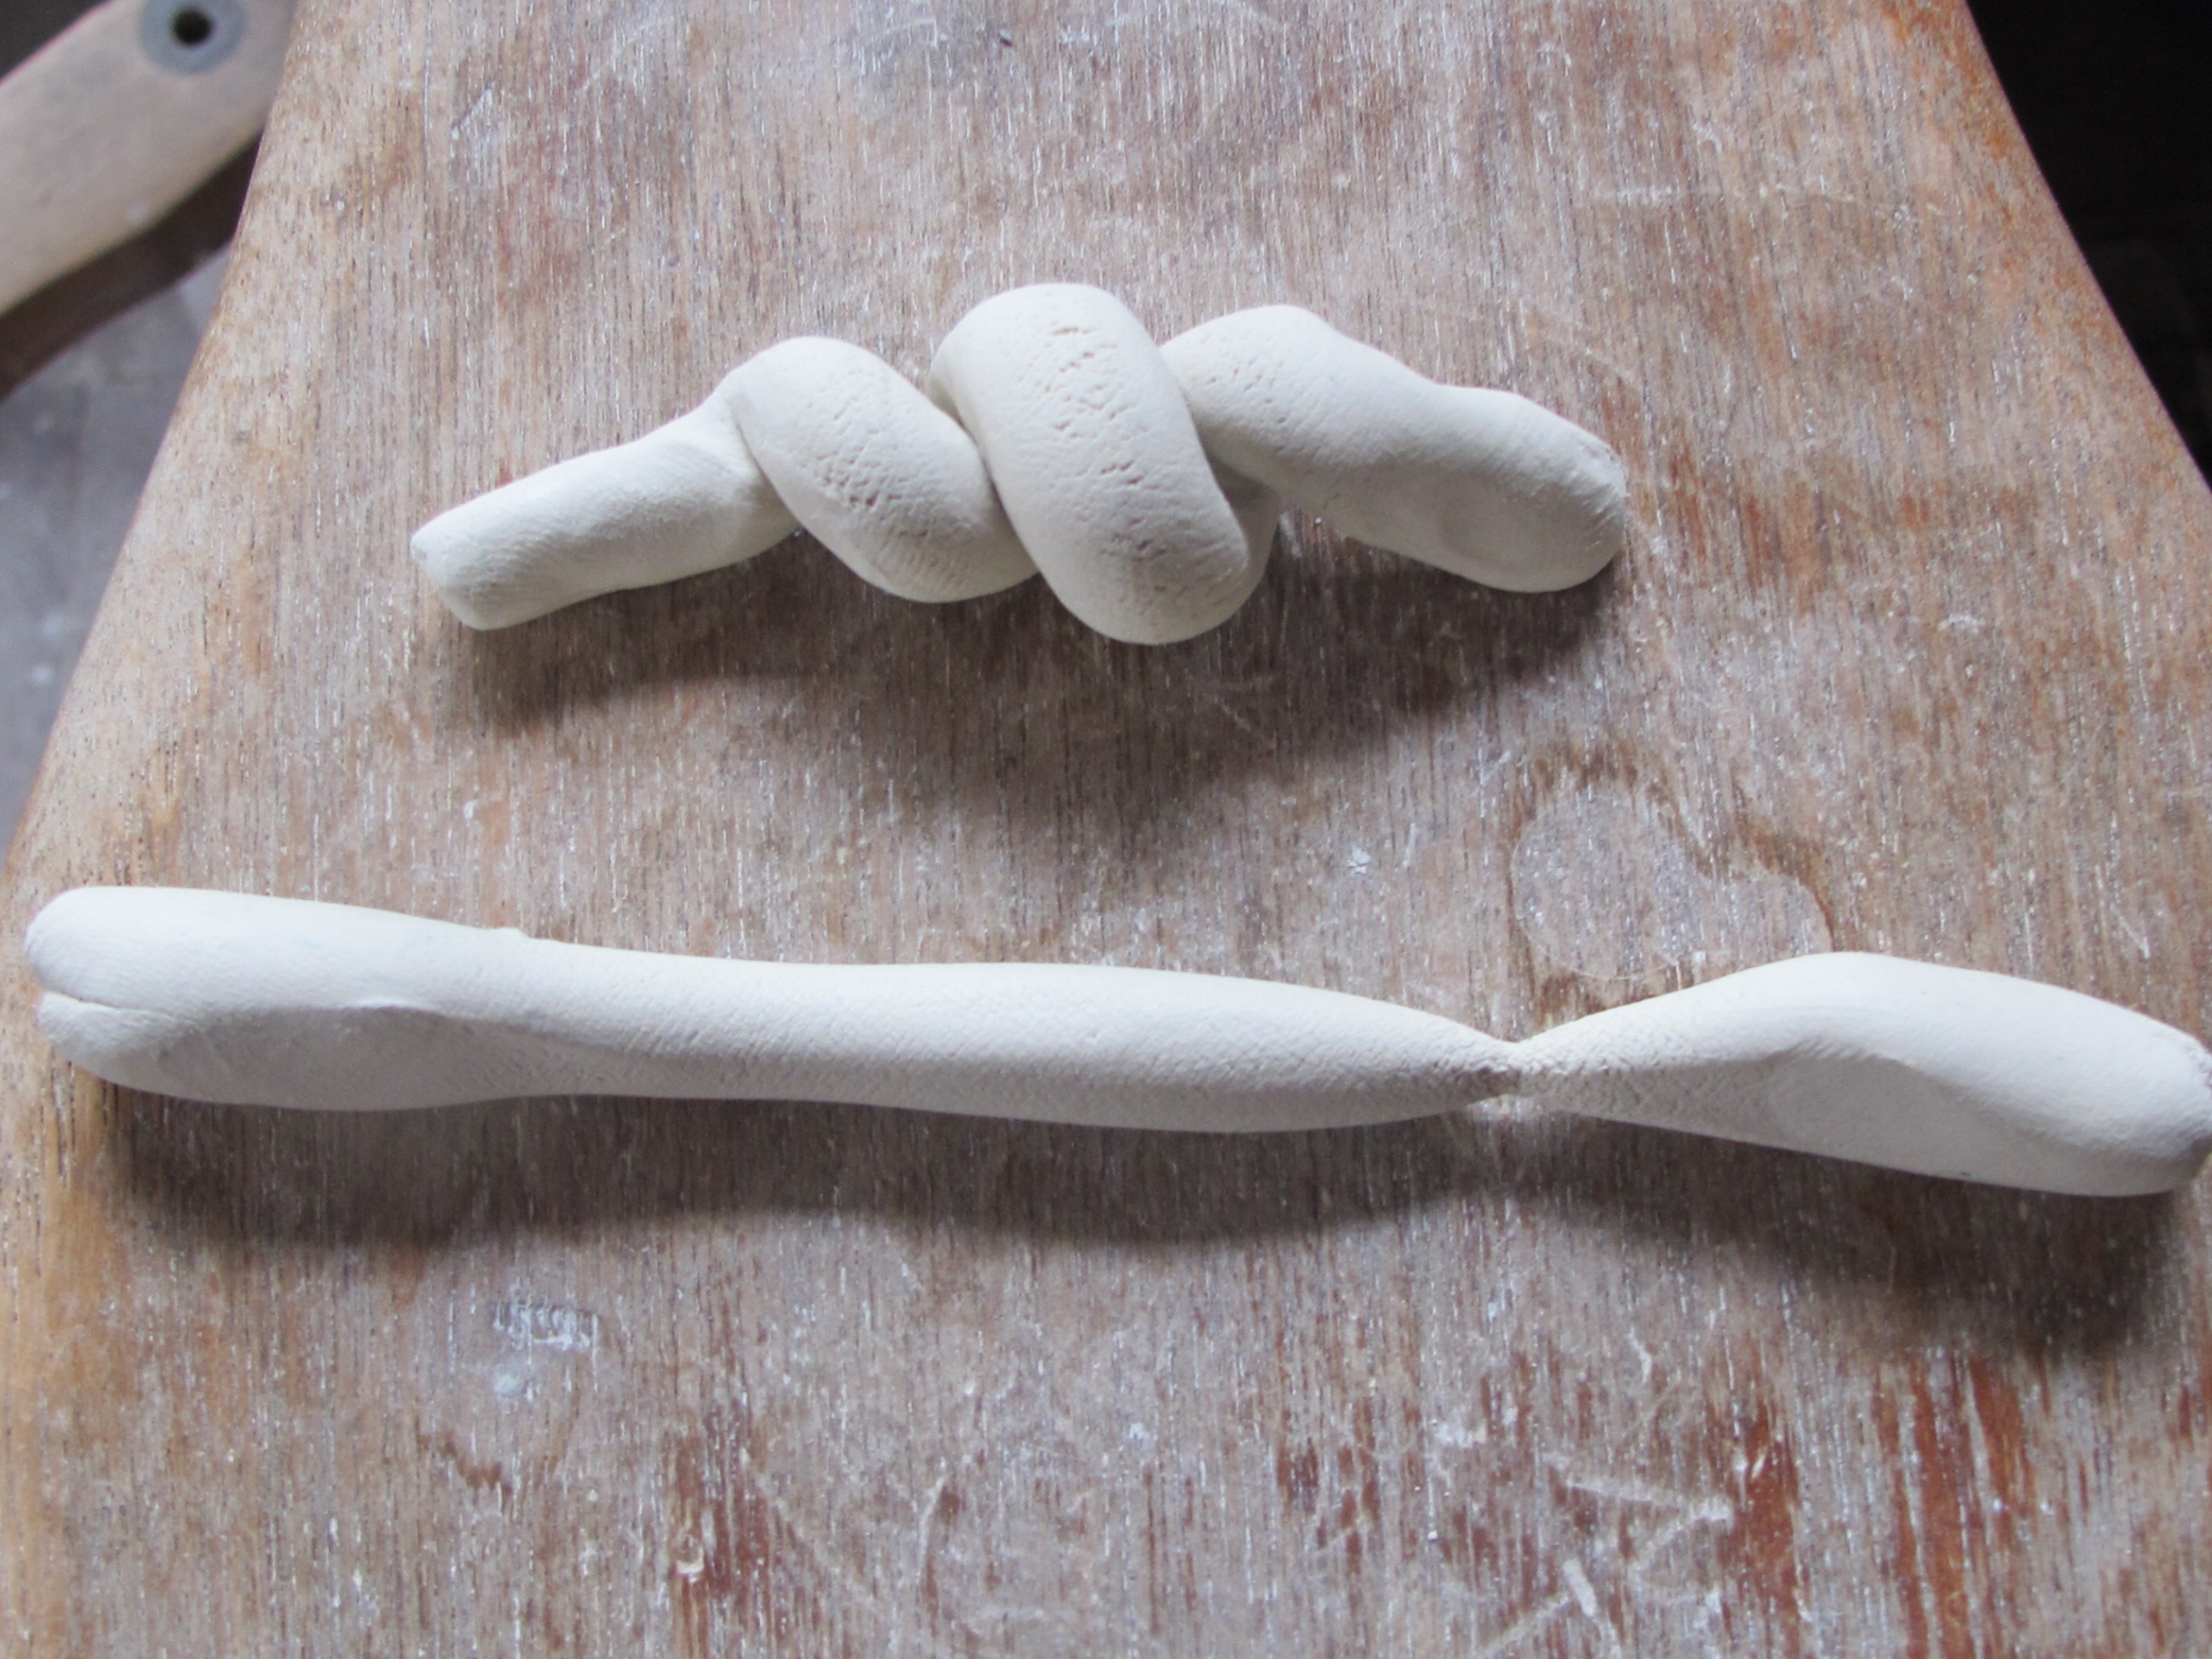
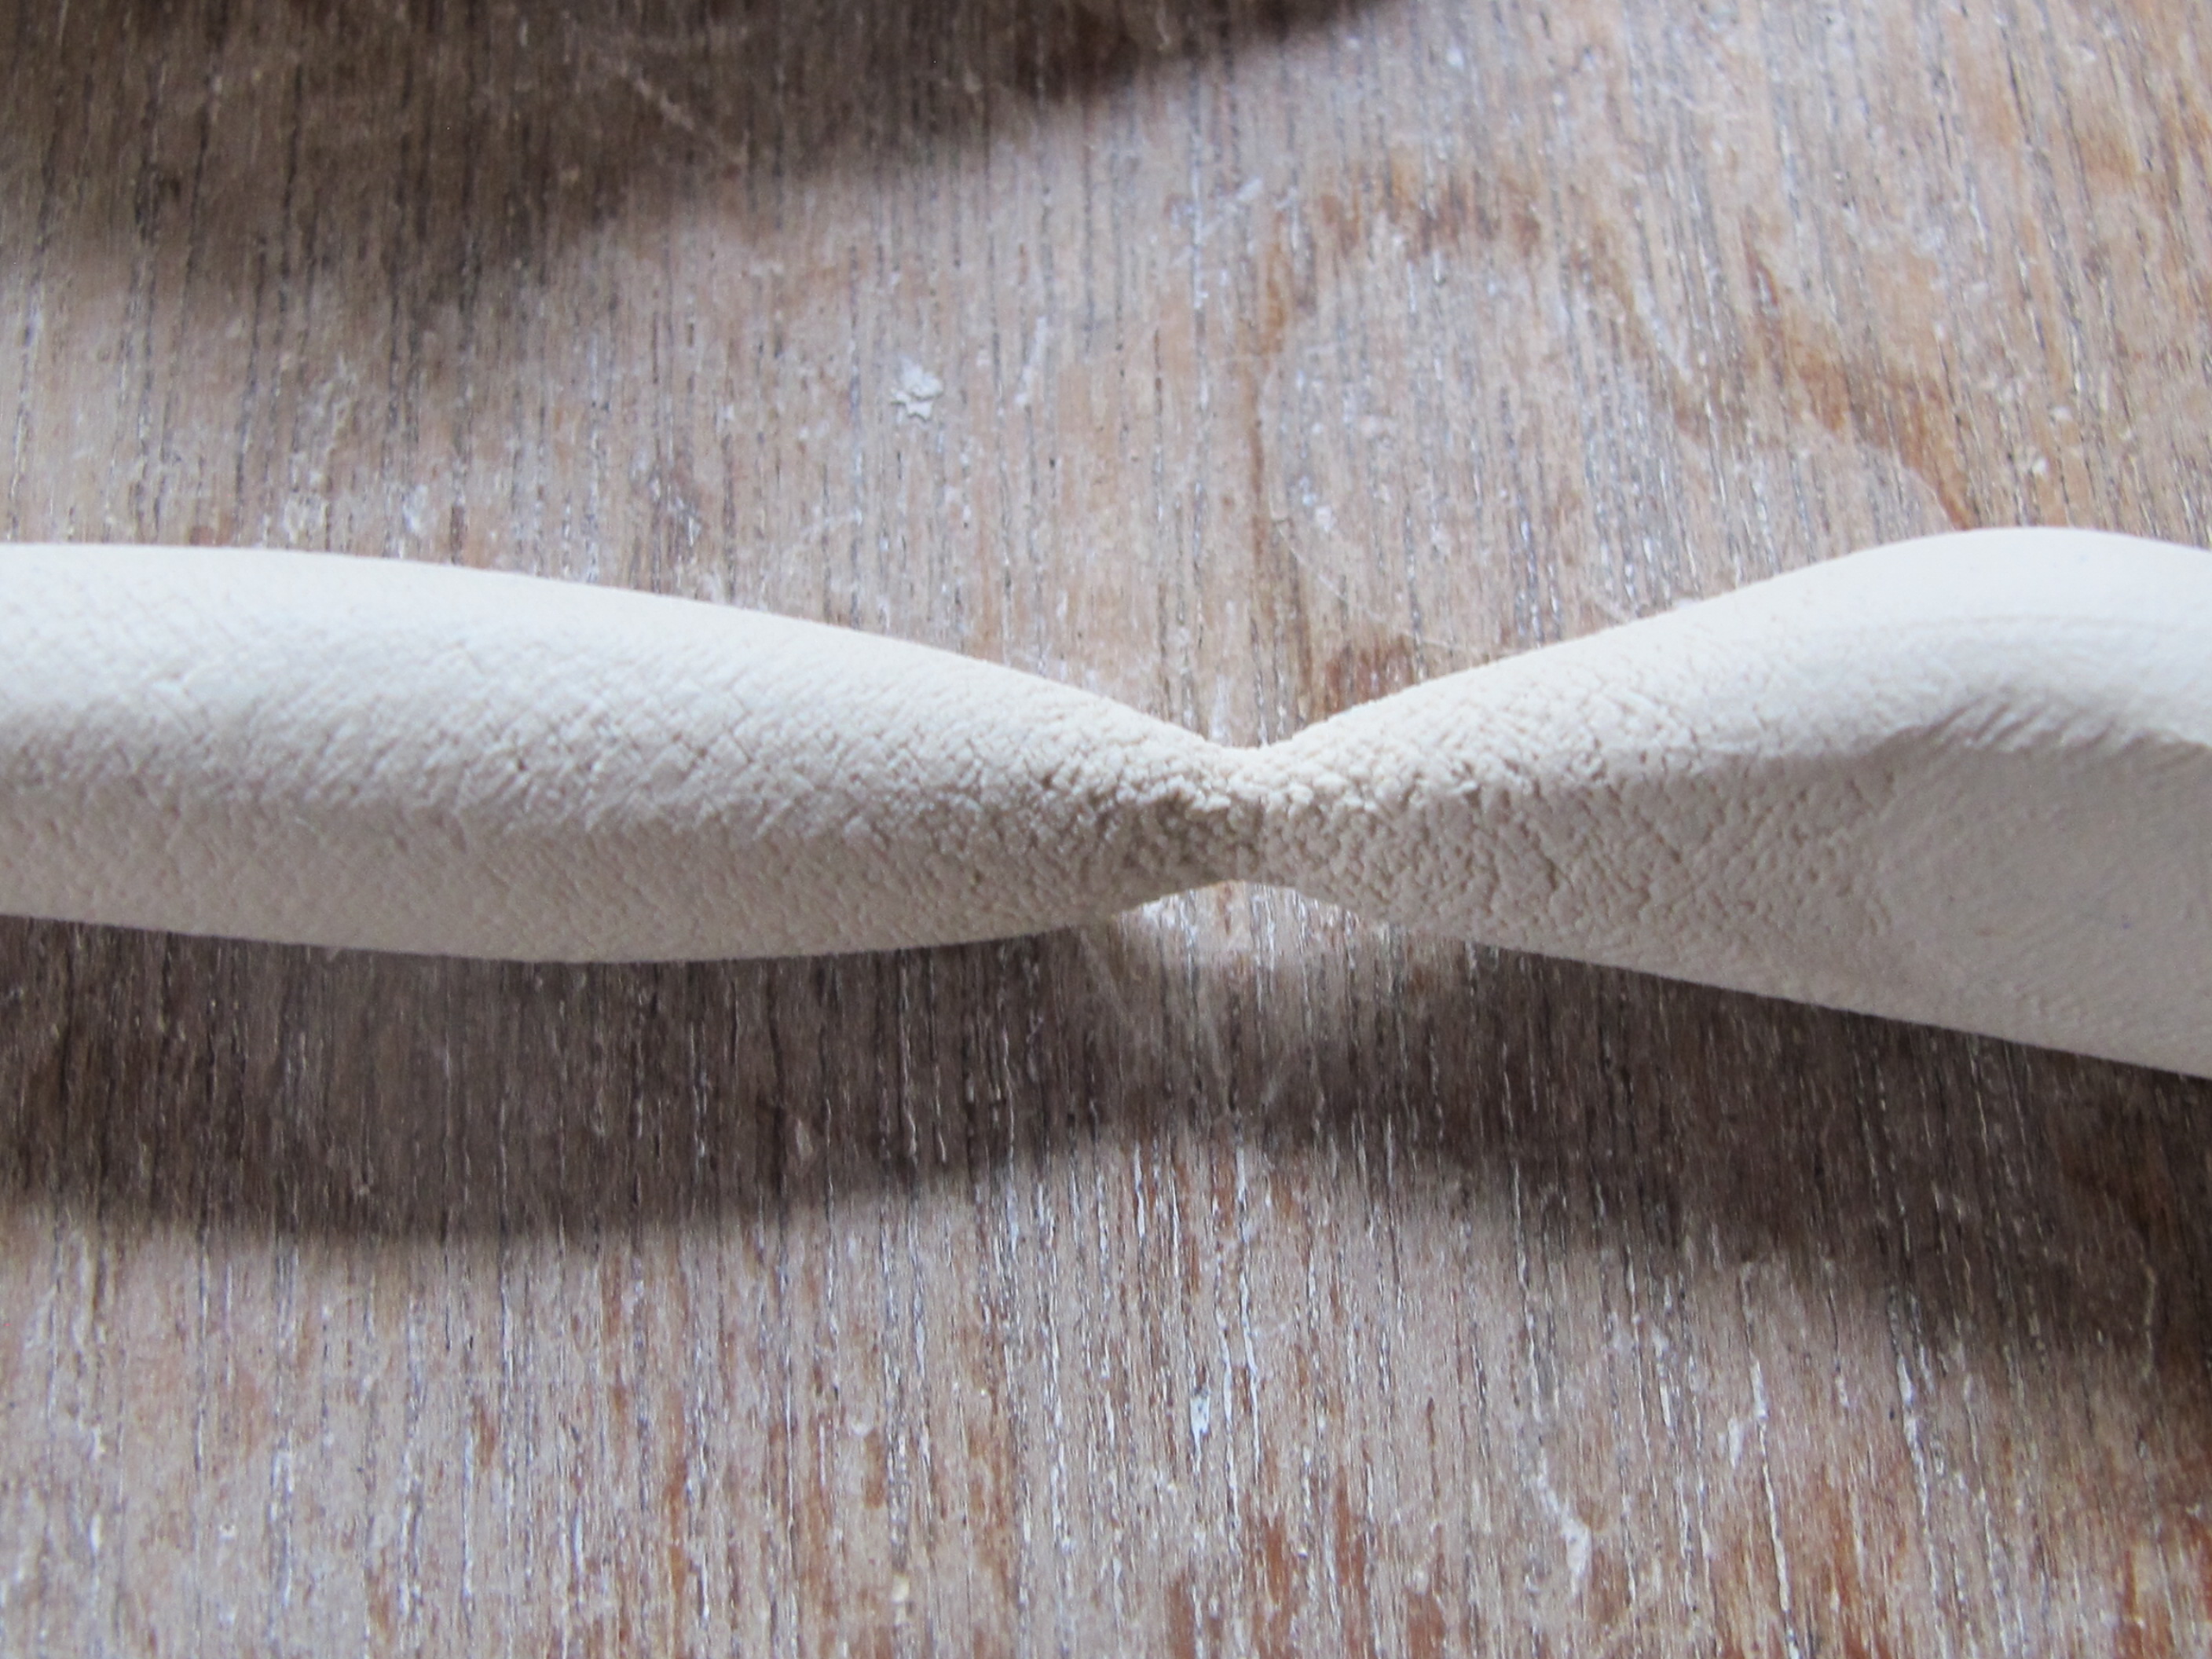
I drag my finger through the stiff slip to make it dry into usable square plastic blocks that are easier to pick up and store for pugging.
However, because of the very wet summer continuing on like it has, I’m finding that the clay just won’t dry as usual. The humidity is just too high. I’m having to lift the very soft plastic mass off the sodden brick drying beds and place it in the open air to get a little air movement over it to finish it off to a stiff plastic condition. Perhaps the extra 15% of kaolin content is slowing the drying a little as well?
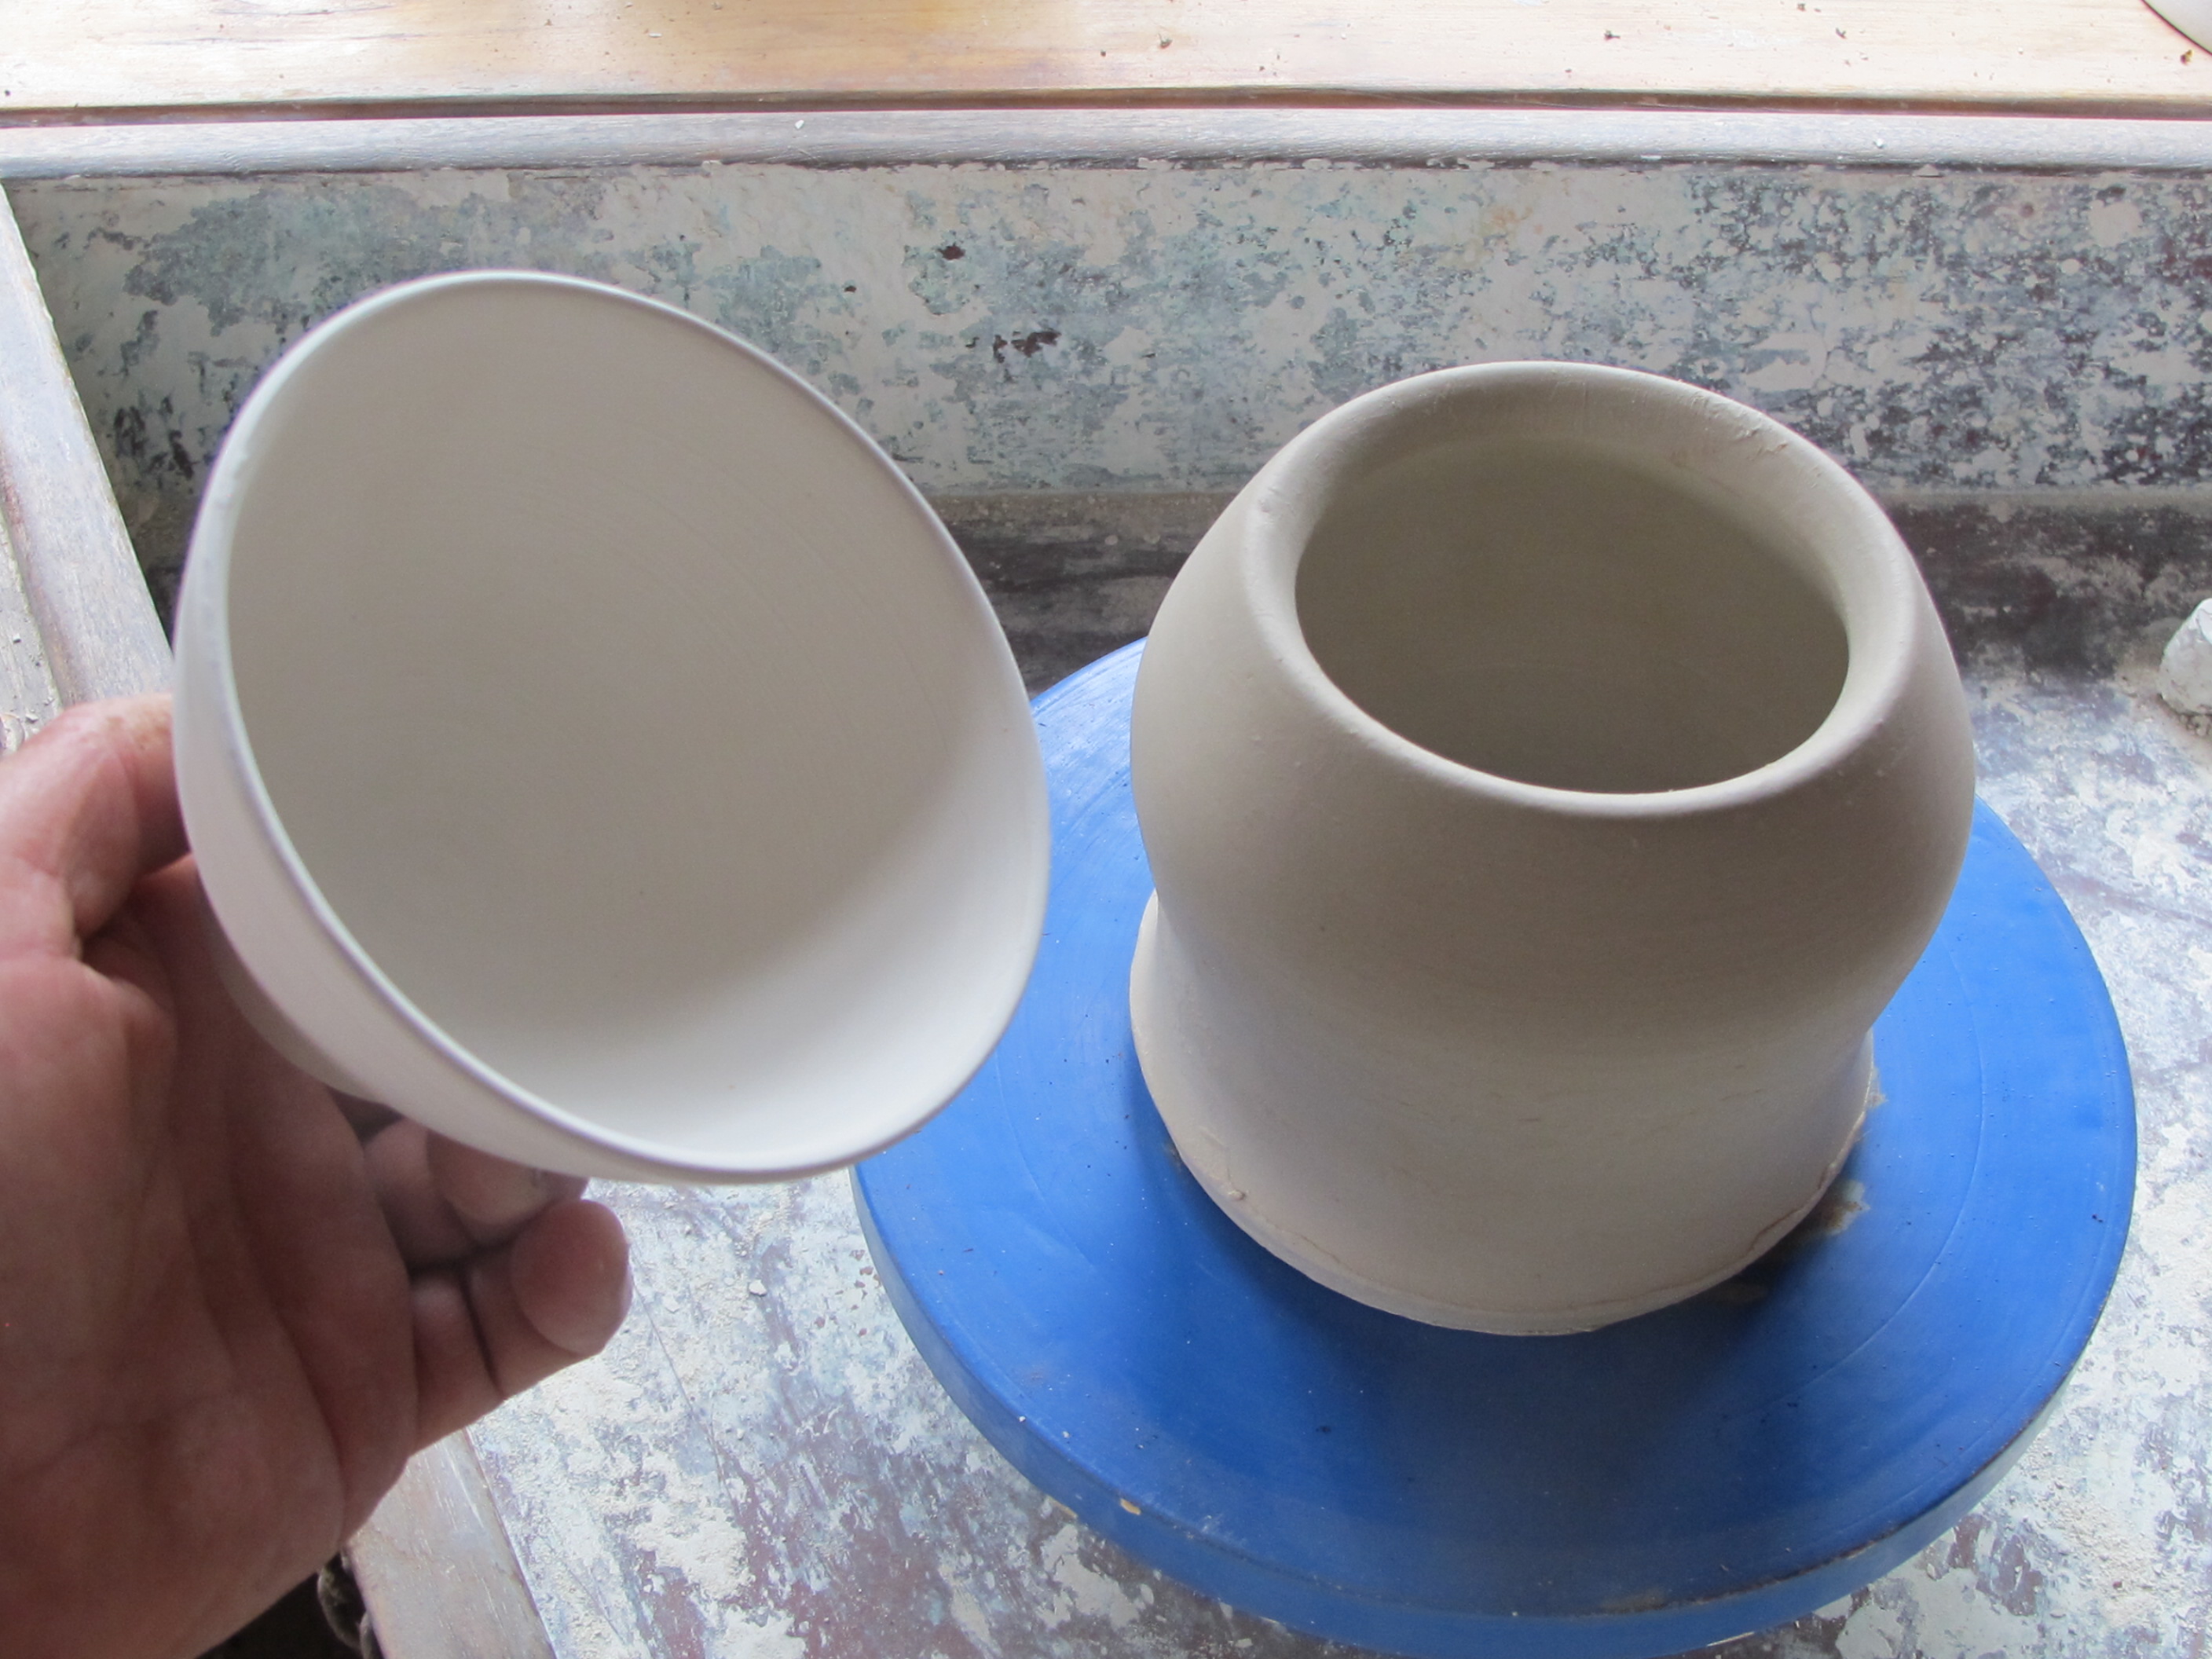
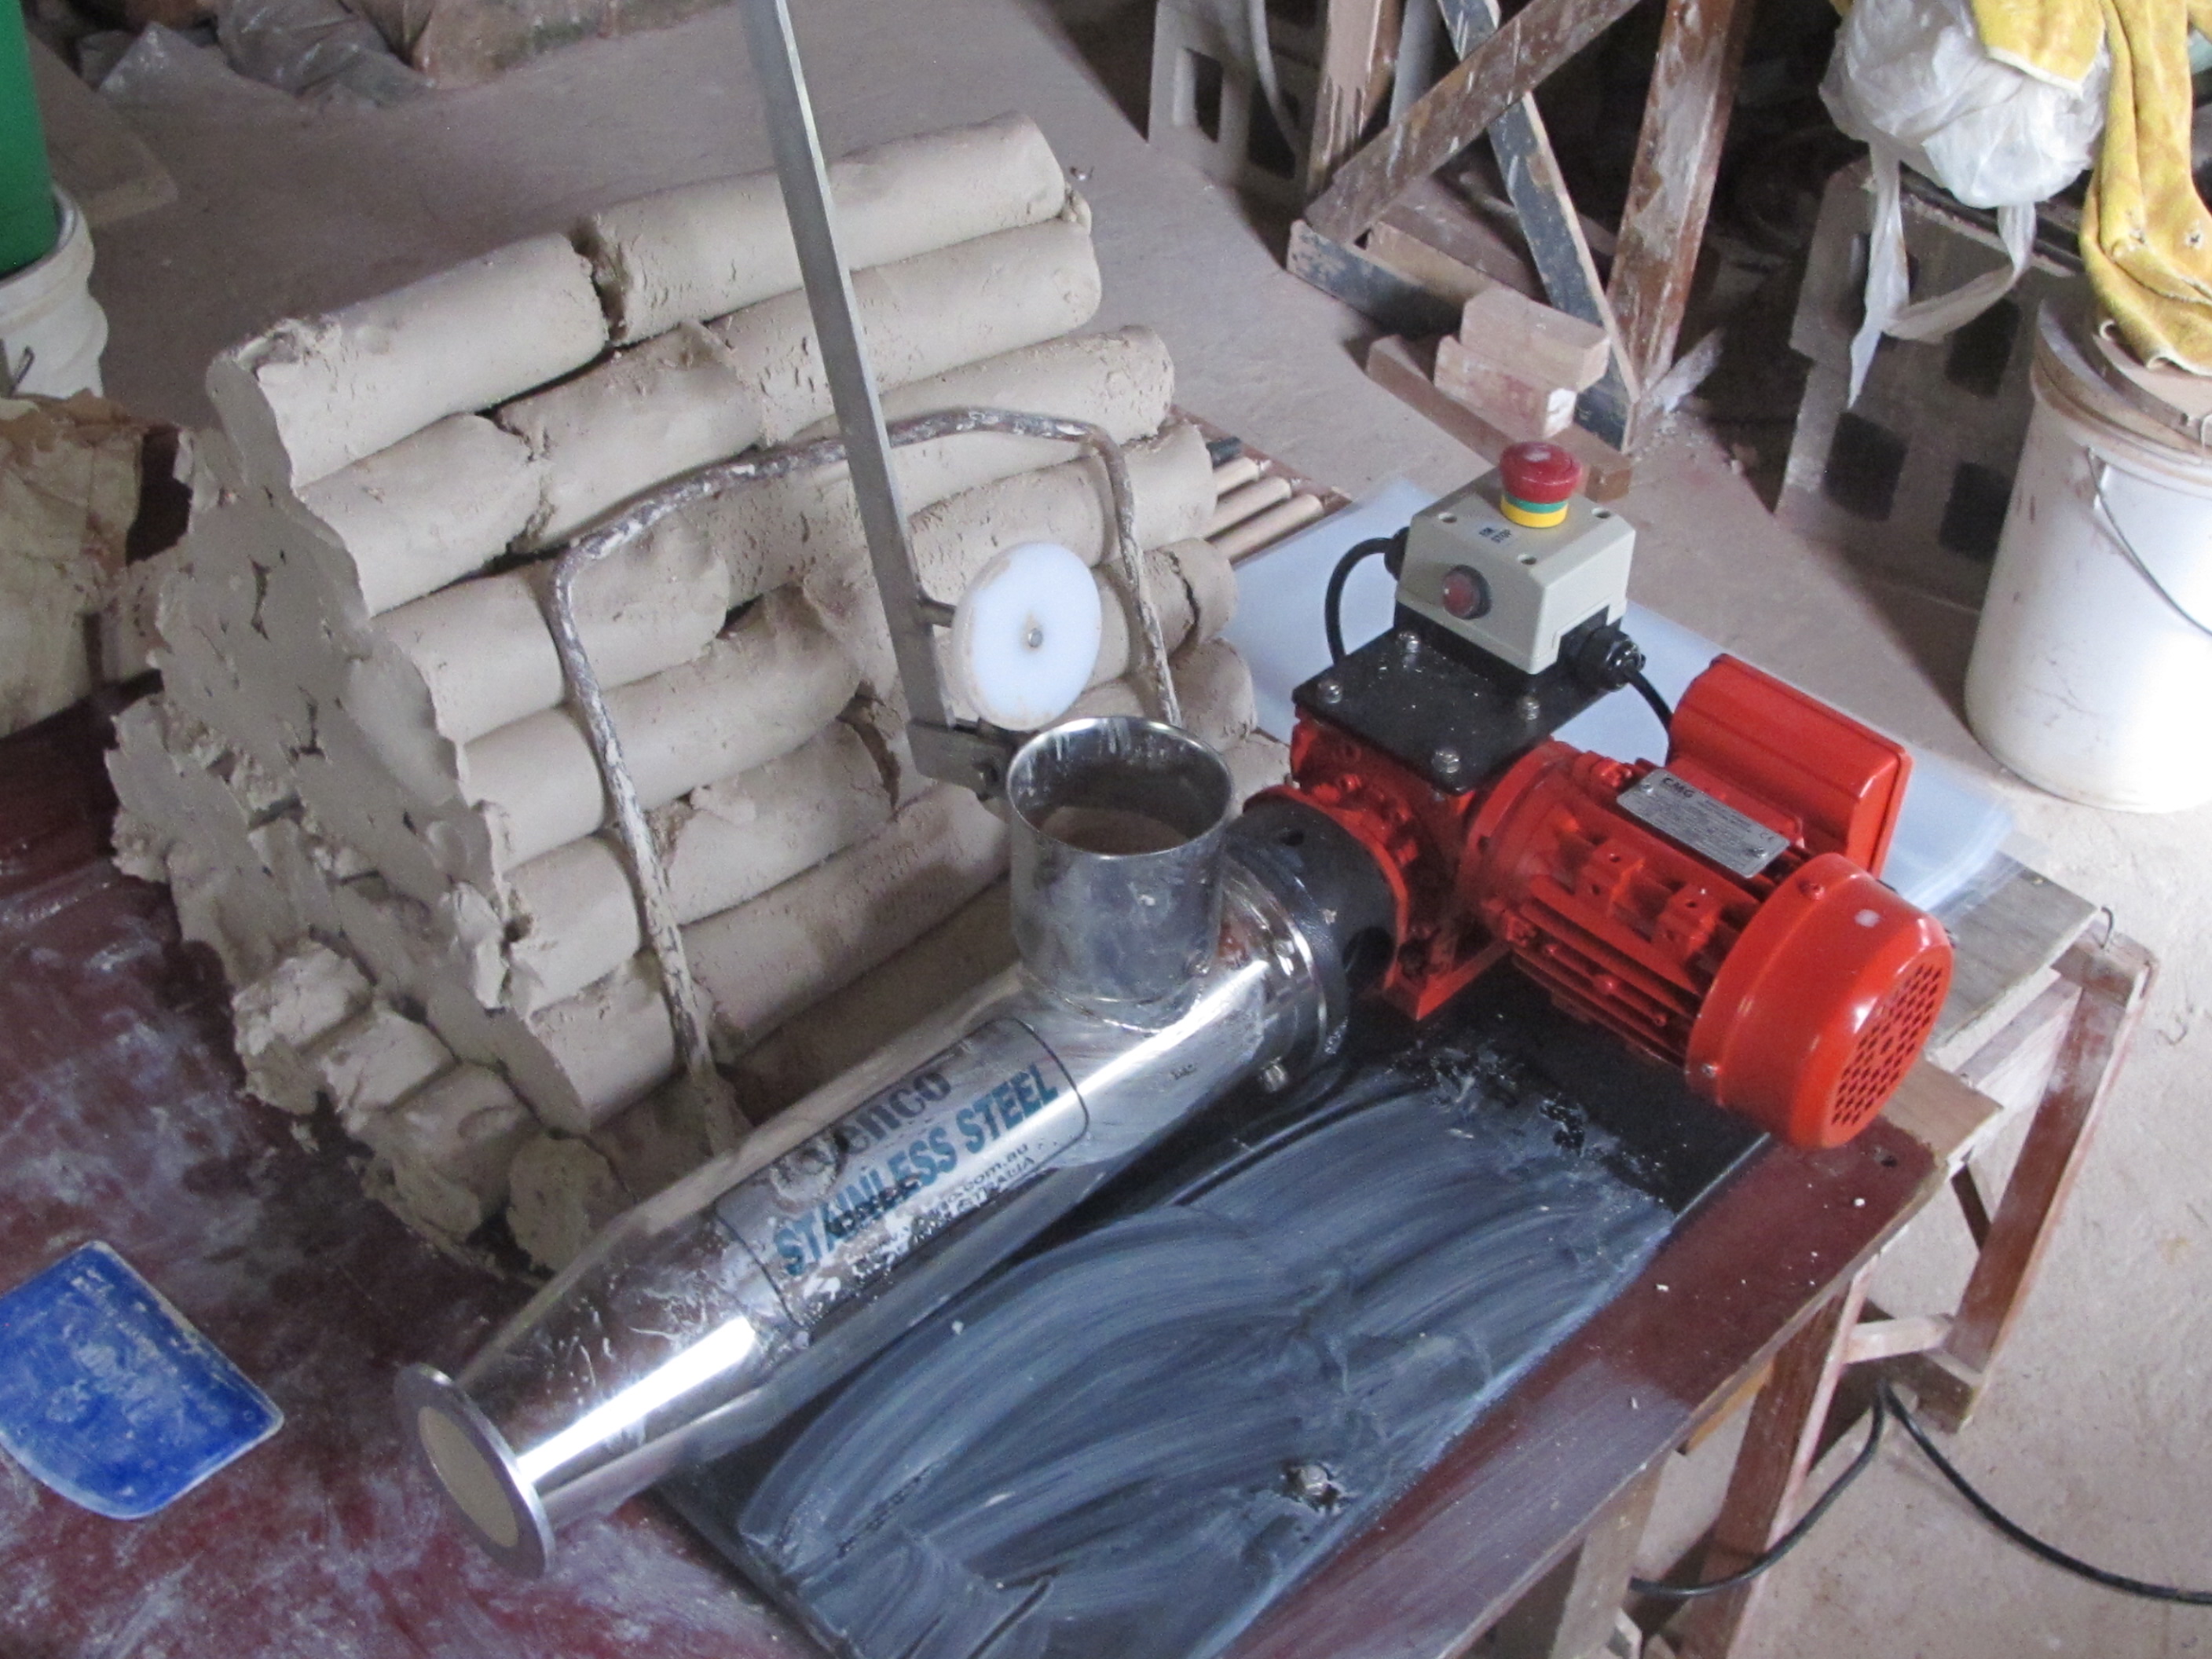
I have been using my new ‘VENCO’ stainless steel mini pug mill to pug the small batches of clay. It’s fantastic, quiet, fast for it’s size and ideal for small batches of porcelain body like the stuff that I’m making. And so much easier on my wrists than hand wedging.


As part of this sudden loss of intellectual rigour and convenient relaxation of my philosophical standards, I hope to make my life a little easier in my latter years. However, I can’t help somehow feeling a bit like the philosopher Bertie Russell reneging on his death-bed. I am fully aware that this is where the similarity ends. I am no philosopher, and hopefully I am not on my death-bed either – just yet. I just feel like I need to extend my range and have the ability to work with an extended palette of interesting materials for my creative work. 15% of non-local kaolin isn’t going to change the fabric of my work in any noticeable way, but it will make the act of throwing a lot more pleasurable for me and extend what I can make.
So I have decided to start using materials that I have discovered that are outside of my shire and my previous 50 km radius of interest. Over the last 20 years I have experimented with my immediately available local materials, non of which are mentioned in McMeekin’ s book. I have worked on them to the point that I couldn’t think of any more variations that I could make to gain any further insight into these materials. Only extreme ageing could improve their plasticity, I’m too old to wait for that solution to work for me. I’d taken these materials as far as I could imagine. Another potter would certainly find new things to do with these materials, but I feel that I have lived and worked on this restricted palette for long enough. I want to experiment with some ‘new’, and therefore interesting materials that I don’t know anything about.


To this end, I just went to collect some felspar from a site that I came across a few years ago, near my friend’s house, it’s 150 kms away. I only sampled it at that time, because it wasn’t within my target area, but it looked very interesting all the same and I can’t pass an interesting bit of soil by without at least looking at it and taking a preliminary sample. The initial testing proved that it was felspar and although quite weathered, it still has quite a bit of alkali, so it might turn out be very useful. I’m extending my range, making more flexible choices and hopefully making my life a little more interesting and a little easier.
I have a few different projects in mind for the future.
Best wishes
from the potter making many a slip twixt the mill and the lip


You must be logged in to post a comment.