
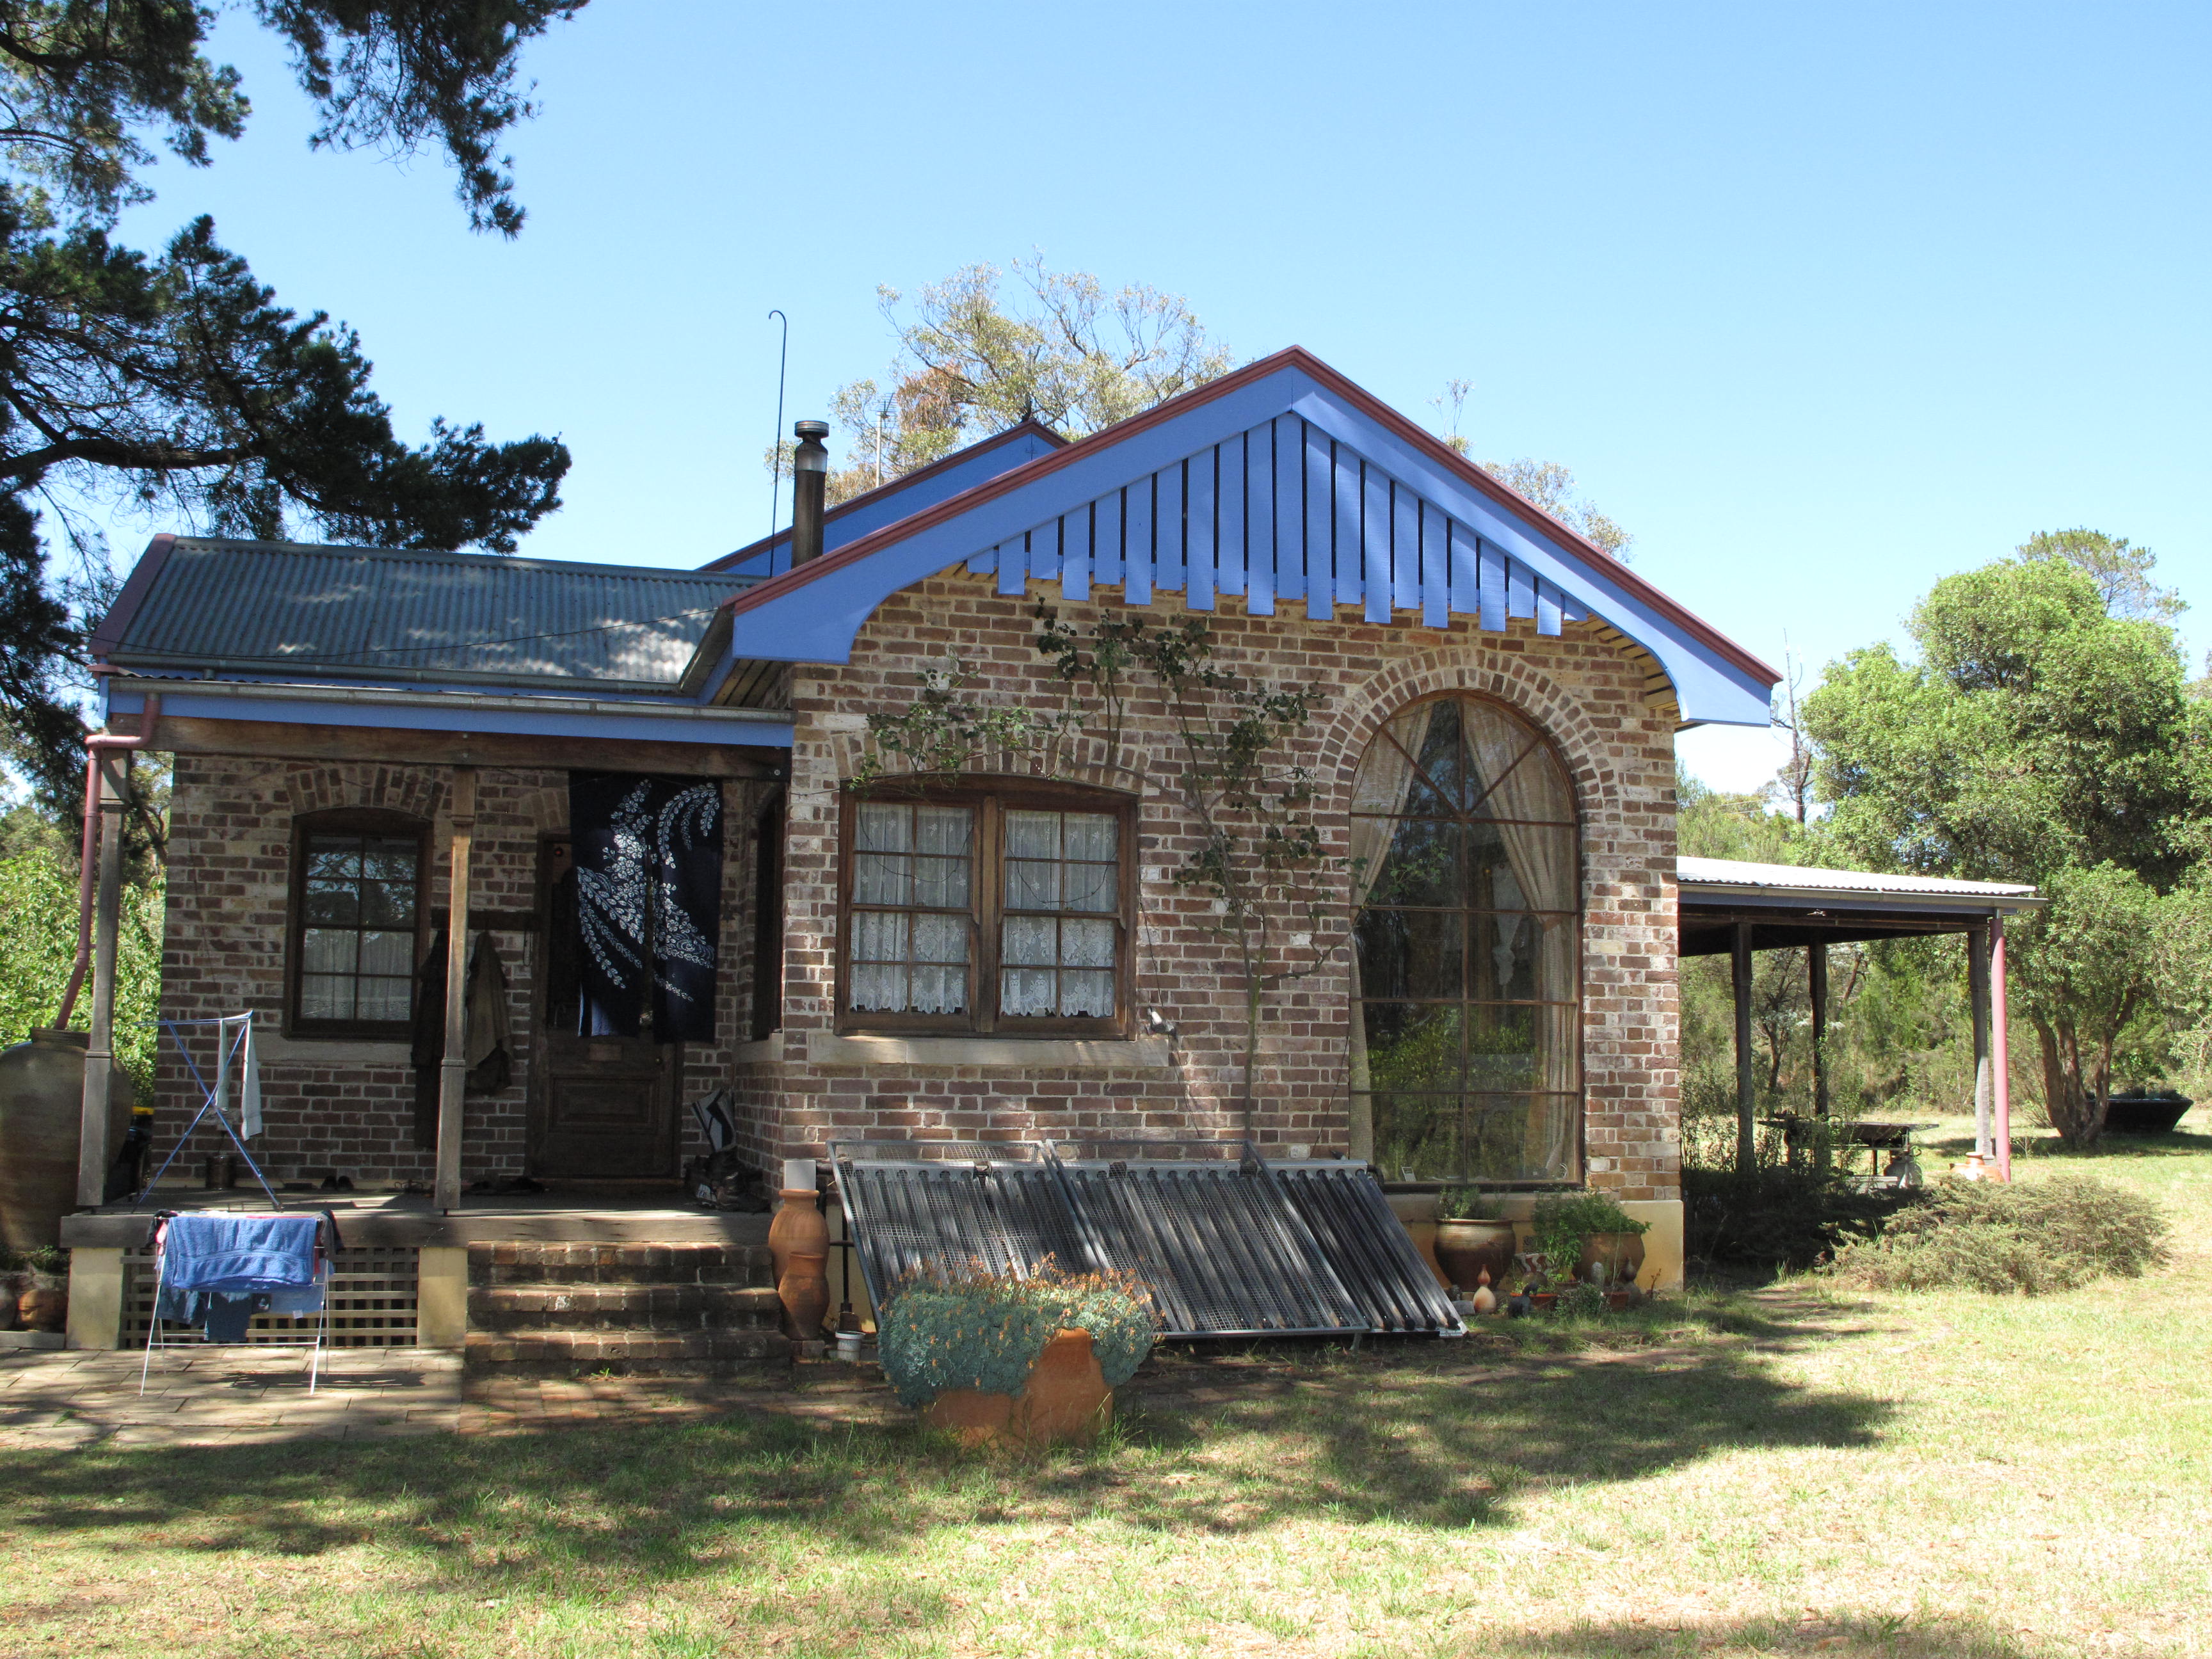
I’ve spent the last few weeks working on an arch window for the new pottery workshop. I want to make a window that reflects the existing window in the house opposite to the new pottery. I have a plan to brick up the external west and south walls of the new pottery building, those that face the street and the house. We have a lot of leftover sand stock bricks from when we built the house. We put in a large arched window in the north face of the new kitchen. It worked well and I’m very happy with it. I built that window out of western red cedar. I taught my self to steam wood so that I could bend the sections to make the arch window. I want to reflect this architectural conceit in the new pottery. My idea is to have the 2 windows facing each other.
There is a slight problem with the original idea and that is that a cedar wood window might be quite flammable. I want to try and build this new pottery with a fire resistance rating ‘BAL40’. 50 being the highest possible rating. One way to do this is to make the window frame out of metal. I decided to give it a go using aluminium, as most of the other windows in the pottery will be black aluminium framed. One of the benefits of aluminium is that it can be obtained in extruded forms like hollow sections, ‘T’ sections and angles. It is also very light and not too expensive compared to ‘merbau’ timber. I was able to buy a series of sections that I could weld together to make a complex frame that could be both light and strong – and fire resistant!
The other important issue is that aluminium is tricky to weld, but fortunately I taught myself to weld it years ago when I was building electric potters kilns, as marine aluminium is one of the longest lasting kiln frame materials for electric kilns. So the welding problem was not a problem. The difficult part in welding a big window of this size, 4 metres by 2 metres, is that aluminium expands and contracts a lot with heat, so it can very quickly warp our of shape. I usually clamp aluminium down onto my steel welding bench to keep it straight. However, in this case, the window is bigger than my bench, more than twice as big, so I had to weld it on the floor. This meant that I couldn’t clamp it down. So I have had to weld it intermittently with long gaps to allow the window to cool dawn so that it would remain flat and straight. This is why it has taken me so long, with just two welding sessions each day.

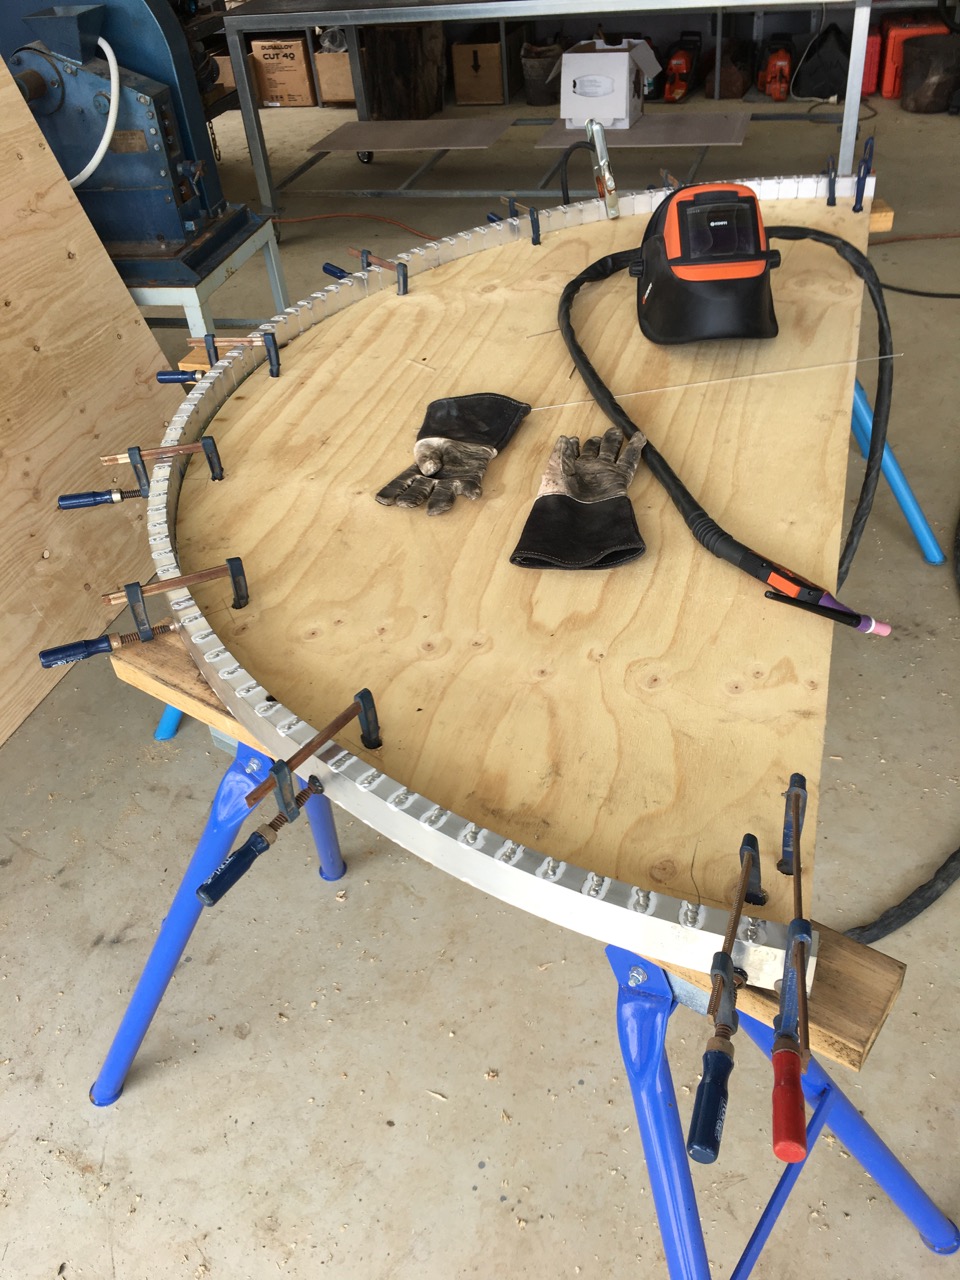
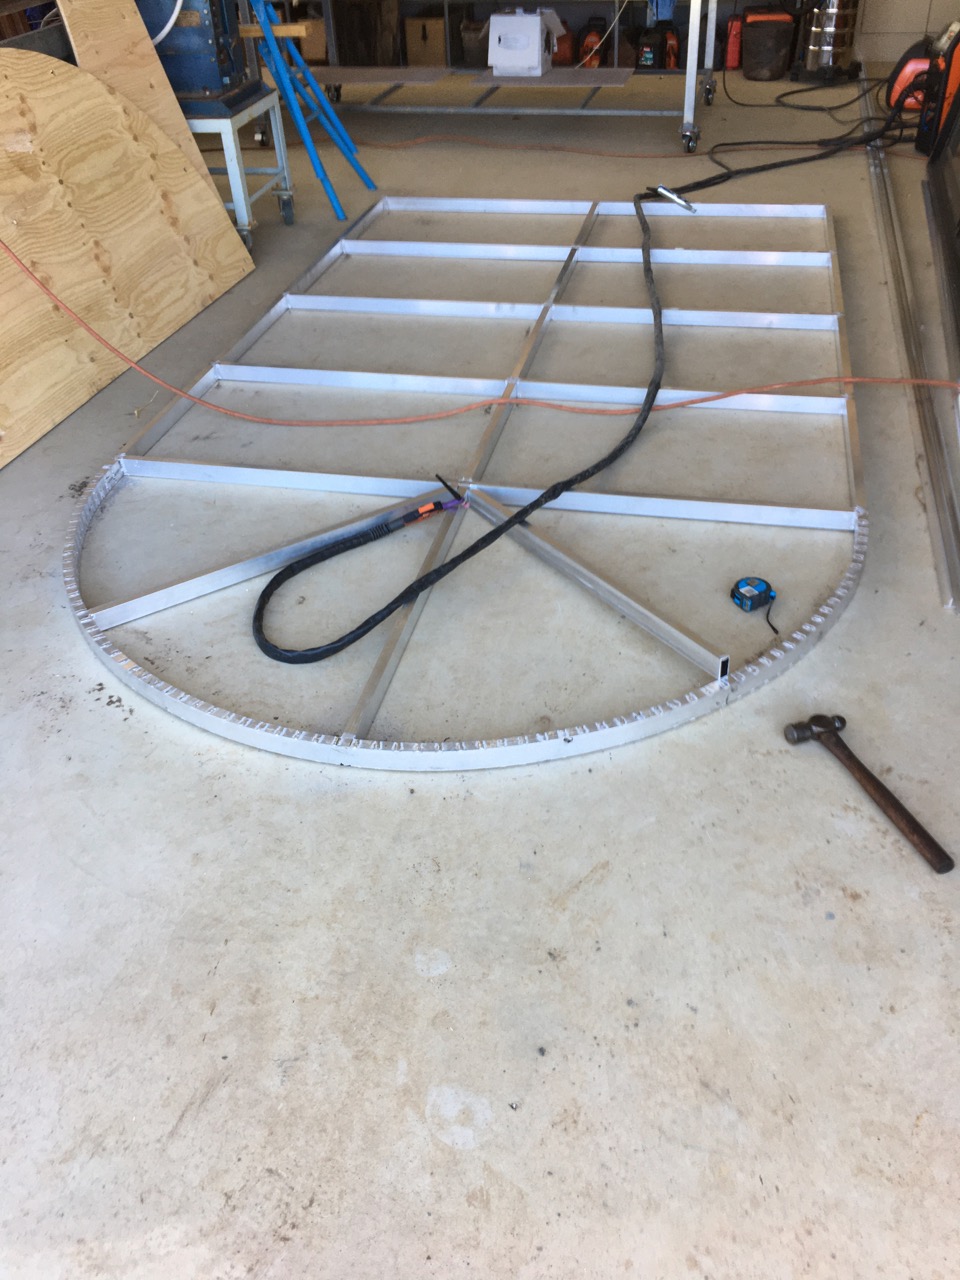
I made a wooden former to shape the arch
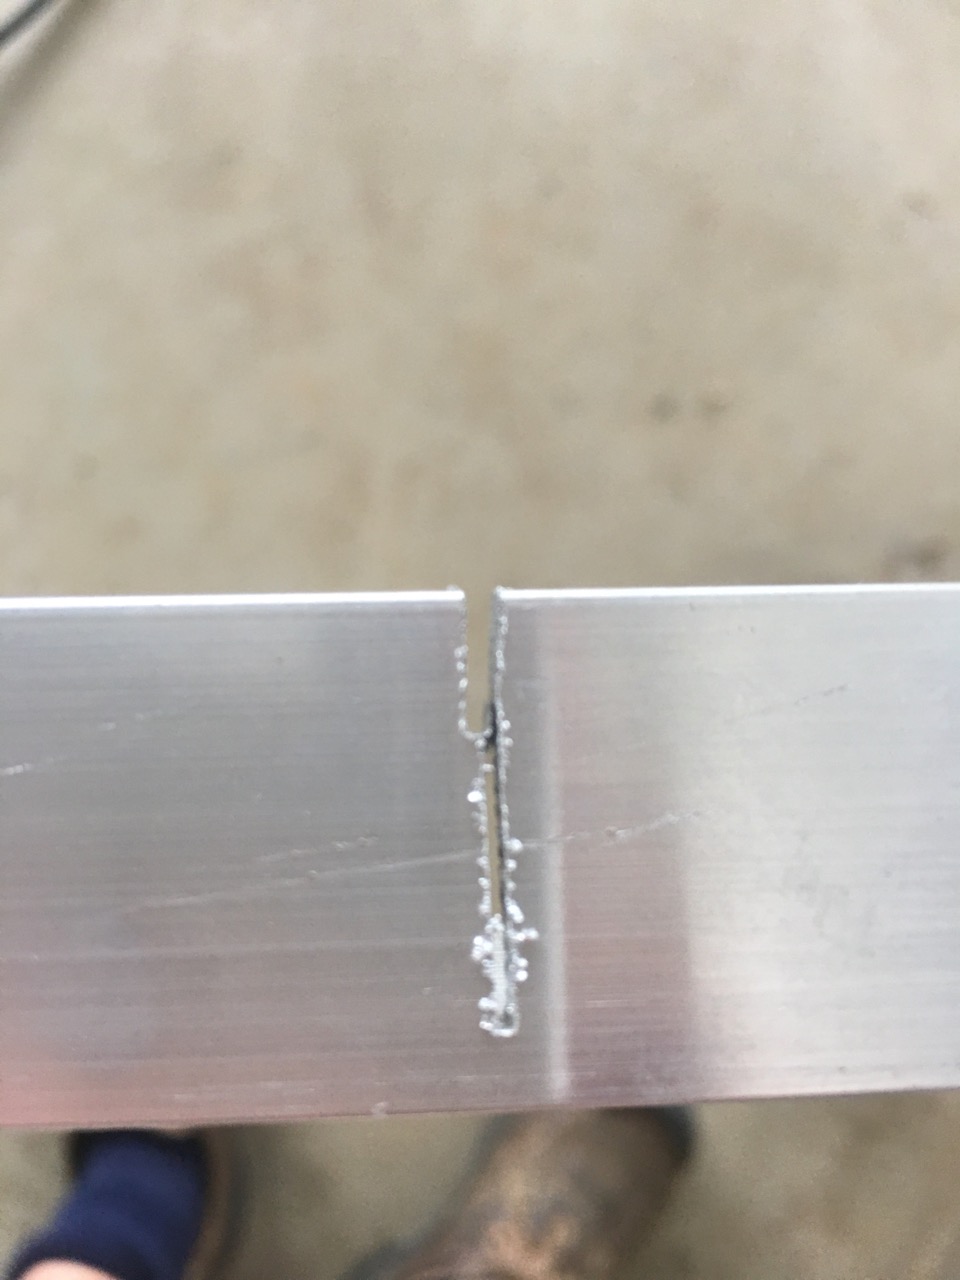
In order to bend the hollow section, I needed to make some cuts in the metal so that I could bend it round in an arc. I worked out that the difference between the inner and outer circumferences of a two metre arc was about 80mm. So I made 80 equally spaced cuts into the frame with a hacksaw, these were about 1mm across. It ought to have worked, but it didn’t. It wasn’t enough, the bend was too difficult to make by hand. I decided that I needed to make another cut with a thin blade angle grinder of about 1.5 mm wide. I made this cut just about 6 mm deep. The combination of the two allowed me to bend the arc easily by hand. I then clamped it to a plywood form, so that it would stay put while it expanded and contracted during welding. I welded the cuts back together. The whole section is now just as strong as it was before it was cut.
There are rolling machines that do this sort of thing easily, but I don’t know of any here in the Highlands. Besides, I am happy to do all the work myself in my own way, finding my own solutions. Using what I know and using what i have at hand. This is self reliance.


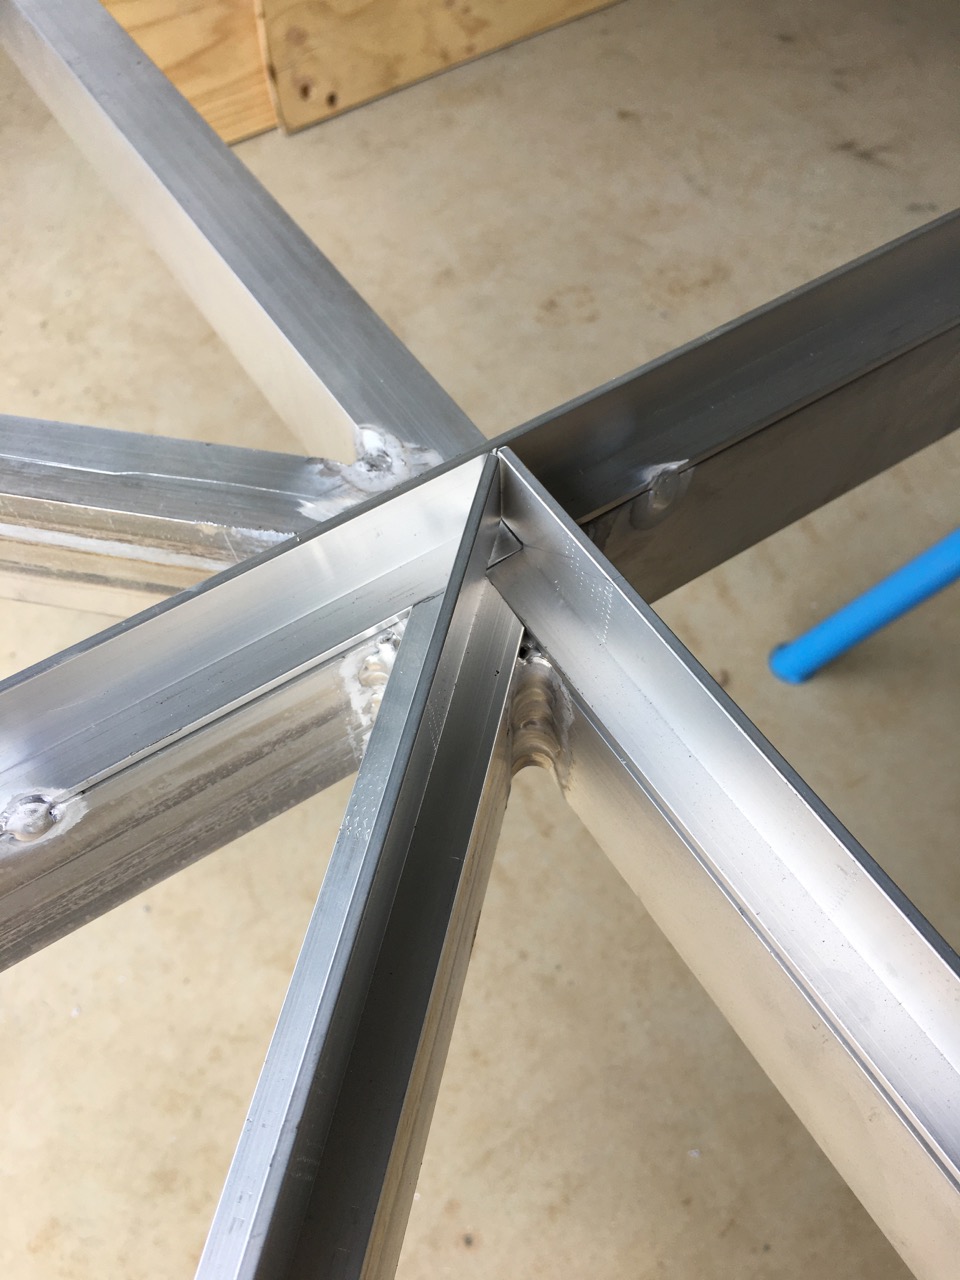
I tacked the arc onto the square section and it started to look like a window. Once the box sections were assembled, I needed to add the ‘T’ sections on top and an angle section around the edges. These are essentially the glazing bars. The rectangular hollow section is just a supporting frame to resist the wind pressure. These ‘T’ sections needed a little bit of fine cutting and filing to get to fit nicely, but it worked out OK. Clamping everything all the time is essential to keep it all flat and straight during welding.

Its taken many hours of thinking, measuring, cutting, fitting, clamping, tacking, cooling and then welding to get to this stage.
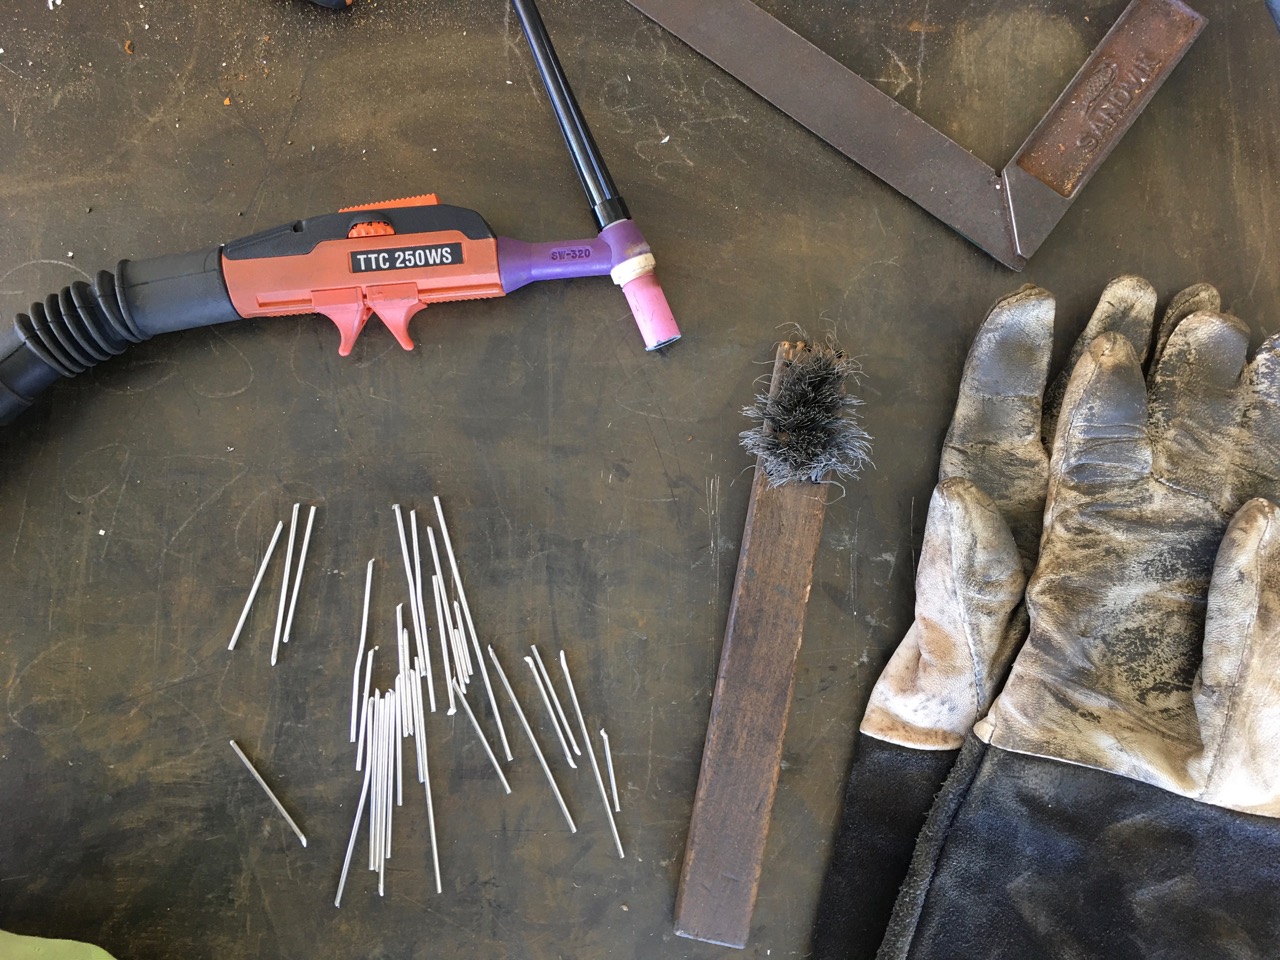
So far I have used over 50 metres of filler rod in all the tacks and box section welds. It’s a slow business, I’m hoping that it will work. each of these little butt-end rods was once a metre long.
In this image, the structure is complete, but it’s not a window yet, however, I started to think that it just might work. There is still a way to go at this stage. I still have to fit the architrave around it and then a fixing fin, but it’s almost there.

The builders finally turned up months late. We paid our deposit on the first of July, straight after the Council passed our DA. They told us that it would take 5 weeks for the kit to be delivered, There was some sort of stuff-up and the kit eventually took 12 weeks to be delivered. That was 2 months ago on the 23rd of September.

The builders have eventually arrived.
On the positive side. All the waiting around gave us the time to work on the yard and the clean-up, the orchard and the garden.


So the beginnings of a frame have appeared. Certainly enough to fit my big arch window in the end wall.
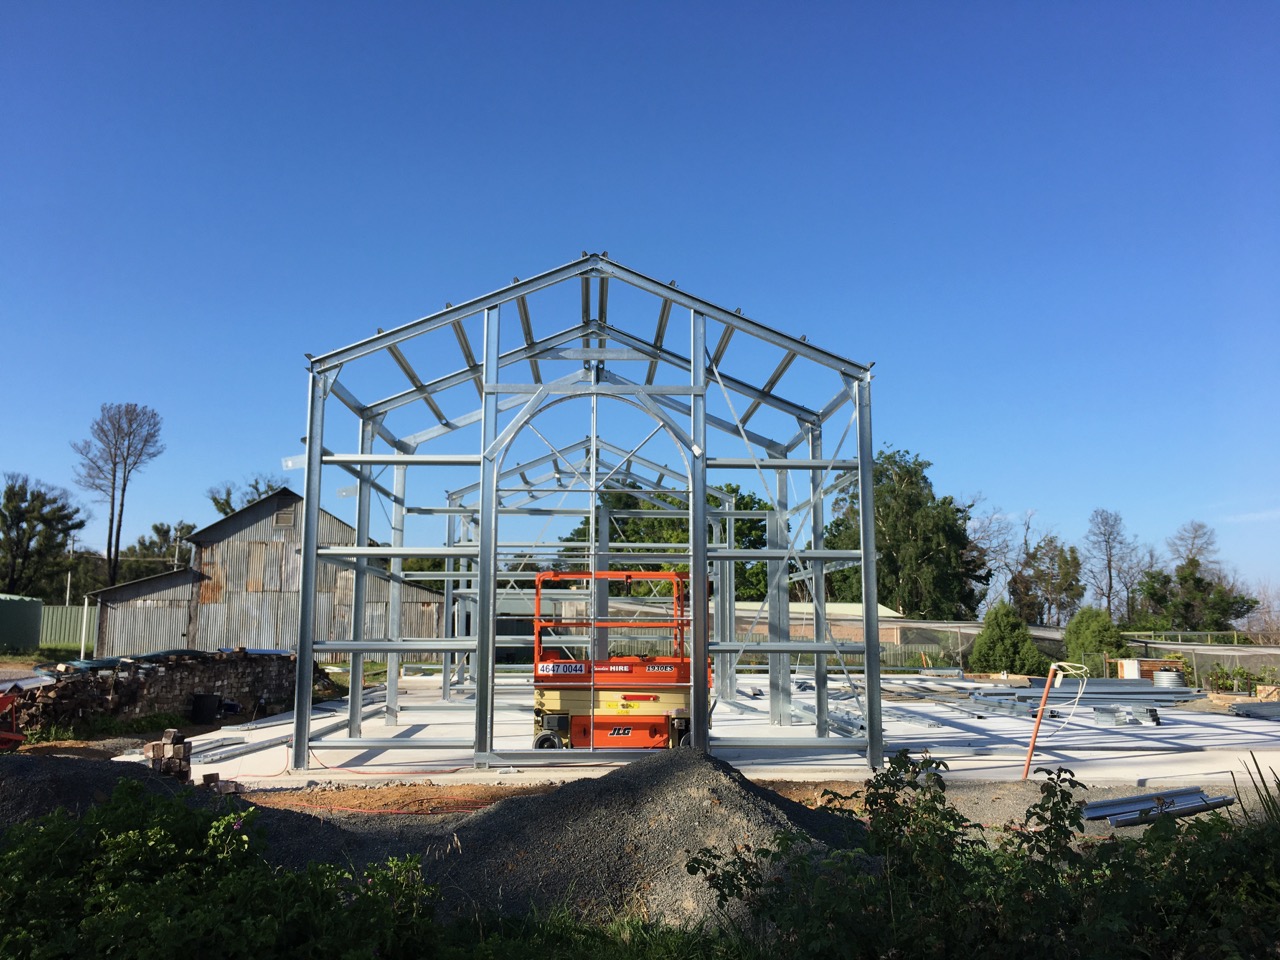
With any luck, we might be at lock-up stage before Xmas?


You must be logged in to post a comment.