
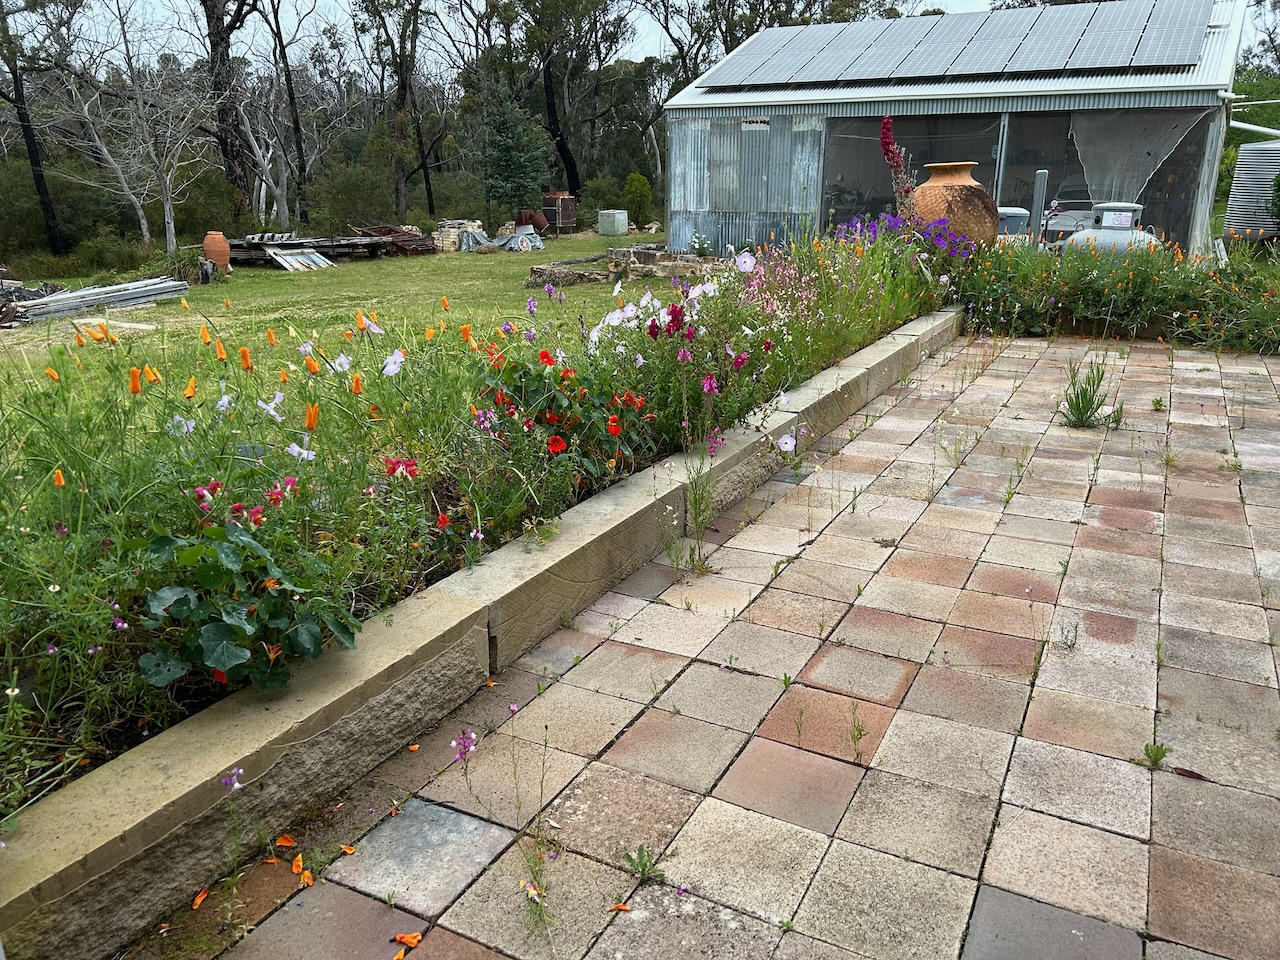
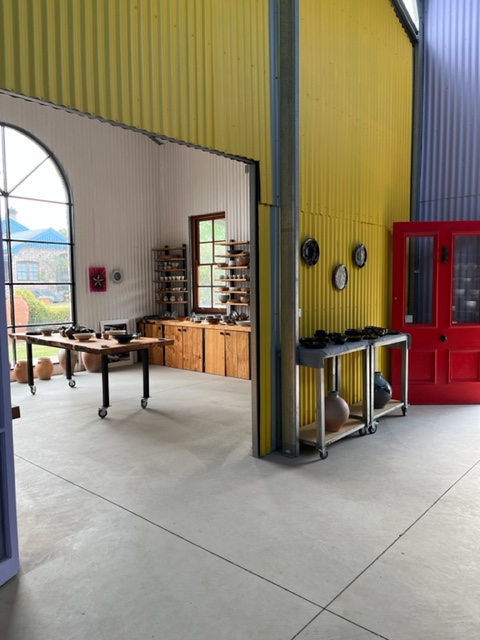
We are in the final preparation for the Southern Highlands Open Studios Arts Trail. We will be open on the first two weekends of November. We will also be part of the Australian Ceramics Assn Open Studios event at the same time.
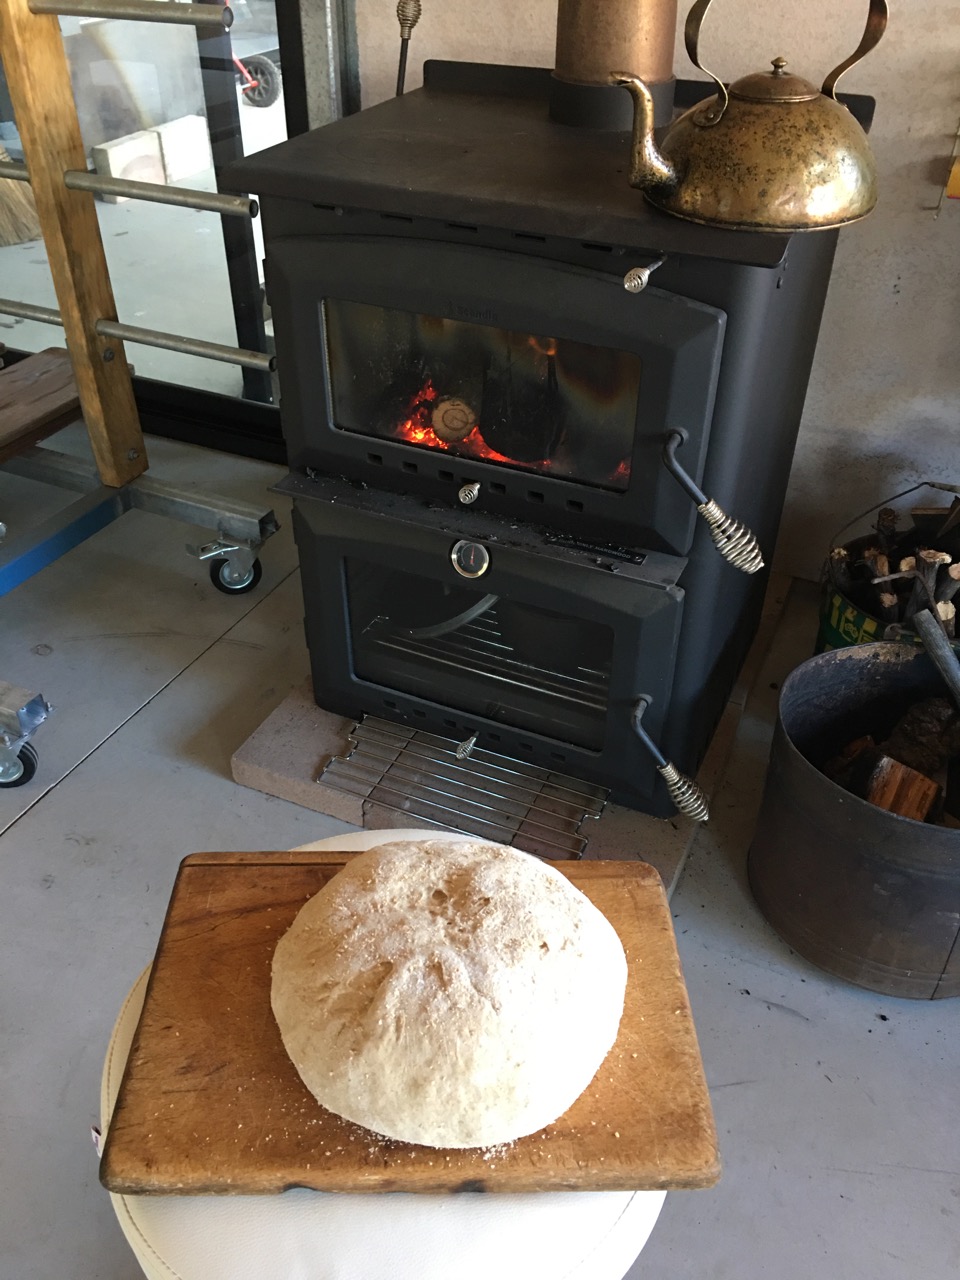
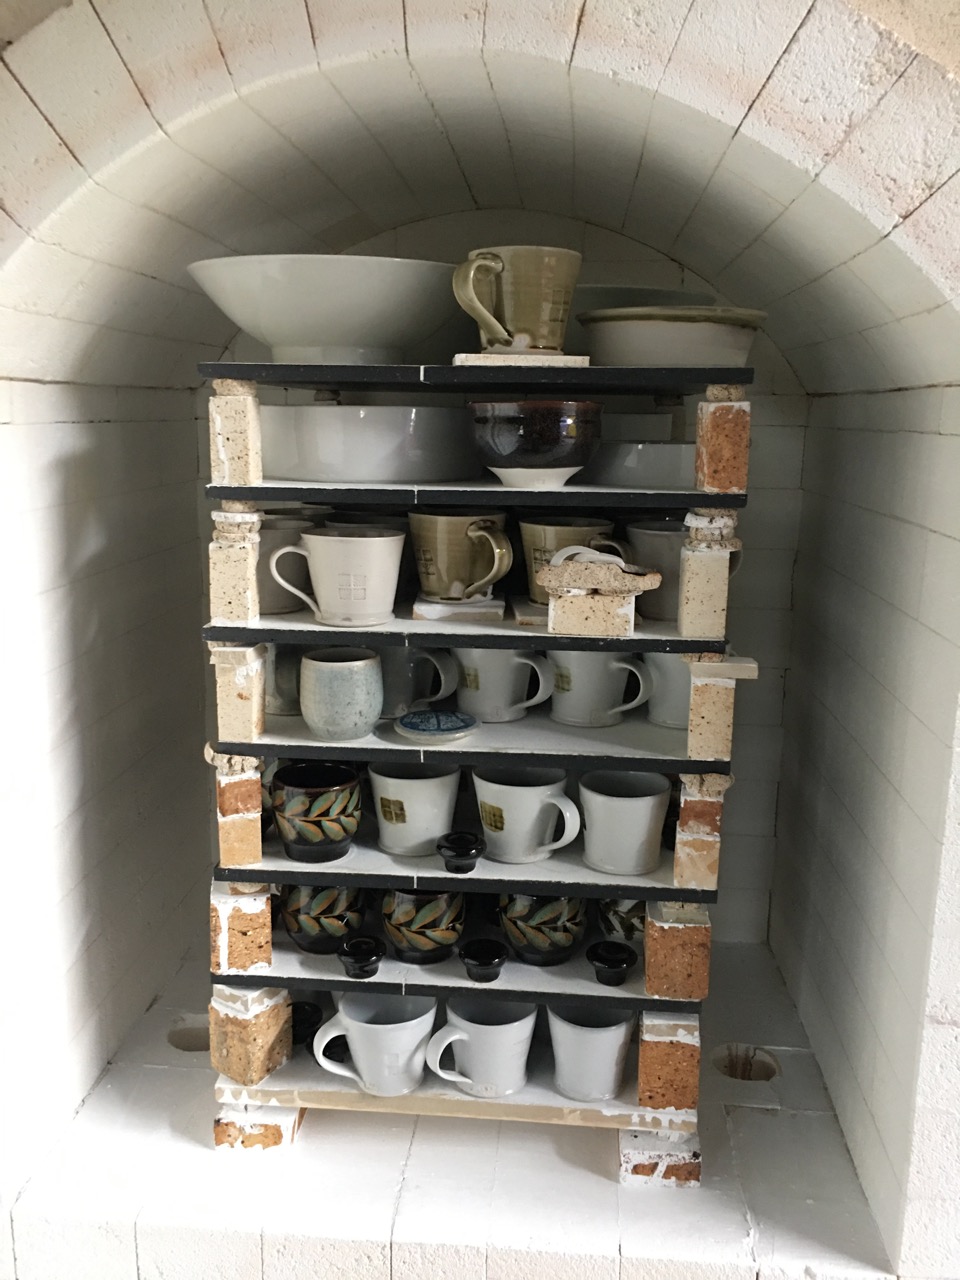
We are doing the last few firings now and spending a bit of time fettling and polishing all the glazed pots. This last week I have been cleaning and grinding the pots form my last Wood kiln firing. From now on it will be too hot, dry and therefore dangerous to fire the wood fired kiln until next autumn. All of our firings from now on will only be in the electric kiln fired using our 100% self generated solar energy, mostly from our PV panels but with a little bit of back up from our lithium batteries. In this way we can fire on a combination of todays sunshine and some of yesterdays stored sunshine as well.
When the battery is full and we are not firing the kilns. I charge up the electric cars. No point in selling it to the grid for next to nothing if I can use it in some way myself. Once both the cars are charged, I charge up the ride on mower and the power tools etc.
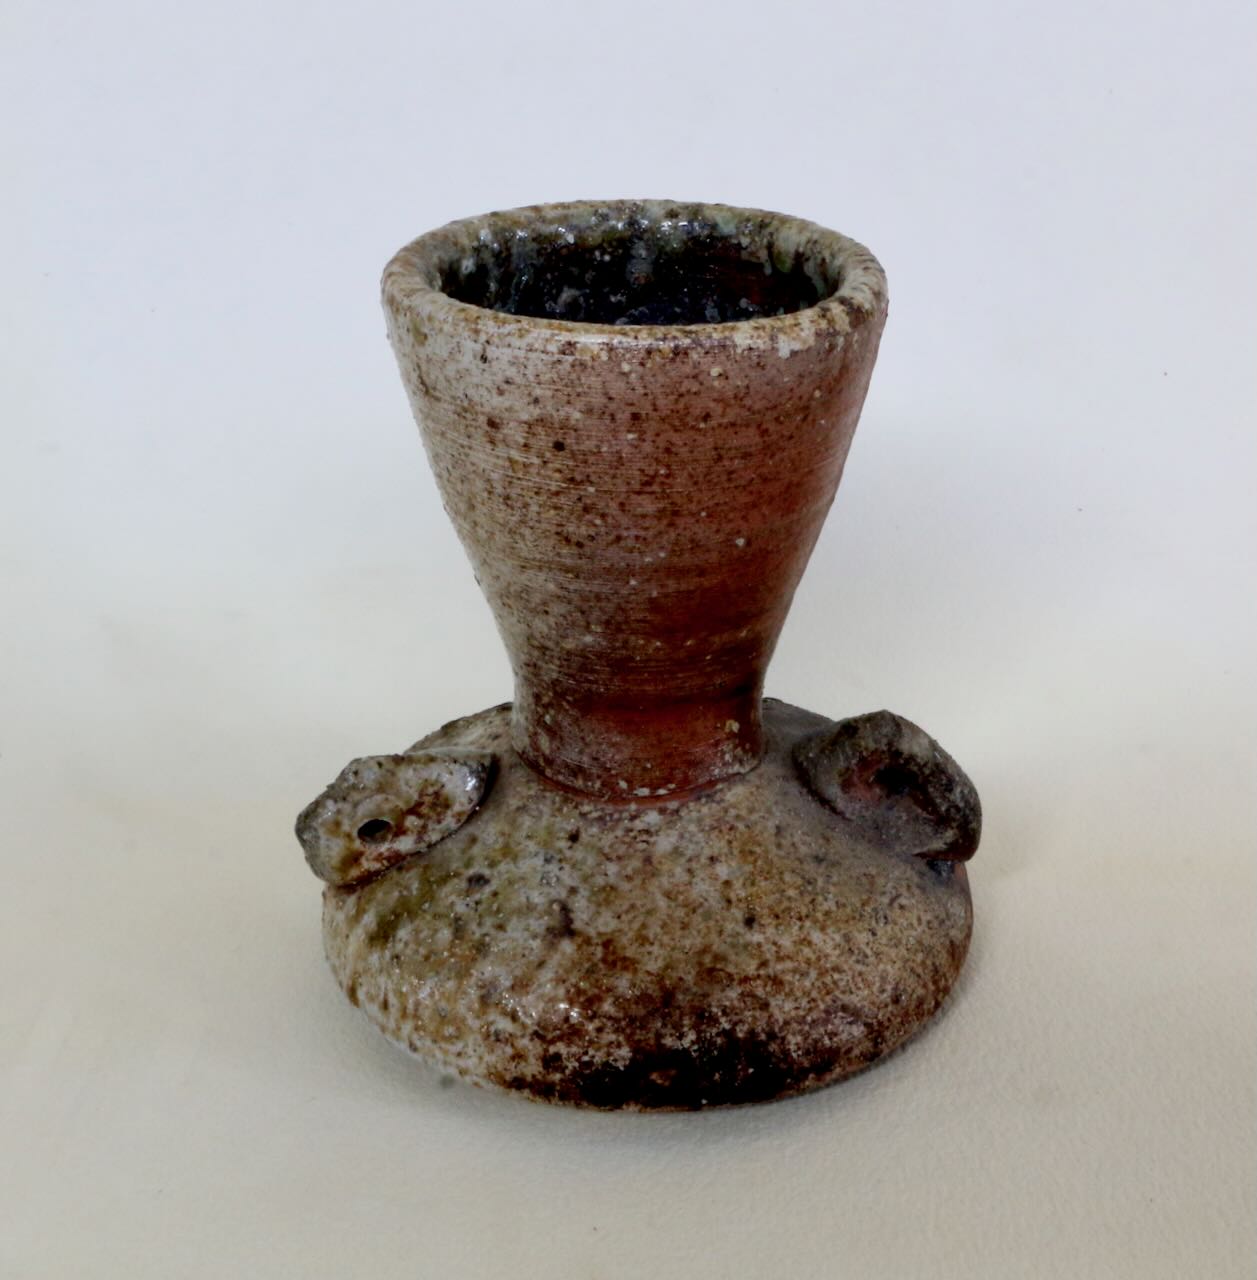
This week I have been doing a bit of ‘kintsugi’ repair on a few wood fired pots that got a little damage in the kiln, a couple of them ‘kissed’ in the firing. One was knocked over by a stray log during stoking, and another got so much wood ash deposit on the fire face that it ran down and stuck it to its wadding. All the usual little mishaps that befall pots in the ‘Zone of Death’. That part of the setting at the very front of the wood fired kiln chamber where the most beautiful pots are created, but are also most vulnerable to damage. I am capable of make some very spectacular shards!

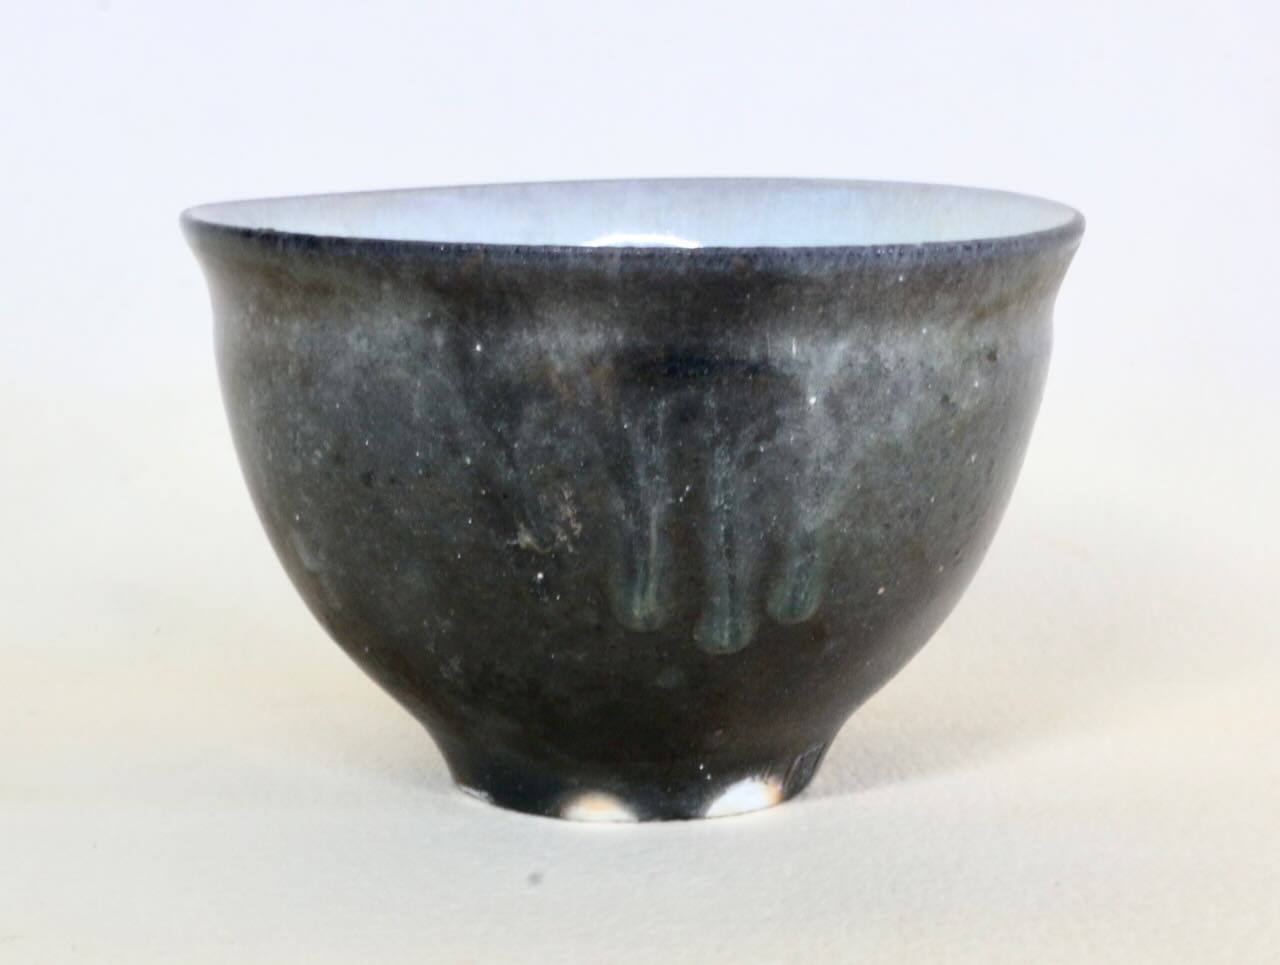
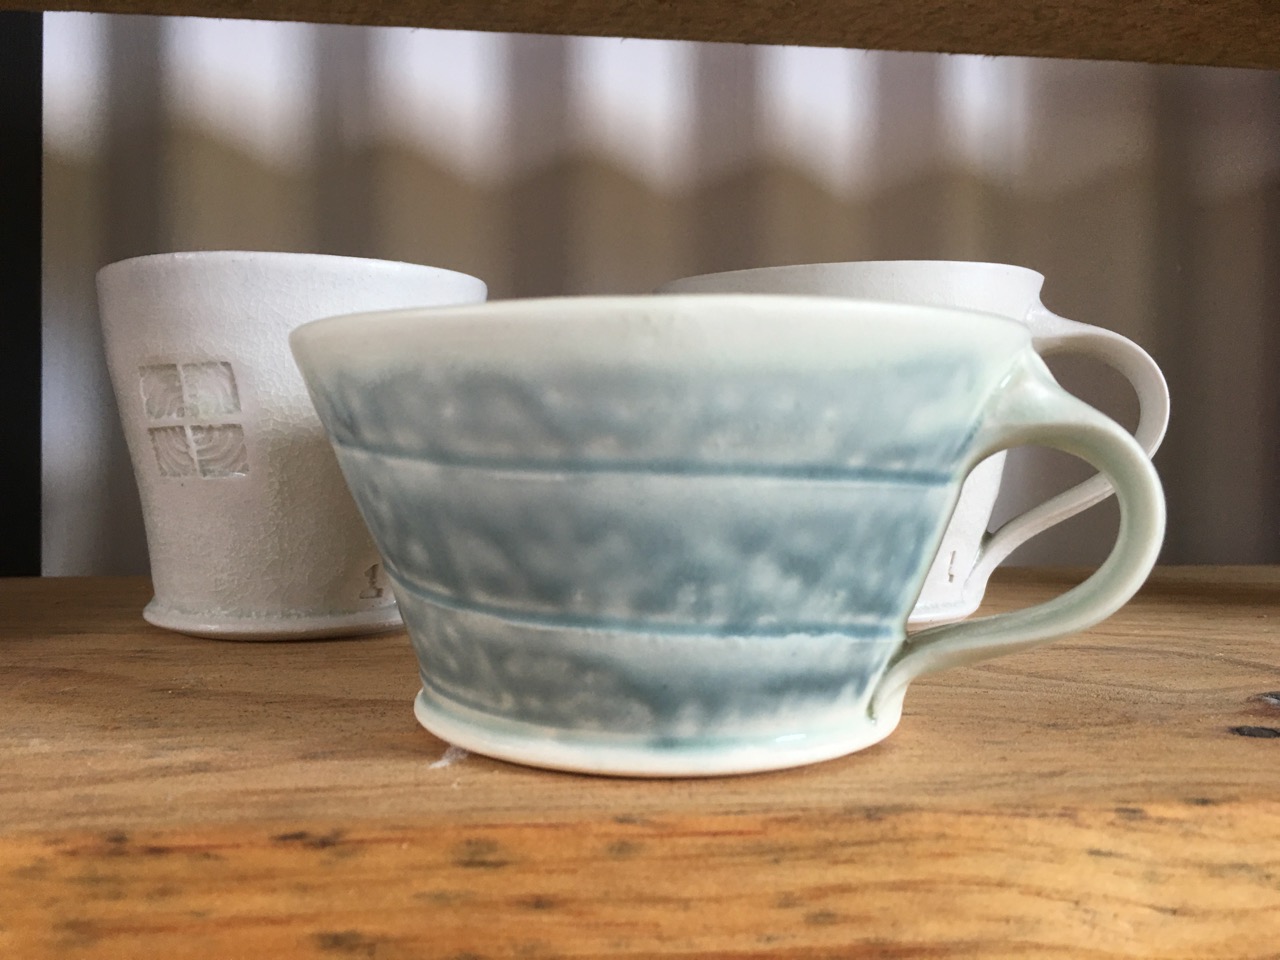
I love it when the translucent white porcelain gets so heavily reduced that it turns black with carbon inclusion. This contrasts so well with the delicate pale, but intense blue of the limpid blue celadon. Alas, fine thin porcelain doesn’t enjoy the intense conditions in the front of the kiln and often dunts (cracks). I’m most happy when I can get a good piece out of the firing whole and in good condition. However, such pots are rare.
In the piece above. It looks as if you can see my finger prints where I have dipped a glaze, but in fact, these white marks are the fine white porcelain body showing through where the little balls of wadding were placed around the foot to keep it up off the kiln shelf during firing. The naturally deposit ash glaze on the front of the pot had started run, but luckily, it hasn’t glued the bowl to the shelf. Really good porcelain pots are a rarity from this part of the kiln.
‘Kintsugi’ gold leaf repair is a way of restoring a beautiful, but slightly damaged pot back to full radiance. I think that if a good pot is damaged in the fire that made it so lovely in the first instance, then it’s worth giving it a bit of love and TLC to make it even more beautiful. I lavish a lot of effort, skill and time into retrieving them from the scrap bench and repairing these sensitive and beautiful items, bringing them back to life. Some times gluing a broken or chipped piece back together, and at other times actually rebuilding a bit of the surface that is missing. In this way I bring them back to life and give them an honourable new existence. They are even more precious then, than they were if they had come from the kiln undamaged. I am recognising their potential beauty and honouring it. In this slow, patient application of time and effort they become more special to me.
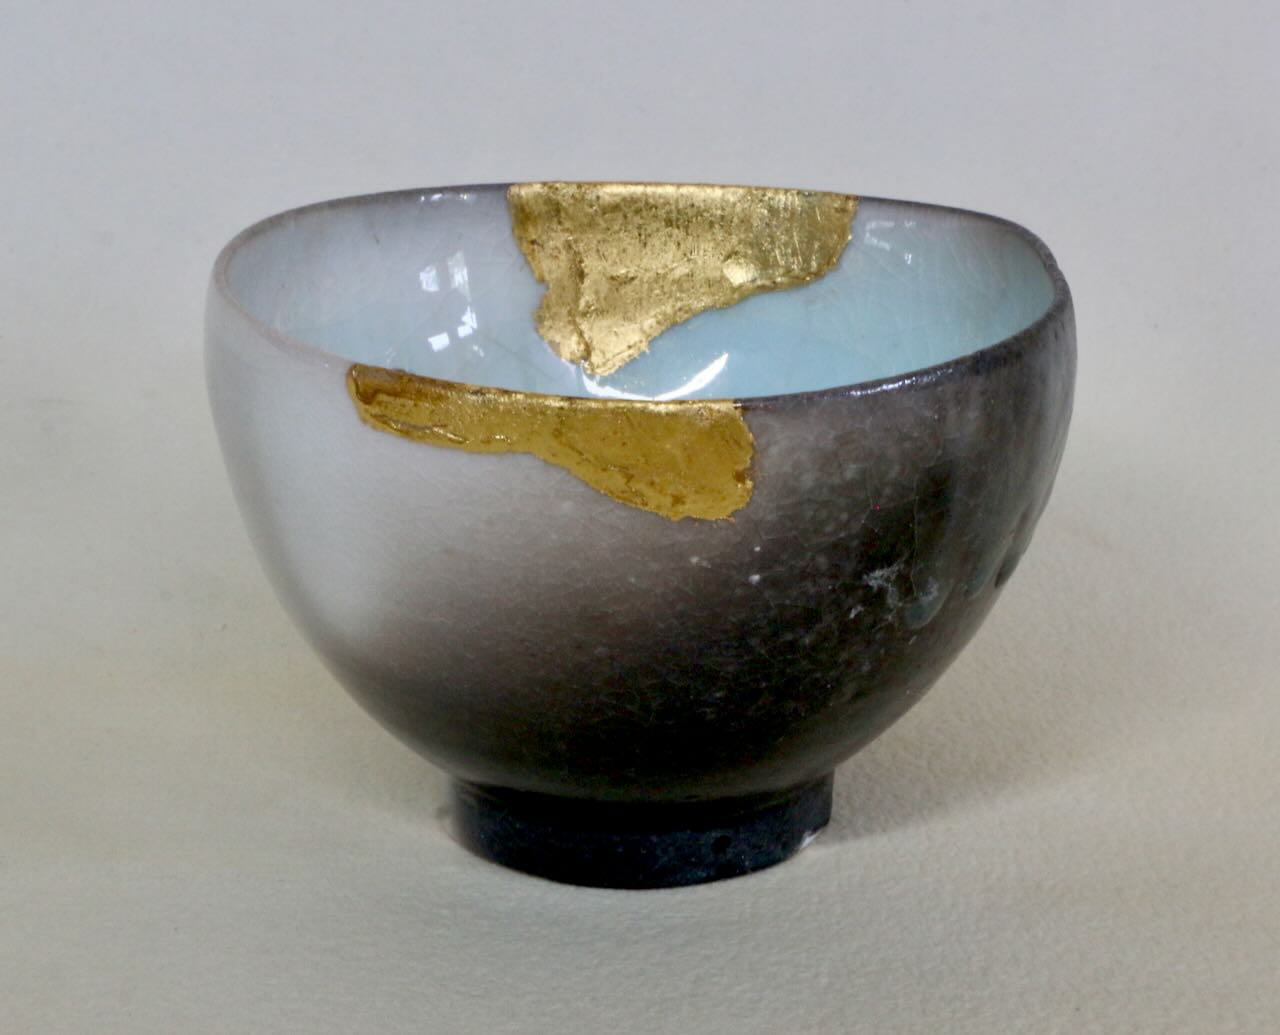
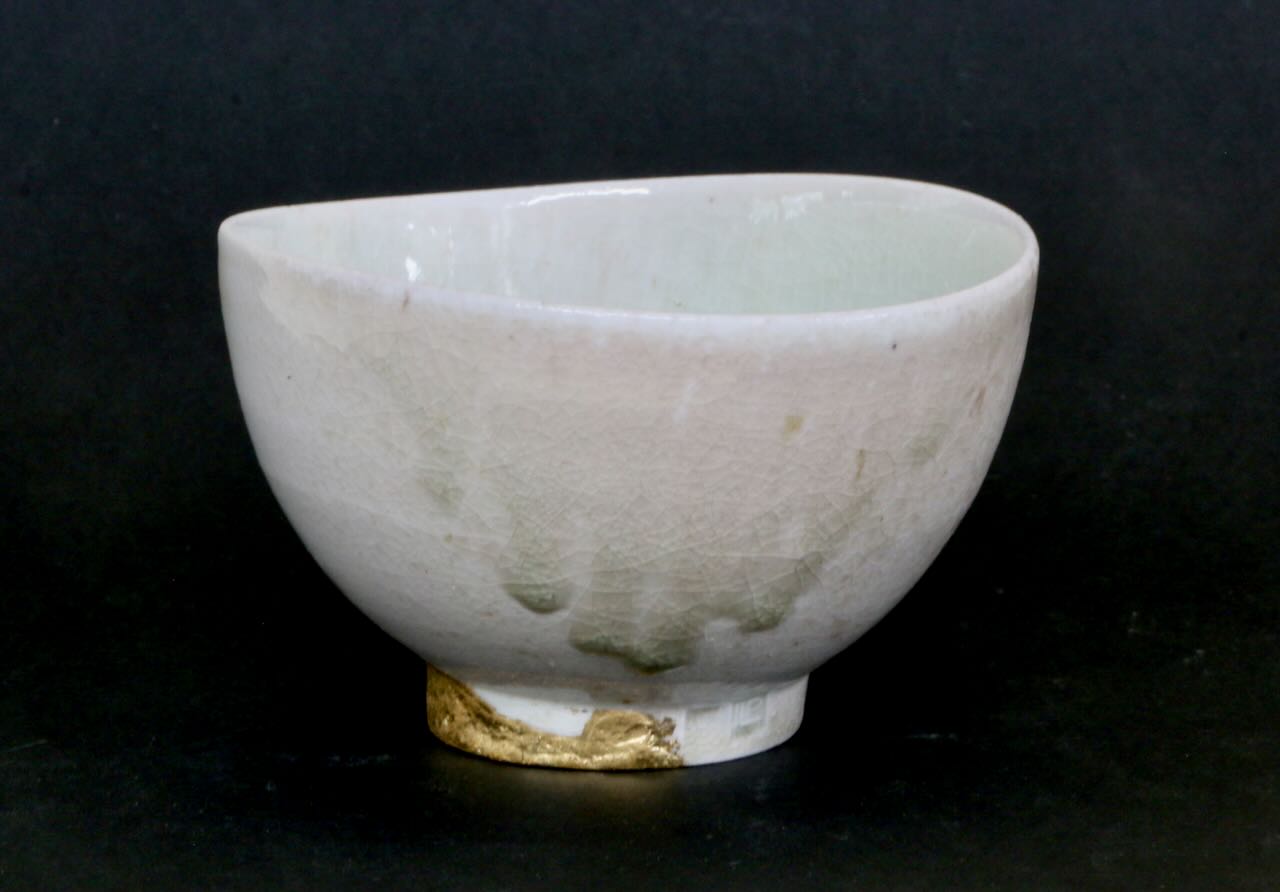
These porcelain bowls are absolutely white, but one of them have such a high degree of carbon fused into their surface during the reduction cycle, that it appears to be black. But when you look inside the bowl, it is glazed with a delicate blue celadon. I love this dramatic contrast of black and pale blue! The white bowl above has so much ash glaze built up on the fire face of the bowl that the ash began to run down and glue the bowl to the kiln shelf, running down over the wadding and making a fluid pool of ash glaze on the shelf. Tragically, I broke part of the foot off trying to extricate it from the glassy mess. I built up the missing part of the foot, back to its original form with the kintsugi technique and finishing it with 24 karat gold. All three of these bowls above, are very translucent.
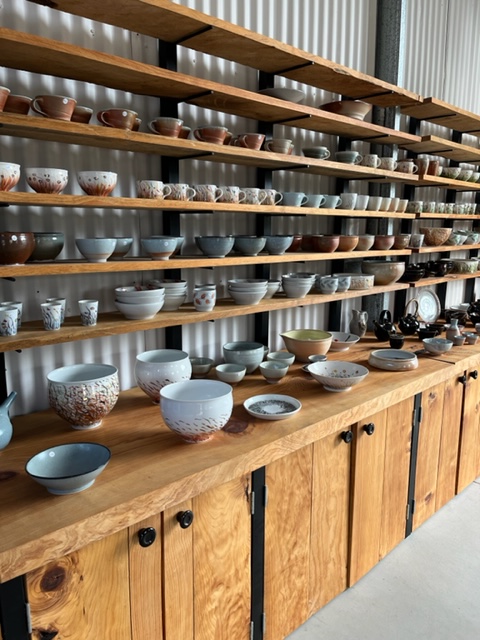
Besides the translucent, white porcelain which I have reduced to matt black with carbon inclusion. (my way of permanently removing carbon from the atmosphere. Permanent carbon sequestration!) Besides these delicate porcelain bowls, I have also been firing some more robust stoneware bodies that I have made. These bodies have a much better survival rate in the ‘Zone of Death’, but still get the occasional chips or ‘kiss’ marking that need some delicate attention.


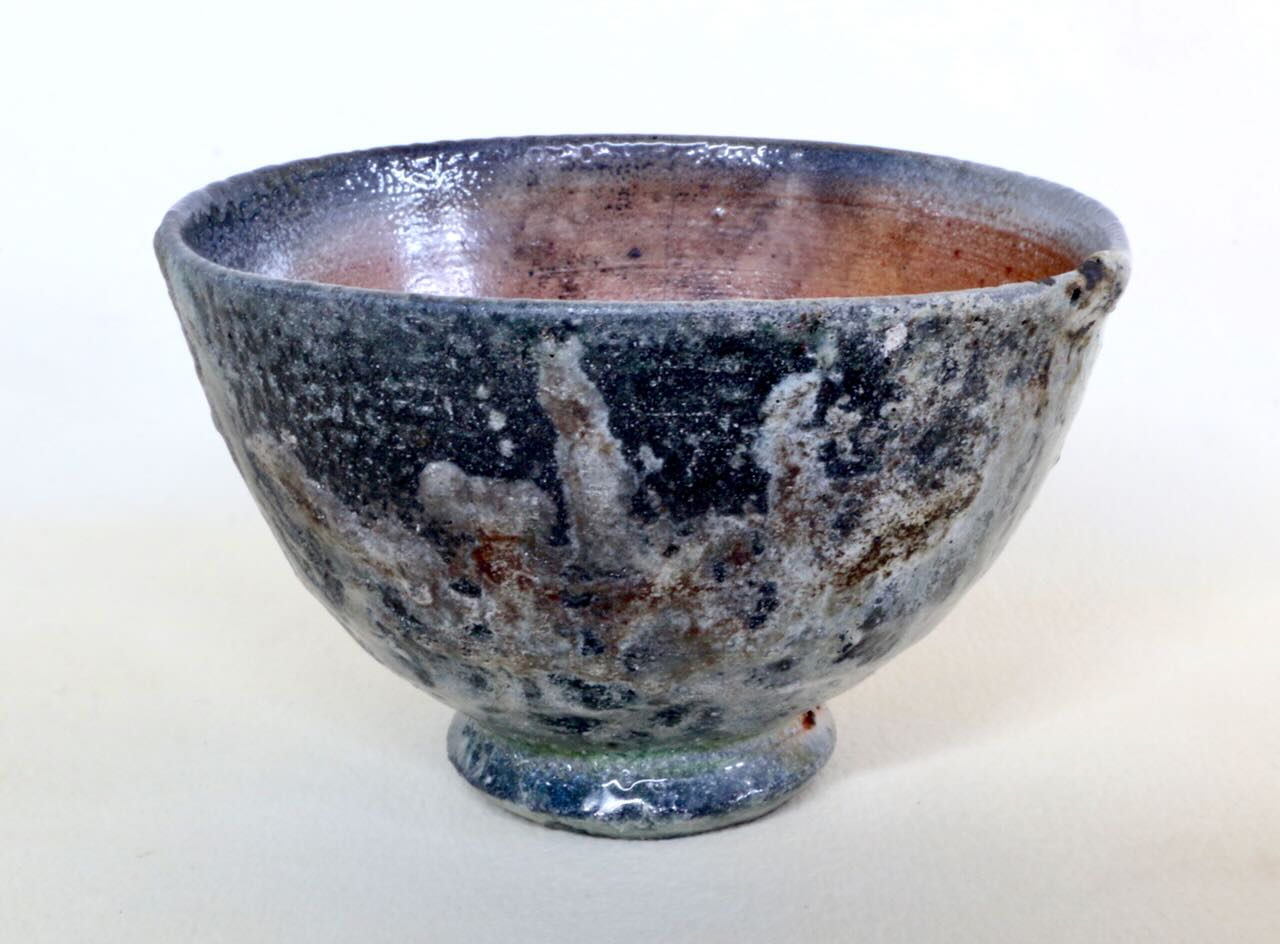

Each of these ‘rougher’ pieces has their own particular charm and character. I like them all equally.
I hope to see you at some time over the first two weekends in November. You can check them out for yourself.


You must be logged in to post a comment.