
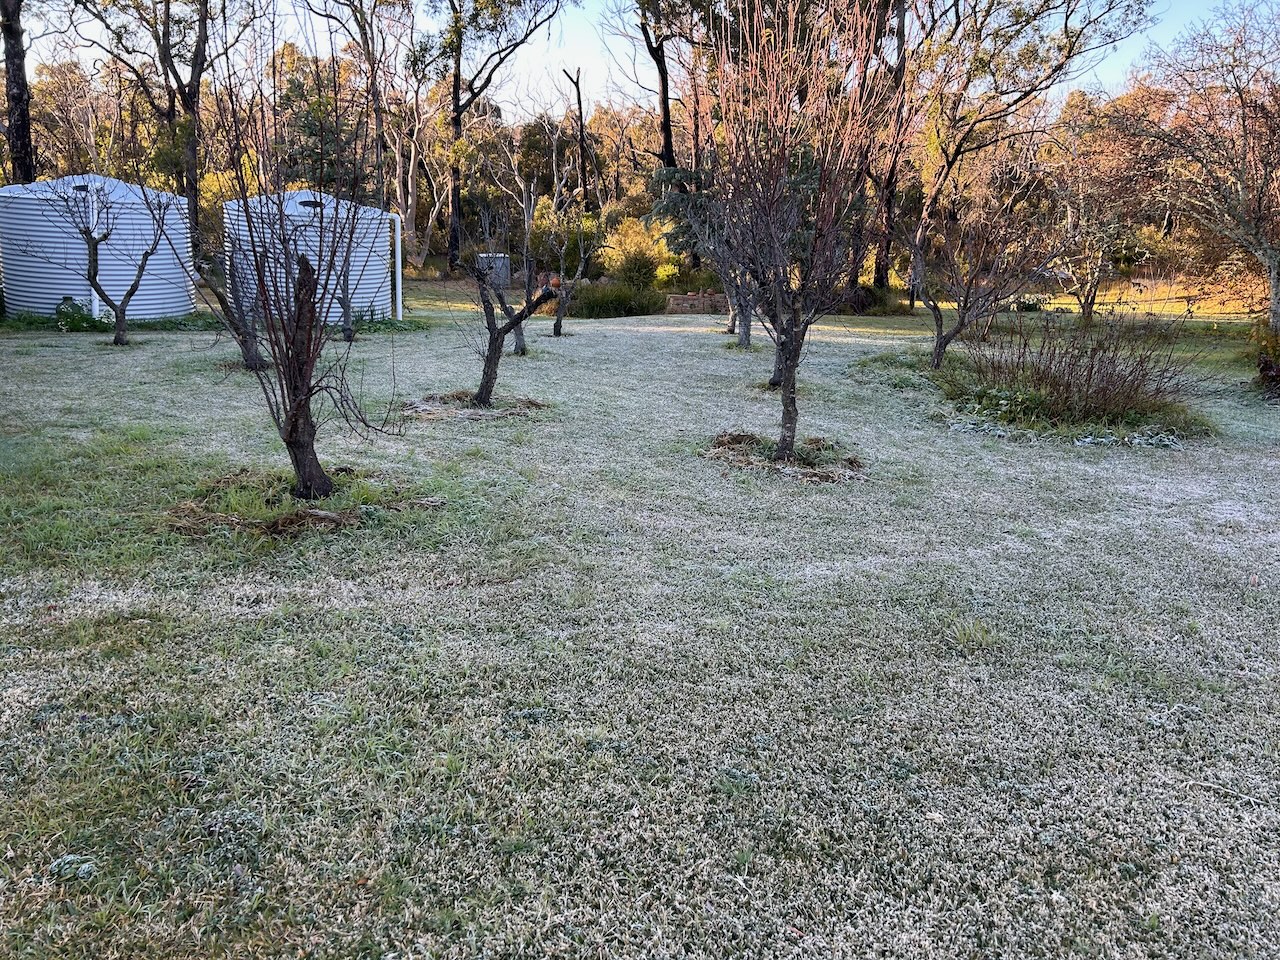
July means that it’s time to get to work in the orchards. There is pruning to do. I usually wait until most of the trees loose their leaves before pruning as a rule, but with such a range of trees in this family orchard of mixed fruits, there are some that have lost their leaves a month ago and others that are still in leaf.
In a perfect world, I’d treat each tree as an individual and consider its best needs, one by one.
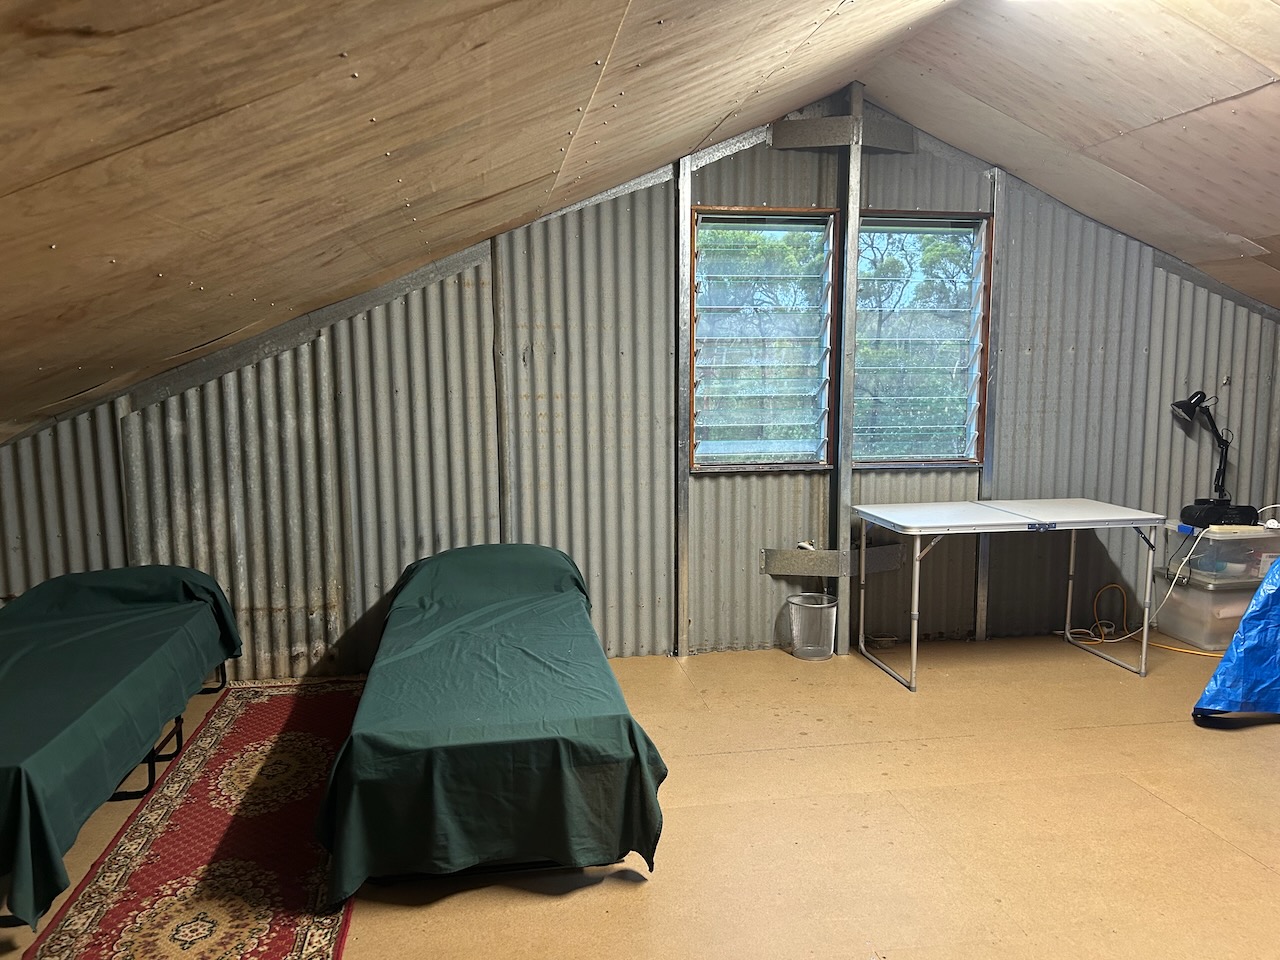
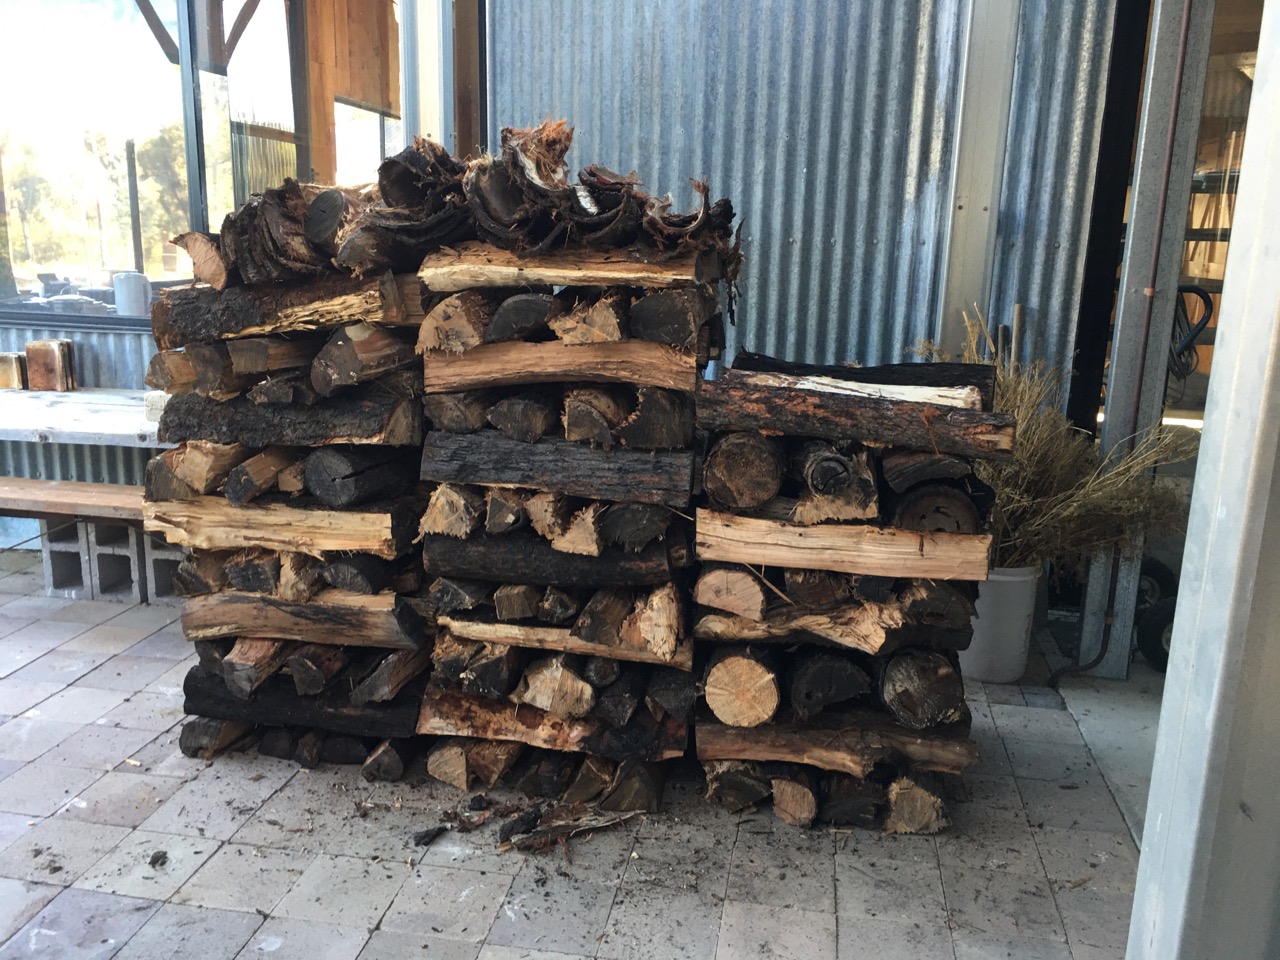
But this is reality, and I have a lot to do everyday through the seasons. Winter is also wood kiln firing season. I want to fire my wood kiln at least once each month to get through all the pots that I’ve been making since my return from the work that I did in Korea. So the orchard pruning/spraying/fertilising is all compressed into one day, as needs must. I have my friend Andy coming tomorrow to help me do some of the last outstanding jobs to finish off the pottery shed. It needs flashing installed over the windows. Something the shed builders didn’t bother to do. Slack arses! So I’m finally getting around to it 5 years later.
I choose a day at the beginning of July and get stuck in to the orchard jobs. Every tree gets pruned for shape and strength, removing any dead wood, crossed branches and water-shoots, I also open up the centre to let light and air in and allow good ventilation. I prune to an outward pointing bud, and hope for the best. I’m not so interested in maximising the crop of fruit. In fact we have more than enough fruit set each season, as we give a lot away.
Yesterday during pruning, I noticed that I was pruning off branches from an apple tree with full vigorous growth of leaves still on, and then followed by a peach that was so advanced in its dormancy, that it had bud swell. I really need to give the trees a good saturating spray with lime sulphur before bud burst to suppress mildew, fungus and leaf-curl on the various trees. Lime sulphur spray stinks of rotten egg gas smell, and is best kept off your skin and clothes, so I wear a face shield, hat, rain coat and gloves, just in case.
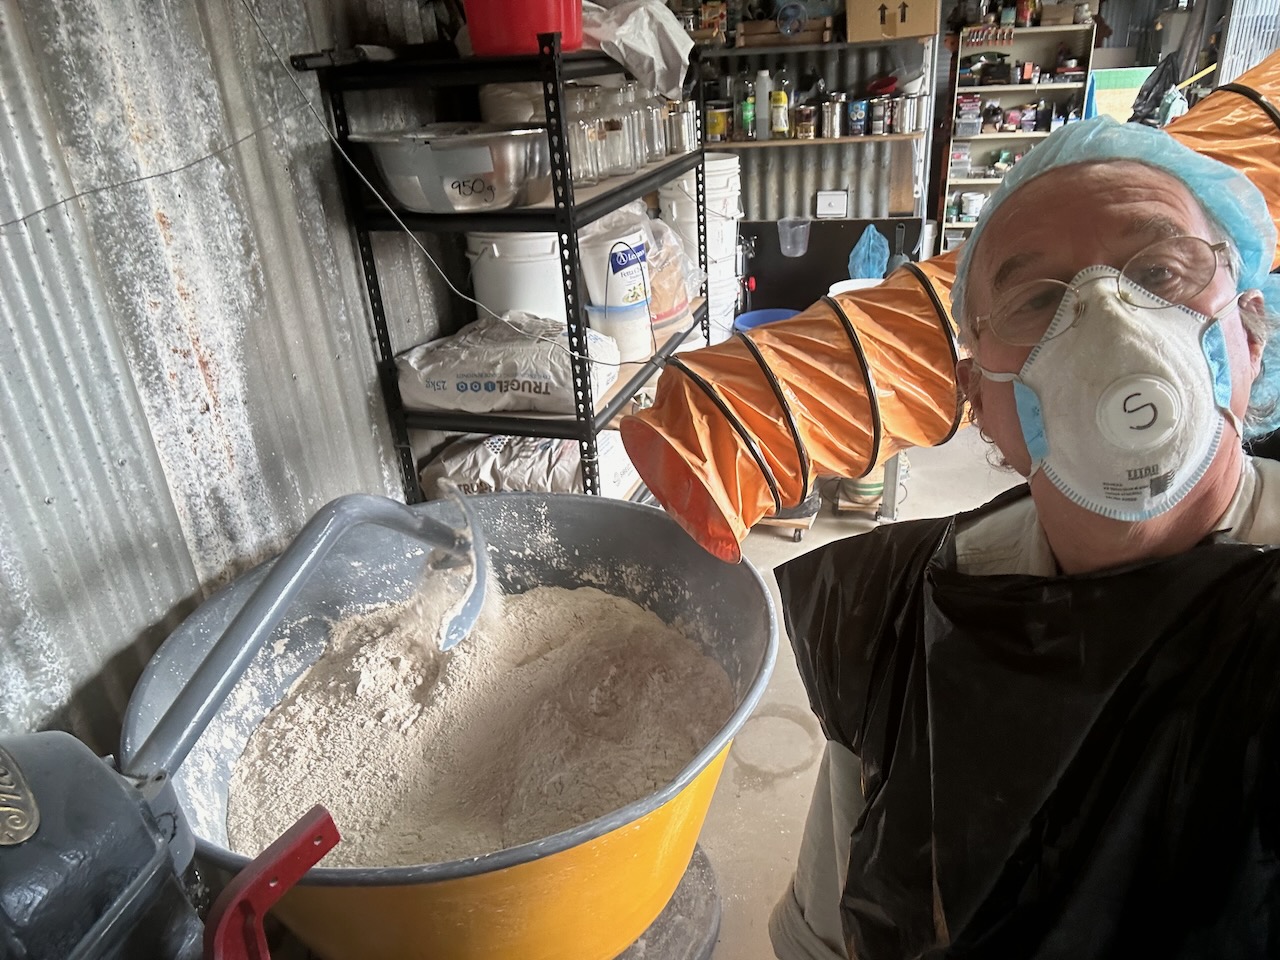
One of the apples gets white powdery mildew, a couple of the peaches get leaf curl. It’s a mixed bag. After lime sulphur spray, I go around and spread composted chicken manure for its nitrogen, dolomite powder for its mixed, subtle calcium/magnesium content, and some wood ashes for the potassium that encourages healthy fruiting.

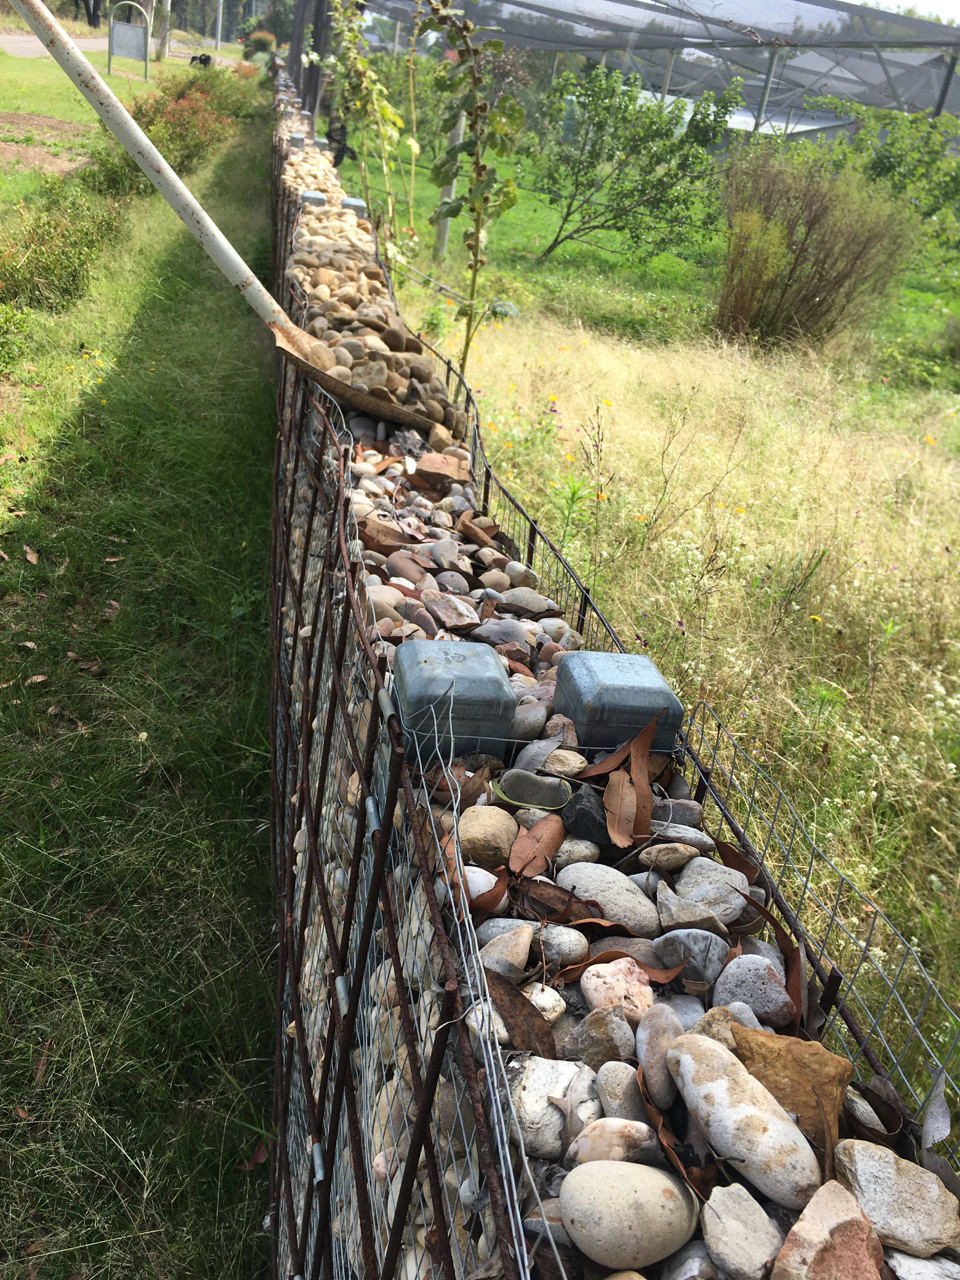
The chickens have the stone-fruit orchard all to them selves everyday to roam and scratch around in. Always finding something interesting to chase and squabble over. They are forever dropping their pooh and enriching the soil as they go about scratching, so a little extra lime every now and then to sweeten the soil is a good plan.
In a few weeks time, I’ll also start the first of the Bordeaux sprays, to suppress the leaf curl fungus, through into spring. Peaches and nectarines are particularly vulnerable to this fungus. Bordeaux spray (copper sulphate mixed with lime) helps to control this. Both Bordeaux and Lime sulphur are registered organic sprays.So I can feel safe using them on our food. However, I like to use the minimum amount, as copper can build up in the soil over time.
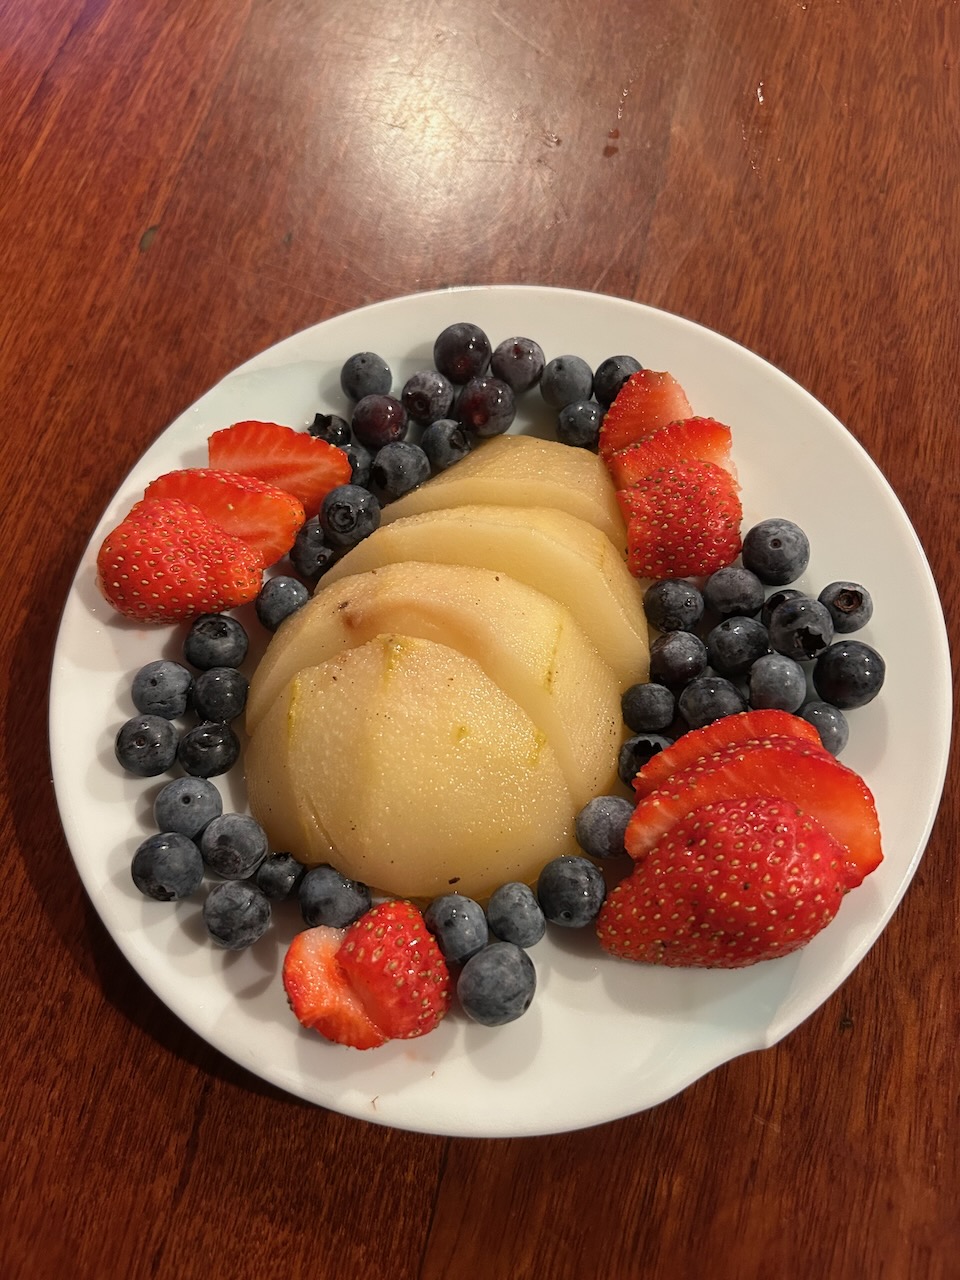
Out of the garden and into the kitchen. Winter is also peak season for citrus fruits. We have been making batches of marmalade since the season started back at the beginning of June. This week I have been trying out an old recipe that I got out of Mrs Beaton’s cook book. I have the paperback facsimile edition from the mid seventies. I was encouraged to try it out by my friend Bill who makes lovely marmalade. I occasionally post him a box of Seville oranges and he later returns a jar of his latest batch of marmalade. A good arrangement.

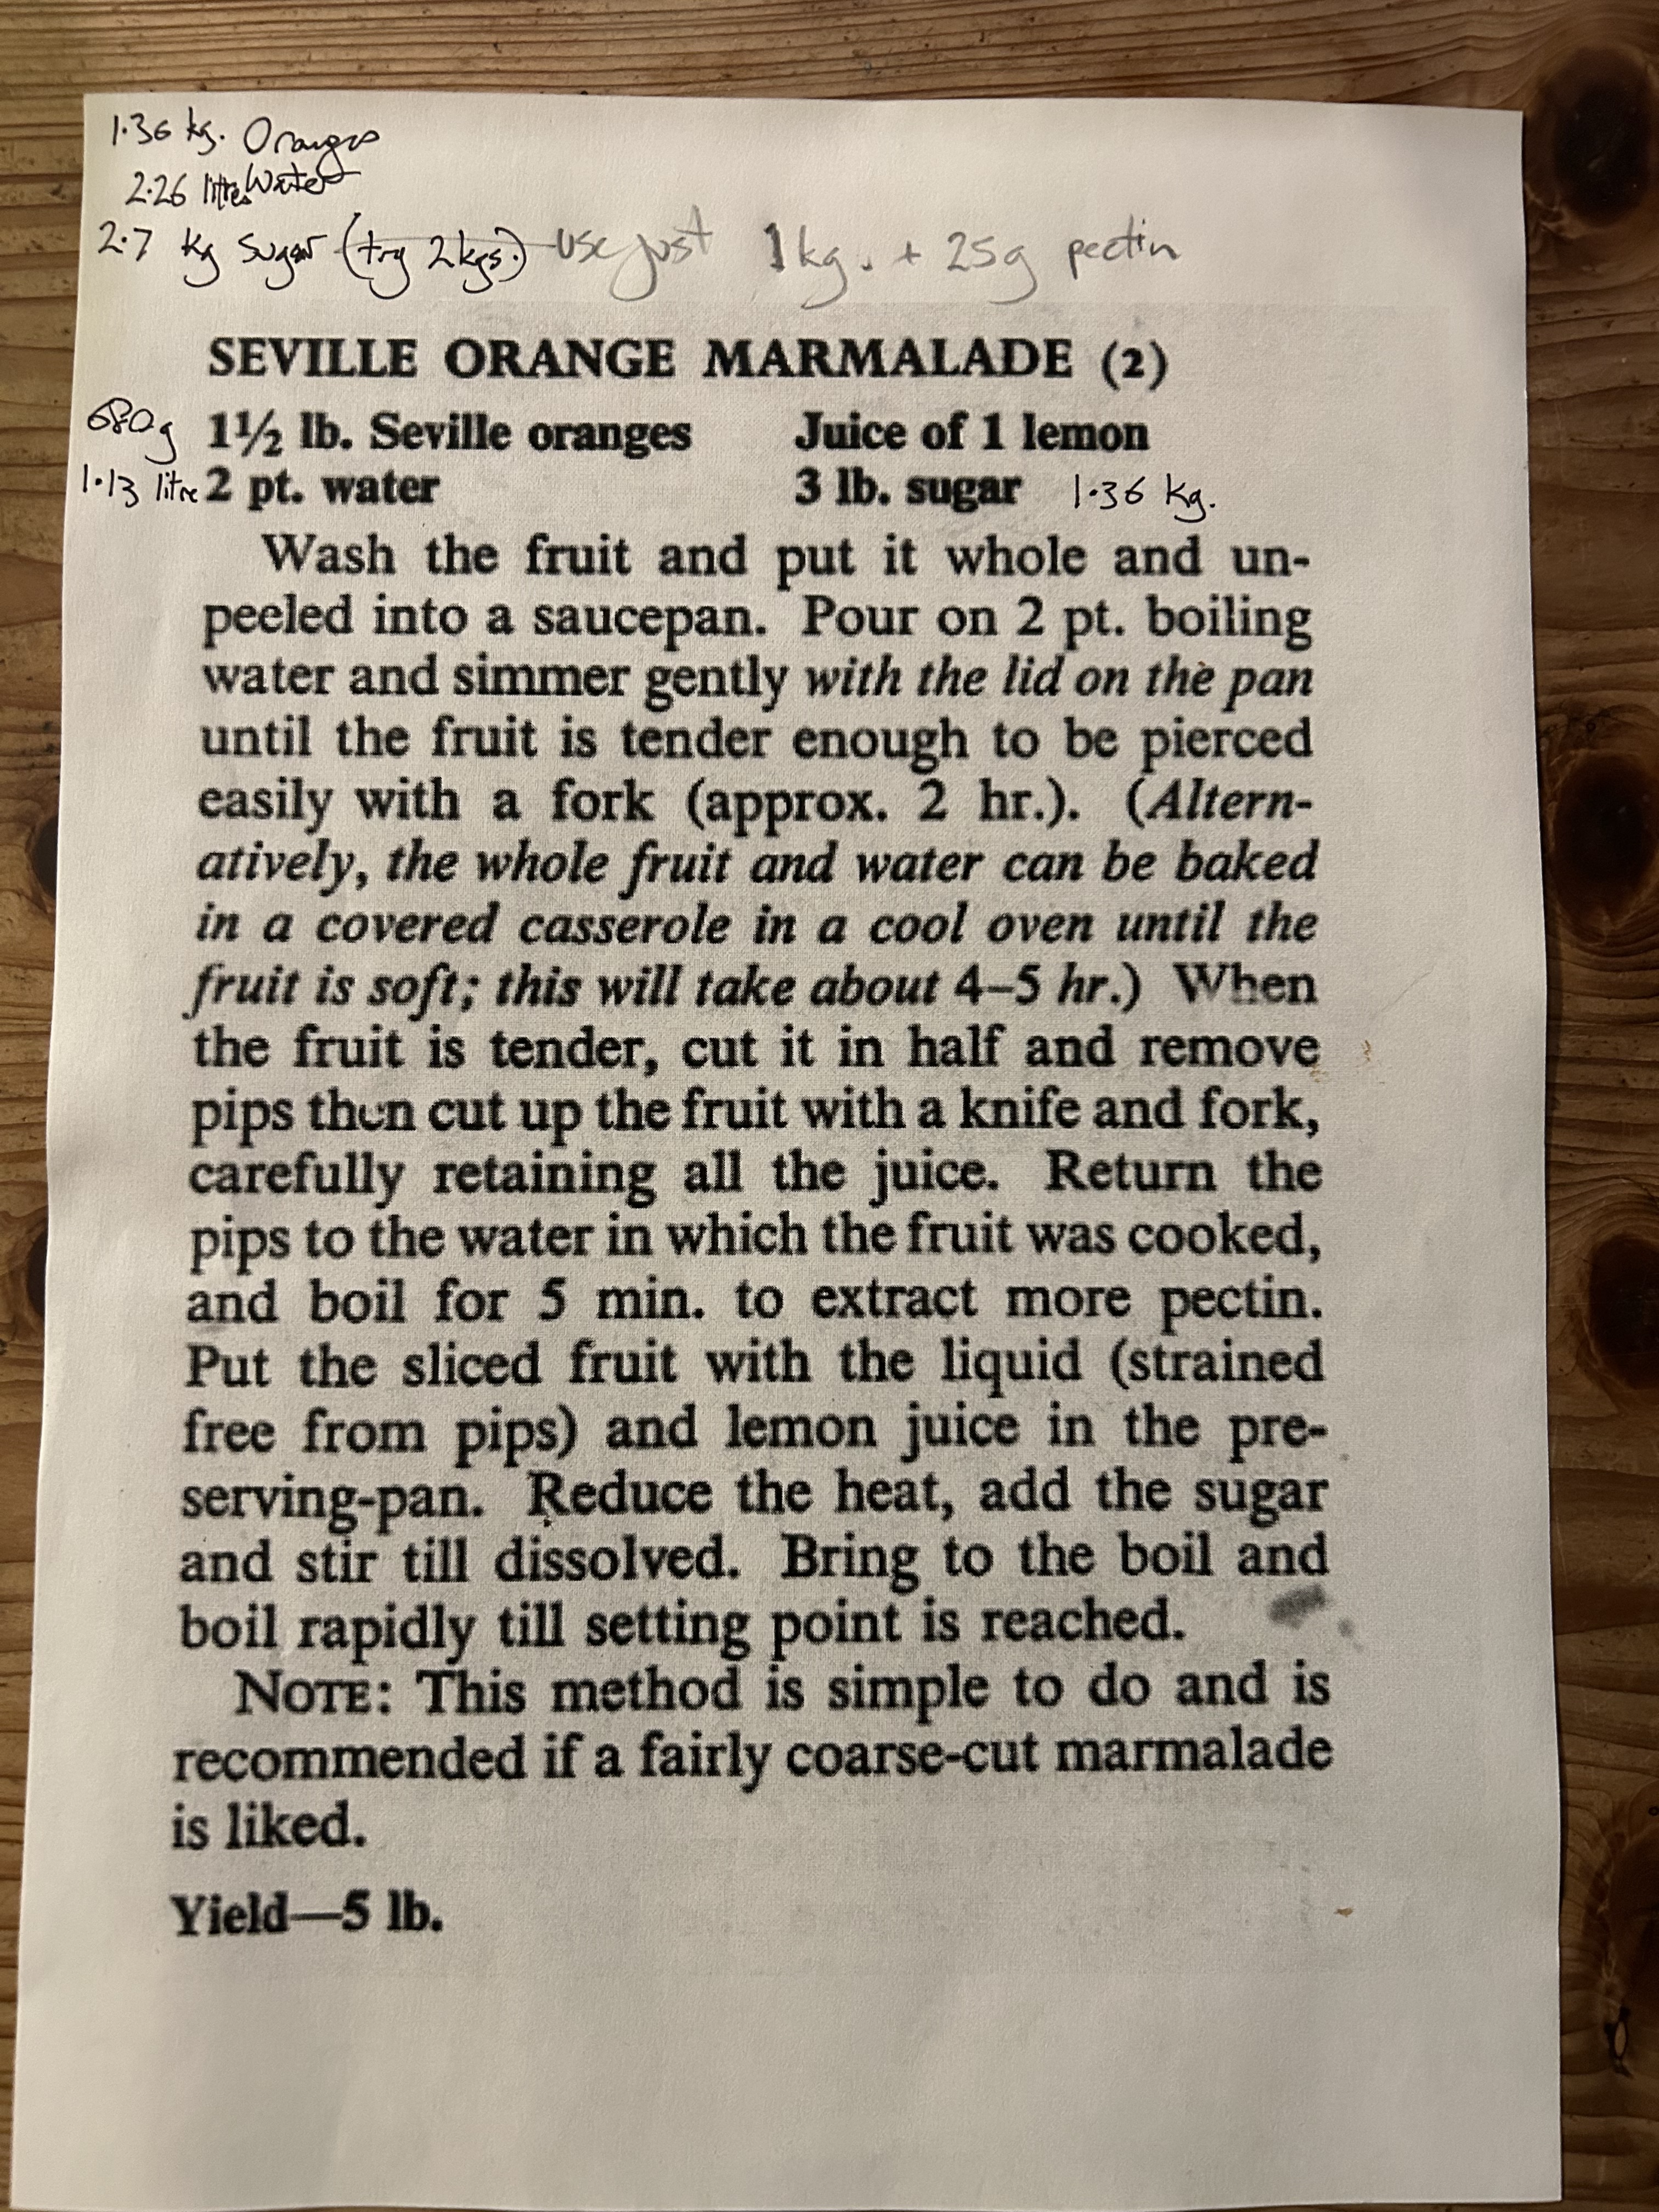
This year I’m giving one of Mrs Beaton’s recipes a try. There are a few in the book. This is No.2 as recommended by Bill. I doubled the quantities, to make it worthwhile spending the time on it. However. I couldn’t bring myself to use 3 lbs (2.7kgs) of sugar. So I reduced it to 1 kg and added 25 grams of pectin to make up for the reduced sugar. After converting it to metic and doubling all the quantities, it still tastes great!
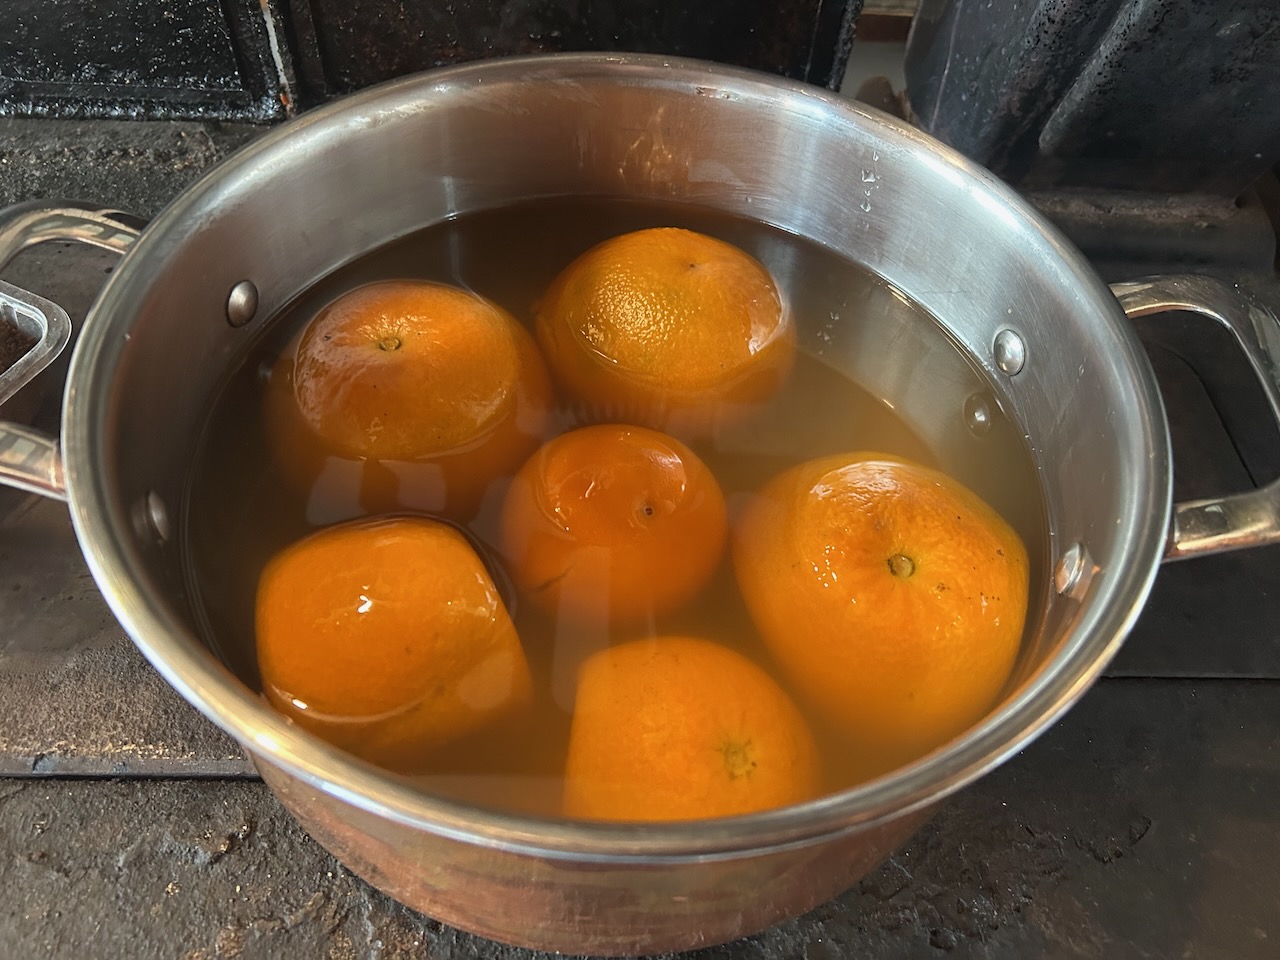
It’s a good recipe and in this slightly altered form, with much less sugar. I still find it very sweet. I’m glad that I didn’t bother trying it in the original. I wouldn’t have enjoyed eating it at all. Boiling the whole fruit for 2 hrs and letting it sit overnight to cool gives it a very old fashioned sour flavour from the peel that we don’t get by just boiling the peel and juice for a short time.
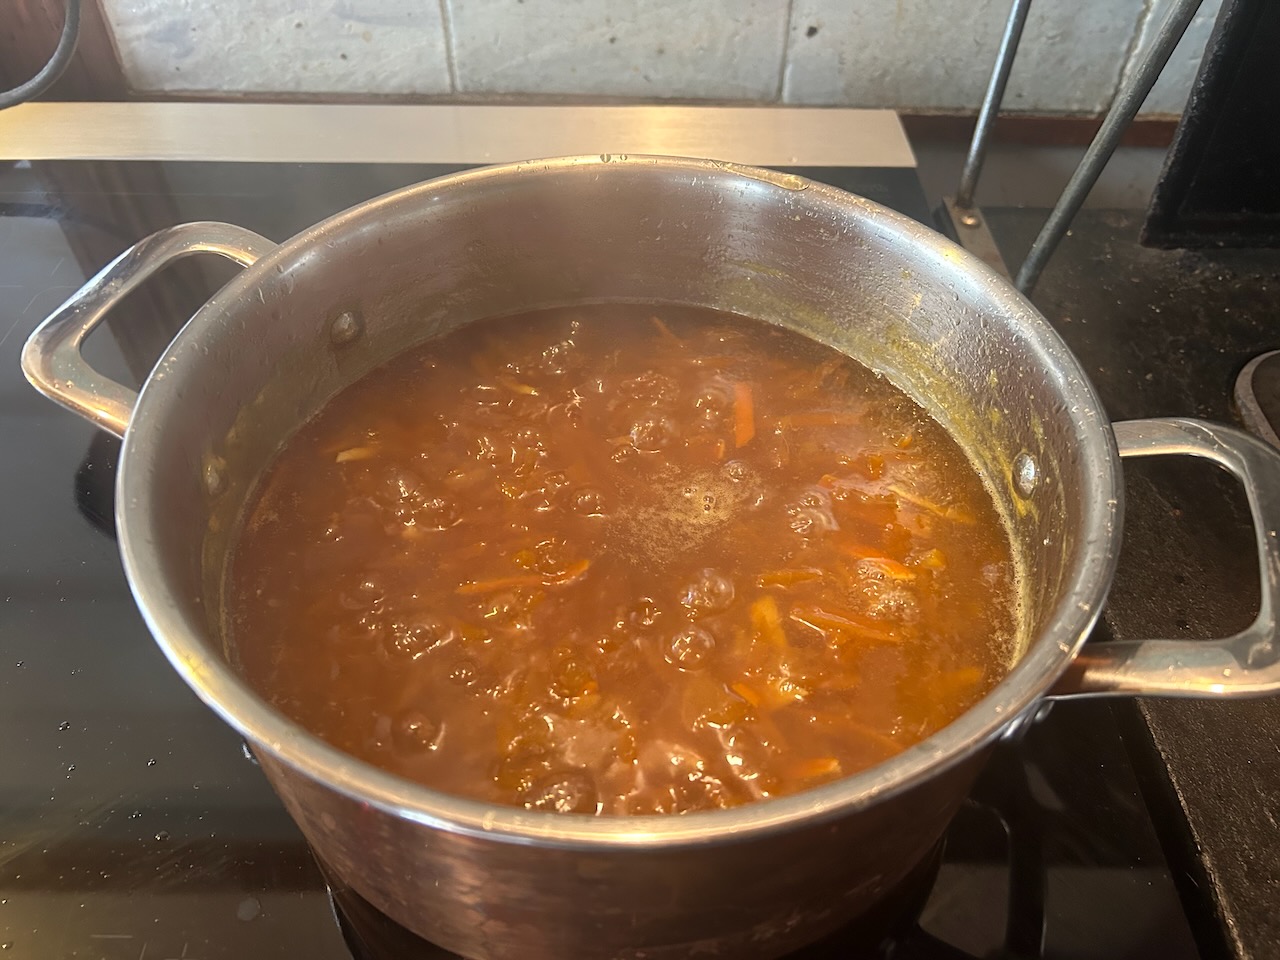

This recipe gave me 3.5 litres of marmalade = 6 medium sized jars. Worth the effort. We had visitors while I was cooking it up. They all walked into the kitchen and each remarked on how wonderful the smell was as they entered. We were able to give them a large box of mixed citrus to take with them.
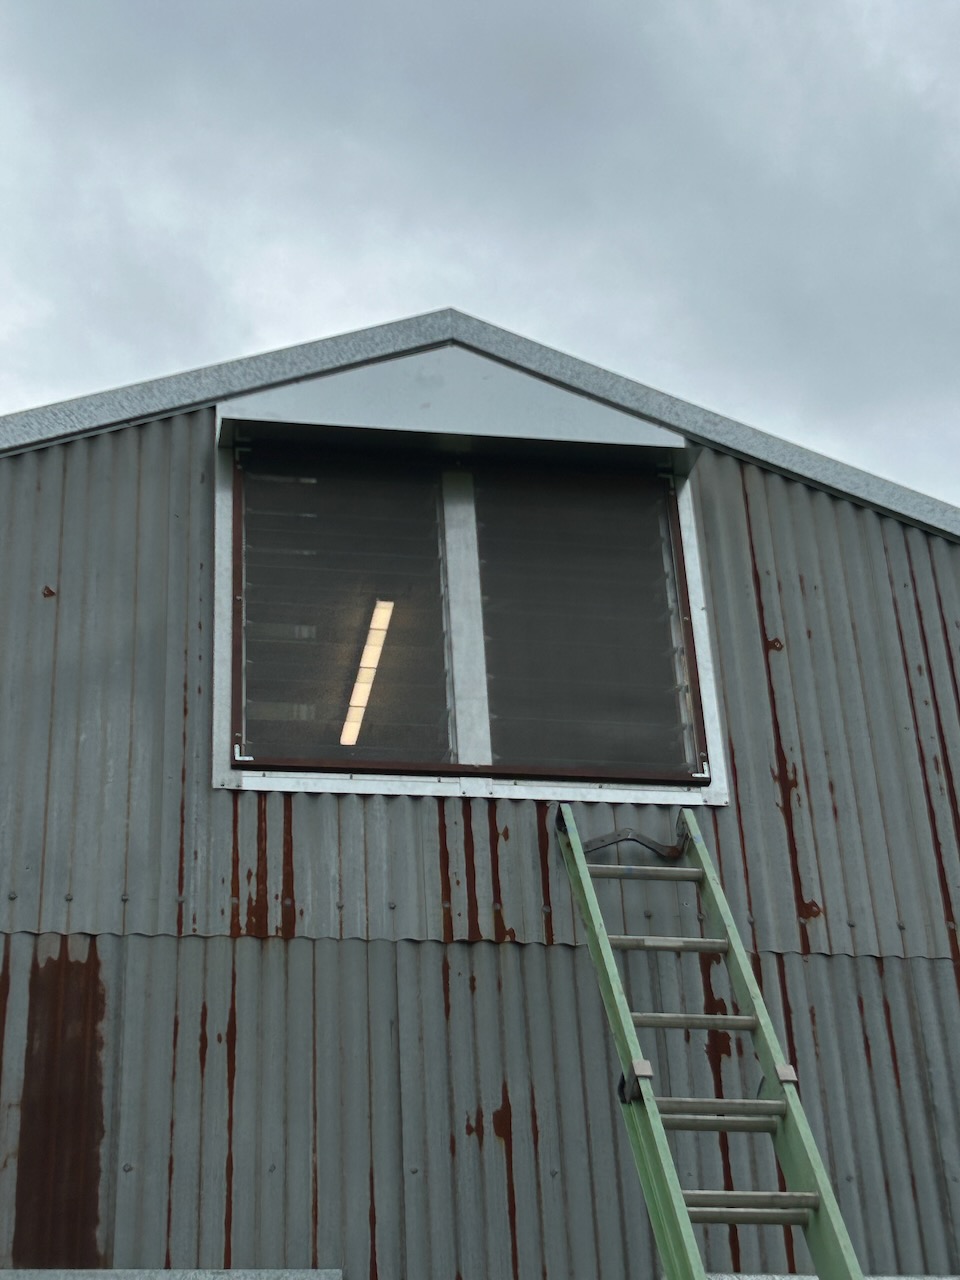
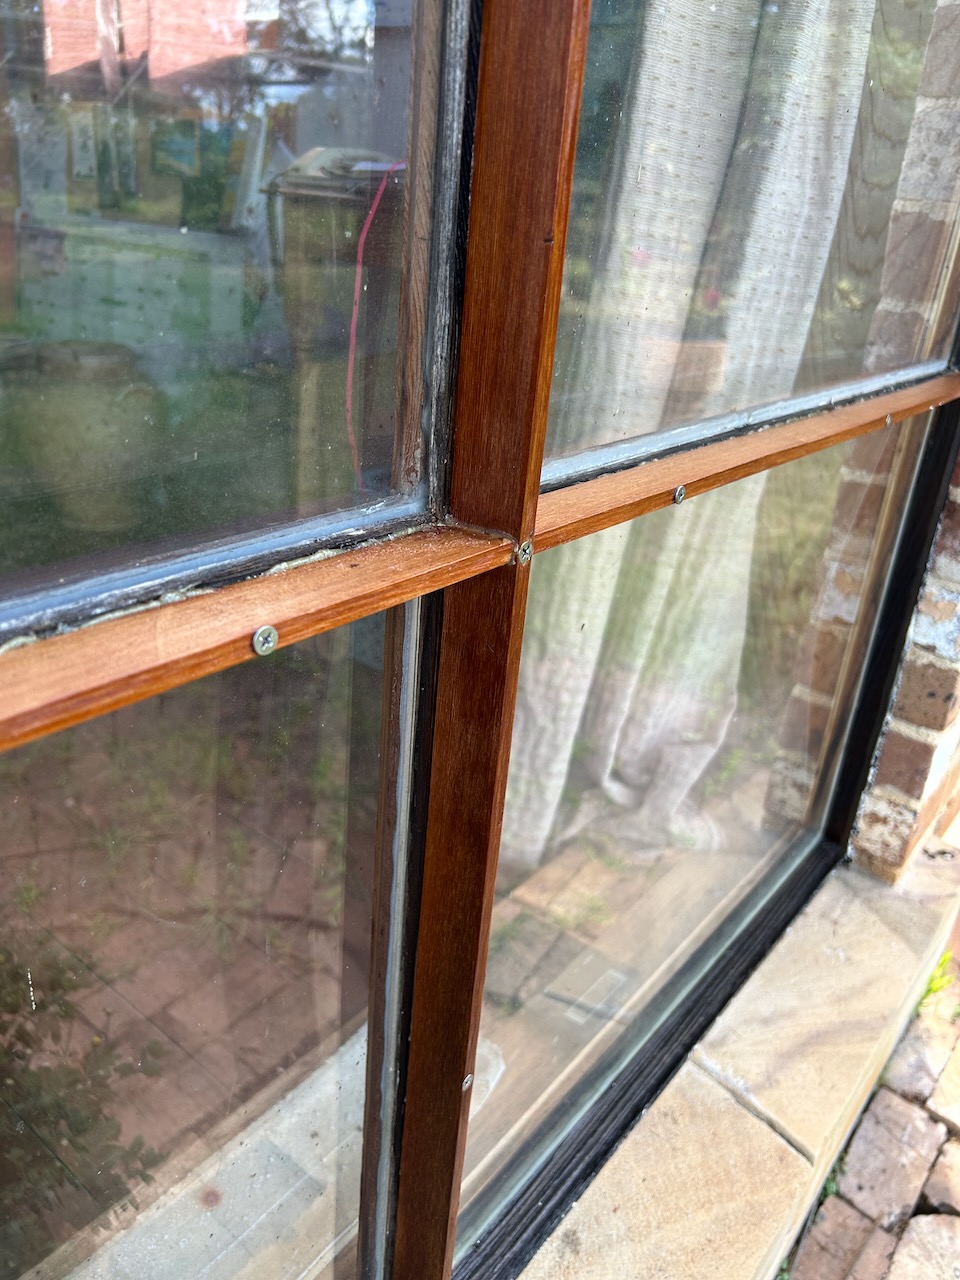
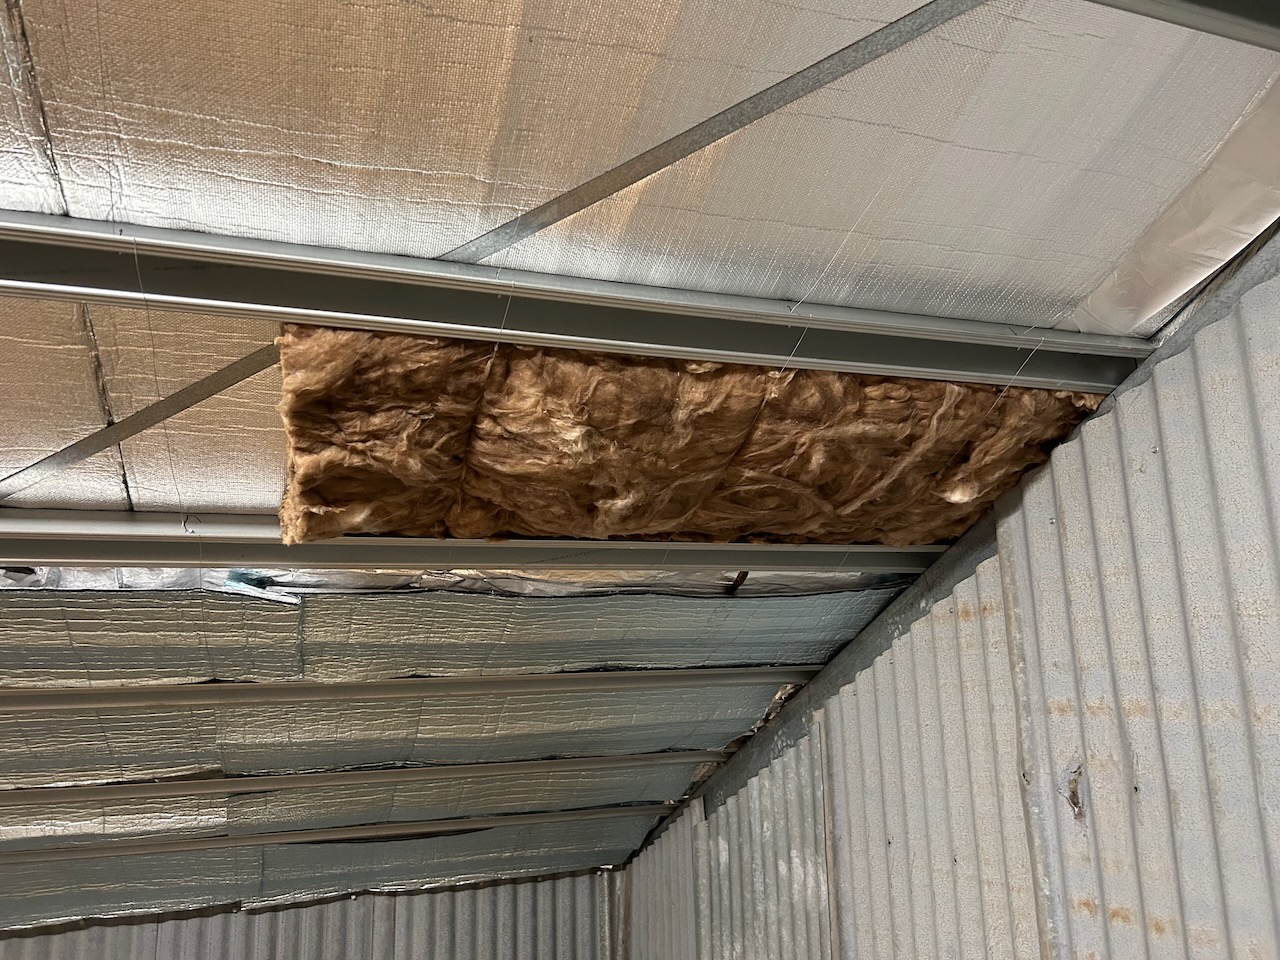
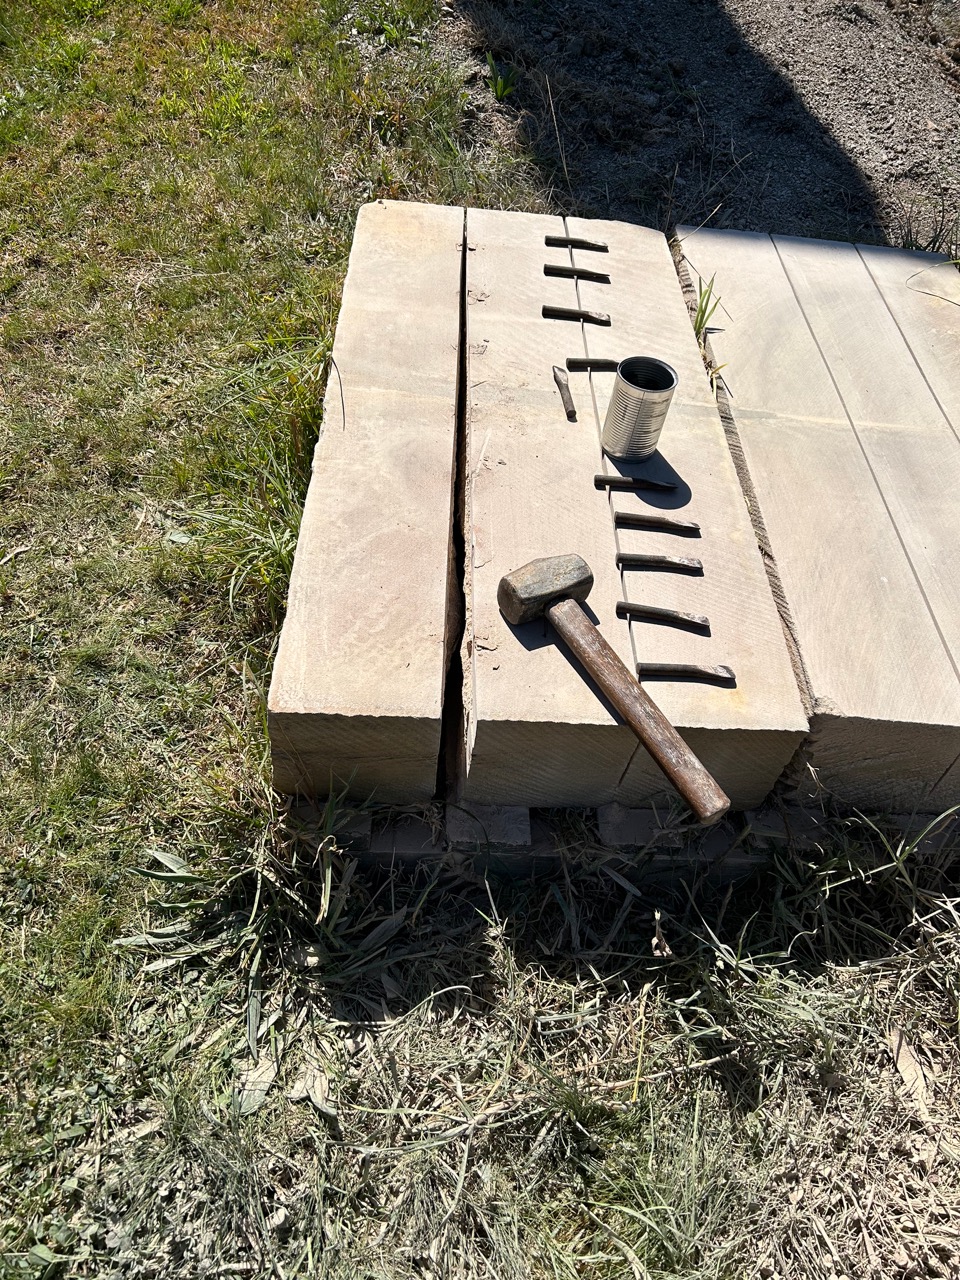
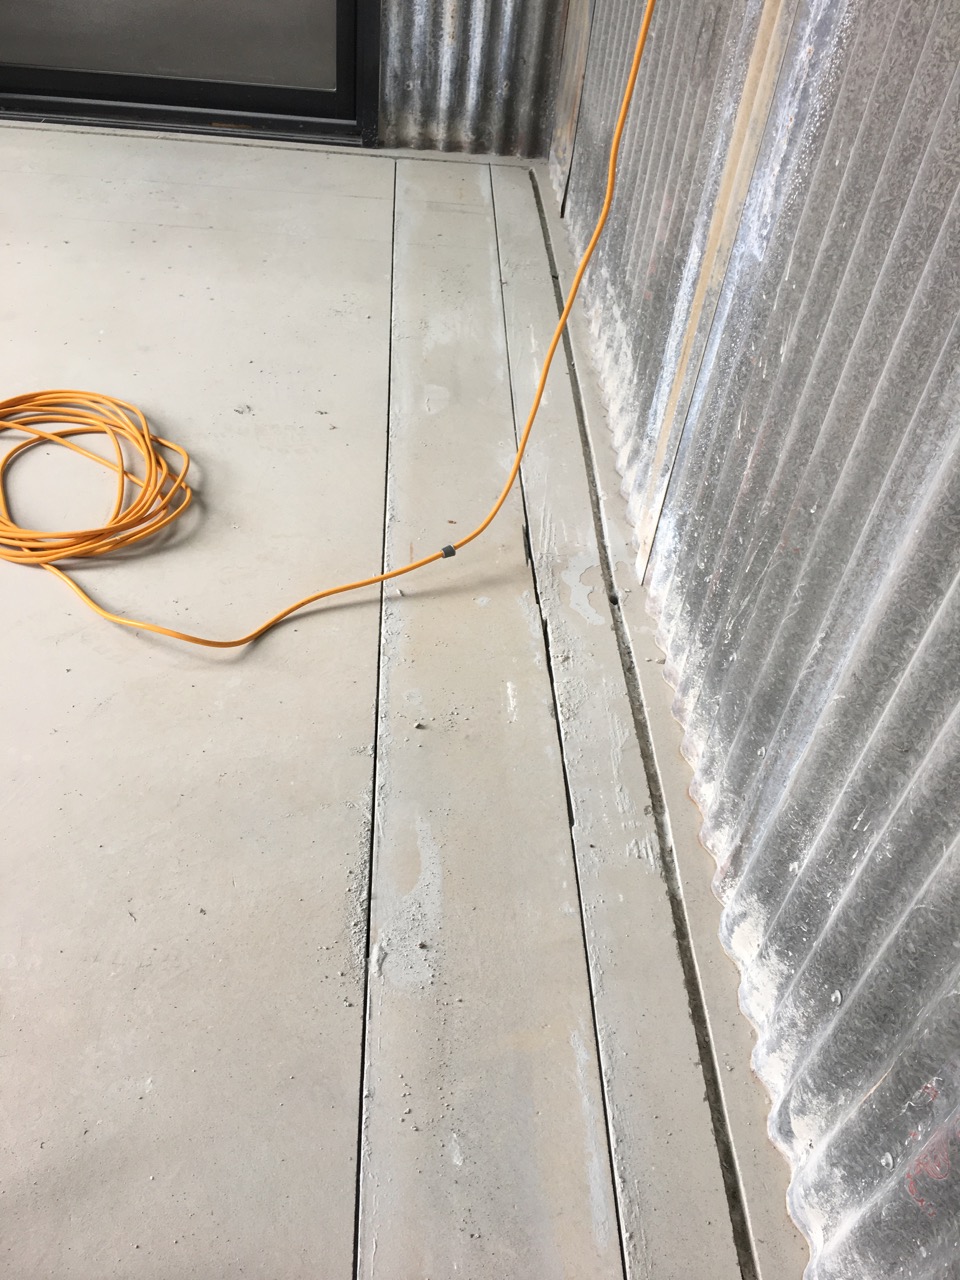
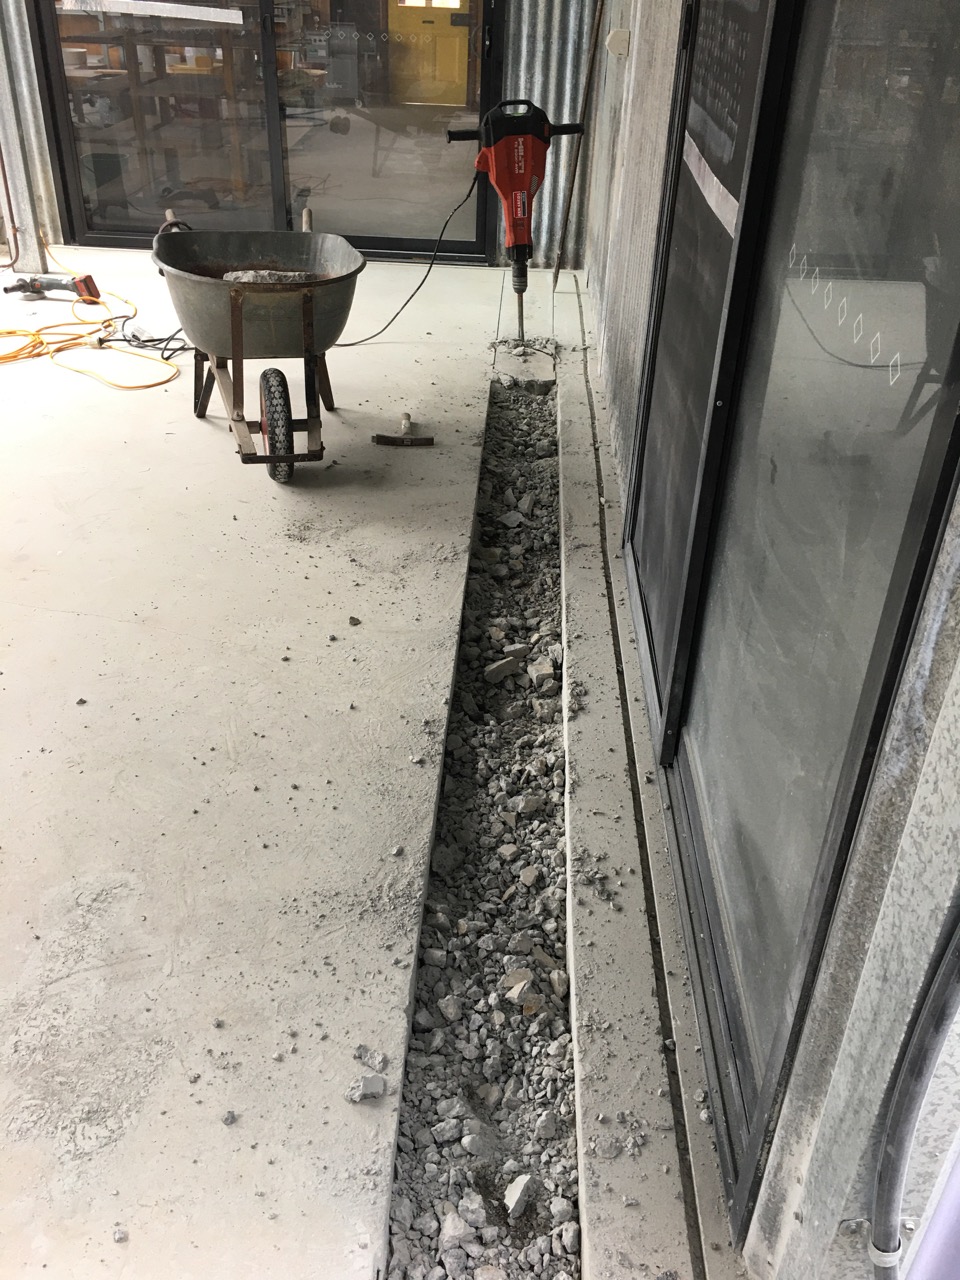
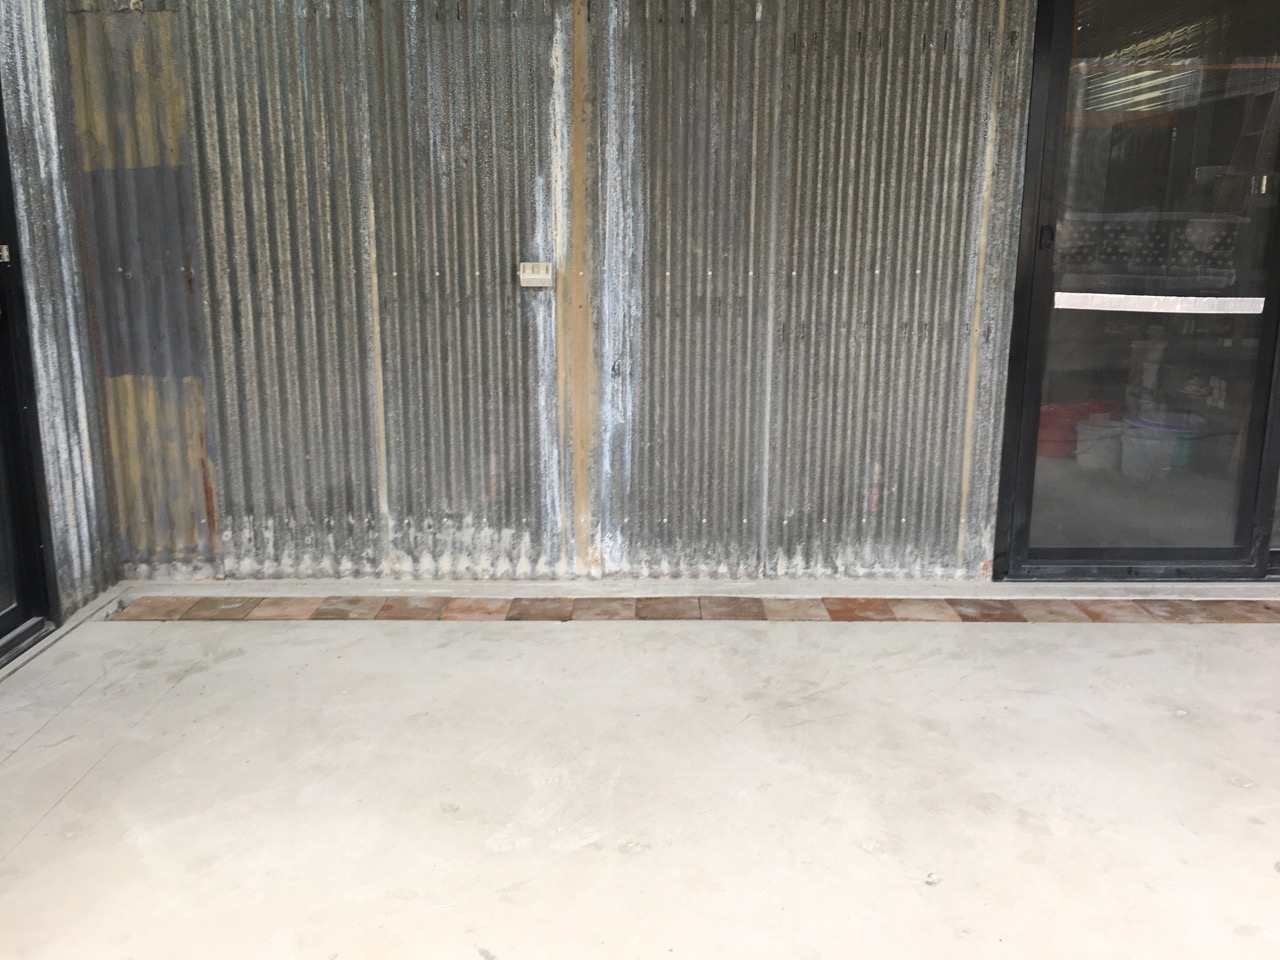
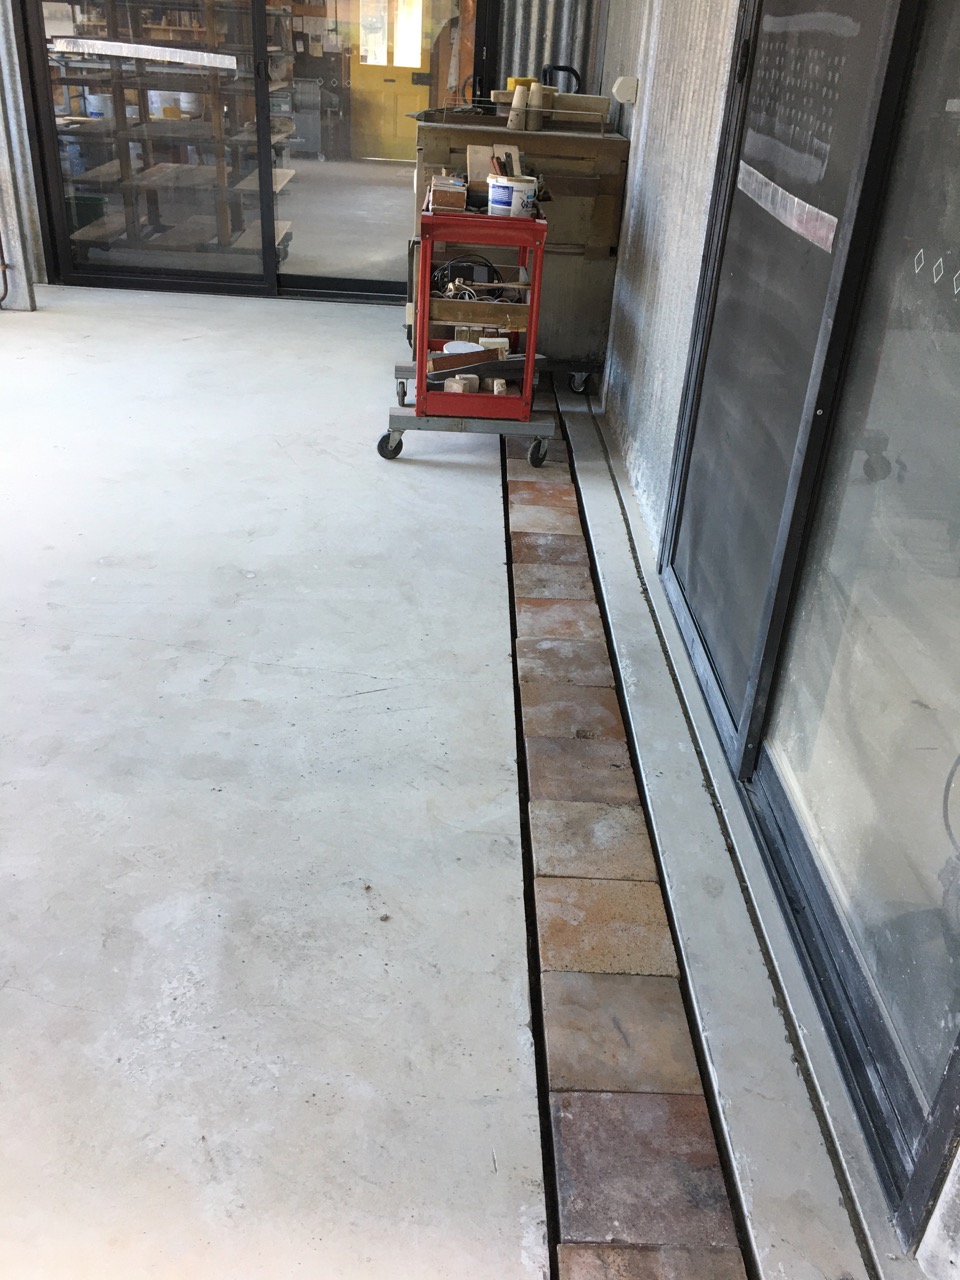
Out of the kitchen and onto more pressing practical matters, I made my own new flashing for the pottery shed windows from two sheets of 2440 x 1220 x 0.9mm sheets of galvanised steel, that I cut and folded on the guillotine and pan break, custom fitted for my windows. The lengths of flashing have to be marked and then cut out to perfectly fit into the curves of the corrugated iron sheeting on the walls. In a perfect world. The shed builders should have fitted flashing above the windows before they installed the outer wall sheeting. But they didn’t bother to do anything at all, so the window seals around the edges leaked. But not any more.
Andy and I marked out, hand cut and fitted the curves exactly to match the variations in the mixed 2nd hand gal sheets. A slow, but rewarding job. We couldn’t use a template, as almost every sheet is different across the wall. Until I collected all this mixed corrugated iron roofing fro mall around Sydney and the Highlands. I didn’t realise how many different profiles of corrugated iron there were. I just thought that it was all the same. But every company has their own individual variation of the profile.

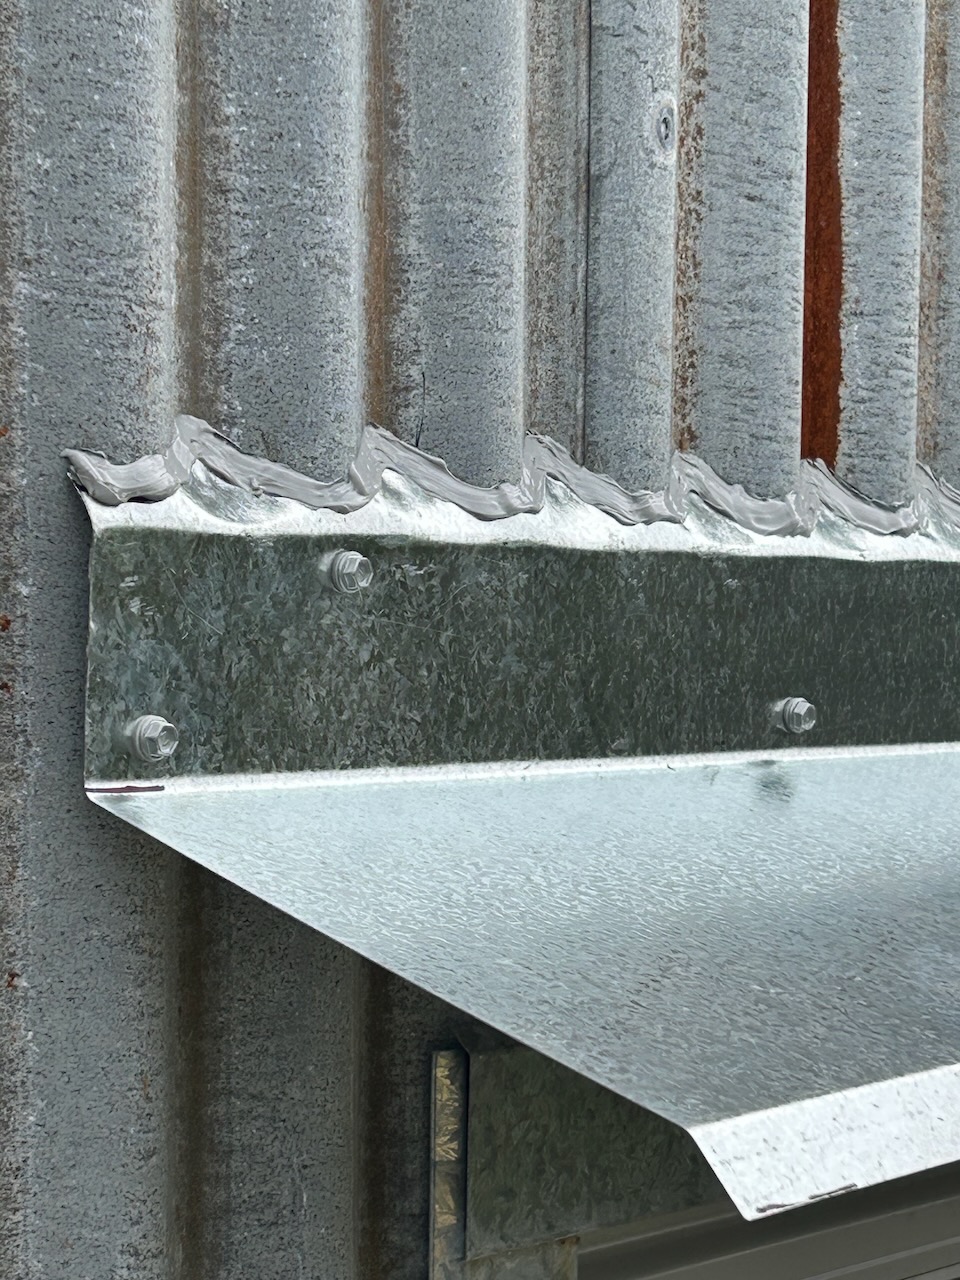
We spend a day going around the building and fitting the new flashing above all the openings. We can’t take off all the cladding to do it properly. As it should have been done. So we add the flashing onto the wall sheeting and cut it into the profile and seal it with silicon. It’s quicker, but still takes us all day to do 5 double windows and 3 garage sized roller doors.
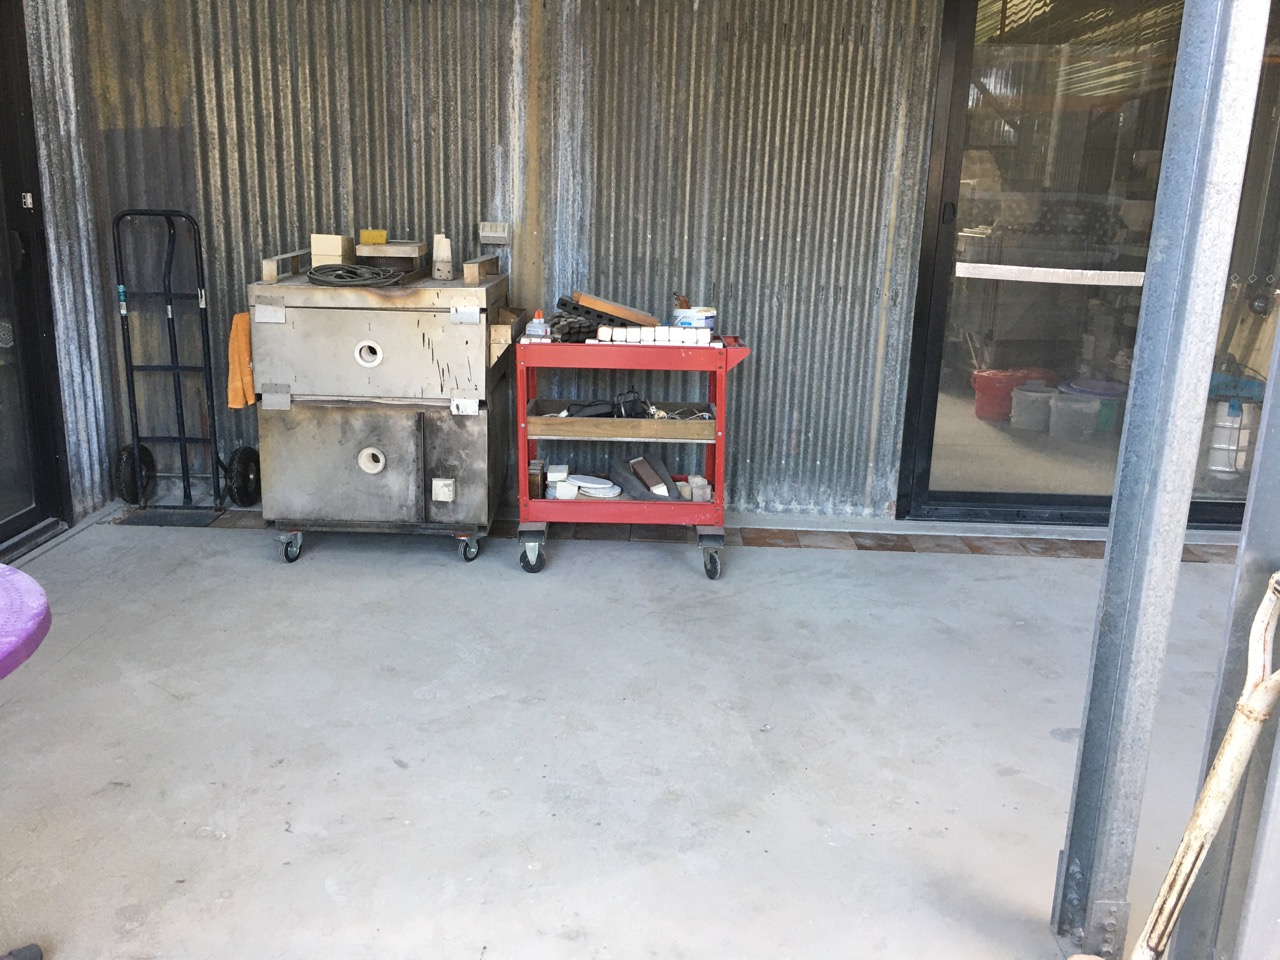
Bit by bit I’m getting the shed finished. It’s only taken 6 years to get this job finally complete.
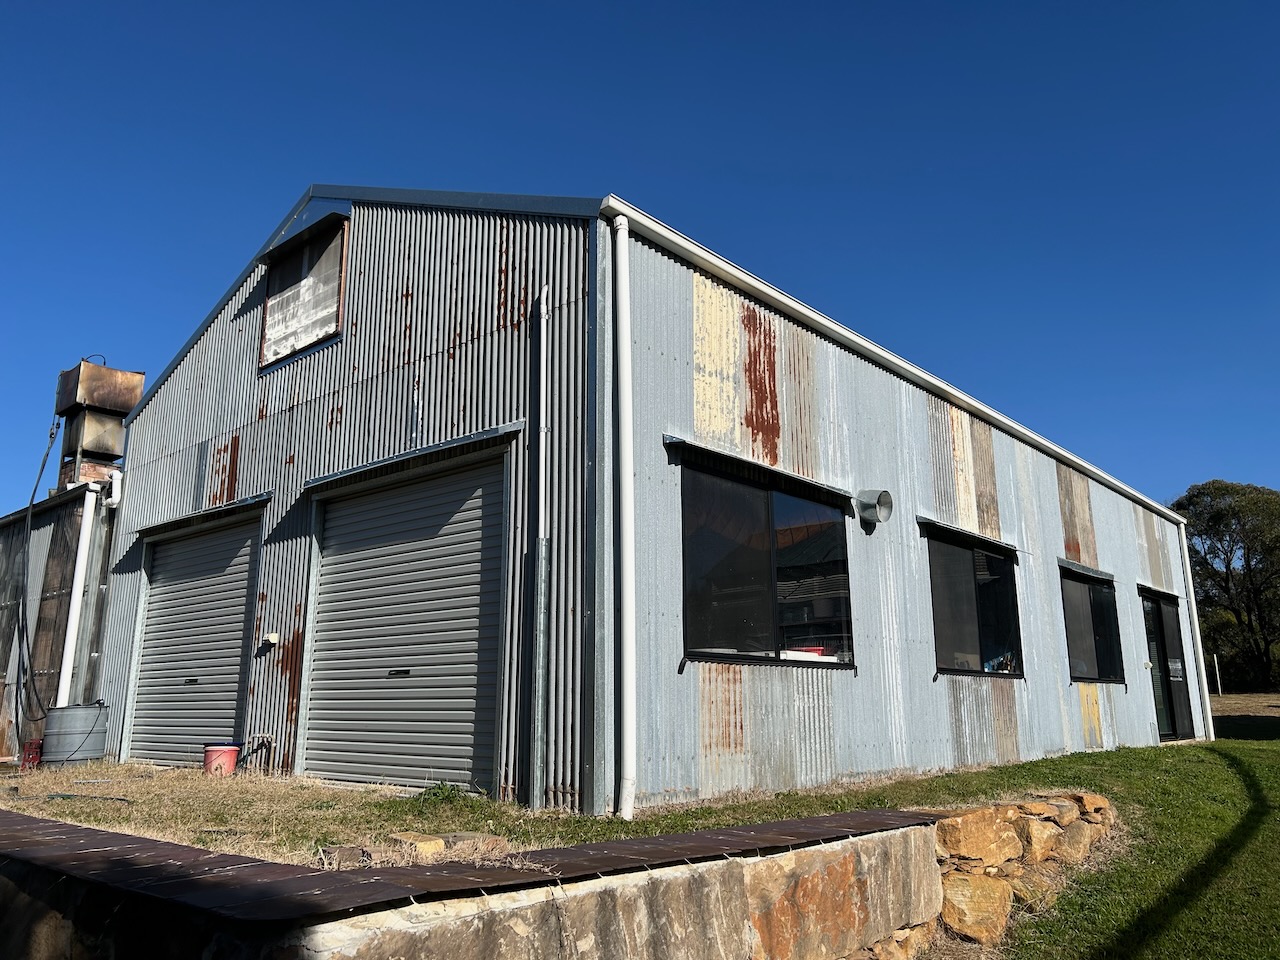
All the flashings acting as mini-awnings above every opening.
Nothing is ever finished, nothing is perfect and nothing lasts.


You must be logged in to post a comment.