
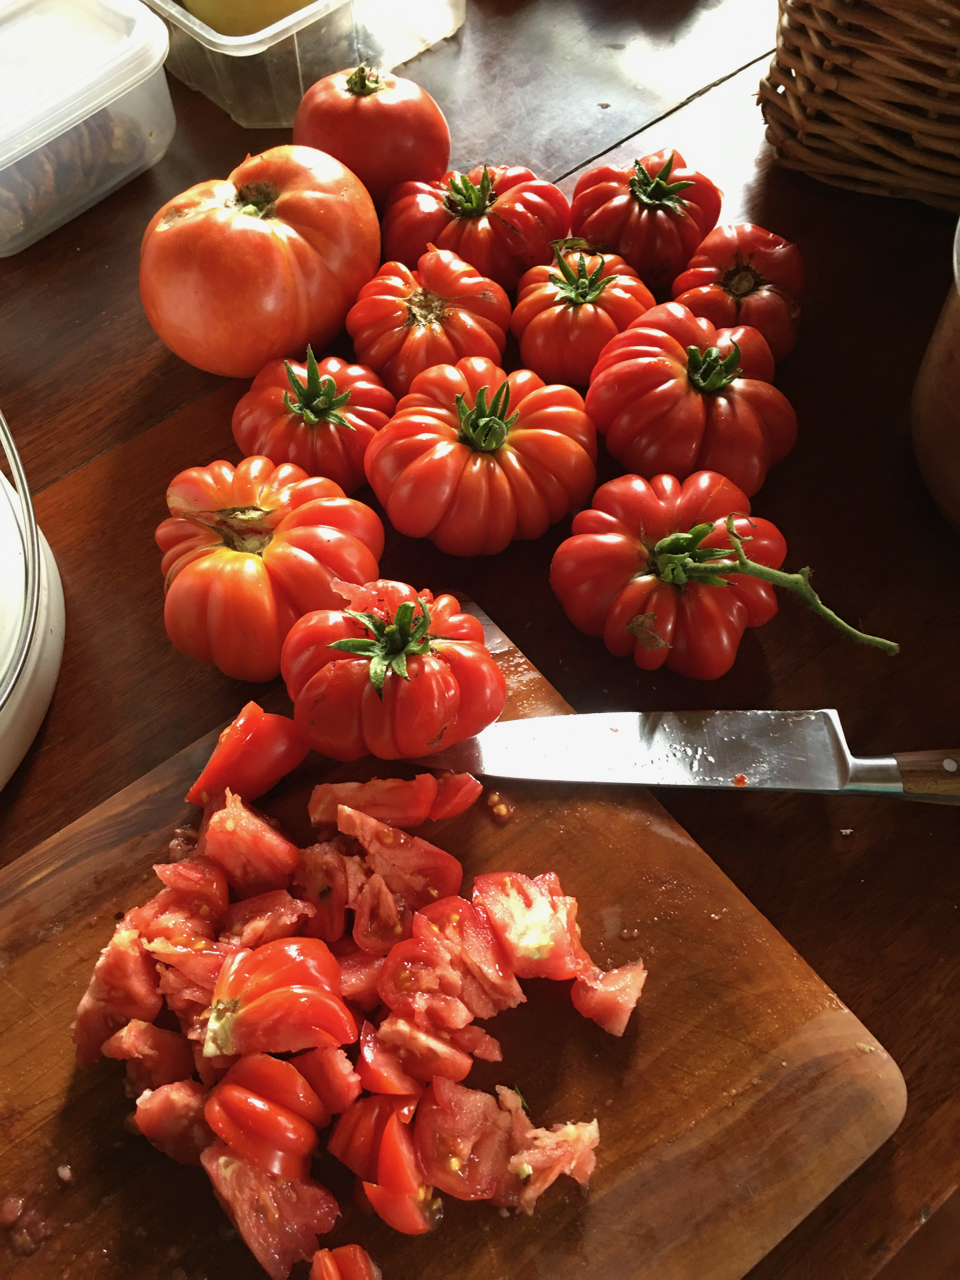
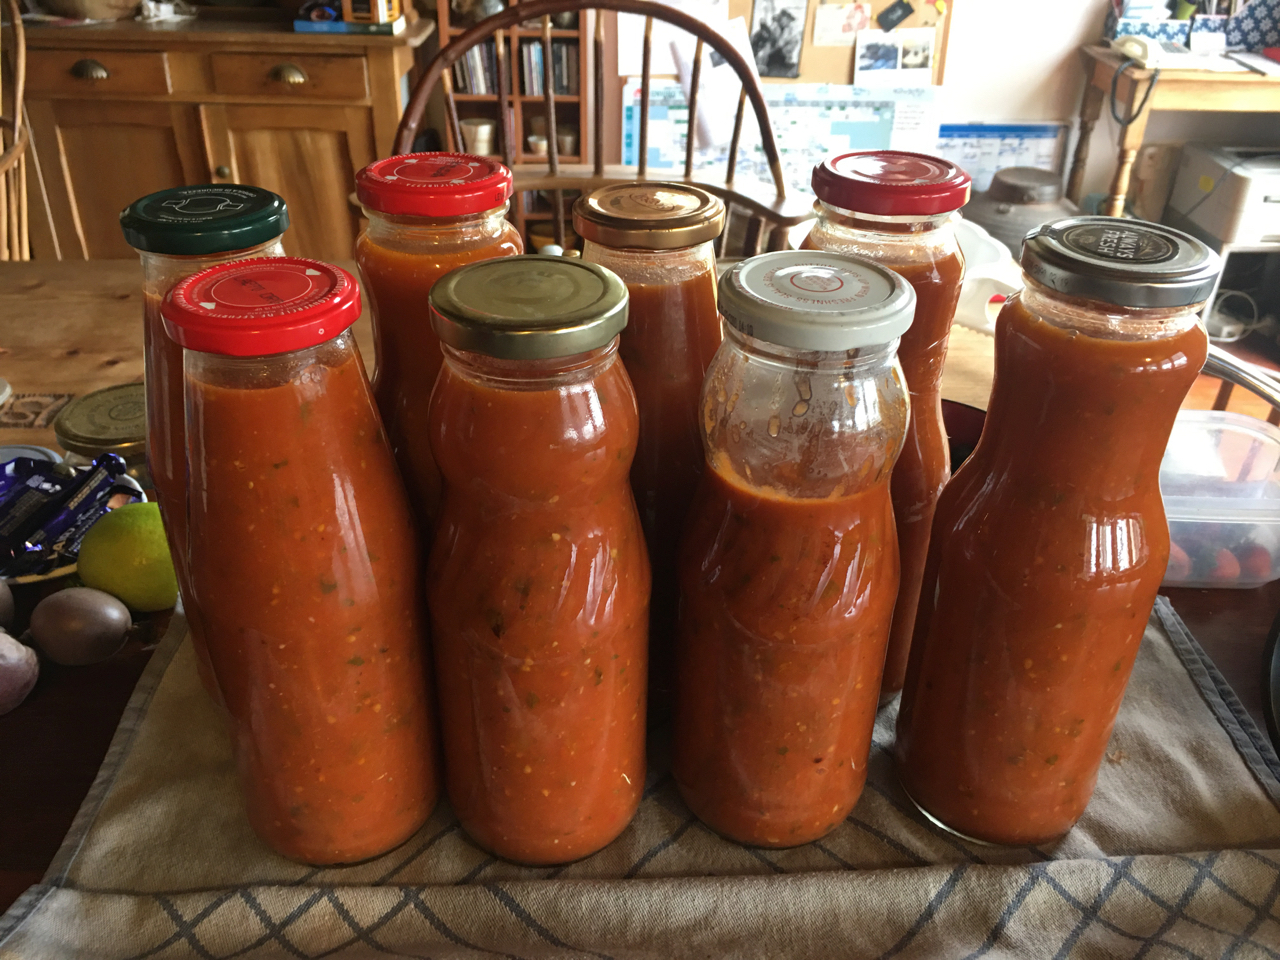
I’ve been back in the pottery on the wheel on and off all last week, but also fitting in some pressing needs to complete preserving and pickling, tomatoes mostly. We must have sufficient for almost 2 years now. It’s been such a huge crop and they’re still coming.
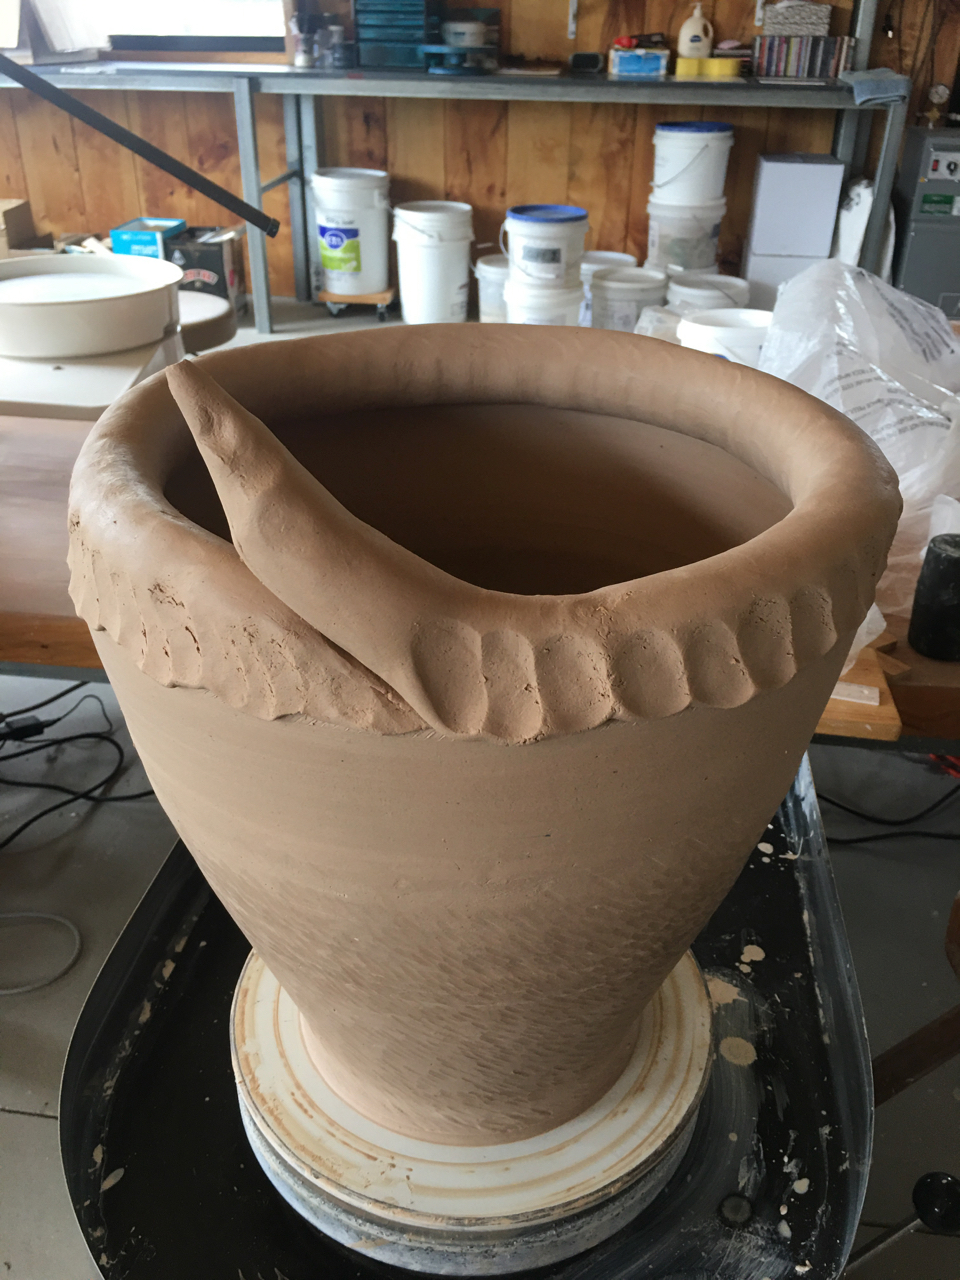
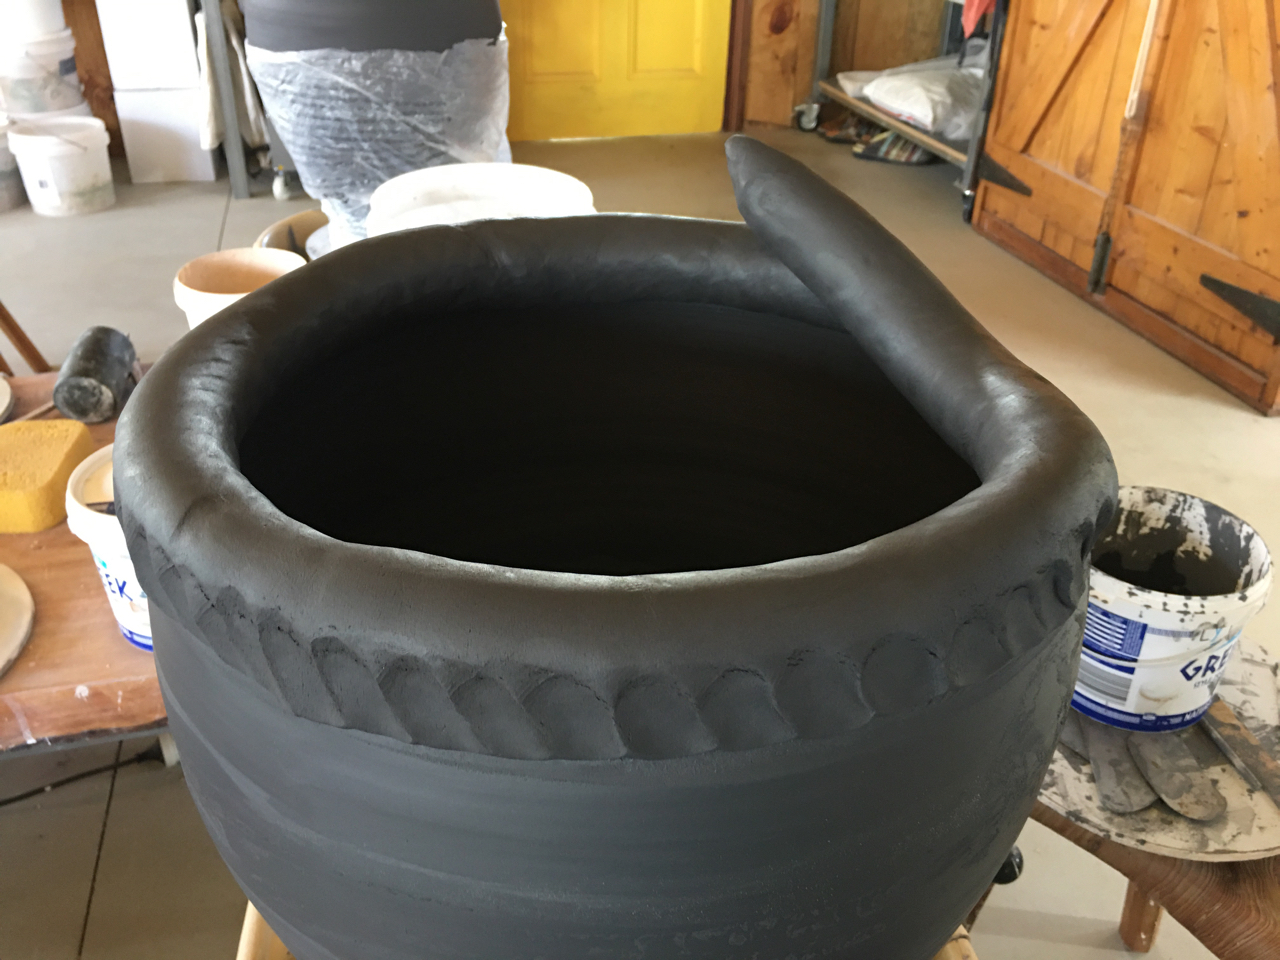
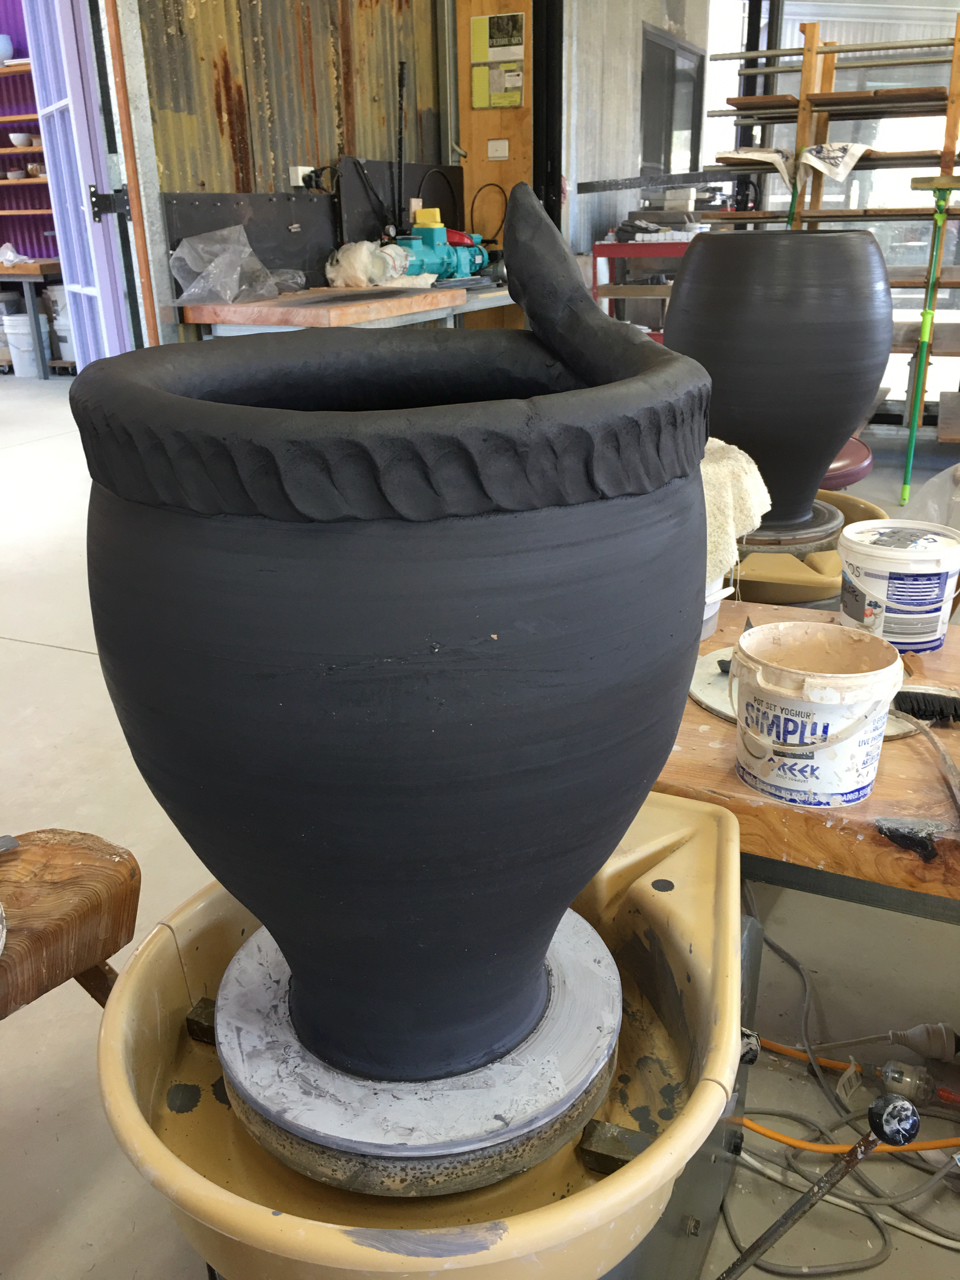
In the pottery I have been making baking dishes and Grandma style large mixing bowls with a pouring spout. They are fun to make and were very popular last year. I sold out, with only one small mixing bowl left in stock after Xmas. I make them out of my rough crushed shale clay mix. It wood fires really well and has an open texture that is really good for oven use.

I’ve made them in 3 sizes, S, M, L. This is one from last years batch, beautiful flashing on the body and glaze from the wood firing.

The old style cooks mixing bowls also all sold out. I remember fondly the one that my Mother used all her married life. It was exactly the same as the one her mother had, both brought over from England on the ‘Orient’ Line ships at different times.
I decided to make these so that I could have one for myself, but I sold them all, so maybe there will be one left from this batch? I usually end up with pots that are second grade pieces, with some tiny fault, Our kitchen is full of pots like this. That’s how we get to keep them.
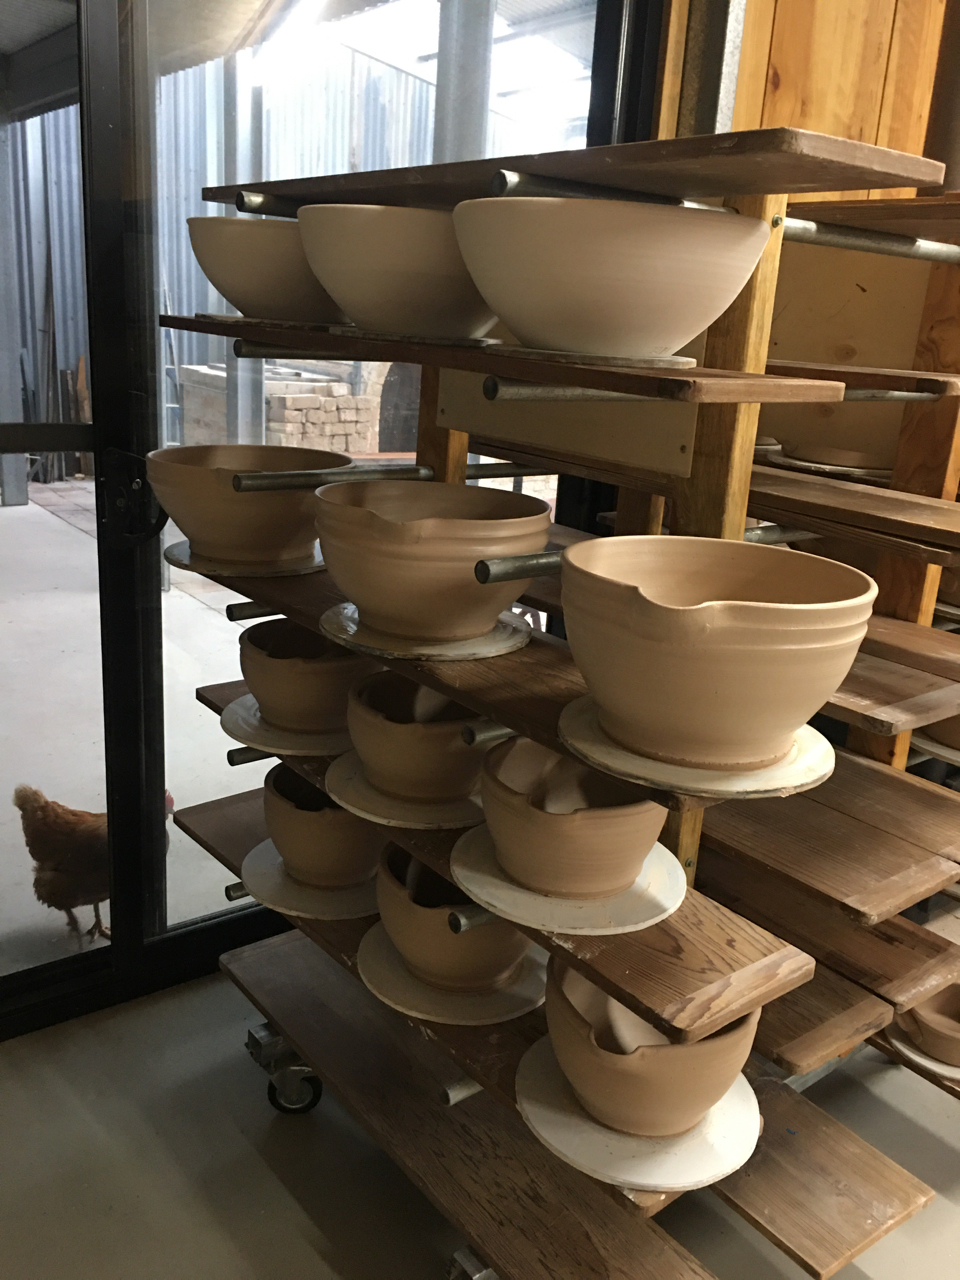
On this side of the drying rack, I have also made 3 bathroom sinks for a customer who lives locally and asked specifically for a sink with one of my rock glazes on the inside and unglazed and wood fired on the out side. I couldn’t do that order till now, as it is not realistic to try to fire the wood kiln over the hot dry summer. Just too much risk of fire bans coming into force half way through the firing. That would be a disaster too awful to think about. So we just don’t attempt to fire during the hotter months.
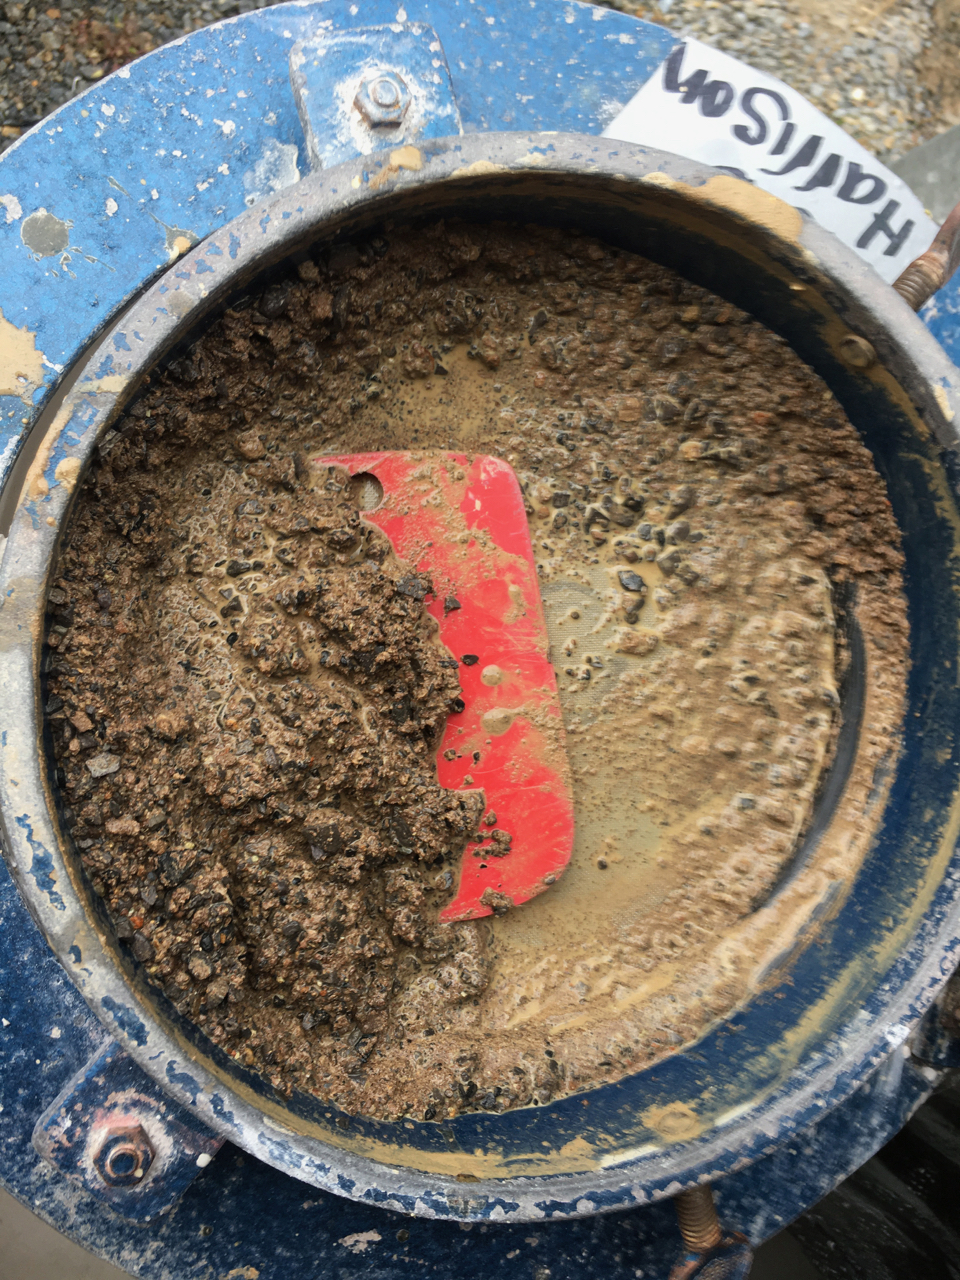
Some of the bigger mixing bowls are quite large, measuring 300mm. dia. and are made from 5 kgs of clay. My ageing wrists are not happy with wedging 5 kgs any more, so I wedge the clay up in two smaller lumps of 2.5 kg. Then join them back together on the wheel. I learnt to ‘slap’ the plastic clay into the centre of the wheel with my hands while still dry. No water involved in this centering technique.
The first 2.5kg lump is slapped into place and rounded off while I rotate the wheel head very slowly. Not using the motor at all, just a slight flick of the wrist as I lift my hands up. This turns the wheel head just 10 mm. each time , so that the next ‘slap’ will be an equal distance apart , so the clay slowly finds the centre. Once it is just about right. I add the 2nd 2.5 kg lump and start the centering all over again.
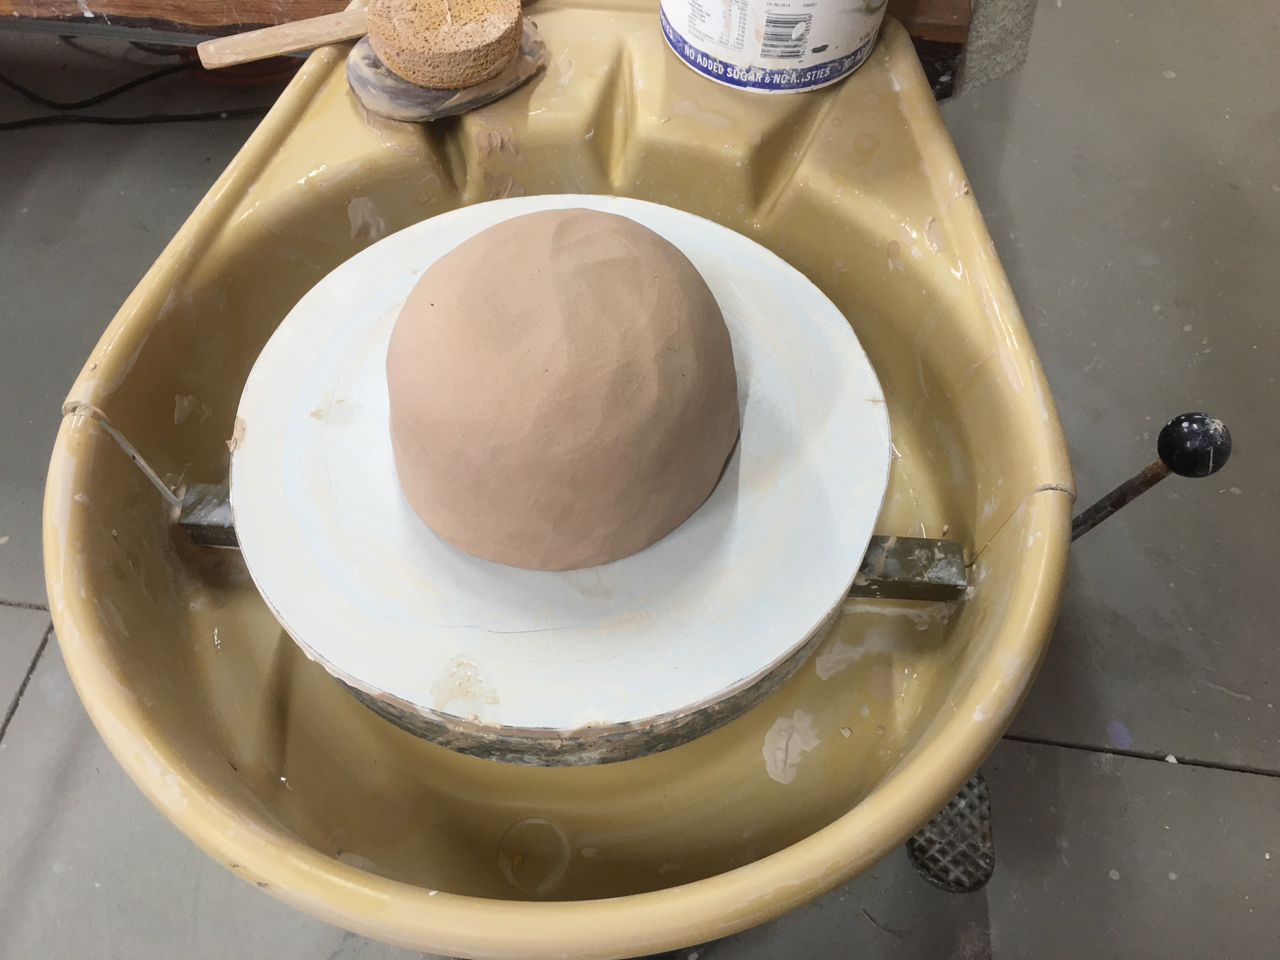

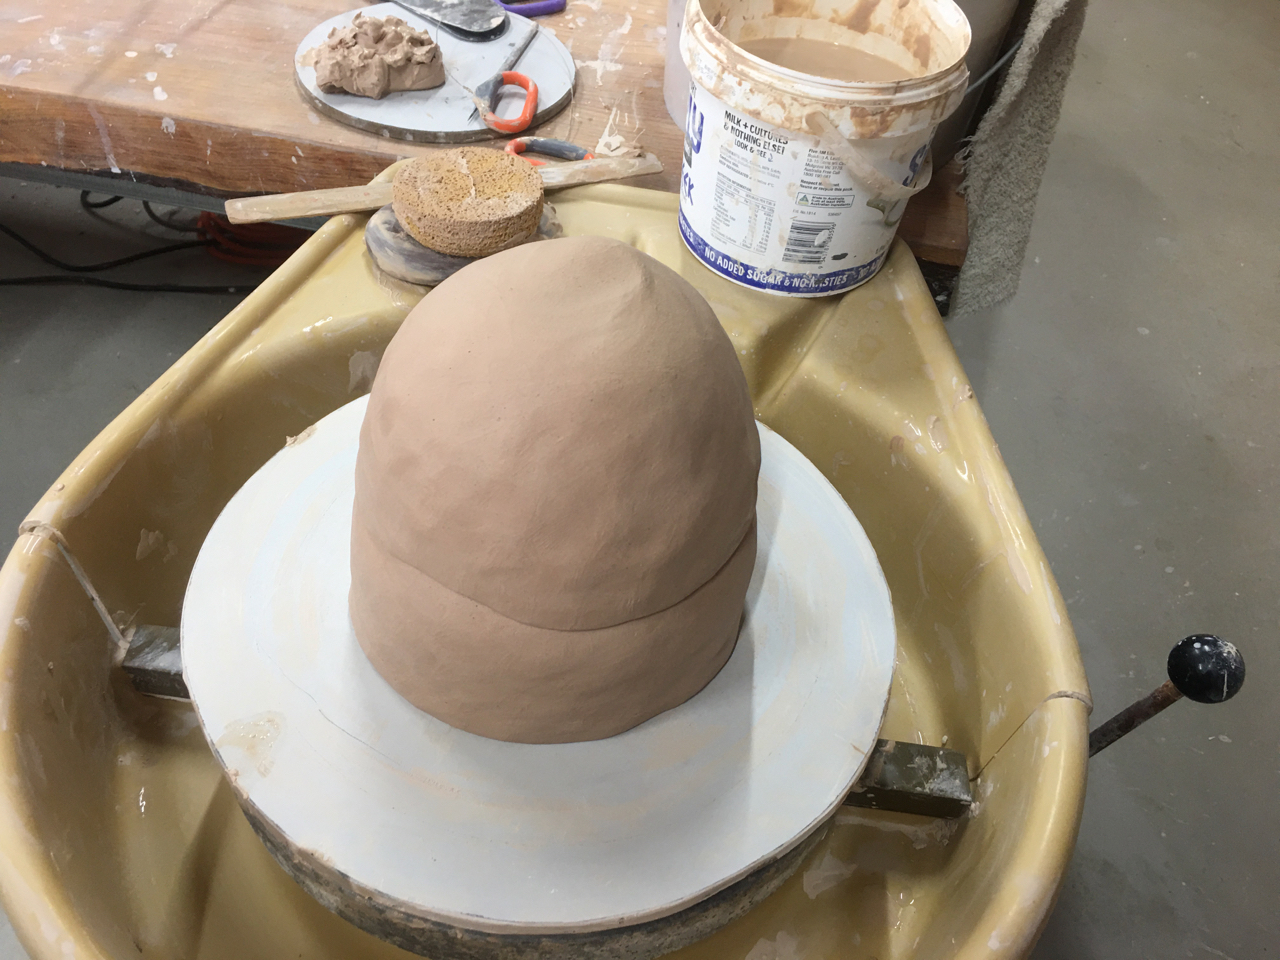

Once the whole 5 kgs are centred, then it is time to punch out the centre, slowly and gently, bit by bit. Lots of little hits while the wheel is very slowly rotated, just as with the first stage of the technique.

Once the lump is opened up evenly. I ‘slap’ the outside again with both hands evenly to get the lump back into a tight cylinder again.

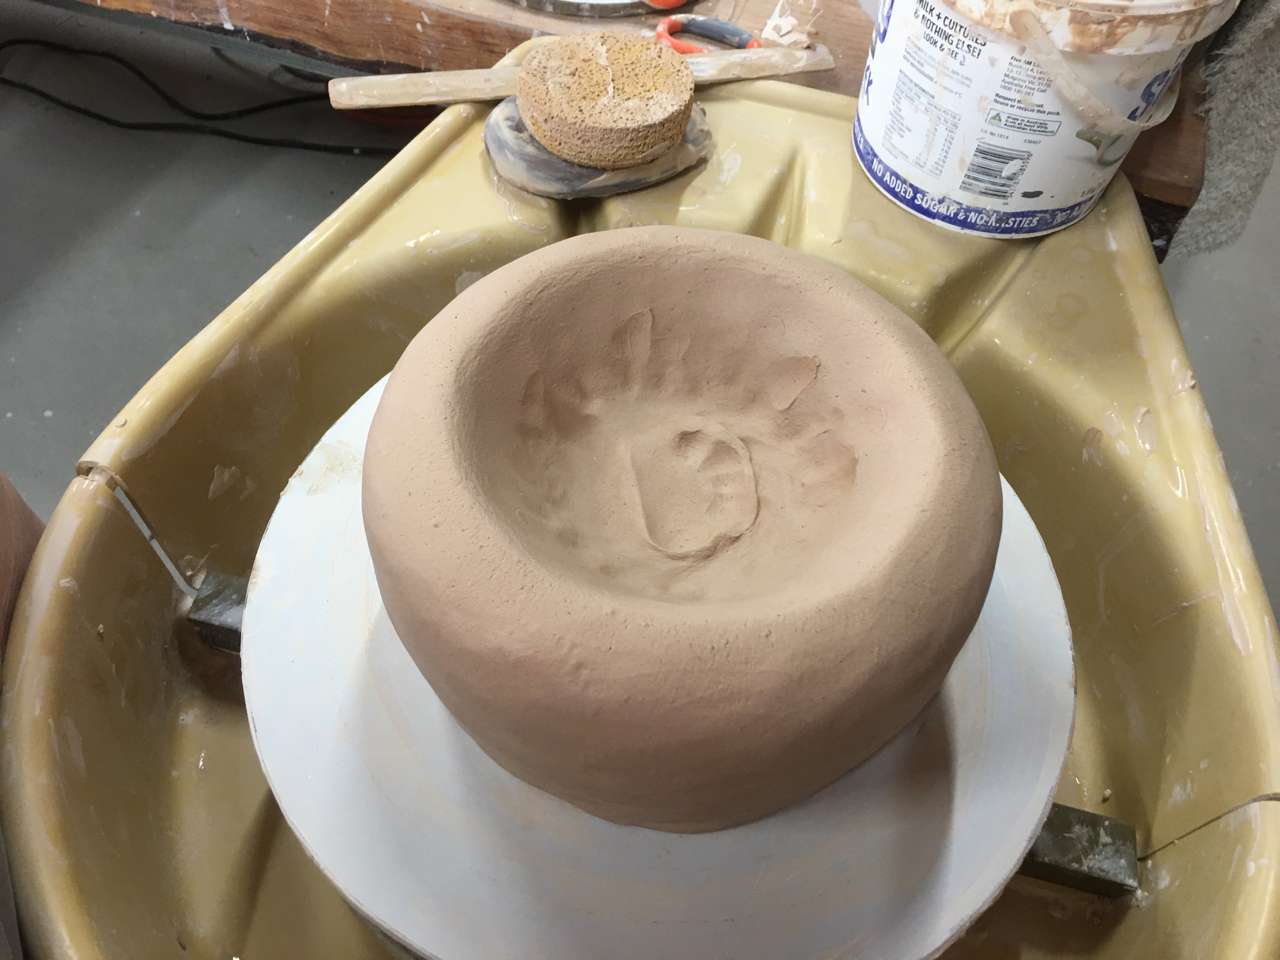
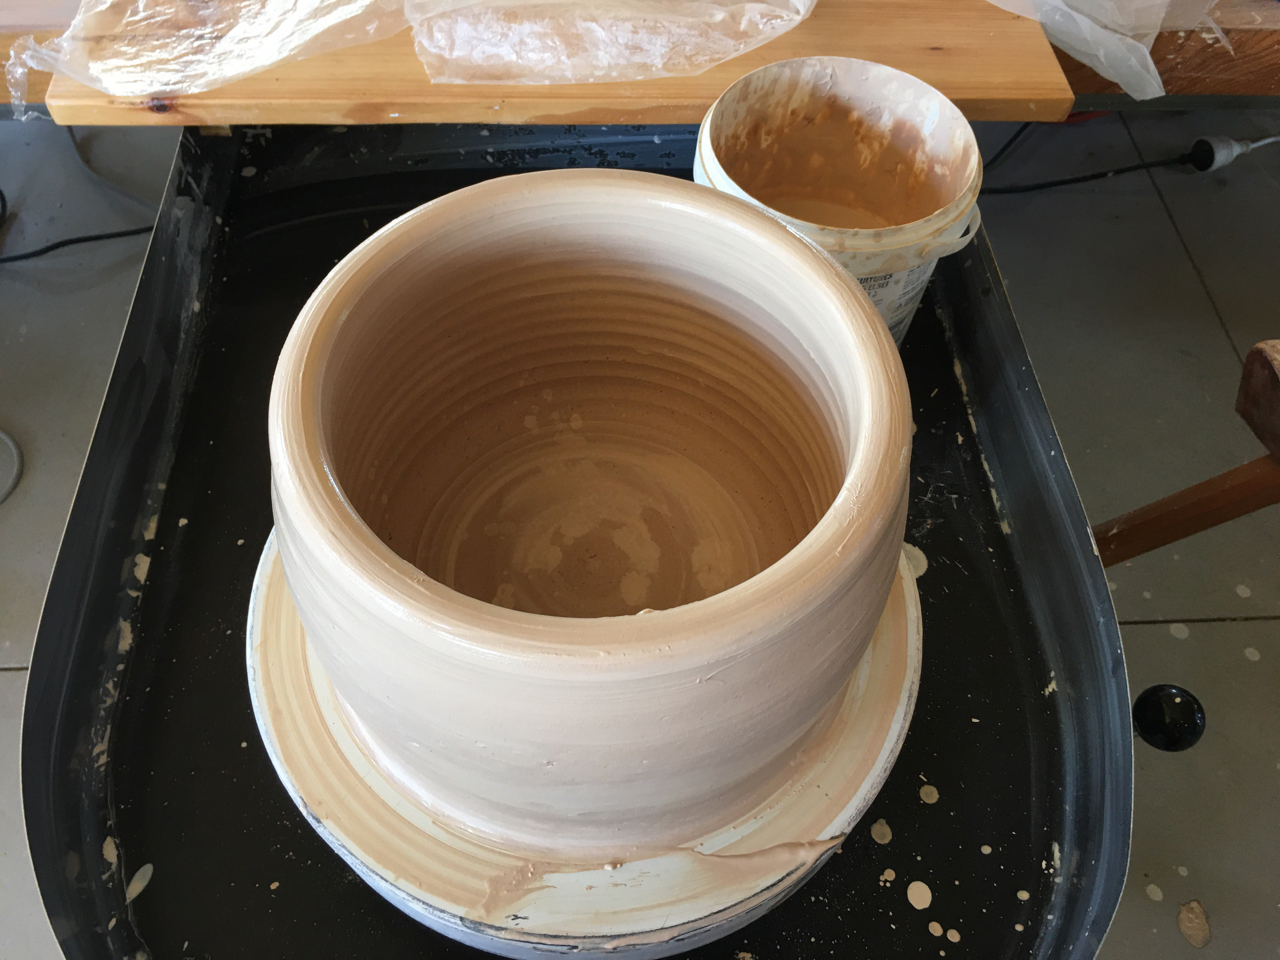
The 5kgs are now centered, tightly bonded to the batt, and opened up ready to throw in a conventional way. The great beauty of a technique like this, is that half of the throwing is now complete, certainly the difficult and very stressful and high energy centering part, and the clay is still dry and ‘fresh’. With no water added up until this point, the clay hasn’t had a chance to get soggy and tired. It is also possible to stop at this point and take a little rest if you are new to the technique and need to rest your self for a minute or two. This is not advisable if you have already wet the clay and started throwing.
Once you have wet the clay to smooth out the surface and start the throwing proper, it’s best to just carry on and not stop for any reason.


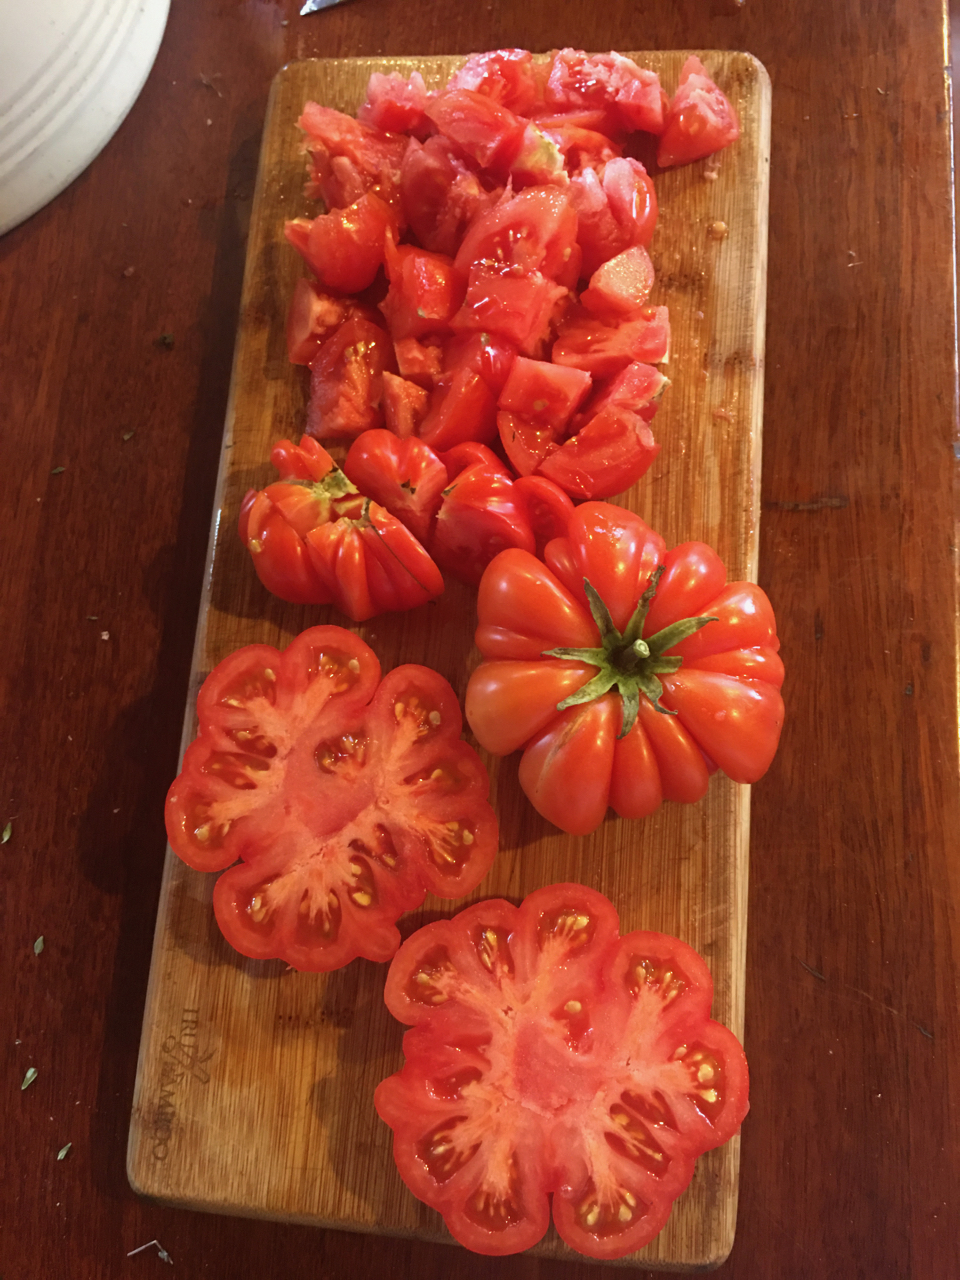
Meanwhile in the kitchen, I have been dealing with the great tomato explosion. This week besides making more passata, I made a couple of batches chilli jam. My friend Ian gave me his recipe, which has a lot less sugar and a little more spice than the one I got off the internet some time ago.


2 Kilos of tomatoes boils down to just 4 small glass jars of chilli jam once it has been reduced and concentrated.
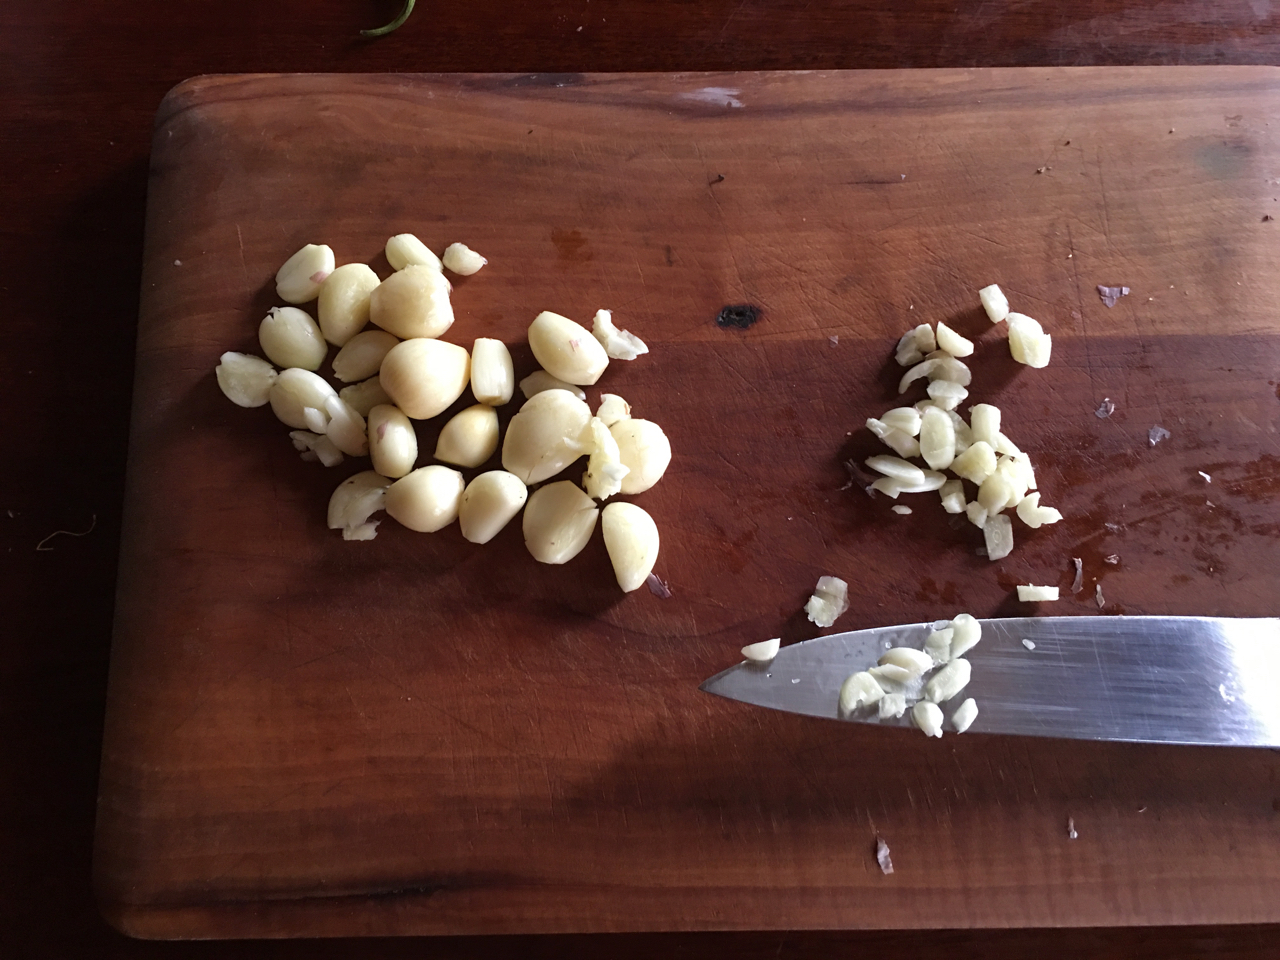
Janine has been shelling and roasting the first few basins full of our hazelnut crop. Unlike tomatoes, there is no urgency to deal with nuts. Once they are collected and inside, they are safe. We have a dozen hazel nut trees and a dozen almonds. The almonds have not recovered well from the fire and are struggling, fighting off an attack of ‘shot hole’ fungus in this damp summer weather.
On the other hand the hazels were more of less burnt to ground level, but they are a smaller and very robust plant, perhaps more suited to be used as a hedging bush. This years crop is our best yet.

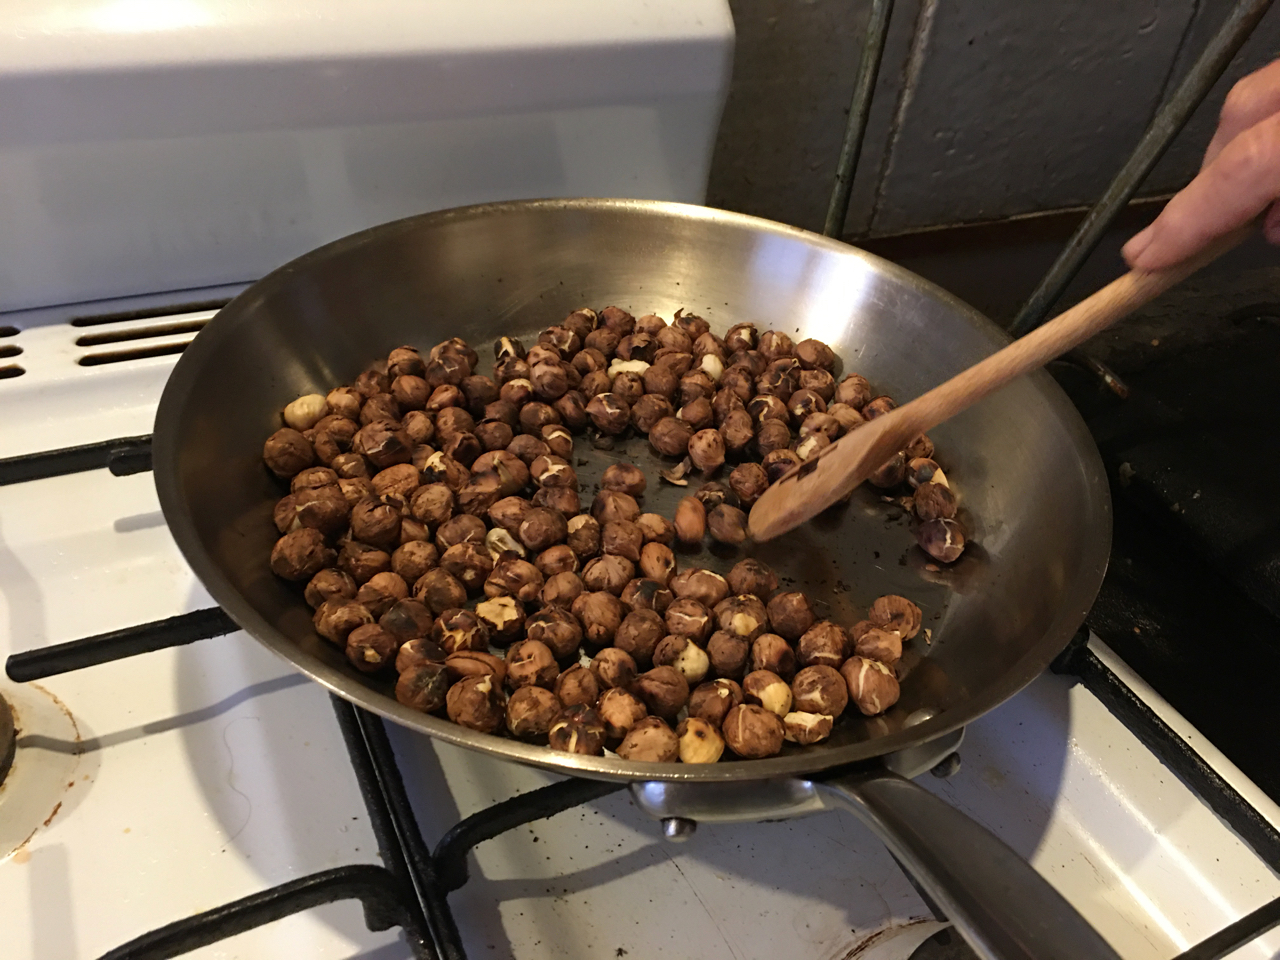
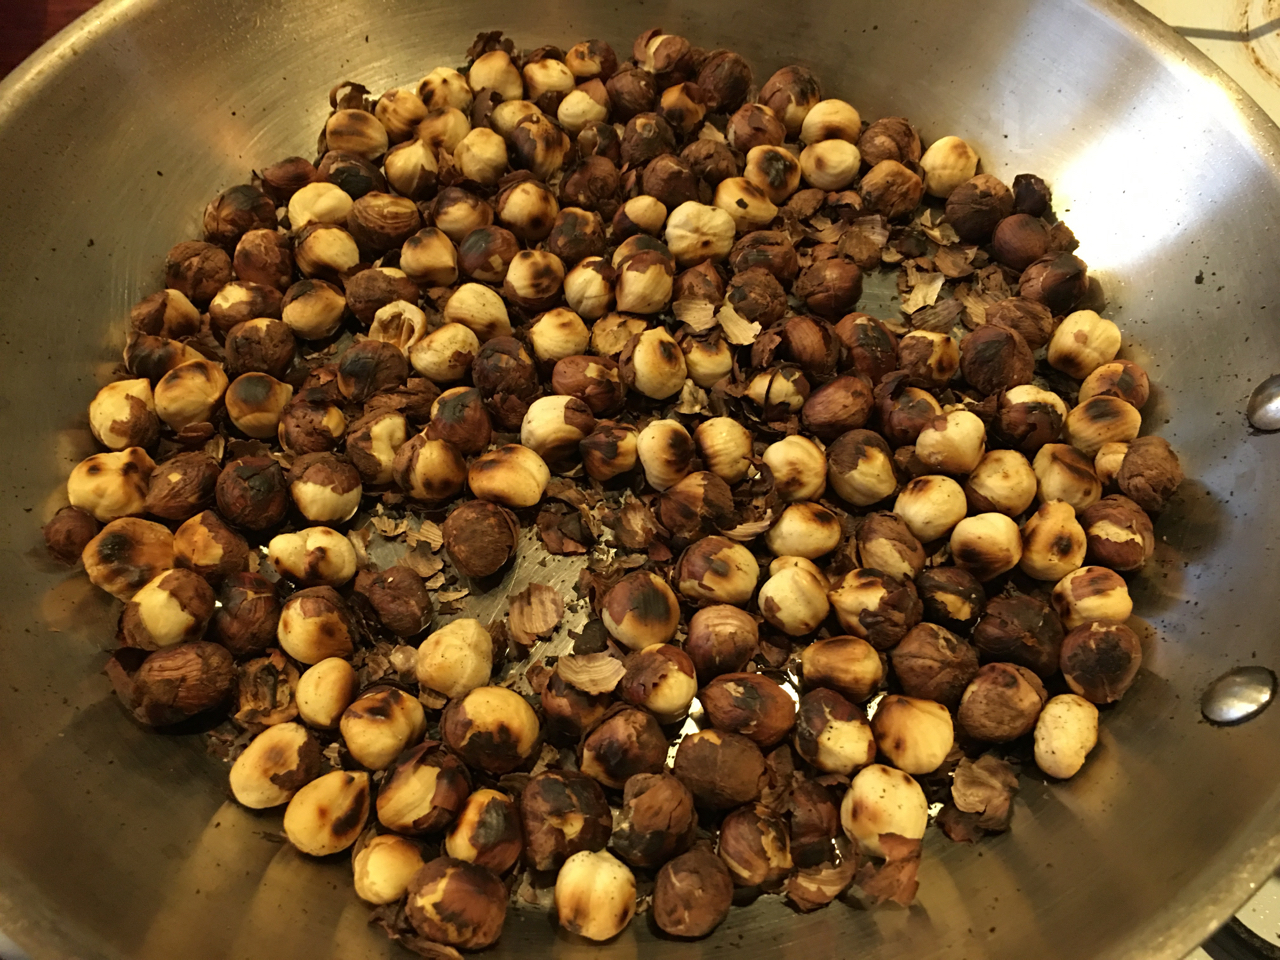
Once roasted, they become really flavourful. Before that, they are pretty dull. We don’t salt them for health reasons.
Finally it’s time to cook dinner. Tonight it will be baked, stuffed, ripe, red capsicums. I used a vegetable and herb mix, so it’s a vegetarian meal tonight, as it so often is most nights.

This is a small part of our attempts to be both creative and self reliant while treading as lightly as we can in this carbon constrained world.
Nothing is perfect, nothing is ever finished, and nothing lasts.
This meal isn’t, wasn’t and didn’t.


You must be logged in to post a comment.