
I am now just over half way through my sojourn here in Korea. 5 weeks to go. How am I going?
Well, I’m only certain of two things, and that is Death and Taxes. I’m hoping that nether of them catch up with me here to spoil my stay!
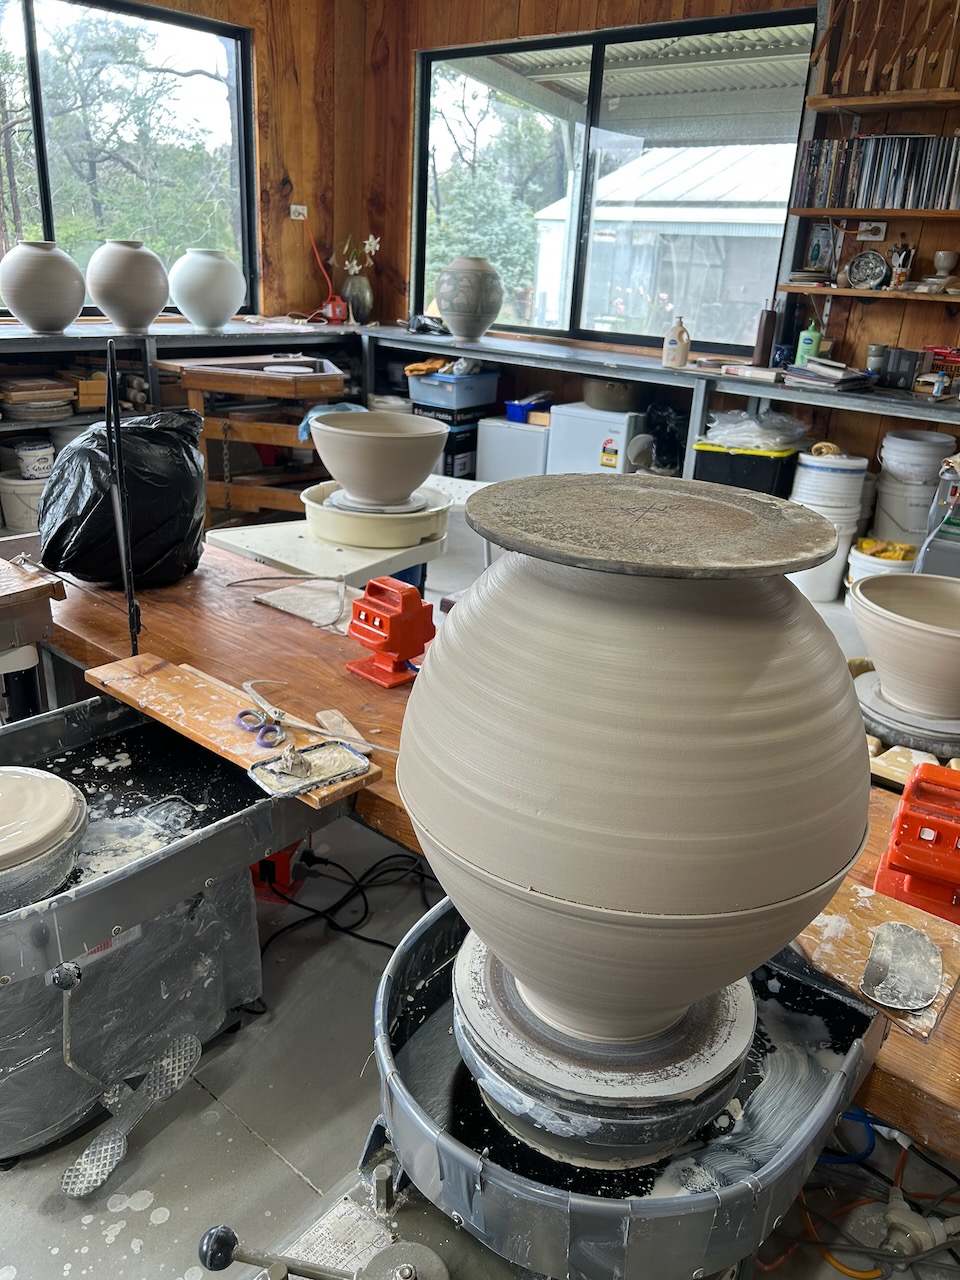
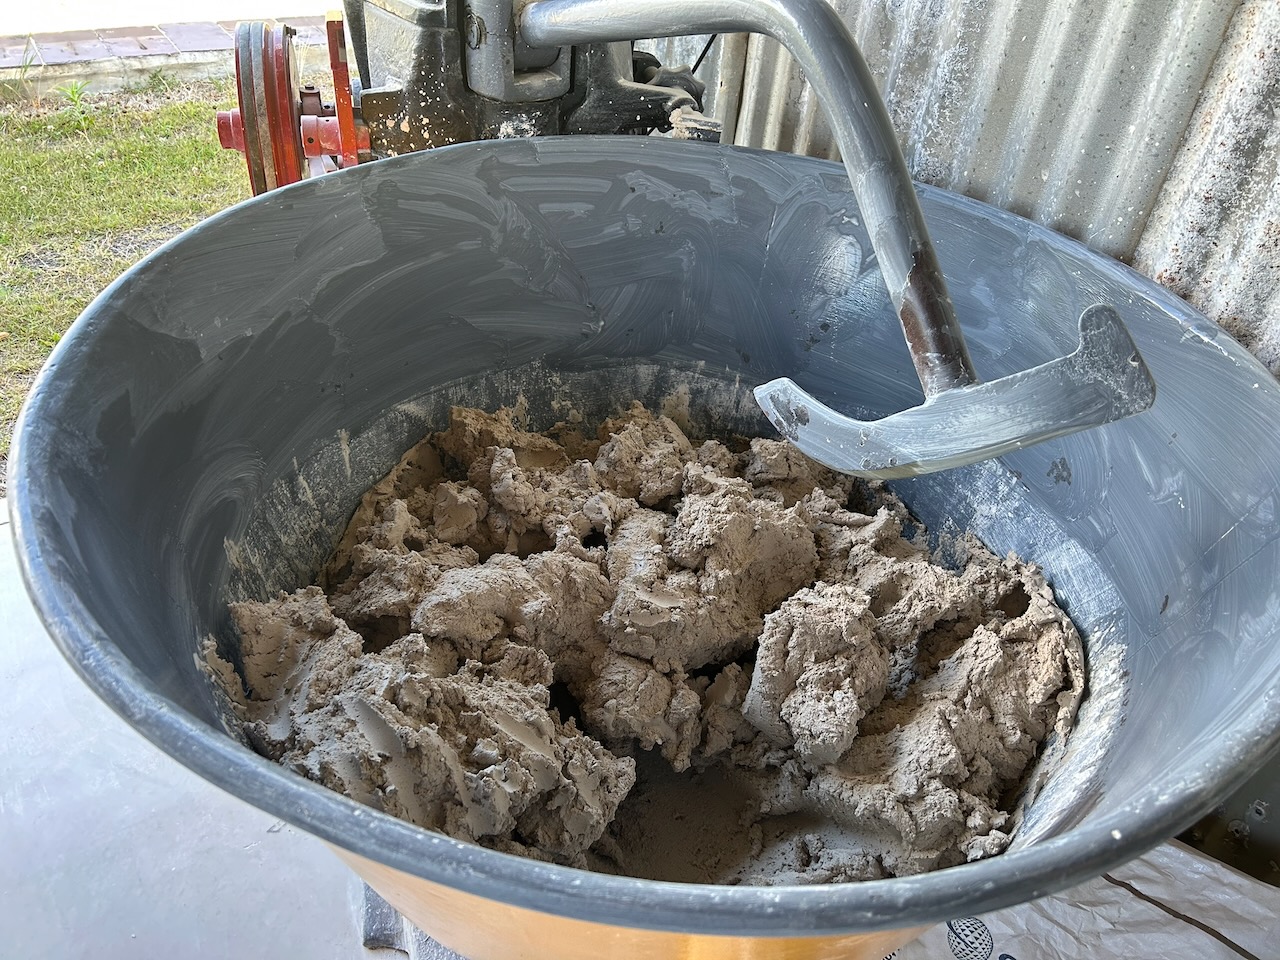
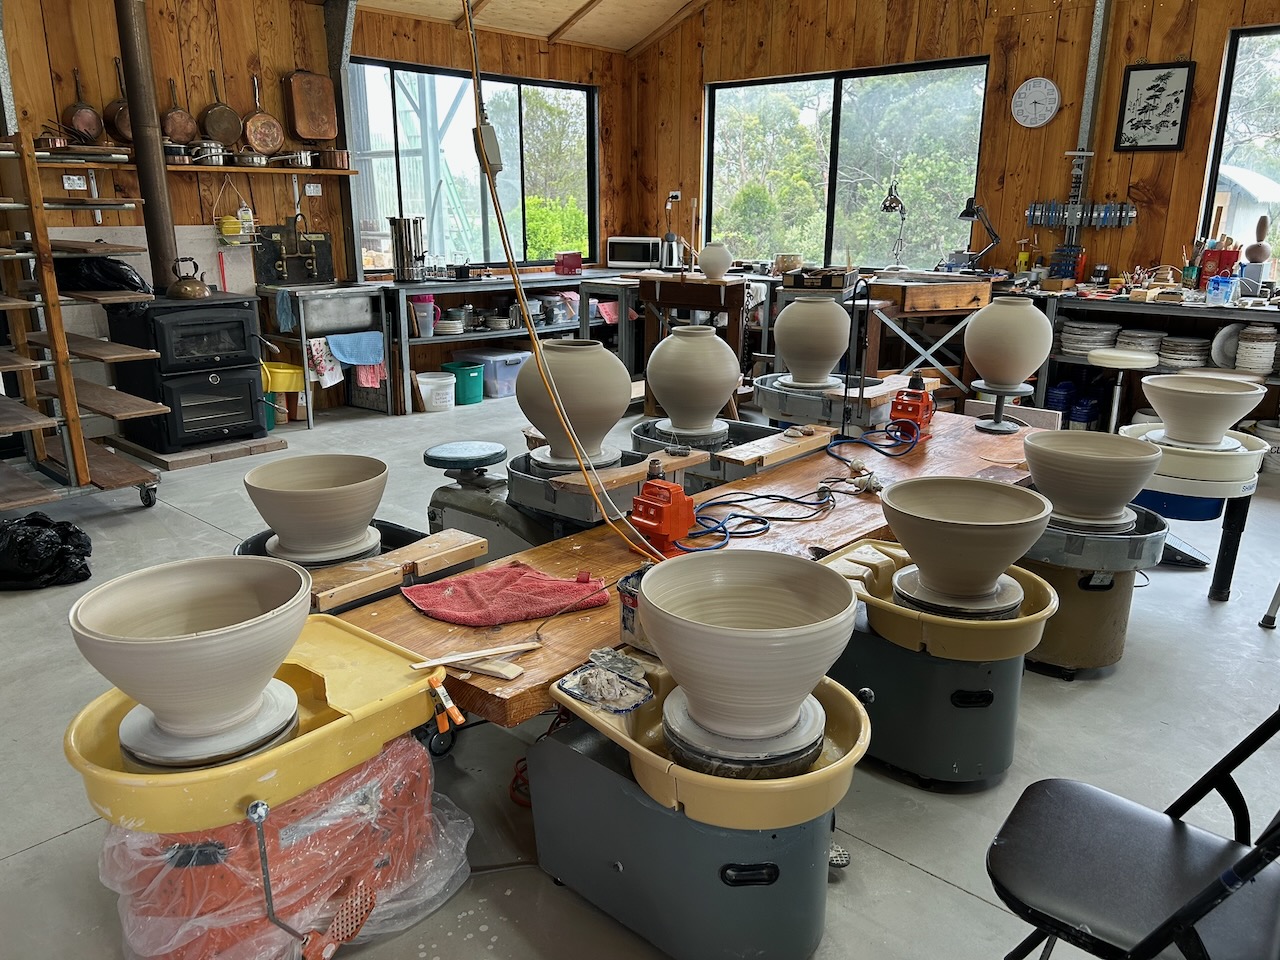
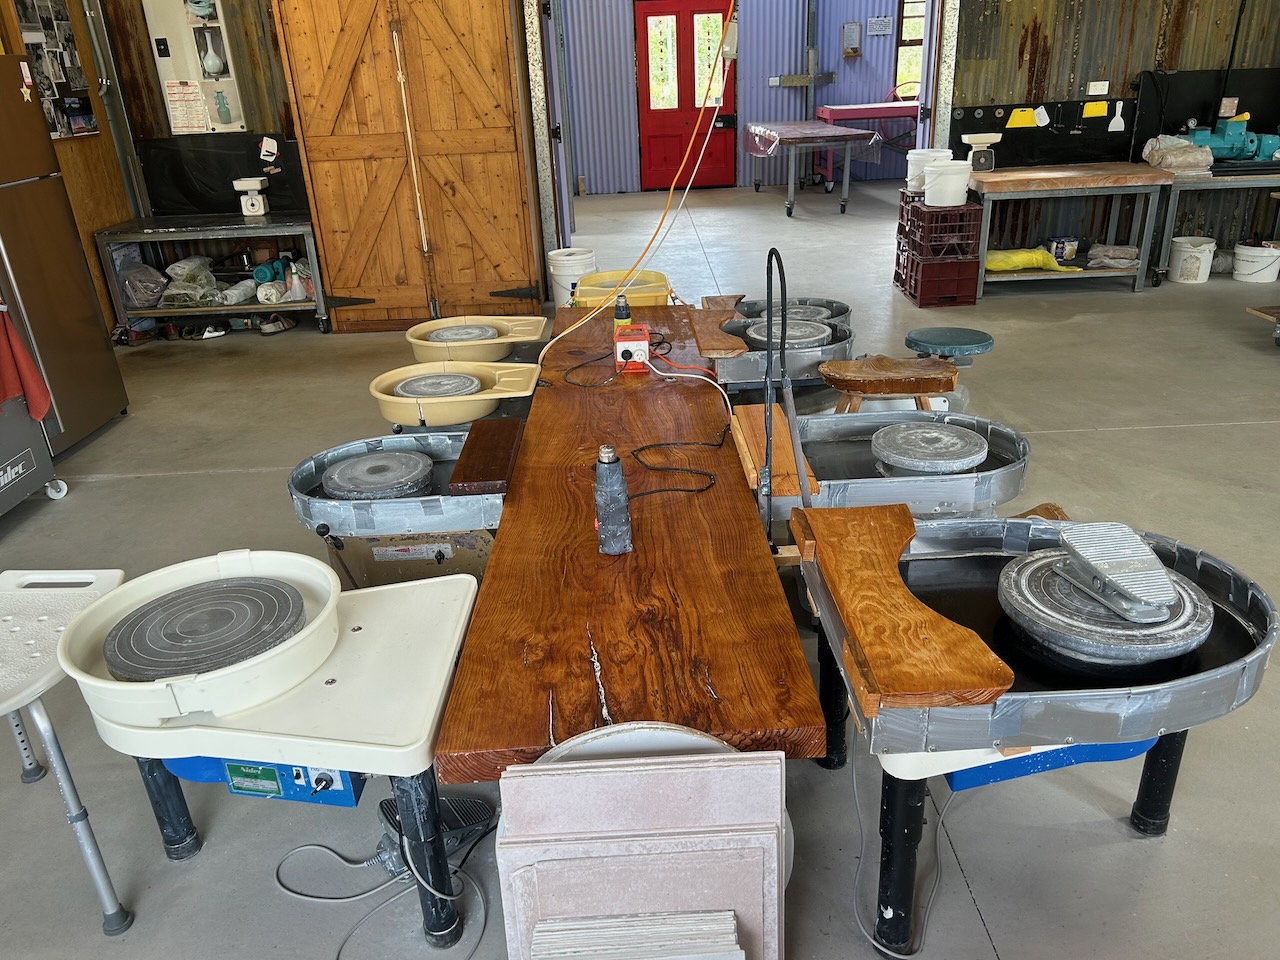
Amazingly, I am just about where I would like to be in terms of my progress. I have almost finished all the throwing. From now on it will be all about drying, bisqueing, glazing and wood firing. Thankfully I don’t have to cut, split and stack all my own wood!
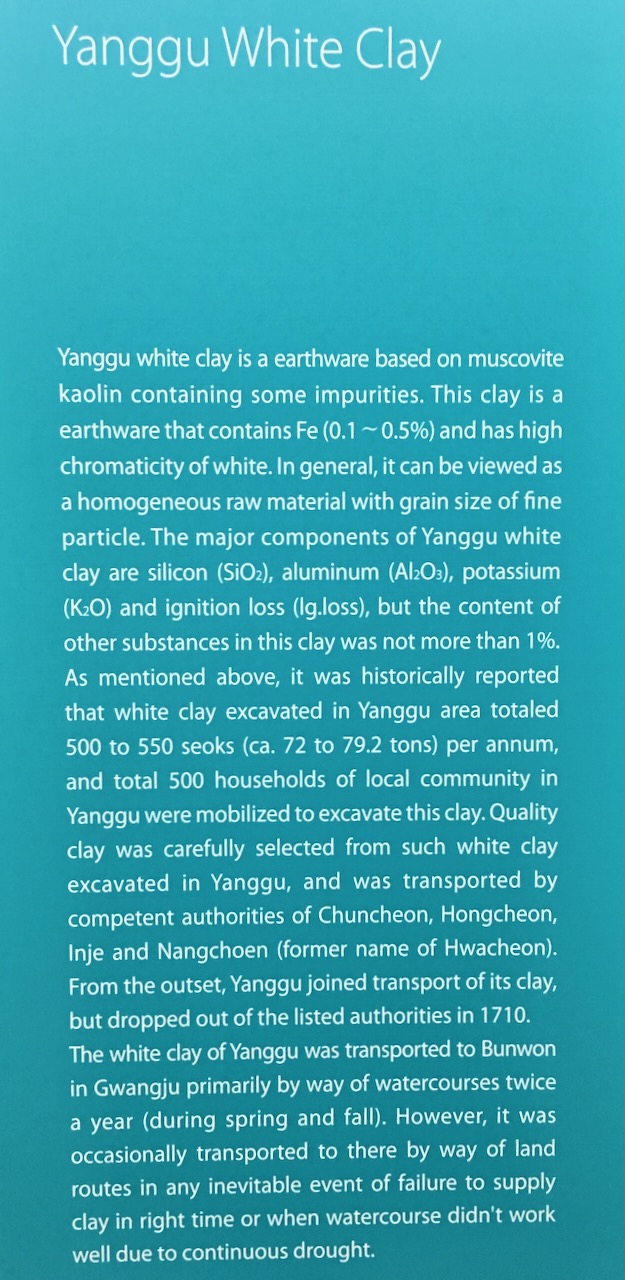
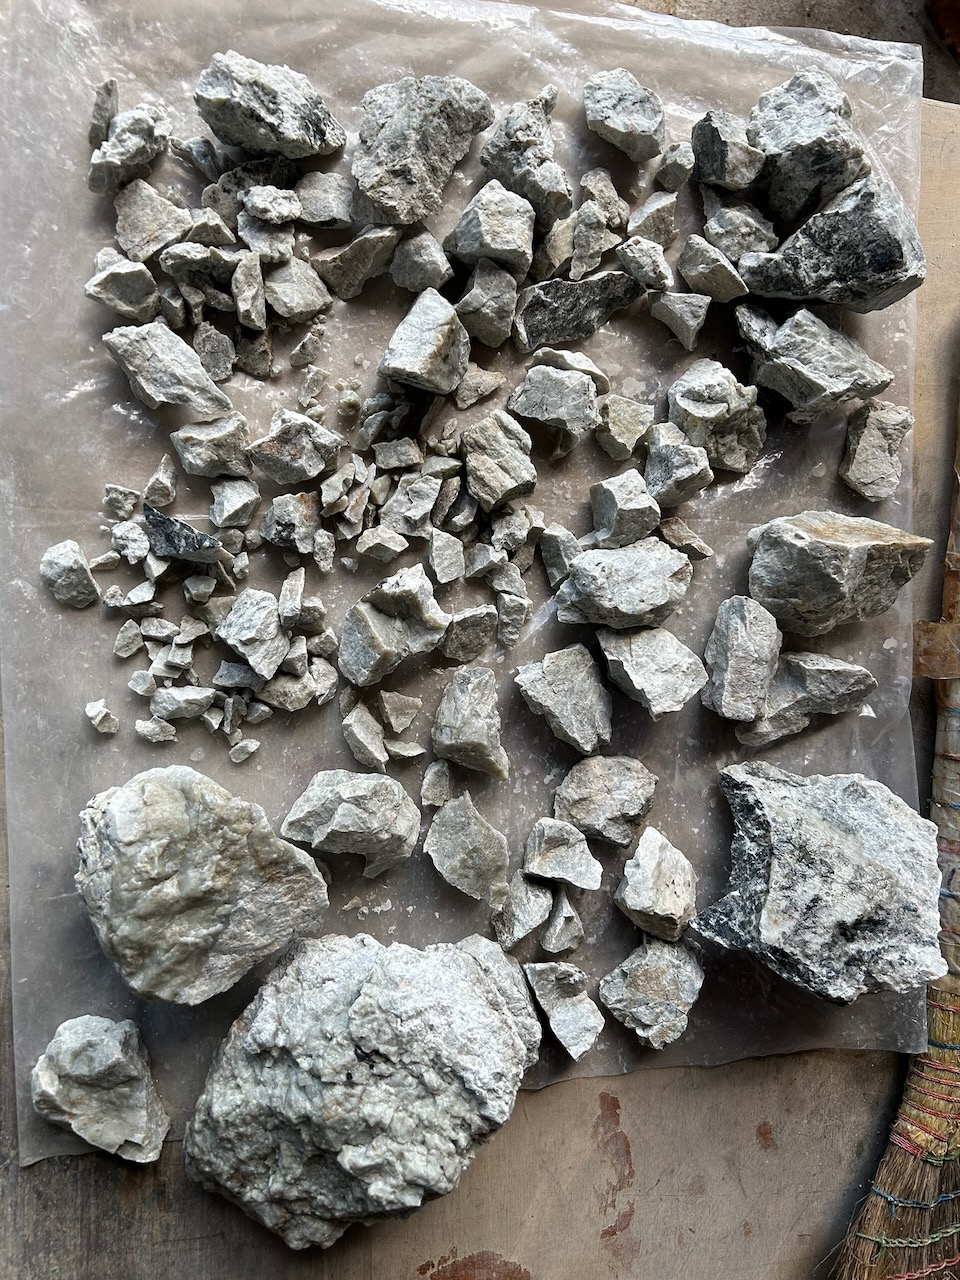
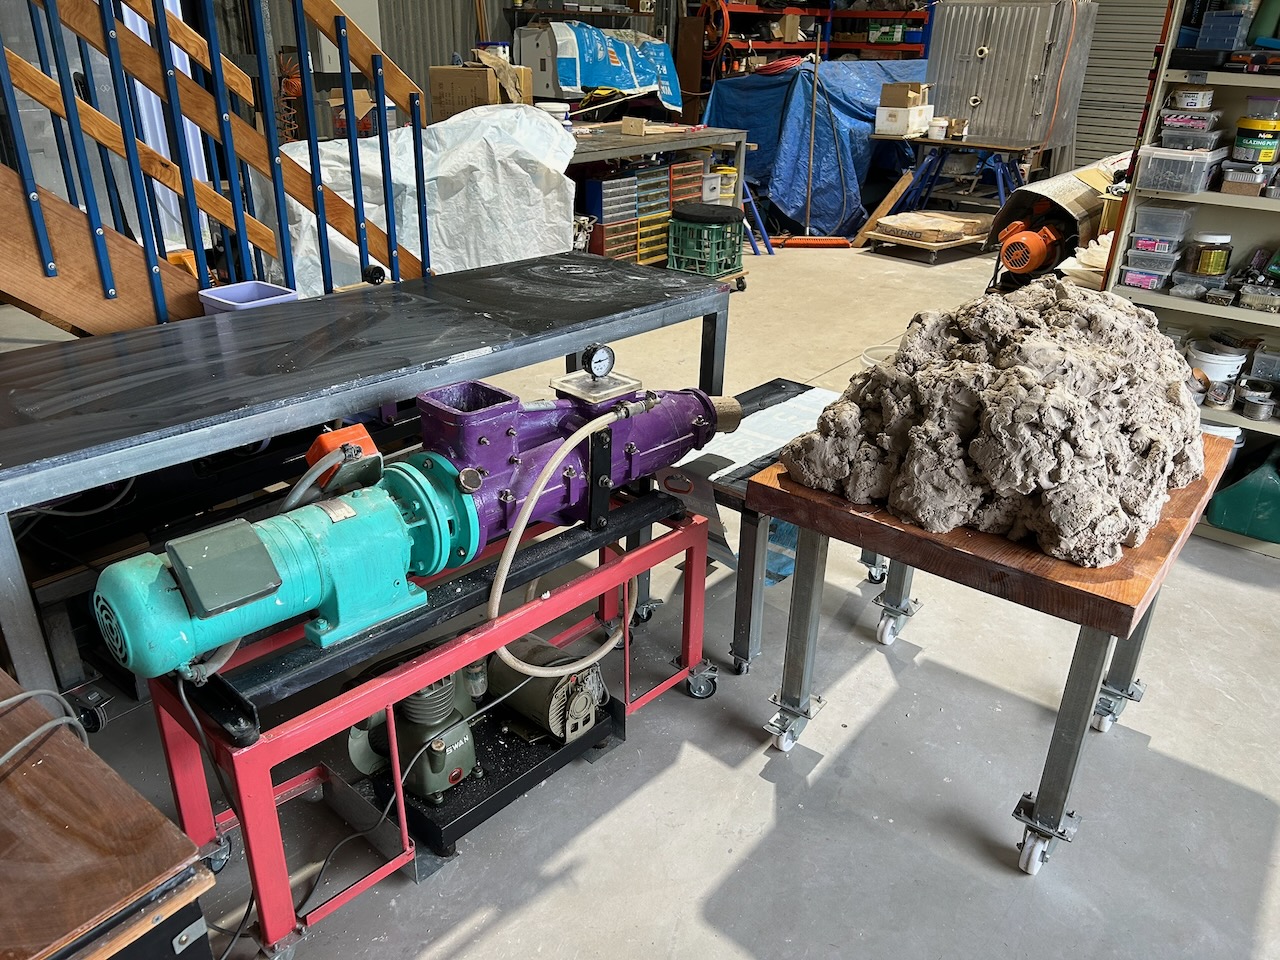
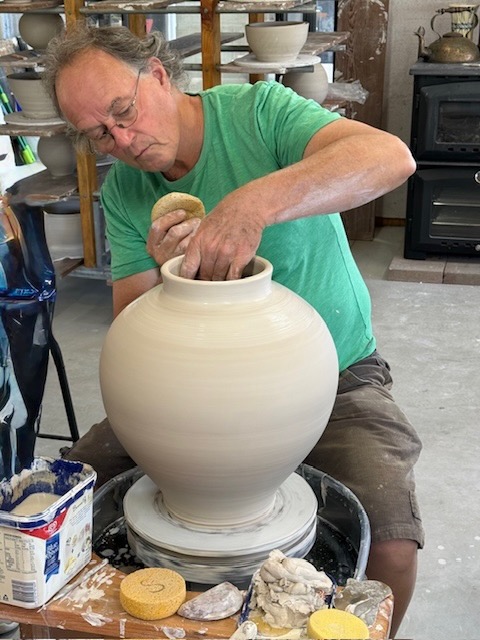
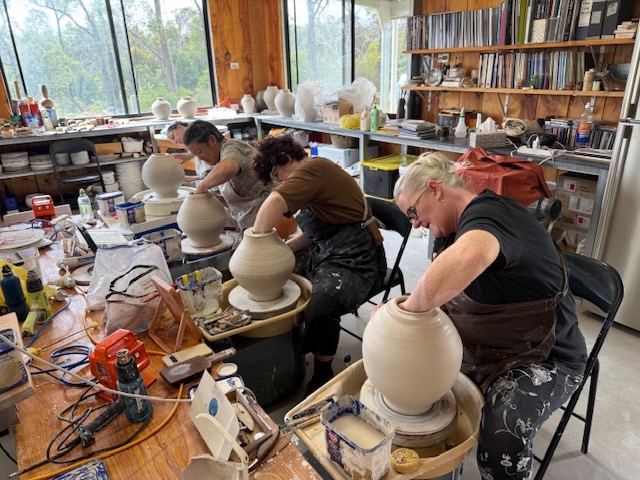
So far I haven’t really left my studio/flat for more than a few hours in 6 weeks. I work all day, everyday, and its starting to pay off. My making skills and my ability to see in advance what is happening to these massive lumps of spinning jelly-like, floppy, sericite paste, as it slowly degrades under the force of gravity back down towards the wheel head. I have learnt to feel what is about to happen and what I need to do in the precise moment and order to get the outcome that I want. Knowing when to stop is a key lesson. Perfection is out of my reach at this level, ‘good enough’ turns out to be the highest level of things that I can achieve at this time. But I’m OK with that. I’m just so glad to be able to be here and have this humiliating experience of failing at almost every turn. But I hope to achieve just a few elegant jars to leave behind, that I can be proud of.
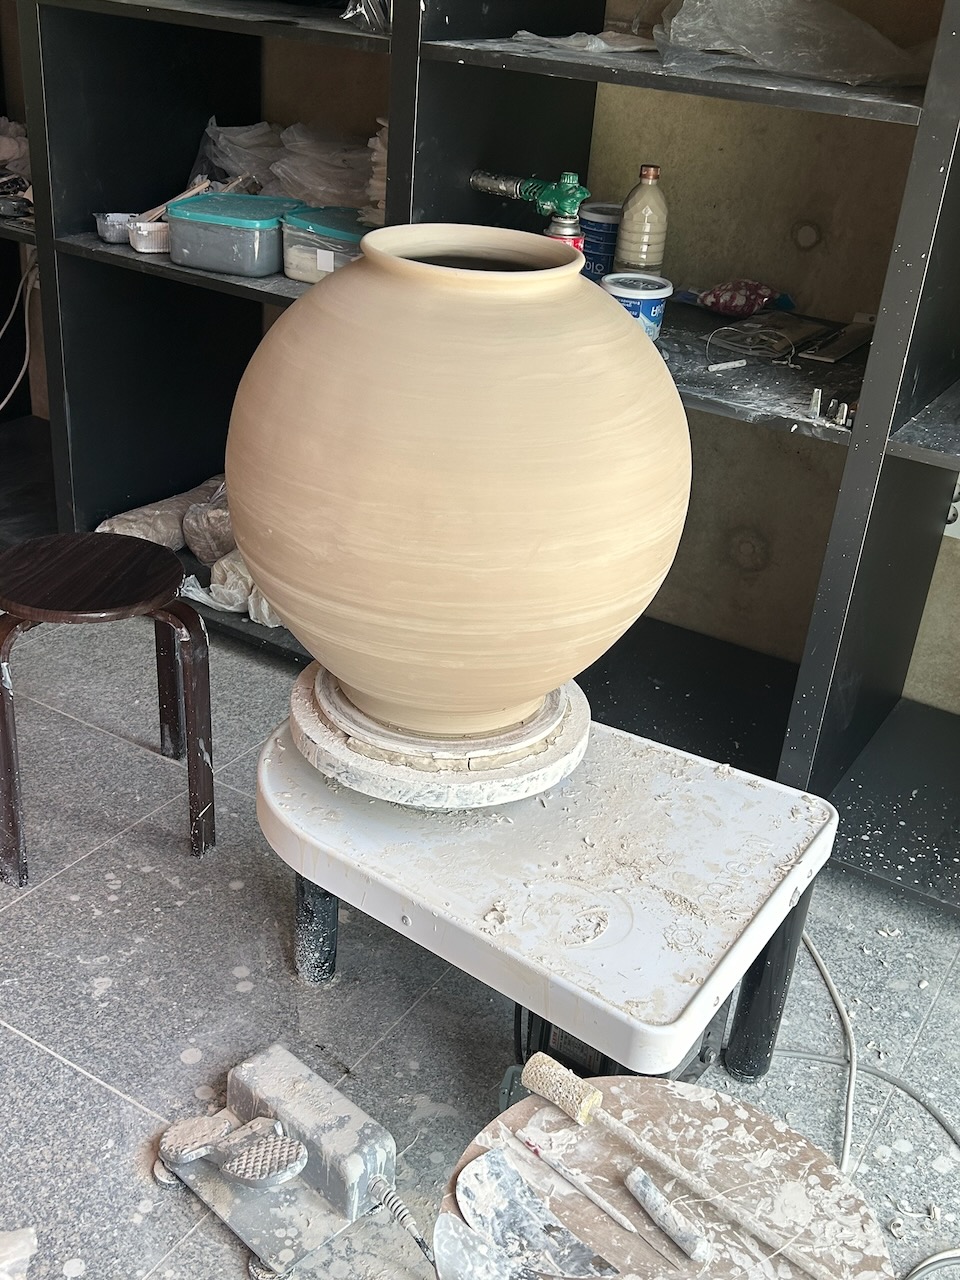
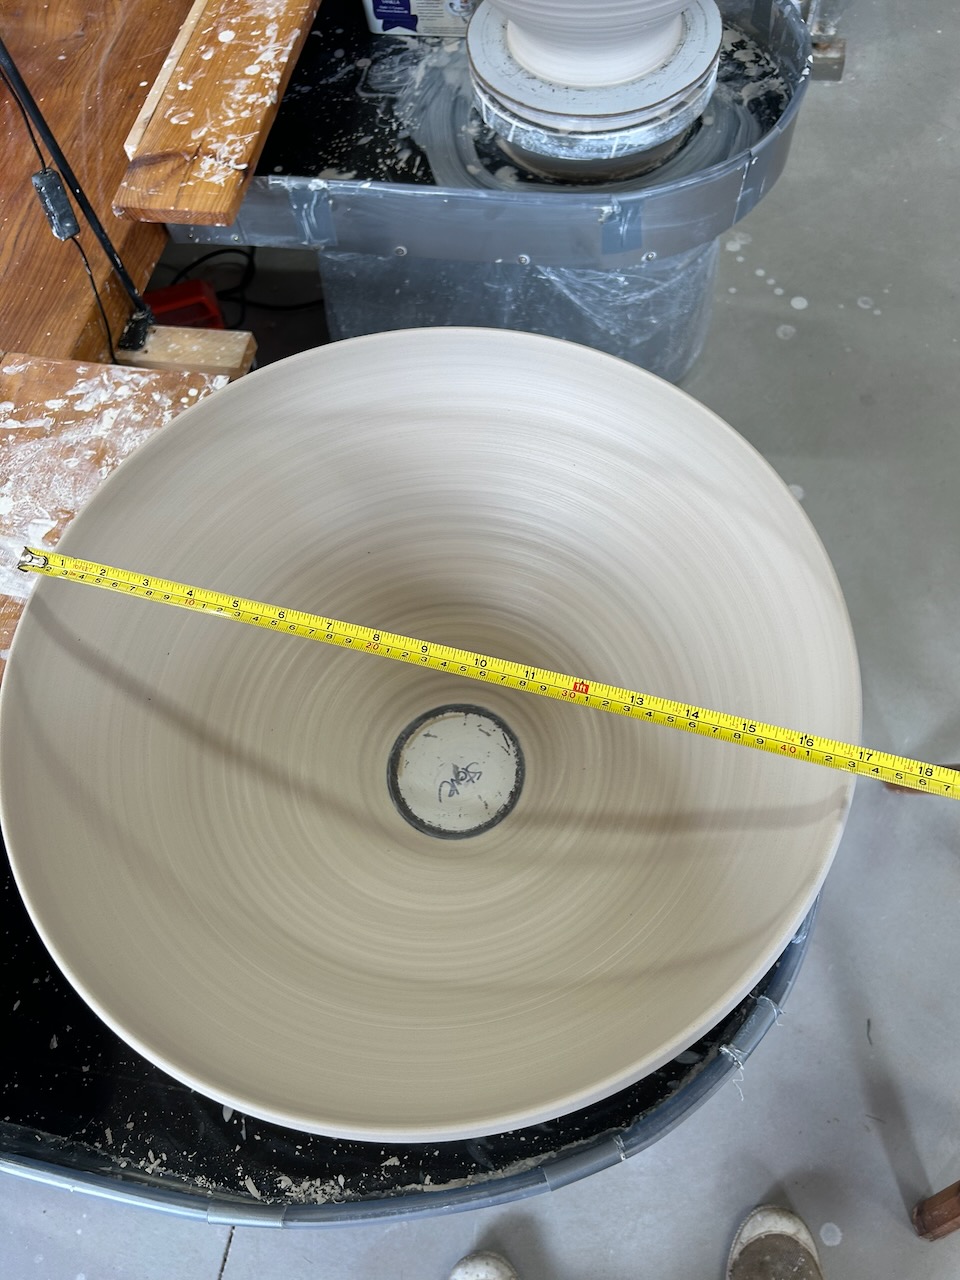
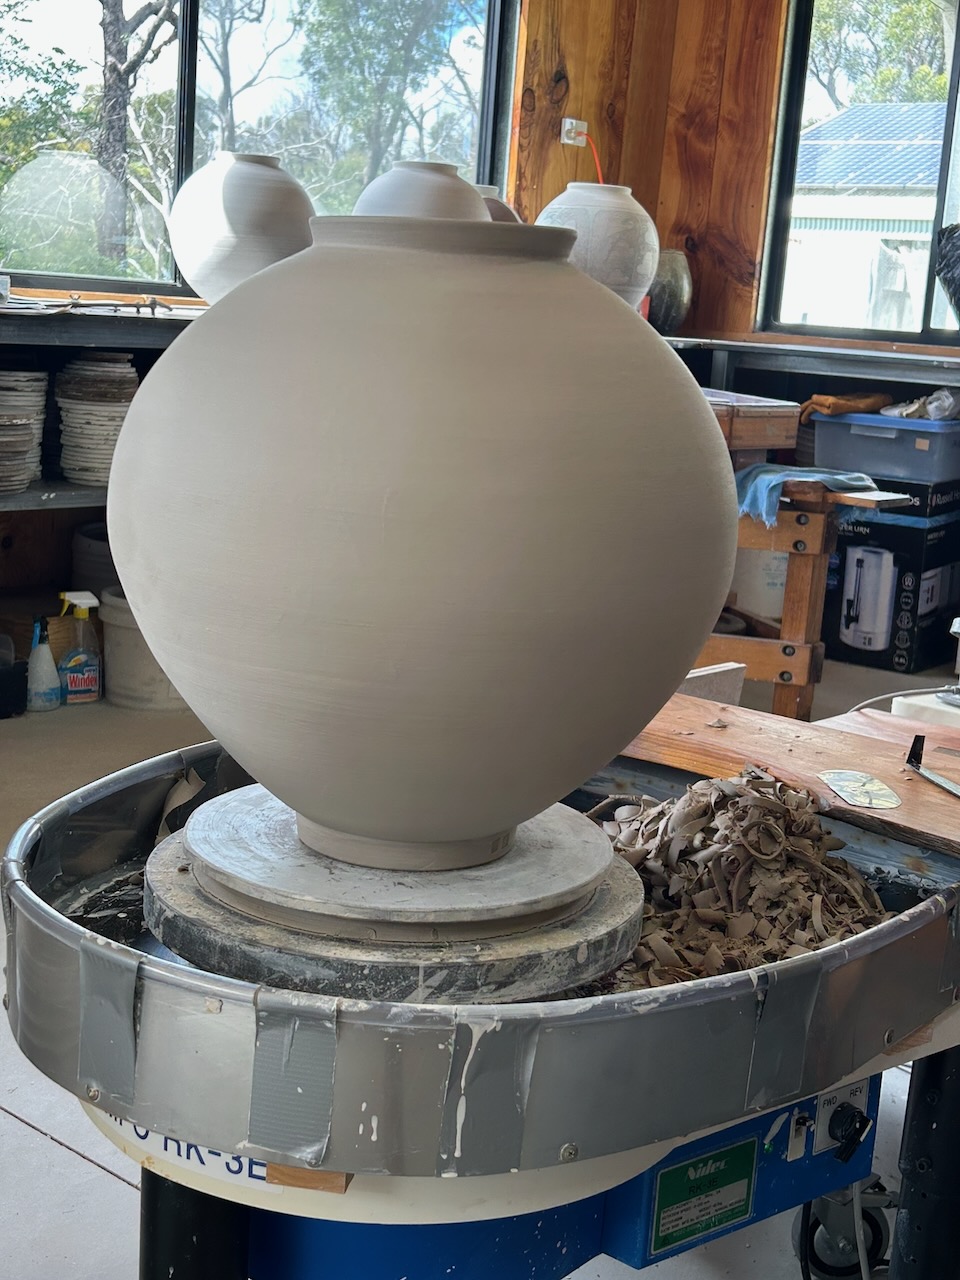
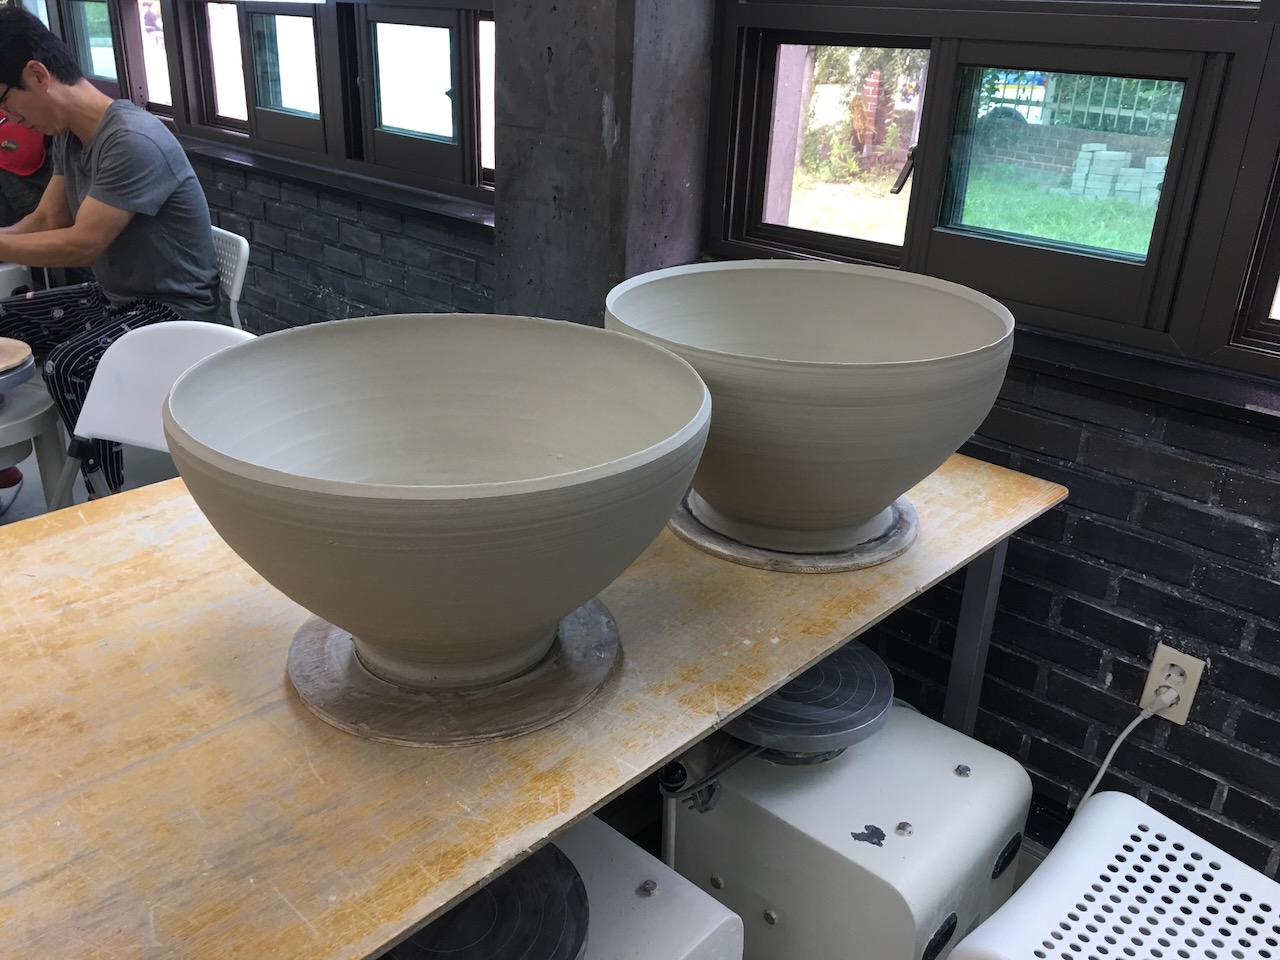
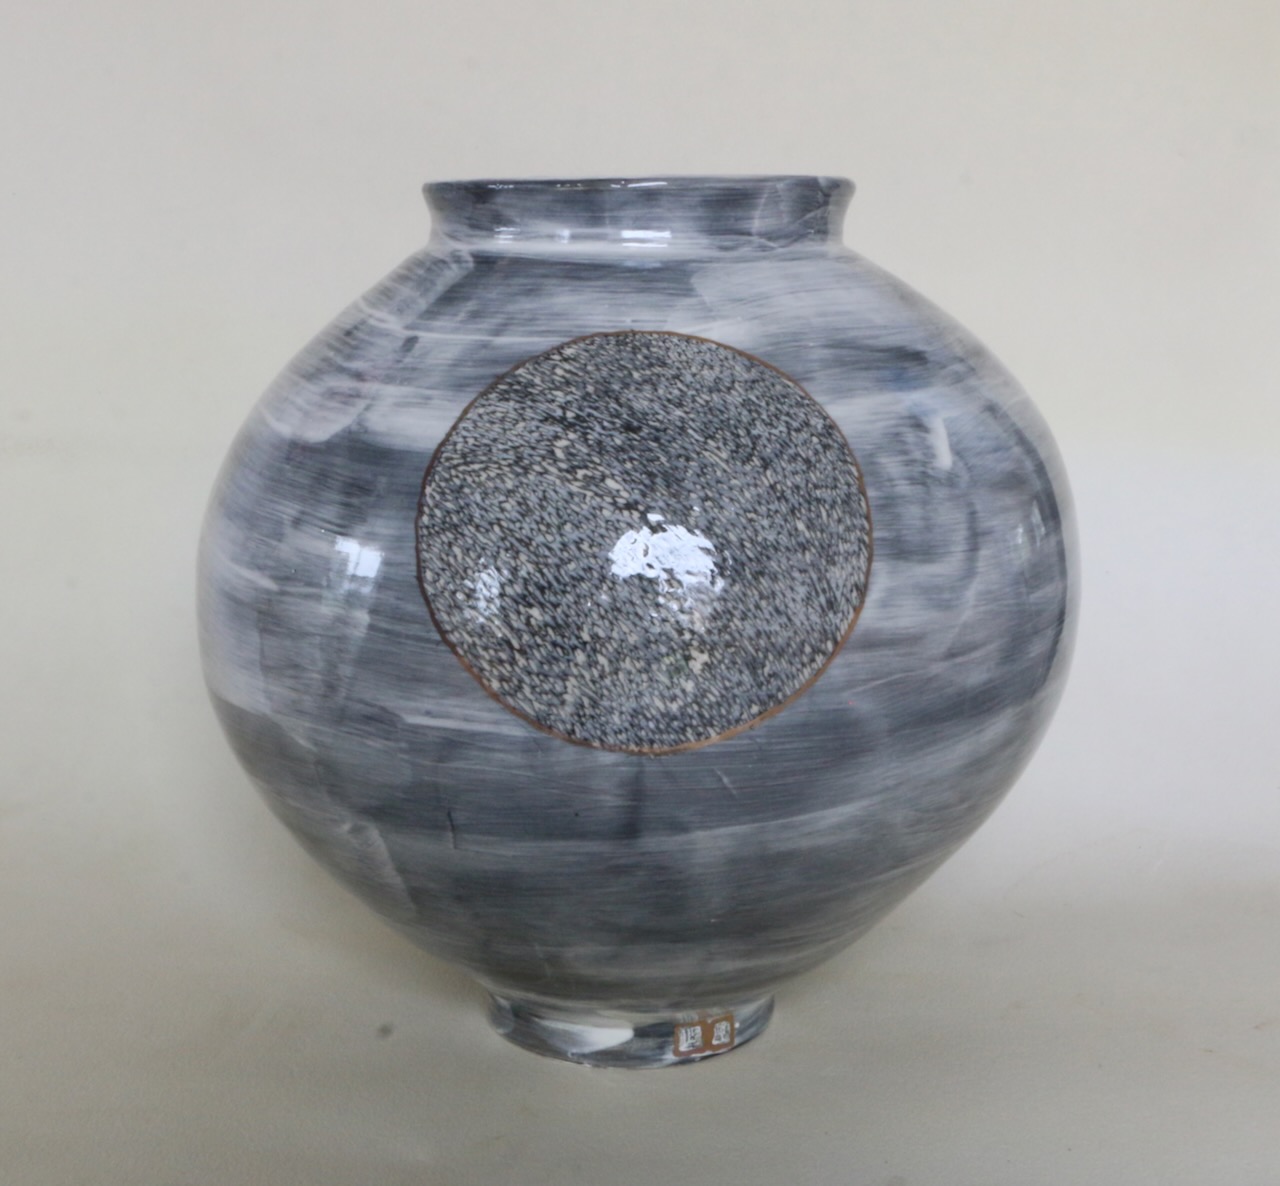
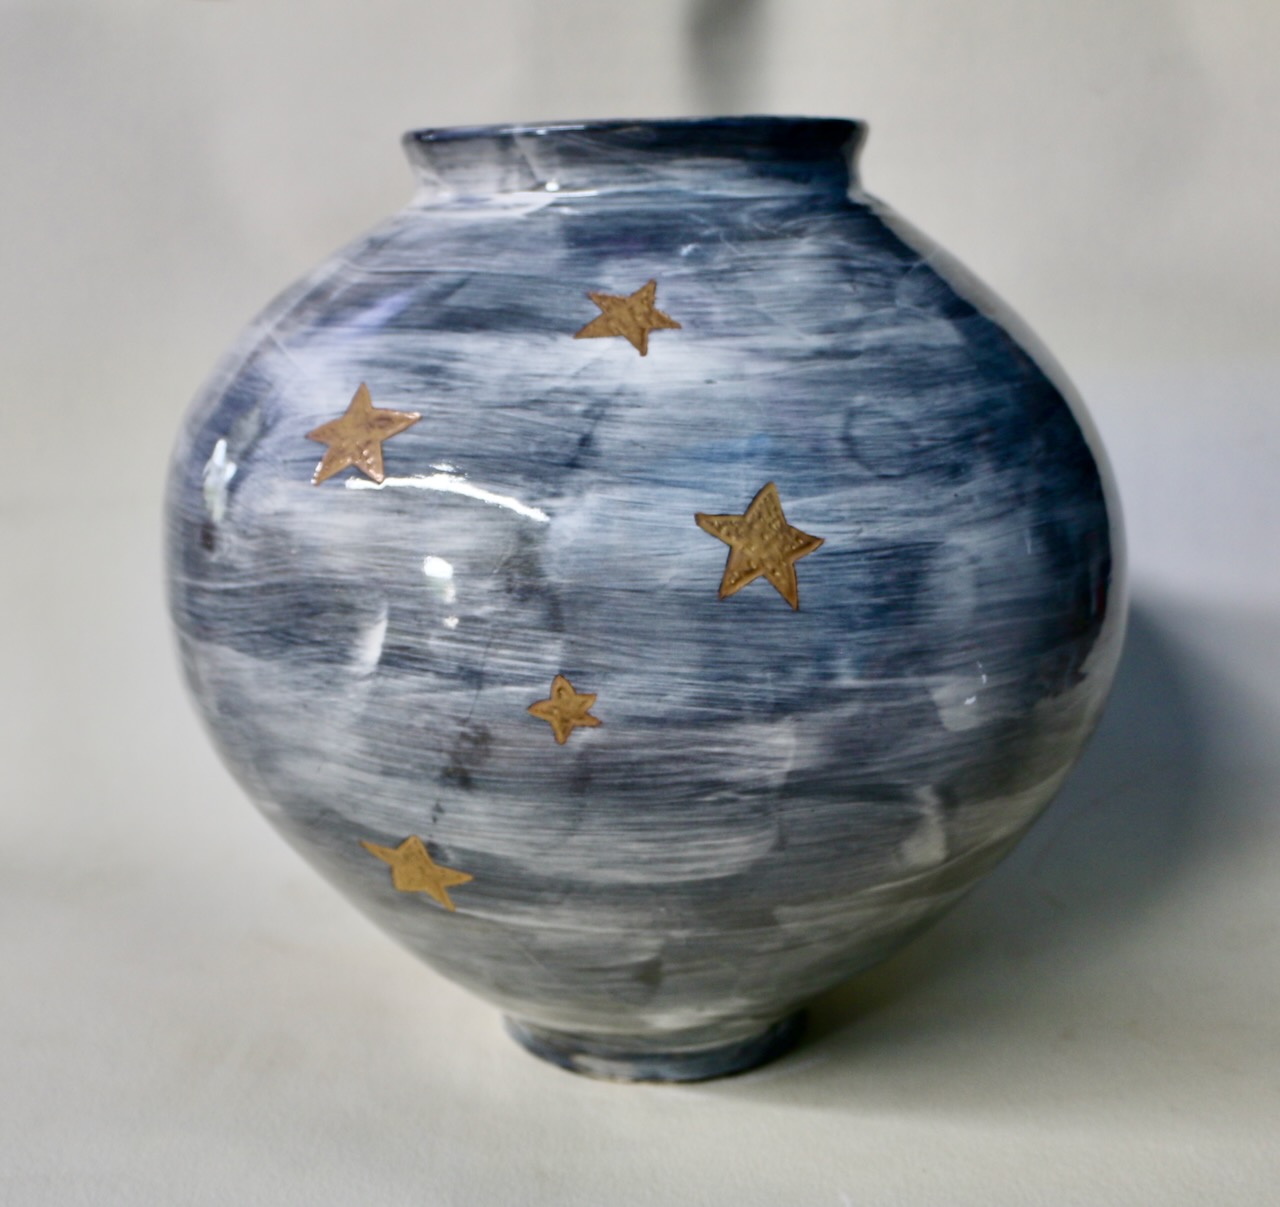
Making a ‘good-enough’ Moon Jar is quite demanding for various reasons. Firstly, they are huge, needing 10, or 12 or 15 kilos of clay to make just one half. Secondly, They are made from porcelain clay that is quite floppy and non-plastic, compared to stoneware or earthenware clays. Thirdly, the shape is a very difficult one to master, even with good plastic clay. The aim is to make a very open, wide, fully rounded, bowl shape with a very small foot. This is the shape most likely to squat down and collapse if not made carefully. That is why it is made in two pieces. But even then, it’s not easy in porcelain.
So when these three elements are combined, throwing large lumps of floppy clay, into a very wide shape, but with a tiny foot, there isn’t much to hold it up. I can only offer ‘good will’ and the little bit of skill that I have to help it along.
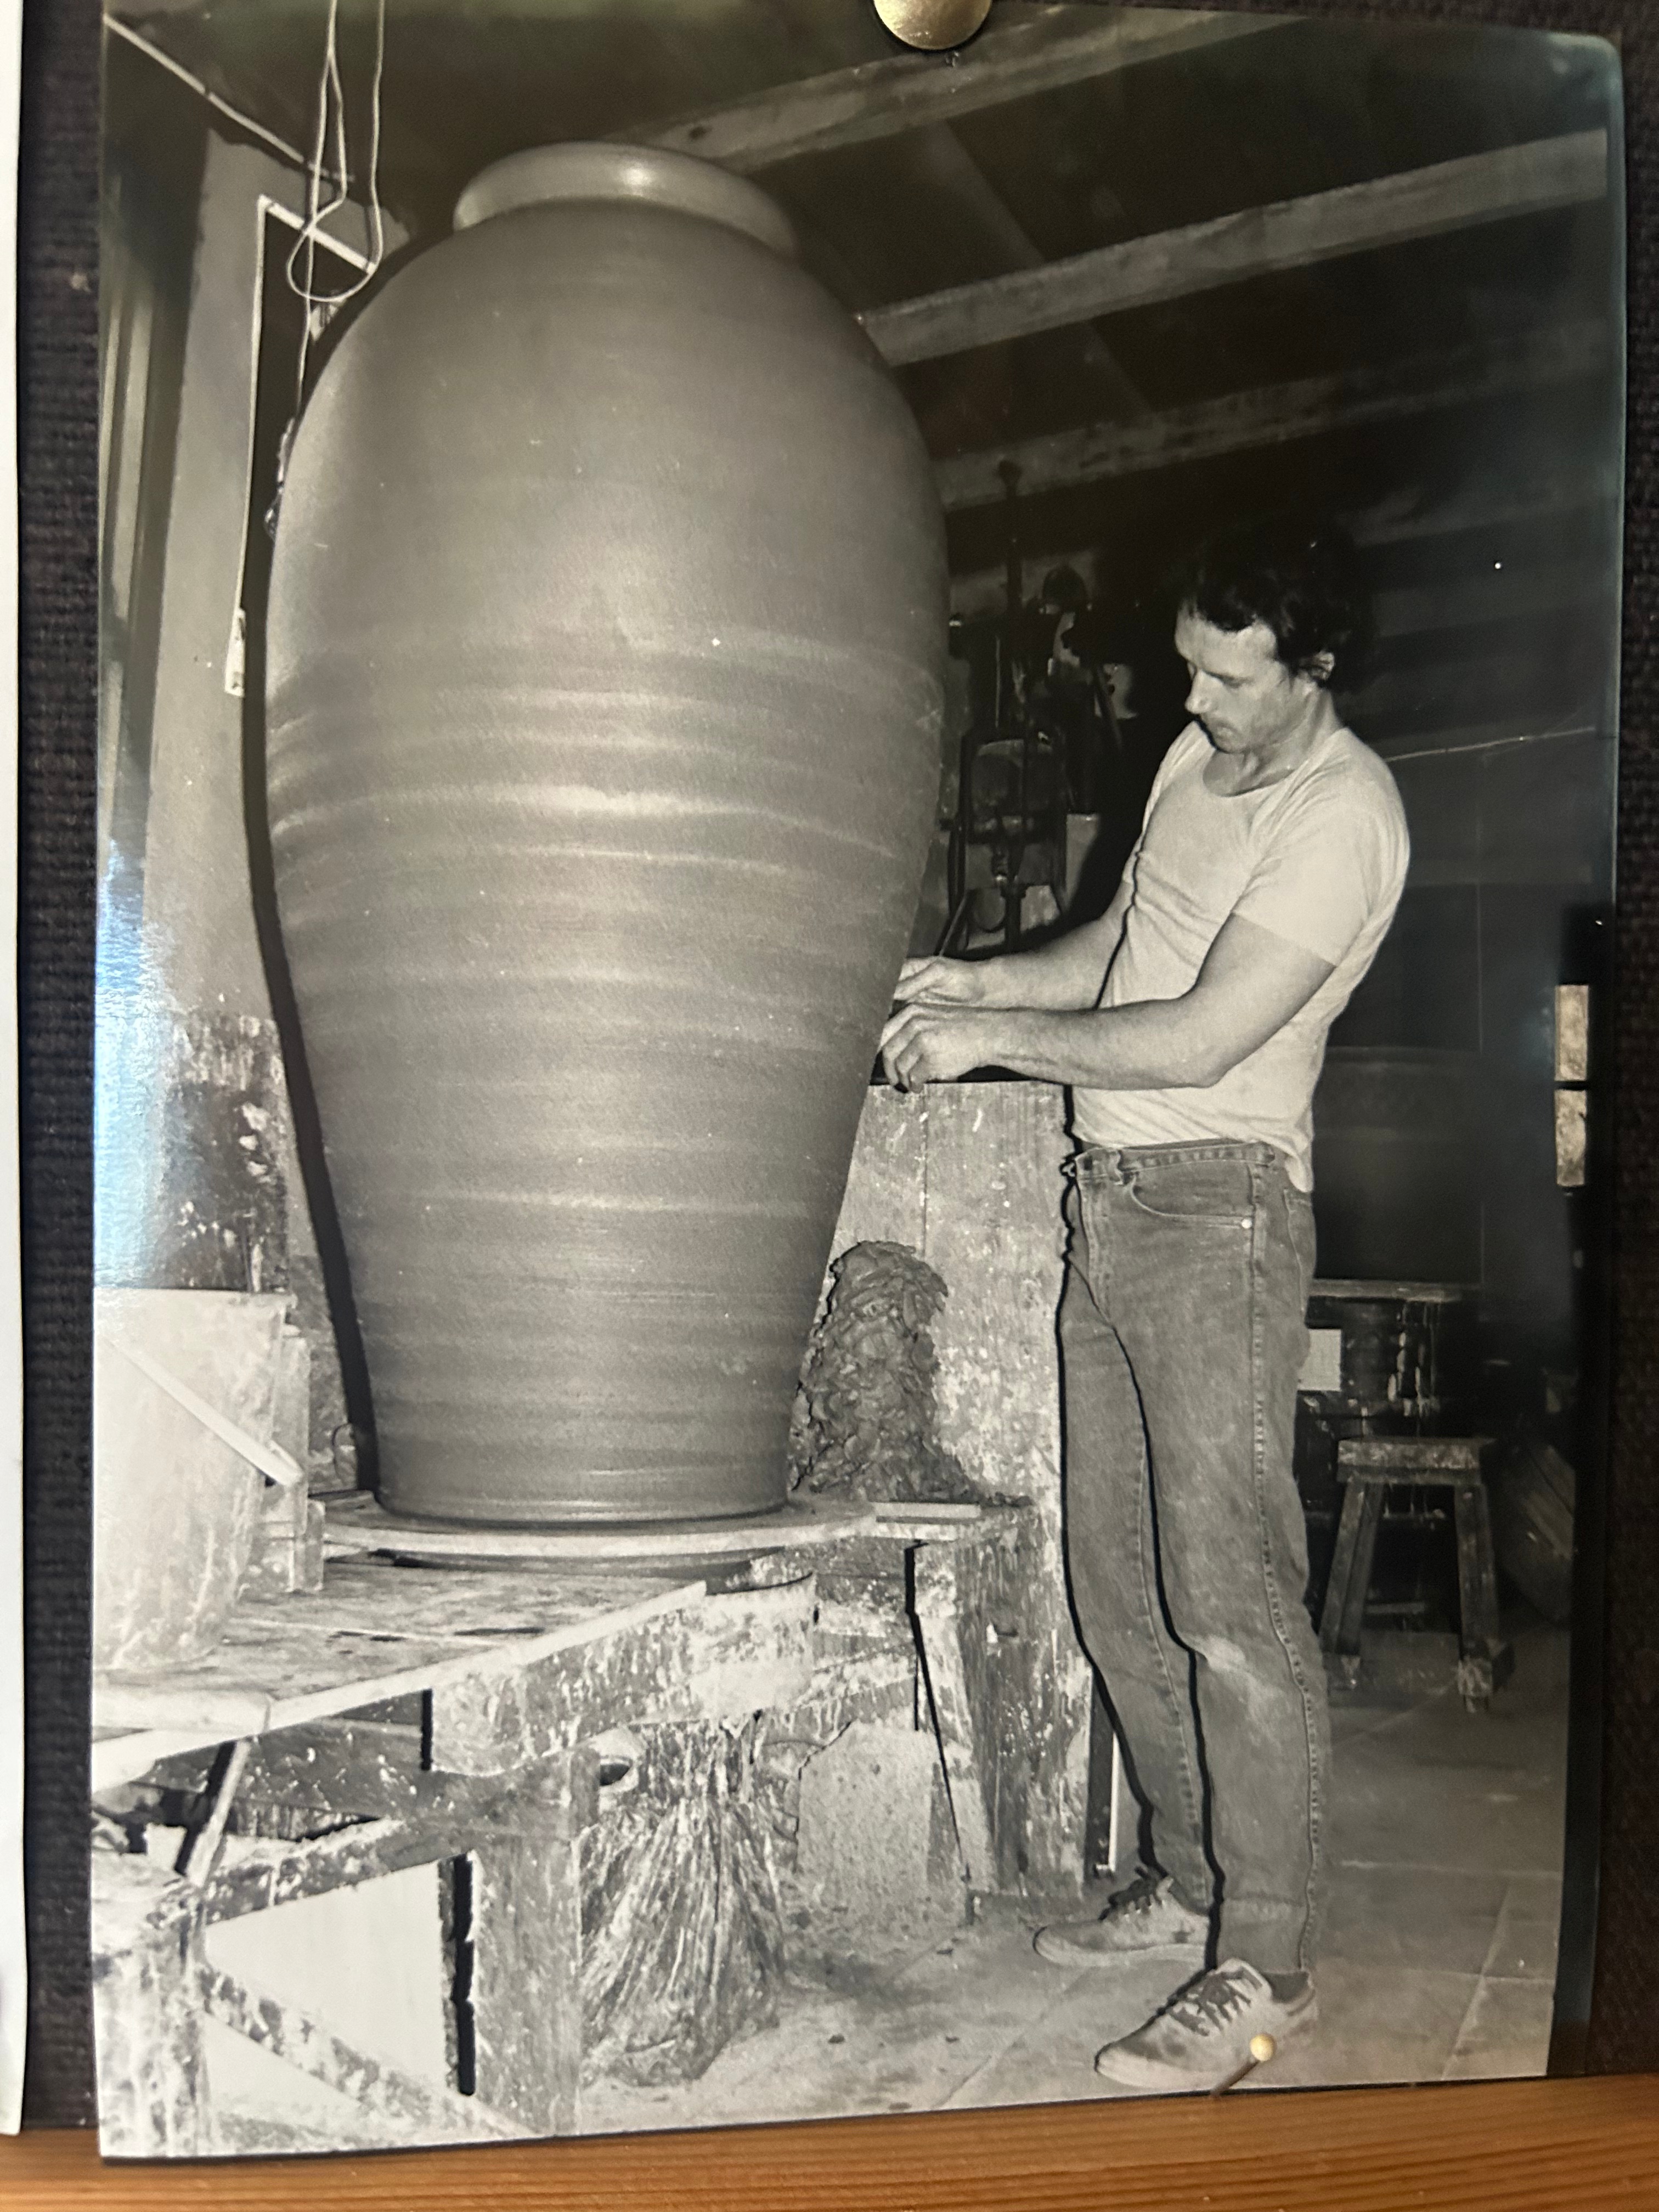
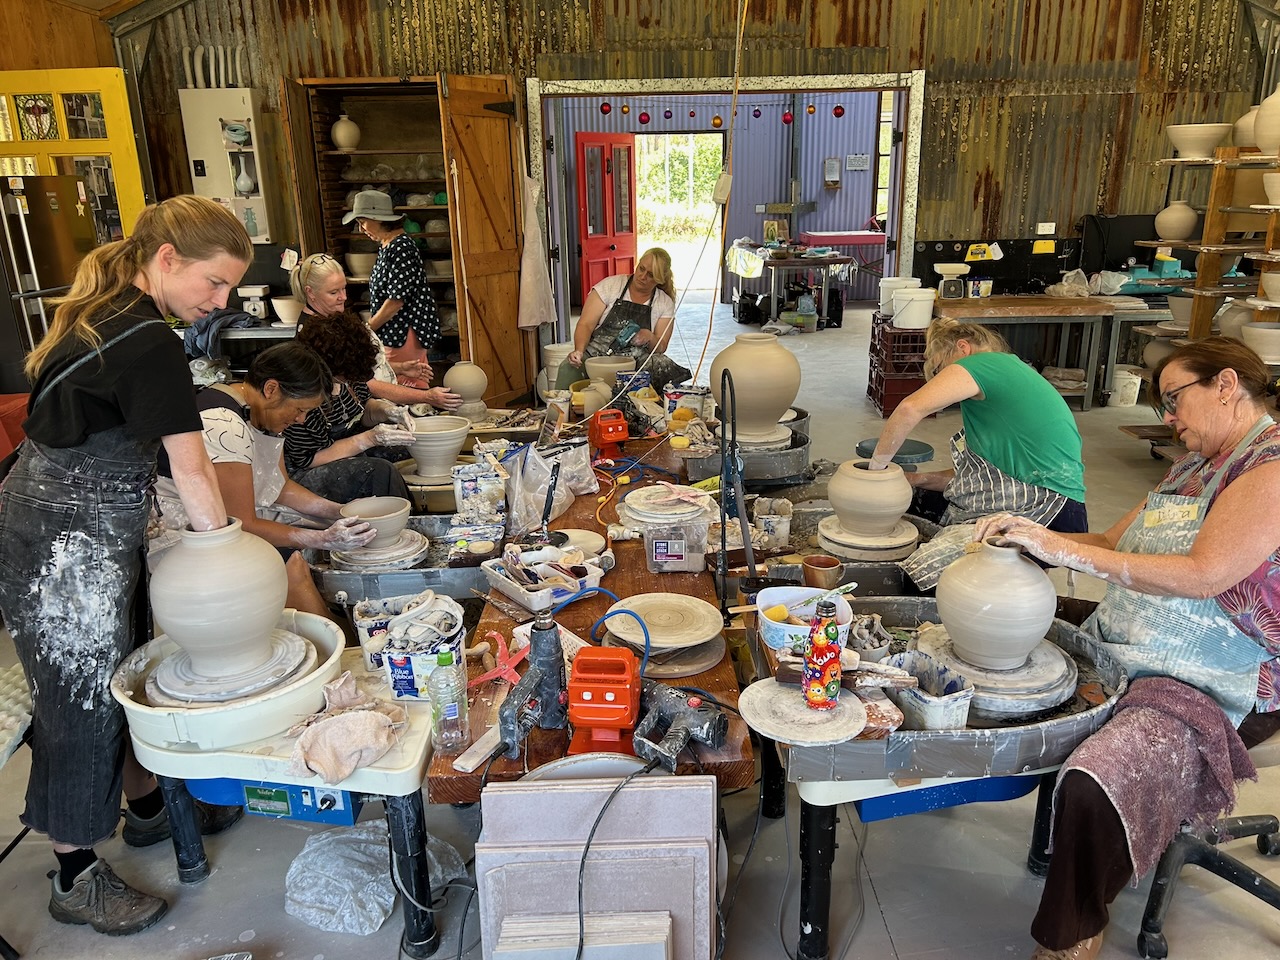
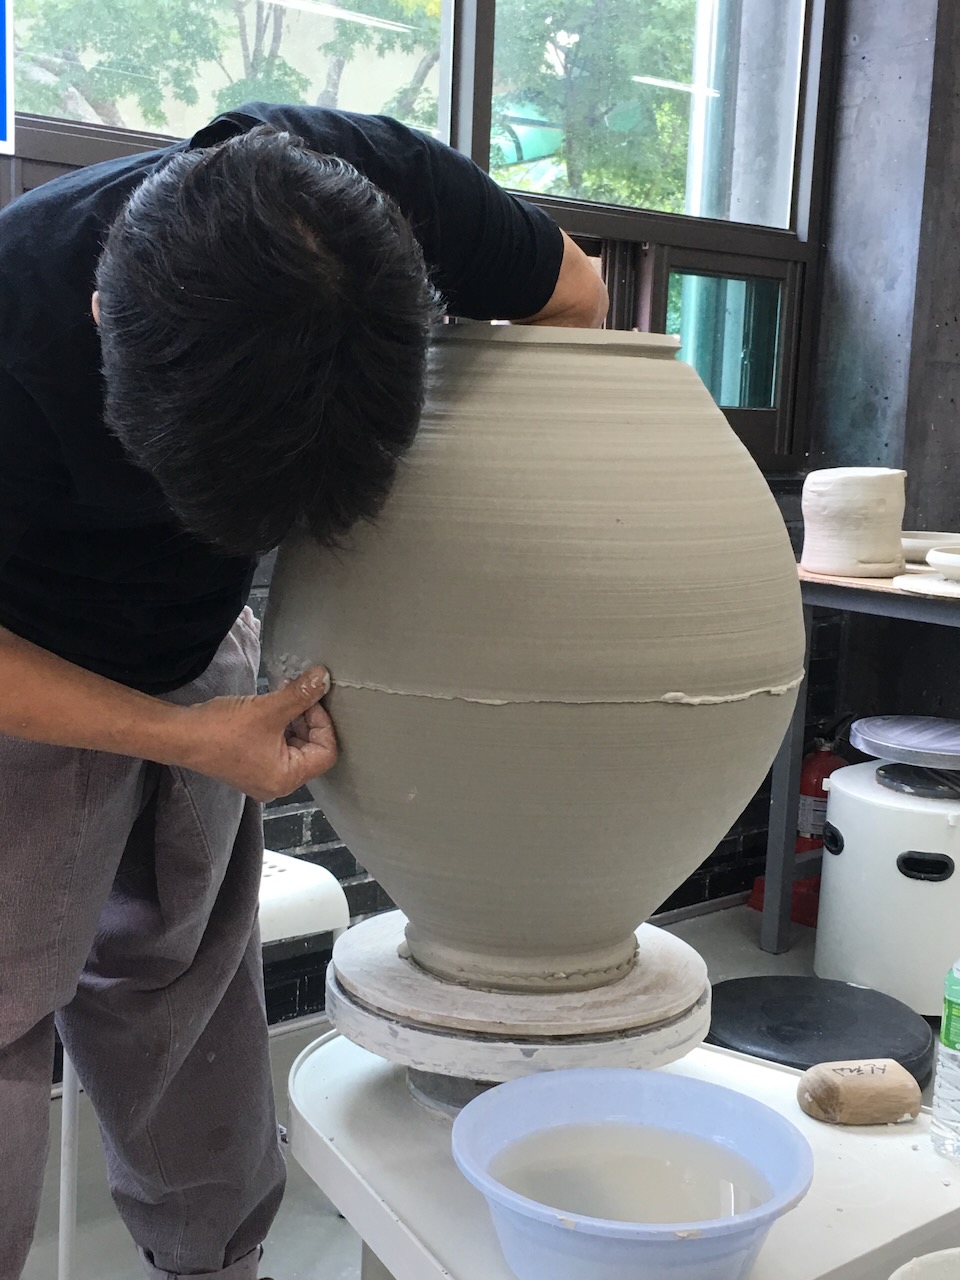
I’m in awe of those early Korean potters here who managed this impossible feat of throwing, while working on a wooden kick wheel with absolutely no momentum, working these huge, beautiful rounded, flowing forms, while kicking with both feet, one towards, and one away, alternately, to keep the wheel moving. Keeping both feet in action while holding your hands steady in space is something akin to ballet. BUT, not just holding those hands steady, Actually applying considerable pressure to the clay the slow it right down as well.
I could have made more progress, if I’d worked alongside somebody who knew what they were doing. All I’ve got up my sleeve is what I’ve retained from watching some good Korean throwers here in Bangsan in 2018, eight years ago, during a Moon Jar conference. Not a lot was learnt, and most of it forgotten, What I’m learning here now is invaluable, as every mistake and failure is painfully burnt into my memory banks.
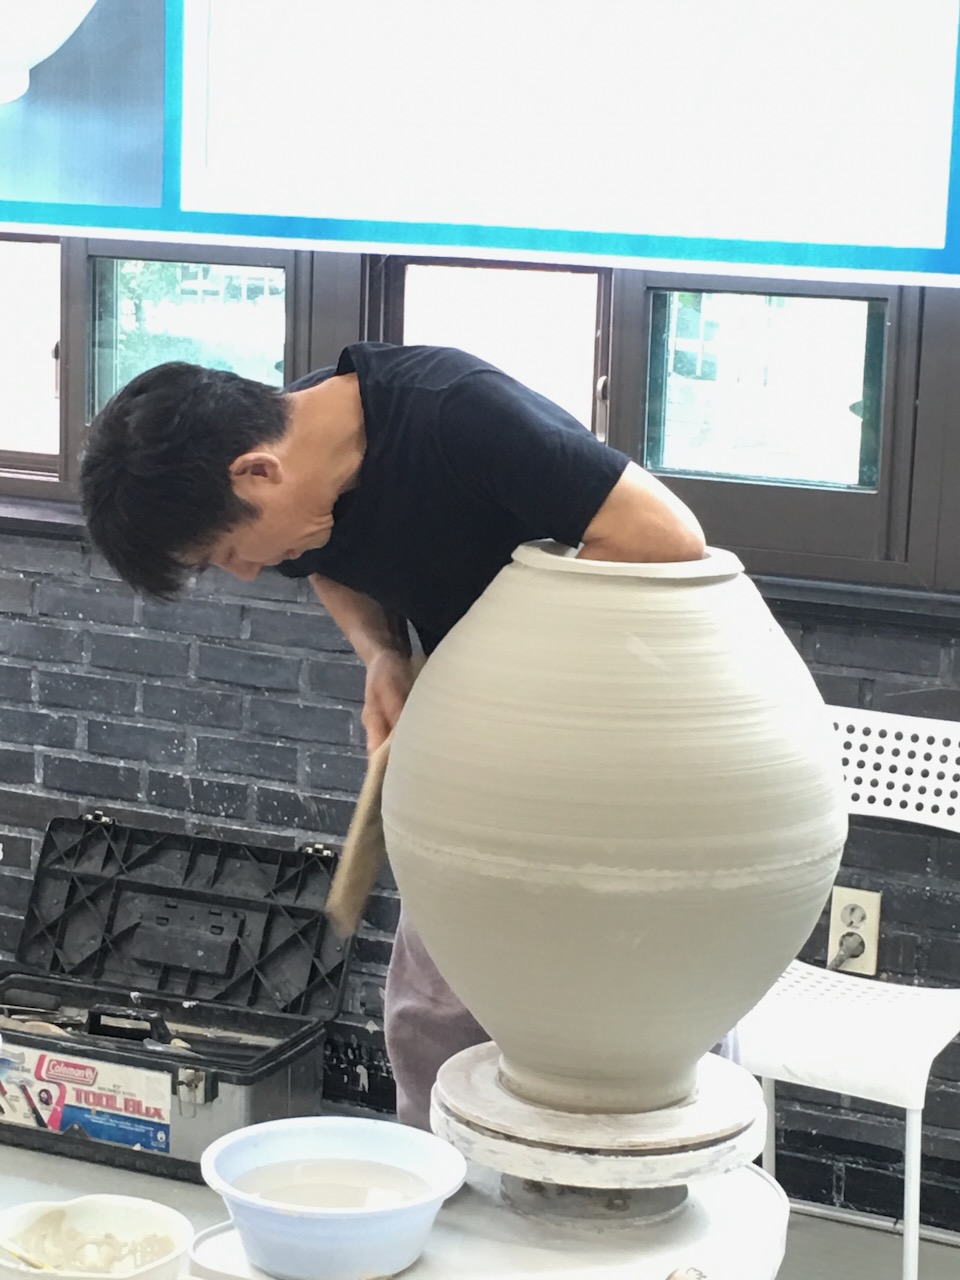
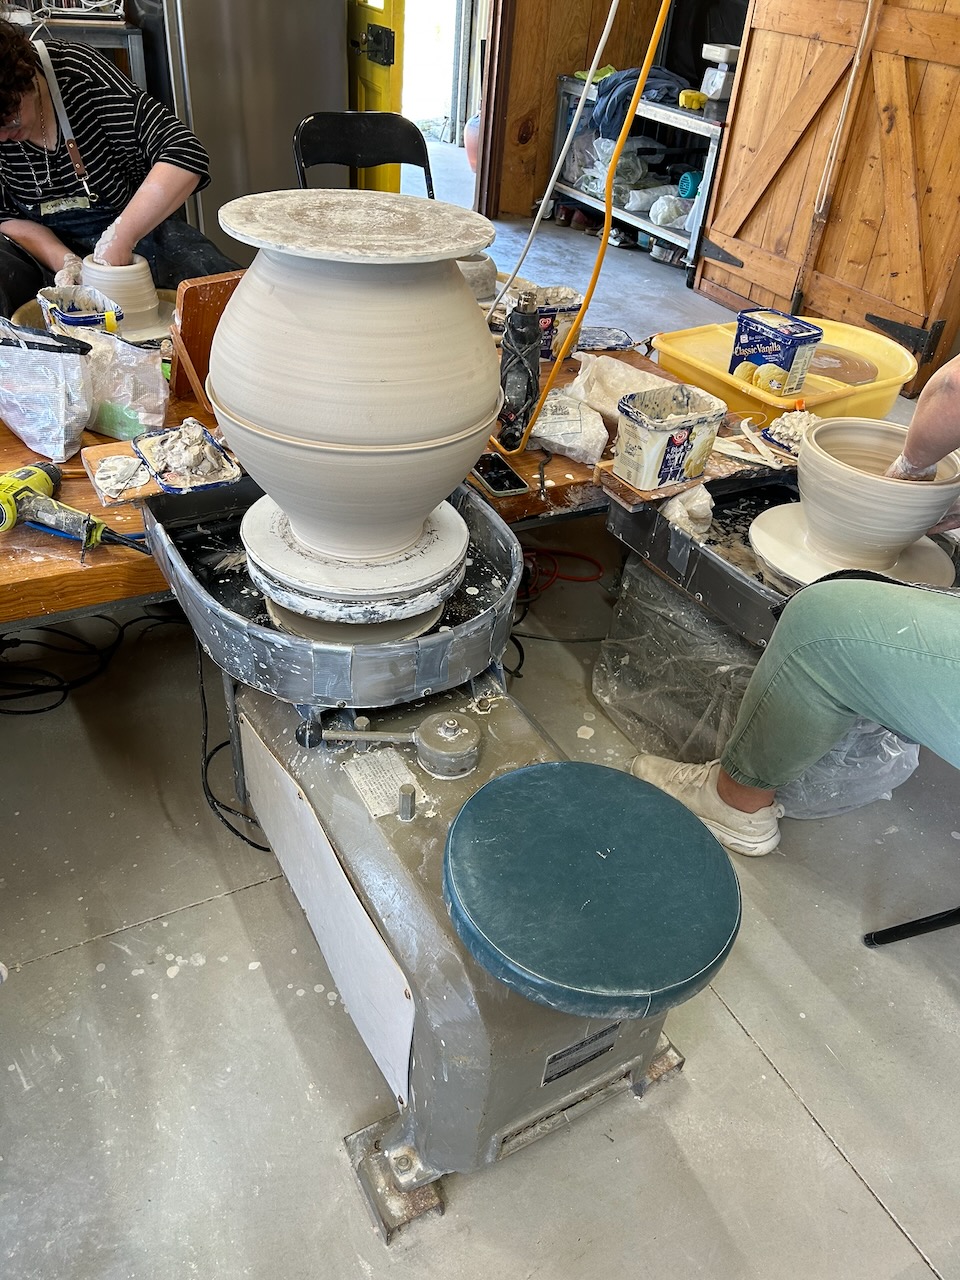
You really have to have your wits about you. I’m learning how to best approach this difficult task. The order of moves, the thickness of the clay in different parts at different stages of the lifting and opening of the evolving shape. If it were just a simple ‘vase’ shape, coming up off the wheel in a straight line up and out, like an inverted cone, it would stand up more easily, but two of these straight sided vase shapes won’t make a sphere. A sphere needs to have a small elegant foot ring, then opening up and out in a curve, away from the wheel head towards the horizontal, then curving around and back, upwards to the rim. An ‘ogee’ line of curve. A completely impossible shape to be self-supporting in soft, floppy non-plastic porcelain. Who was the genius who first thought of this extravagance in white porcelain?
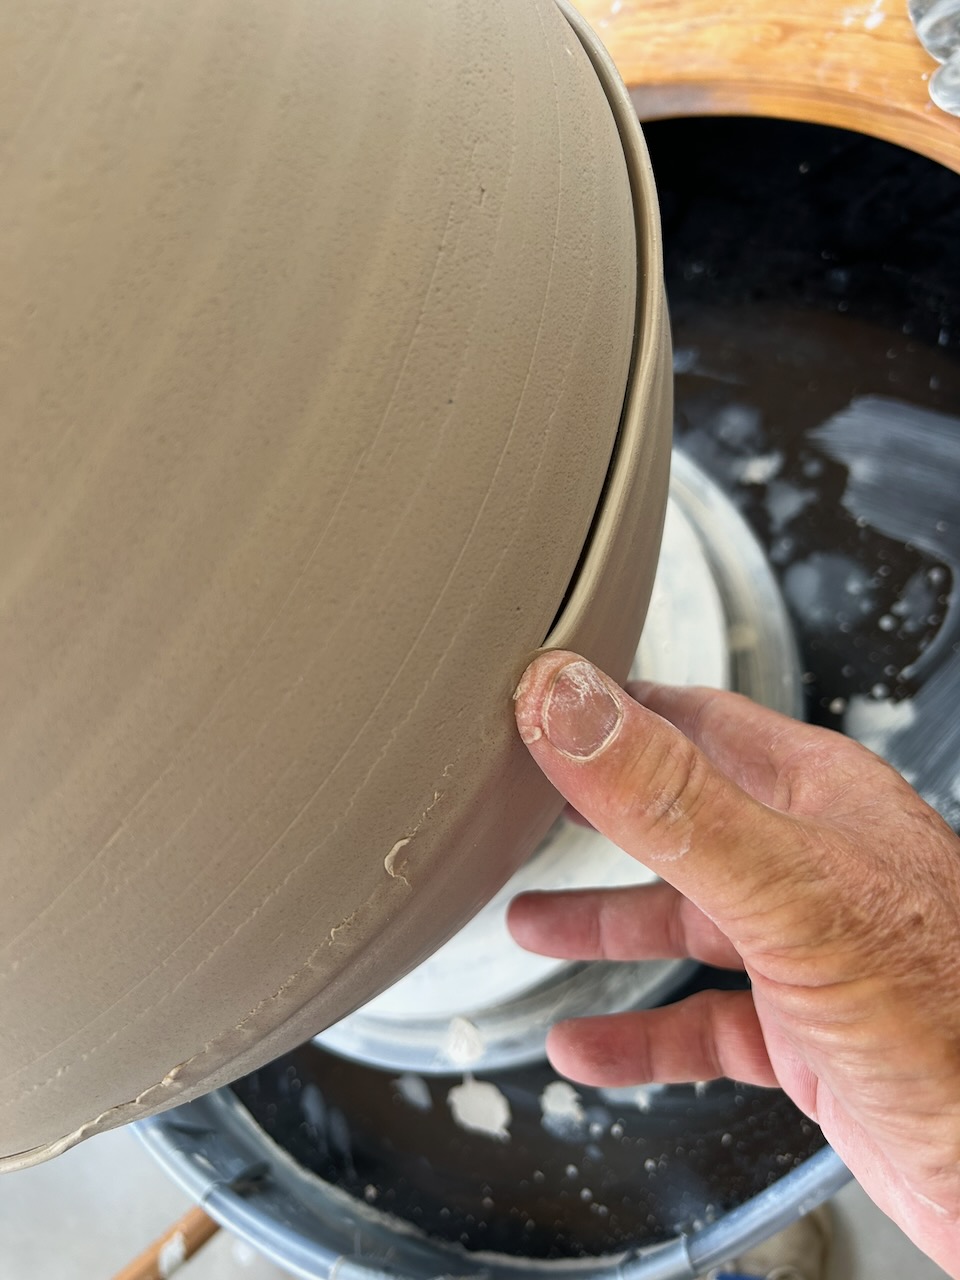
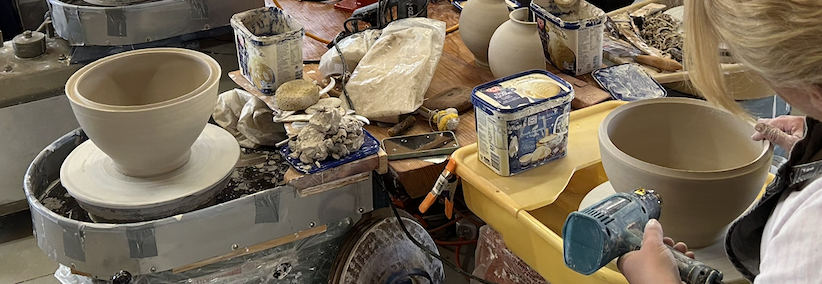
I’ve dropped a few shapes while getting it right, but I have a better appreciation of the way to best get it done now. Added to the above is the tendency for the non-plastic porcelain clay to absorb water and dry out on the surface causing your fingers to ‘stick’ or ‘grip’ every so often. All throwers have experienced this at some point, but with small pots made from plastic clay, it is recoverable. If this happens while making a moon jar, it is the end of that pot. A stretch and wobble in the form that cannot be corrected is established and there is nothing that can be done to recover it. I’ve tried. Best not to waste any time on it. Just stop, wedge it up and start again. I’ve learnt to hold a wet sponge in my hand between my fingers, and to give a little gentle squeeze more or less continuously, to keep the surface lubricated, but only just so, to avoid any ‘sticking’, but not too much so as to saturate the surface and cause the form to go weak at the knees, resulting in slumping and collapse.
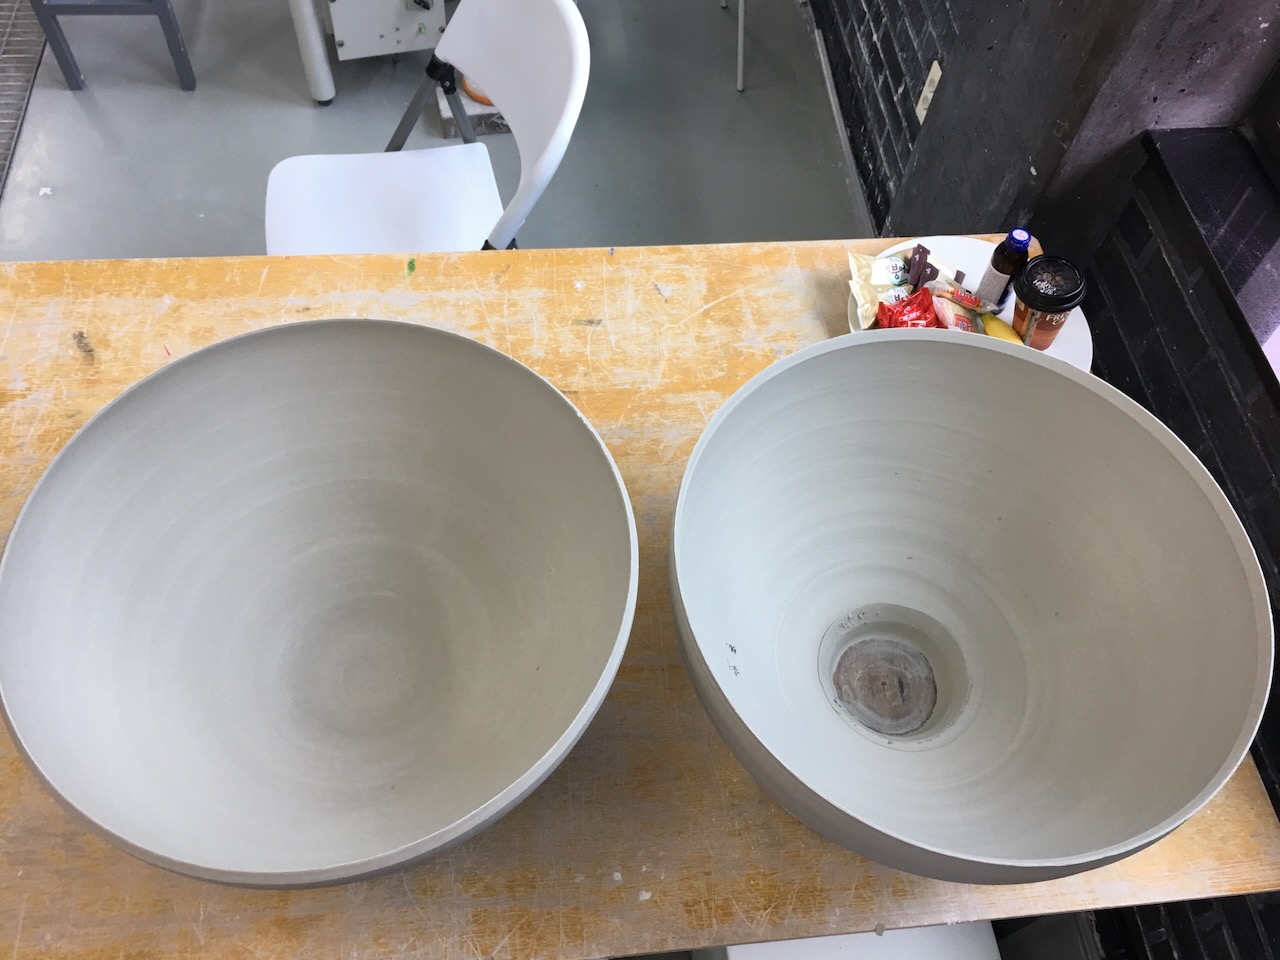
Another lesson was learning to ‘condition’ the new wooden plywood batts. Fresh batts appear to be OK, and would be for every other purpose, but not for large porcelain moon jar bowls. I lost two in a row before I realised that the fresh wood didn’t allow the clay to ’stick’ to the surface well enough. So that when I flipped the bowl over, up-side-down to place it on top of the base bowl, it just peeled off the batt onto the floor. Hard lesson, well learnt. I scrubbed the batts with clay slip and saturated the surface before using them again. success two days later. But so many little set-backs, one after the other, leading to losses is disheartening. But good life lessons in perseverance!
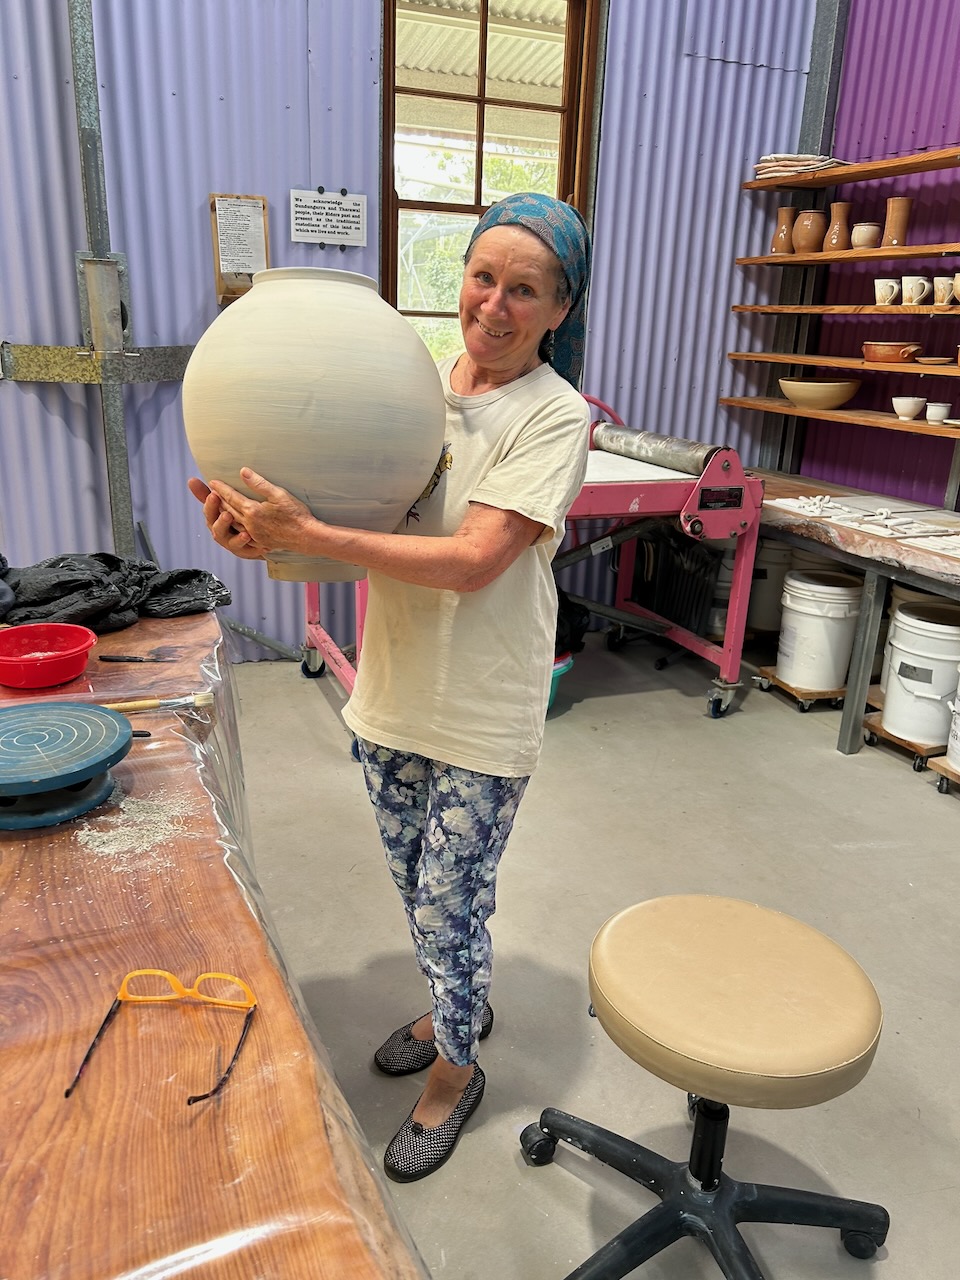
I have also come the the conclusion that 15 kgs is my maximum limit for lifting and flipping over large bowl forms. Any more might lead to a hernia?
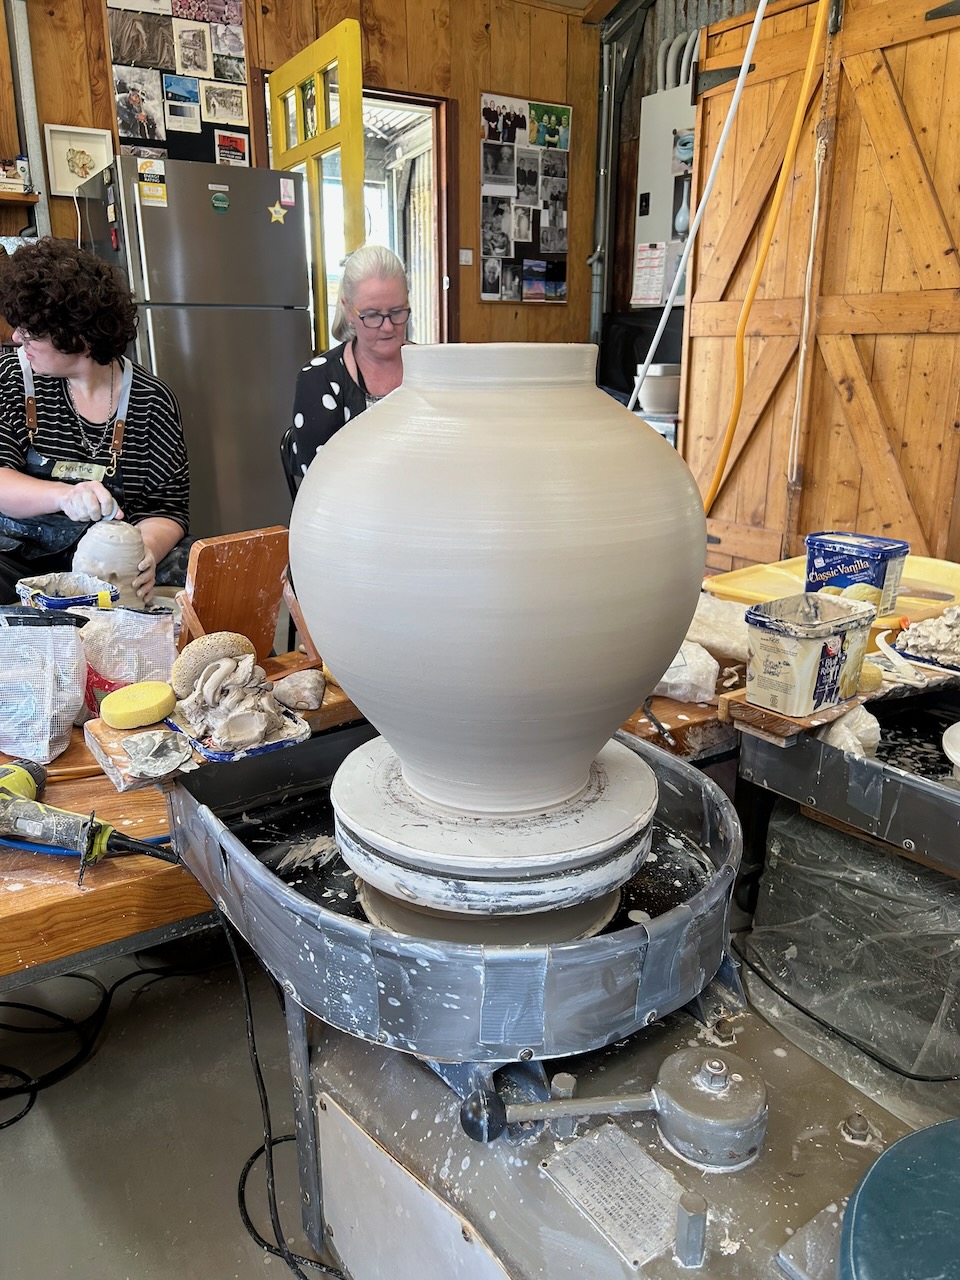
I’ve also learnt to be very careful in staging my drying and stiffening technique to make the best connection between the two halves. I’ve had a few crack along the joint in drying. One from not taking enough care to get the consistency and stiffness just right at the time of joining. Too soft and the shape distorts or worse, collapses. Too dry and the pot stands up to the stress of joining and paddling, but the joint can be too dry and fail in drying. I learnt to stiffen the body of the form, particularly the lower section that will have to take all the weight, while keeping the rims soft and moist for adhesion. This is not just about drying it out, but allowing the natural tendency of clay to ’set’ as some kind of thixatropia sets up between the clay particles. Letting the form sit quietly over night aids this. So making a large jar takes time and patience.
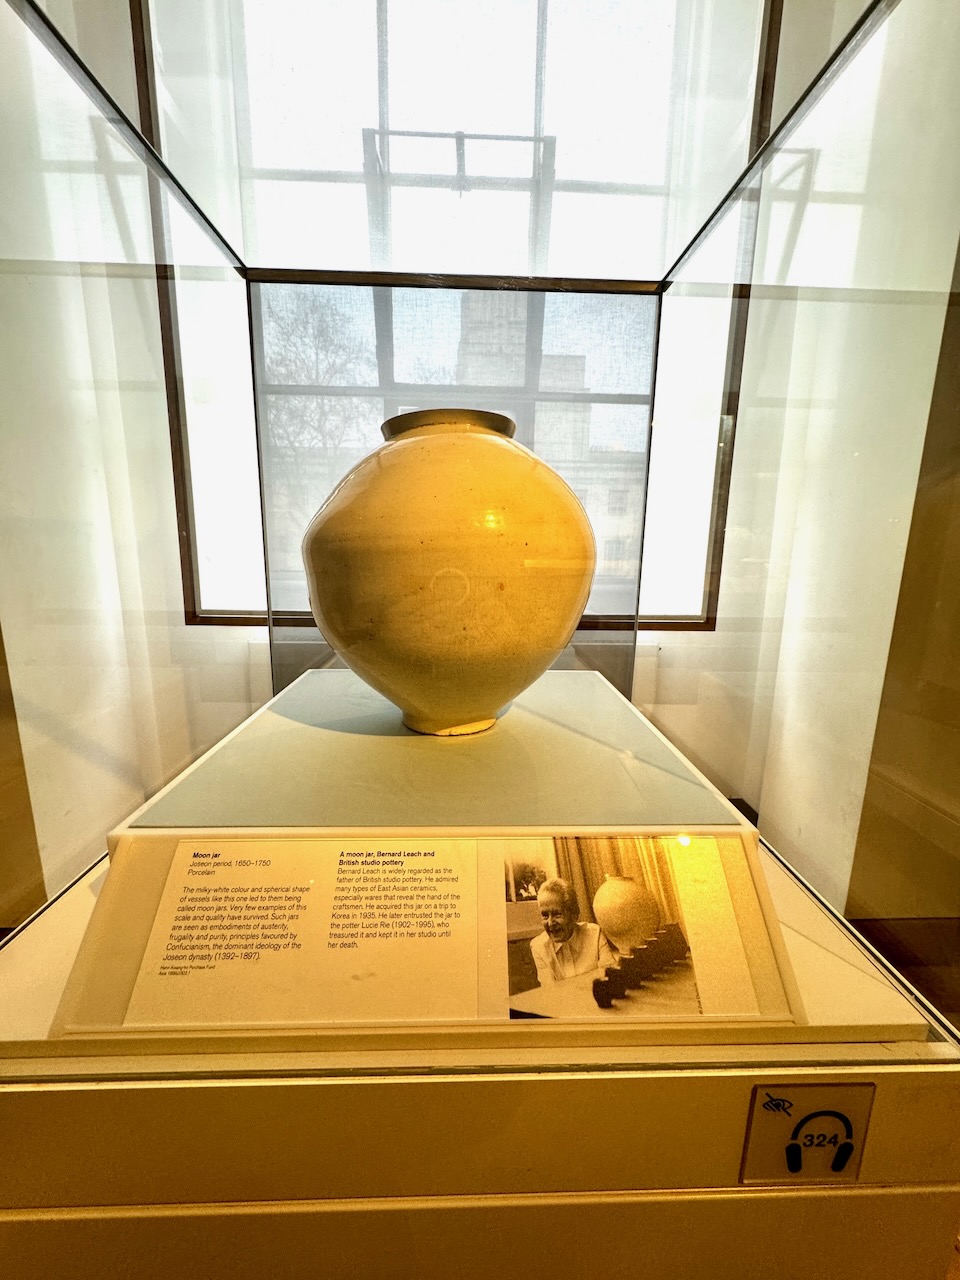
However, if the rims are kept too soft, there is a good joint, but as the pot dries, the wetter rim part shrinks more than the rest of the pot, pulls in and the curve flattens out at the mid point of the sphere, making a flat spot. I’ve seen hints of it in a few of the old Moon Jars in Museums, but also on many contemporary moon jars. A successful join, but a compromised form.
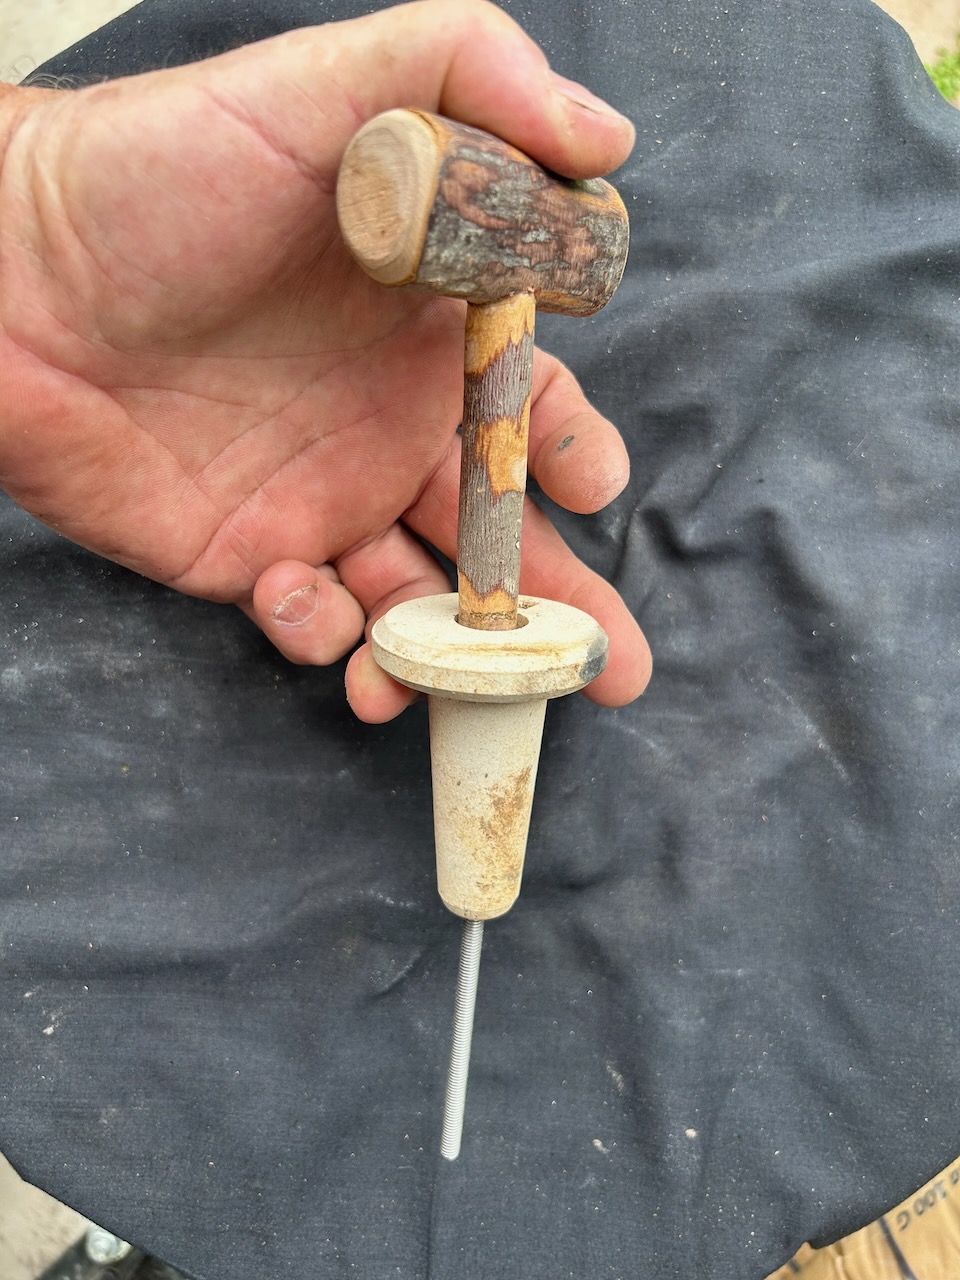
So far I’ve made beautiful round spheres with cracks in their joints after drying, as well as well joined bowls, that didn’t crack, but with less than successful round forms, lacking elegance. They both met my hammer.
Another issue that I have had to come to terms with is picking up the joined form, which is now 20 kgs or more, leather hard, slightly soft and a little bit slippery and then turning it over, up-side-down, so as to be able to trim the foot. This kind of weight should really be a two person job. But Janine’s not here! So I have developed a way to do it on my own, slowly and carefully, but it is at the limit of my capacity now at this age. I’m not the man I once was. so I have to look after myself. Fortunately I have developed a large tummy in my advancing age, and this has turned out to be very useful in supporting the shape while I lean back and very gently manoeuvre it up-side-down with my hands. Note to self! Don’t wear a shirt with buttons!
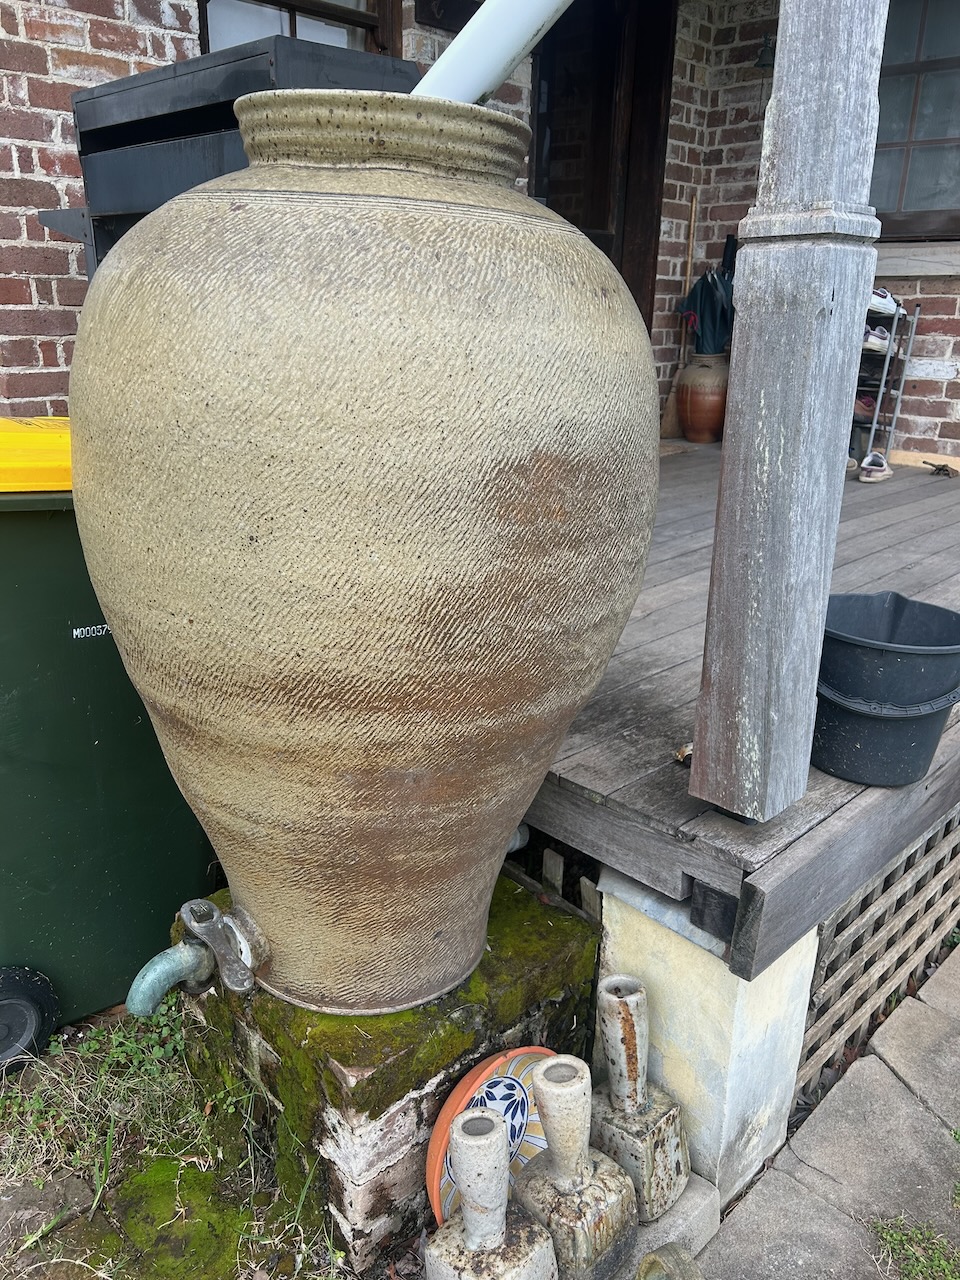
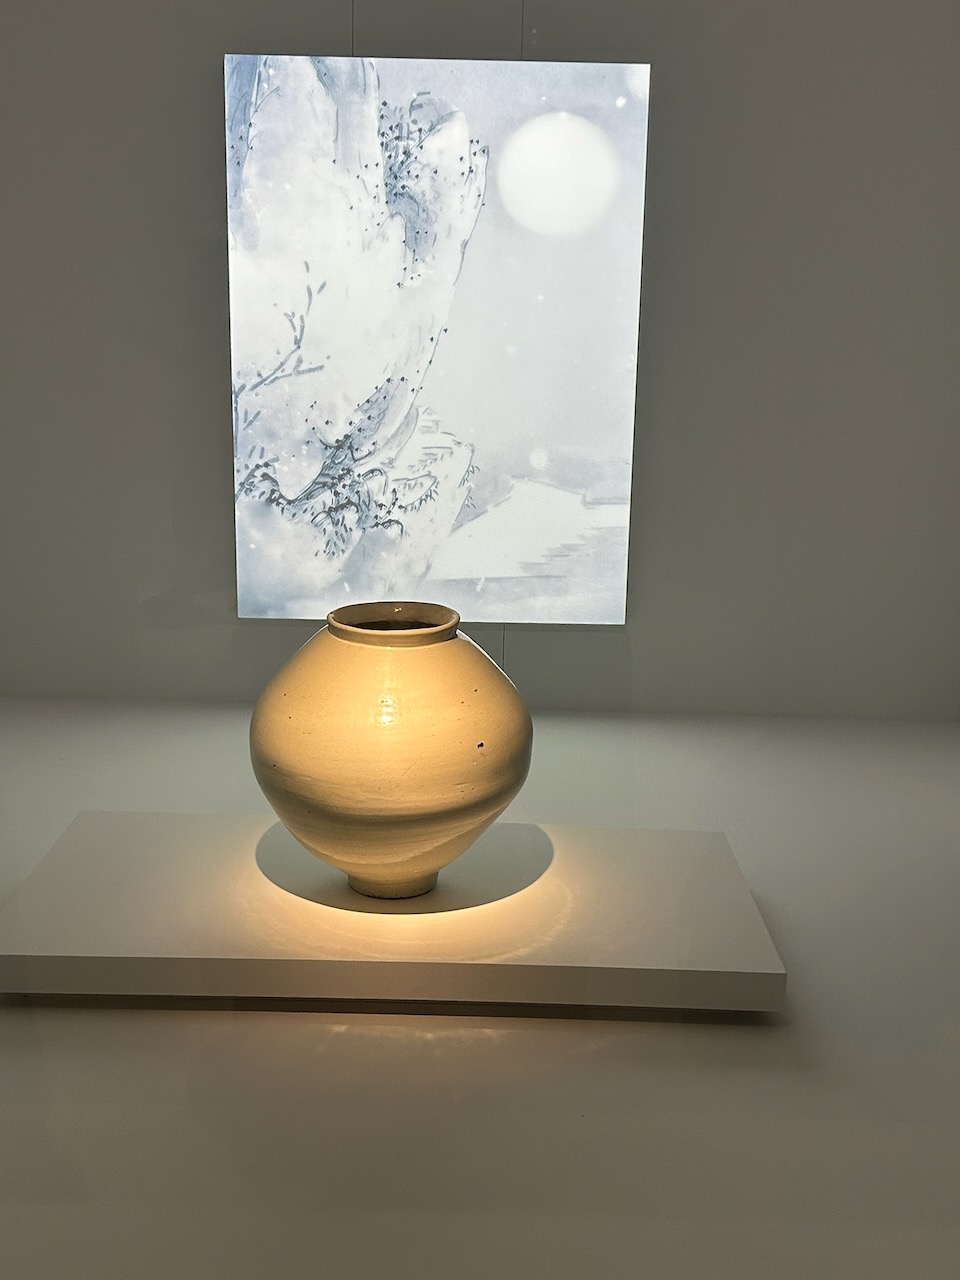
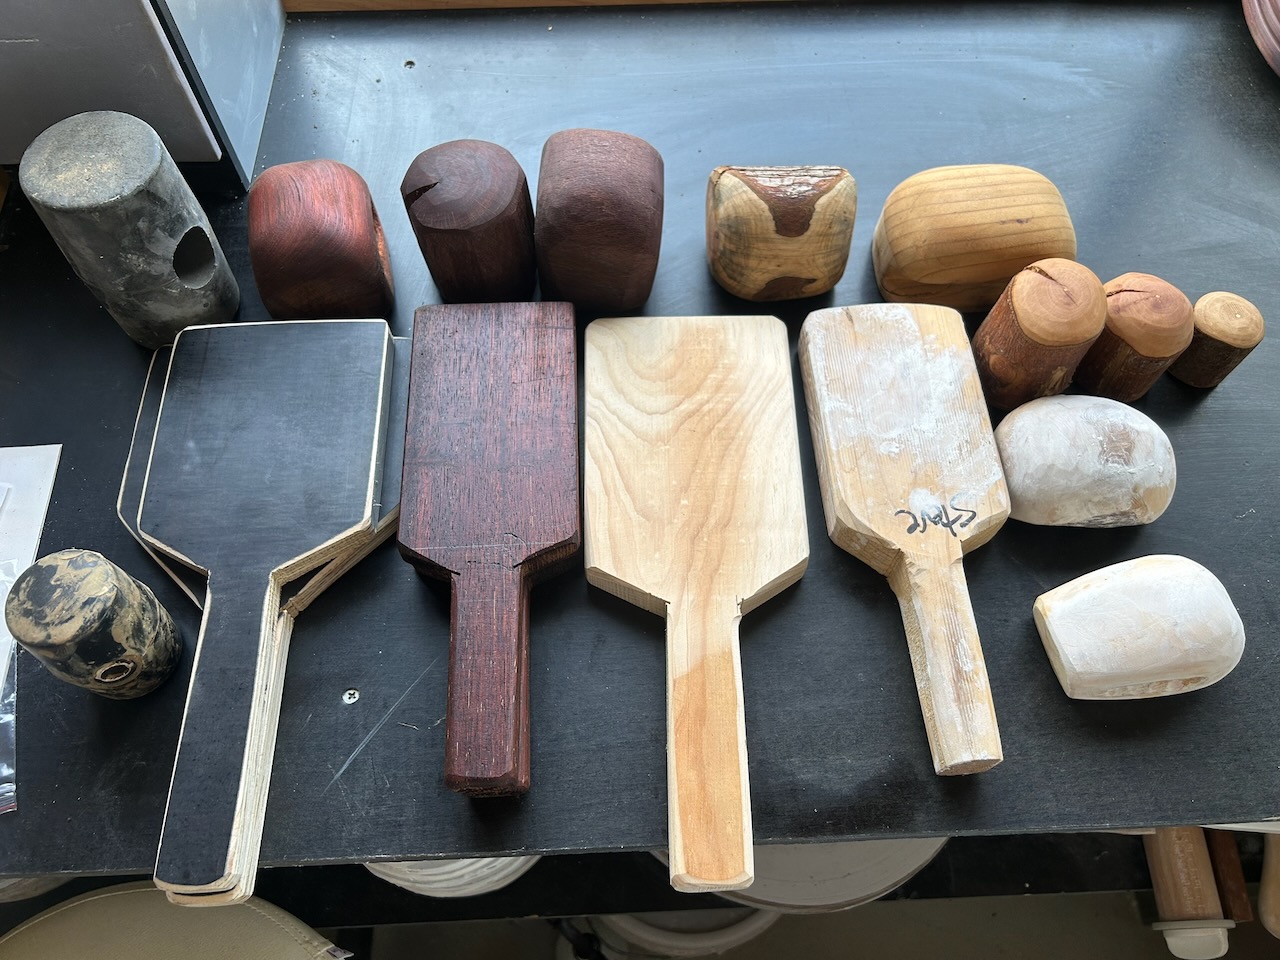
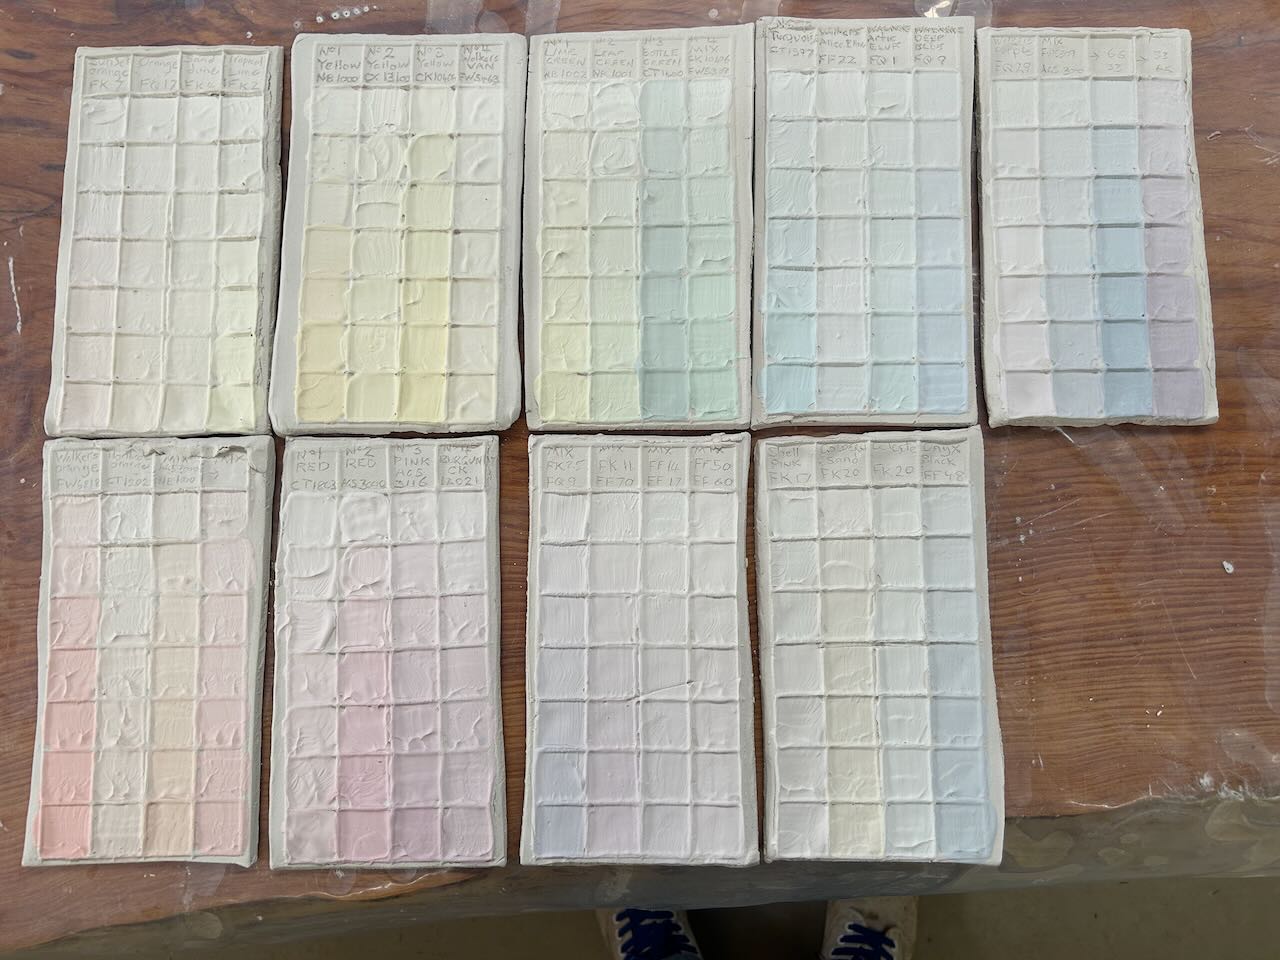
A good Moon Jar is a complex piece of work, requiring sound throwing technique, staged drying, good timing, humidity management, correct joining and compression, careful turning and slow, even drying. And all this before we even start to think about glazing and firing! Yes, there certainly is some madness! But when it works, there is poetry!
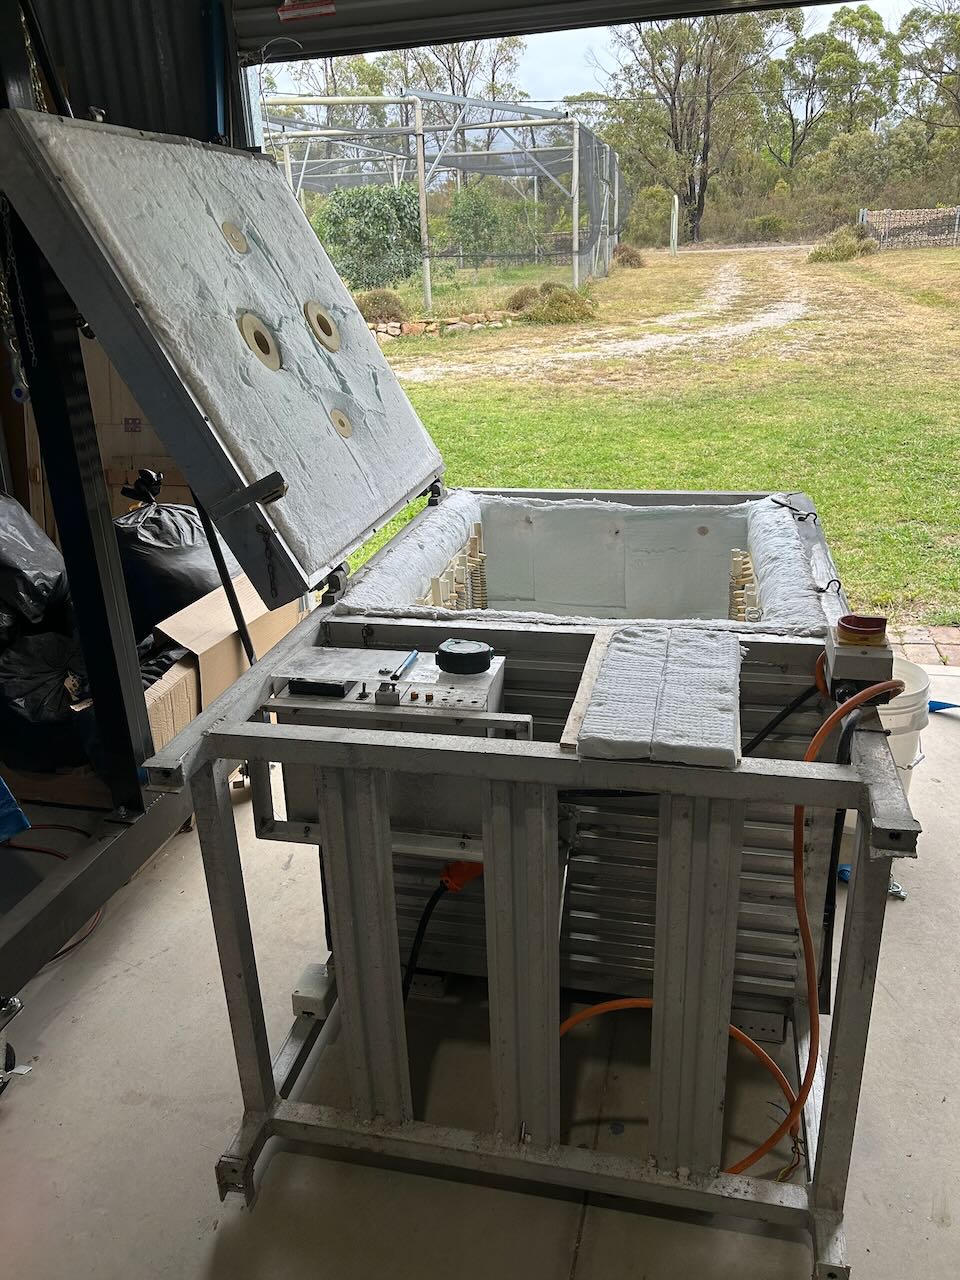
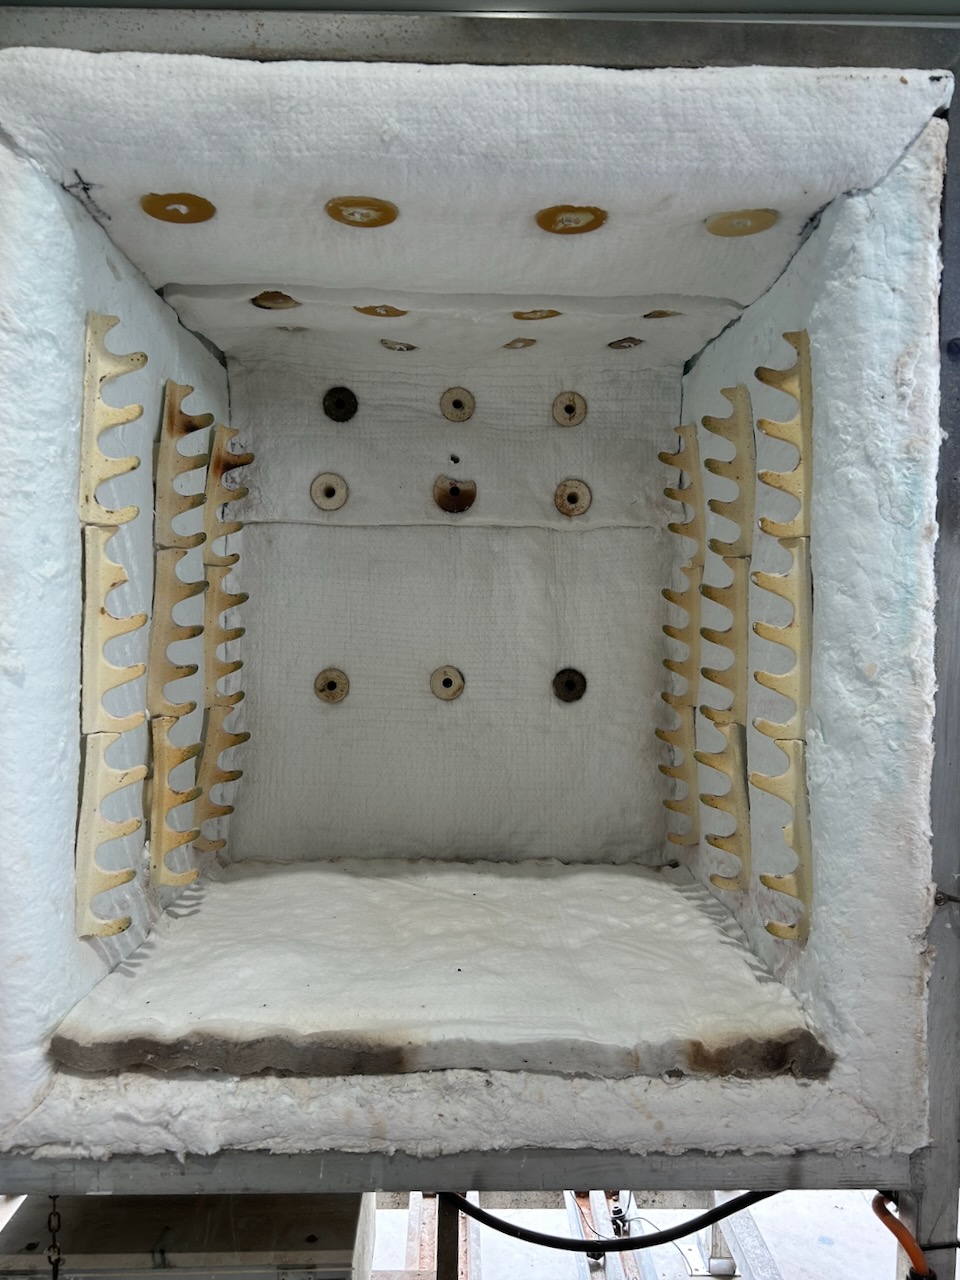
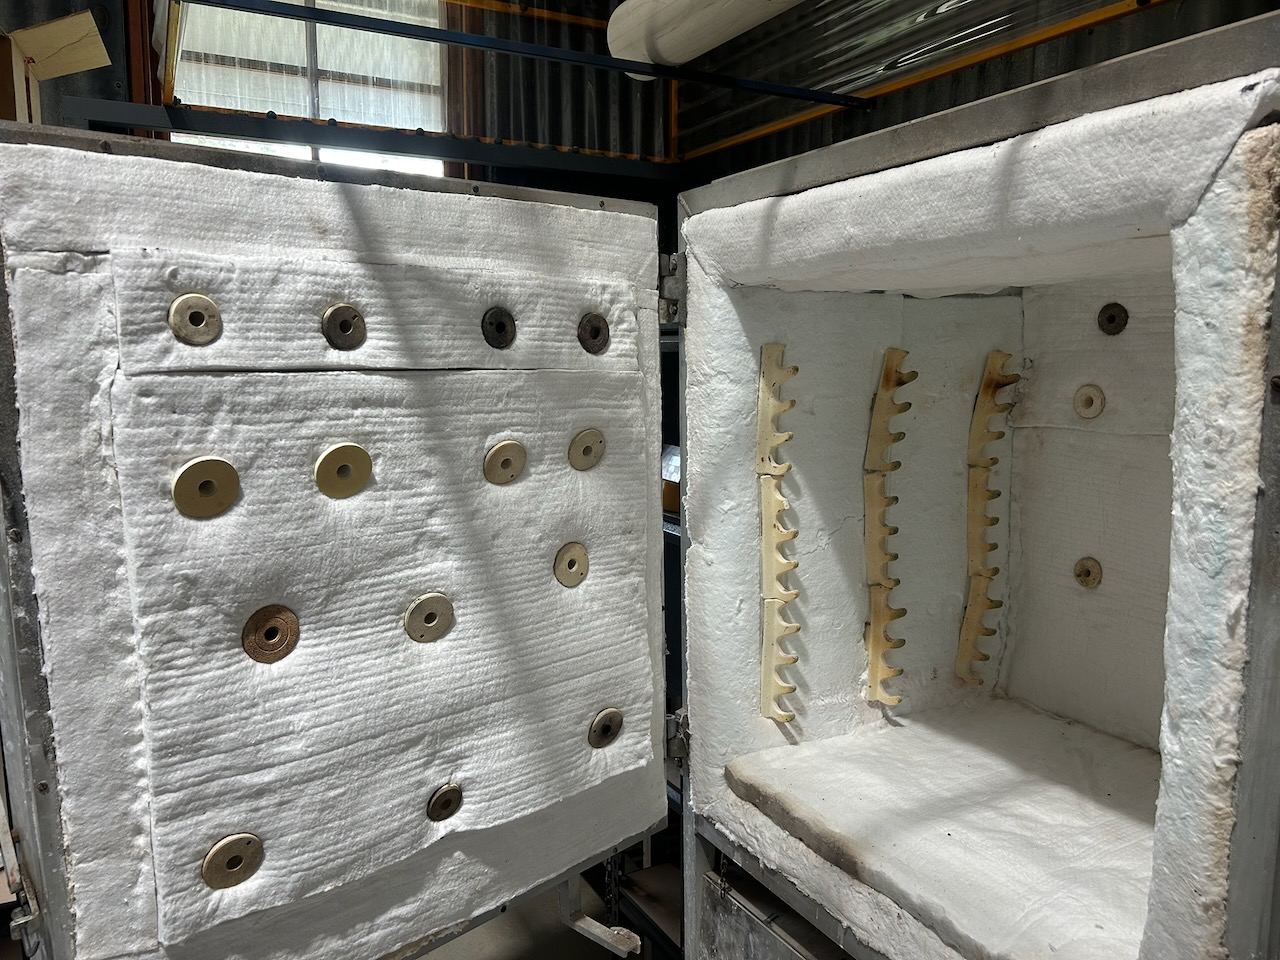
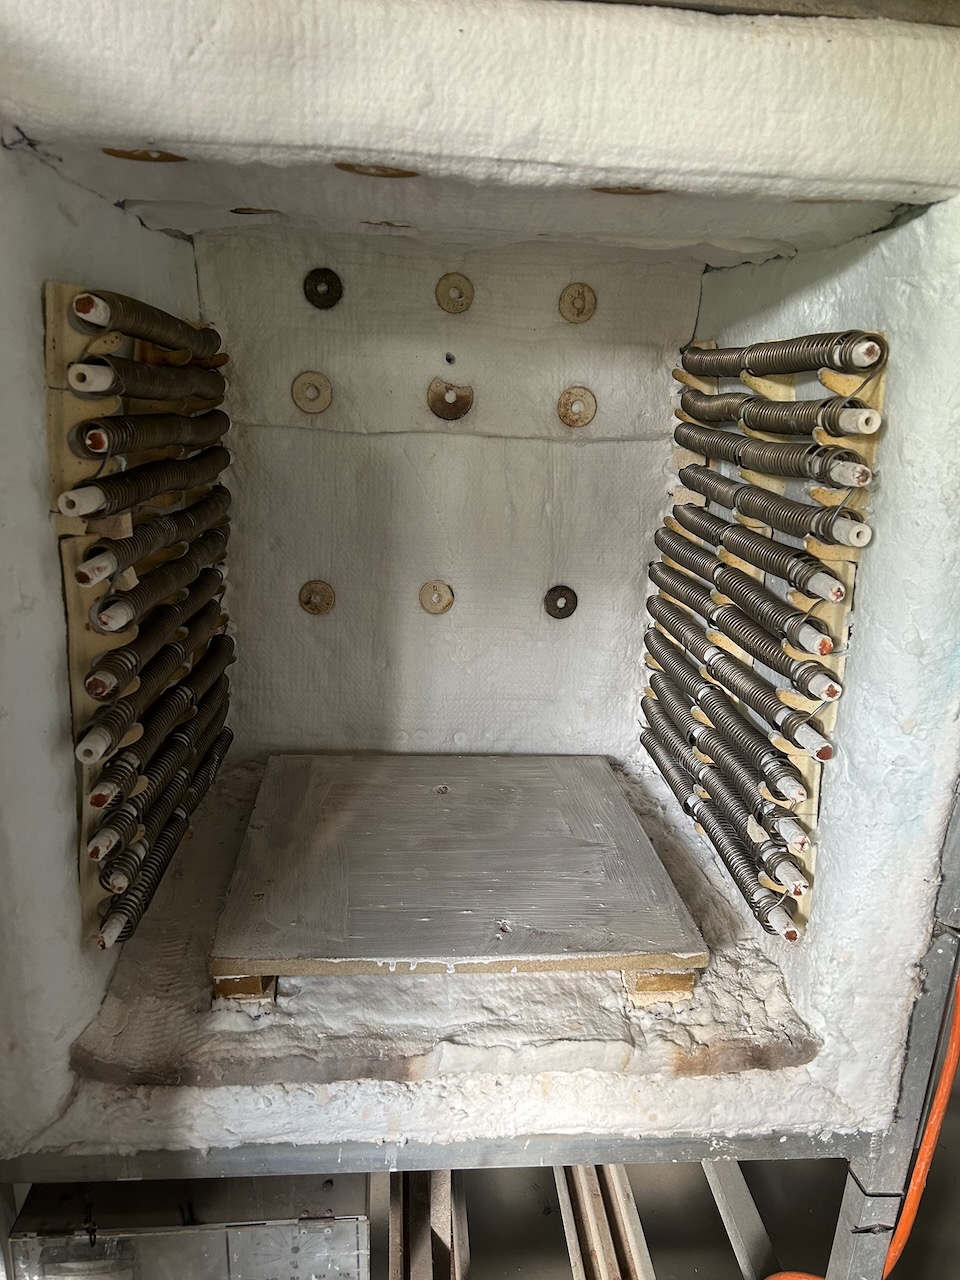
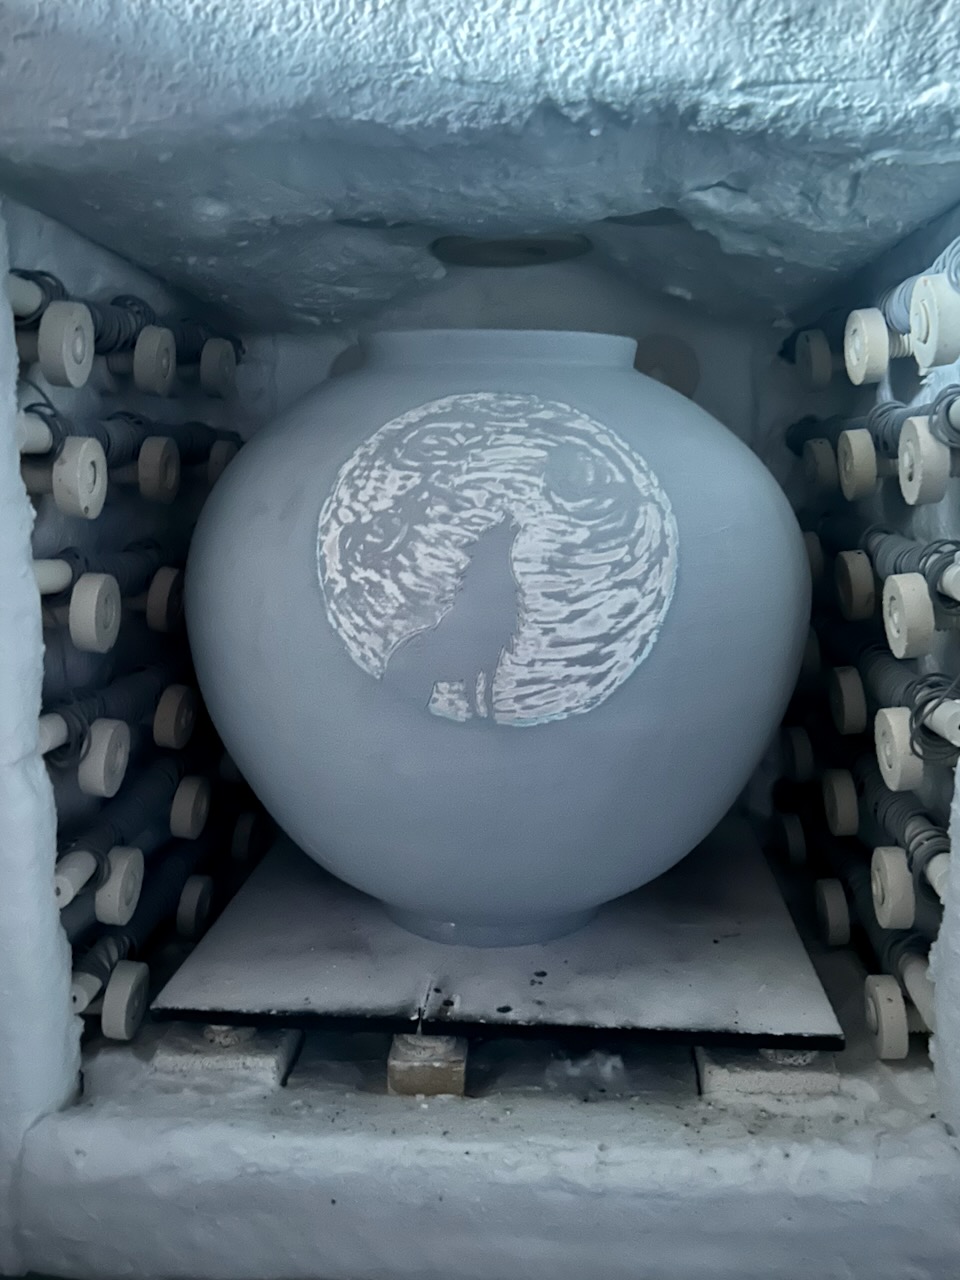
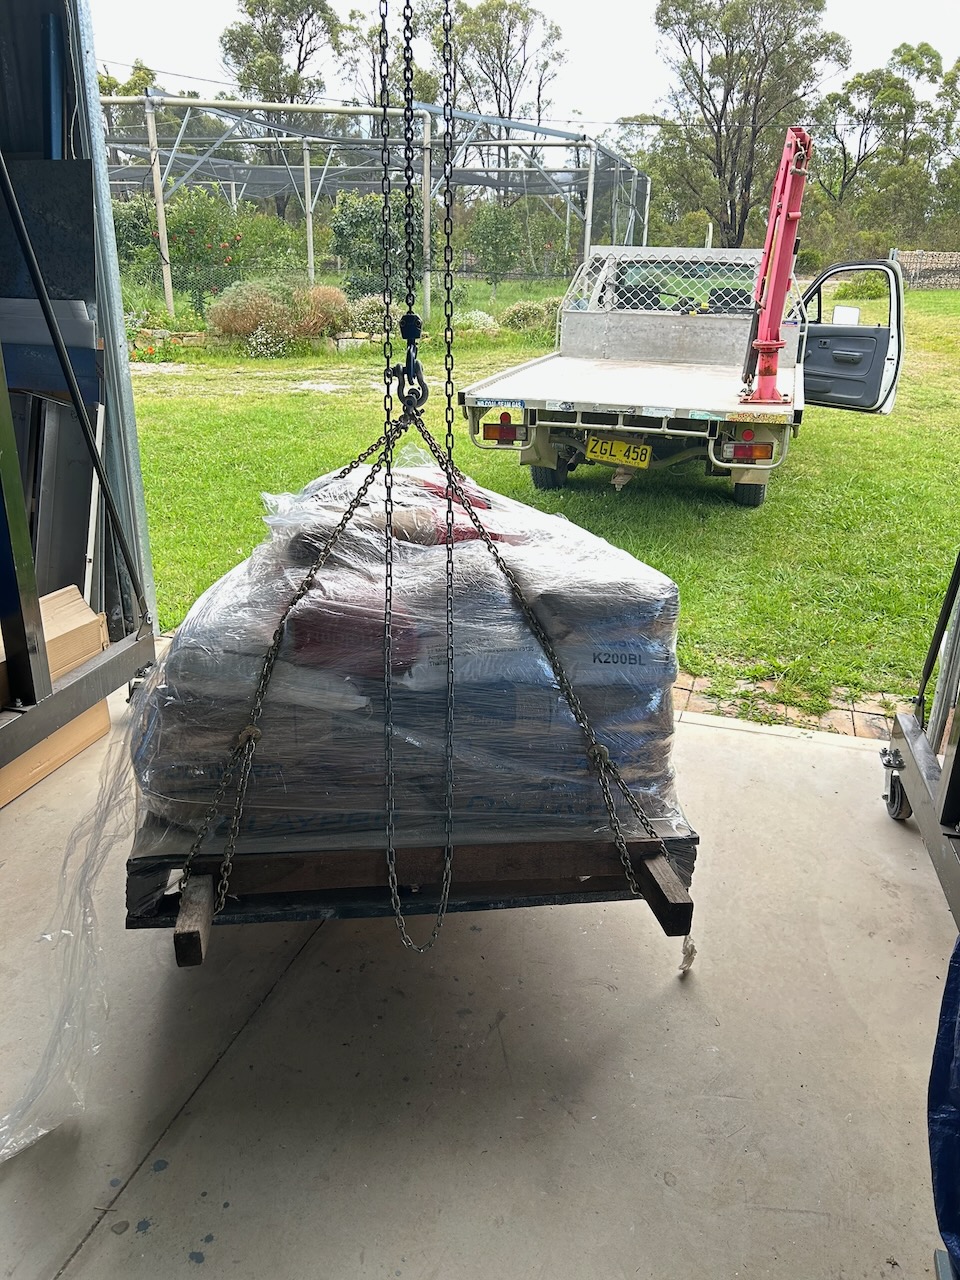
I have made about 25 good large jars now, another dozen medium sizes and about 40 smaller jars. a couple of days ago, I had my first bisque firing with half of my work in it. I used the large trolly kiln up in the other studio area, up the hill. I booked the Museums truck to drive them up there, instead of walking up there and back 20 times carrying one jar at a time! Nothing broke or chipped on the way thankfully.
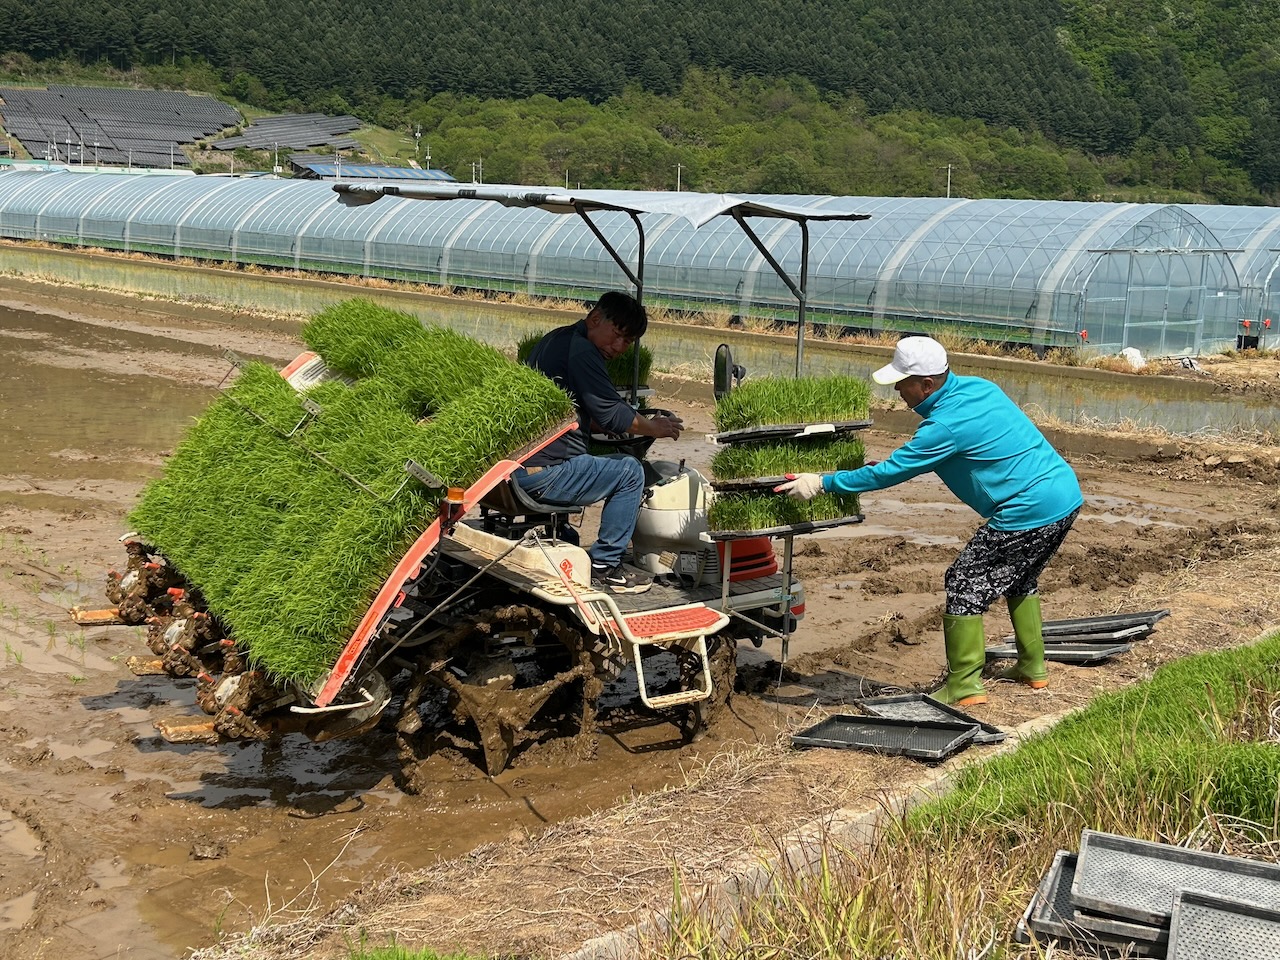
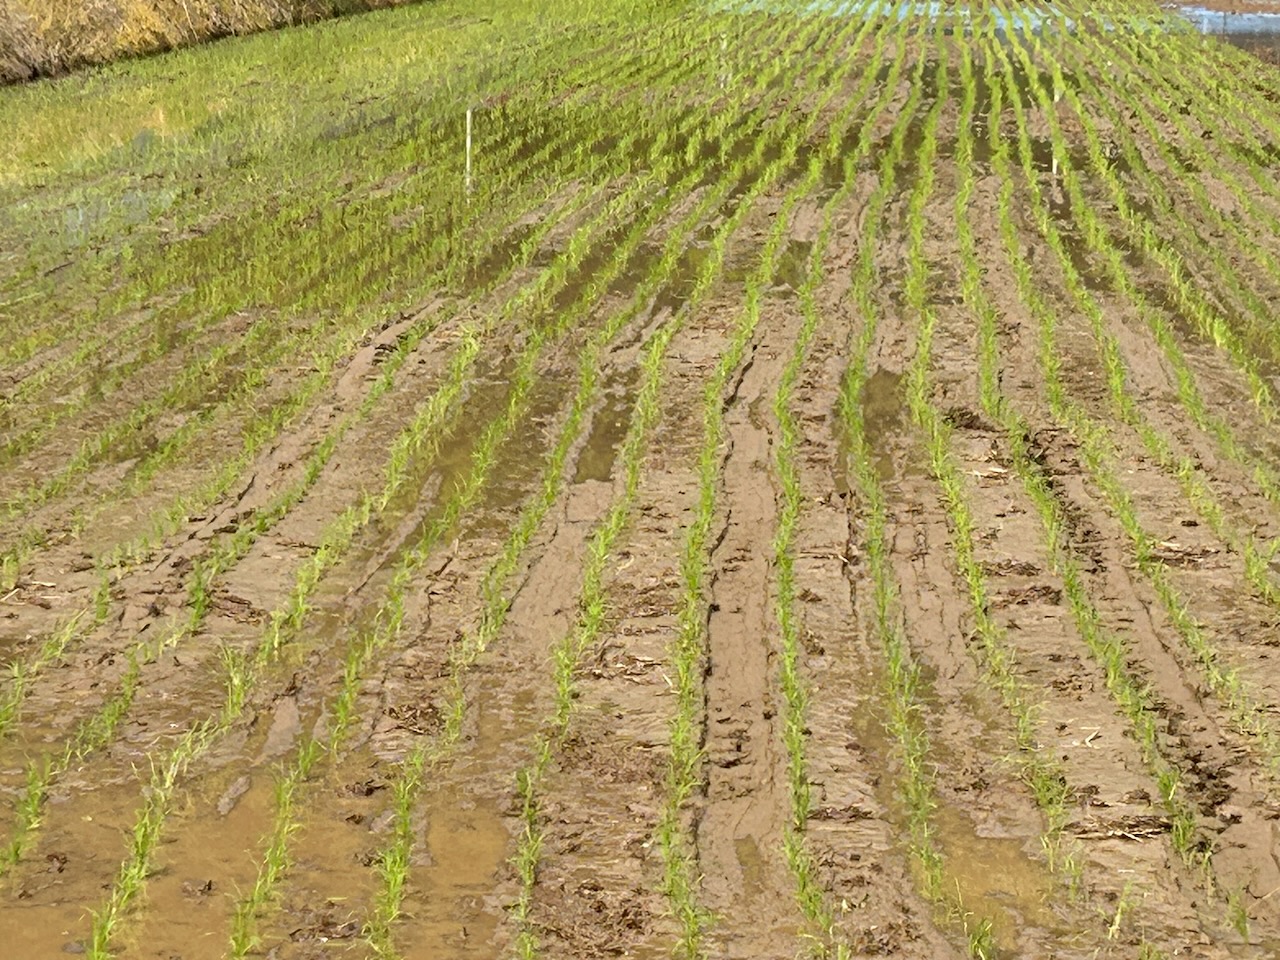
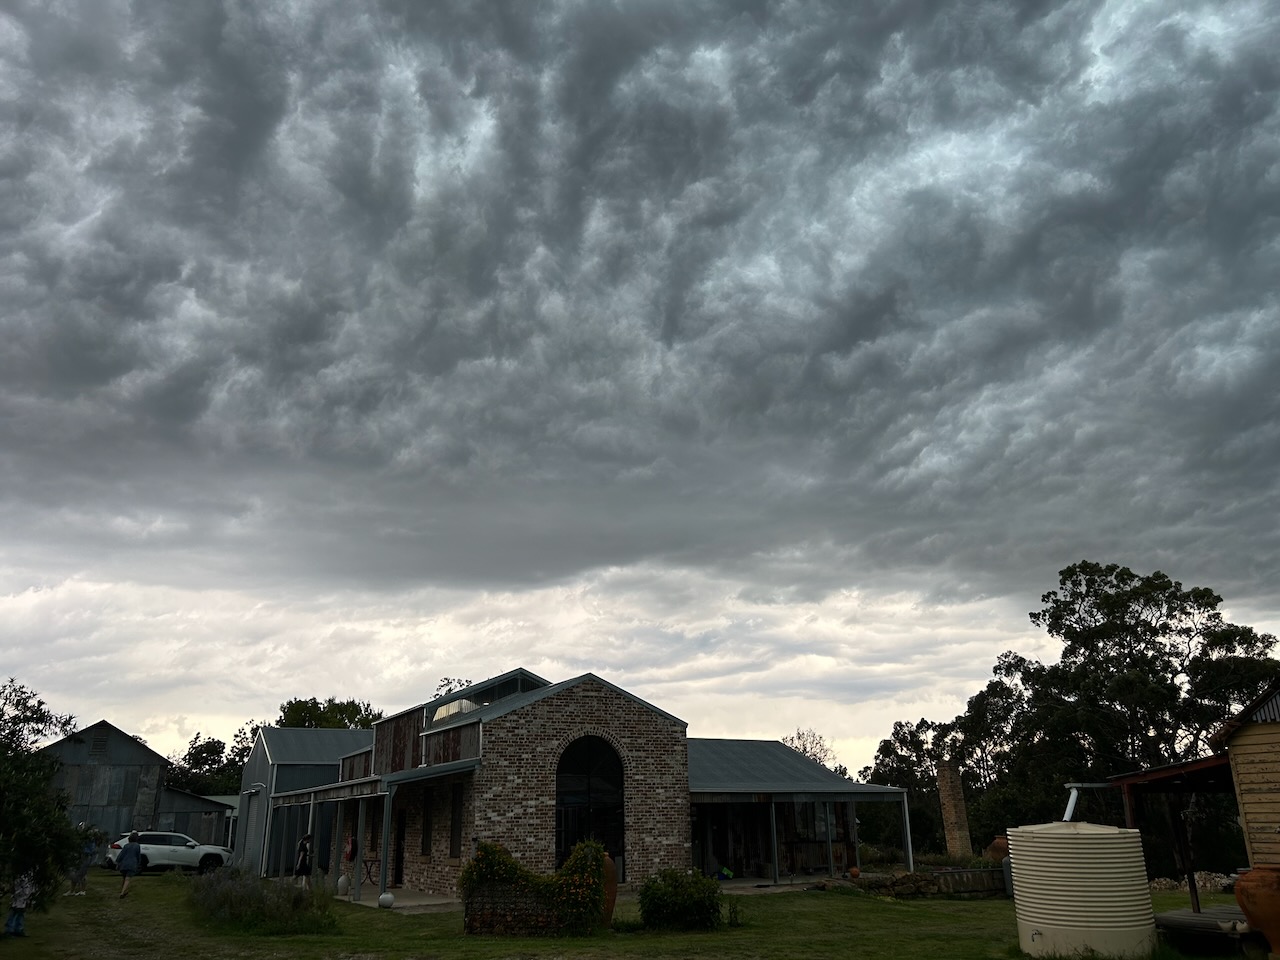
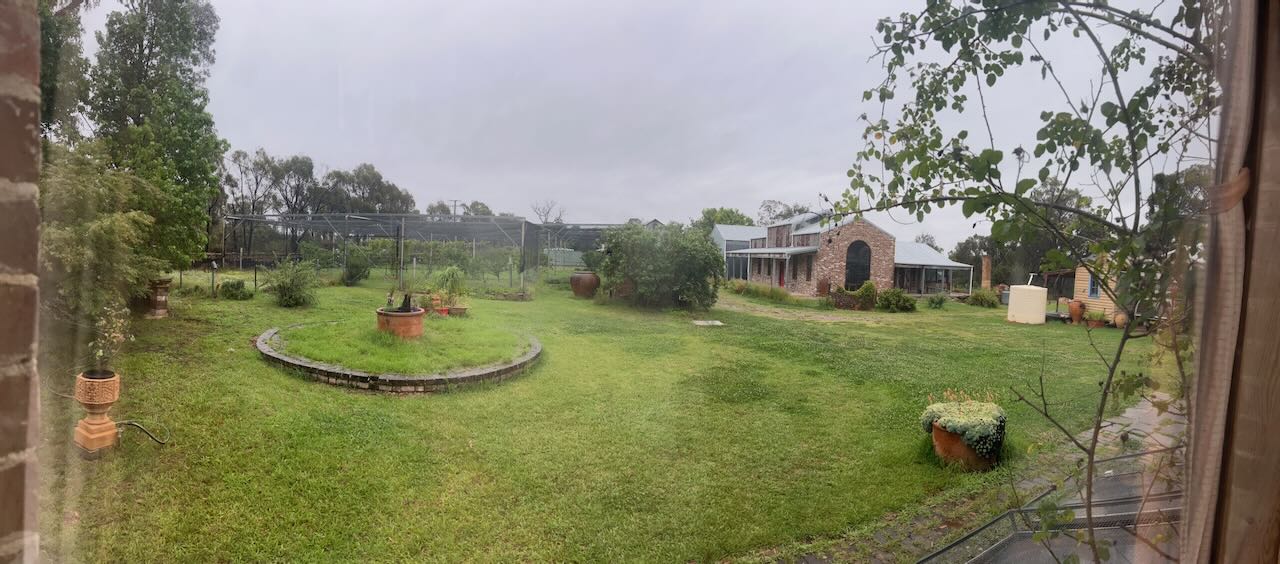
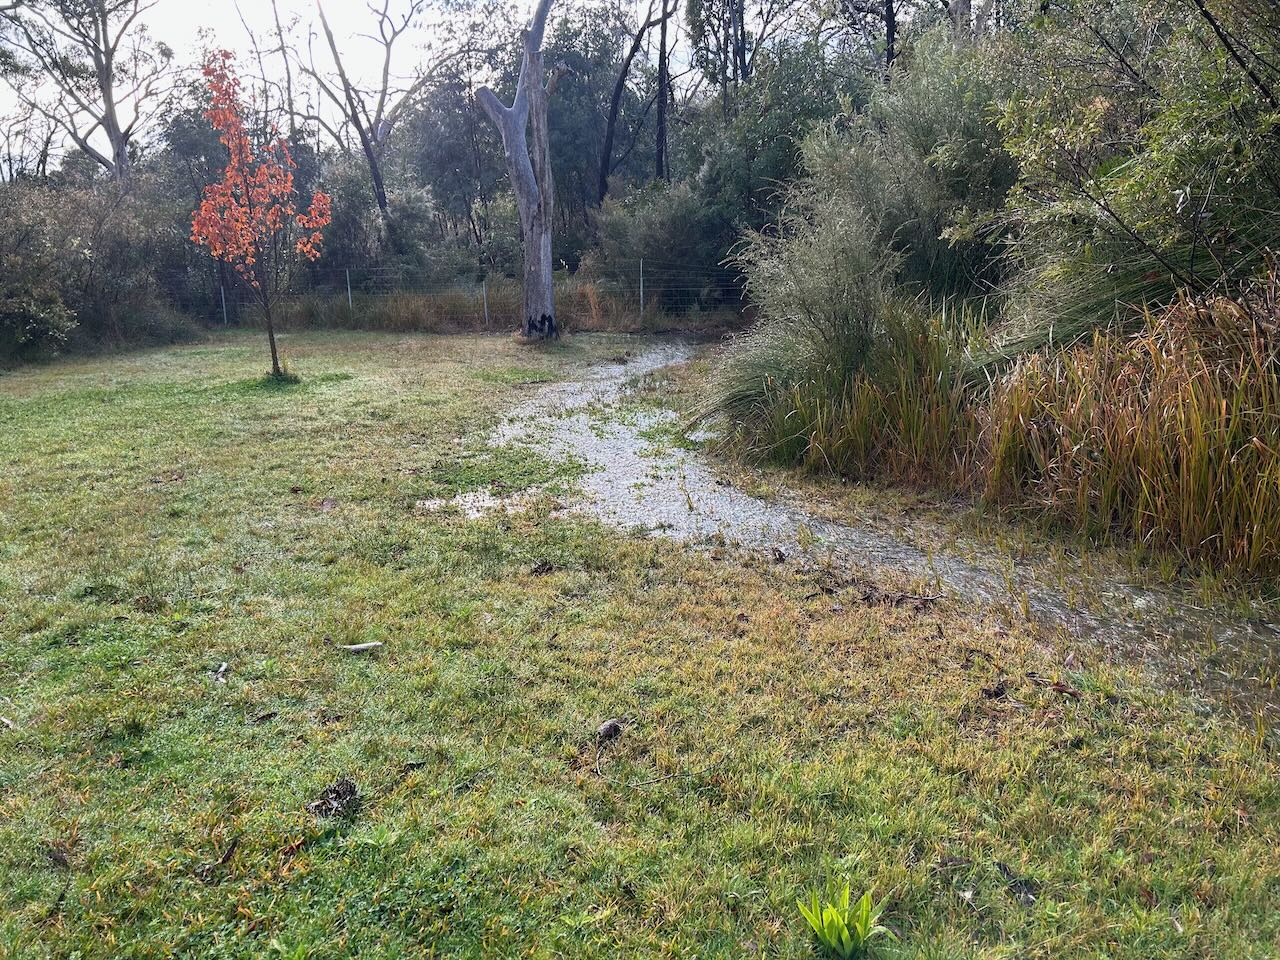
When I arrived here it was the end of winter and the fields were being ploughed getting ready for the spring planting. They have to wait until may around here to be safe from the last frost. I watched them prepare the paddies, plough them twice, to mulch in the previous crop stubble, flood them and then rotary-hoe them again a couple of times. They spend a lot of time working and reworking the walls of the field by hand with a shovel. Building up the edges above water line and then patting the surface down, compressing it with the back of the shovel. It takes hours. However, they save time elsewhere, by avoiding the back breaking work of planting out the rice seedlings. Forty years ago, I was in Japan and watched women doing this back-breaking work. These days they have very cleaver machines that they load up with trays and trays of seedlings. The machine then proceeds slowly across the paddy planting 10 seedlings every second at a spacing of 200mm, apart, doing 2 metre wide rows with each pass. It’s a beautiful thing to watch. So fast and efficient.
I’ve also watched the landscape change from brown to green as the frosted, burnt pasture responded to the warmth and light. There was a tall pasture that had over wintered here, shooting up to a flowering head. At first I assumed that it was a grain crop, but soon realised, as they mowed it down, that it was a fodder crop for making hay. I walked down the lane to get a good look at it, it turned out to be rye, which takes the cold well and is over-wintered here. The smell from the paddock was so sweet, almost sickly sweet. There was so much sugar stored up in those emerging flowering heads. Harvested before it set into grain and turned to starch. They make huge round bales and plastic coat them. I’m assuming that with some residual moisture, it must be some form of silage? Stored for next winter’s fodder?
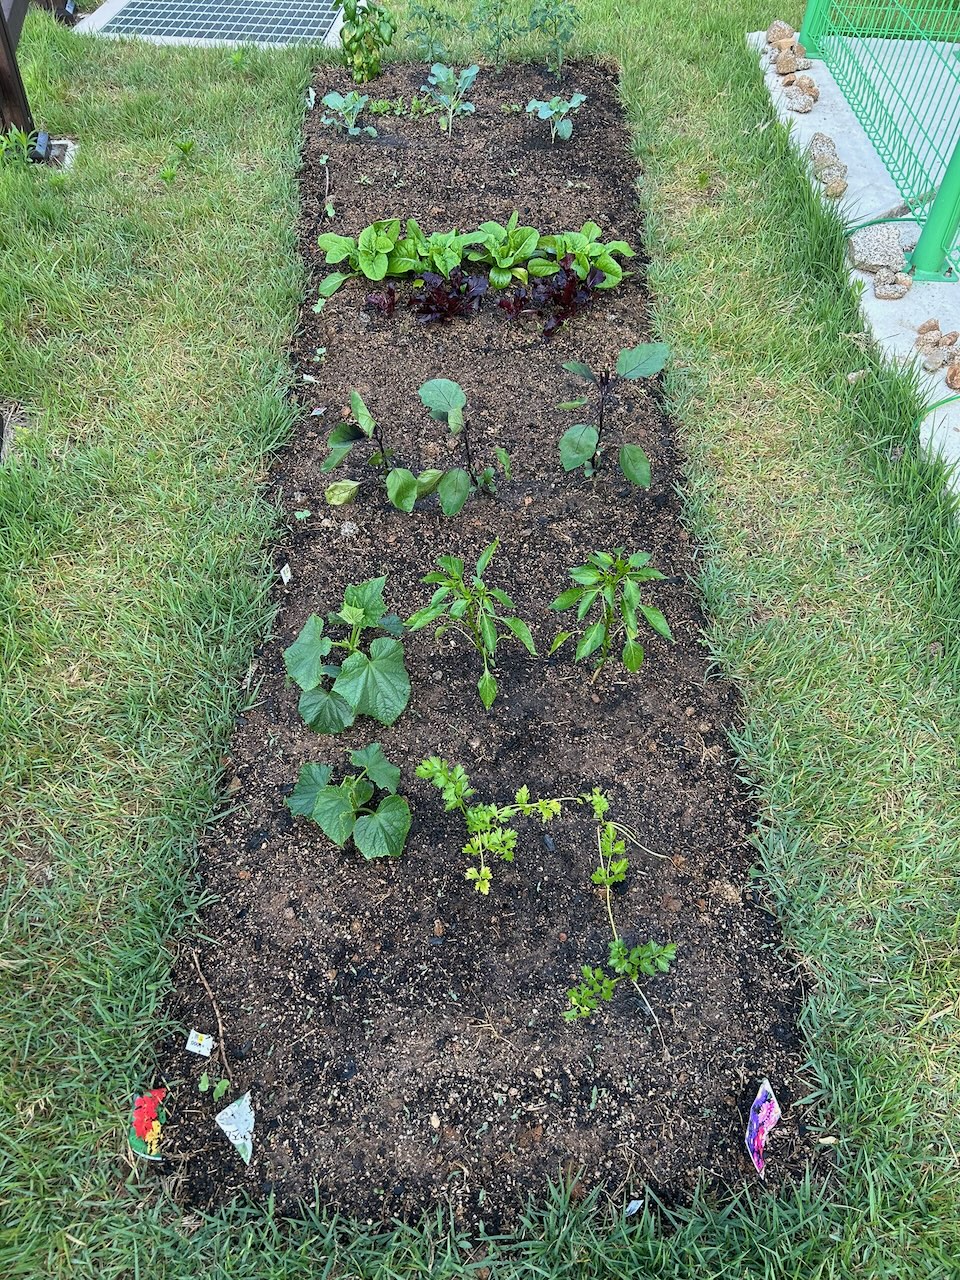
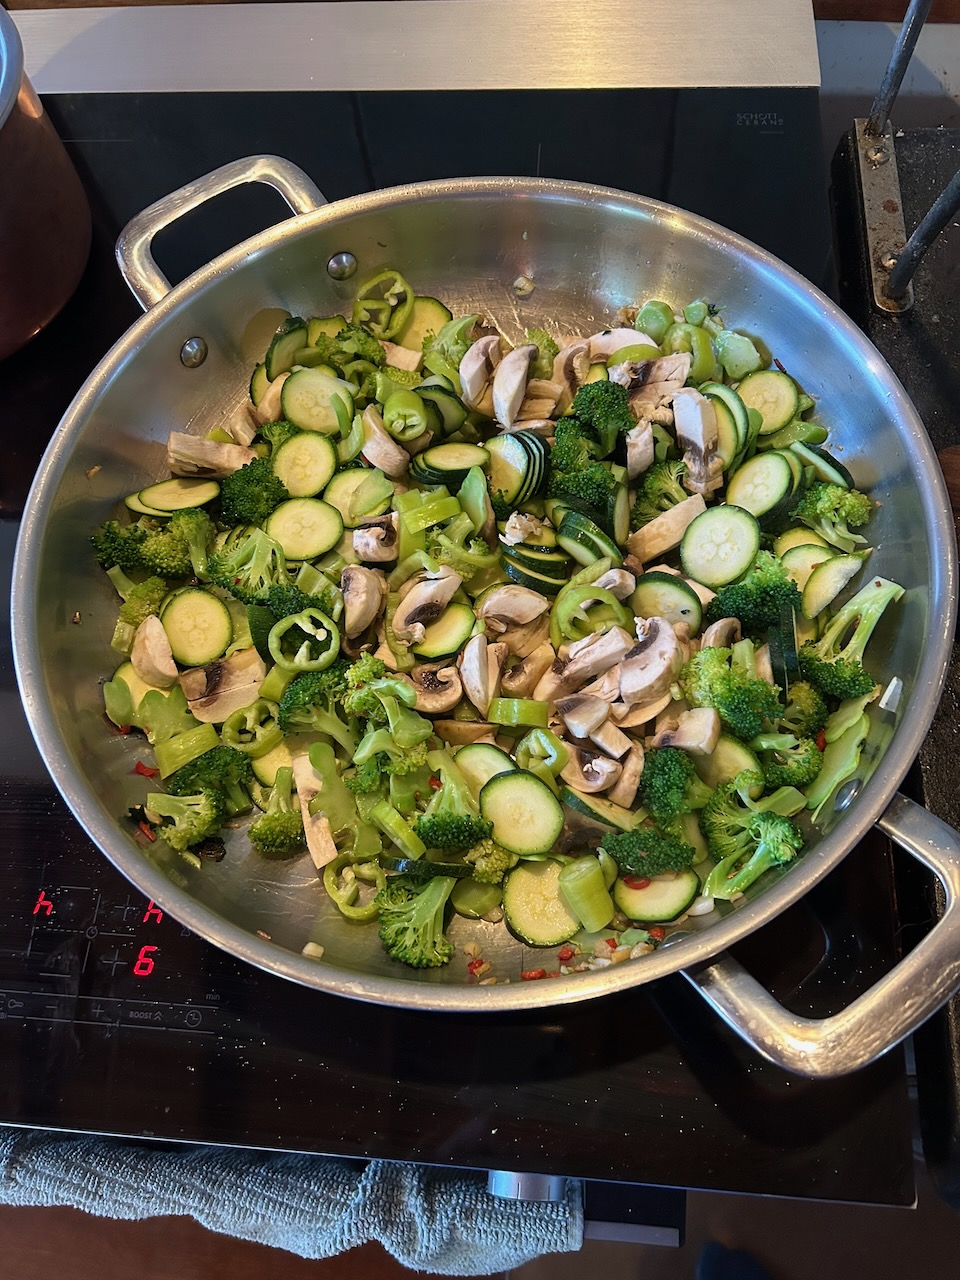
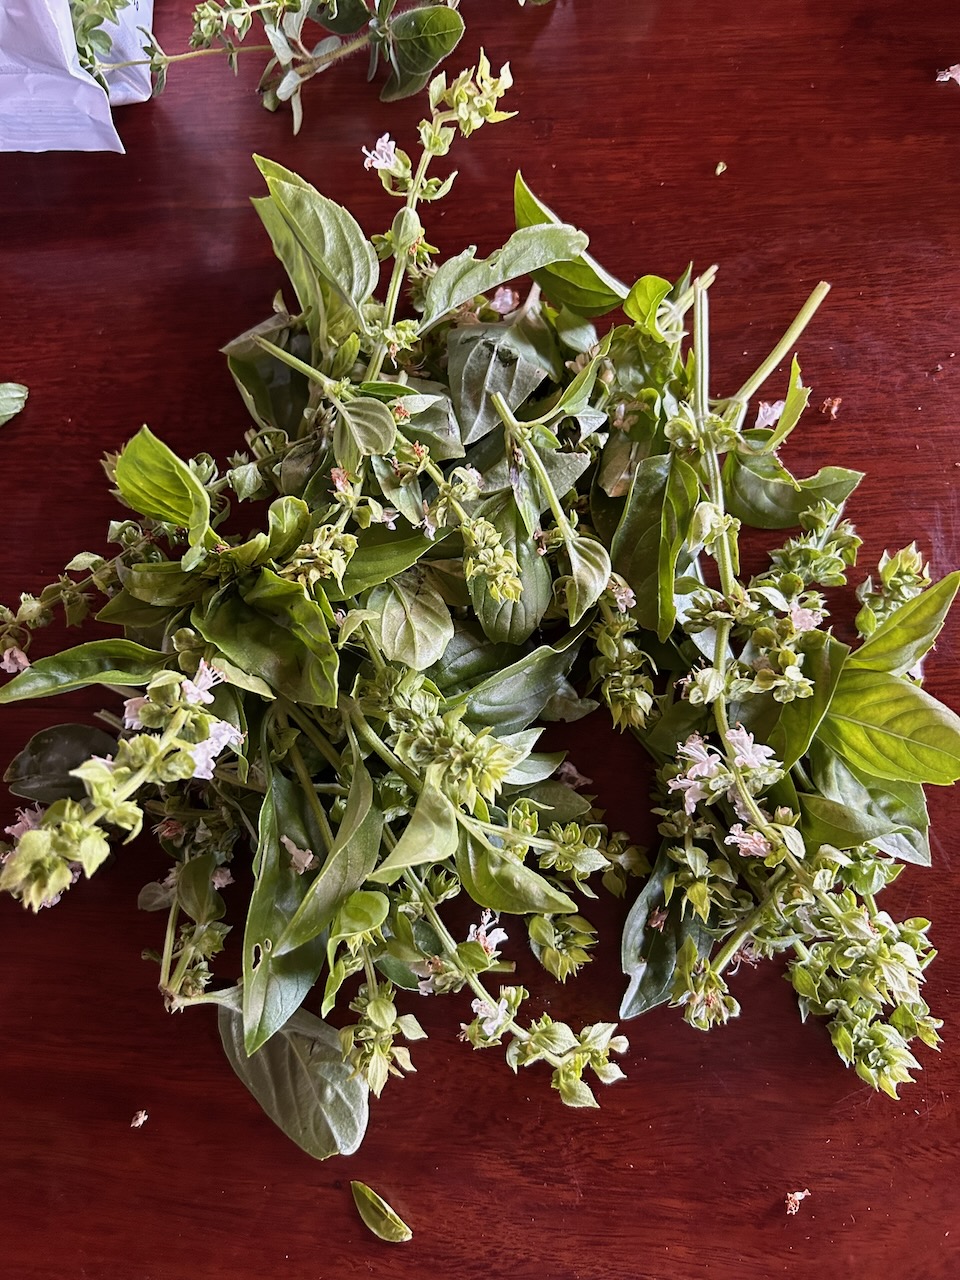
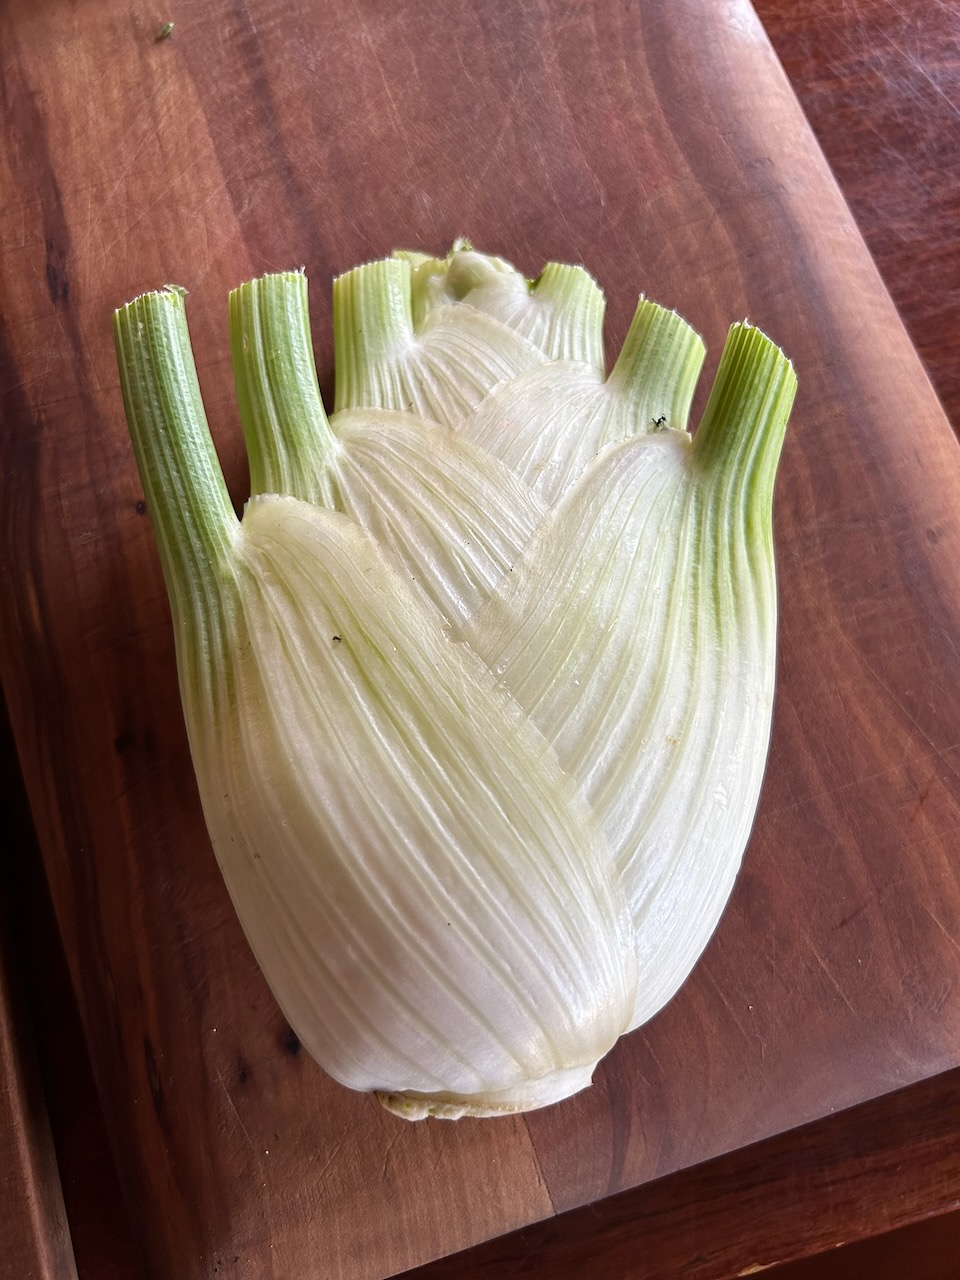
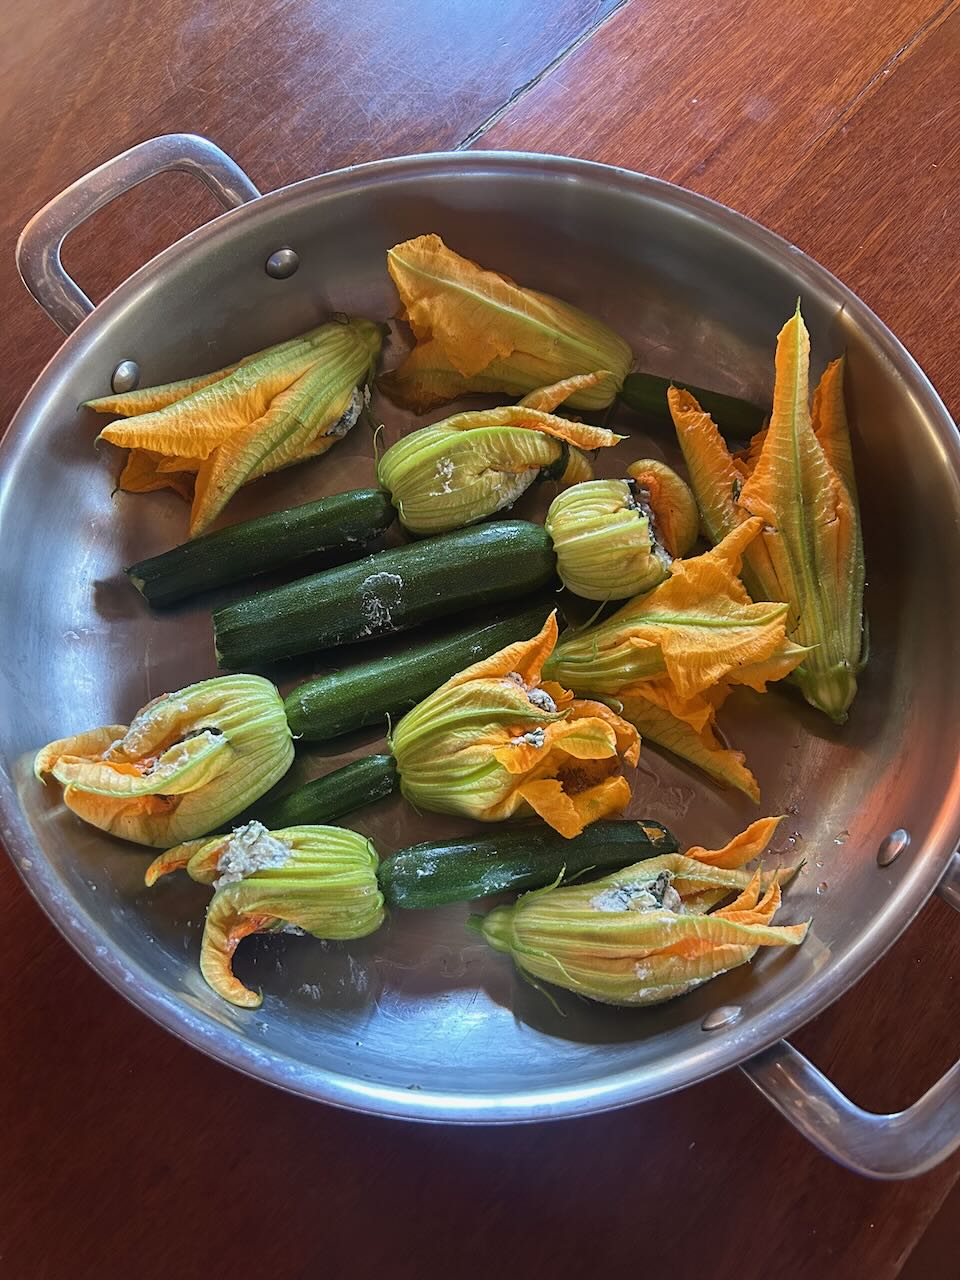
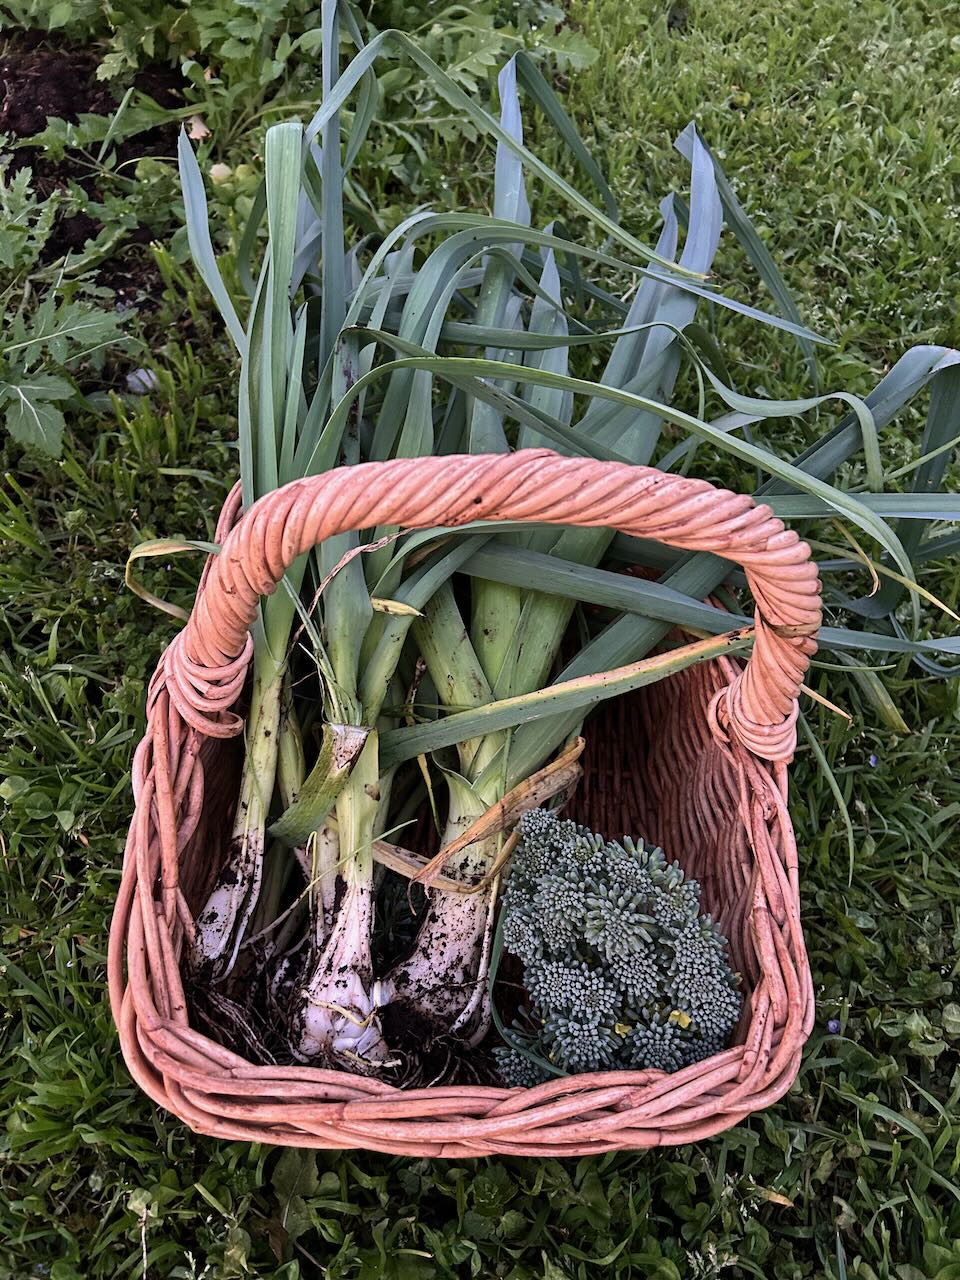
I miss being able to harvest my own vegetables from my own garden. So much so, I planted one just outside the studio. A mixture of some seedlings to get things going quickly and some seeds in-between to fill out the space as the first plants mature and are harvested. This garden isn’t really for me, as I will be gone in 6 weeks time, before most of the produce matures. I created it for the other residents that will still be here after I leave.
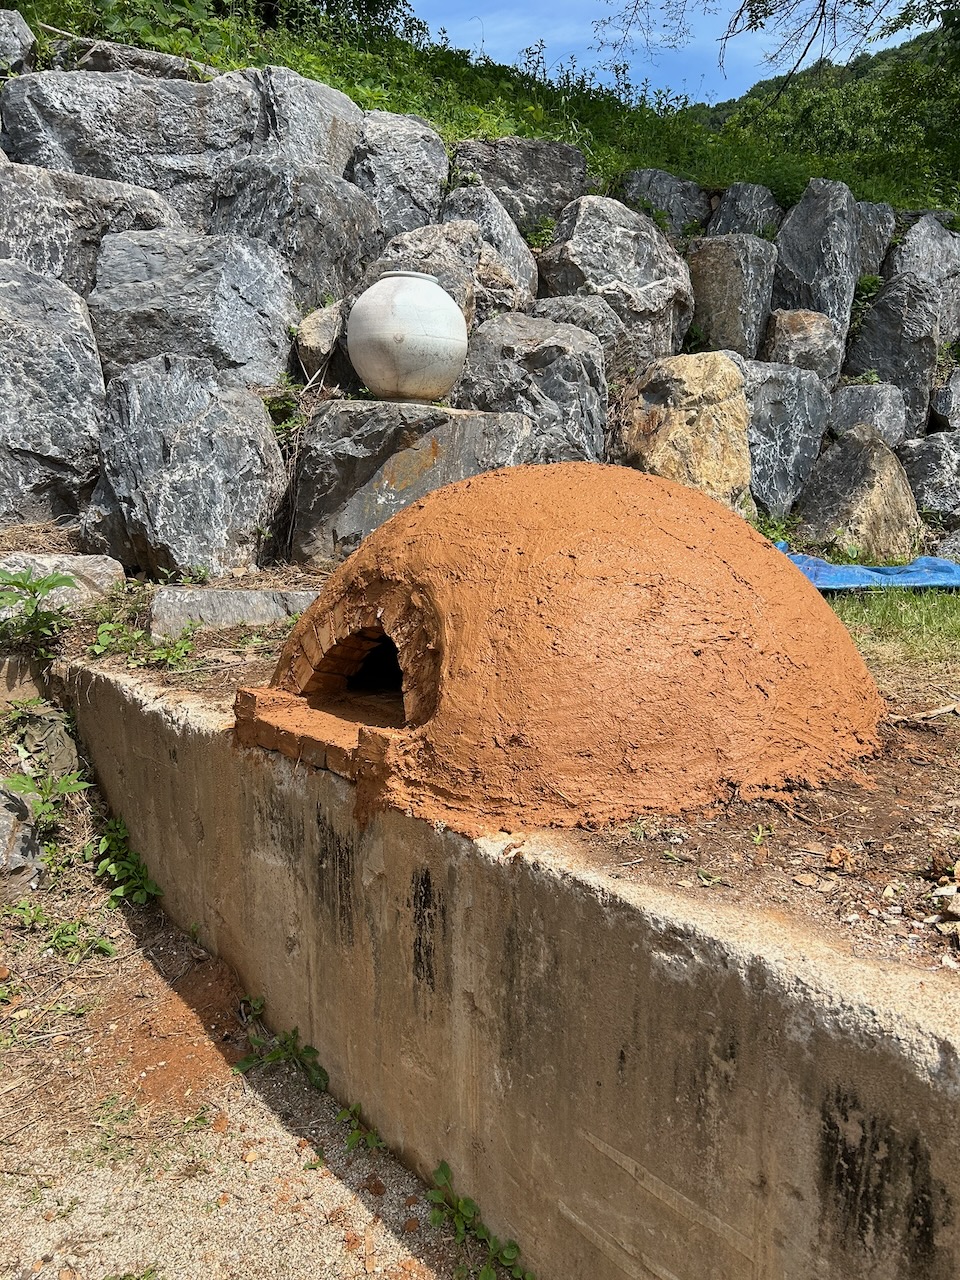
I have also found time to build a wood fired pizza oven. Using a lot of broken bricks that were sitting around in small piles here and there, up around the wood kiln area. I built the oven up on top of a retaining wall, just opposite my wood kiln, so we can cook pizzas while we fire through the night. Again, this little side project isn’t really for me, but my contribution to the creative community that will be living, working and creating here for years to come into the future. At a time when a lot of the world is in so much conflict and every thing that we thought was stable is starting to come apart at the seams. I am so lucky to be an Australian, Sitting out on our own in the Pacific, we are missing out on so much of that conflict. However, when the pooh hits the propellor, nowhere is safe!
Here the Koreans are technically still at war. There are still landmine warning signs in various places around here, as there was never any really complete clean-up of the mines after the conflict ground down to a stand-off. Something they take for granted around here, but I found it quite shocking when I first encountered one of those land mine warning signs on a strand of wire, not too far from here. on something almost like some sort of old disused fence. Luckily I had my phone and its translation app to tell me to stay well away. We are only a few kms from the final DMZ line here.
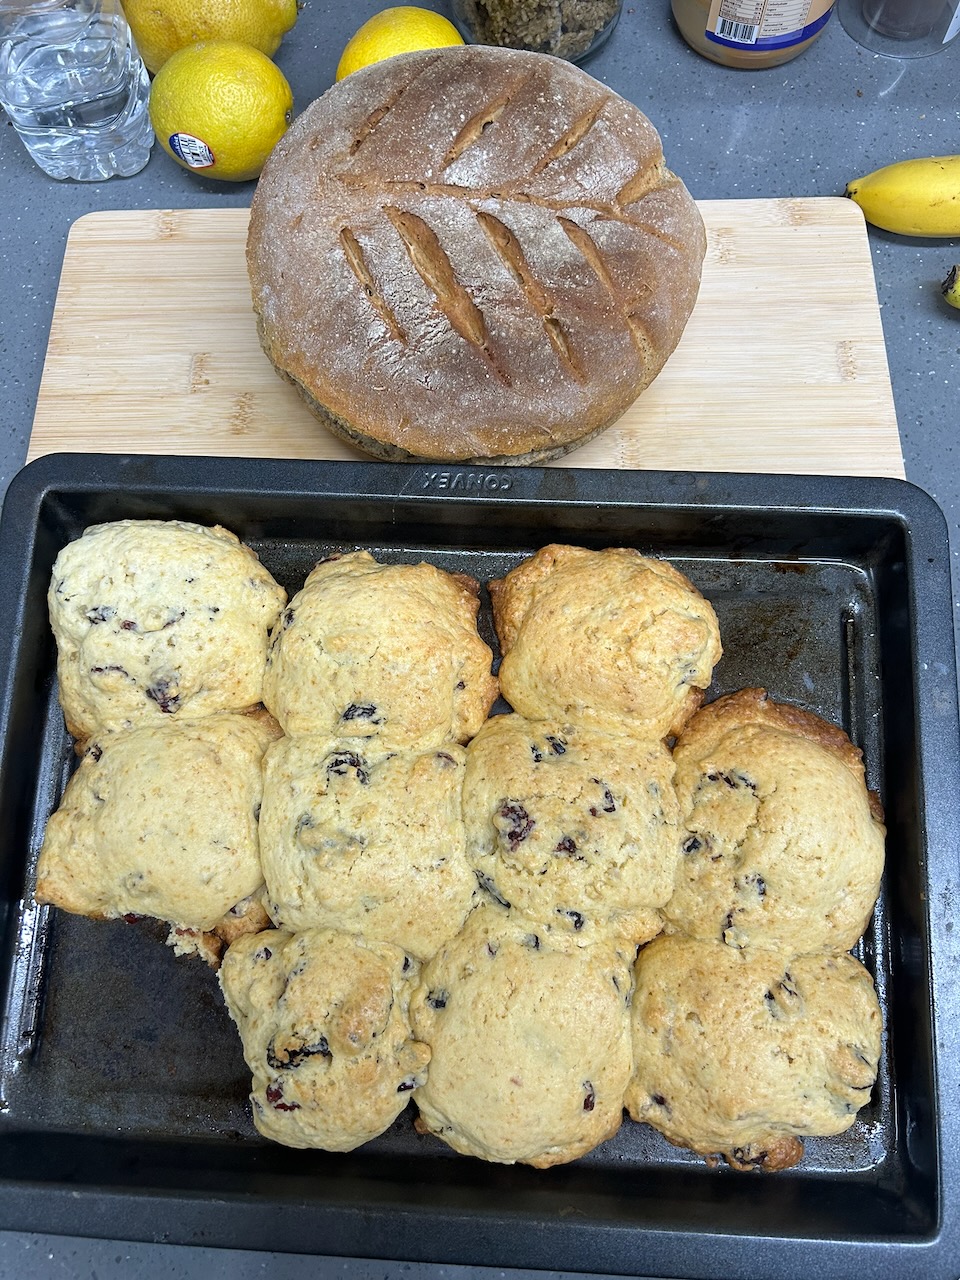
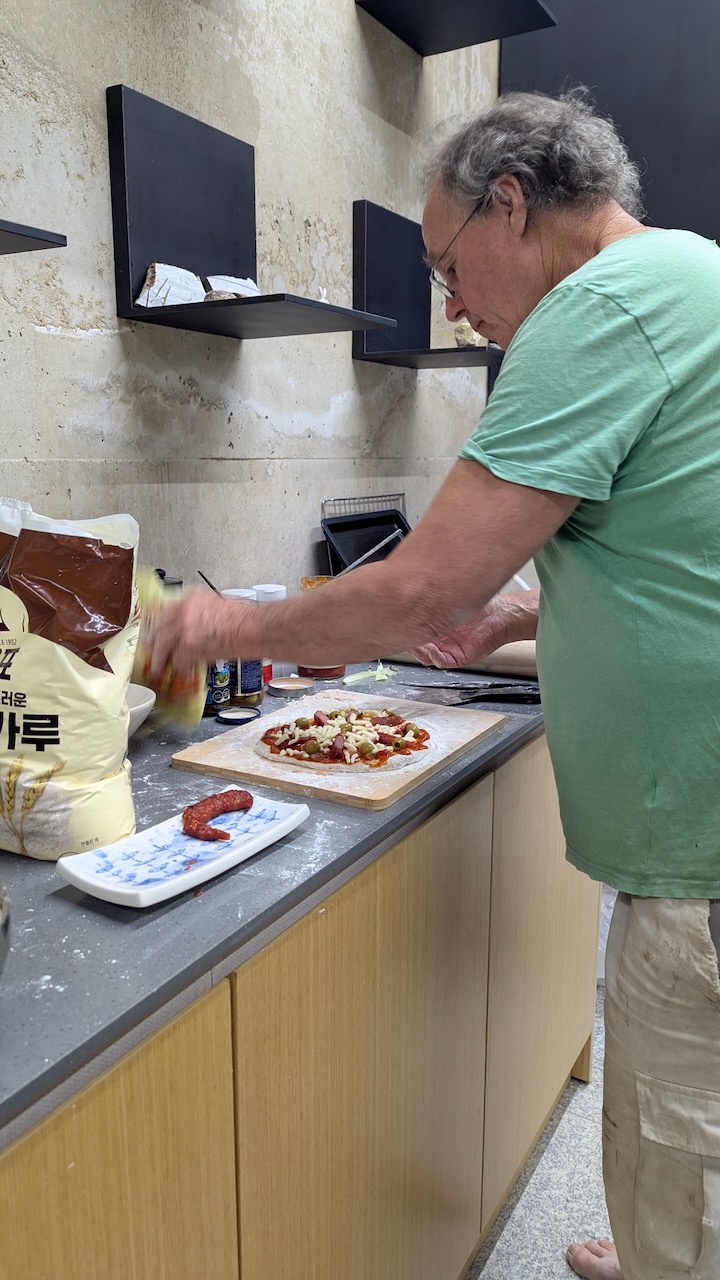
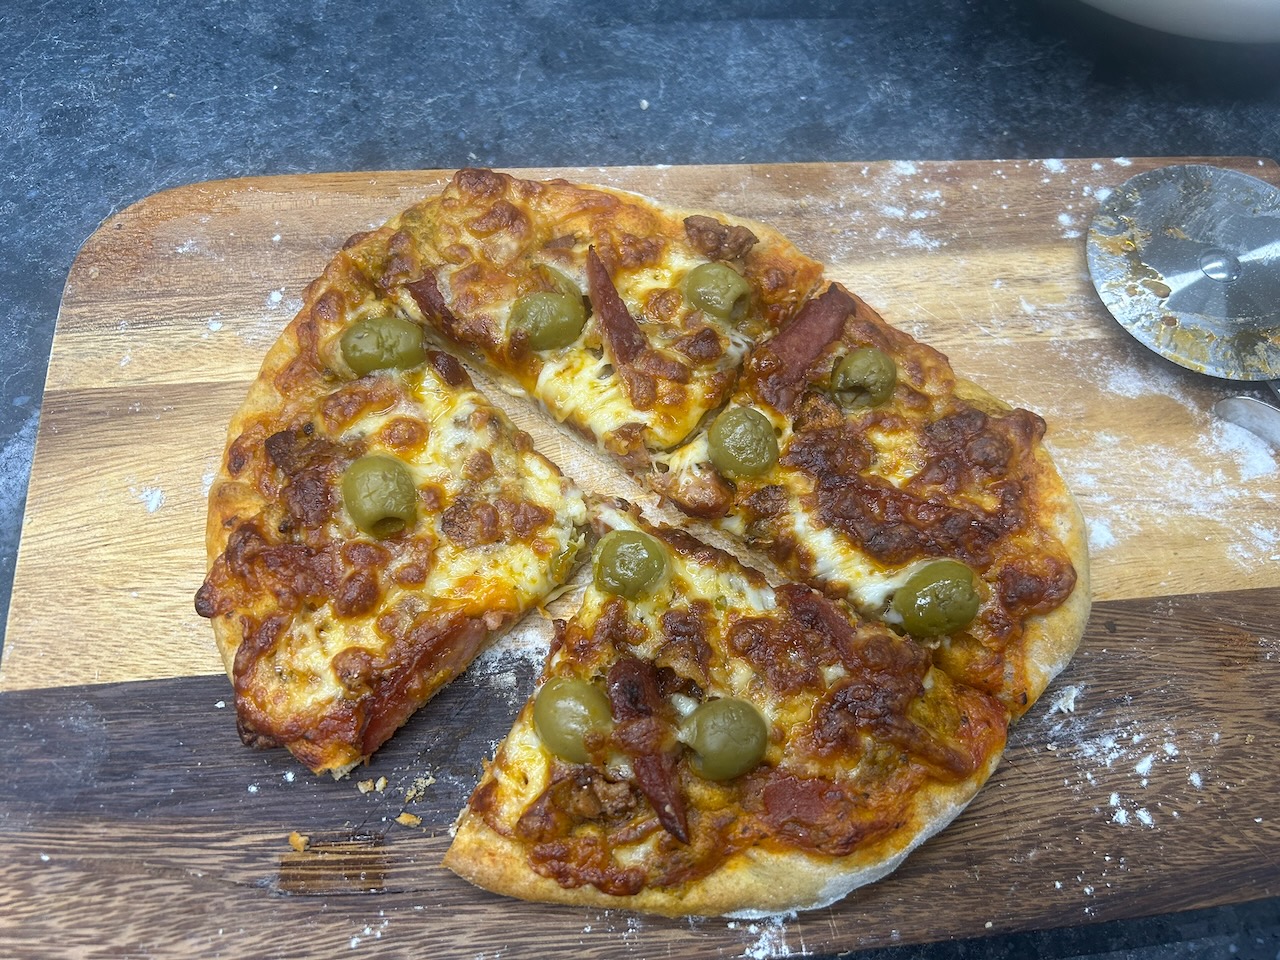
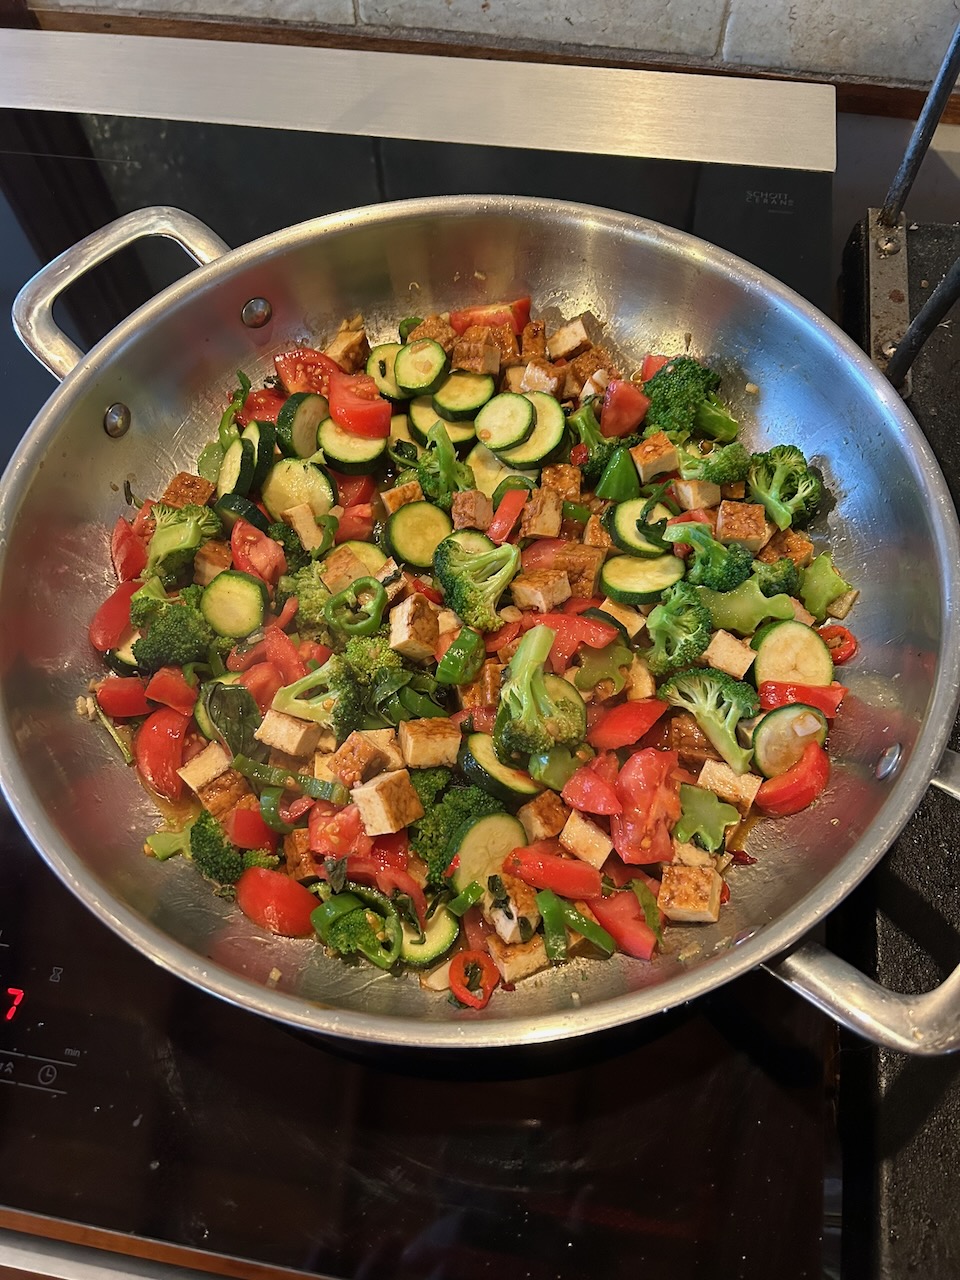
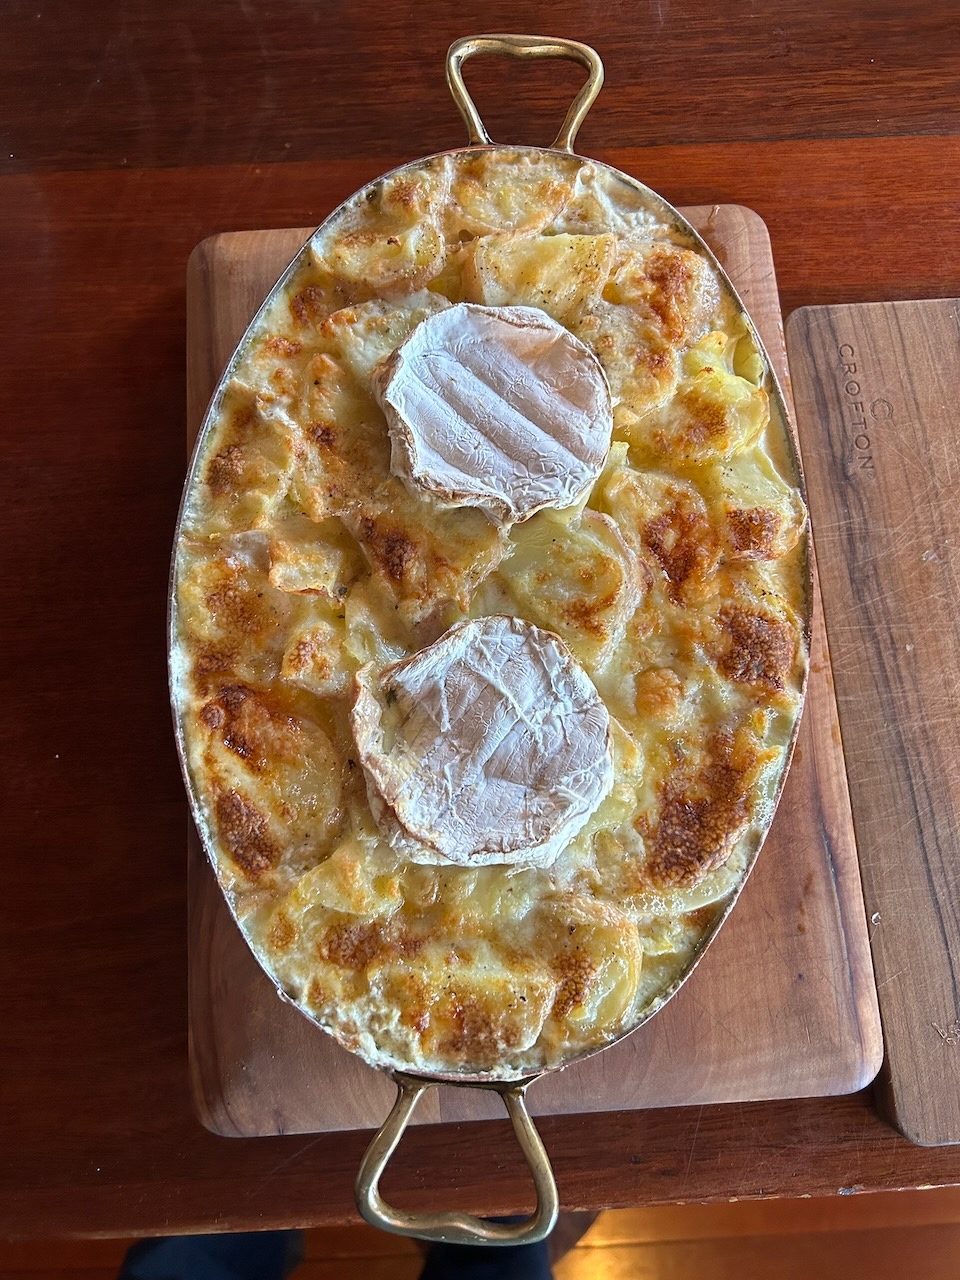
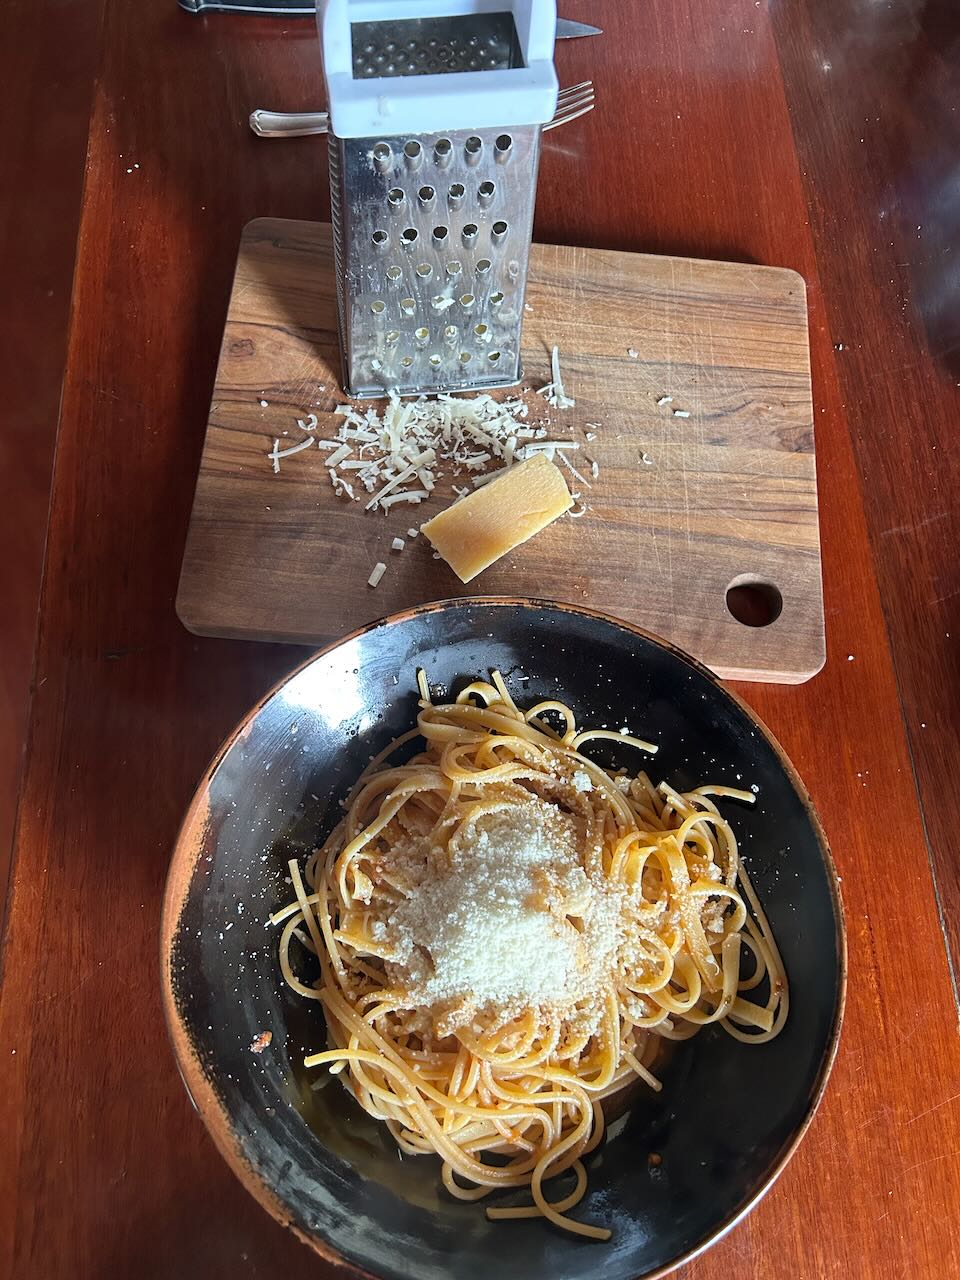
As the social norms that we thought might sustain us are broken, the rule of law is degraded and there is a huge up-sweep in the far right of politics, based on miss-information, fear, lies, xenophobia, hate and miss-trust. These events can lead to some feelings of insecurity and alienation. I want to counter that, by creating things that bring people together. Every Friday, I bake bread there in my tiny studio to share with the other residents. A wholesome mixture of wholemeal and rye, that you can’t buy around here. I have also started to host a weekly pizza night in my little space. Last week we also shared a kimchi a pancake night, made by the lady next door, using my huge bag of kimchi that I was given when I arrived here, while I contributed banana pancakes with a little ice cream and cinnamon on top. I have also made rock cakes to share at morning tea and marmalade, as such a thing doesn’t exist here. I like to have a little on my homemade toast, whenever I feel a little twinge of nostalgia for home.
I want to help create a sharing, supporting community out of these individual artists. We are mostly here for a short time, so there is a constantly changing group dynamic. I replaced someone. Another person left after I was here just one month, I only met her once! Two more artists will leave at the end of this month, and I will leave and the end of next.
However ephemeral life is, I want to leave a positive trace behind – at least for a while. I want to leave this artists residency in a better, more inclusive, comfortable and fun creative state than it was when I arrived.
One pizza at a time!


You must be logged in to post a comment.