
This is a little story about how we came to be replacing our old 3mm plain glass window panes with new double glazing units.
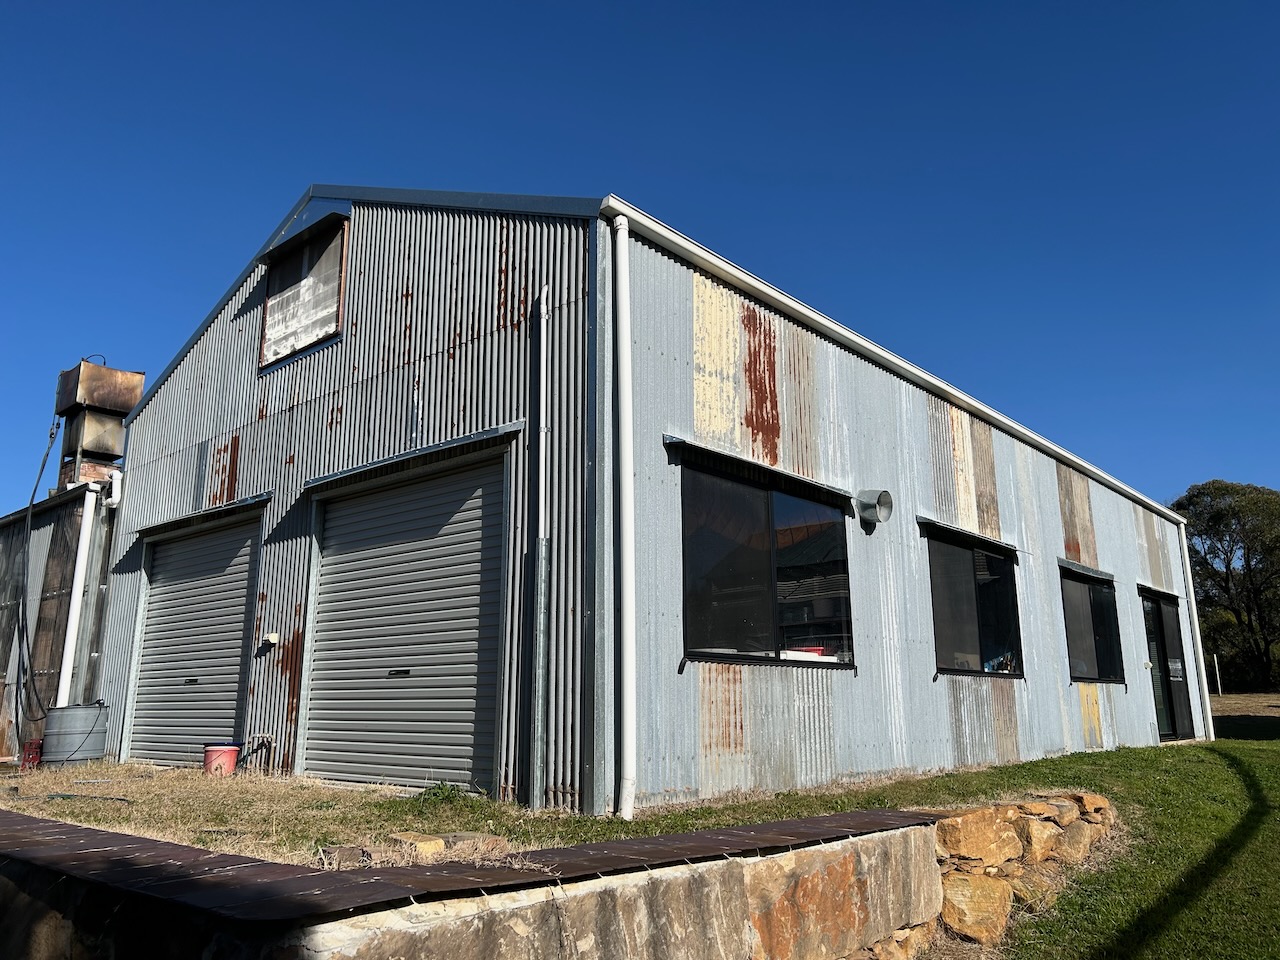
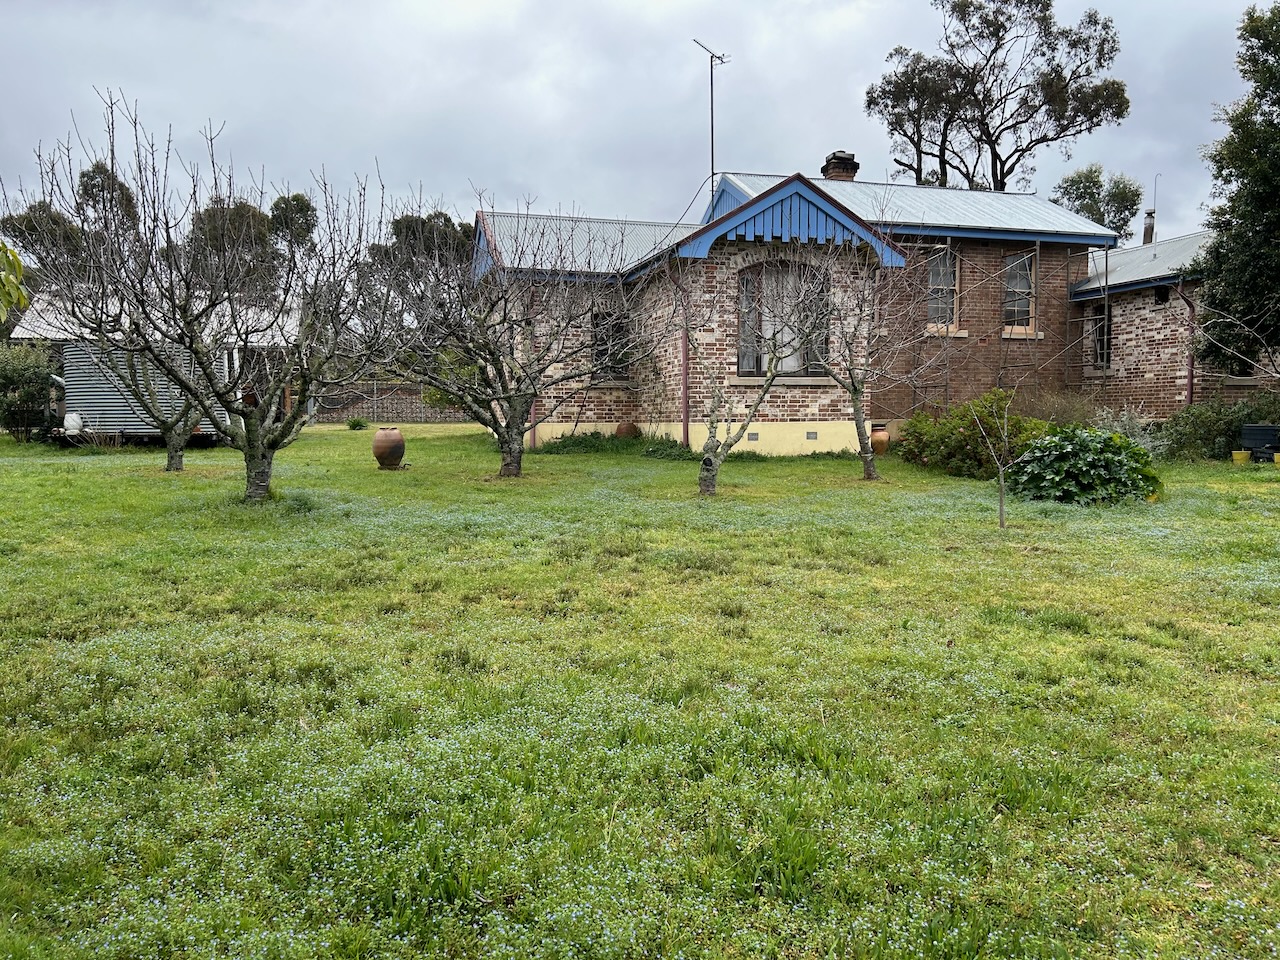
Janine and I built our own house here in Balmoral Village, back in 1976. We were lucky to be able to find and then purchased the old derelict school class room, built in 1893. It wasn’t a house, just a single room school classroom. The last time that the school operated was during the 2nd World War.
When we discovered it, it had squatters in it. It was in a very poor state, but structurally sound, being built of very solid double brick construction. However most of the timber work had been eaten out by white ants/termites.
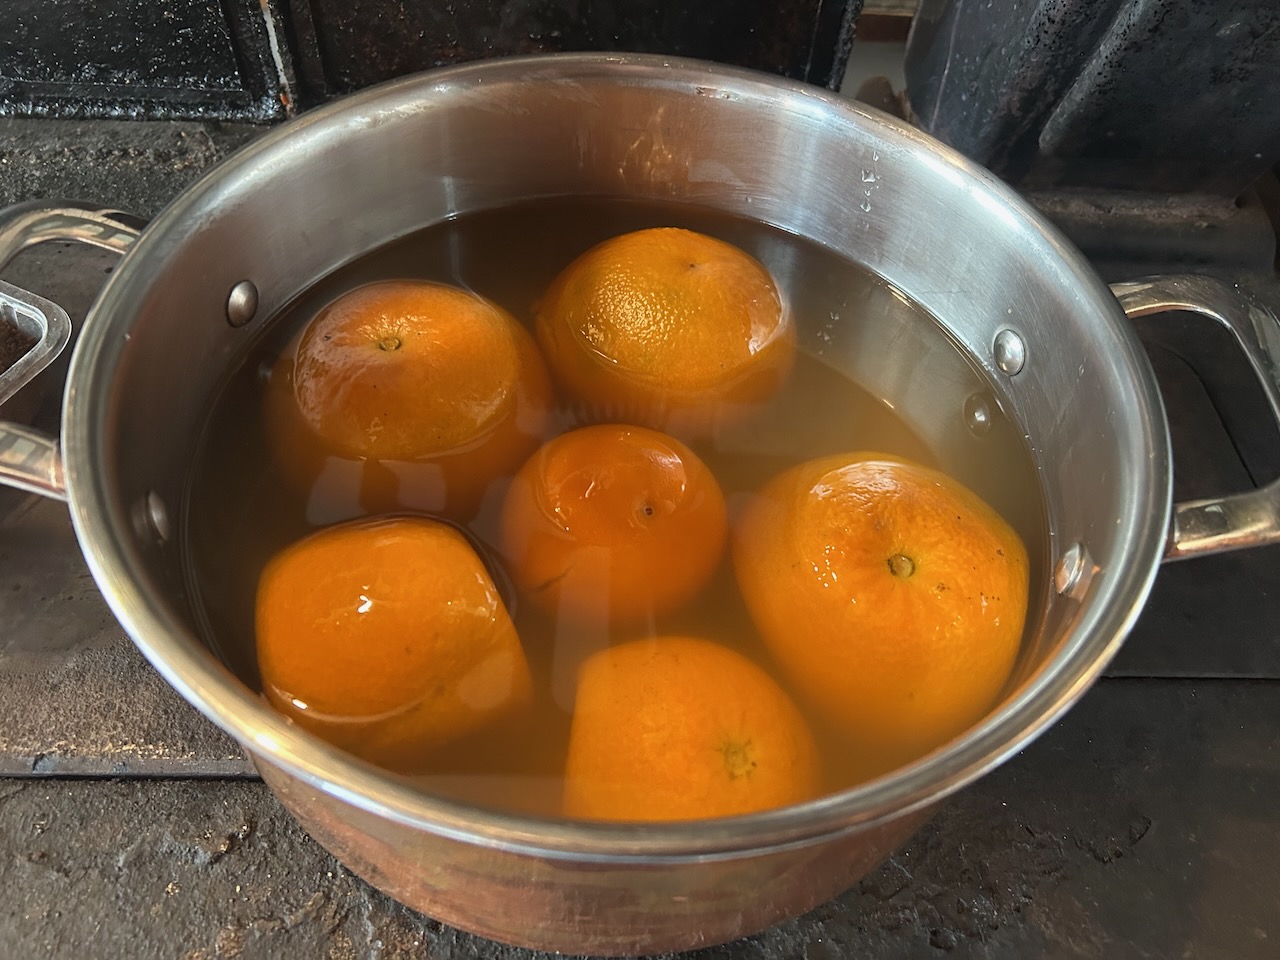
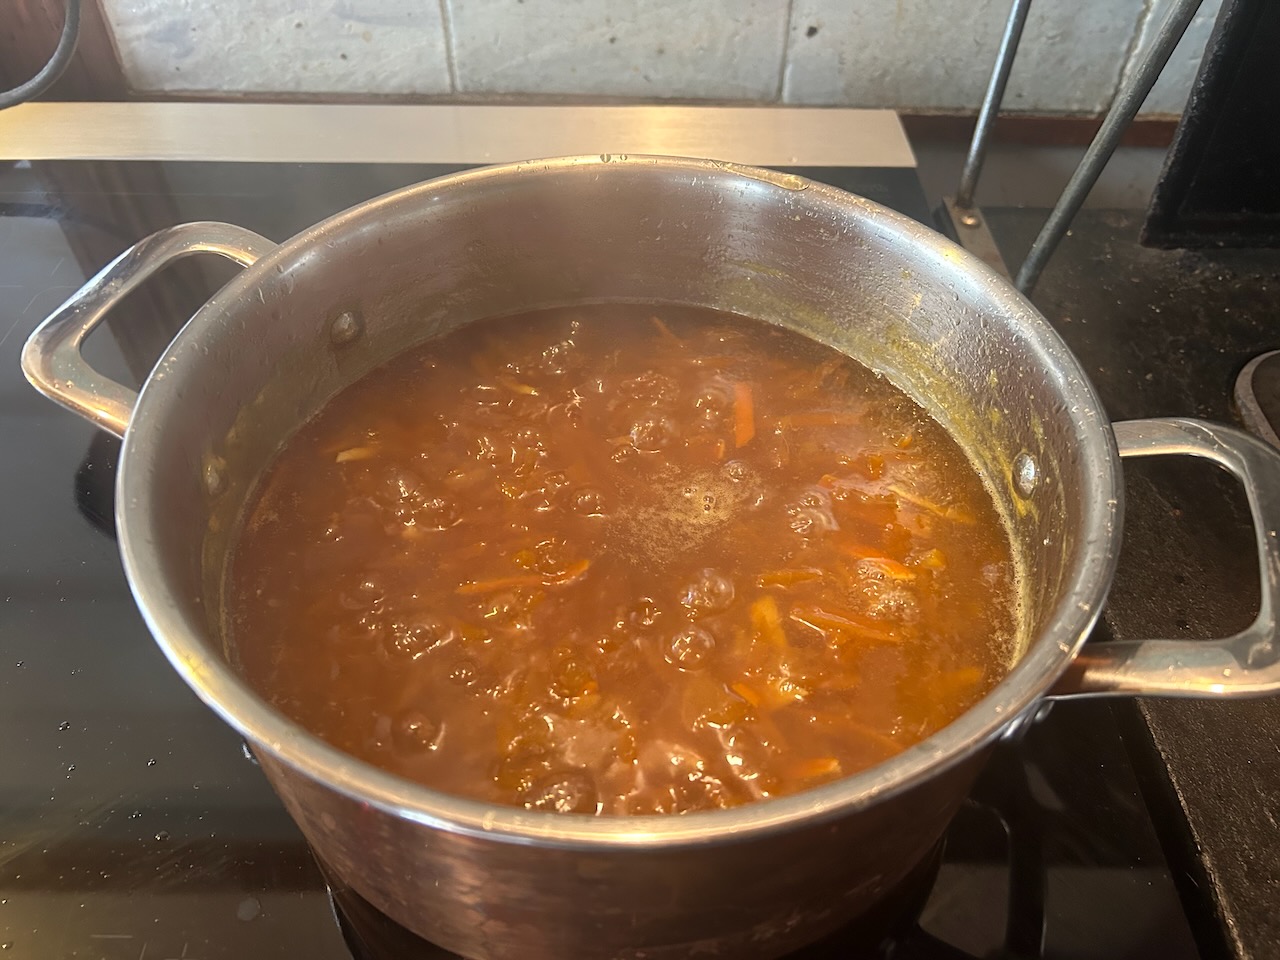
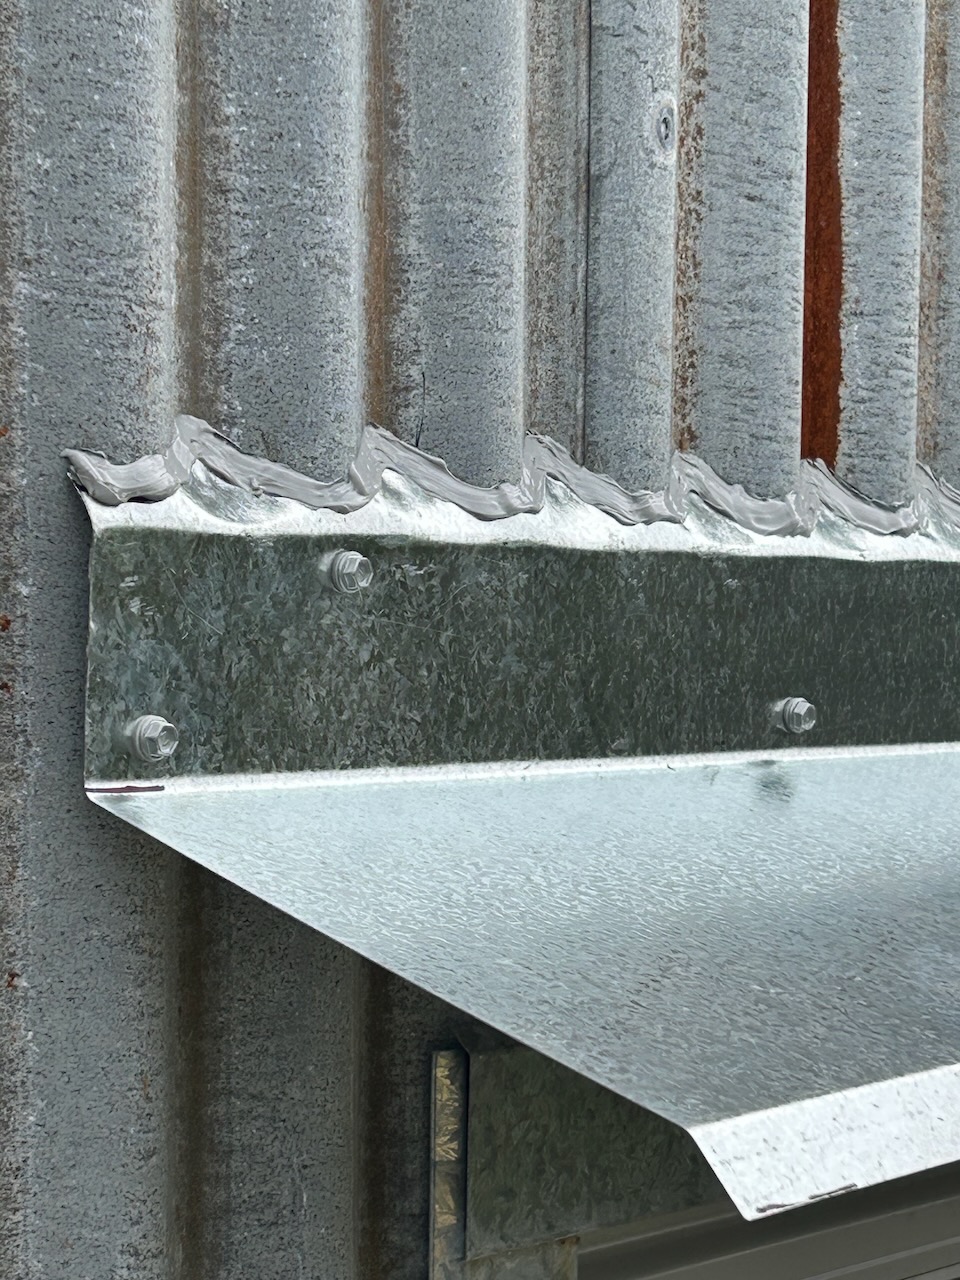
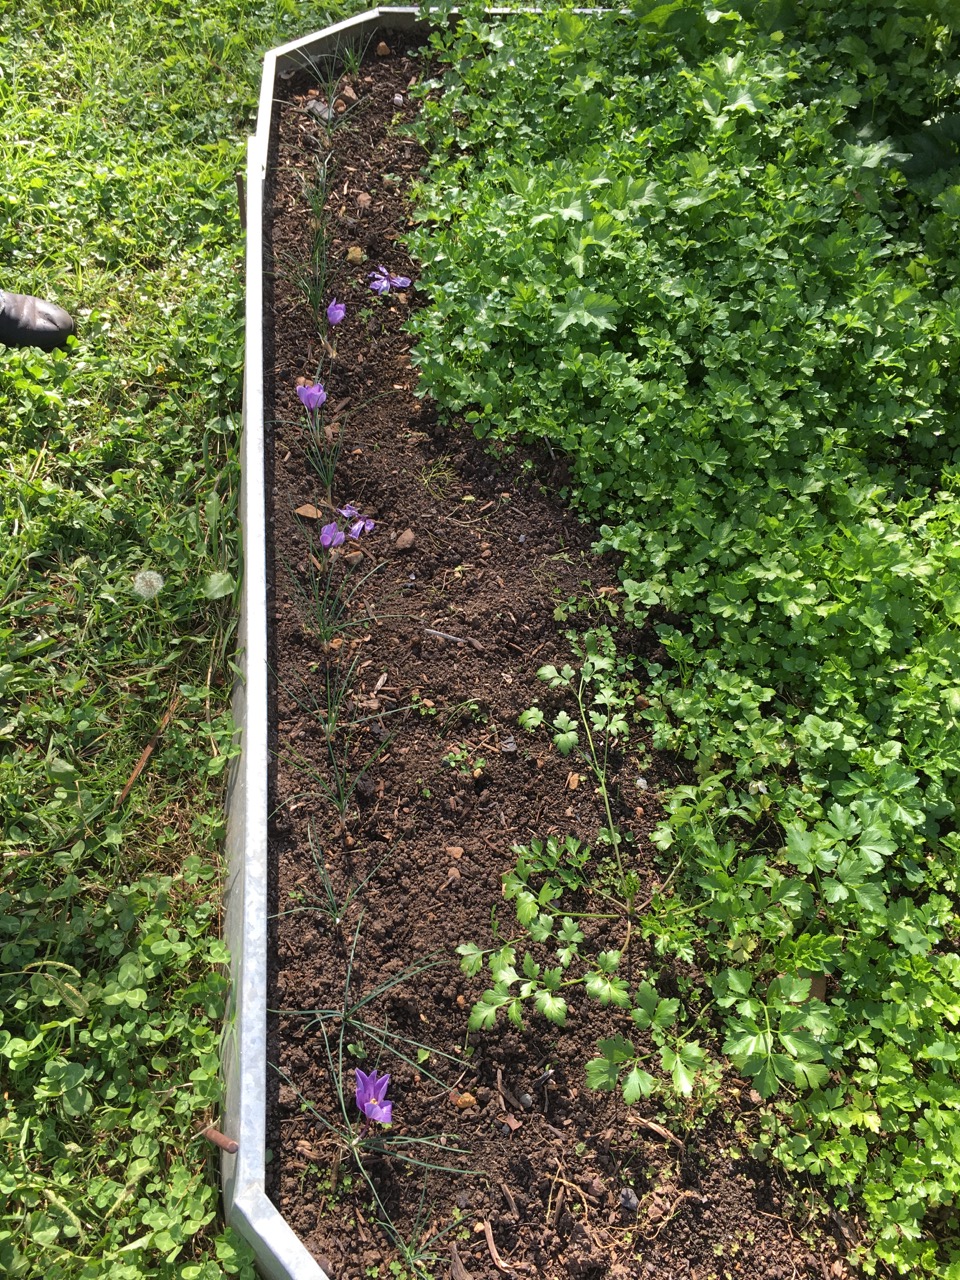
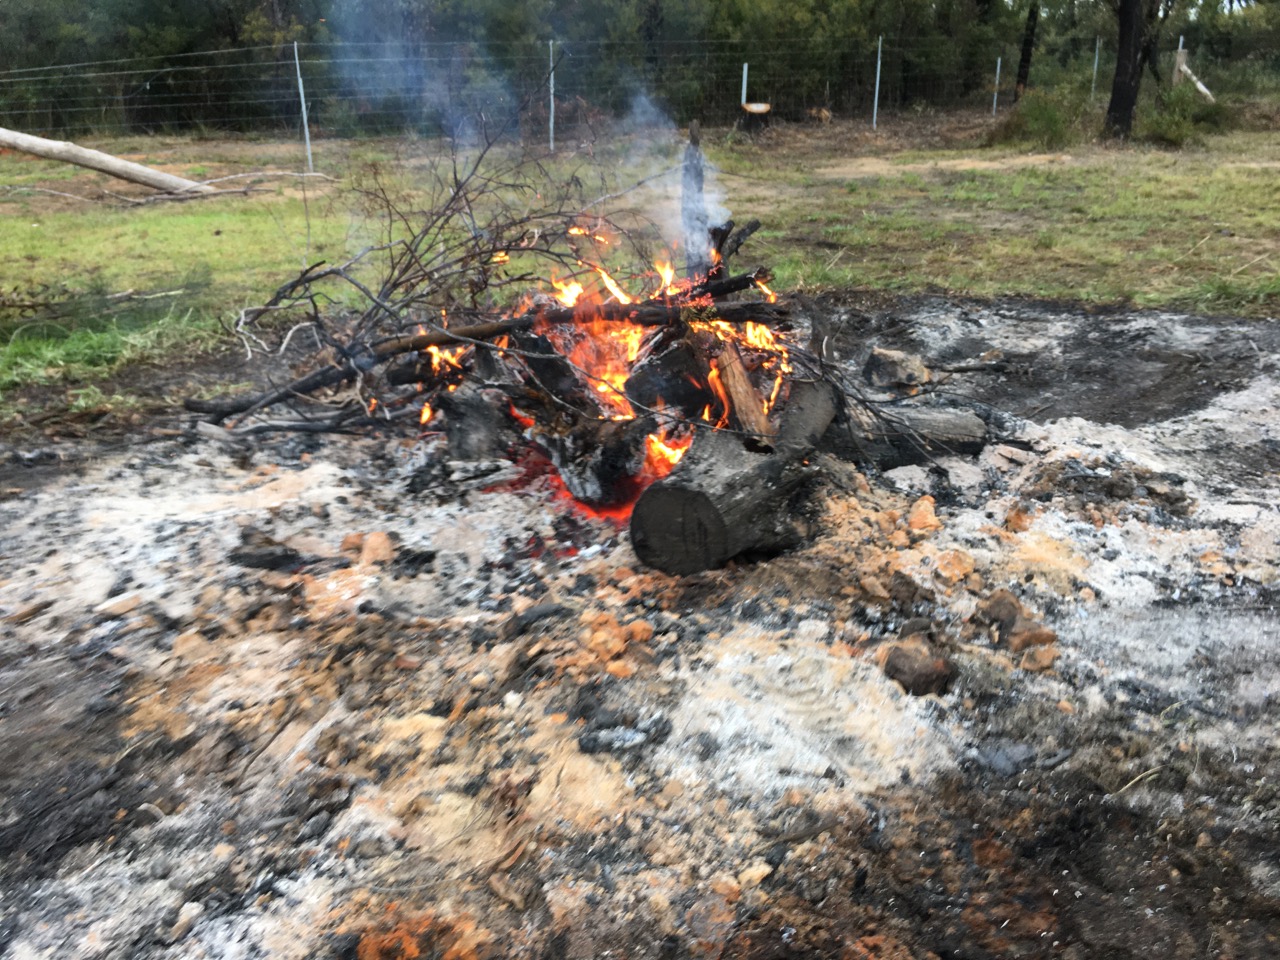
We lived in that single room for almost a decade, camping in there while we bought and installed new guttering on the roof and a water tank to collect our drinking water. Originally, we cooked on the open fire and heated our bath water on there too. We learnt to sponge-bath our selves in a galvanised metal tub, in front of the fire in Winter, but we had an outside bucket shower for the summer. We dug a deep pit latrine and eventually installed a small cast iron wood fired stove to cook our vegetables. All very romantic – for a while! But we were young and full of hubris, so everything was exciting and comfy enough. We planted a vegetable garden and started an orchard. That was our first year.
Not too much else really happened for some time as we were crippled by the cost of the mortgage. The interest rate at that time was an unbelievable 23%. per annum. We couldn’t get a housing loan from a bank. They wouldn’t touch us, because we were artists. Very unreliable apparently! We couldn’t take on anything else until we managed to pay off that exorbitant 2nd mortgage, which was the most expensive of the two. Our other mortgage was only 17.5%. So fantastic! we were so lucky to get that 5% reduction. It made our life so much easier!. As luck would have it, I earned a reputation for doing weekend workshops all over the state, so what started as an occasional weekend job soon became a regular event. I was also very fortunate to get intermittent teaching at 3 or 4 different Art Schools on 4 days and 2 nights a week. Janine worked two days and one night. That was how we managed the mortgage. For two and a half years, I had just one day at home each week during term time, it was quite exhausting. I had to get up before dawn to get the very early 6:00 o’clock bus down to Picton station for the early quarter to 7:00 am. train into Sydney. Then another bus up to the Art School, to arrive at 9:00. Then the return journey of bus, train, bus back home after dark at about 8 at night, Except for the nights that I taught the night class, in which case I didn’t finish til after 9 pm, so slept over on a friend’s floor on a camp stretcher. I am forever grateful to those beautiful people, Marg and Graham, who helped me to get started during those first years.
After a decade of ‘camping’ in that one room class room, we had paid off both of our loans. I gave up one of my teaching jobs, the 2 days at Alexander Mackie College, and the one night class at St George college. I also halved the number of weekend workshops that I took on.
We started to think about extending our single room house, adding a kitchen, a bathroom and a couple of bedrooms. It ended up taking us about 10 years to build, quite simply because we did everything ourselves, slowly, manually, to save money. We managed to do it all without extending the mortgage.
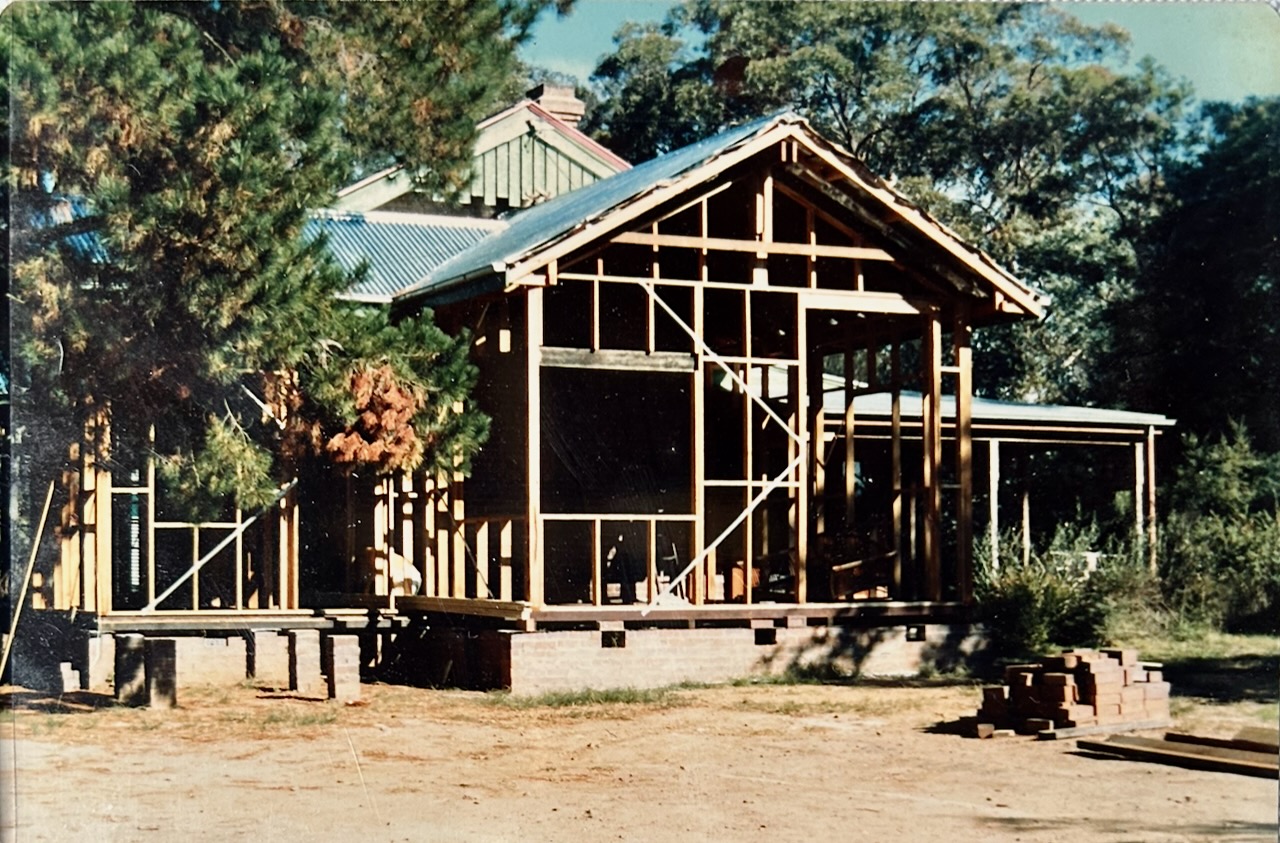
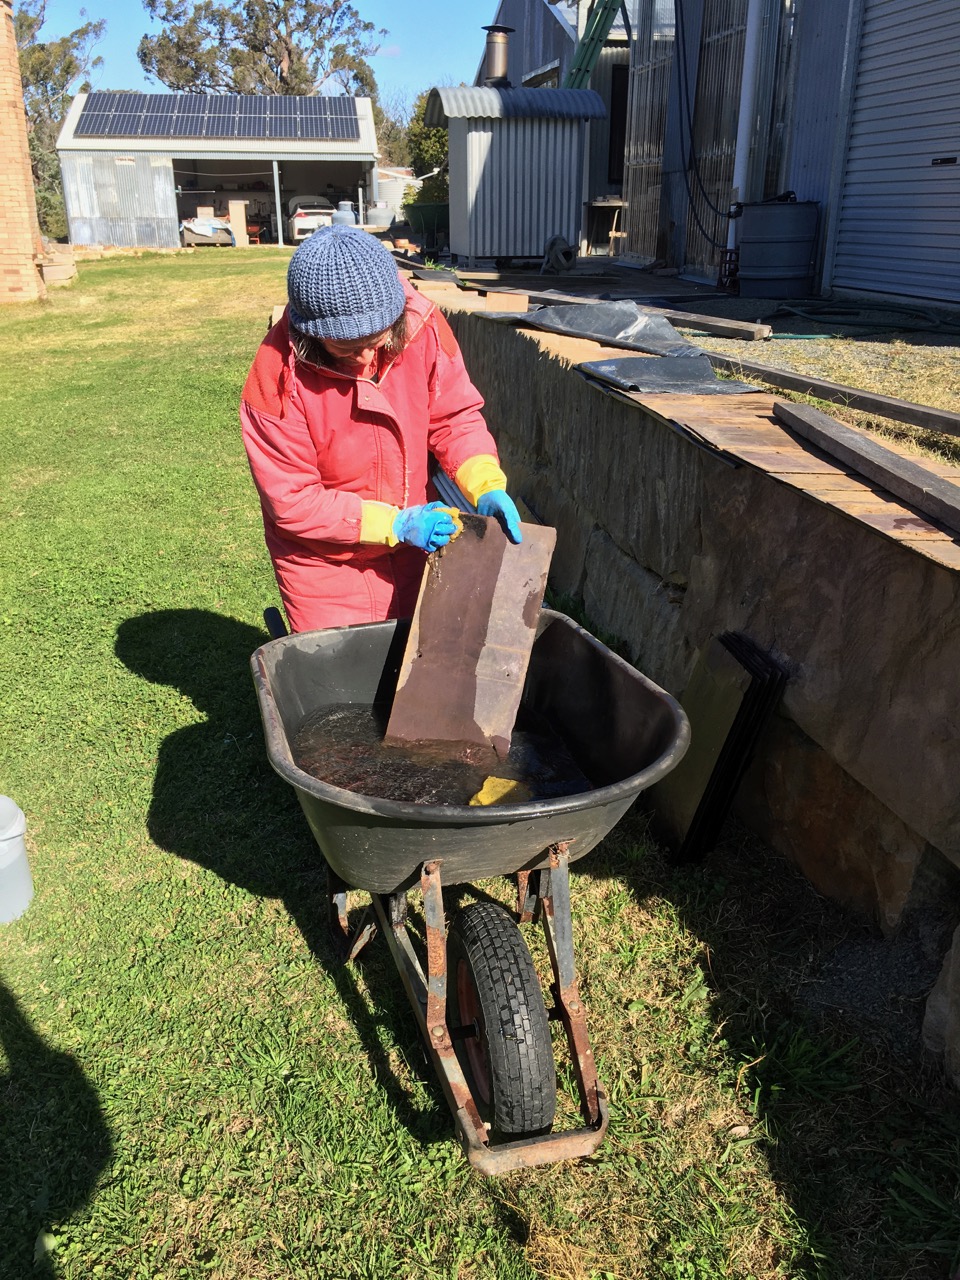
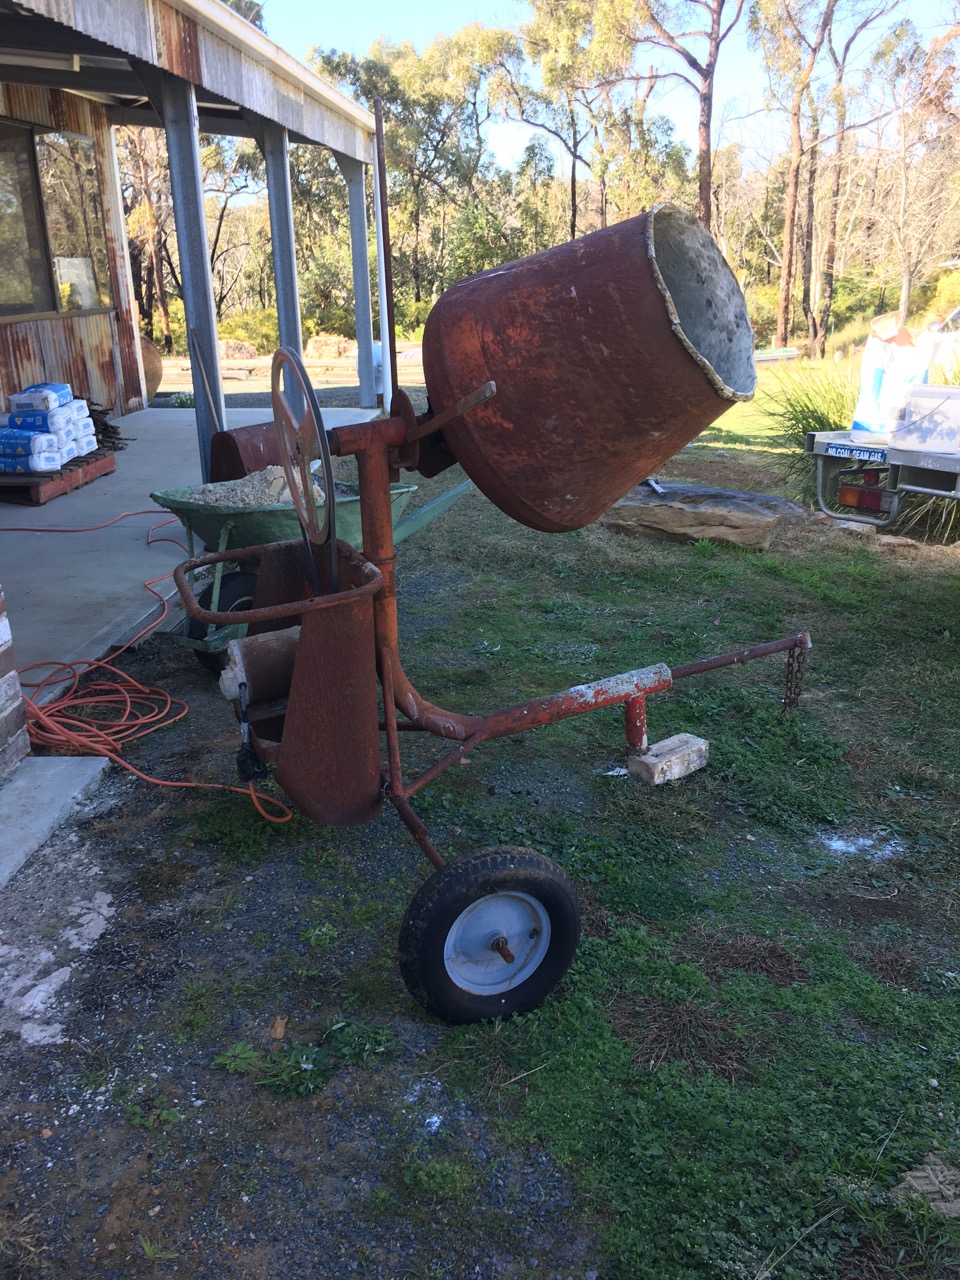
We did all the construction work on our own to save employing trades. I drew up our own house extension plans myself and got them through Council’s planning dept (after a few corrections). We dug the footings and cast the concrete. We had a wheel barrow brigade of friends and neighbours on that day to help move the concrete. In the 70’s we all pitched in together on each others building projects around the village.
I learnt how to lay bricks to build the footings. I wasn’t very good at it, but that didn’t matter, as all the brickwork below floor level was going to be cement rendered to match the old building. That design feature was such a stroke of luck, as it hid a multitude of my not so good bricklaying mistakes as I learnt the skills needed.
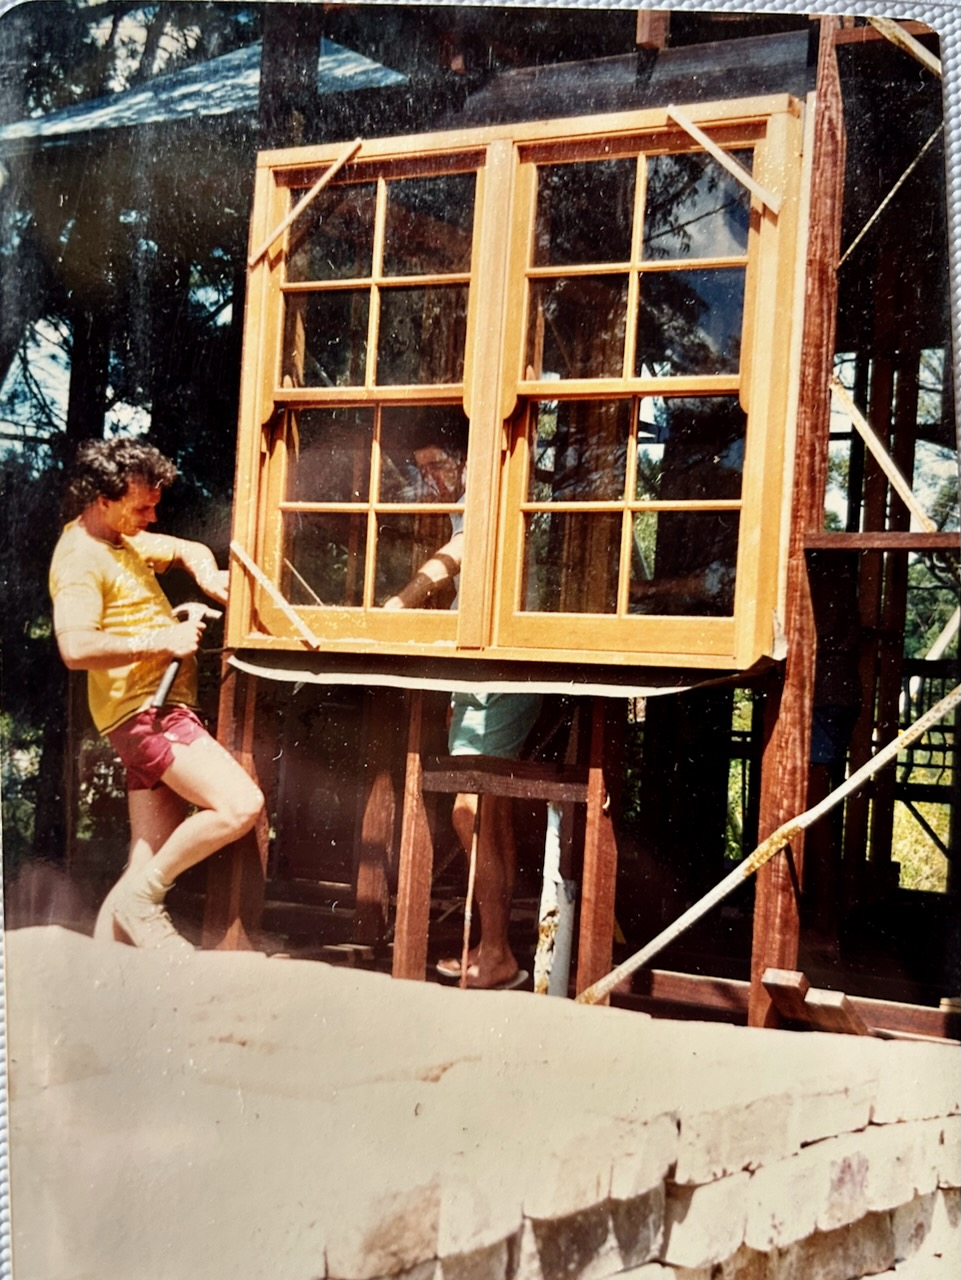
I taught myself how to construct a timber frame out of local hard wood supplied by the local Mittagong sawmill. Some of the eucalyptus trees were even felled down in the deep creek gullies behind the village here in Balmoral. We were lucky that Janine’s brother, who was a builder, came to live in Wollongong for a while, about an hours drive away on the coast. He would come up occasionally to help me lay out the footings, or level up and square the frame, then later help me to set the windows that I had made over the 6 months prior. Everything took time, but time was free, we had enough of it if we waited… Paying trades was prohibitively expensive. The only tradesman that we had to employ by law was the electrician. I managed to find a friendly one who let me run all the cables myself, leaving the tufts of wires hanging out where power points and switches were needed. He came back later and did all the connections and testing. Money was the one thing that we didn’t have much of, so we learnt to be frugal. Recycle, repurpose, reuse.
As we were both part-time/casual teachers working 2 days a week during the 36 week term time. That limited us to a total income of 150 days of paid income per year. Neither of us has ever had a full time job or earned a salary. Nor have I ever been on the dole either. These part time/casual jobs didn’t really earn enough money. So I kept on doing the weekend workshops all over the state, and even a few interstate, even in New Zealand! So as to make more money. Our income was so small and unreliable that we couldn’t borrow any more money. This meant that we had to build our house slowly, very slowly, using our meagre wages to pay for materials only. We would save for a month or two and then buy the concrete for the footings. Wait and save again, then buy the bricks for the footings. Wait and save until we could afford the timber for the bearers and joists. Bit by bit. Step by step. All the while spending the time in-between, whilst saving, using the materials that we had acquired to complete the next phase. So it went on like this over a few years, until the frame was complete and we had a roof on, but no walls! I wrapped the walls in silver paper to protect the timber from the weather, but the sisalation got blown to pieces in the huge winds that we experienced over the next couple of years. I finally had to nail plywood over the top of the sisalation to hold it in place.
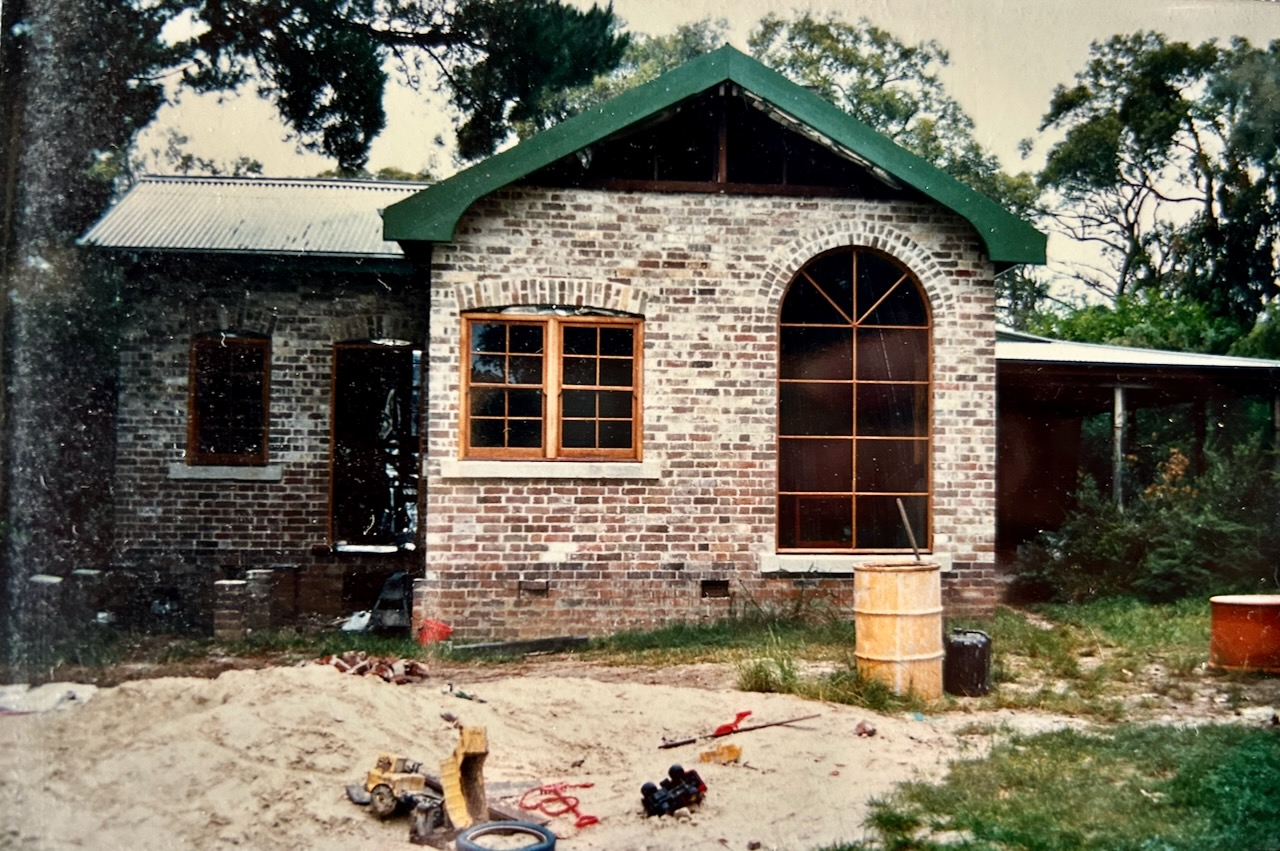
We had a fantasy dream to build the house out of sandstock bricks to match the old school room. It would look best if it was in some sort of harmony with the original. Either that, or build a steel and glass cube box that was totally different, as is the modern way. But steel and glass cubes cost enormous amounts of money. Needing architects, engineers, cranes and structural steel ‘I’ beams and plate glass are priced like gold. All so far out of our reach, we didn’t even bother getting quotes. So we stuck with what we could manage on our own and could afford.
I kept buying small numbers of sandstock bricks here and there from garage sales and demotion sites where ever I saw them, but only in tiny numbers. What we needed was 10,000 bricks. The years dragged on.
One day we were down in Mittagong on a Friday afternoon doing the shopping, when we saw that a huge excavator was starting to pull down the old Railway Station building. It was being demolished to widen the platform for the introduction of the new ’so-called’ high speed train, the XPT. It wasn’t high speed! It was actually slower than the steam trains. I asked the station master what was going to happen to all the demolition rubble. He told me that it was going to be buried at the local tip! WHAT!
I told him that I would finish the demolition and clean up the site and remove all the demolished building materials for them free of charge. I’d even be prepared to buy the station off him. He asked how much and I said $10 ! He laughed. Said try again. I said $100 and he said OK. That was it. We shook hands on it. I bought the ruins of the old railway station that importantly for us was built out of the same old local sandstock bricks as our school. I paid a coupe of friends and we spent a week, sorting, cleaning, stacking bricks onto pallets and had them picked up and taken to our place each evening, so that no one would steal them from the side of the road. Each day our friend Robert helped Janine, who had just given birth to our son Geordie, to unstack the bricks on the side of our driveway, so that I could use the same pallets over again the next day to move more bricks. That is how we managed to build our house out of matching old sandstock bricks. So fortunate. So lucky, Such a fluke!
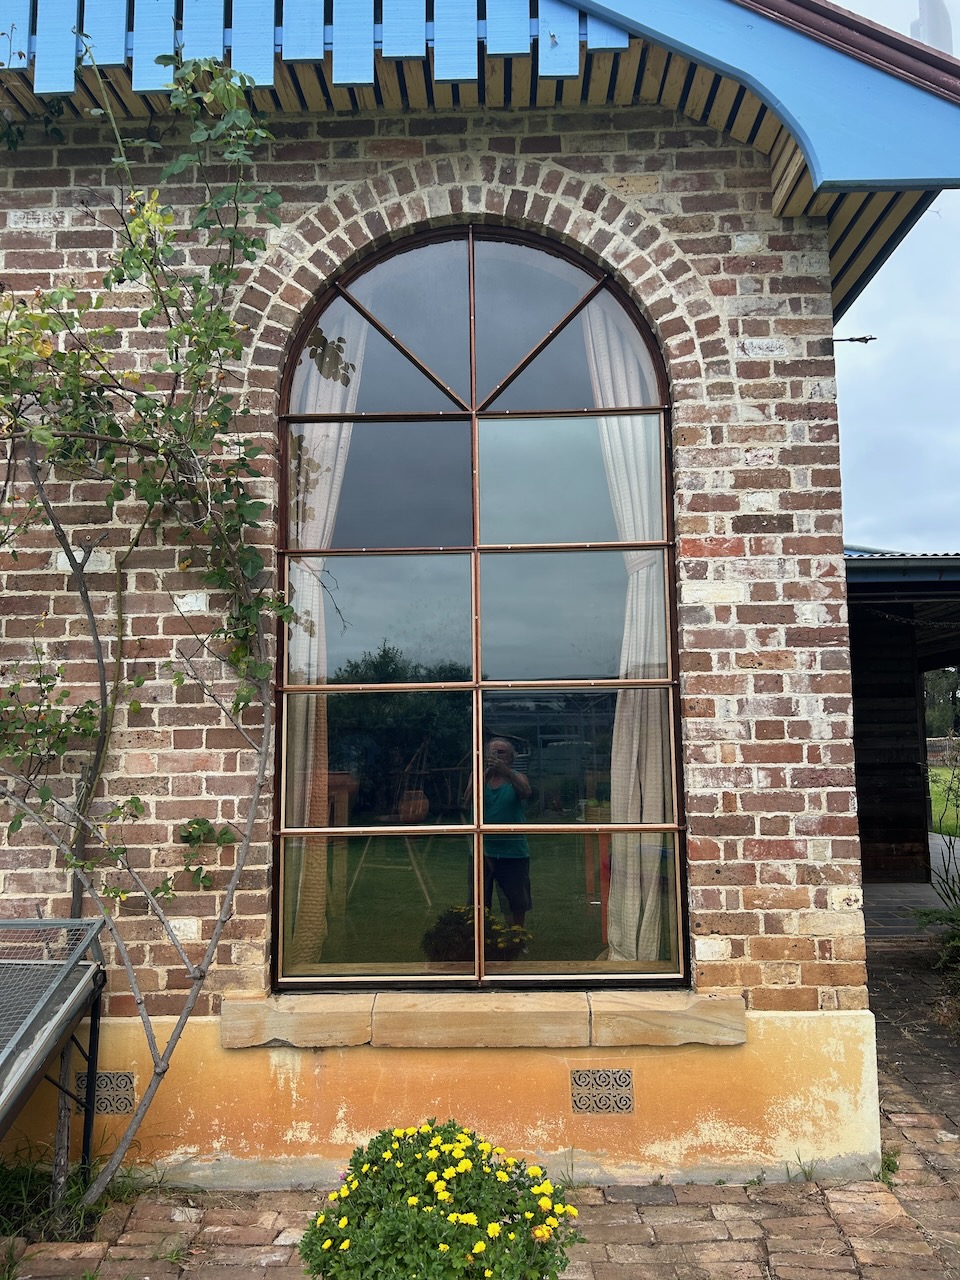
The house had laid idle for a year or so while we solved the brick problem. I had spent the time making all the windows for the house, including two quite lovely arched feature windows. It took the best part of a year to get all the windows made, as I had no idea how to make a window when I started. I didn’t know anything about glazing windows either. I had to teach myself how to steam wood and bend it to make the timber arches. I wanted to use double glazed glass, but it didn’t really exist here in those early years. I was told that it had to be imported from Germany at eye watering expense. So I settled for plain 3mm glass, and even that set me back a bit at the time. Glass was always so expensive.
The total cost of the house was $23,000 spread over 10 years. Made up of little quantities of money that we saved up in small amounts over months to buy the materials as needed. Our ability to save this money, set the pace at which we could build the house. The other limitation, was that I was doing all the work. I only employed my friends for a day or two here and there when the job at hand was just too heavy or difficult for me and Janine to manage alone. At the end of the decade, we had a more conventional house with a kitchen, a bathroom and 3 bedrooms, and we achieved this outcome with no extra debt.
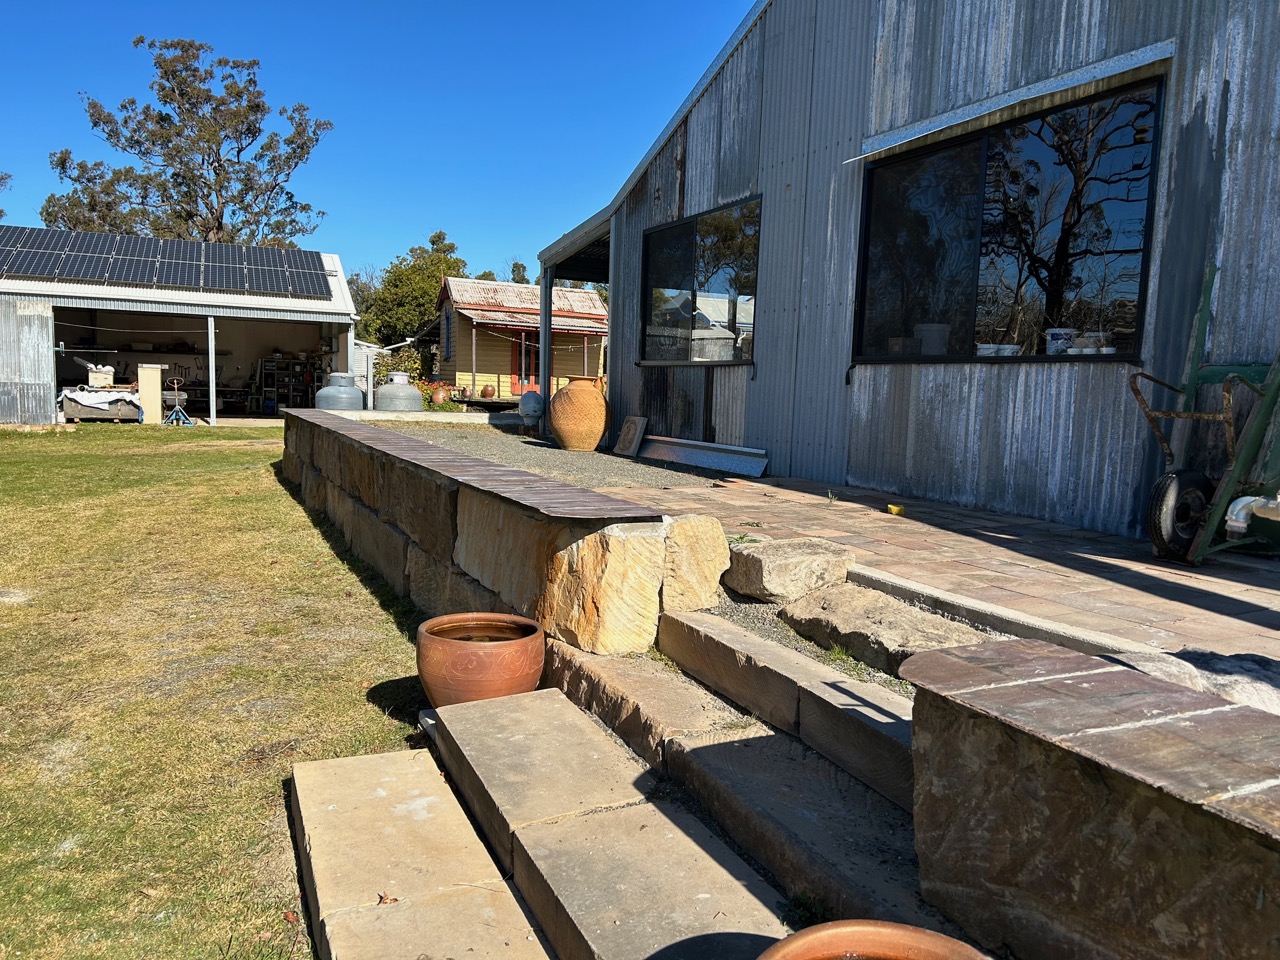
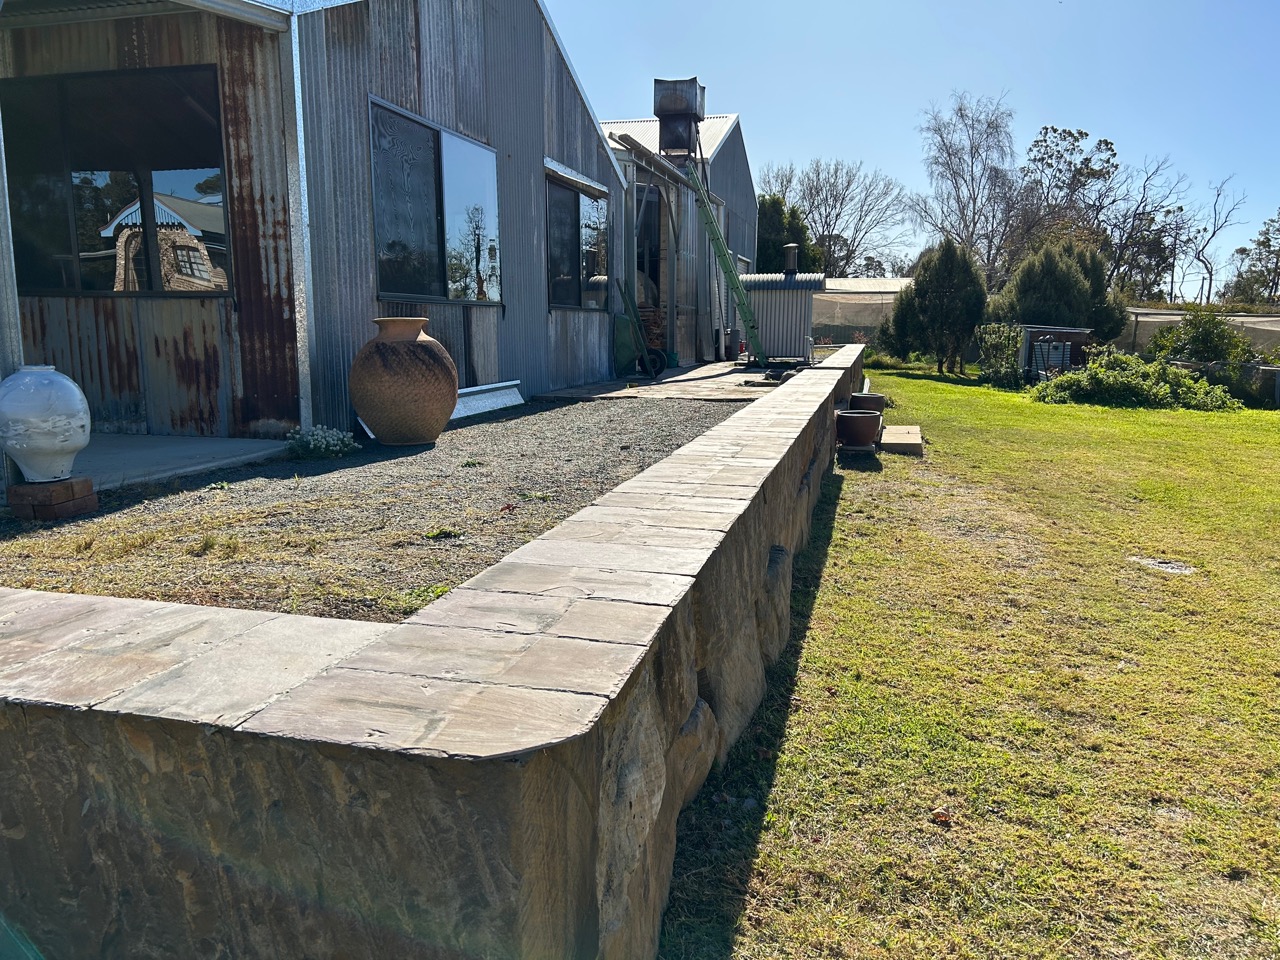
Janine had come up with the final design concept that we used. The old school faces West, so Janine had the idea to add the kitchen extension on to the north side making the new kitchen/living-room/dining room north facing and therefore solar passive. She conceived of flipping the orientation of the new addition to the school 90 degrees on its axis, facing it north. It was a great idea. Thank you Janine.
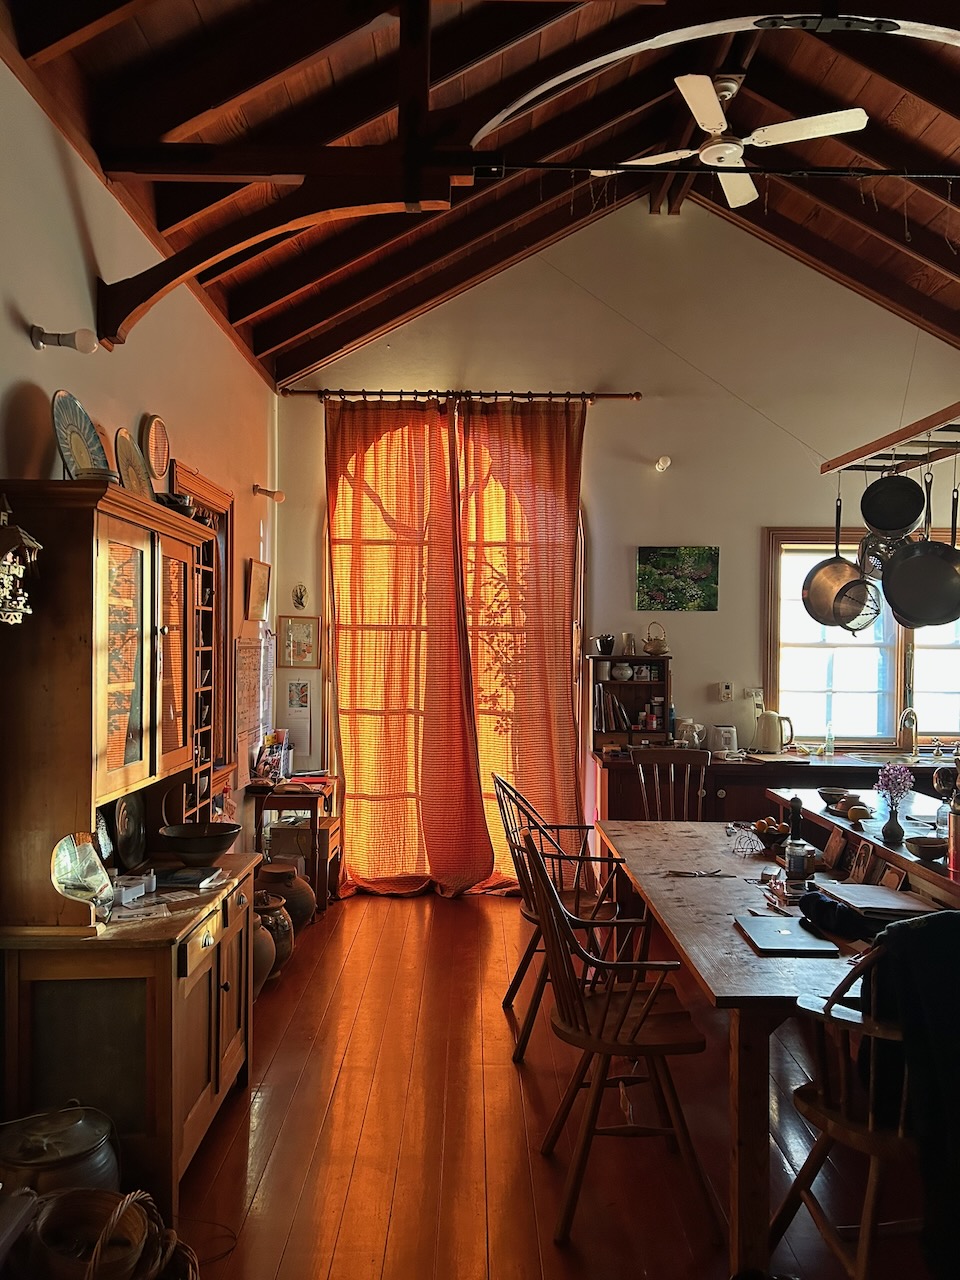
After almost 40 years now, we are finding the kitchen is getting too hot in summer. We had to close the old heavy winter curtains during the day in summer to try and keep the heat out. I added a huge sheet of perspex onto the inside to try and create a poor mans sort of double glazing, It didn’t really work that well. It helped a bit in winter with retaining the heating, but summer is our big new problem here with the huge increases in global heating.
Last year I decided to replace the old single pain 3mm. glass with new argon filled, double glazing. There is now a factory in the local town of Moss Vale that manufactures them. I spent $1800 on 12 new panes of thick double glazed glass. The inner pane has a special metallic ‘low-e’ coating that reflects back the infra red wave lengths of light that used to carry heat into the room. I had to rebuild the old 3 metre high arch window frame glazing bars. I glued and screwed on new 30 mm x 10 mm. extensions to the glazing bars, using some old cedar that I had scrounged many years ago for nothing, sure that it would come in handy for something eventually. These glazing bar extensions made it possible to accommodate the new 20mm. thick double glazed glass units. That was 12 months ago. We really noticed the difference this last hot summer. The kitchen was really cool – without curtains. So different!. That month long, part time exercise of rebuilding the big arch window was spectacularly successful. I managed to do it all in-situ, so there was never a big hole in the wall. I did rely heavily on my friend Andy, who did the ladder work outside, while I did the inside work. Together, we got it all done in a day.
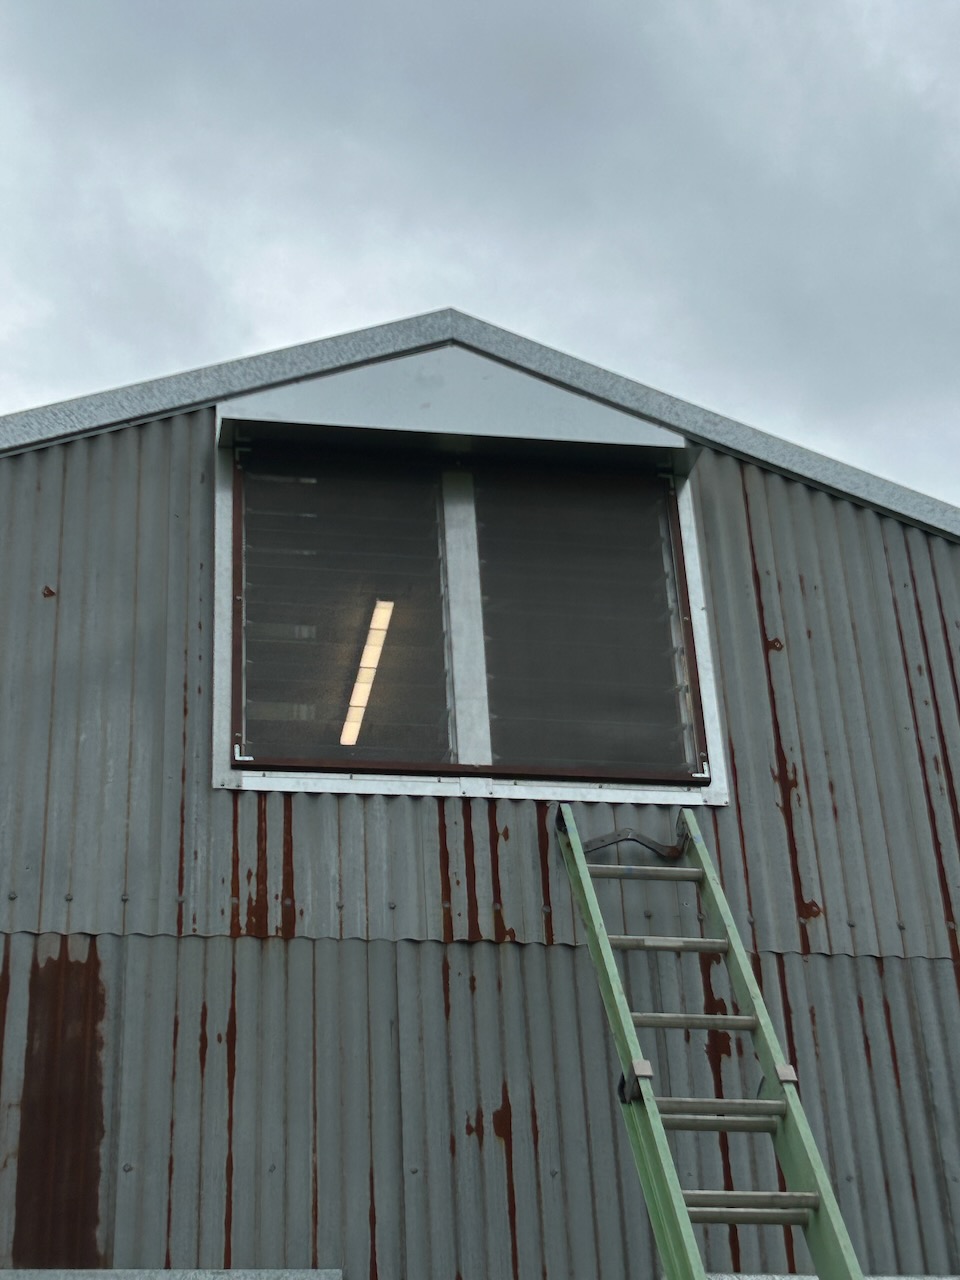
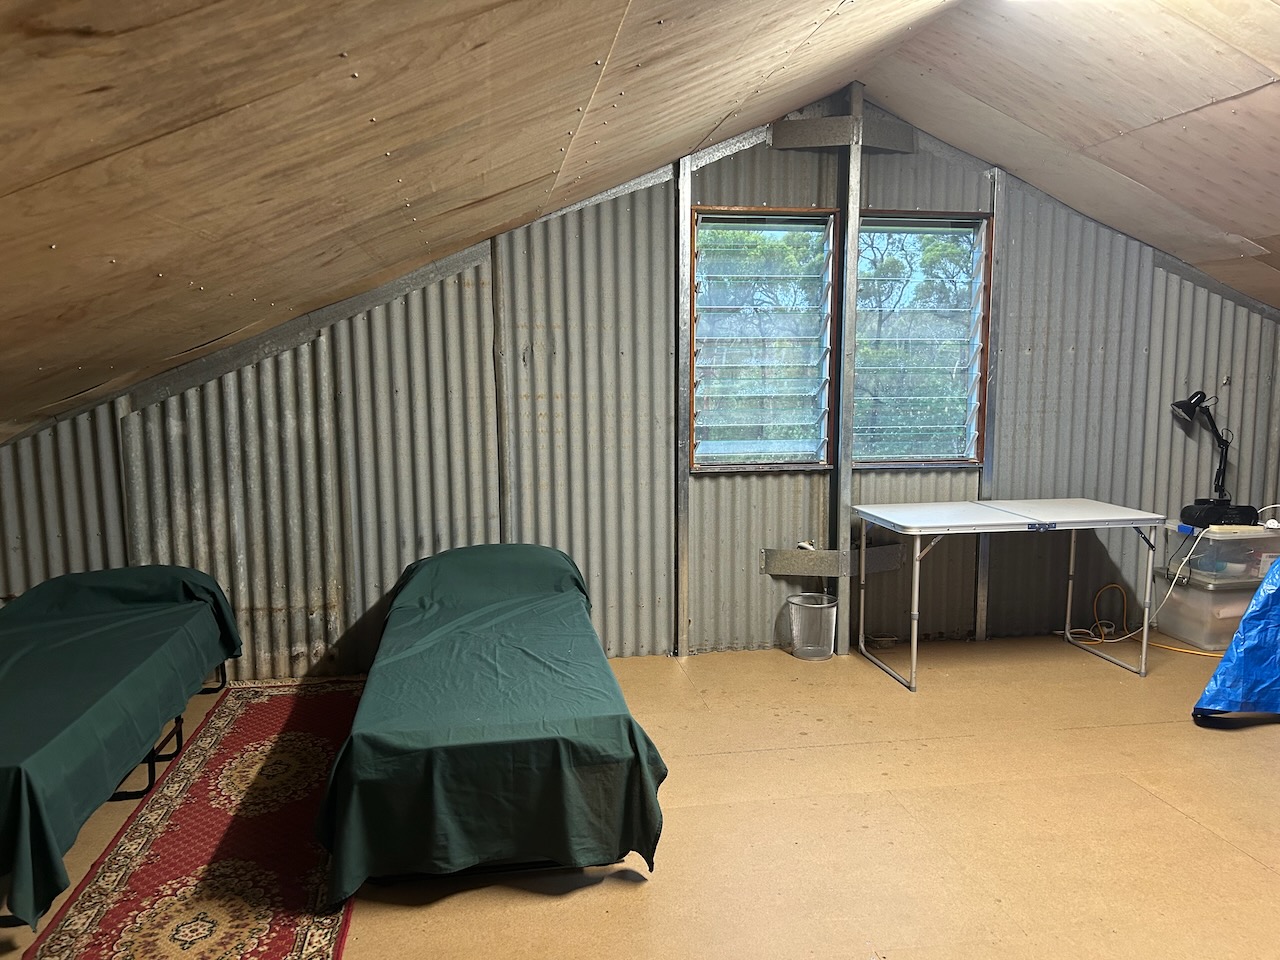
Going on the success of last summers window glass up-grade. This year, I decided to replace all the small panes in the multi-pane double hung windows all around the rest of the kitchen. I couldn’t fit double glazing in them, as there is no room in the double hung timber frames to allow for a 20mm thick argon-filled double glazed glass pane. I did a bit of research, some years ago now, and came across vacuum filled double glazing. (or should that read vacuum emptied, double glazing?) I kept my eye on the concept over the years, and as the price slowly came down. I was encouraged to take the leap!
The gap between the two glass panes is only 0.3mm., that is like the thickness of a human hair. The big difference is that the gap is filled with nothing. ABSOLUTELY NOTHING! It’s a vacuum! So its like having a thermos flask in between the glass. These 4mm thick hardened glass panes also have a ‘low-e’ infra-red reflecting coating on the inner sheet facing out. Being only 8.3 mm thick in total. I thought that I could fit them into the old, wooden, double hung, frames that I made 40 years ago, and they could still be lifted up and down in the same runner slots. Or so I thought. As it turned out, they certainly could fit – just. I’m thrilled that it was possible. I paid my friend Andy to help me again, as I didn’t know if it was going to be possible, and time was of the essence, as rain was threatening. Andy is great. He has so much building experience and he adds a sense of calm and professionalism to the situation. He is also younger than me and doesn’t mind working on a scaffold or a ladder. Thank you Andy!
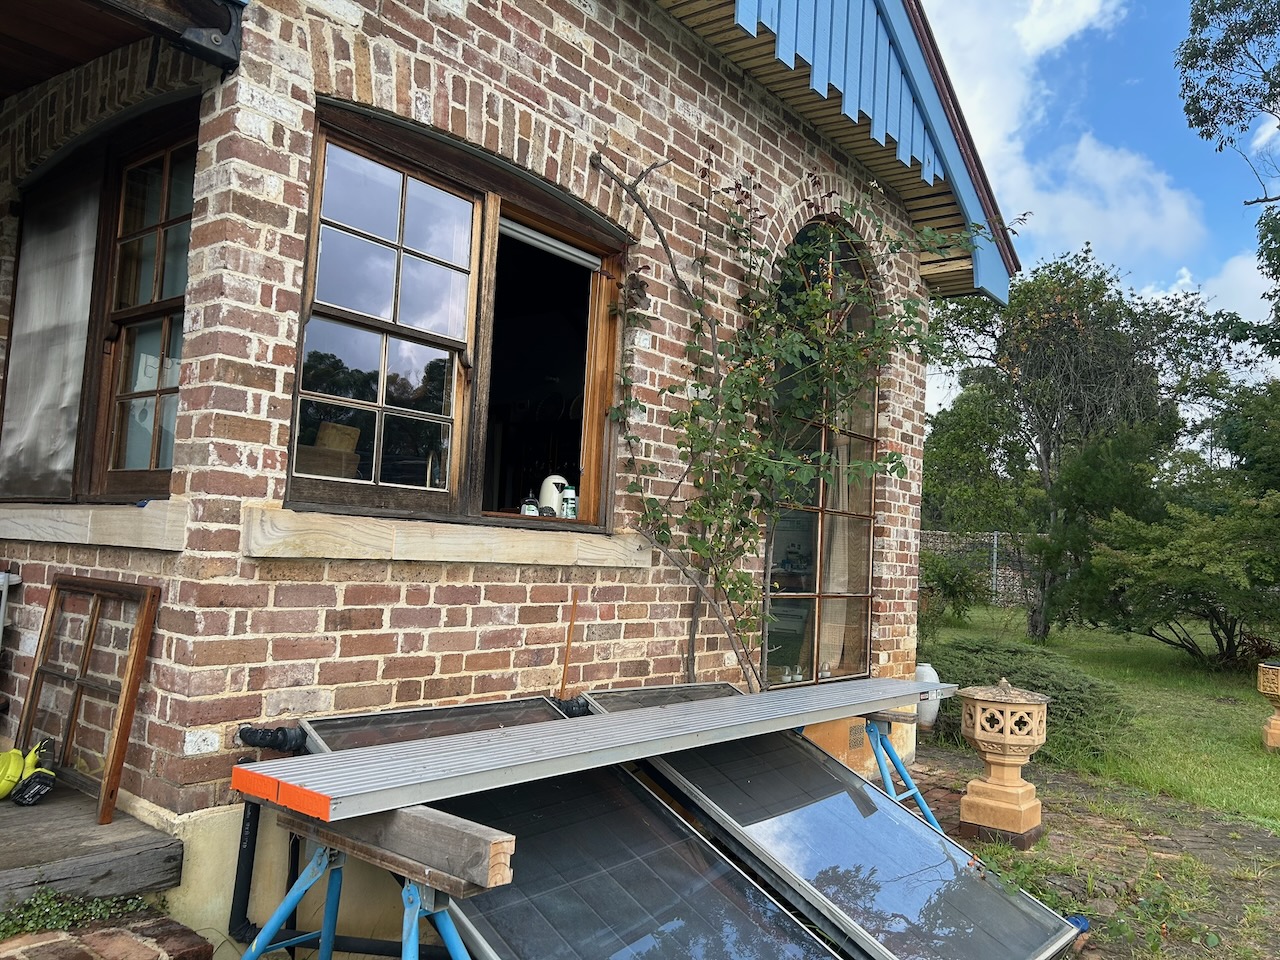
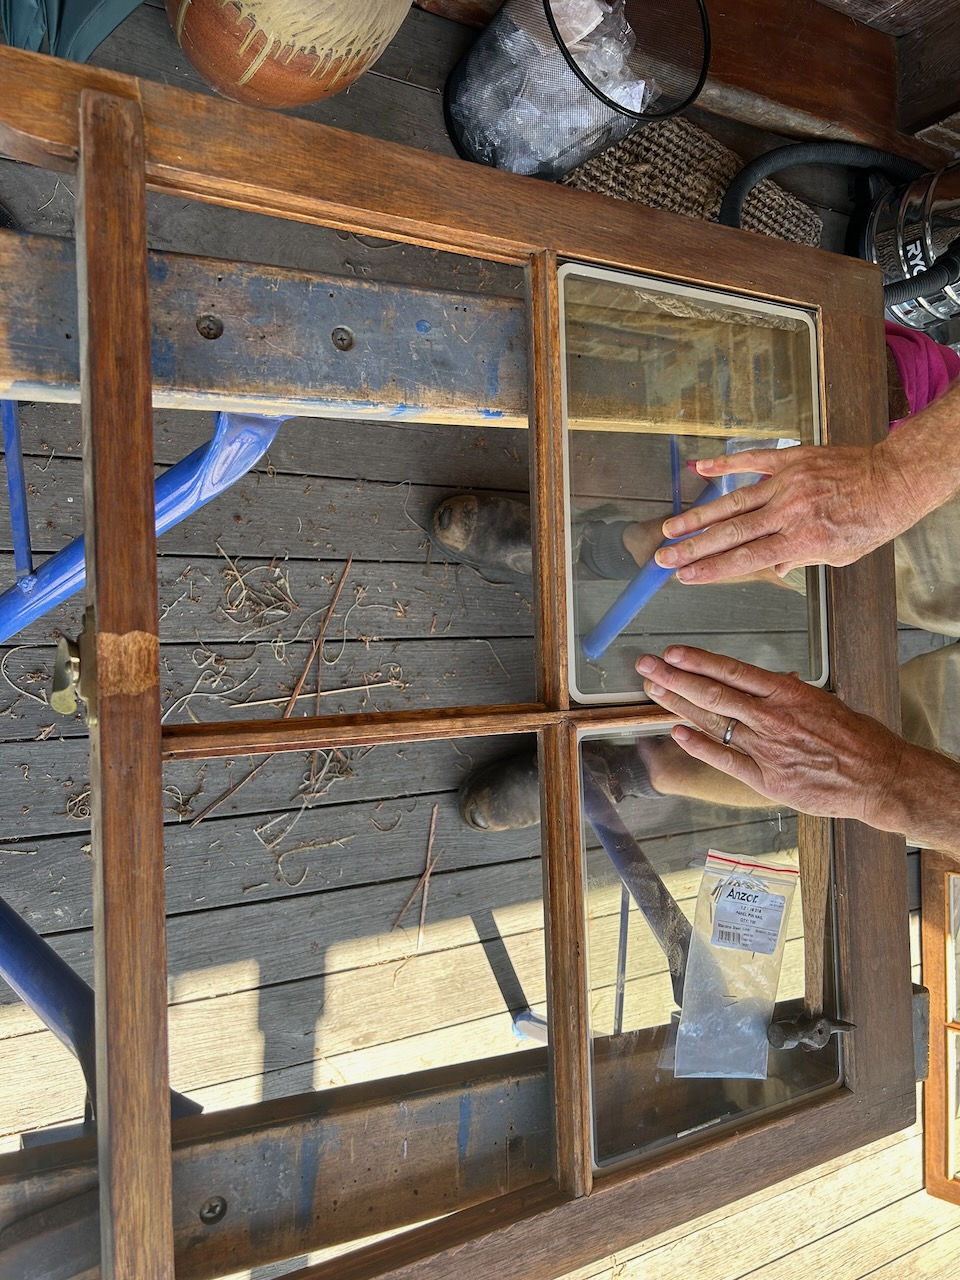
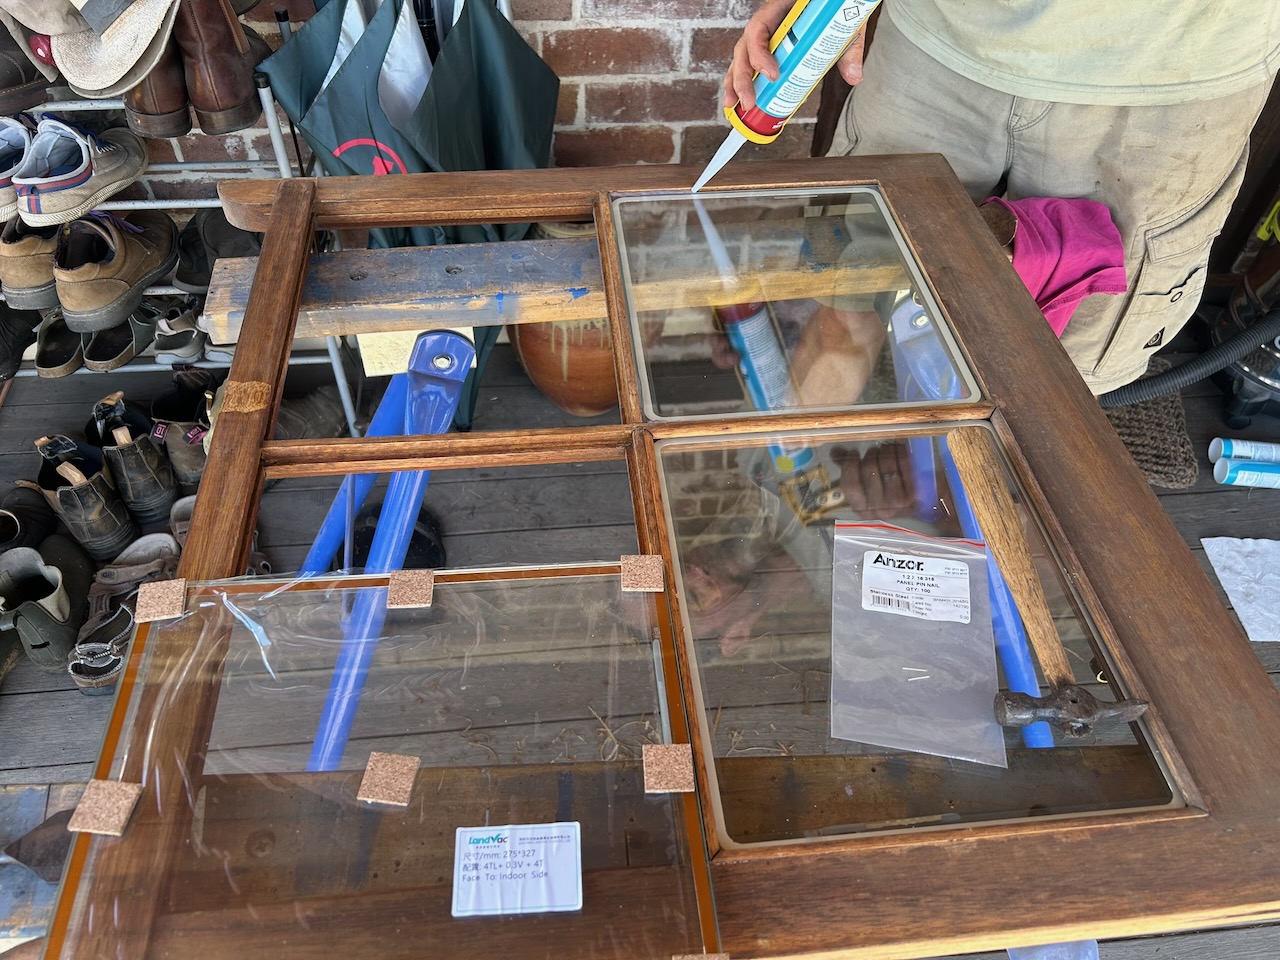
We had to take out the old windows, leaving a hole in the kitchen wall while we figured it all out. As the panes were so much thicker, going from 3mm up to 8.3 mm. We had to carve out the seating groove in one place in each wooden frame to allow for the thicker glass. It all went surprisingly well in the end. So I consider myself very lucky. I thought about it a lot before hand and planned it well, but didn’t know until the day, if it would actually work. Such good luck! AND the rain held off too.
We’ll know this time next year if was as worthwhile as the argon filled double glazing was. We have completely re-engineered the thermal efficiency of the house now. Re-imagine, re-furbish and re-new!
I’m still somewhat amazed that we were able to carry it off without any serious glitches.
Life is a work in progress. We’re working on it. We have been very lucky all along the way, but I’m very aware of the old saying. The harder you work, the luckier you get! I’m also very aware that I’m incredibly fortunate to be living in a civilised, peaceful, first world country like this, where opportunities do arise. We are also very lucky to live in a land with no missiles or bombs.
I’ve been told that the most important choice that you make in life is to choose the right parents. Choosing the right country where those parents live also helps!
Nothing is ever finished, nothing is perfect and nothing lasts.


You must be logged in to post a comment.