
Over the solstice break, I’ve been having a bit of time off.
A change is as good as a holiday I’m told. So I took some time out to weld up a steel frame to make a fume extraction hood to go over all the electric kilns.
I have been ‘making-do’ with a bathroom exhaust fan set into the kiln room window, but it doesn’t catch all the fumes.
So we now have a ‘proper’ hood that covers all 3 kilns and there is room for a 4th kiln at the end, if I ever get round to building it.
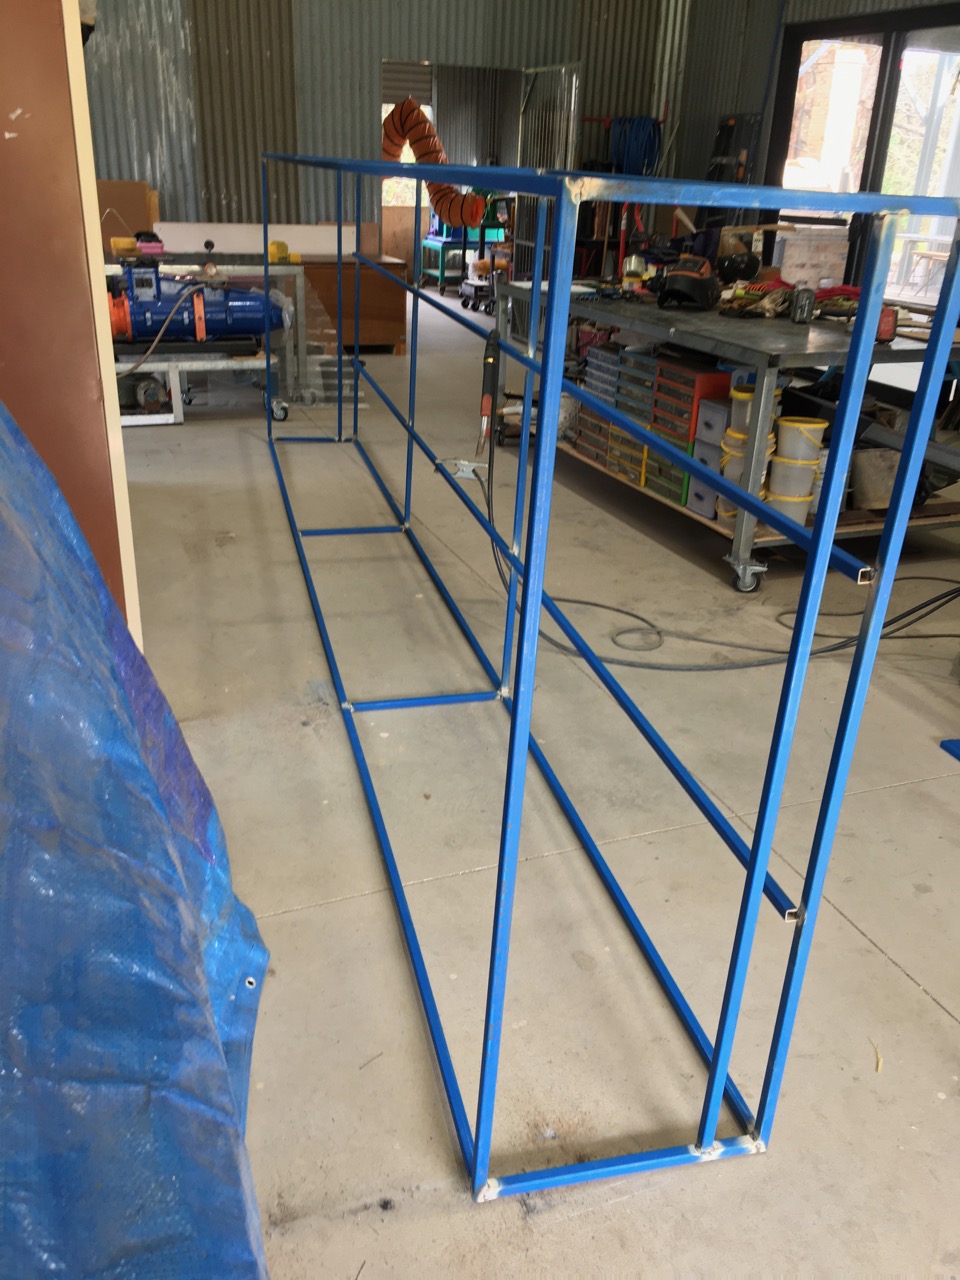
The frame is welded out of 20 x 20 RHS sq. section tube and then primed, undercoated and top coated with a strong yellow industrial grade paint. Something resembling ‘CAT’ Yellow, just to give it that heavy duty industrial look. Actually, I was thinking of the sort of colour that big factories have to paint over-head cranes, gantries and such.
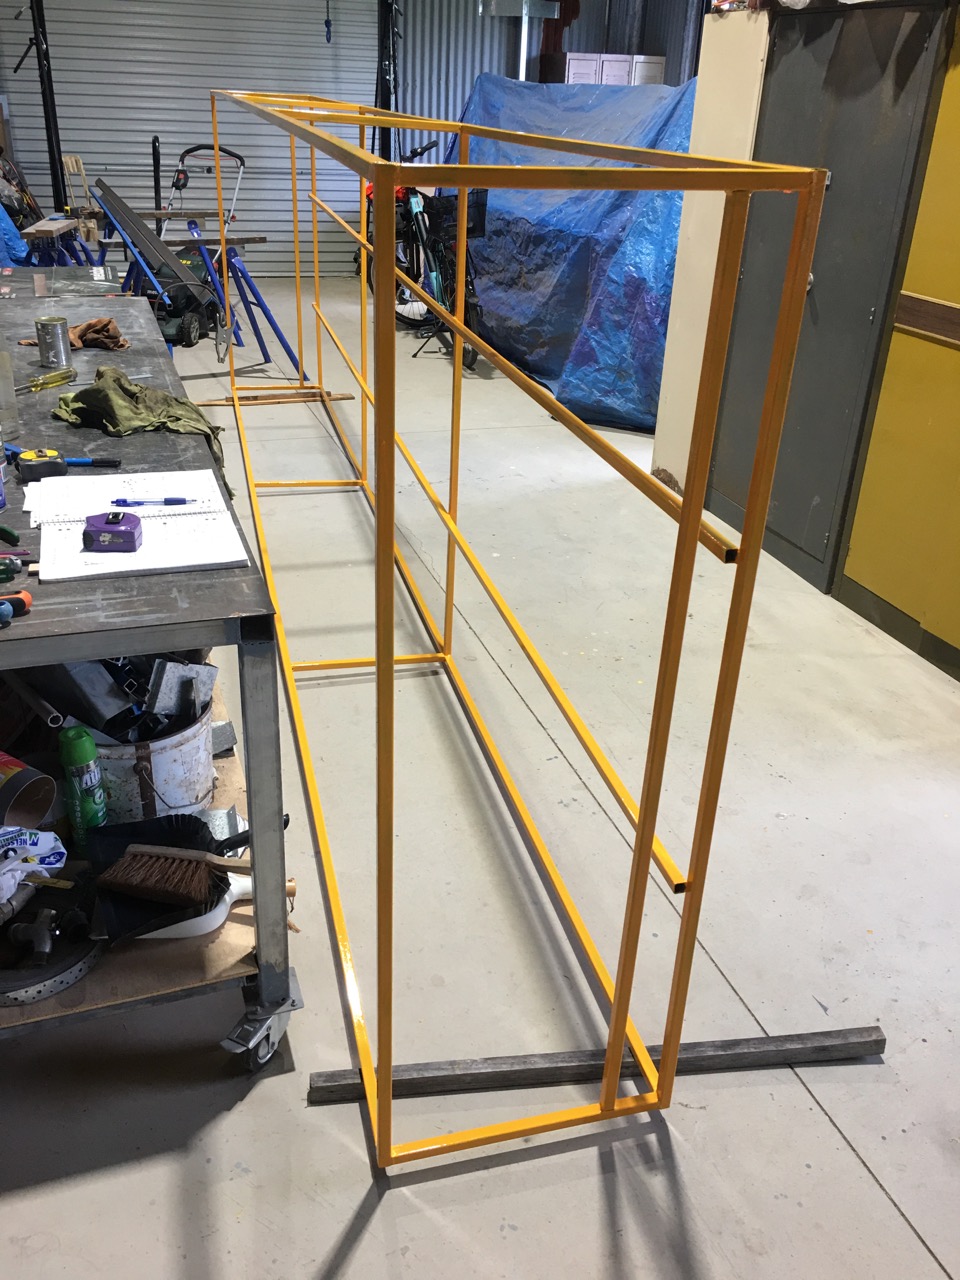
It has turned out to be a massive edifice measuring 4.5 metres long by 1.5 m wide and 500 mm. high.
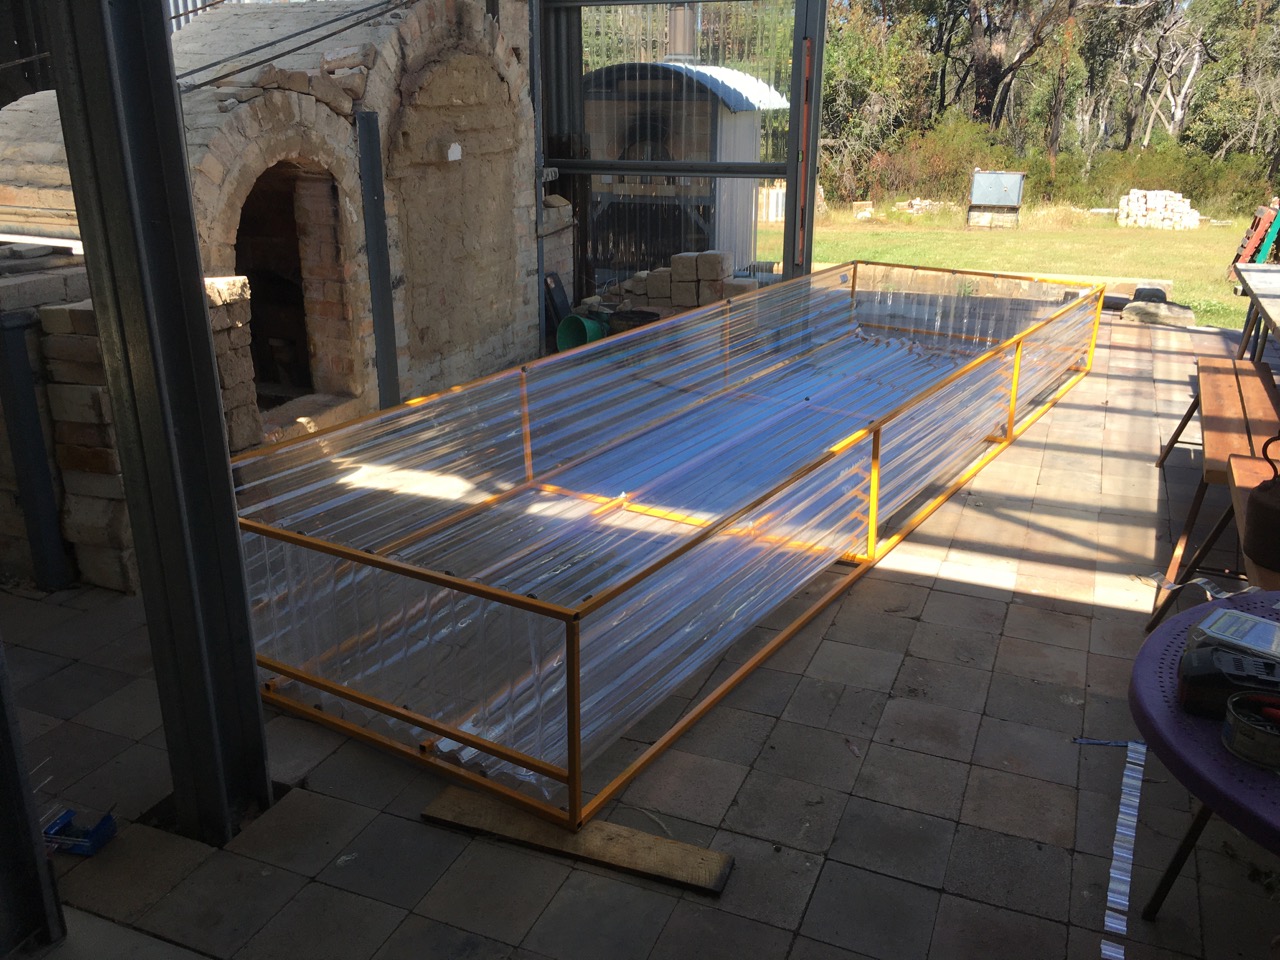
I had to build a special little trolley to manoeuvre it out of the welding area and into the court yard, where I could rotate it so as to allow me to screw in the poly carbonate lining.
I decided to use light weight RHS construction and poly carb sheeting because of the weight factor. I have to lift it up into the ceiling. But I also noticed after the fire, that poly carb doesn’t burn. It just melts, even at really high temperatures. So I thought that I’d give it a try as a fume hood lining. It wont get too hot, so shouldn’t melt. It is very light weight. It lets the light through, adding to the ambiance of the kiln room. It is cheap compared to any other sheeting. BUT most important of all, it doesn’t rust. The big killer of overhead hoods is the condensation of acid gasses and the rust that they create. This could be a solution?
Time will tell.
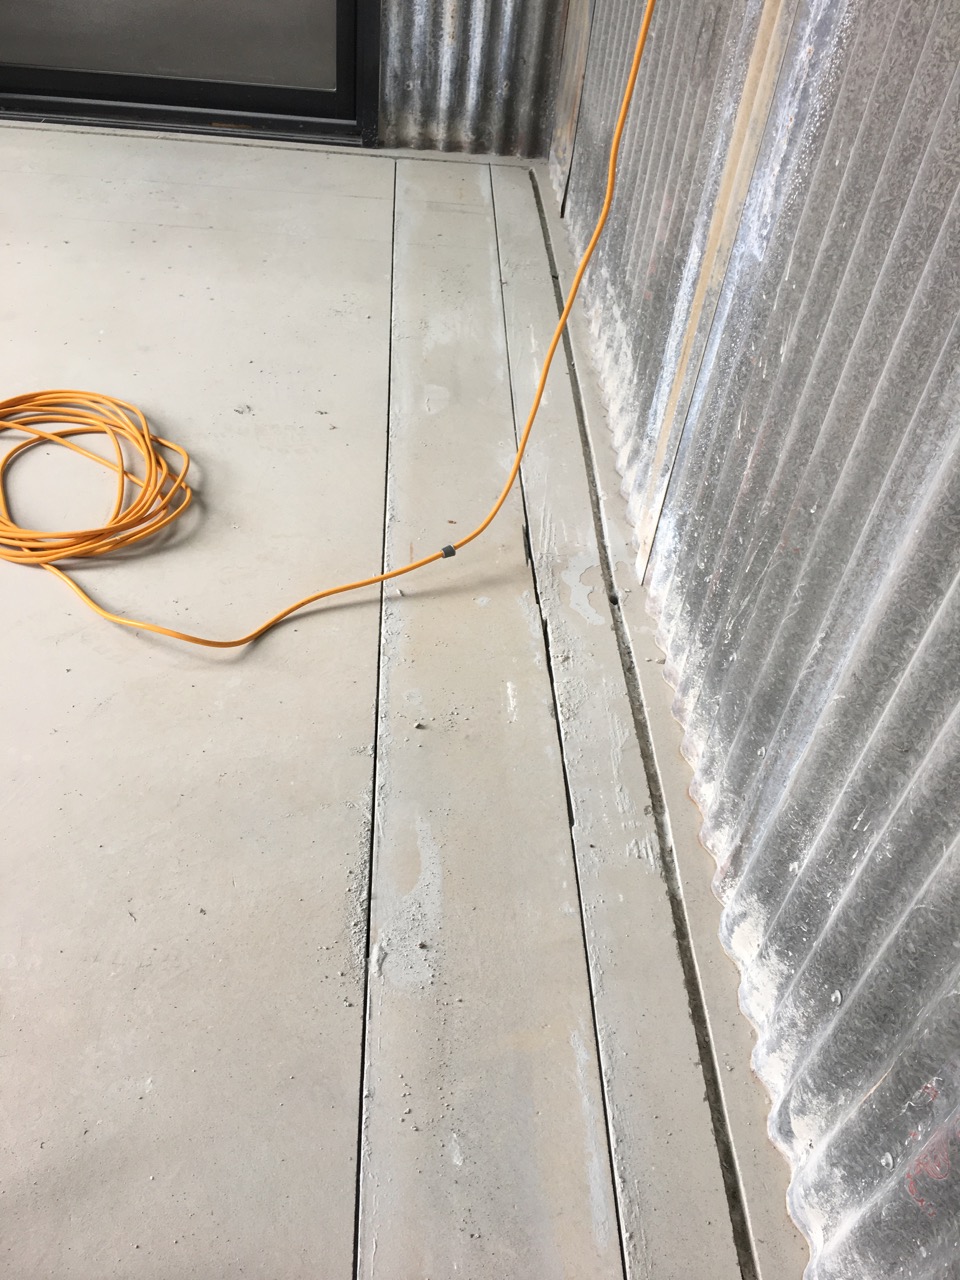
My son Geordie and my friend Warren came over for our Solstice lunch get-together, so before we ate, we did the install. It took all of 5 minutes, because I had every thing planned out and ready.


Now, the bathroom fan will be more effective at removing all the fumes from the kilns, and there is room for expansion.
Hopefully, a cheap and effective solution to the kiln vent fume problem.
While we had both Geordie and Warren here, I got them to help us move an exquisite old Japanese cupboard into our bedroom.
We were given this gorgeous old Japanese cupboard by my lovely friend Anne, who I have known for a very long time, getting on for 58 years in fact. Where does the time go?
Thank you Anne!

Somewhat disappointingly, we had another flood in the new pottery shed this week. Each time it happens, I look at the causes and find a solution and fix it. This time we had a brief, but severe storm of just 25 mins, but we got 25 mm of rain come down in that short time. It caused the gutters to over flow into the court yard around the kiln. However this time the rain all came it, not from the open wall leading into the courtyard, but deep in the enclosure against the kiln room wall from the gutters that couldn’t cope with the intense volume of water.
It has become apparent that the builders were pretty sloppy with their levels, such that the concrete slab is high at the edges and low in the middle of the kiln/glazing rooms. The result was that all the water flowed in under the gal iron wall and pooled in the centre of the kiln room, with some seeping into the glaze room.
There is absolutely nothing that I can do to change to the contour of the slab to stop this happening again. So my only option is the make a drain that can intercept the water before it reaches the wall and enters the building.
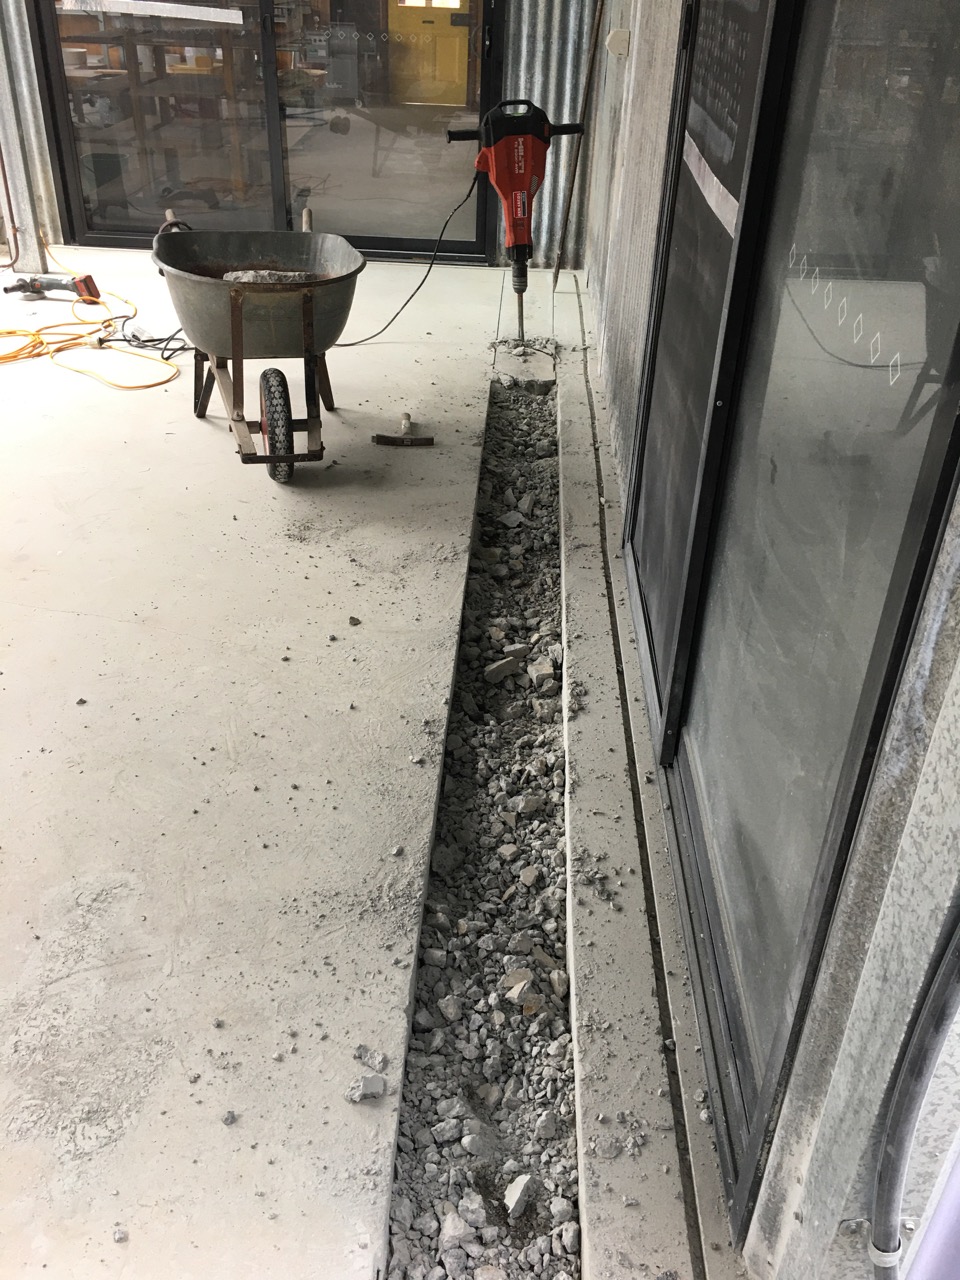
To this end, This morning I used a diamond saw blade to cut two 8 metre long slices through the 115 mm thick concrete slab down to the substrate of compacted rock dust and gravel. It was one of those nightmare jobs that nobody would ever want to do. But someone has to. Meet muggins.
You can see in this image, where I had initially tried (unsuccessfully, as it turned out) to create a small diversion channel around the wall using a circular saw and a friction disc. This wasn’t deep enough to cope with the flood of water from this last storm. I realised that the drain needed to be substantially larger and deeper.
Then, I hired a jack hammer to break up the concrete into rubble. That was another big job.
Finally, I removed the broken ‘rio’ bars and the strip of black plastic waterproofing membrane, and then shovelled out all the larger pieces of crushed concrete and re-installed all the finer gravel.
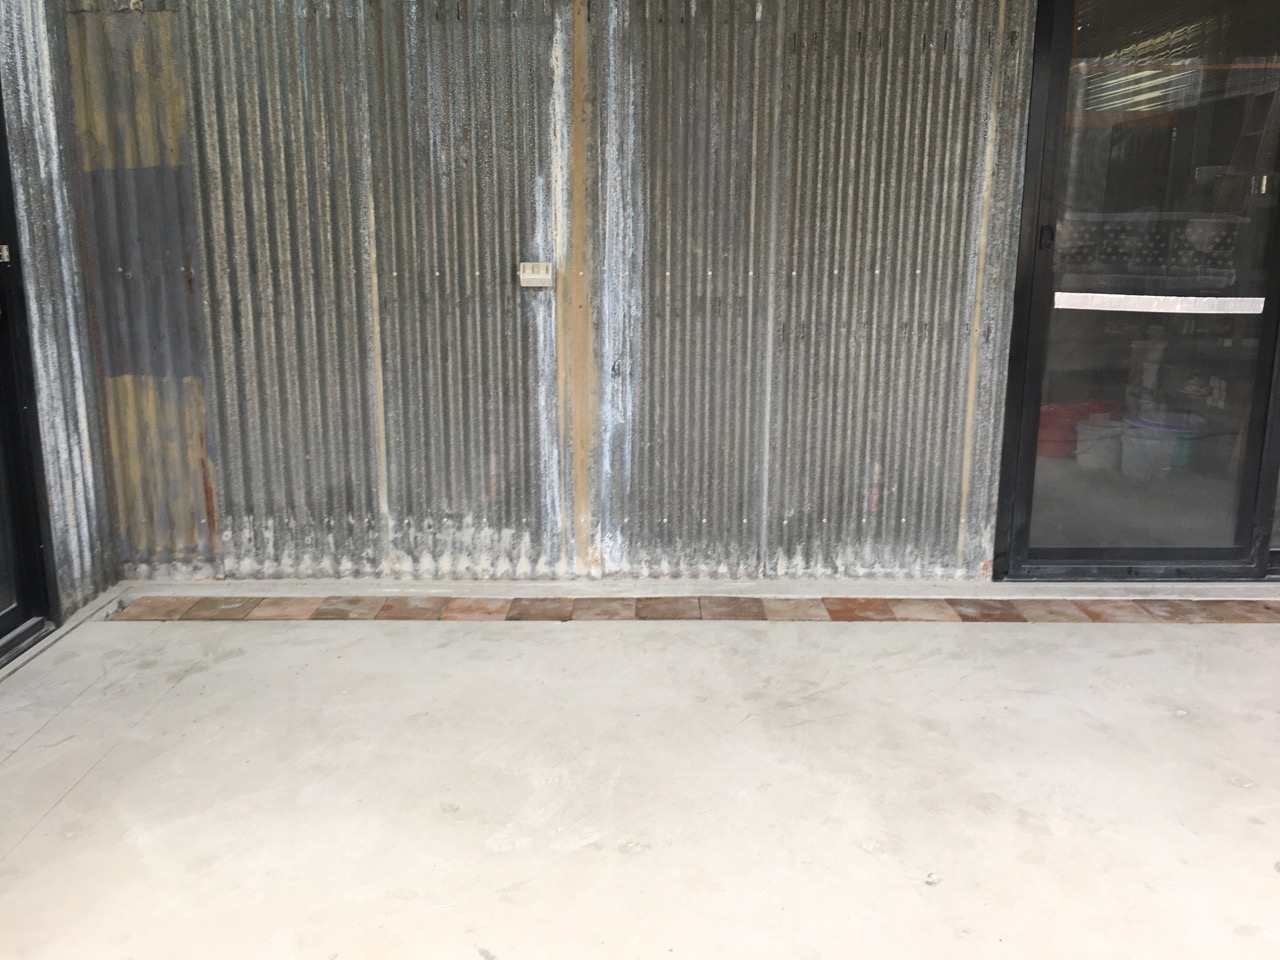
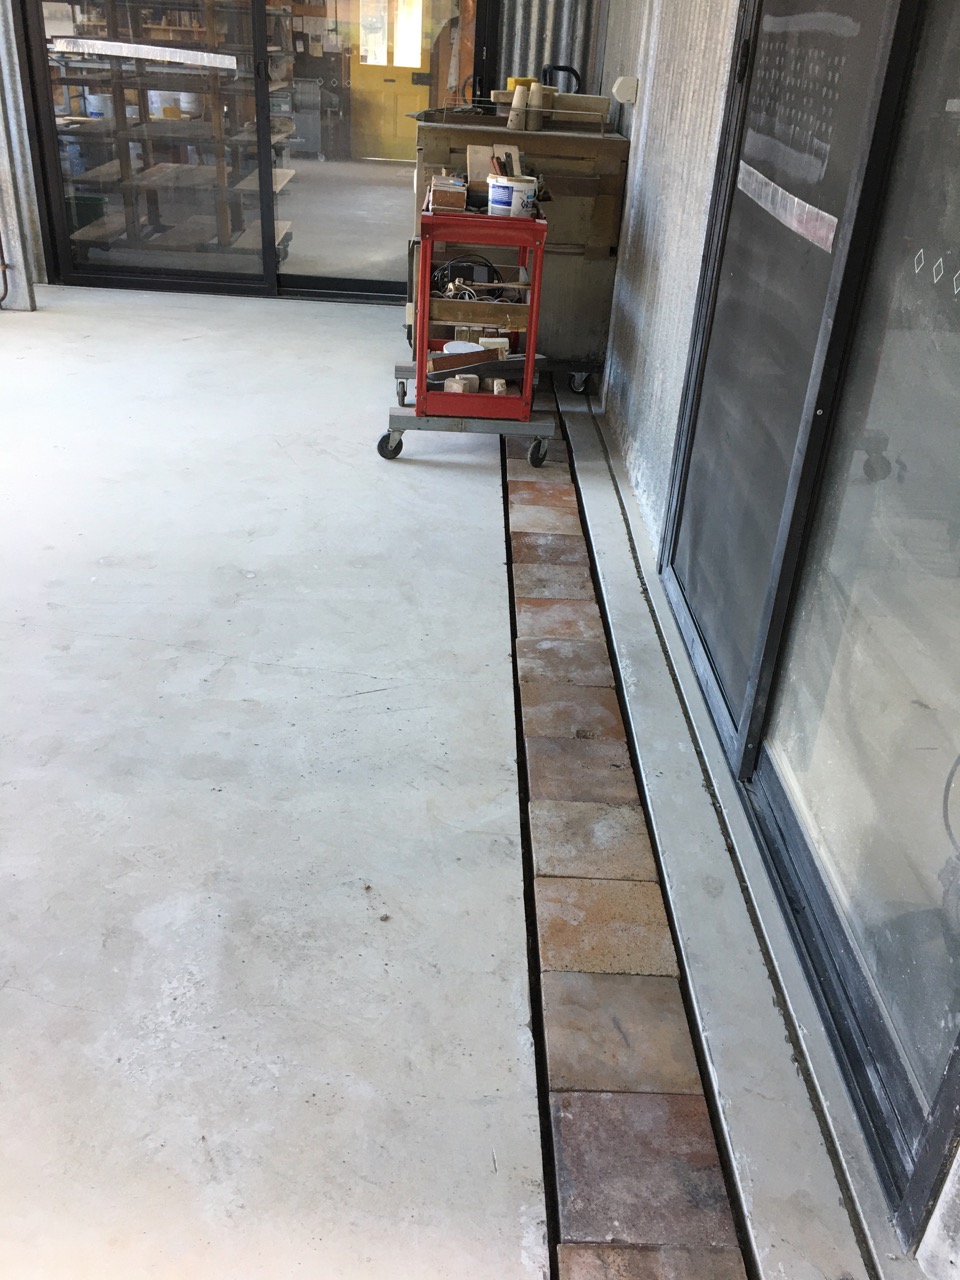
This allowed me to then lay pavers over the rubble to make an ‘agg’ drain.

With my remaining energy, I completed the job by laying a line of terracotta pavers to cover the scar, but leaving a gap all along the trench to allow any future flood water to flow down into the rubble drain and seep out along the alley way between the two sheds. Hopefully a simple and effective solution to yet another problem left by our slack and seemingly incompetent builders. ( who have now gone out of business I’m told). I have noticed that any rain that is driven into the courtyard by the storm, just sinks into the porous pavers and their gravel bed. That paved part of the kiln shed/courtyard never holds any water. It’s just a total bummer that the slack builders cast the slab with the fall in the wrong direction.
It’s been a hard day. I’m pretty worn out from the effort of jack hammering, crow-barring and wheel barrowing all the broken-up concrete out of the trench, but very happy with the out come, now that it’s done!
I’m hoping that it will work. I’m getting too old for all this strenuous high energy stuff.
I need to lay down.

You must be logged in to post a comment.