Coals to Newcastle

Here we are building a kiln in Stoke on Trent! What could be more strange than for us to travel from Australia to Stoke-on-Trent to build a kiln?

The staff and students at the Clay College are all really great and we all get along really well. We are billeted with staff member Richard Healey and his wife Lucy – who is a chef. WOW! Great food all week. A really lovely couple. It must have been a bit stressful for them to have a couple of total strangers in their home for 2 weeks, but we got along very well. We had a great time. I hope that they have recovered.

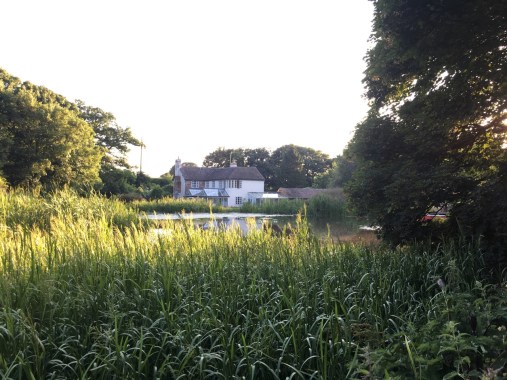
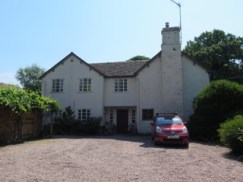
They live in an amazing old house called the ‘Flax Mill’, that has its own little stream and pond, on a site that goes back well before the English civil war. A decisive battle was fought right here on these grounds. There is a monument in the adjoining paddock. This is some kilometres out of Stoke, and is the site of our kiln building experiment. Lucy is setting up a cooking school on site and Richard has his studio, where he makes blue on White contemporary hand painted and thrown porcelain. Beautiful work. If I lived locally, I’d be enrolling.

<http://richardheeley.com/index.html/home.html&gt;

IMG_1582

IMG_6415 IMG_6417

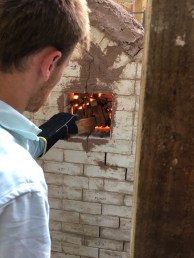
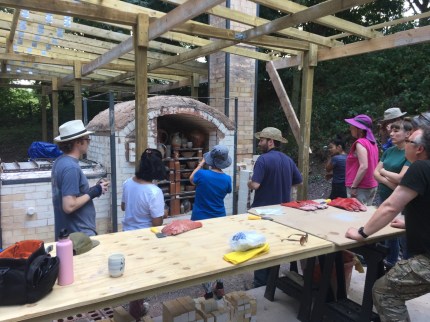
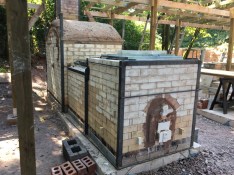
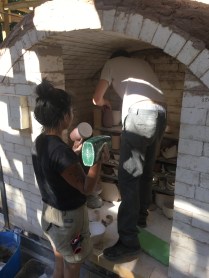
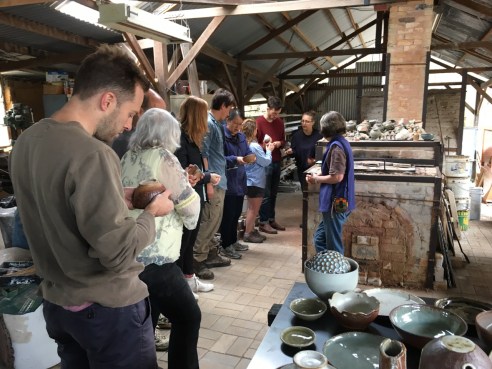
We spend a week in the construction phase, mostly laying bricks, Then I give a master class on kiln building at the college on the Saturday. This is open to the public and is fully subscribed – which is pleasing.

IMG_1748 IMG_1750

IMG_1617

All the students flat-out, hard at work bricklaying!

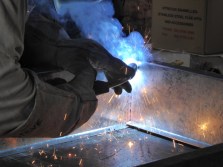
Janine and I spend the Sunday at work on the kiln by ourselves, cleaning up, but most importantly doing a lot of the welding on the steel bracing that will be necessary to completely support the kiln structure while it expands during firing. It’s a lot easier to do this welding while there isn’t anyone else around.
IMG_1679 IMG_1672

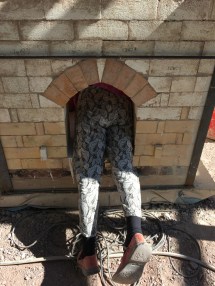
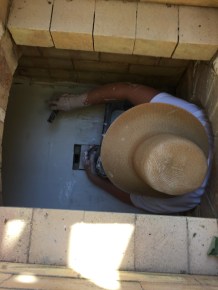
Janine and Grace volunteer to get into the firebox and throat area of the kiln to wash the floor of the kiln with alumina kiln wash. A shitty job. Thank you!

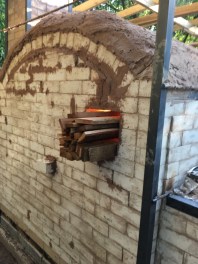
The packing and firing goes pretty much to my expectations, although Janine did overhear some chat about people expecting to have to fire for 40 hours. When I was asked what to expect in terms of firing time I said that I expected to fire for around 12 to 14 hours. If everything goes well. However I don’t know anything about this wood that we have to use for this firing. So it might take a little longer. As it turned out the firing lasted for 13.5 hours and the results were good for a first firing. I left them with the recommendation that they should plan to fire the kiln again a second time, as soon as possible, without me being there to advise, while it is all still fresh in their minds.
IMG_1682 IMG_1688

IMG_1695

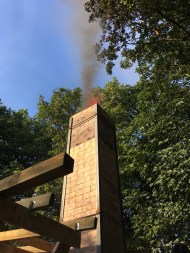
The firing can be very clean when using a down-draught style firebox like the Bourry box that I have developed to a such a sophisticated standard. When it comes to side stoking the main chamber, there is inevitably going to be some smoke and this needs to be managed carefully. However, when the time comes to drop the last remaining butt ends of the sticks into the firebox. There is a brief moment of quite intense smoke as the amount of fuel outweighs the available oxygen for about 1 or 2 minutes.

IMG_1704 IMG_1708

IMG_1717 IMG_1706

IMG_1756

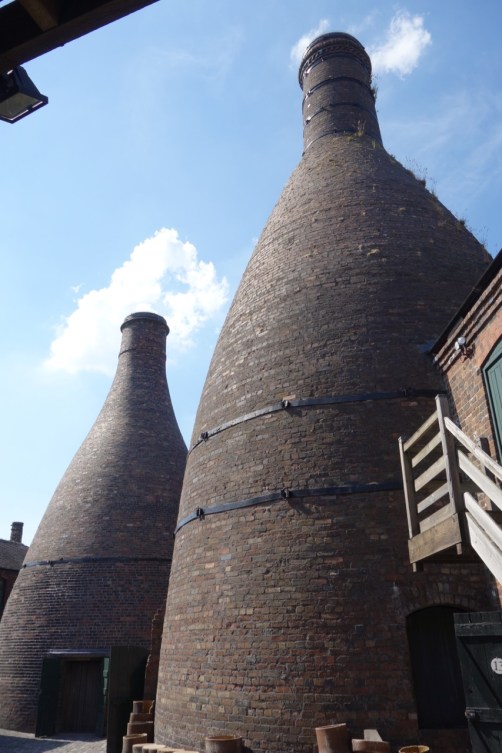
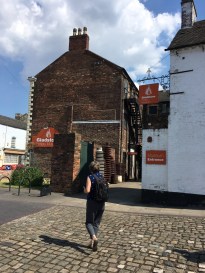
While we are in Stoke, we make time to go to the local Museums. First we take the tour of the Gladstone pottery Museum, which was good, an excellent experience. The working conditions of their employees must have been horrific back in it’s hey-

day. A time long before any thoughts of OH&S in the minds of the factory owners and government.
IMG_1734 IMG_1738

DSC03419

IMG_1739.

For me, brought up in Australia, it’s really interesting to see actual bottle kilns. There weren’t that many of therm here in Australia. I am of an age where i was able to see the old ‘Fowlers’ Pottery in Marrickville in Sydney, before it was torn down. I ended up with a truck load of dense fire bricks from their old bottle kiln and they are now incorporated into my wood fired kilns here.

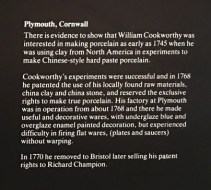
We also spent a long time in the city museum where we saw a really extensive ceramics collection. Amazingly, it is here that we finally find a collection of pots made in the Plymouth Pottery Works by William Cookworthy from the Tregonning Hill, Sericitic, weathered granite.
IMG_1726 IMG_1732

IMG_1728

This is the best collection of Cookworthy work that I have seen. The V&A has nothing and the British Museum, only has one piece.

After the unpacking of the kiln, I get a nice little wood fired cup out of the firebox area.

A sweet little thing to remind us of our working holiday trip.

IMG_1952

Another Little Portable Wood Fired Kiln Leaves the Workshop

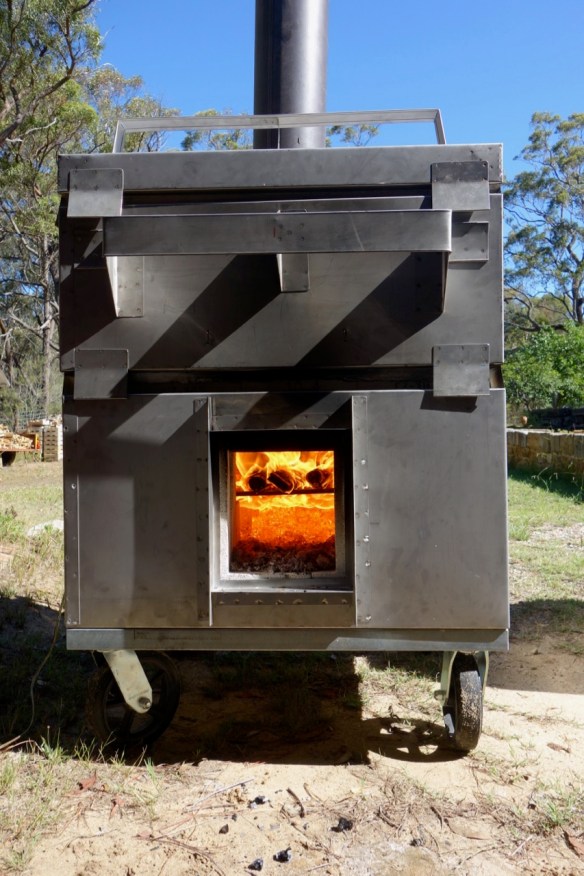
We have been keeping busy rolling out the latest batch of little portable wood fired kilns. Another little wood fire Gem leaves for a new life of fun and fulfilment for another potter. All the remaining kilns are set up with gas burners for dual fuel firing.

IMG_0876 IMG_0843

I spent most of last week making the burners and fitting them to the kiln on removable mountings that slide into place when needed.

These are the last of the first batch and while I wait for collection of these first orders, I start on the 2nd batch. There isn’t enough room in my small kiln building workshop for more than seven kilns at a time and still be able to move around safely and engage in productive work.

IMG_0875 IMG_0877 IMG_0861

I go to the garden after work and pick a load of vegetables for dinner, do a quick bit of weeding and do a little watering, as it is still incredibly dry with no rain storms to speak of for 14 months. The dams remain dry.

I cook a fresh snapper for dinner, steamed on the stove top in a big frypan with a little garlic, lemon juice and white wine.

IMG_0848 (1).jpg


Wood Cutting Working Bee

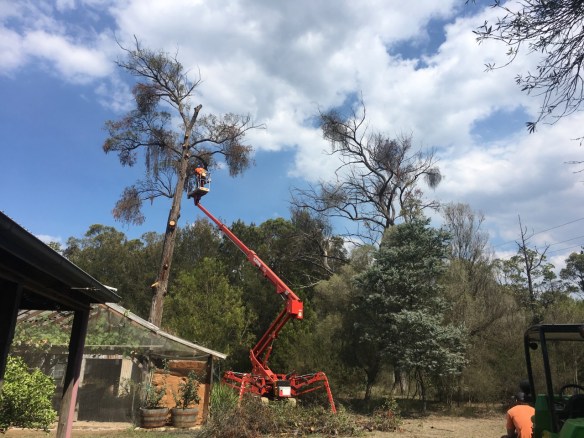
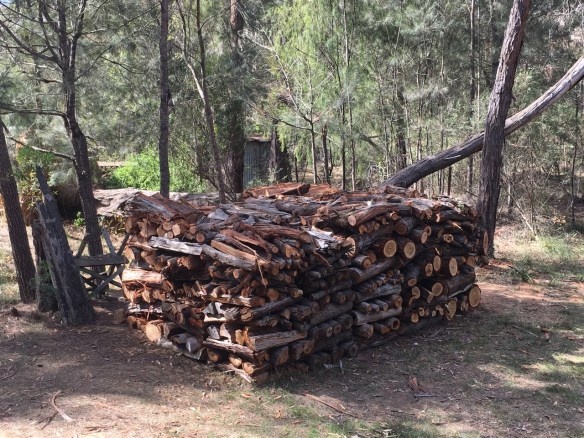
We have recently had 3 big dead eucalypt trees removed by our local arborist. One was struck by lightning, and the other two were killed by mistletoe. We paid the minimum, to just have them dropped to the ground. We took it on our selves to cut them up and remove all the blocks to storage and seasoning.

IMG_0655

IMG_0674

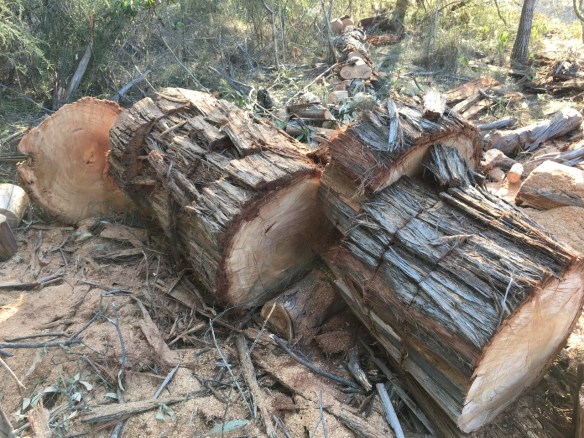
We spent several days cutting up al the logs into small sizes, such that we could manage to move them. Janine and I spent a week whittling away at the big number one log and   finished the first tree by ourselves, but then had the wonderful assistance of some friends and pottery students for a day.

We have been so lucky to have these people volunteer their help for a day and come along to give us a hand in shifting all the logs that Janine and I had spent the week cutting up. It’s a huge task to lift and load several tonnes of wood and then shift it and stack it for seasoning.

IMG_0738IMG_0739

This is all very vigorous work and we sweat copiously in the heat. The larger, straight pieces were all cut to kiln size ‘hob’ length, while all the scrappy, small or bent pieces were all cut to 200mm. length for splitting for the house kitchen stove. The main central log was over 600mm dia. So it was too big to manage at ‘hob’ length of 700 mm. So I cut it to 200mm. just so that we would be able to manage the lifting and stacking. I rigged up a couple of planks , so that we could roll the bigger lumps up onto the truck to be carted to the wood shed and splitter.

IMG_0744IMG_0750

This should keep us going for a few years in the kitchen stove.

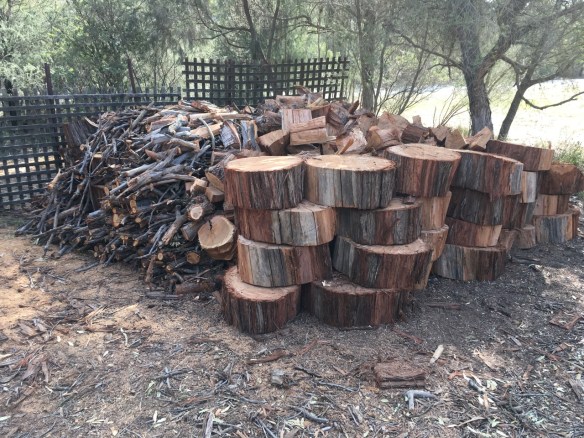
All the smaller dia. logs were cut to ‘kiln hob length’ of 650 to 700mm to suit the fire-box of the kiln, and then stacked for seasoning. A year or two should do it.IMG_0752

There is about 7 or 8 tonnes in this load of 19 stacks about 1200mm high.


The First of This Years Little Wood Fired Kilns Goes Out the door

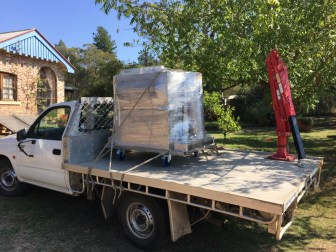
I have been busy working away at the first batch of little portable wood fired kiln for this year. I had too many to fit in the workshop in one go, so divided them into 2 batches. The first batch of 6 is almost finished. I had to finish one in a hurry to catch the boat to Tasmania last week.

IMG_0668 IMG_0671

The rest of the little ‘Daleks’ are calling out “incinerate, incinerate!” But they are toothless, as I haven’t welded the stainless steel fire-box grates or made the burners as yet, so we are all still safe. They still need another weeks work on them to fit out all the additional features, but he main body of each of them is complete.

IMG_0721If you are one of the dozen people who contacted me and asked to be on my build list for this year. This is where I am up to. I will be contacting the first 6 customers who have paid their deposits in the next week or so.
Boiling and boiler-making

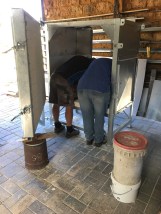
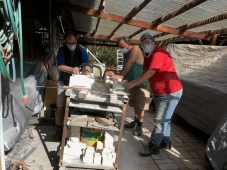
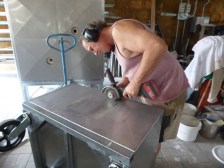
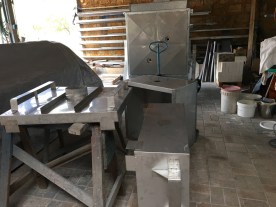
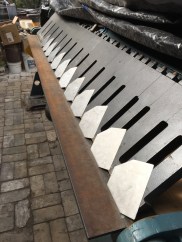
The first batch of new little wood fired dual/fuel kilns takes shape in my workshop. I could say ‘rolls off the assembly line’, but I’d be telling a lie. My kiln shed is only just big enough for 8 of these little gems at one time and there is definitely no assembly line, just a kind of organised chaos as all the parts get made individually and then assembled. I have 9 kilns ordered this time round. I can’t fit them all in comfortably, or even uncomfortably, so I decide to split the work into two parts. The 6 large and then 3 small units.

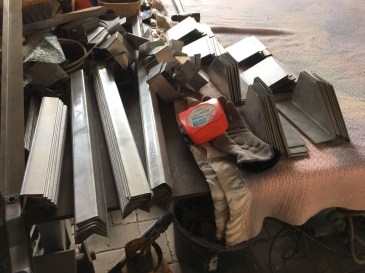
I spend an extraordinary amount of time making all the fiddly parts that go into handles and locating lugs etc. I spend 3 days on these parts, even with a bit of help from my lovely Swiss intern Catherine assisting. There are 100 lugs to be manufactured for just one small part of the first 6 kilns. Each part needs to be filed on all 4 sides and also have the corners filed down and rounded for safety, then a safely edge folded over to make it extra safe. In all there are about 1,000 individual actions that need to be performed on these tiny bits, just make one small part that no-one even realises is there.
That is until it is not there!
After three days of this monotony, I need a day in the garden!
IMG_0578 IMG_0582 IMG_0584
IMG_0609
While all this industry is going on, there is still gardening to be done to continue the flow of food from the garden in 3 months time. The equinox is the time to plant garlic, as well as leeks, brocoli, cabbage and Kale. Cauliflowers and Brussel sprouts were already planted in January. Today I am planting radish seeds to make sure of a continuous supply of salad next month. The lettuce seeds are already up and thriving.
The 2nd planting of corn is all over and we are onto the 3rd crop now. The few small 2nd cobs on the old corn plants are rather small, but I pick them and dry them in the sunny kitchen window to dry them out. when they are fully dried, I’ll mill them up into polenta for winter comfort food.
IMG_0602 IMG_0612
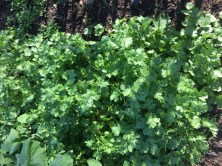
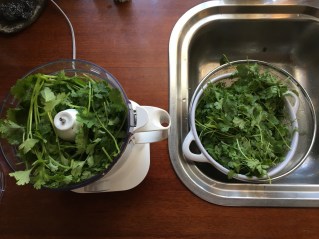
Today, I also harvested half of the coriander crop, as it is at peak leaf just now. This is the seed from the summer planting, which was the seed from the spring planting etc. I decided to make a coriander based green chilli paste.
Recipe;
A bucket of fresh picked coriander leaves
A hand full of green onions
4 long green chillis (hot)
The juice of one each, lemon and lime
Some salt to taste, I keep this to the minimum, but without it the full flavour profile insn’t realised.
Salt is evil stuff, it hardens your arteries and causes hypertension. It is added in far too greater quantities than is really needed to every processed convenience food. We all get way too much of it without even realising it! It’s up there with sugar as a harmfull ingrediant, simply because we eat too much of it.
We don’t buy any junk food, and hardly ever buy much processed foods, but it is still very wise to limit the intake of salt. As a result we don’t have high blood pressure. I think that the two are related.
Still, a tiny pinch of salt goes really well with just a few particular foods like; tomatoes, eggs, curries, pickles and this coriander paste.
IMG_0605 IMG_0607 IMG_0608
I manage to fill 2 plastic tubs with the concoction. It’s tangy, spicy, hot and very aromatic. 3/4 of it goes into the freezer in this way, so that it will keep for the rest of the year, as needed. The rest goes into the fridge for immediate use.
Items like pesto and coriander paste are not cooked, so can’t be sterilised with heat to preserve them. We don’t own a freezer, so we have to limit what we choose to freeze. This raw paste, pesto, bone marrow stock concentrate and a couple of meals, cooked in excess at the time to be frozen for emergency meals.
The last of the summer beetroot crop needs to be dealt with before it bolts, so I give them a fast roiling simmer for a few minutes to boil them and soften them a little and then drained and straight into hot bottles from the oven with preserving vinegar. i.e. cider vinegar with a spoon full of sugar plus a 1/2 of salt and brought to the boil with a few spices like, cloves, cinnamon, star anise, pepper corns, bay leaves, chillis and mustard seeds. Such a mix is variable and is different with every batch, as it takes my fancy. Pour the mix over the sliced beets and cap straight away while almost too hot to touch. They vacuum seal as they cool.
IMG_0594 IMG_0595
Best wishes from Steve the industrious, well-preserved, boiler and boiler-maker.

Firing on Sunshine

We have had our new Tesla battery for a couple of weeks now and we have just done our first electric kiln firing on sunshine.

We have had 3 kW of solar PV panels on our kiln shed roof for over a decade now, but we have only recently managed to get our hands on a new PowerWall 2 lithium battery, after being on the Tesla waiting list for over a year. The battery is working perfectly, just as we imagined, and now allows us to run our house and pottery almost totally independent off the grid. We had decided to stay connected to the grid however, as we generate far more solar electricity than we use ourselves most of the time, and up until recently we got a very handsome rebate payment for the power that we sold.

Now that the generous rebate program has ended, it is much better for us to store our daytime solar electricity excess and use it ourselves at night, instead of paying the premium cost of buying back ‘green’ power from the grid at night.

Of course we don’t have to buy ‘green’ power. We just choose to, because we made a decision 13 years ago to remove ourselves from the coal economy. Which we have done. We are of the belief that global warming is real and that it is man-made. Burning coal to make electricity is a very big part of the problem, and green power is going to be part of the solution. It’s affordable, it’s here now and it’s the future. In addition to going solar, we have also declined to use concrete slabs in our building construction and we choose to drive the smallest fuel-efficient car that we could afford.

When we put the first Australian made solar panels on our roof 11 years ago, we didn’t do it to make money. We did it for ethical reasons. However, as it turns out, we paid off the panels and made a slight profit over the decade, because we were paid one or two thousand dollars a year for the power we sold to the grid, but we also didn’t have an electricity bill for that decade. A saving of many more thousands of dollars. These original PV panels still have another 15 years of full productive life in them, before their output starts to decline. I’ll be long dead before they stop working. We recently added another 3kW of PV at the same time as the battery. As I intend to buy a fully electric car as soon as they become available at an affordable/reasonable price.

So now with everything in place, we have just completed our first electric kiln firing using our own solar power, firing through the day on sunshine up until just after lunchtime and then into the afternoon on a mix of solar and battery, then ending in the evening mostly on the battery power. Yes, it works. You can fire on sunlight. The future has arrived!

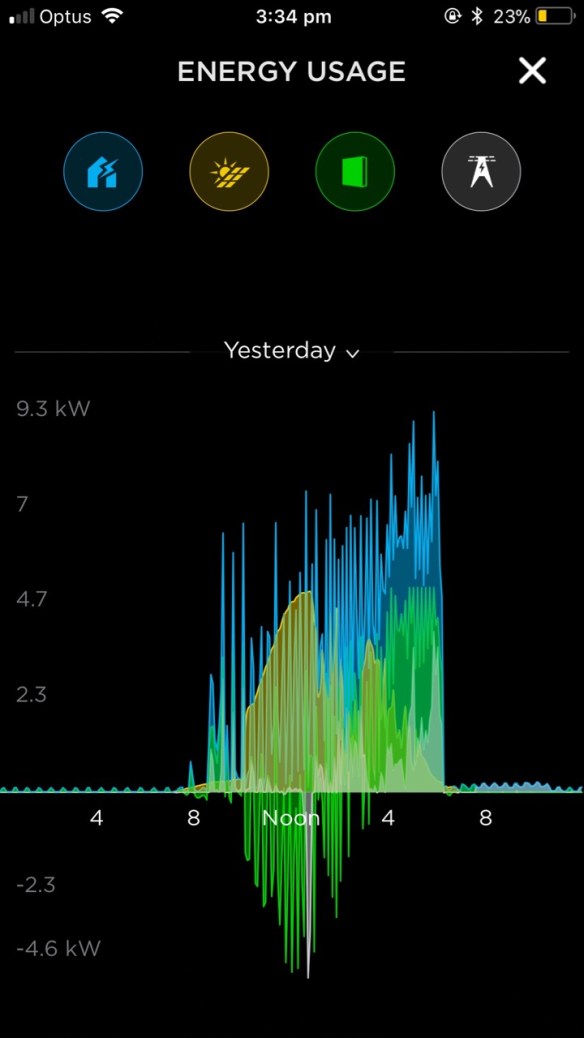
Below you can see a graphic of our power usage though the day.

IMG_0522

The high blue spikes are the electric kiln switching on and off. The golden-yellow hump in the middle, above the line is the solar panel output from the roof. The green areas below the line is the battery being charged up from the solar PV panels in the morning and corresponds perfectly with the yellow solar area above the line, up until noon. The solar panels are both firing the kiln and charging the battery up to noon.

After 12 noon, there was some cloud that came over and the solar output dropped down. By about 3 pm. the PV panels no longer generated sufficient power to both fire the kiln and charge the battery. After 3pm the clouds cleared and solar output increased again and fired the kiln with the assistance of the battery. From 4 pm onwards, the battery fired the kiln with assistance from the solar. Solar production ceased at about 6.30 and the firing finished at about this time also, more or less solely on battery power.

The small zigzag ripple on the base line is the household usage, mostly this comprises the fridge compressor switching on and off. I should also point out that I was also working in the kiln factory throughout the day and using some very heavy 3 phase sheet metal machinery, welders and plasma cutter. This is included in the blue spikes. The lower line of blue spike peaks is the kiln alone, and the higher level of blue spikes is the kiln and the heavy electrically powered machinery working at the same time.

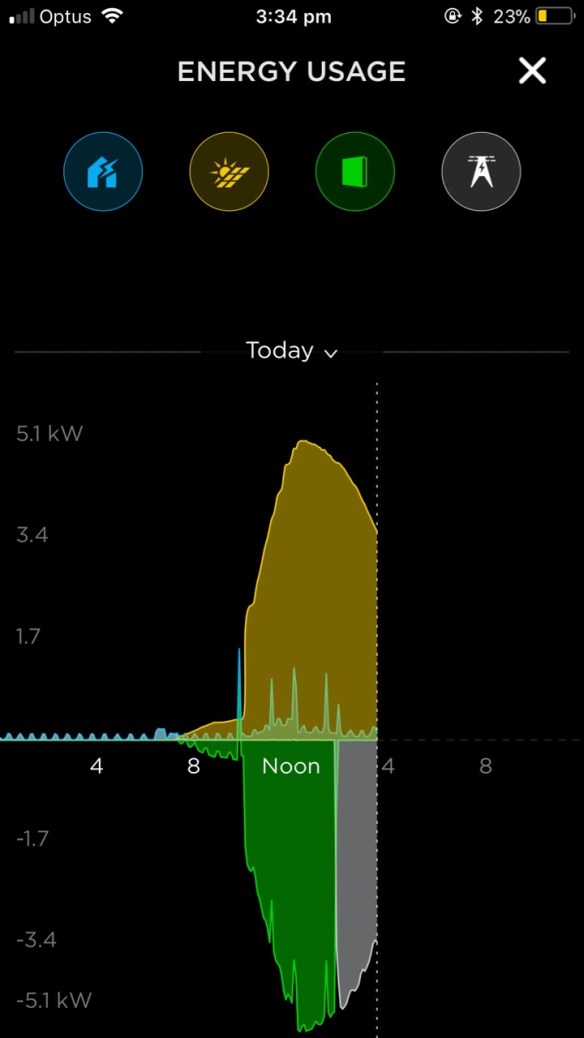
The following day, the PV panels charged the battery back up to full power again by about 1.30pm. Solar output is shown in yellow. The battery shown in green is being charged below the line. Once the battery is fully charged, the solar output is then switched to sell back into the grid for the rest of the day. Shown in white below the line. Household usage is shown in Blue above the line. You can see that we run a very energy-efficient household. The blue spikes represent the toaster and jug in the morning, then the washing machine and then me using the heavy 3 phase welders, and sheet metal machines intermittently in the kiln factory through the day.

By way of explanation, I downloaded this screen shot at 3.30 pm, so that is why the graph suddenly stops.


IMG_0521

From this brief explanation I hope that I have illustrated that it is possible to live a ‘normal’ life, carry on working and fire an electric kiln, all from a solar array and a lithium battery.

Food for thought?

Some technical details;

The battery is a Tesla Powerwall 2 lithium-ion battery with a 15 kWh rating.

The solar array is 6 kW. Made up of 3kW of 11-year-old BP solar panels made in Sydney, and 3kW of new ‘Tindo’ solar panels made in Adelaide. In both cases, we paid a premium to purchase Australian made panels to support Australian industries and Australian jobs. If there had been a comparable Australian battery. I would have bought that instead.

The Tesla Powerwall 2 lithium-ion battery is 15 kW/h rating. Made in the USA. The closest Australian contender was ‘ZPower’  also from Adelaide, but at almost 3 time the cost, it was out of our price range. All these things will change quickly and dramatically over the next few years. Watch this space. You can be sure that whatever will replace our battery at the end of its life in 15 to 20 years time, hasn’t even been thought of yet, never mind being built!

The kiln is one that I made myself. It is a half metre cube 500mm. x 500mm. x 500mm.  constructed out of light weight RI bricks.


latest little wood fired kilns

I have just finished and fired the latest little wood fired kiln prototypes.

DSC02915

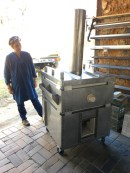
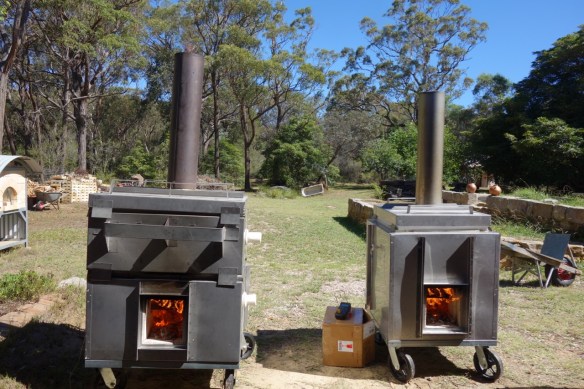
These two new kilns are a slight improvement on last years model. The big difference is the increased volume. The big kiln is built in 2 parts. This new bigger kiln is 50% larger than the older model. When fired with gas burners, the 2 part design allows the top to be taken off and the lid placed on the lower section. The lower section can then be fired with gas burners and it can be used as a small test kiln. Alternatively, the top section can be replaced and it can be fired as a small production kiln.

In wood fired mode, it must be fired together, as the bottom section is the fire box and the top section is the chamber.

DSC02922

DSC02924

I’m very pleased with them. The bigger kiln got to stoneware, cone 10 down in reduction in just 2 1/2 hours. If I can fire it this fast, then it can be slowed down and fired as slow as you like, with plenty of power in reserve.

I’m taking orders for this kiln now.

Summer Intern

This time last year we had a summer intern called Lauge from Denmark. He was terrific. A great cook and so helpful with everything that we had to do. He wanted to experience all the environmentally sustainable ceramics activities that we engage with here, from vegetable gardening through to rock crushing and making clays as well as kiln building and rock glazes.
This year we have Catherine and her husband HansPeter from Switzerland. We spend 5 weeks together and get a lot done. She particularly wants to learn  all about my kiln building techniques. She helps me build 3 different kilns over the summer break. We work on finishing kiln number 301 and then we build 2 new prototypes for the portable, dual fuel, little wood fired kilns.

IMG_0057 P1110848

IMG_0052 P1110937

These smaller monocoque framed little kilns are so much easier to move around and line. It’s such a pleasant experience compared to having to rotate the bigger heavy kilns.

IMG_0081 P1110950

IMG_0097

As well as ceramics, Catherine is a trained blacksmith in Switzerland. The combination of a few metal working skills along with ceramics is an advantage in this ceramic kiln building workshop.

Roasted capsicums and home made pizza for the musicians

We have hosted the local musicians in our home after the monthly ‘session’ in the village hall. I decide to make pizzas.

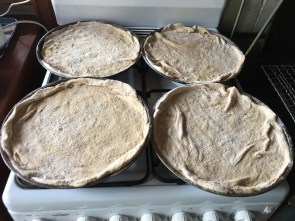
I roast a few red capsicums and peel them after sweating them off in a plastic bag for 20 mins. Then peel them and dress them with a little oil and vinegar.

IMG_9985 IMG_9986

IMG_9990 IMG_9991

IMG_9992 IMG_9989.jpg

P1110365 (1)

As the weather continues to be very hot. We are invited to our neighbours home for the afternoon/evening for a swim in the pool and a BBQ. Such is summer. We are very lucky to have such generous neighbours.

P1110382 P1110383

After all this fun and good times, it’s back to work in the kiln factory. I still have to finish one order from last year and then I have 10 kilns ordered for this new year. I’m actually trying to cut down and retire from so much kiln work but these are orders and they mean guaranteed income.

P1110457 P1110460

P1110845

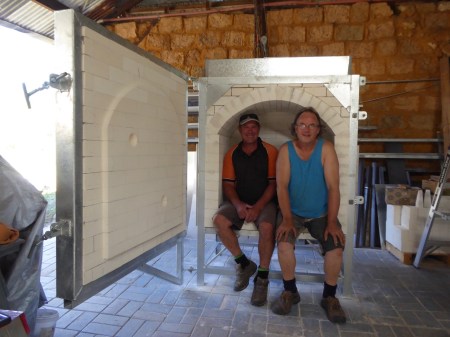
This is kiln number 301 and hopefully my last of the big heavy ones. My amazing and highly skilled friend Warren and I pose for a final photo in this last kiln. From now on I will be concentrating on the small light-weight portable dual fuel wood fired kilns.

IMG_0073


Some Jobs are a Lot Quicker with Helpers

We have had our last wood firing workshop for the year, as the summer fire bans are now in place. The kiln was packed and fired and marshmallows were roasted to get us through the cold night. There was a cracking good frost over night too.

IMG_7928 IMG_7931.jpg

IMG_7934

It was a very good firing with excellent results. After the unpacking of the kiln, many of the potters stayed on for a working bee to help us to split wood for the next firing.

IMG_8003

It was a fantastic experience to be amongst bright friendly young people who have a lot of energy. In just a few hours we managed to fill the wood shed. This is the first time that t he wood shed has been completely filled to capacity. It a good feeling, but more-so because we were part of the team all working hard to complete an objective.

IMG_8004 IMG_8005.jpg

The chicken had a field day eating all the bugs that were exposed from under the bark of the logs. I’ve never seen them collapse and have to sit and rest in amongst all the hectic activity of wood splitters and chainsaws, because they had eaten too much and were completely full.

IMG_8048

IMG_8102