Weekend Woodfiring Workshop

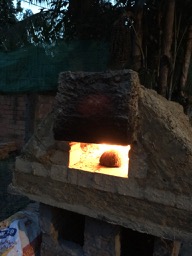
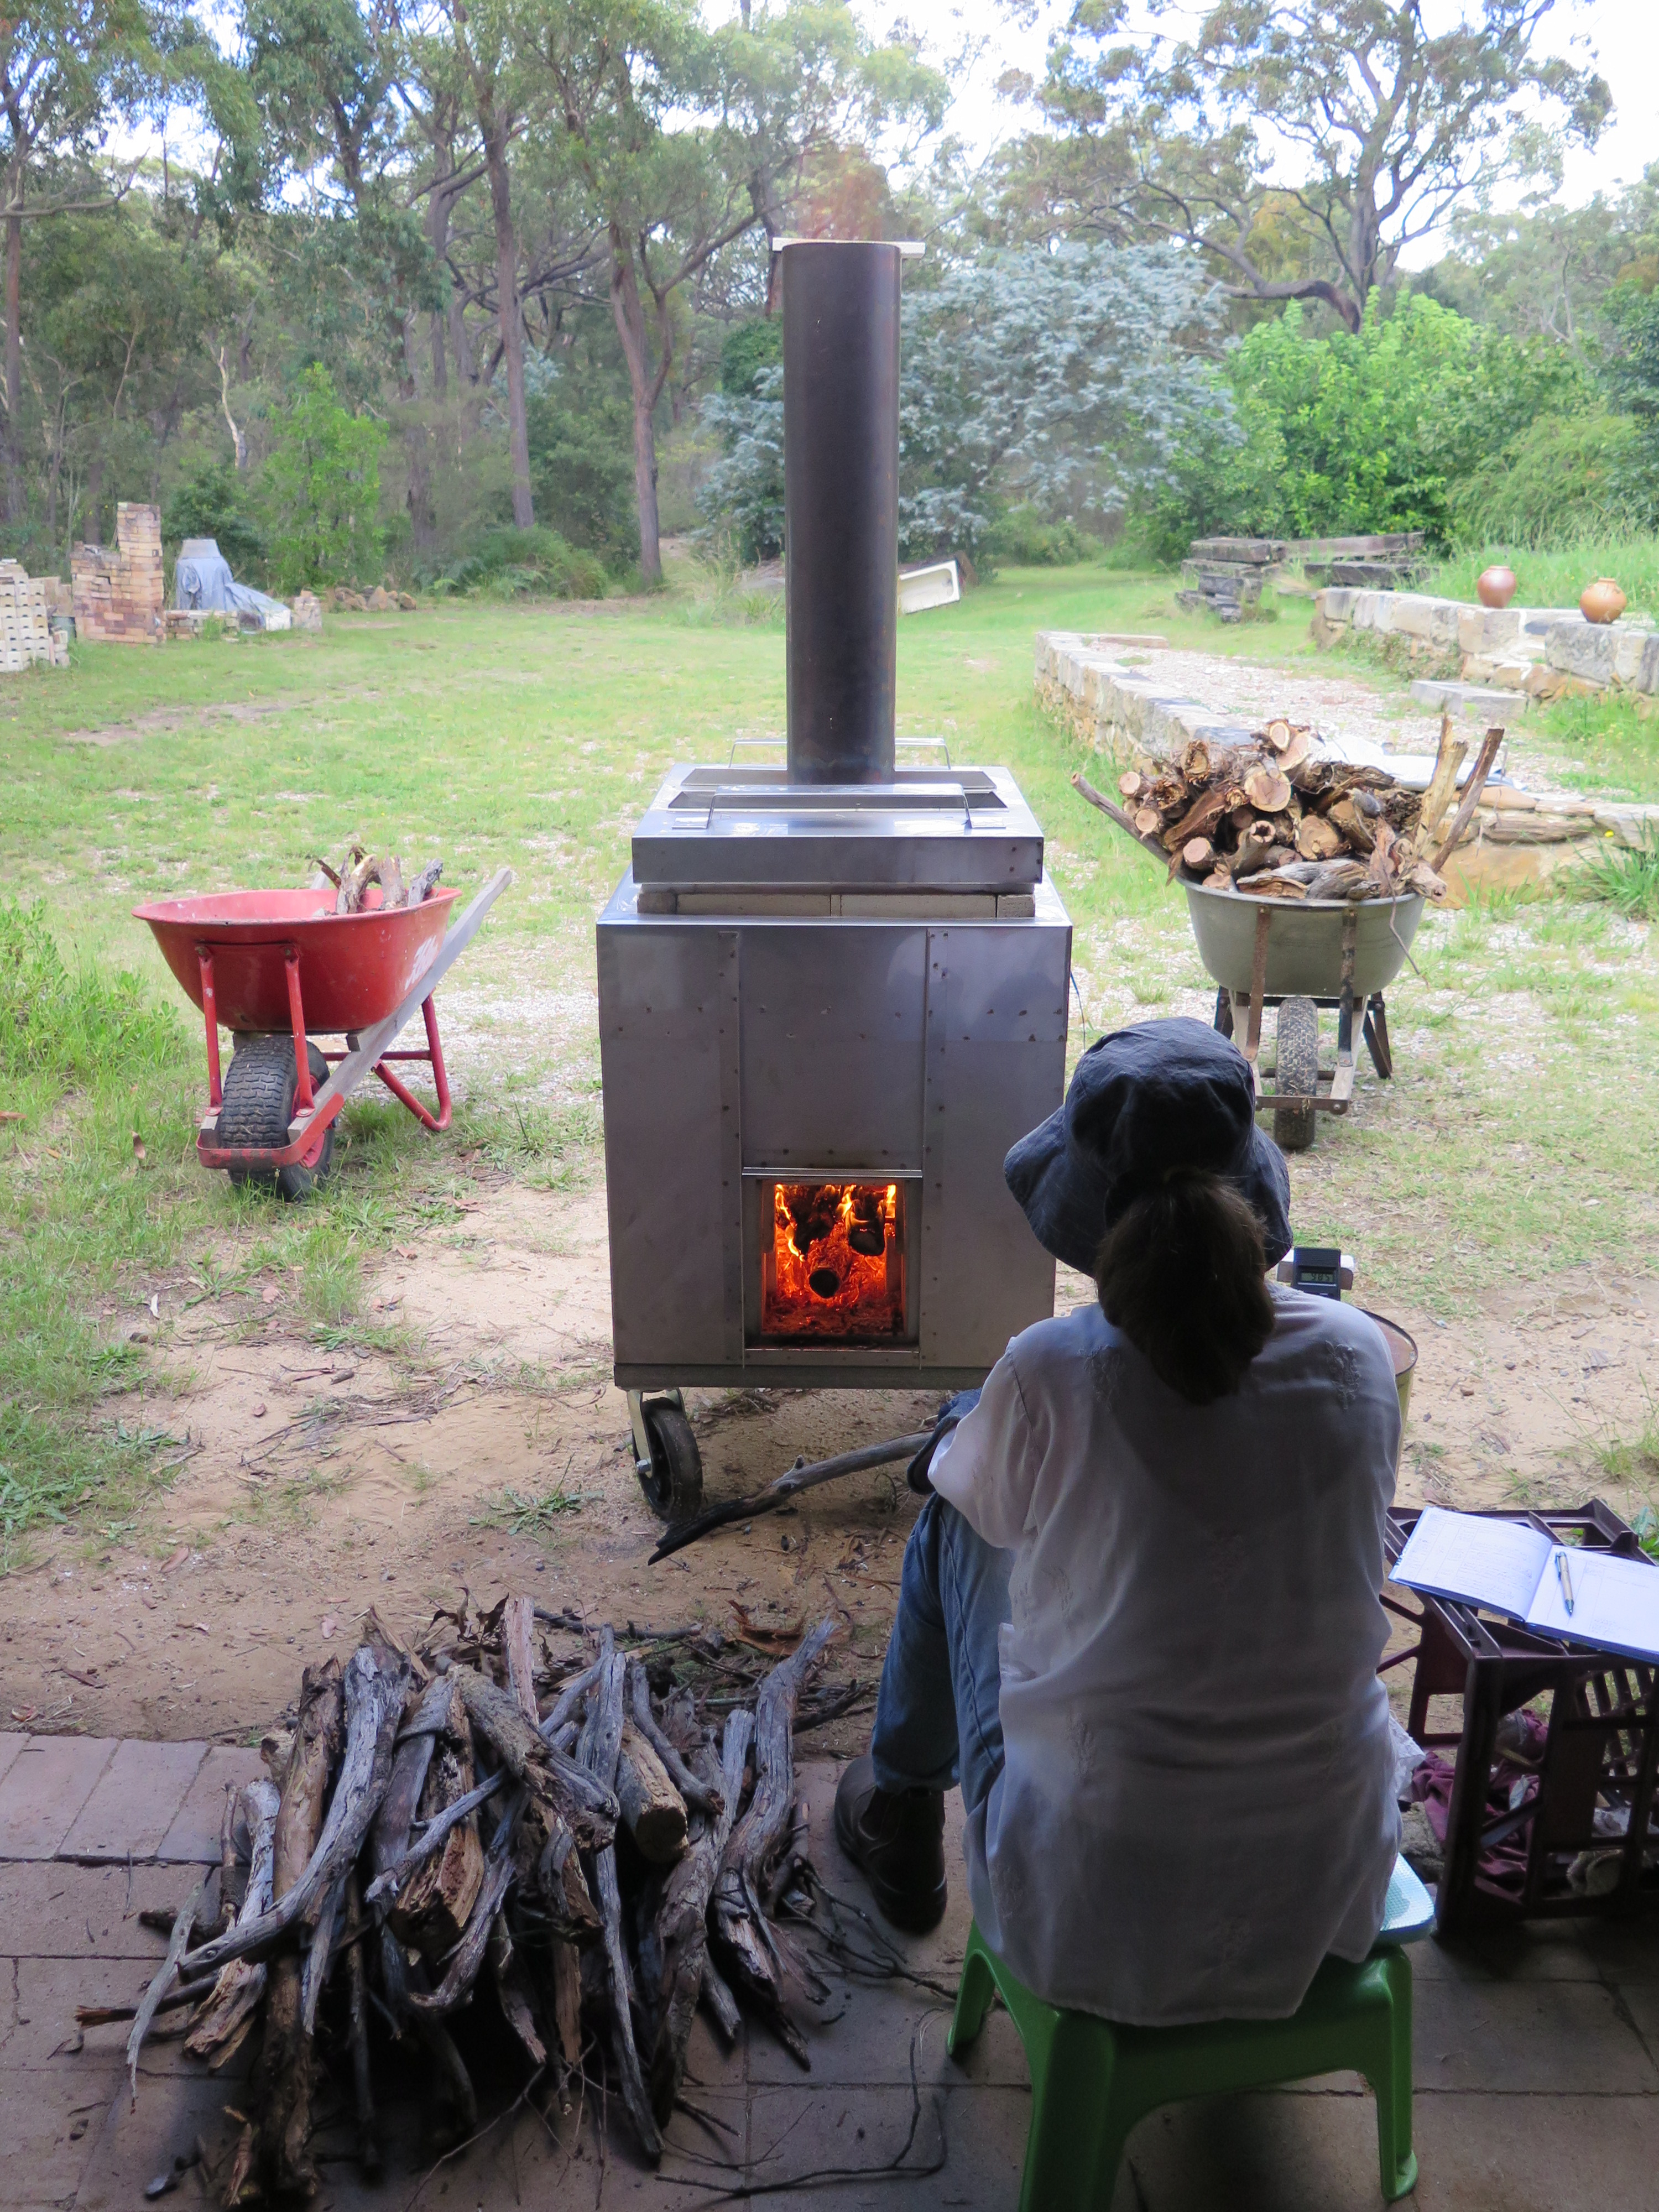
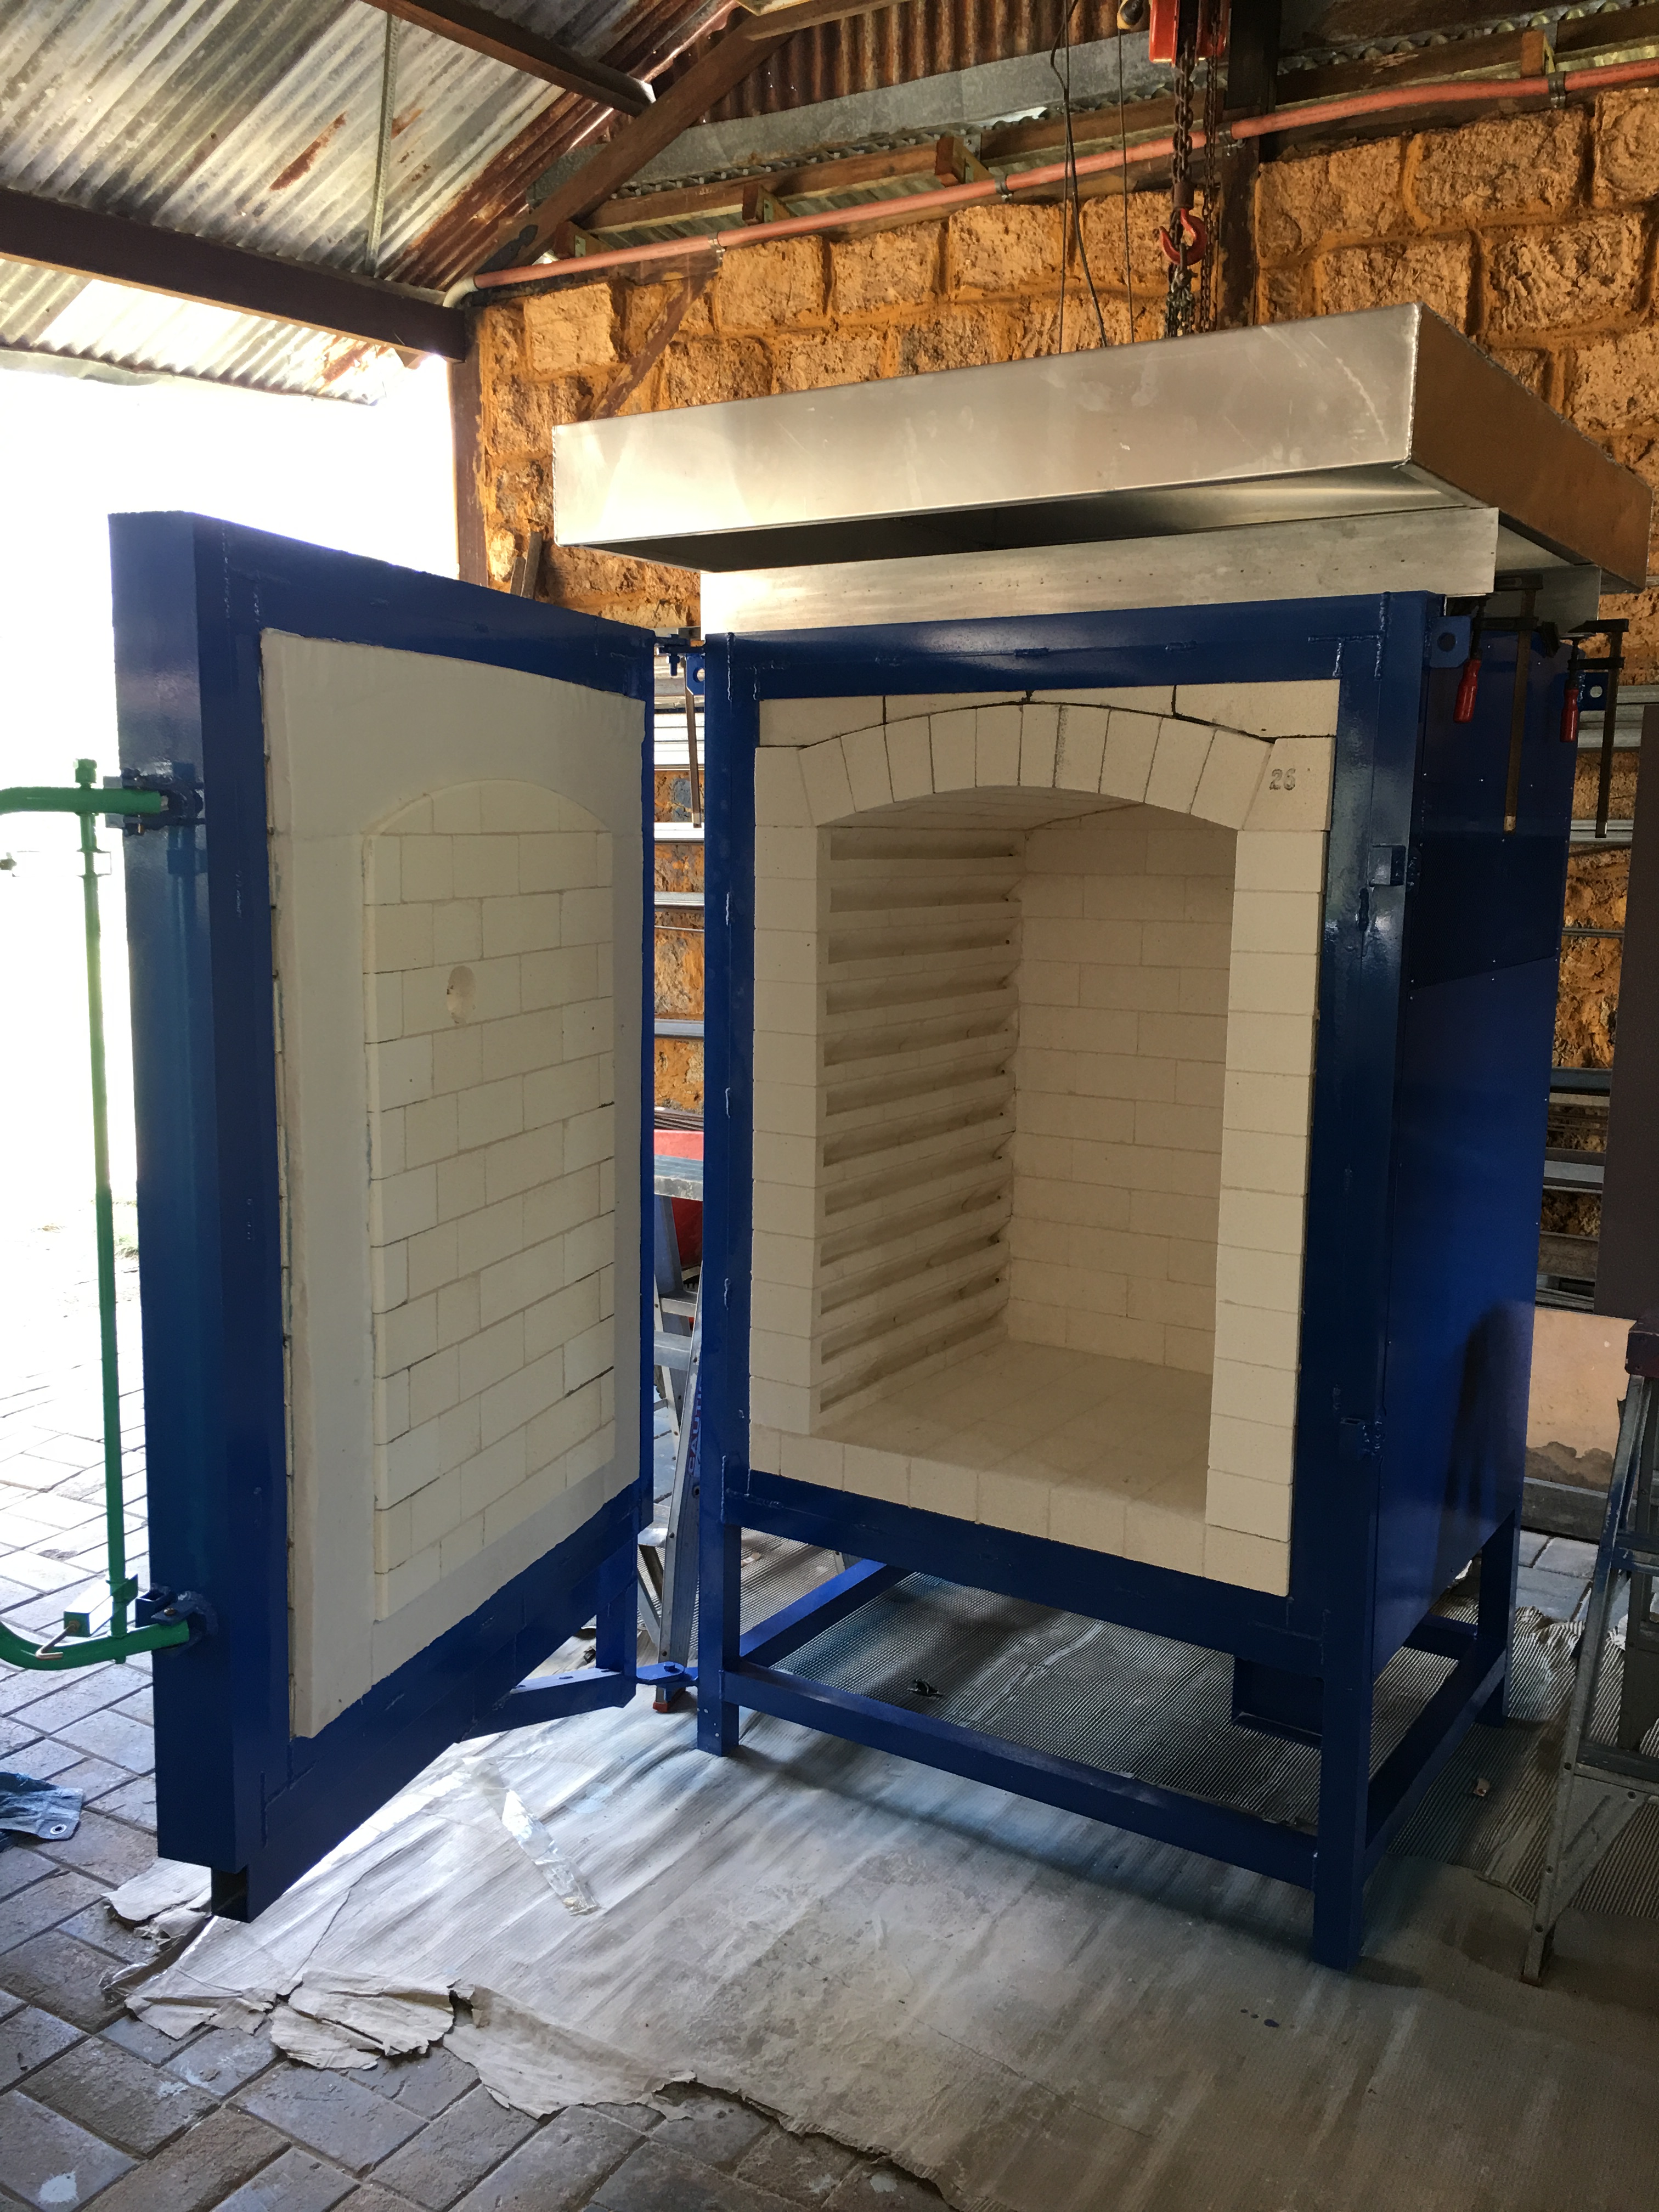
Winter brings on the season of wood firing workshops. We can fire our wood fired kilns almost all year round. With the only exception being the days of total fire bans in summer. We cope with this restriction, by packing the kiln as soon as the work is ready to fire and then we sit and wait until the fire restrictions are lifted, usually after a patch of rain. The pots can sit in the kiln comfortably for any length of time, as long as the kiln is sealed, so that no little animals can get in. We haven’t had  to wait long, a few weeks at most.

However, we can’t run a workshop kiln firing schedule on this basis. If we book in dates to run a wood firing weekend, then it has to go ahead as planned. Everybody has made their plans around the dates and is relying on it. We can’t cancel at the last-minute due to a fire ban. Our solution is to only book dates that are outside the likely fireban season.

We have had 3 weekend firing workshops over the past month since I returned from my last research trip to Korea. We were lucky to be blessed with fine weather most of the time. We are getting cold frosty nights, but many of the days are wind-free and warm in the sunshine.

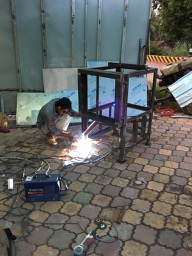
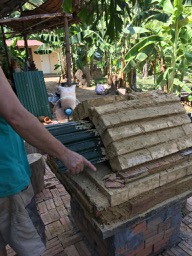
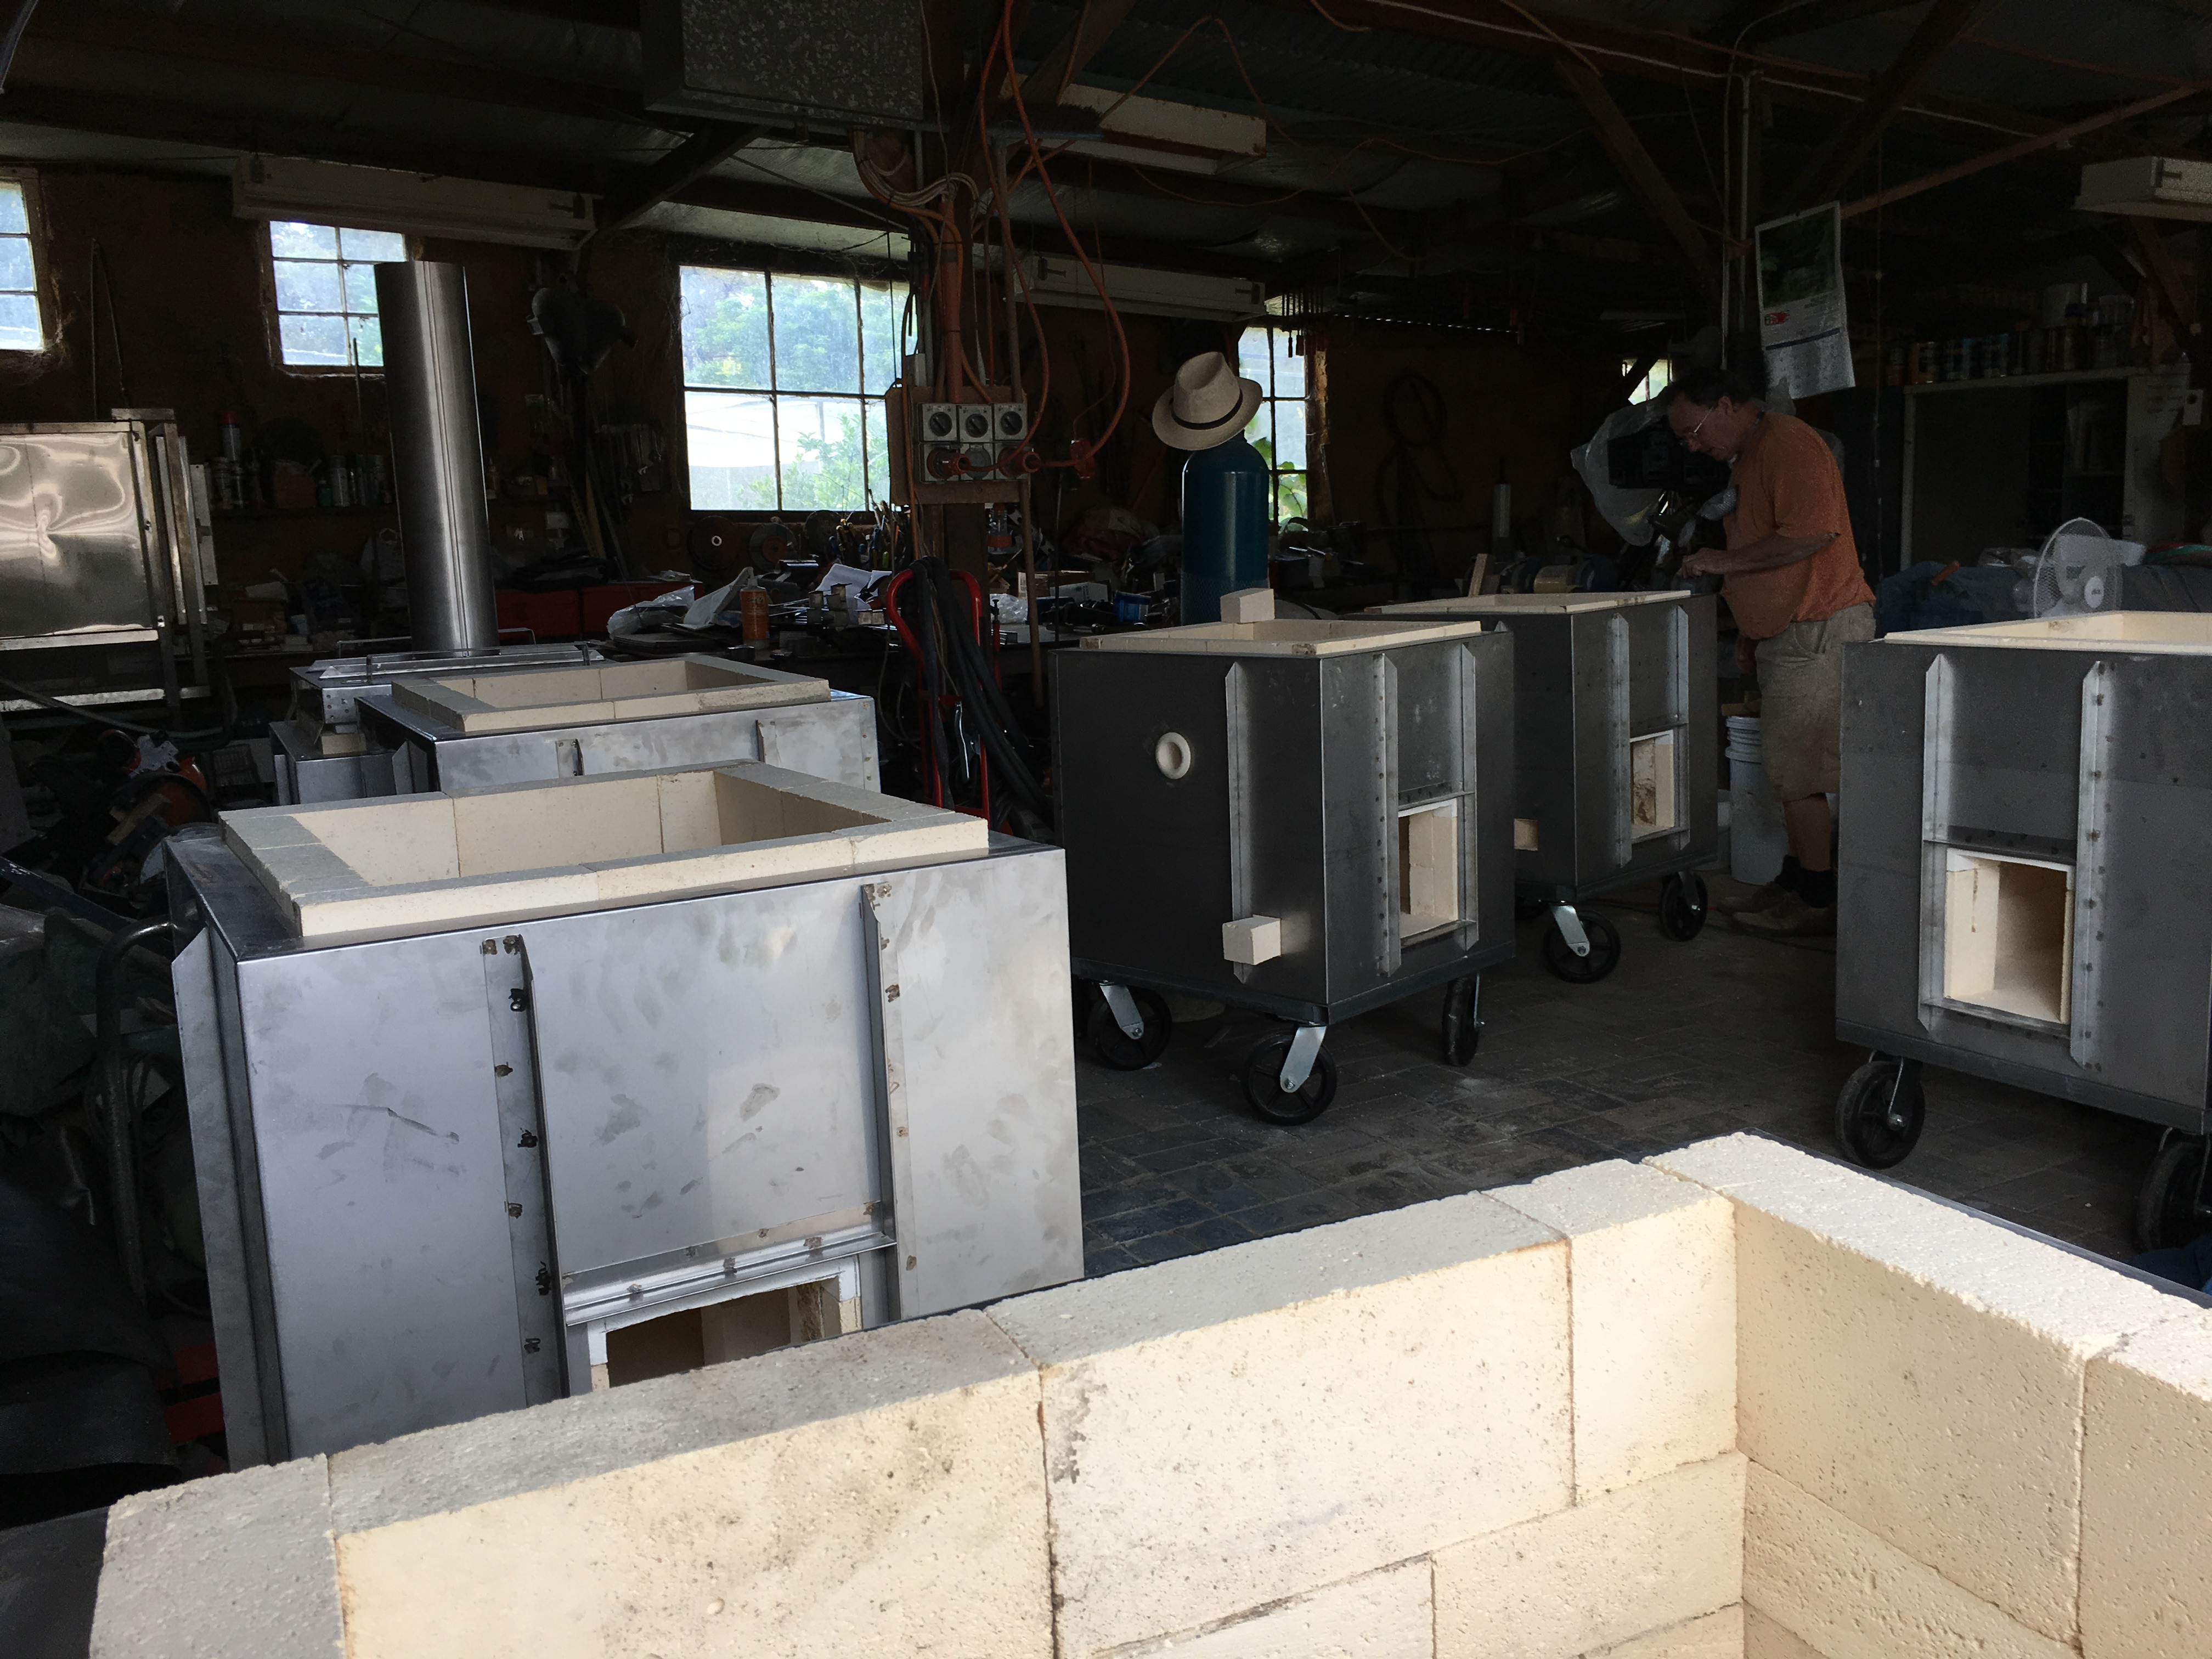
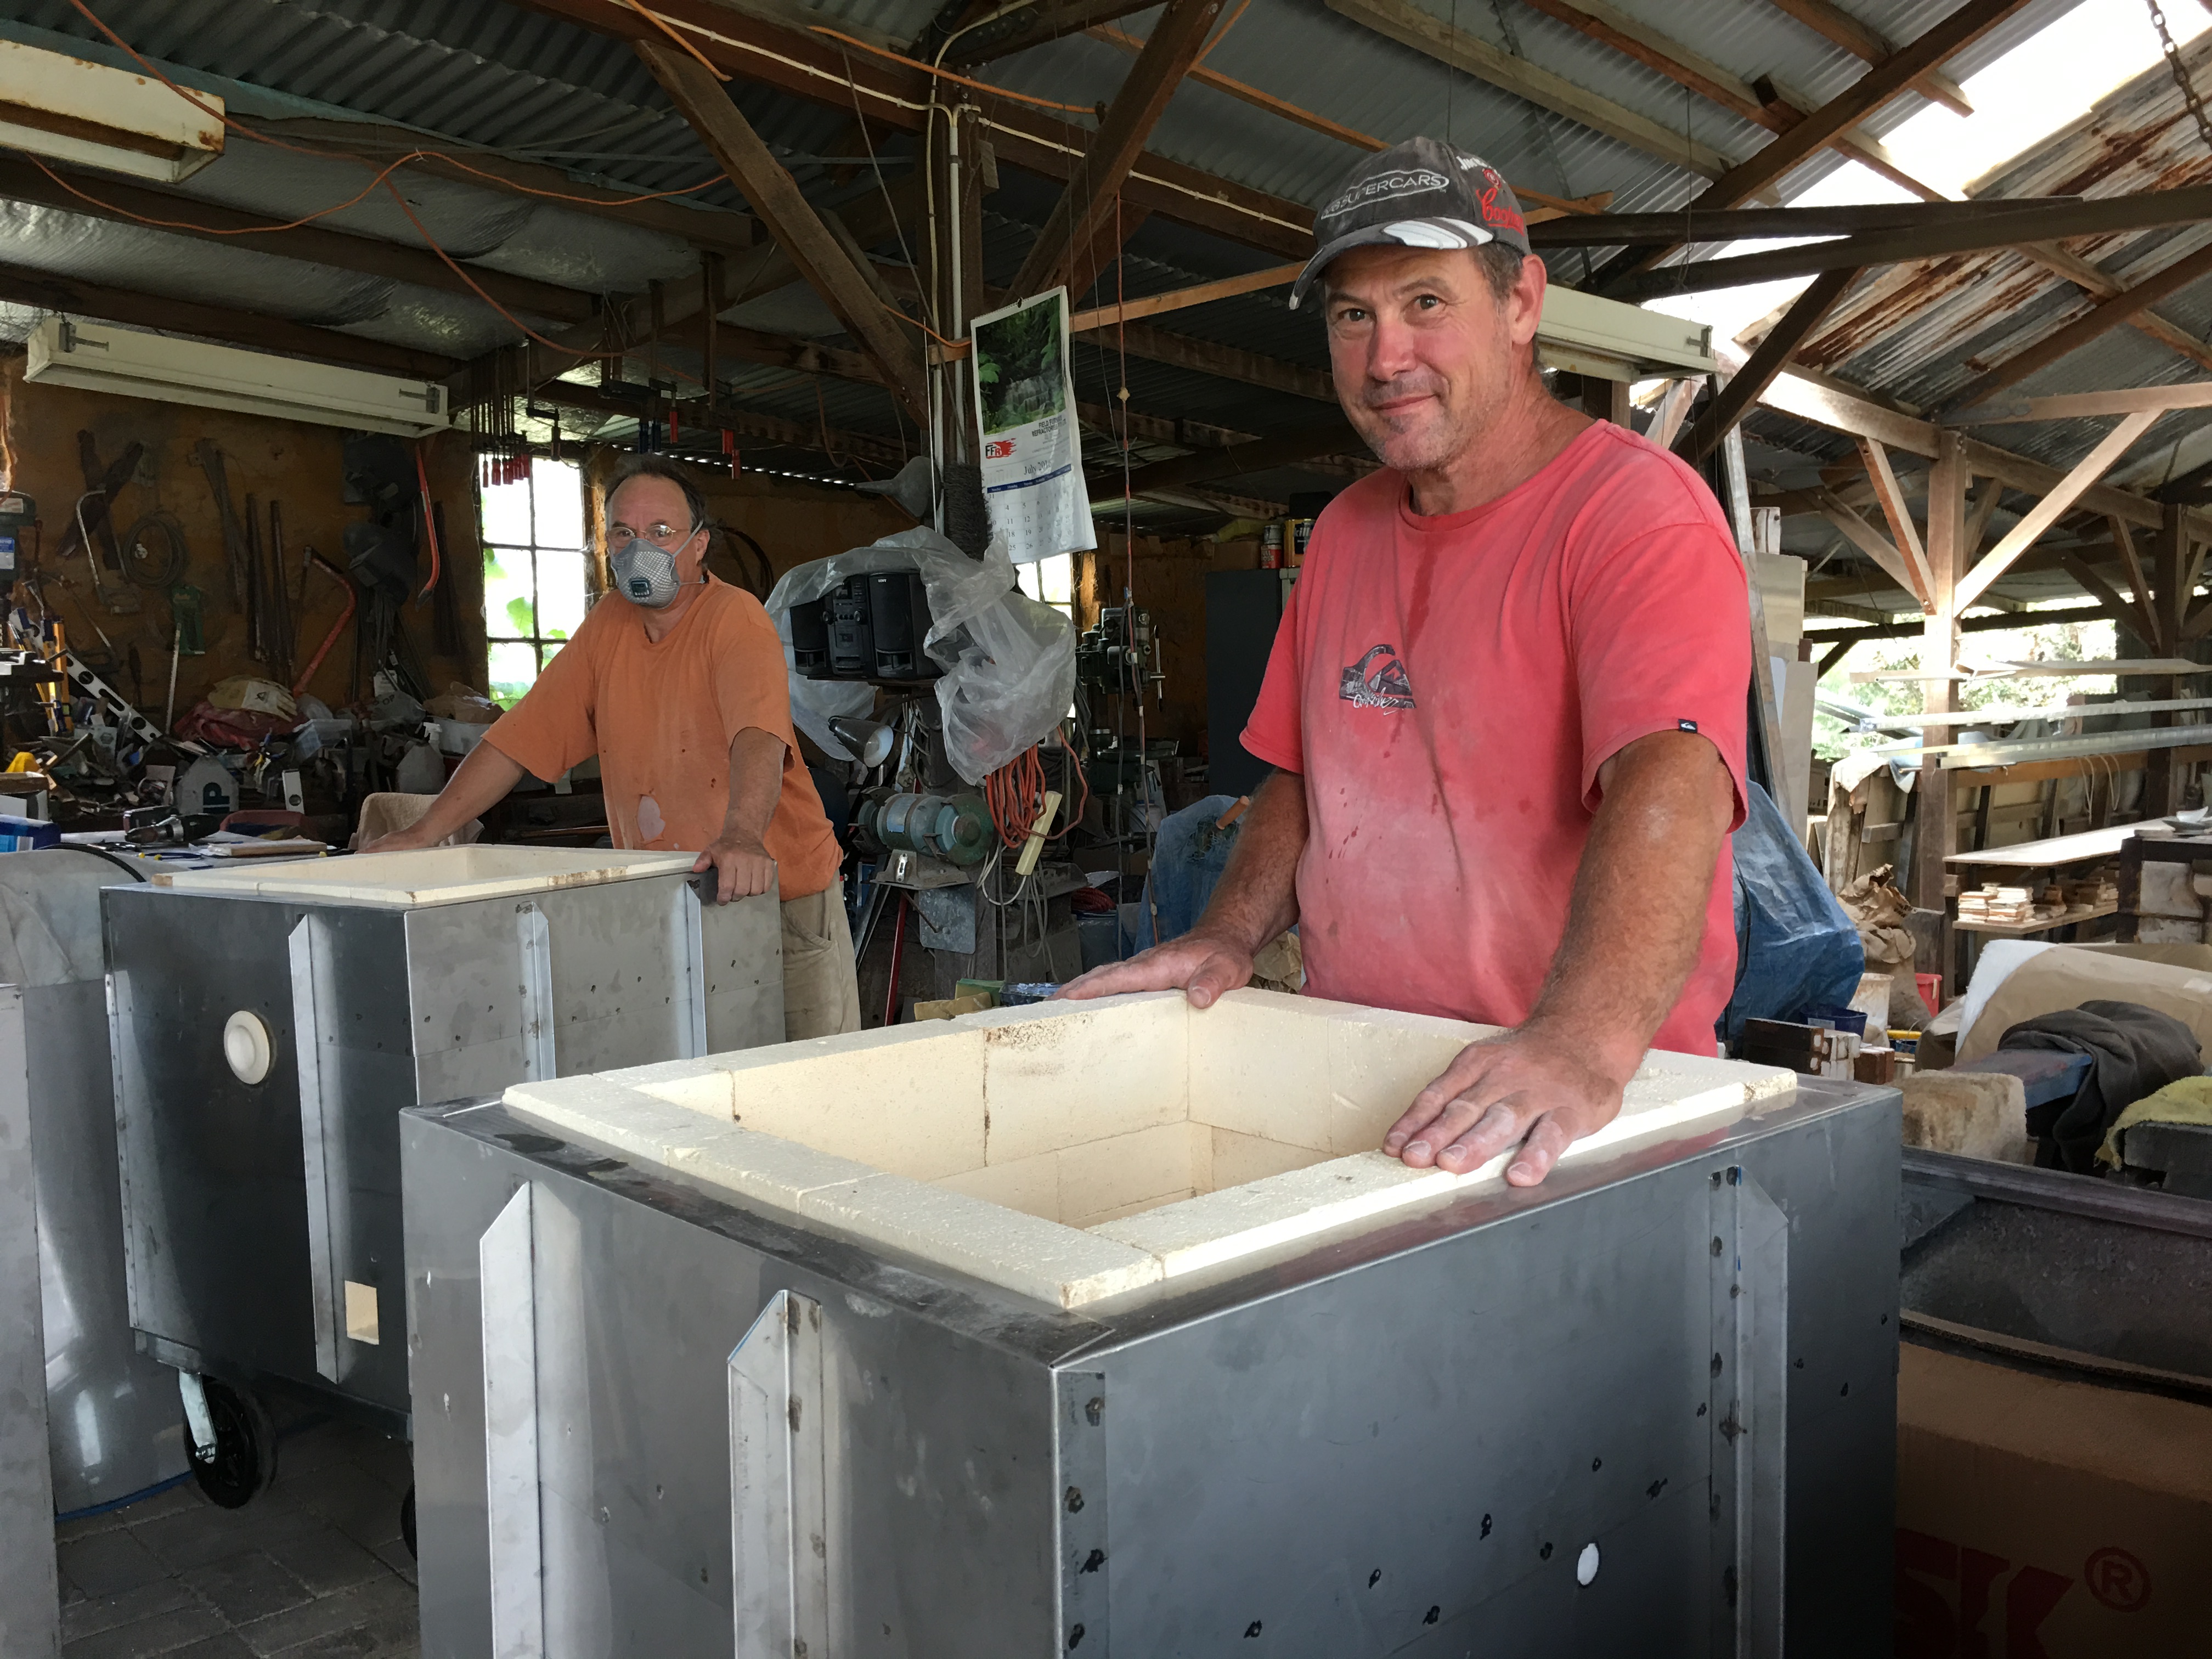
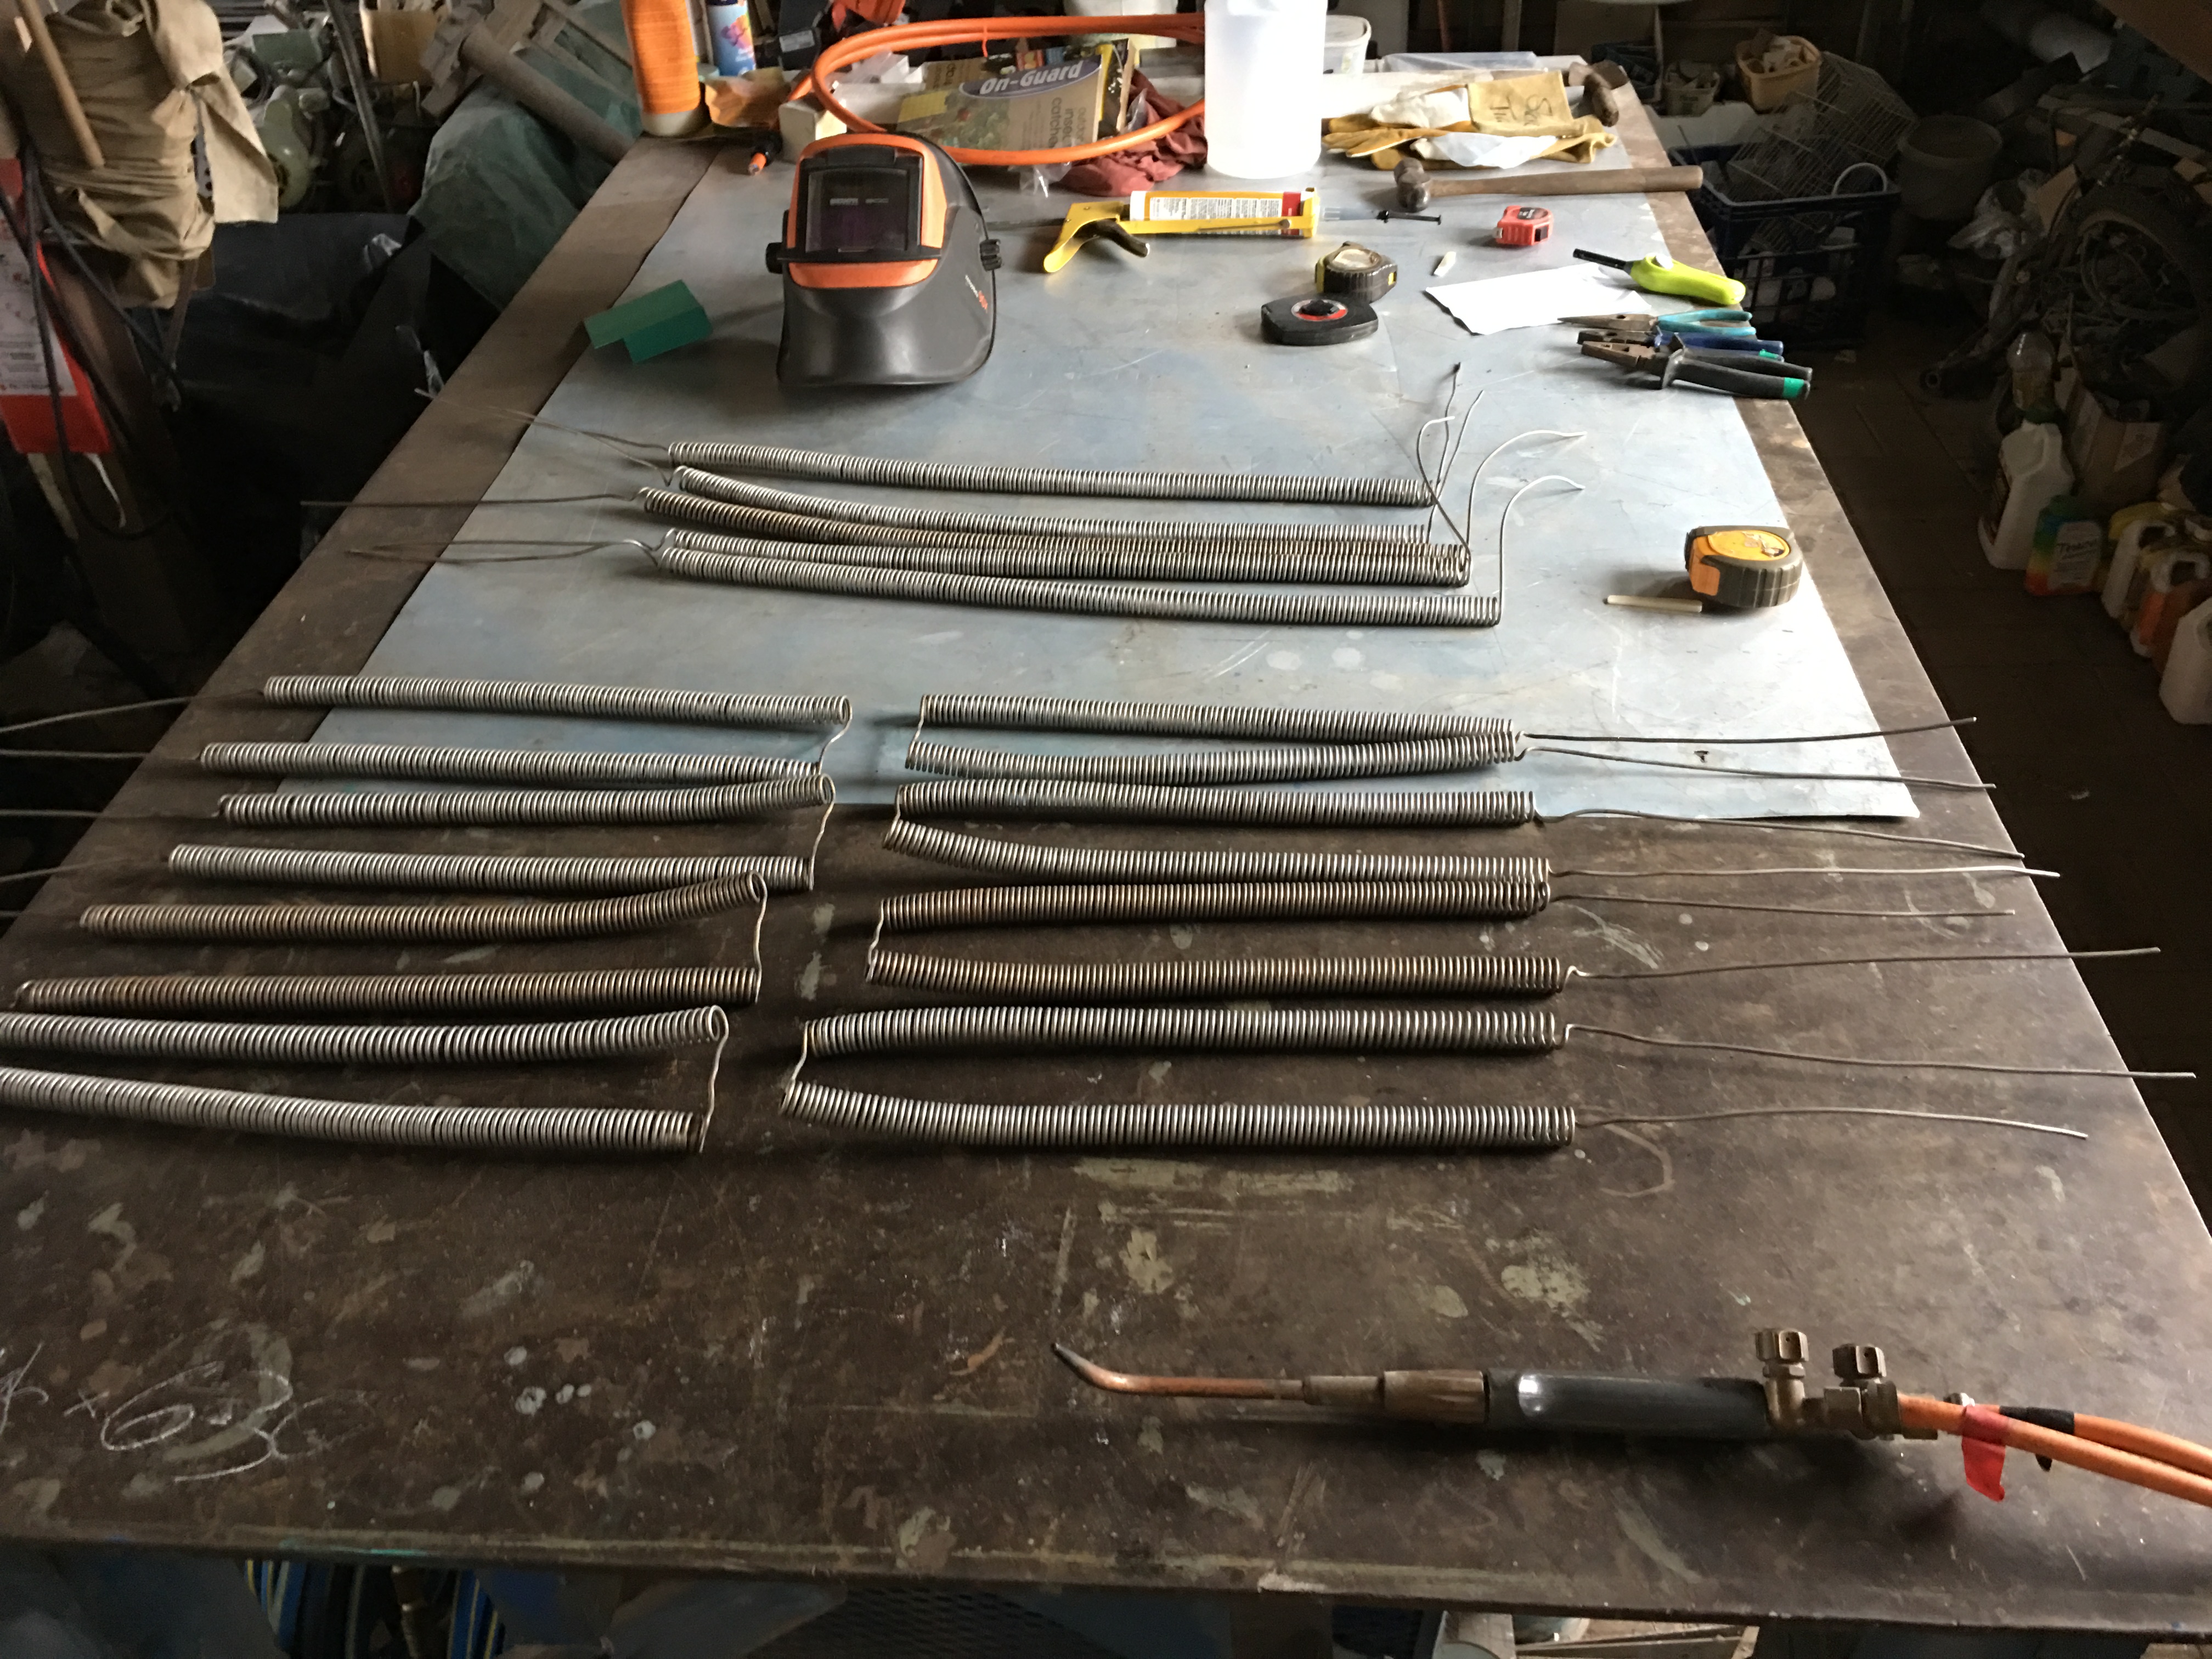
We spend most of the week in-between each workshop in preparation, cleaning up and transforming the space into a safe, functional firing environment. We also spend a lot of time collecting and preparing the wood. We use mostly dead wind-fall branches from our eucalyptus forest around the house and dams. throughout the year, these branches fall to the ground and need to be collected up and stacked, out-of-the-way, so as to keep the ground clear for mowing through the hot months for bushfire protection. This stack then needs to be sorted and cut or broken-up to a suitable length. The smallest twigs go to kindling and the first part of the firing. Thicker pieces up to 50 or 60 mm. dia. are used as-is for the main part of the firing, and anything larger is cut to length with the chain saw and taken up to the wood shed and split into suitable thickness, then returned to the kiln site. It all takes time, but the chickens help. They just love to be at the centre of the action.

We tell ourselves that all this exercise it is probably good for us 🙂

IMG_7279 IMG_7291

IMG_7281

Throughout the year I get fire bricks, stainless steel sheets and all sorts of other material delivered here on Pallets. Some of them. The ones with beautiful straight-grained wood, get dismantled and used for building things. It takes quite a bit of effort to dismantle a modern pallet. They are assembled with gang nailed corners and hot glued nails from the nail gun. I spend a fair amount of time priseing them apart and de-nailing them to save the wood in good re-usable condition. A successful pallet re-cycling session gives me a great sense of achievement – and usually a sore back and shoulders from all the bending, lifting, stretching, levering and hammering. But it’s worth it. I hate to see good wood wasted. It’s just another small step towards self-reliance, through making do, recycling and making the most of what we’ve got.

IMG_7283 IMG_7305

As we have 11 workshops booked in for this winter. We will need a lot more wood, than has fallen from the trees around the house over the summer. Janine has been making expeditions out into the ‘wild woods’ farthest from the house to drag back dead limbs to add to our stock. For this firing I also called in to visit the local mower shop. He gets a lot of his machinery delivered on Pallets and he has to pay to take them to the tip/recycling centre, So they are happy for me to remove them for them.

IMG_7306

One of these pallets is a monster. It has bearers with a cross-section of 200 x 100 mm. and beautiful solid decking of 25 x 150 or 200. All beautifully straight-grained and knot free. I made an effort to keep it all as pristine as possible. It’s so nice that I think that I may be able to make a beautiful chair out of it for the house. There are of course also a lot of ugly pallets. These are easy to deal with, because all I do is chainsaw off the ends of each side and the pallet falls apart into perfectly usable thin lengths of fire wood.

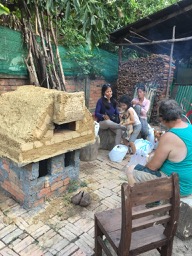
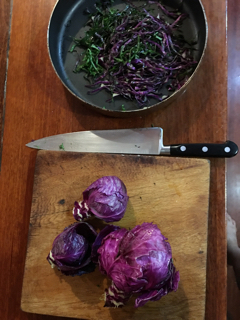
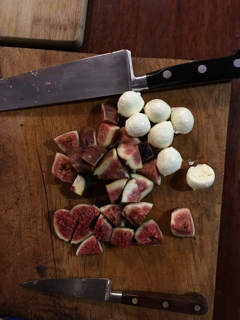
The students turn up knowing nothing of all this. The wood is ready and stacked in the trailer on-site. The kilns are all prepared and the glazes are out on the table. The days events proceed calmly and in an orderly fashion. Every thing happens as planned and the sun is warm in the middle of the day. Everyone seems happy.

IMG_7324

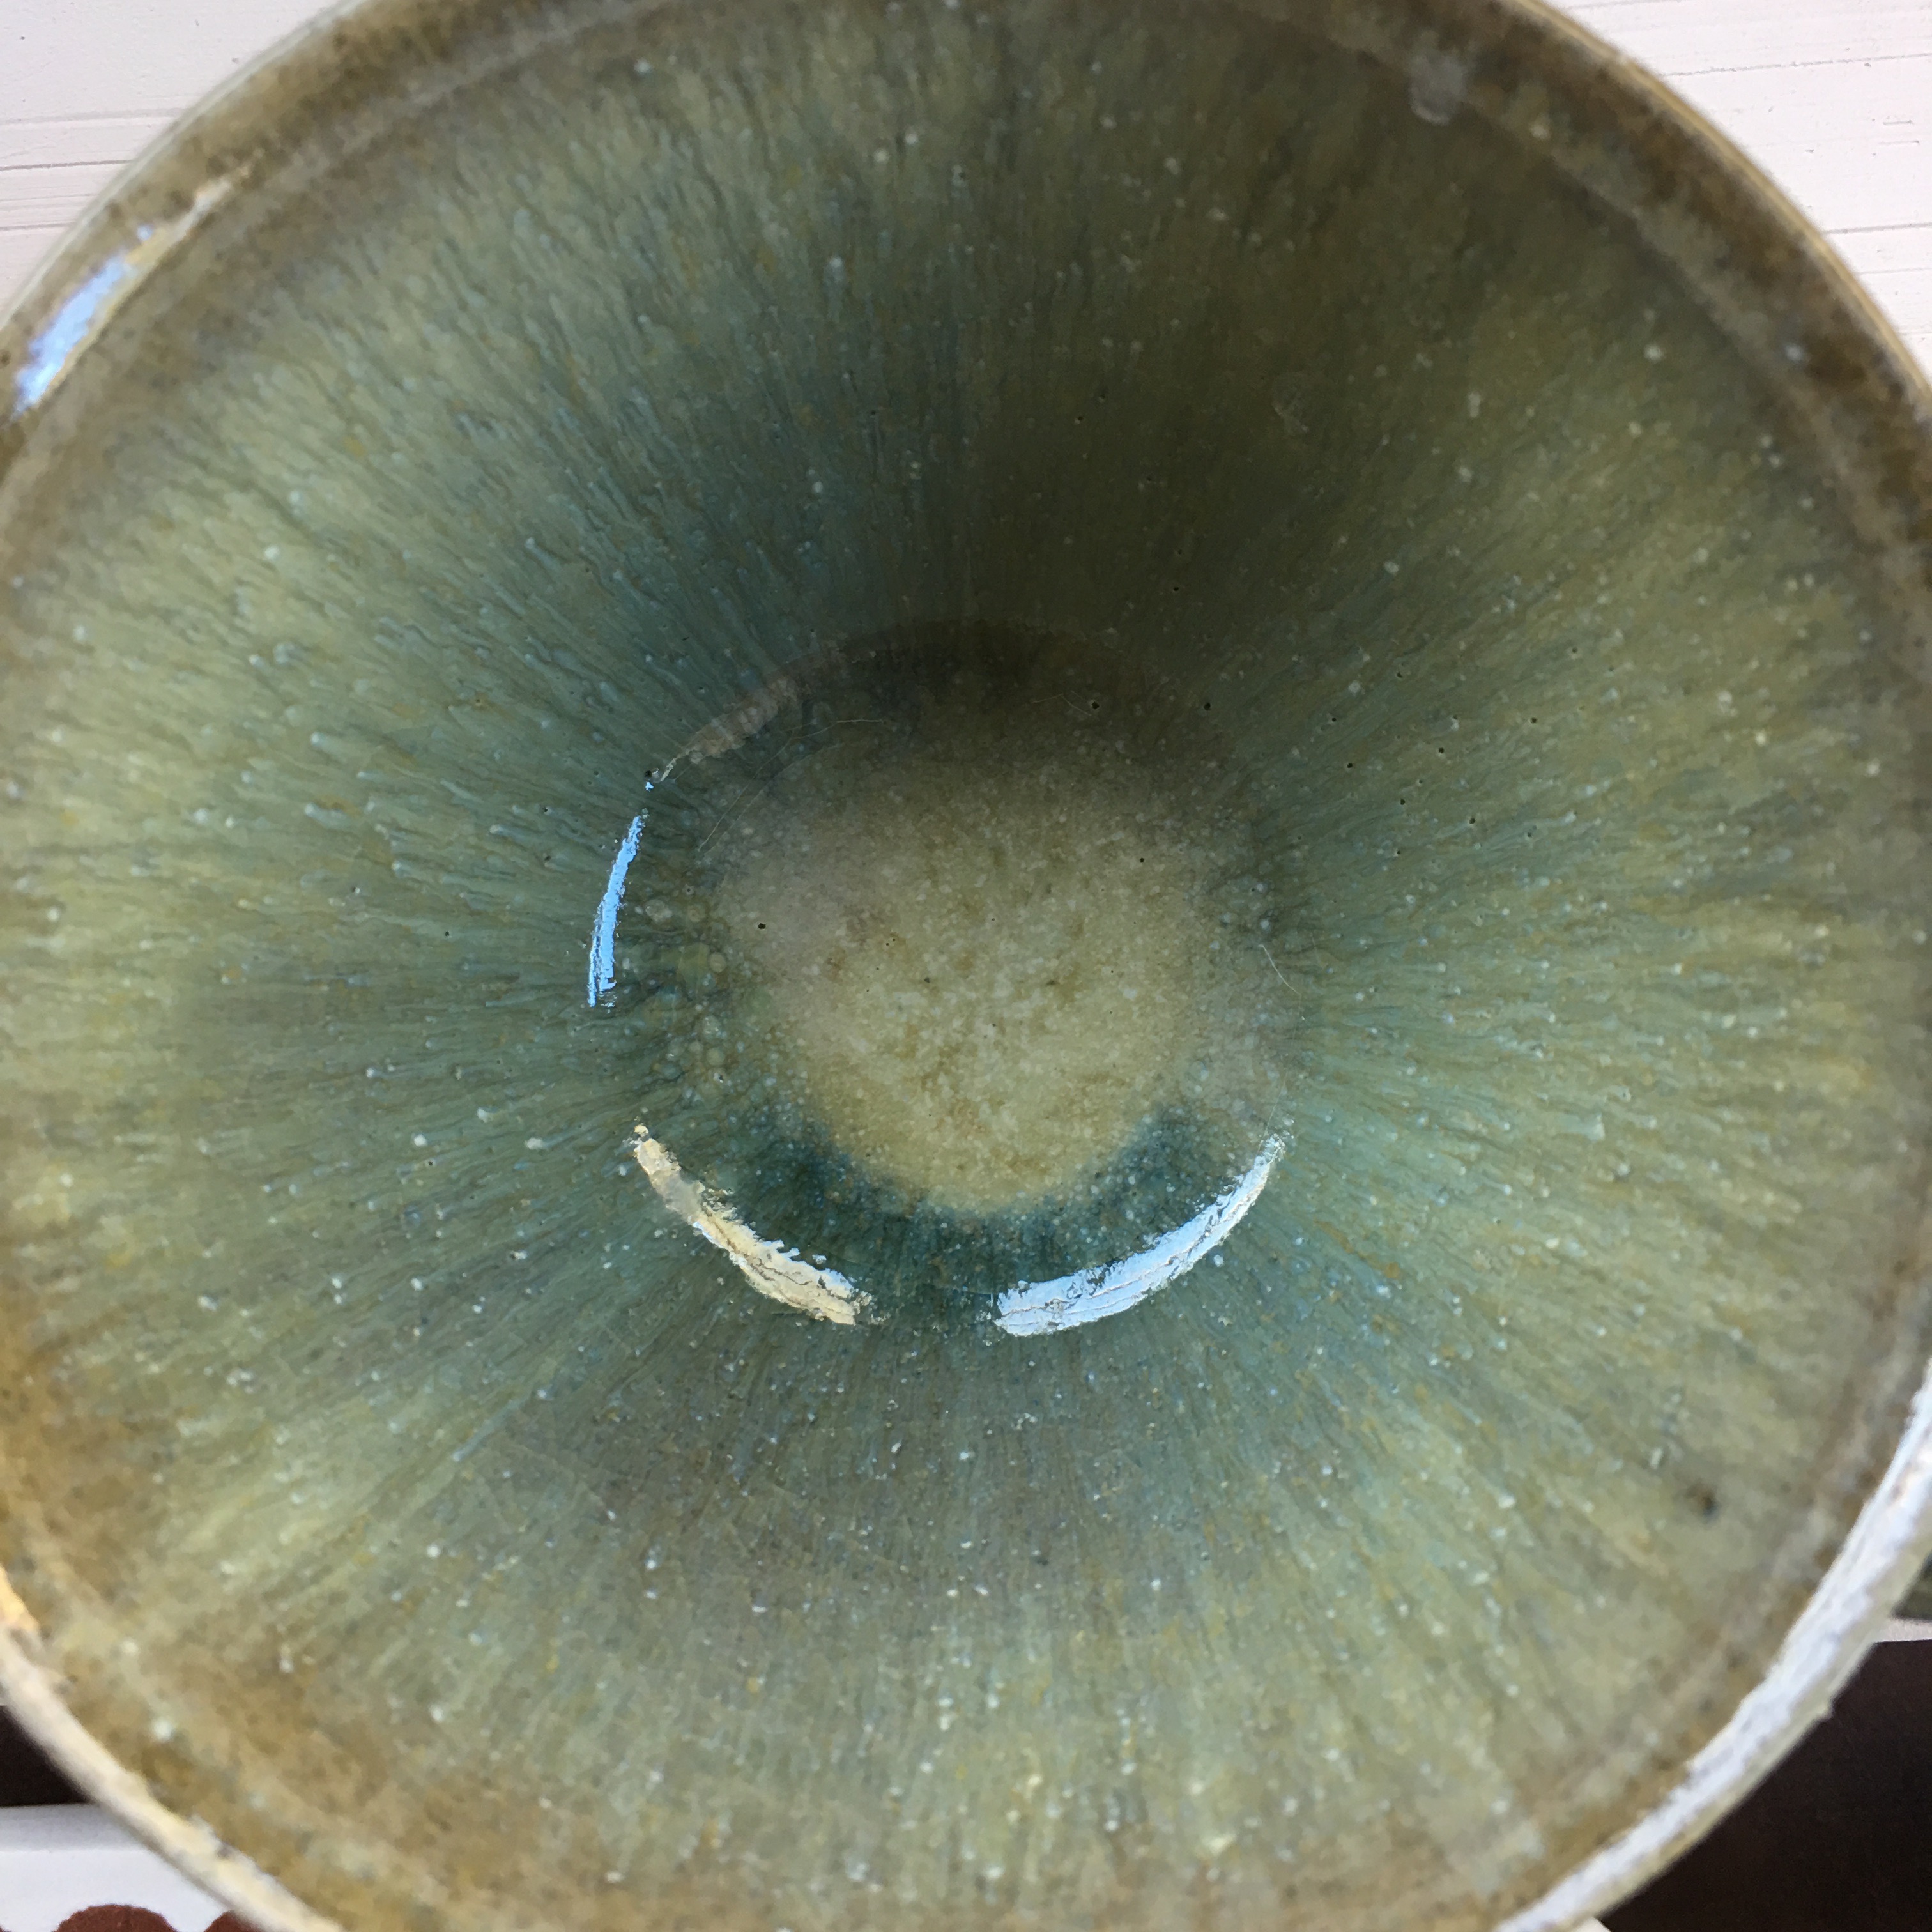
The result of all this effort on everyones part is some beautiful pots.

A Rainy Day in Bangsan

I wake up and its raining, not too heavy, but I can hear it on the roof and dripping from the overflowing gutters. I walk to the workshop in a light drizzly mist. I spend the day turning my bowls. It’s perfect slow drying weather.

Mr Jung is the man who runs the Bangsan/Yang gu Porcelain Museum and Research Centre. He is extremely open-minded and has a very inclusive policy of engaging with outsiders, so as to make The Research Centre relevant, lively, contemporary and internationally recognised. This is exactly what I have experienced here. I must say that while I have been here there has been a steady stream of local, interstate and foreign visitors coming through the place. The level of creative work that is being produced by the research students is excellent.

I get all my pots roughed out and almost finished. They will need just one more thinning out when they are almost dry – but not quite bone dry.

I have a little time before closing, so I go to the Museum gallery and display area, to look at some of their stock and browse some of the literature. There isn’t anything there in English, but there is a thick, hard-cover book on the archaeology of the Yang gu/Bangsan area. I browse through it looking at the pictures. It looks pretty interesting. Shame that there is no English translation. Then it crosses my mind that there is. I have it in my pocket. I use ‘word lens’ on my phone. I select the app and hover the phone over the required Korean text and it magically appears in English on the screen in real-time as I move it along. I make my way through the first part of the book, looking at and reading the captions of the pictures. That way, I get another free thousand words, sans effort!

IMG_6955

It looks like there might be something in there worth taking in. The book is just too big, too heavy and a bit expensive to buy and take home, or post. I want to save my weight limit for my pots. I just photograph some of the more interesting pages and decide to read them later.

It’s time to go, but the weather has turned pretty nasty with thunder and lightning. I rug up in a plastic bag poncho and open my umbrella, but I fear that the wind will destroy it, before I reach my digs. On the way home, I stop to try and capture the lovely image of the rain buffeting the rice seedlings.  I have 2 goes at it, the second being a short video. But I fear for the safety of my umbrella and my phone, so stop at that.

Later in the evening, when I have time back in my room. I down-load the Korean language images to my lap top and read them back off the screen in English using my phone language translation app. It’s a slow way to read a book in another language, but I muddle through, as I have lots of time in the evenings. It even surprises ME! as being one of the weirdest things that I have ever done to get research information!

DSC02743

The next morning the weather is all clear again and I see that the river is running brown with silt washed down off the higher fields, possibly even silt washed down from North Korea over the border. I don’t know how far the catchment of this river extends into the North. There are a couple of hardy blokes fishing with a net, down by the stepping stone crossing. I stop and watch them for a while, but they don’t seem to catch anything. The technique that

IMG_7090 IMG_7086

they are using seems to be for one man to stir up the stones and sediment on the bottom and try to dislodge something into the flow and then the other man tries to catch it in their net. It doesn’t seem to be working. Perhaps they are fishing for some sort of shell fish or yabbie/crustacean?

IMG_6910 IMG_6982

My bowls are finished now and ready for the bisque kiln tomorrow. I have ordered a stamp that says ‘Yang gu’ in Korean text, and have marked all my work with this and my own personal seal. I ordered it through the mail order service of the amazing Miss Kang, who arranged everything for me and had it ready for me when I arrived at her house on the way here.

Tomorrow comes soon enough. I see the kiln packed during the day and started firing last thing before we all leave for the evening.  The next day, after cleaning up my work space, I go over to the kiln room to see how the firing is progressing? I assume that it was set to steam all the pots dry overnight and will be firing properly now, possibly reaching temperature in the afternoon?

IMG_7004

When I get over there, they are already unpacking the kiln! it has fired up and cooled down over night! I’m staggered. How is this possible? It doesn’t fit in with all my other pottery experience, where we molly-coddle the pots through the difficult trauma of the firing process, taking it quite slowly, making sure that we don’t blow anything up by going too fast or causing cracks. I guess that they do this all the time and they know what their clay will take. The kiln is electric fired and has a computer ramp controller, so it fires exactly the way that they have set it to. By the feel of the bisque, I’m guessing that it was only fired to 800 or 900oC.

I can only assume that because everything was dry before packing the firing could proceed quickly. It is summer here and very warm days and nights. And all the pots are made of powdered stone and not sticky plastic clay, so they can breath quite easily. Any way, most things come out OK. I have 5 out of my 40 or so with minor cracks, most inflicted before packing, by me I think. One has a crack around the edge of the foot, which I haven’t seen in my work before and another has a tiny hair line crack in the centre of the foot, underneath. This is a remnant clay shrinkage/drying problem.

I’m happy. I have 36 pot to be going on with. I said at the beginning that I would like to get 12 good pieces to take home if I can. Looks like I’m on track at the moment, but never count your chickens!

I spend the day glazing and fettling. I go over them 3 times to get them as smooth and dribble free as possible. The glaze looks to be a mixture of porcelain stone and possibly limestone?  I also feel that there might be some wood ash in there too? I think this because it has a definite grey cast to it and micro tiny black flecks that I some times see coming through my 60 or 80# mesh screen when I sieve our ash. The glaze seems to be very thin, so I dip them twice. It also helps to get a more even coating.

IMG_6967

When they are dry, my pots go over to the gas kiln shed for glaze firing. The packing seems to take all day on and off, with so many other things happening throughout the day. It’s all packed by 6.00 and ready for firing.  The gas kiln is fired manually, so it will have to wait until tomorrow to be fired through the day. It’s about an 11 hour firing to cone 7 or 1230/1240oC. in reduction. They use a digital pyrometer and draw trials to measure the temperature and heat work. They told me that they fire too cone 7, but they don’t use cones here?

IMG_7006 IMG_7010 IMG_7050

This facility has a comprehensive range of very good equipment and the staff are really hard-working, efficient and friendly. I couldn’t have found a more fertile and supportive place to study.

best wishes from Steve in Bangsan, Korea.

Changing the World, One Kiln at a Time, or 3

Nina and I have come to Cambodia as volunteers to help a potter here with her kiln. She is a single mum with kids and could use a bit of help. There are many things that we could do and ways that we could volunteer, but we have been asked to come by someone with local knowledge, who knows the situation here and also knows my particular skill set. I have been working on this private program for some years now. Restoring pottery equipment for someone who then sends it all over to Cambodia as donations to potters workshops. Now the time has come to put our feet on the ground and get more involved.

We are not working under any particular program or an NGO. We have come at our own expense as a private aid gesture to hopefully, pass on some low tech solutions that will be acceptable and that may prove to be incorporated into the local knowledge base long-term?

This potter, Paruth, has had some help previously from another Australian potter, Bronwyn Kemp, about 8 or 9 years ago. Bronwyn came over here and helped build a small gas-fired kiln from what was, more or less, scrap iron and fence wire. She did an amazing job and the kiln has been worked to death since then, sometime being fired twice a day. However, time and work take their toll, and this fantastic little kiln has had its day and is in need of some restoration and repair. The floor has collapsed, so the potters simple solution was to build up a pile of small local red bricks under the kiln to support the old floor. Fantastic! A really creative solution that solved the problem. However the roof has also collapsed in as well and will need a total rebuild.

We have organised, through another Australian, Ian Brookes, to get some kiln building materials delivered to the site in advance of our visit, so that we can get a lot done during our two-week visit. From the photos sent to me previously, I thought that this little kiln had potential to be rebuilt. However, as a safety precaution, we are also planning to build a new and slightly more robust kiln that will have the potential to last 25 years?

I sent scale drawings with dimensions of the metal work that would need to be ordered in and welded prior to our arrival, but this turned out to be too difficult for the local steel worker to manage. So we abandoned the attempt to get the steel work done in advance and just concentrated on getting the necessary materials all collected together, so that when we arrived, we could be most productive.

As it turned out, the metal work that was done prior to our arrival wasn’t done very accurately, as our welder wasn’t particularly literate or numerate. The kiln frame was the wrong size and constructed at 90o to the plan. However, with so much already invested in the construction and with so little time. I sat down and resigned the kiln concept to fit what had been done already and luckily. I was able to make a suitable plan that could accommodate everything that we had without too much loss of function or efficiency.

So the new kiln will be a bit shorter than planned and a little bit tighter in width, but it should be OK. Ian Brookes had sourced some zinc metal primer paint in advance of our visit, so we were able to prime and rust proof the mild steel kiln frame before lining it. This should make it last a lot longer.

We had also arranged to have two sheets of Stainless steel delivered in advance so that we could make a kiln cladding that would last as long as the primed frame. Funnily, stainless steel is actually quite easy to get in Cambodia, as many things are made out of it these days. Our welding man is only 100 metres up the street from the pottery and he is very proficient with TIG welding stainless steel balustrades and safety grills.

It takes us 3 days to get the kiln frame welded up. A door made and hinged onto it, then painted and panelled in stainless. I have worked it out, so that there will be just enough stainless steel sheeting left over, so that I can put a new roof and floor in the old kiln as well. If we have enough time?

IMG_5909 IMG_5911 IMG_5914

IMG_5918 IMG_6021

There doesn’t seem to be any concept of OH and S here. The welder works without any of the usual safety gear that I use at home. Not even shoes, just thongs. His only concession to some sort of safety is to wear sunglasses when welding. He will be deaf and blind in 10 years. I give him my ear plugs and get Paruth to explain to him that it is important to preserve what he still has. She tells me he doesn’t care. When I return the next day, I can see that my ear plugs are thrown in the dust pile. I say that I will leave all my safety gear that I have brought with me and donate it to him. She says not to bother, he isn’t interested. he will just throw them away. I feel bad about this, but can’t see what else I can do to help him learn more about his safety and health. I’ve sown the seed. I won’t be here to keep reminding him.

Once the kiln is finished, quite late in the evening, the welder man delivers it by walking it down the road on its castors in the evening traffic. The next few days are taken up with lining the kiln. It’s a very hot, sticky, sweaty job in the 40o heat and 80% humidity. I drink a lot of water. Janine and Paruth help all the way through the procedure. Paruth makes notes and takes loads of pictures, should she ever need to make repairs herself in the future.

IMG_6040 IMG_6061 IMG_6091

The kiln will need a spy hole and bung, so I decide to make one on-site from the local clay, opened up and made more thermally shock resistant by wedging in a huge amount of rice husks and a lot of sandy clay that has been sieved out of the normal throwing clay that they use here. This will make the clay more open structured and porous.

I make a couple of examples using an improvised tapered profile tool to set the constant taper for both the inner and outer form. Then I teach Paruth how to do it. She makes another 3 sets. So now we have spy holes and bungs for both kilns and a few spares. But most importantly, Paruth now has the knowledge and skills to make any number of them that may be required into the future.  Teach a man to fish!

IMG_6115IMG_6120 IMG_6116 IMG_6146 IMG_6147

By the end of the first week, the new kiln is done and I turn my attention to revamping the old kiln. It needs to be stripped down and cleaned, then the new stainless steel panels need to be installed in the floor and roof, and finally the lining restored. As most of the

ceramic fibre is still intact. I decide that the best option is to just install new 1400oC hot face lining over the older damaged lining. However, I install 3 new layers of floor and roof to complete the job.

IMG_6140 IMG_6289DSC02485 (1)

I wouldn’t normally use ceramic fibre for the floor. I’d prefer to finish the floor with a layer of  light weight insulating refractory bricks for long-term durability. Unfortunately, the insulating bricks that I ordered turn out to be wrongly labeled and when we open the pack, we find that they are very heavy and dense 70% alumina fire bricks! These are not suitable for this kind of kiln. So another change of plan, You have to be flexible and work with what you have. I decide to make the floor entirely out of fibre and lay an old kiln shelf down to support the props. It’ll work fine and be lighter and a bit more fuel-efficient.

IMG_6124 DSC02489

I suggest that as we have 3 spare days left. I’d like to see the temples, but I can also fit in time to build them a wood fired pizza oven. This turns out to be the most popular suggestion that I have made on the entire trip! We cobble together a few bricks and a sheet old roofing iron to make an arch form-work. The oven is almost completed in one day but needs a second day to finish it off, as it is getting too dark to see properly as I try to chisel the final key stone bricks into shape to complete the arch.

We cover the bricks with a layer of rice husks and the sandy clay to act as some sort of insulation layer, then light it up and start to pre-heat it.

IMG_6314 IMG_6432 IMG_6438

IMG_6447 IMG_6460 IMG_6469

IMG_6518

We pre-heat the oven with old dried coconut husks, which is the cheapest, readily available fuel around here, and end the day with a pizza dinner. Everybody seems more excited about having Pizza for dinner than they are about the two new kilns! Everyone is here, the kids, the helpers, Paruth, the welder and Janine and I. We make 7 pizzas during the evening.
We experiment with what we can find in the local market. We make Cambodian pizzas. My favourite is pineapple, mango and banana with a sprinkling of palm sugar as a desert pizza.

Environmental fellowship

We have had a Danish potter staying with us for the past month. He won the Environmental Ceramics Fellowship for for 2016, but for both of us it was just too difficult to complete it last year, so we postponed to this year.

He is a potter from Denmark who is interested in sustainability and new ways of exploring how to make a living in this new digital age. He has his own web presence in Denmark where he markets Potters wheels, kilns and clay bodies, as well as making his own work. He is a digital native. Whereas, I am, on the other hand, a dig-it-all-native. Making everything myself from the ground up – and that is what he is here to learn.

We crushed porcelain stone in the big jaw crusher to make single-stone porcelain body. We made clay tests to investigate unknown clays. We worked in the gardens and orchards. Ate all our own produce. Cooked up some wonderful meals. Lauge is a great cook, so that helped. We went on a geology excursion to look at some of the local stone deposits. Harvested the shiraz grape crop and made dark grape juice from the grapes.

IMG_4683 IMG_4684.jpg

All in all, the month flew by and it all went too fast, leaving so many things un-explored. A month just isn’t enough time to experience everything that we do here.

Janine and I are planning to do some volunteer aid work overseas soon. So we are working towards this by making clay tests out of the local clay that has been posted over to us to process. Our Guest lends a hand in everything that we do.

IMG_4764  IMG_4766

We decide to go exploring and looking at a few rocks for making glazes. Then, to complete the true ‘Australian’ experience, we take him to the local micro-brewery and have a meat pie with tomato sauce, accompanied by a tray of the brewery’s sample beers for lunch. Fantastic! I haven’t eaten a meat pie since I was a kid, so it was an experience for me too!

 IMG_5065 (1)IMG_5068

IMG_5006 (1)

You have to look closely at the image of the analcime basanite deposit above to focus on the small figure in the foreground.

We cook and eat what is in season in the garden this autumn equinox. An autumn garden risotto, a fresh garden salad of shaved beetroot, cucumber, raddish, quince. Served with wasabi rocket, lettuce, beetroot tops, chilli and crunchy pan-roasted almonds.

IMG_4977 (1) IMG_5076

We also make an alternate version of okonomiaki, using some very firm, third pick, red cabbage, our own home grown eggs, garlic, chilli and shiso. Everything from the garden. Red cabbage is too slow to cook straight off as a cabbage pancake. So I pre-cook the cabbage to soften it down before I blend in the pancake mix and all the other ingredients. It’s not really a traditional Japanese okonomiaki. It’s an improvised Aussie OKA-nomiaka. Served with mayonnaise and Japanese okonomi sauce. Topped with bonito flakes and some Japanese pickled ginger.

IMG_5072 (1) IMG_5074 (1)

We finish the meal with fresh figs and soft white cheese. We do this desert a lot at this time of year while the figs are coming on. We try it with all manner of different soft cheeses. Boconcini isn’t the best, but you don’t know these things until you try them out. We’ve tried it with blue cheese, fetta and soft white goats cheese which was best.

IMG_5073

Lauge helps me finish off the internal fittings for the 8 little dalek kilns. These are now  almost all delivered, leaving space for me to start welding up my 2nd kiln job of the year. There is just enough room to get both jobs in the factory at the same time, but it takes a little bit of planning and maneuvering to get everything into the tight space.

Now the shed is almost empty, with the big new frame gone off to be galvanised and all the little ones gone to good homes:)

IMG_4999 (1) IMG_4998 (1)

IMG_4997 (1)

Exterminate! Exterminate!

I walk down to the kiln factory and see a posse of Dalek like wood kilns all ready to surround me on their little wheels and steam punk chimneys. After all I am The Doctor!

My first job of the year is almost complete. These kilns are almost ready, just a few minor finishing touches and internal fit-out to do, then a sweep, clean and polish. I hope to have my tardis small sized workshop back to begin the next job.

img_4784  img_4788

I have had one of my customers down to do the first firing of these new dual-fuel models. It went well. We fired to cone 10 down in 2 hours, with a temperature distribution of cone 8 to 10. All very good. We used 2/3 of a 9 kg BBQ bottle of gas. At $20 to $25 per bottle, depending on where you buy it. That’s a $16 firing to stoneware in reduction. I’m very happy with that.

A very nice little project

img_4809-1

The kiln works out to be 130 litres volume with gas and 90 litres in wood fired mode.

More Portable Woodfired Kilns – The Dual Fuel

I have been working on my portable wood fired kiln designs and tweaked it a little bit more. I am up to design variation No.9 now, and working on number 10.  I have designed a way to have these kilns fired by both wood or LP gas, but not at the same time! It’s a simple method of changing the setting so that it can work with either fuel, with just some minor adjustments.

My first kiln building job of this year is to make a number of these little kilns for customers who ordered them at the end of last year. So I’m starting the year running at full speed. For some unknown reason, my year has become booked out right at the start. 11 kilns booked in and deposits paid. My next available slot is in December!. This will be for delivery in Feb 2018! I can’t believe that I could be so booked out, almost a year in advance. It’s crazy.

I heard a lovely little story about a tiny company that makes hand made cars, called ‘Morgan’. They make a small number of individually hand made cars each year. A frustrated customer, when told that he would have to wait a year for delivery,  exclaimed “you don’t sell cars. You ration them!” It seems to be getting a bit that way with hand made kilns.

img_2223

My small factory space is completely full of these little gems. I must say that I’m really happy with the way that they are turning out. We have been using one of these little kilns ourselves all last year and it works a treat, firing to stoneware in reduction in just 3 1/2 hrs. and using just a wheel barrow full of wood to do it.

img_4752 img_4742

I have so much work to get through that I get my very good friend and righthand man, Warren, to come down and give me a hand for a few days. Warren is an amazing person. He can do almost anything, and he does it really well. So many fantastic skills. We laugh a lot and get so much work done. It’s alway great to have Warren helping me.

A good job well done

Last week, I delivered the latest kiln to its new home at the Sturt Pottery in Mittagong. Fortunately, everything went as it should, no drunks coming along to ‘help’. No neighbours off their ‘meds’, no visits from the police. Everything went just as it should.

I loaded the kiln on my truck and delivered it to the site. Dave turned up and met me there with his big crane truck, That crane is just the most amazing piece of technology. Every ten years, when Dave replaces his truck, he gets a new crane and it gets bigger and bigger each time. This one is so powerful that he doesn’t even have to turn the truck around to get the crane closer. It reaches right over the truck and lifts the kiln into position perfectly and without effort – but not without cost!

Dave is fitting me into his busy Xmas schedule, between other loads that he has booked in for the day.  The old kiln was moved out and the new one lifted off my truck and onto the lifter trolley. While we push the kiln into position, Dave packs up his crane and it is all over in 30 mins. Just as it should.

A big think you to Mark, Simon and Dave for all doing their essential parts. The kiln now has a new home for many years to come.

img_4222 img_4225

img_4229 img_4230

img_4233

Built-out Obsolescence

We are living a life committed to self reliance, which means lots of gardening, and therefore weeding and at this time of year watering and more weeding, then mulching and more watering. Did I mention weeding? This is all to secure our supply of fresh fruit and vegetables. We are conscious that because we live in an advanced economy, should our efforts fail, we can always go to the supermarket. No Problem! I am mindful of all the others in the world who are not so lucky as to have a local supermarket, or if they do, they don’t have the money to go there. Our life is very easy here compared to that situation. I recognise and appreciate this social safety net that our advanced western economy provides. We might have a drought here sometimes, but we have the facility to buy in drinking water if we need to. We’ve never had to, but it is there as a safety net, as long as you have the cash. Something that we don’t have to deal with is civil unrest or political turmoil. We are so lucky to be here and I am grateful for that luck of my birth.
In between doing all of this on-site manual gardening/farming/produce work here, I also have to earn a living to find the cash to pay the rent. Even though we own our own home, we need to pay all the various institutions that govern our lives for the privilege of living here. So there are the council rates, the home insurance and business insurance, the car registration and its insurance, land tax and public risk, the electricity and all the other minor bills that all add up to a significant sum over the year. I haven’t worked it out recently, but the last time I did, I shocked myself. It’s about 1/3rd of my income. It’s a good thing that I don’t have to pay real rent as well. I’ve worked hard to avoid that.
So I’m in the kiln shed this last few weeks, finishing off this great big, beautiful, electric kiln. It’s a gorgeous thing. I wouldn’t mind owning it myself, but I wouldn’t be able to afford it!  I want it to be the best that it can be. I have sourced 3 different kinds of refractory bricks to line it. Each one has different properties. I do the same sort of thing with my gas kilns, but I use different bricks, because the demands are different. Buying bricks used to be simple. There were several different suppliers, but now, with international trade the way it is, and a global economy. There is now more or less only one source, and that’s China, and there is really only one supplier left in Sydney to source them from, so for this last kiln, I have been ringing around to buy up all of the last remaining RI bricks that will suit my needs from other places for this job.
img_3967 img_3969
It’s a complex situation, because as all the manufacturing enterprises have left or shut down in Australia, all the support systems that went along with a manufacturing industry have also disappeared. We are now a post-industrial nation.
Now, as a post industrial society, we have an amazing choice of all manner of imported, cheap, plastic crap. If that is what you want, and apparently the majority of Australians do? Because that is what is selling, so that is what shops are stocking. However, it has left us so much poorer in choice for any kind of quality product. The growth industry in Australia, it seems, is land fill.
I want the things that I make to last a lifetime, or at least as long as possible. I want to, if not defeat entropy, then at least delay it as long as possible. I want to make and sell the sort of products that I would want to buy myself. I want the things that I make to last as long as possible without any maintenance. To this end, I make almost everything here myself. I make all my own heating elements. I only use the very best quality wire to make my elements. I use Kanthal A1 wire from Sweden. A few months ago, I ordered the Kanthal wire for this kiln from the local distributor, only to discover that there is none of this highest grade wire in the country. Apparently no one else uses this A1 grade in Australia any more.  I’m the only customer, so they don’t stock it as a regular item. Probably because it’s the most expensive wire, it’s rated up to 1,400oC and this makes it the longest lasting, most reliable, heavy duty wire. I’m prepared to wait the time and pay the extra money to get it, because I know, from my 30 years of experience of using it, that it will last. So I do.
img_4012 img_4015
It will cost me just under $2,000 wholesale to buy the bare wire. Then I have to spend a few days winding it on the lathe to make it into coiled elements, followed by some oxy-torch work to anneal it and soften it so that I can bend it and re-configure it into dual hair-pin elements. It’s a lot of work, it requires a lot of expensive equipment and dexterous hand skills. No wonder quality, hand made, custom built product is expensive. I’m amazed that there is still a market for my kilns. I thought that I would retire when I reached 65, but apparently not, as I’m booked out well into next year with kiln orders.
img_4016 img_4020
img_4031 img_4048
If I’m going to work on a kiln like this for 6 to 8 weeks, from start to finish. I want it to be the best that I can make it. I don’t ever want to have to do any service calls or repairs if it can be avoided. I really hate the concept of built-in obsolescence. So I spend quite a bit of time thinking and planning how to make the things that I create, to be the best and most reliable that they can be. I look very carefully at my older kilns when I get to re-visit them on occasions when I go the the Art Schools and potteries where they are. I take notice of parts that get extra wear and tear and try and strengthen, or design out, or around issues that might need repair work in the future.
So I pay the extra money and wait the extra time. I put in the extra hours. I want my kilns to be a marriage of good workmanship and quality material.
If I want to build out obsolescence, I have to be diligent and really apply myself.
Best wishes
Steve

Death in Furnace

All Good Things Come to an End.

I’ve been busy in the kiln factory during the week in-between our open studio weekends and then every day since. I have a big electric kiln ordered and although I have done a lot of prep on it, I was away in Korea for a while and then doing several weekend woodfiring workshops as soon as I got back, so now I have to start welding all the accumulated parts together.

I take a bit of pride in making all the parts here on site. I make all my own small fittings including door locks, handles and hinges, all made out of basic metal stock sections. Some of these parts need to be turned down on the lathe and machined to a pressed fit. This is an electric kiln, so it is all made out of aluminium, marine aluminium. This is because marine aluminium offers the best resistance to corrosion. Just the sort of chemical attack that electric kilns get from the fumes released during firing. I’ve been developing these designs for forty years, slowly improving them as I learn more from my experiences.
img_3856  img_3859
img_3800
Aluminium is best welded using a technique called TIG. TIG welding is a type of welding that is ideally suited to welding aluminium. In fact, you can weld almost any metal with a TIG welder. ‘TIG’ stands for Tungsten Inert Gas. It uses a very high temperature tungsten electrode to pass the current into the metal. This electrode is not consumed in the process, as it is in all other types of welding. This is different. The electrode is very thin and pointed, so that the electrical current can be focussed onto a very small specific area of the job at hand. This part of the job gets very hot and starts to melt. A thin filler rod is then pushed into the weld pool of molten metal with the other hand, a droplet of molten metal melts off the end of the filler rod and merges into the surface, filling the crevice between the two pieces of metal that are to be joined. This is repeated over and over to build up a small mound in that exact spot. The electrode is them moved a very small distance, a few millimetres, and the sequence is repeated. The finished weld looks like a series of droplets, all overlapping and lined up all in a row. It’s a very beautiful, but slow and precise way to weld. Aluminium is notoriously hard to weld with any other method.
TIG maybe slow, but the welds a really nice. I wouldn’t win any prizes for my welding. I don’t do enough of it to get really good at it. After-all, I am a potter. But I make sure to weld both sides of the joint to make sure that I have 100% perfect penetration. So far, I’ve never had a crack in any of my welds in the past 30 years.
The thing that I find amazing about metal work is that all the left-over off-cuts can be re-welded back together to make new long lengths of material and these are stronger than the original section. It really appeals to my sense of purpose in living a frugal life, as well a supporting my philosophy of re-cycling and throwing nothing away until it really is worn out or useless.
If you cut a piece of wood by mistake, that is too short, then you have two short pieces of wood that don’t fit any where. You have to wait for an opportunity to use them somewhere else as two short pieces. However with metal, you just weld them back together – and they are longer and stronger!
I also find the act of joining very symbolic and reassuring. In an age of dislocation and separation, revolt and conflict, civil war and displacement. This act of imagining things in a different way, choosing the path of joining and strengthening, reusing and conserving, creating things out of what other people might consider waste. These are immensely important and powerful acts. To see this potential, then to act on it. It builds instead of destroying, it re-purposes instead of just endlessly consuming.  It creates instead of wasting. This is the world that I want to live in, so I’m building my own world, in my own way. One weld at a time. One pot at a time. One garden bed at a time. One thought at a time.
img_3802
Aluminium is a little bit tricky to weld. It’s slow work, as aluminium moves a lot with heat. You have to pre-heat it and be carefull to stop it warping out of shape. I put a bit of effort into it, to get good penetration, yet not too hot, so as to prevent warping. Working with aluminium involves a lot of setting-up, clamping and tacking, then some time-out, to allow the frame to cool down again before laying down more welds.
The cooling time allows me a short time in the garden for some quick weeding or watering. On the way back to the kiln shed, I feed any snails that I have collected to the chooks. They are omnivores and eat snails as well as green grass. The first thing that they do in the morning when I open the hen house door, is to rush out and start to eat green leaves of grass. But when one of them finds a snail hidden, in down next to a stone, or fence post. It’s off and running with the bounty. They all fight over it until one of them wins the prize it’s a highlight of their day.
img_3869  img_3888
Meanwhile, back in the kiln shed, I discover to my horror that during the process of welding this kiln, my beautiful old welding power source is starting to loose its brains. Bit by bit, some of its capacities start to disappear.  It looses its ‘down-slope’ and ‘crater-fill’  functions first. I’m not mentally prepared to loose this old friend so suddenly. We’ve been working together for the past 20 years and I’m very fond of it. I know its character and how it likes to do things the best. To get the best result.
It was the absolute in cutting edge technology in its day, all solid state, power-tranistor based, AC/DC, inverter, pulse, TIG. I know that this last sentence will sound like a foreign language to most people – and it is. It’s techno-speak for welders. Just think of it as a description where every added word and each comma, costs an extra thousand dollars! This machine cost me as much as my car did back then. Effing expensive. But the car is long gone. I still have the welding plant.
As it slowly looses its functions, hour by hour, I’m left in the afternoon with something that isn’t what it used to be. It only just functions at a very basic level. Solid state alzheimers. I’m reminded of 2001, A Space Odesy, when Dave slowly unscrews HAL’s circuit boards, until it can only sing ‘Daisy, Daisy’.
My welder is reduced to this incontinent, dribbling, unrecognisable state of simplicity by the afternoon. So this is how old welders end up! I can only think of this being me in a few more years. I nurse it along as best I can. There is nothing in the instruction book of welders, or life, to help me out here. Just patience and gentle care, and I do care! I do what I can, but there isn’t really anything to be done. I take it easy on the poor old thing, resting it between welds, but the end comes.
Finally the light goes out.
img_3831  img_3834
I am very sad to see it go. No more Join of Arc! Twenty years on, the new models do not create any better welds than this machine. They just come with a few extra bells and solid-state whistles. Thankfully these new ones are now only a fraction of the cost.
The new machines aren’t the same. They’re small, fast and noisy.
We’ll have to spend a bit of time together to work things out and get used to each other.
Best wishes
Steve

Winsome, Loose Some

We have unpacked the latest firing and it was largely good, some of it is quite good. A bit of it is very good, but as always there is the odd disaster.  I sport a winsome smile.

One single disaster was completely my fault. I made up a batch of glaze that has always been straight forward. Porcelain stone and limestone. I got distracted when someone called in and It seems that I forgot to add the limestone, so I have a bowl with what is essentially a coating of porcelain body. Not attractive.
The walls of my kiln are slowly dissolving with the build-up of wood ash. But not bad for 60 firings for home-made lightweight insulating refractories made from local bauxite!
Another casualty this firing was a piece of wall that spalled off and landed on the lip of one of my cups. I may be able to recover it with some judicious grinding and polishing. However, I ask myself if it really is worth half an hours work to make a 2nd grade mug worth $10 out of this ruin? It is quite pretty though. I may decide to spend a bit of time working on it and keep it for myself in the studio. This ‘mishap’ is not my fault, except in that I chose to build my kiln out of my own inferior, local, hand-made, fire bricks
img_3730  img_3728
I usually test all new batches of glaze that we mix up, before using them on-mass. I did just this last week to test all the new batches of domestic ware glazes that we were about to use to glaze all the pots for the next firing, destined for the Southern Highlands Open Studios weekend sales. I fired the little portable wood fired kiln with test pieces and small bowls. They all worked perfectly and melted well. The colours that i get in a 2 1/2 hour firing in reduction to stoneware, cone 10, are not as clear and intense as what we get in the bigger kiln firing for 16 hours and with a much slower cooling. However the difference is only really marginal and the faster firing is just fine for domestic ware.
I photographed both sets of tests and there isn’t a whole lot of difference. There is better reduction, especially for carbon sequestration glazes, in the longer sustained reduction firing, and the granite and pegmatite celadons are richer. Funnily, the ching-bai porcelain glaze, on the right, looks pretty indistinguishable!
The tragic, sand-paper-like porcelain-stone glaze, sans limestone, was made up after this test firing, as an afterthought, so missed out on being test fired.
img_3741 img_3558
We have just re-packed the kiln to fire again. This firing will have what I hope will be a new opalescent jun ash glaze. Here’s hoping! Ash is always so variable. We have to test each batch of ash and find the differences from the last batch, then alter the recipe accordingly. What is sometimes a blue opalescent glaze can quickly become a yellow crystalline glaze or a white matt. It changes from ‘nuka’ white through to transparent green glass with minor variations  of ingredients. It always requires felspar and silica to be added. Luckily, porcelain stone is largely composed of felspar and silica. I love it so much when it works!
There is something so rewarding about using the ash from the fire that cooked our dinner to make our glazes! There is something so truly organic and particularly rounded about the concept of waste-not/want-not, and self-reliance about this. Glazes like this are firmly embedded in my sense of place and my sense of self-in-place.
I couldn’t want for more – except perhaps a more reliable and richer opalescent blue?
img_3779 img_3775 img_3768
I pass the glaze through a fine sieve and although we have already dry sieved the ash beforehand, there is always a lot of material that refuses to pass through the fine screen. I scrape it off the mesh and put it in the large mortar and pestle. I give it a good few minutes hand grinding, until it doesn’t sound or feel gritty anymore. I know from past experience that it still will not all go through, but a lot of it will. I was lucky to see this 450 mm dia mortar and pestle in a junk shop and snapped it up. It’s a beauty! It dwarfs my Leach kick wheel.
img_3732  img_3733
The kiln is bricked-up and ready to fire now. The weather is a bit warm and dry, so we decide to post-pone the firing until Thursday when a shower or two and some damp weather is forecast. This will be a much safer day to fire.
Ashes to ashes and lust to lust
Steve and Janine