
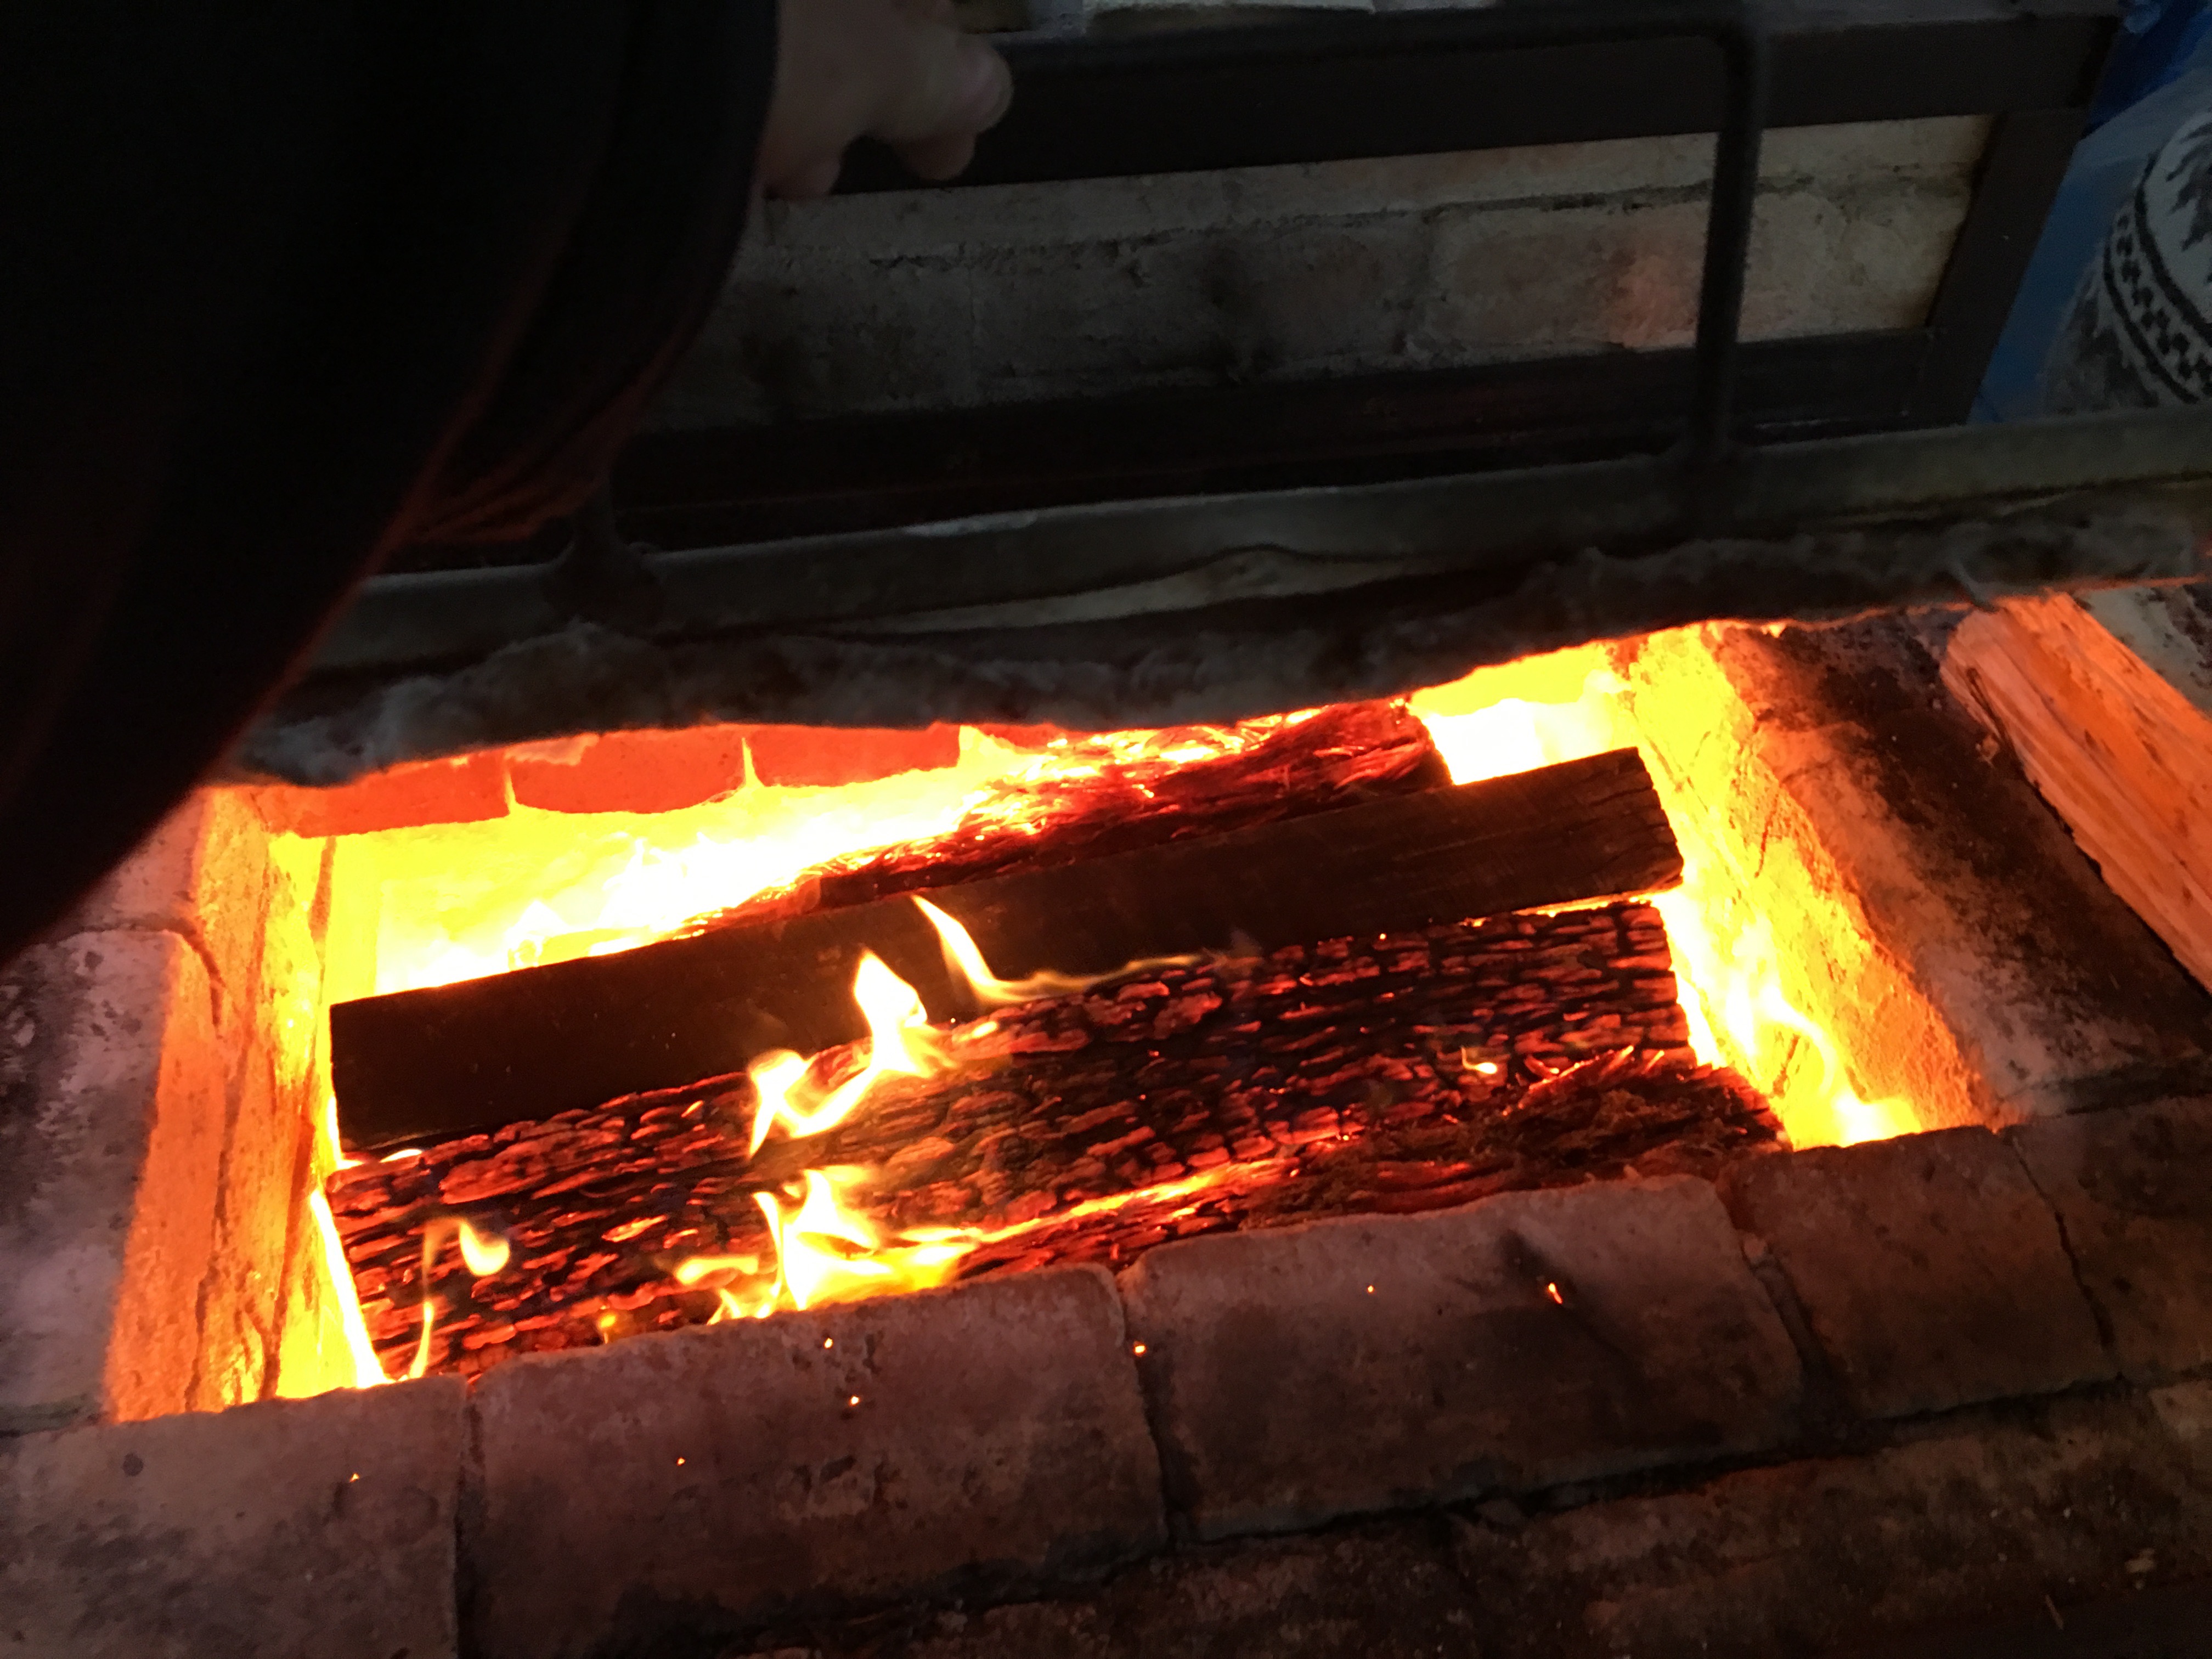
I realise that I’m awake and I’m not going to get back to sleep. It’s 4.00 am and we are all ready to fire the kiln today. I usually wake up at about this time on firing days. It’s a habit that I have got into. I like to start early. I love the quiet of the early morning. It’s beautiful. There is a very special time. Just a half hour, when the birds start to wake up and so does the sun in response to their chippering and calling. They have very fine senses. They are awake and calling when it is still dark. I can’t tell the difference with my old worn out eyes. but they know and call out to tell each other. They summon the sun.
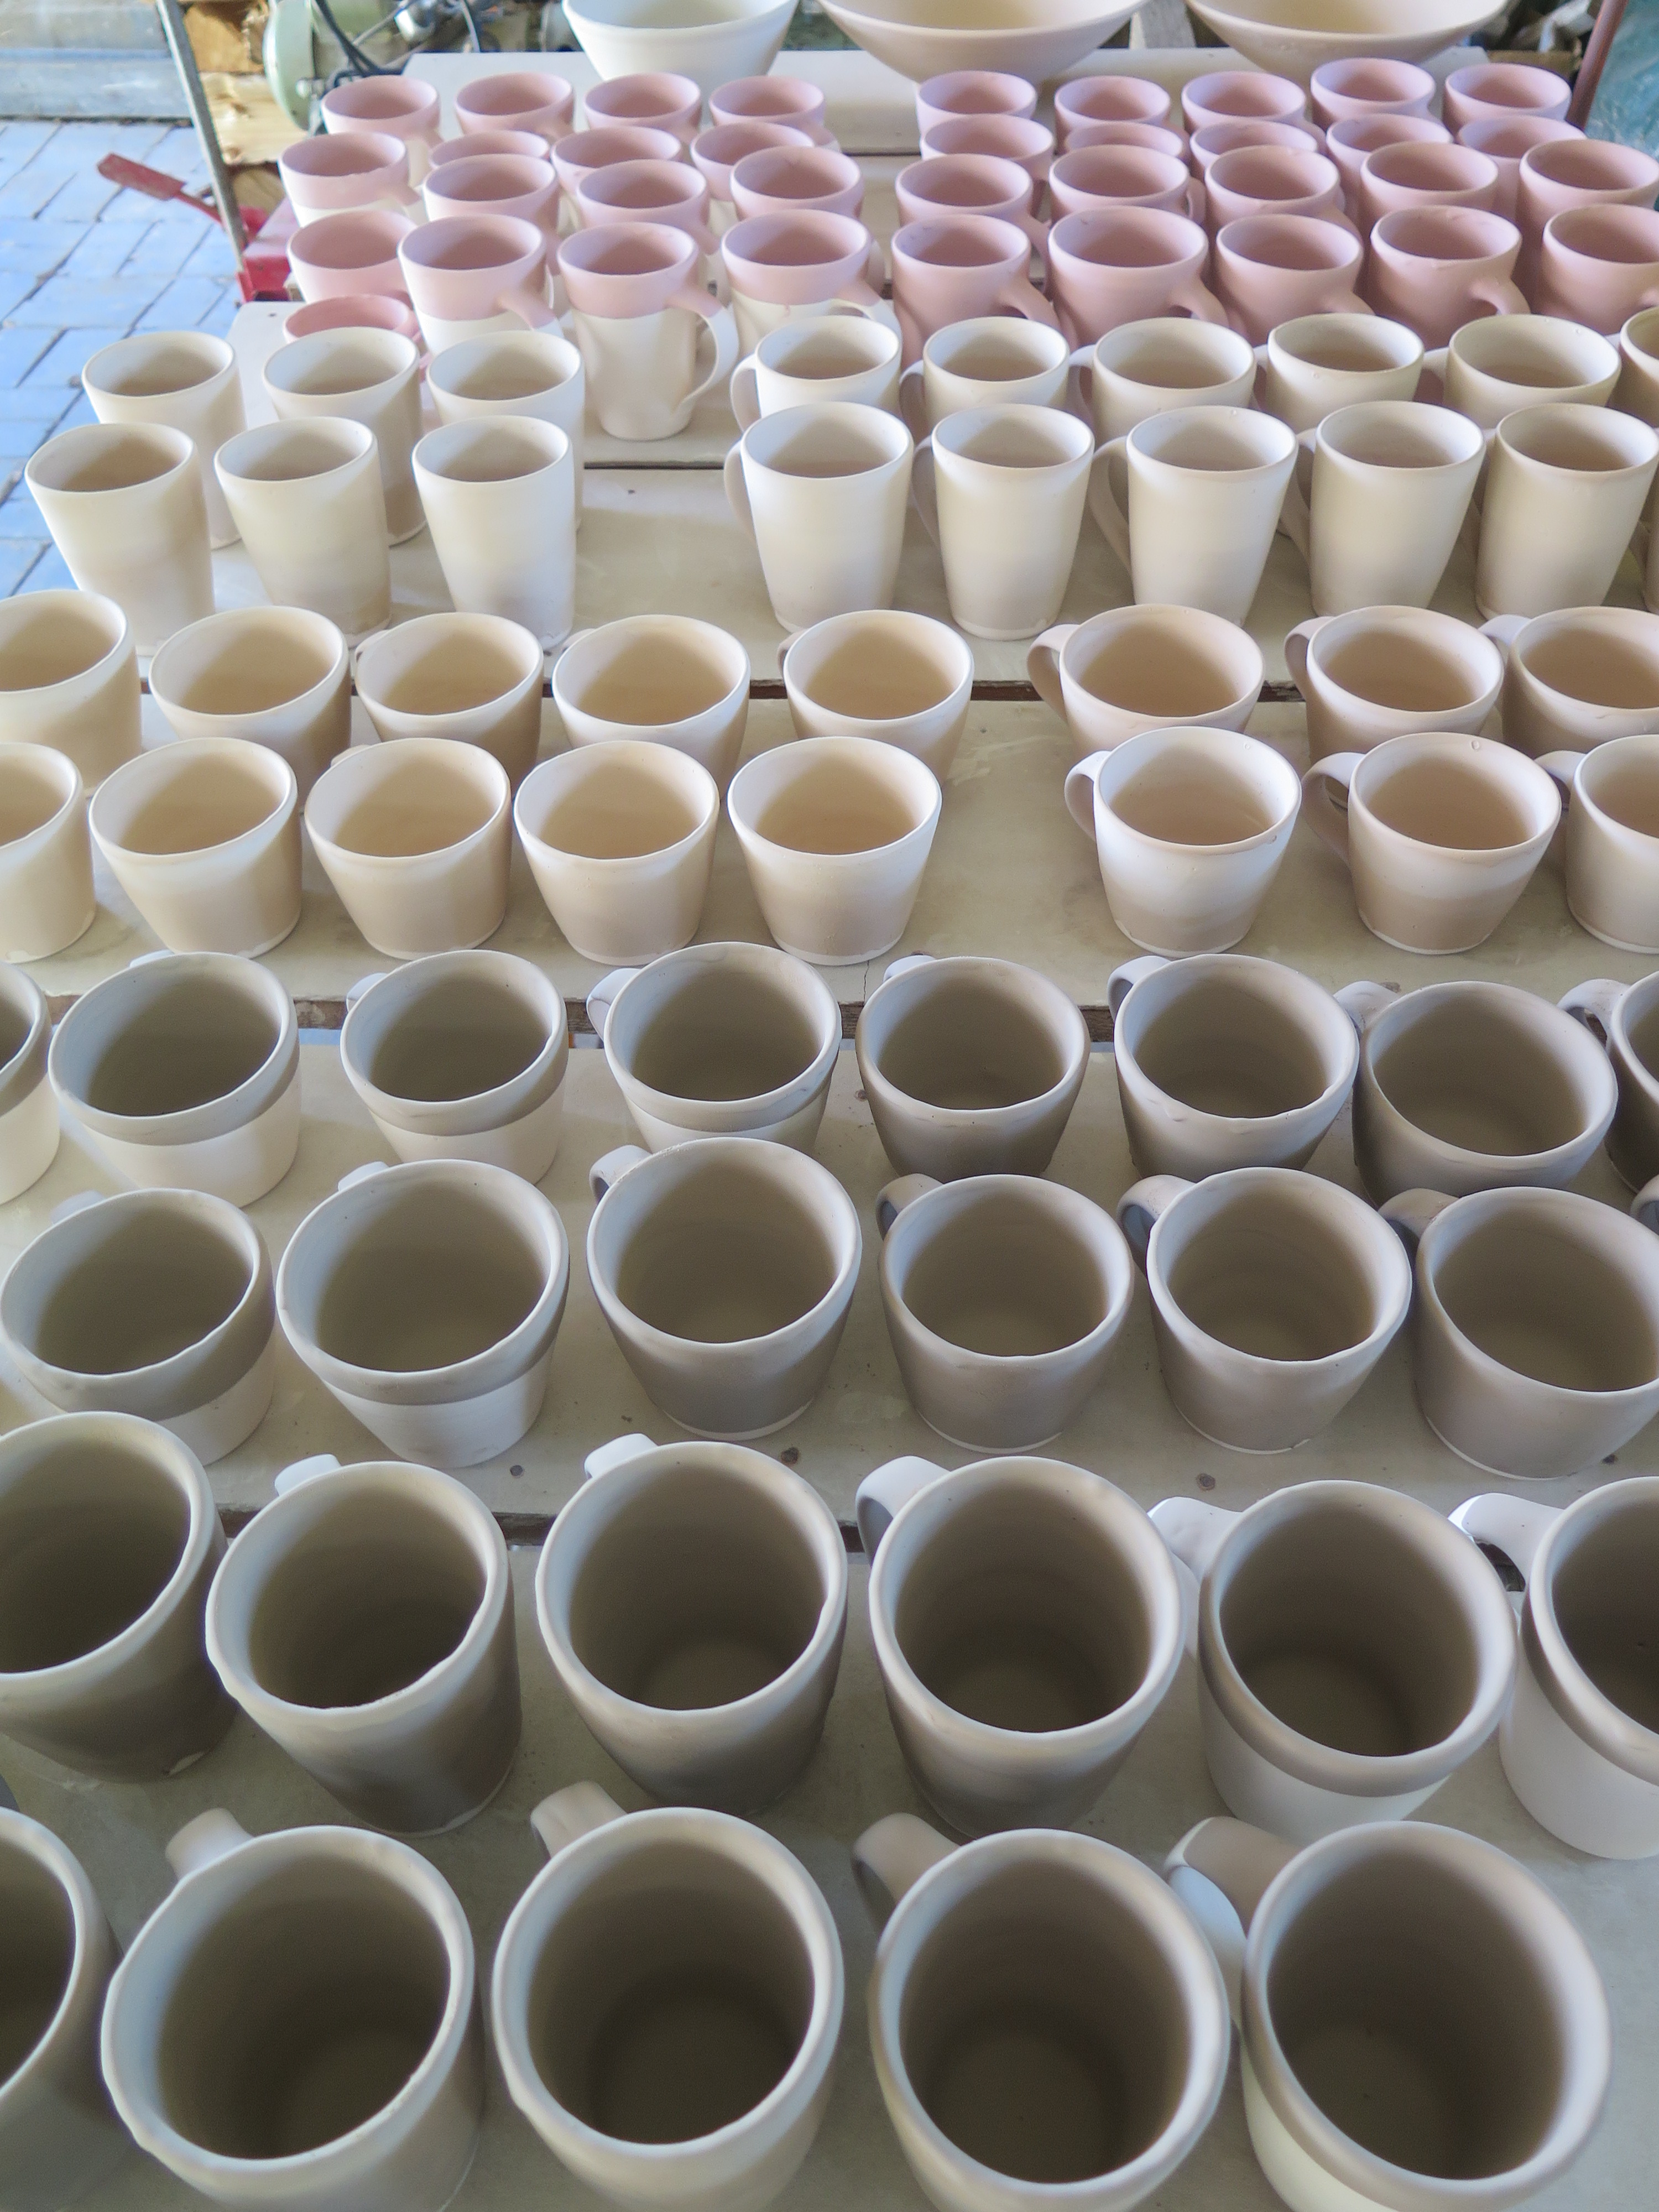


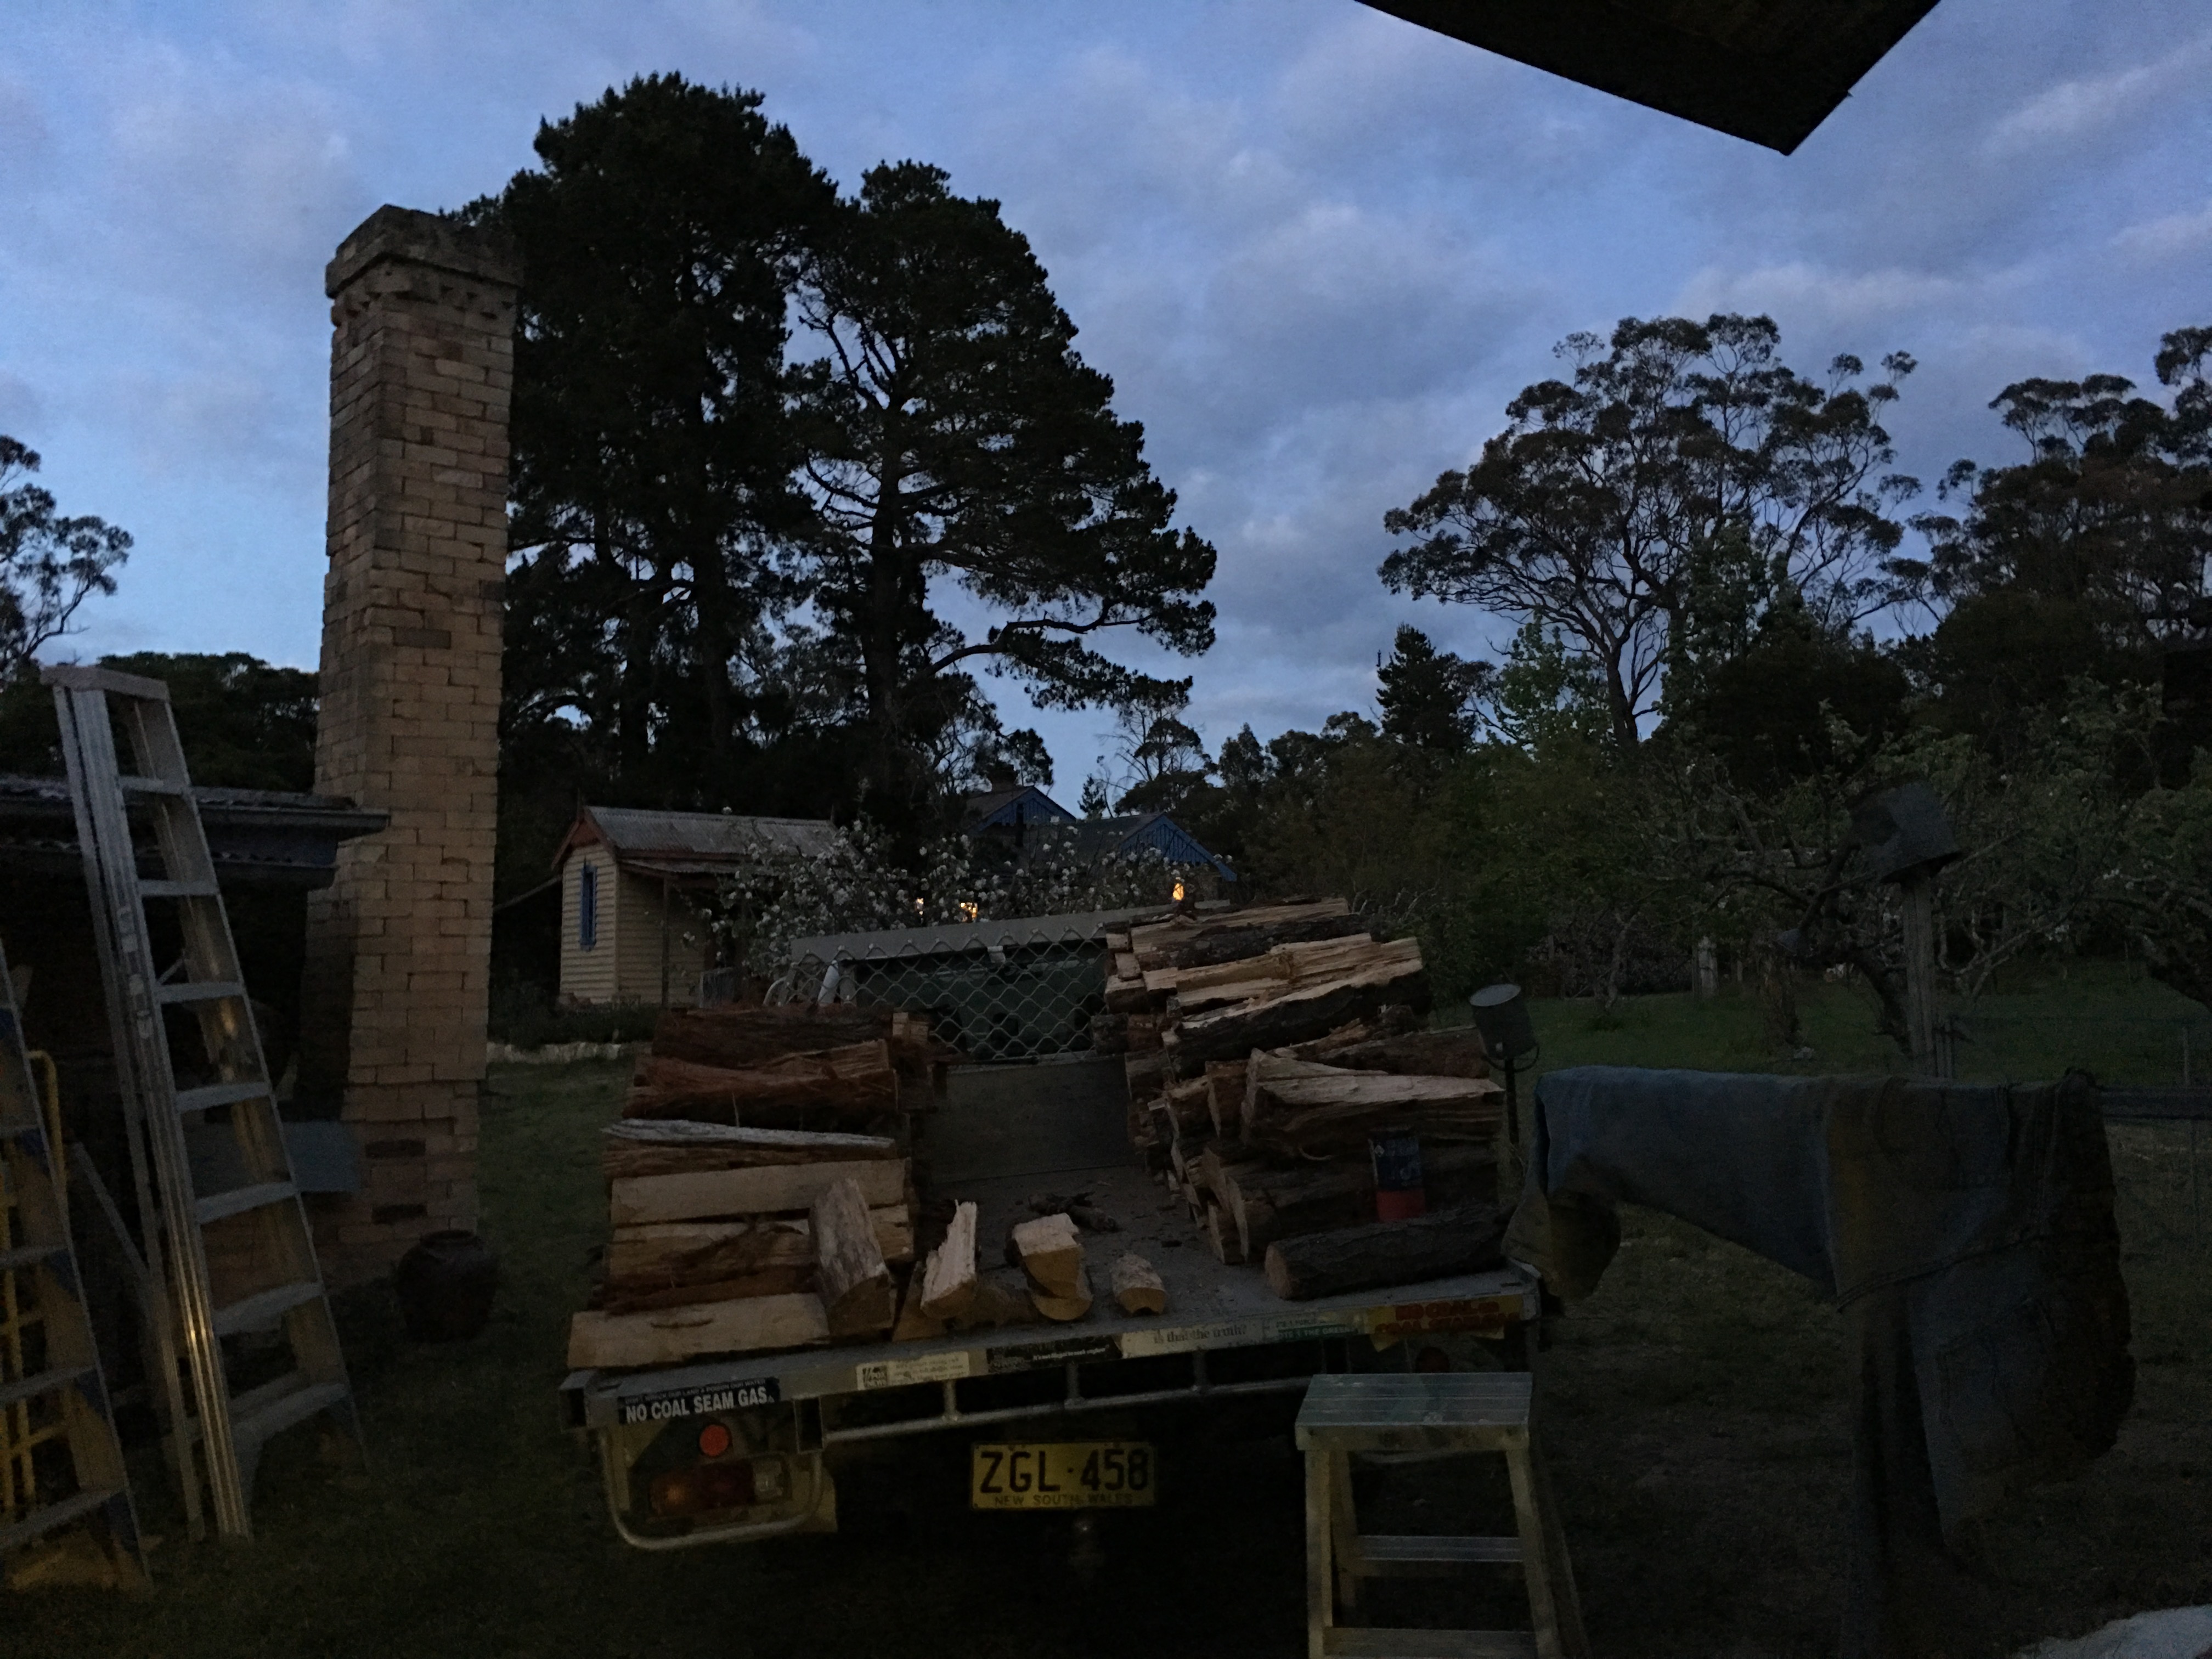
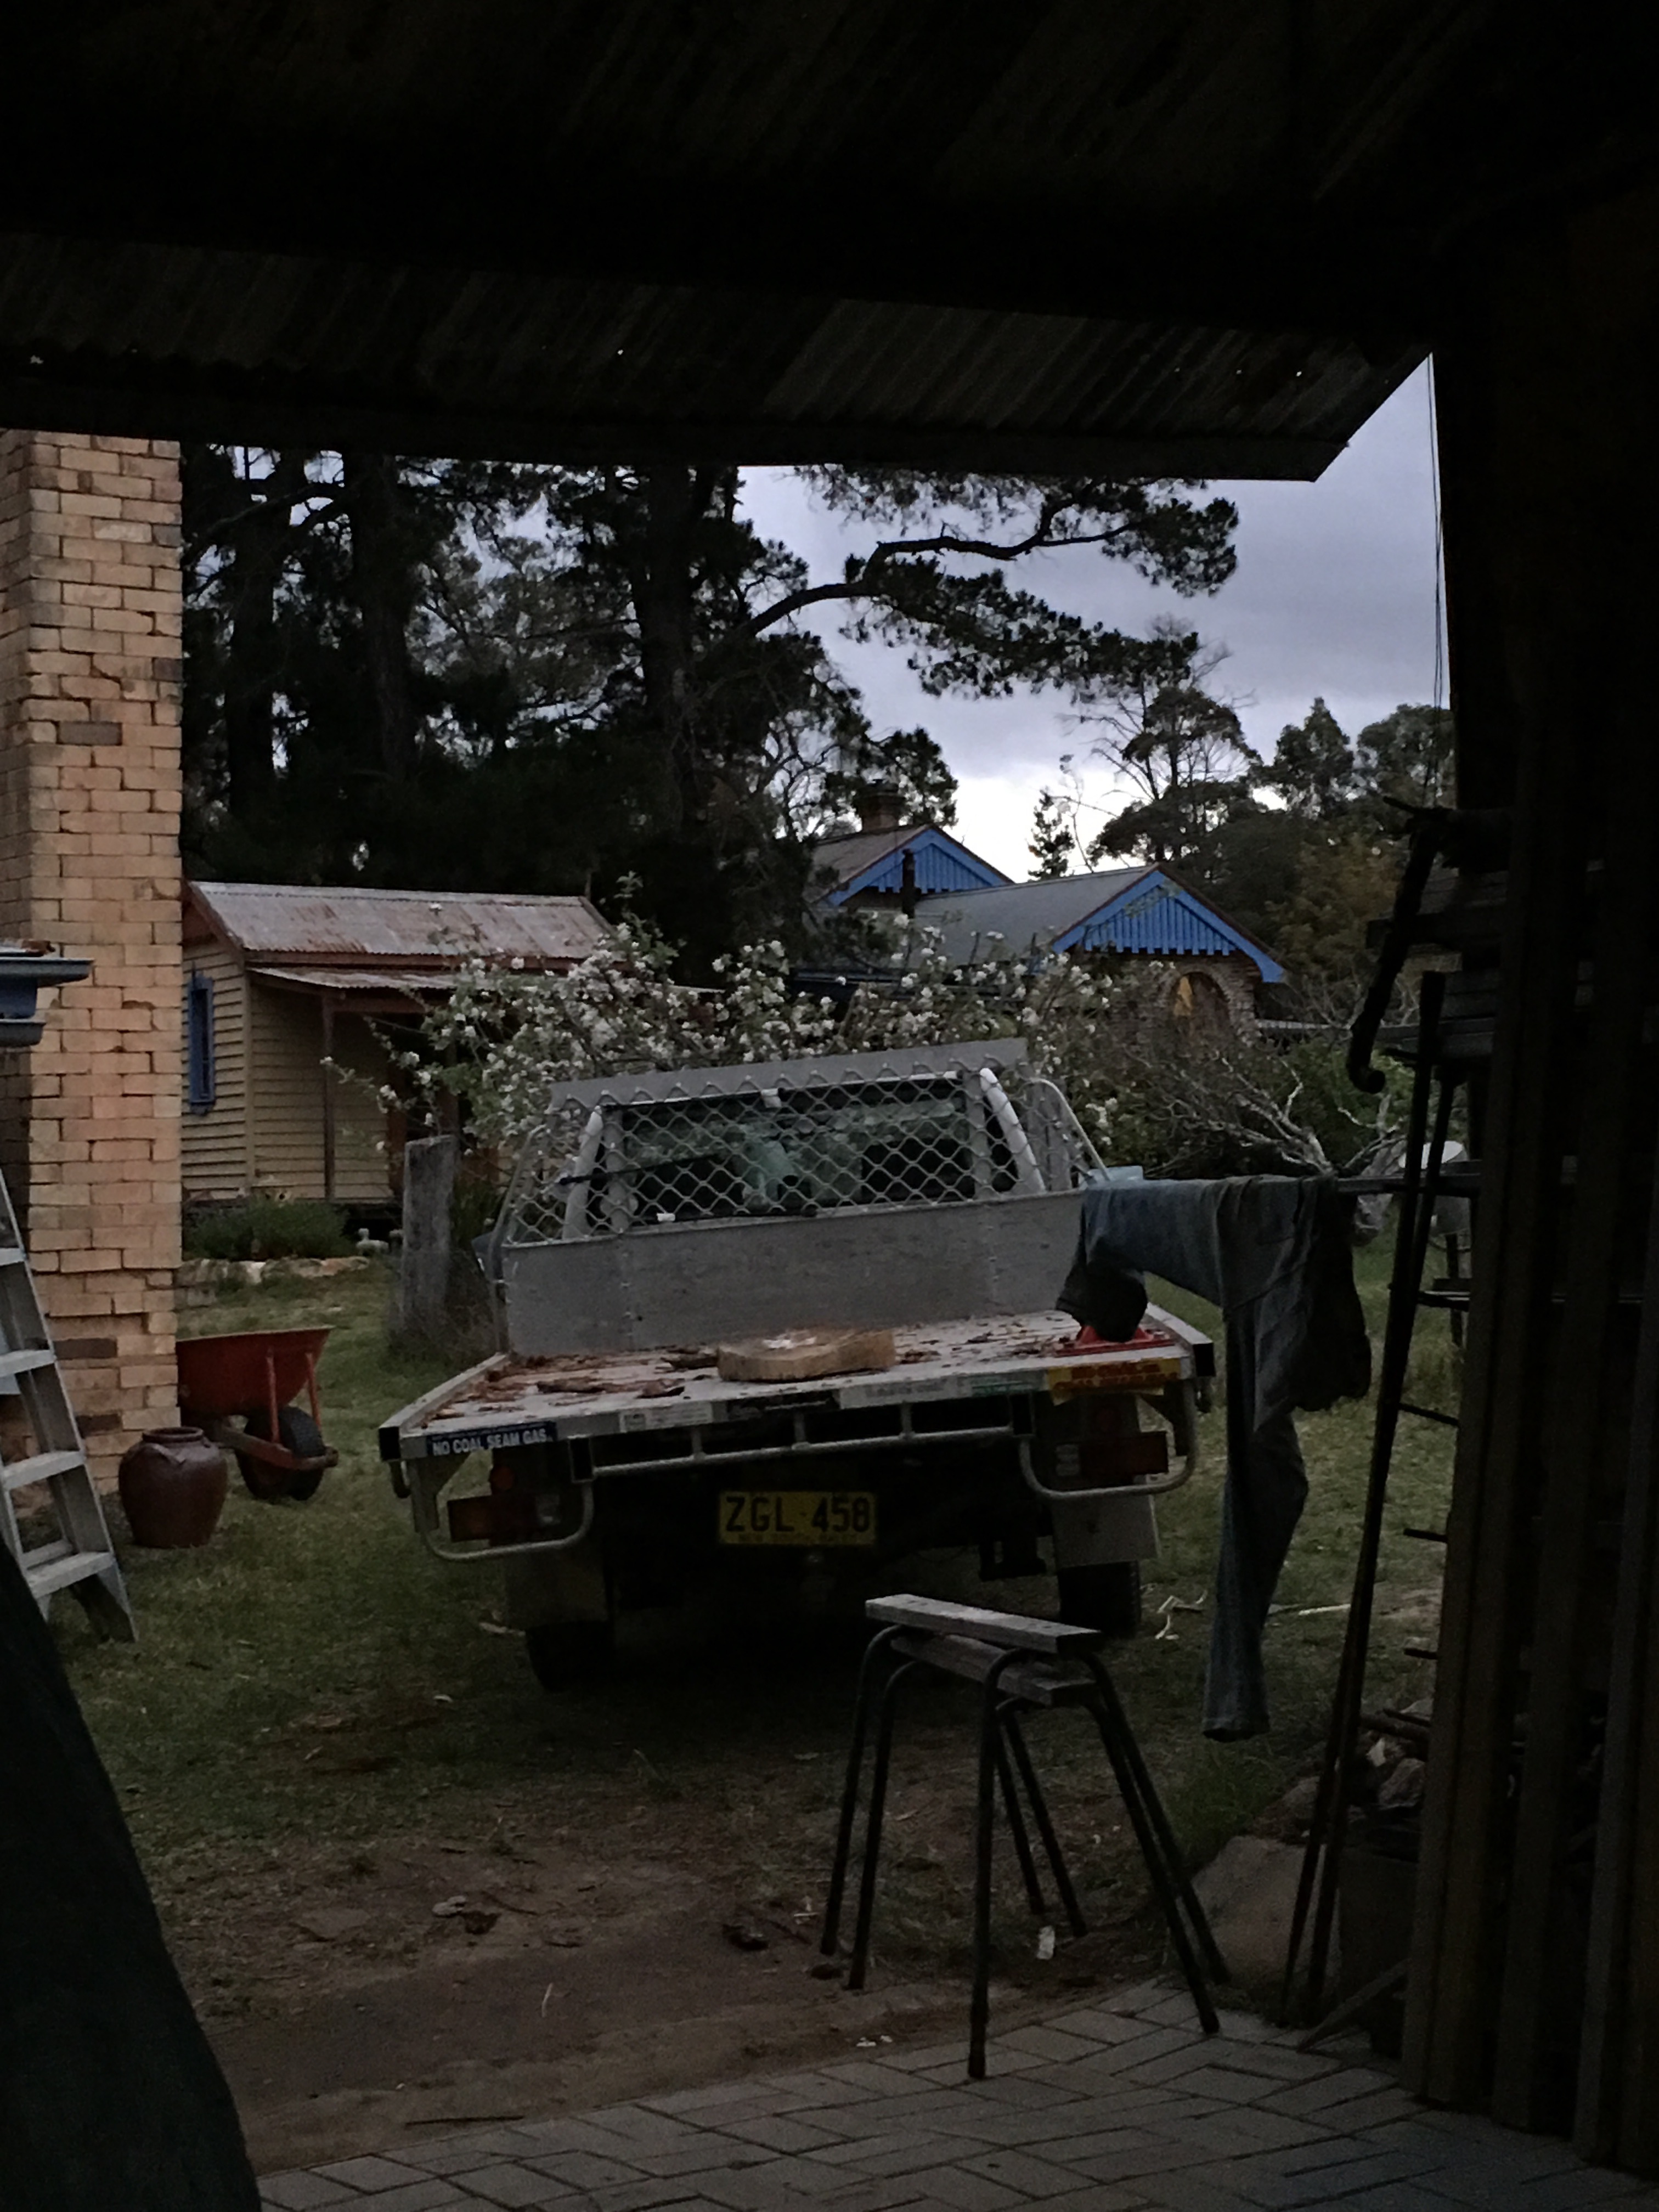
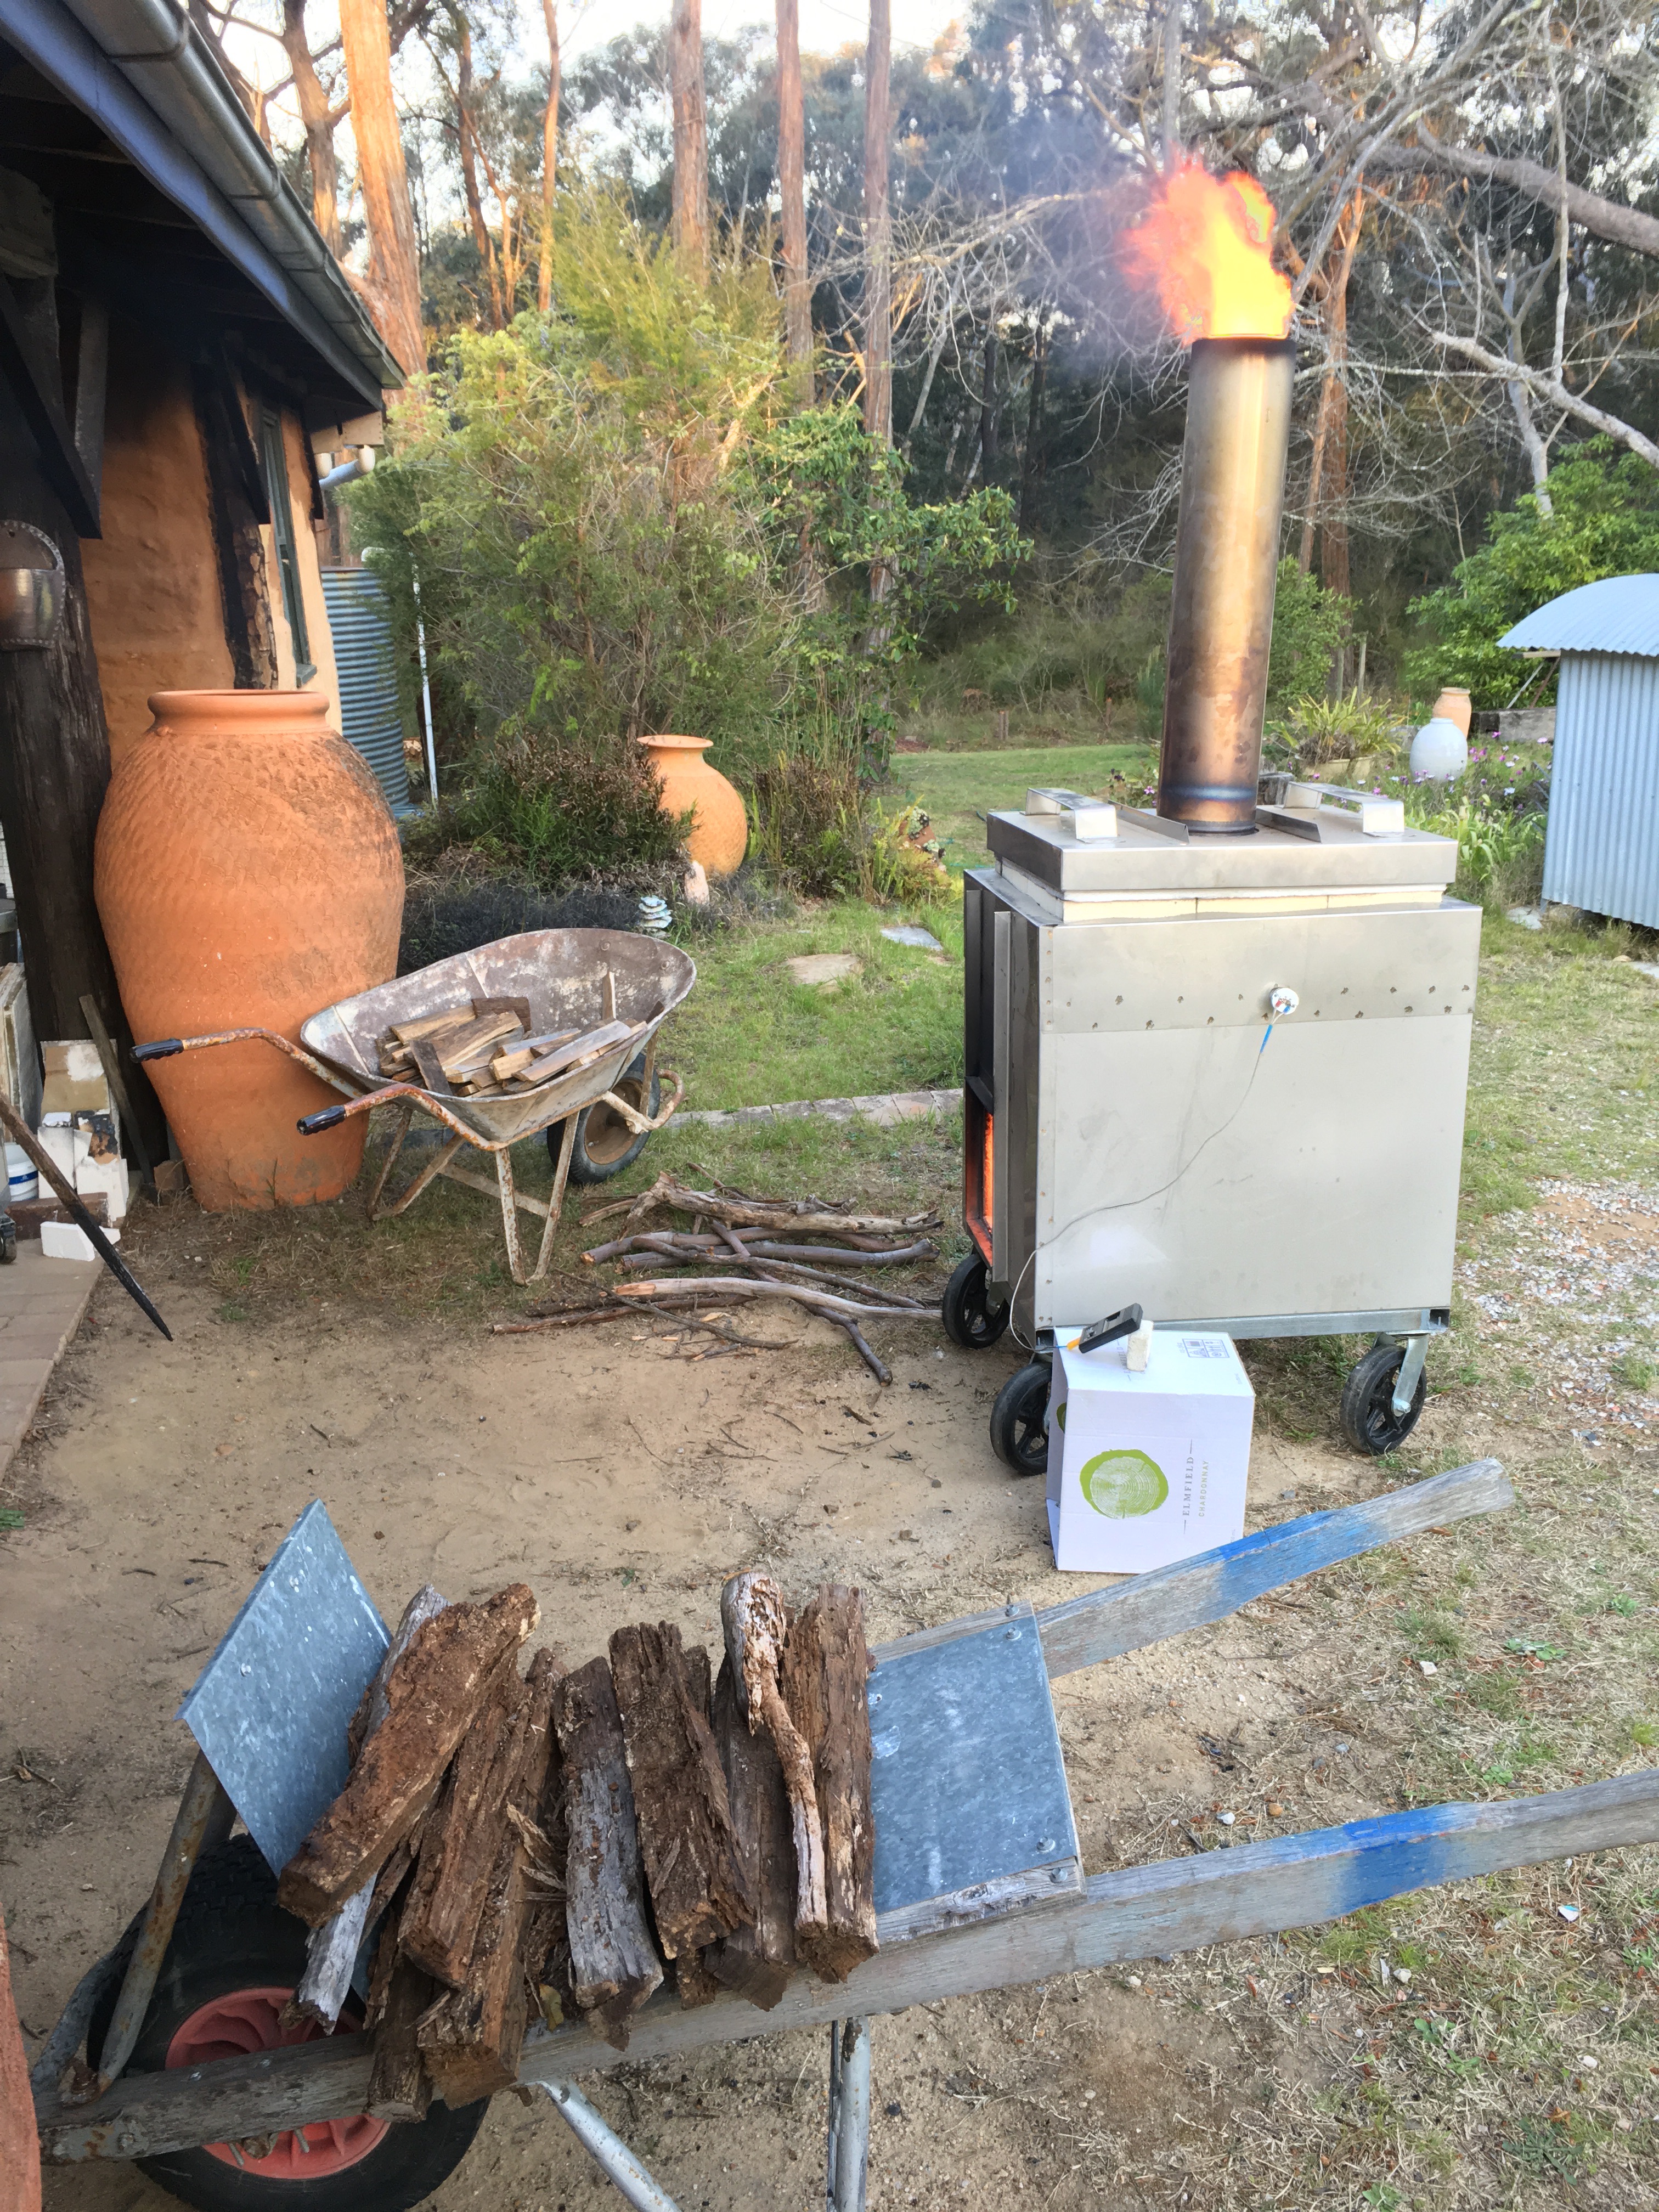
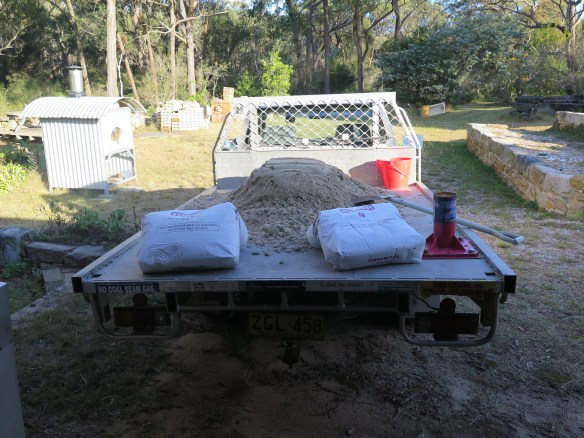
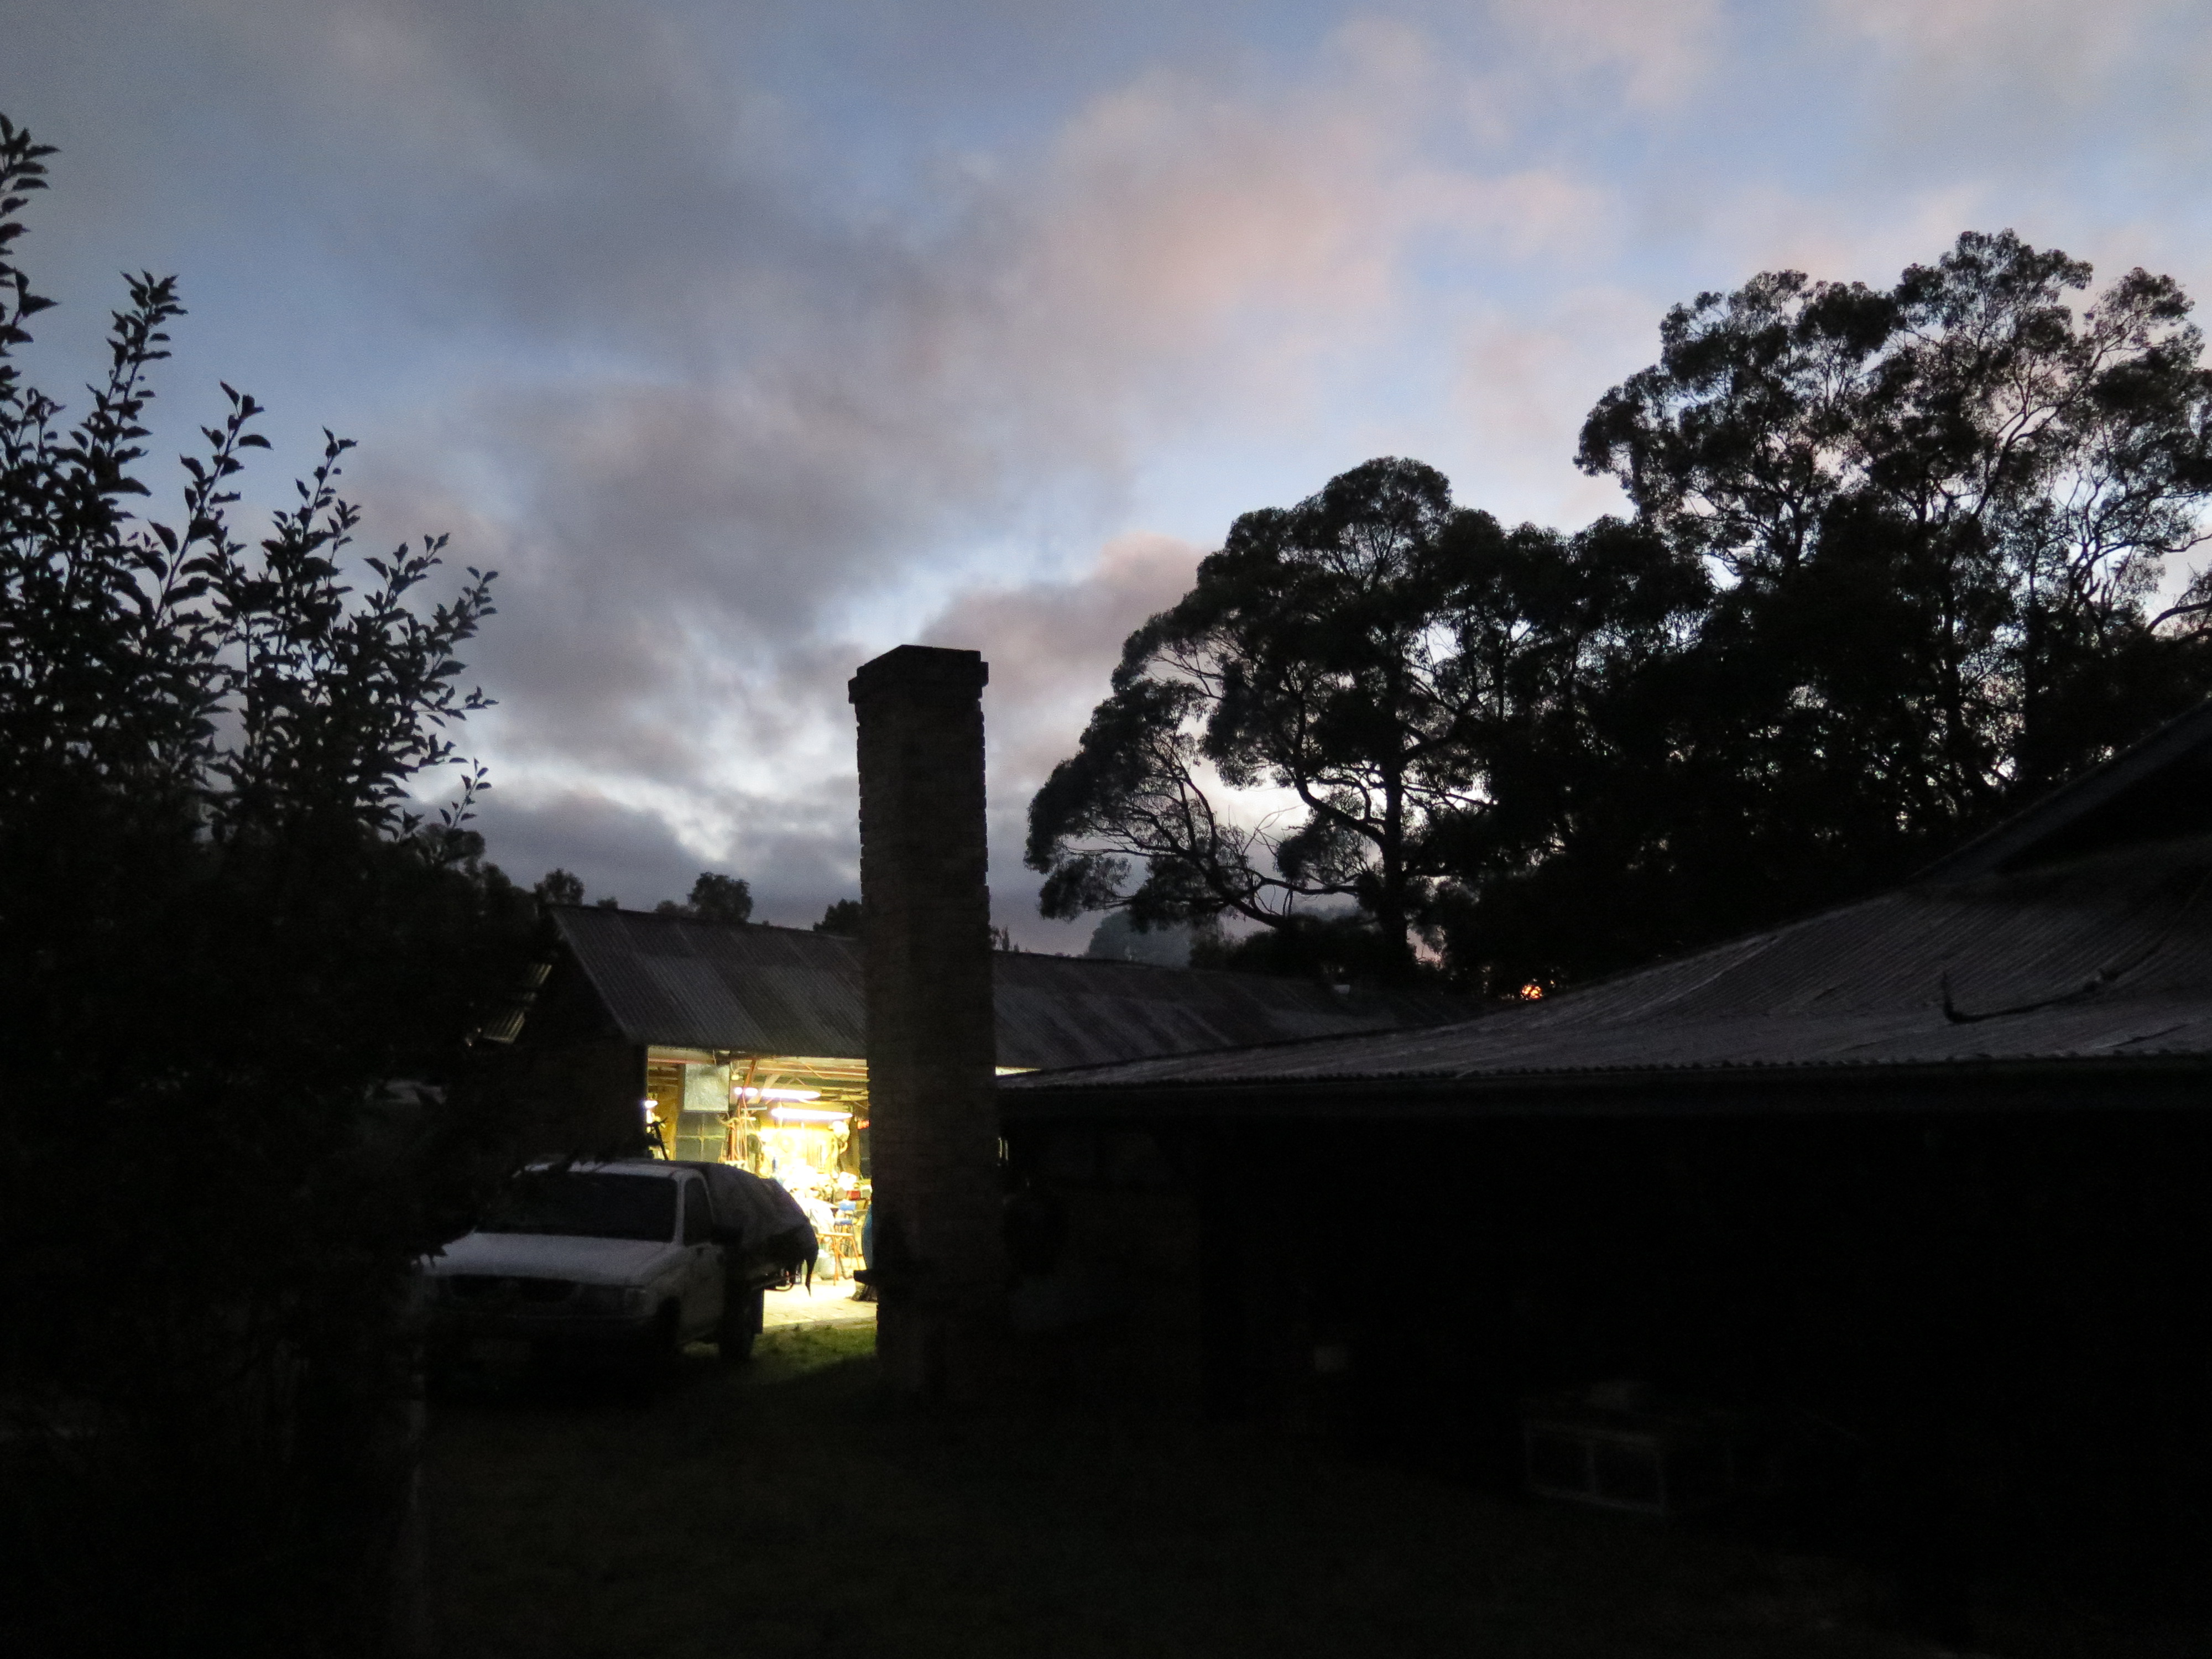
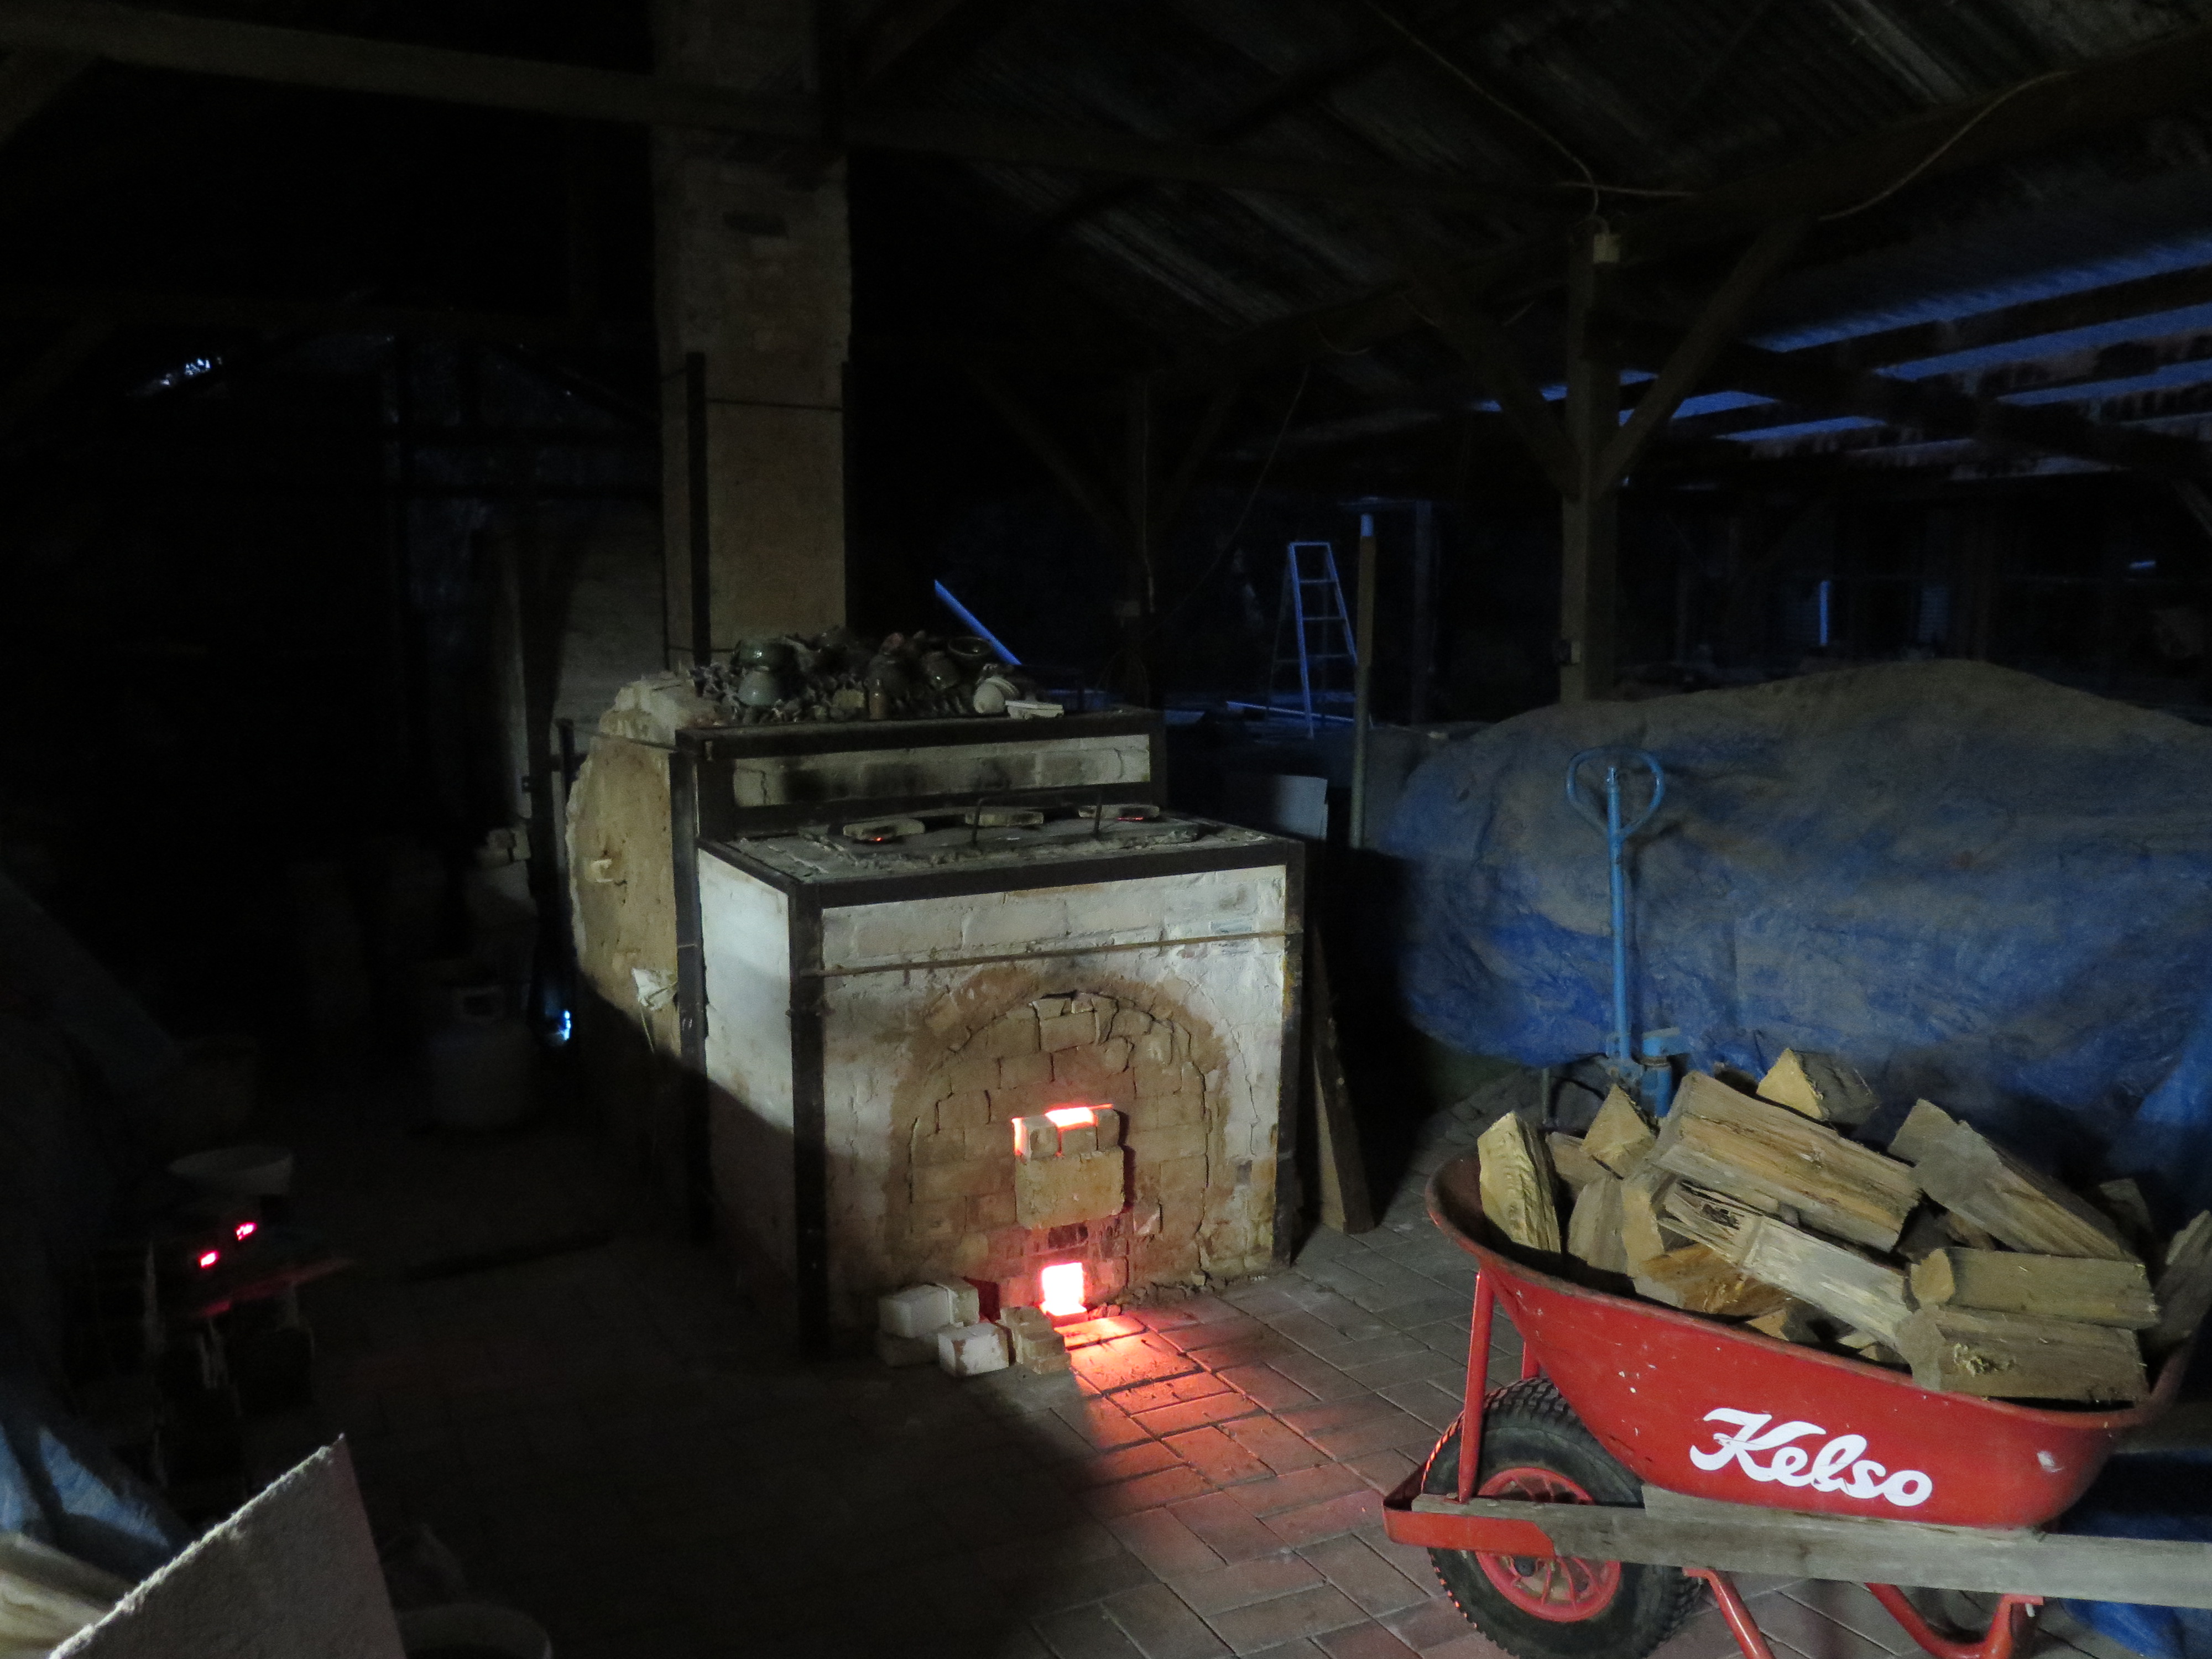
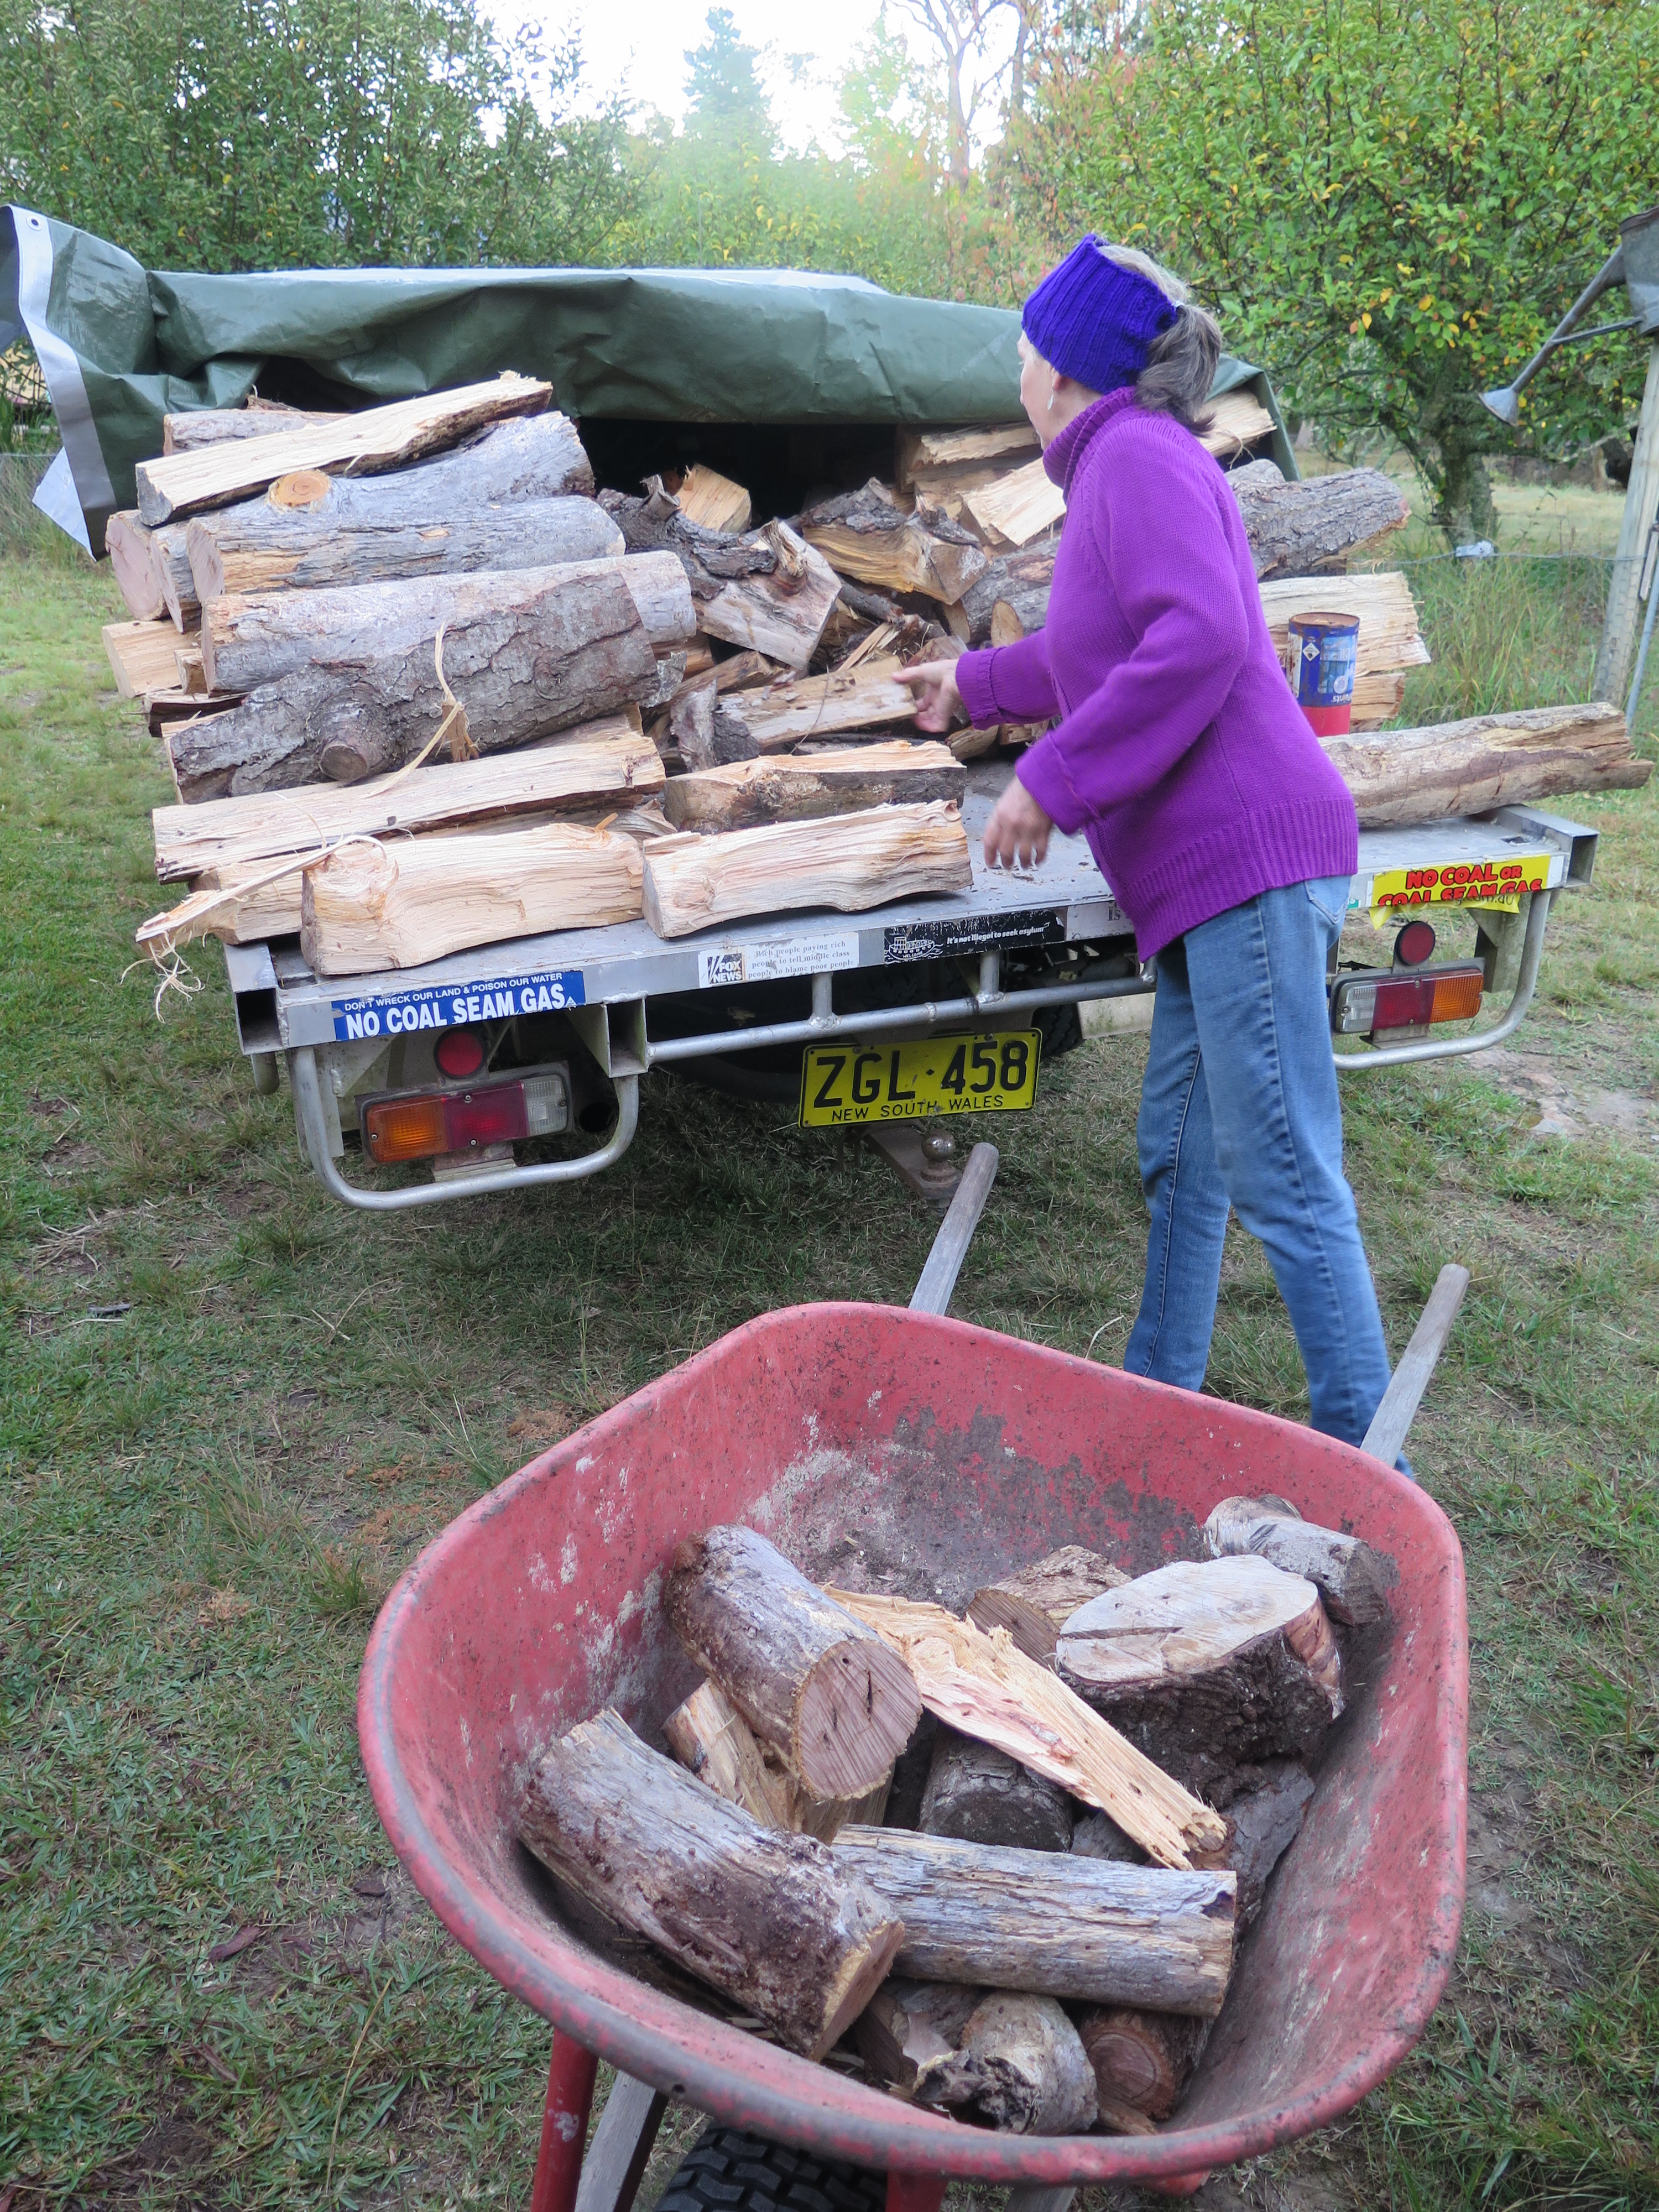
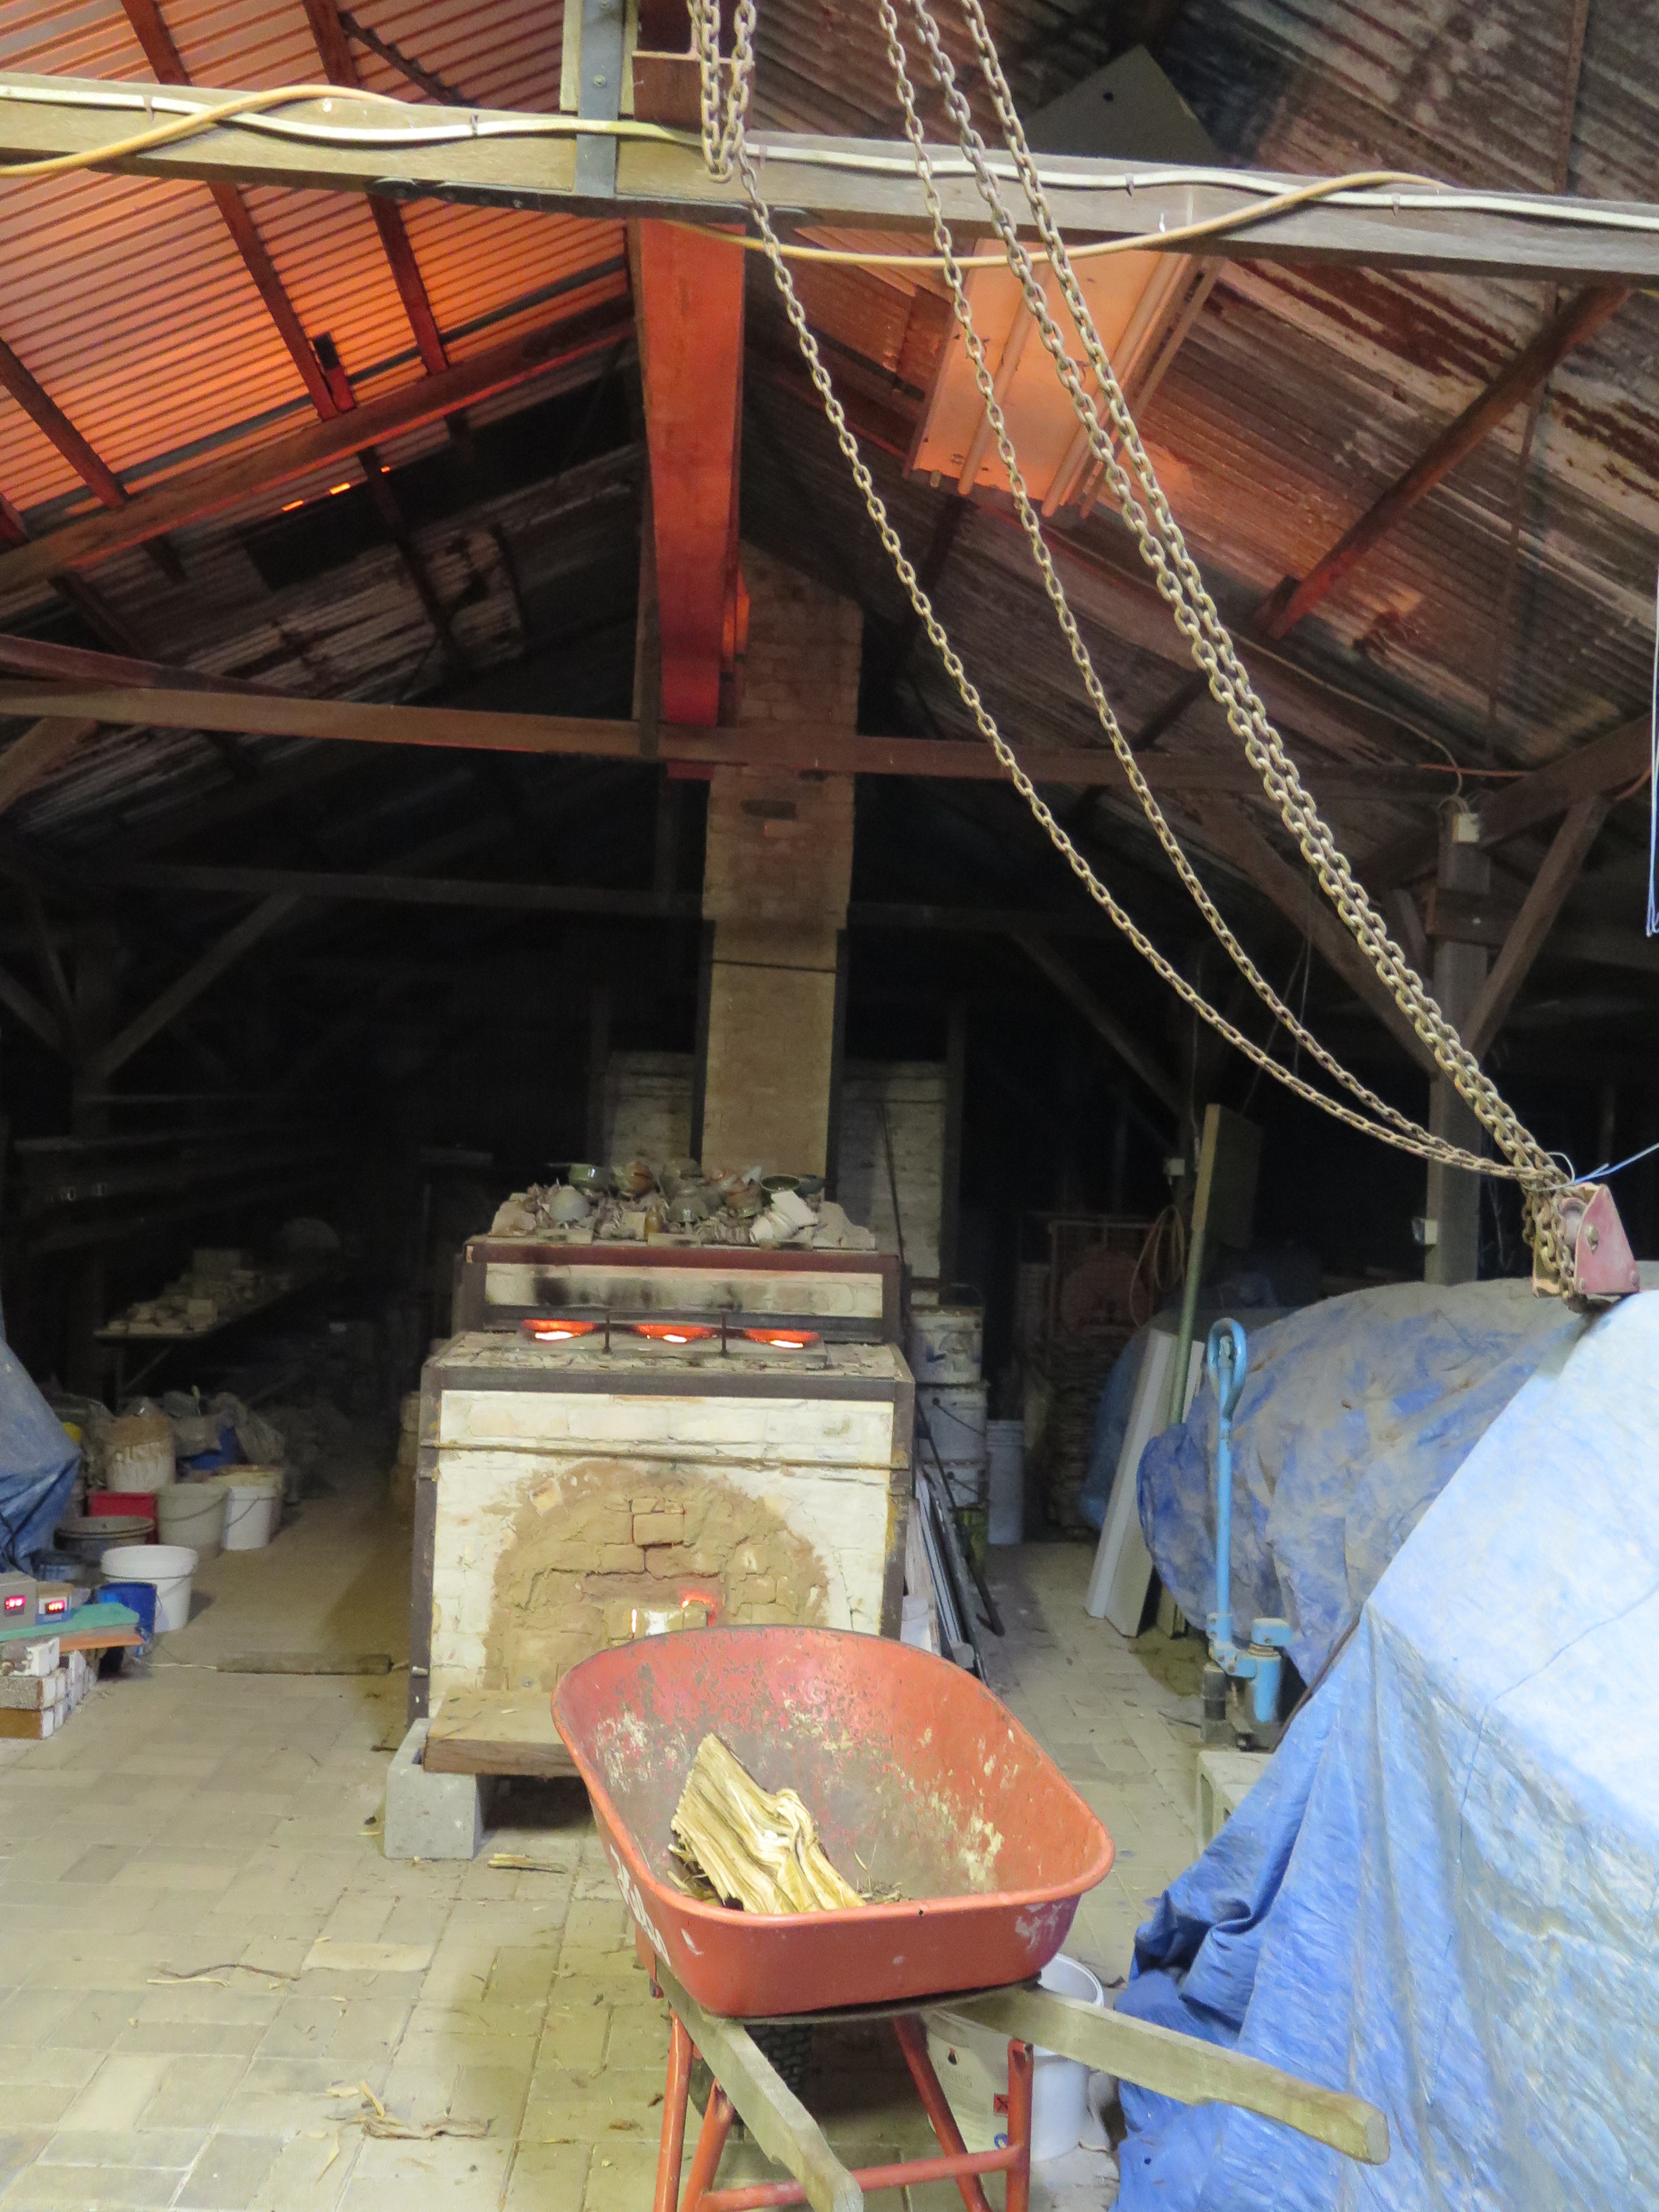
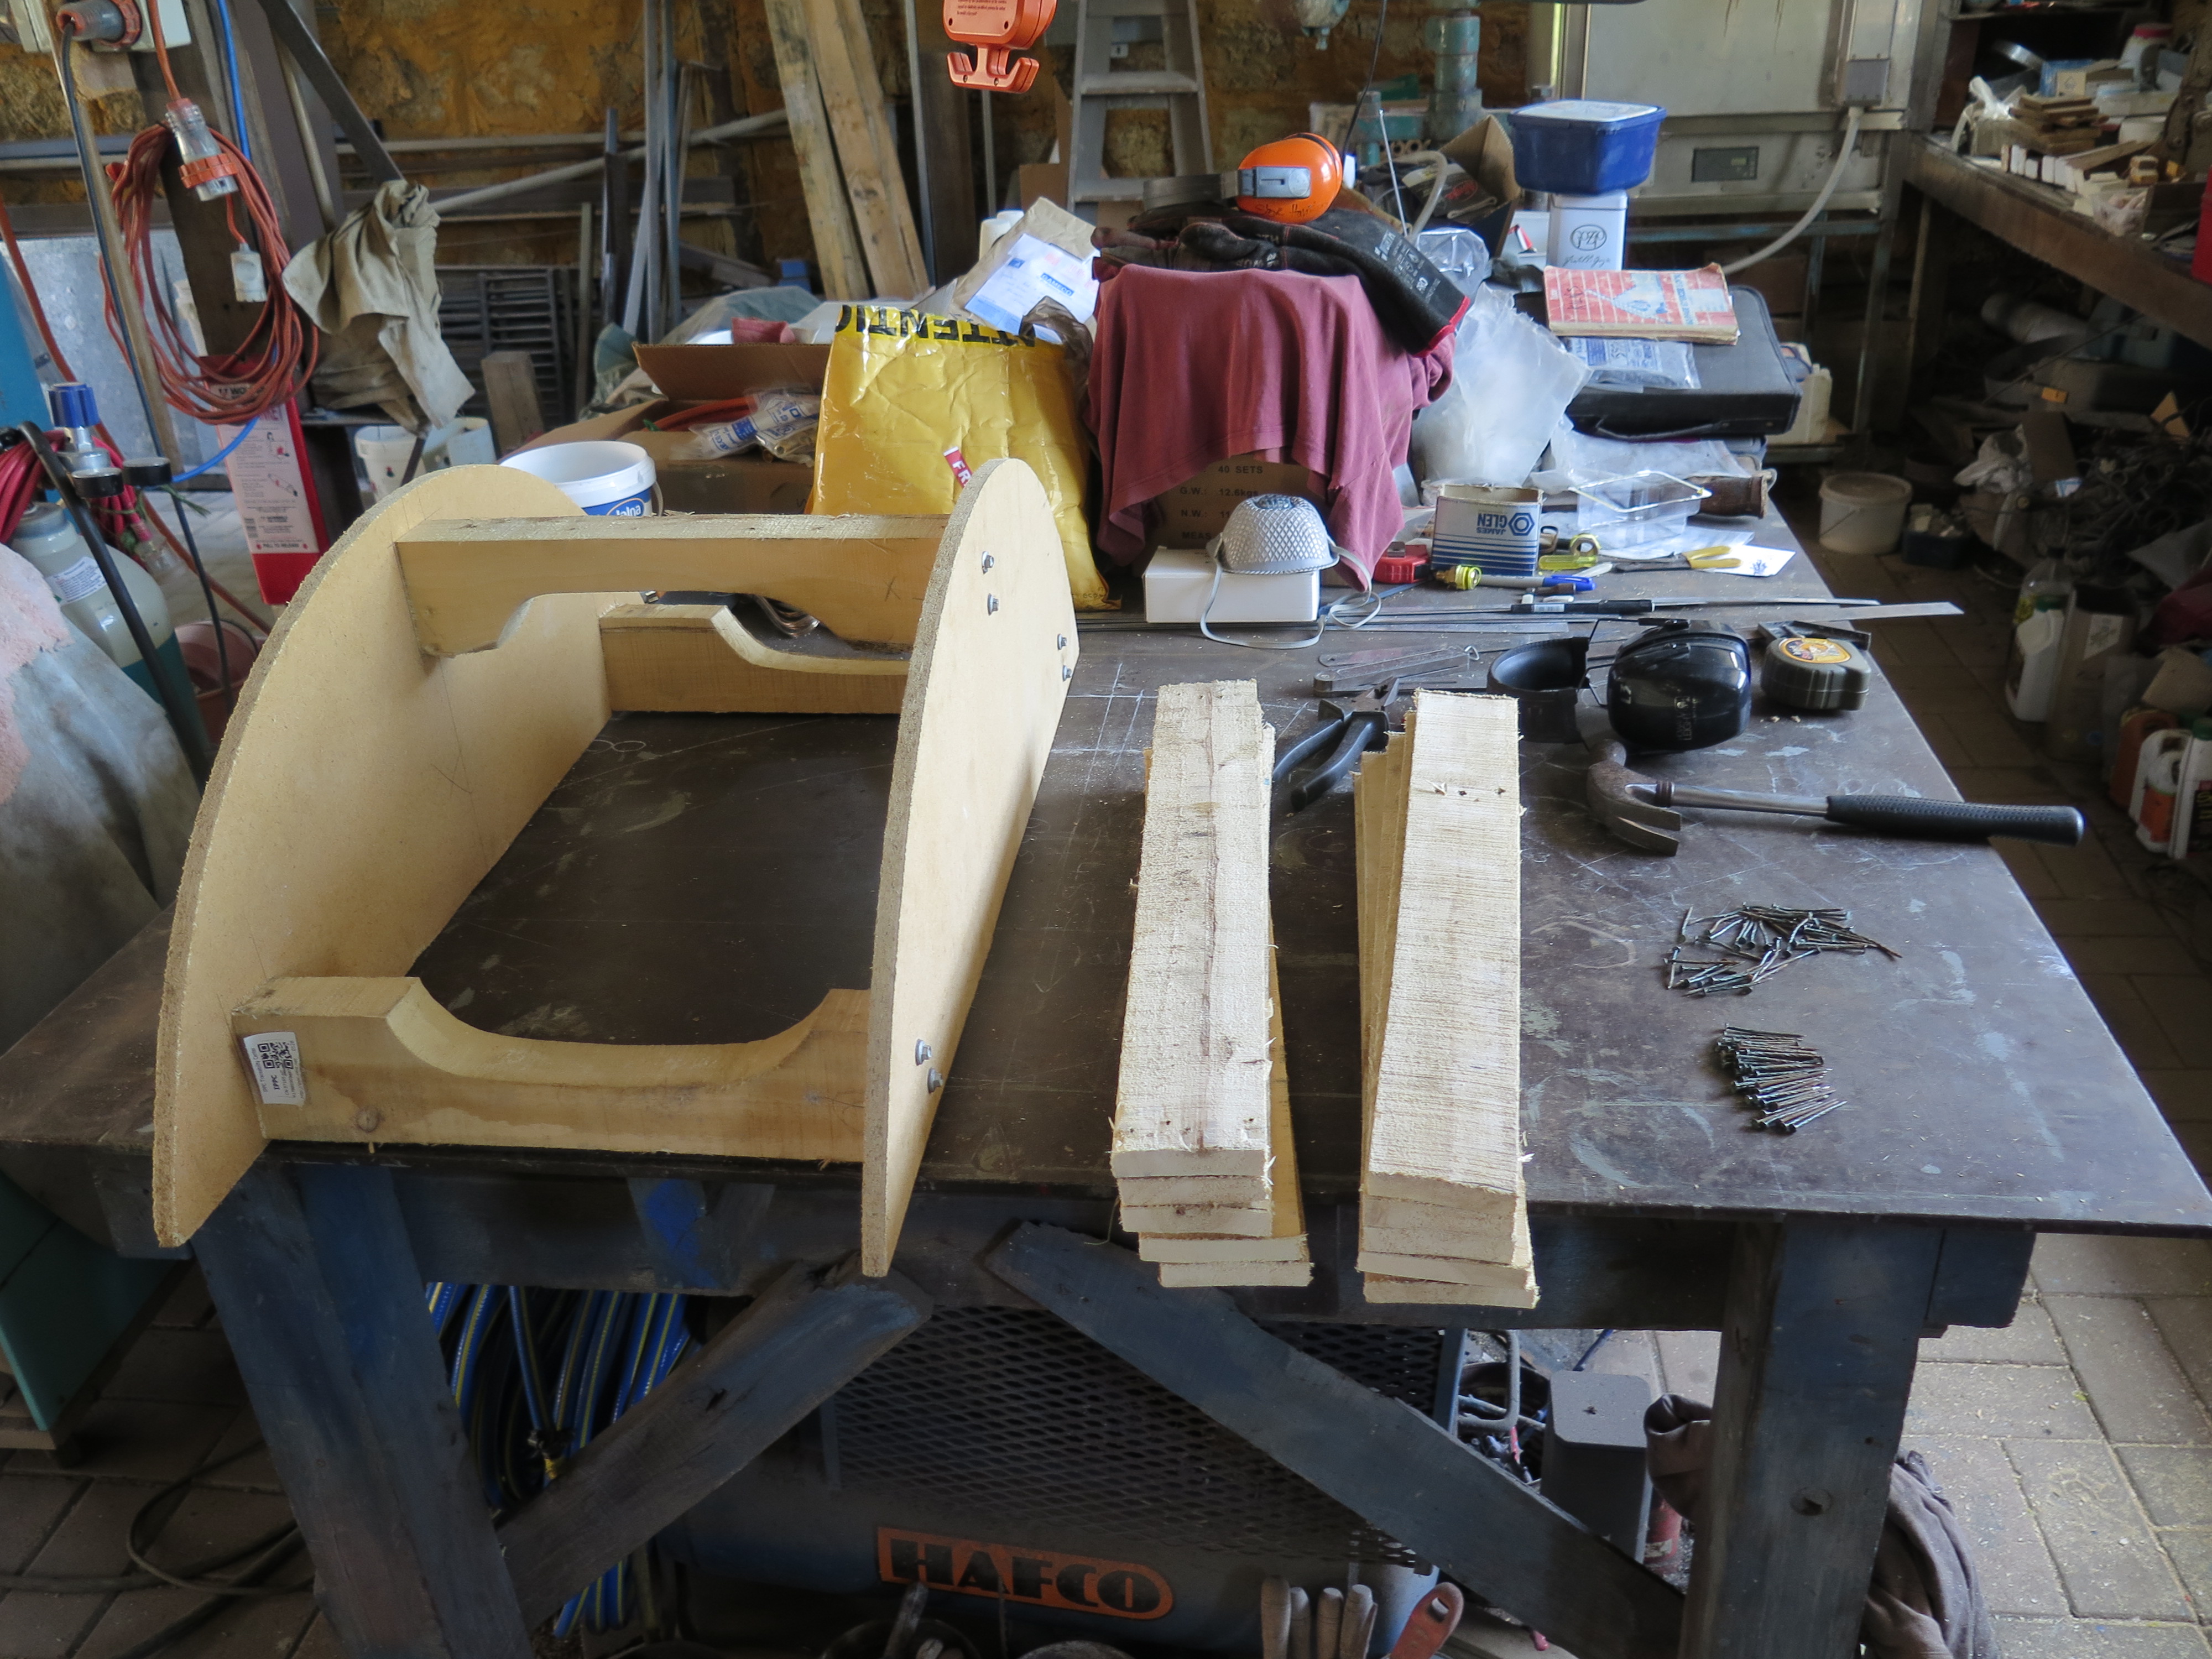
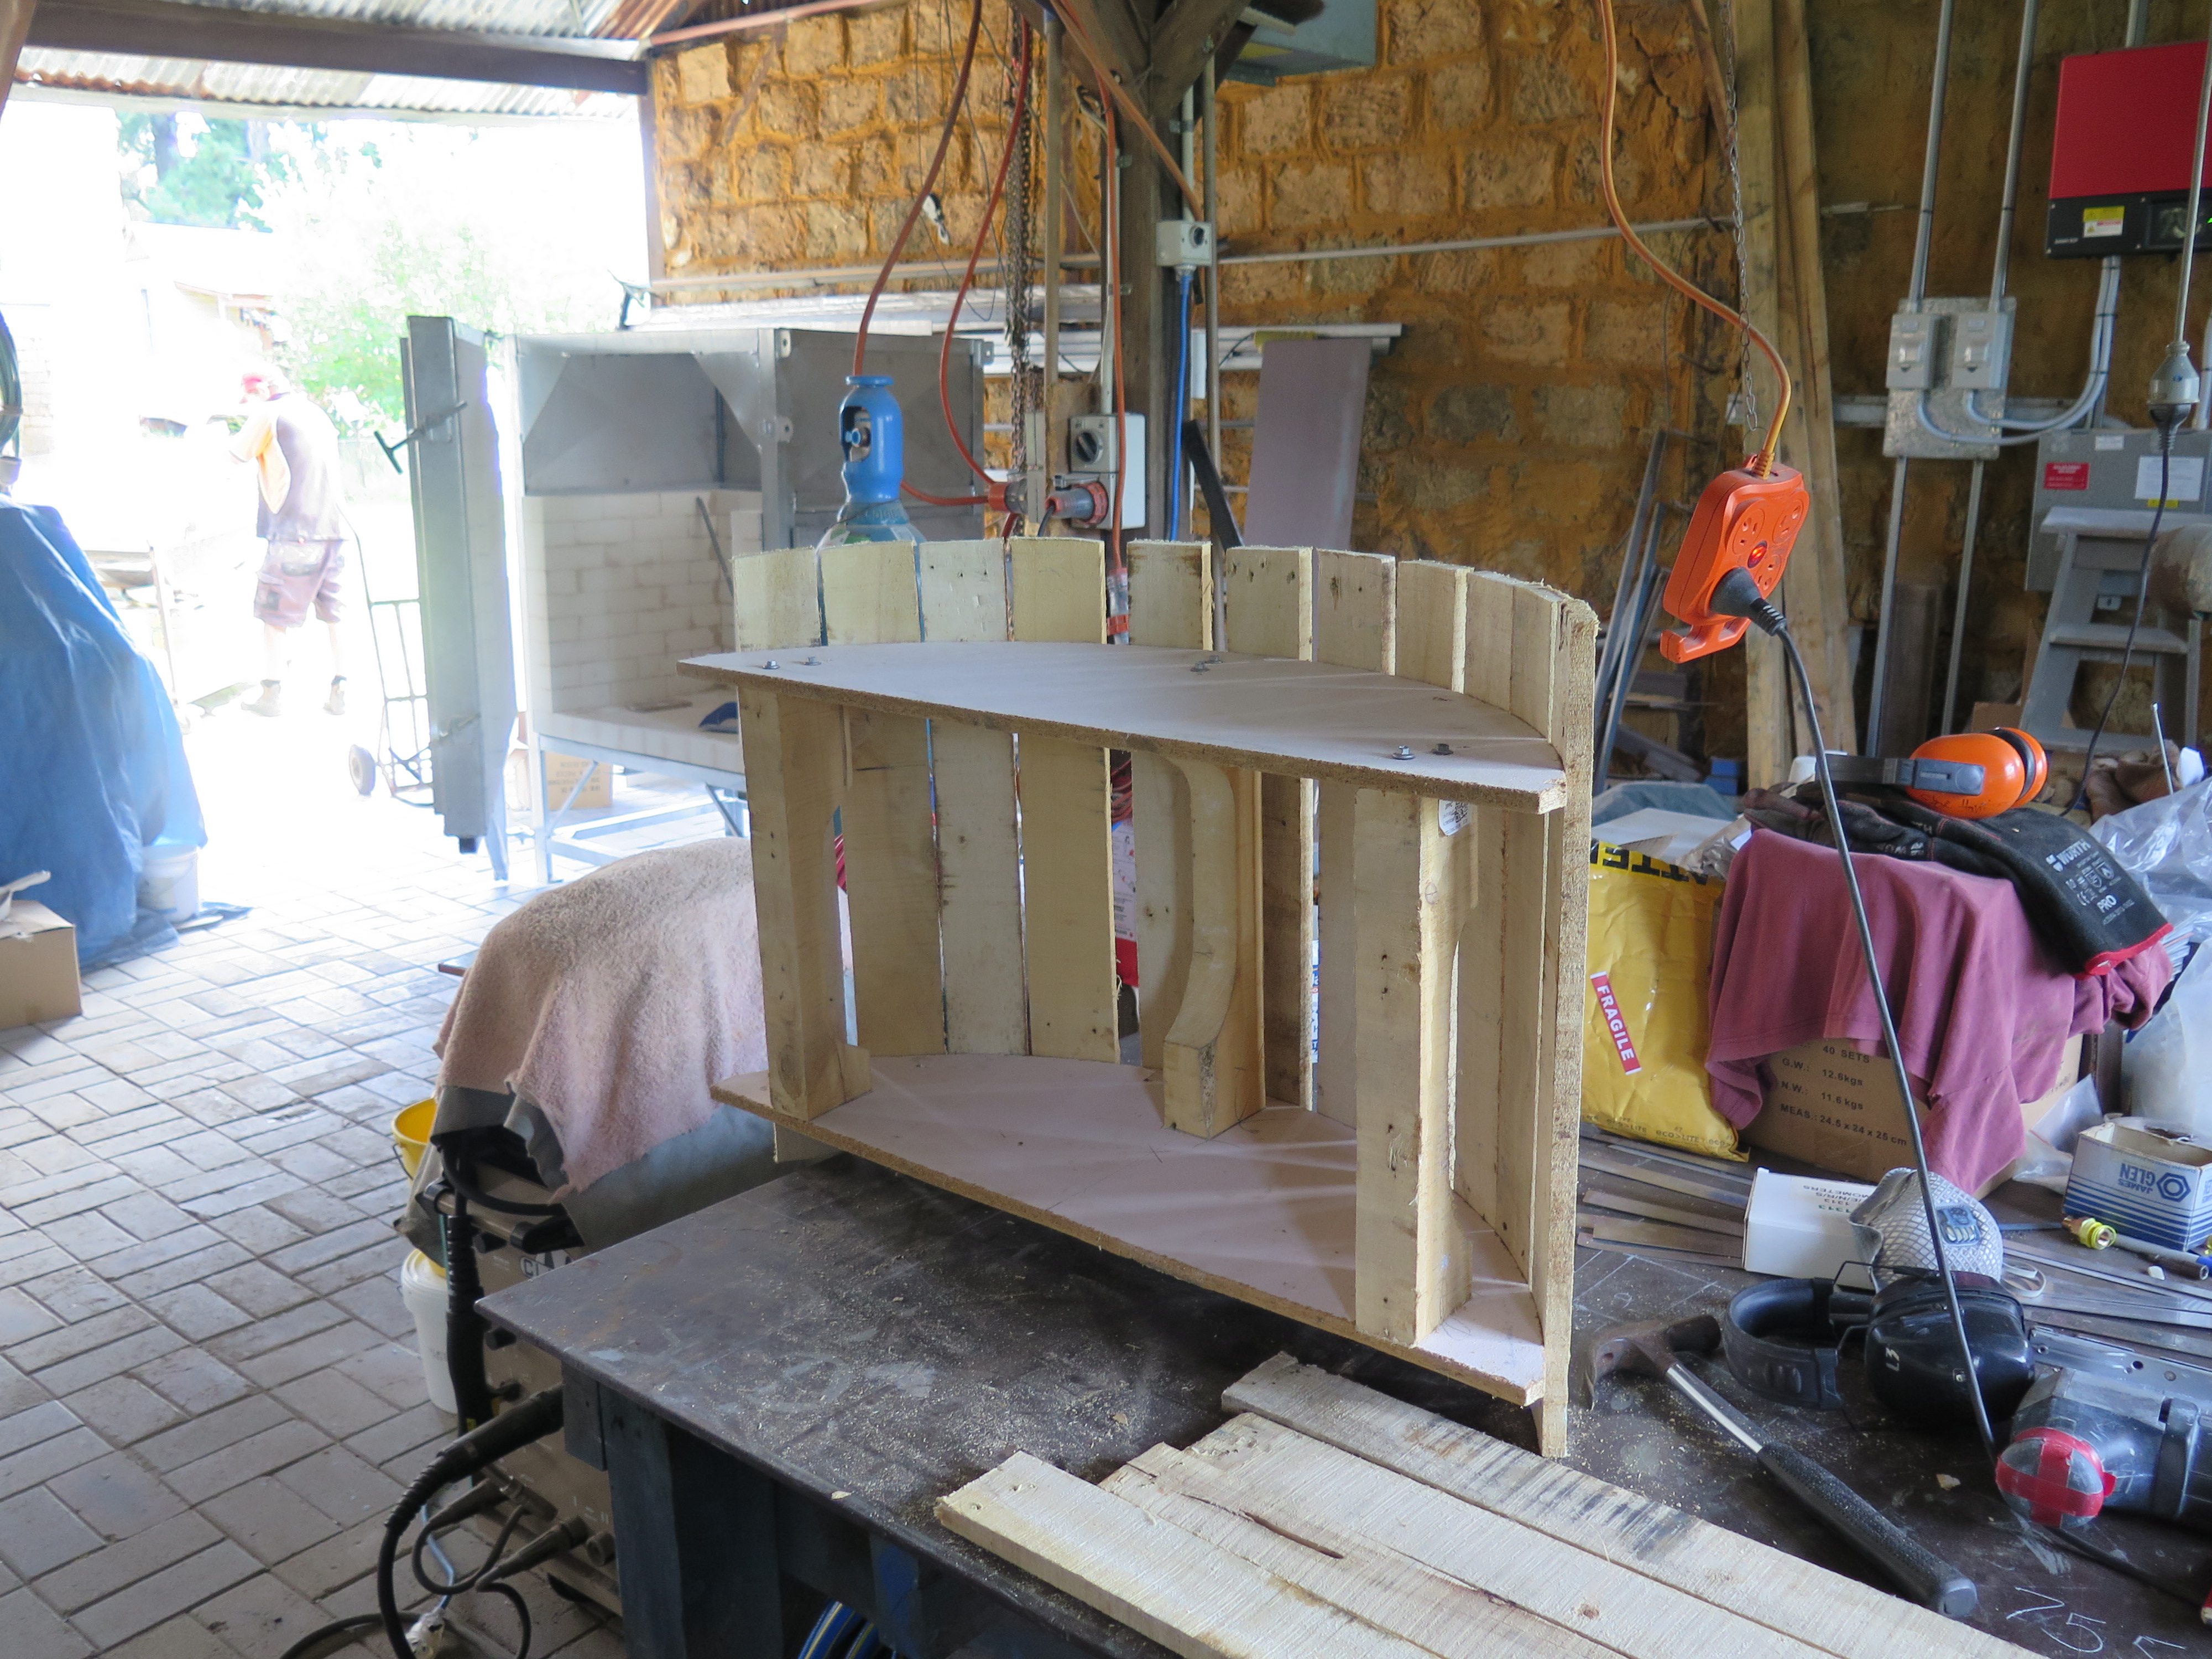
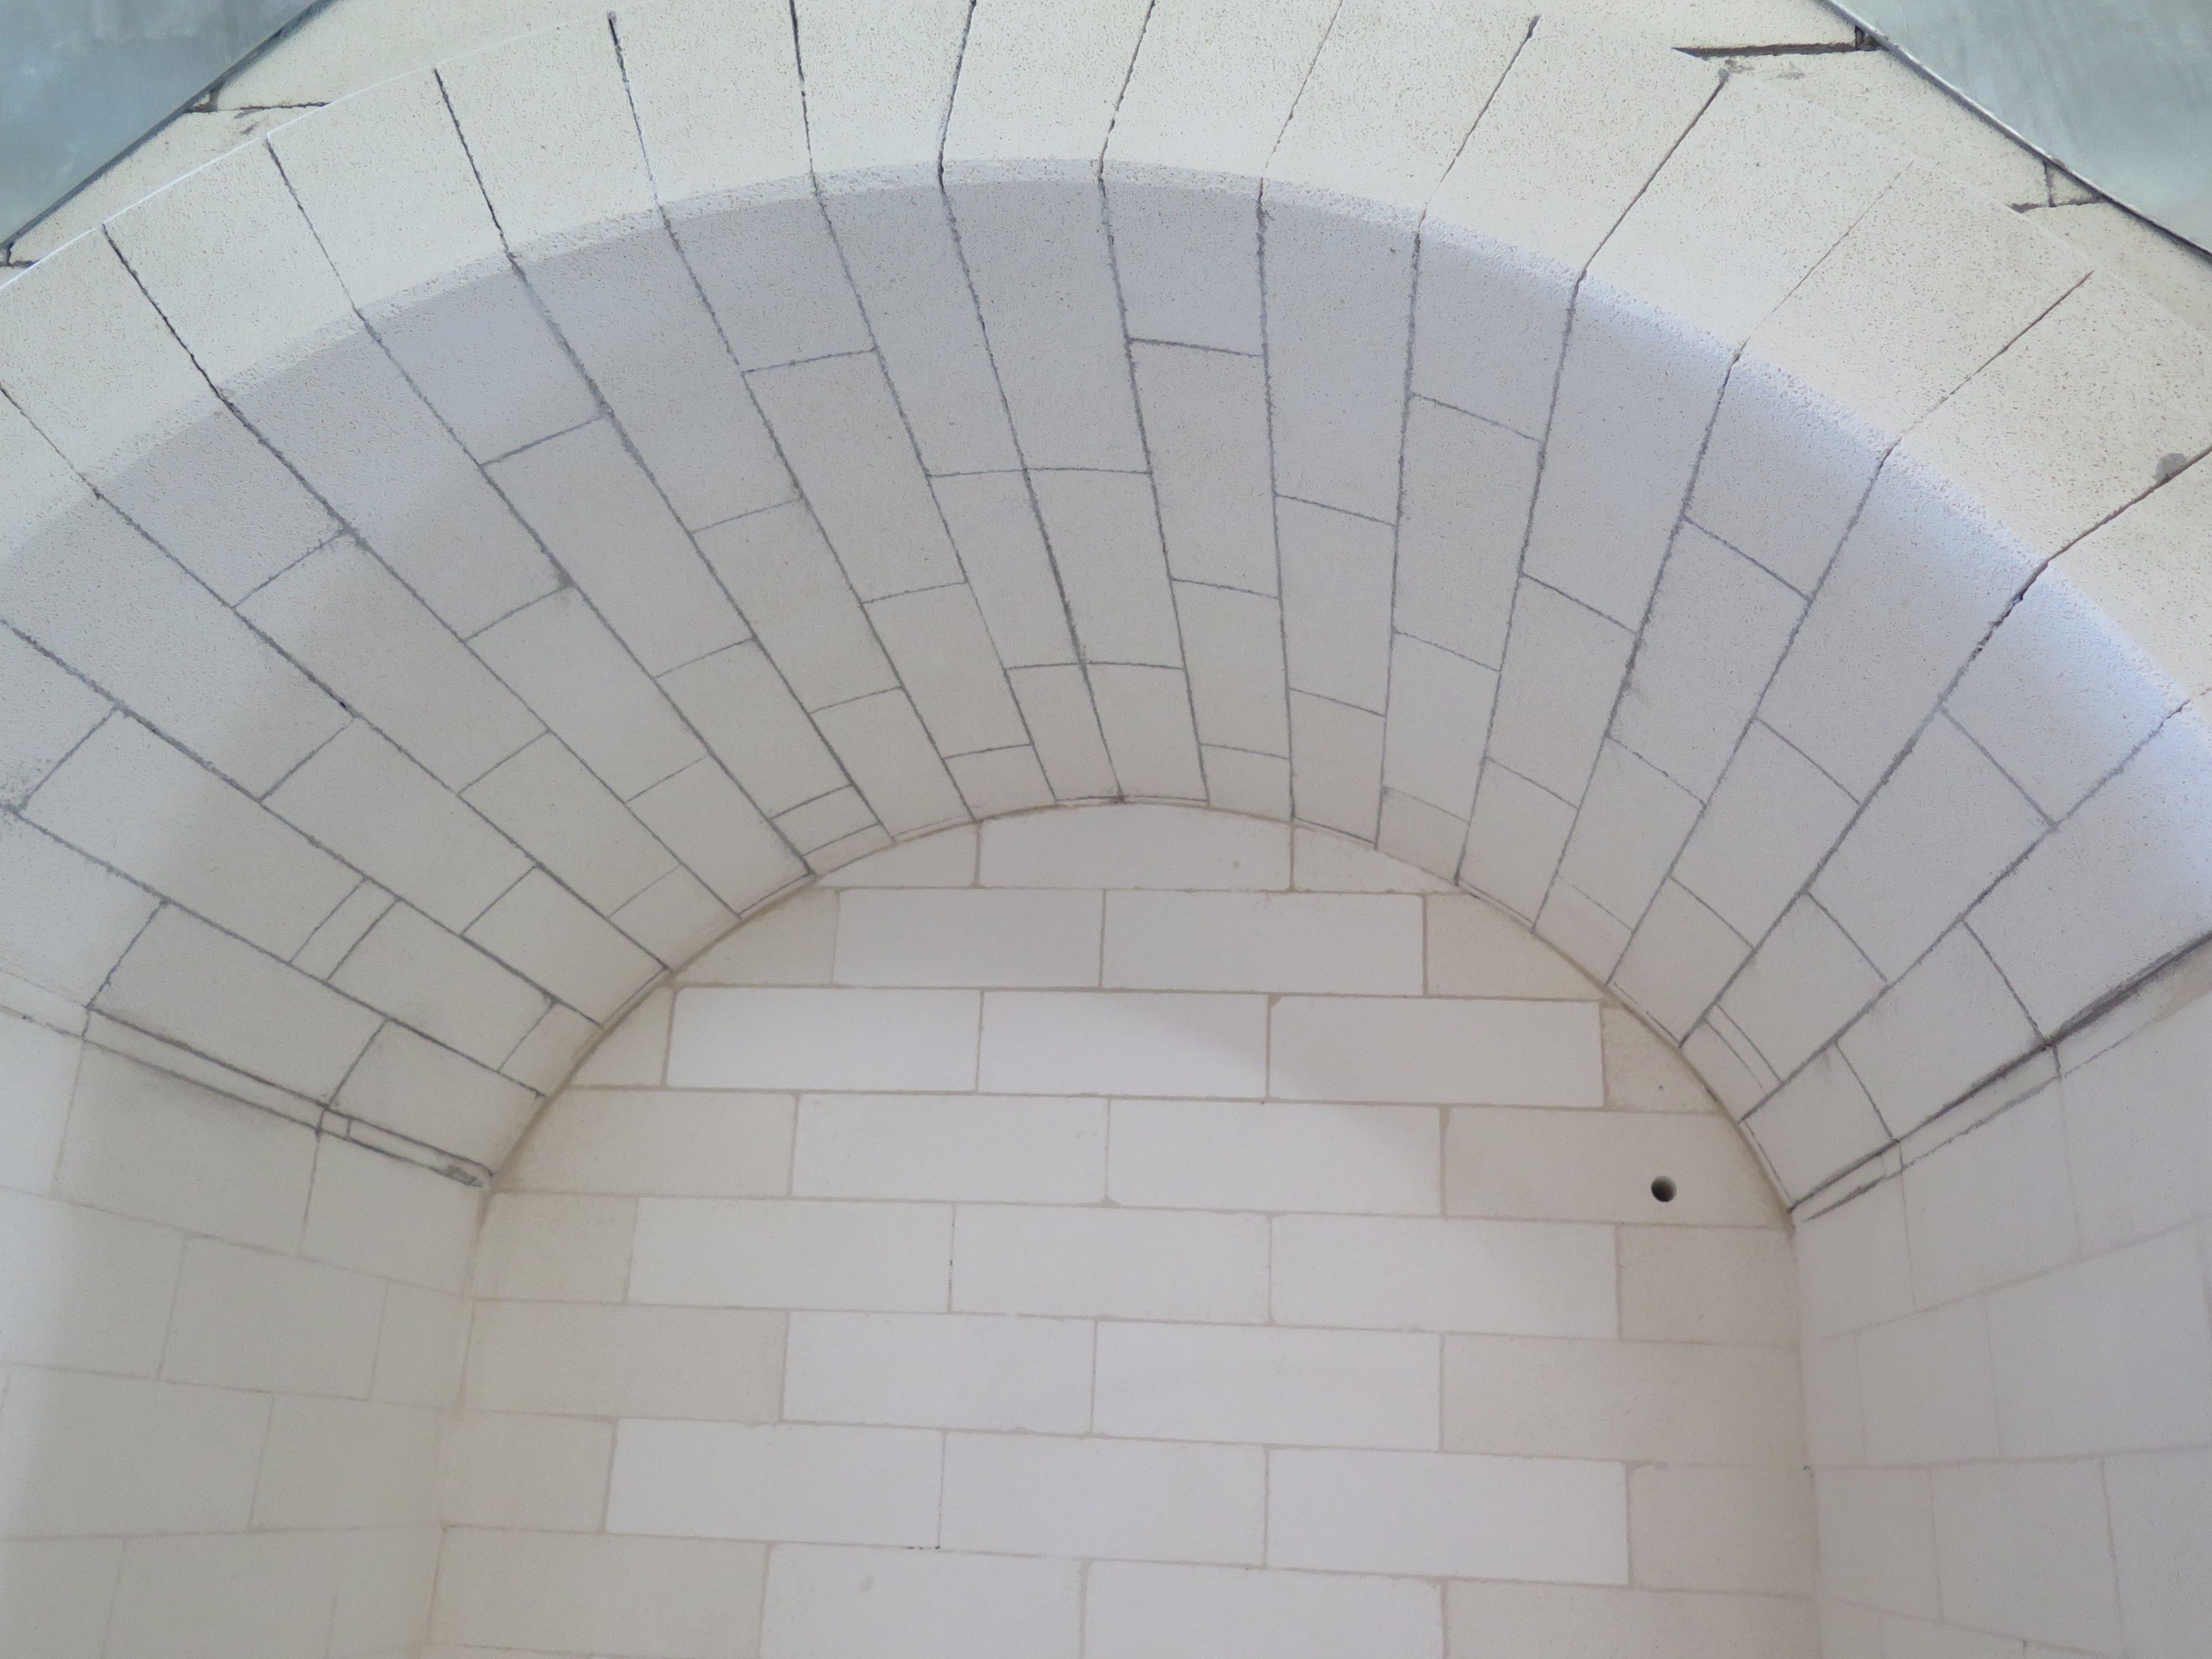
We packed the kiln yesterday and bricked up the door with our home-made fire brick blocks. It’s a big door for easy access for packing, so we needed some large blocks to speed up the door bricking-up process. Making our own firebrick is just one of the many things that we do to live this life of self-reliance. The sun was loosing its heat as drove up to the wood yard and loaded the truck with both pine and stringybark logs. We are all finished before the evening dusk falls. The truck sits in the dark and is slowly revealed this early morning as the sun comes around the curve and slowly illuminates the house and orchard in the distance.


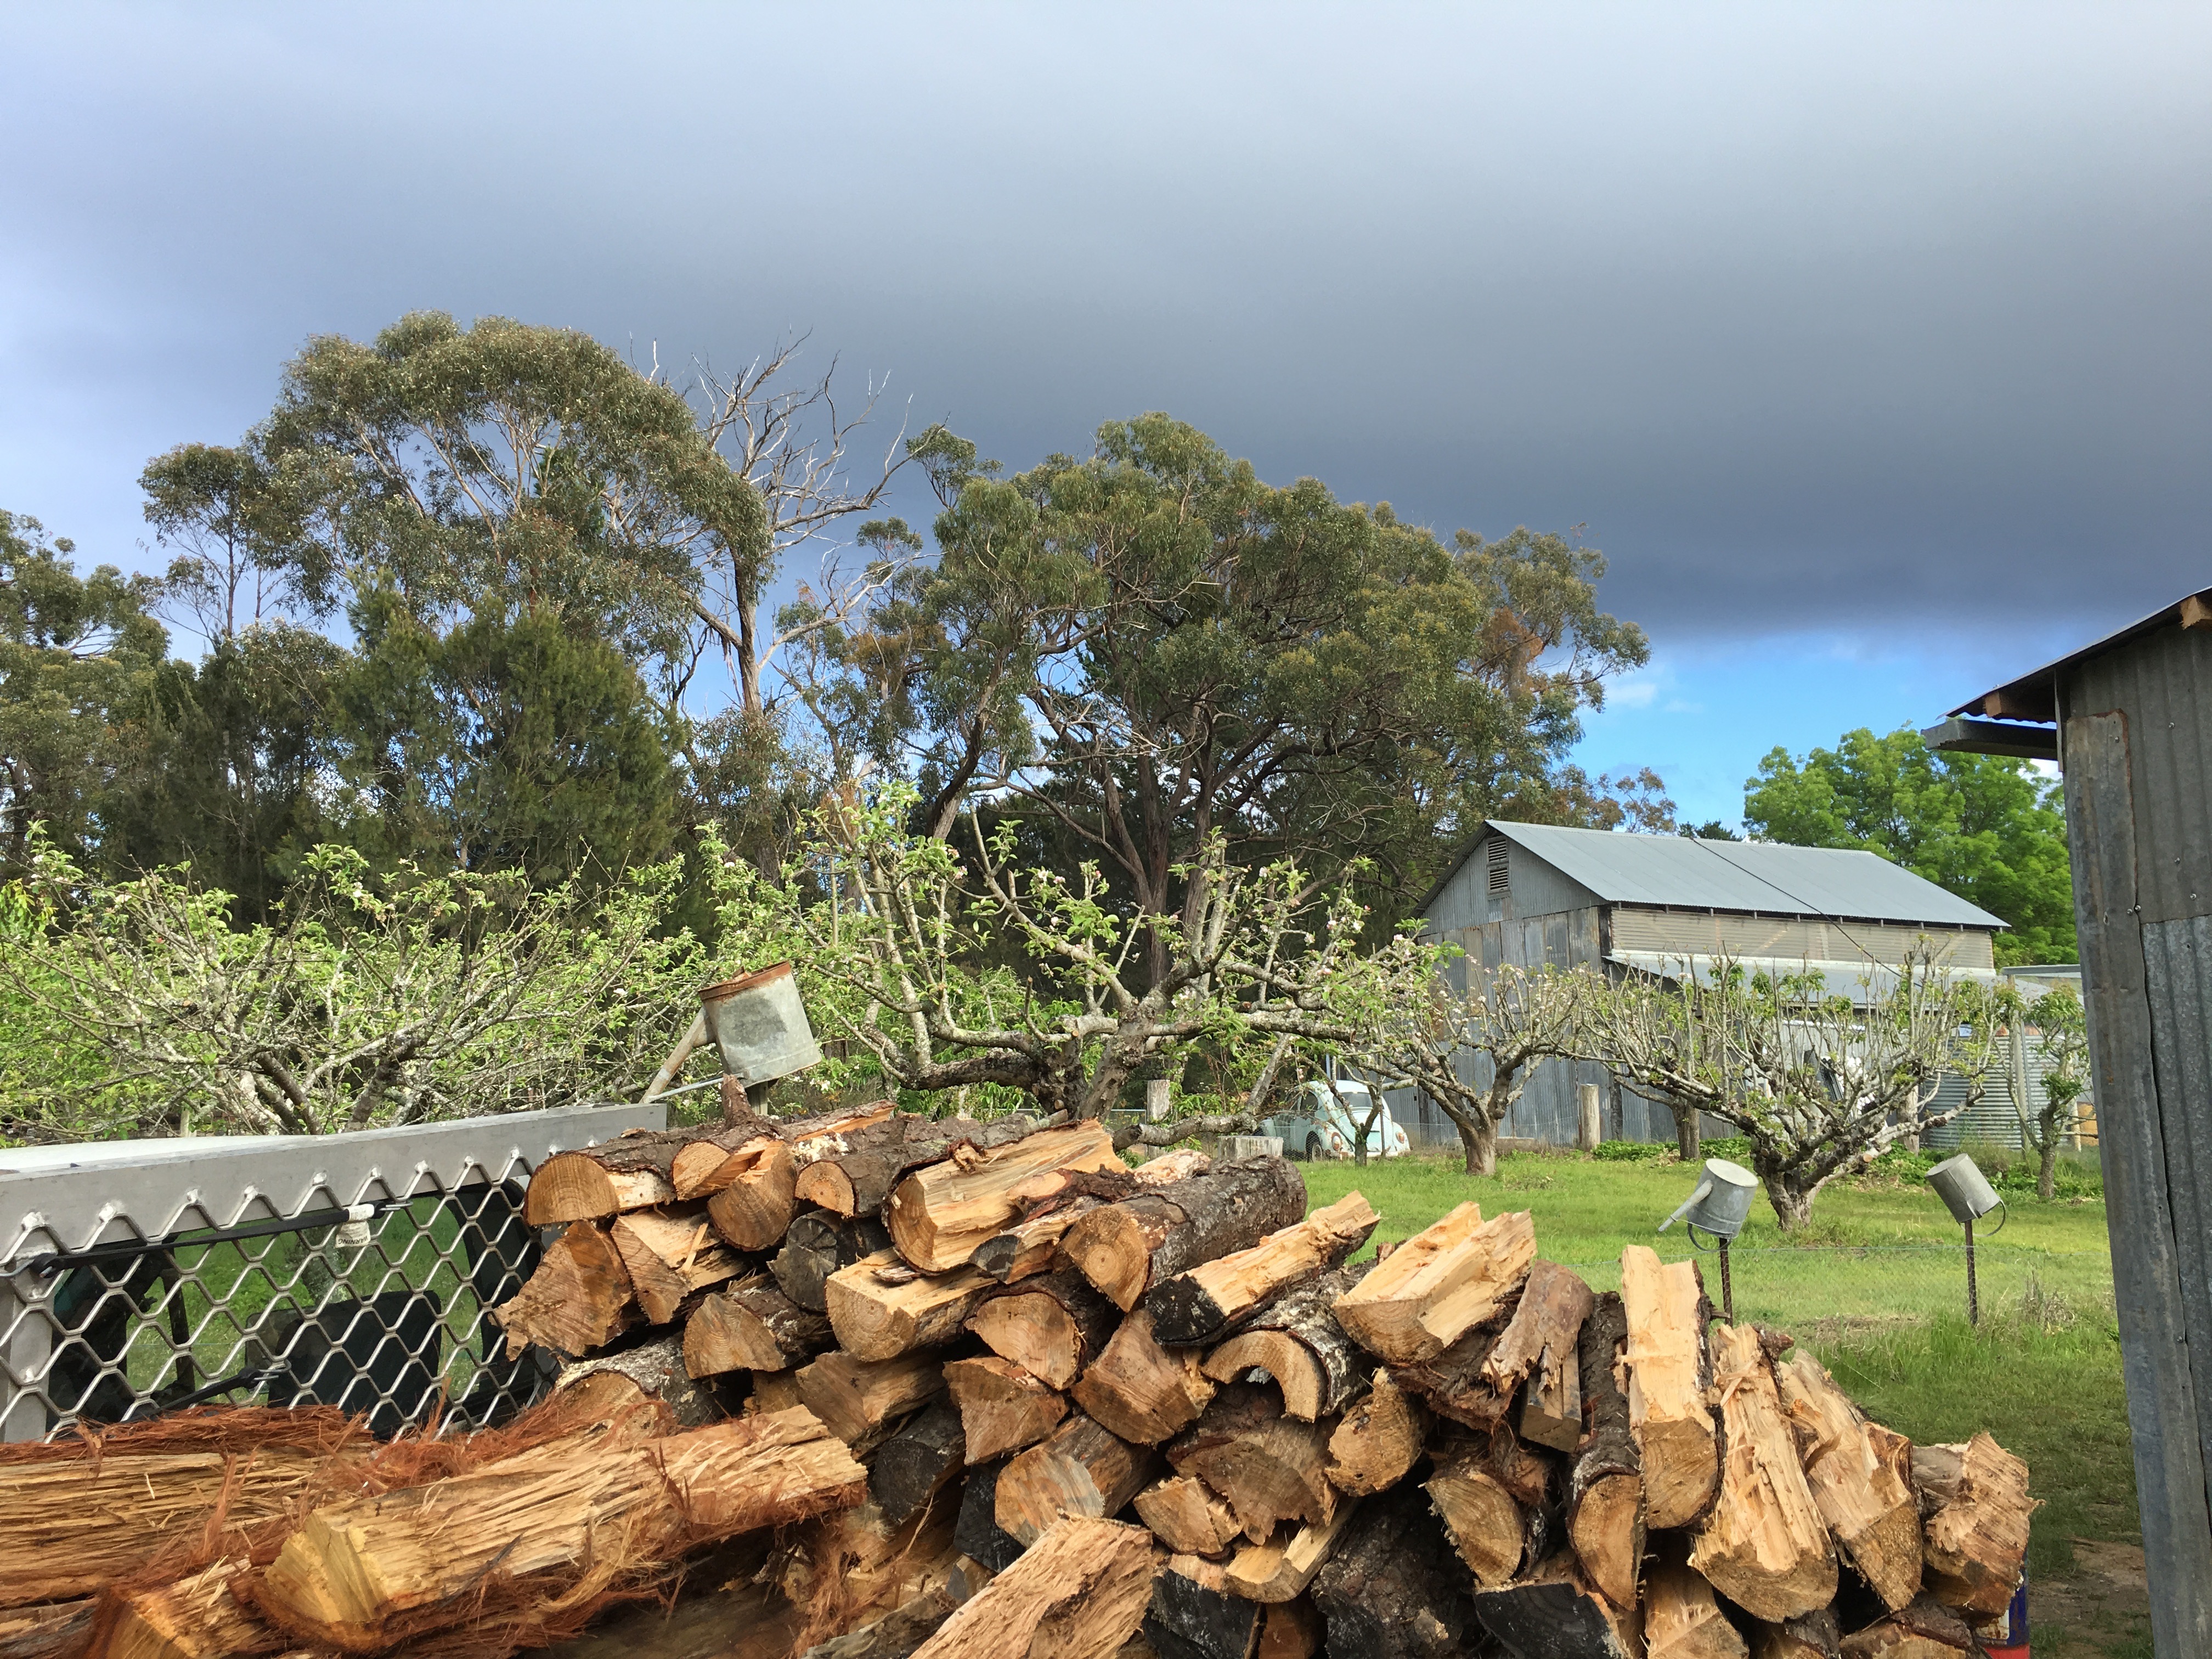
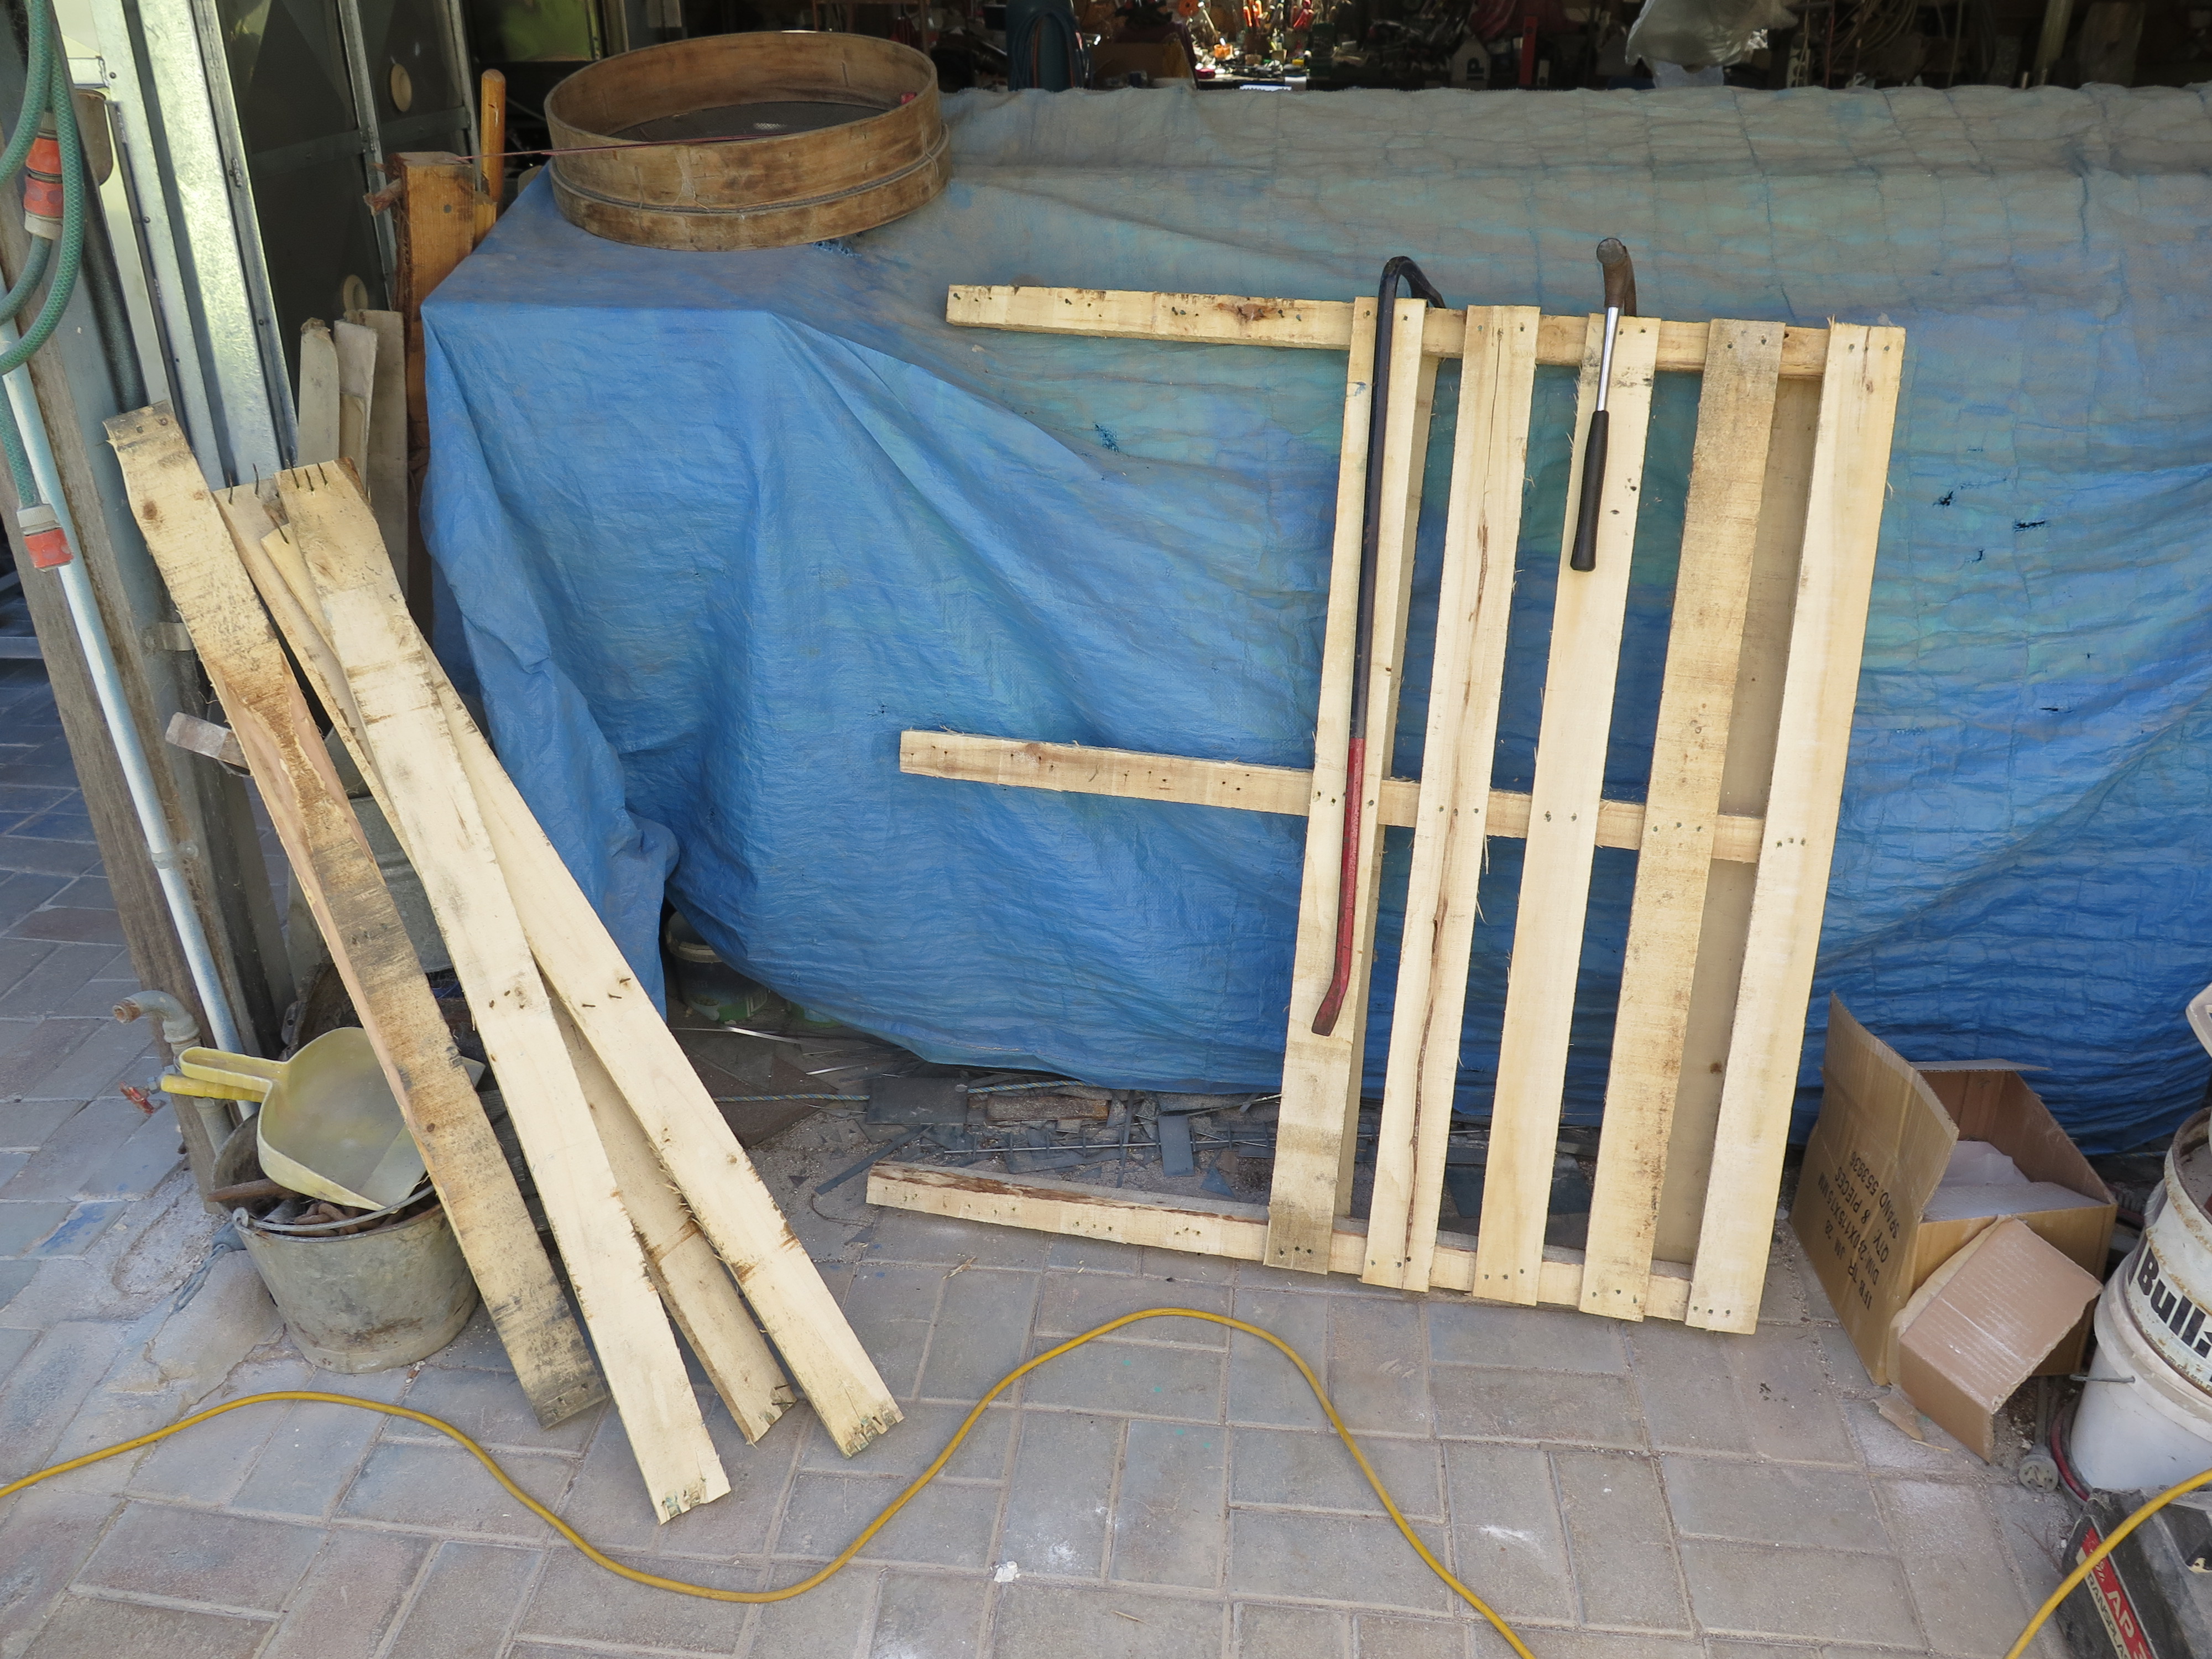
We have a new wood shed now, so all the pine is stacked and ready to load, dry and seasoned. Such luxury! it’s only taken us 40 years to get this small convenience built. There is always so much to do. We have lists! Even lists of lists. But ultimately, it’s a case of the squeaky wheel getting the oil. But now the time is here for a kiln wood, wood shed and it’s a beauty. We’ve had a wood shed for the house wood, particularly for the kitchen stove timber. We couldn’t function here in this self-reliant way without one. That was a very squeaky wheel and got built after only 10 years here. This masterpiece of re-cycling cost next to nothing, being made out of the old wooden tank stand and old roofing iron that we were given. It’s only taken us 40 years to get around to it!


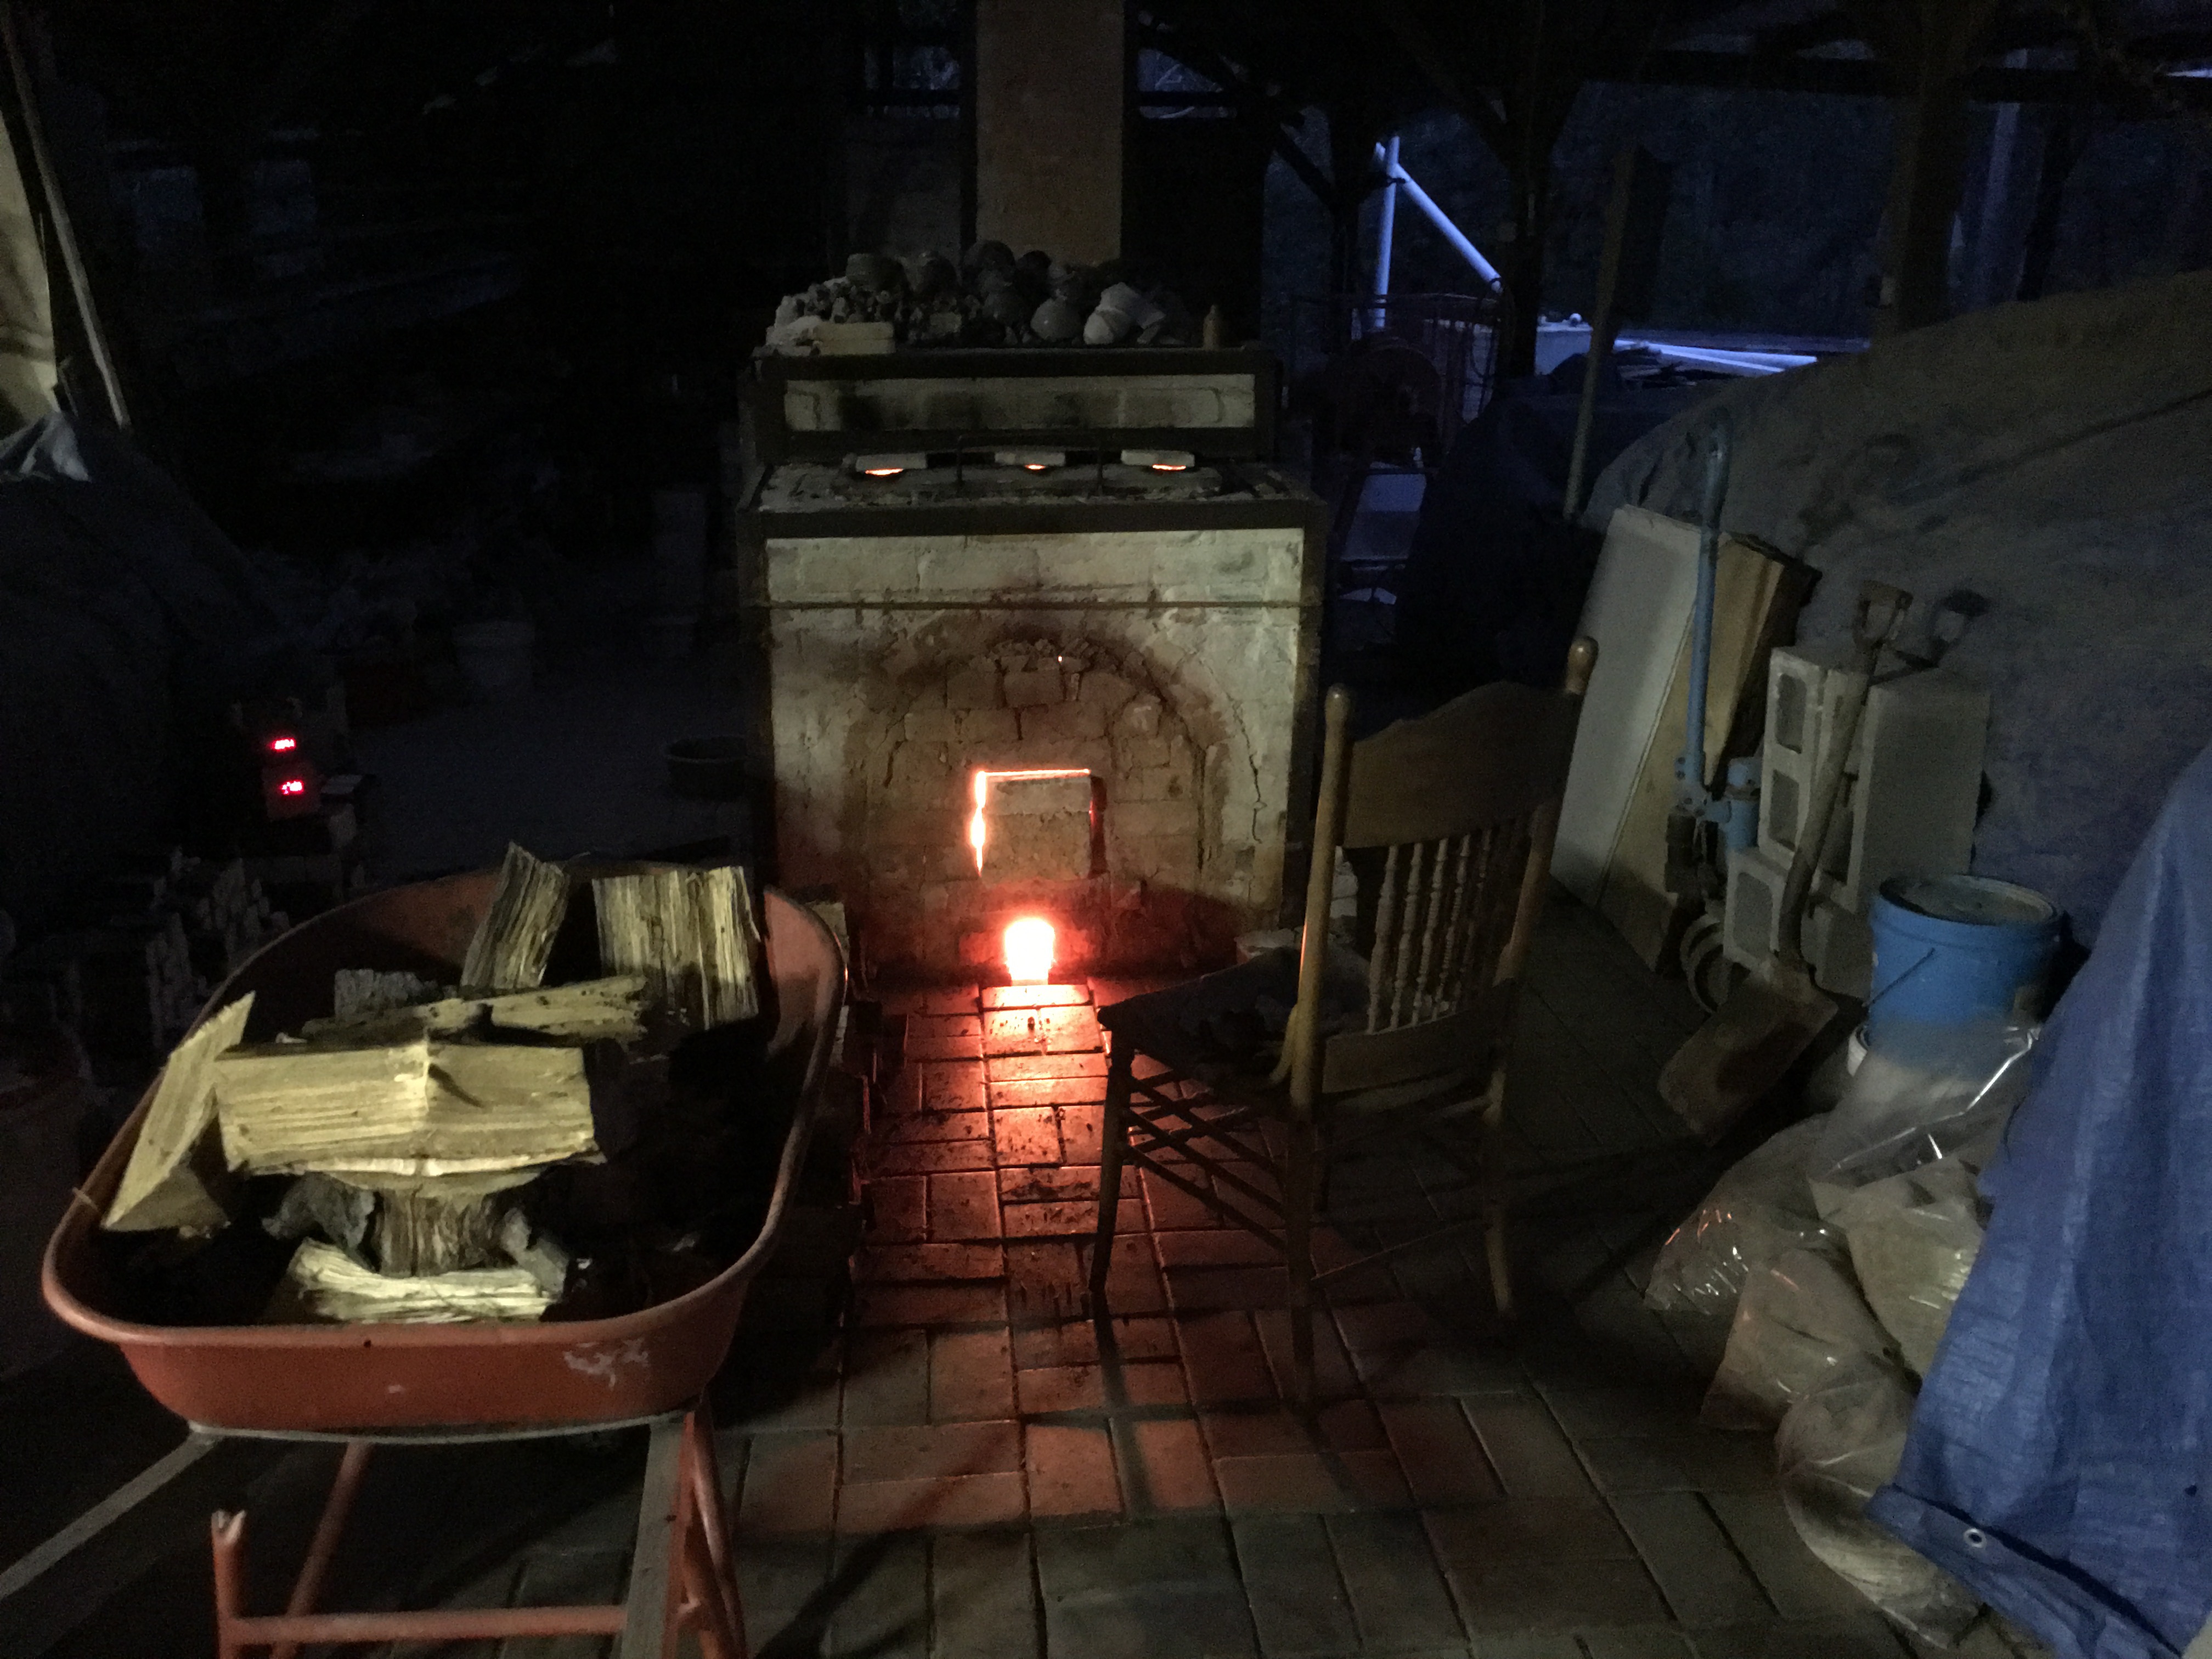
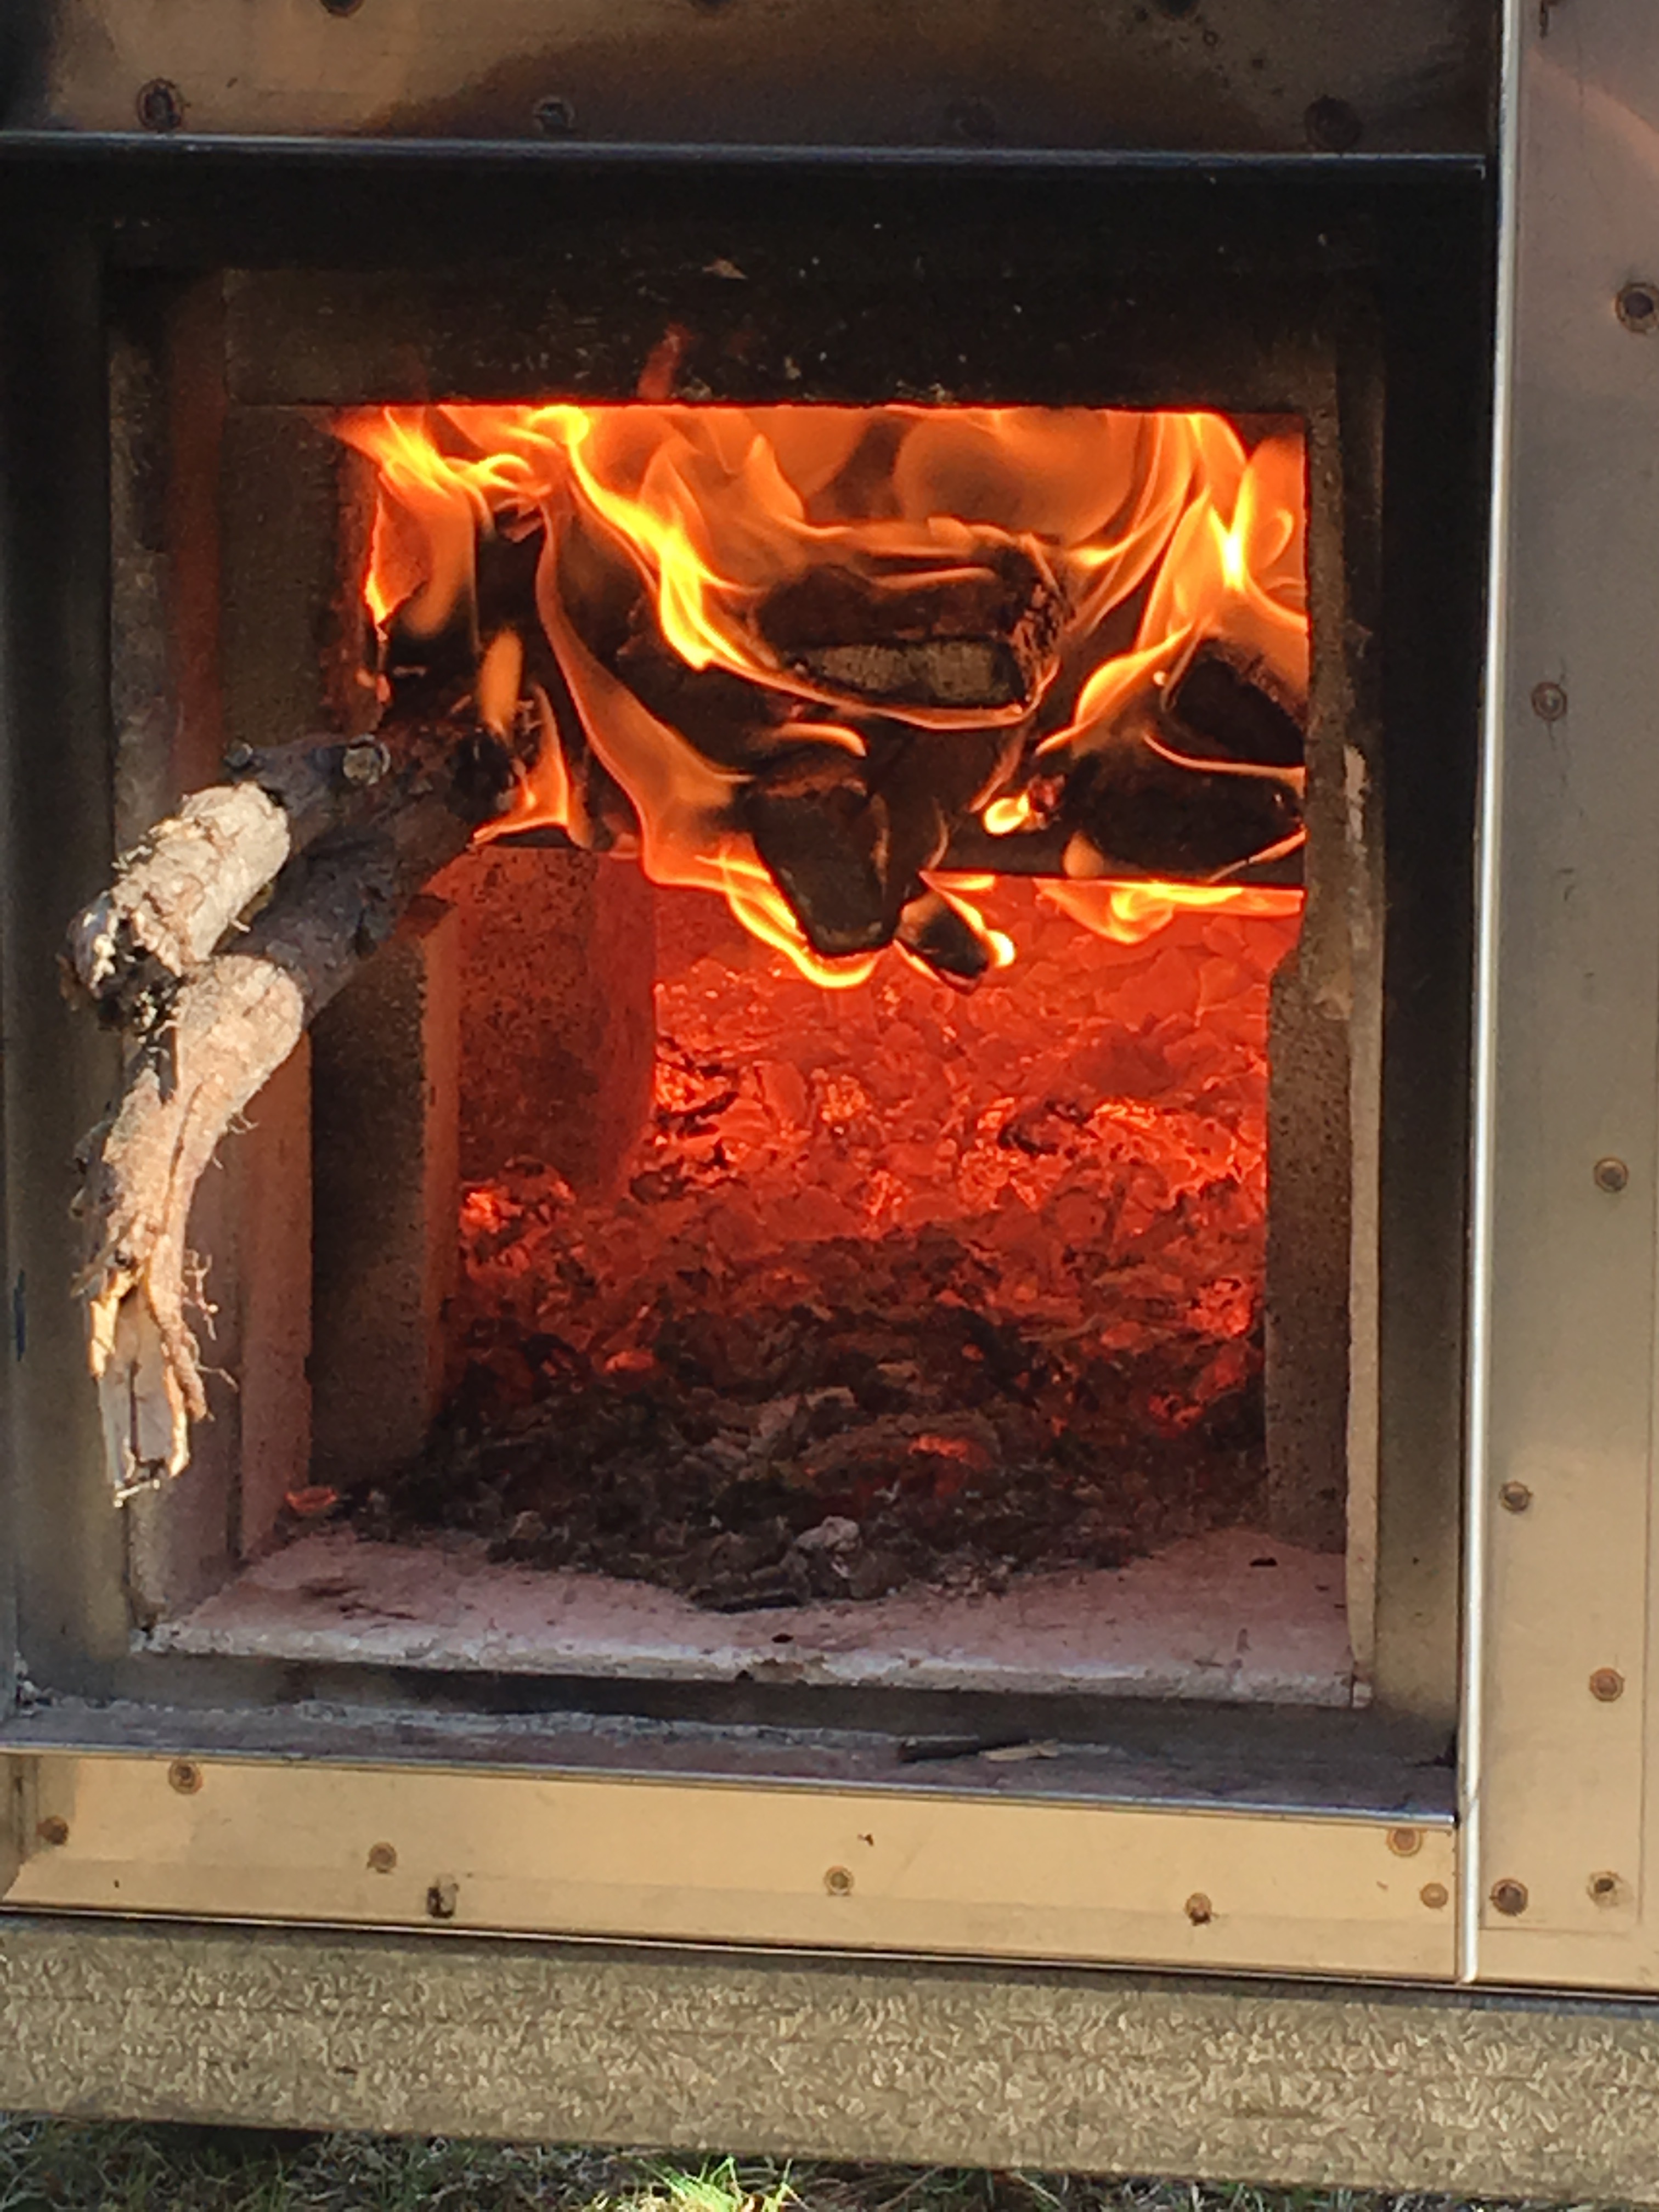
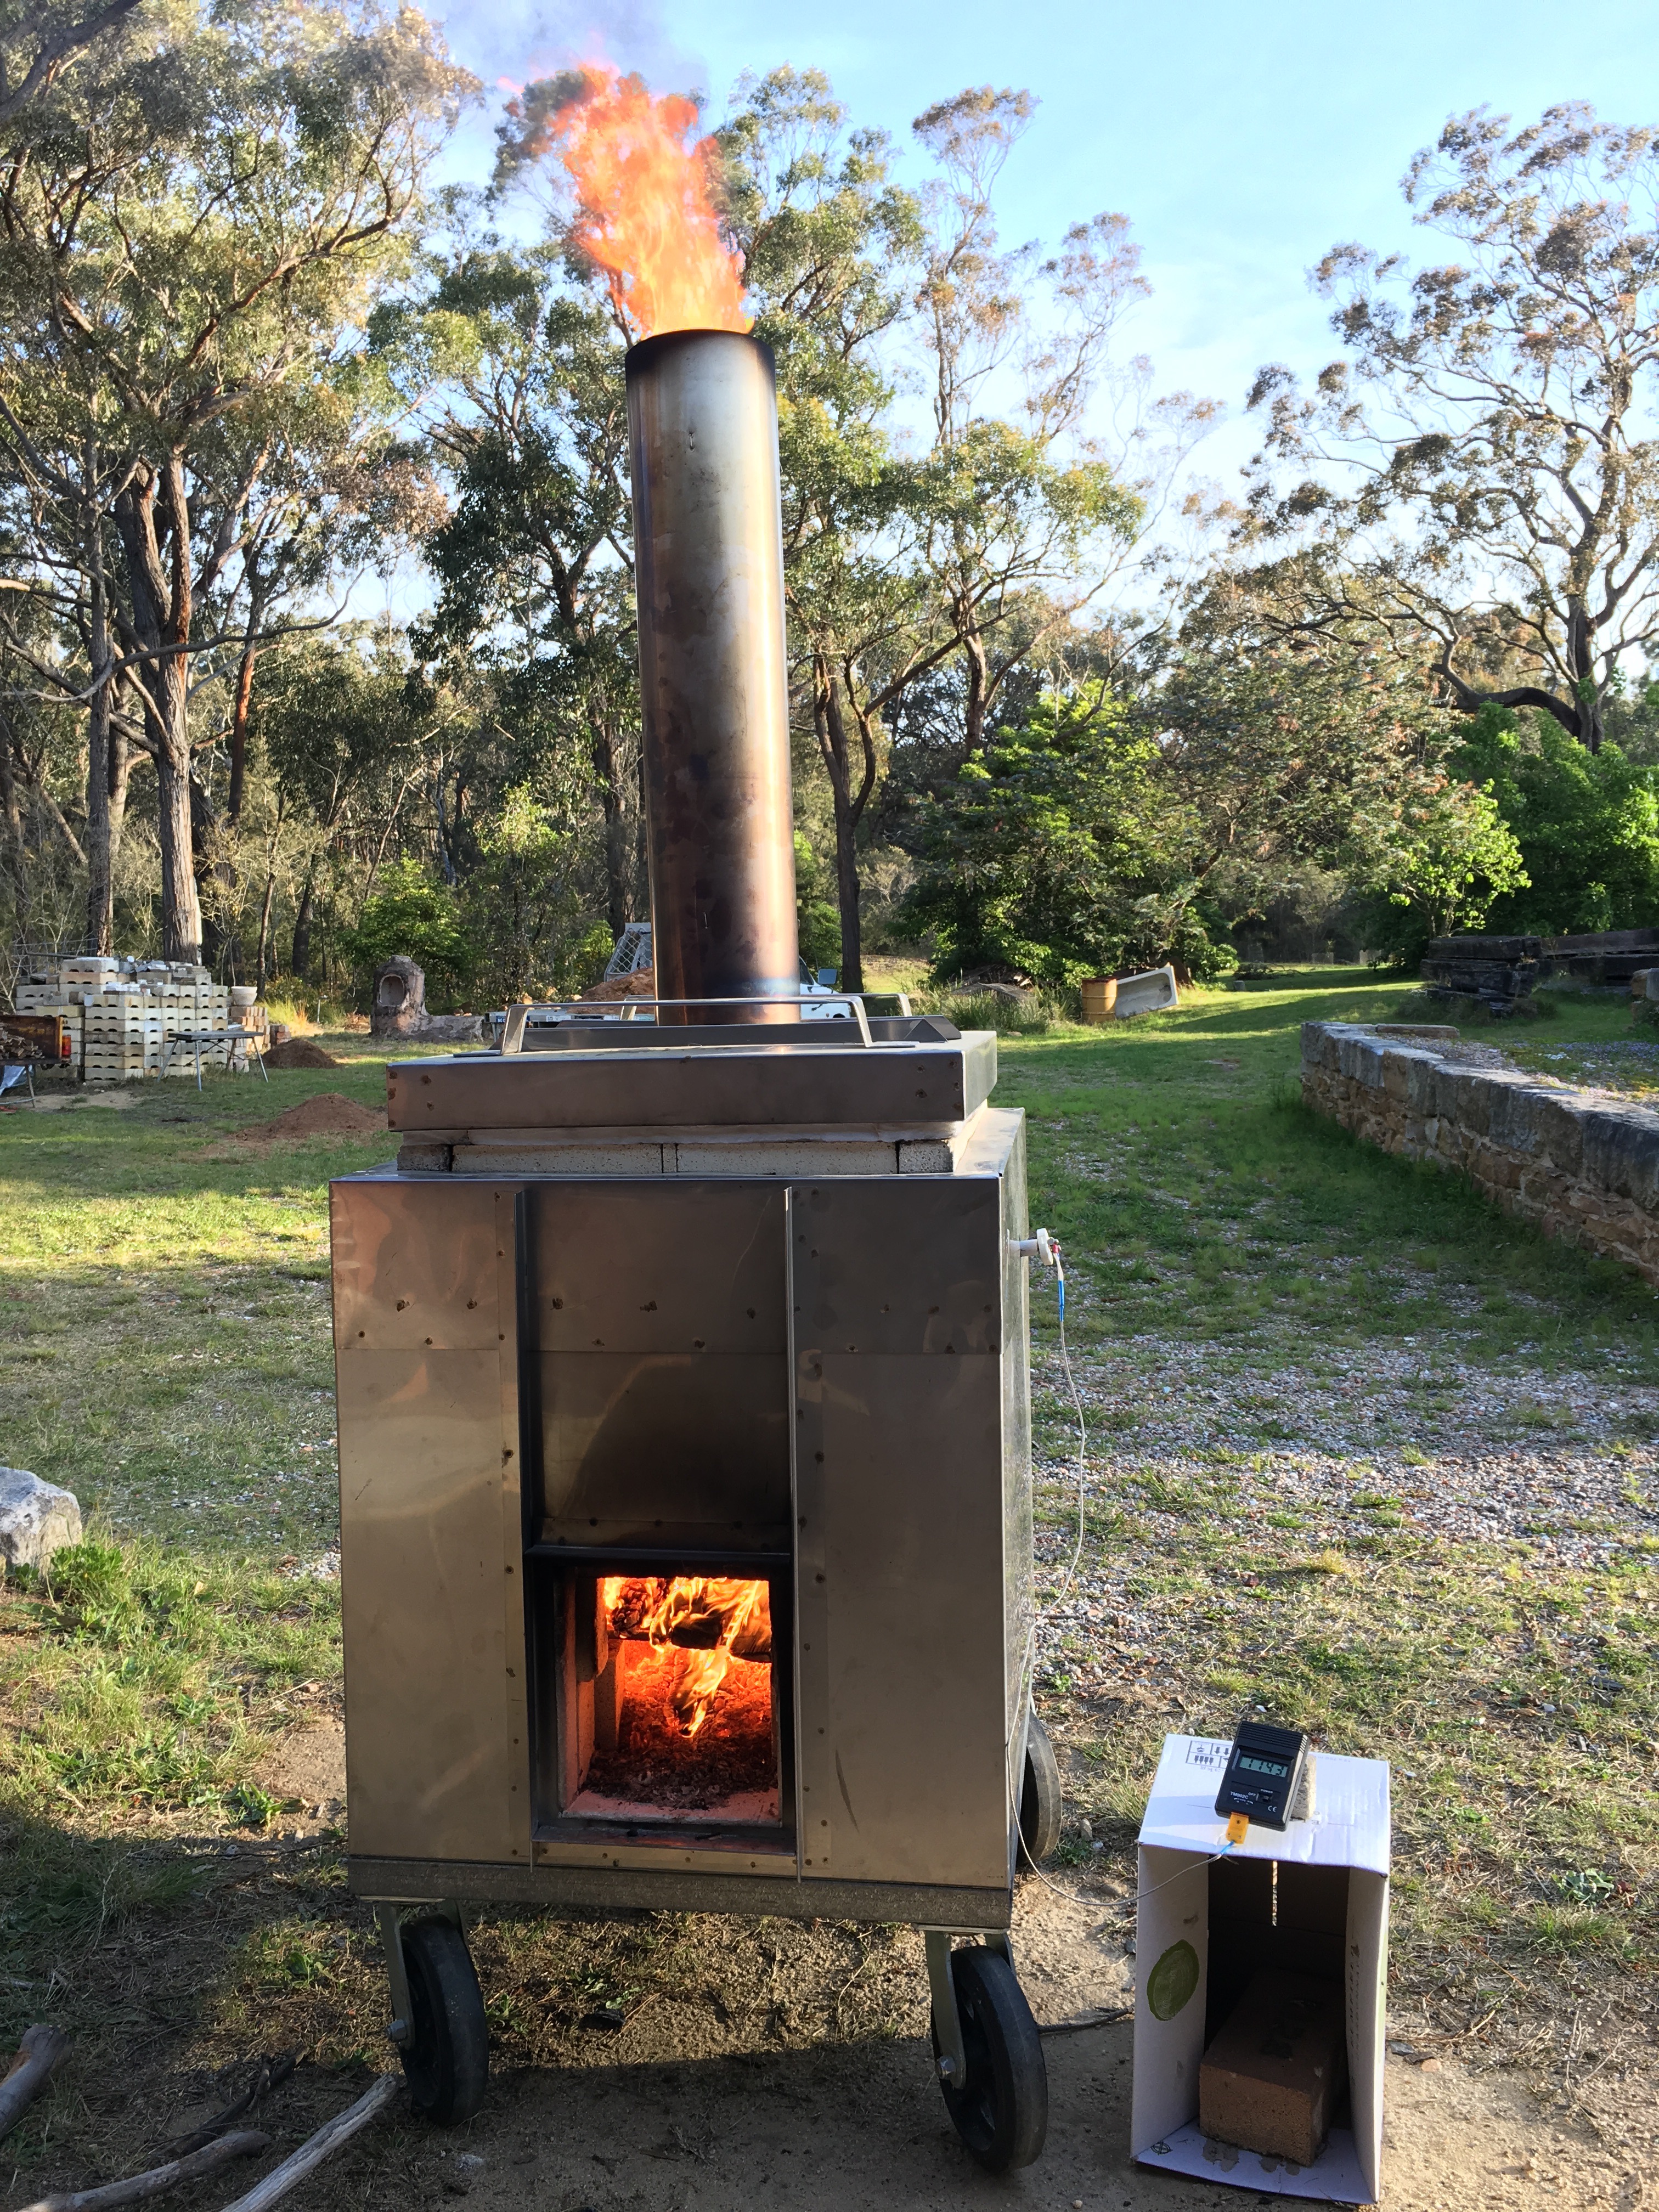
We are officially into the bushfire season now, so there are fire restrictions in place. Luckily for us today, it is overcast and there are showers forecast. It has just started to rain gently, but just a brief shower. I don’t even bother to cover the pine on the truck. Last night I called the fire captain to tell him that we were going to fire the kiln. It’s a polite notification. We have been here 40 years doing this with no problems so far. That is largely because we are very careful. During the spring, we pack the kiln and wait for a suitable day to fire. A day like this is excellent. Cool, overcast and with this brief shower of rain, it couldn’t be better for firing. The safest of conditions. If it were very hot and windy, we wouldn’t light the kiln. We’d just pack it and leave it full and wait for a break in the weather.

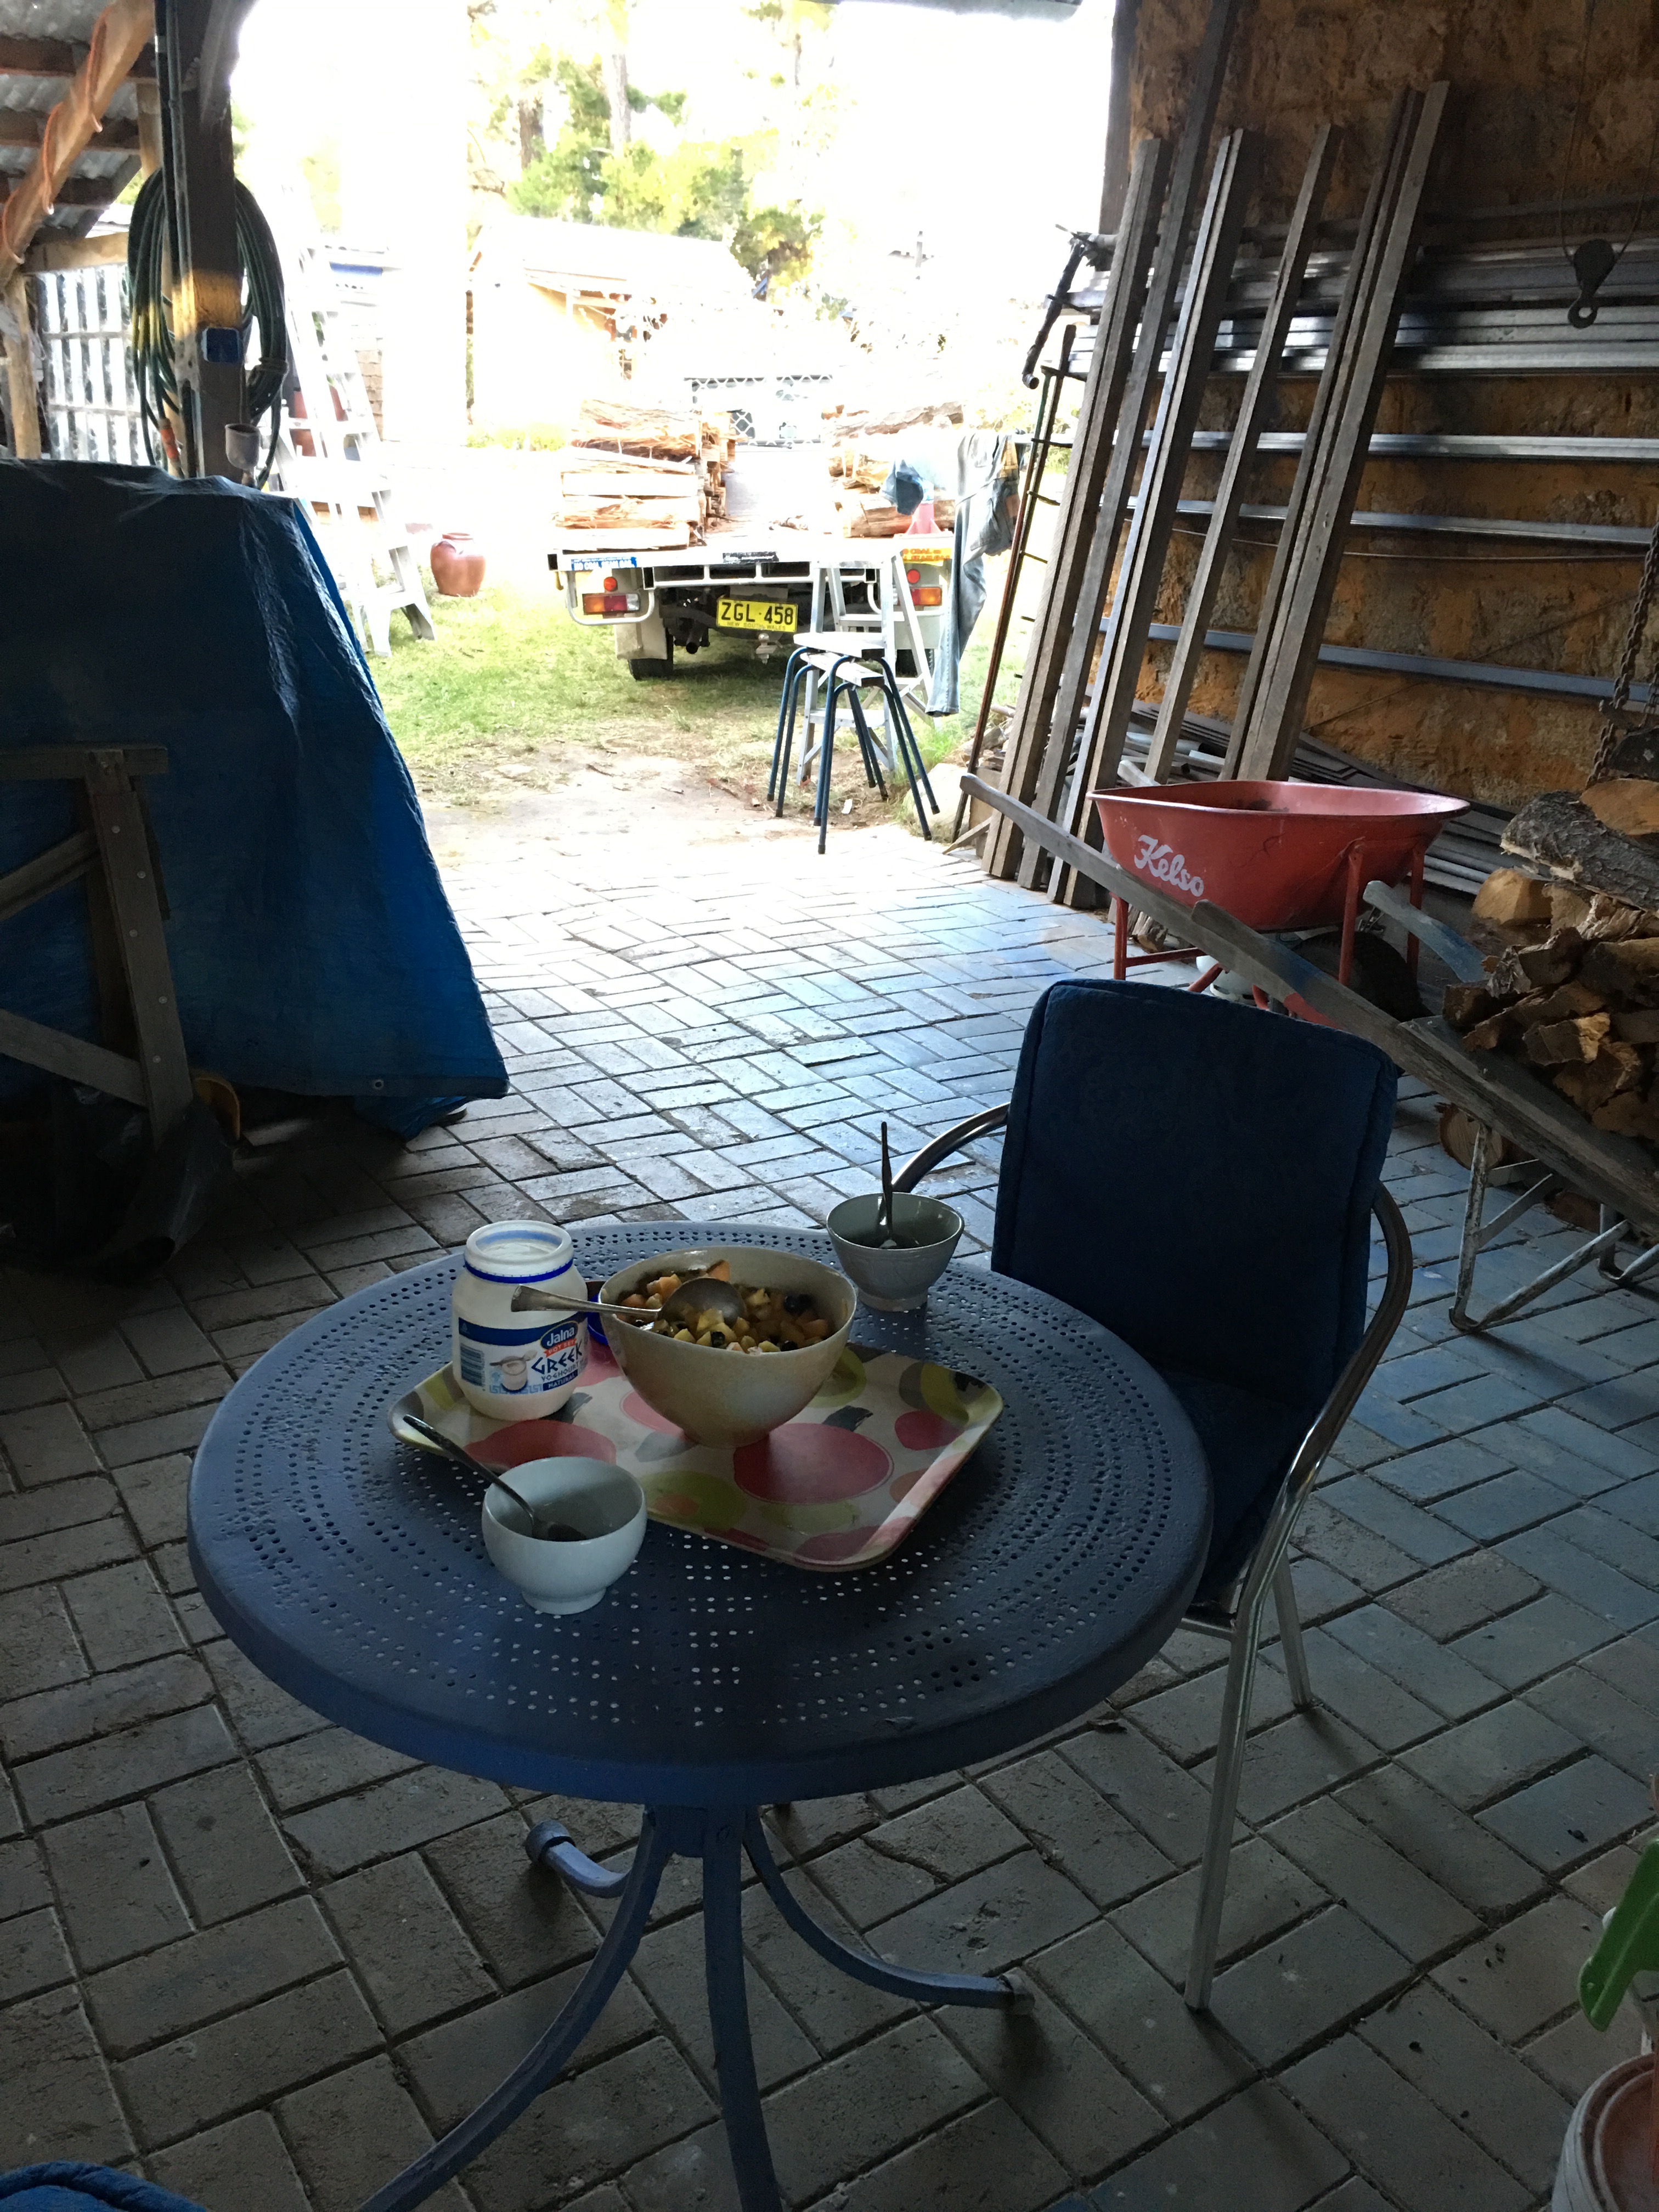


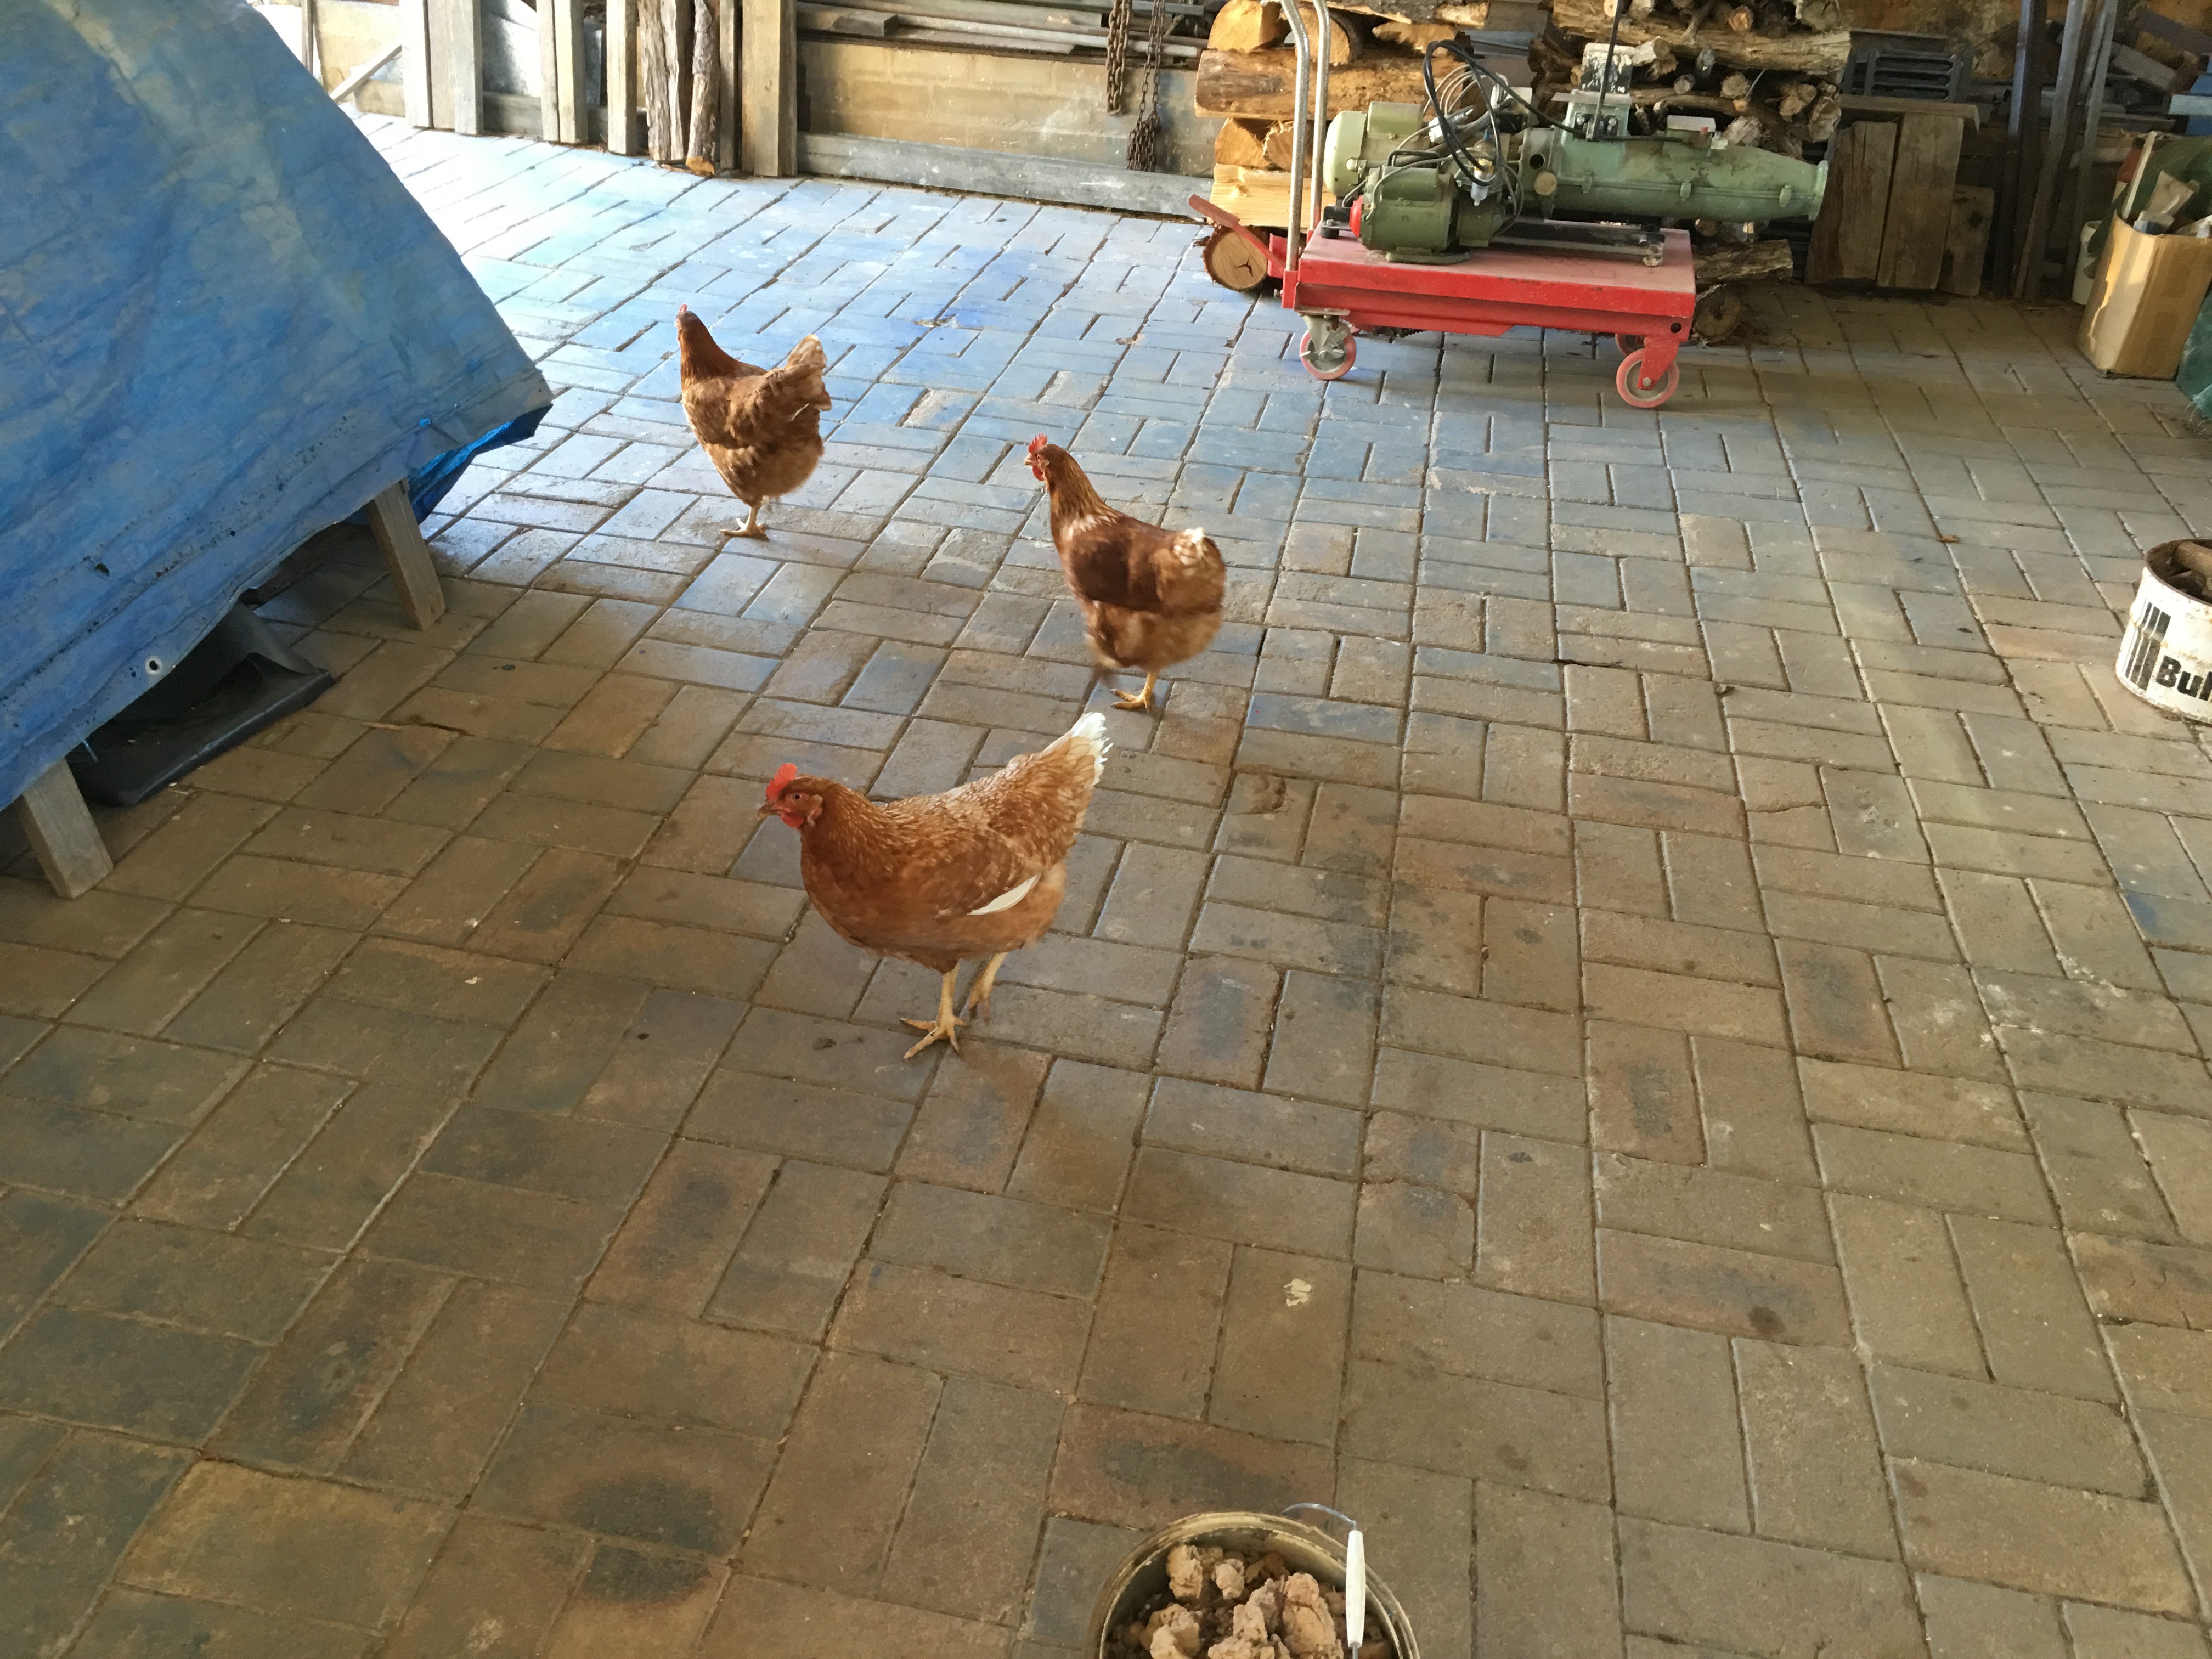
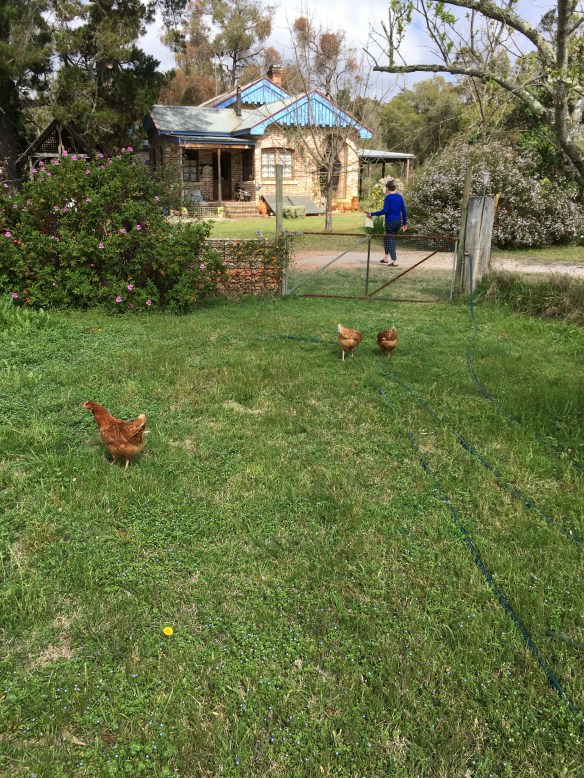
When Janine gets up, she brings me breakfast by the kiln. We eat all our meals during the day down in the kiln shed. We get a visit from the chooks, who call in to see what going on. We fire through into the night. It’s a civilised, steady, easy firing process. With all the wood already cut, split and seasoned in advance. This prepared wood that we are burning, is work that we did months ago in preparation for this moment. To make our lives easier now. We make decisions and make preparations for the future in this way so that we can keep on working, and living this life into our older years.

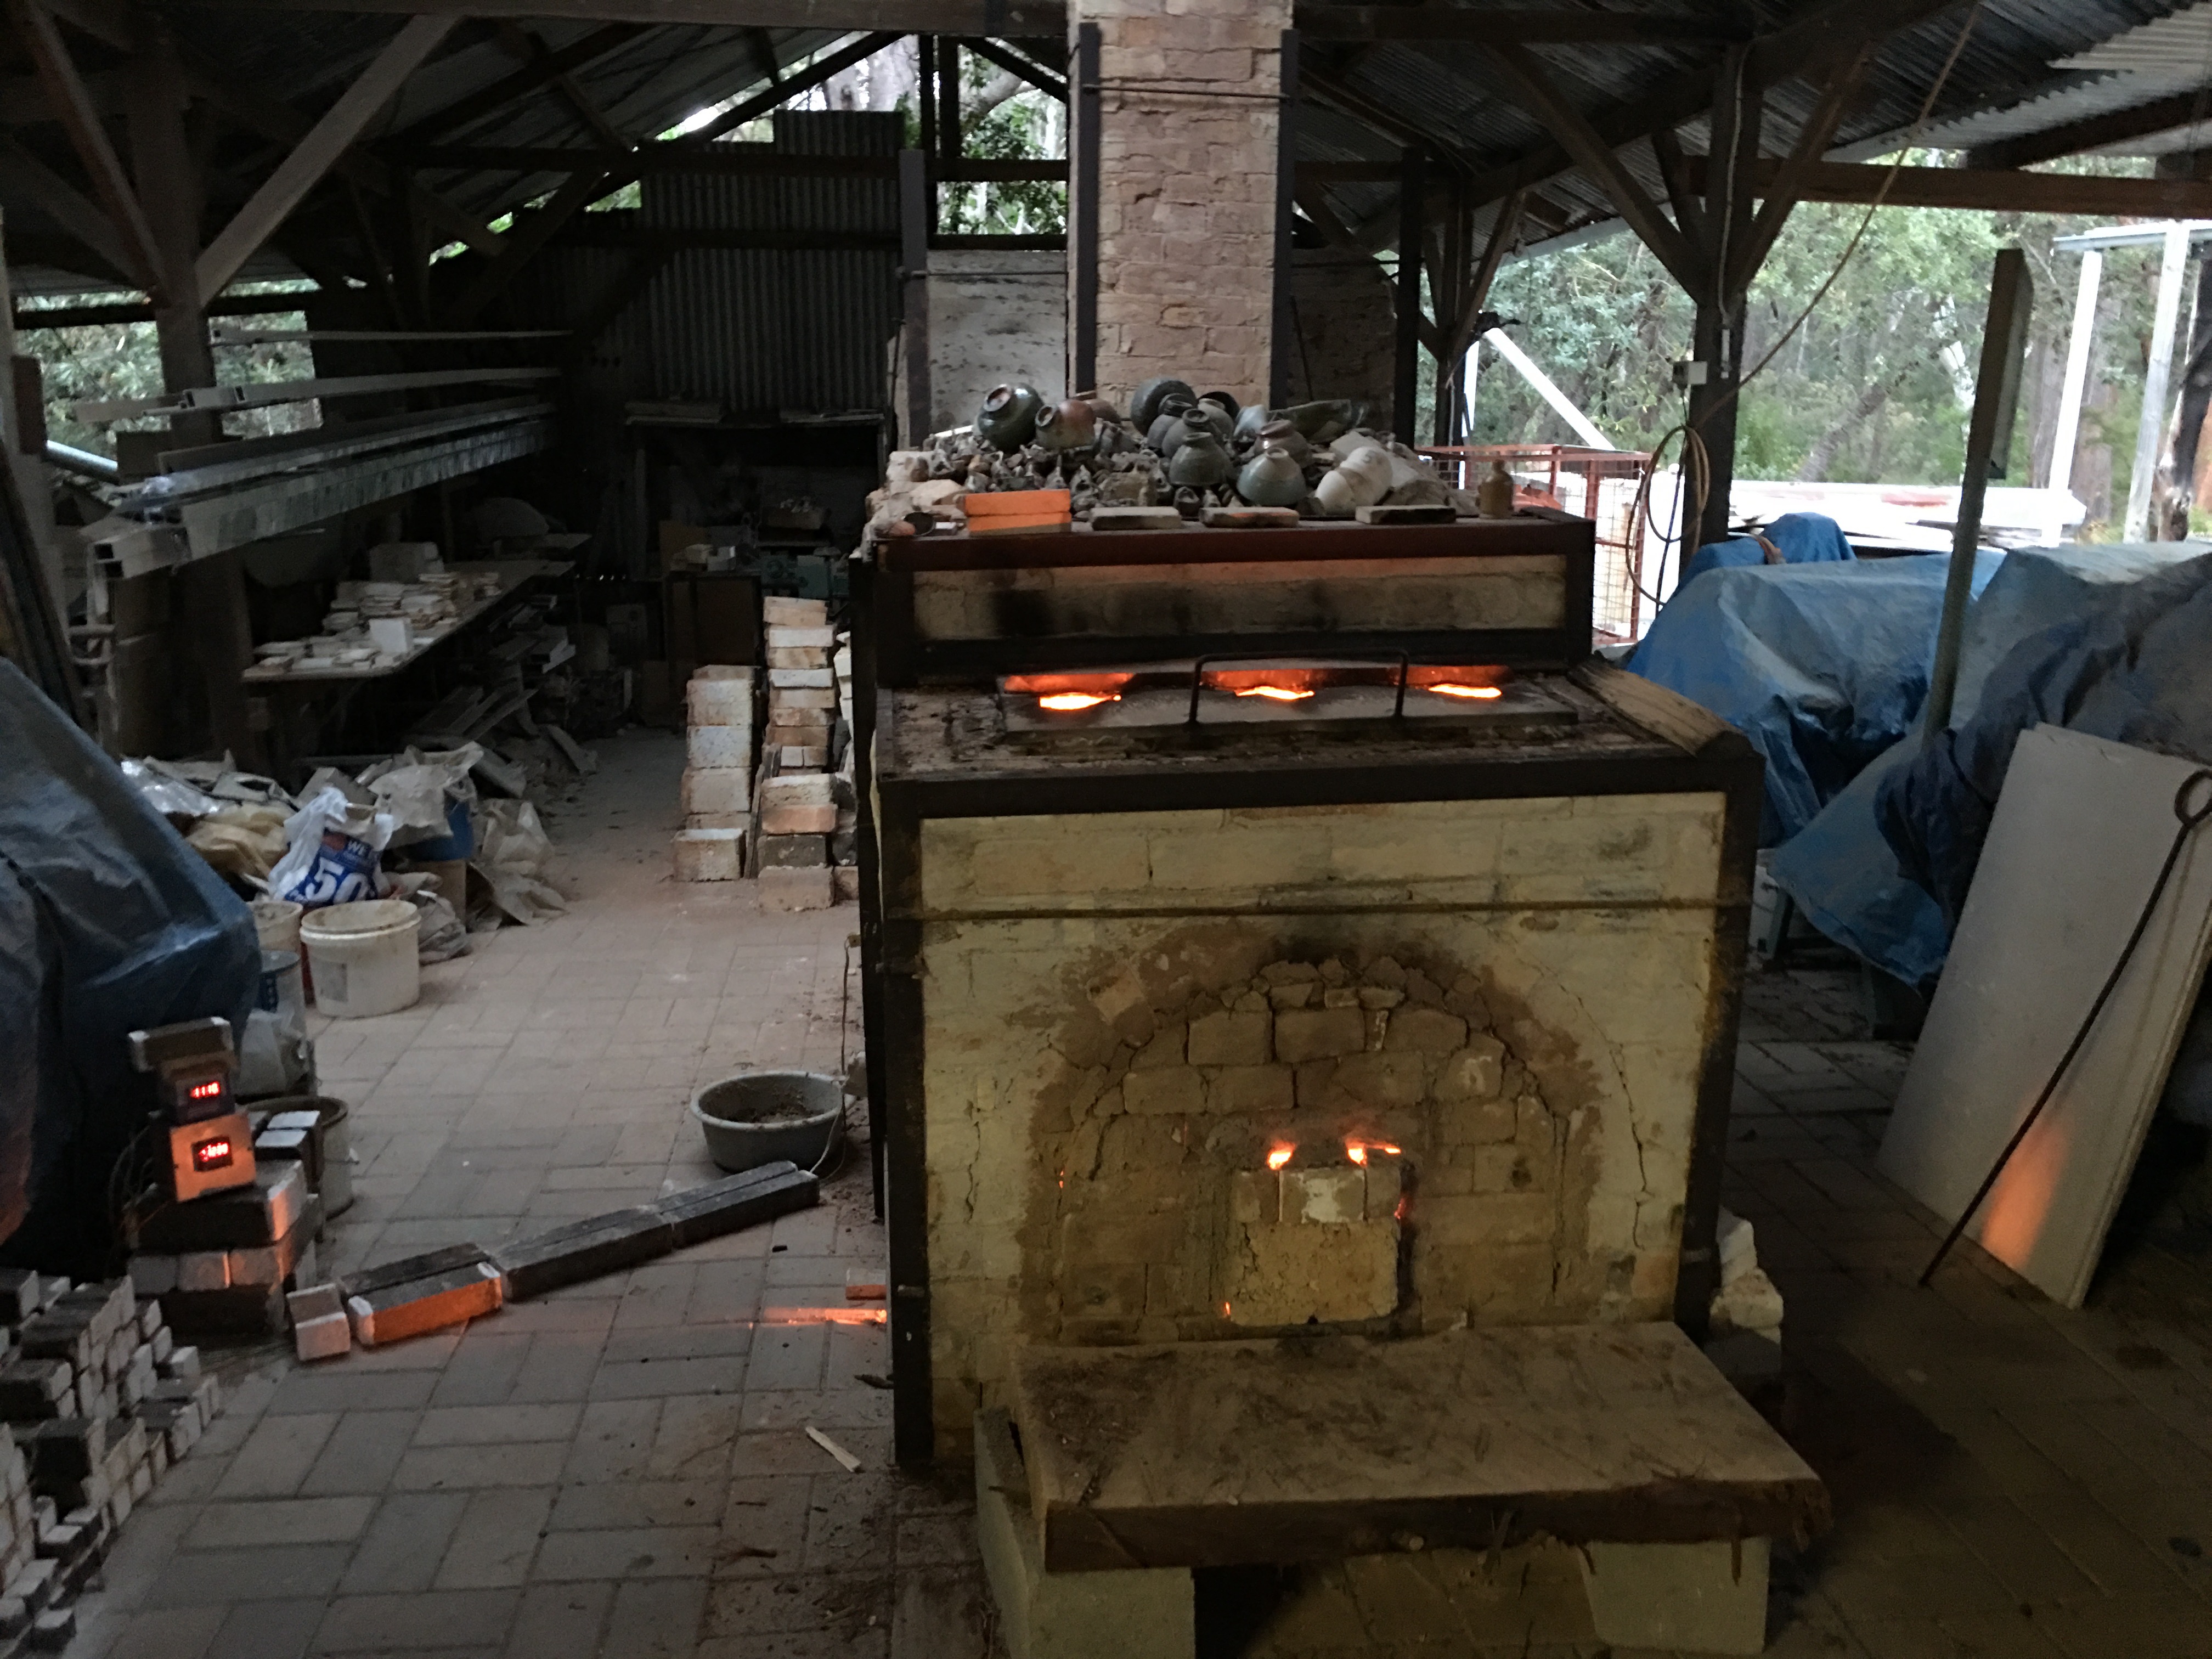
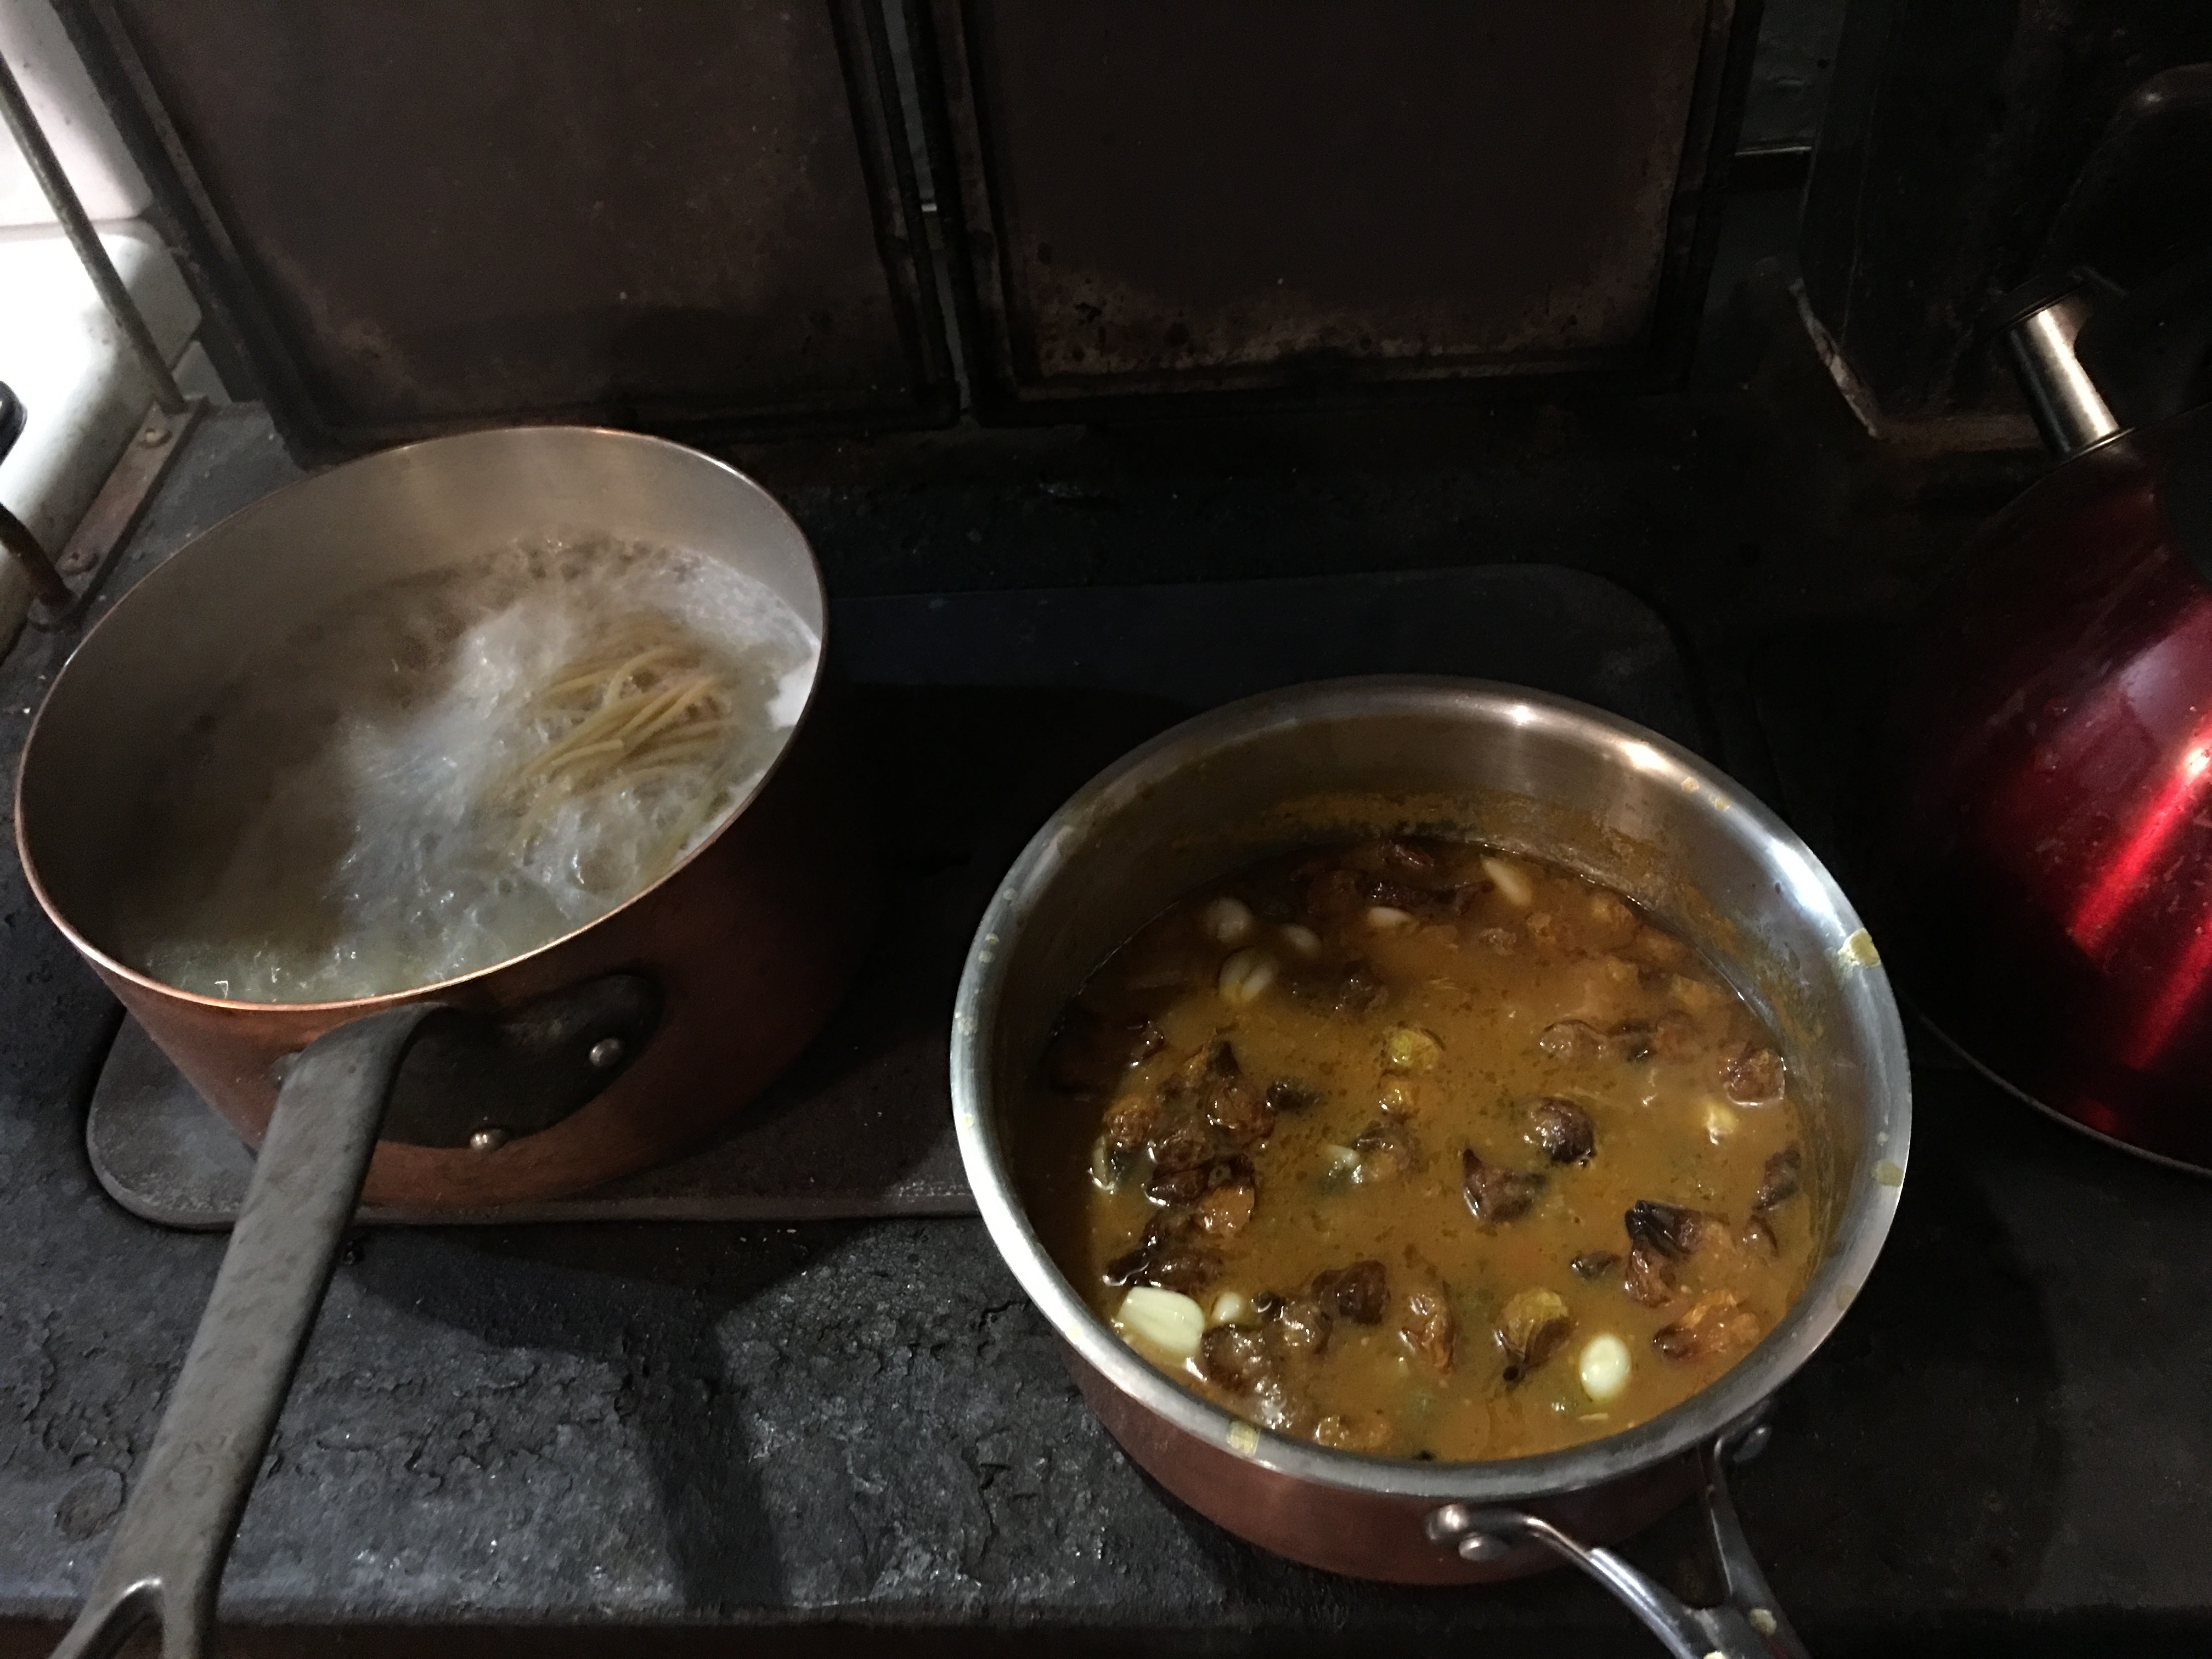
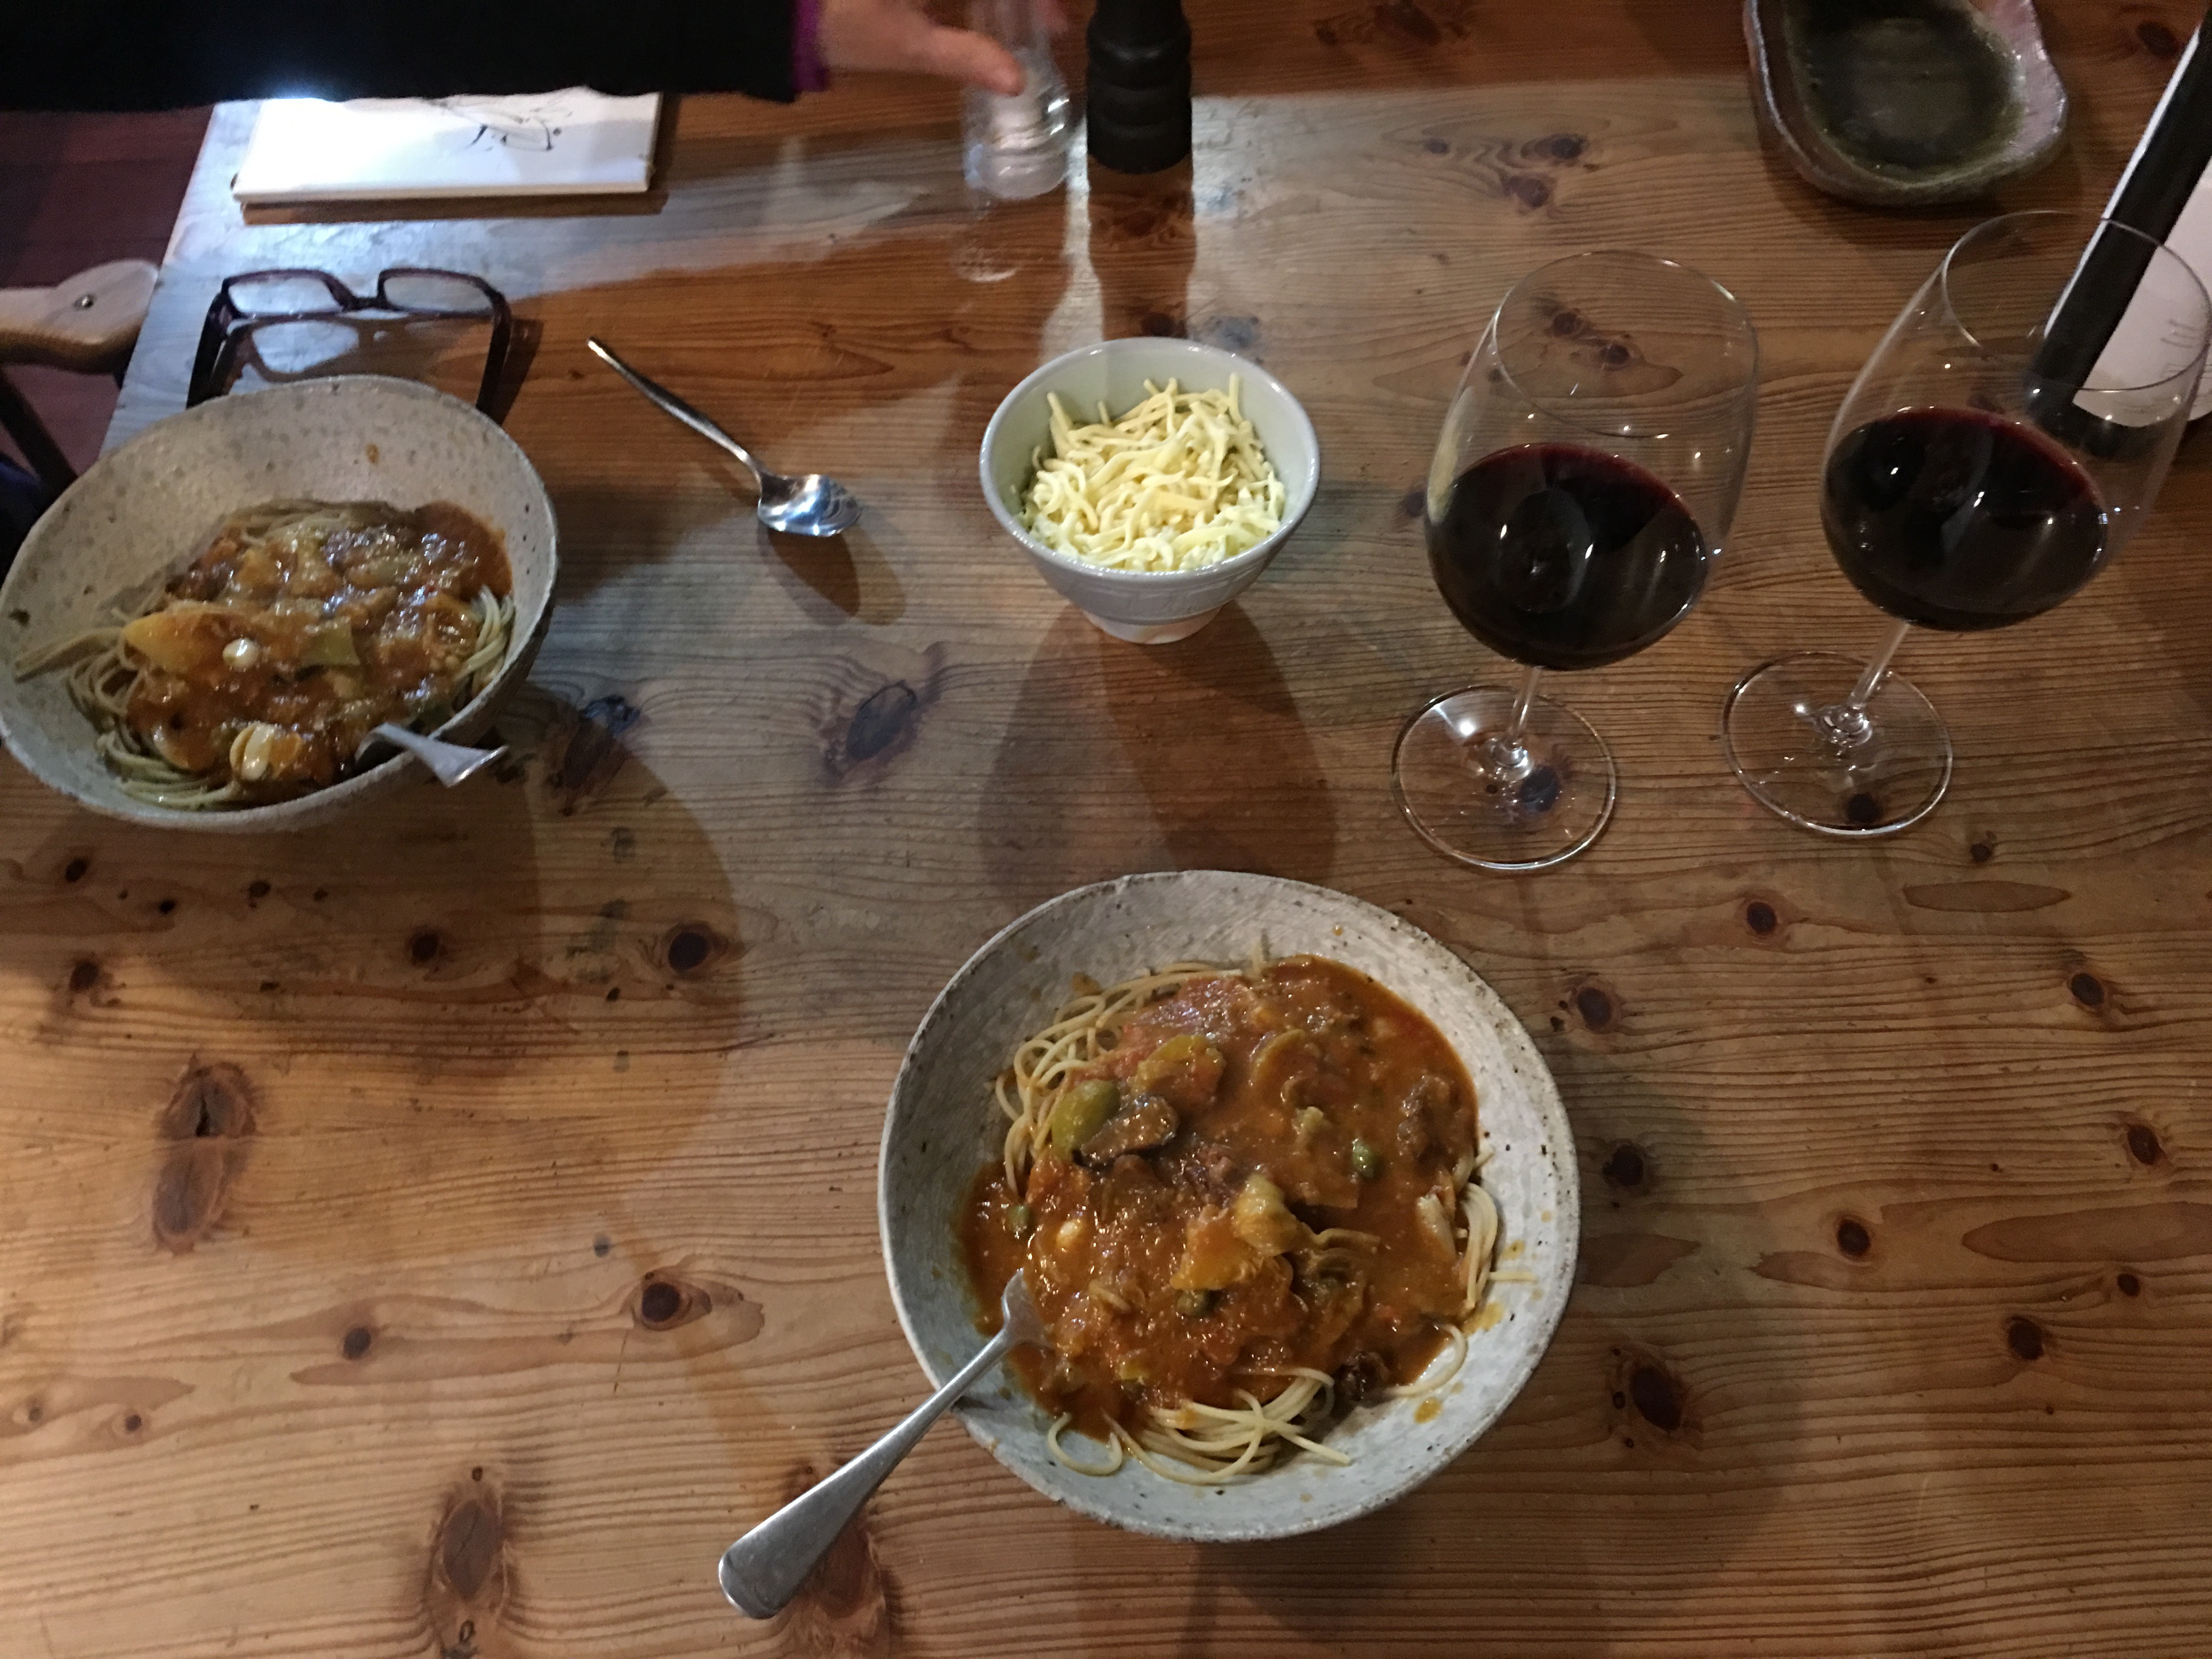
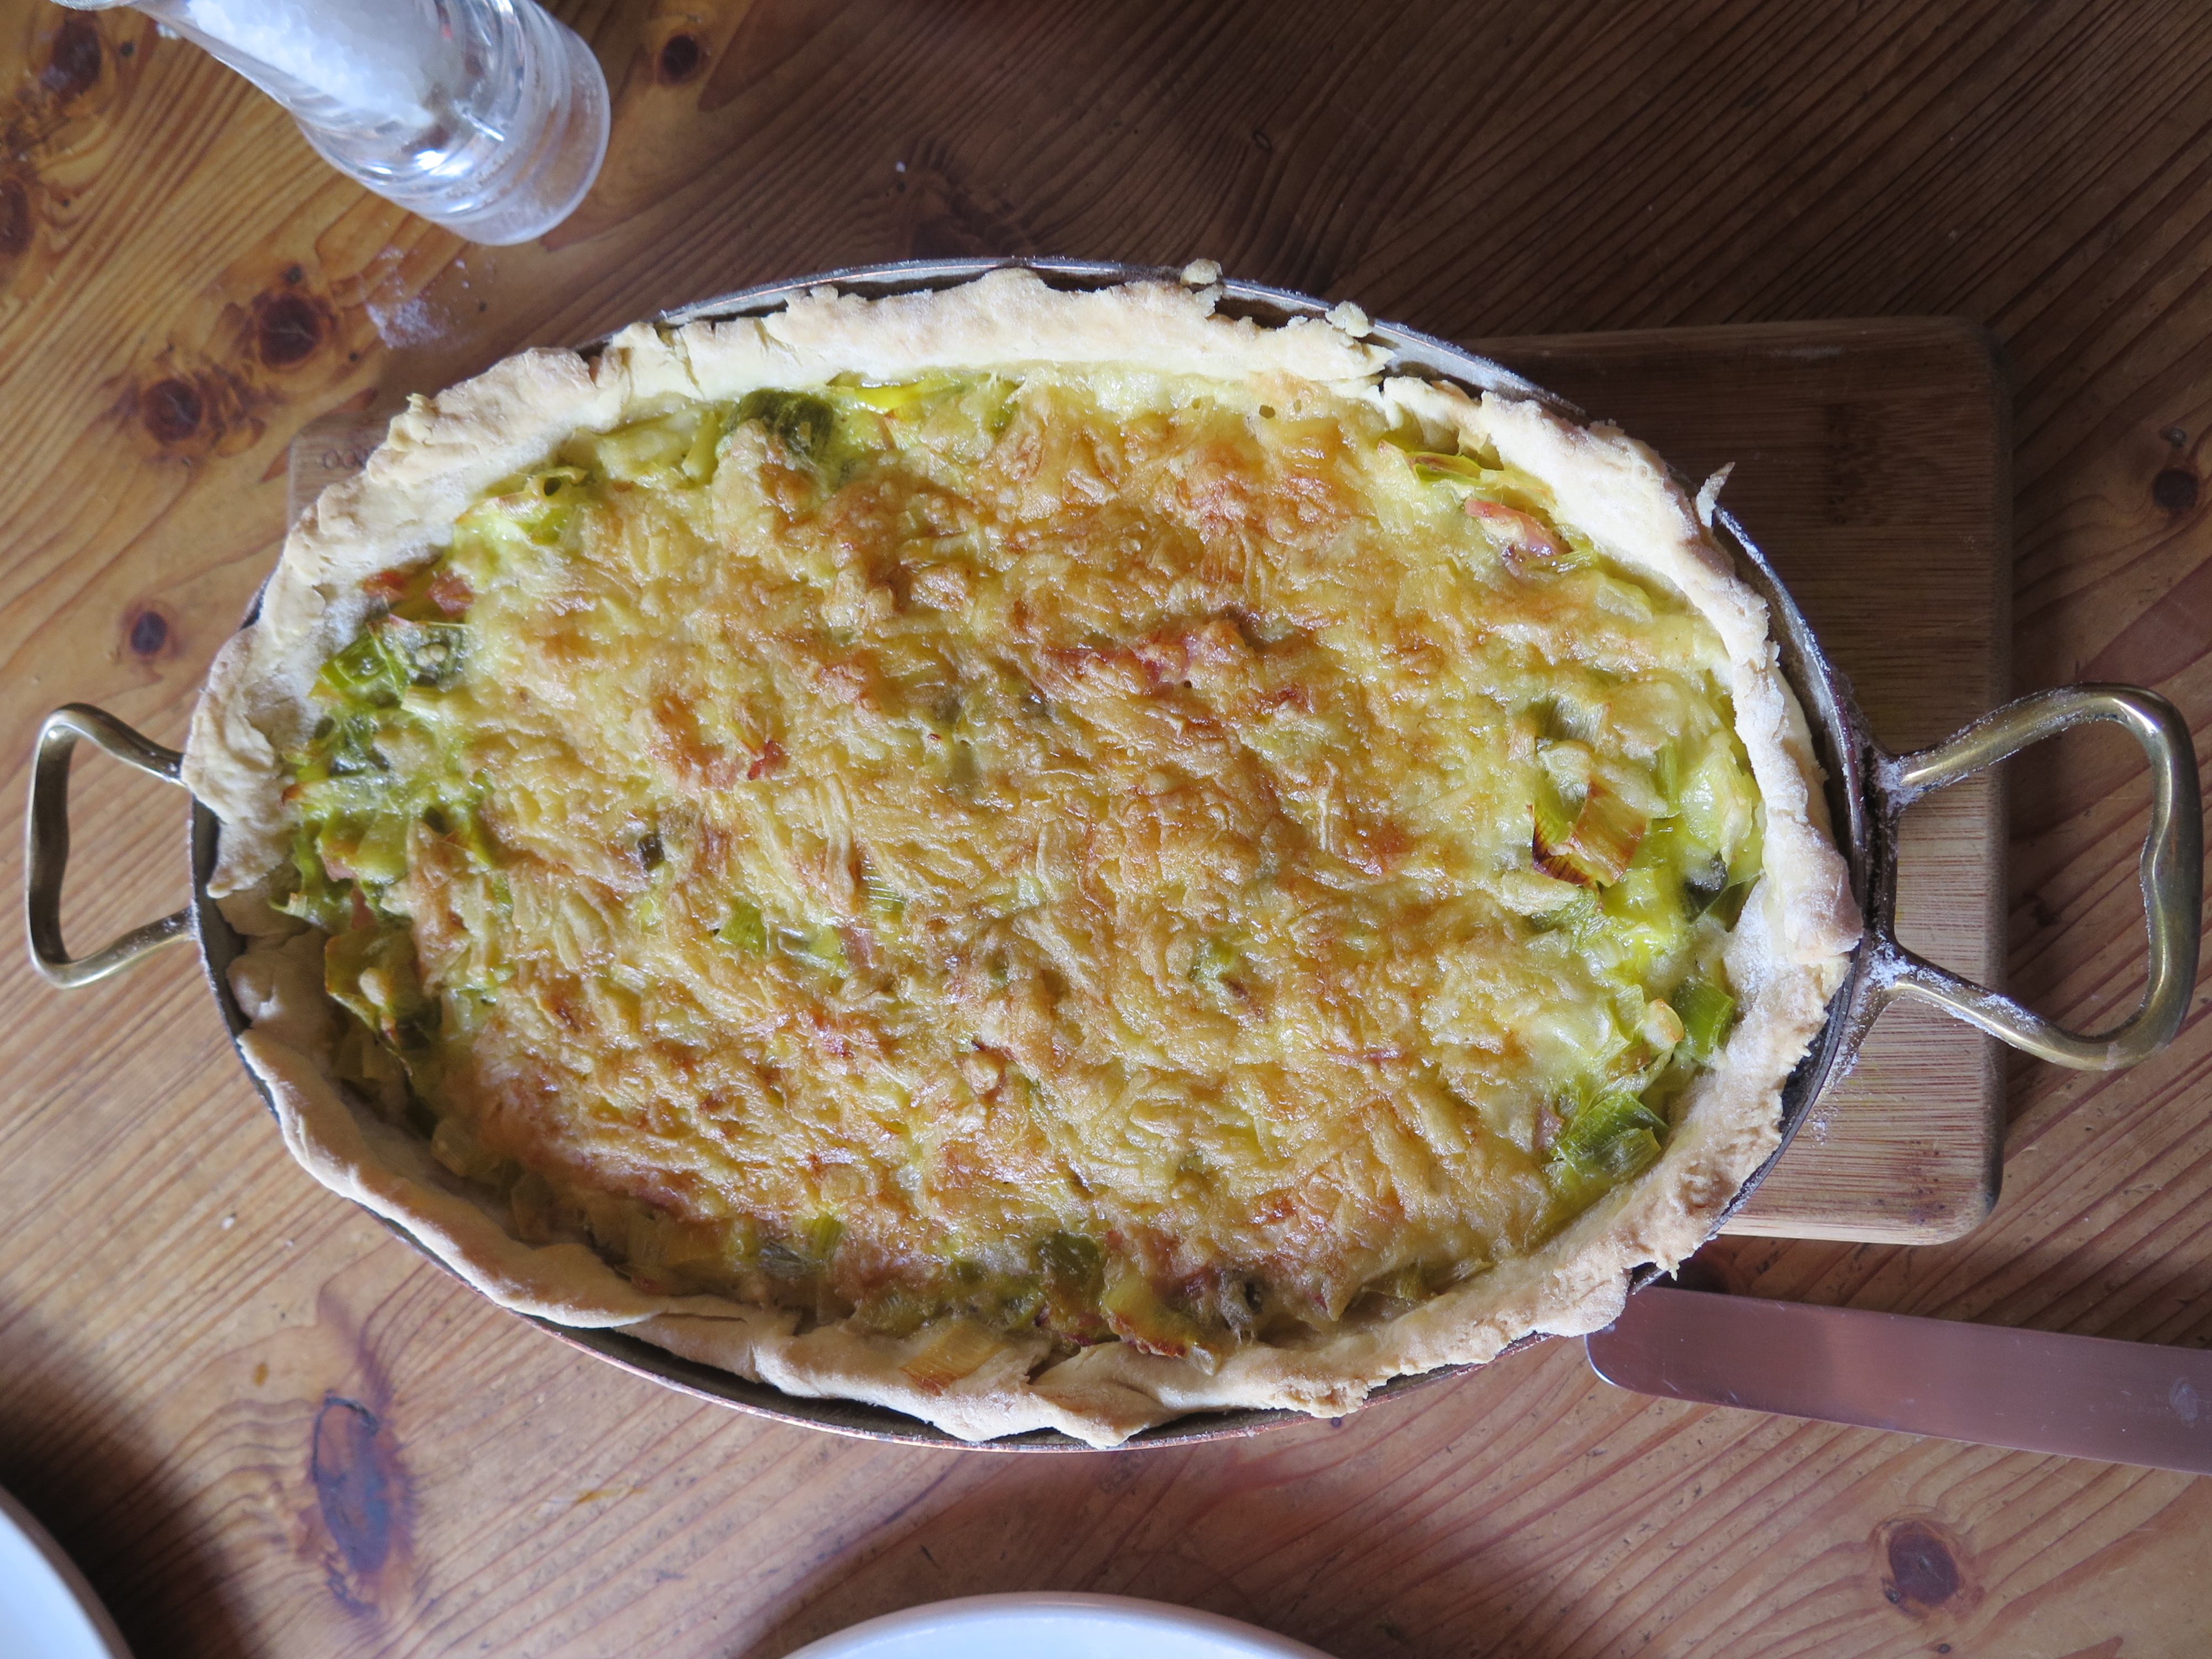
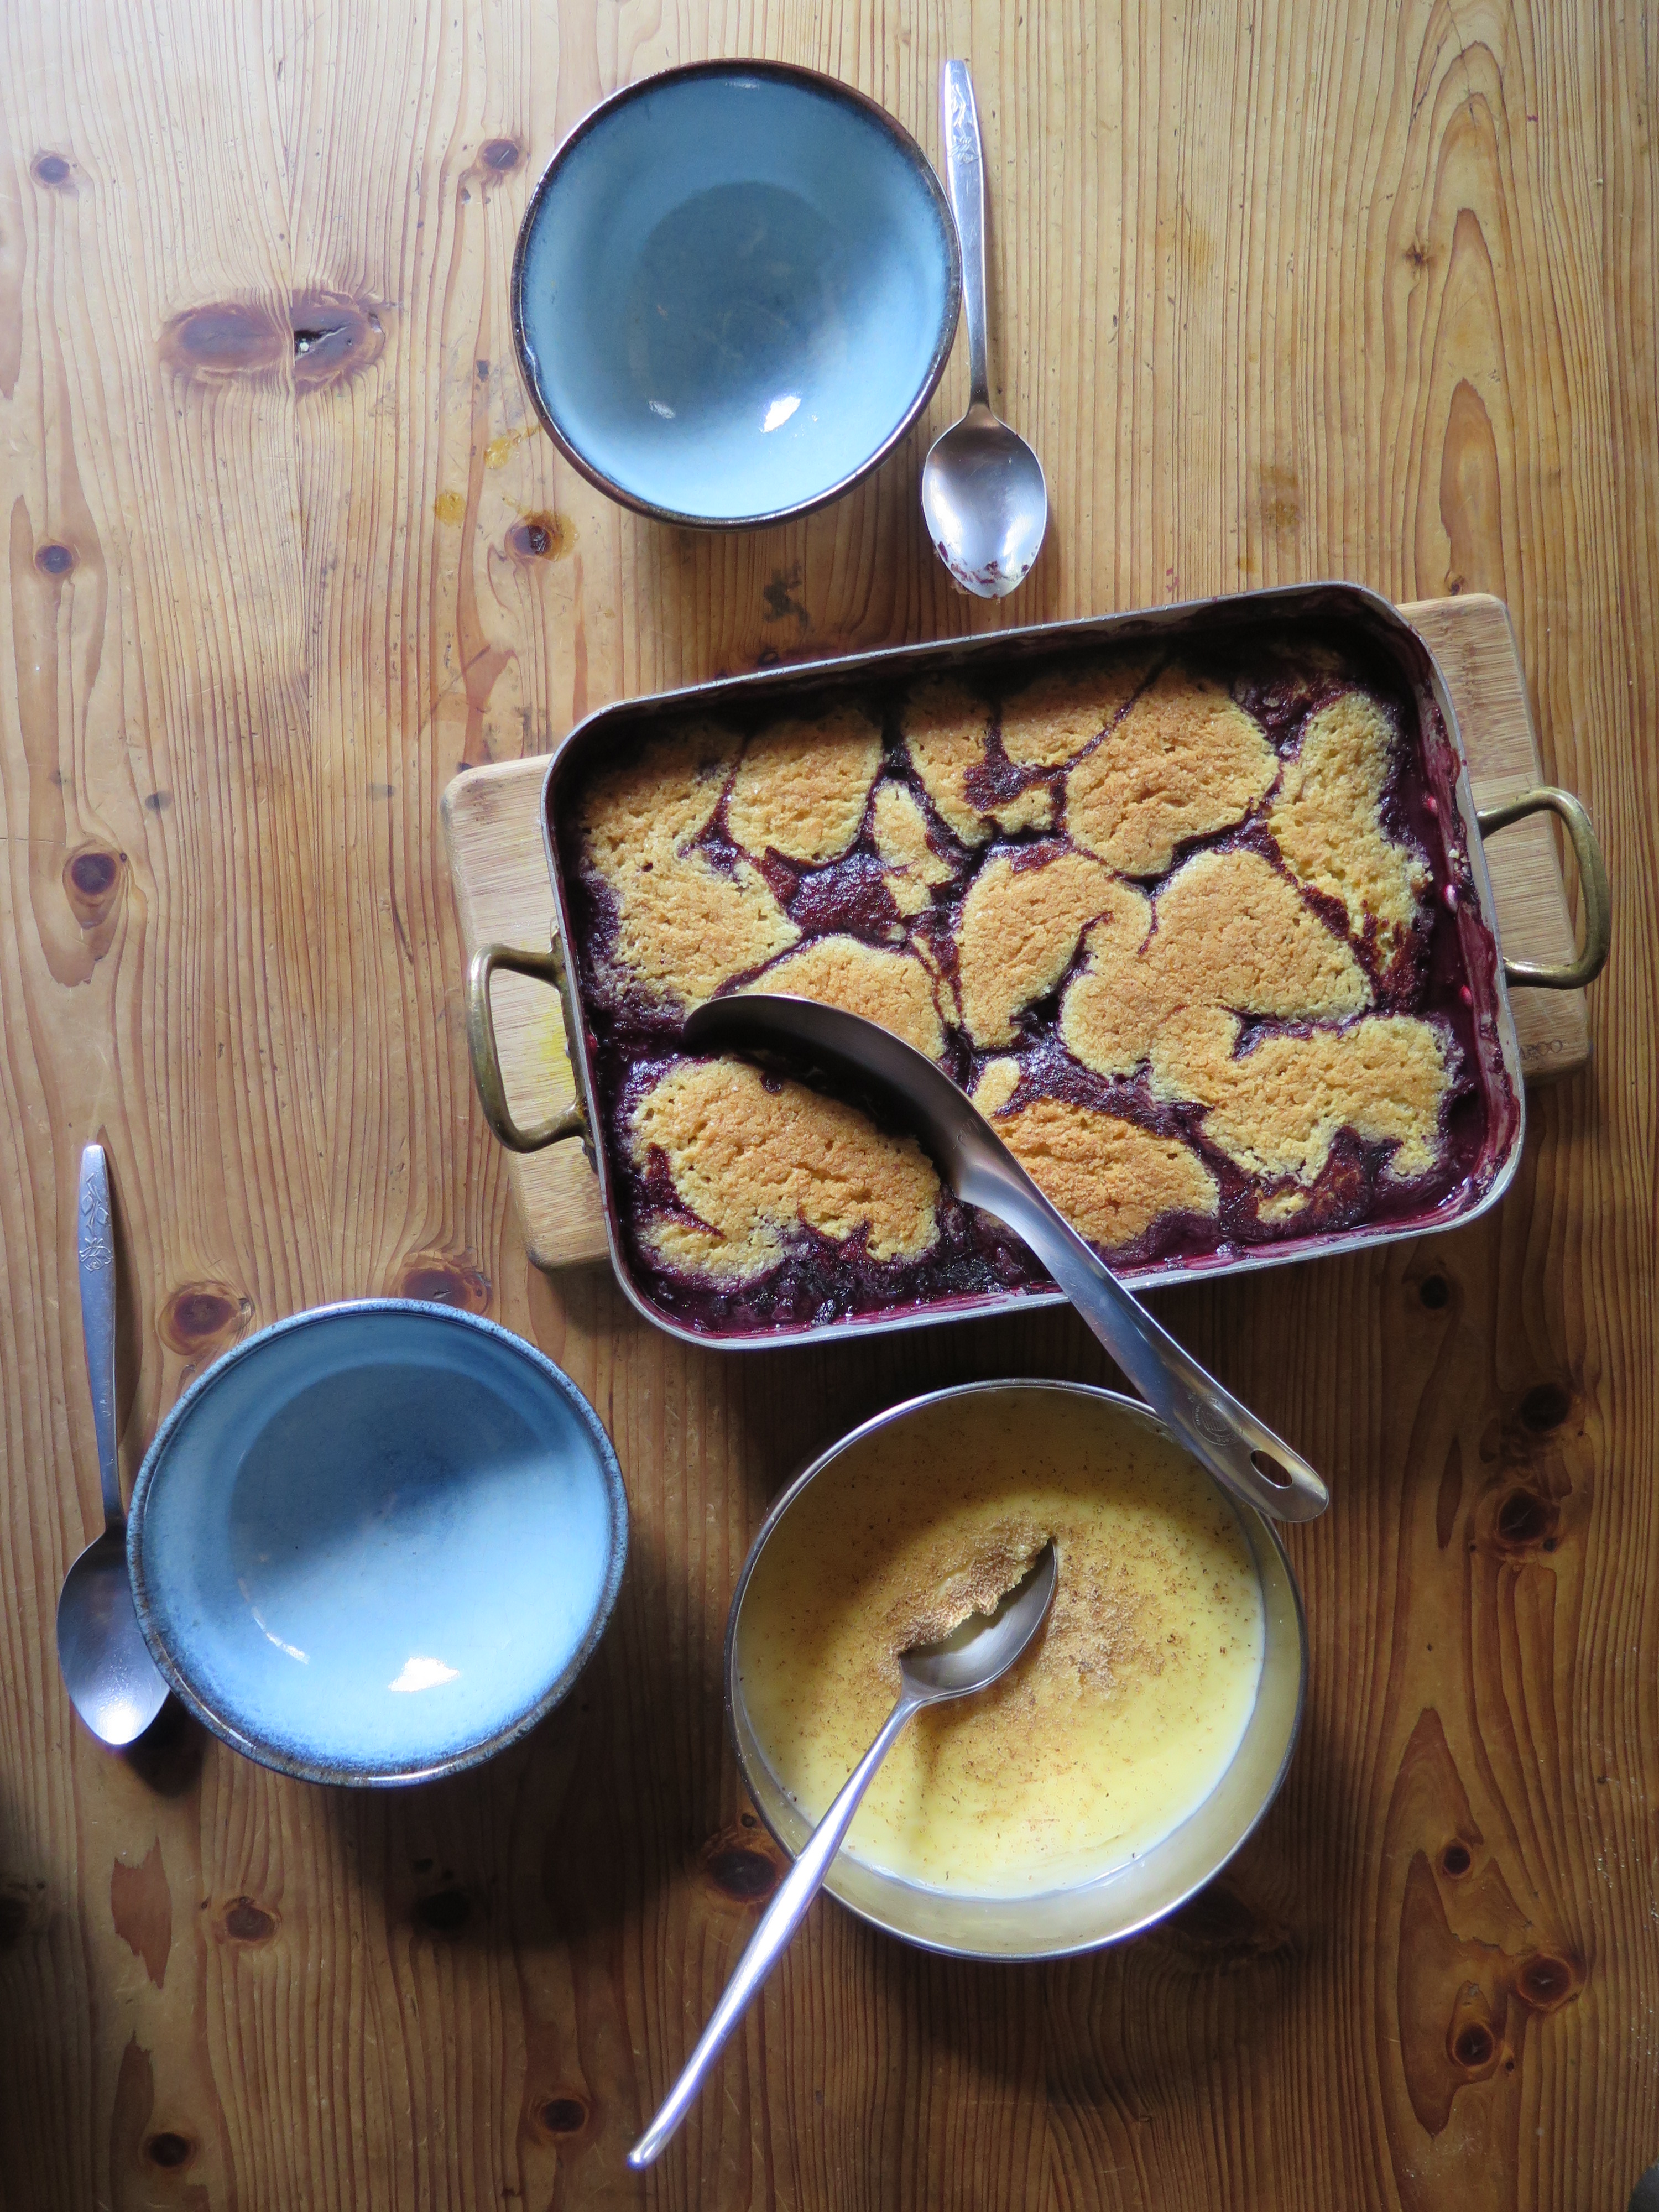
We finish the firing at night, on the same day that we started. Packing and firing the kiln is an intense couple of days. We celebrate the end of the firing with a bottle of bubbly. I cook pasta for dinner. It’s quick and simple, using all our own home-grown ingredients, preserved tomato pasta sauce, our own garlic, our dried tomatoes and dried mushrooms. It’s just like our firing, everything prepared in advance to make this moment of creation easier.

Best wishes
from the well prepared Steve and Janine, working towards the up-coming Southern Highlands Arts Trail, Open Studio weekends. We will be open on the first two weekends of November.


You must be logged in to post a comment.