
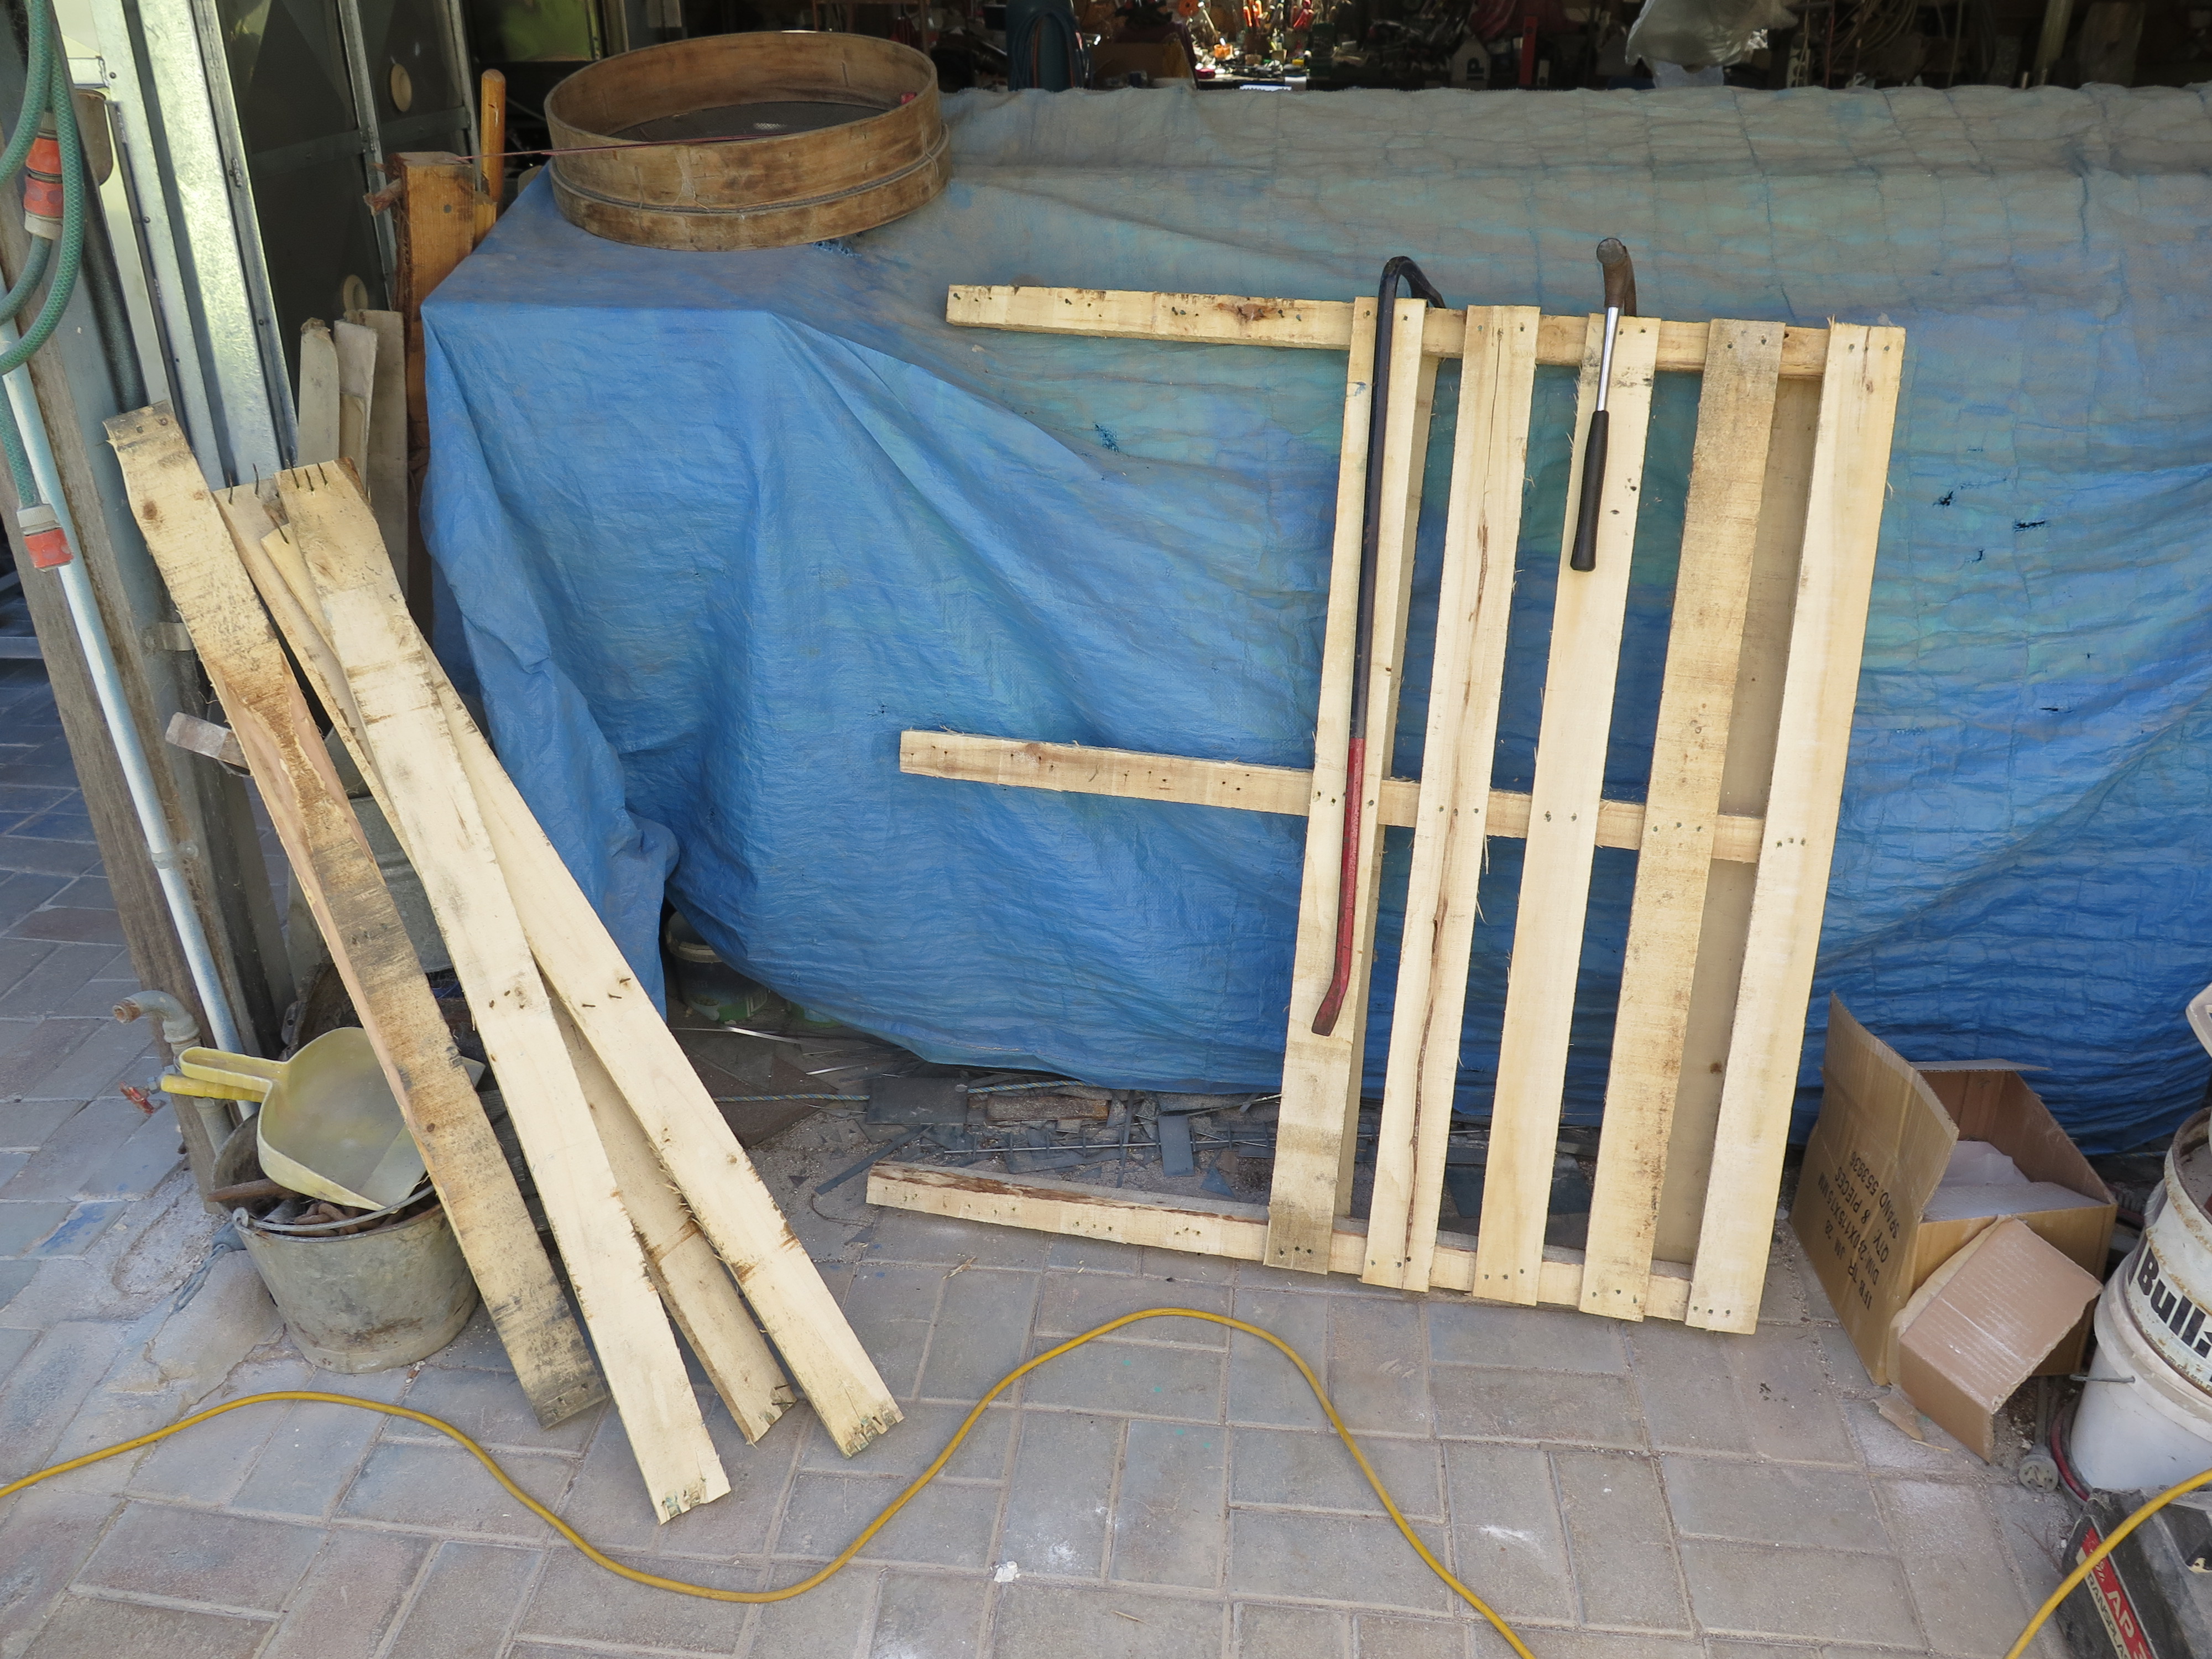
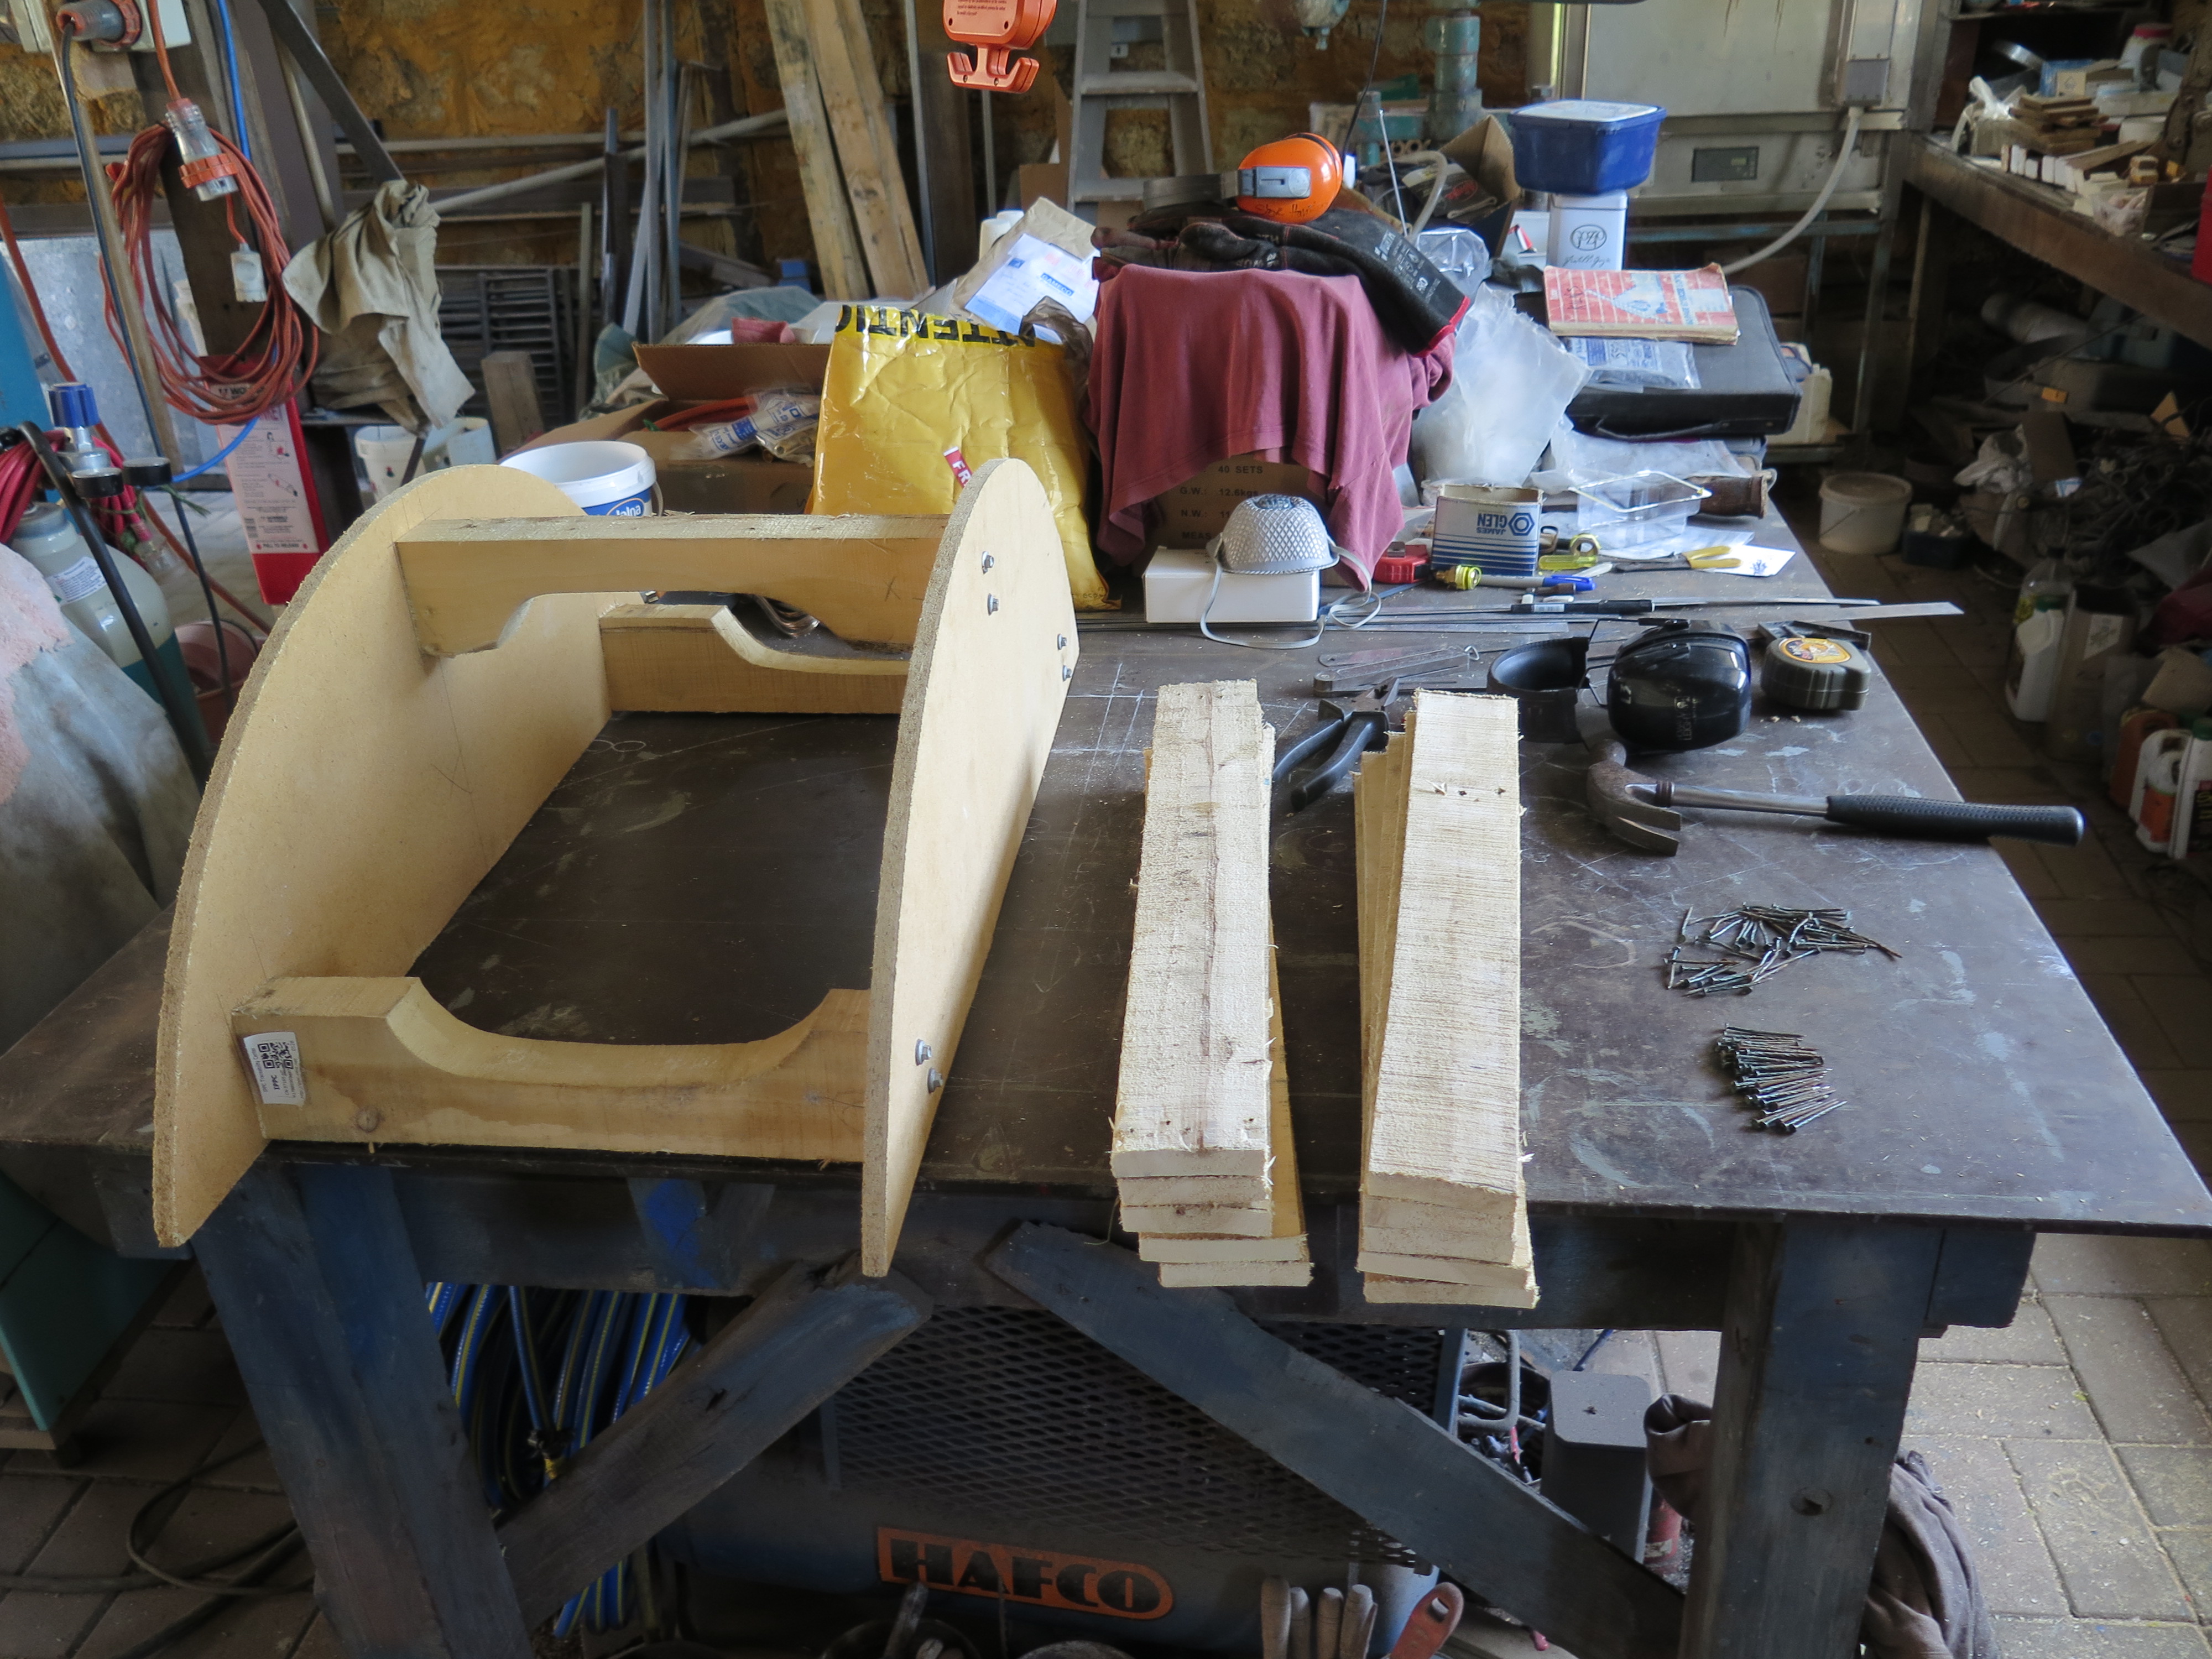
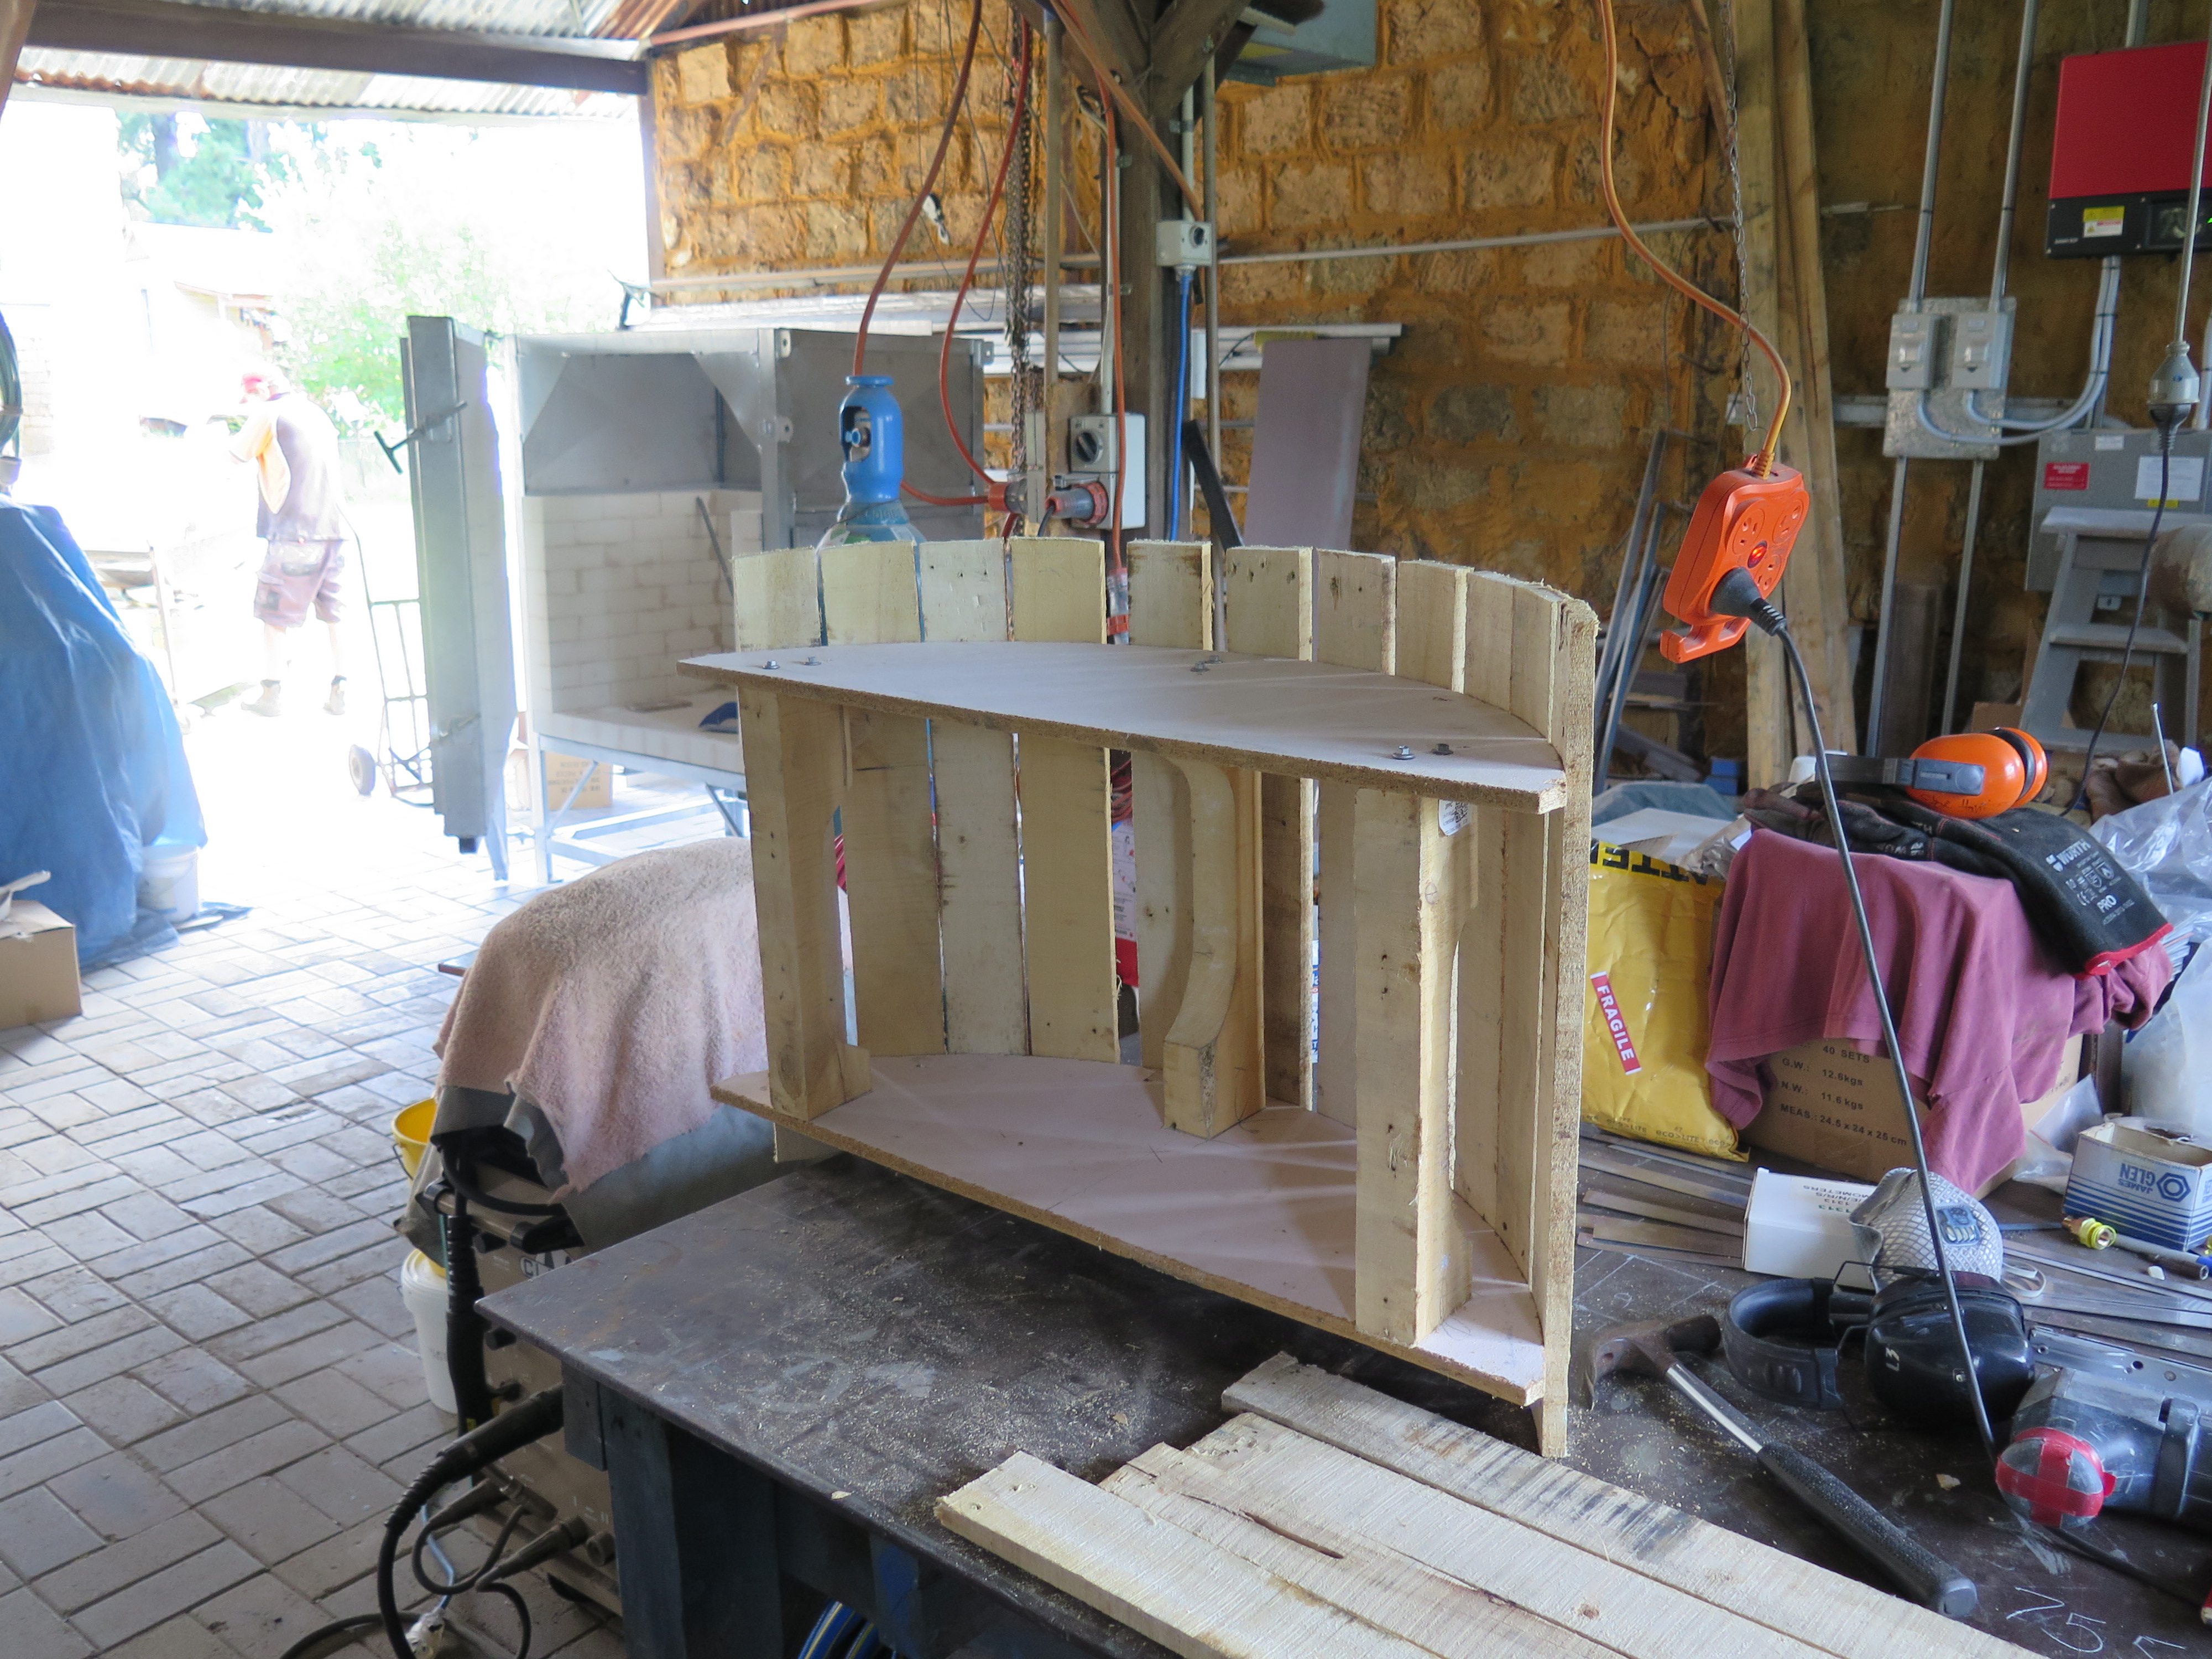
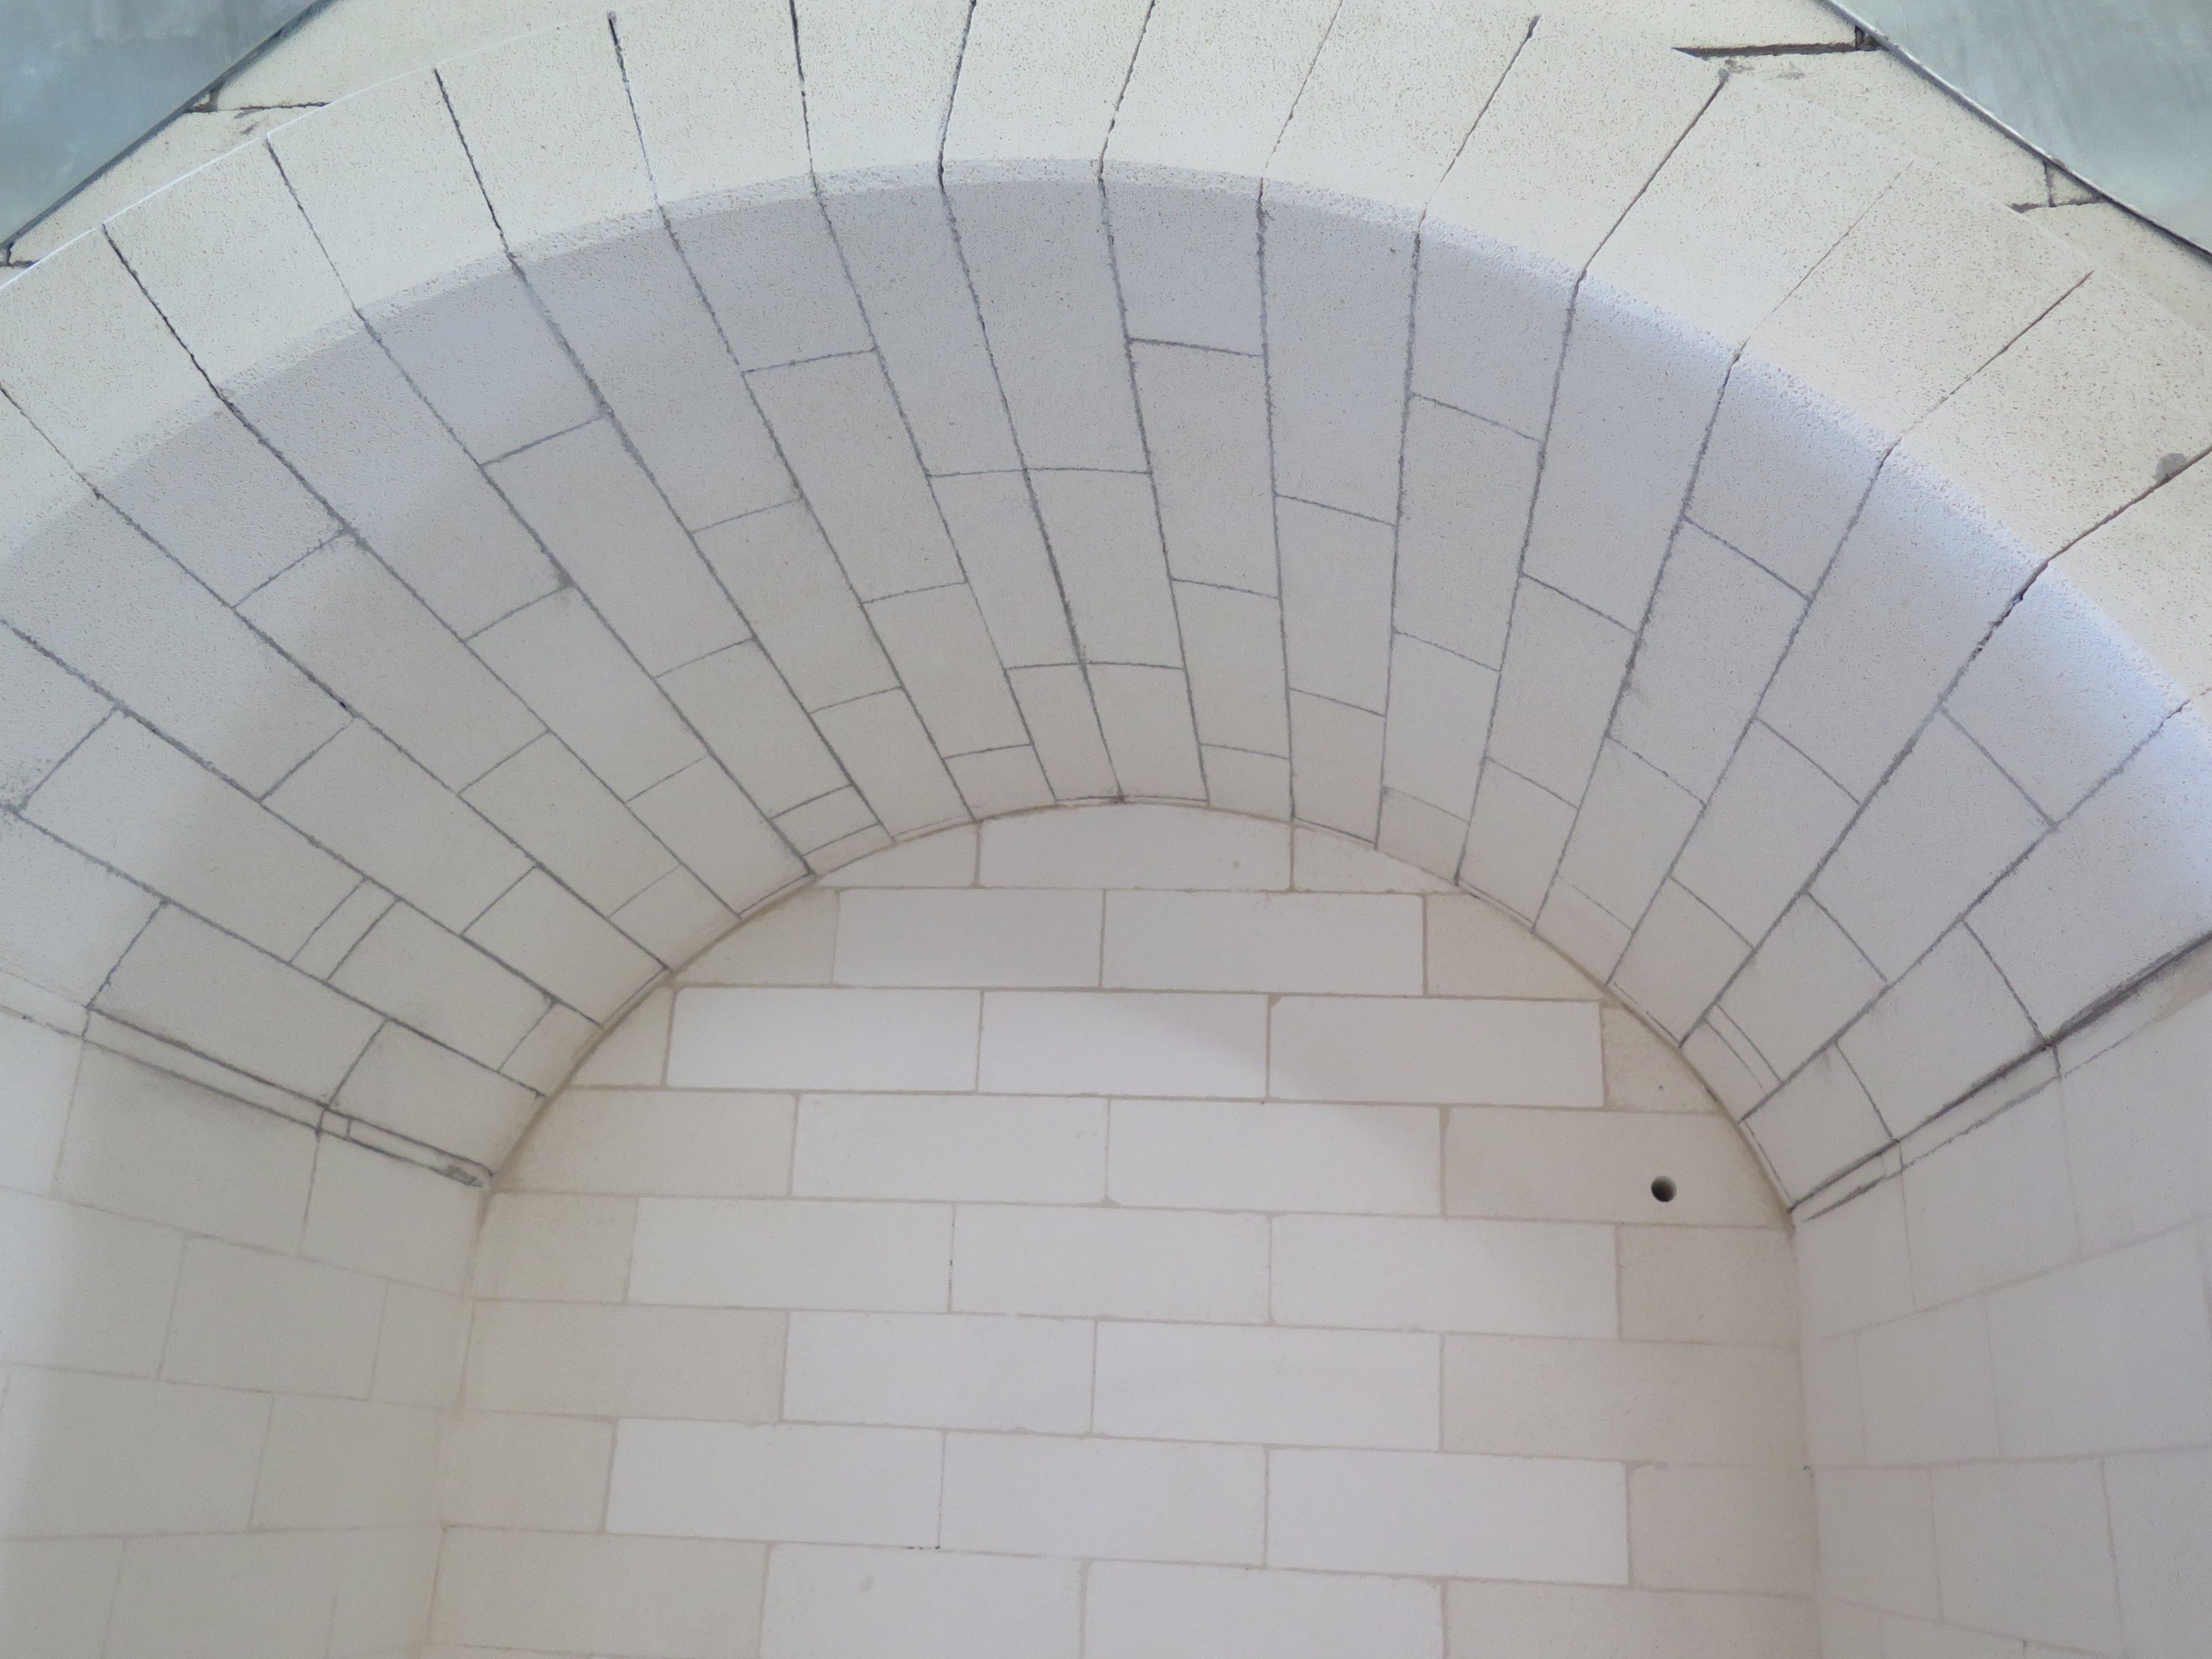
I have just finished building a new kiln for the National Art School in Sydney. Used another pallet of lightweight refractory bricks and turned the empty pallet that they came on into another arch formwork. Every kiln I build is custom built for the customer to suit their specific requirements, so every kiln seems to turn out just a little bit different. Hence I need to make a new arch formwork for most of them. I have stacks of different sized formers in stock, just waiting for someone to order a kiln that is the same cross-section, rise and dimension. But it rarely happens. It’s a lot of work to make the shuttering for each kiln, but it is absolutely necessary if you want a beautiful arch that won’t drop spalls down onto your work during the firing. I really like to recycle the empty pallet and its nails, into something positive with a real purpose, instead of just burning it.
Arch formers are actually quite lovely things in their own right if they are made with care and attention to detail, and yet nobody sees them. They remain an invisible, but necessary part of the creation of a beautiful object.

Warren tells me a story about the medieval tradition of the chalking floor or the tracing floor. A special room in a cathedral, where in ancient times the master masons would plan out the architectural details of a building and snap out chalk lines of the dimensions of the job at hand, directly onto the plastered stone floor in real time and one-to-one scale. These plans were then transposed to the workmen on the job in many seperate, small details, so that no one person, except the master mason knew the whole story and how the design, angles and dimensions were achieved.
I chalk out the details of the arch to be built onto the steel workbench top with boilermakers chalk and this is then transposed onto the pallet wood that I have just dissassembled and recovered for re-use. Warren watches me working out the details. Swinging the radius with a trammel line and dividing the inner arc by the taper of the brick unit size. It’s medieval in its simplicity and complexity. Nothing has changed in one thousand years. A plumb line, a straight edge, a measure and some chalk. The end result is beautiful and elegant. I now know the size, taper, and number of arch bricks that I need to cut to make a perfect arch, as well as the angle and dimension of the springer bricks that will support the arch.
However, unlike the ancient masons, I will use a diamond blade saw bench and a steel jig to do the precise cutting.

The Lovely comes down to the workshop with freshly chilled, dark grape juice drinks for us on this very hot day and asks what I am doing, looking over at me chalking out my secret mens business. I explain that if I tell her, then she will have to die!
Only the master mason can know the secret of our techniques. Nothing personal, it’s just the medieval Master Masons traditional Lore.
She tells me that I can make my own dark grape juice in future.
But she can’t tell me the recipe otherwise I’ll have to die! Seems fair.
fond regards from Mr and Mrs Mason

You must be logged in to post a comment.