Make Clay While the Sun Shines

Warning! This post could be very boring if you are not a potter – and maybe even if you are?
Contains technical terms and traces of nuts.
.
Making clay while the sun shines is a very good idea and ought to be possible in summer, but not this summer.
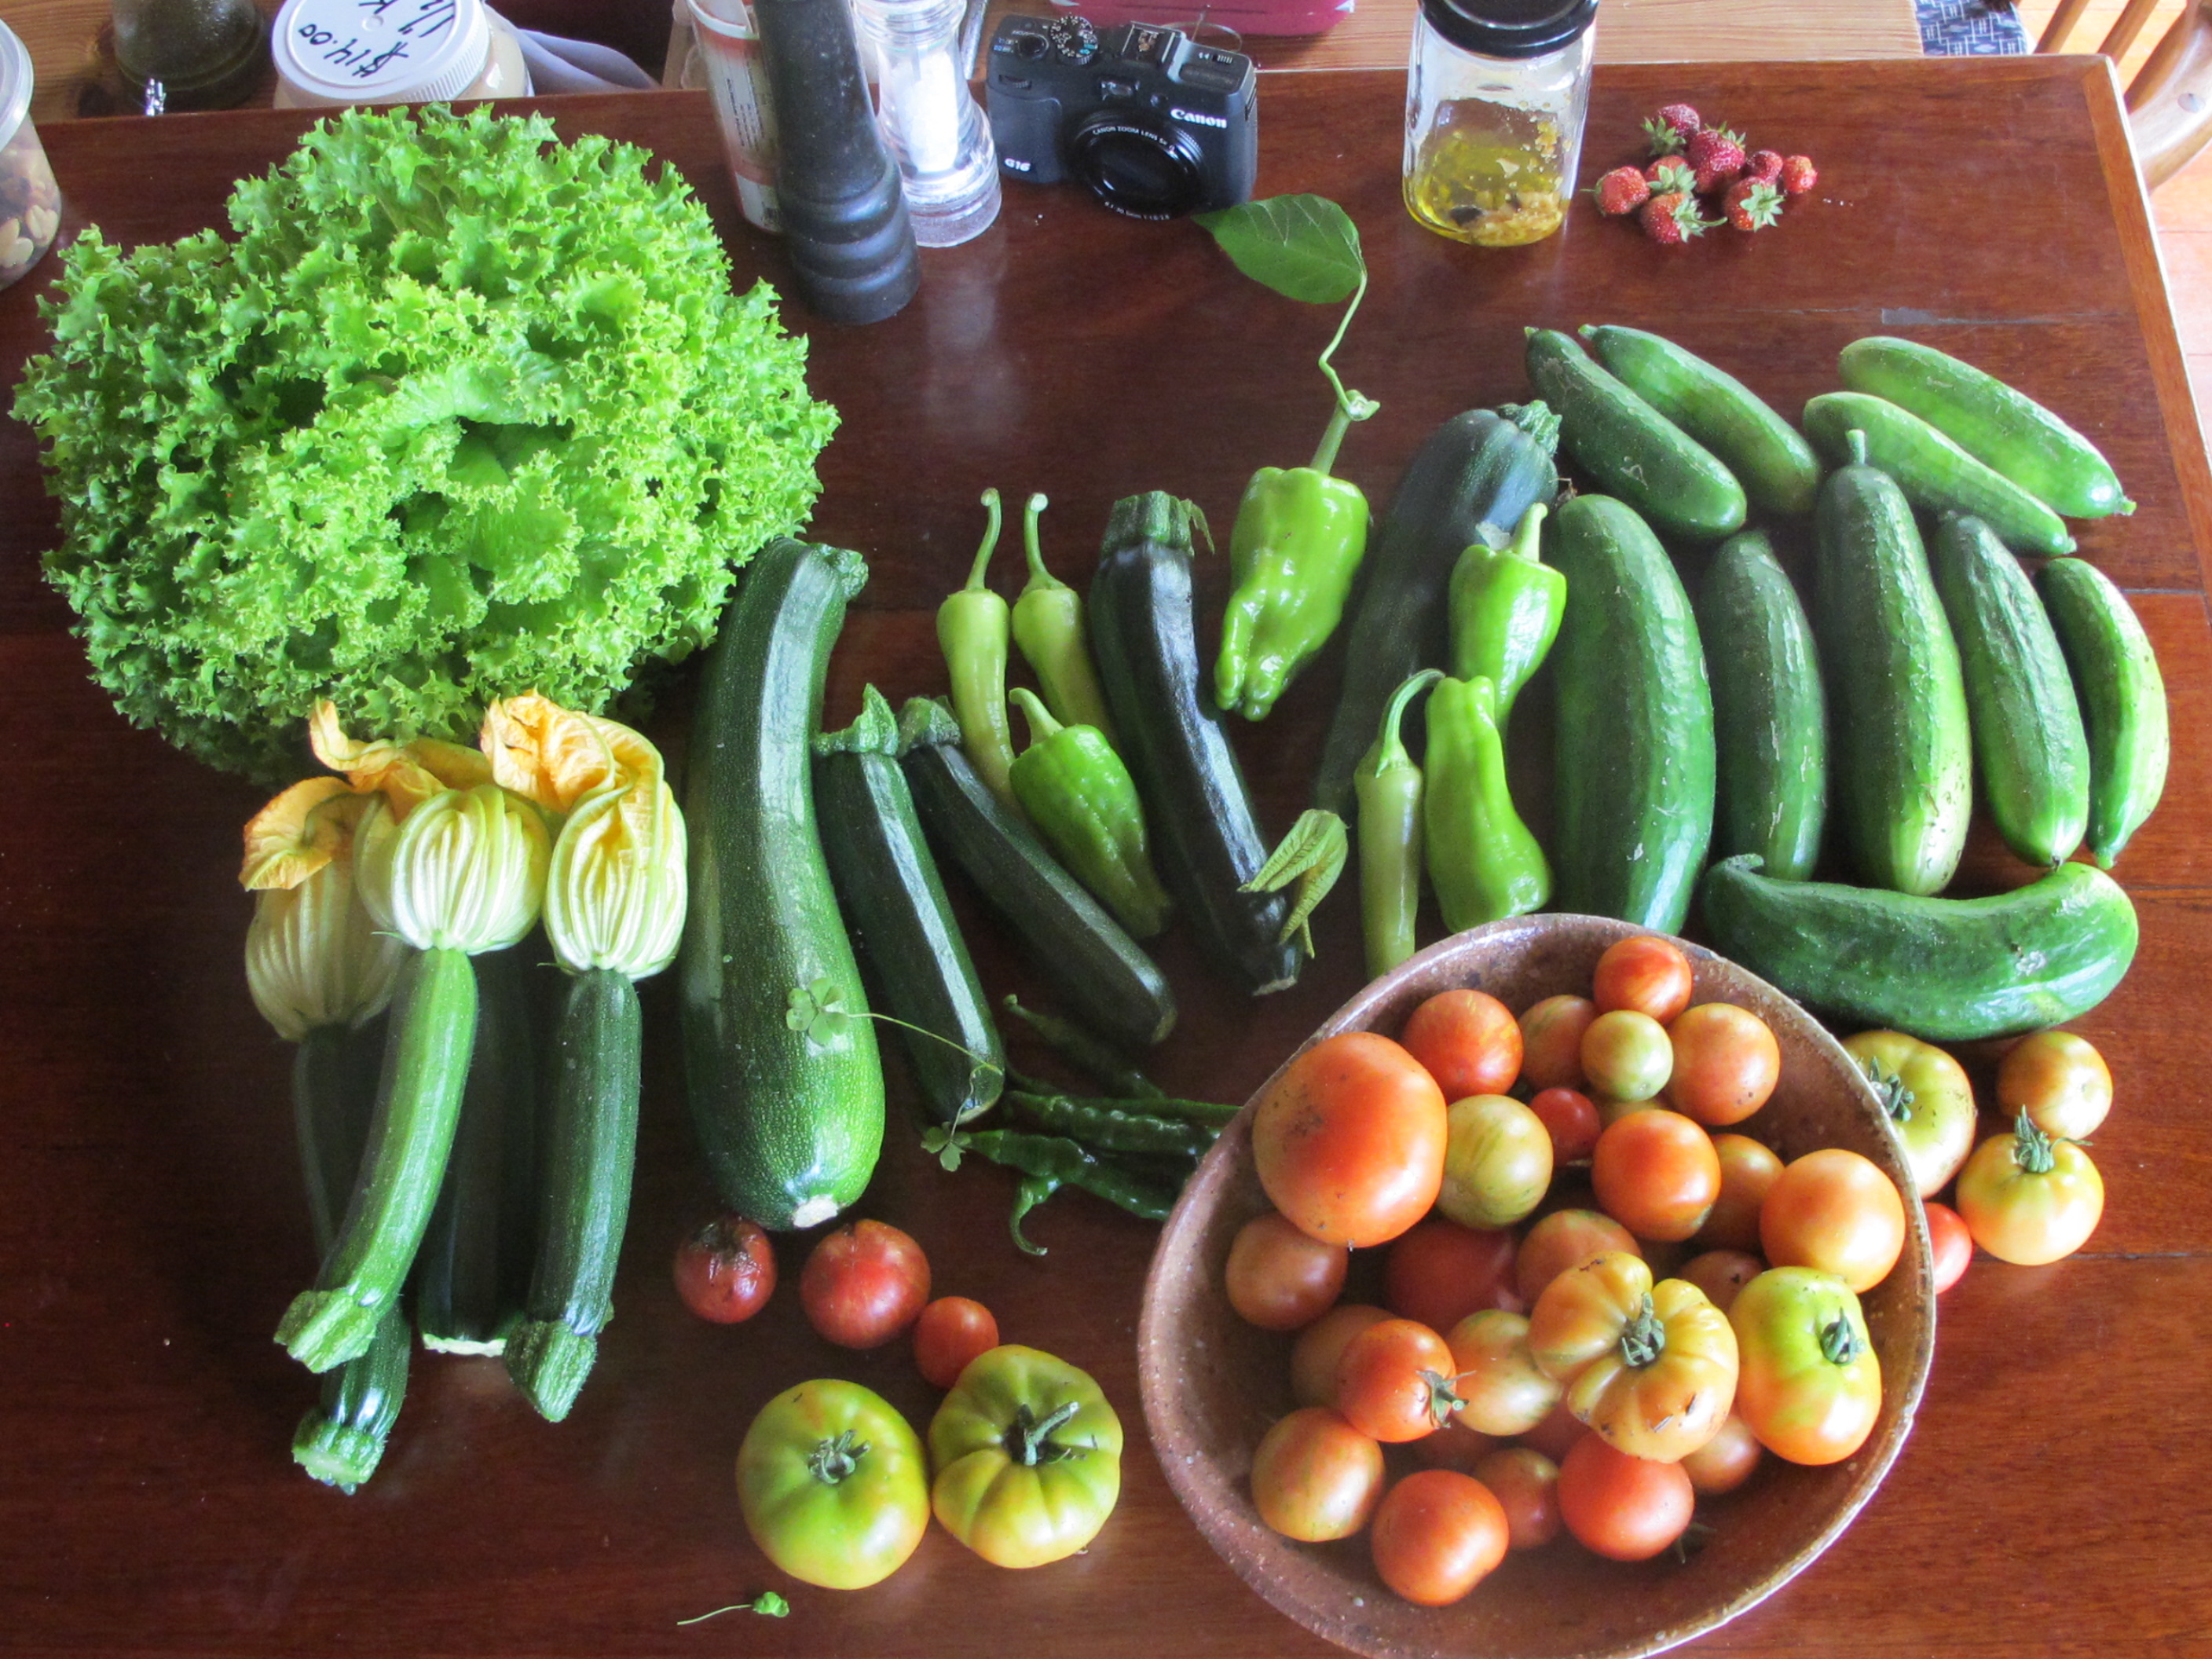
This has been the most amazing summer that we have had for many, many years. It’s hot, just like every year, but this year it has rained more than we can remember for a long time. We are having a great time. The rain combined with the warmth has made everything grow its head off. We have plenty of water in the dams and drinking water tanks, plus lots of food coming from the garden. We only have to water the garden every few days, as it usually rains in between at some point. Sometimes it rains hard enough to wet the soil sufficiently that we don’t need to water for a few days.
IMG_8261
Earlier in the summer it was raining very hard and very often, but now that pattern has changed to occasional showers. So it is now dry enough under cover to get my milled porcelain stone slip to dry on the drying beds and in plaster basins. I’m aware that it is not wet like this everywhere. There are bush fires raging down south, while I’m clearing ditches to guide the excess water away from the pottery. When it is this wet, the humidity is so high that it is very hard to dry liquid clay slip. It just tends to sit there and go mouldy while rotting the fabric membrane underneath that separates the clay from the brick bed.
IMG_8270
After 40 years of pursuing my project of self-reliance, I have decided to modify slightly my fundamentalist, hard-line approach of ‘total commitment to maximum achievable’ self reliance, to a more relaxed and flexible approach of ‘substantially committed to’ self-reliance.
In this regard I have recently decided to allow myself some slack and buy in more processed product to allow for an easier life as I age. For example, When I returned from my studies in Japan, late last spring, it was getting a bit late to put in seeds and start a summer garden from scratch, so I decided to compromise and buy some punnets of vegetable seedlings to get the garden up and growing, while I planted my seeds and waited for this second planting to come along as a second, follow-up crop. This worked well and I’m very pleased with the serried plantings and how they are growing and providing a steady flow of tomatoes, sweet corn and zucchini etc.
It’s a small compromise, but once compromised, why not go with it?
IMG_8172IMG_8183
IMG_8240IMG_8241

IMG_8242IMG_8244

Blanched French beans served with fresh, home-made basil pesto.

Blanched French beans served with fresh, home-made basil pesto.

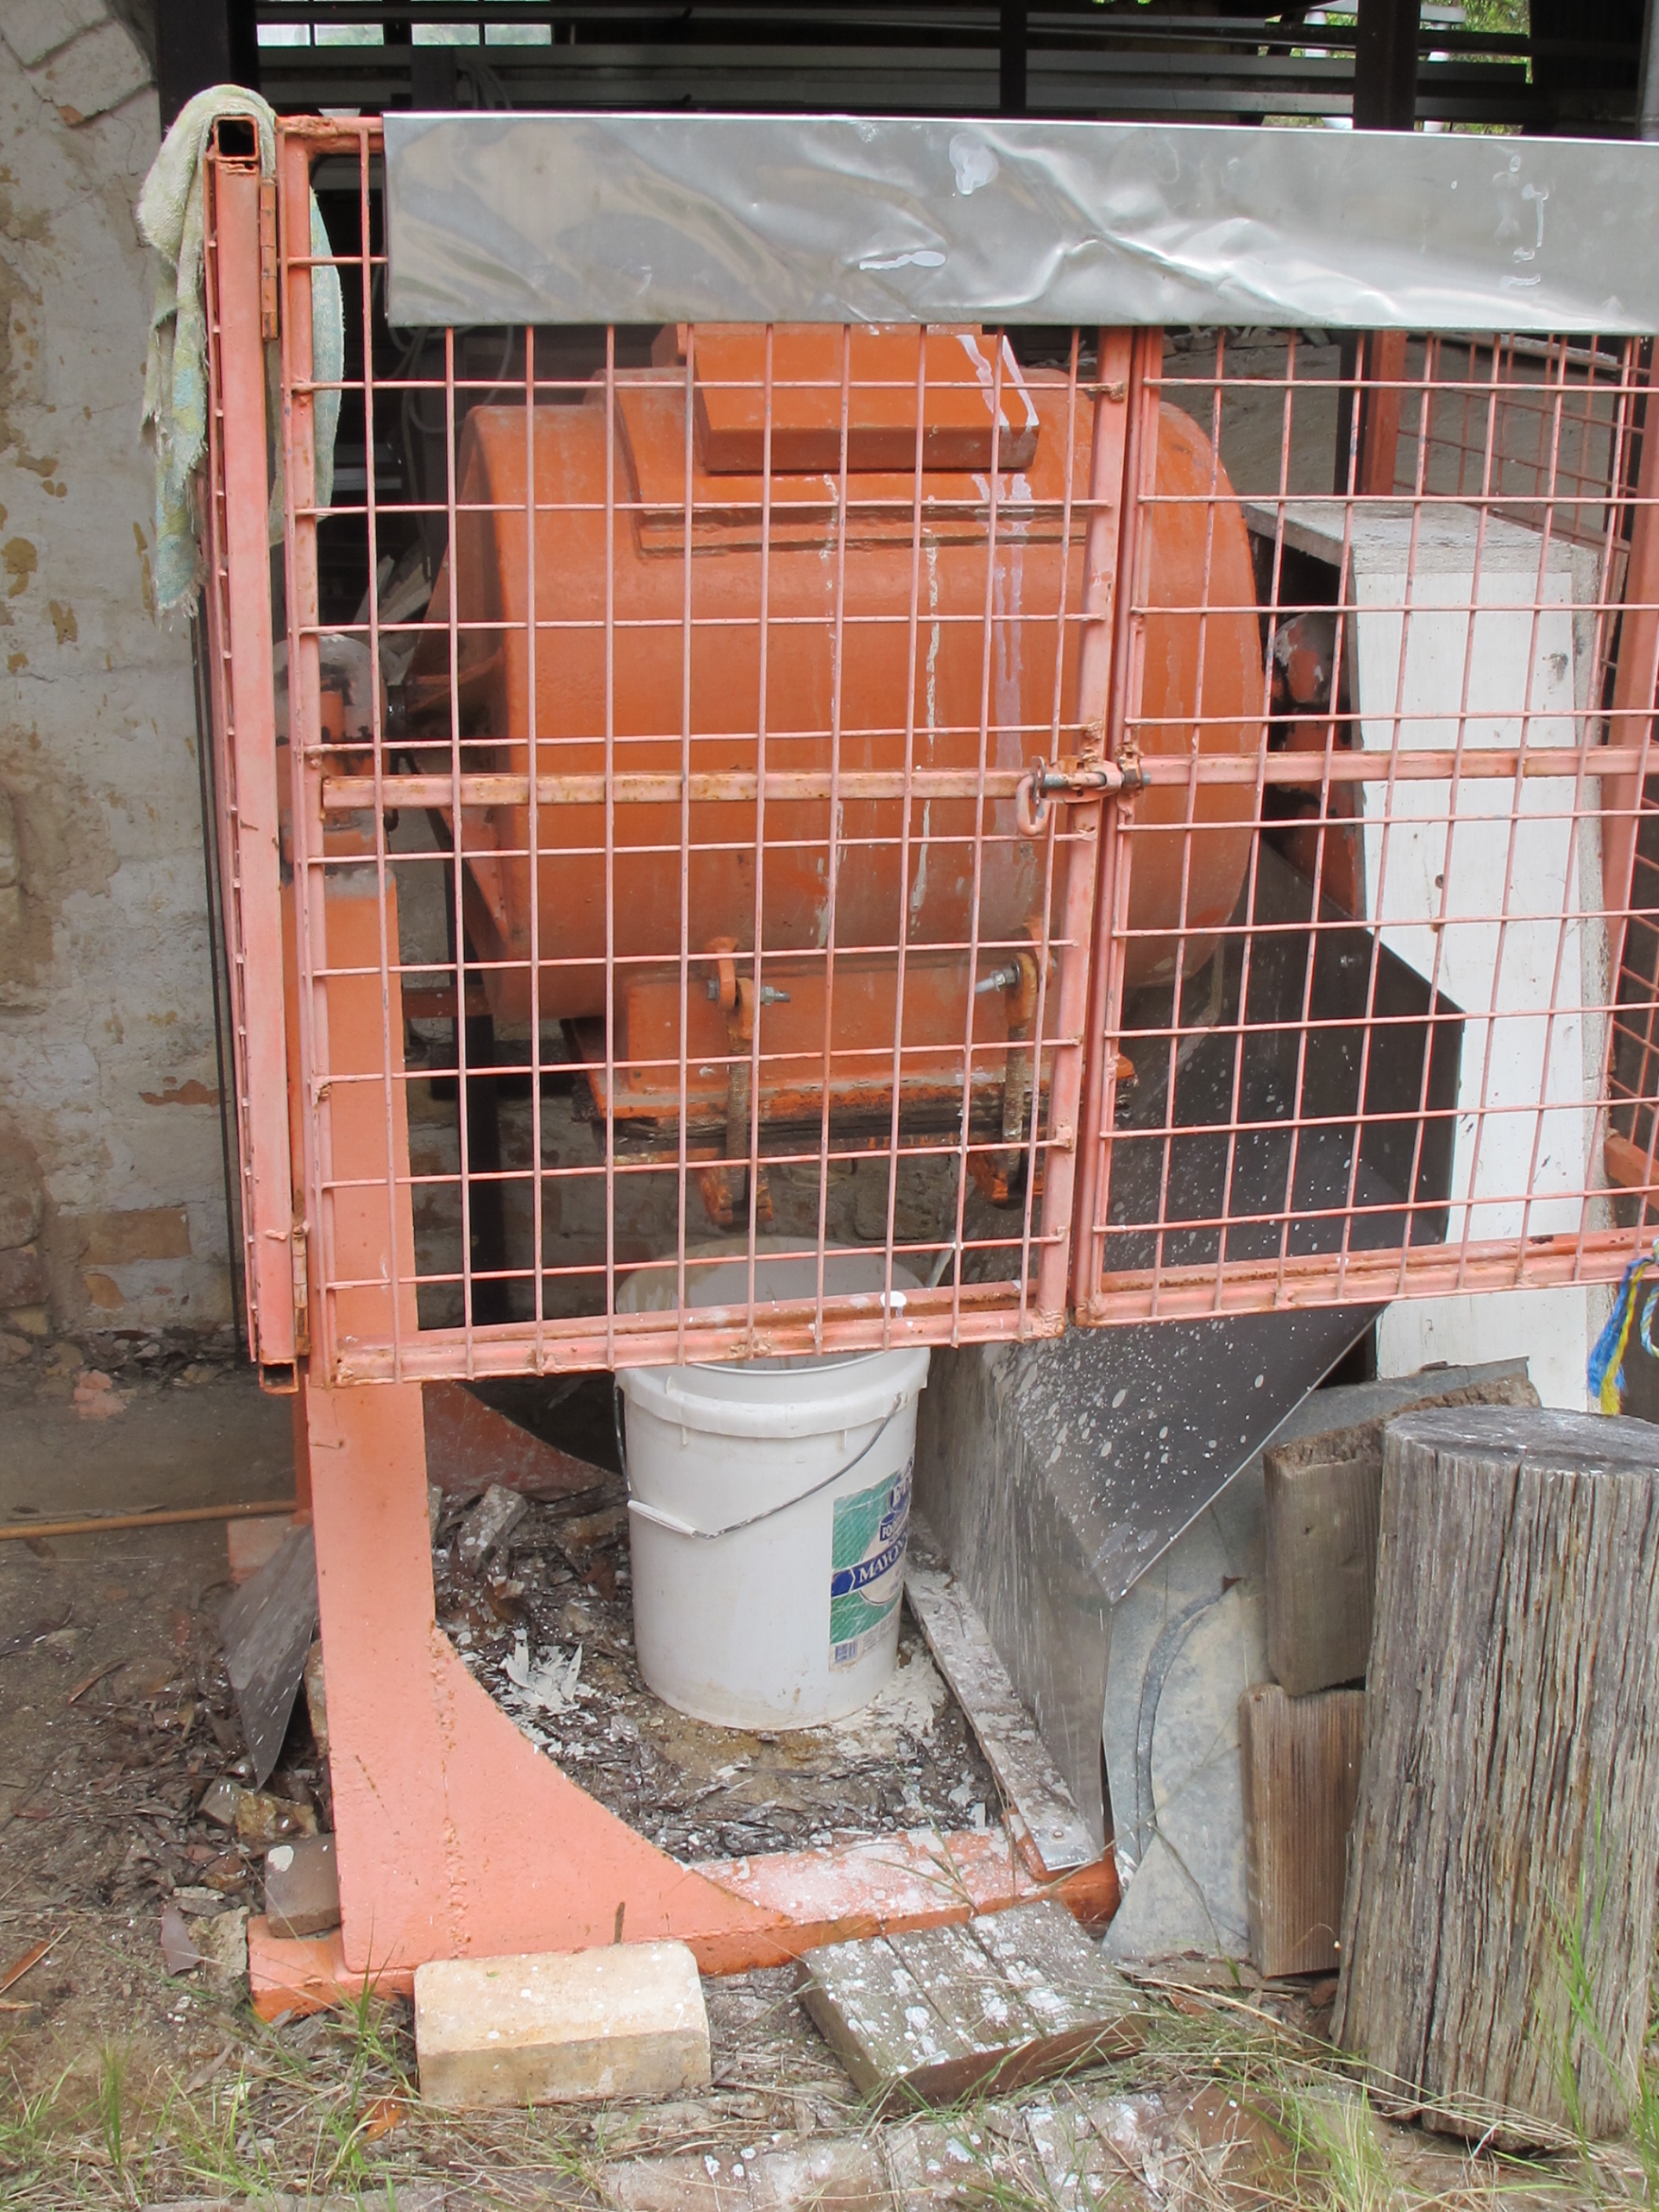
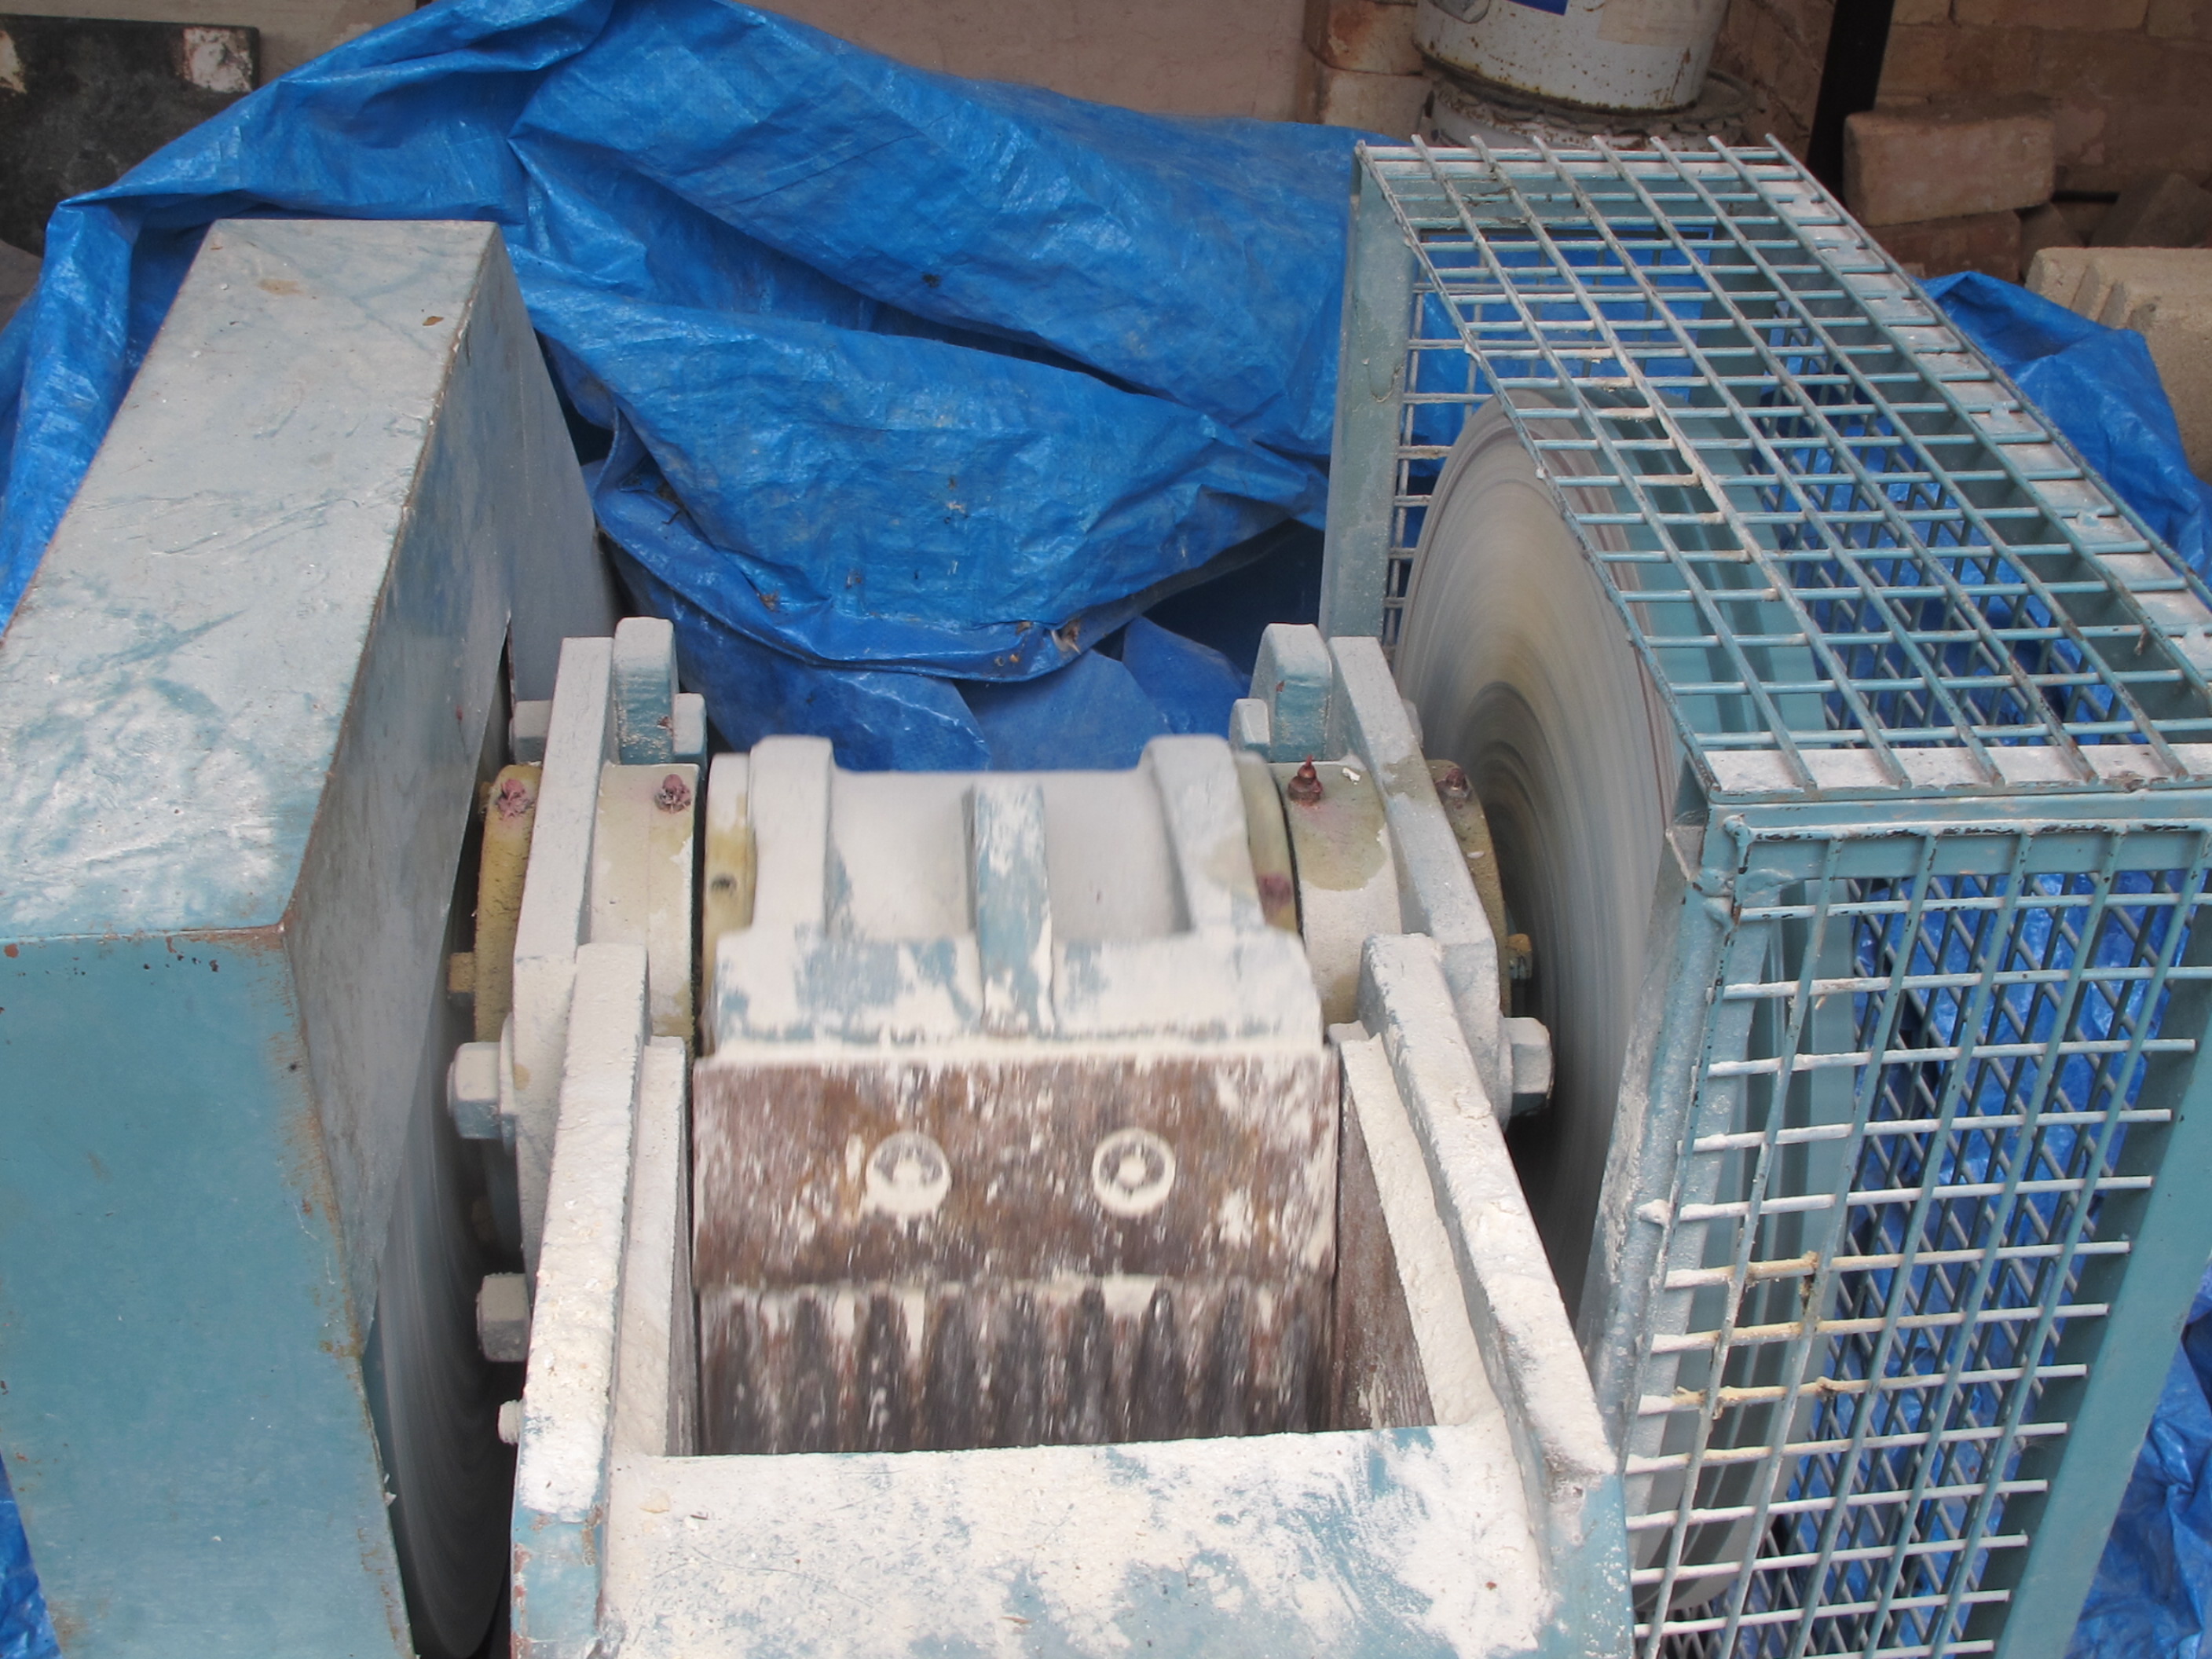
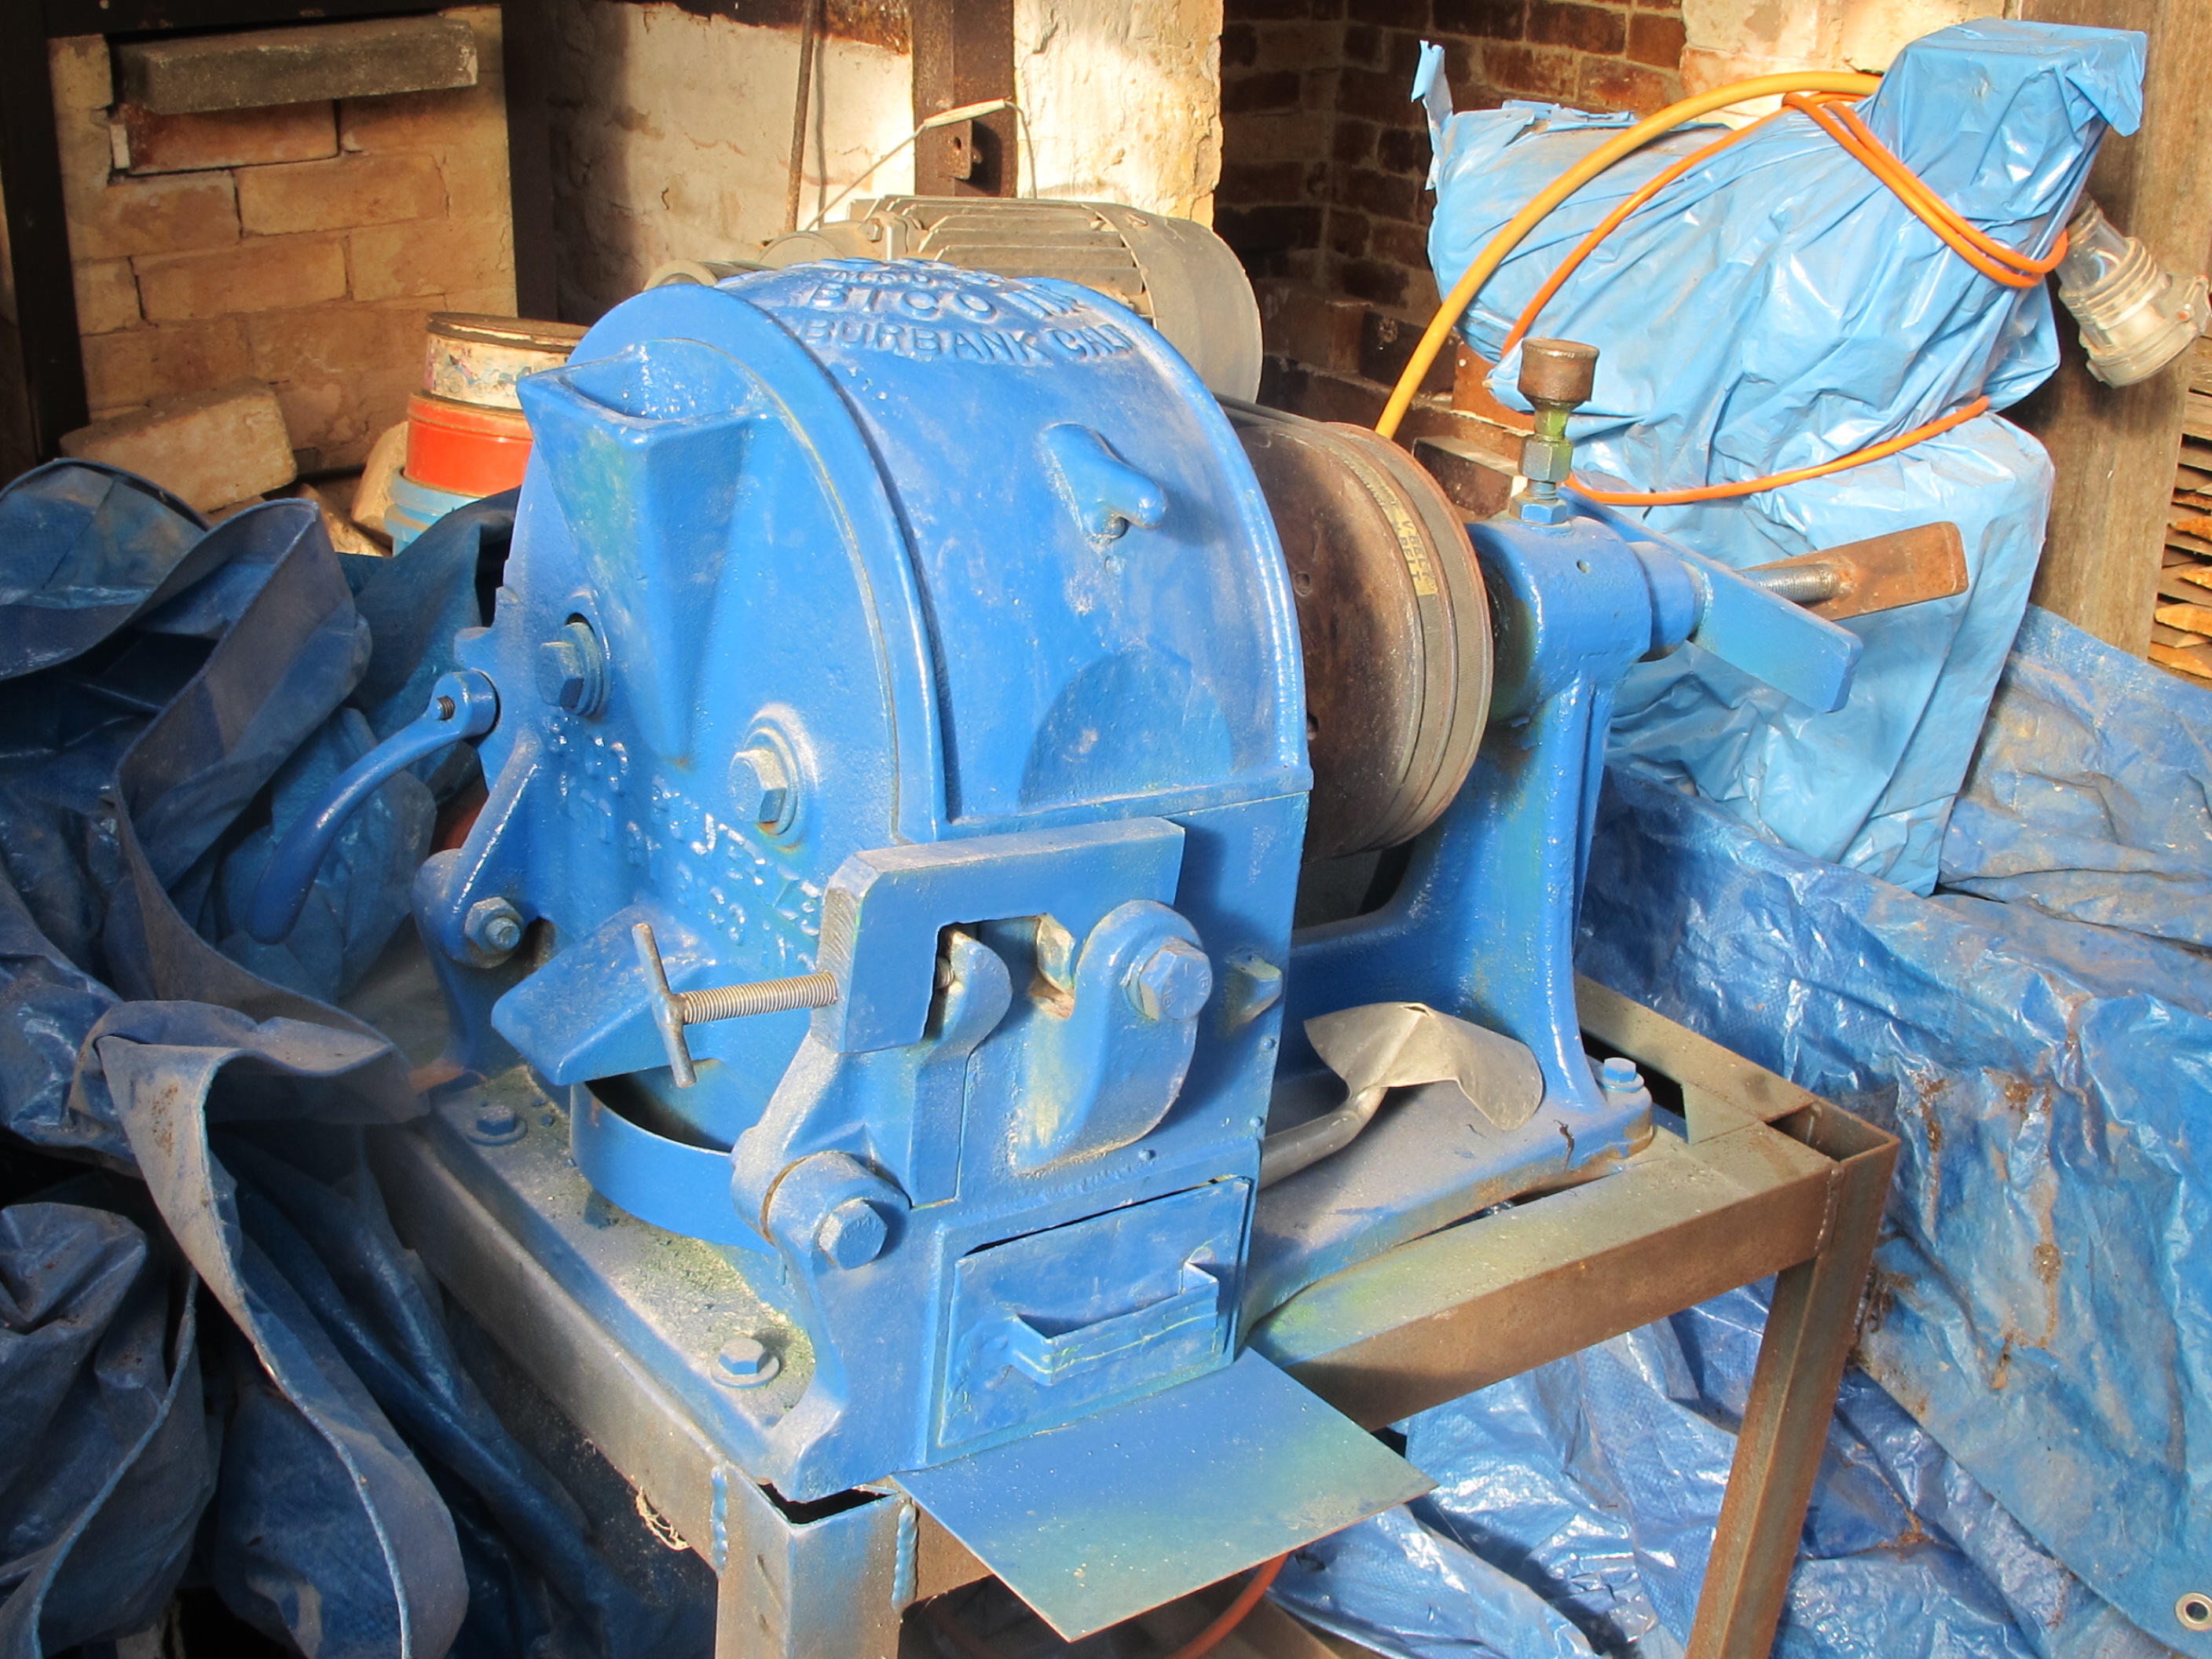
I have decided now to addapt this freer approach to my ceramic materials and my creative work. I have previously only used the rocks, shales and clays of my own local shire and I am still completely committed to this ‘local’ concept. I had found during this long extended period of research that although I tried very hard to locate everything that I needed to make my ceramics from only the materials that I discovered around me. I could not find any pale plastic throwable clay in a quantity that was useable. However, what I did find, was plenty of hard igneous rocks to make glazes and in the end I managed to make two really special, unique and very interesting stoneware clay bodies from self-processed, local rock dusts. To achieve this, I realised that I would need to add some bentonite (a very sticky clay) to bind and slightly plasticise these powdered rock bodies to make them useable. These rocks are so hard, that they need to be crushed first in a large jaw crusher, then a small laboratory jaw crusher and following that I put the grit through a disc mill and finally in the ball mill for 16 hours to get it really fine. Using this rather slow, convoluted and old-fashioned technology, that I obtained as industrial cast-off, from auctions and junk yards, I can process my finds from large rocks down to 200# powder in about 24 hours. It’s the drying out of the liquid clay slip from the ball mill that is taking the longest time and slowing the process down. Not helped by the continuing wet weather.
I never thought that I’d find myself complaining about rain!
IMG_8137IMG_8263
Warning, there are traces of nuts showing in this image!
IMG_8265IMG_8221
I pass the thin liquid slip through 100# sieve before settling out the solids.
IMG_8211
So, bentonite was my first compromise. It may not be local, but it is Australian. I have bought 3 x 25 kg bags of bentonite during my career. I also found that I needed to buy in alumina powder to use as shelf wash. This wasn’t absolutely essential, it was just very much better than all the alternatives, so another compromise. I’m still using this original 25 kg. bag of Al203. I use it sparingly, so It will last a very long time.
Recently, I decided to get some kaolin to add some slight increase in plasticity to my ground up local native porcelain stone bodies. This is not a local material either, as it comes from 300 kms away, but it’s closer than the bentonite. There must be something closer, I just haven’t found it yet. Proceeding on from my initial tests. I have decided to add 15% of this plastic kaolin to my ground porcelain stone body, it makes an enormous difference to it’s workability very quickly. I completed the first small batch tests of 5 kg each last year, before I went to Japan. So now I am making the larger 100 kg batches to see how they work on a larger scale. The tests were very promising, so I am eager to see them perform and feel them on the wheel. I was encouraged to follow on with this blending idea when I saw them making their porcelain body in Arita in Japan recently, using imported New Zealand kaolin. But I’m not prepared to go that far for some kaolin.
I have been told that the most famous porcelain body in Australia, which is exported all over the world, is made from Chinese kaolin, Indian felspar and American bentonite. At least the water is Australian!
IMG_8247
To aid the drying process of my ball milled (bai tunze) porcelain stone slip, to a stiff plastic, usable porcelain body, I make two batches. One of 30 kg in the big ball mill as a liquid slip. This slip has to be thin enough to allow the grinding down of the very hard rock granules from the crushers. After milling I allow the thin liquid to sit and settle for a day or so, to allow the very fine ceramic fragments to flocculate. I drain off the free water from the top of the settled clay material. At the same time I make a second 5 kg. batch in the smaller ball mill which is dry milled. I then add this dry material to the wet batch and mix them together. This significantly stiffens up the slip. I can then put it out on the drying bed or plaster tubs to firm up.
I drag my finger through the stiff slip to make it dry into usable square plastic blocks that are easier to pick up and store for pugging.
IMG_8272IMG_8214
IMG_8290
However, because of the very wet summer continuing on like it has, I’m finding that the clay just won’t dry as usual. The humidity is just too high. I’m having to lift the very soft plastic mass off the sodden brick drying beds and place it in the open air to get a little air movement over it to finish it off to a stiff plastic condition. Perhaps the extra 15% of kaolin content is slowing the drying a little as well?
I have been using my new ‘VENCO’ stainless steel mini pug mill to pug the small batches of clay. It’s fantastic, quiet, fast for it’s size and ideal for small batches of porcelain body like the stuff that I’m making. And so much easier on my wrists than hand wedging.
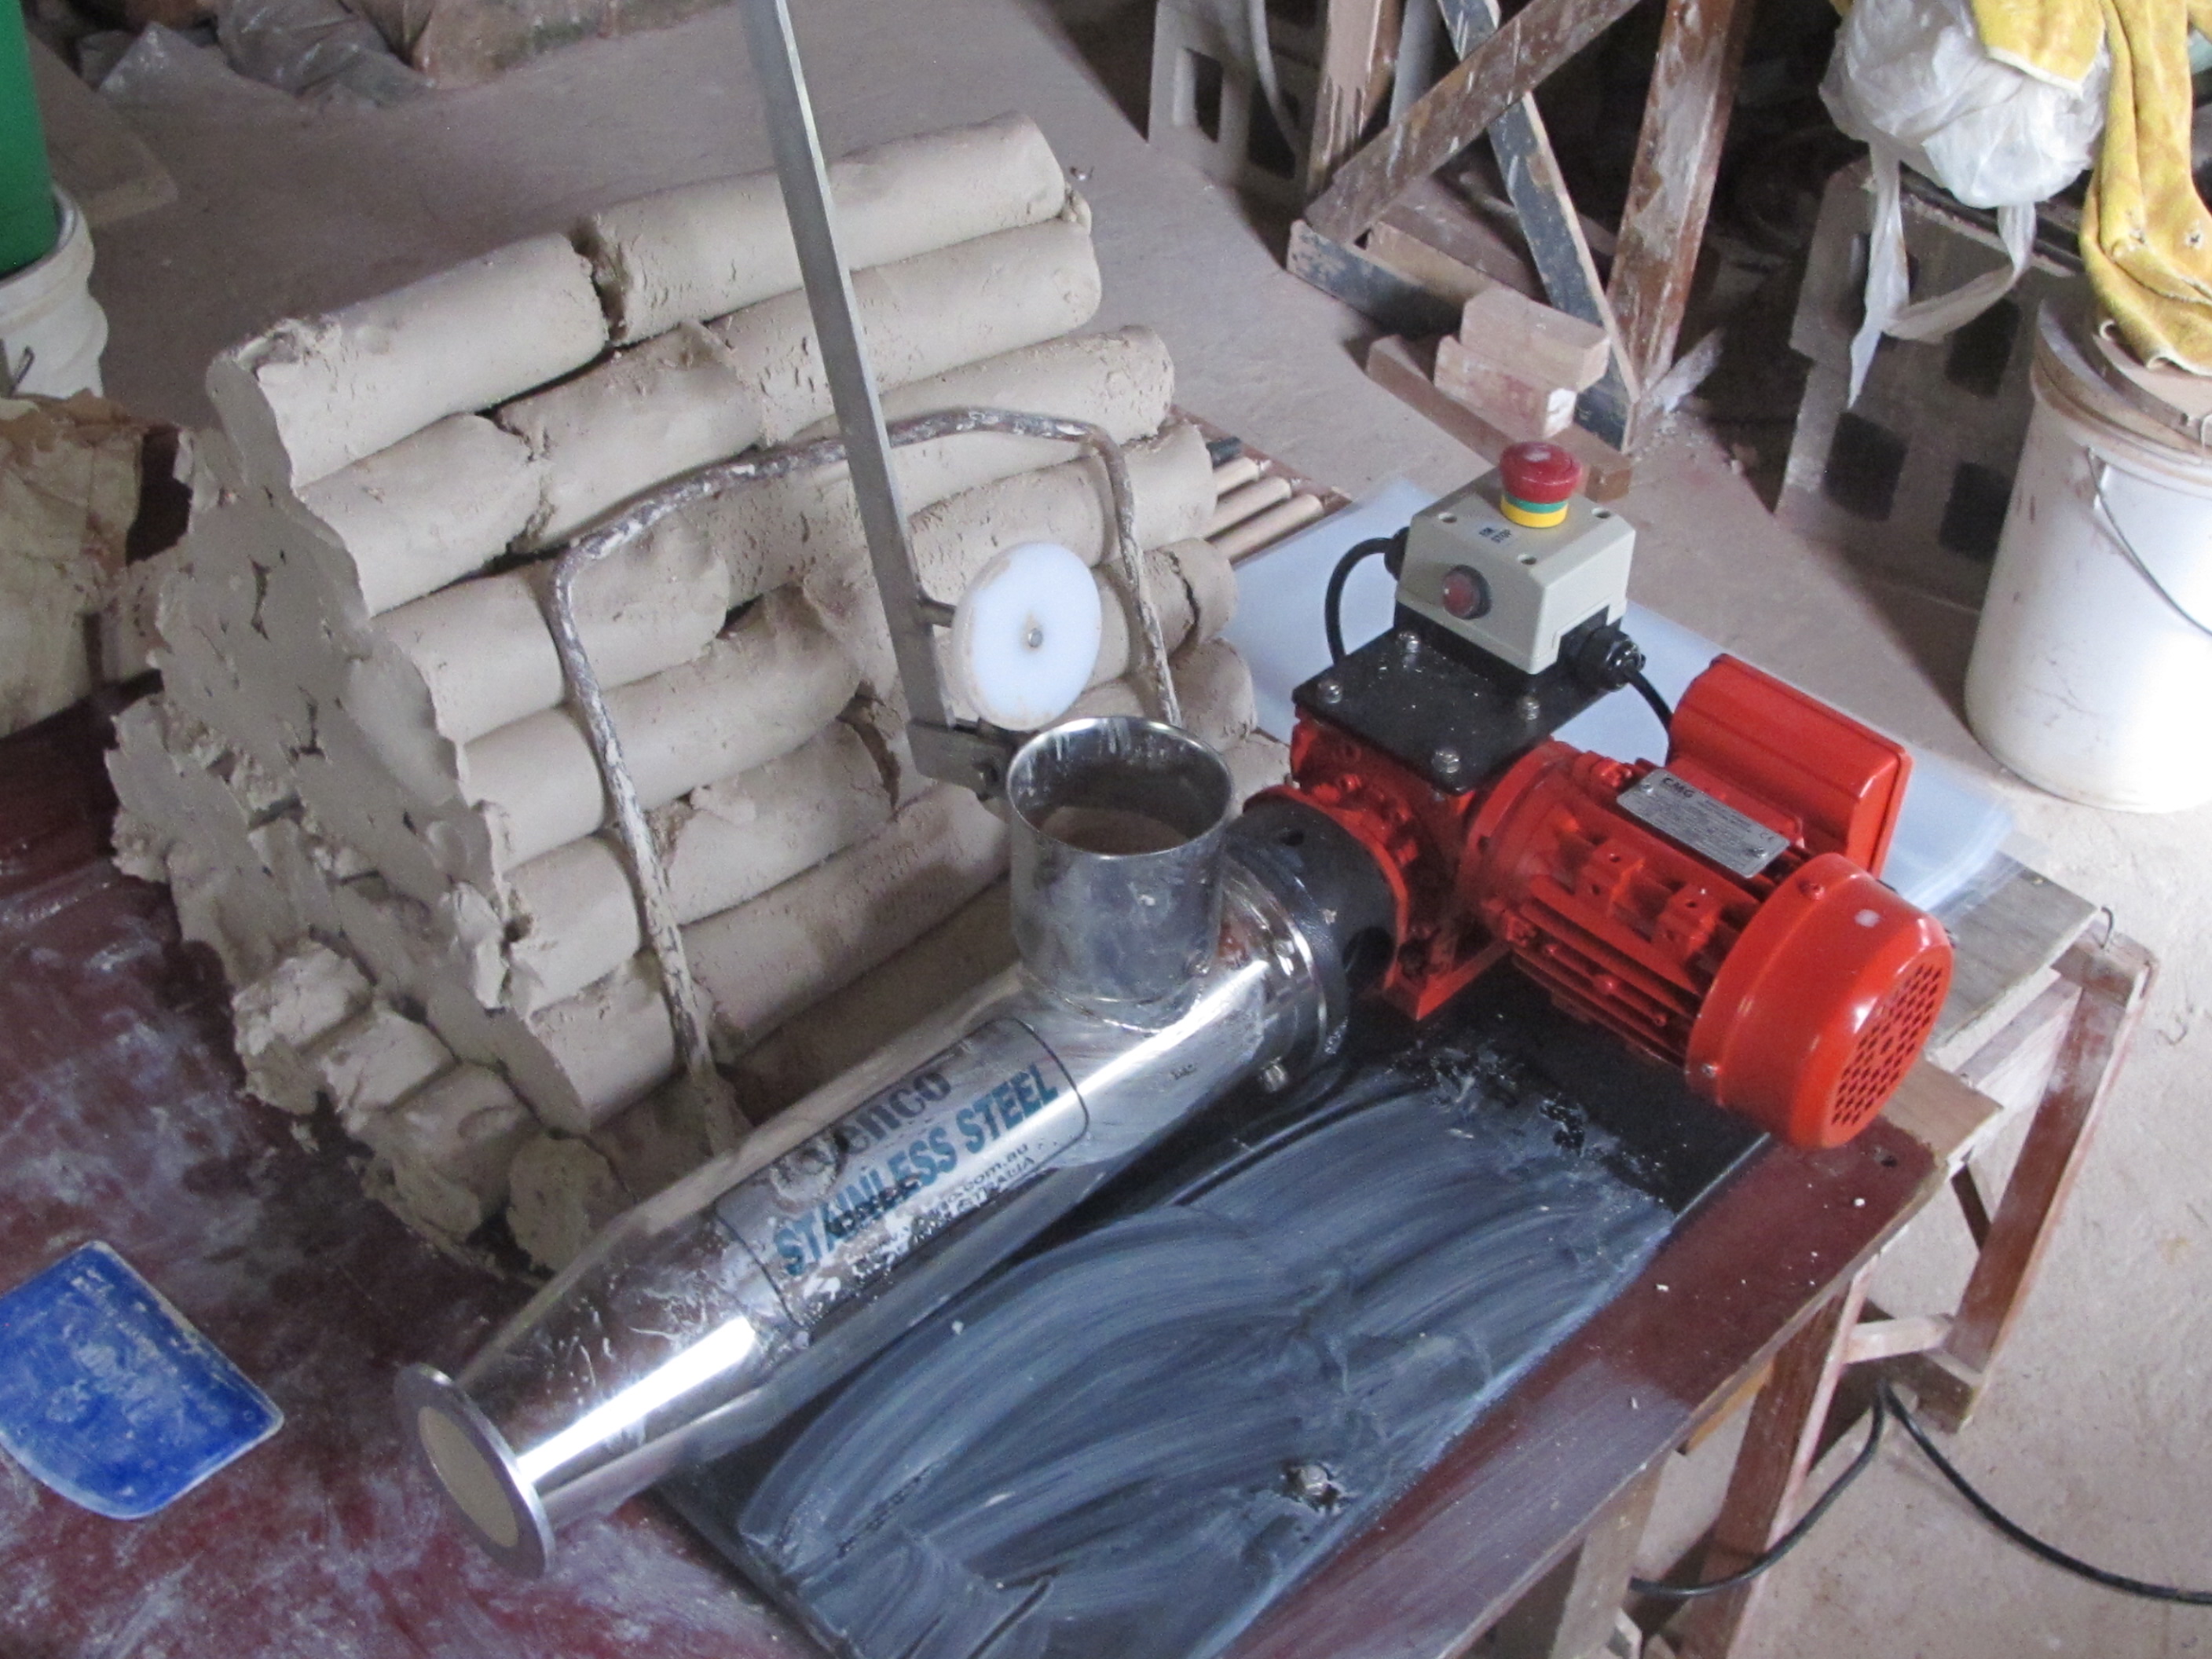
IMG_8295IMG_8299
As part of this sudden loss of intellectual rigour and convenient relaxation of my philosophical standards, I hope to make my life a little easier in my latter years. However, I can’t help somehow feeling a bit like the philosopher Bertie Russell reneging on his death-bed. I am fully aware that this is where the similarity ends. I am no philosopher, and hopefully I am not on my death-bed either – just yet. I just feel like I need to extend my range and have the ability to work with an extended palette of interesting materials for my creative work. 15% of non-local kaolin isn’t going to change the fabric of my work in any noticeable way, but it will make the act of throwing a lot more pleasurable for me and extend what I can make.
So I have decided to start using materials that I have discovered that are outside of my shire and my previous 50 km radius of interest. Over the last 20 years I have experimented with my immediately available local materials, non of which are mentioned in McMeekin’ s book. I have worked on them to the point that I couldn’t think of any more variations that I could make to gain any further insight into these materials. Only extreme ageing could improve their plasticity, I’m too old to wait for that solution to work for me. I’d taken these materials as far as I could imagine. Another potter would certainly find new things to do with these materials, but I feel that I have lived and worked on this restricted palette for long enough. I want to experiment with some ‘new’, and therefore interesting materials that I don’t know anything about.
IMG_8266IMG_8280
To this end, I just went to collect some felspar from a site that I came across a few years ago, near my friend’s house, it’s 150 kms away. I only sampled it at that time, because it wasn’t within my target area, but it looked very interesting all the same and I can’t pass an interesting bit of soil by without at least looking at it and taking a preliminary sample. The initial testing proved that it was felspar and although quite weathered, it still has quite a bit of alkali, so it might turn out be very useful. I’m extending my range, making more flexible choices and hopefully making my life a little more interesting and a little easier.
I have a few different projects in mind for the future.
Best wishes
from the potter making many a slip twixt the mill and the lip
Go Slow, Look fast


The Pots from our own firing a week or so ago have all been cleaned and sorted out now in the spare-time that we can find between weekend workshops and work in the garden and orchards. We forwent the leisurely mushroom, egg and bacon brunch and got stuck into cleaning pots early instead. There’ll always be time for that leisure day sometime in the future – when I find myself bored and with nothing to do!
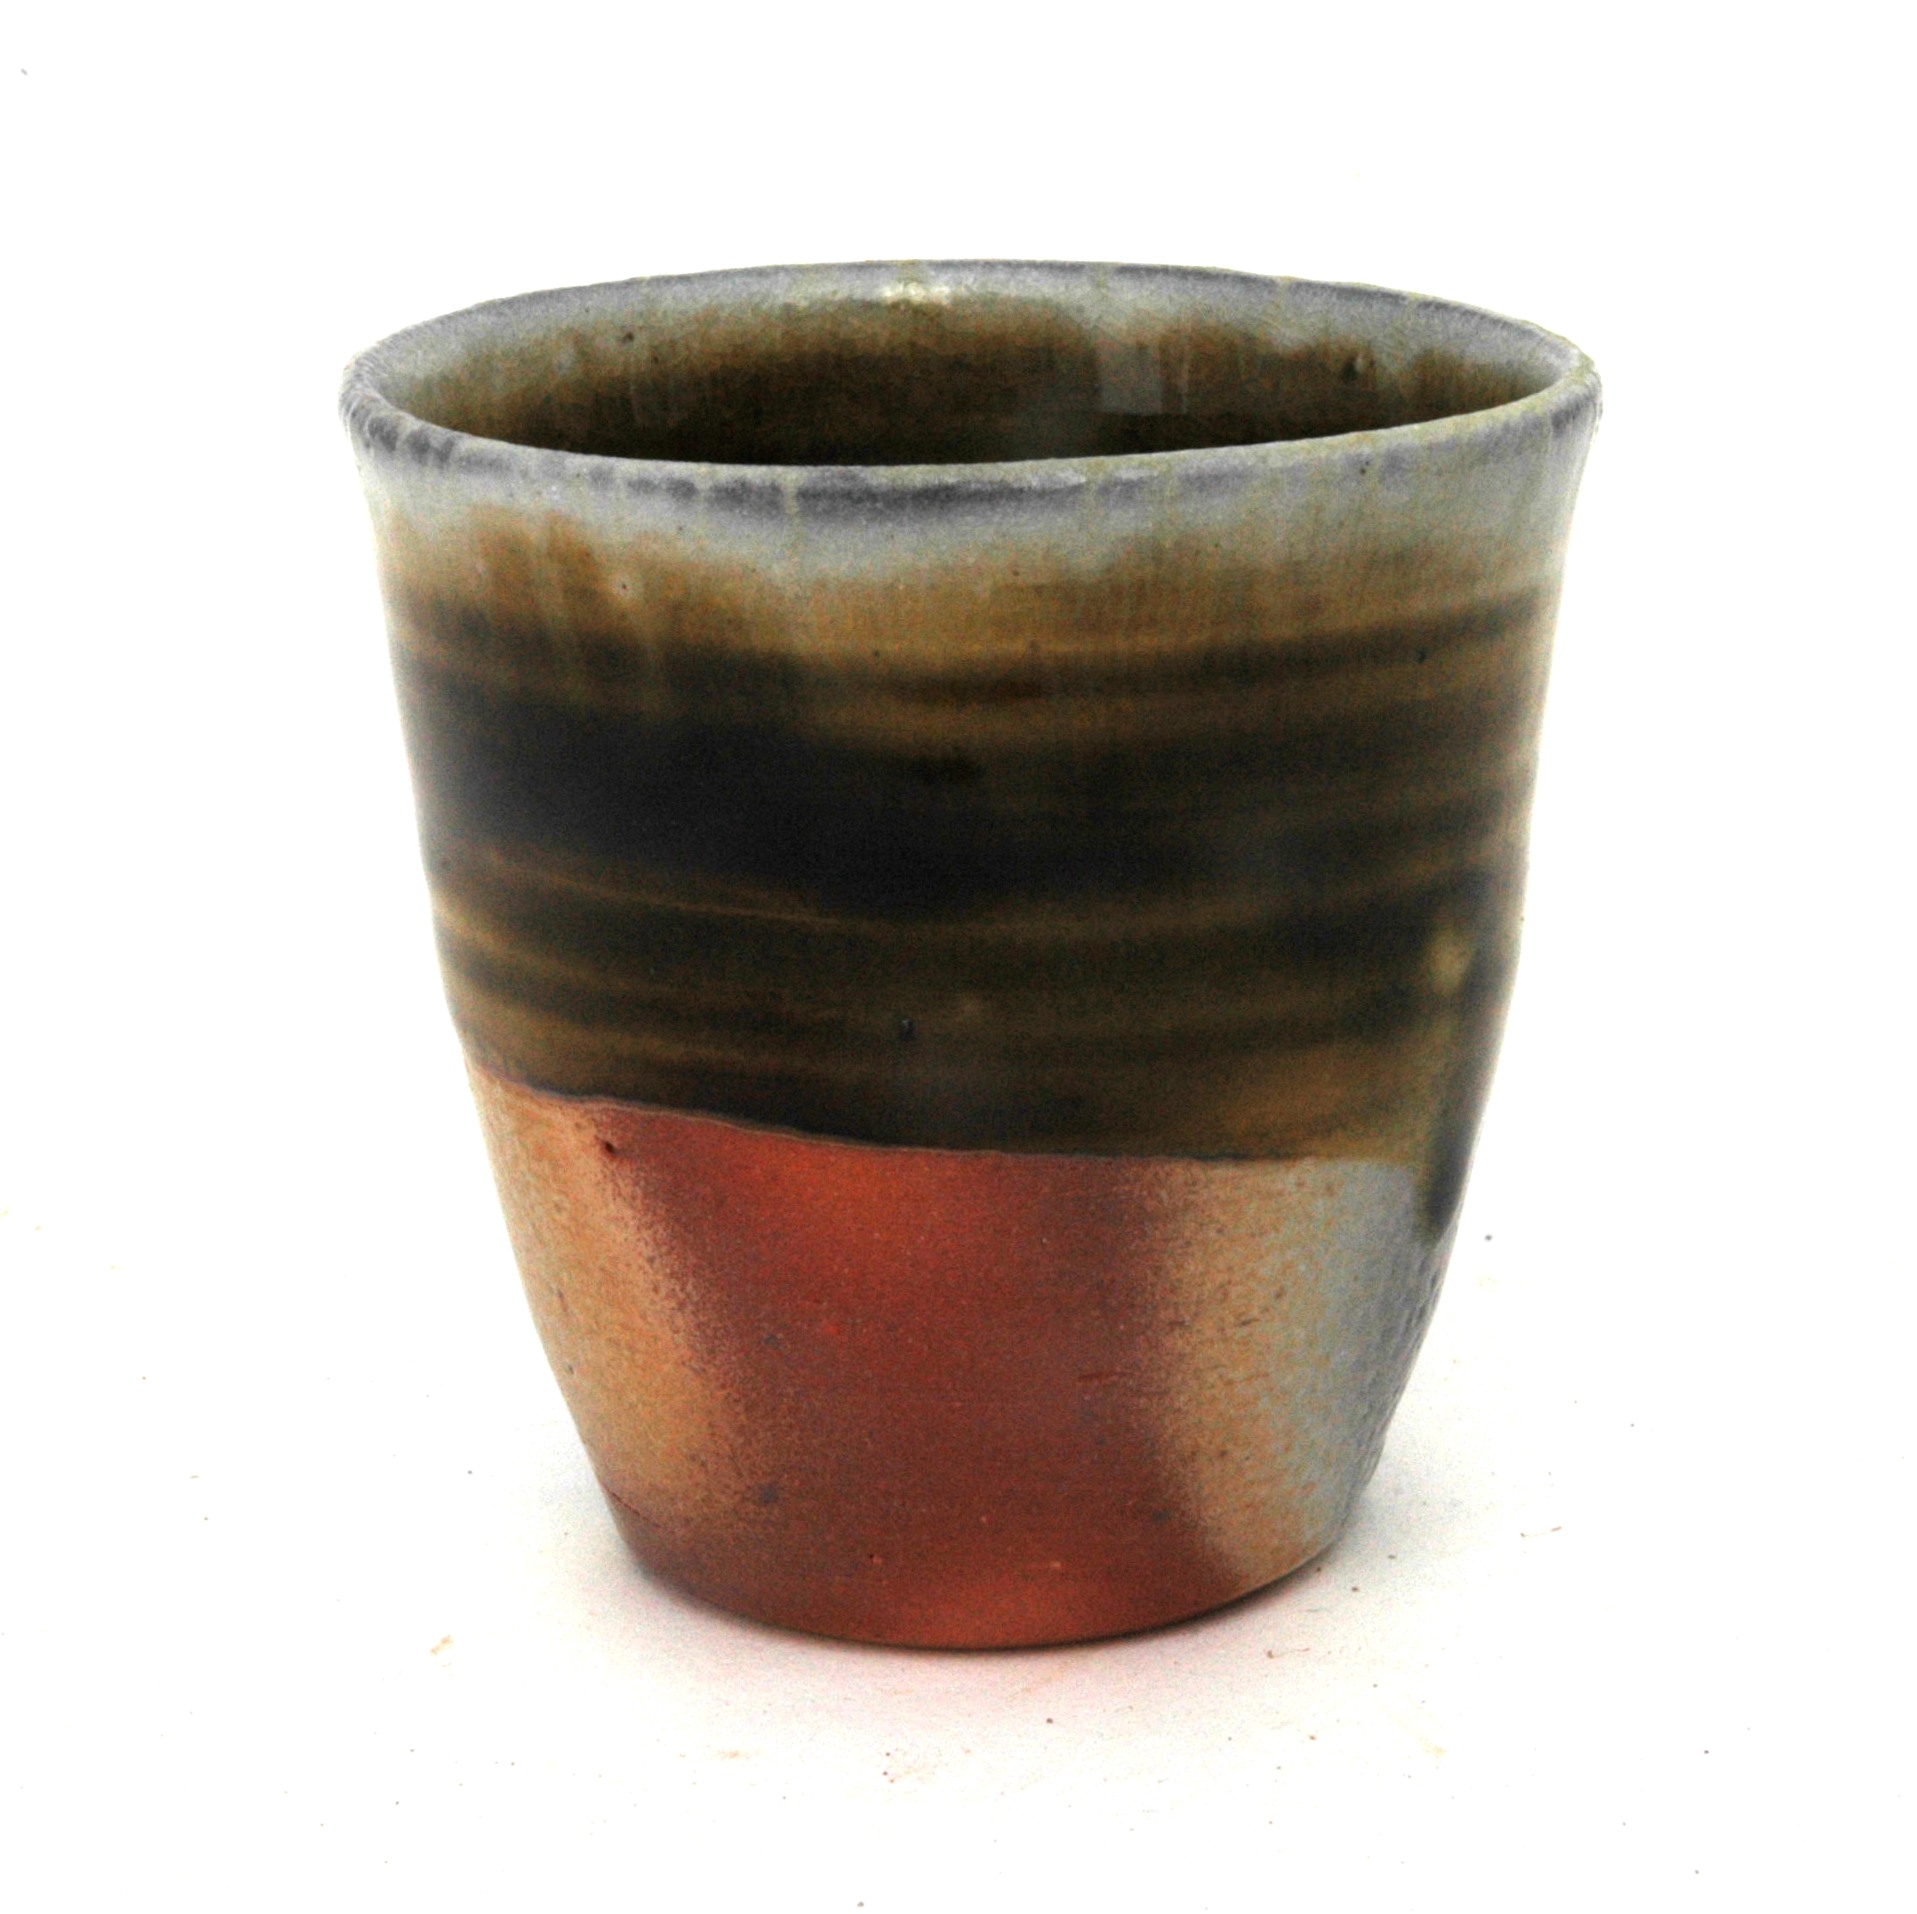
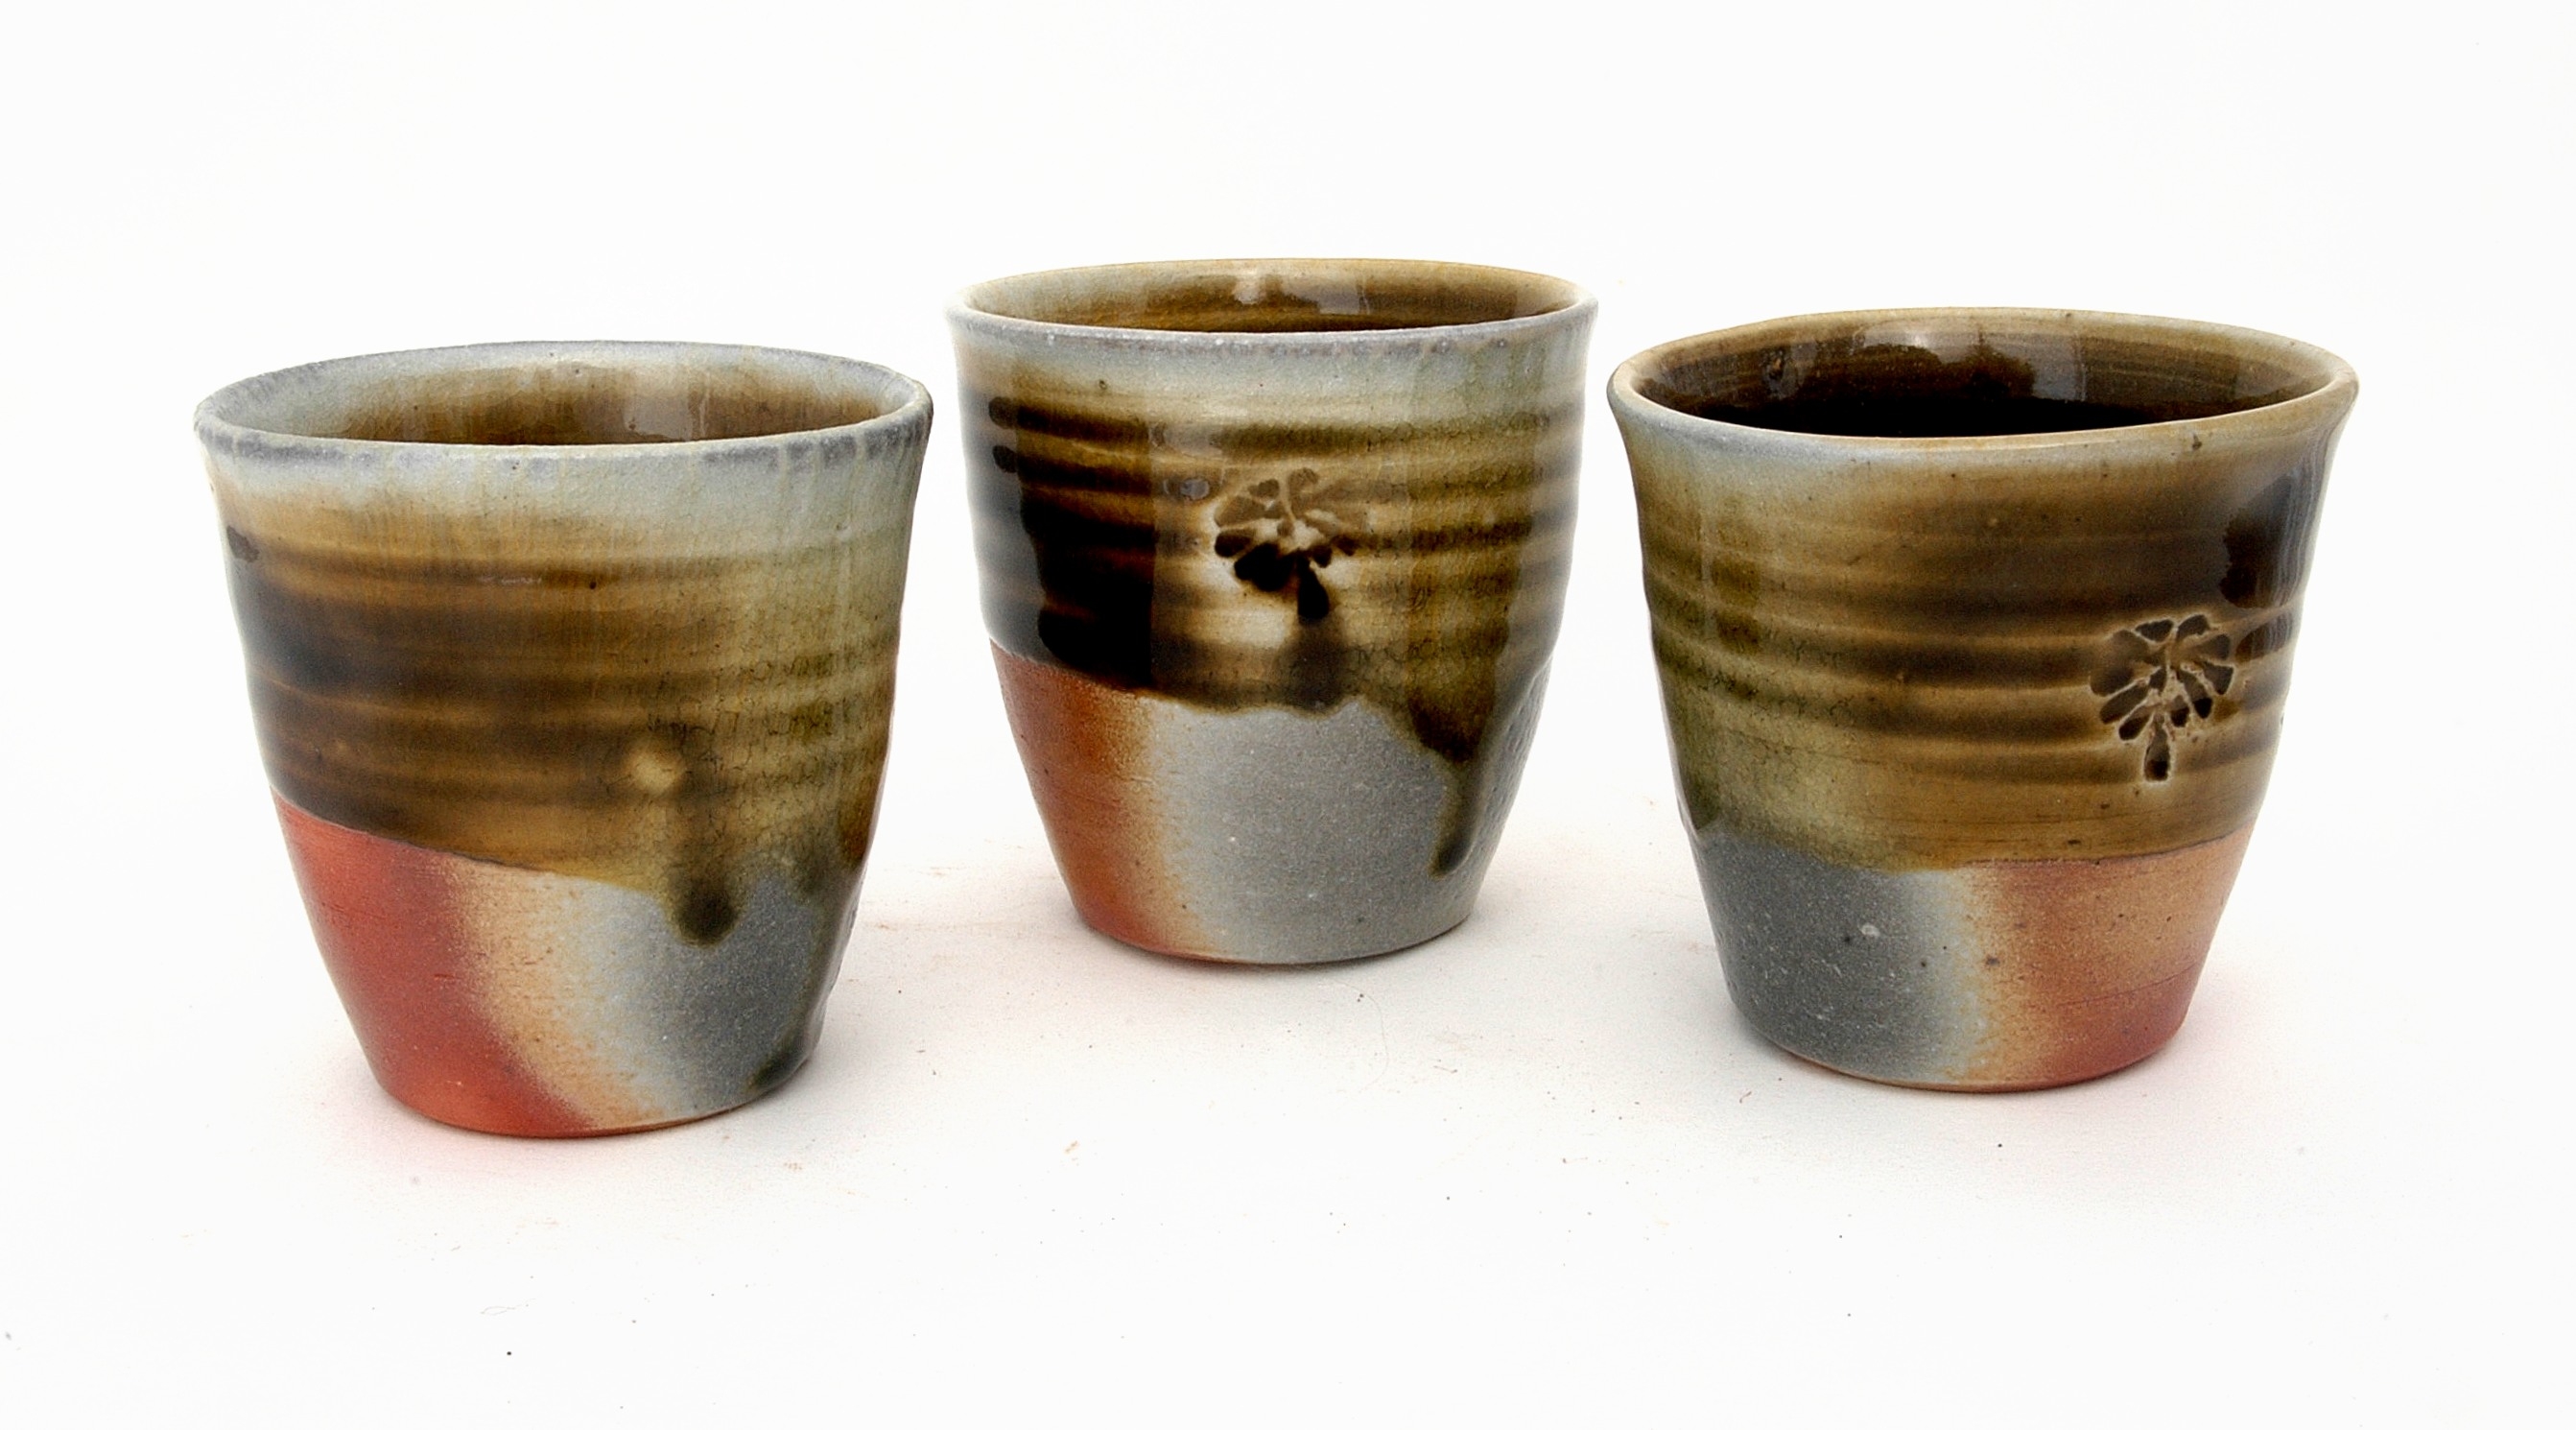
Janine got some really nice little cups with dramatic carbon sequestration and loads of natural ash deposit all over the fire-face. The clay body flashed red and the carbon inclusion is dark charcoal grey and black. A really lovely dramatic result for her.  I think that they are stunning little gems.
DSC_0001_024DSC_0001steve Harrison 2DSC_0002
She has used one of her older North coast, wild beach, pumice glaze. It varies from batch to batch, just as ‘wild’ glazes should. Varying from pale green celadon-like, through darker bottle greens into this transparent ‘honey’ brown on this occasion.
It’s a complex function of the natural variations of the materials, where they are collected and how they are processed, but also what they are blended with and in what proportions, plus the firing and the wood. I love this unknowable and unpredictable quality, so have absolutely no intension of trying to regulate or control this wild beach girl.
 DSC_0004DSC_0005
I love the way these little cups have flashed to a lovely warm red and yet picked up so much grey carbon during the firing, making for such a great contrast.

DSC_0006 DSC_0009

Some of these cups are so grey with sequestered carbon, that it makes them look as though they are on a dark clay body. but they’re not. In fact they are only glazed to half way, and the wood ash during the firing has glazed them all over in some places.
DSC_0024
DSC_0025
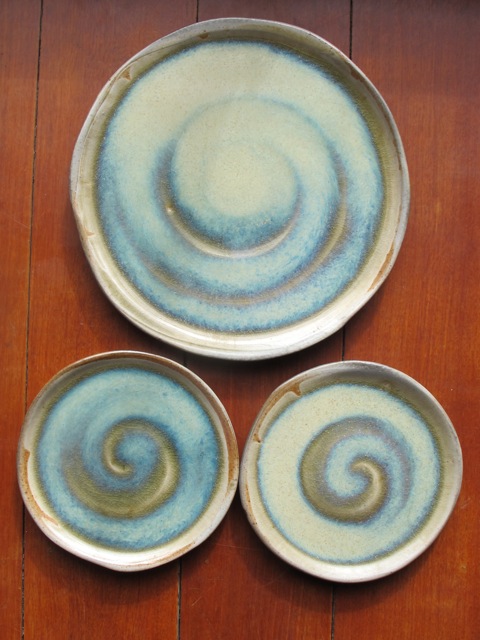
I have some nice rough country kitchen plates, glazed with the fluid blue/cream ash glaze. Some very nice ikebana vases fired in the front of the kiln in the ‘Zone of Death’ for the exhibition in Taiwan and three lovely tea bowls for the exhibition in Singapore. Plus two nice faux shino tea bowls for a group show at Kerrie Lowe Gallery in Sydney. So the pressure is off. I have everything that I need and more. This life of self-reliance and DIY seems to have worked out OK for us. However, it’s a bit late now after almost 40 years together and living here to go back and make any changes. We have committed to this life and it has been good to us.
IMG_4470
The ash glazed plates will mostly go into use in our kitchen, but there will be a few for sale in the pottery and on our ‘Gallery’ menu on the blog, when I get around to it. I threw them with a feeling of being fast and loose so that the throwing marks are quite distinctive. They were actually thrown reasonably slowly, I just wanted them to look ‘fast’. This was to show off the pooling effect of the ash glaze at high temperature. They have turned out well and I’m happy with them. I wrote about making them 6 weeks ago in ‘Give Peas a Chance’, when I was throwing them.
 img_4059
 There is an inevitable time lag between throwing the wet clay on the potters wheel, drying it to leather hard ready for turning the bases into a smooth shape and creating a ‘foot’ ring, if required by the form, then thoroughly drying them out before bisque firing. The biscuit firing is heated slowly up to 1000oC in the solar powered, electric kiln. Then after slow cooling, the pots are unpacked, fettled and prepared for glazing. The water based glaze mixture is made from sieved wood ash from the kiln and/or kitchen stove firebox, mixed with ground up local stones. In this case the application is quite thick because the glaze runs and pools at high temperature. After the glaze is dry, the pots are packed into the wood fired kiln to be heated up to 1300oC in reduction atmosphere over approximately 20 hours of constant stoking.
It’s amazing that potters will actually come here to work through the night firing the kiln with us and be happy for the experience! Potters?!!
The pieces below were in fact fired in my own firings, squeezed in-between the regular weekly workshop firings.
 DSC_0007_014DSC_0007steve Harrison 2DSC_0016

DSC_0009

DSC_0023_013DSC_0023steve Harrison 2

DSC_0025_007DSC_0025steve Harrison 2

DSC_0049_012DSC_0049steve Harrison 2

DSC_0044

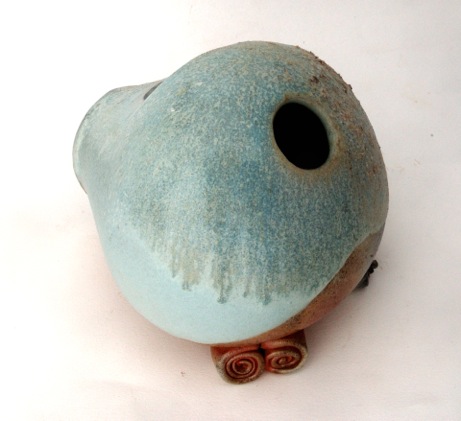
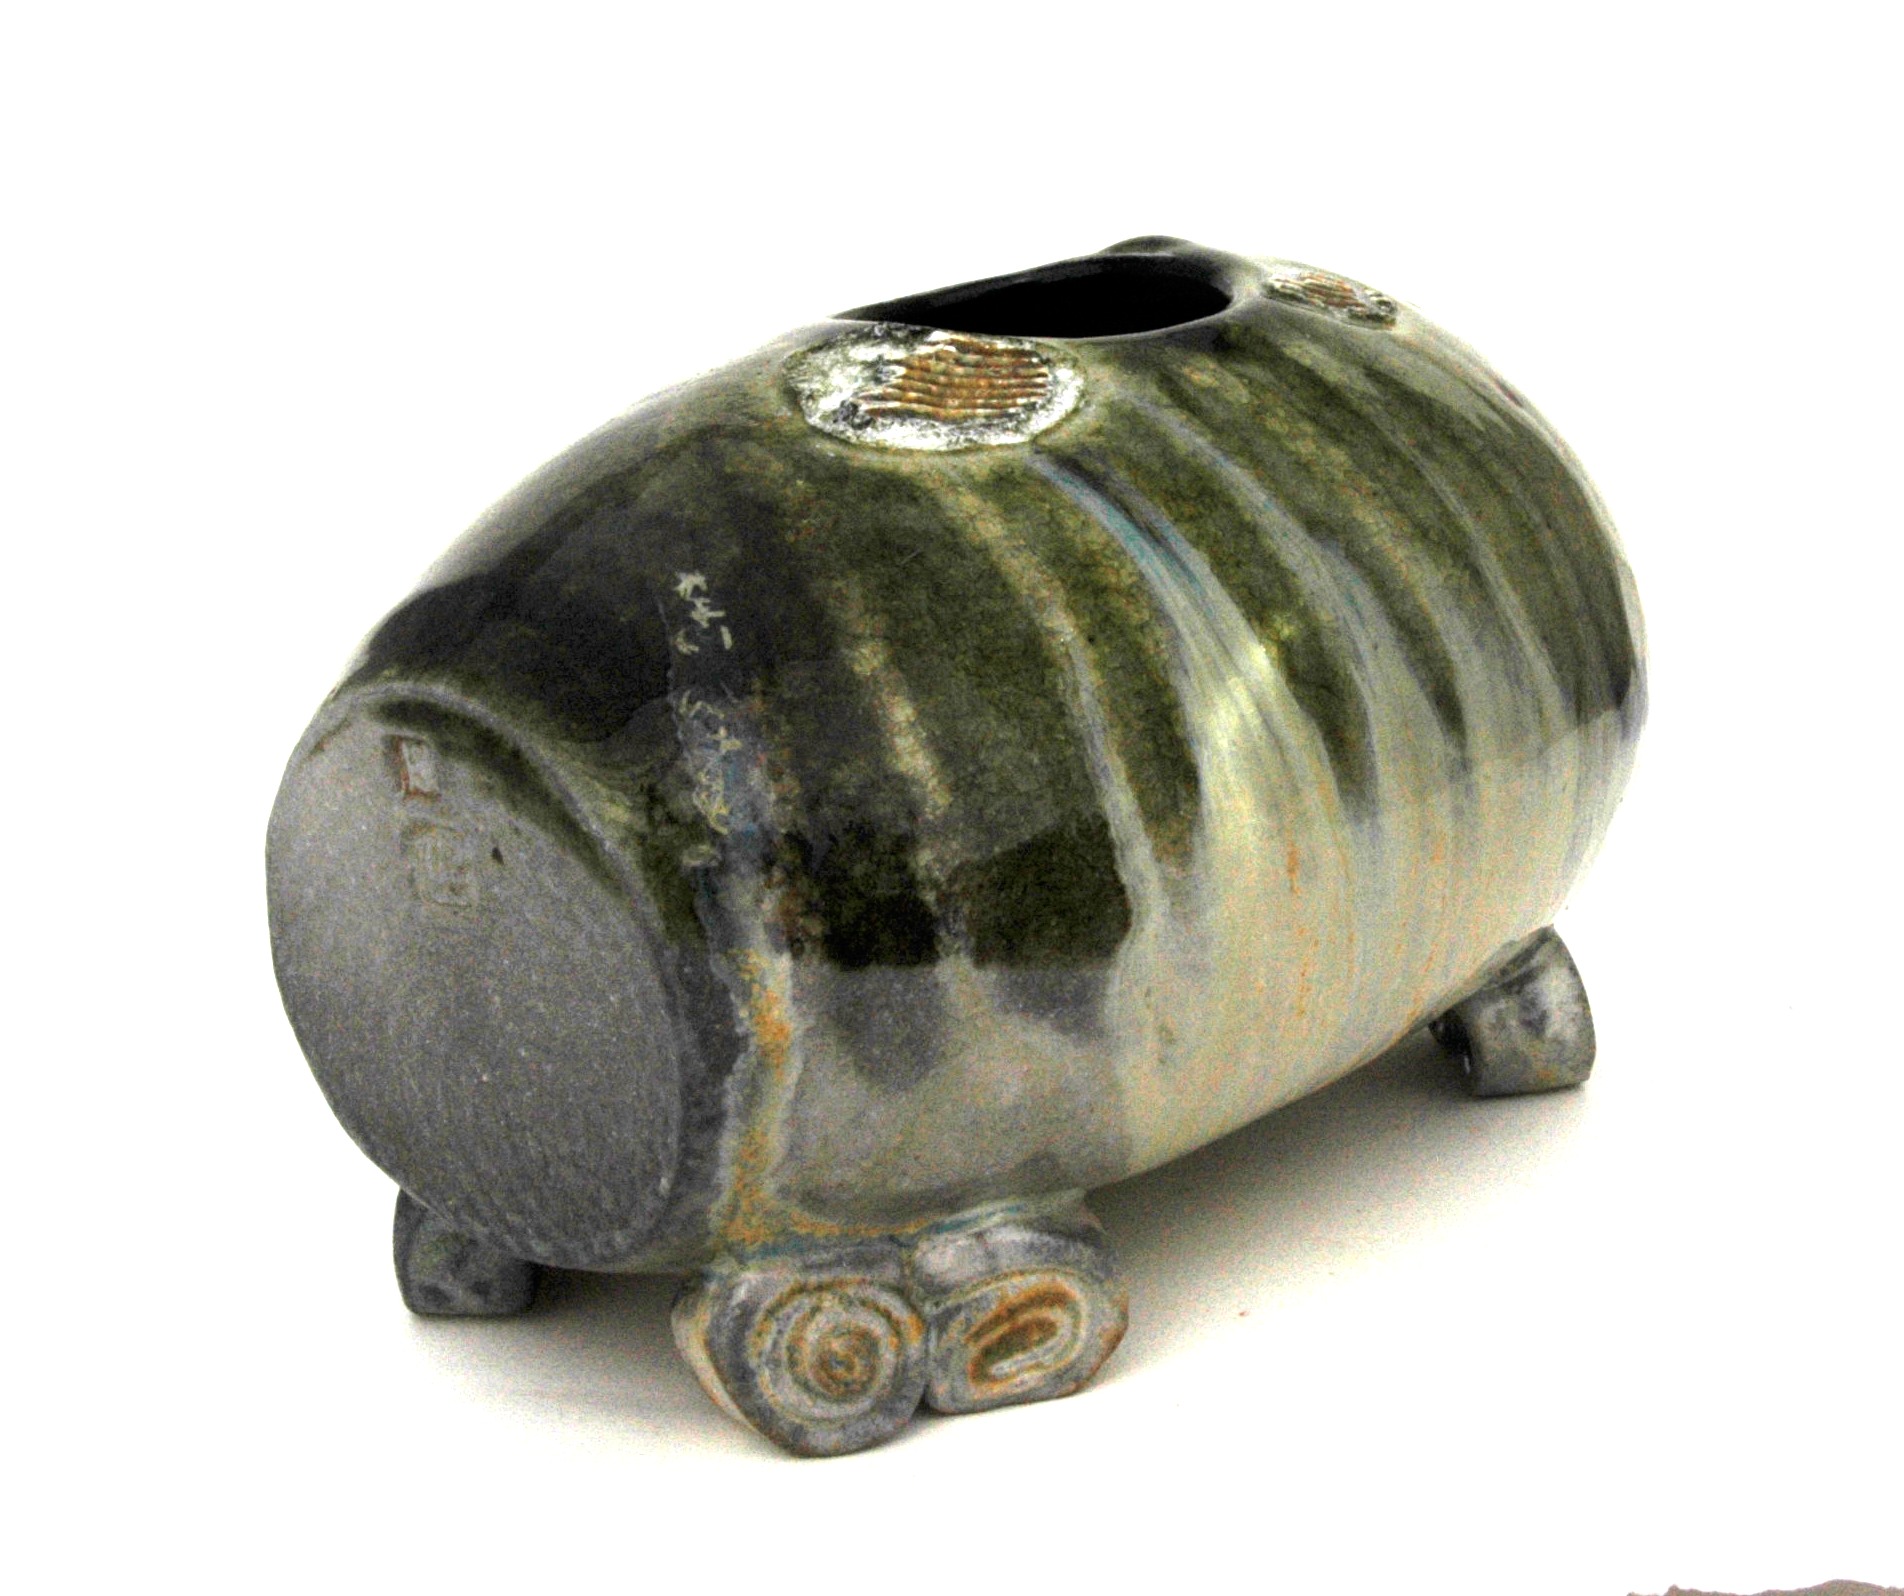
These 3 Ikebana vases have come from the kiln looking pretty good. I’m very lucky! They all say wood fired, but they are each different in their own way. The first 2 are made from my washed basalt gravel sediment paste body. Black and mat and exerting a strong influence on the glazes that I apply over them. The 3rd from red flashed stoneware that has picked up a lot of carbon inclusion during the firing.
I made a number of these vases, so I have a few to choose from. I will put these others up in the gallery.
DSC_0002
DSC_0034
DSC_0060
DSC_0067
.
The tea bowls that I have selected for the exhibition of ‘Chawan’ in Singapore are a mix of shapes and styles.

DSC_0012_015DSC_0012steve Harrison 2

 This bowl is of the more open ‘summer’ style of tea bowl.
It is gently undulating with a softness of form and surface, but with superb strength of character. It speaks quietly but looks as if it knows something about a big stick.
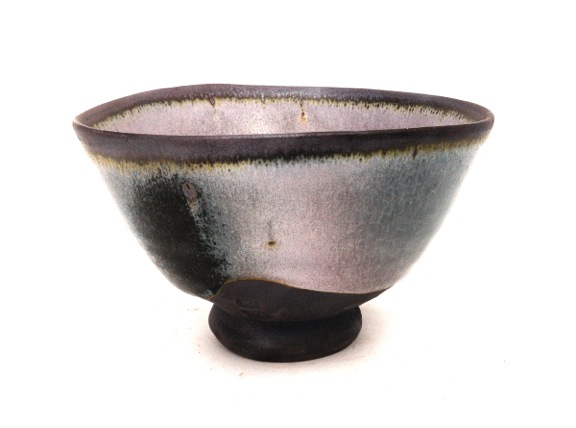
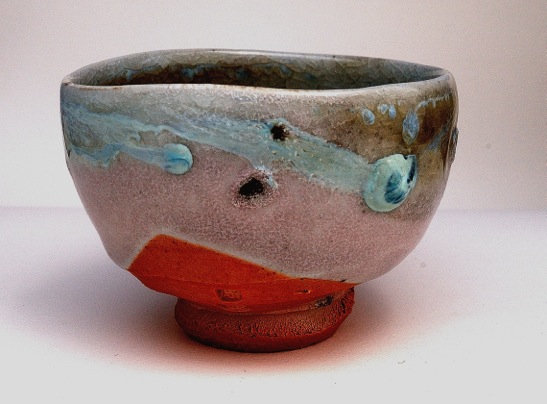
It is made from my washed basaltic gravel sediment body paste. It is very unusual. It fires dark charcoal grey to matt jet black. The extraordinarily high iron content makes it quite tricky to fire to high temperatures in reduction without melting it. When it survives, it is amazing. I love it. The body seeps its iron into what ever glaze is covering it and it changes them. In this case the glaze is an ash and rock combination that fires to a mushroom pink colour, with hints of grey and chocolate. Where the wood ash from the flame during firing impinges on the surface, it can bleed into the glaze base and turn it transparent so that the black body underneath is revealed. This bowl was very fortunate in the kiln. It was enhanced beyond what I put in the kiln, through the firing experience and emerged with a range of surface colours from matt pink to perlucent grey through to transparent black. The rim shows a saturated iron chocolate brown, where the glaze has run away from the rim during firing.
The surface exhibits four seasons, dry matt black, clear glossy transparent black, soft satin pearlescent blue/grey and densely matted soft mushroom pink. I love it!

DSC_0022_01

This bowl although new, looks old.
It has had a tough short life and shows it experiences clearly on its surface. However, it still carries itself with grace and poise, despite its scars and marks of surviving the experience of the firefront. A bit like life.
It has superb strength of character. A strong, beautifully textured foot that illustrates the roughness of the clay beneath, while draping itself in a luxuriously soft, satiny, pink/grey cloak of wood ash and granite glaze, with highlights of runny pale blue opalescent ash glaze.  It’s a closed ‘winter’ bowl and feels wonderful in the hands.

DSC_0062

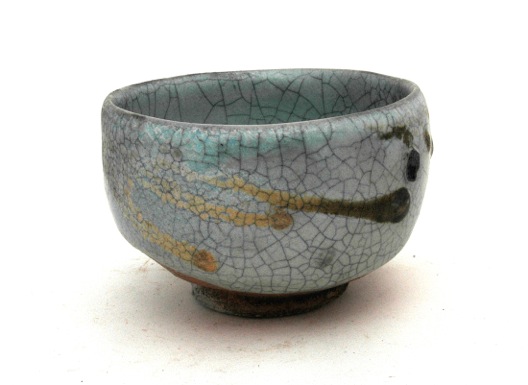
This ‘winter’ bowl is glazed from my local native ‘bai-tunze’ porcelain stone body, converted to a glaze by the addition of our local limestone deposit and a small amount of ash. The resulting glaze is of the ‘guan’ / ‘celadon’ family of glazes. it is pale blue/turquoise green where it is applied thickly over a pale clay and a more sombre grey where thin. this stoneware body has a small amount of iron present, just enough to colour the clay grey in reduction with a charcoal carbon inclusion where it is exposed directly to the wood fire flame. the ash that has melted over it during firing varies from golden yellow to mat brown and contrasts beautifully against the thicker turquoise glaze on the rim.
It has a quiet contemplative feeling and a subtle restrained beauty.
I’m quite happy with these three different bowls, made from 3 different ground or washed rock bodies and with 2 different wood ashes and ground rock glazes.
This next bowl is a response to some wonderful work exhibited by Toni Warburton, where she re-imagined traditional grey shino with a completely contemporary take that involved making grey shino images, textures and colours at earthenware temperatures. These were ceramic paintings/sculptures that imaged the aesthetics of the old wares. They were exhibited at the Australian Ceramics Assn. exhibition; “The Course of Objects – The Fine Lines of Enquiry”.
I really liked this work very much. I couldn’t have thought in this way. But, once having seen it, it spurred my imagination. I’ve always had a reluctance to try my hand at shino. It’s been so overdone and especially by wood firers, and why not? it’s an amazingly good and ever so attractive glaze surface. But, exactly because everyone is doing it, or has done it, it suffers from over exposure. I don’t want my work to be indistinguishable from everyone else’s.
I really admire the original pieces made in Japan in the Mino area in the last two or three generations by Arakawa and his followers and imitators. If Shino is what happens when you take the local stone and apply it over the local clay, then that might have some area left to be explored here in the Southern Highlands and its surrounds. It won’t be shino, but it will be one of the local aesthetic variations that are possible to conceive of in this place, at this time.
I decided to try my local granites. aplite, porphyry and other acid volcanics and their derivatives, just to see what would happen. I even drove out of my shire to access some acid volcanics next door.
I’m thinking that if I apply this simple formula of ‘use what I have’, then do the best that I can with it. I just might get something interesting.
So this is what I have started to do. I don’t know what I’m doing with shino, I’n a novice, but I know my materials, so something has to happen. Let’s hope it’s good.
This winter bowl was fired in the ‘Zone of Death’ at the front of my kiln firebox. It’s blushing with embarrassment at being so lucky to have survived the ‘zone’ in a first attempt at Faux Shino.
It’s called ” Me No Know Mino”
DSC_0048_018DSC_0048steve Harrison 2
I think that there is a bit of potential here.
Watch this space.
This new work will be shown at the Kerrie Lowe Gallery in Newtown in a few weeks time.
Best wishes from the slow moving Faux Peasant and his Wild Beach Girl.

Old Slag and a Tosser

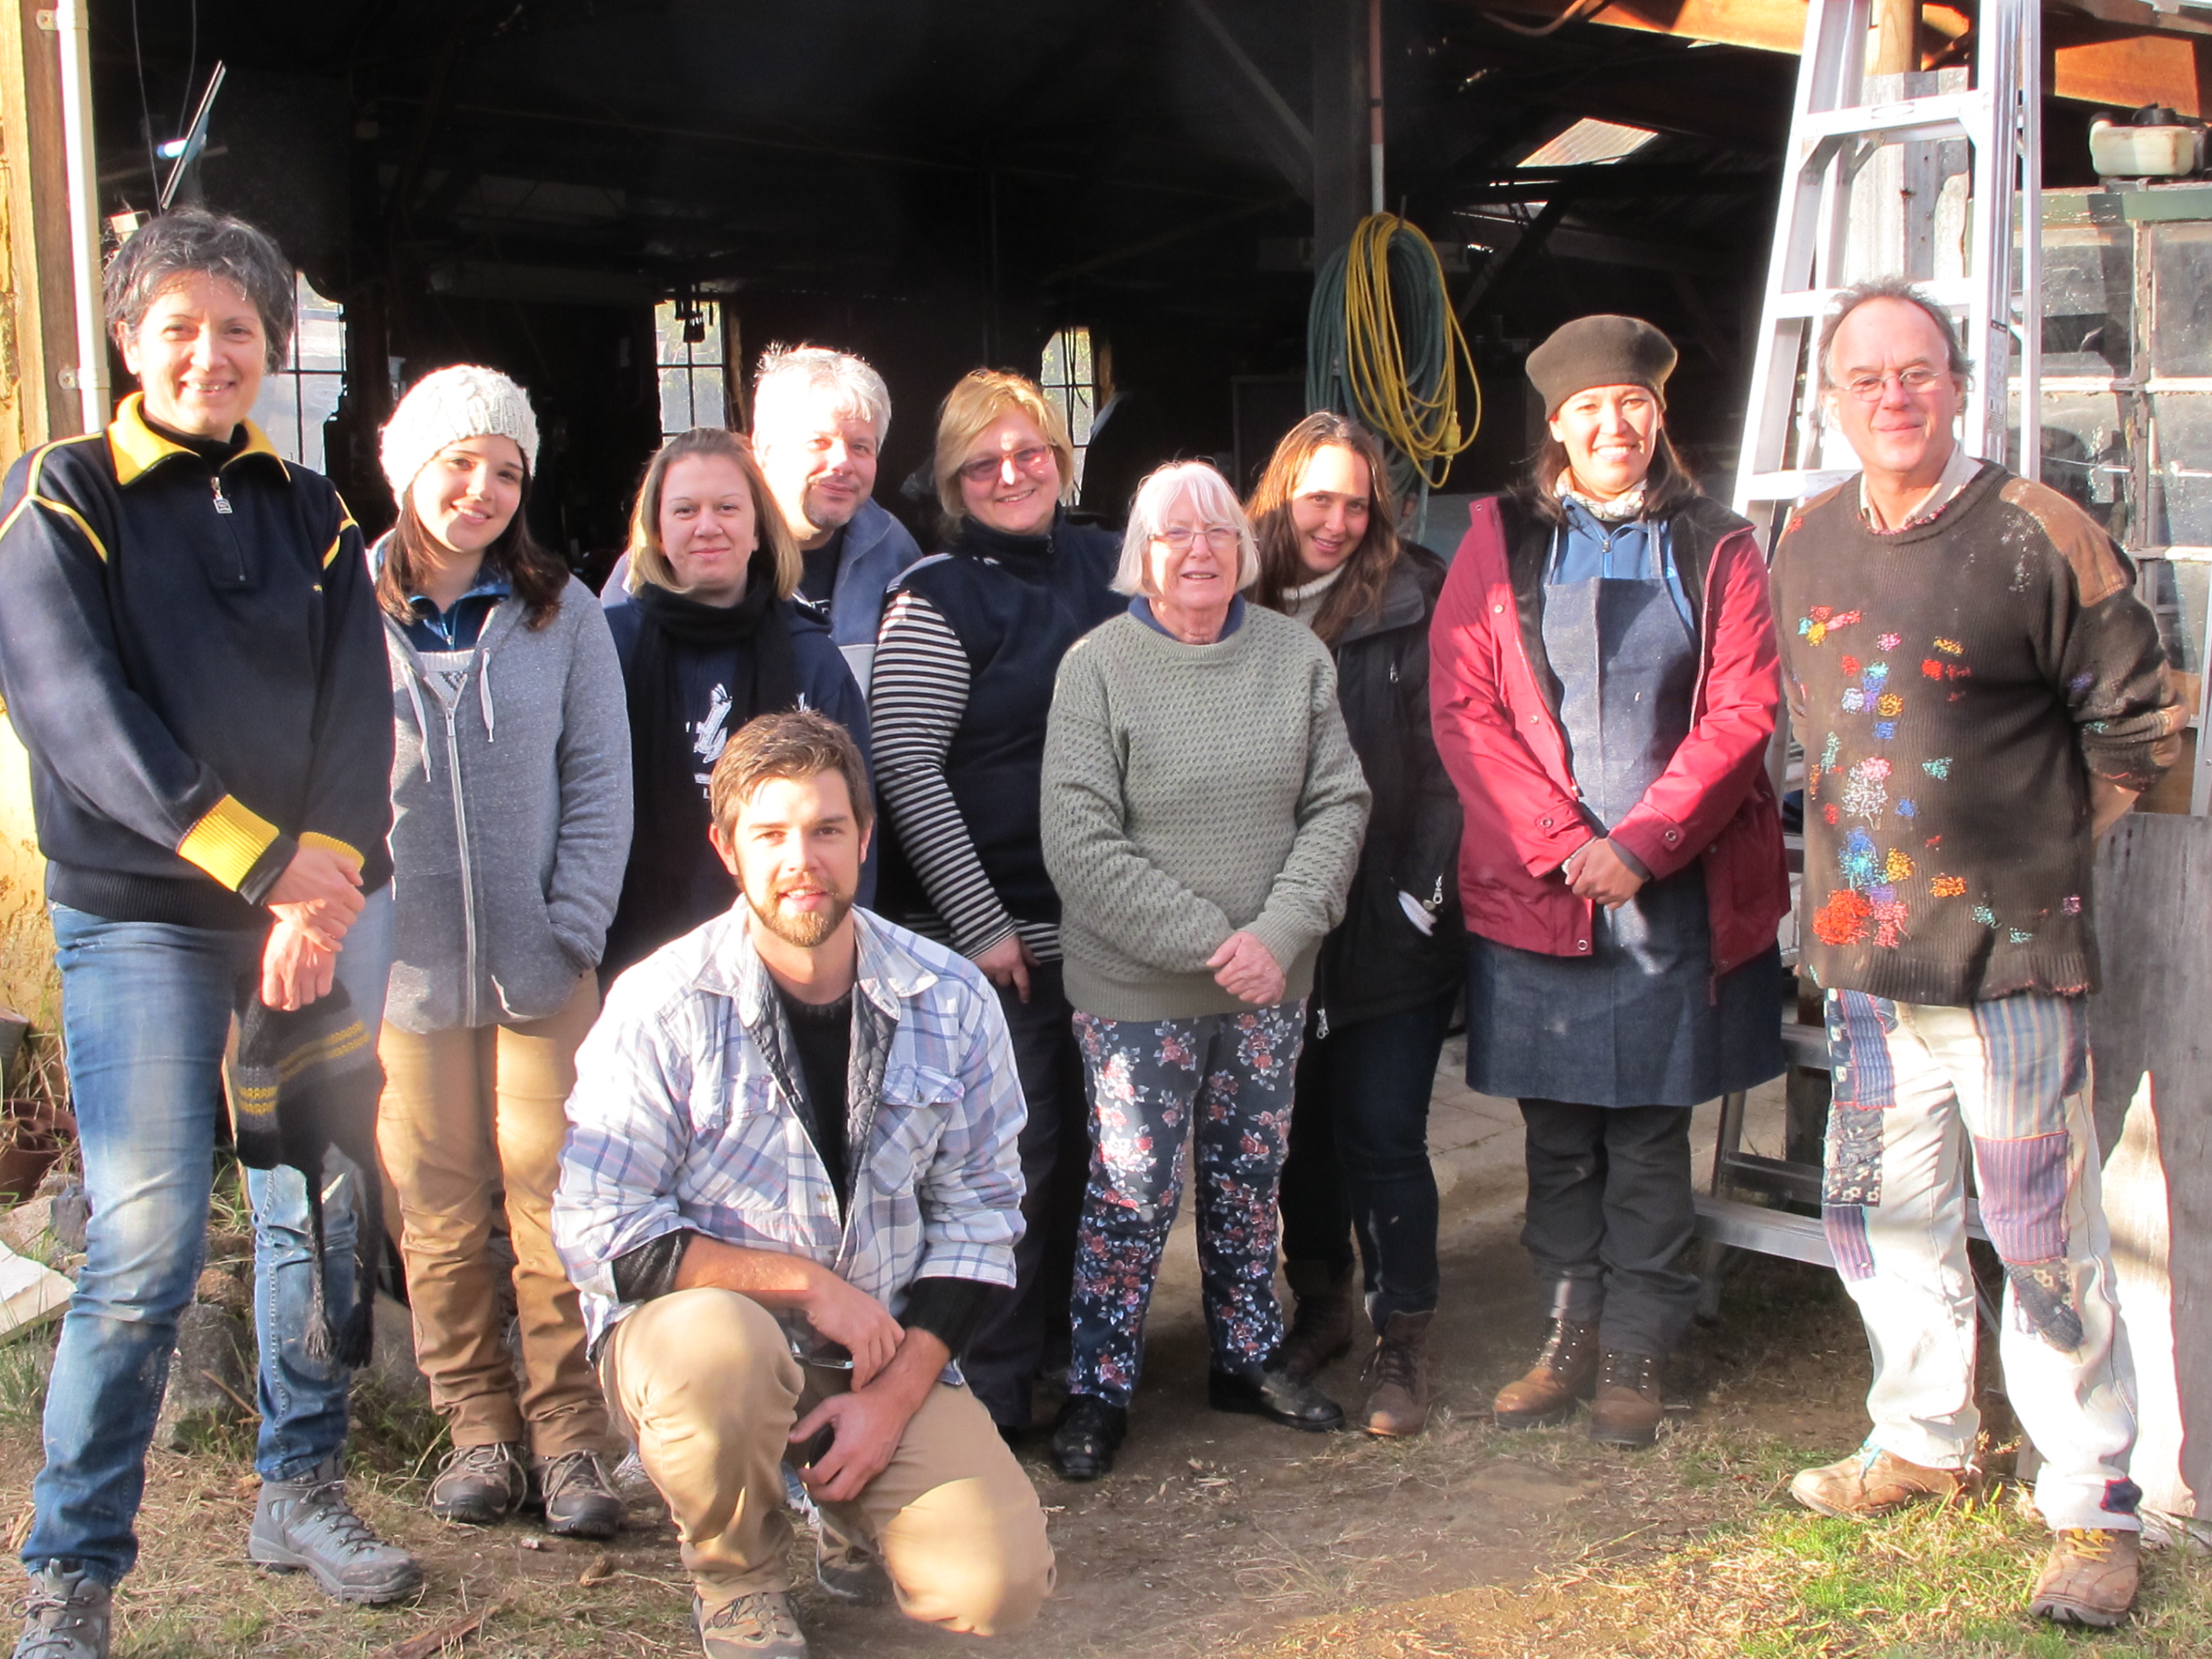
We have another weekend wood firing workshop. Another amazing group of wonderful people. Everyone so engaged and enthusiastic. I have to cut split and stack more wood. Prepare the kiln and its furniture, kiln shelves and props. Check out all the fittings and structural elements to make sure that it all goes smoothly. The fire box lid lining is on its last legs, but will last a few more firings. It takes a few hits from our enthusiastic new stokers, with well-meaning, but miss-placed logs at high temperature.

IMG_4594

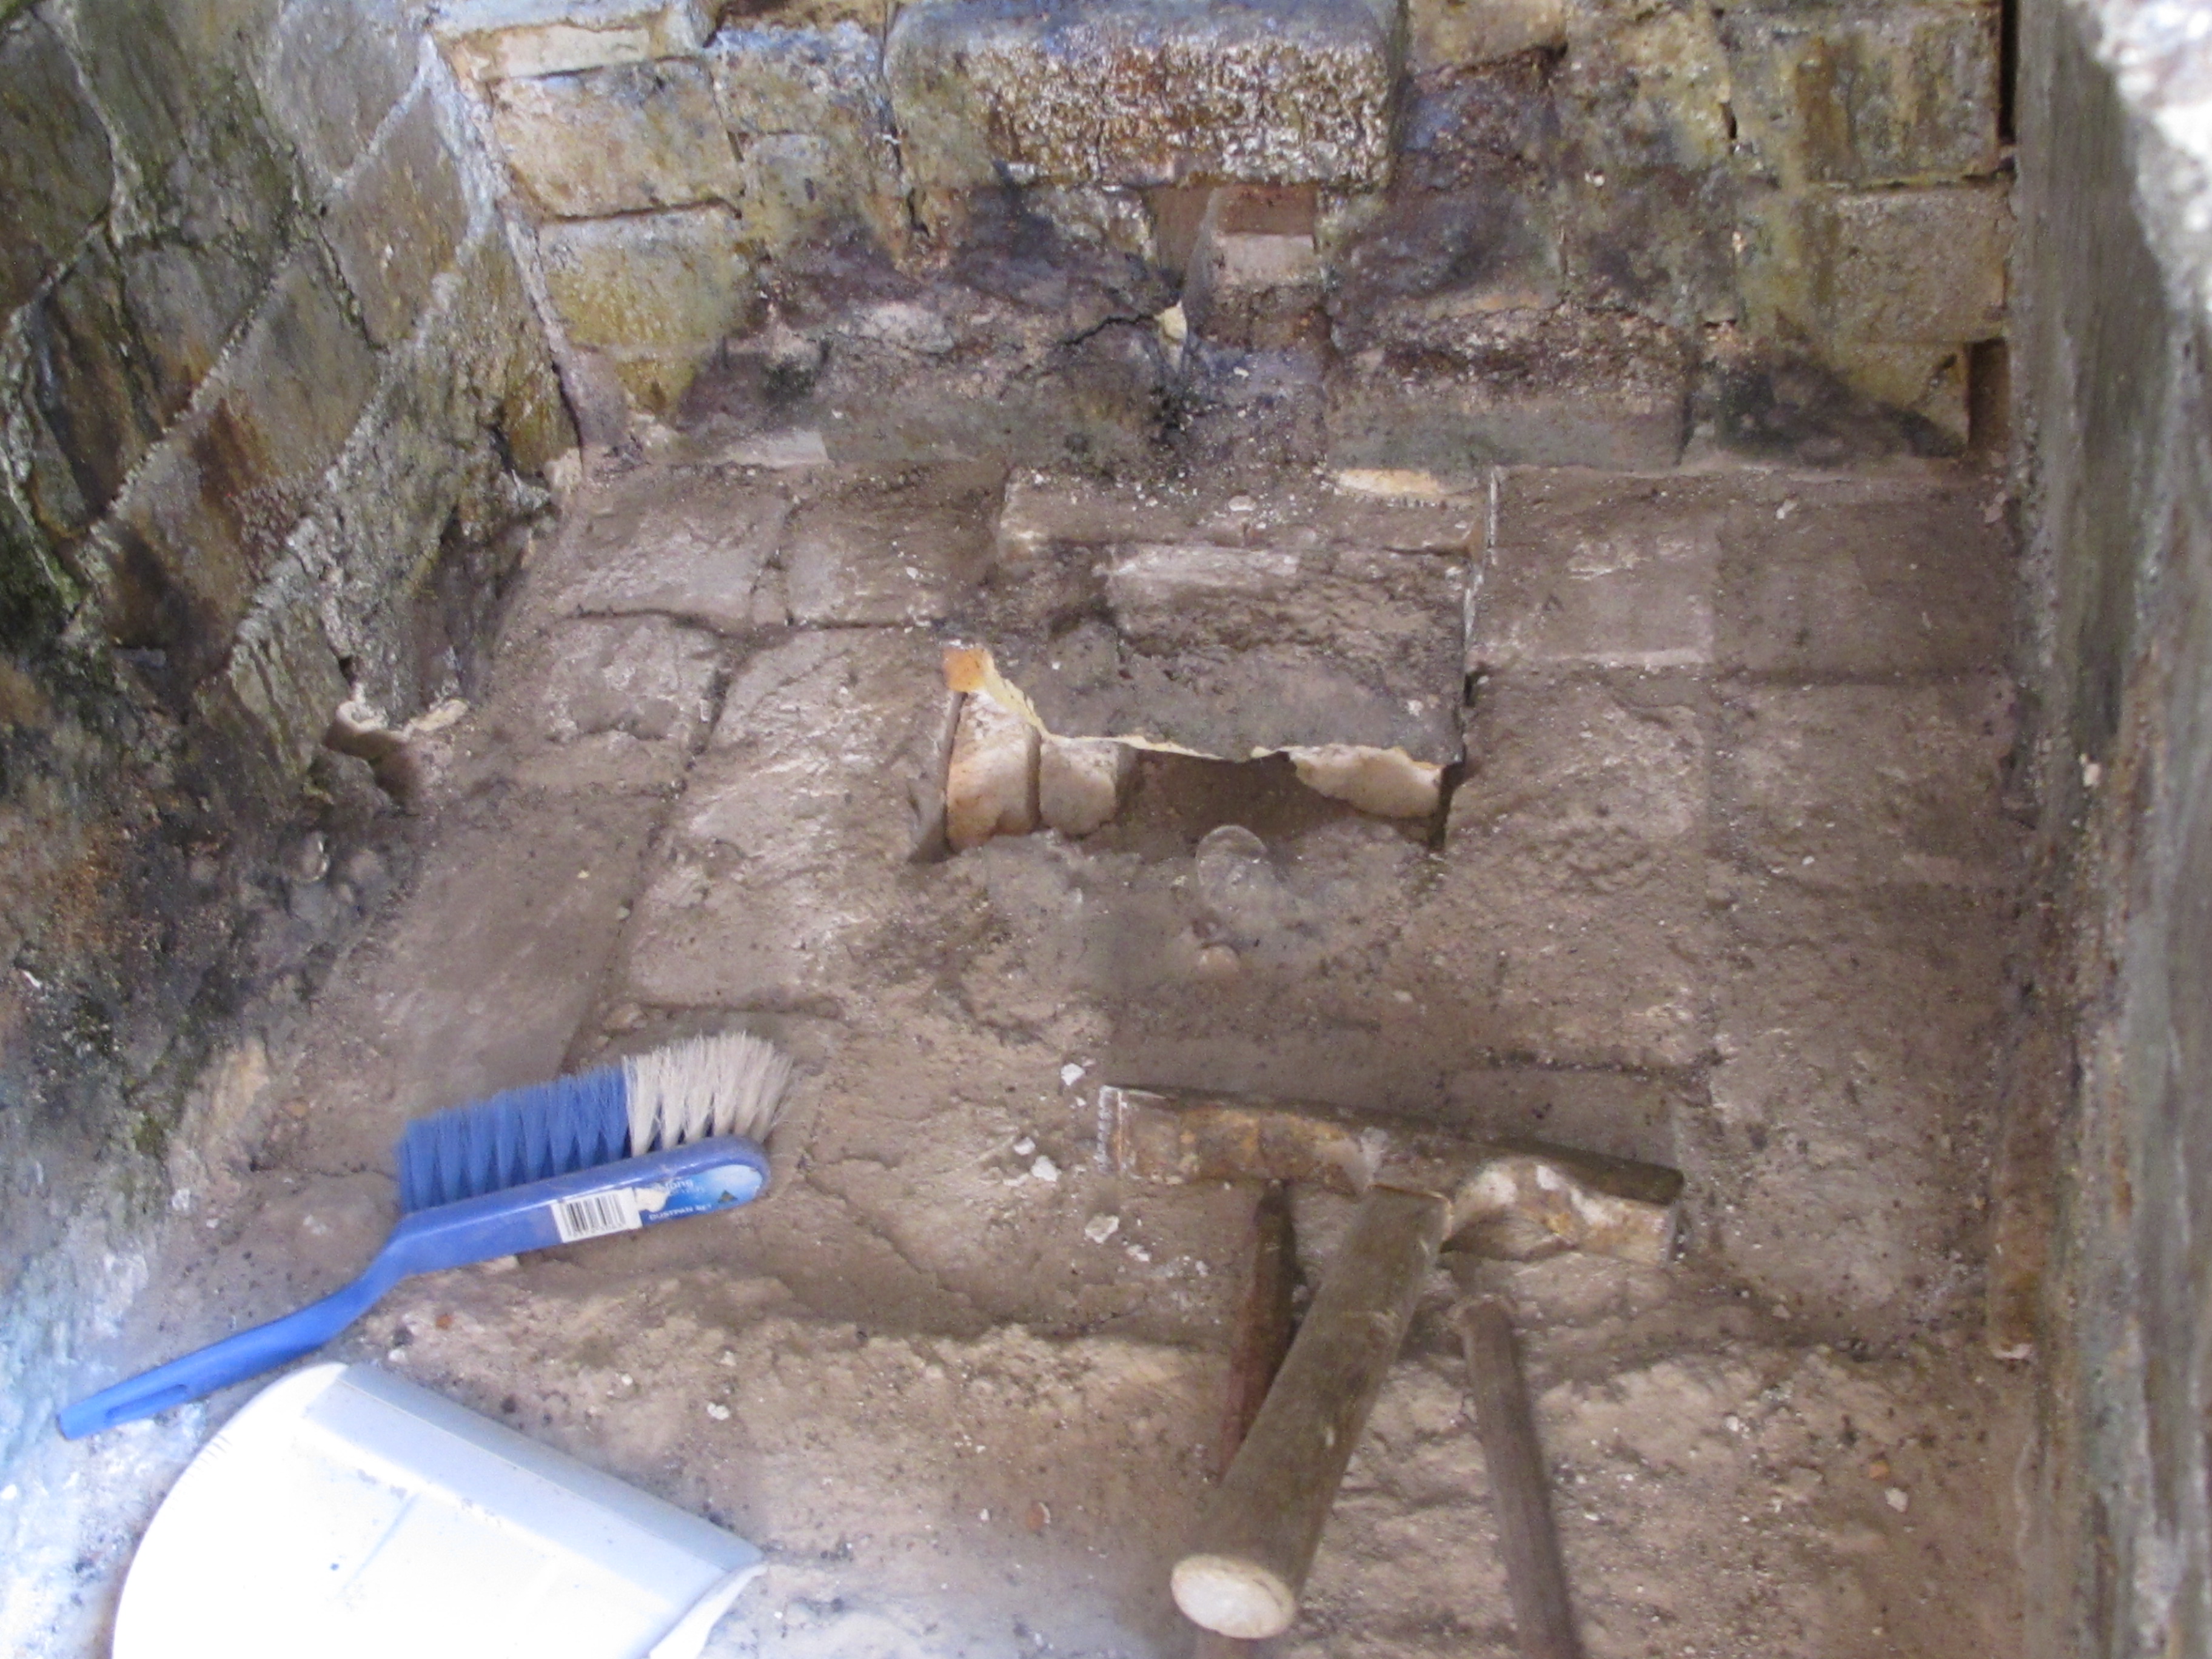
Before we can fire the kiln again, There is maintenance to do. I have to get inside the fire box of the kiln to chip out the molten ash glaze slag from the last firing. This has to be done after every firing. The ash from the firing collects in the base of the firebox and accumulates to the point that it melts into a molten slag at the high temperatures at the end of the firing. It forms flows of liquid natural ash glaze that pool into the floor bricks. This is the same natural ash glaze that decorates our pots during the wood firing and gives them their distinctive wood-fired look.
There is alway some minor repair work required after each firing . Sweeping out the dusty ash and charcoal, chipping out the slag that threatens to block off the air holes. This is normal maintenance. However, when I get inside the firebox this time I see that the last firing had such fluid ash glaze formed at the end of the firing that it has run and pooled into the very important mouse hole in the base of the ash pit. This hole is most important to keep the ember level under control during the firing. It has to work properly, otherwise I can’t control the fire as easily and everything could go pear-shaped.
On close inspection I find that the ash glaze slag has completely filled the air hole and sealed it off completely. To avoid this occurrence, I place a special little kiln shelf ‘lid’ over the hole to deflect most of the ash to the periphery of the hole and this usually works. But the combination of wood that I have used this last time has created a very fluid slag and every thing had disappeared into a grey/brown puddle of lava. I can’t even see the ‘lid’ or the hole beneath it. I work on the principal that I know that it is under there. I have to climb into the firebox base armed with a 2 kg hammer and cold chisel, a crow bar and a skutch hammer. I have protective goggles over my glasses and a dust mask as I set to work in this cramped space, hammering and chiselling as best I can without being fully able to swing the hammer properly. I bash, chip hammer and prize my way through the glassy, lava-like slag. It is brittle and smashes into jagged, conchoidal, shattered spalls. Bits fly everywhere. It’s in my hair and all through my clothes. I have to be careful not to cut my fingers trolling through the pieces, tossing them back into a bucket in the kiln chamber. I finish by sweeping up the small fragments and dust. It’s a crap job, stuffed into this small space with all the dust and sharp edges, but it has to be done and no-one else, including the kiln fairy, is likely to volunteer. I keep putting it off, hoping that the kiln fairy will do it, but no such luck there. It’s all part of being self-reliant. I often put it off till the last minute, because I just don’t enjoy it, other times I get stuck into it first thing. It all depends on my energy levels and state of mind. There is no avoiding it. It just has to be done.

IMG_4590

IMG_4591

Although it doesn’t look it, it’s actually all cleaned out and ready for more work.

I’m lucky and very grateful that this is the worst job that I have to put up with. It’s certainly the least glamorous job in the pottery. It’s all very well, sitting in the sun being creative and making lovely things that are visually engaging and wonderfully tactile. Unpacking the kiln is like Xmas, but no-one daydreams of all the hard graft that goes into ‘creativity’. Don’t give up your day job!

We have a -2 oC frost overnight, during the firing. It keeps us sitting up close to the kiln during the midnight to dawn shift. Our European friends will call us pathetic wimps. That isn’t cold! Minus 40 is cold. I know that, but we are in Australia, the land of heat and sunshine, draughts and heat waves and not used to the severe European cold. Minus 2, certainly felt cold enough to me. If it got colder than this on a regular basis, I’d build a different shed. One that had walls!

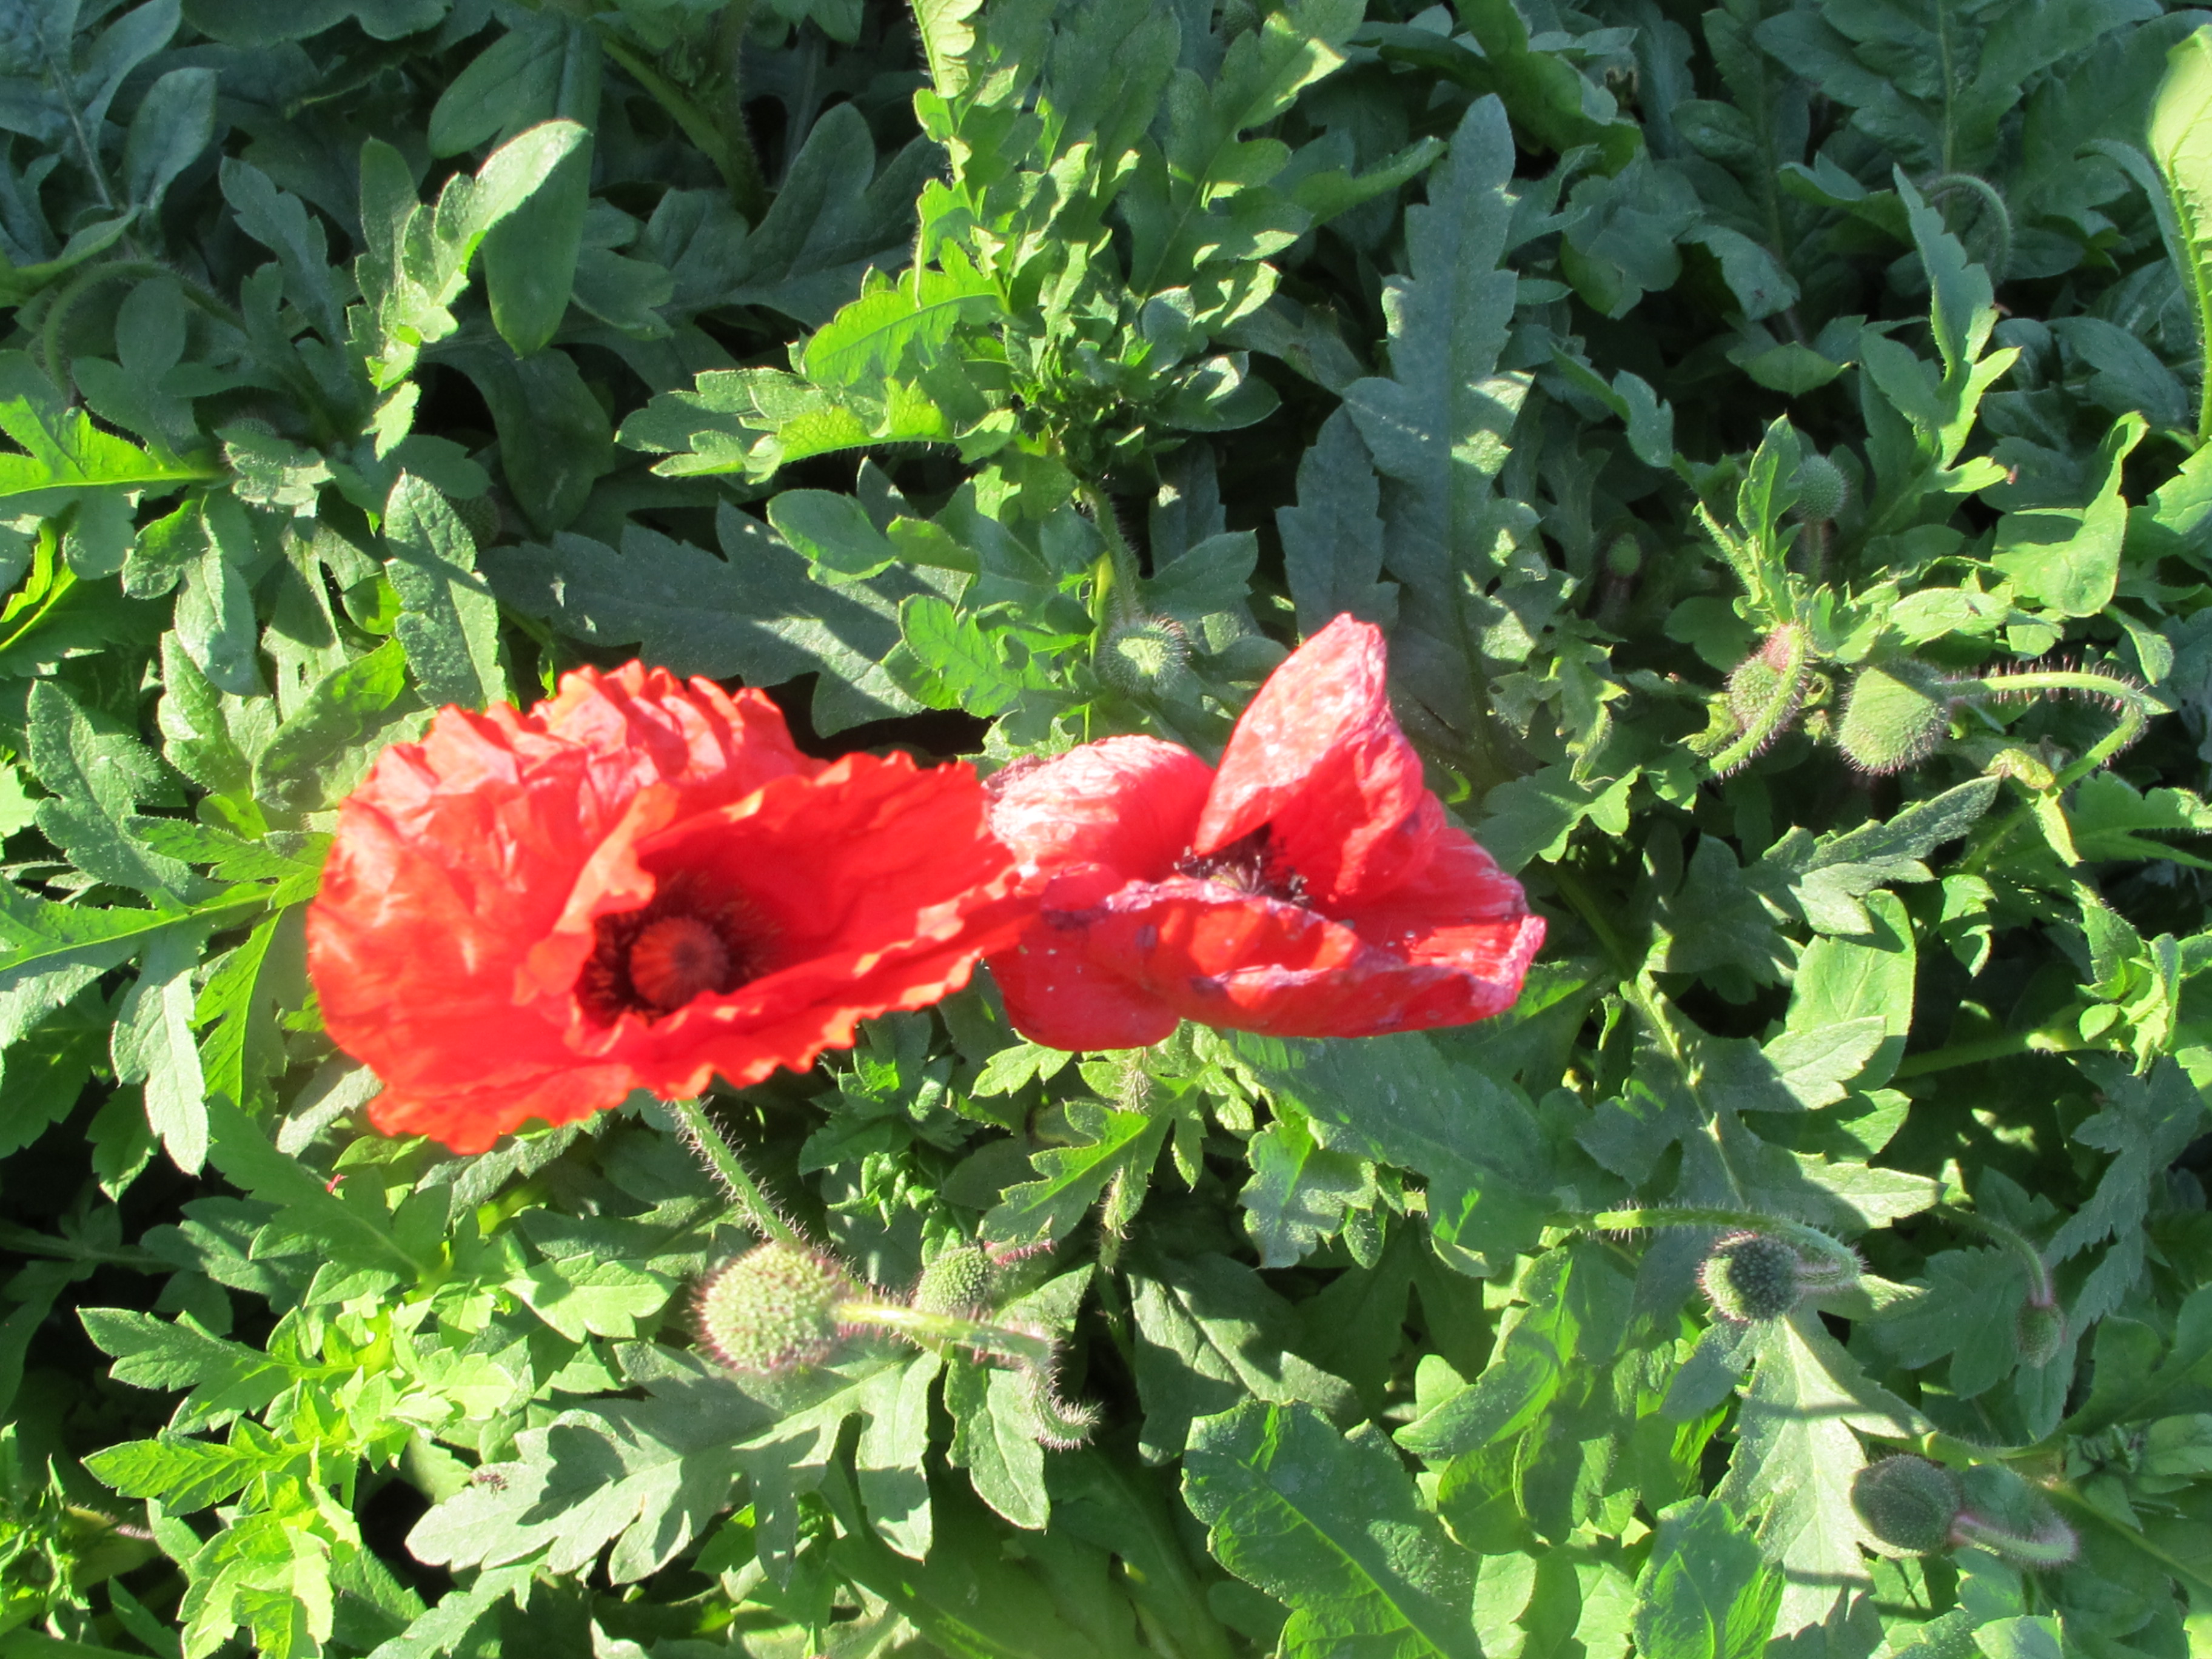
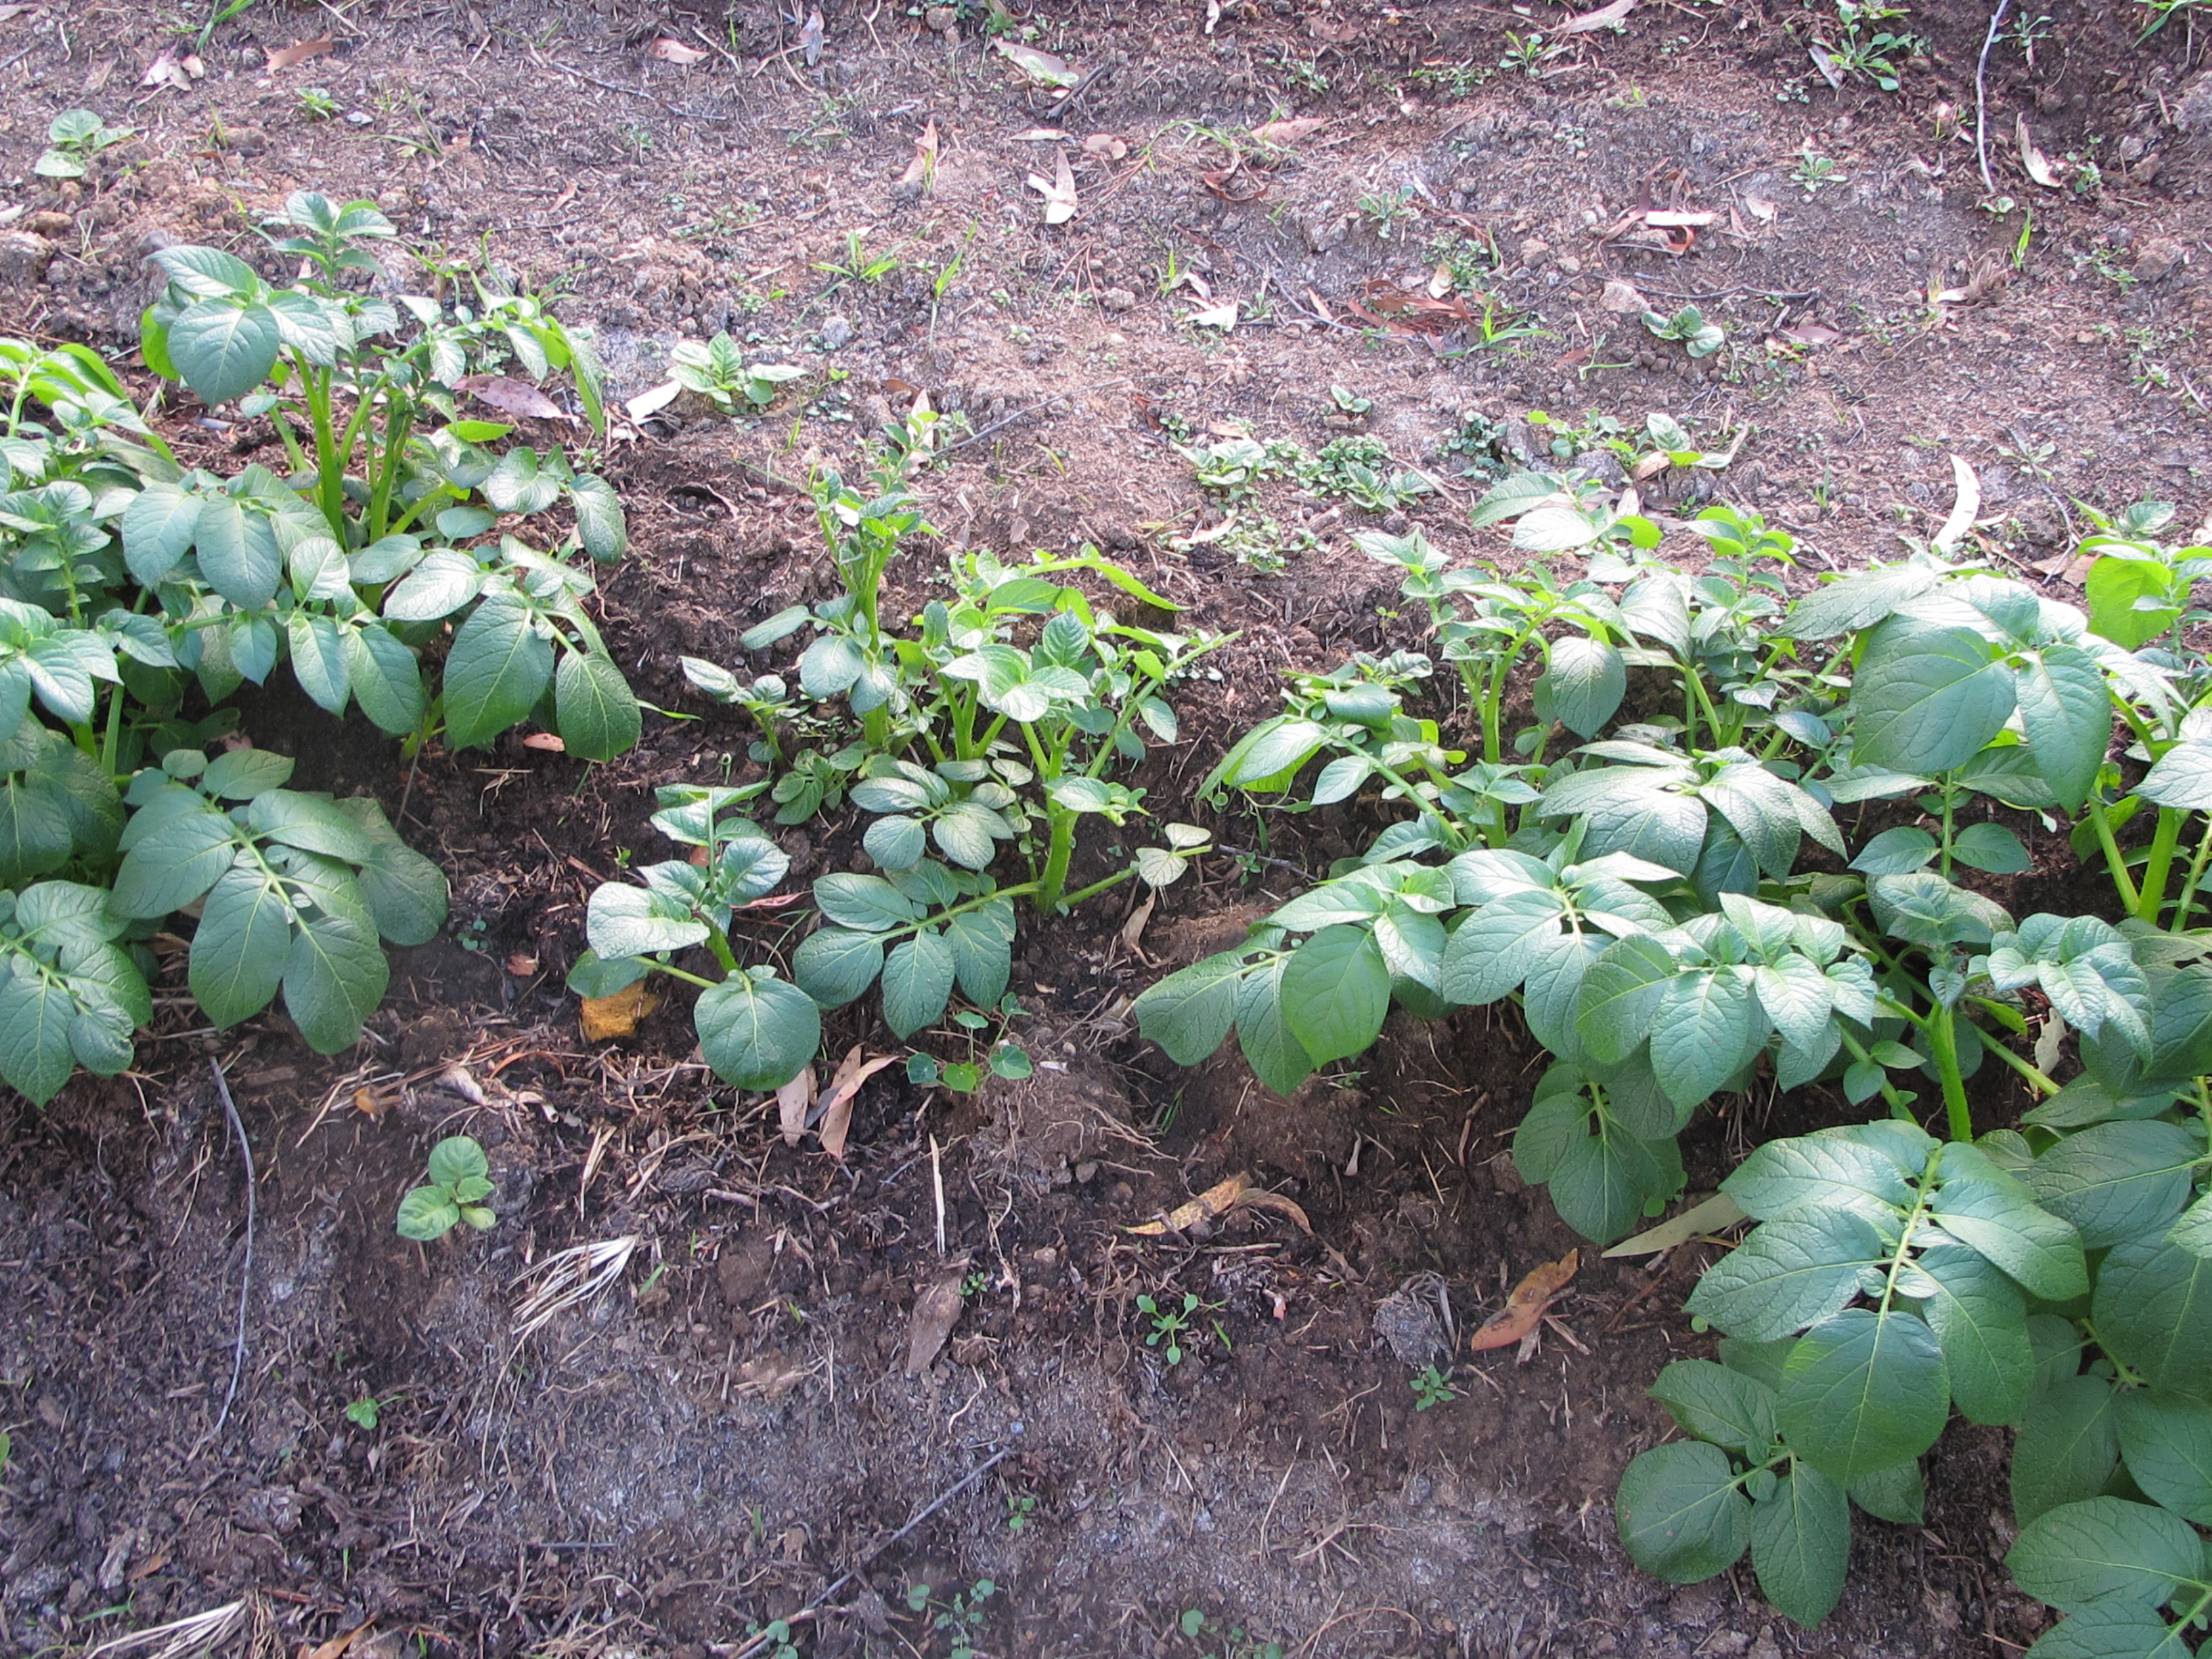
A quick walk around the garden reveals that the last 2 rows of very late potatoes in the garden have now had it. The frosts are coming regularly now. Not severe, but light and regular. I think that this must put an end to these spuds, but they still have a few green leaves. I don’t need the space just now, so will leave them to their own devices, till spring. I can’t see anything coming of them. However the single red Flanders Poppies growing among them seem to love it.

IMG_4620IMG_4656

IMG_4643IMG_4603

IMG_4604

IMG_4619

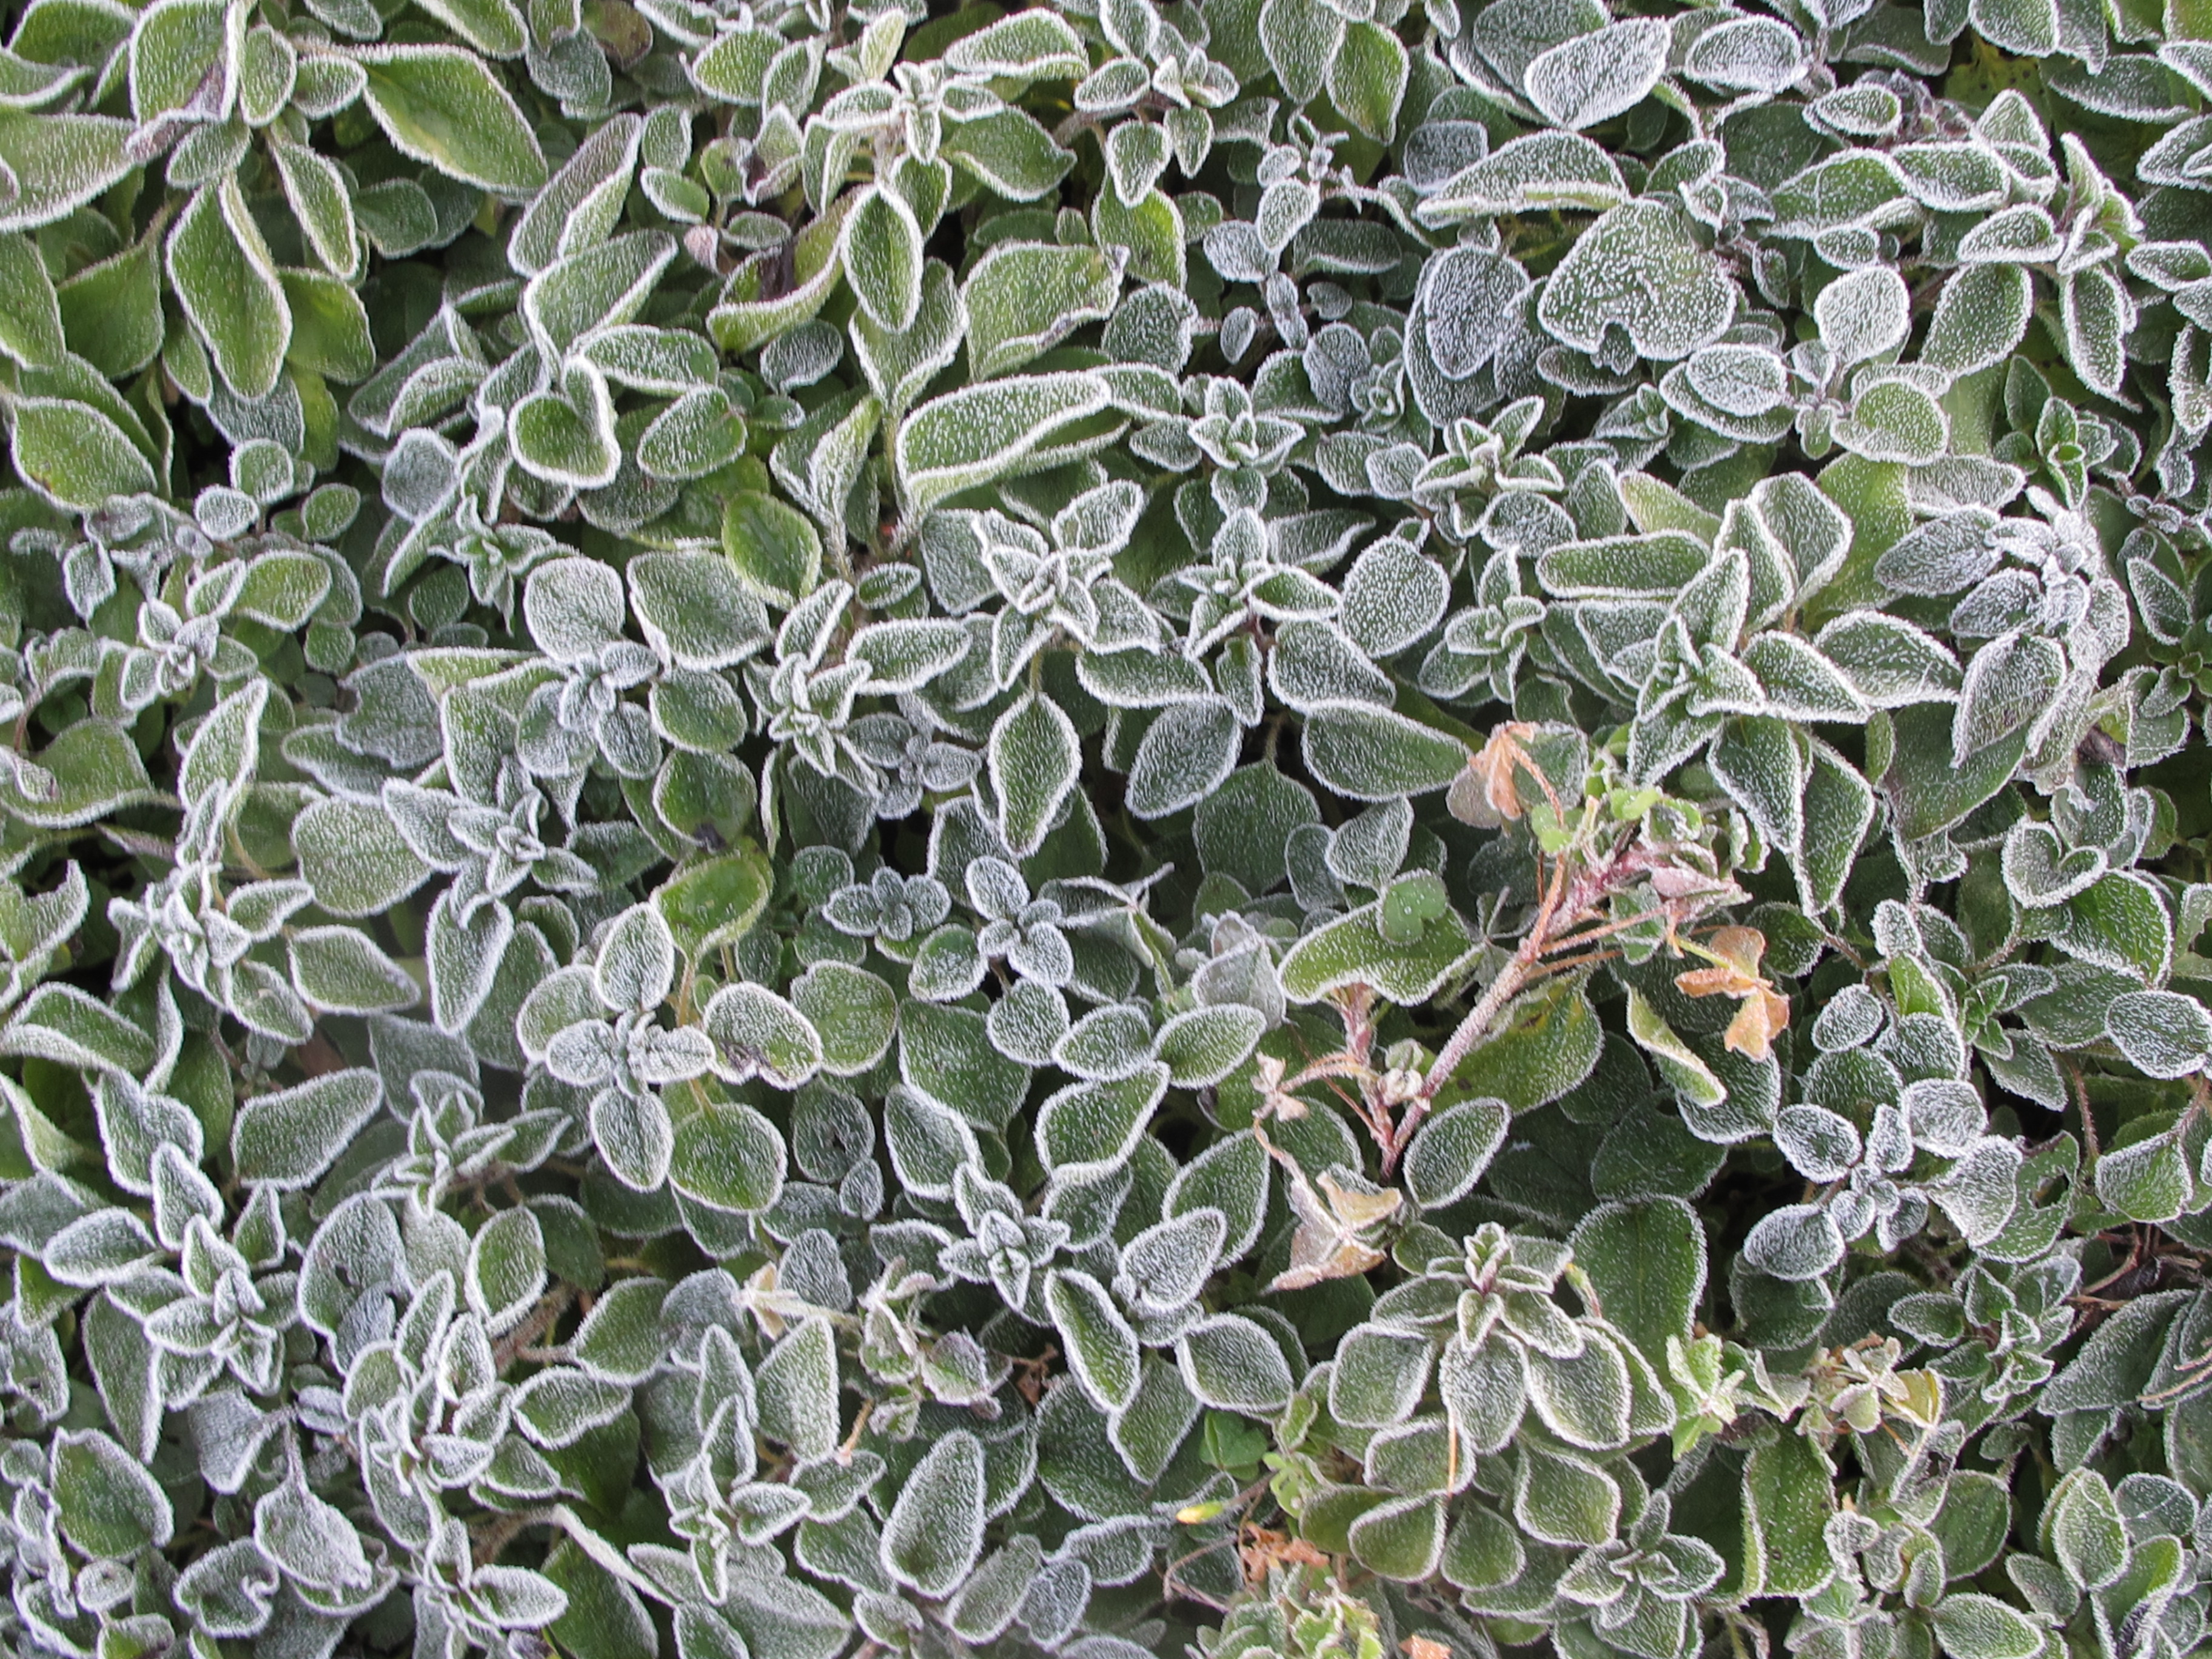
There are lots of pretty images in the garden of leaves tinged with white frost and ice crystals. The ground crunches under foot as I walk about. There have been several frosts like this one now. It’s good. It will finish off a lot of bugs like the fruit fly, that can over winter in milder climates. This ‘chill’ will help all the old varieties of fruit that need their winter chill to become fertile in the spring.

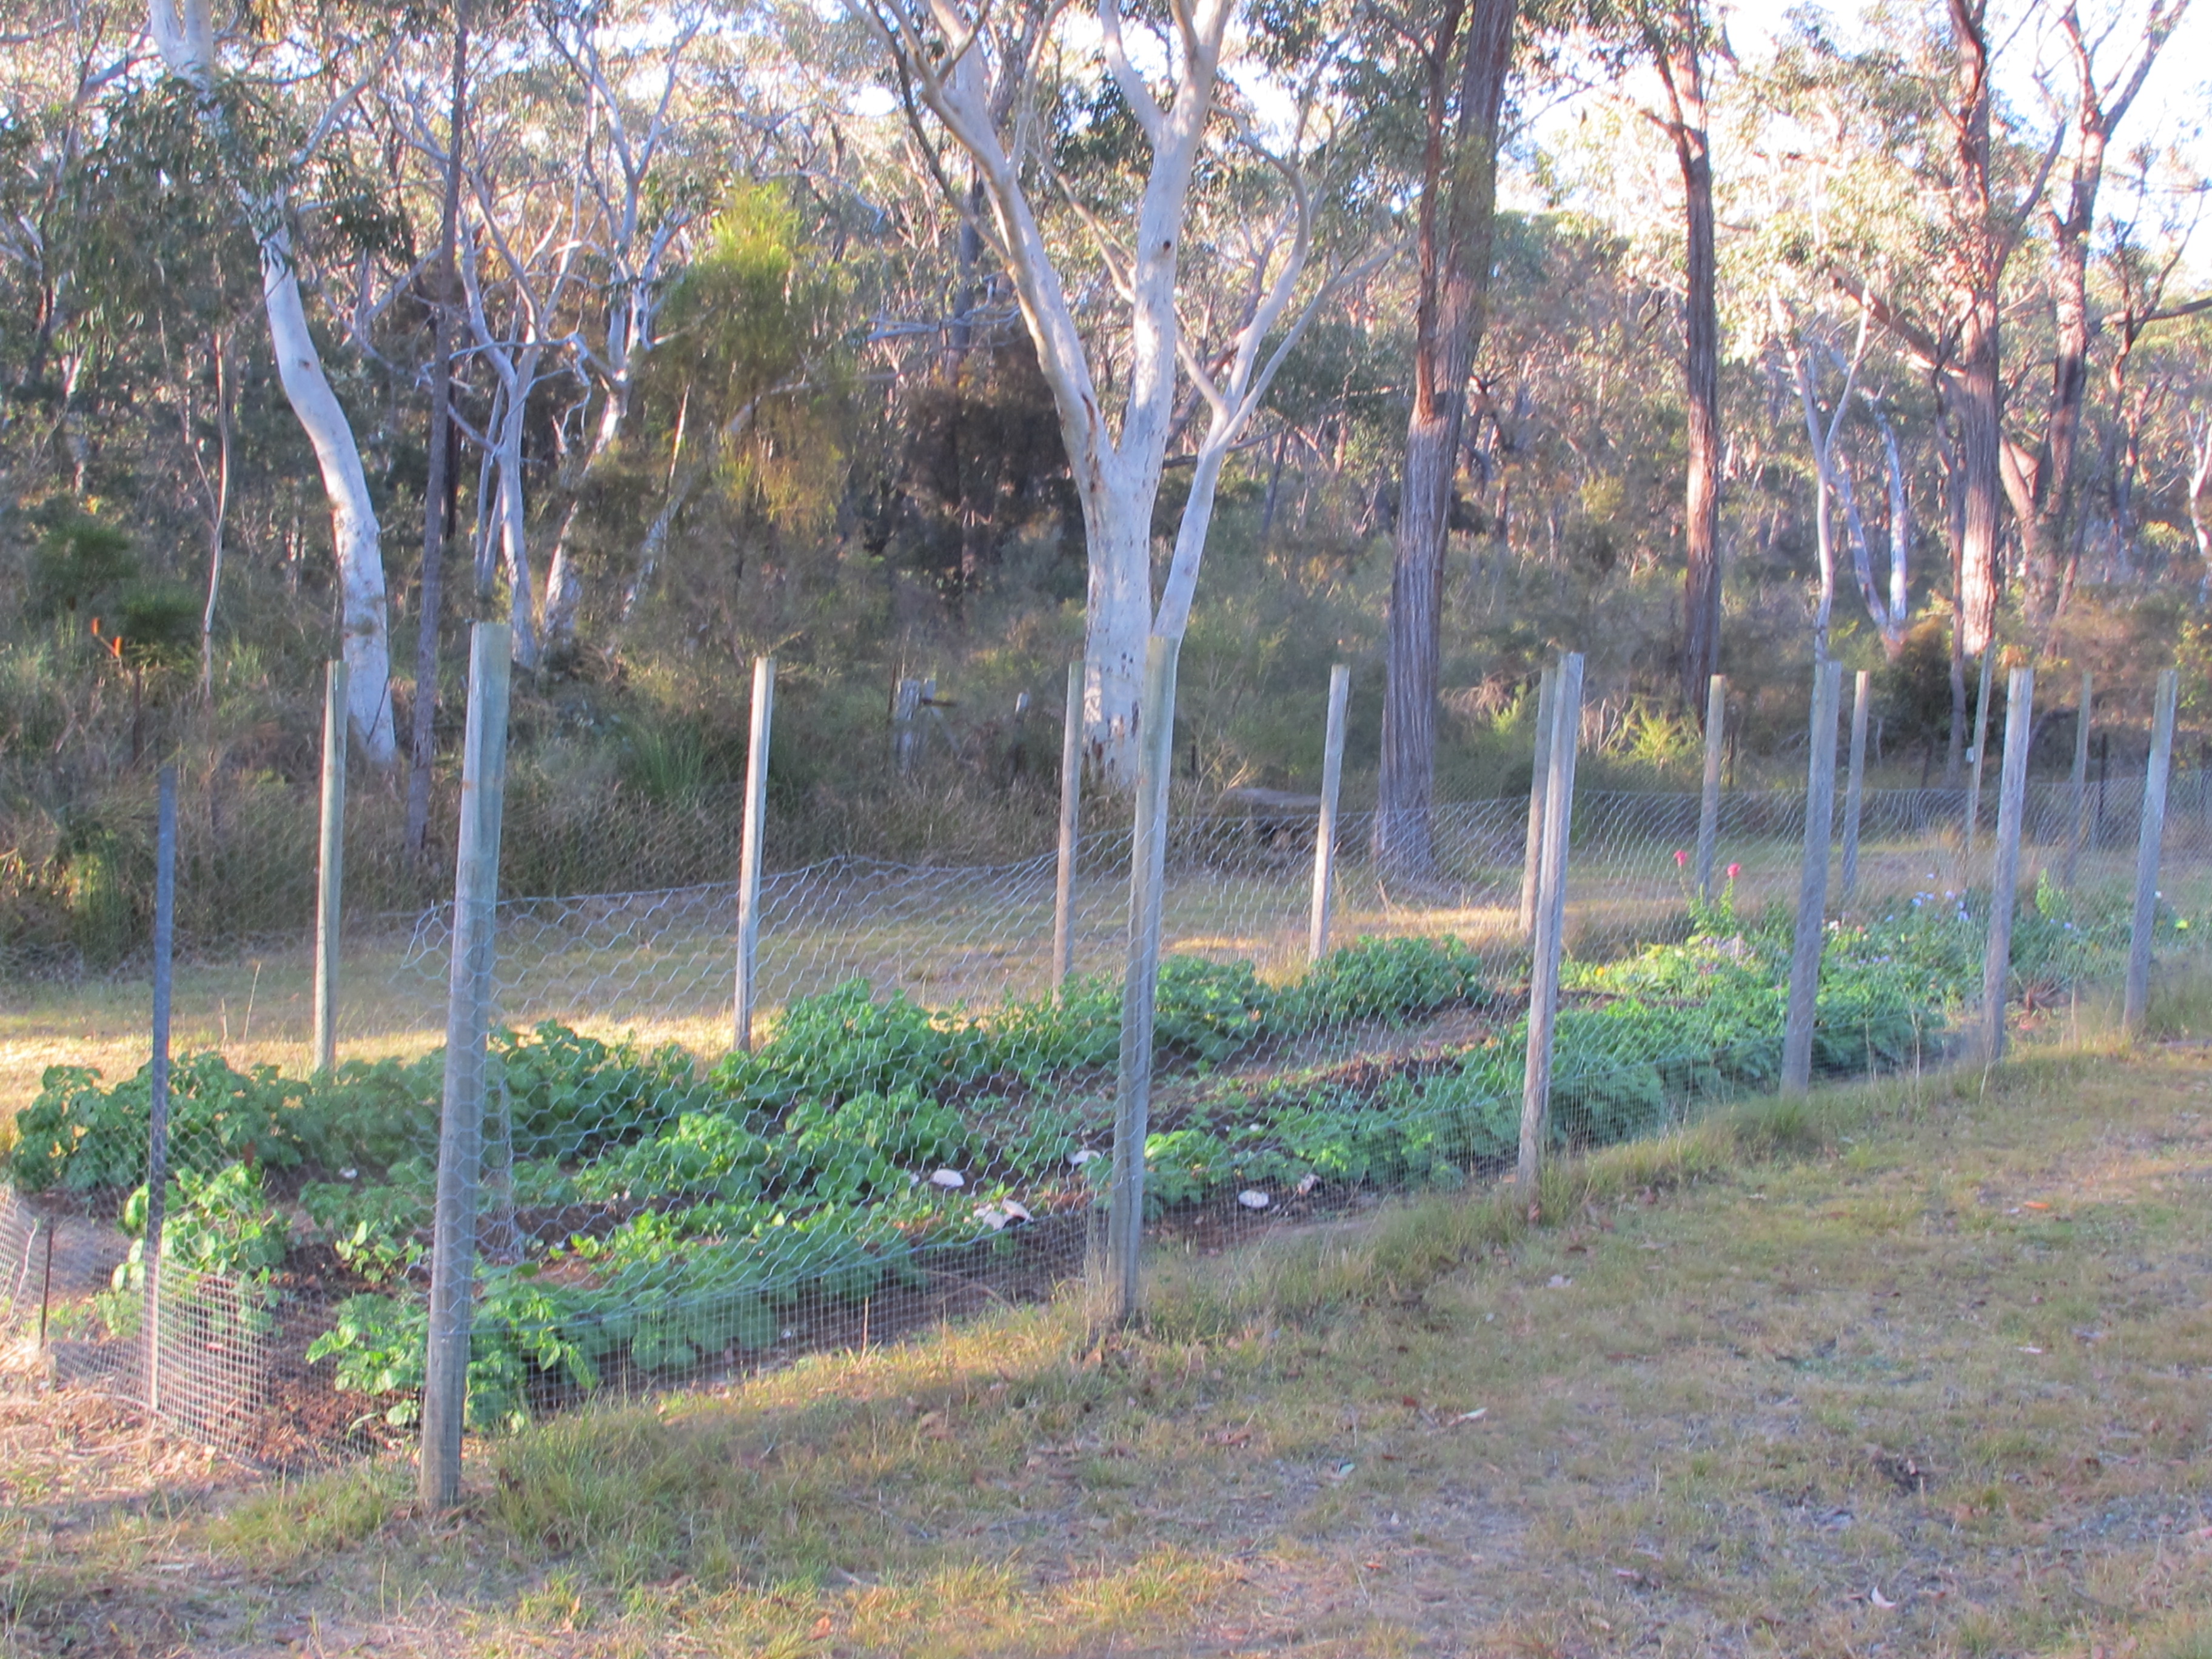
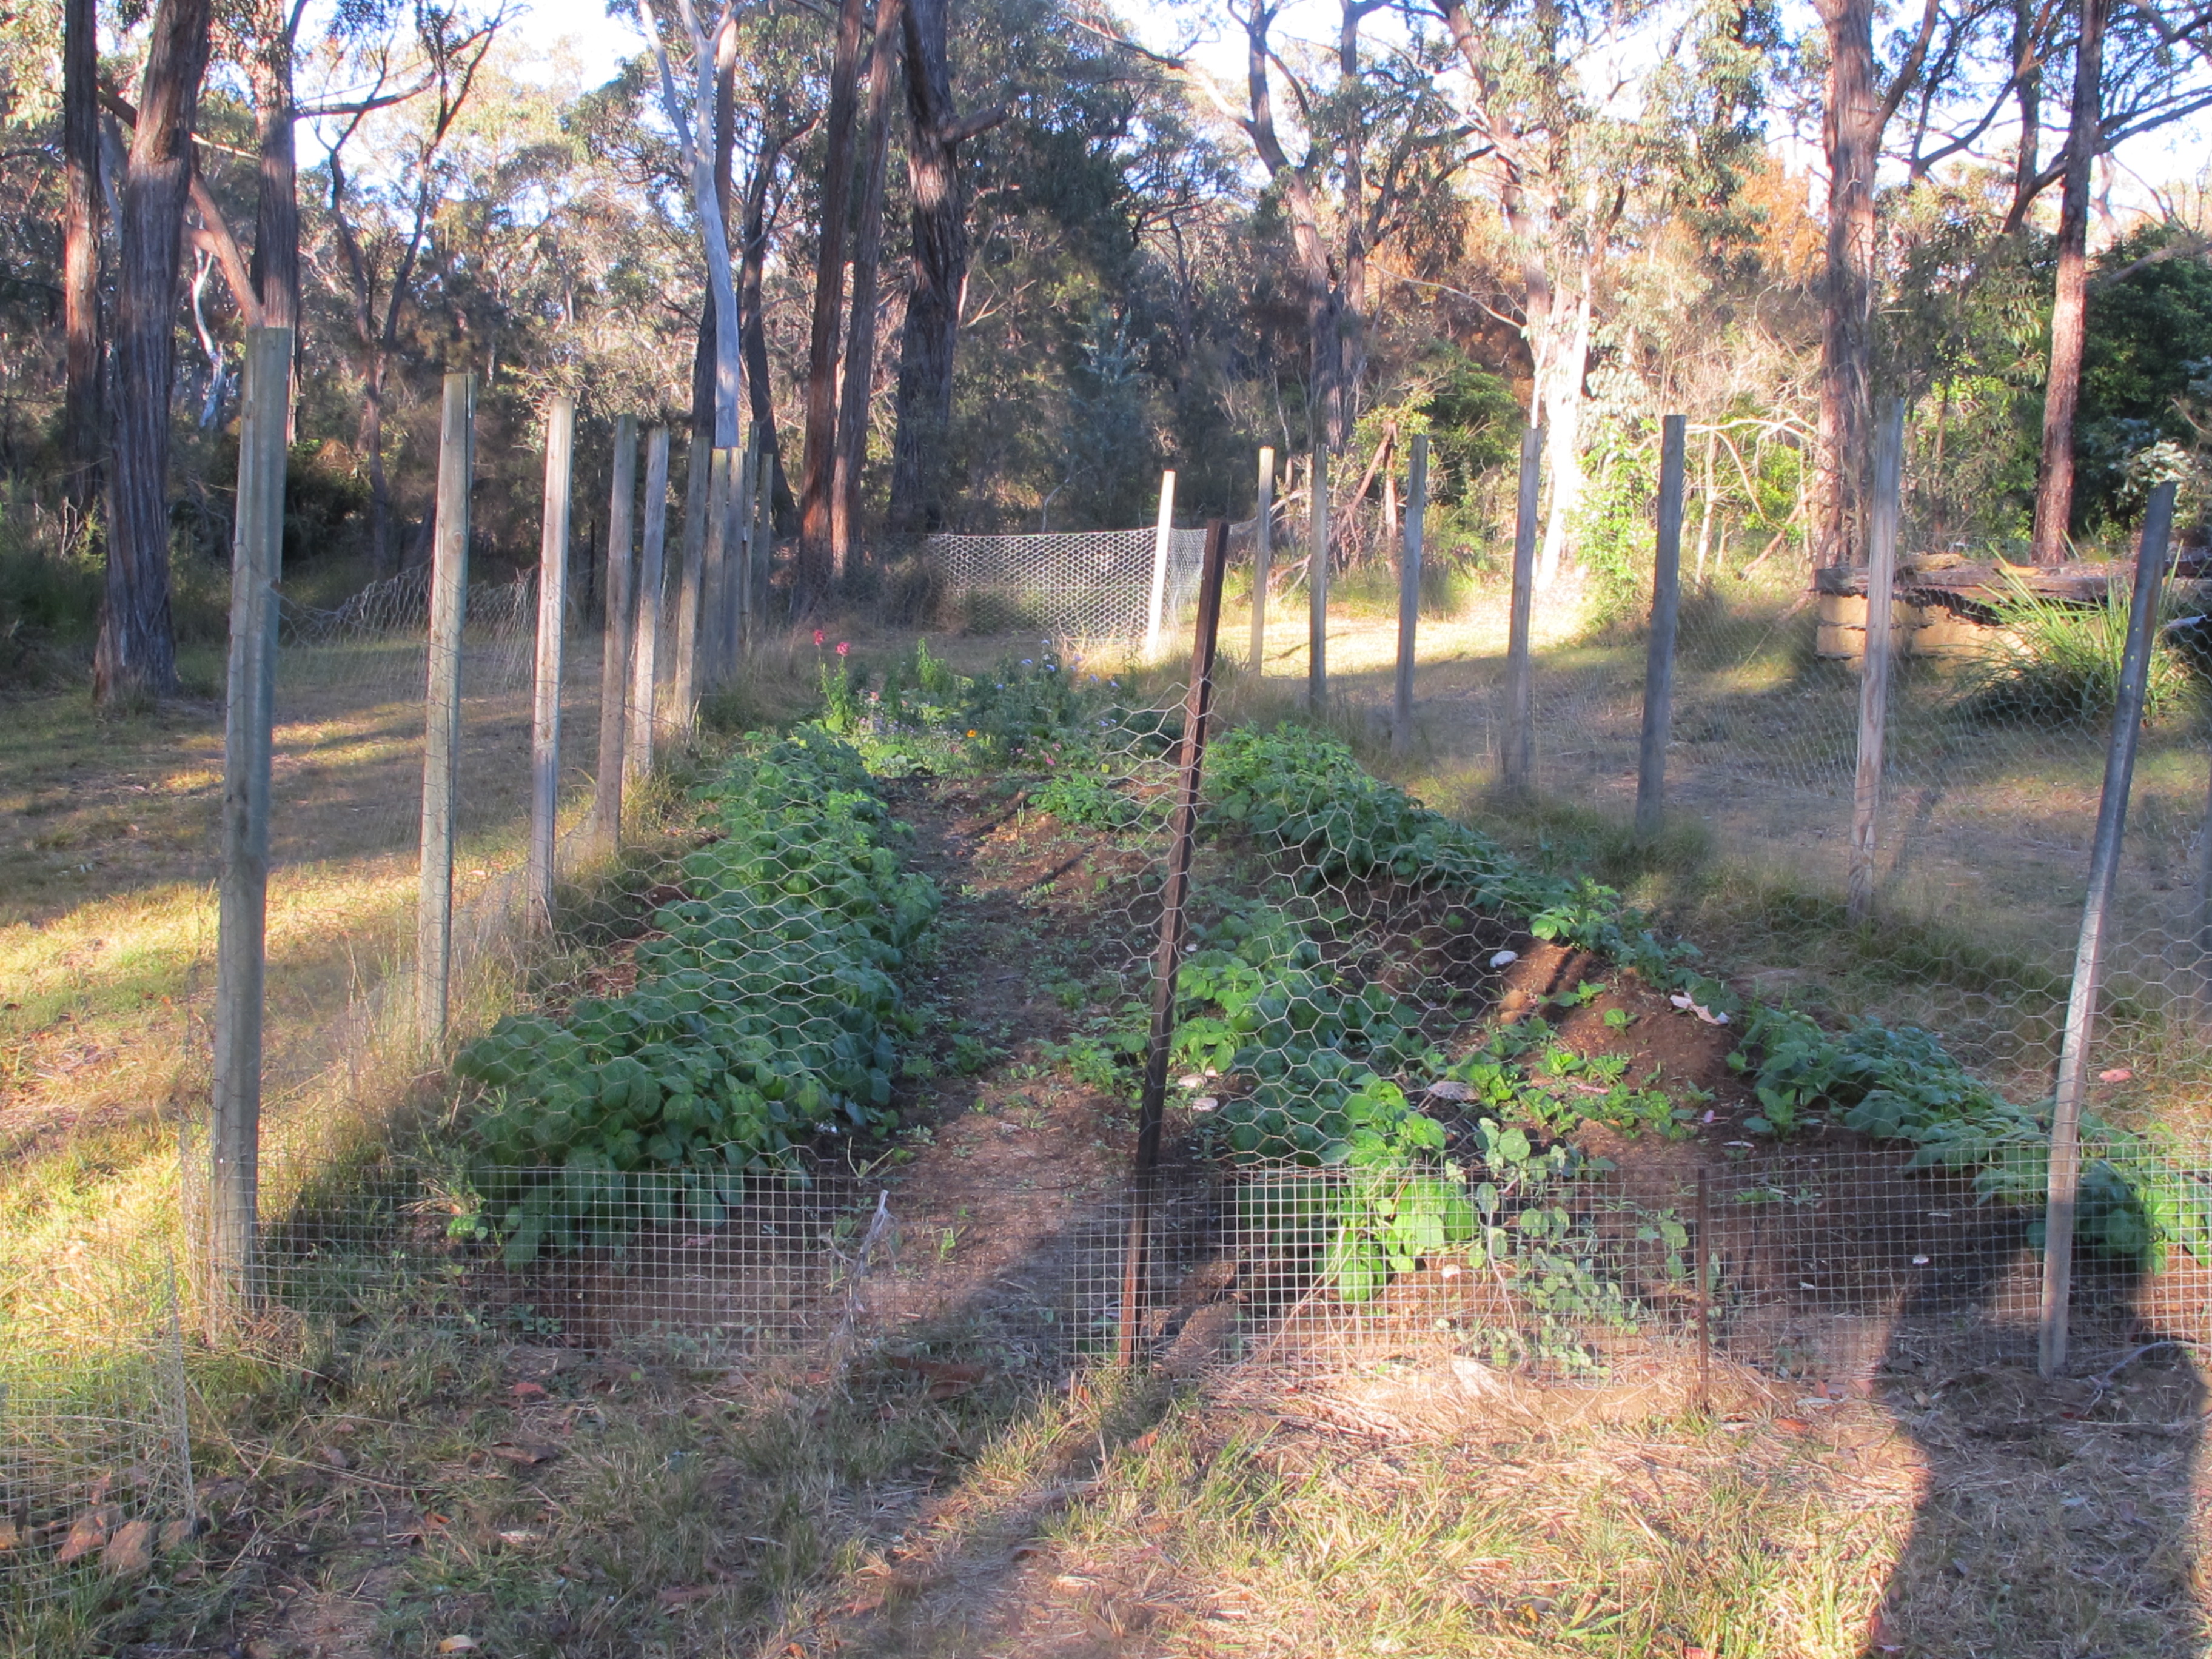
I walk down to the Pantry Field garden. It’s situated down at the bottom of our land, in a clearing in among the tall eucalypts. the tree cover of the tall crowns gives a modicum of protection. I have a quick look around and see that the frost hasn’t penetrated here as yet. The big potato crop is still doing just fine, no frost damage. But on closer inspection I see that a lot of the tender tops of the plants aren’t burn’t off, but completely missing. Nibbled off by our resident Eastern grey kangaroos that wander through here attracted by the grass, tree cover, undergrowth protection and the availability of 4 dams to choose from for water. No wonder that they hang around. They treat the place like they own it, and they do! They were here first. We haven’t fenced our land at the boundaries at all. It is all open for them to pass through and enjoy. What we have decided to do is to fence off the various islands of garden and orchard, to keep some possibility of getting a crop to ripen. These plants haven’t been attacked till now, so now is the time to do something about it, If I don’t, they all be gone in a week or so.

IMG_4612IMG_4611

IMG_4628IMG_4629

IMG_4630IMG_4639

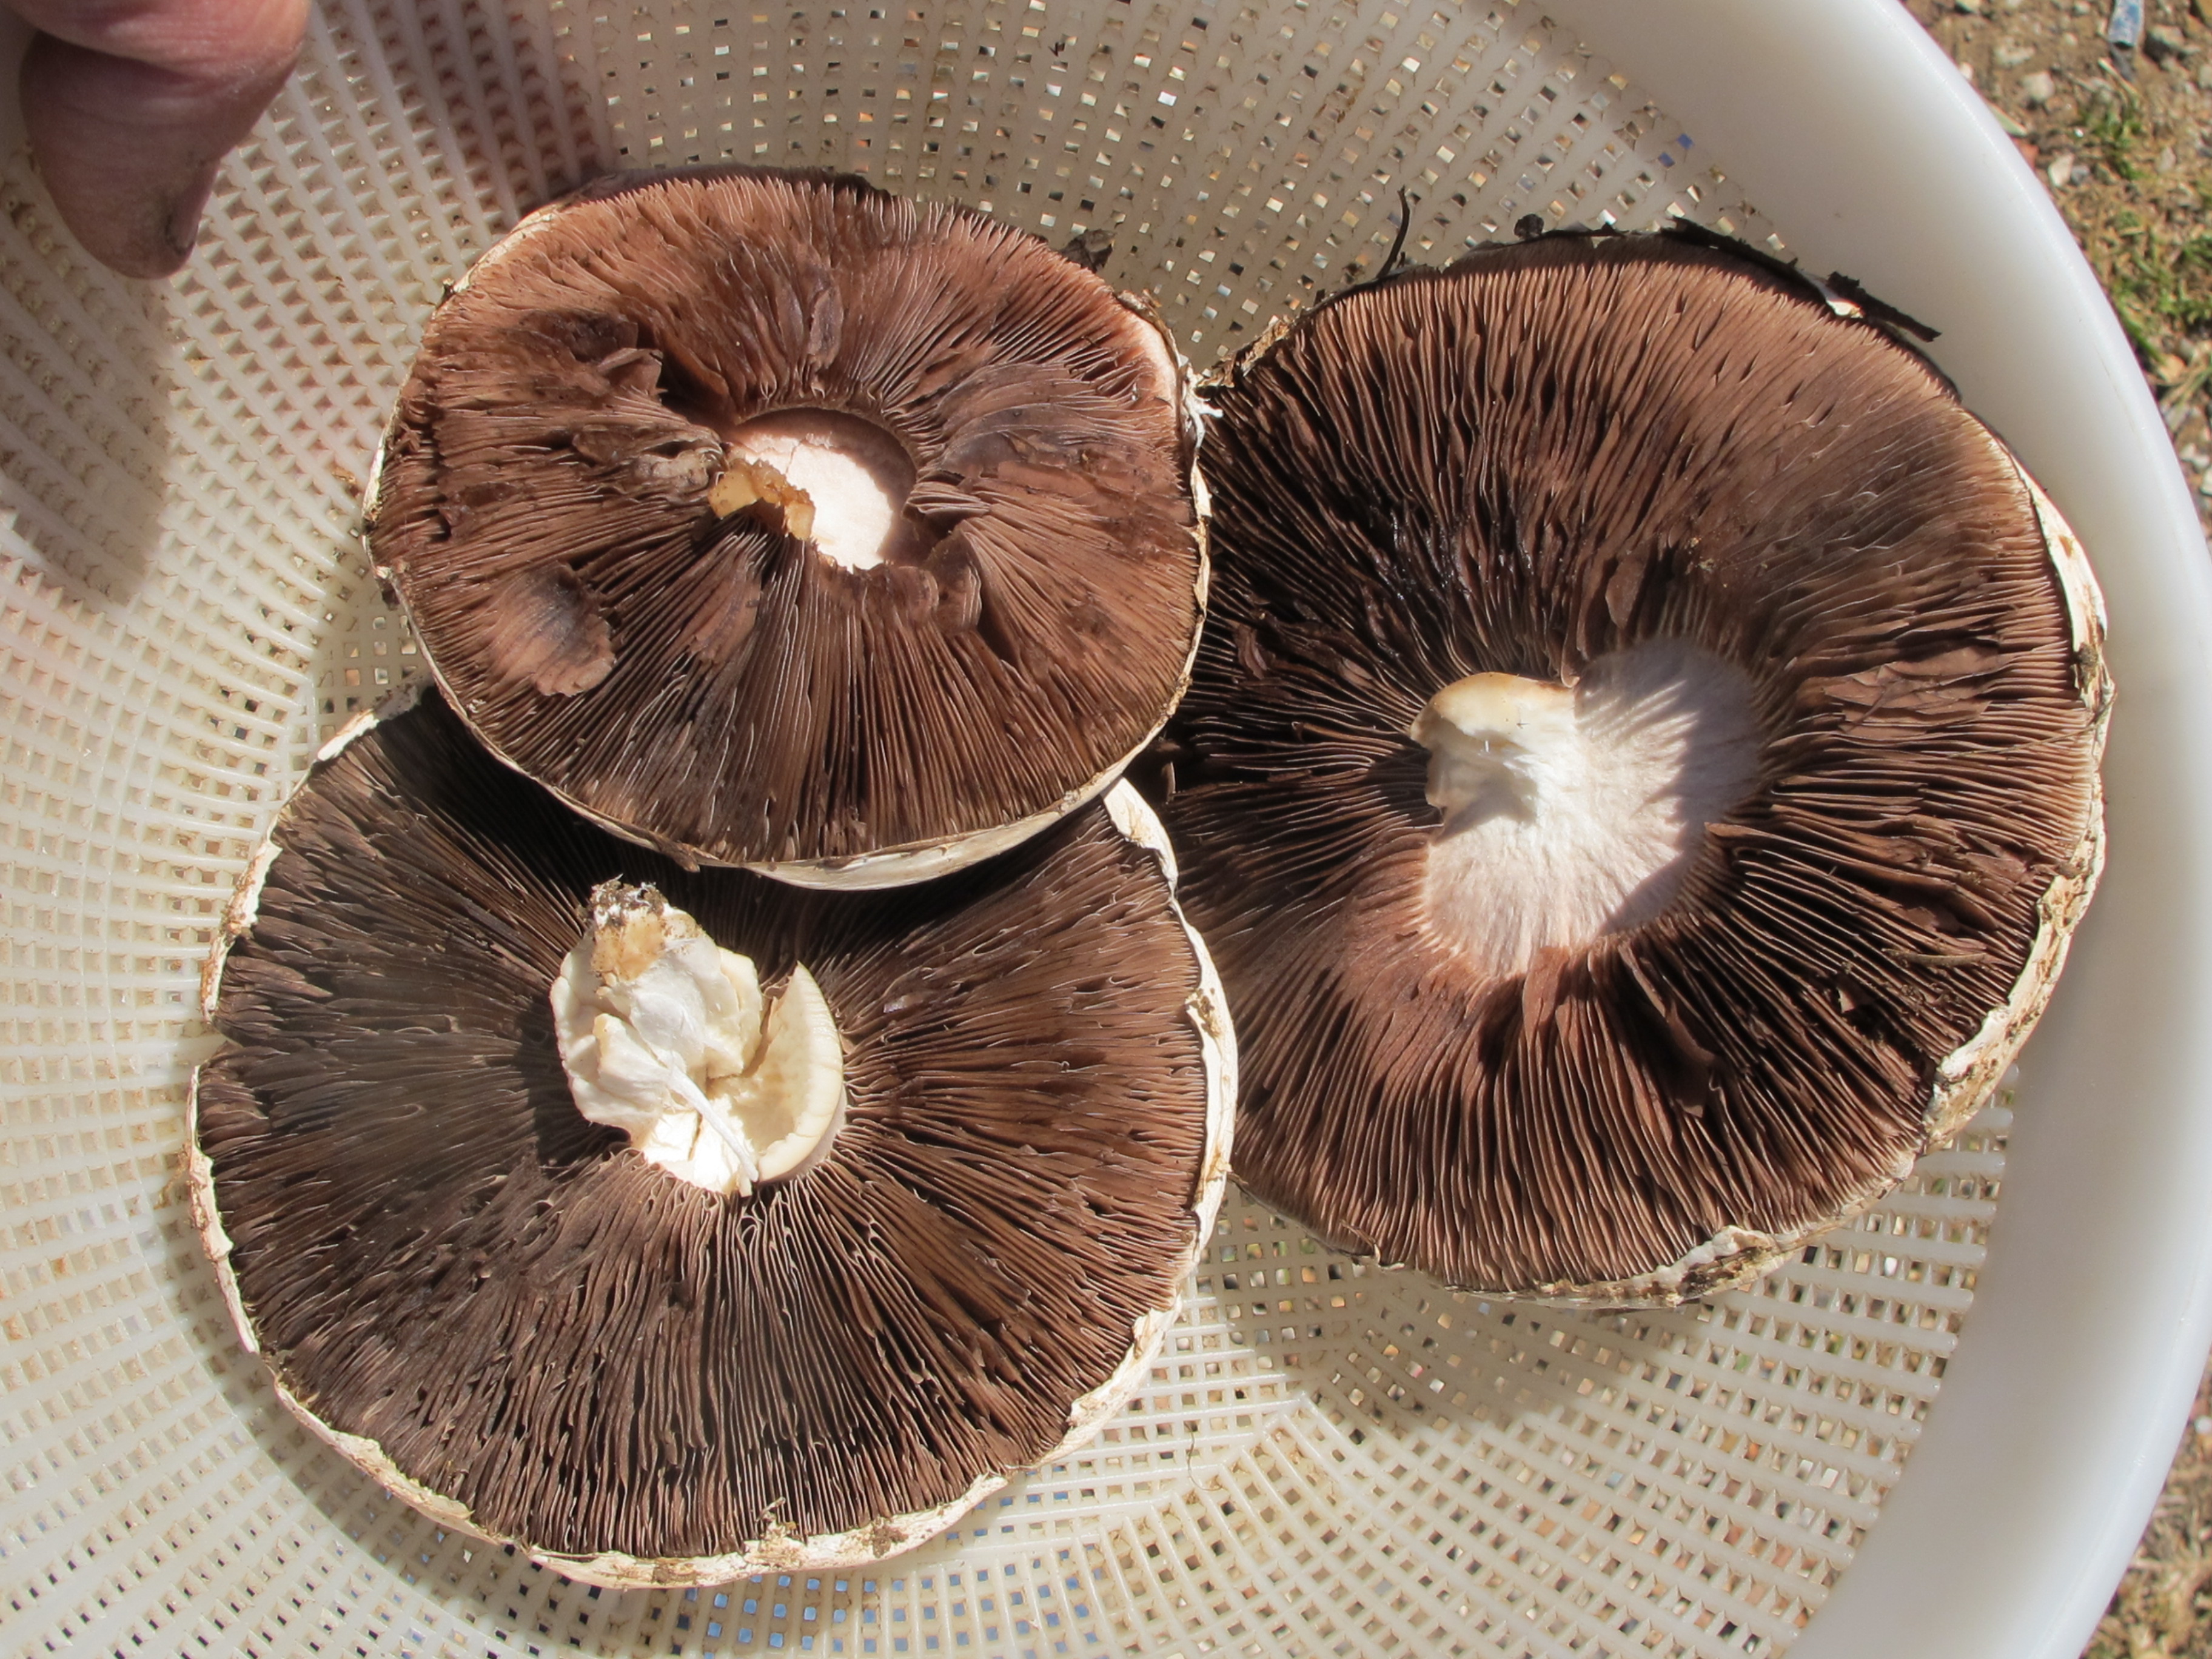
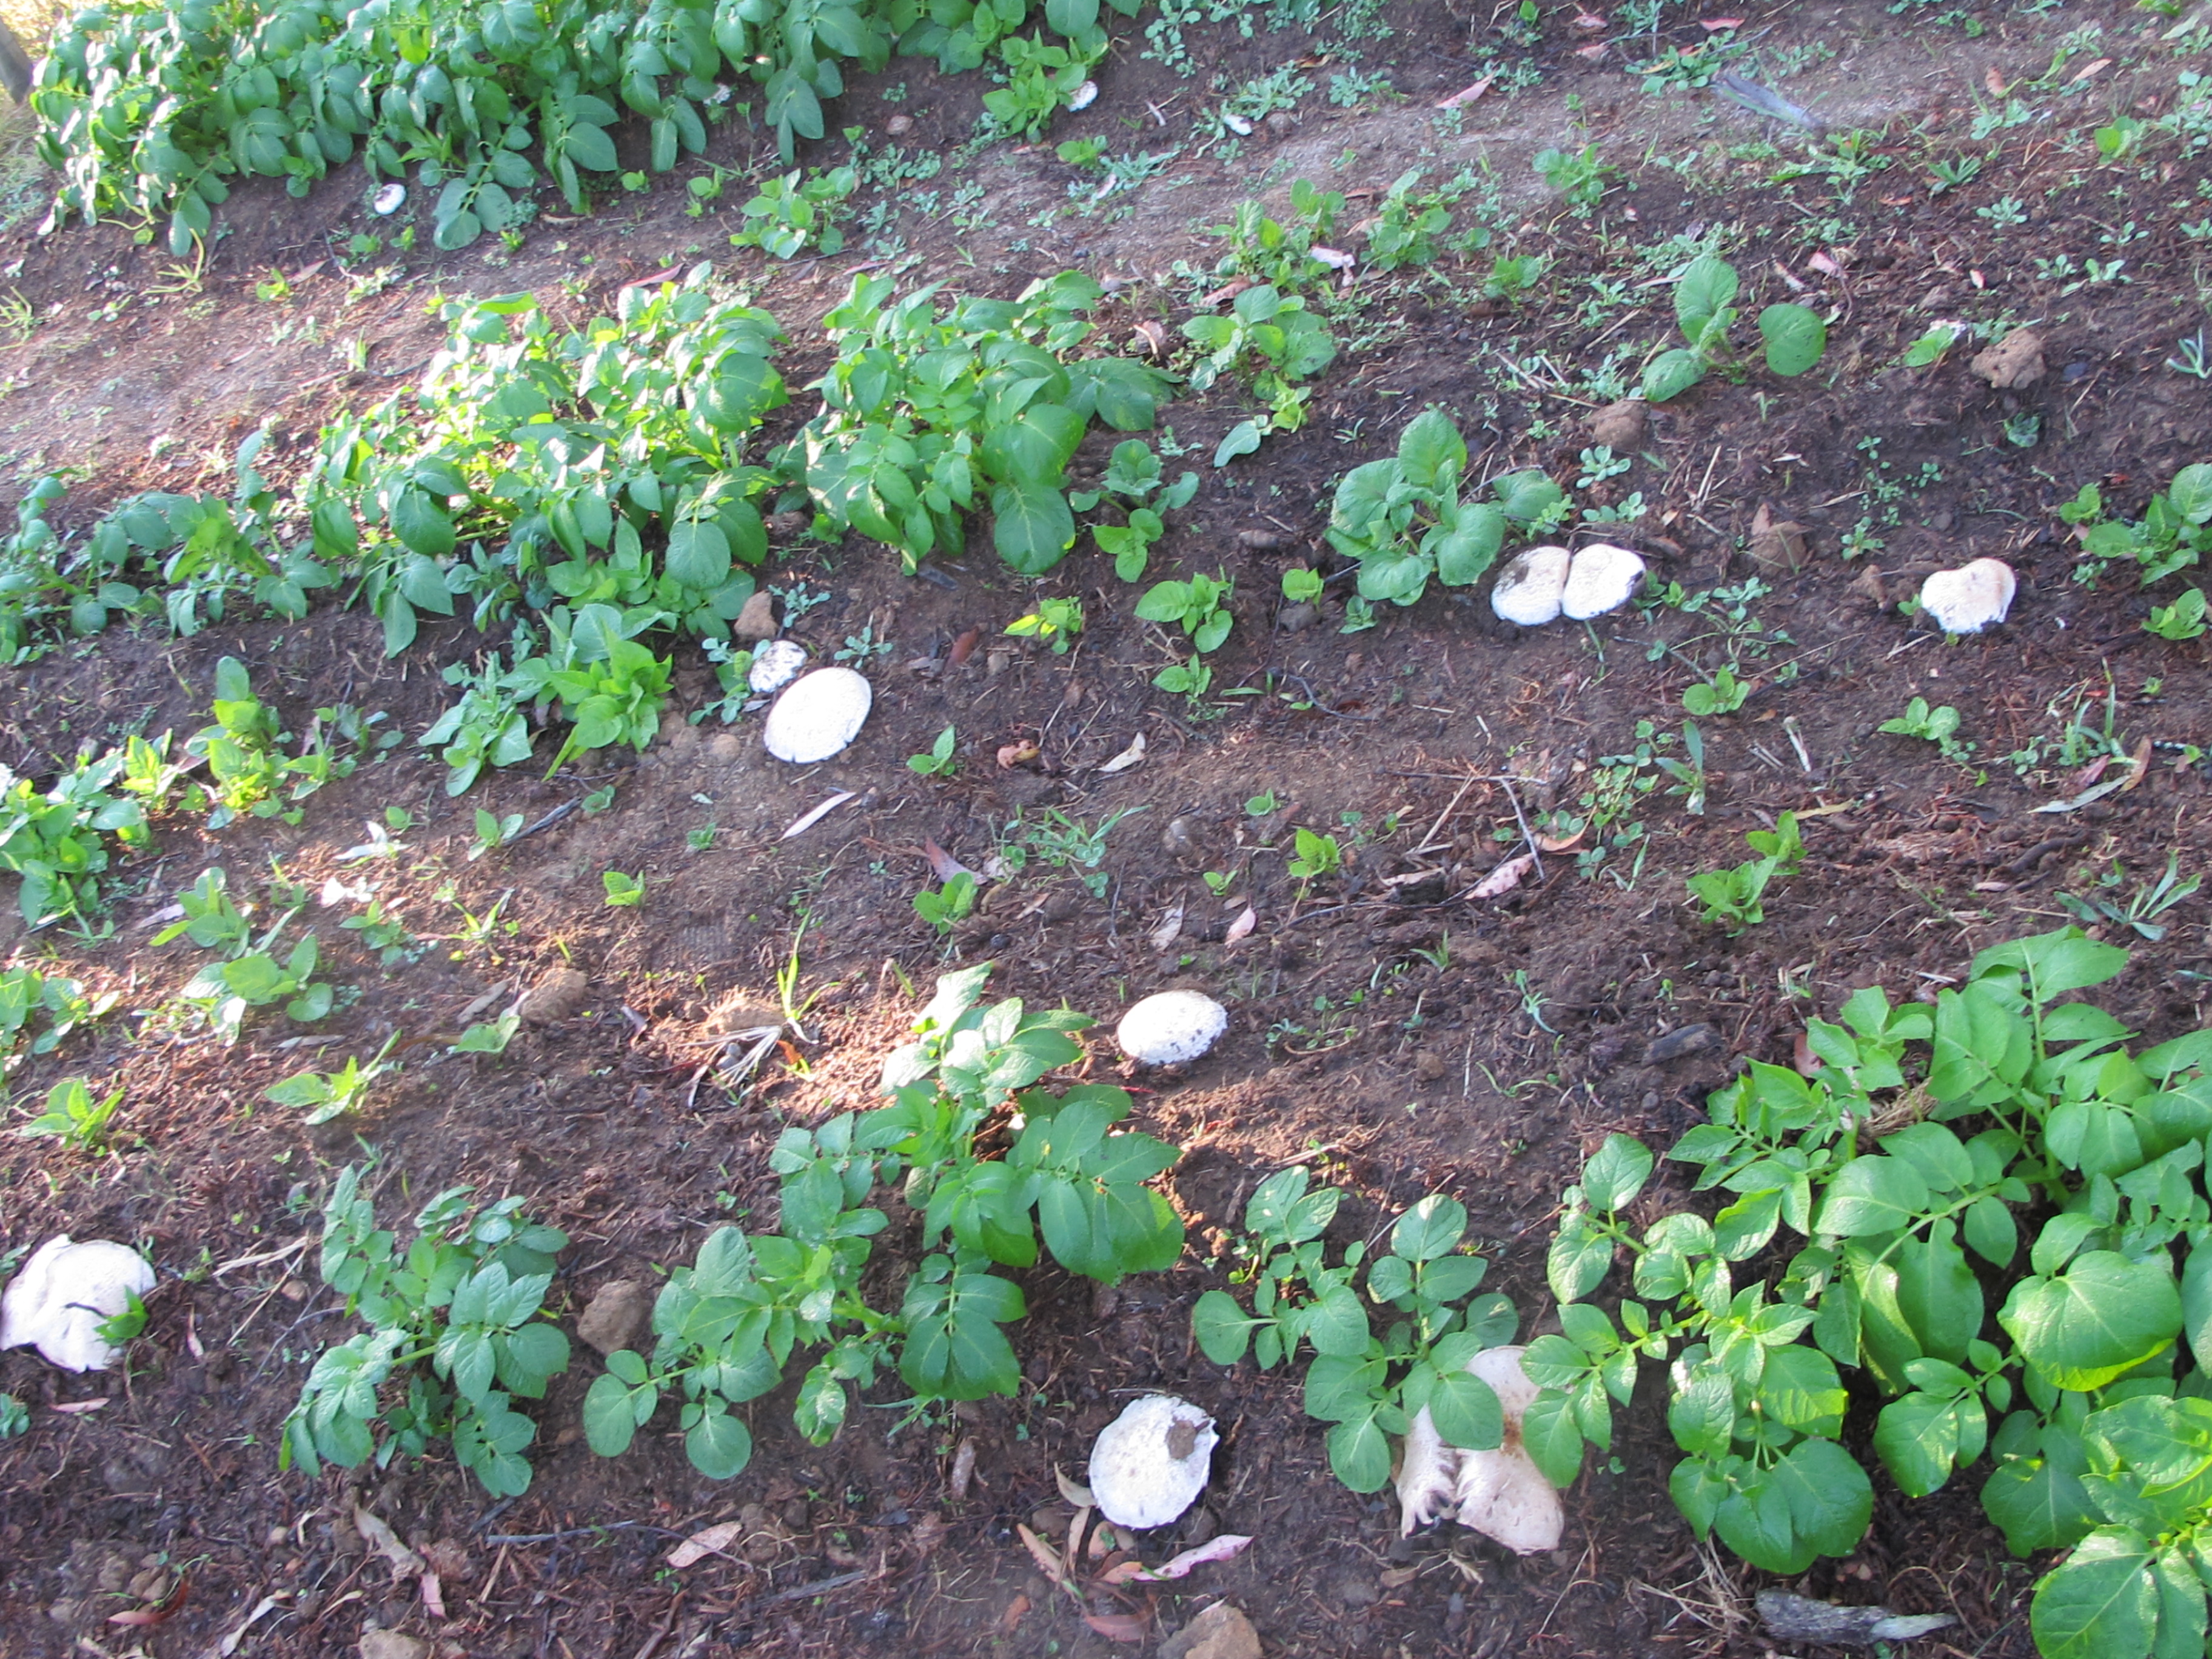
I make it a priority to extend the fencing wire up to 1.5 metres. Up until now we had got by with only rabbit proofing fencing. Wire mesh that we could step over. Now I need to make a taller fence with a walk in gate, plus an openable end to allow the tractor to be able to get in and out for tilling once a year. While thinking all this through I see that there are another crop of mushrooms coming along. I can count about twenty or more. We’ll be changing our diet slightly now and for the next few weeks to include Mushroom soup, mushroom sauces, mushroom risotto, mushroom in white sauce and eggs and bacon for that leisurely late brunch. If we can find a day that we can declare to be leisurely?

Fond regards from the old fun-gi