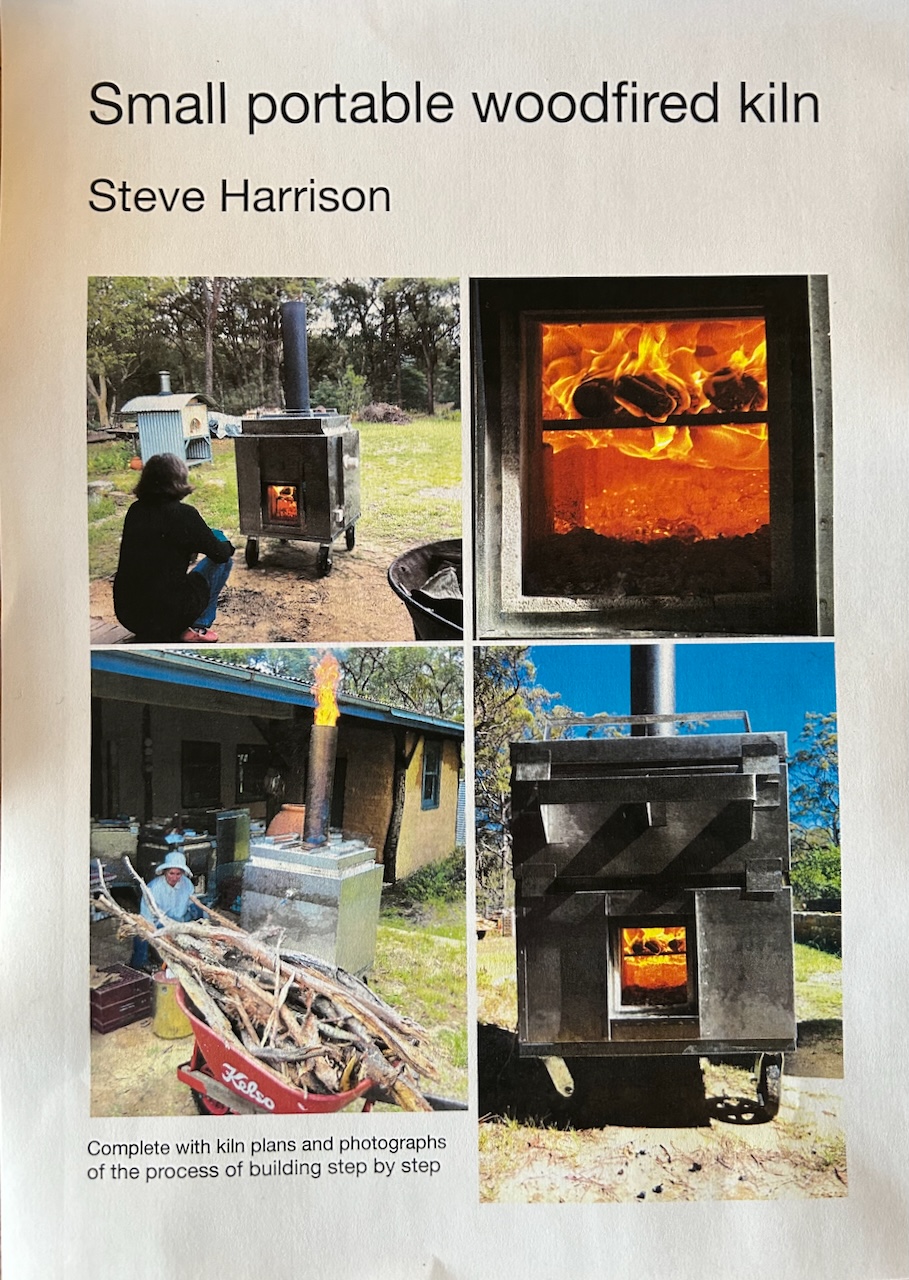
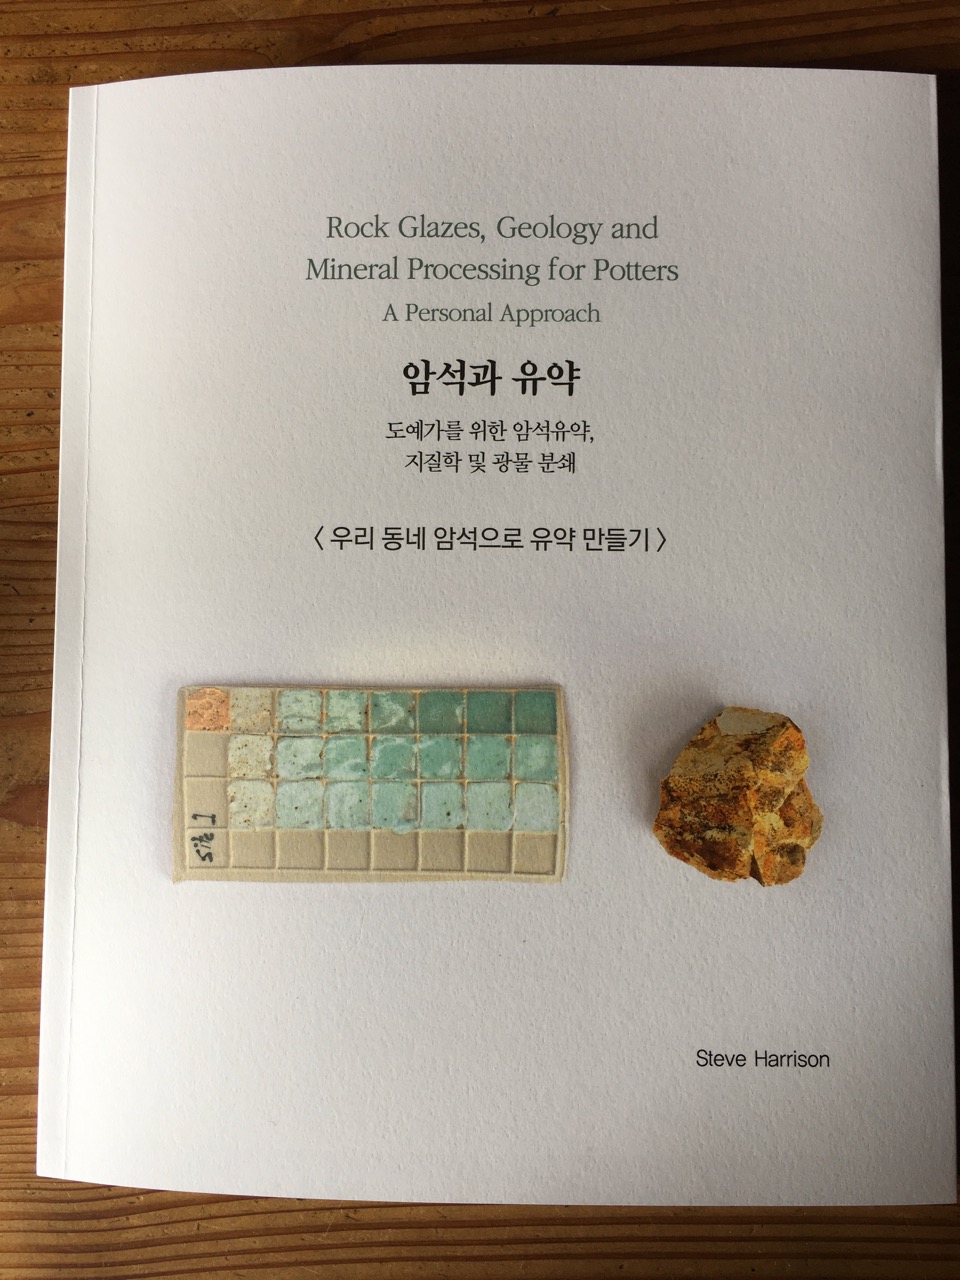
I have a new book available now on the topic of my Small Portable Woodfired Kilns.
I have been working on this book for some time. It was started before 2019.
However, I was so caught up with the clean-up and then the re-building, after the catastrophic bush fire that destroyed our place, that I was not able to get back to the book until recently.
I get at least one email every week enquiring about my blog posts on the topic of these little portable wood kilns.
They seem to have the potential to become very popular, given the number of enquiries that I get about them.
Before the fire in 2019, I used to build and sell these little beauties. I used to build 10 or 12 of them at a time, in big batches, to make it most efficient and to keep the price down.
It turned out that I had quite a bit of descriptive writing about them, mostly cobbled together from my blog posts, but, I needed to do a bit of technical drawing to draw up the details of the two final designs, including the dimensions. The plans were never properly drawn. I just kept on adapting the previous plans by hand as the ideas flowed into reality, developing kiln by kiln.
Finally, I spent some time trawling through my photo albums to extract all the step by step images that I needed to illustrate the text fully with the detail of information that a keen amateur kiln builder/hobbyist might require to understand the full process of assembly.
During the decade that I spent developing these little kilns, I started from a very basic first attempt, and slowly worked on the design, improving it and polishing it. over several years and 12 iterations. I finally ended up with two different kilns, both good, but slightly different. One smaller, and the other larger. These little gems are capable of firing to stoneware, cone 10 in just a few hours.
Our fastest firing to stoneware was 2.5 hrs, using just one wheel barrow of sticks. However, I think that the results are better at around 4 to 5 hours and 2 to 3 wheel barrows of sticks. All the details are in the book.
Janine and I are recently returned from Korea where we were invited to take part in the Mungyeong Ceramics Festival, where I delivered a paper to the ceramics conference there about low impact wood firing.
My paper concentrated on my research into small down draught fire box design, intended to minimise smoke and pollution as much as possible. I also presented my current work on afterburners and scrubbers to try to minimise particulate pollution from our kiln chimneys.
I believe that these topics will become more important over time as Global Heating and carbon in the atmosphere starts to become obvious and difficult to ignore. Even to conservatives.
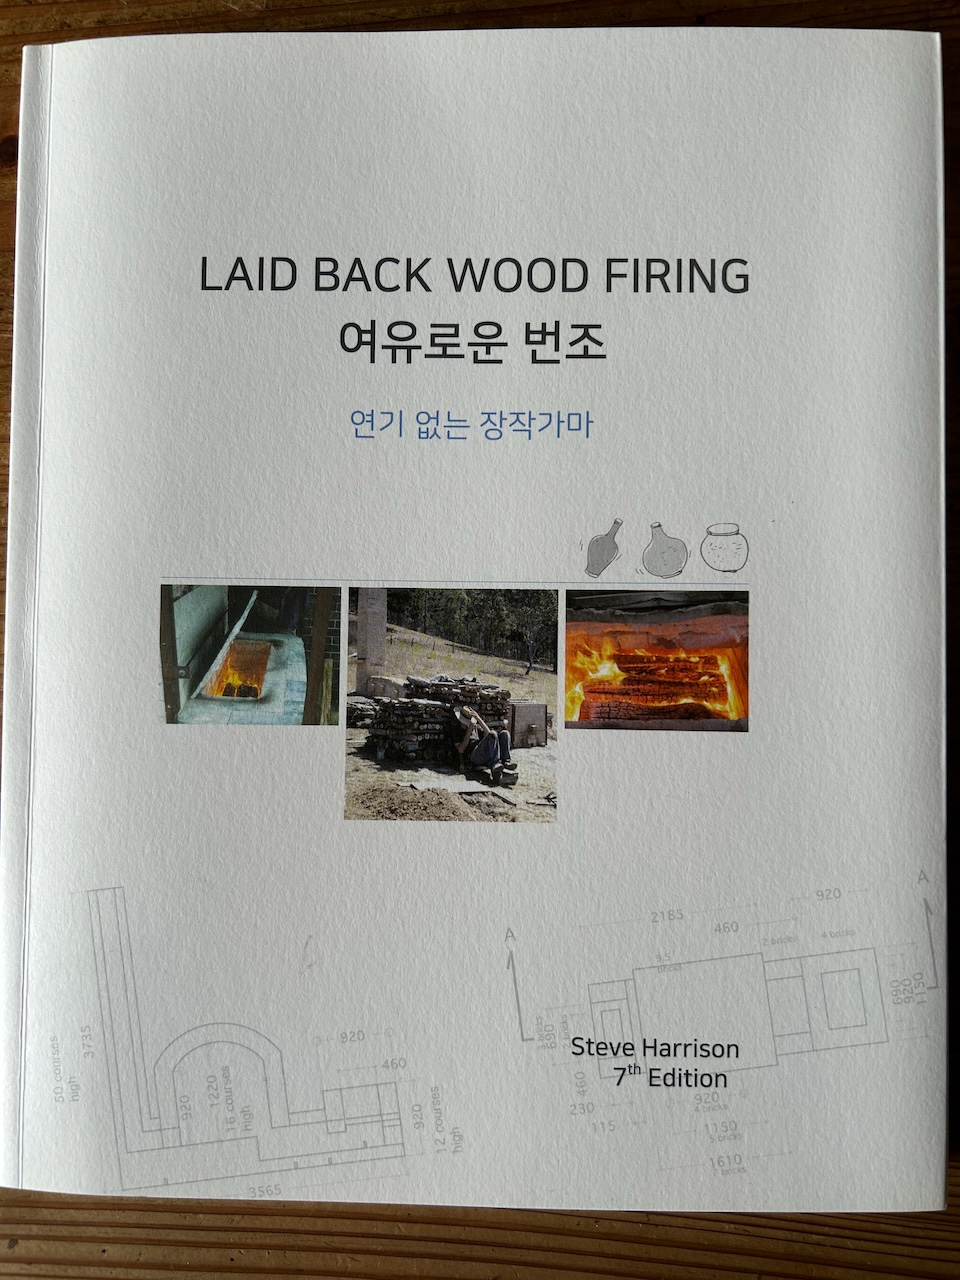
My paper was well received and I got some good interrogation during the question time afterwards. My book ‘Laid Back Wood Firing’ was translated into Korean about 5 years ago and has been available there for some time, so some people there had read it and were up to speed with the concept.
Janine and I will be returning to Korea later in the year to build one of my small Bourry Box kilns as a demonstration of how it can work. It will be built alongside several older traditional wood fired kilns. They are interested to compare the smoke from our firing and also the fired results afterward with that from the traditional kilns.
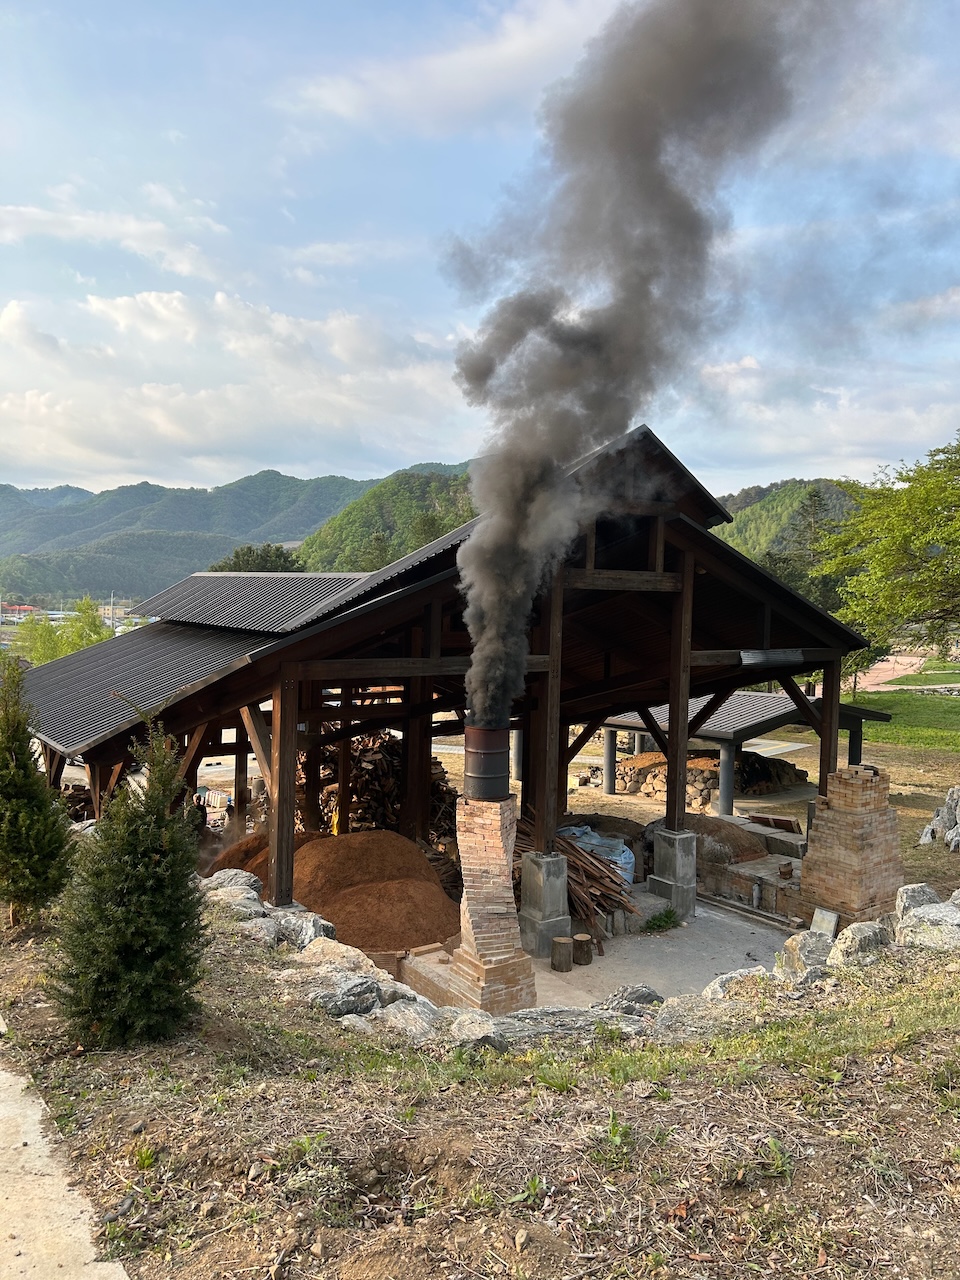
The most recently built, traditional, multi-chamber kiln was fired while we were there. It smoked all the way through the firing. I’m pretty sure that we can do better!
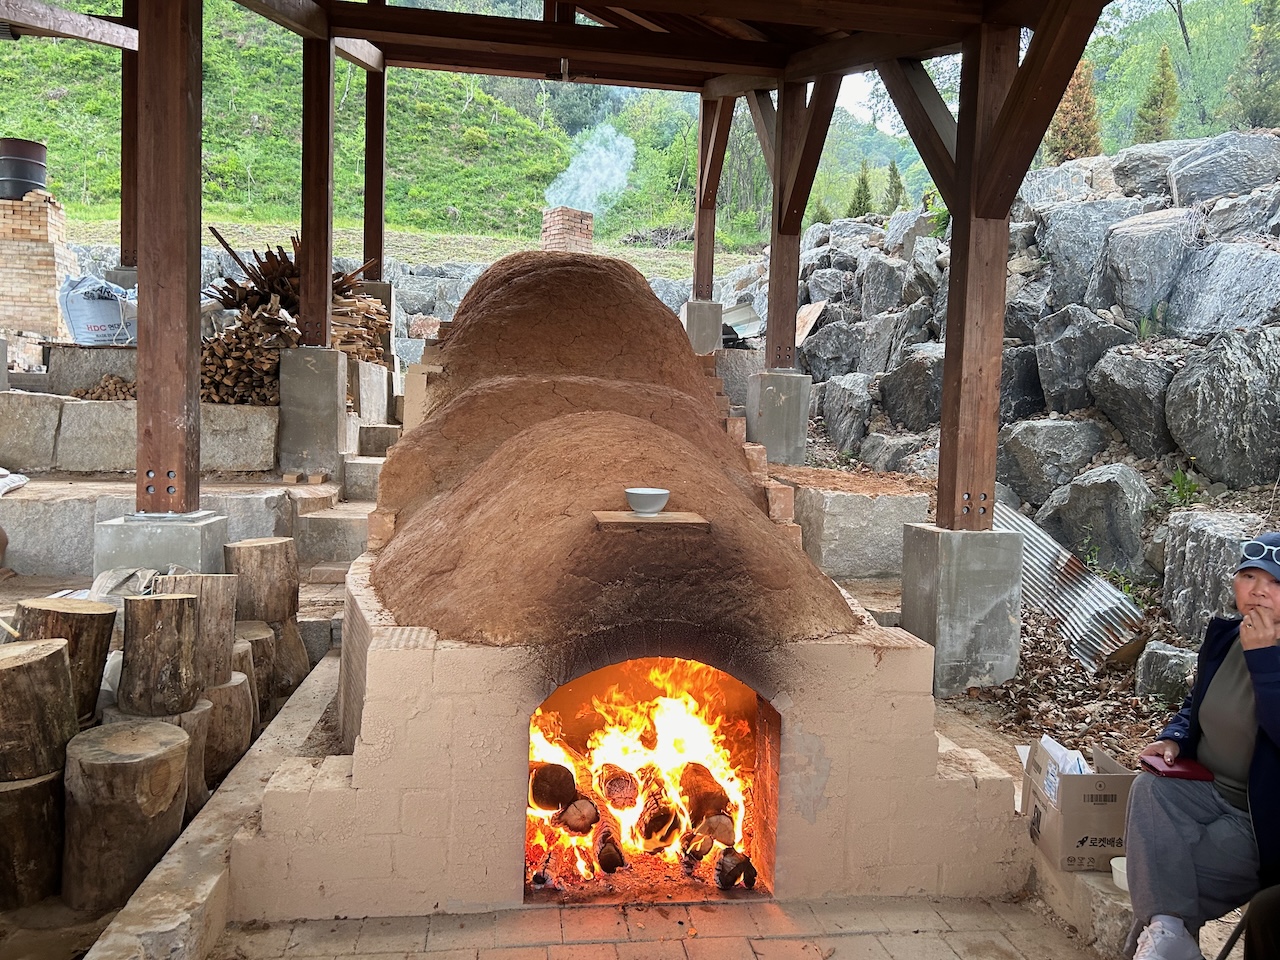
Its a really beautiful kiln to look at, and is constructed using the very old method of using cone shaped hand made ‘bricks’.
The cones were all made on site by the students/residents in the ceramic research centre at the Yanggu Porcelain Village.
The use of cone shapes allows for a rather nice dome shaped top or 3D arch over each of the fire box and 4 chambers.
The freshly built kiln took just 24 hours for it’s first firing – all 4 chambers to stoneware, absolutely no technology was use. No pyrometers or cones, just an experienced firing crew and home made draw trials of glazed tiles pulled at 30 minute intervals after orange heat.
This kiln was so new, it was still wet, and steam was coming out of all the cracks all the way to top temperature.
Side stoking is always a dirty business. Hard to get around that. It’s the nature of the beast.
That is why I have chosen to build a single chamber bourry box fired kiln as the demo model.
It will be a larger sized chamber, so I have designed it with 2 fireboxes side by side.
Only time will tell if it works the way I intend and if it impresses them.
When you are in Seoul and the air quality is rated as ‘fair’, but you can only see for 1 km through the smog. I makes you think about what a bad day might be like. Smoke from wood firing is not the big problem in the scheme of things.
For those people who attended the recent Zoom ‘Earth Friendly Kiln Firing’ webinar and want to learn a little bit more about what we do, here are a few links that you can follow up on this blog.
You can type in the following key words into the search box in the top right hand corner and there are posts and articles that you can read.
Small portable wood firing kiln
Slower, Smaller, Quieter. Towards A Local Terroir Based Life and Aesthetic
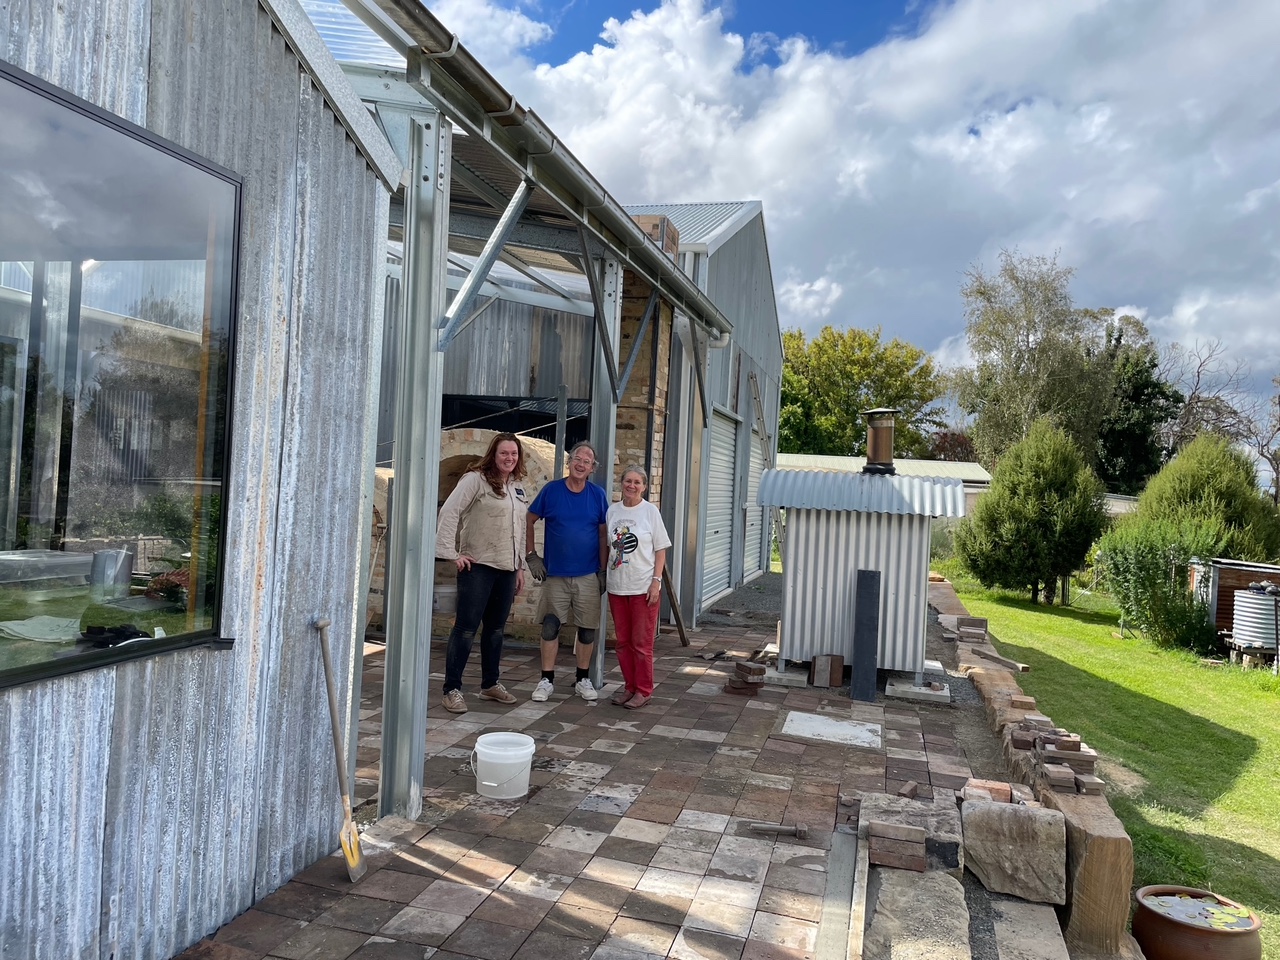
We were busy last weekend with a bunch of friends paving the court yard area around the new, almost finished, wood fired kiln.
I still need to finish laying the last of the floor bricks in the chamber, I would have finished this small job a couple of weeks ago, but when the court yard flooded with 70mm of water sloshing around in there. It wasn’t very appealing to be kneeling done and doing the bricklaying. Then all that water was sucked up into the floor bricks like a wick and they became saturated so that any new mortar wouldn’t stick in place. Finally, they have now turned green with algae. I’m sure that they will dry out – eventually!
This severe weather event, although not life or property threatening for us, like it has been for our friends and relatives up on the North Coast. It has been a good warning and trial run for what we can expect in the future as Global Heating increases unchecked. No one in government seems to be taking this seriously, so what can we expect for the future? Well my guess is more of the same, only much worse. We’ve been warned.
So this extreme weather event has been a great warning to us as to what we can expect in the future. I have learned from it and and I’m taking actions now to limit the sort of damage that very heavy rain fall can cause. To start with we have paved the kiln area with a significant fall away from the kiln and out into the open. I have also ordered some more steel batons and some more poly carbonate roofing sheets to wall in half of the courtyard directly behind the kiln. With contour drainage to take the water to the edge of the retaining wall. Although the pottery didn’t flood, it has become obvious that we need to create a dish drain around the front of the building to carry all the excess ground water away from the front of the building, because another event will eventually be worse.
This is a start
Back at the kiln, I also need to fabricate a stainless steel firebox lid and a stainless steel chimney flame tube incorporating a spark arrester. I planned to have started this job already, and 3 weeks ago, I ordered the Stainless steel sheets and some Stainless steel wire mesh for the spark arrester. The sheeting is here, but the couriers have lost the SS mesh. The supplier won’t replace it until he knows what has happened to the first order. The courier company won’t pay out to replace it until they know what has happened to it. So I’m stuck in a catch 22 situation. I can choose to wait it out until the original order is found and delivered, or buy a second sheet of stainless steel mesh and get on with it, but it’s not cheap stuff, so I’m waiting and continuing to write emails of enquiry.
We had a great weekend with our friends laying the paving tiles. We also met two new people who volunteered and turned up all the way from Newcastle, who will surely become friends now. They were a great addition to the group. The stayed over night with us and we got to know each other over a home grown meal from the garden. I had previously made a big pot of tomato passata from the last of our tomatoes, so we had an easy meal of pasta. Dan and James are environmental campaigners and organisers, so we shared a lot in common. James took this image of Dan, Janine and me standing on the new paving.
Dan, Steve and Janine. image by James Whelan
This is all great progress and I’m really happy to see so much getting done.
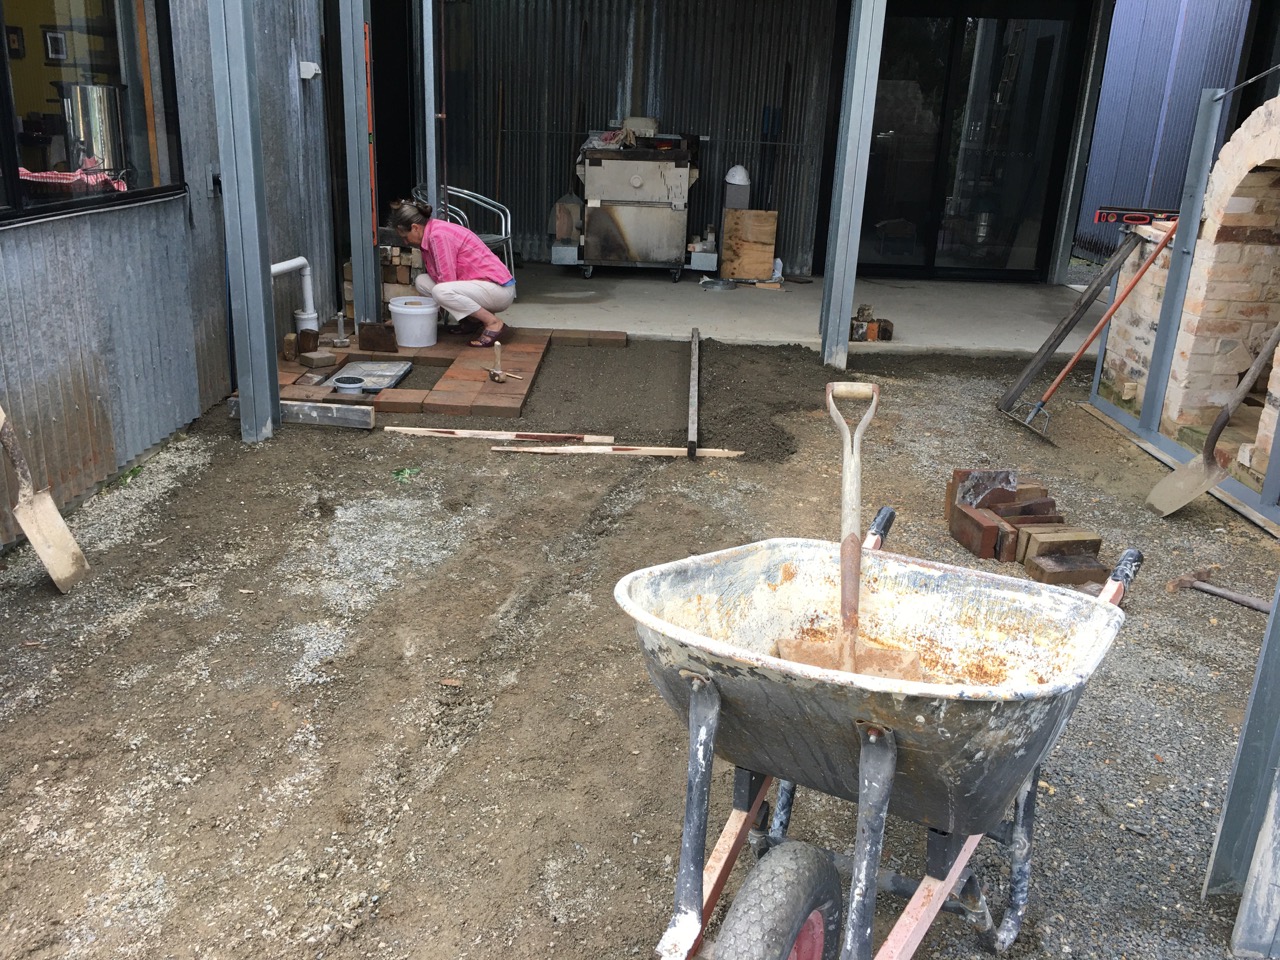
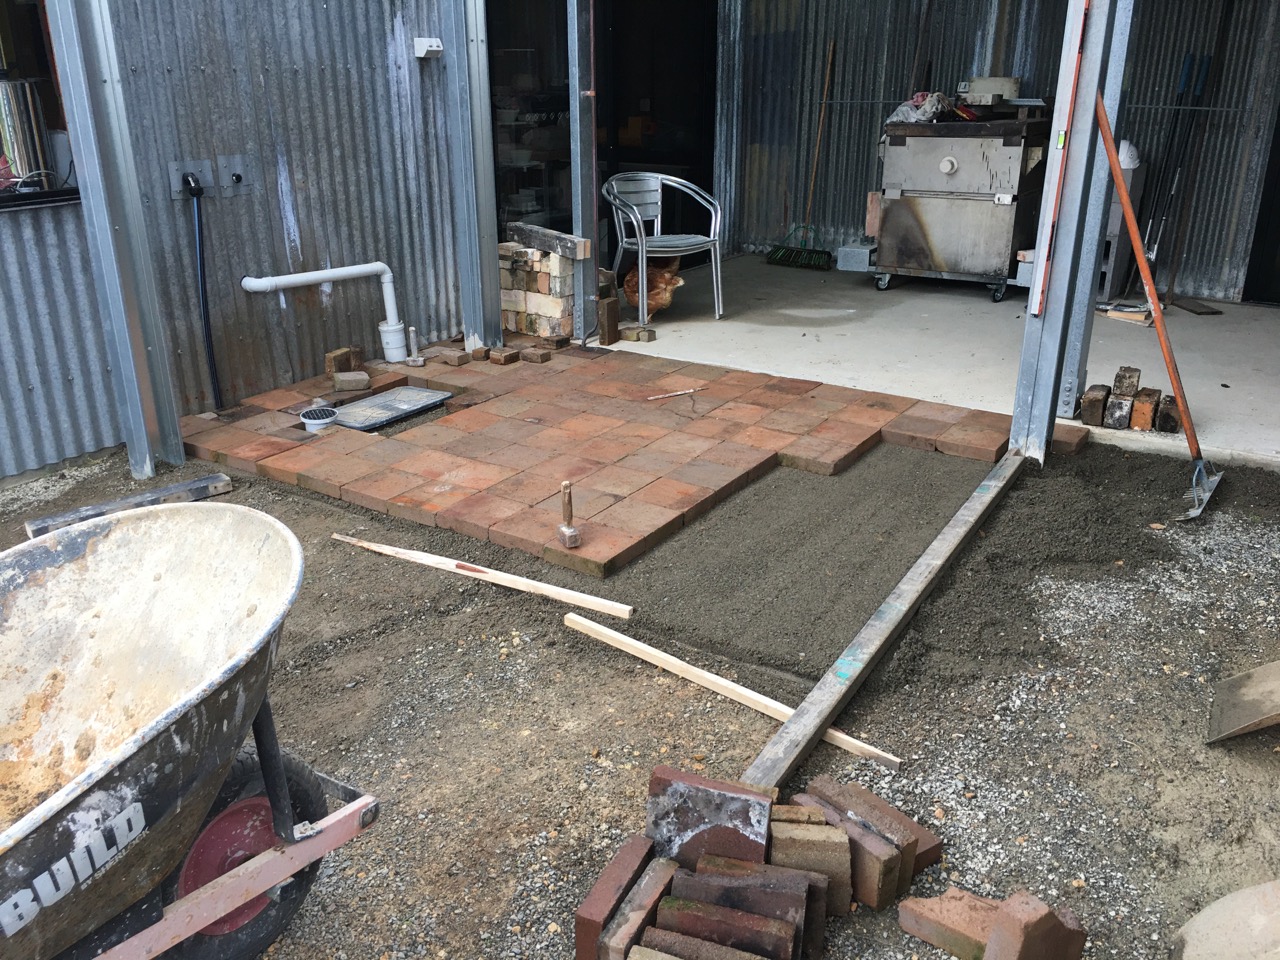
Janine and I started the levelling and paving earlier in the week. As a trial run, to make sure that everything would work out the way that I planned. As we haven’t done any paving since we built the last pottery shed in 1983, I’d completely forgotten what to do and had to re-educate myself and get my skills back up to date. It’s not rocket science, but does need concentration and quite a bit of back bending work. I decided that at my delicate age, I should not do so much bending and instead get the knee pads on and work down on my knees to keep my back straighter. This worked out much better. But then getting up became a bit of an issue.
Starting the paving, getting our levels sorted out and learning how to space the pavers to allow for all the different sizes to fit together evenly.the courtyard paving complete
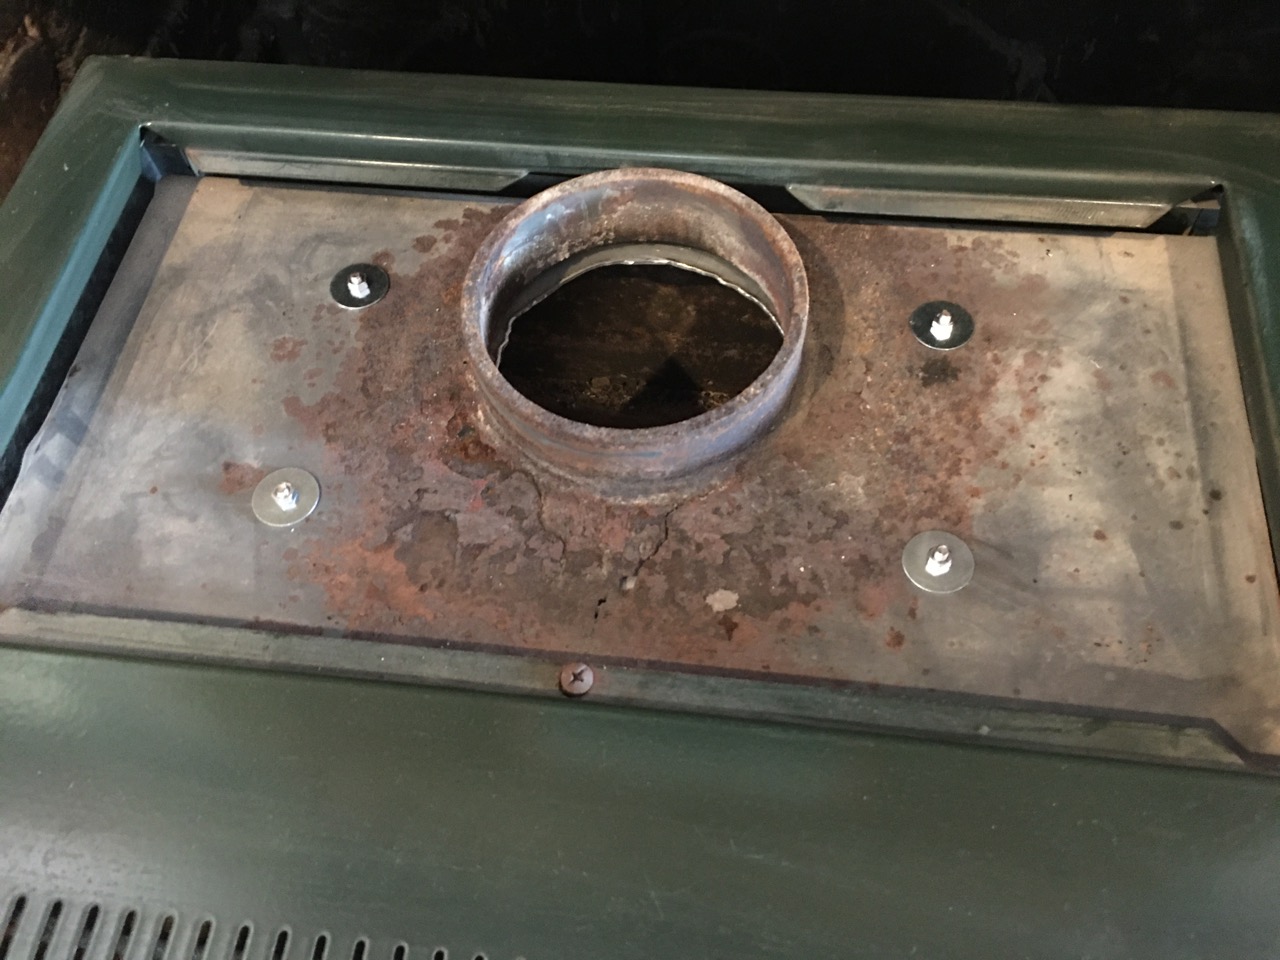
As we are in Autumn now and the weather is getting cooler and the days shorter, we have thought that we may need to light the fires in the kitchen and lounge room soon. The slow combustion heater in the lounge has started to wear through and rust out in the top fire box steel sheet. A crack started to appear at the end of last season, so I made a mental note to repair it once it cooled down, during the off-season, well that time is running out now, so it has to be dealt with as a matter of urgency. I decided to attack the problem by fabricating and new roof for the firebox out of a scrap piece of 2mm thick stainless steel sheet.
The new Stainless steel fire box roof sheet ready to installThe new firebox top bolted in place
Rather than try and weld it in place, which wouldn’t really work very well , as stainless and mild steel have different rates of expansion and contraction. I decided to bolt it in place with stainless steel bolts through over size holes and oversize washers. This should allow for the differences in expansion. The 2mm thick stainless roof should last as long as the 4 mm mild steel walls and whats left of the old top sheet. Time will tell. The stove is about 30 years old, so it has proved it’s worth. I’ll continue to work on it and preserve its life for as long as I can. We bought our slow combustion kitchen cooker over 40 years ago now and it was 2nd hand then. I’ve managed to keep it going all this time with home made adaptations and ingenious improvised repairs. I’m proud of that achievement and I’m hoping to extend it to 50 years if I can.
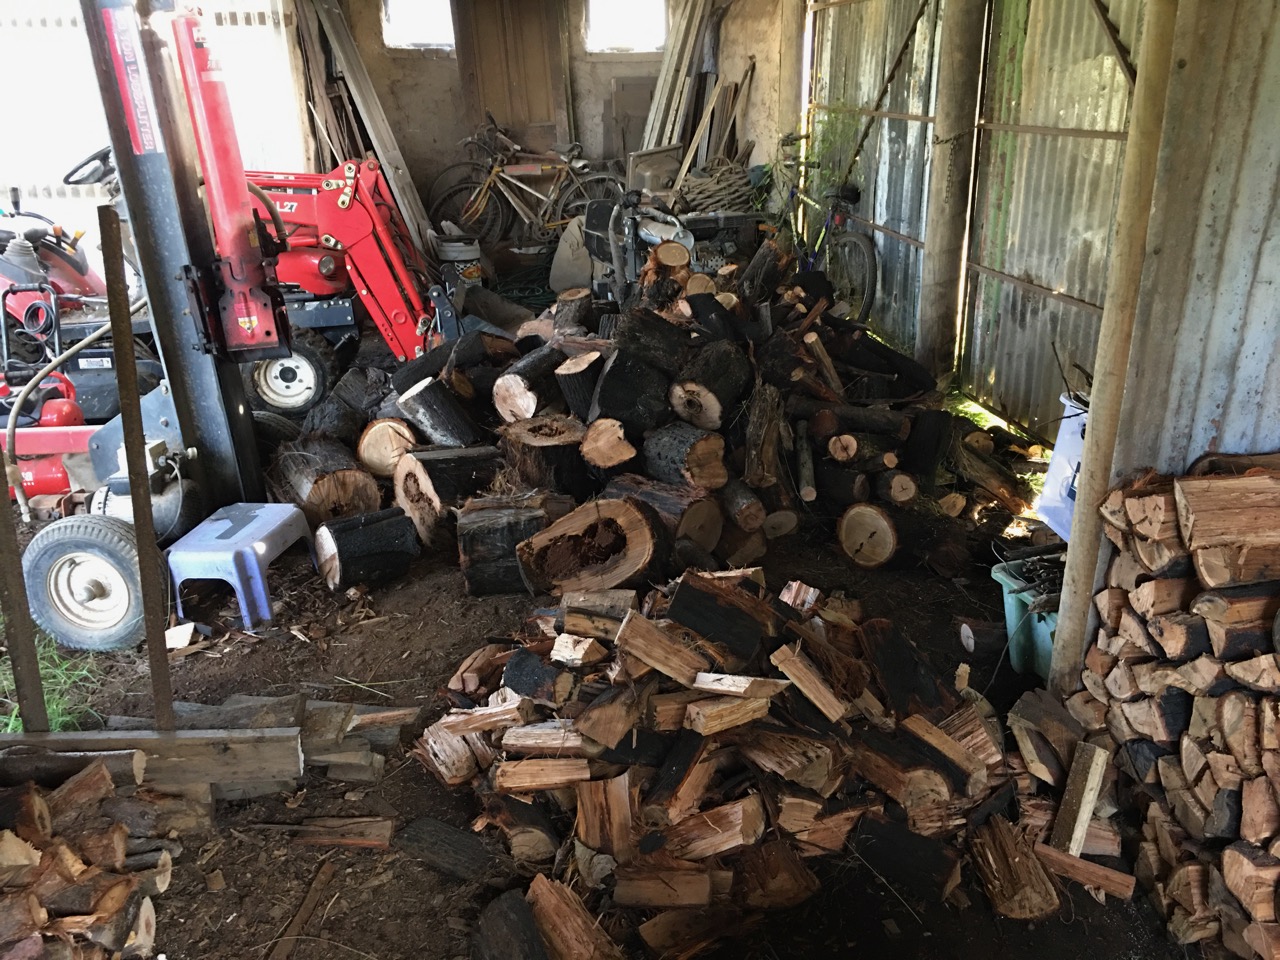
While I was at it, working on the lounge room heater. I also made a new front door frame seal. Afterwards, we went out into the paddock and spent an hour together with chainsaws cutting bushfire devastated and blackened logs. We cut them to stove lengths and stacked them in the wood shed ready for splitting. This will be about 1/4 to 1/3rd of the fire wood that we will get through the coming winter months.
This week I received a box in the mail from Korea. It contained copies of my latest book translated into Korean.
I was such a poor student of English at school. I’m somewhat surprised that I have become a published author of multiple books in 3 languages!
Even my English teacher from High School was surprised, to the extent that when I met him 10 years after leaving school, at a reunion, he didn’t believe me when I told him.
I don’t blame him.
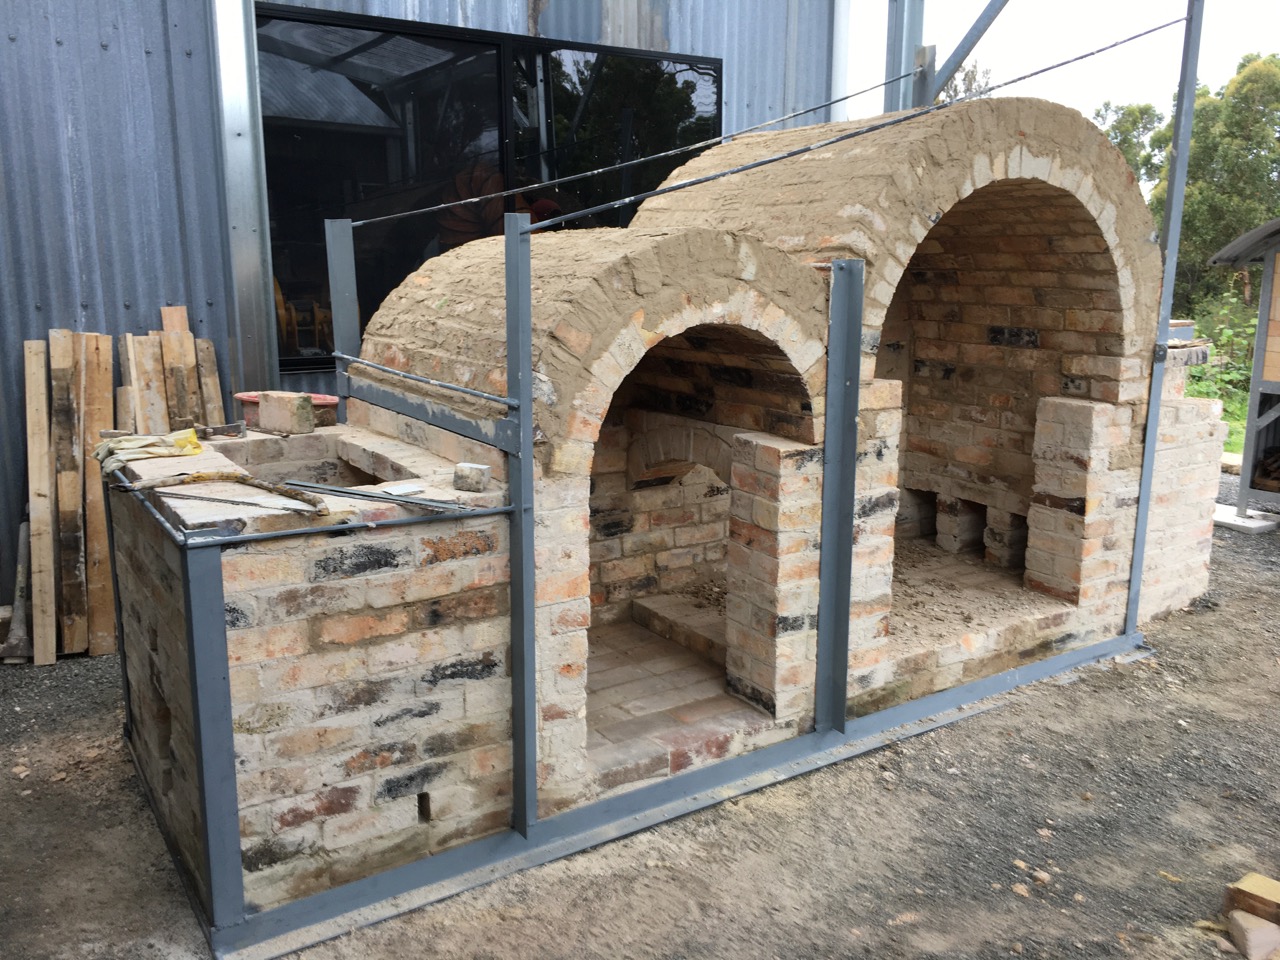
My work building our wood fired kiln continues. This last week I have finished the chamber arches with Janine’s help.
Adding their second layer of insulation bricks and welding on the steel bracing.
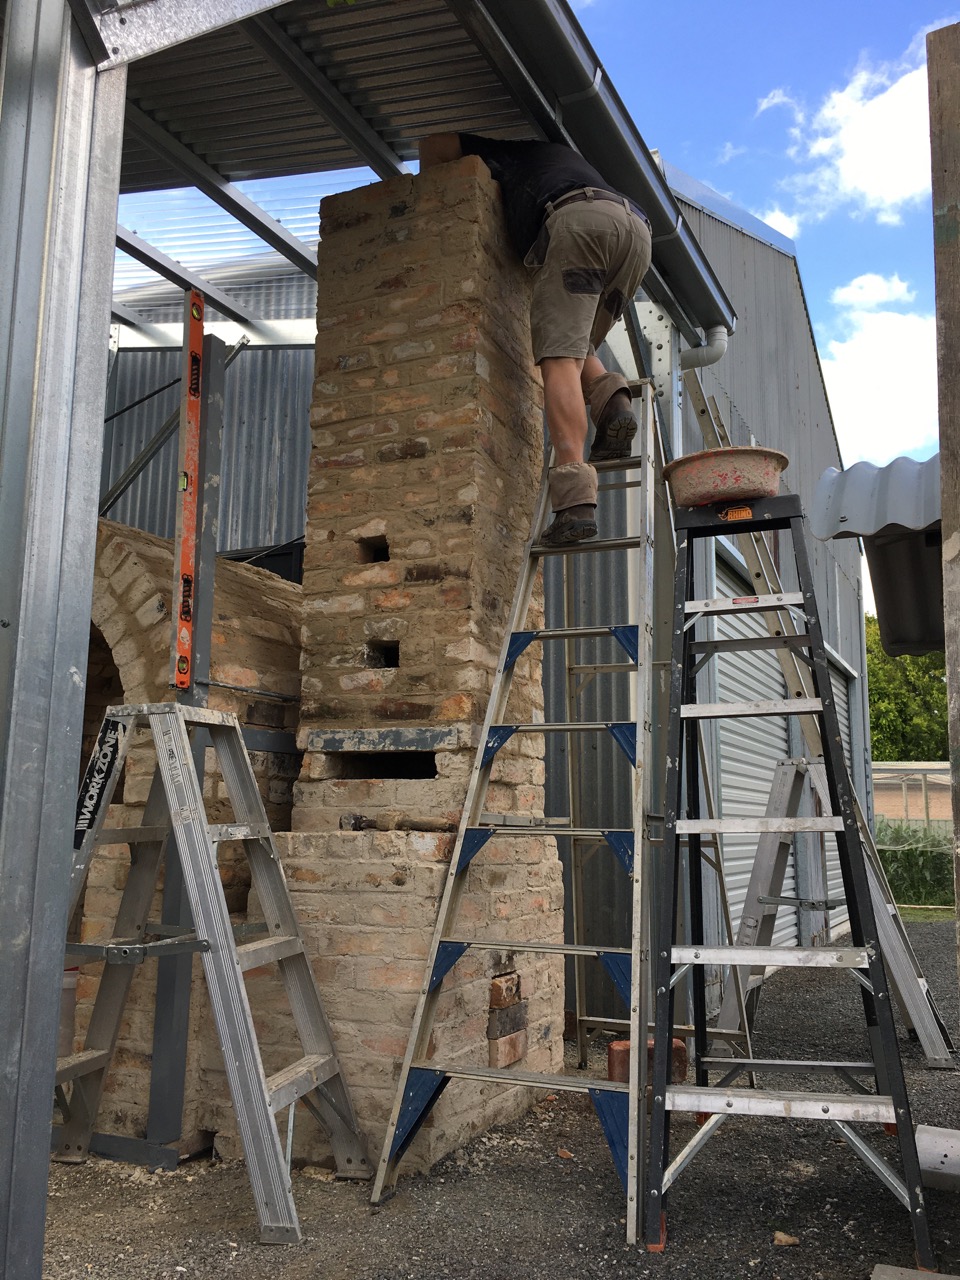
I also started work on the chimney with the help of my good friend Warren on the weekend.
The chimney is almost at the height that I can’t build anymore courses until I cut a hole in the roof to allow it to go through.
This will involve fabricating some specialised pieces of galvanised sheet metal ‘flashing’, custom fitted to the brick courses just above the tin roof to keep the rain out.
I hope to complete the chimney this week. More ladder work!
I have declared myself an honorary 59 year old for the past week to allow me to keep climbing ladders 🙂
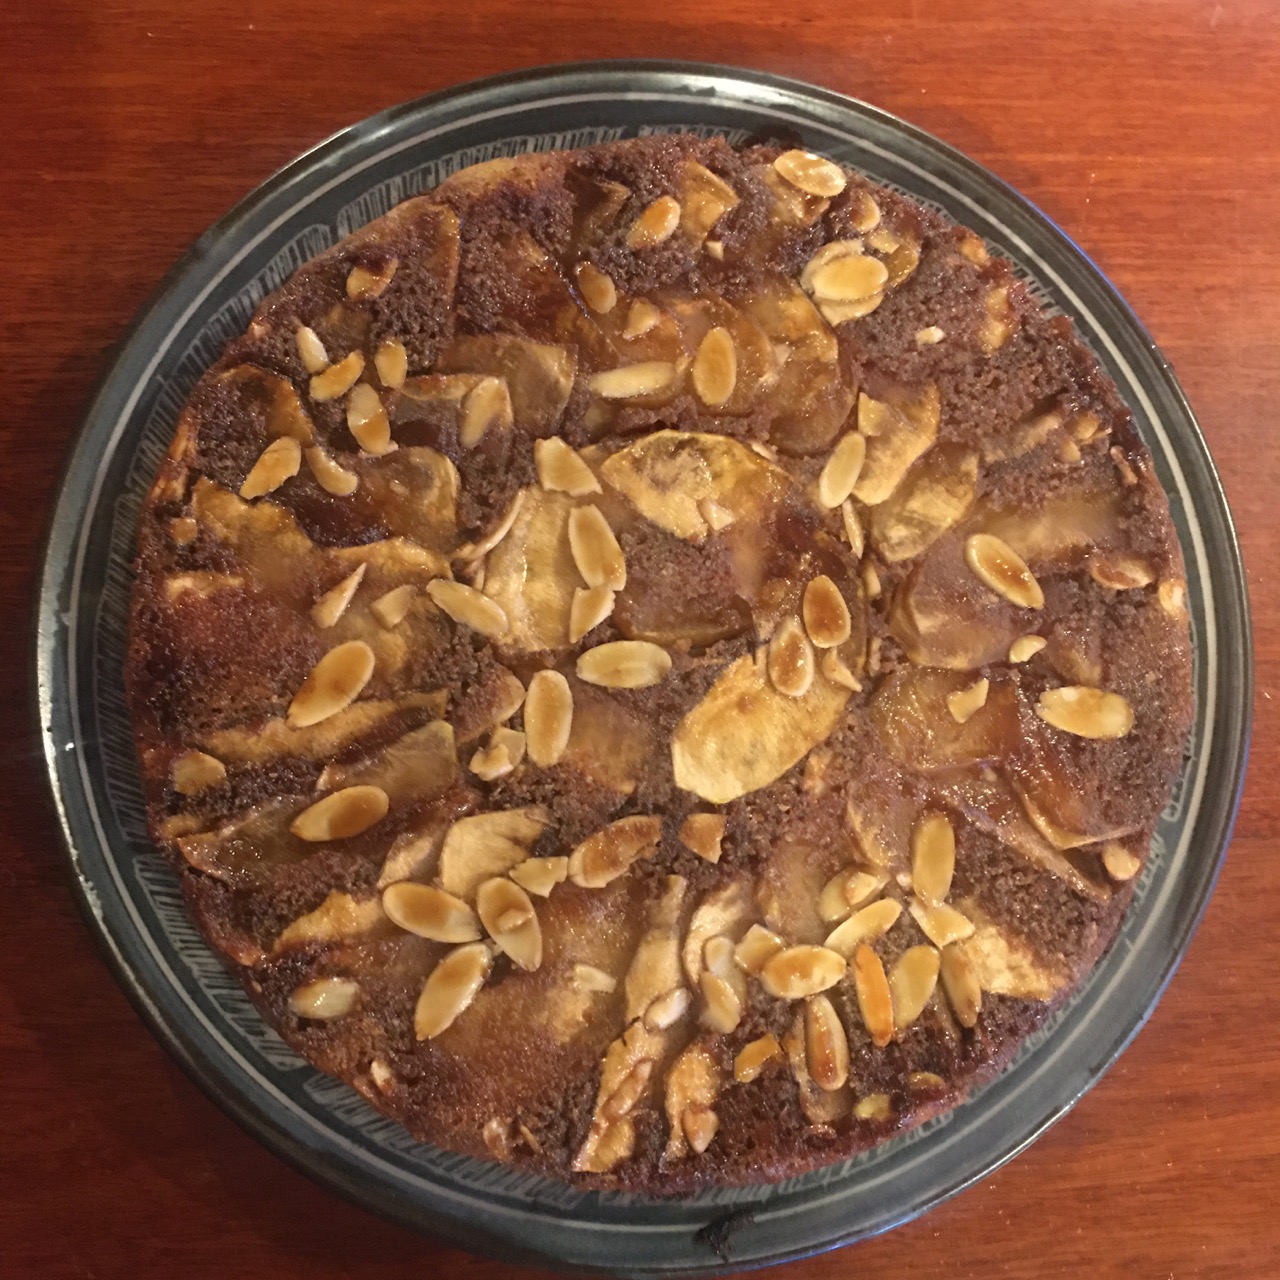
We have now picked nearly all the apples and I cooked another apple and almond flan tartin for our weekend guests.
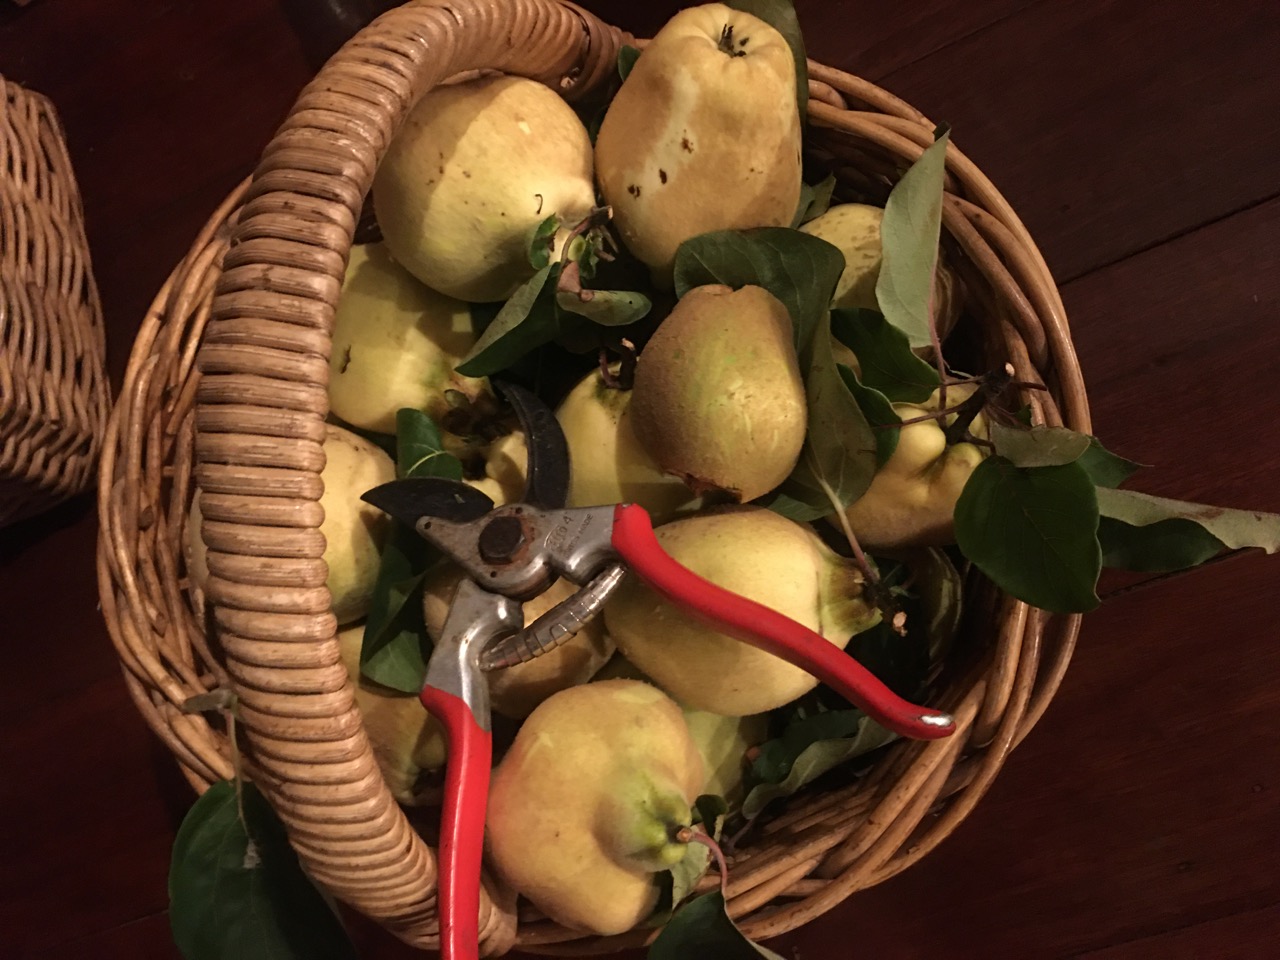
I also made the first batch of baked quinces, as the birds had decided that it was time to start eating them, dropping a lot of them onto the ground with just a few holes pecked into them.
They need to be dealt with pronto, or the damage soon spreads and they go bad quickly. I wouldn’t mind so much if they ate the whole thing, but they just peck a hole into the fruit to get to the seeds inside. If the fruit drops, they just watch it fall and start on another. At least the rabbits eat some of the fallen fruit. Quince fed rabbit sounds pretty good!
I wash the fluff off the skin, then peel and core, chop into 4 pieces for small fruit, or 8 pieces for the larger ones. I simmer them for 20 mins in a sugar syrup of 120 grams of sugar per litre of water. This syrup is less than half strength of the recipe ! Use enough water to cover the volume of fruit. Add a few cloves, star anise, a cinnamon stick, and half a small bottle of maple syrup. Once softened a little, transfer to a large baking dish and bake for 2 hours in a low oven at 160oC until nearly all the liquid has evaporated. Remove the aromatics and bottle in sterile jars while hot from the oven. I think that they are ready when they start to catch just a little on the tips and have turned a beautiful reddy/orange colour.
The fragrance is spectacular and the taste is amazing. Can be eaten just like this, or can be enhanced a little with the addition of some pouring cream, plain yoghurt or ice cream.
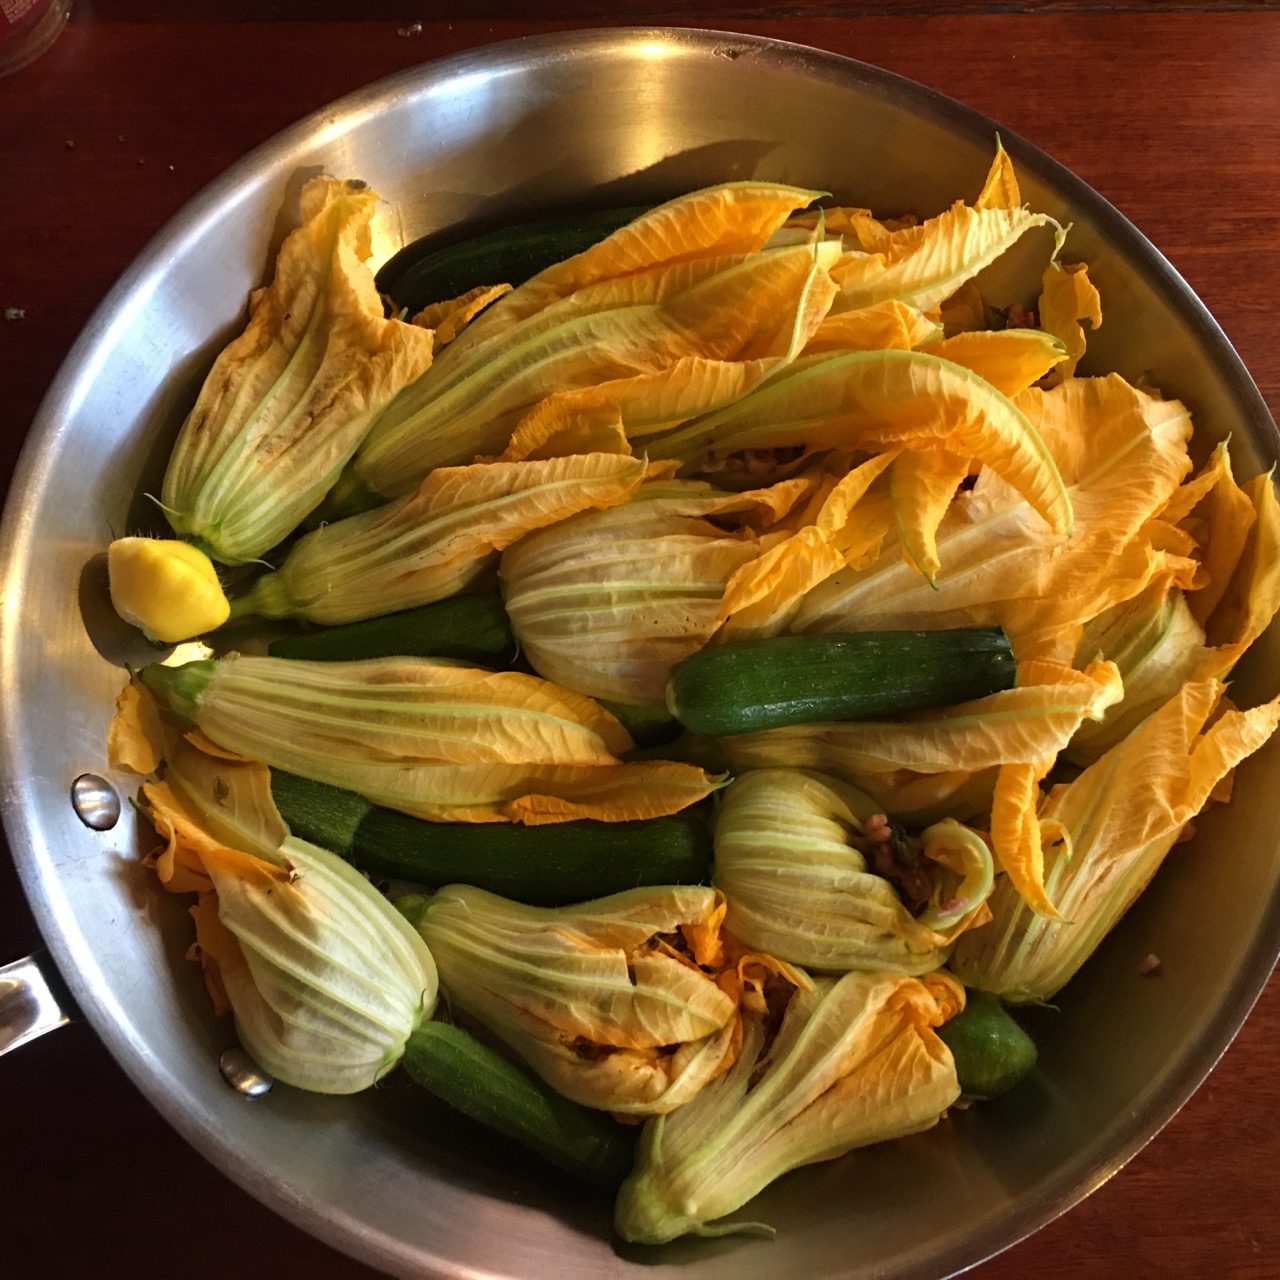
I also managed to find just enough zucchini and squash flowers, both male and female to make up the numbers, so that I could make stuffed zucchini flowers for dinner. I wasn’t expecting to find so many suitable flowers this late in the season, so wasn’t prepared with suitable quantities of cottage or other suitable cheeses. Instead I used a tub of left over risotto from the fridge. extended with some boiled lentils and a few olives. It made up the distance.
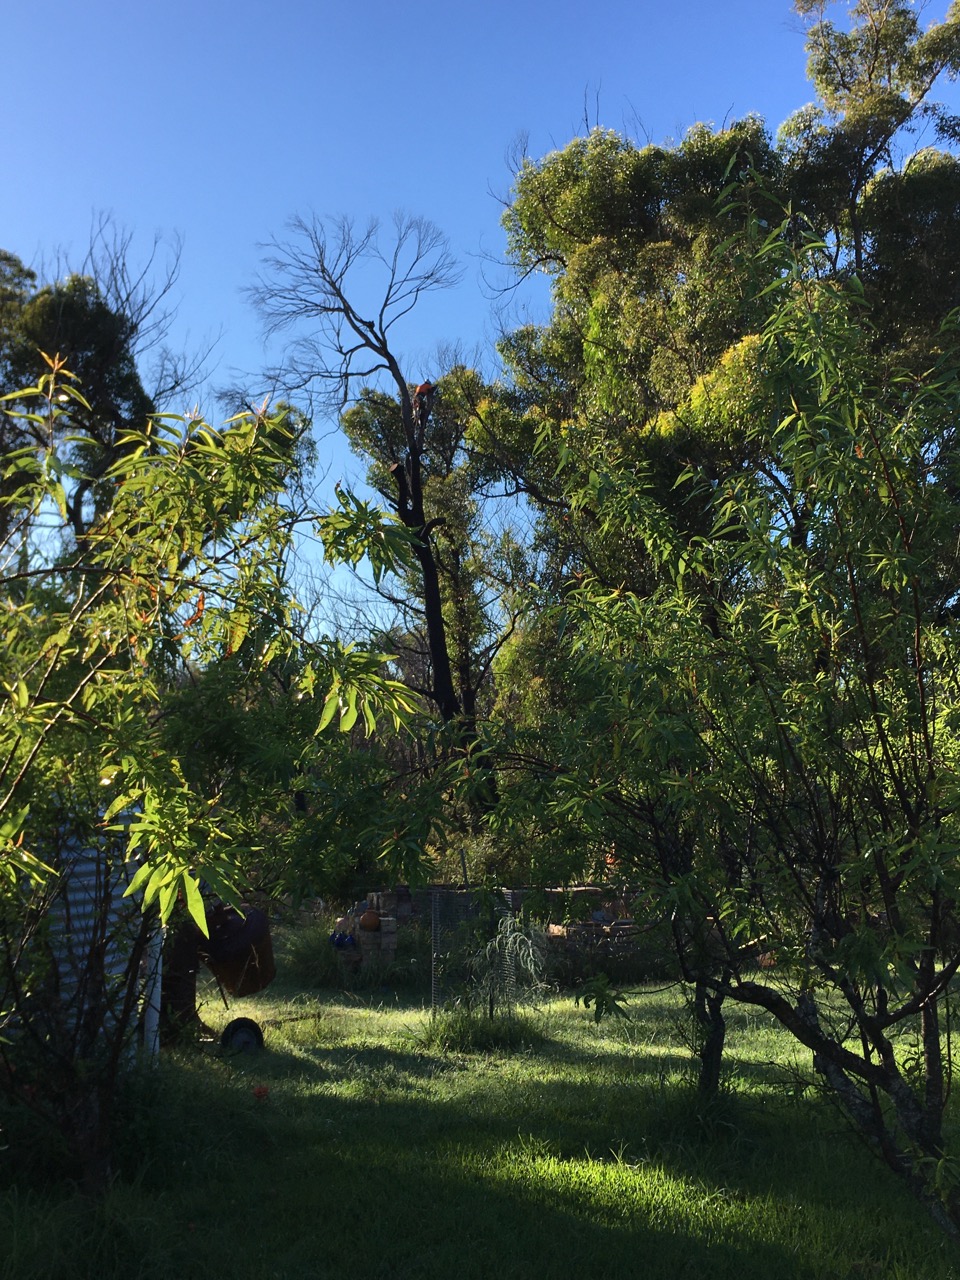
This last week also brought a little bit of excitement into our dull, plodding, Post Modern Peasant lives. The State Government Funded green waste clean-up program commenced, for all the dead and damaged trees in people yards that were created by the 2019 Black Summer catastrophic bush fires here in the Southern Highlands.
We had a team of half a dozen blokes here for two days, lopping, topping and chopping dead trees. Some were completely removed and the stumps ground out, but most were pruned back to make safe habitat trees for wild life.
They shortened and made safe 15 trees and took down 3 or 4 smaller ones in the immediate vicinity of our back yard orchards, where we work and mow.
The purpose of the exercise is to get most of the smaller dead branches down out of the canopy so that it is safe to walk around underneath them in our garden. We had already dealt with the most pressing and difficult problem trees in our front garden 2 years ago at our own expense. I wasn’t prepared to survive the fire and then be killed by a falling branch.
It’s only taken 26 months for the State Government to implement this emergency safety solution into place. I wonder how long it takes them when they take their time 🙂
We still have 3 acres, or one and a bit hectares of dead forrest that is continually dropping dead branches. We just don’t go there, and if I have to, I wear a hard hat.
It’ll be unsafe for the next couple of decades as the dead branches slowly rot and fall. But what can you do? It’ll cost many thousands of dollars to get them all pruned safely.
I have been plodding along on the wood fired kiln reconstruction for the past couple of weeks. It’s a slow job. Each morning cleaning 150 of our used fire bricks in the mornings and then laying them in the afternoon. This weekend I had my friends Warren and Jim come and give me a hand with the arches. I had the arch formwork built and 250 bricks cleaned and ready in advance. I had to weld up a jig to allow me to cut tapered arch bricks on the diamond saw.
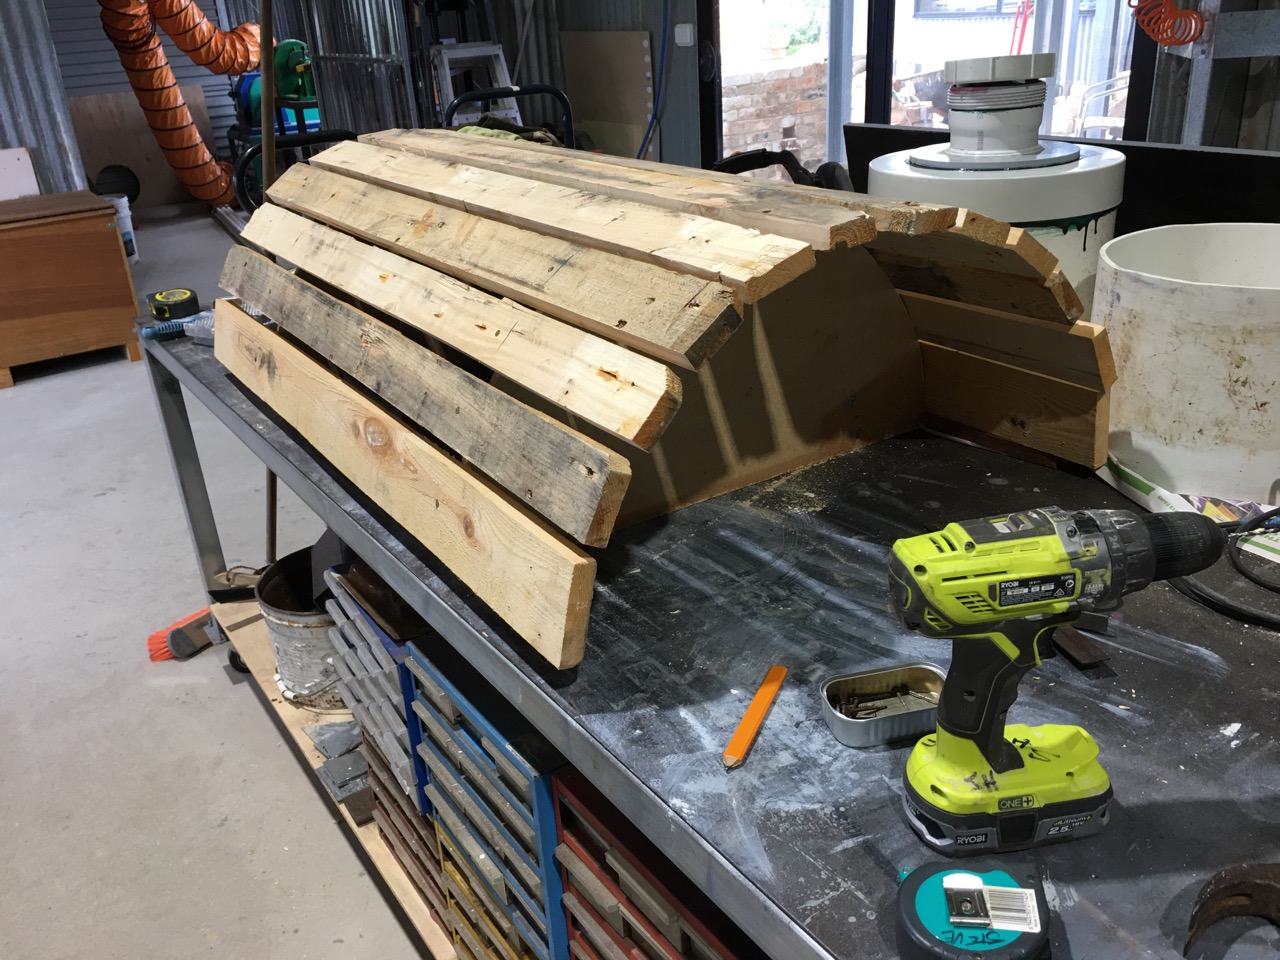
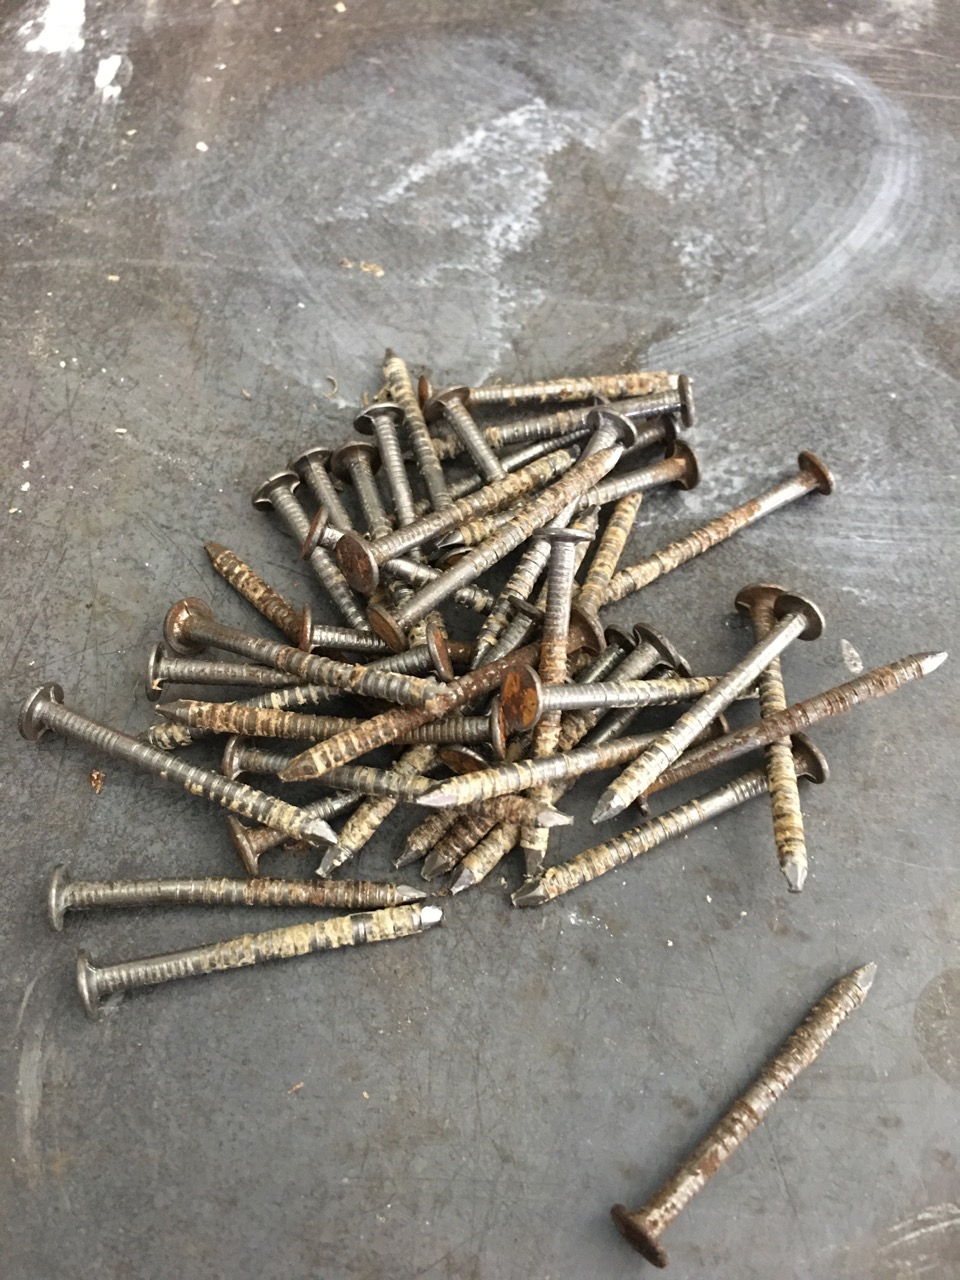
I dismantled a couple of shipping pallets that came here with goods on after the fire, during the rebuild. I always save good useful wood for when jobs like this crop up. By carefully dismantling the pallet i got all the wood that i needed to make two arch formers. I also kept all the nails that I took out of the pallet, straightened them and reused them to nail the form work together.
We managed to cut all the bricks and lay the two arches, finishing on Sunday afternoon. My next job for this week is to weld on all the bracing steel angles and brick up the back walls.
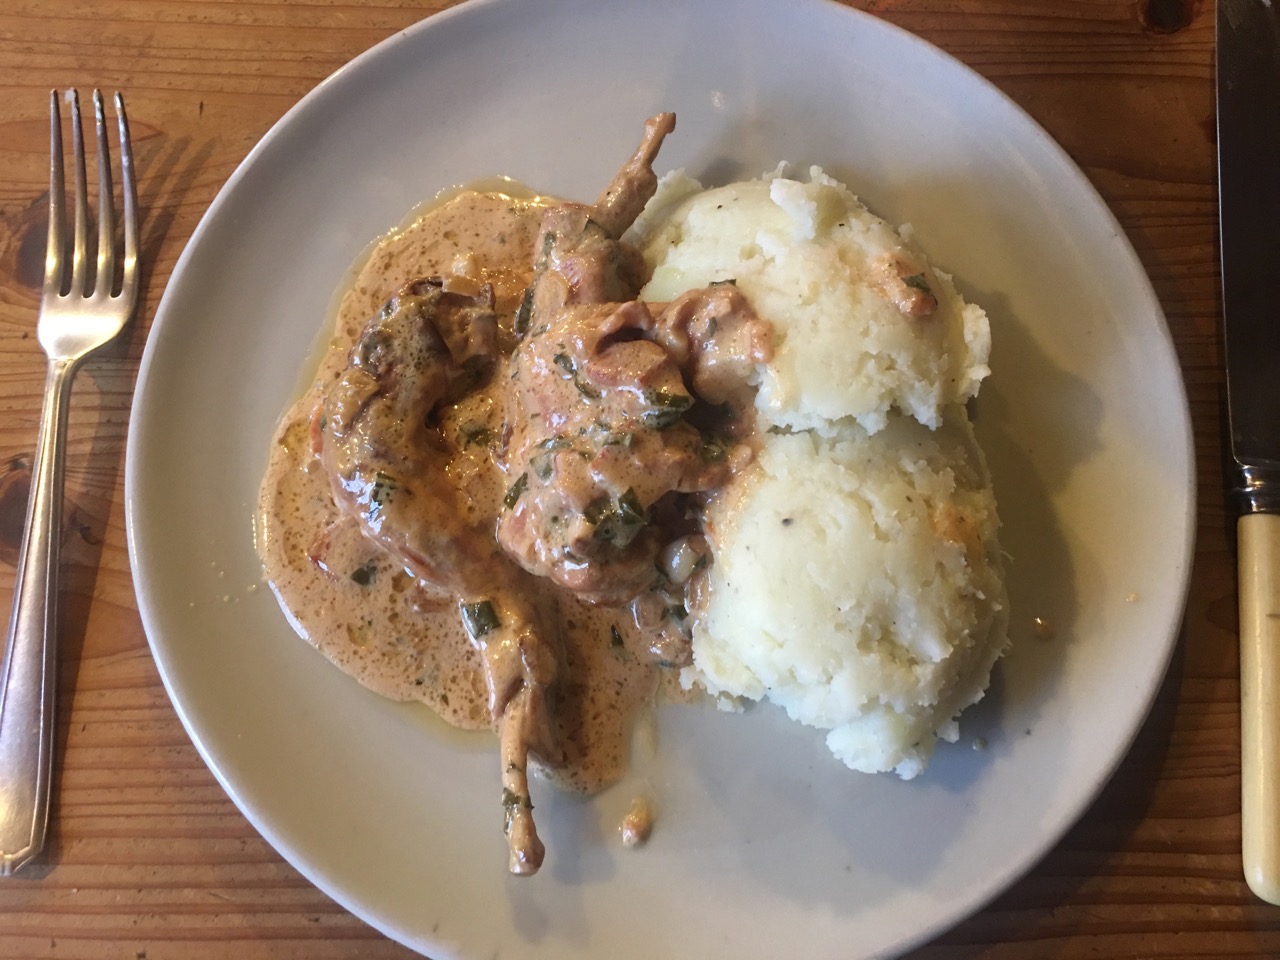
I caught another rabbit in the vegetable garden this week, so we had rabbit cooked very slowly with herbs, bacon and onions, finished off with some sour cream. He was delicious, fattened up on our home grown vegetables. A very local meal of vegetables and meat, all from our garden.
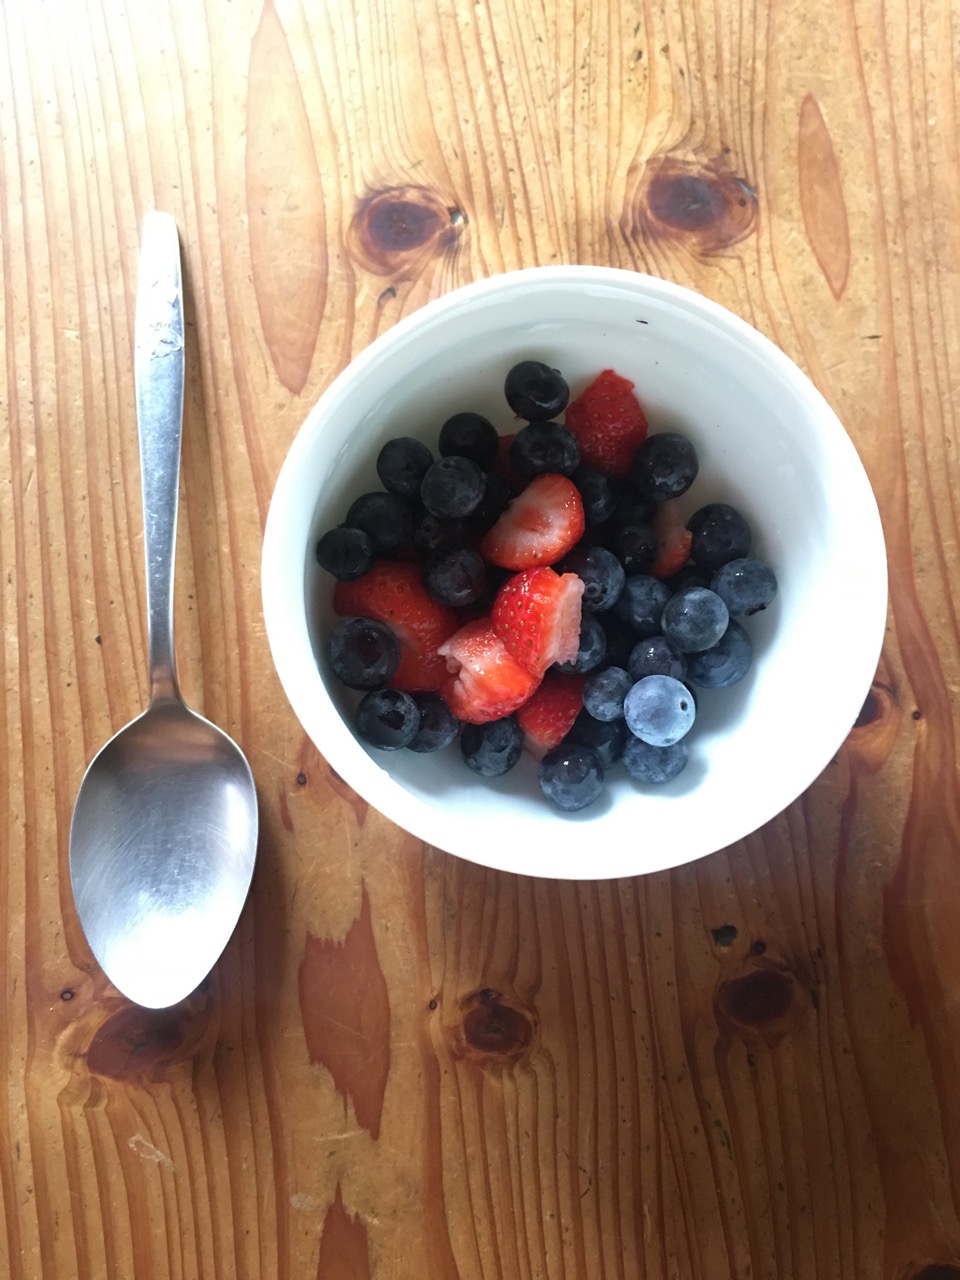
The stone fruits have all finished now and the blueberries have just one more pick. but the strawberries continue to produce well and we have started to eat the first of our apples. The hazelnuts are just starting to fall now and will need to be shelled and roasted in the coming week.
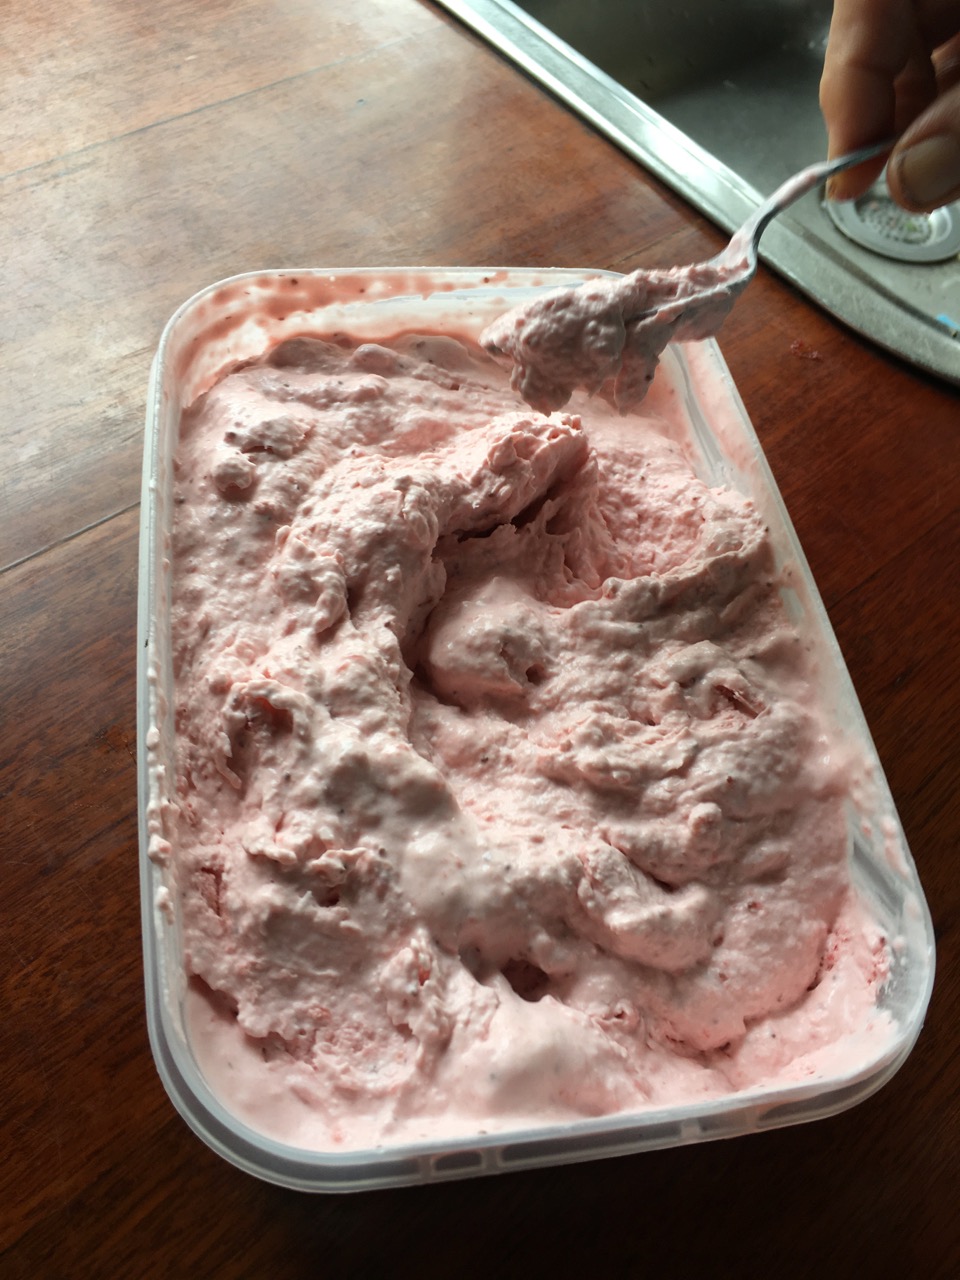
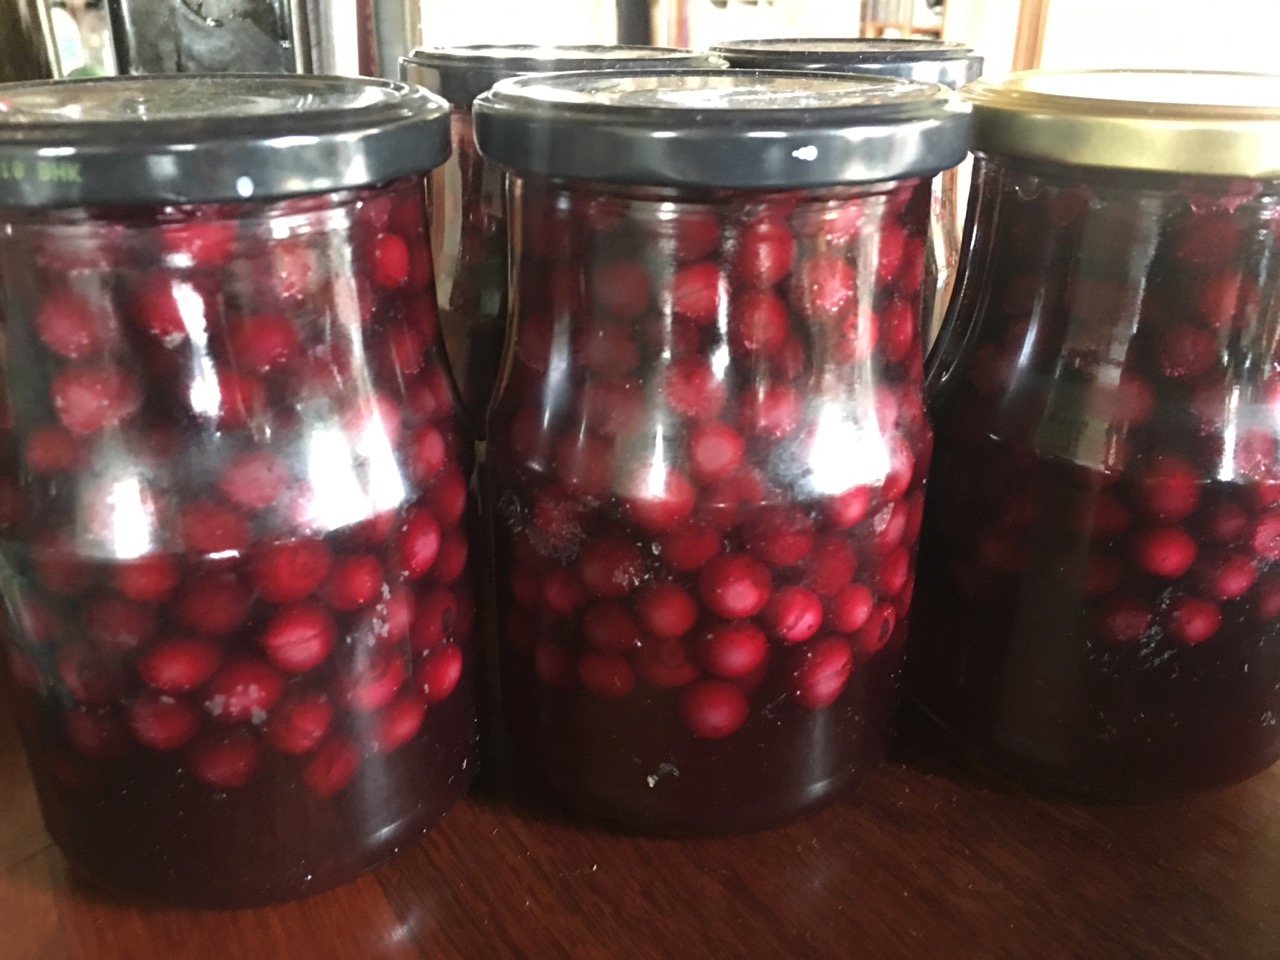
Janine shelling hazelnutsJanine’s homemade strawberry ice-cream5 jars of bottled blueberries
We have started to make a few batches of tomato passata now that the tomatoes are in full production. We bottled the last few picks of blue berries, as we were just about full up with Janine’s blue berry ice cream, blue berry jelly and blueberry sorbet. She has now turned her attention to strawberry ice cream and jellies.
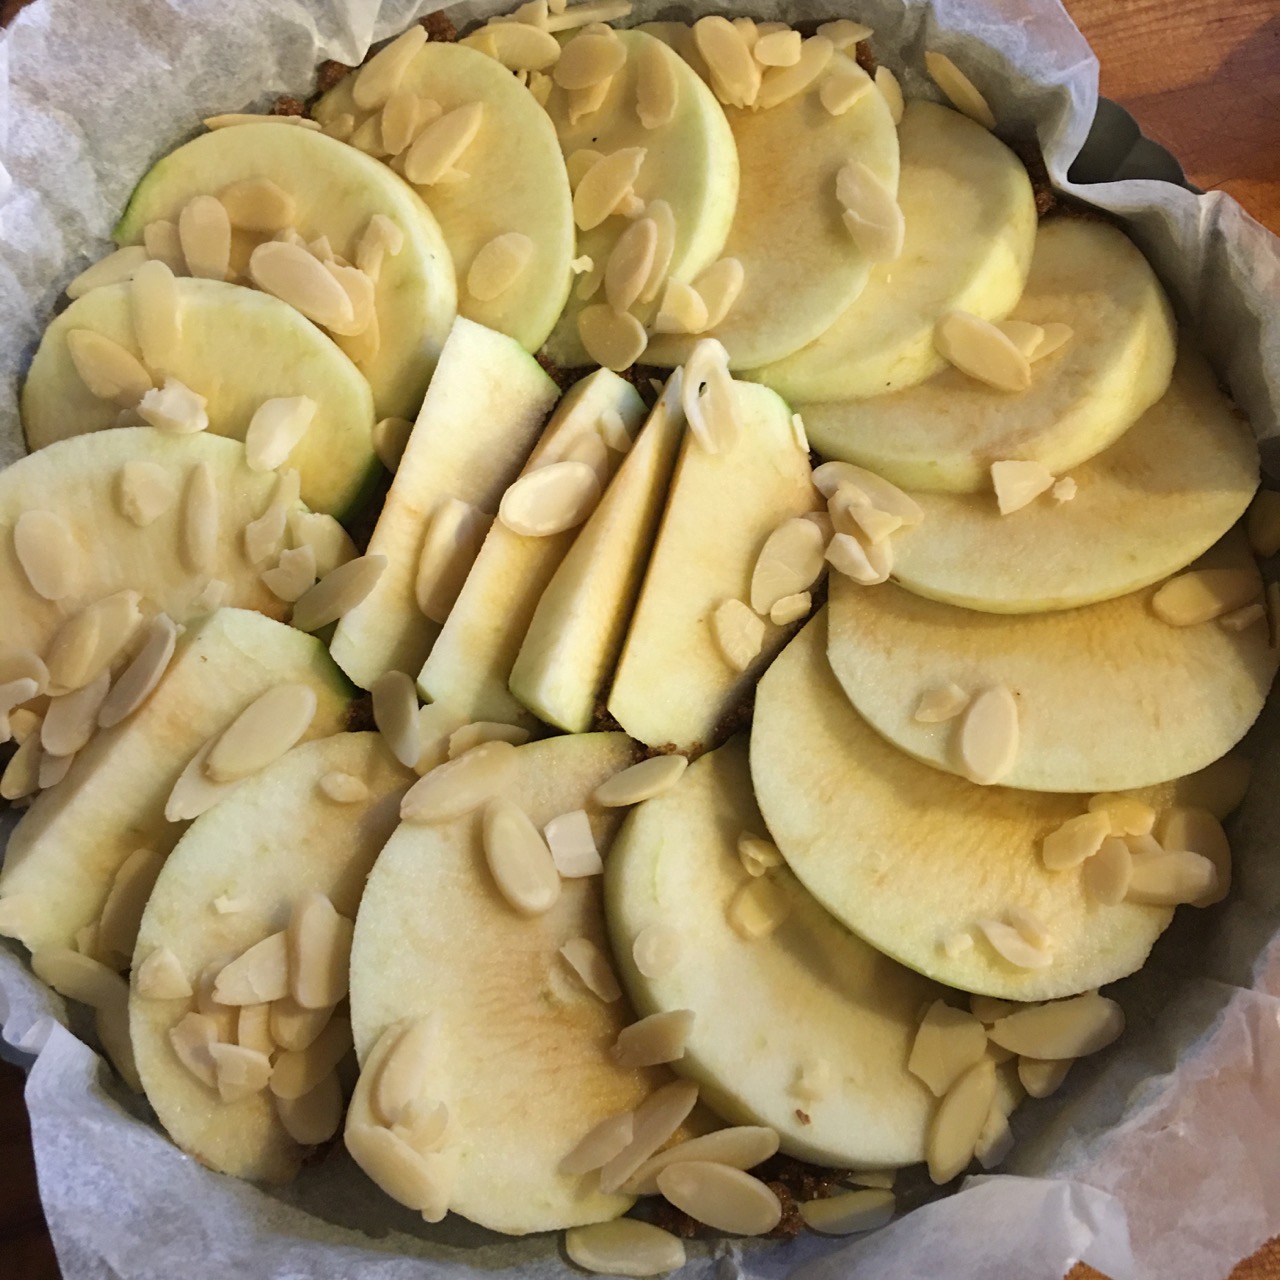
As it is now February, so we picked the first of our apples. It’s a really good crop off these young trees. I made an apple and almond flan tartin. Its not a tarte tartin, as there is no pastry. I used just one apple that weighed in at 461 grams.
I got the recipe from Ian Parmenter’s book ‘Sheer Bottled Bliss’. Sprinkle a couple of spoons full of sugar onto baking paper in a flan pan, slice the apple and sprinkle with almonds, cover with a mixture of 200g each of butter, sugar and almond meal, 3 eggs and 2 tablespoons of flour. Bake for 40 mins at 190oC. Flip over onto a plate and remove the baking paper. Simple, quick and easy. it has a lovely toffee, caramelised apple and almond flavour. Yum.
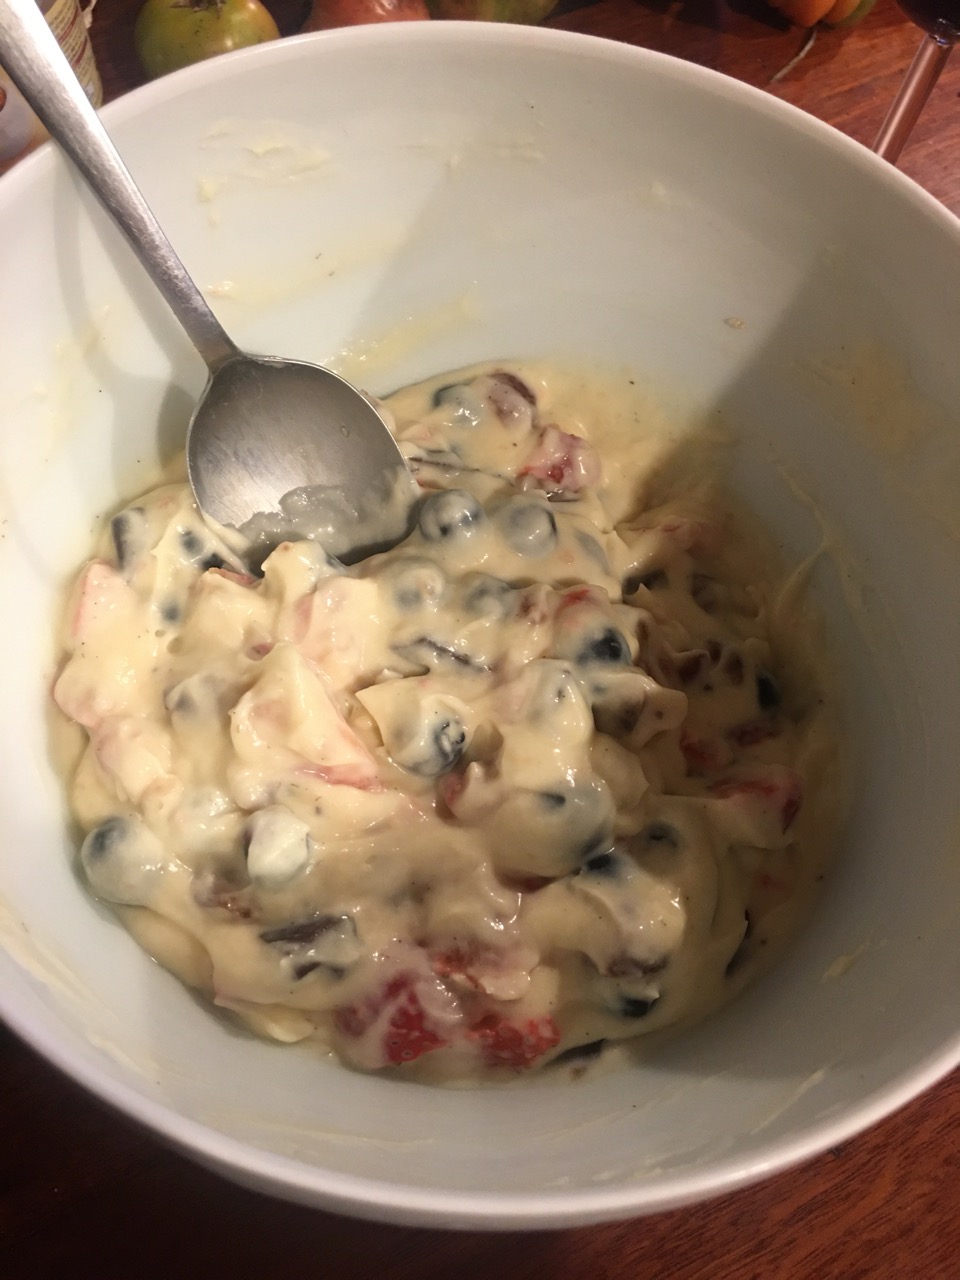
To introduce a little bit of difference into our menu of constant blueberry deserts. Janine had dried some of our blueberries, so I made some little tarts. Pre-bake puff pastry squares, when cooled, pop your finger in to crush the centre open, then fill with a mix of fresh and dried blueberries, some sugar and mascarpone. I also added a few currents and glace cherries. I have found that this mix is greatly improved with the addition of a sprinkle of cinamon pawder, a little vanilla paste and a dash each of some rose petal water and orange flower water.
They didn’t last long either.
It’s a tough life attempting self-reliance as a Post Modern Peasant
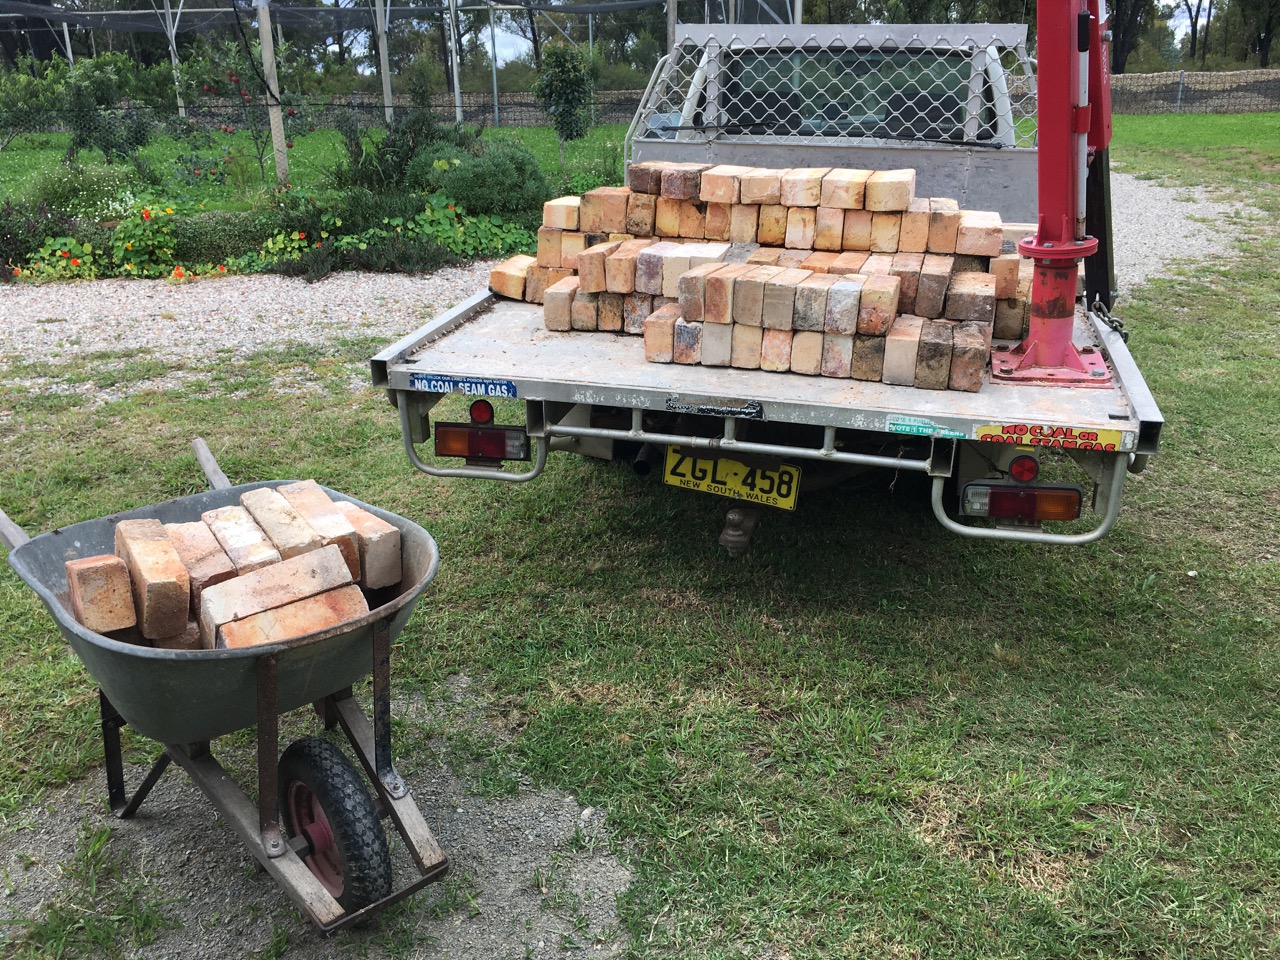
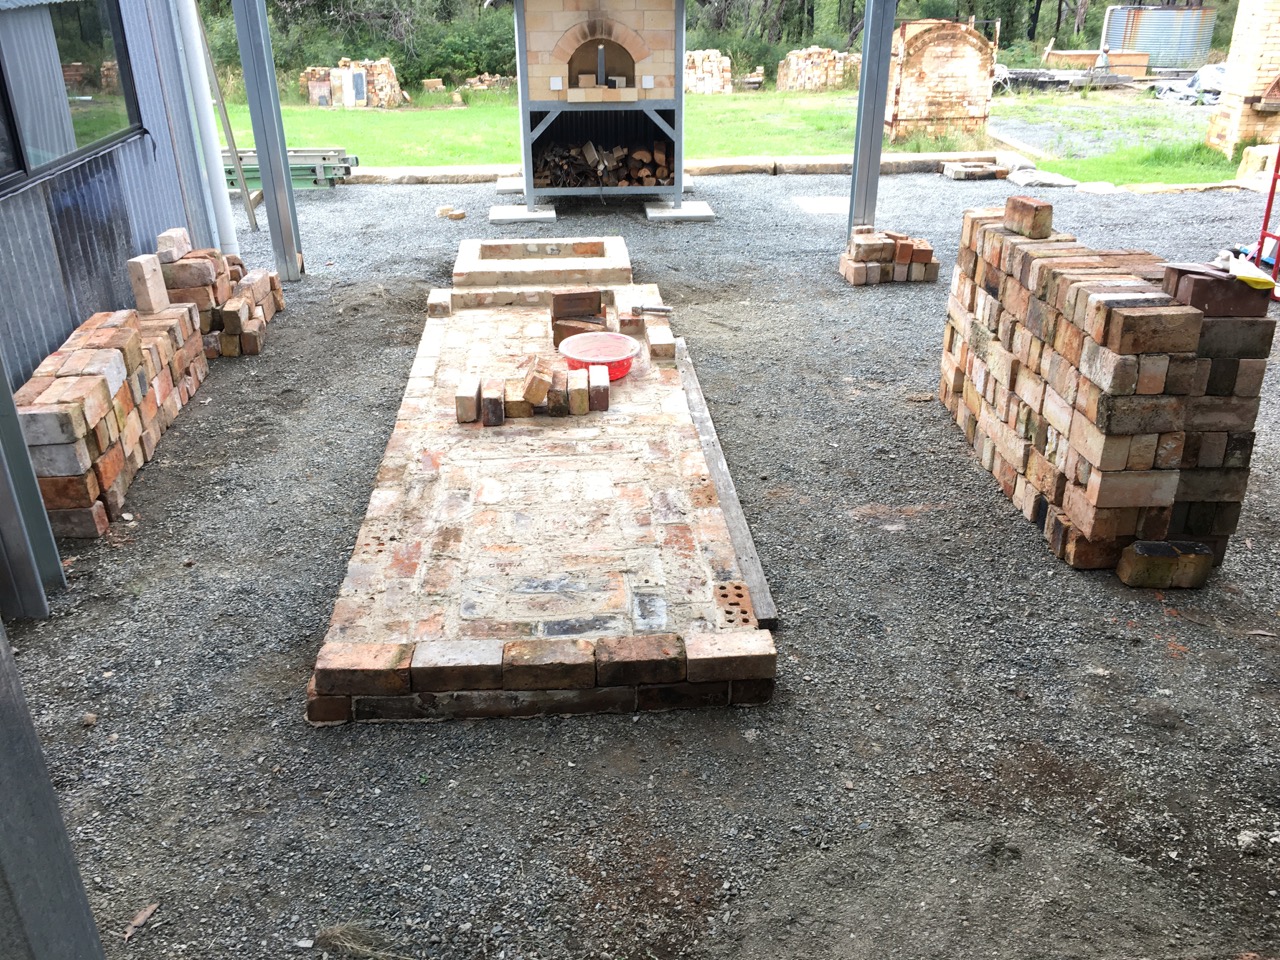
I have been working on the new wood fired pottery kiln now for the past week and a half. Each morning Janine and I start with cleaning bricks and loading them onto the truck for the trip up to the new pottery shed. From there they are wheel barrowed down the alley to the newly covered court yard kiln area.We clean and stack about 150 bricks each time. As we clean the bricks, we sort them into different types and sizes.
All my fire bricks are very old and I have been using all the same bricks over and over for the past 45 years. I was lucky enough to buy several thousand fire bricks for just $100 way back in 1974. I already had a couple of small gas fired kilns and a small wood fried kiln in my parents back yard. I didn’t live there any more, but continued to use my studio in a little garage sized shed below a cliff at my mothers home. I saw an add for fire bricks for sale in the paper. People looked in the newspaper to see adds in those days before screens. I went to see the bricks in the old ‘Mcillraiths enamelled cast iron bath tub factory in Alexandria. I think that they had merged with ‘Metters’ and were closing down and moving to a new site where they would only enamel pressed metal baths. Those were the days before plastic baths.
The fellow in charge of dismantling the factory had been the manager before closure. He needed to get rid of the four large 5 metre square and 6 metres tall enamelling kilns, as they were just about the last things in the factory to be removed. I looked at them and shook my head, thinking that ere was no way I could shift that many bricks. I had only come on the off chance that there were some small number of bricks that my students at the old East Sydney Tech College (now called the National Art School) could obtain to build their own small kilns after graduation. I told the guy in charge of disposal this, and that the job was way too big for me. He had originally wanted $1 a brick in the add, but there were 20,000 or so of them. He had had no offers and was very keen to get rid of everything, as the factory needed to be empty by the end of the month, the kilns and some old machinery were the only items left in the place.
He sweetened the deal by offering to sell the lot to me for $1,000. I said No, thinking that although that was a very good price, I just couldn’t see how I could do it. Having said no way! He then offered to dismantle all the kilns and stack them on pallets for me. I continued to say NO!, more in disbelief than anything else. He said, “you drive a hard bargain Son!” OK then, I’ll organise a semi, palletise them, load them all onto the semi here with the fork lift and deliver them to your factory.”I told him that I didn’t have a factory or a fork lift, anyway I don’t need that many bricks. He countered with OK $500! He saw me shaking my head, I couldn’t believe what was happening. He must have been extremely keen to get out of his contractual predicament. I assume that he had already made his money on the sale of all the scrap iron and useful machinery? I was still shaking my head, when he said OK! $100 delivered. I said yes!
They arrived all in one go on a huge semi-trailer truck. The truck was loaded 2 pallets wide and two pallets high. Over twenty pallets of fire bricks. It took 5 friends and me all afternoon just to unload them onto the foot path. The next day my friend Len Smith came over and we hired a brick elevator/conveyor and laid it more or less horizontally up the sloping driveway so that as Len loaded the bricks onto the conveyor at the street, I was at the other end to catch them and ran around stacking them on the ground at the top of the hill. I paved my parents driveway 3 layers deep in fire brick to get them all off the side of the road. That’s how I ended up with 20,000 fire bricks and could afford to build a 3 chamber climbing kiln in the rented property out at Dural the next year.
As we wheel barrow these very familiar fire bricks that I have handled so many times to the kiln site. I sort and stack them in piles around the kiln into their different uses. House bricks for the foundations, Heavy fire bricks for the fire box and floor, light weight Insulating refractory bricks for the lining of the chambers and finally plain light diatomaceous insulating bricks that are only good for low temperatures, less than 1,000oC, these are only used as the outer skin of the chamber as insulation. After lunch I mix up a wheel barrow load of clay and sand mortar, then I spend the afternoon laying those bricks. It’s a full day.
The chickens are all over the job keen to see what is going on. They are so inquisitive! They are always pecking at the gravel floor to get grit for their crop.Then they took an interest in the pile of yellow ‘fat’ sand that I’m using for the clay and sand mortar mix.Today they suddenly started to take an interest in the mortar. They decided that it was just what they needed in their diet. They have eaten so much of it over this past week, that their pooh has turned white with all the kaolin. As have their faeces, faces and beaks. They are now truely, sticky beaks.
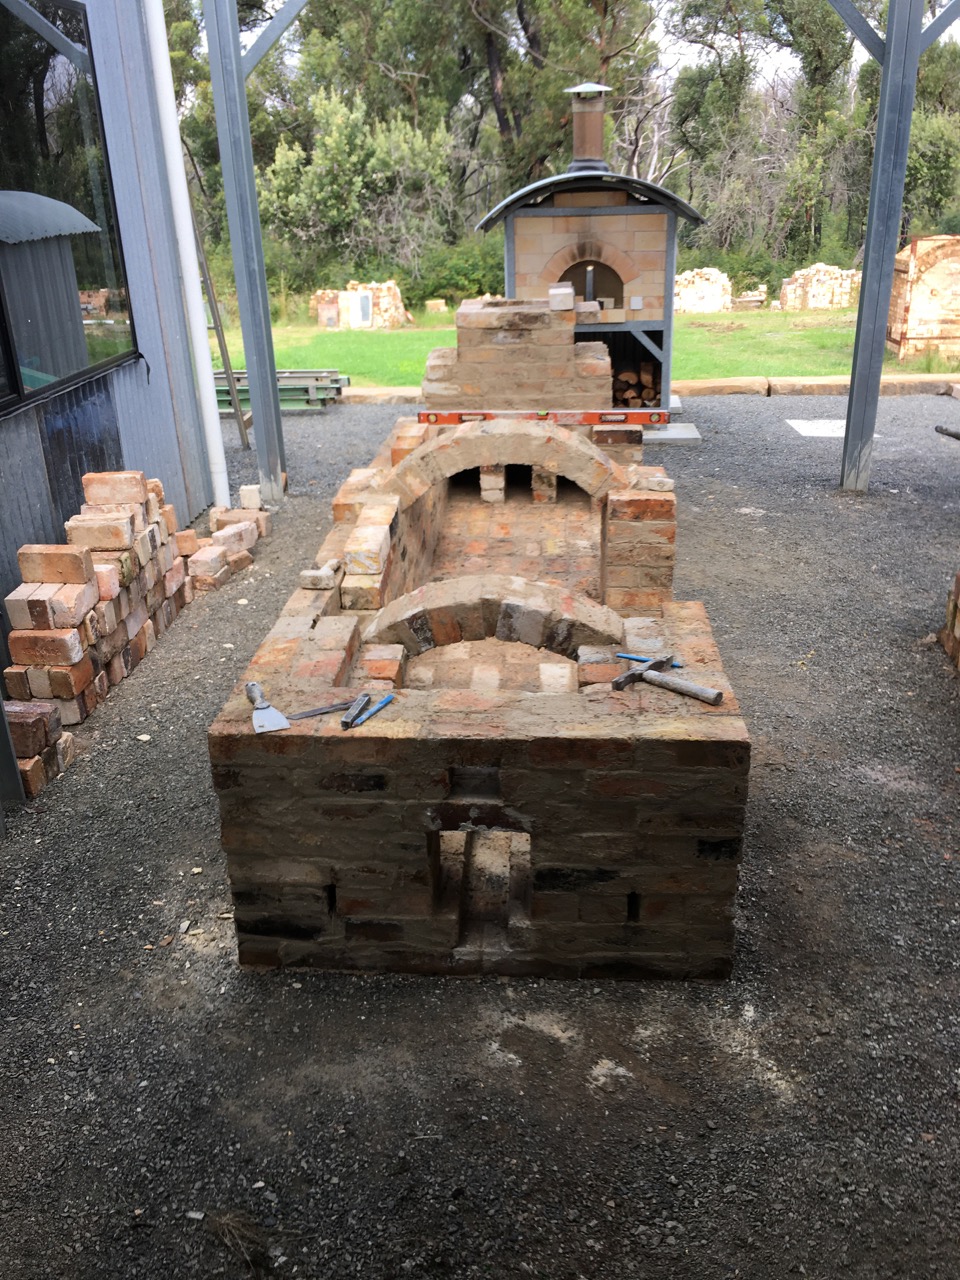
After 5 days work, I’m now up to the level of the throat arches that divide the fire box from the first chamber, then between the 1st from 2nd chamber. It’s slow going, but my excuse is that I’m an old guy now, about to turn 70 and can’t do all that I used to when I was younger. I didn’t need that catastrophic bush fire in my life at this time, but life is what it is and you have to take it in your stride. Resilience is all about facing up to reality and keeping on going in the face of hardship and set backs. I just turn up everyday and do what I can.
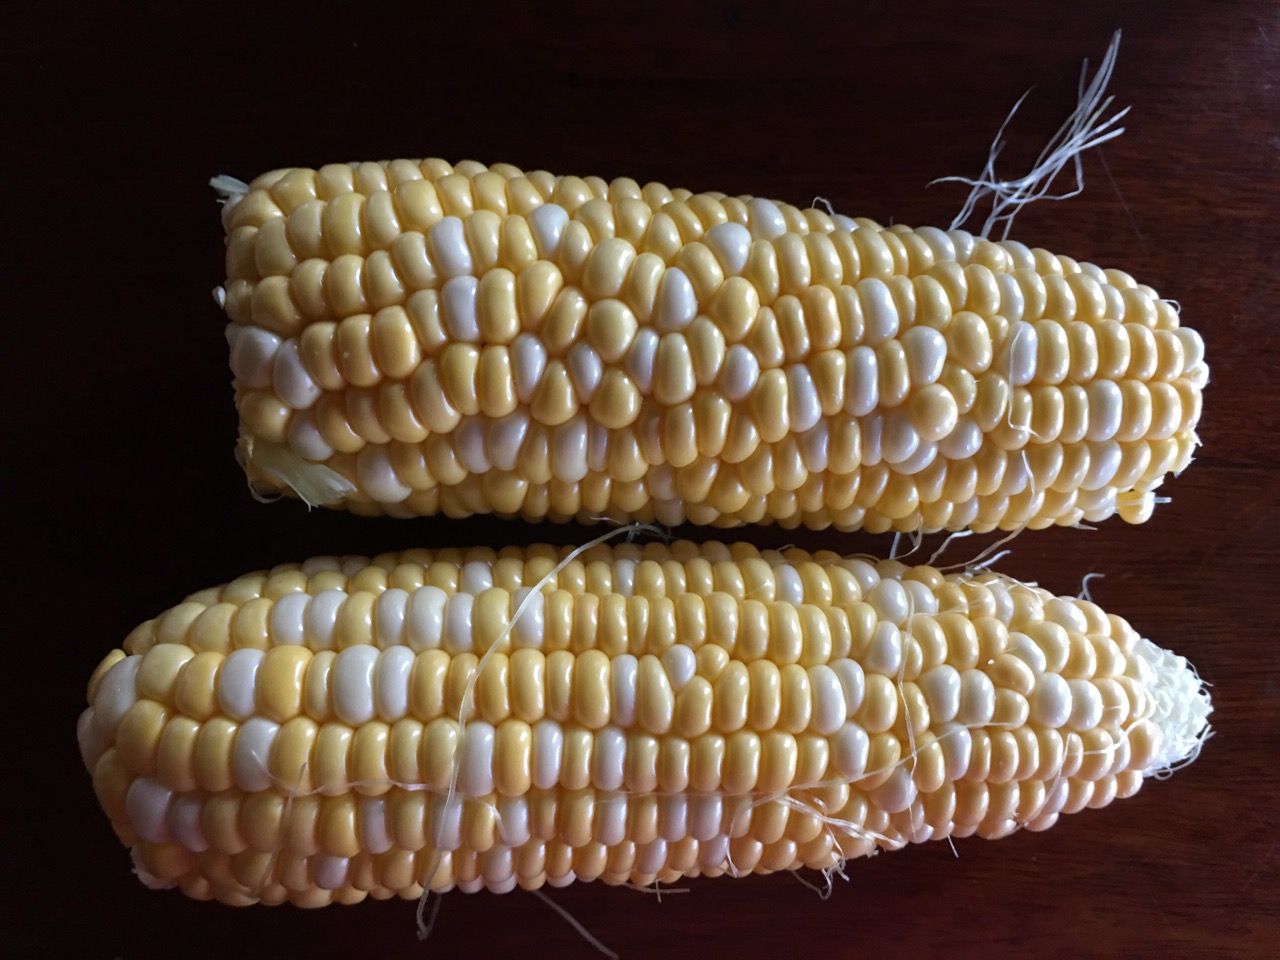
We are eating sweet corn almost every day. When the cobs are so fresh and young, I just eat them raw. They are sweet and juicy.
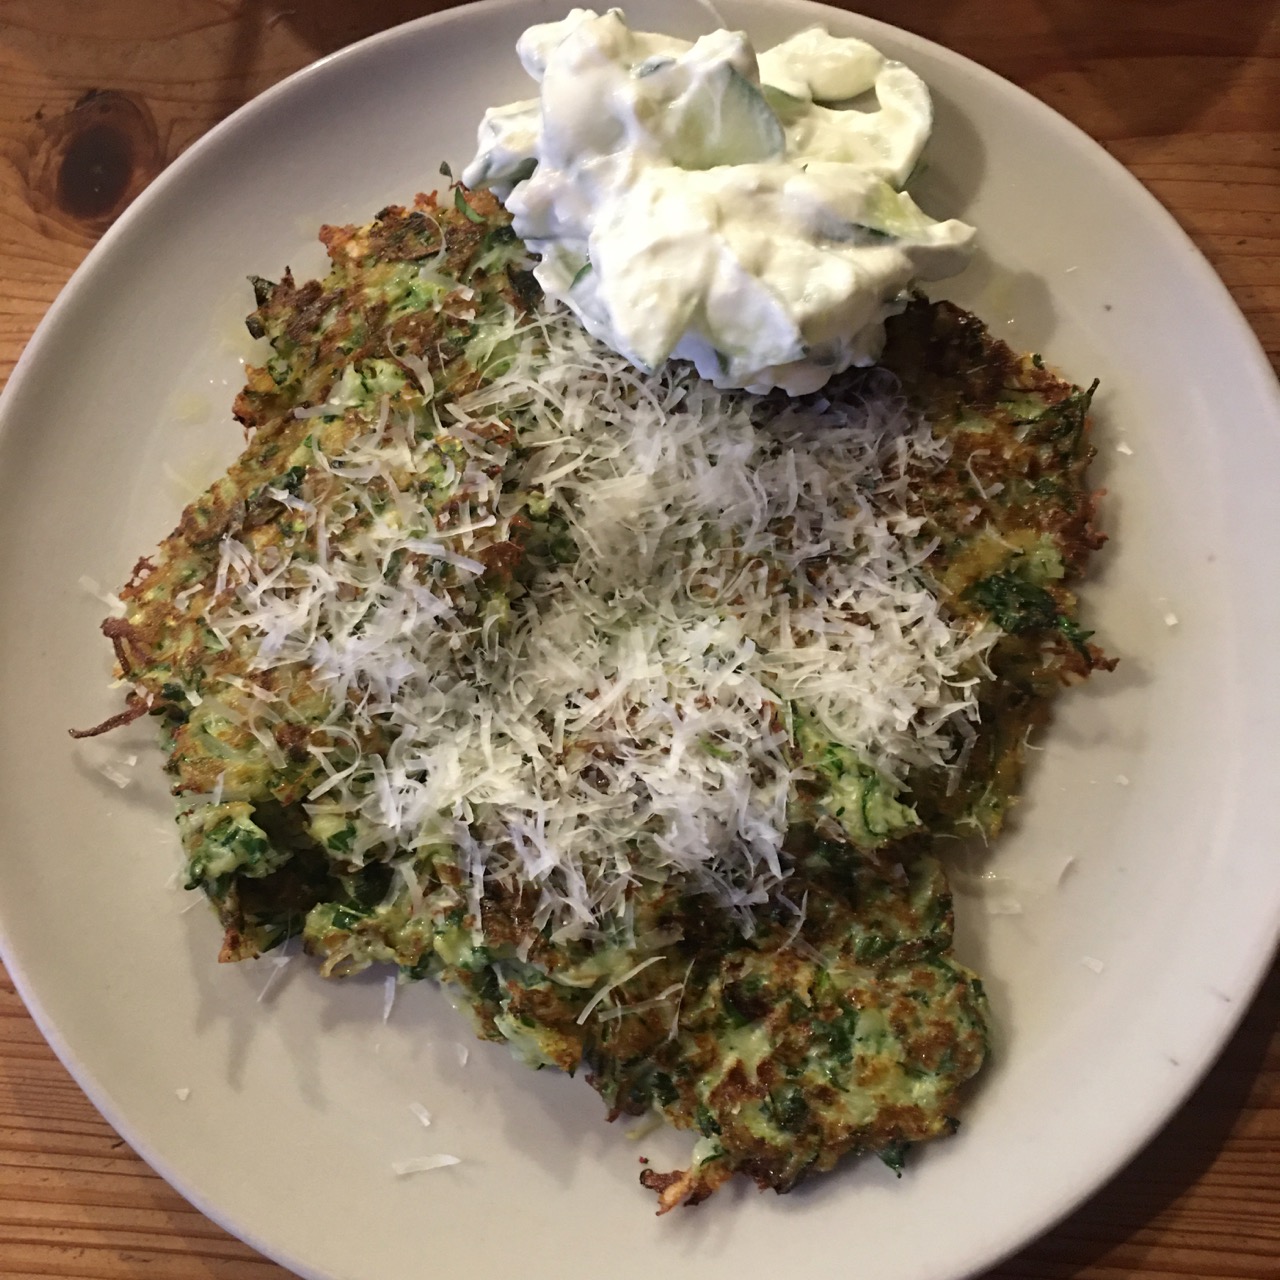
This time of year, we also have an excess of zucchinis. This week we made zucchini fritters with garden fresh tzatziki.
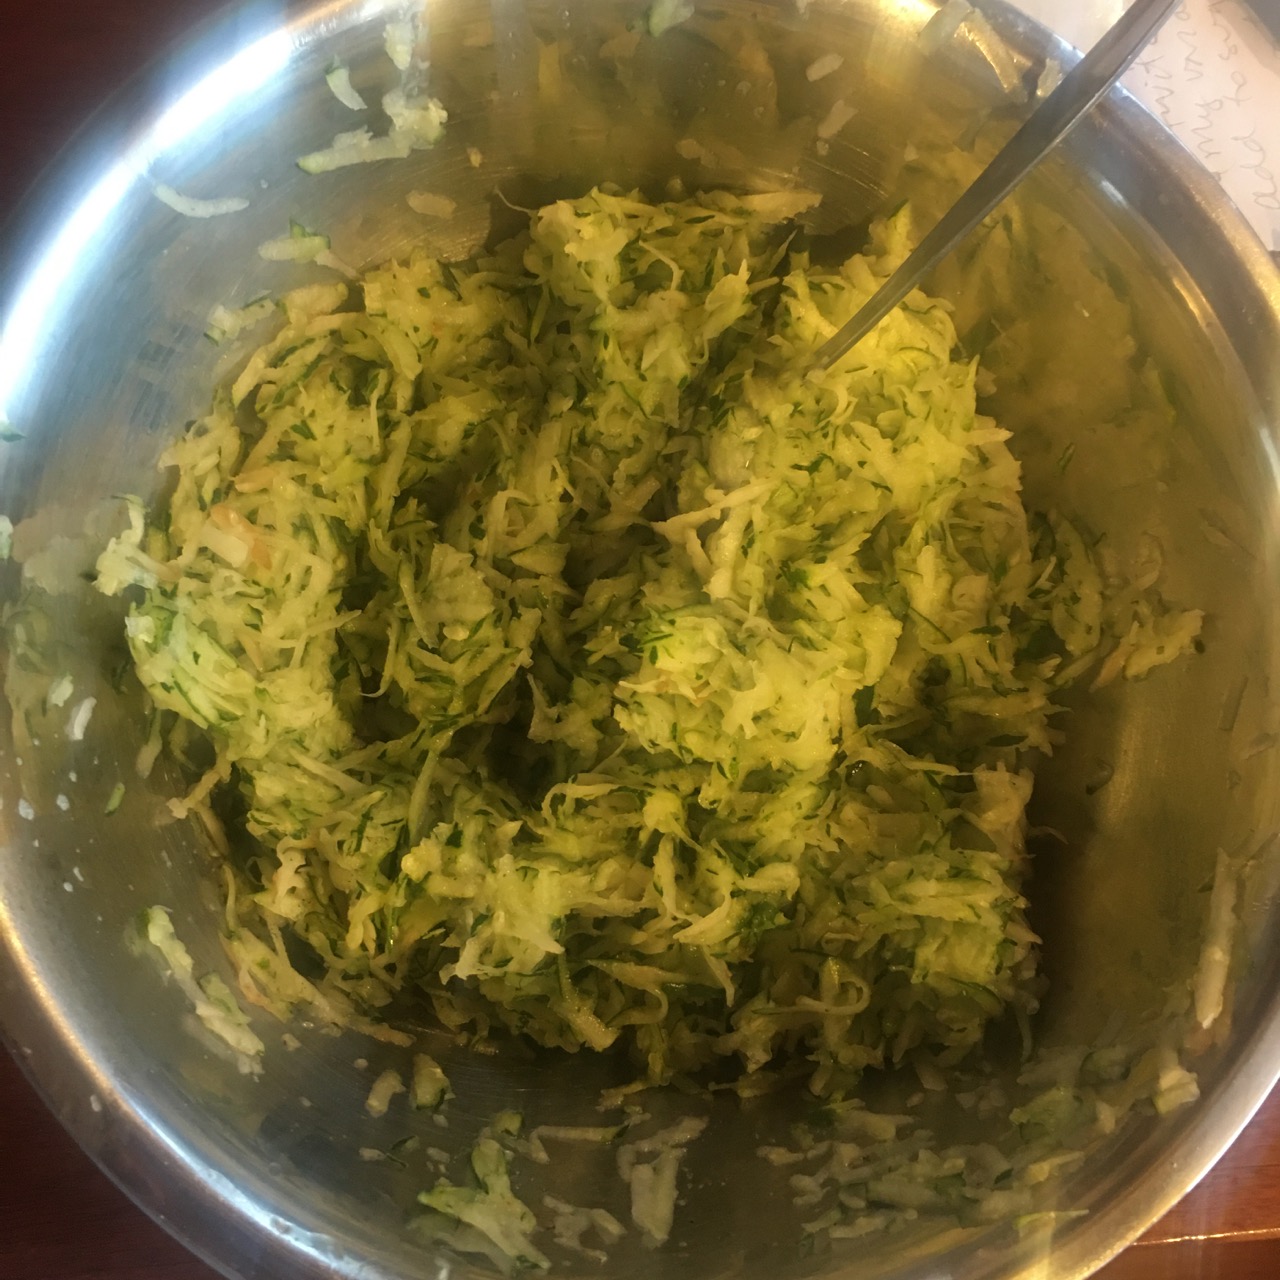
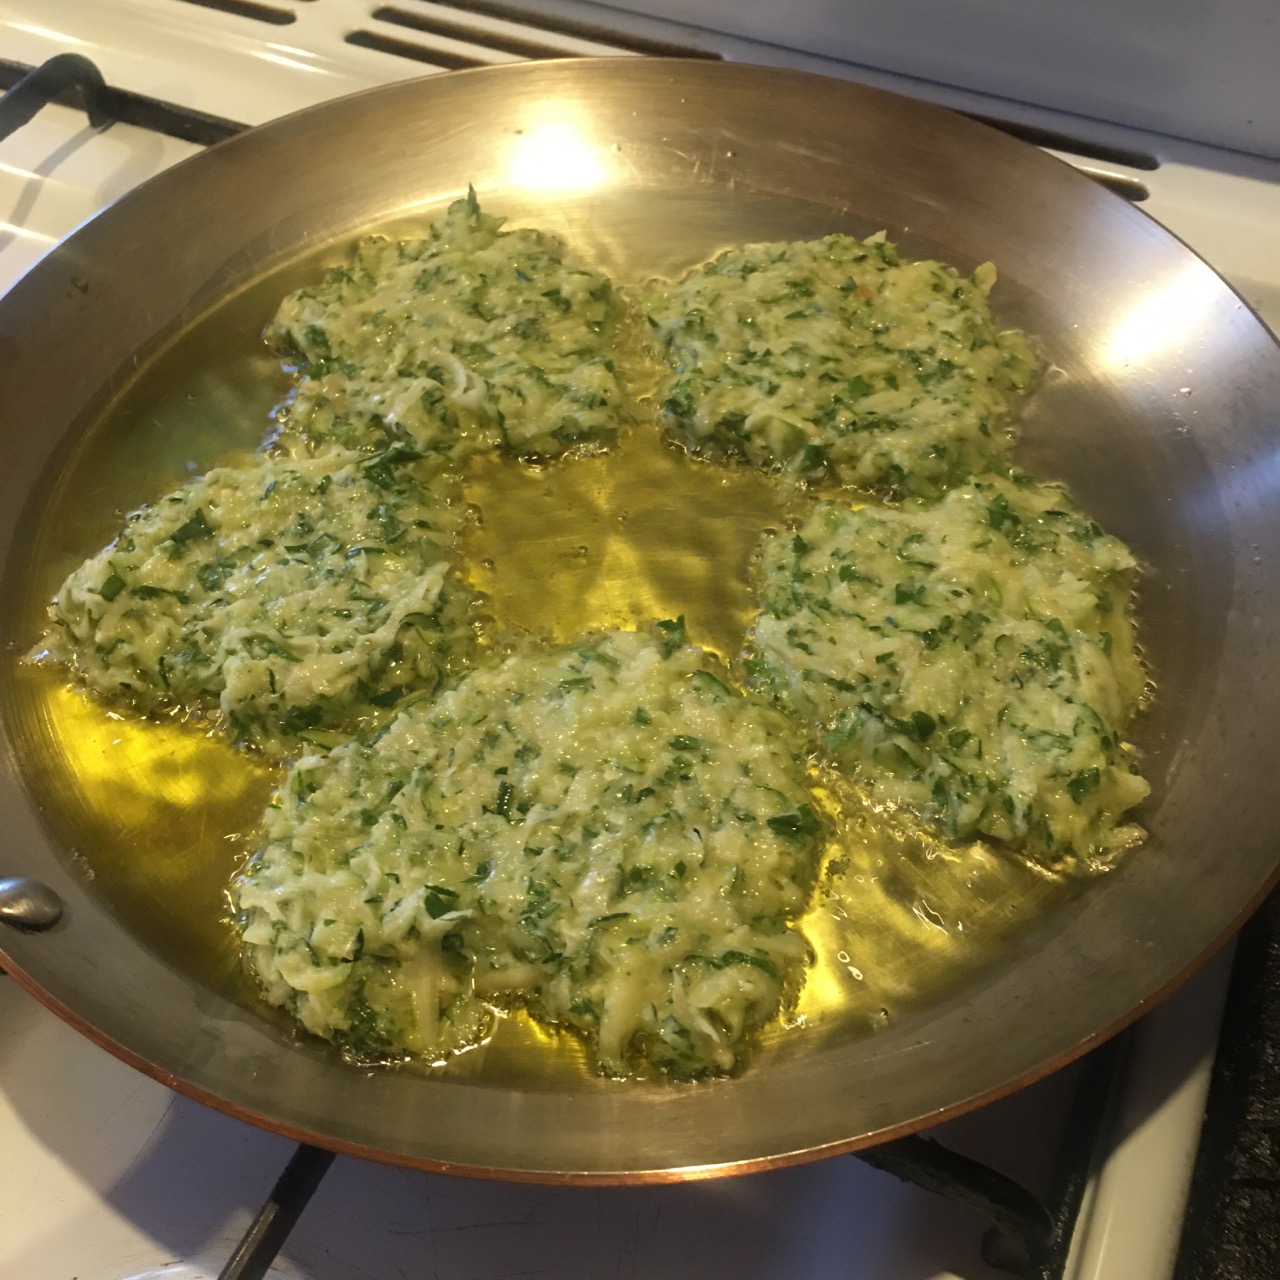
Grate two medium zucchinis and one small potato. Wring out the juice, and add one egg and a tbspn of flour. Pan fry in a little olive oil. It’s a great way to use up those pesky zucchinis that got away and are past their best for BBQing or steaming. Just as long as the seeds haven’t become too well developed. If they have, just slice them long ways and scoop out the seeds and use the outer layer of zucchini.
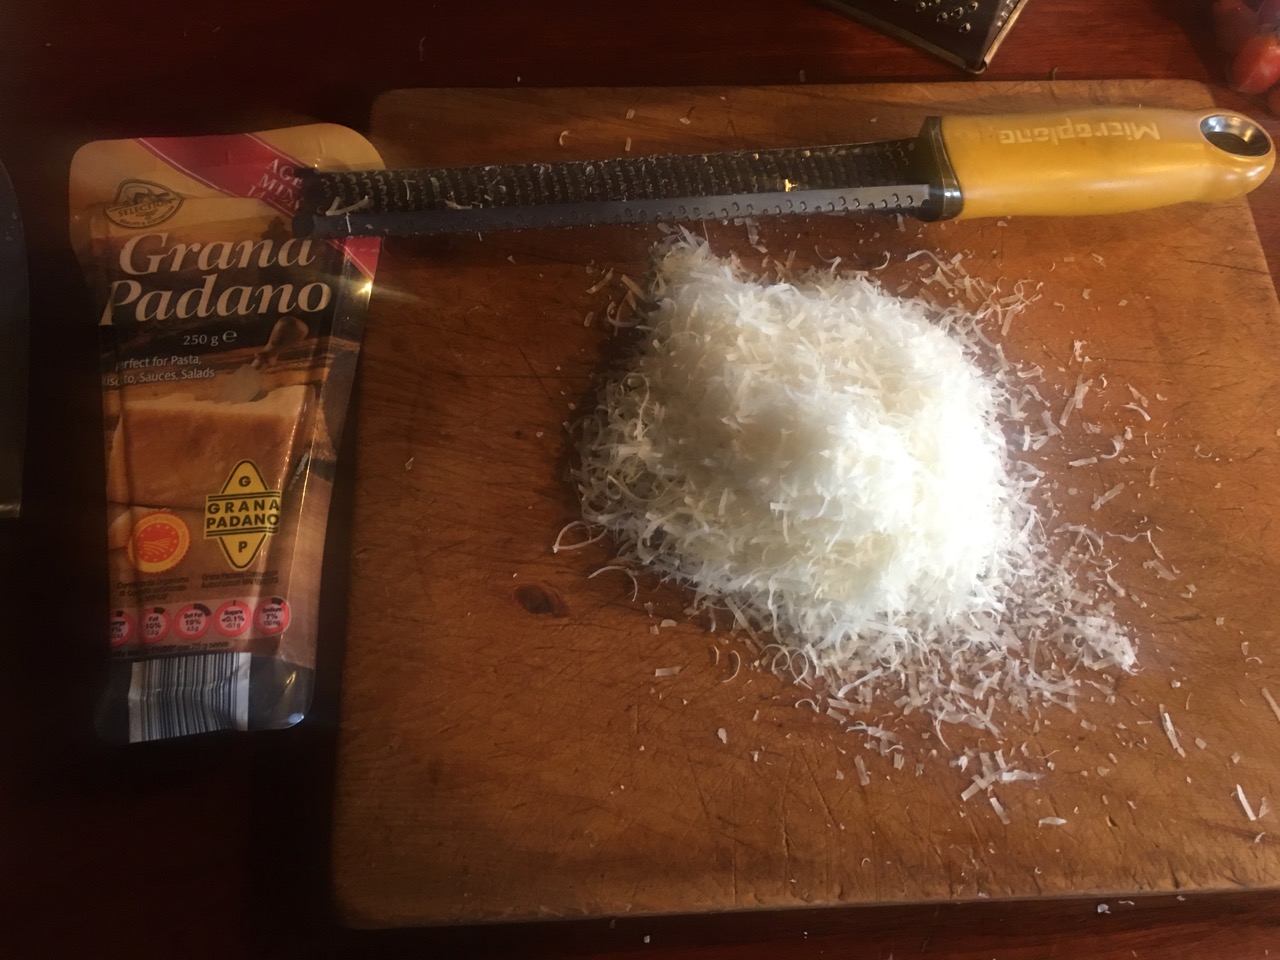
Top with a little grated parmesan and serve with garden fresh tzatziki. I slice the cucumber pretty finely, dice up the garlic and crush it to a paste with the side of a broad chefs knife along with a sprinkling of salt. This really liberates the full flavour of the garlic. Mix with thick Greek yogurt and its ready to serve in no time while the fritters are cooking.I love these kinds of immediate, garden-fresh meals. Simple, tasty, very healthy and quick, with very little cleaning up.
This is just about as close as it gets to self reliance, served on Janine’s hand made plates, straight from the garden and onto the plates within the hour. The only thing that we bought was the parmesan. It keeps well in the fridge for ages and serves as a finishing touch on many meals.
I have now installed the double walled, stainless steel flue on my newly acquired 2nd hand kiln that I built and sold 26 years ago and have now bought back. I was able to buy the flue system parts, even during lock down, as I still have my old account with the company that makes the parts.
I had told the company that I was closing the account back in 2019, as I had arranged to sell the kiln company to my friend Andy. I even took Andy to meet the owners of all the companies that I did business with, and introduced him as the new owner. Regrettably, the fire burnt us out just 2 weeks before the sale was to be completed. So we had nothing to sell.
I rang the company this year and told them the sad tale and asked if I could re-establish the account , but with a new name – Steve Harrison. They agreed and the parts were sent by courier, no new paper work. They trusted me. After all, we had been doing business together for close to 40 years. I have re-activated all of my former accounts now to buy parts to re-build. In every case they agreed to give me my account back with a change of name to my name with no paper work involved. They all know me well enough. Trust is a beautiful thing. I appreciate it. But after more than 40 years of trading with them, I sort of expect it. After all, my account number with one supplier is 001 . Their first customer to open an account!
The new rule will be; No step ladder work after 70! I just need to get this done.
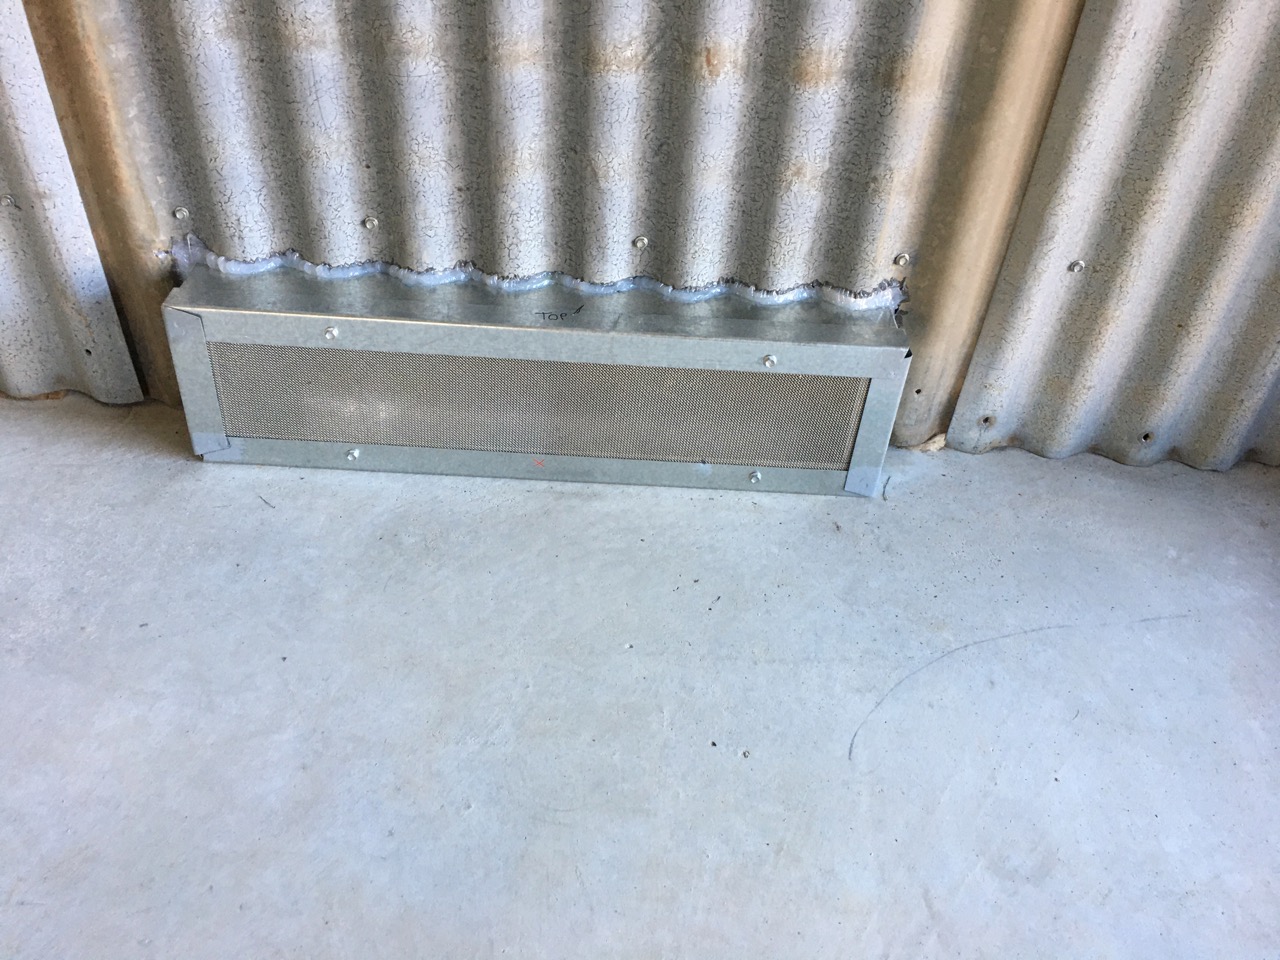
To comply with the Australian Standards for a kiln located indoors. I also had to make a couple of air vents. One at floor level and another at ceiling height to get good ventilation into the room.
The floor level vent is a wide and low format, louvered, and is screened with 16 gauge stainless steel mesh inside and out.
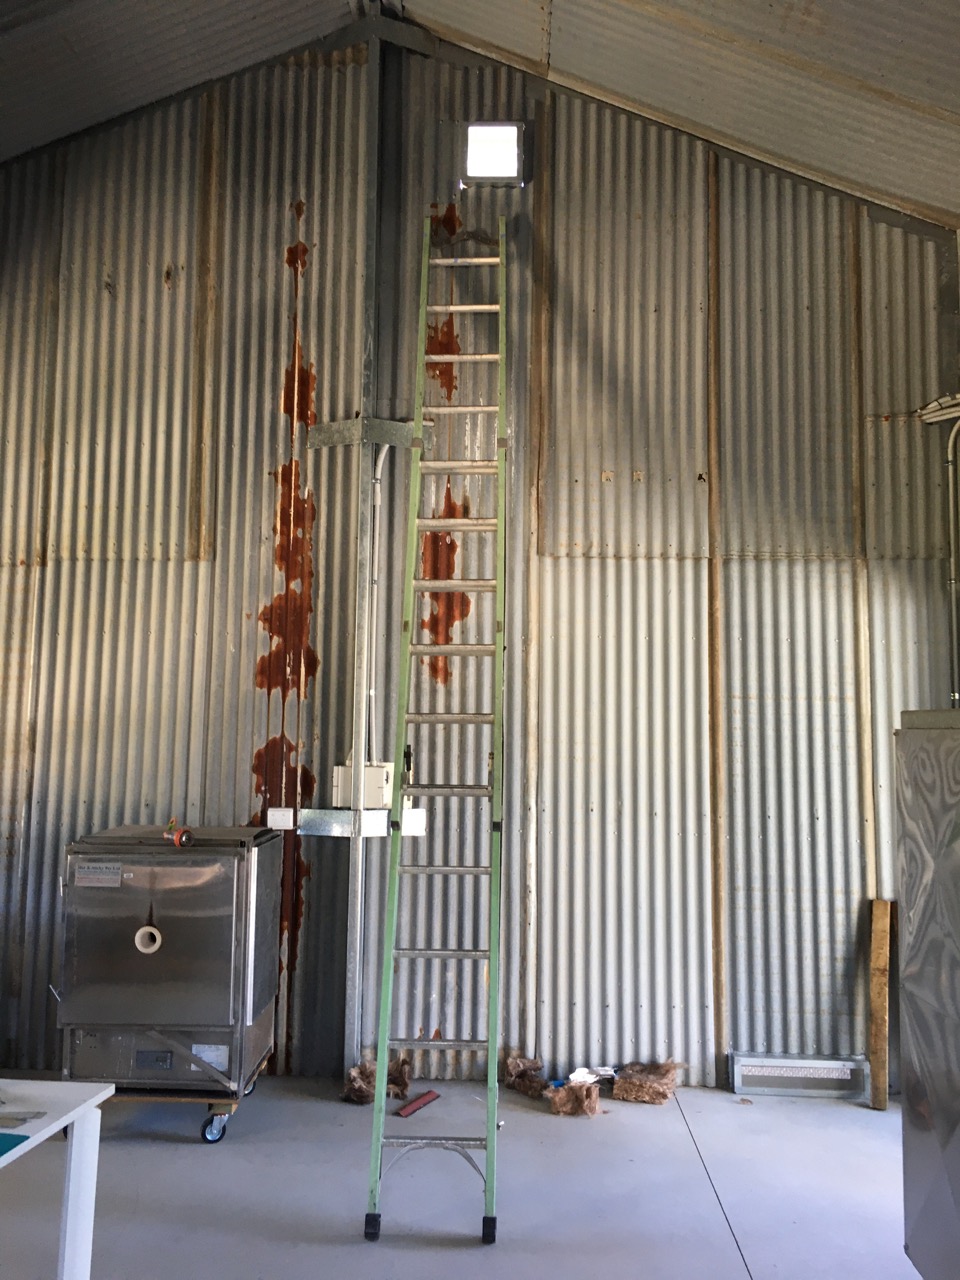
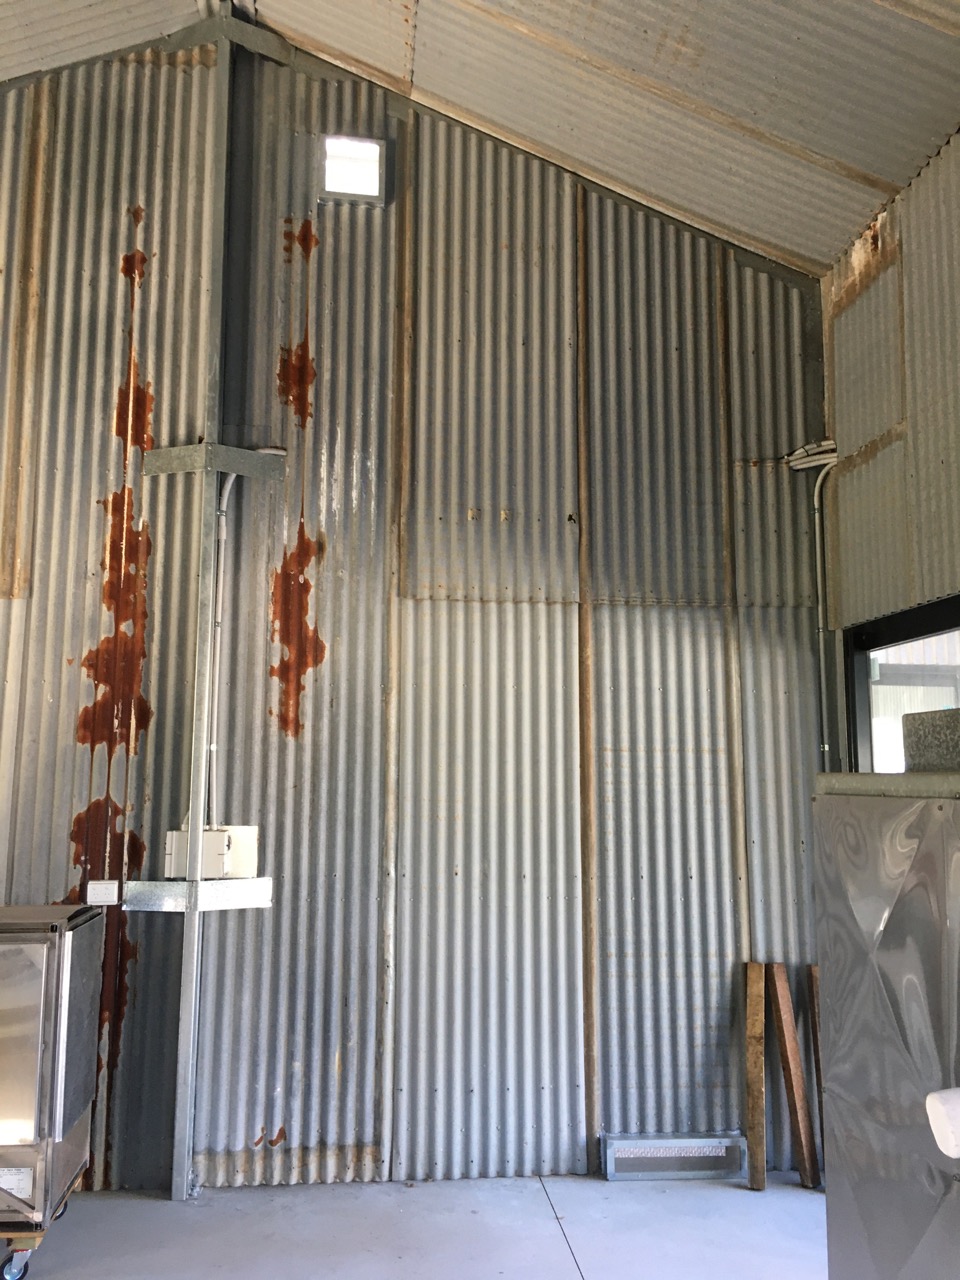
The upper level vent is of the same area, but this one is square. Louvered on the out side and meshed inside and out with the same 16 gauge stainless steel mesh.
It’s always a challenge to work on an extension ladder up at 5 metres these days, but no one else is going to do it. I was a bit concerned about installing it, and put it off for a few weeks, but due to the Lock-down, I can’t really get someone in to do it. Having left it for some time, waiting for the work fairy to turn up and do it for me. But yet another no-show. Maybe the work fairy is restricted by lock down too? So I finally got up the gumption and did it myself.
I had intended to install a large stainless steel hood over the electric kilns end of the kiln room, but due to lock down, I can’t get my hands on any stainless steel sheets, as there are no commercial stainless wholesalers within 5 kms of Balmoral Village.
Kilns fired on different fuels can’t share the same venting flue system, so LPG , Natural gas and wood, can’t co-habit, nor can you flue electric and fuel kilns together.
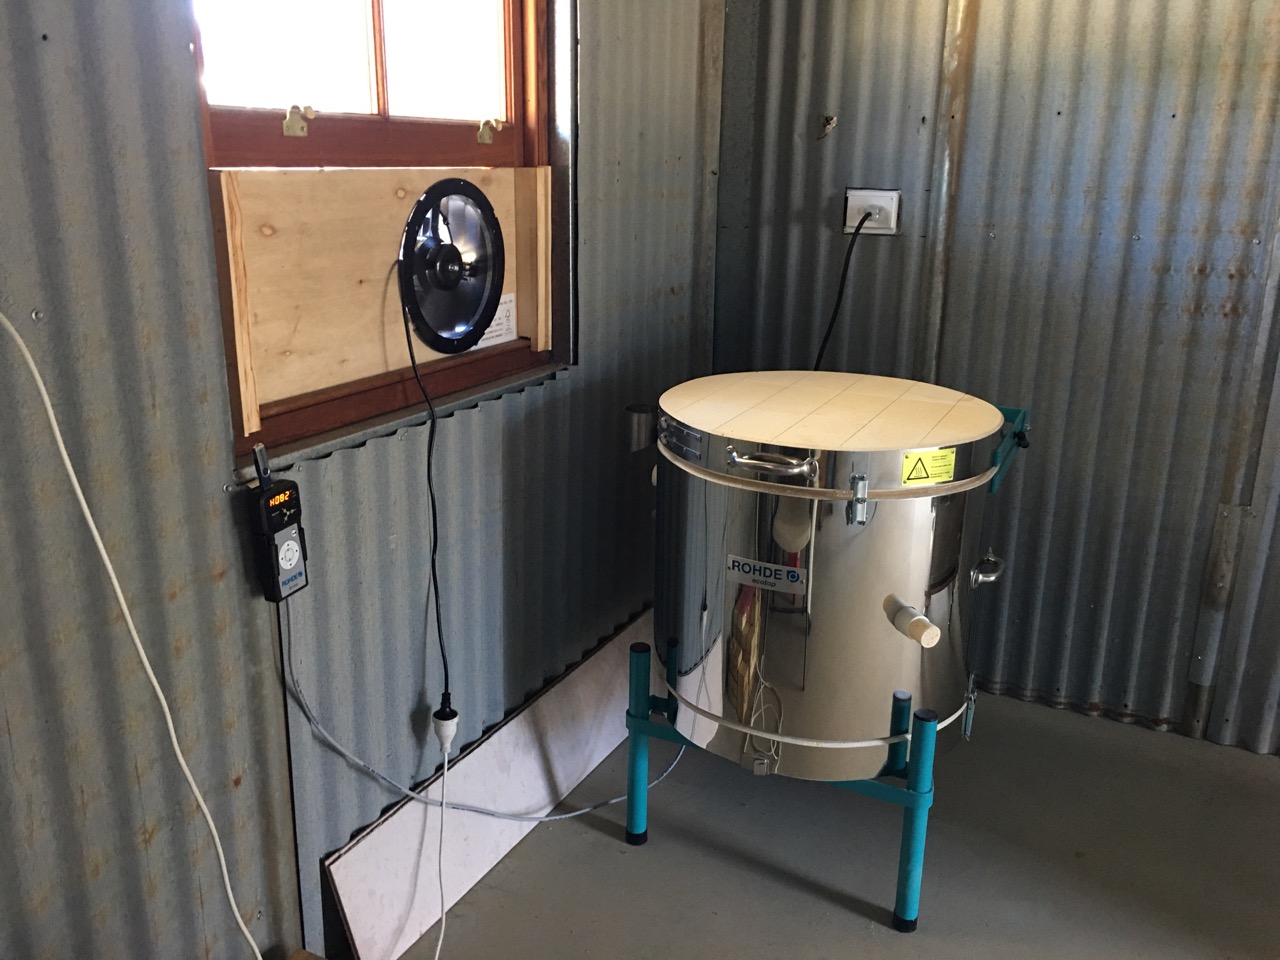
We have been gifted a small top loader electric kiln by Rohde. Thank you Rohde! The gift was organised by my friend Len Smith. Thank you Len!
As I can’t build a large flue canopy for the electric kiln at the moment. I have bodged up a temporary extraction fan in the window next to the kiln. It will do until I can build a proper one.
I made it so that it can be installed and removed easily and also used in the next window later on as a dust extractor when I’m making up glazes.
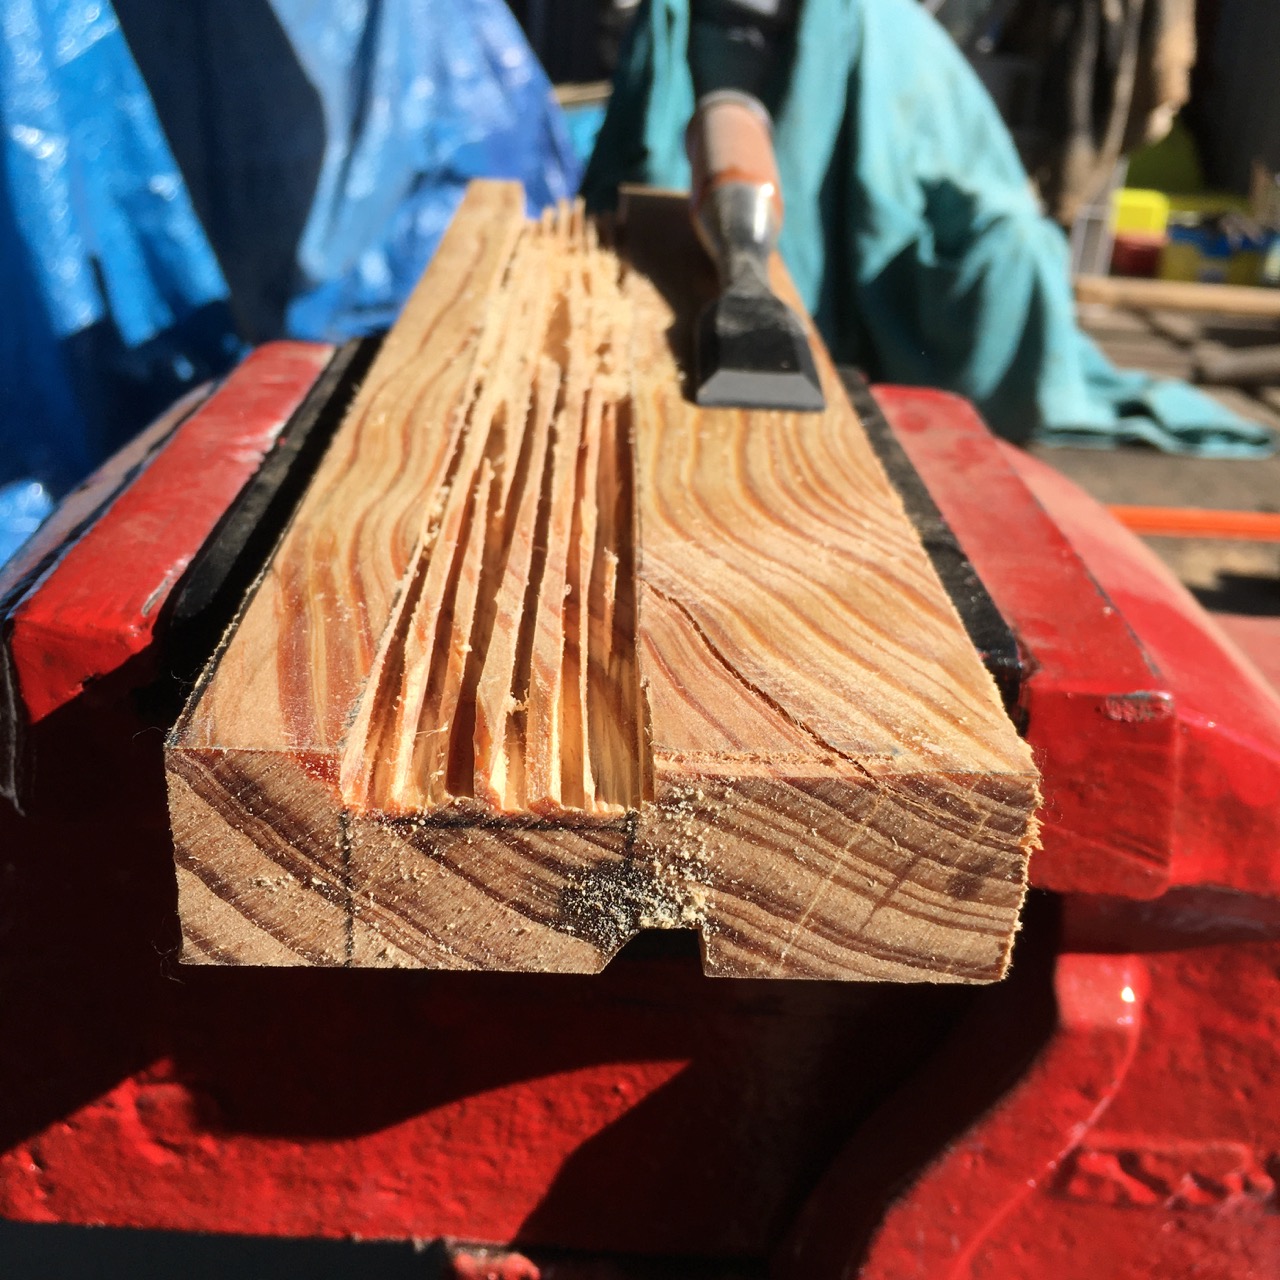
I made these two wooden blocks with rebates on both side, plus top and bottom, so that they can lock into the window frame and allow a sheet of plywood with the fan mounted in it to slide in and be held securely. While still being able to be removed easily. I even made them using wood that we grew, milled and dressed our selves.
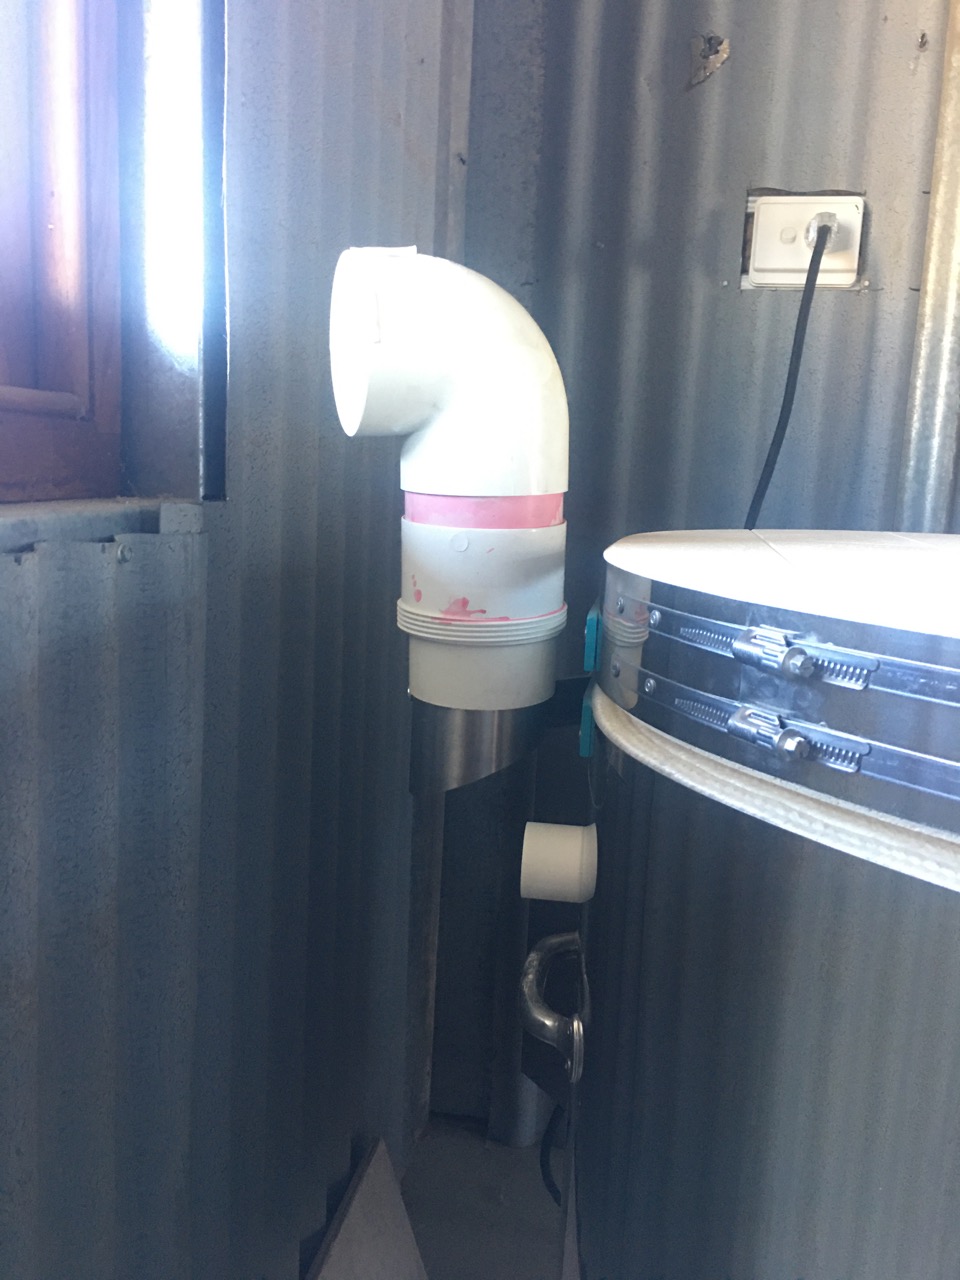
We have done one test firing to dry the kiln out and establish the protective oxide layer on the elements. The kiln has a small tube fitting that allows the fumes from the kiln to be directed out of the room through ducting. (not supplied.) I have directed the vent fumes out the window through the fan. The vent is only 25mm dia. so I have used 90 mm dia. pipe to vent it out through the fan. This allows a massive excess of cold air from the room to mix with the vent fumes to cool them. allowing the use of plastic pipe. I’d prefer to use a gal steel pipe bend, but I don’t happen to have one. Maybe later.
To finish off everything in the kiln room, we have the LP gas Plumber coming this week to certify the gas line installation. If all that goes ahead, then All we have left to do is make up some test glazes and do a test firing full of glaze and body tests. Slow but positive progress.
Well, this is a bit of a sad tale. I have unpacked my latest kiln firing, only to find that 2 of my very expensive Japanese Silicon carbide kiln shelves had snapped during the firing and collapsed onto the work below.
Not a pretty sight.
The second and thord kiln shelves from the top have both broken.
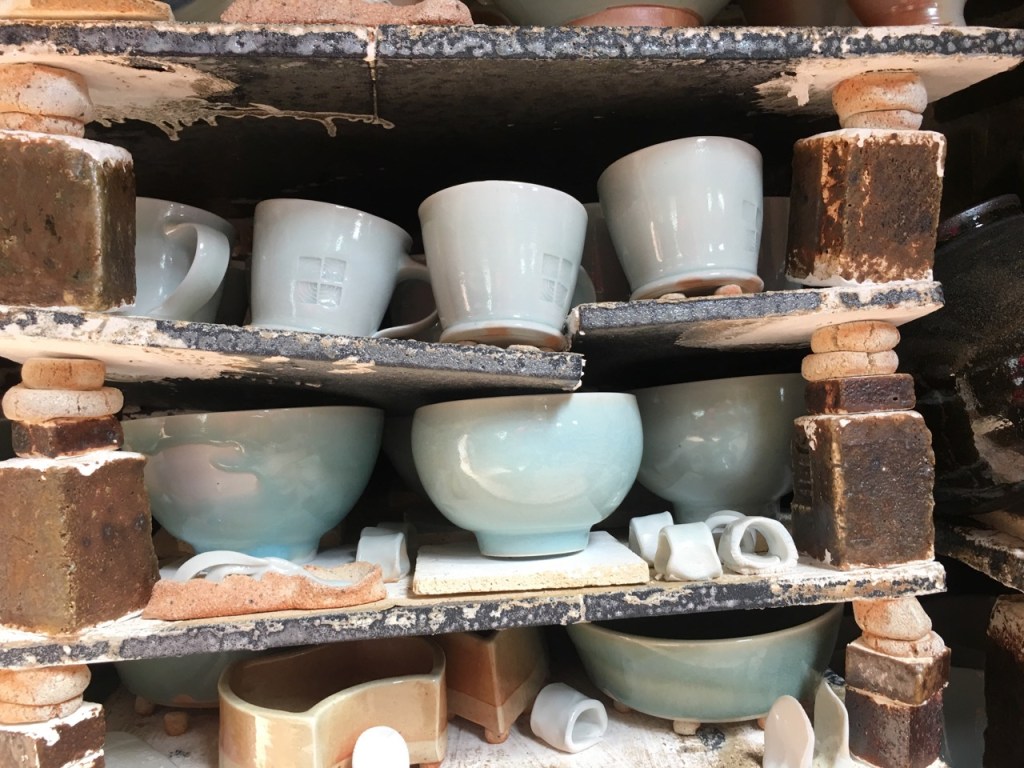
Even though we lost 3 shelves worth of pots crushed or stuck together. There were still some very nice pieces to keep our spirits up.
The bottom shelf was OK.
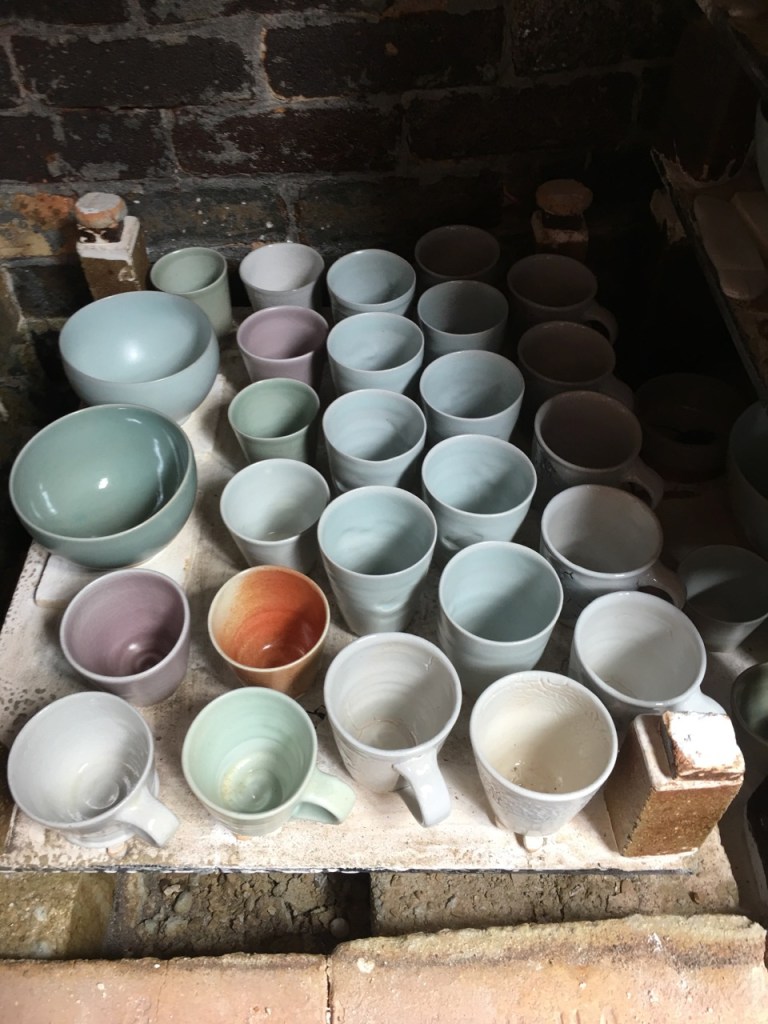
Despite the disaster, there were still a lot of lovely pots that came out.
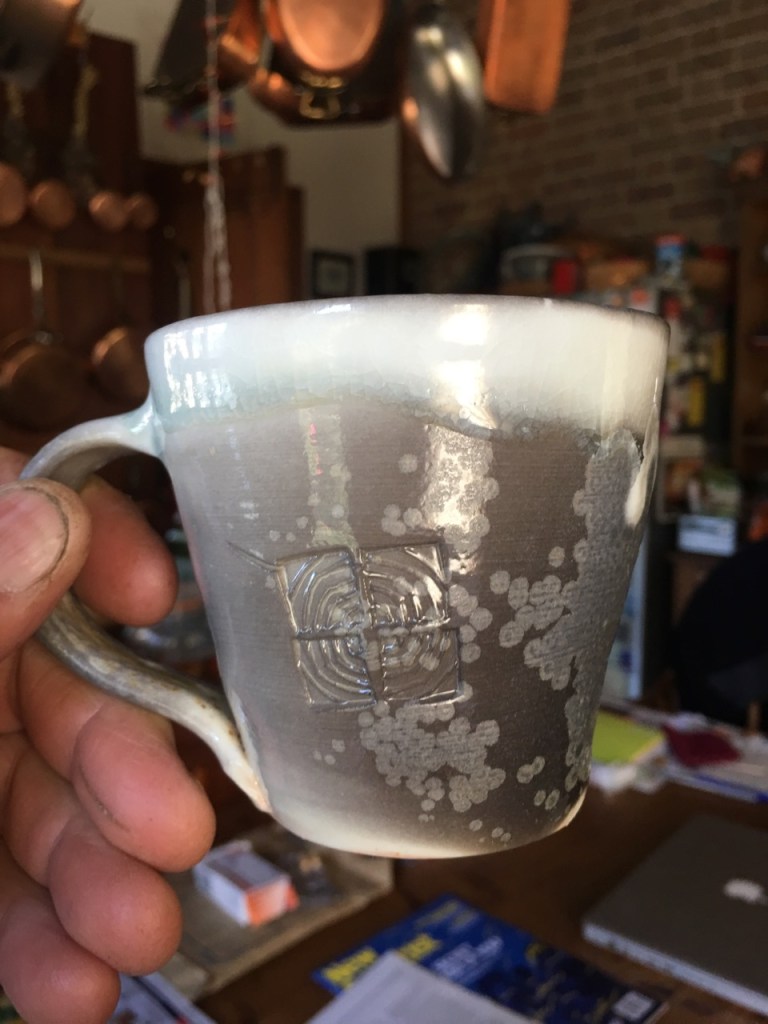
There is some nice subtle grey carbon inclusion and delicate ash deposit on the unglazed surface of the clay body.
The collapse seems to have diverted the flame path a little, causing some parts of the setting to get hotter than usual. This resulted in some over-firing and running of the glazes.
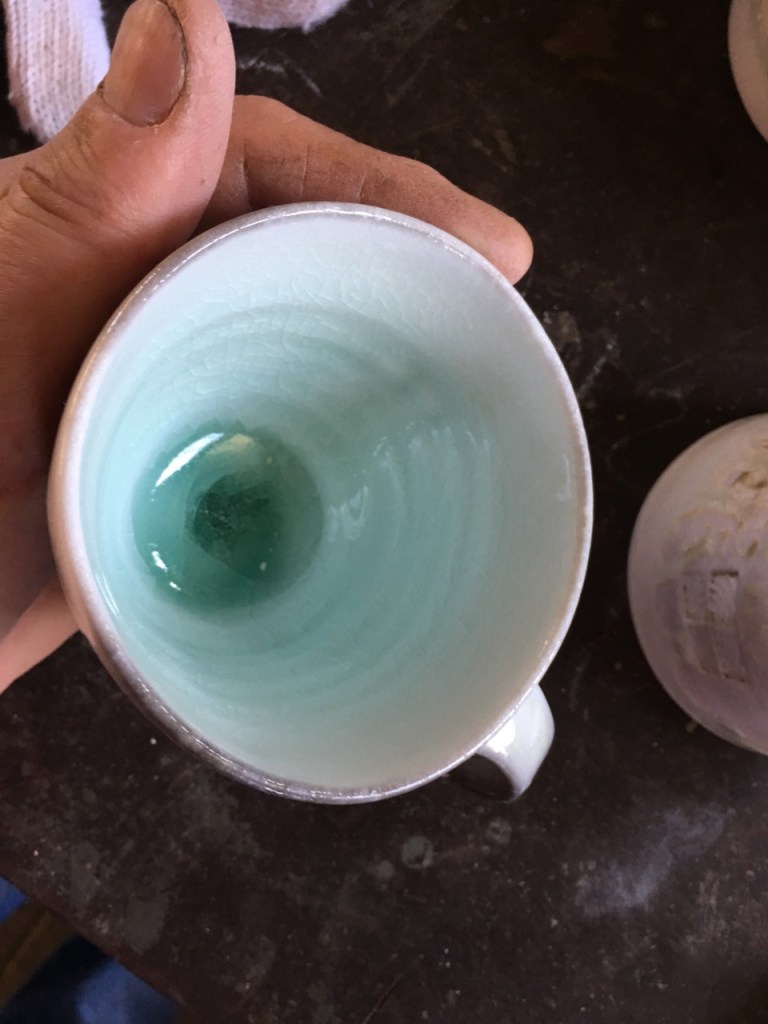
When the pale celadon glaze runs, it forms a very nice emerald green pool in the bottom of the pots. I really like the whiteness of the sericite body, contrasting with the emerald green pool and the pale hazey grey of the carbon inclusion on the rim.
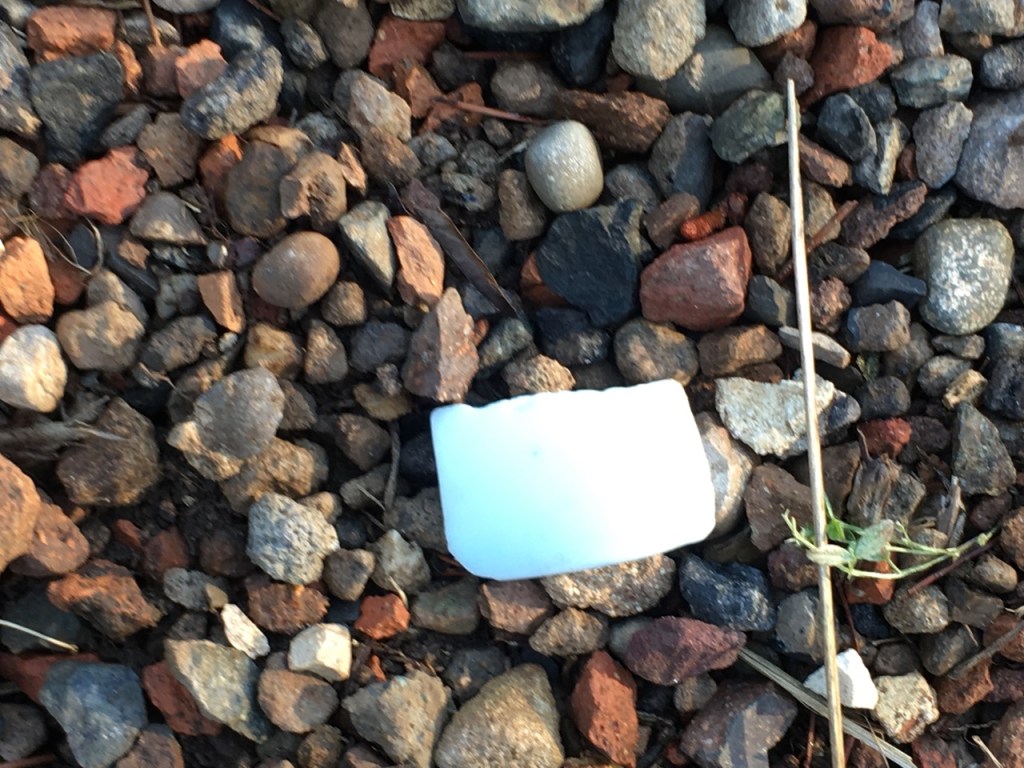
I get out my quality control hammer and start to process some of the sub-prime pieces. They go into the ball mill, where they are polished for a few hours. When they come out, they are used as hand made celadon porcelain gravel ‘jewels’ for the driveway and paths.
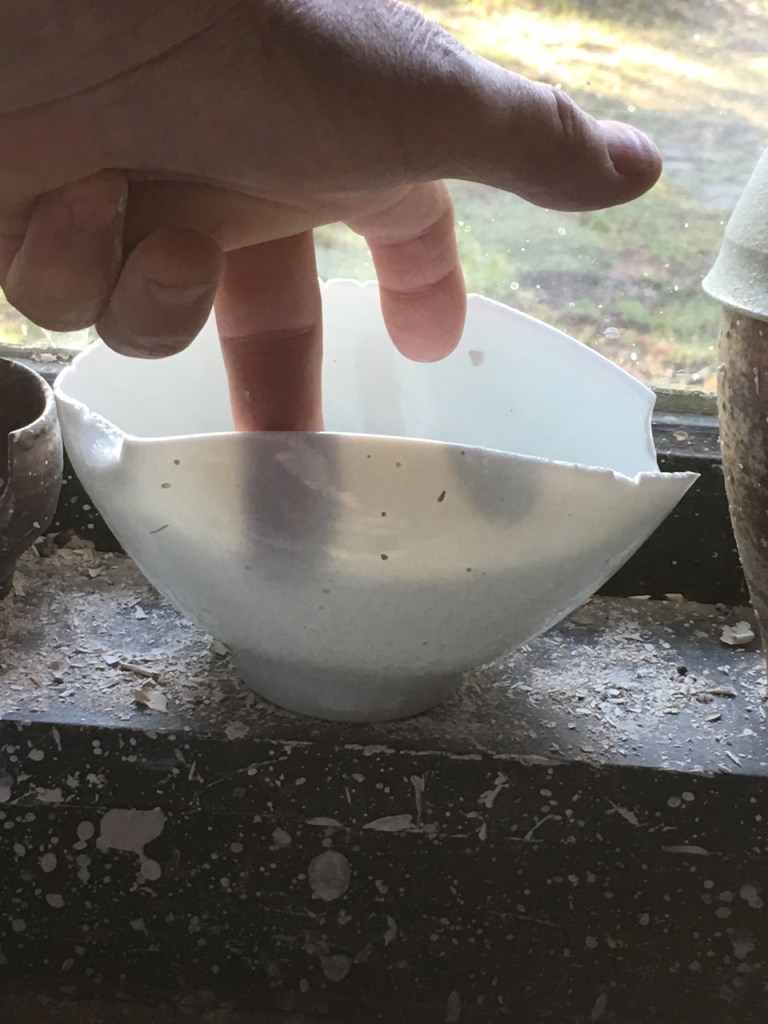
This is one of the over-fired bowls below. The glaze has started to run, but it is still really beautiful. The runs have a build up of fine white ash glaze crystals. The pot has remained startlingly white, even with the wood ash attack. The glaze stopped just short of sticking to to the kiln shelf. What I find amazing, is that the sericite is so translucent at this higher temperature, that I can not only see light through it, but I can see the runs of glaze on the out side of the pot from the inside!
This doesn’t happen very often. It also has a beautiful, intense, emerald-green pool of celadon inside the base.
Its a really unique piece. You can even see the pink colour of my little finger holding the base of the pot on the other side, underneath. That is translucency! I’ll probably show it at Kerrie Lowe Gallery in November/December, in her Xmas exhibition.
I have kept one really translucent, but damaged bowl on the window sill in front of my wheel for inspiration. It’s ruined, the rim was destroyed when the kiln shelf on top fell on it and it is warped out of shape from the pyro-plastic deformation at the high temperature of 1300oC. Luckily, I was able to prize it off the bottom of the kiln shelf in one piece. It is so white and translucent, it’s an inspiration to me to see what is possible with this special ground up rock style of clay body called sericite.
I try not to think of the hours I spent working on it, turning and trimming it over several days, in various sessions, until I got it down to an even 2mm thick to get this result.
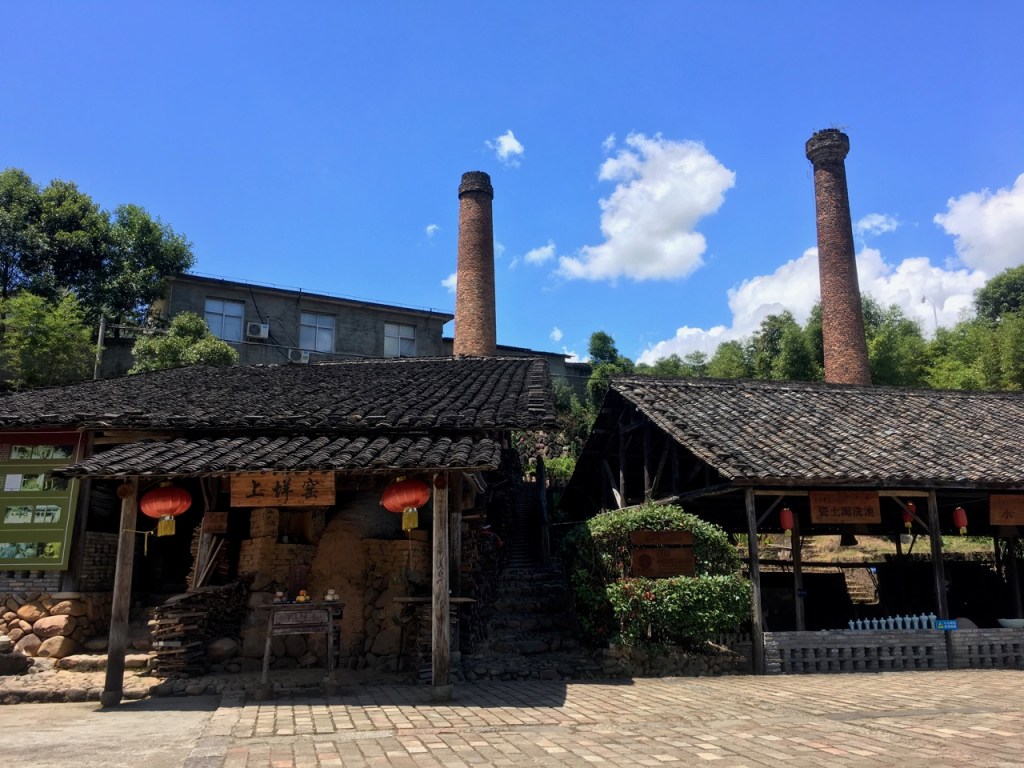
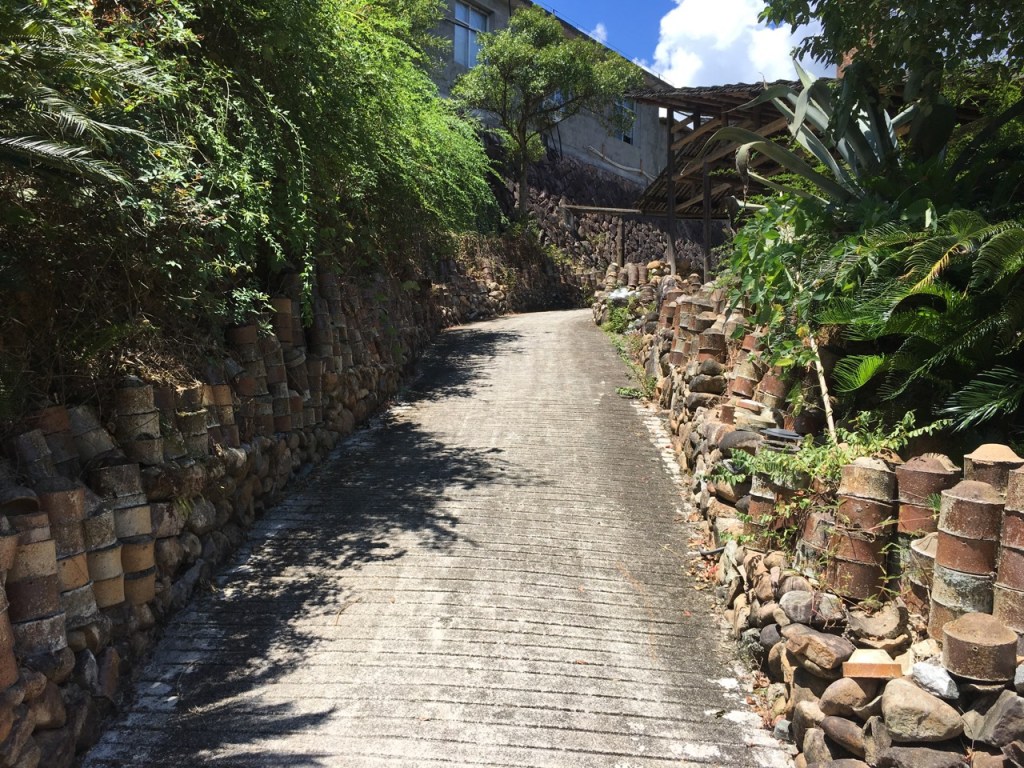
While in the Longquan traditional celadon region researching celadon, we took some time out to visit a former celadon factory, that was forced to close when the economy was modernised. It has now re-opened as a celadon museum/cultural park.
I found it a bit shallow and lacking in depth. That is to say what was there didn’t grab me. It may be of interest to the more general tourist, but there wasn’t enough there to speak to me, as I’m interested in the more intricate details and technical information/insights that could be included, but weren’t.
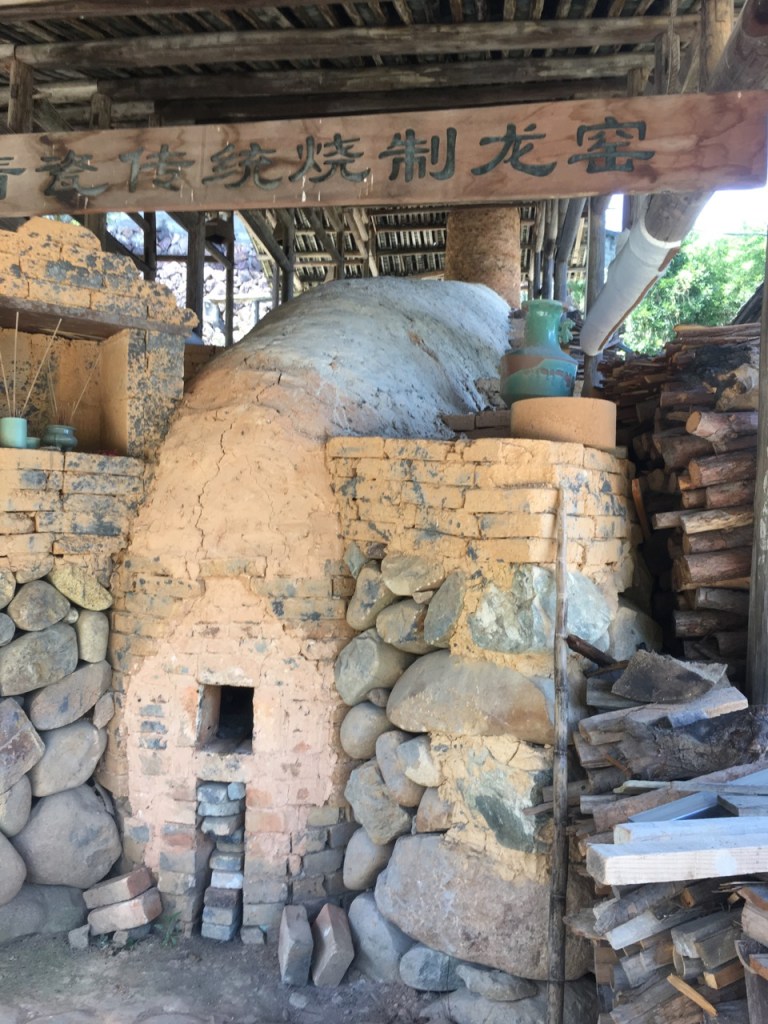
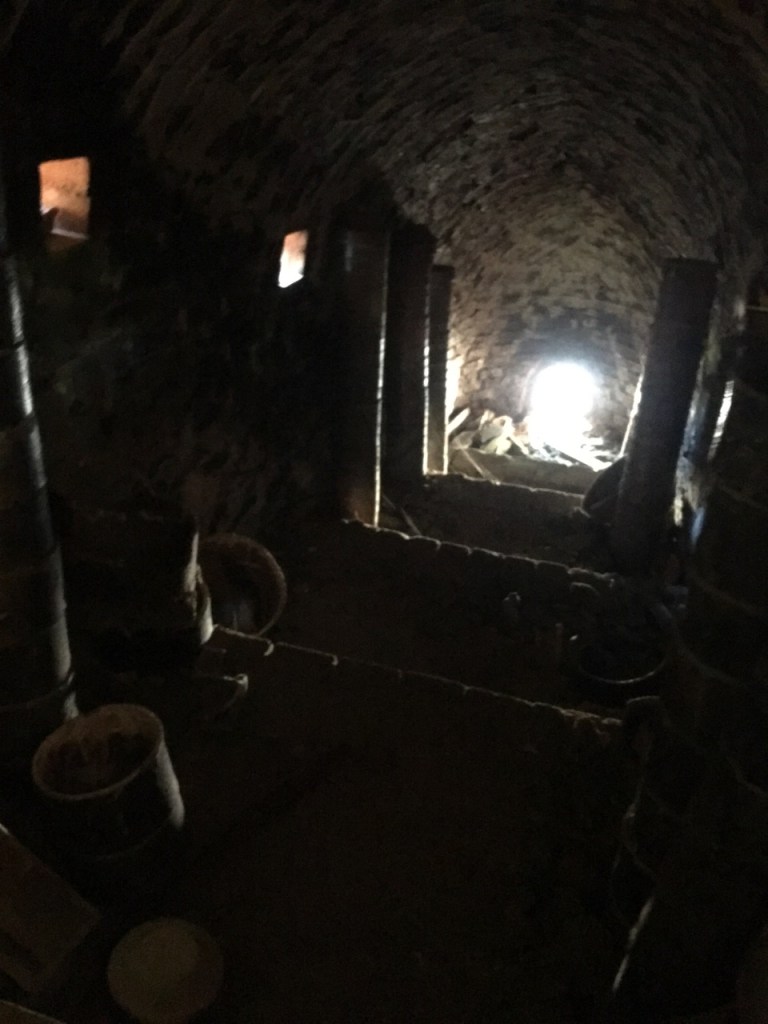
However, there was an old wood fired tunnel kiln that had been restored. This kiln was the main means of firing the celadons here right up until 1998. One can understand why it went broke and couldn’t compete with more modern factories with up to date facilities and equipment.
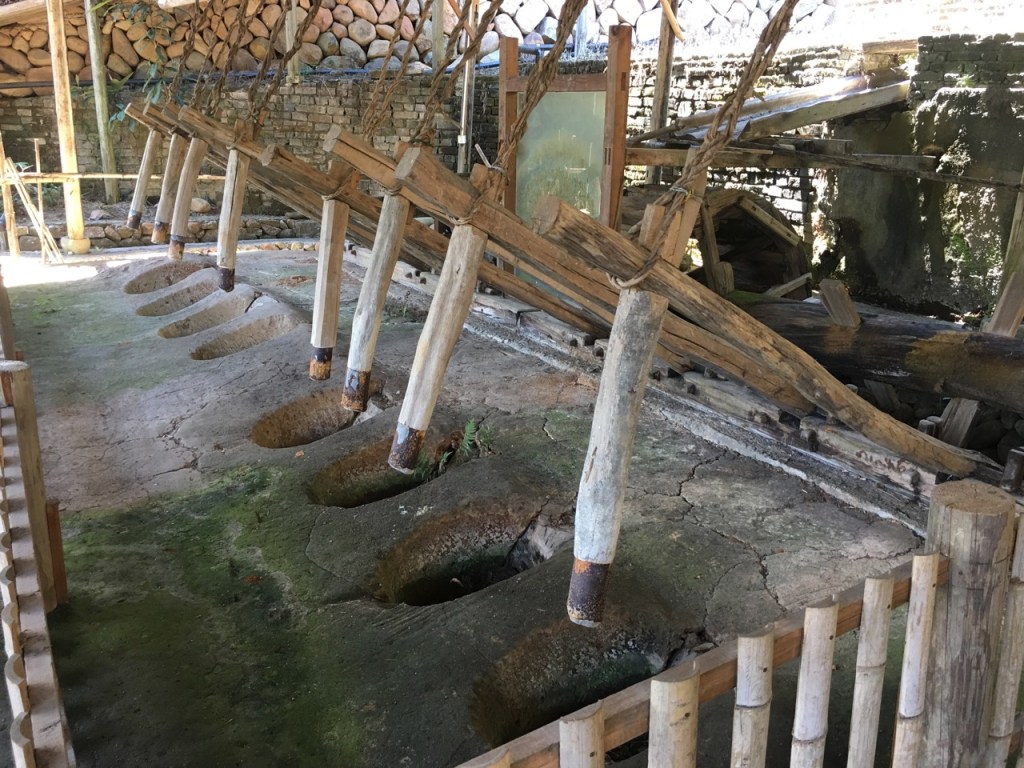
There was also an clay processing section that used the old fashioned water-driven, wooden clay hammers, that is a technology that dates back 1000 years. It was exactly fitted with the age of the kiln technology, So out of date for a factory setting, it is hard to believe that it managed to last right up until the 1990’s.
Clearly, this equipment hasn’t been used for many years, possibly since 1998? Just like the kiln.
All the pots produced in the wood fired tunnel kiln, were packed in saggers to protect the ware from the fly ash from the wood fuel, which is so important when making a subtle glaze like celadon.
It is interesting to see that sometime between 60 and 20 or so years ago, they wrapped some parts of the wooden roof frame with ceramic fibre to stop it singeing or charring during firing.
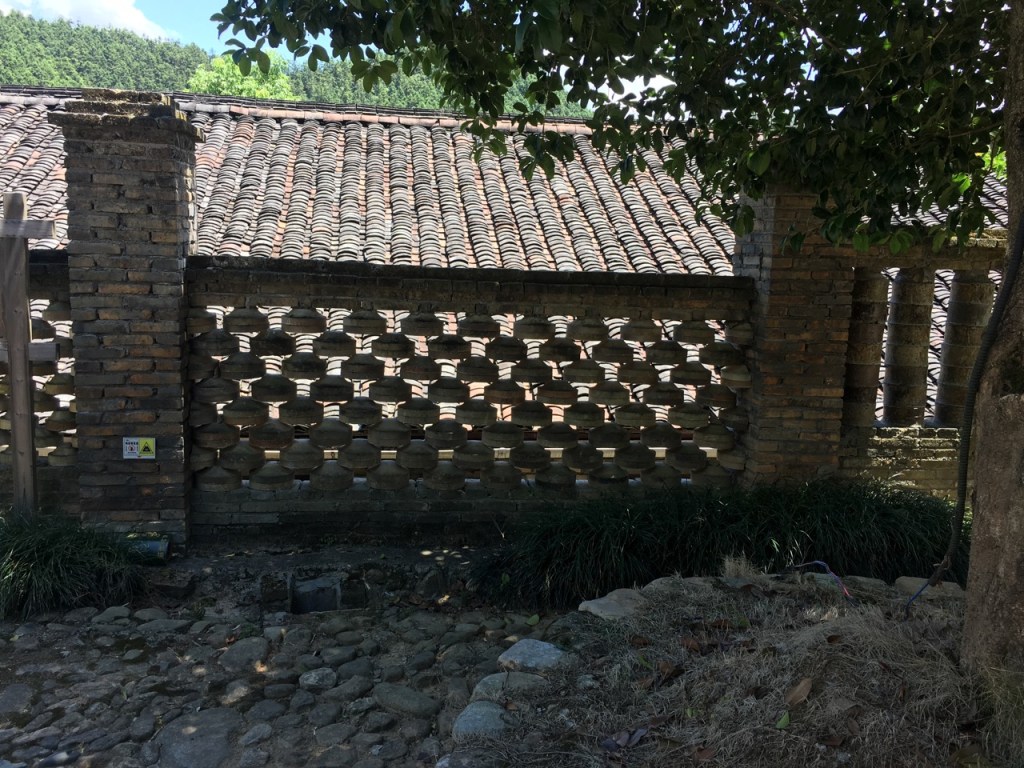
The saggers that were used in the kiln firings are these days used as retaining walls and breeze way walls.











































You must be logged in to post a comment.