
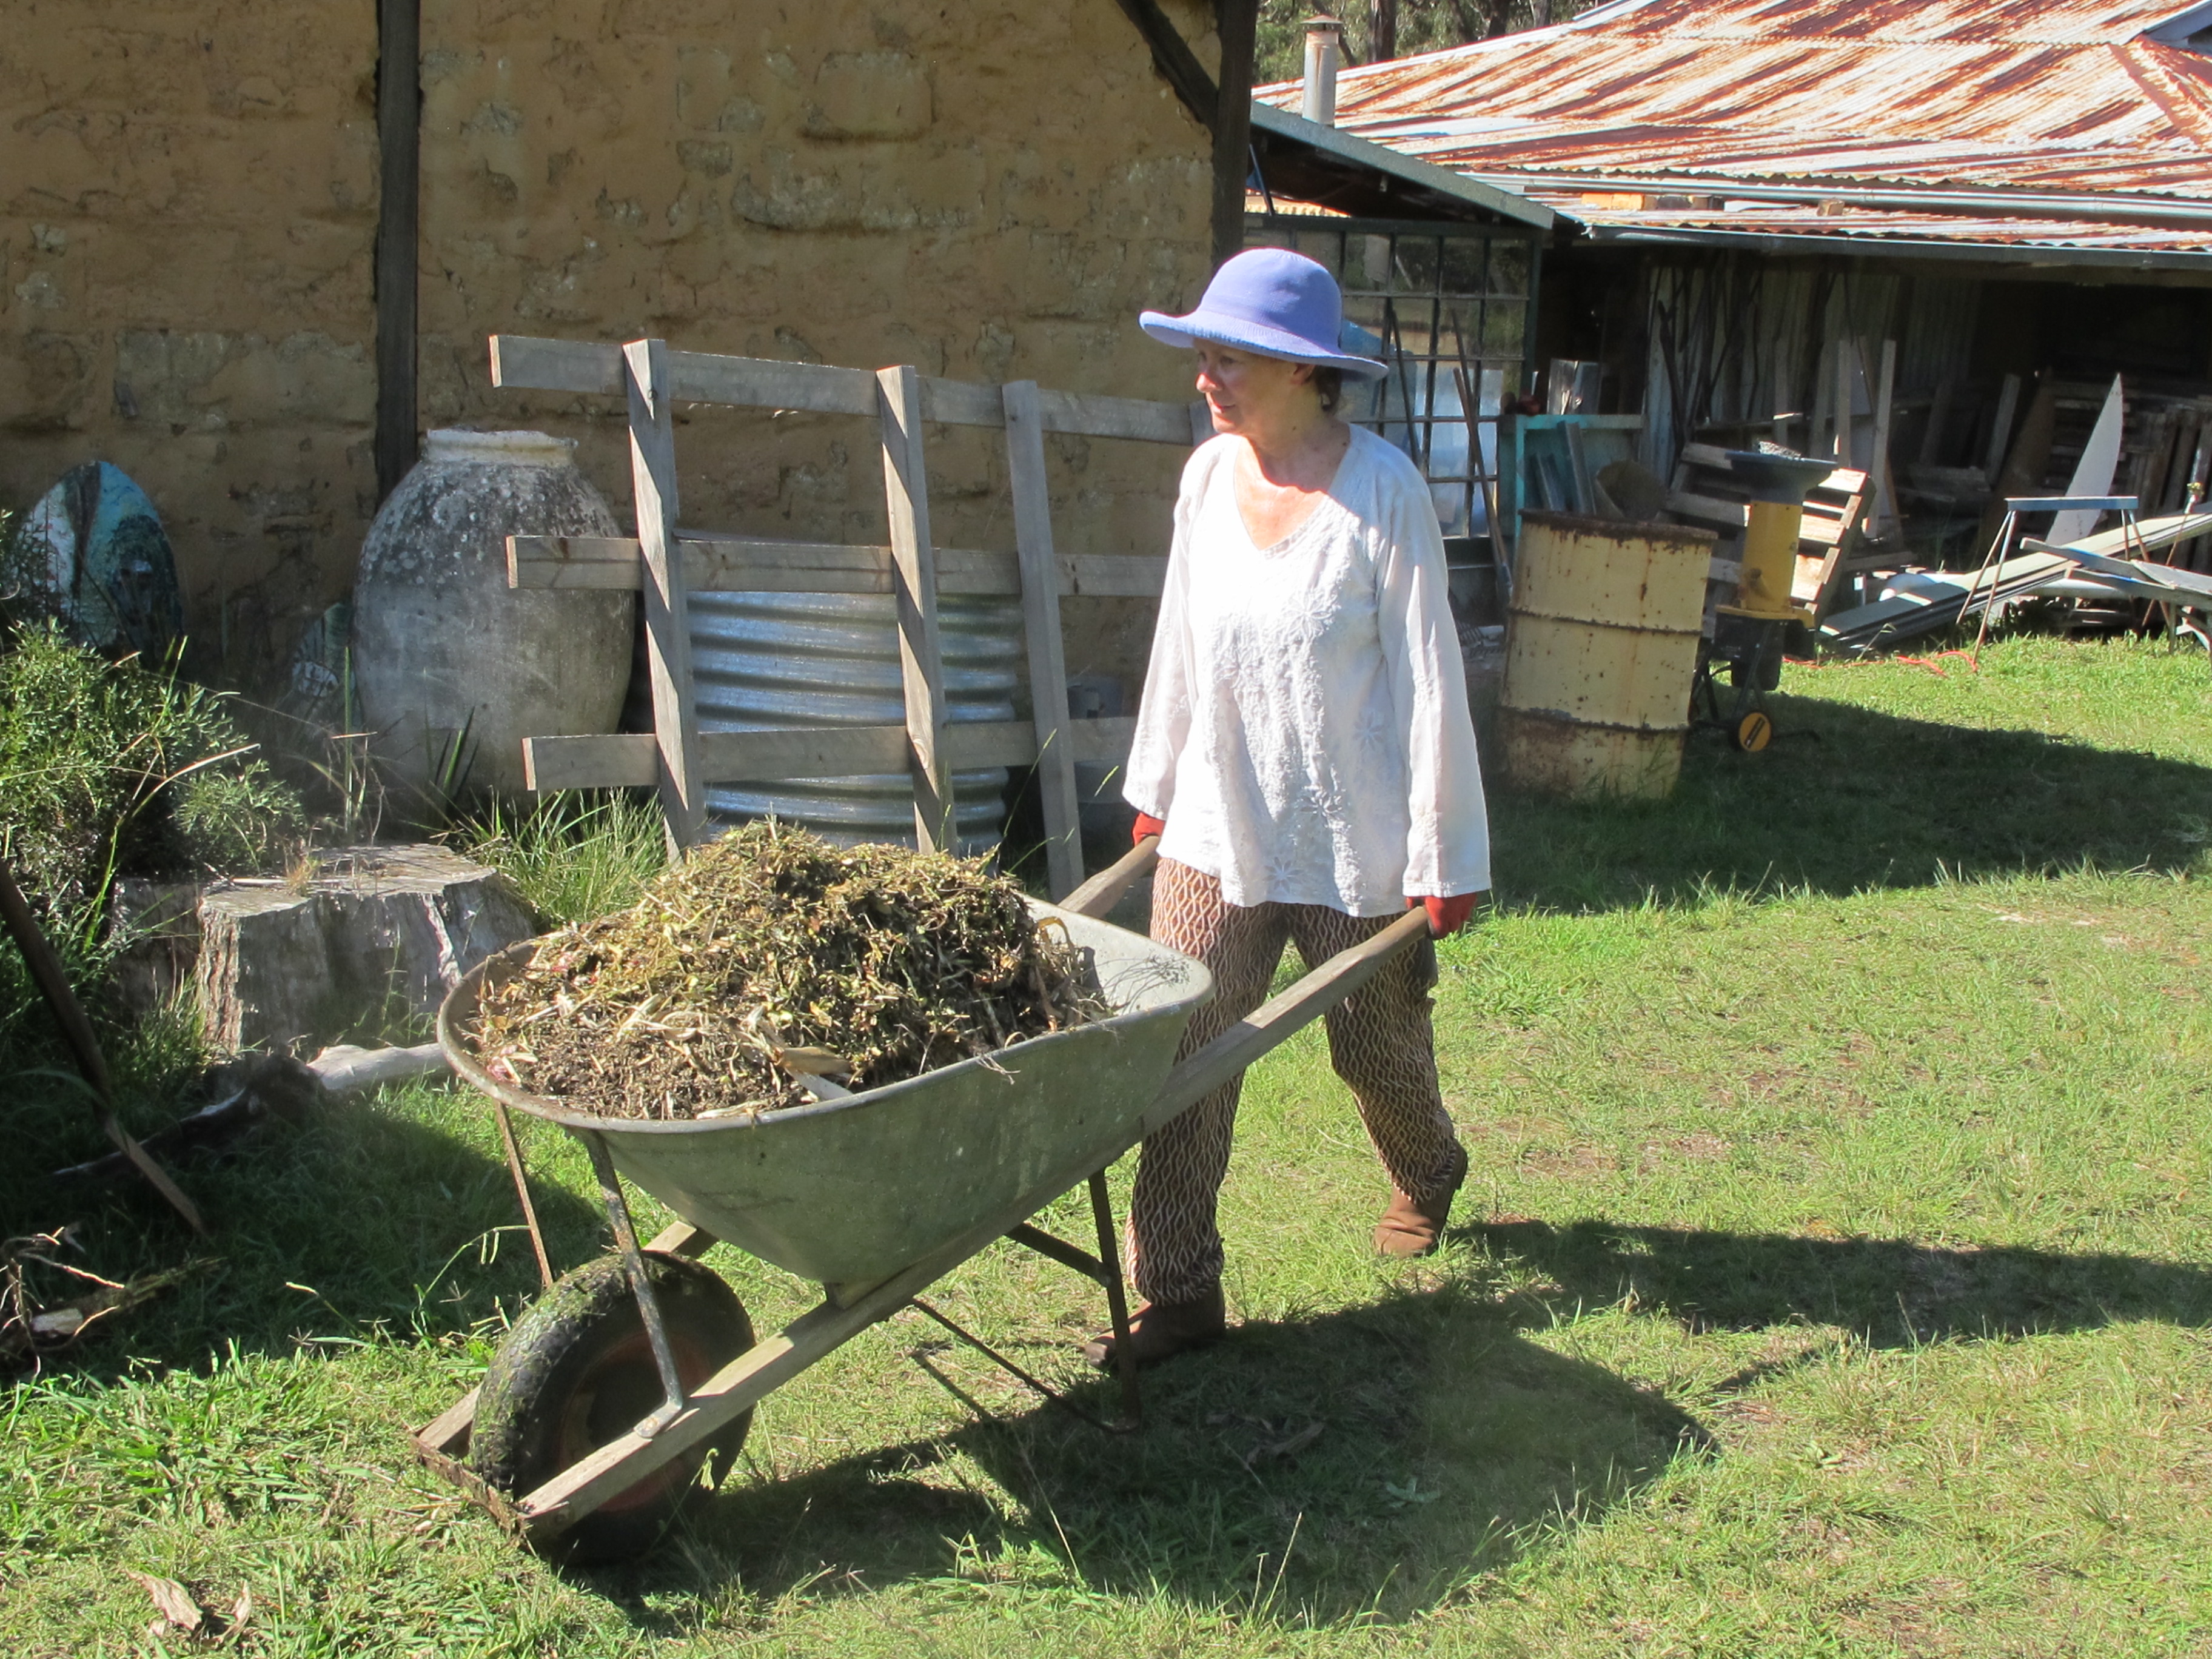
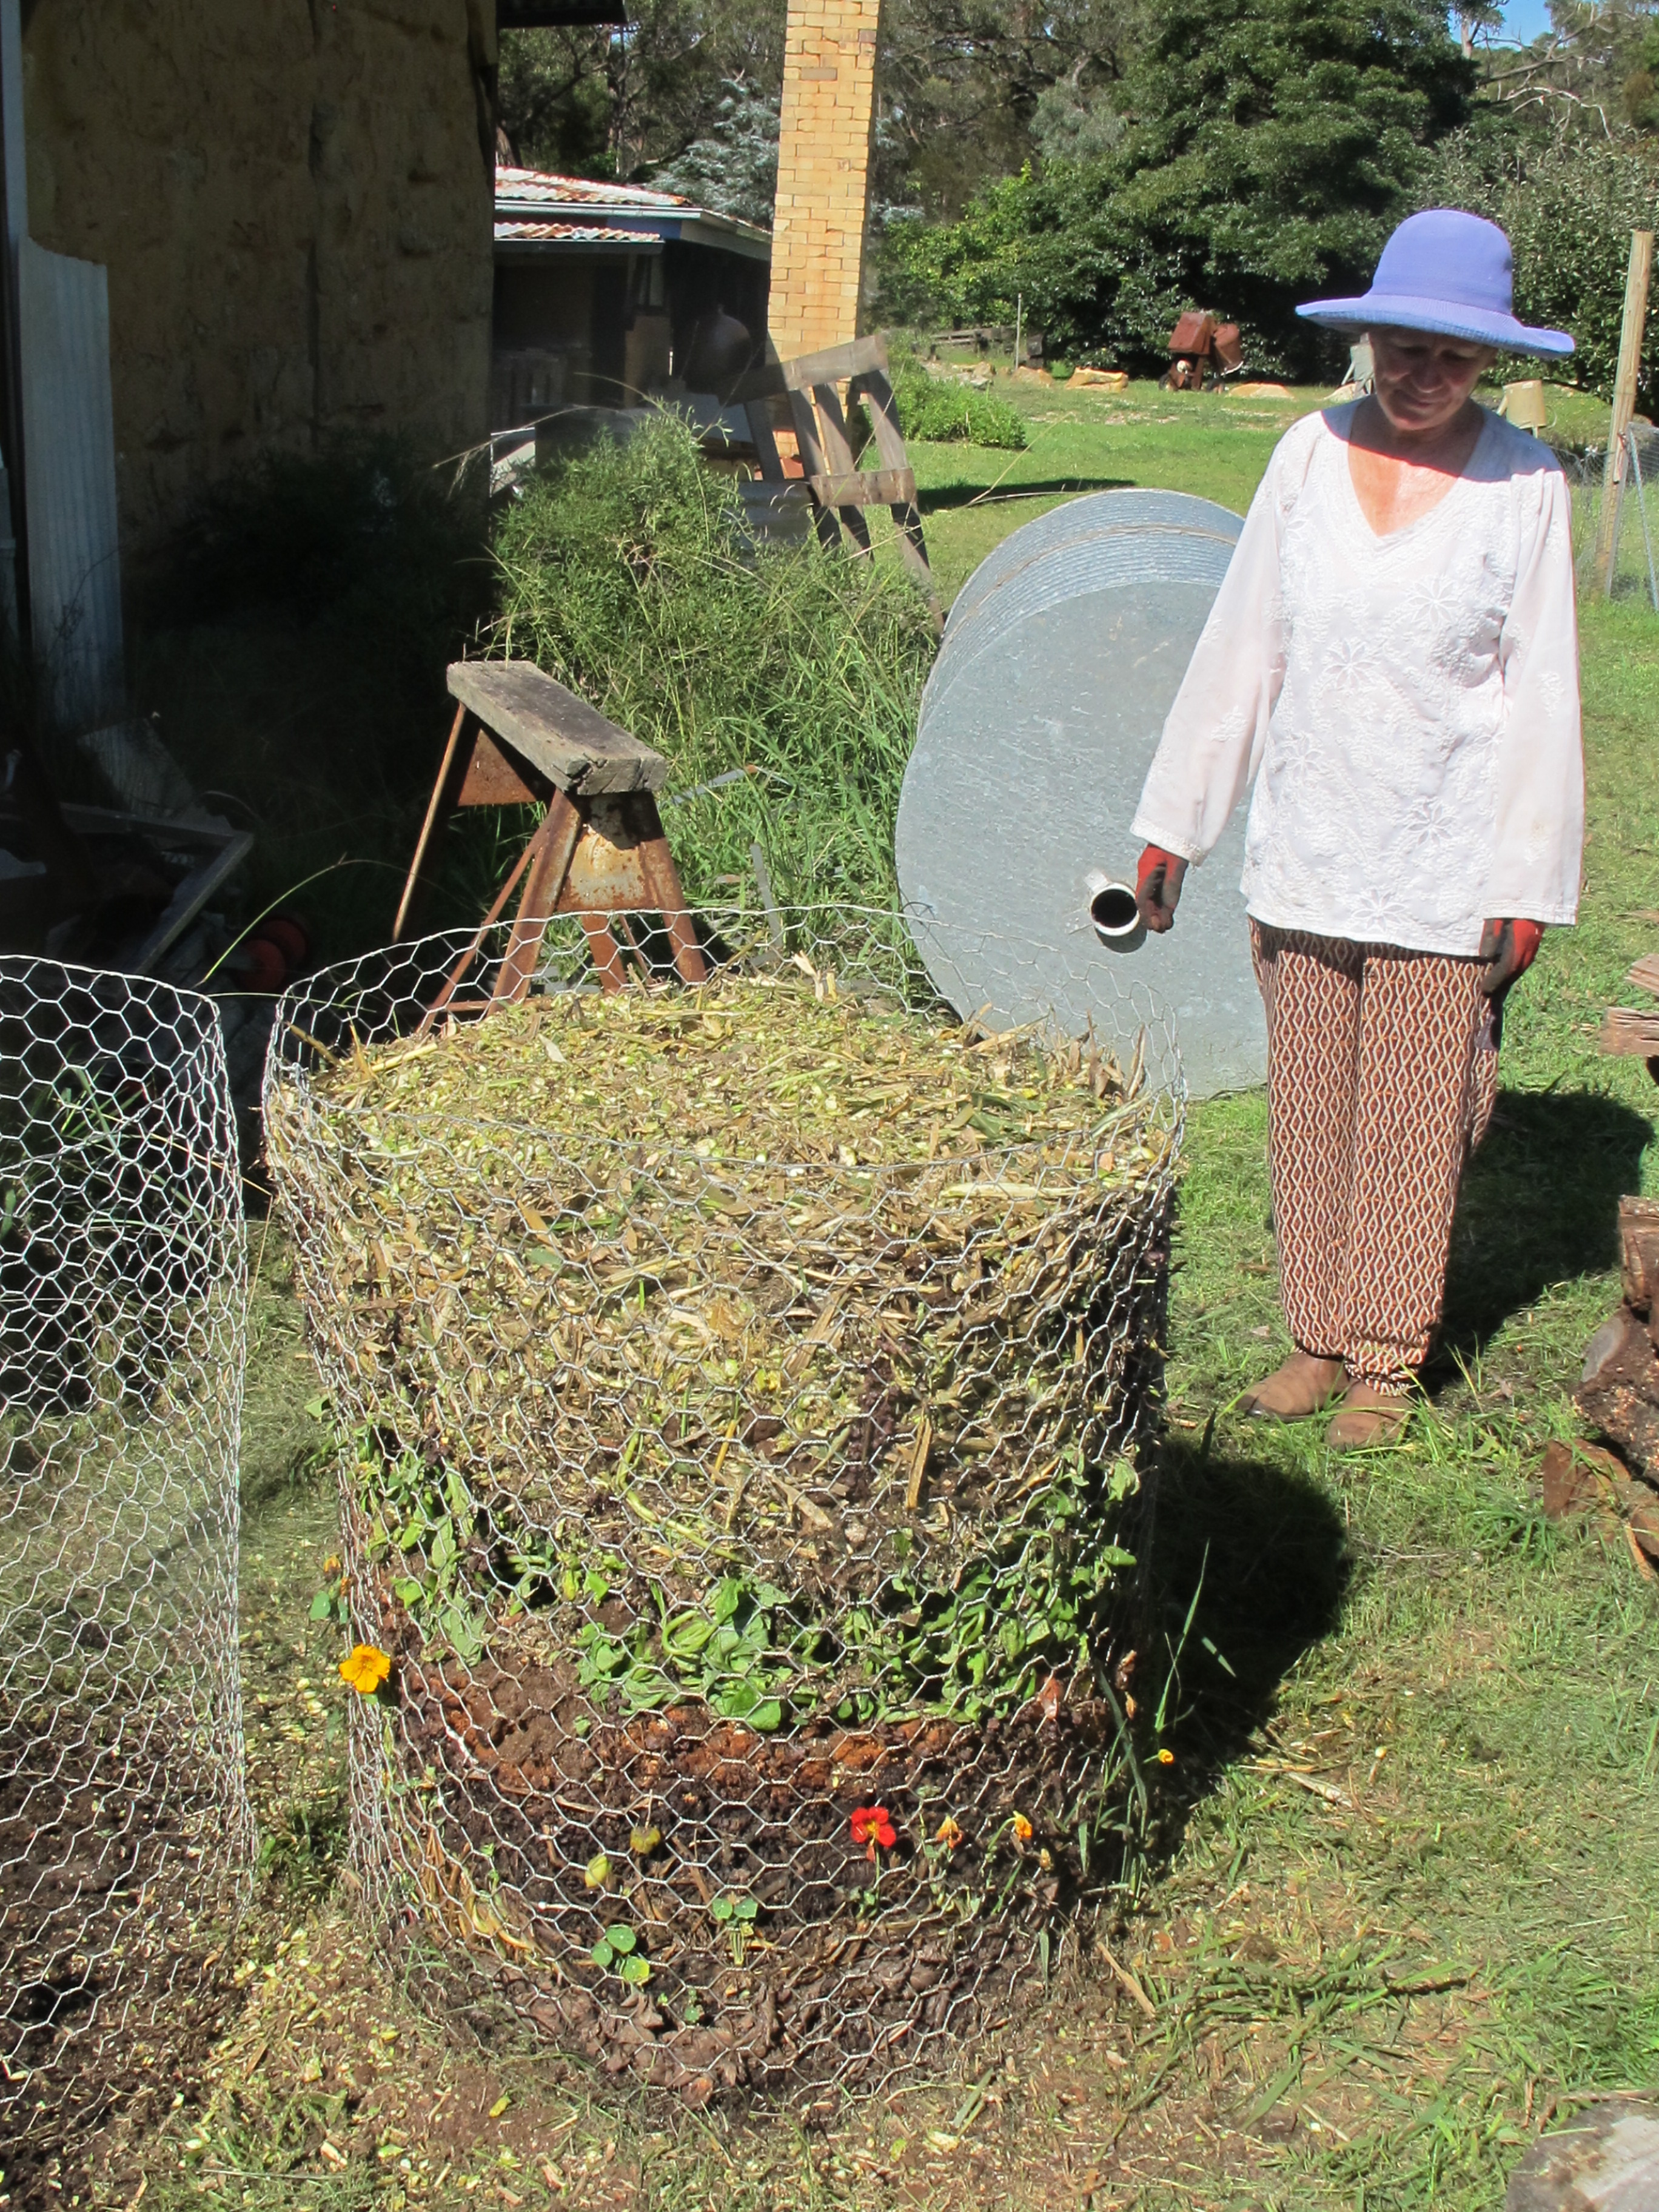
The thrice-warming winter-solstice wood pile.
It’s the winter solstice and we need to keep ourselves warm in front of the fire every night now. So a continuous supply of wood is needed to keep the home fires burning. “Cut your own wood and warm yourself twice”. We do a lot of wood cutting , splitting and stacking. Then wheel-barrowing and re-stacking. There is a sense of satisfaction and security in a generously stacked wood shed. As we change and get increasingly older, we have had to adapt and change from the initial brute strength and enthusiasm to a more considered longer-term approach of working smarter. Some might say that to be still living here like this in our sixties might be proof that we aren’t so smart, and maybe we’re not, but this life of minimal consumption that we’ve chosen is still working for us, or should I say that we are still working for it!

I’m so naive!
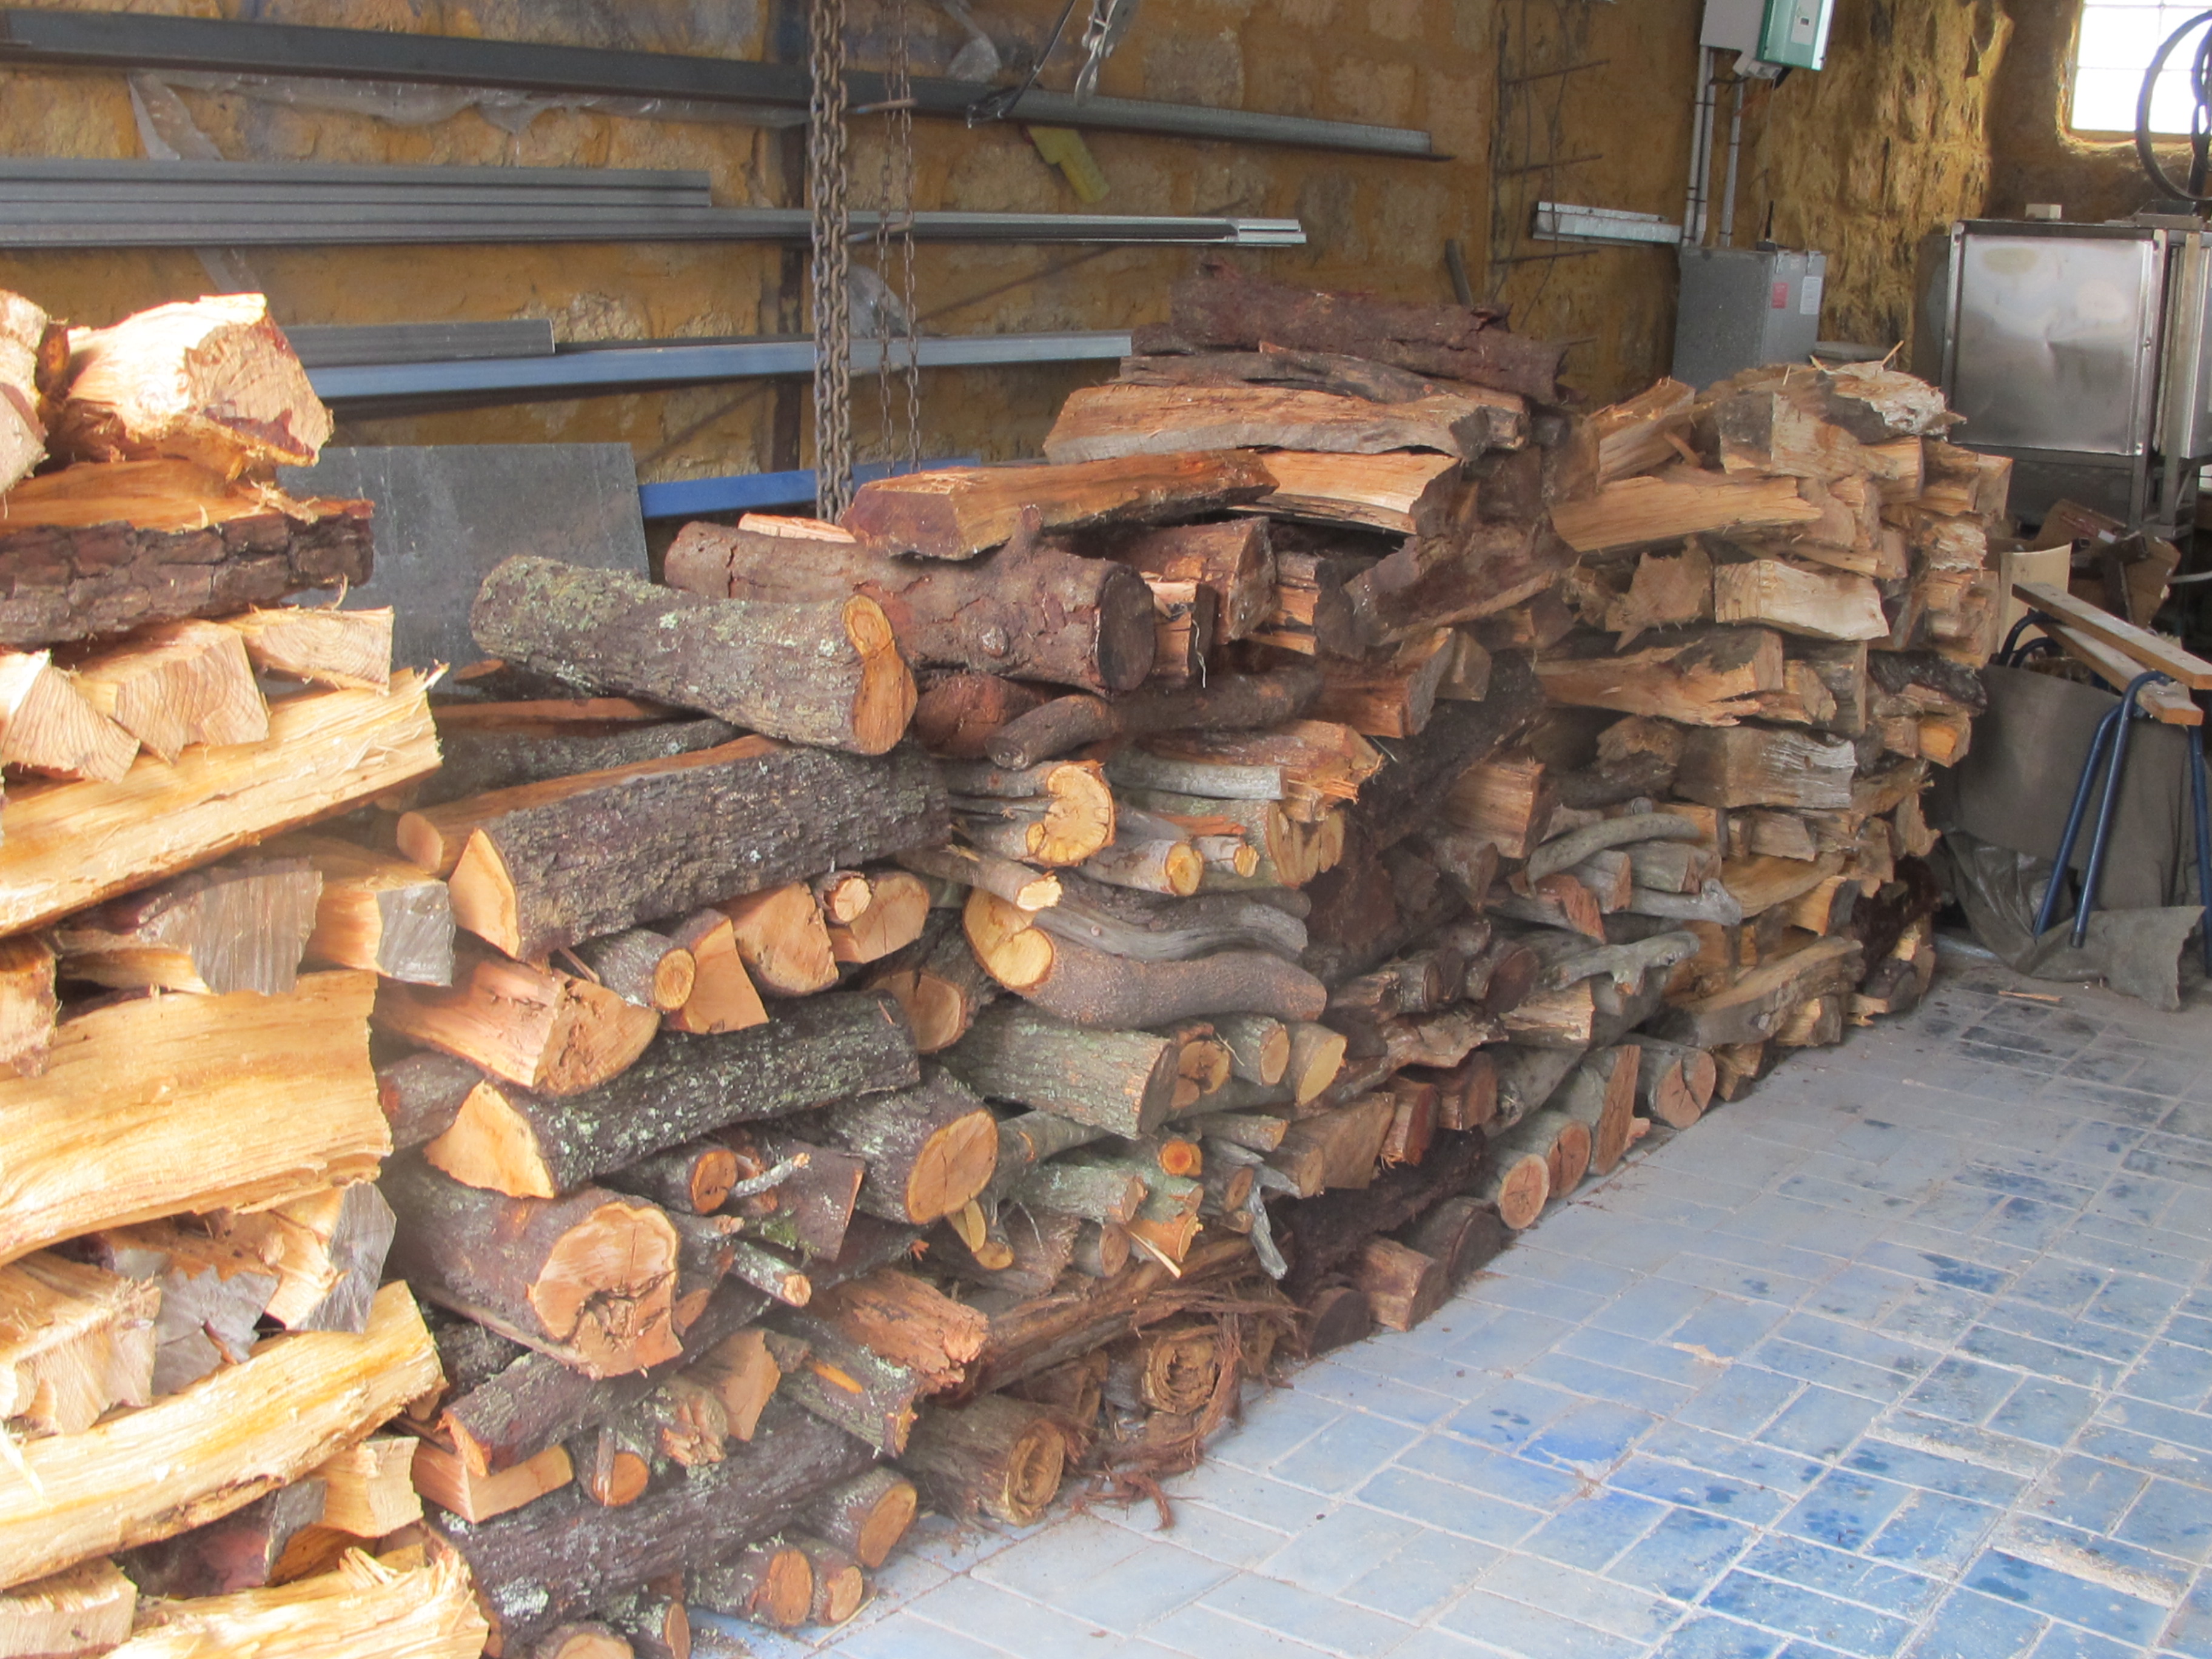
I try to do all sorts of things that I can’t do and have little expectation of succeeding at, bit I have a go at it because that is what self-reliance is all about. Sometimes things actually work out well and I’m surprised and thrilled at the end of it. Other times not. Take the wood splitter for example. Just about everything here runs on wood or solar power – except the car. (If only! I’m still waiting for the cheap solar/electric car). We cut and split a lot of wood each year to run the house and most of it is grown here on this little 2.5 hectare (7 acre) bit of land. I do the chainsawing and manhandling to the truck. These days I use a cheap, hand-pumped hydraulic crane to lift the logs up onto the truck. Then they are driven to the wood shed and the biggest ’rounds’ are stacked inside the shed ready for splitting. These days The Lovely does the splitting, but it wasn’t always so.
It’s not as bad as it sounds, because we have a hydraulic wood splitter.
I used to do it all with a block buster and axe. Janine would collect all the sticks and kindling up to sizes that she couldn’t snap and then stack it all near the wood pile. All the larger, unsnapable branches were dragged to the wood pile for me to cut up with the chain saw.
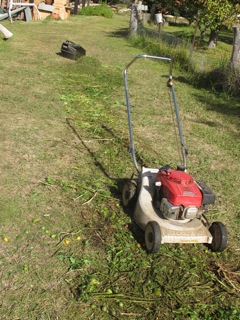
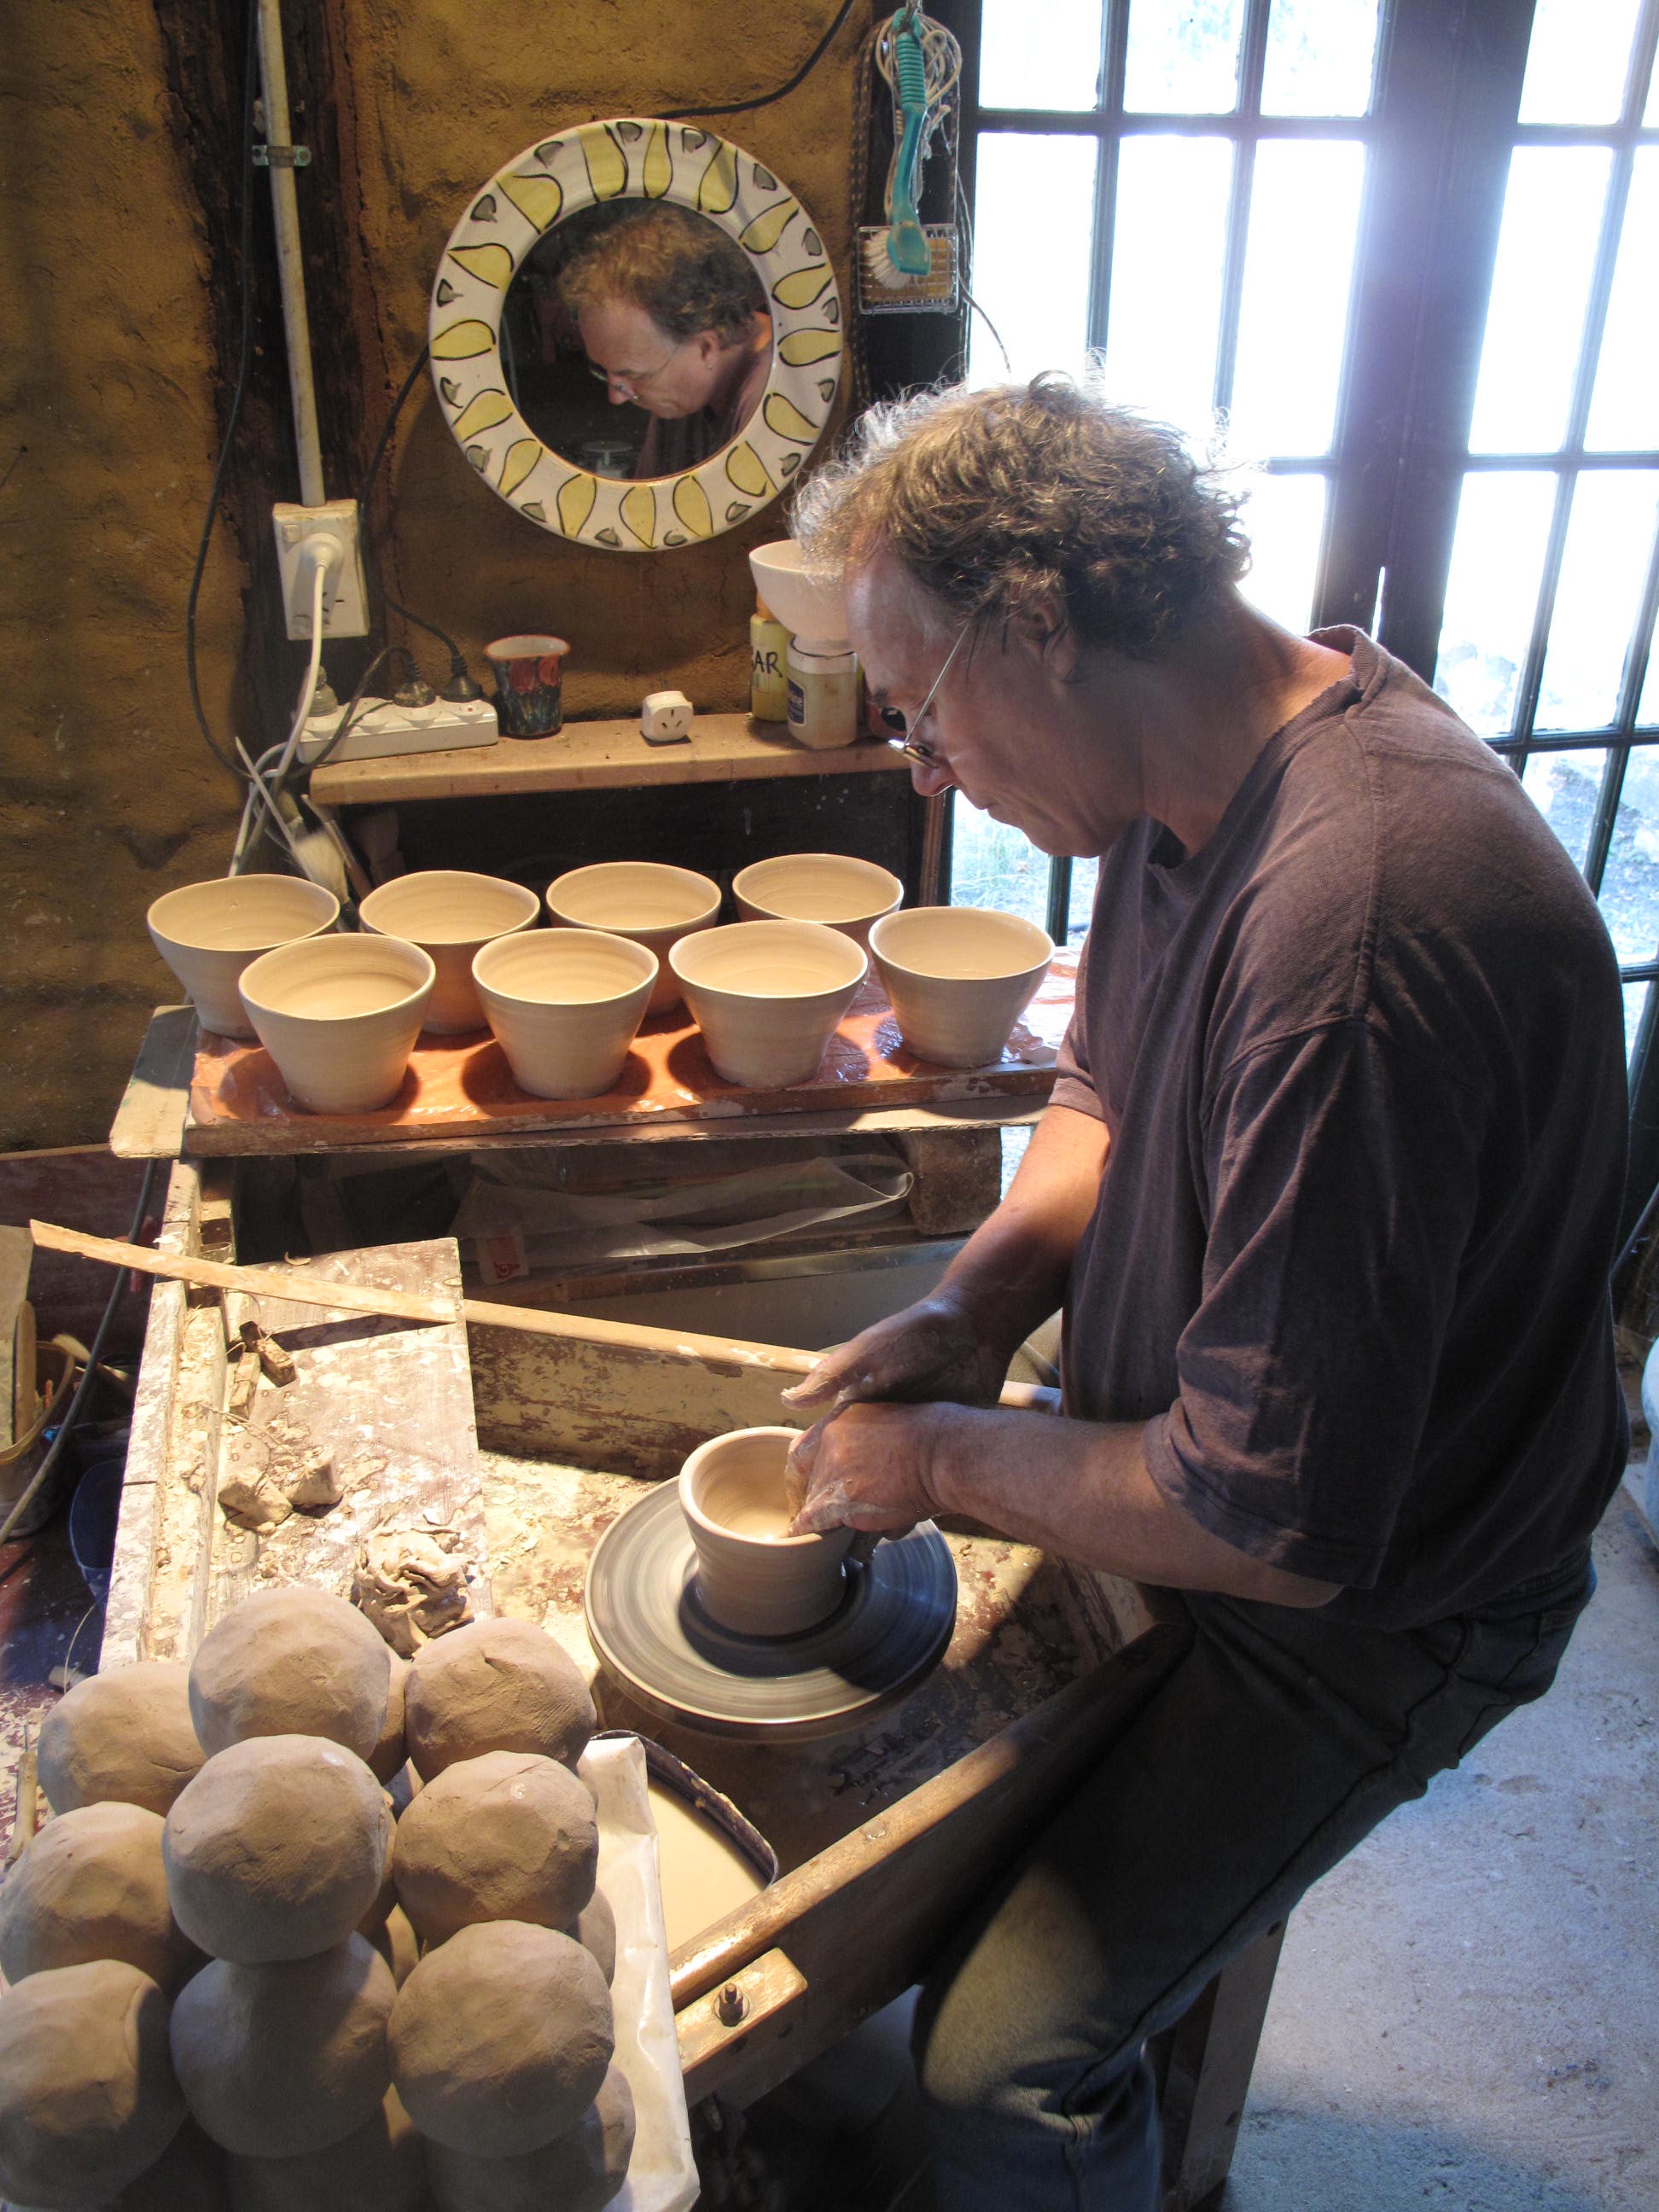
Initially we couldn’t afford a chain saw, but we came across a 2m. long two-man cross-cut saw. Our friend, fellow potter and experienced bush man, Mike Pridmore, called in one day and showed me how to sharpen and set it. We fashioned two wooden peg handles for the metal sockets at each end and we were away! Janine and I, one on each end of the ‘two-man’ saw. Rather oddly and badly named. In our case it was a two person, husband and wife saw. We would do 1 hour of cutting together before breakfast. Later we found a smaller 1.2 metre single handled variation of that saw, which I could use alone. But after 20 years of this my back got too worn out to continue with the block busting and heavy lifting, so eventually we bought a chain saw and a hydraulic wood splitter at great expense and the two big cross-cut saws are hung up in the barn for good now. These purchases were our second concession to the modern world, after the ride-on mower. It revolutionised our wood preparation efforts. The splitter had a 5 HP Briggs and Stratton petrol engine on it, and the motor lasted about 15 years, with minor work to keep it going, but eventually it was worn out and packed it in. I spent a hundred dollars on it , new rings and ground the valves and it went for another few years, but that was it.
Nothing last for ever.
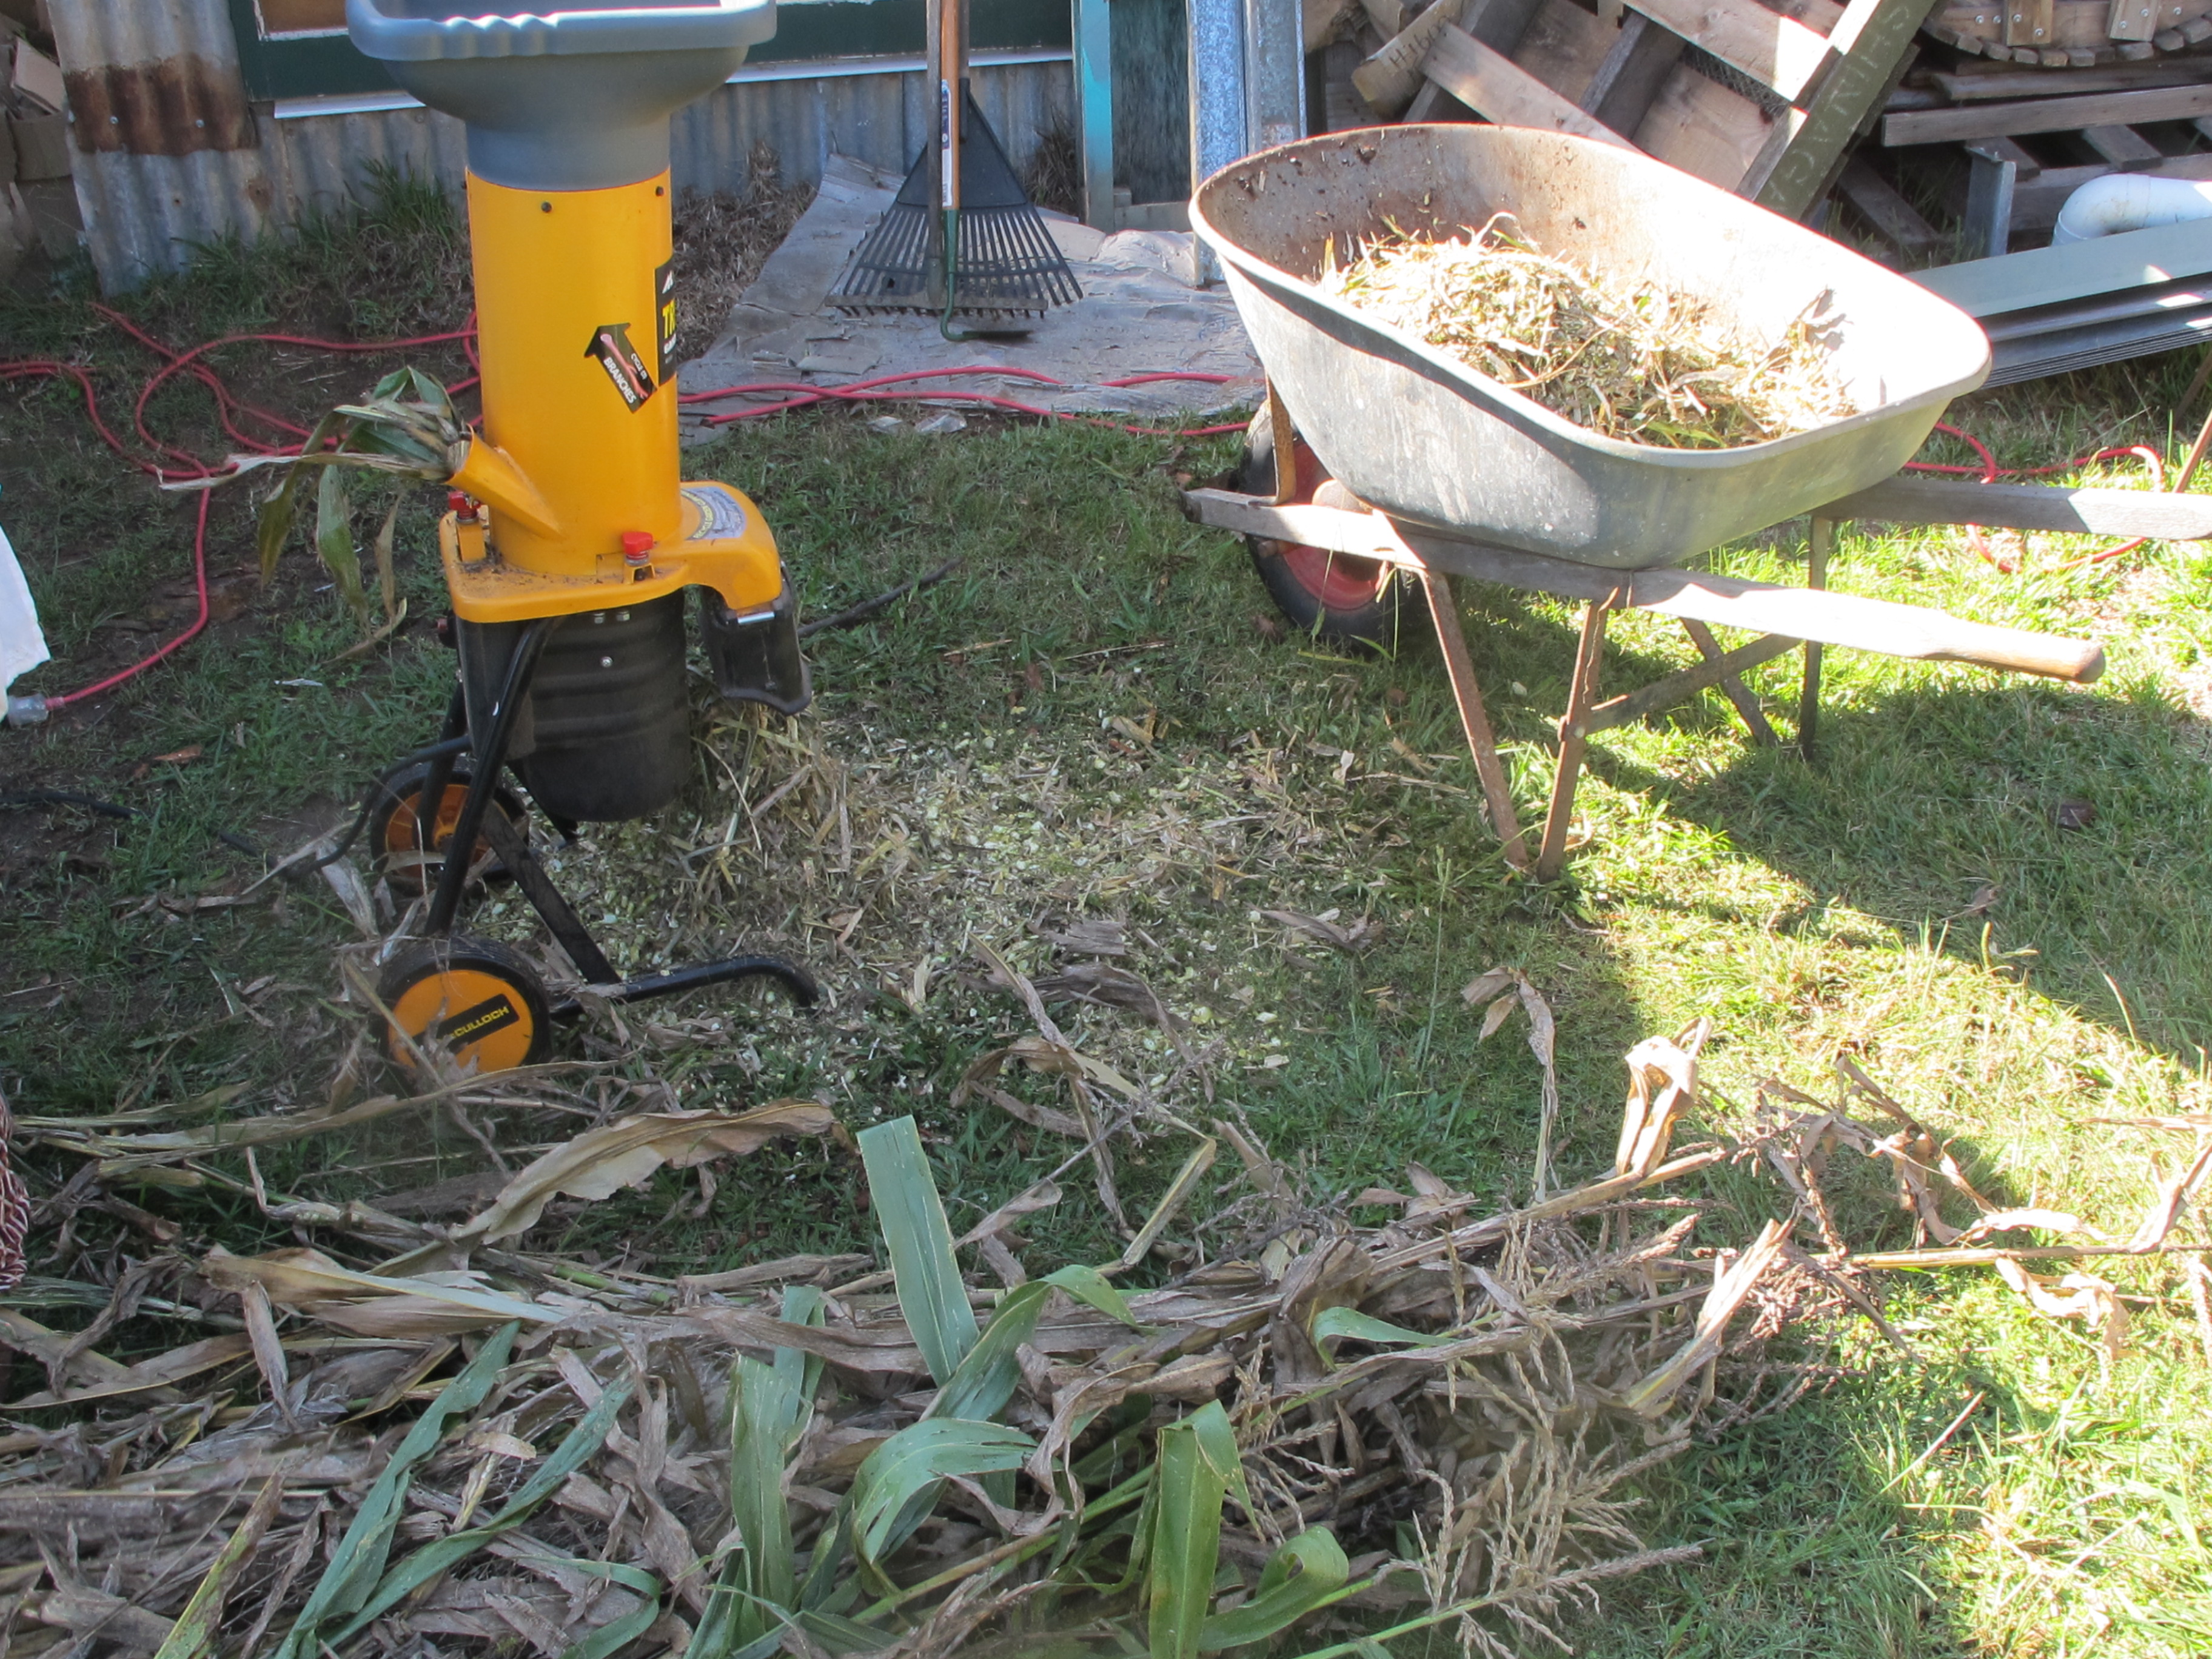
I decided that now we had solar power installed, it would be good if we could convert any petrol usage to solar electricity. The splitter was a great candidate because it was stationary and could run on an extension cord from the house. The wood shed is only 20 metres from the house. I asked a bloke who was very experienced with machinery matters about this and he said it would be a ‘piece of piss’, nothing to it. Just get a three phase, 5 horse power electric motor of the same size as the petrol engine and swap it over. Having no background in things mechanical I wasn’t sure what to think, but I was sure that it wouldn’t be that easy.
We didn’t have 3 phase electricity anyway, so that was out of the question. The best that I could do was to buy a 3.25 HP single phase 240 volt motor. This would draw all of the available 10 amps of current to run it and even more on start-up. But 3.25 isn’t 5, and was way too small. I asked another bloke with farm machinery background and he told me not to worry, Petrol motors have very small horses powering them! Something to do with only one of the 4 strokes in a 4 stroke motor being powered, leaving a gap in the power curve being un-powered for 3/4 of the time. Or words to that effect. Whereas, electric motors have very strong horses powering them continuously and evenly. The word ‘torque’ comes to mind? He told me that a 3 HP electric motor would do what a 5 HP petrol engine would do!
I was sceptical, so I asked my friend Dave Hunt, who is a real engineer, if that was true and he told me that he’d never heard of that. Fair enough, it sounded a bit bodgy to me too. Nothing could be that easy!
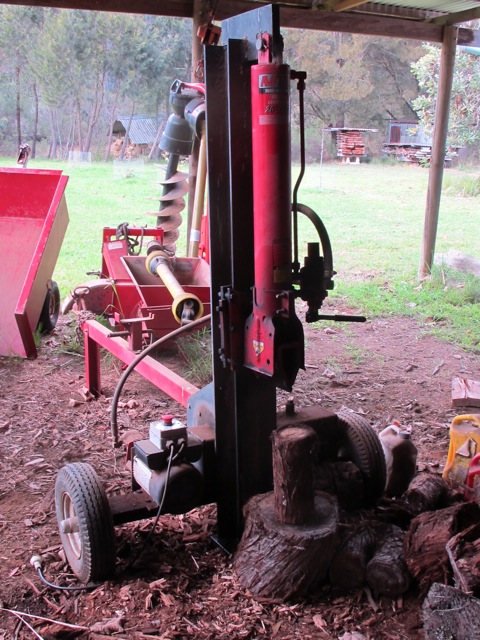
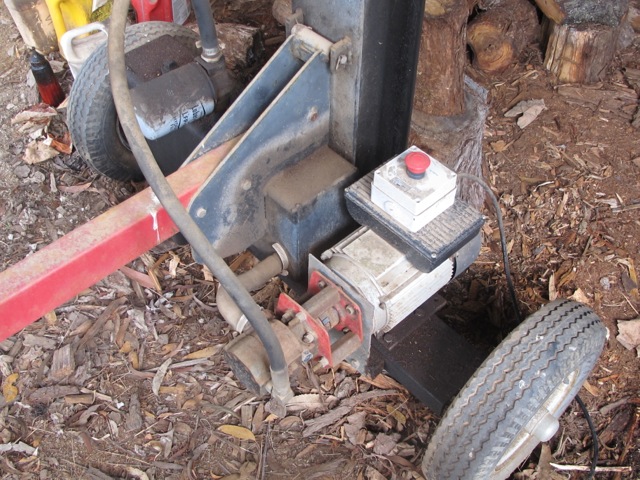
However, as I had no other real alternative, except buying another petrol engine, and this was quite unpalatable to me, knowing that small petrol powered engines are the most inefficient, polluting and wasteful of all motors. I though that I’d give a small solar powered electric motor a go. I bought the small single phase motor and managed to weld up a home made adaptor that suspended the old hydraulic pump in front of the new electric motor. The old system had the oil pump directly bolted onto the petrol engine. This was not possible with the small electric motor. My amateurish piece of bodged home-made engineering linked the old hydraulic pump from the old petrol motor to the new electric motor, even though they are completely different in configuration.
Amazingly it worked!
I didn’t know that it couldn’t be done, so there was a slim possibility that it could work. I may be naive, but I’m prepared to ask questions and give things a try. “Don’t believe anything you read, nothing you’re told and only half of what you see!” – Mark Twain. This one worked for us. It’s not quite as elegant as it was, or as powerful as the old 5 HP petrol engine, but almost. It can split almost everything that we put under it, and it has been working perfectly now for almost 10 years. Janine can start the motor just by switching it on at the power point. So I’m now redundant in the splitting process. She doesn’t even need me anymore to start the motor — which, at the end, had become quite troublesome and difficult with the petrol engine.
Nothing is perfect.
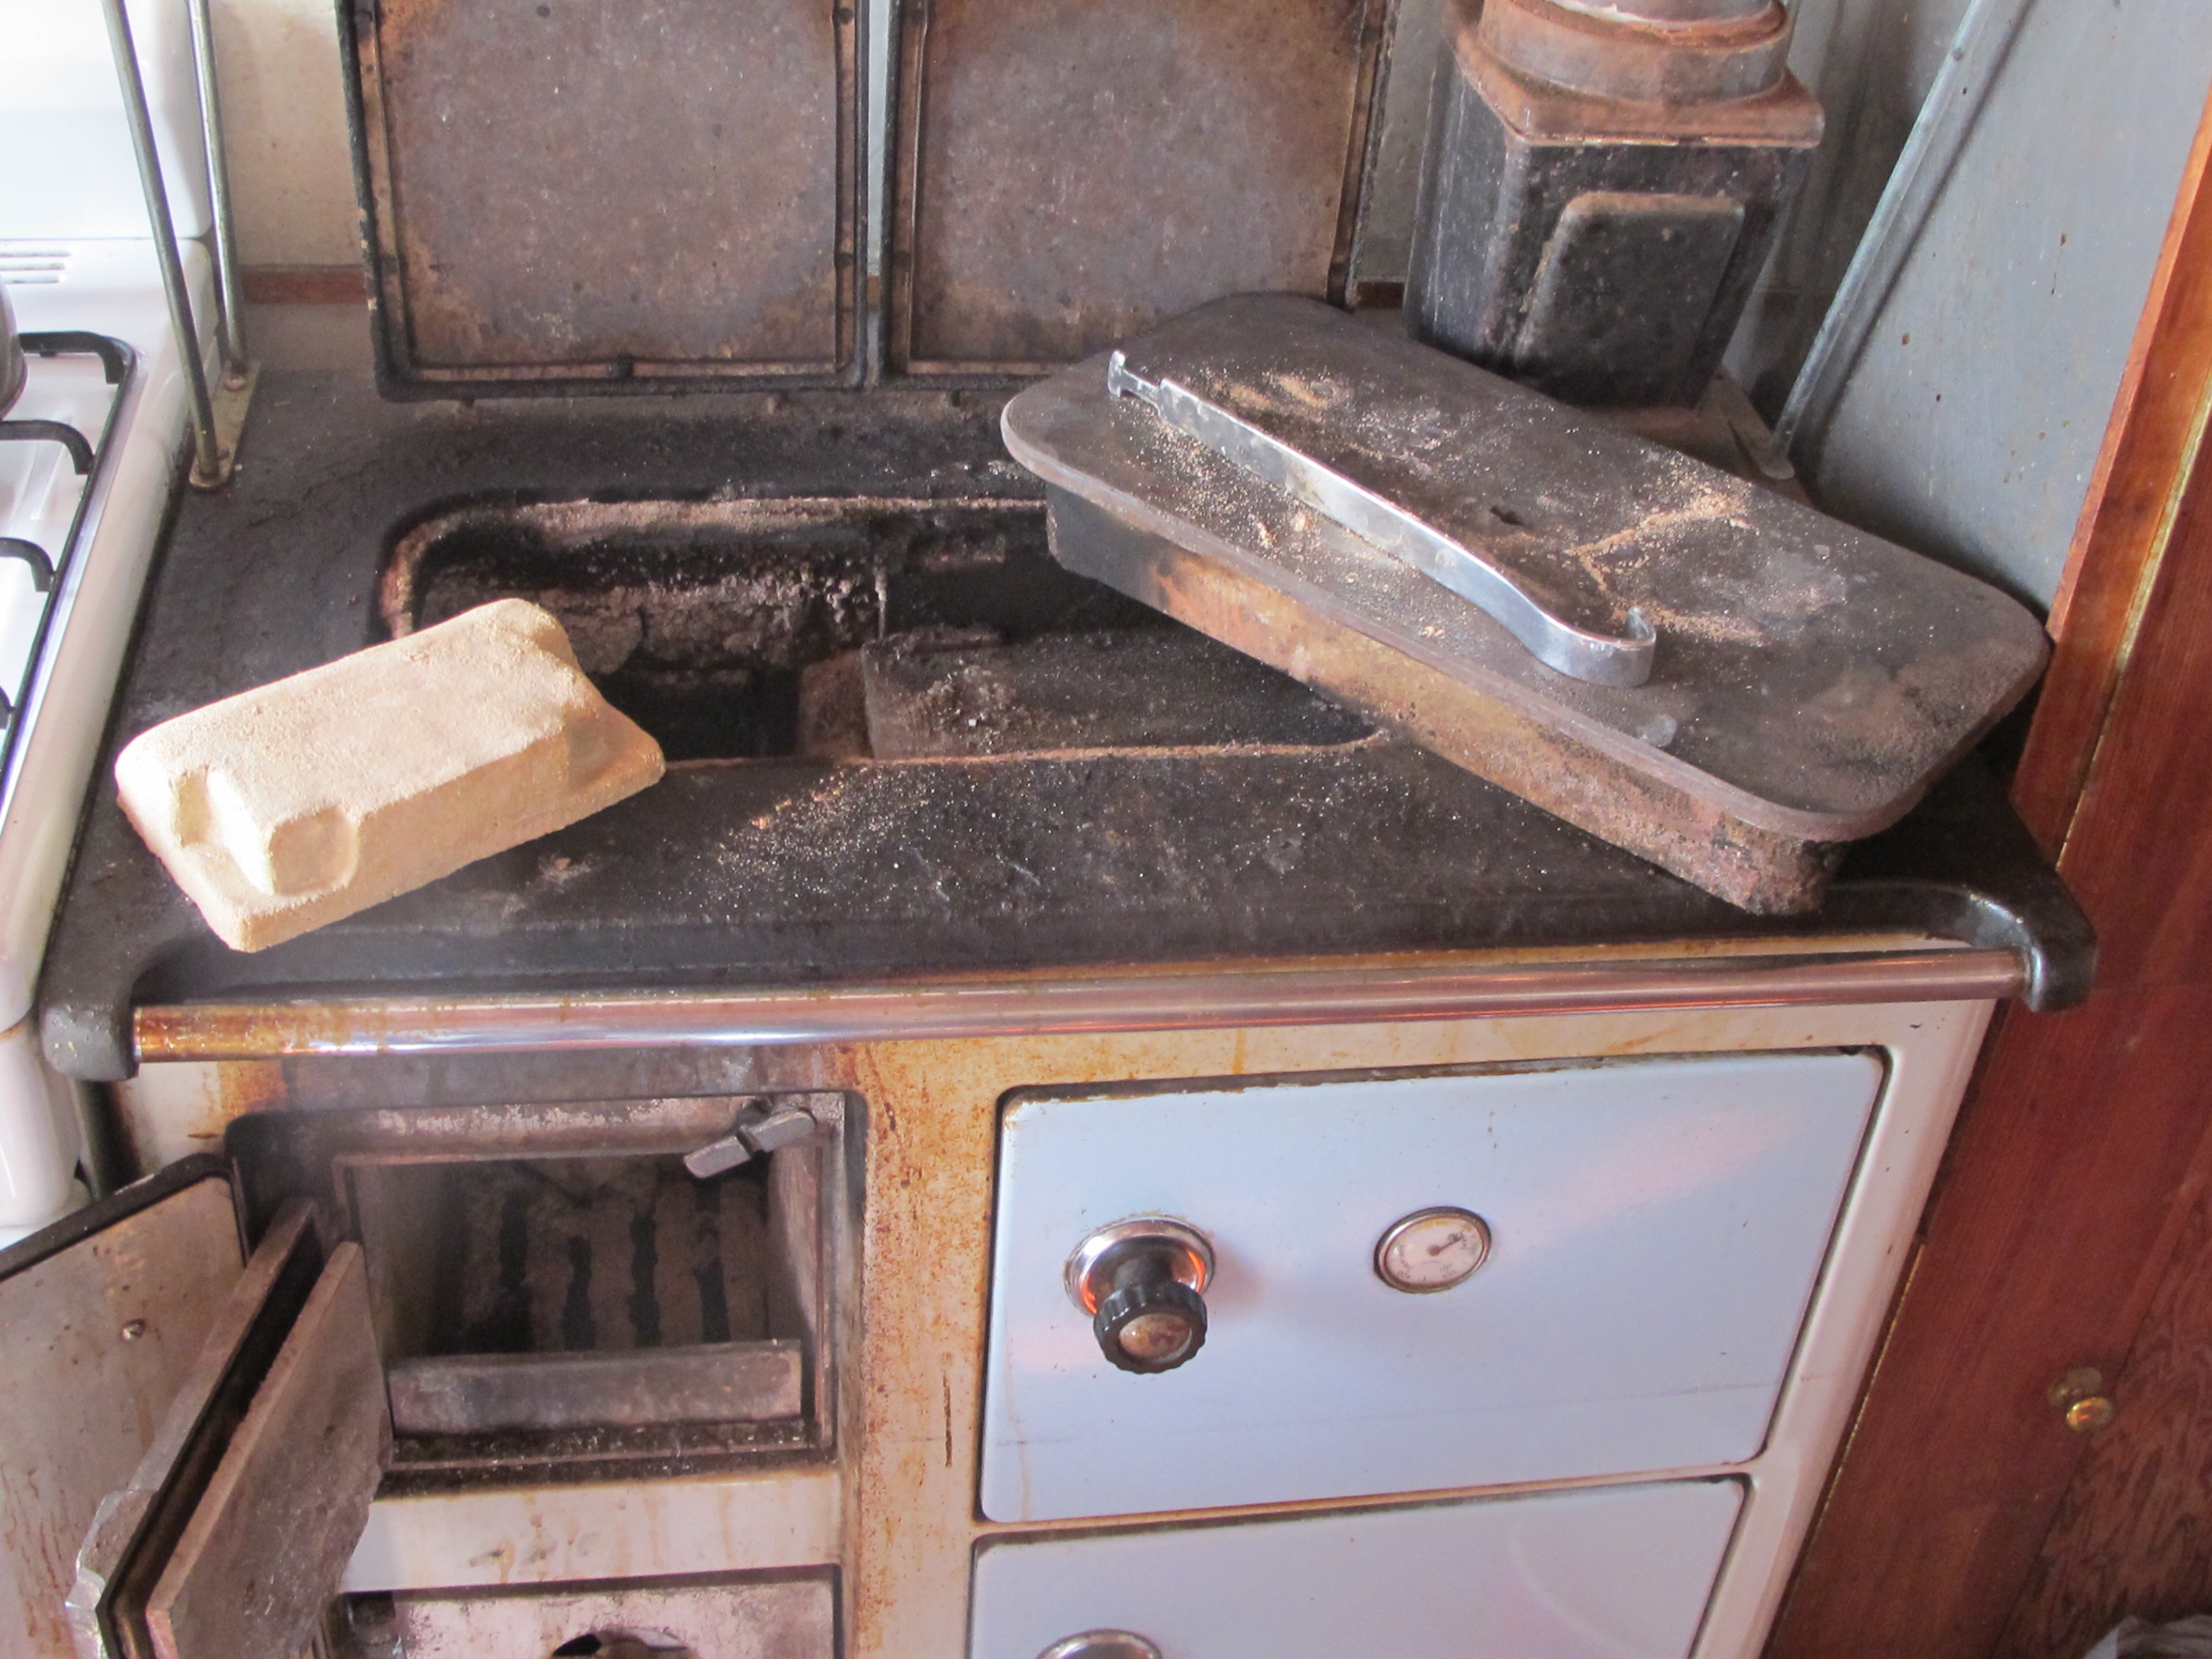
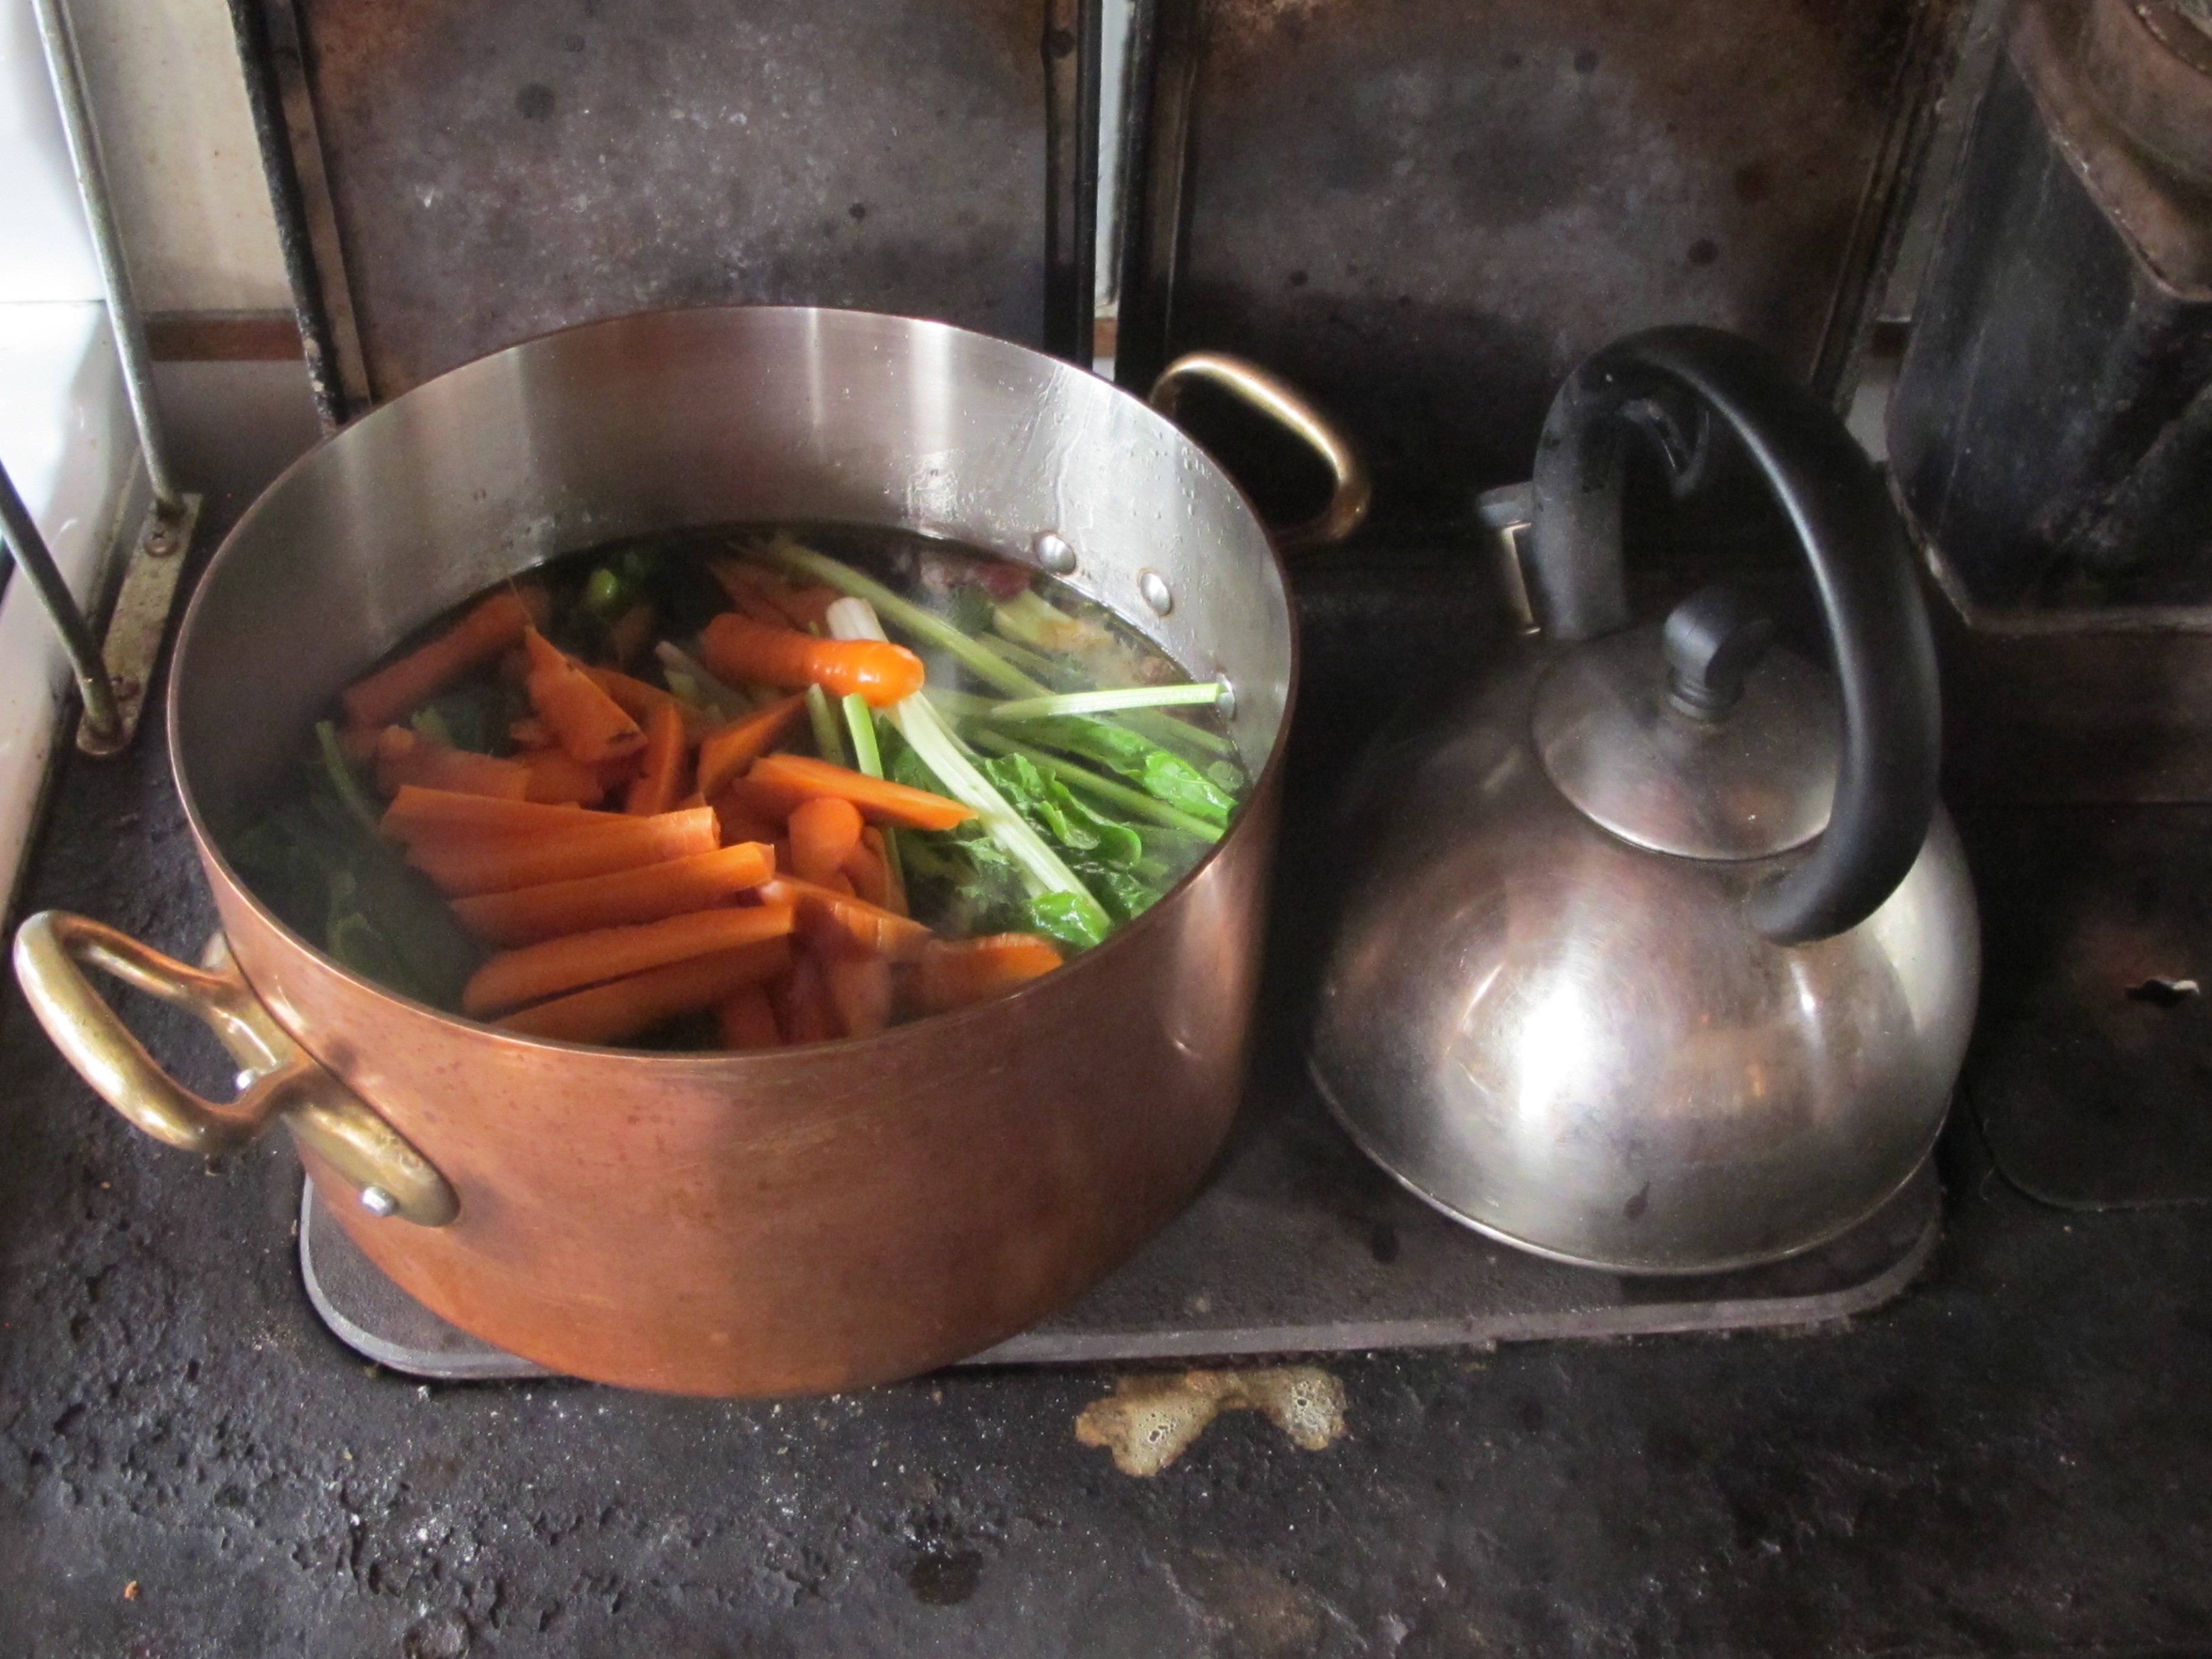
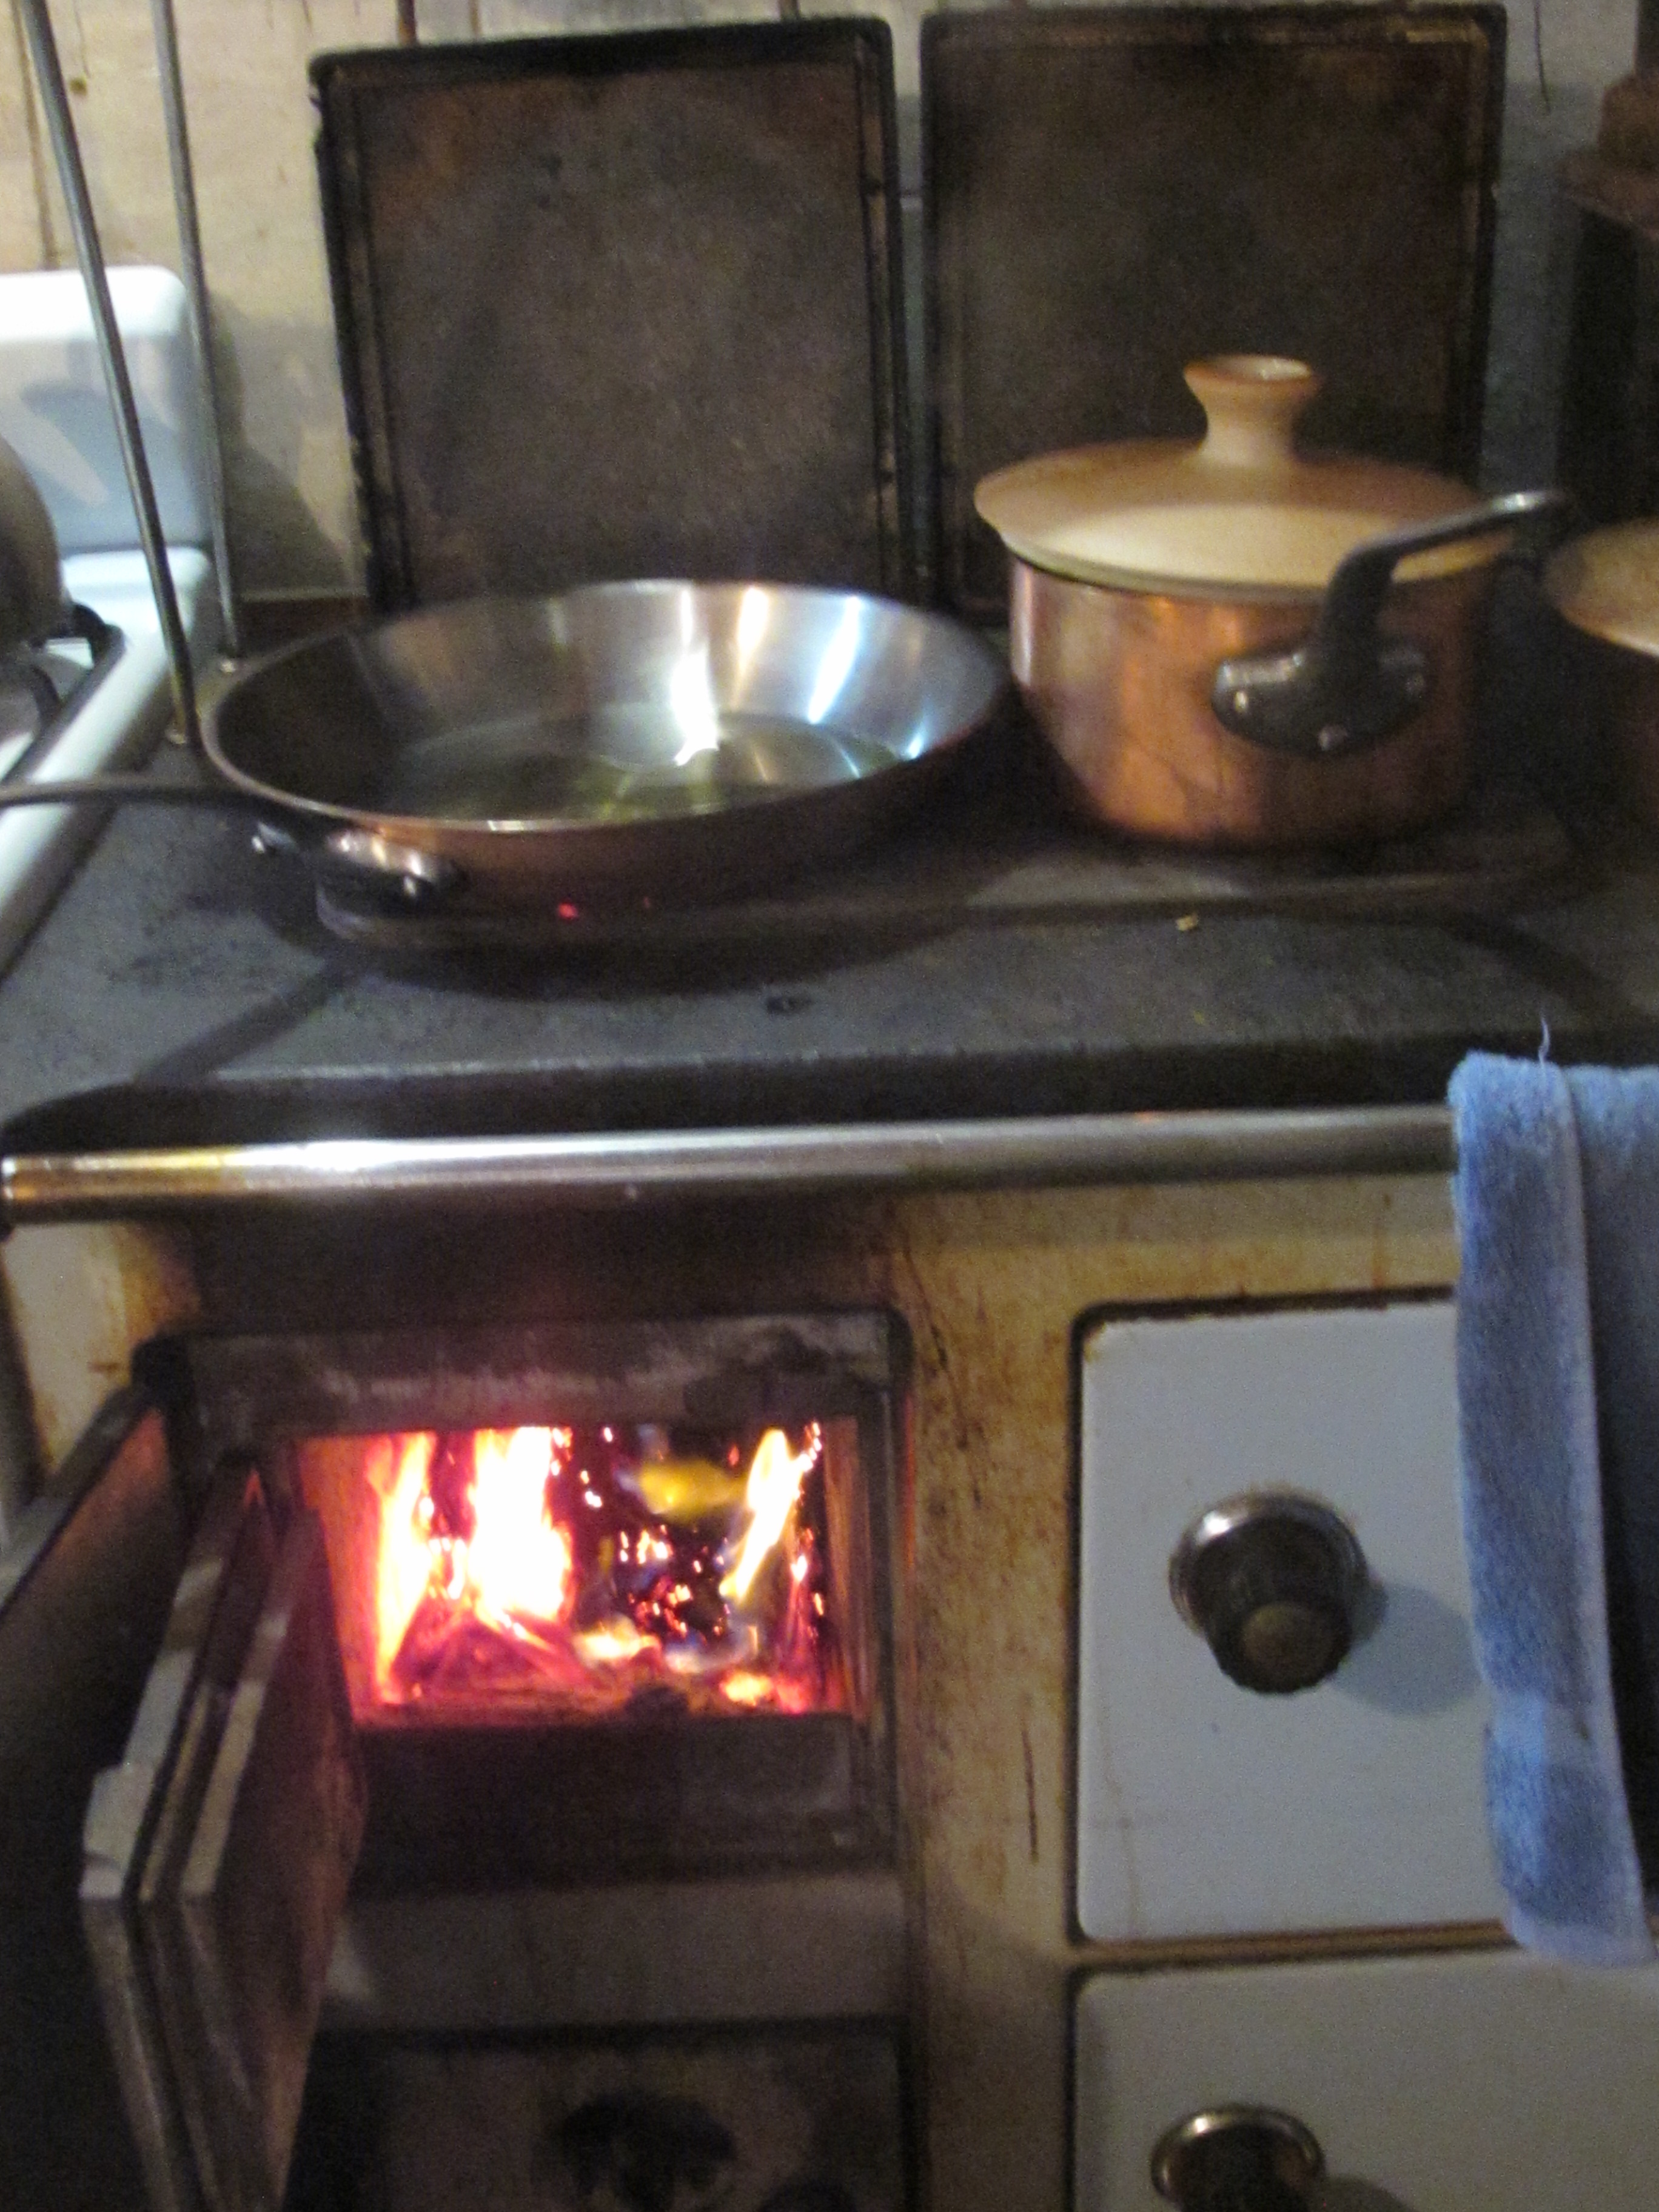
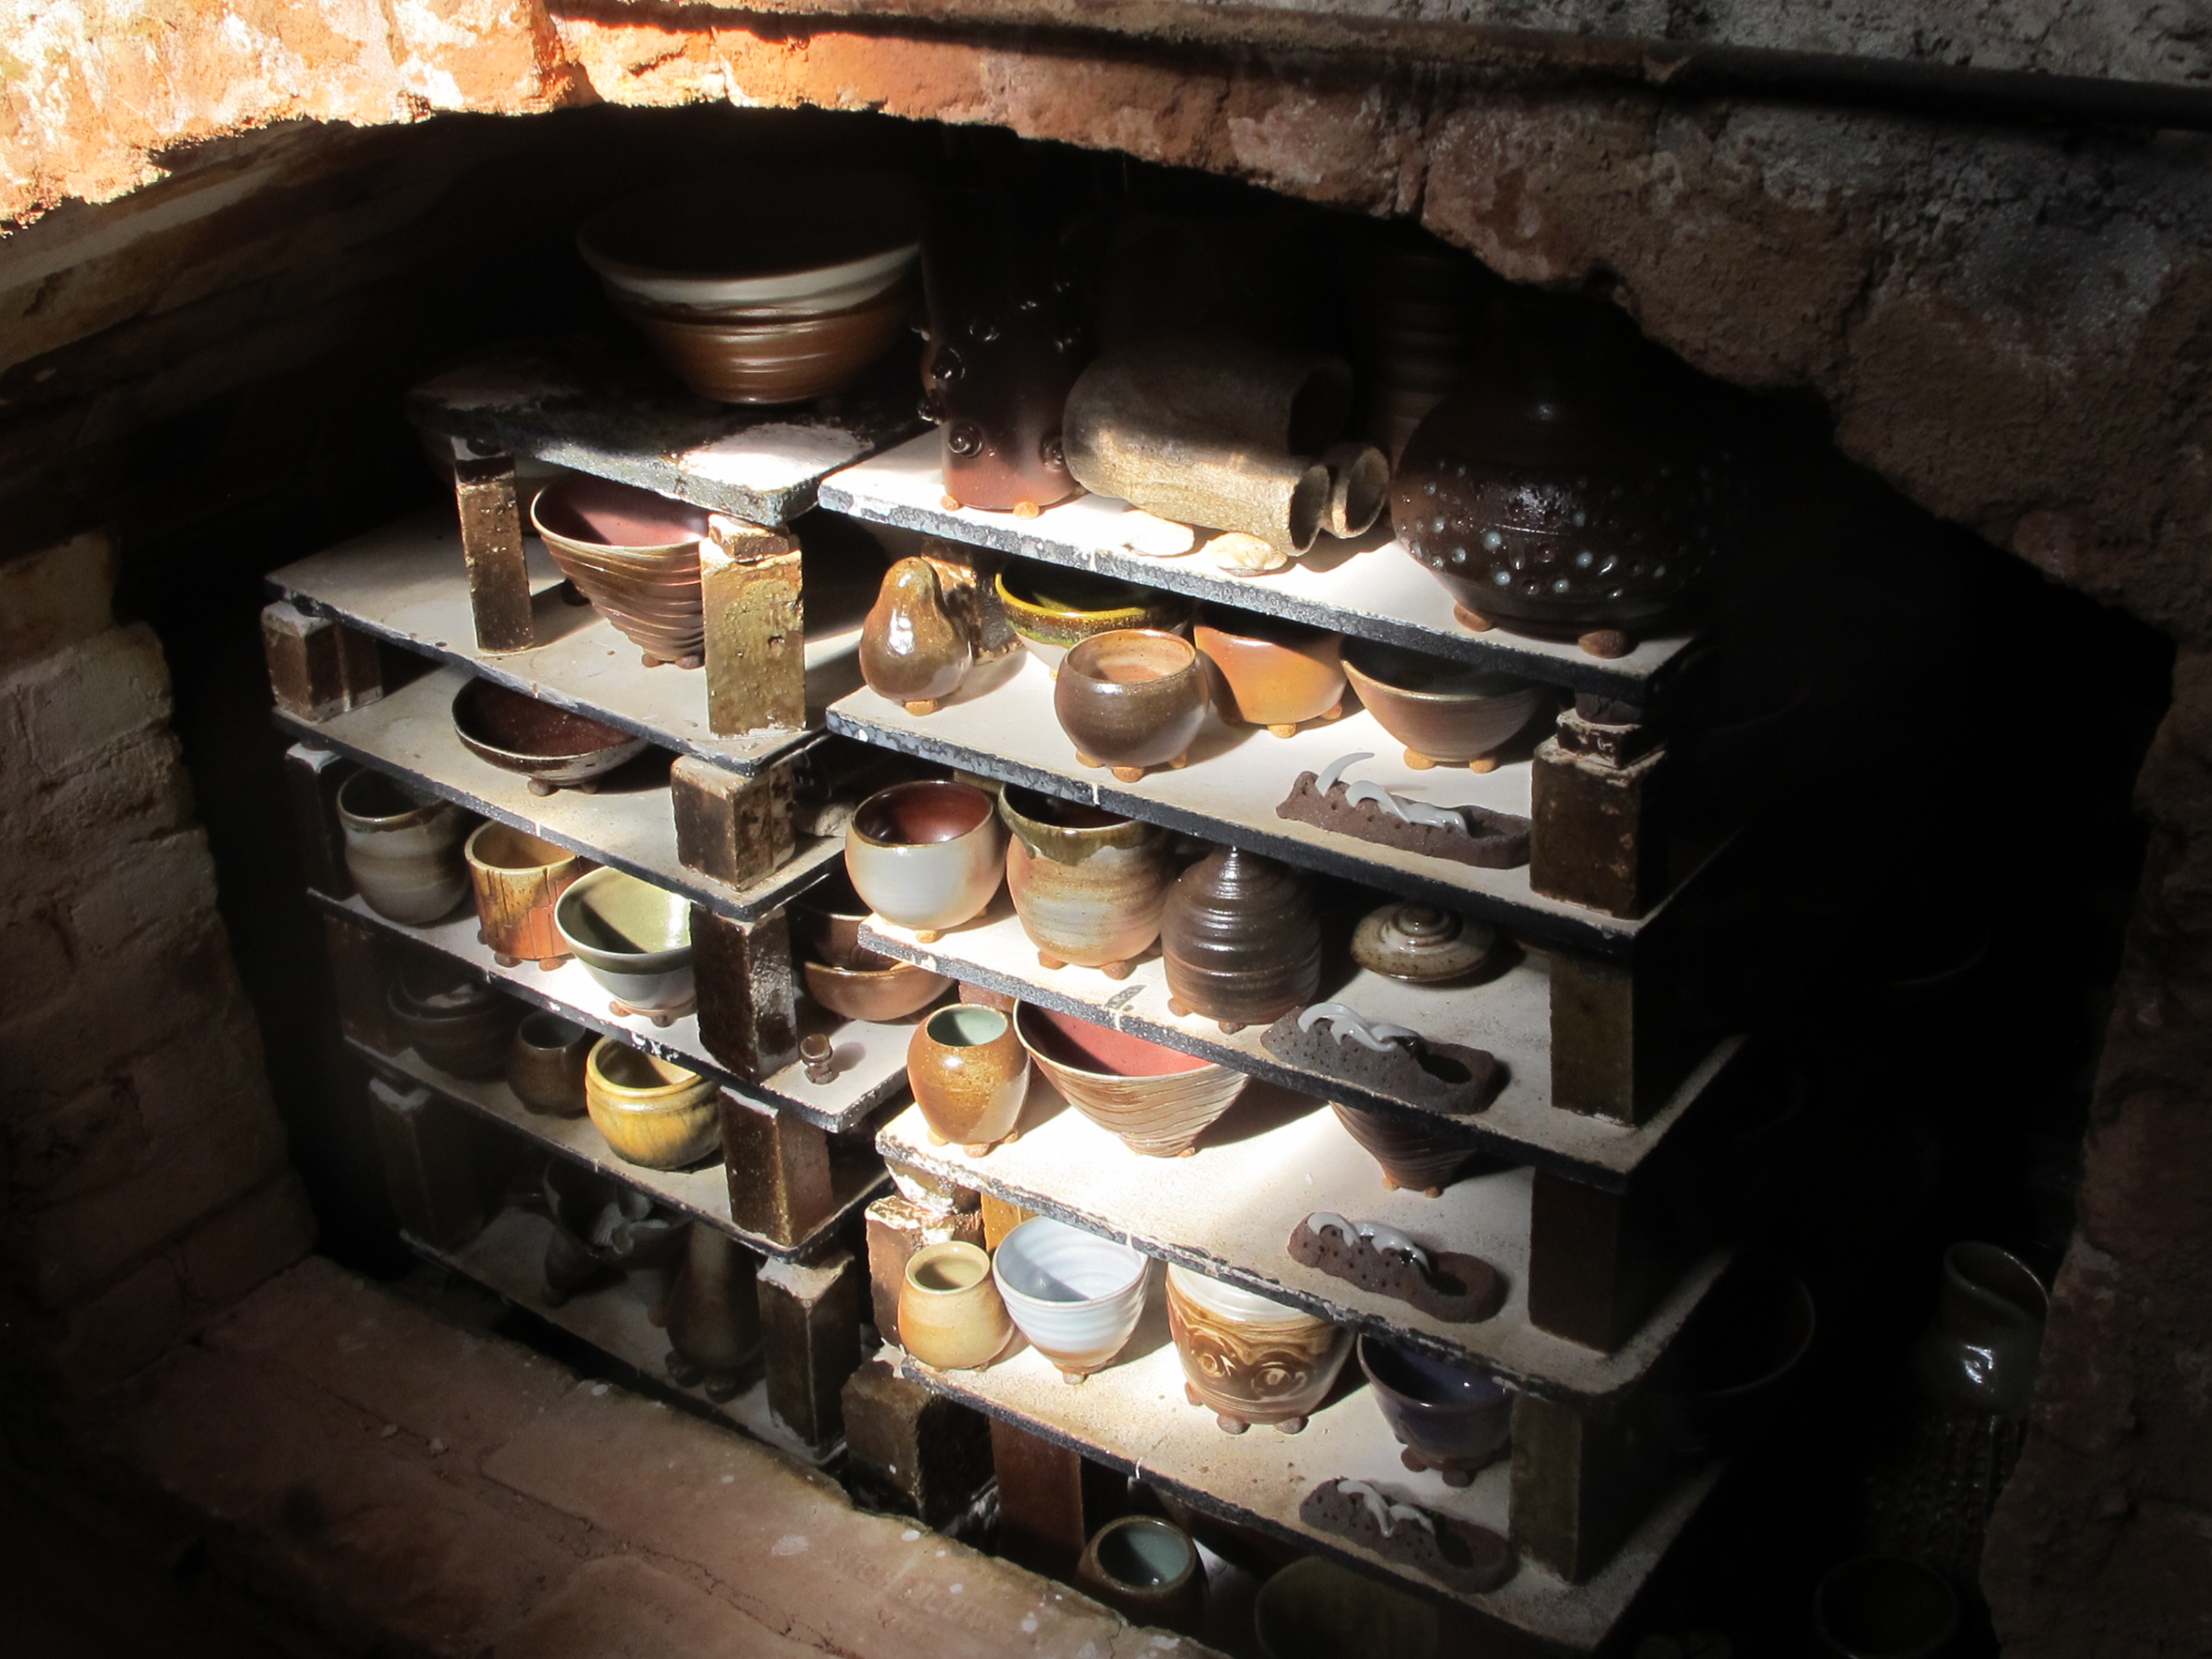
So now we use sunshine to split the wood to heat the house and cook the dinner. It’s nice.
Just the thought of it is warming.
Install solar panels to power the wood splitter and warm yourself thrice.
Luckily, although now mostly redundant, I can still be useful to herself for killing spiders and loosening tight jam jar lids, so she still feeds me. Otherwise I might expect to be pushed outside for the winter, like one of the drone bees! Actually I am still more competent than The Lovely when it comes to the big chain saw and using the hand pumped imitation ‘Hi-ab crane’ and fibre slings for lifting the biggest logs onto the back of the truck for delivery to the splitter.
I might just be safe for the time-being.
Nothing is ever finished.
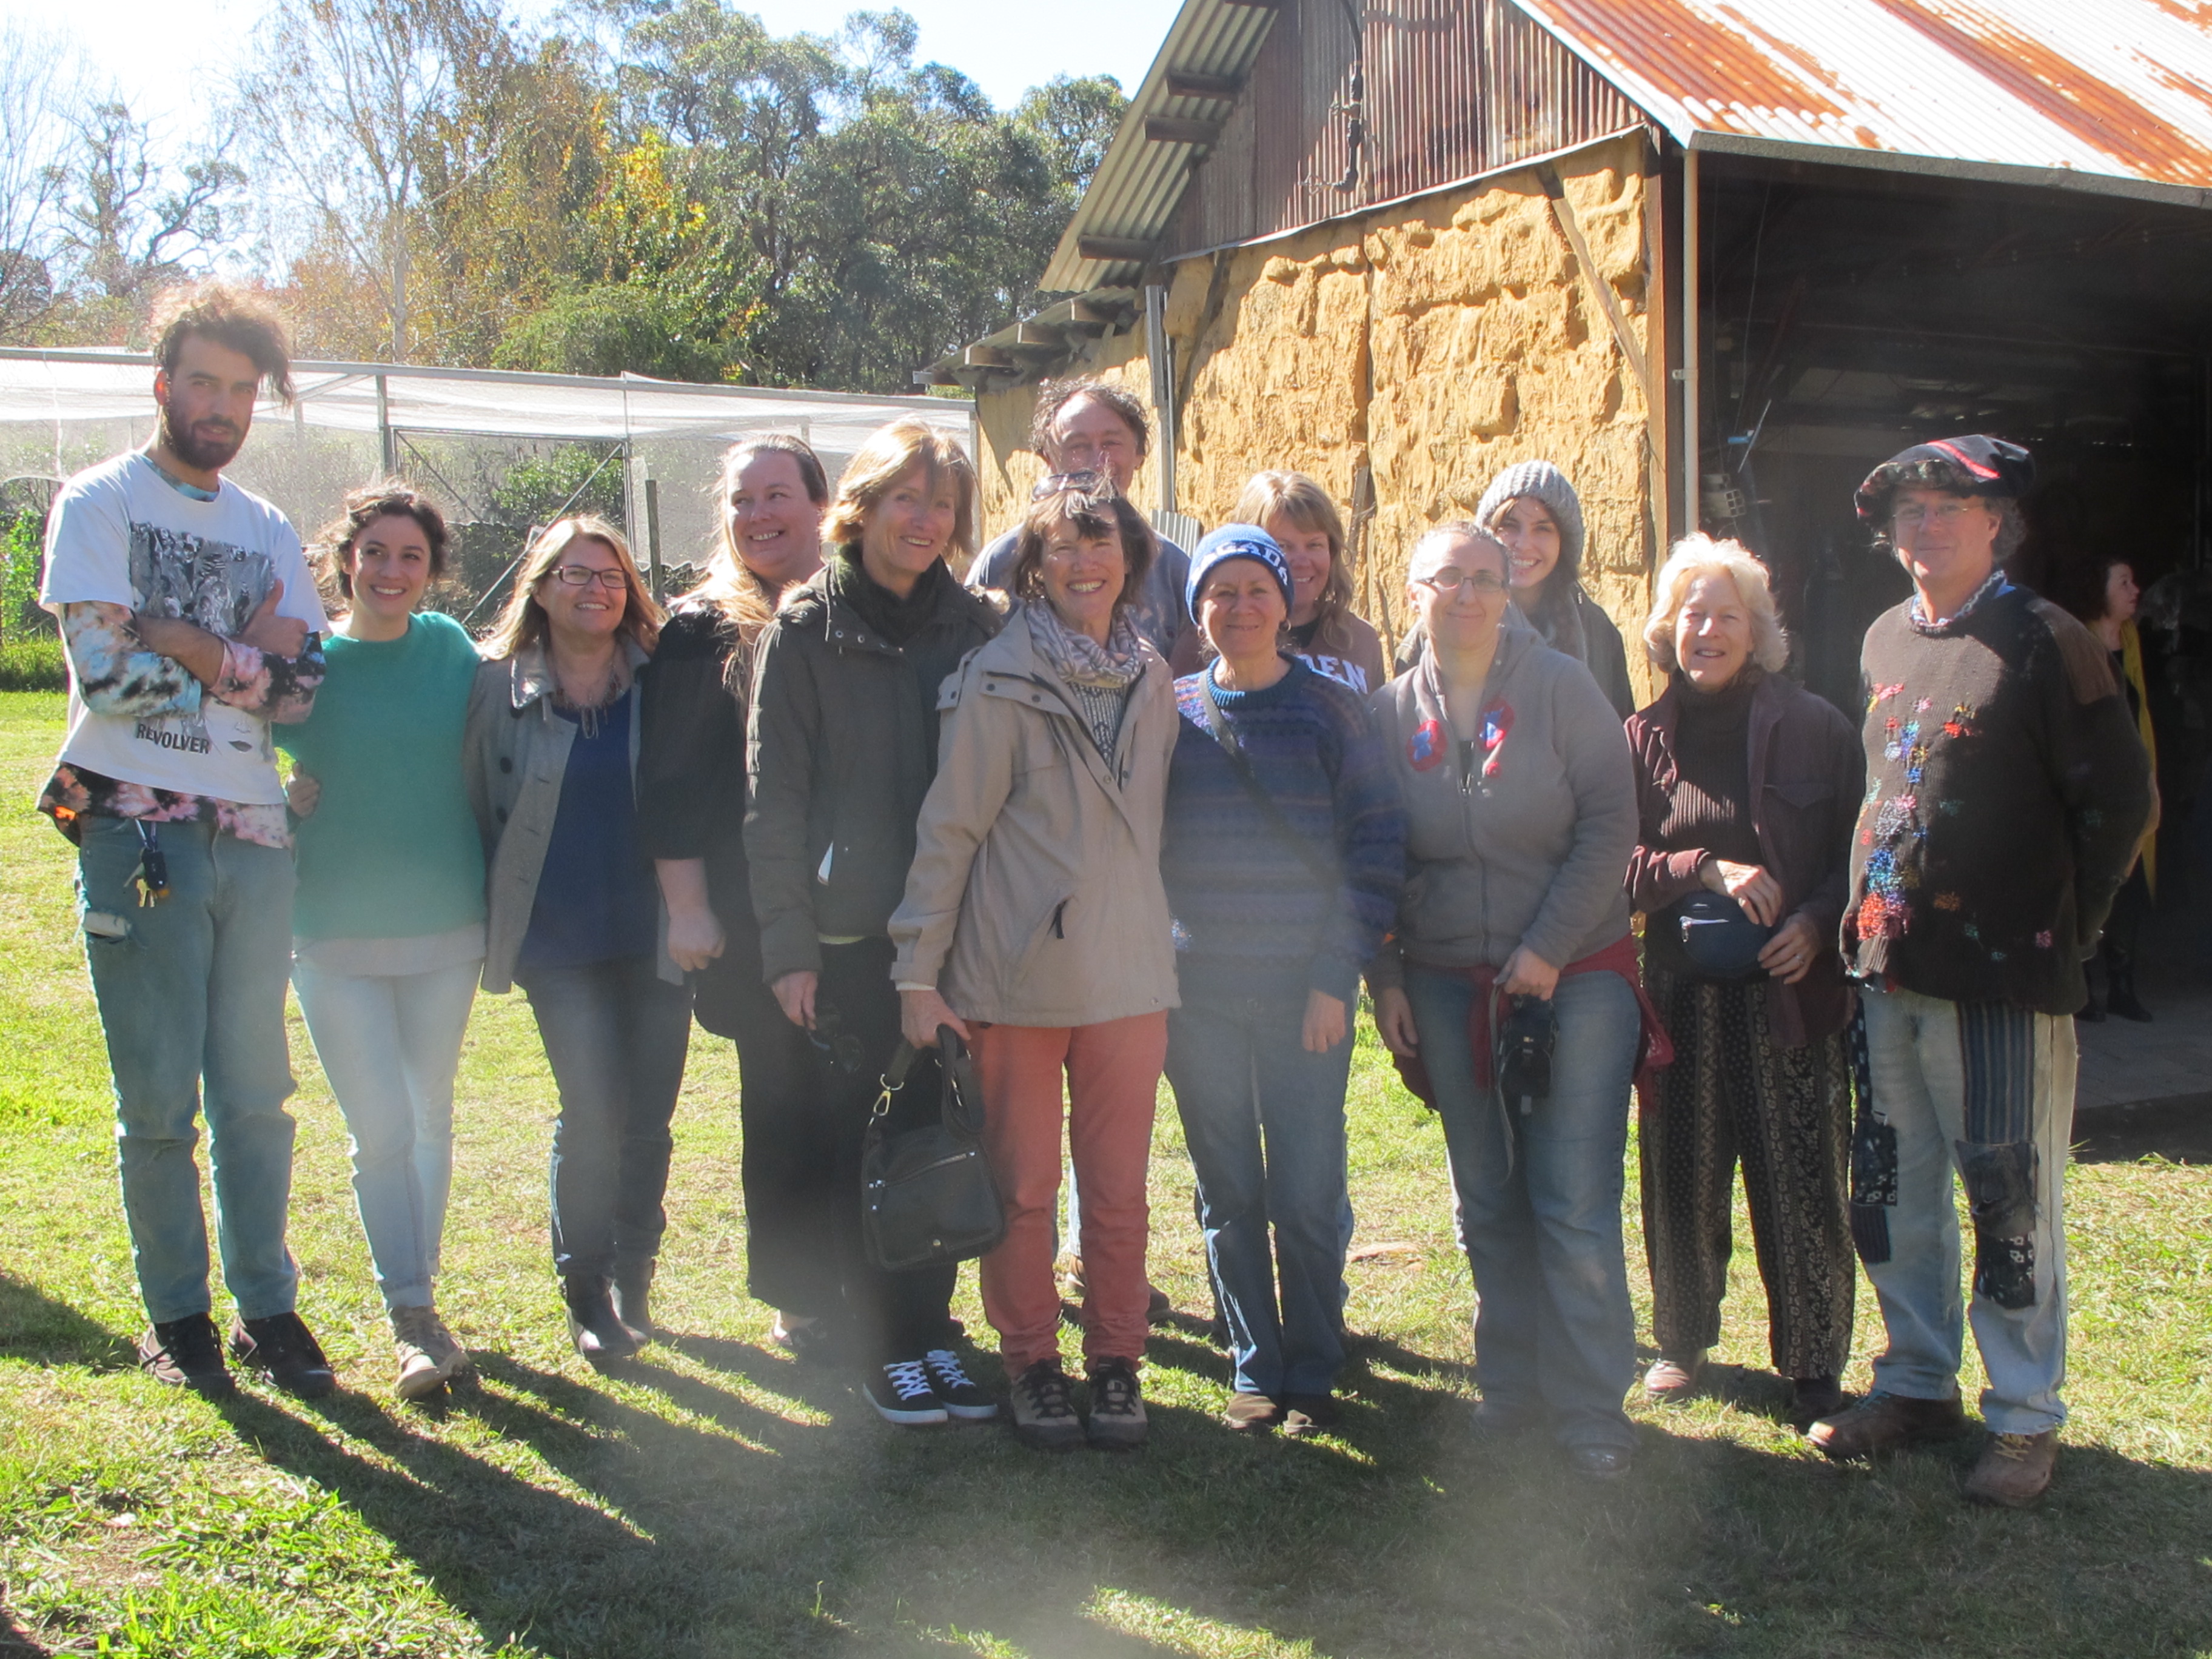
Fond regards from the thrice-warmed, Mr Redundant and his competent Mrs. – Who haven’t split up.


You must be logged in to post a comment.