
Nothing lasts forever.
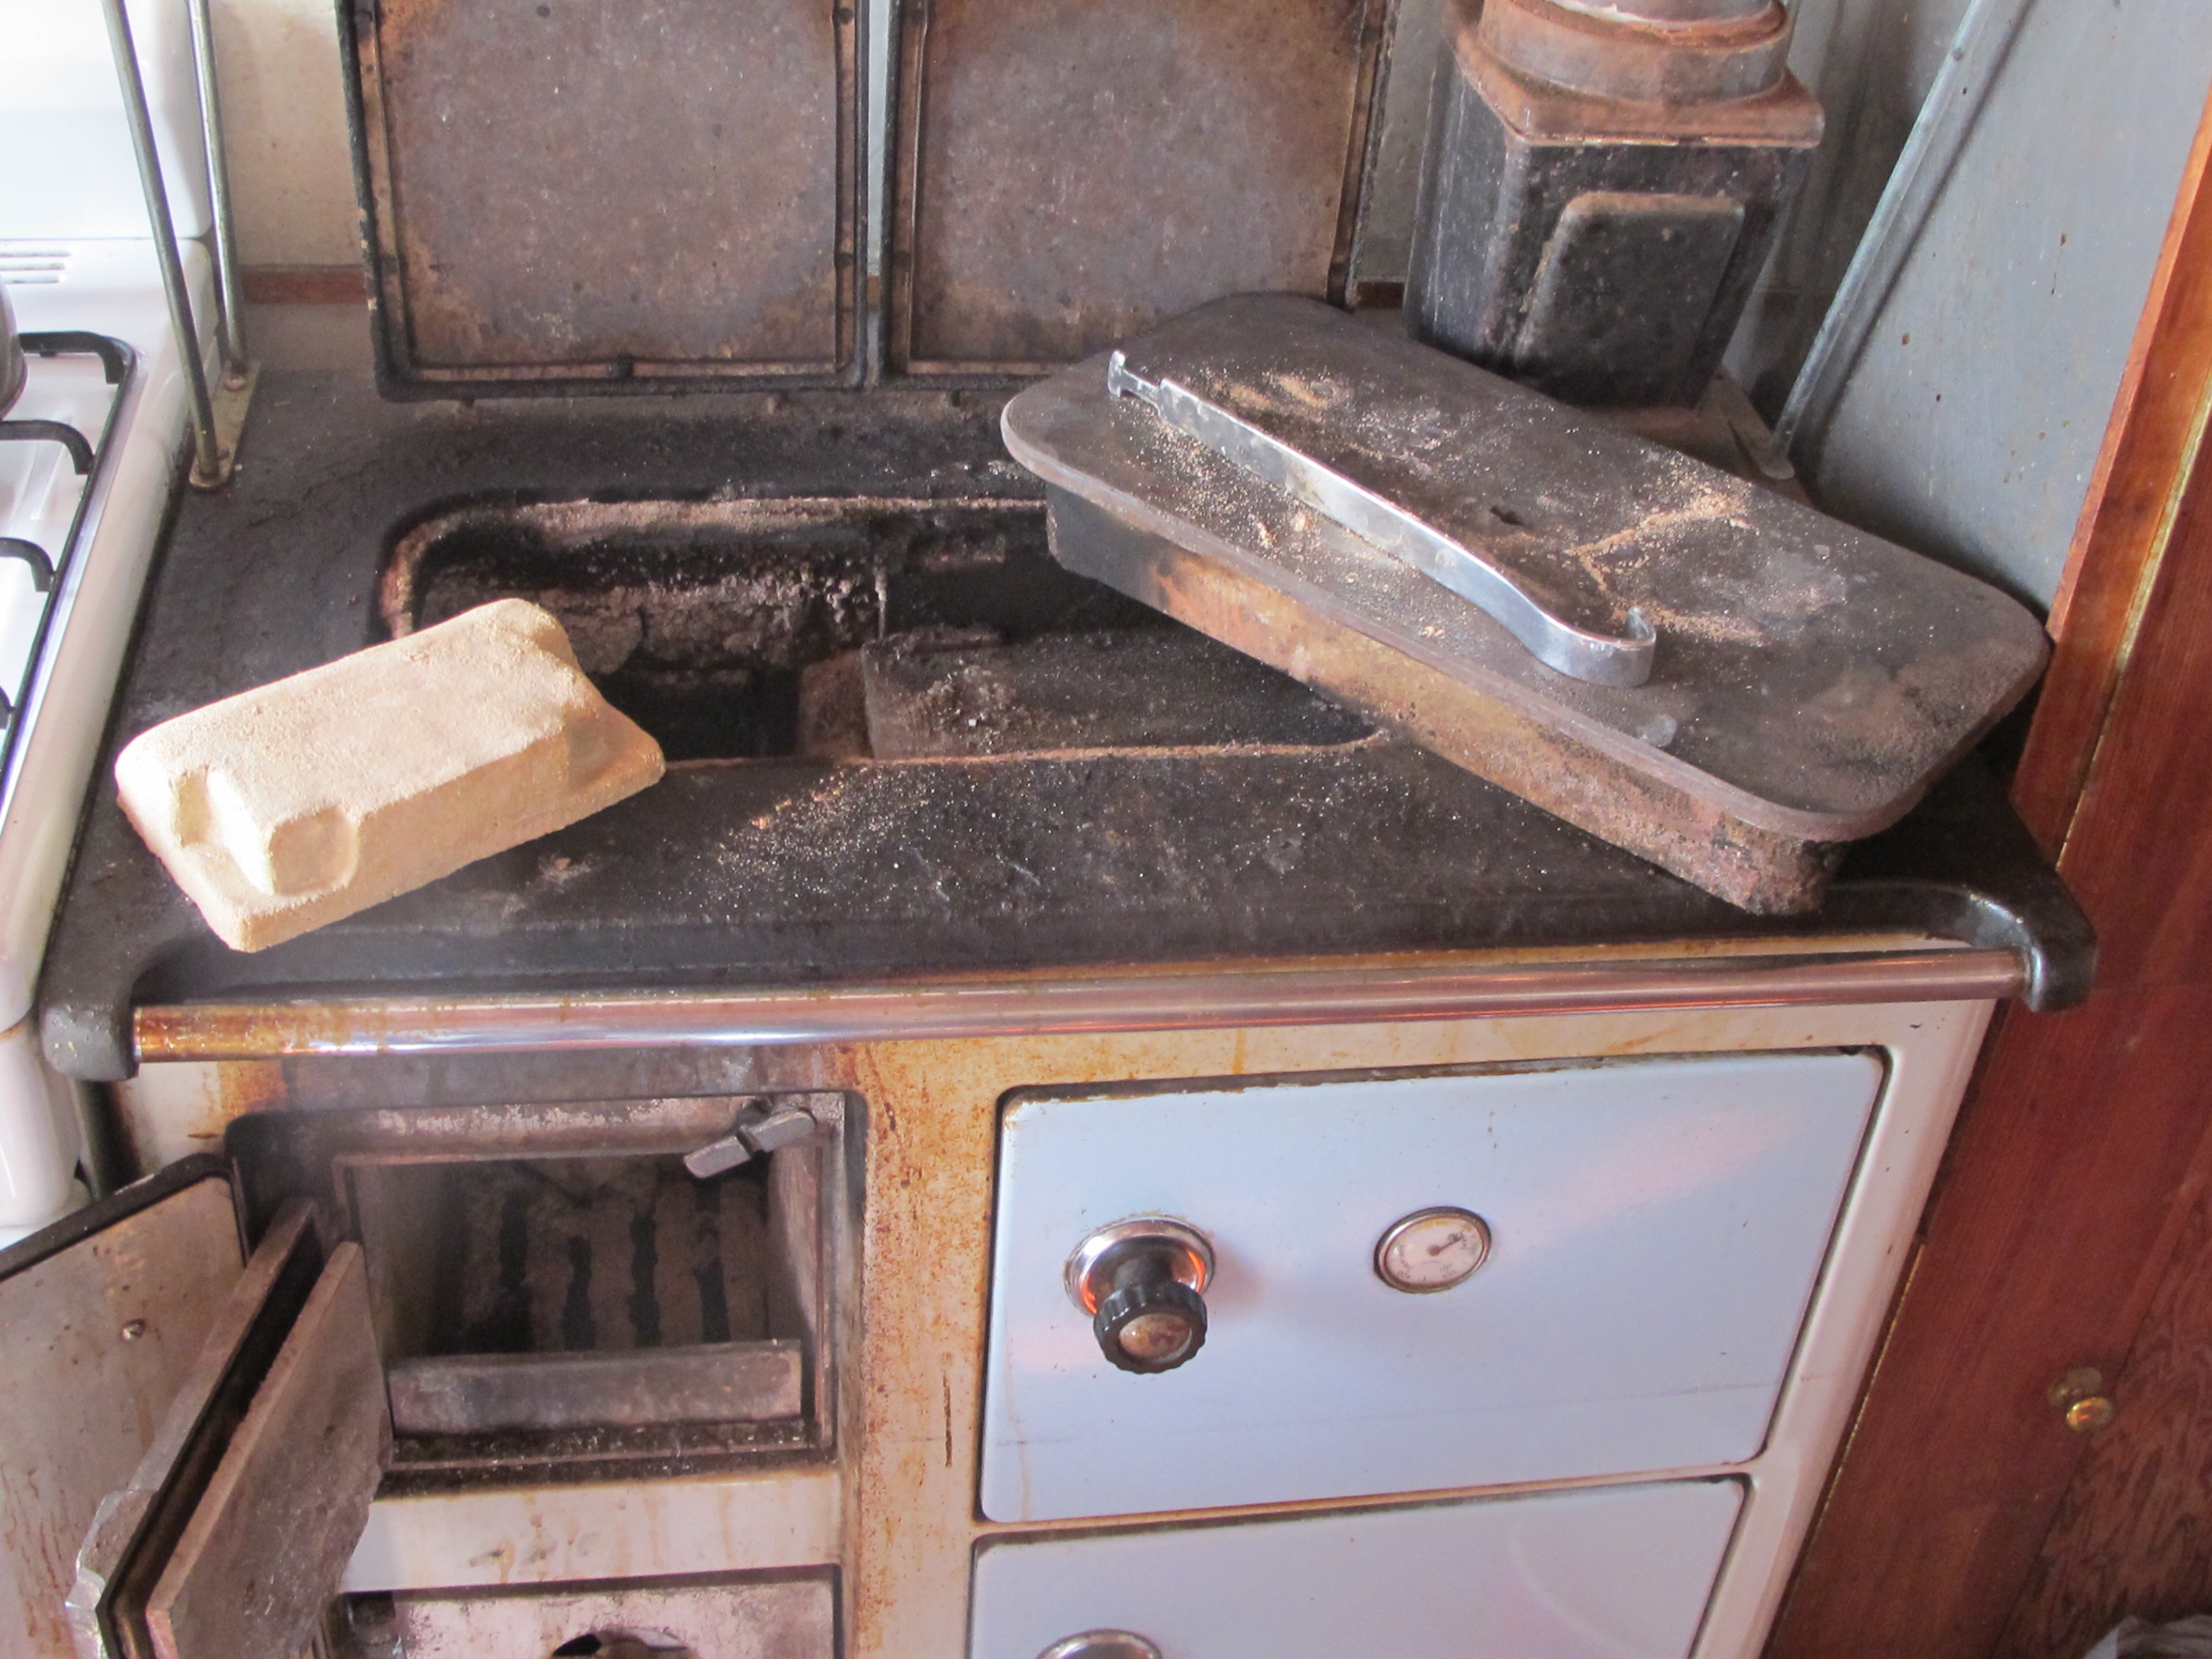
We wake up on the first day of winter to a foggy, wet, drizzly morning. I’m glad that it’s rained finally, the garden needs it. It’s been a month without rain now. We have been enjoying the prolonged Indian Summer of warm balmy days, but nothing lasts for ever. How true that is, is suddenly made very apparent when the front firebrick in the kitchen stove spalls into several pieces that fall into the fire box. It’s not a catastrophe as It’s happened before, nothing lasts forever. I know that.

I recently wrote a piece telling how this old stove has lasted us for close to 40 years and we bought it second hand even then. I shouldn’t have shot my mouth off! Suddenly I’m up for a repair job again. I say again, because the original fire brick only lasted a few years and I had to quickly make a new one from our own refractory clay mix that I used for making fire bricks, kiln shelves and props to repair the kiln. I had to piece the old stove liner brick back together from the shards to approximate the shape and size needed. I hand formed the first brick into what I thought was the shape of the original one, with all its curves and cut-outs, such that it locks into place and is held there by gravity. Luckily, I made a plaster cast of that first hand made fire brick, so I could easily make some more. It was also lucky that Janine and I had made all of our own kiln shelves and props to support the pottery in our kiln during firing and so we had some special refractory fire brick mix already in stock.
When we started out here we had no money and the kiln shelves used to load all the pots into the kiln were very, very, expensive. We were able to buy 2nd hand fire bricks to build our first big kiln for next to nothing, but the kiln furniture to fill it was prohibitively expensive. Our kiln was also quite large at 120 cu. ft. or 3.5 cu. m. This meant that we would need a lot of kiln shelves to be able to fill it with a load of small functional pots. Some potters got around this by making big planter garden pots that stacked on top of each other to fill the kiln, others made special shapes that sat inside each other, sitting on little wads, still others cut special foot ring shaped grooves into the glaze surface so that they could be stacked inside each other and didn’t stick during firing, and a few others tried making saggars, like ceramic cake tins, that held the pots and stacked on top of each other, but their life was short as they cracked easily and it was a lot of work to re-make them. We tried all of these singly and in combination.
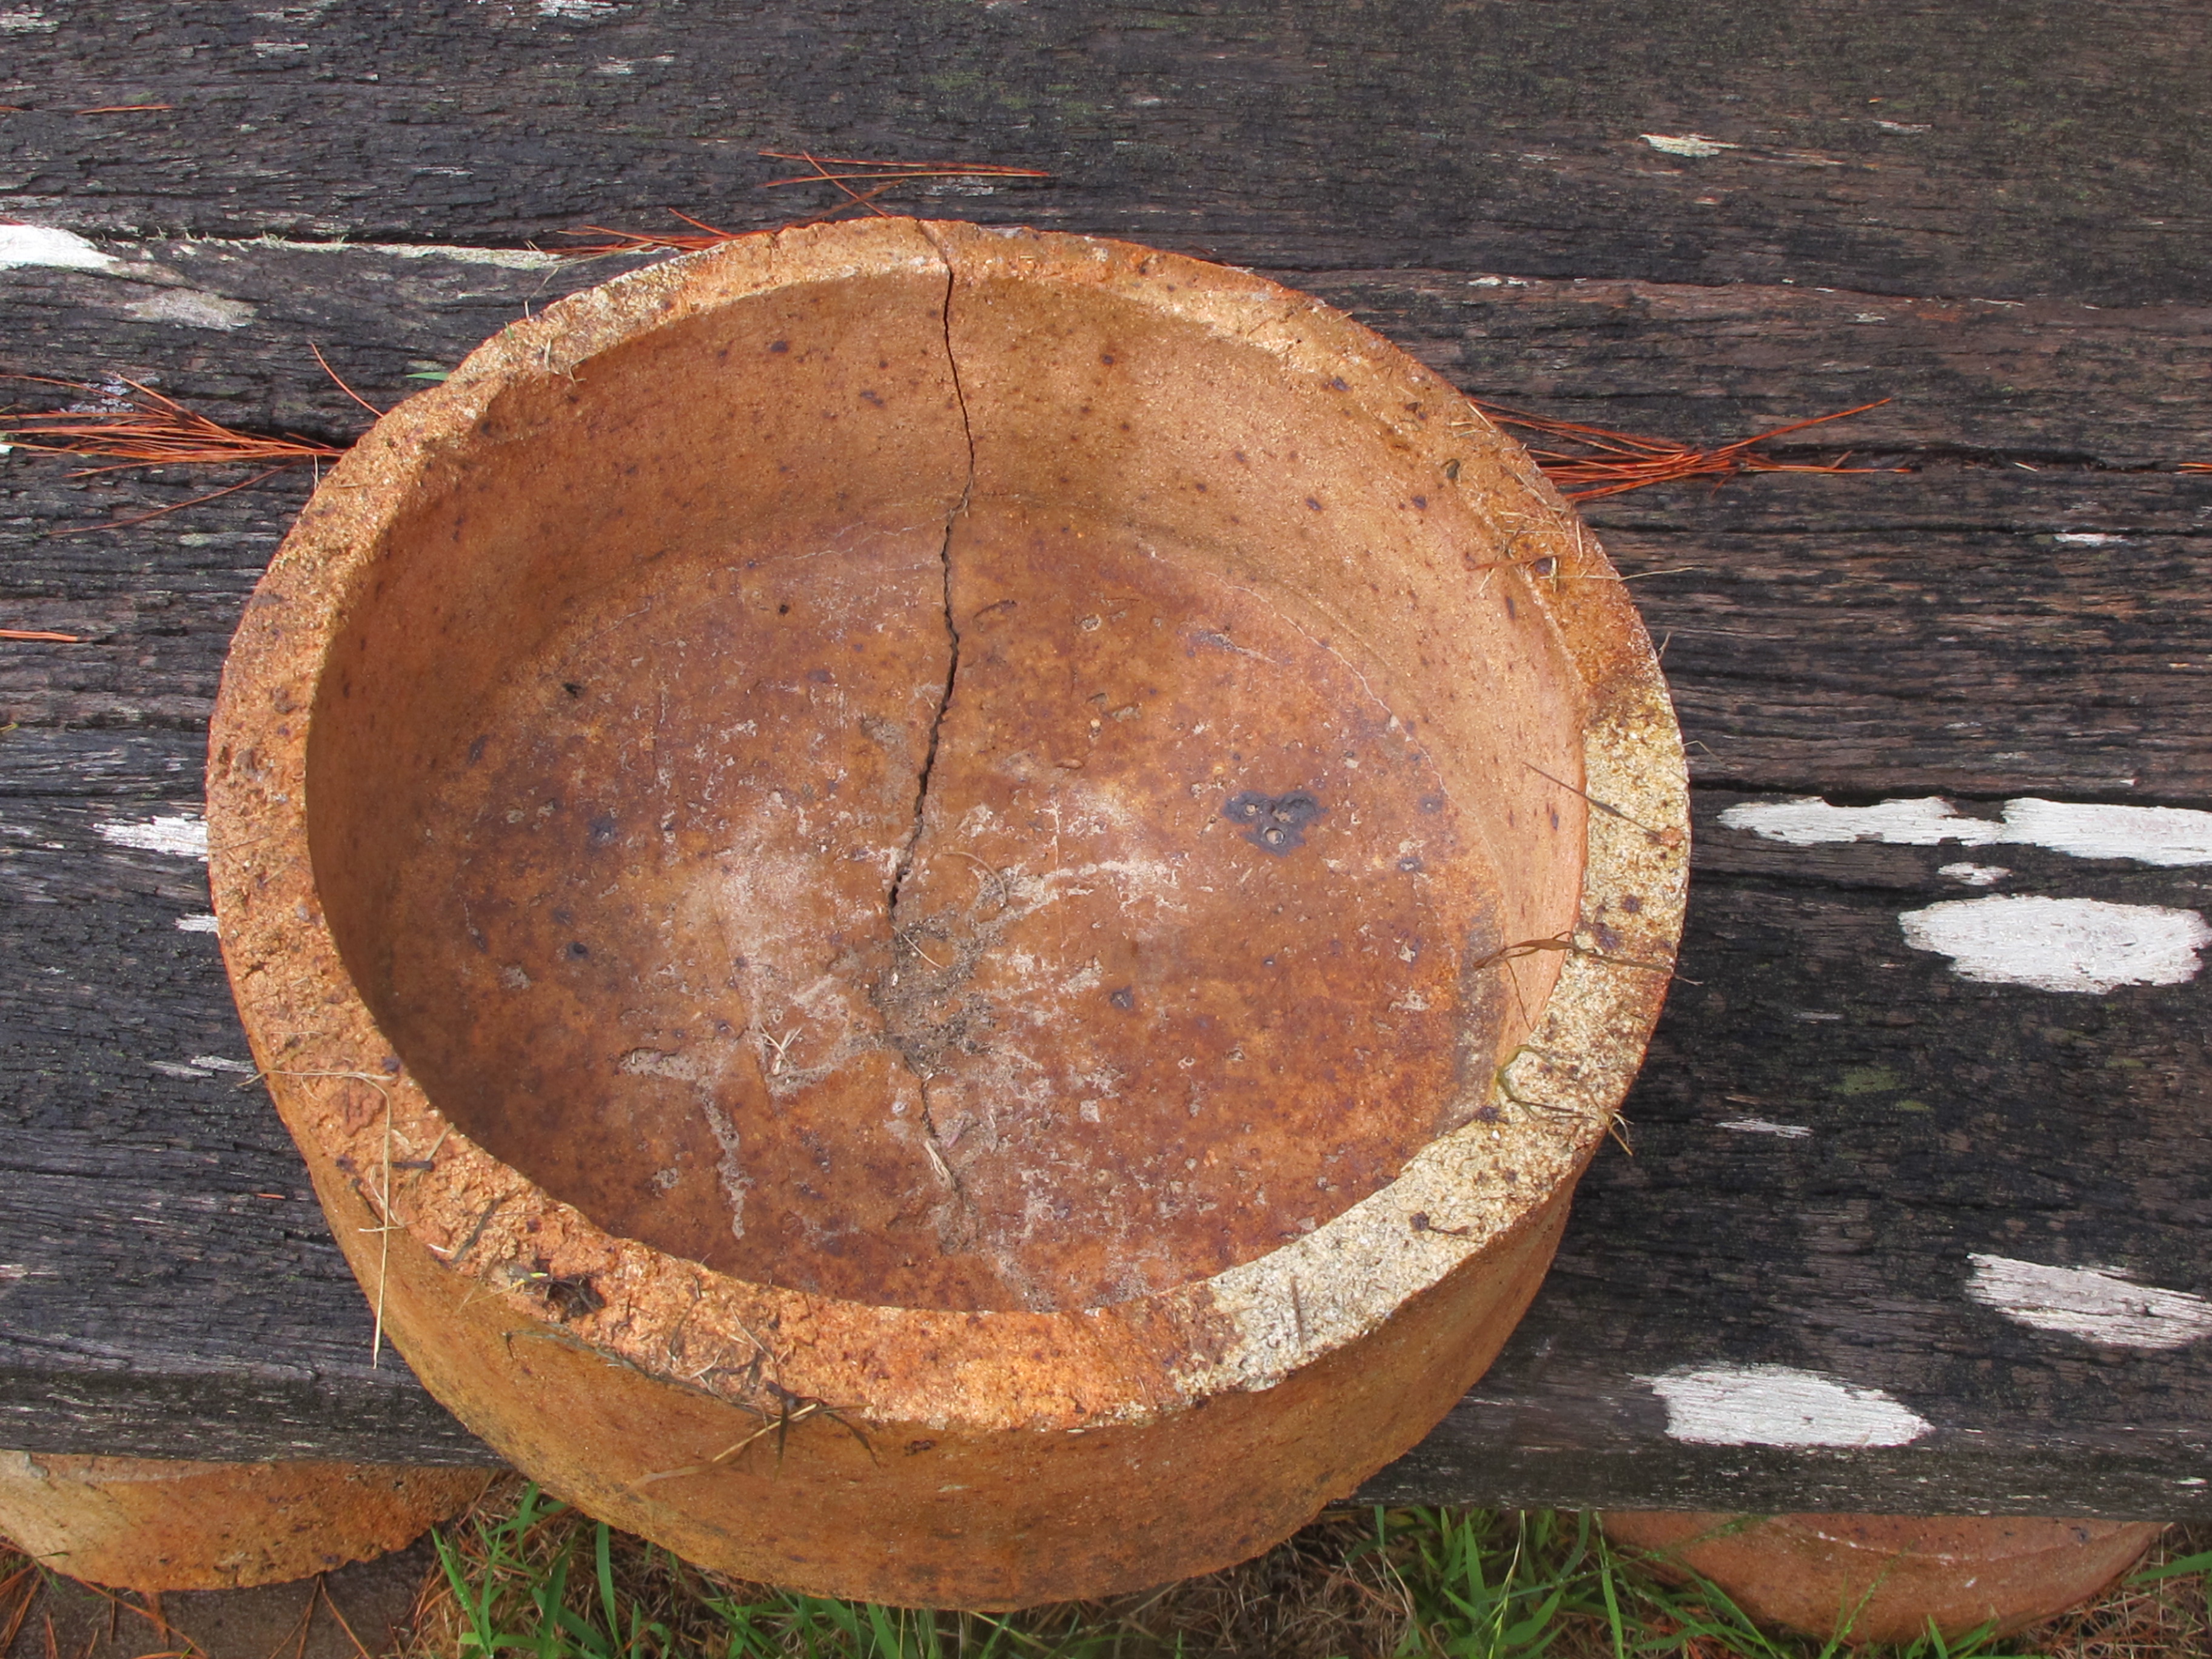
A failed, cracked, old-fashioned sagger. These cracks are typical of what happens to this kind of one-piece sagger.

A dish with cut-out glaze ring in the centre, for the next pot’s foot ring to fit on top. Making for a vertical stack of bowls. In this way many bowls can be set on top of each other in the kiln without kiln shelves.

Adding small fine wads to the foot ring of a dish. These are needed to allow for the slightly uneven surface of our ‘rough’ home made shelves.
Luckily, we got to work with Harry and May Davis in New Zealand in 1980, where we saw how they made their own kiln furniture quite successfully, so I just applied here, what I learned there, from the Davis’s. See; The Potters Alternative, Harry Davis, Methuen Australia, 1987. Harry had already been there and done that. He had already figured it all out and come to a very clever solution. As was his way. He used separate square kiln shelves and square corner props to make his saggars. Because they were already made in 5 pieces, they couldn’t crack apart like the old style one-piece saggars did. The Davis’s were a very impressive and admirable couple. Very ethical and socially minded.
To get the best outcome for hand made refractories we needed good kaolin. So we bought a train goods-car load of bulk, unprocessed, refractory kaolin, No157. from Phil Crossley, at ‘Puggoon’, near Gulgong. Approximately 10 tonnes. It was excellent quality, high alumina, refractory kaolin, normally sold to firebrick companies to make high alumina fire bricks. The hardest part was having to climb into the rail car and shovel all the clay out into a hired tipper truck. Paying demurrage on the train car and paying the truck to wait for a few hours while I shovelled it all out was the most expensive part. It turned out that it would have been cheaper to have it trucked directly down to us and tipped out on site.
Nothing is what it seems.


Packing our first kiln here with home made kiln furniture.
We were able to make all our own ‘inferior’ quality, hand formed, kiln refractories for many years. I say ‘inferior’ because we were not able to fire them high enough to make them really strong, but they were OK. Not brilliant, but just OK. I still have a little bit of this clay left. I stopped using it when I discovered my own local white bauxite clay substance, that although not as good as the ‘Puggoon’ kaolin, was local and within my 50 km radius, from where I have prospected nearly all of my materials. This is my equivalent of the 100 Mile Diet, applied to ceramics, the 50 km palette. It has become all part of our attempt to live as sustainably as we can manage.
In the past year I have extended this area a little to include a few more materials, as I find them on little trips into the countryside. I have also again bought some Gulgong kaolin to help to plasticise my local ground stone and washed gravel clay bodies. I must say it is such a relief to be able to throw almost normally again after ten years of struggling with the virtually non-plastic ground stone powder pastes. I’m changing and becoming a little more pragmatic in my old age. A step back from total self-reliance.
Nothing is perfect.

So I take one of the pre-fired stove fire bricks out of stock from under the hot water tank cupboard in the kitchen and replace the crumbled one with a brand new one. I make a mental note that the next time I see the stove firebrick mould down in the pottery. I must make two more stove bricks for stock.
Next it will be the cast iron grate that needs replacing. I can see that it is almost done in, but still has a few more months of life left in it yet. It is rusting away and is badly buckled up. I have two more of these home made replacements in the cupboard waiting in stock. so all is well there. The current one will stay in place until this one finally fails.
I found out very early on that cast iron driveway grating sections, when cut into 3 pieces with an angle grinder, work very well as replacement parts for the grate. They only cost $3 each and last longer than the original cast iron ‘raddle’ grate ever did.
I never like to throw out anything that isn’t completely worn out. So the old buckled grate stays for the time being. It’s not such a big job to replace this part when it’s had it. Self reliant maintenance is an on-going job that never ends.
Nothing is ever finished.
So now the stove is back in working order again. In time for this cool, damp, first day of winter.
With respect, from the wannabe-self-reliant post modern peasant potters
Steve and Janine

You must be logged in to post a comment.