
We are almost half way through autumn now, the Indian summer is over and the weather has turned cooler. No more 30 degree days. This past week has been steadily in the 20’s and with rain or showers almost every day. However there are bright sunny patches in between. I’ve been working my way through the big pots that I threw to begin this throwing session, bisque firing them in the electric kiln using only pure sunshine. The recent addition of extra solar PV panels last year, bringing us up to 17 kW total and the addition of the 2nd battery, means that we are able to fire without any withdrawal from the grid. I can even fire both electric kilns to bisque at the same time, or just one kiln to stoneware. This is a great sense of independence.
With the price of gas having gone up from $1.75 a litre last year to $2.50 this year with no additional increase in the production cost. It’s just profit gouging and it’s a complete rip off.
So I’m very proud to be able to fire my kilns with my own sunshine. And drive my car off it as well! It’s amazing that there is enough to go around, but we still export our excess on the days when we are not firing. We even manage to export a little in the early stages of the firing.


This is from our most recent electricity bill. Our daily usage is down to 0.76 kWh per day. Down from 1.64 kWh per day the previous year. When we were doing more firings.
The average Australian 2 person household like ours is using 17.6 kWh per day. So, it seems that all our efforts to tread gently in the world are paying off. We run a very efficient, low energy house hold.
Some time later this year, or maybe next, We will be getting rid of our old LP gas kitchen stove. That is our last big investment in our conversion to fully solar electric living. I’m waiting for induction cookers to become more widely available and hopefully a lot cheaper. I have already installed a twin induction cooktop in the pottery. It was only $350. Very affordable.
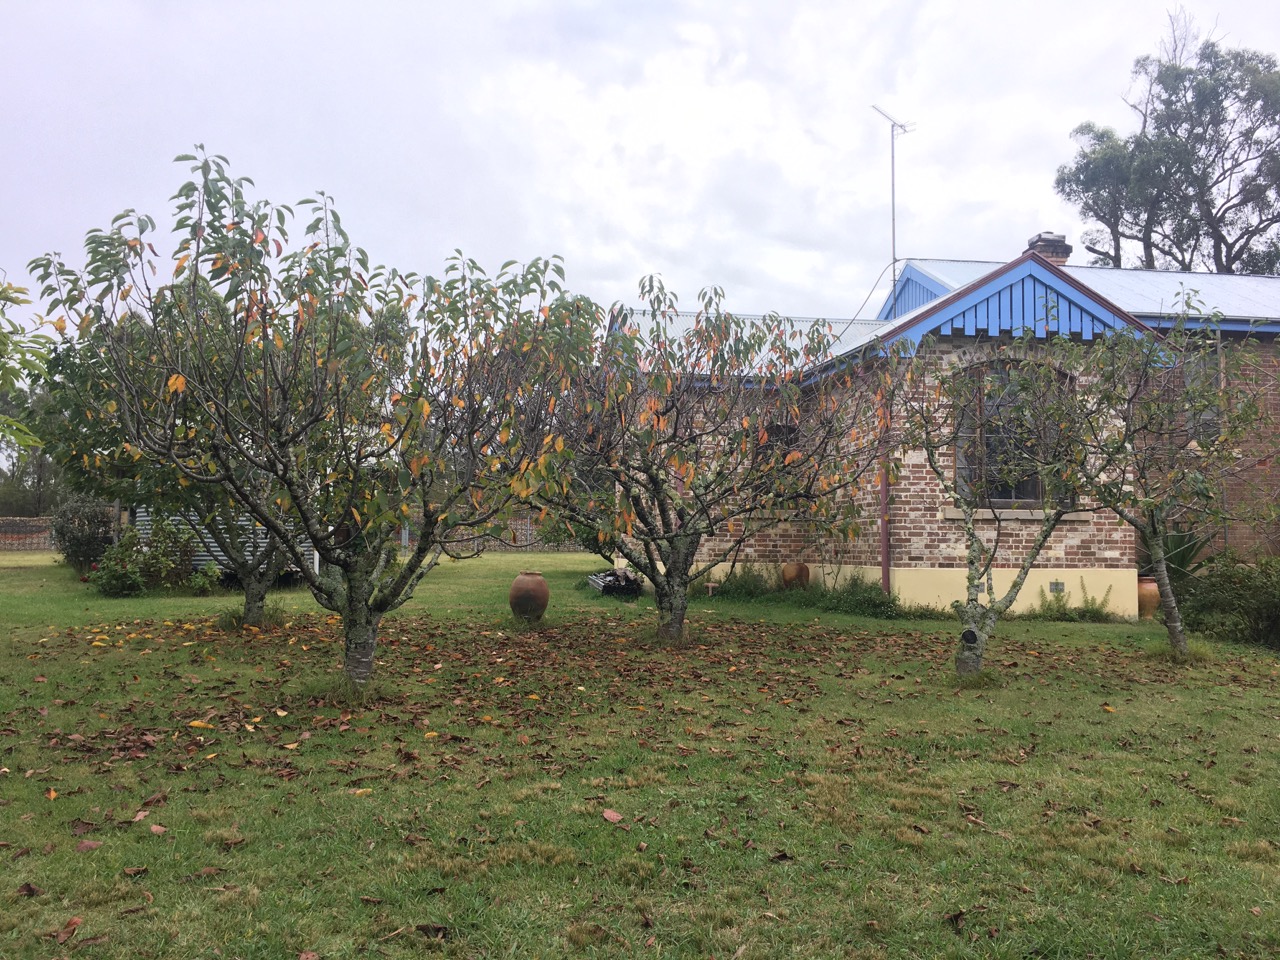
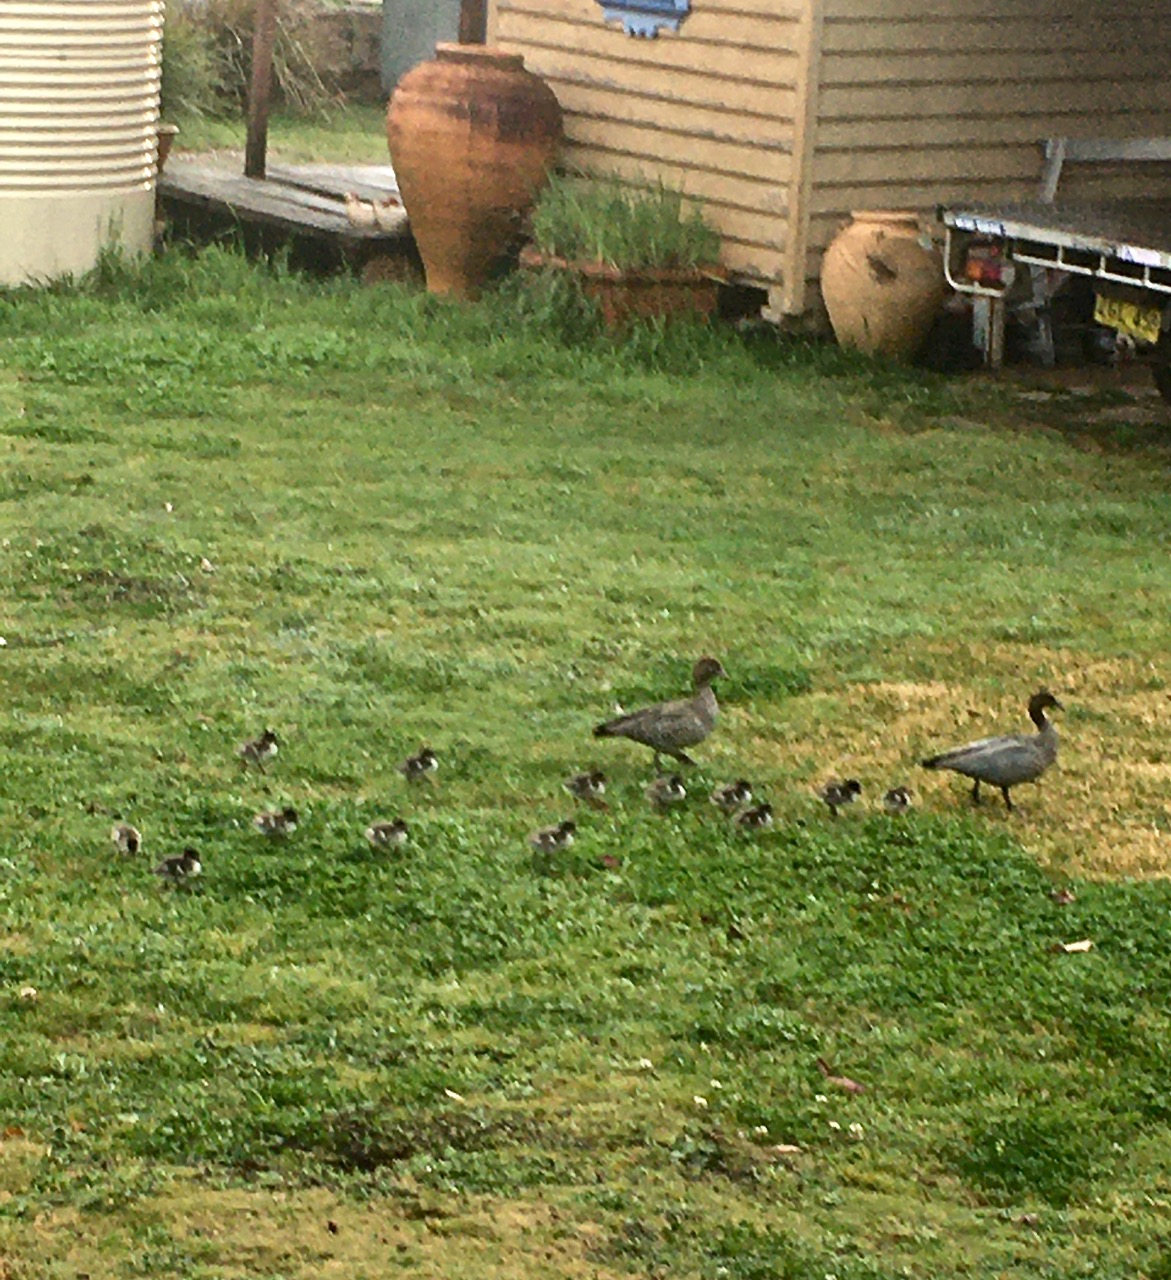
A sign that autumn is well under way here is the change in the Cherry trees, as they shut down and prepare for winter. They are early to fruit in spring, and correspondingly, the first to loose their leaves in the autumn. Our bedroom looks out on to the Chekov orchard. We currently have a carpet of yellow leaves out side our window, that is slowly turning brown.
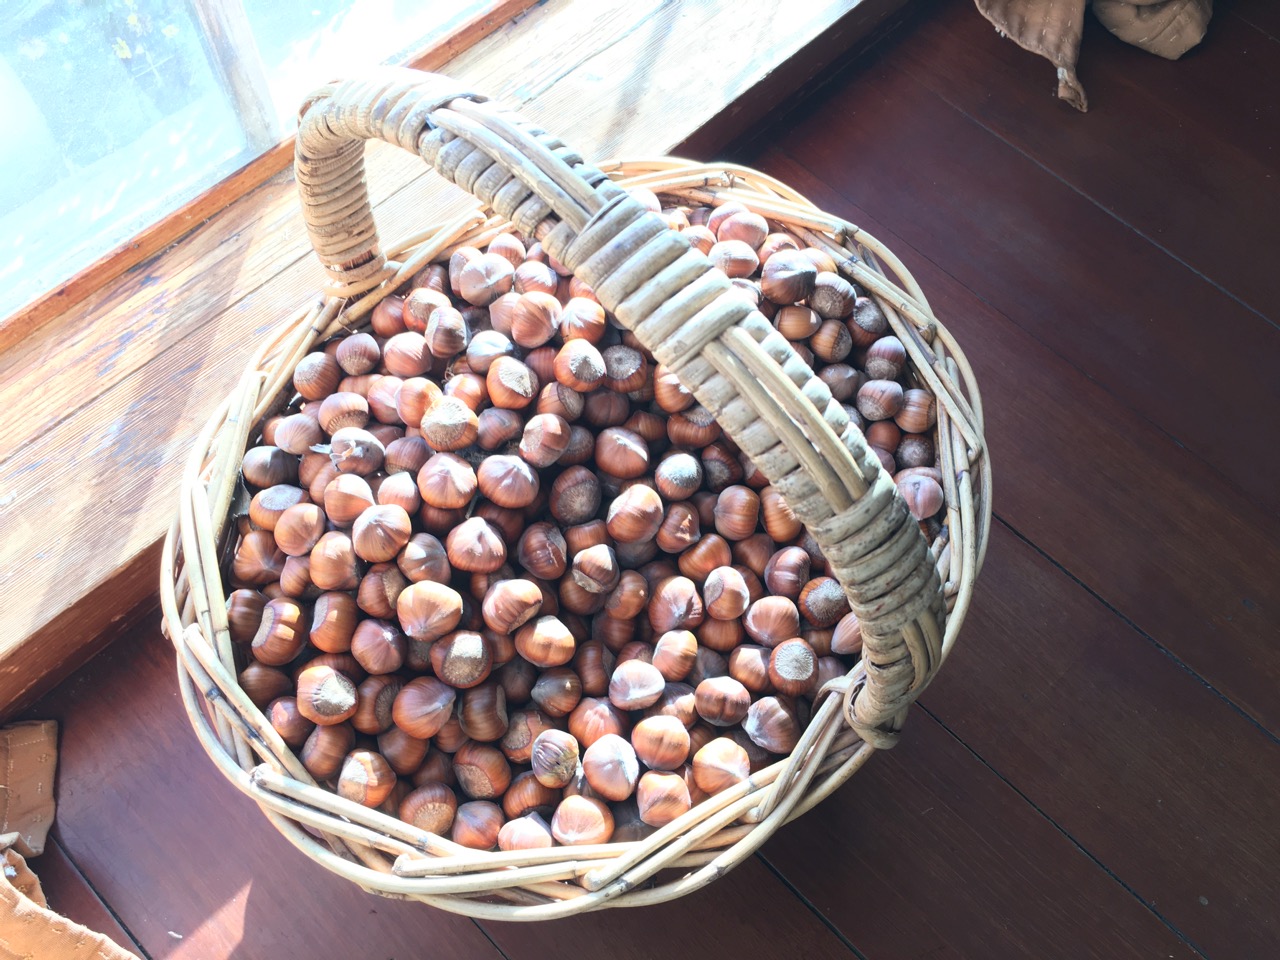
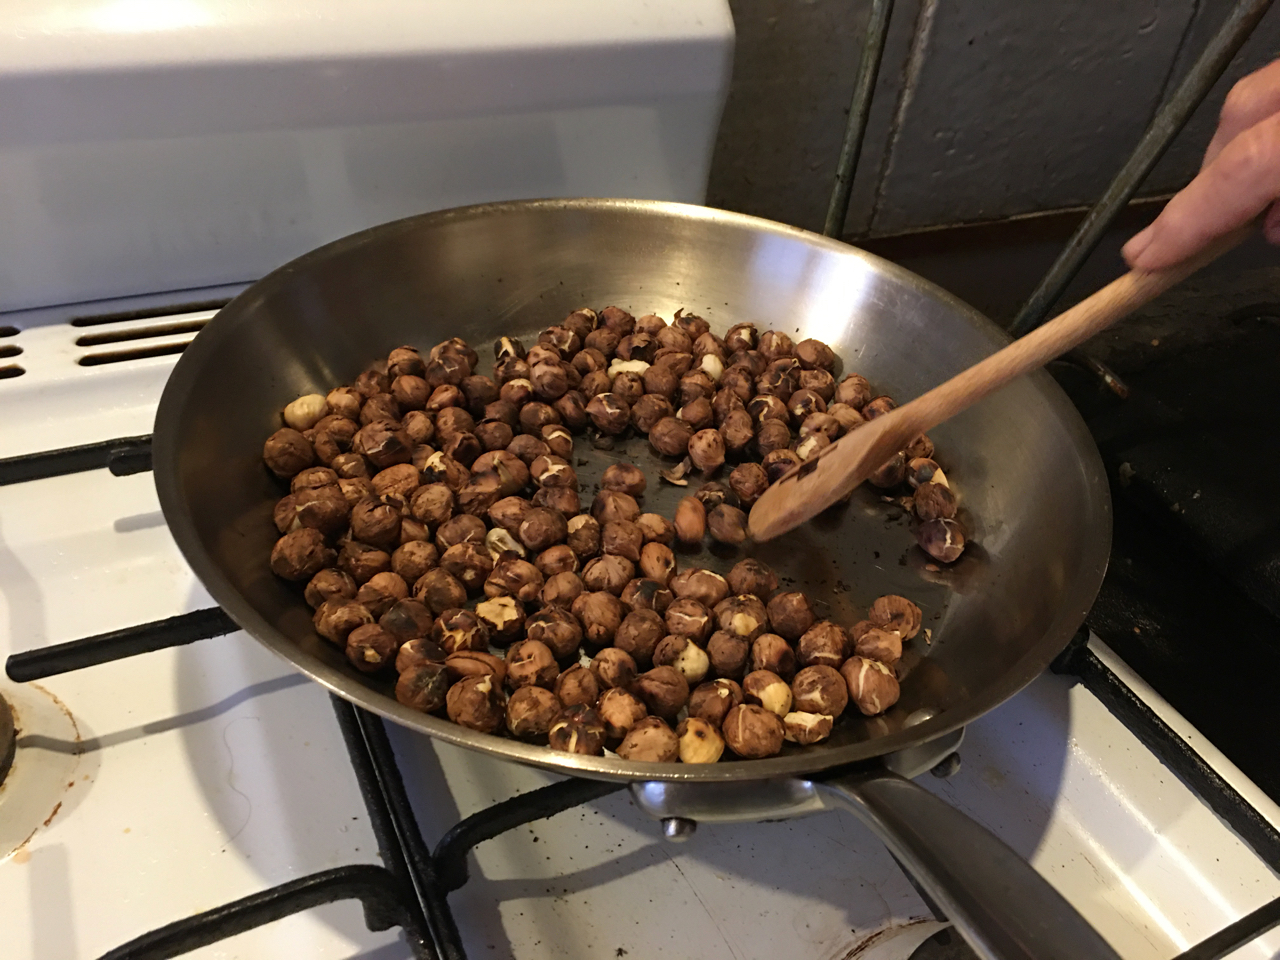
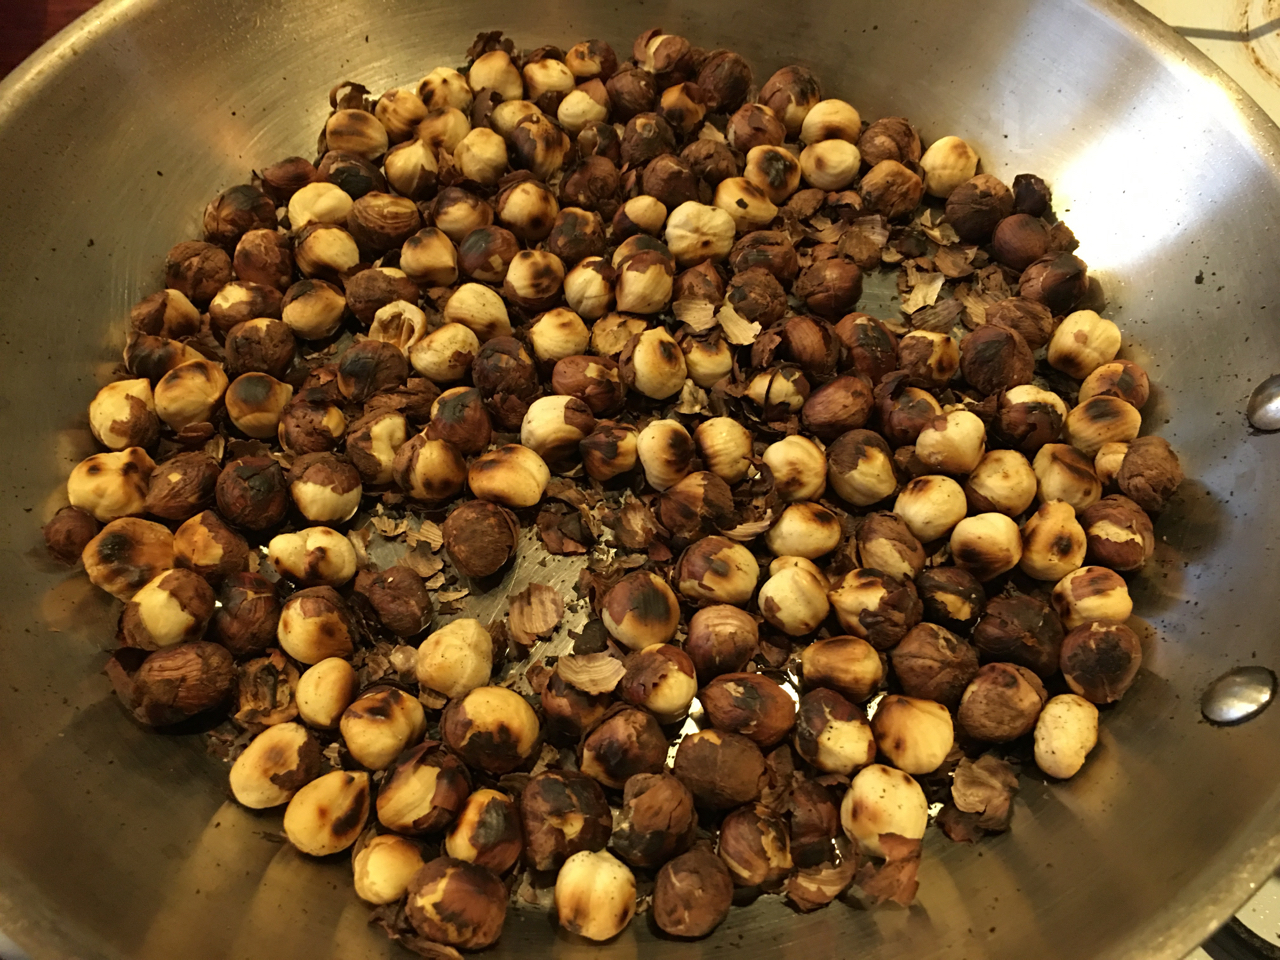
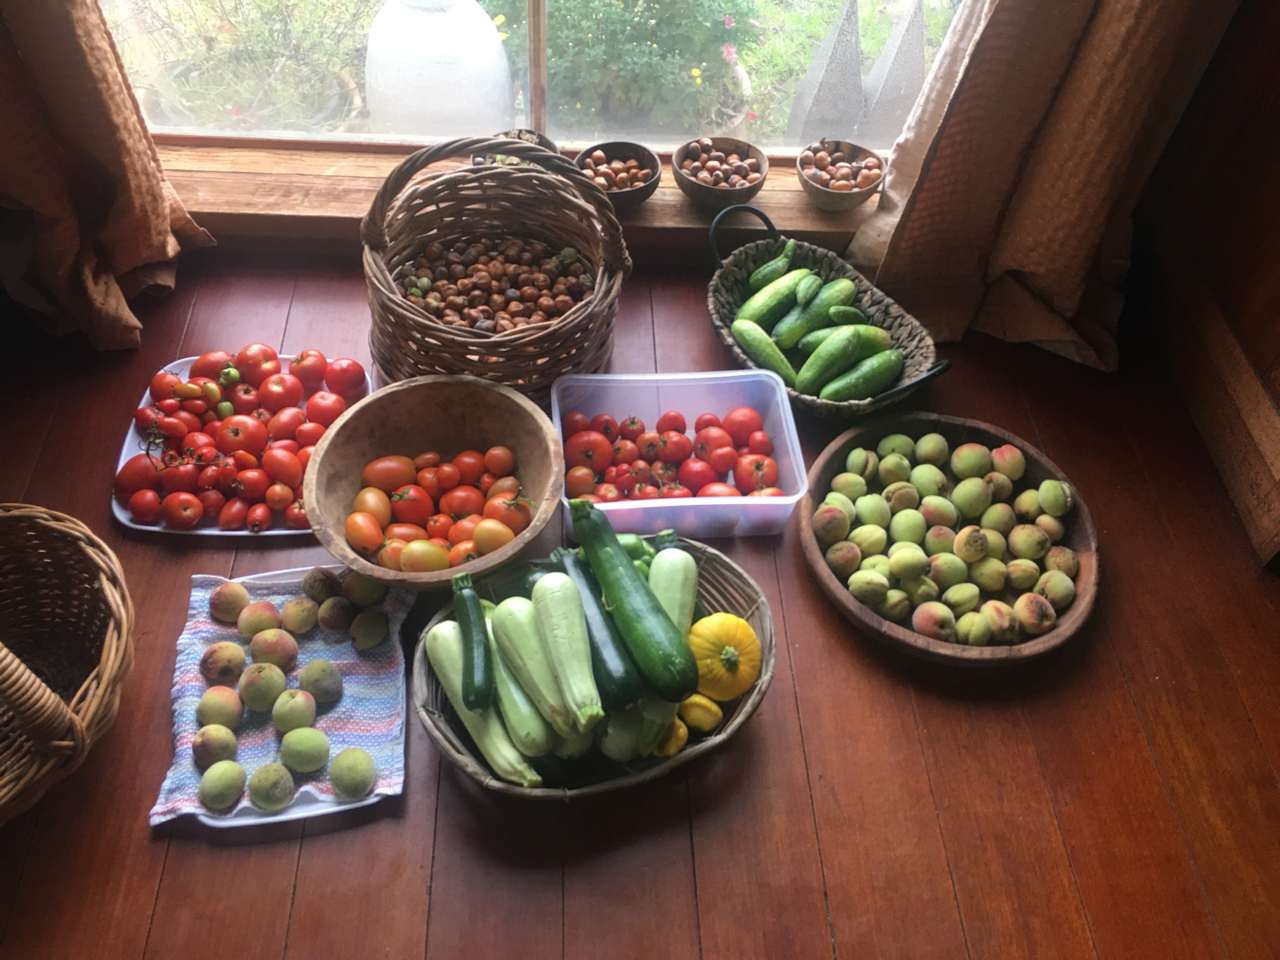
Janine has been collecting more hazel nuts. So far she has picked up 3 baskets full, and there are still more to come. First, she shells them, then checks them for nuts, by bouncing them on the table. If they bounce, they are empty and are discarded. Not worth the energy to crack them to find them empty. The full shells are then cracked open and the nuts are dried in the sunny window for a while. Later she roasts them in a pan on the stove to bring out that superb hazelnut flavour. It’s an ongoing job that is spread over a couple of months. Fitted in here and there whenever the time allows. Most often in front of the idiot box — if there is anything at all worth wasting time on, which is an increasingly rare event
The hazels have already started flowering again. The male ‘catkin’ flowers are out now. I often wonder why? As the female flowers don’t come out until the trees are dormant and have lost all their leaves. The female flowers are quite insignificant and very hard to see, just a pin head sized red dot. They don’t attract any pollinators at all and are wind pollinated, so we have planned out our hazel nuttery of a dozen trees, in such a way as all the best pollinator varieties are up-wind of the predominant winter gales that blow the male pollen down among all the waiting and fecund female flowers.


This is the Hazel nuttery and I am the Nutter. Two of these hazels were bought with an inoculation of French Black truffle spores. So we have some vague hope of truffles in the future — maybe? I planted a dozen different truffle inoculated trees of various types and they all got burnt to the ground in the fire. Only 3 trees re-shot from their root stocks. As truffles are a fungus that lives underground. I’m hopeful that the spores are still active and will one day produce a little surprise for us. But I’m not holding my breath.
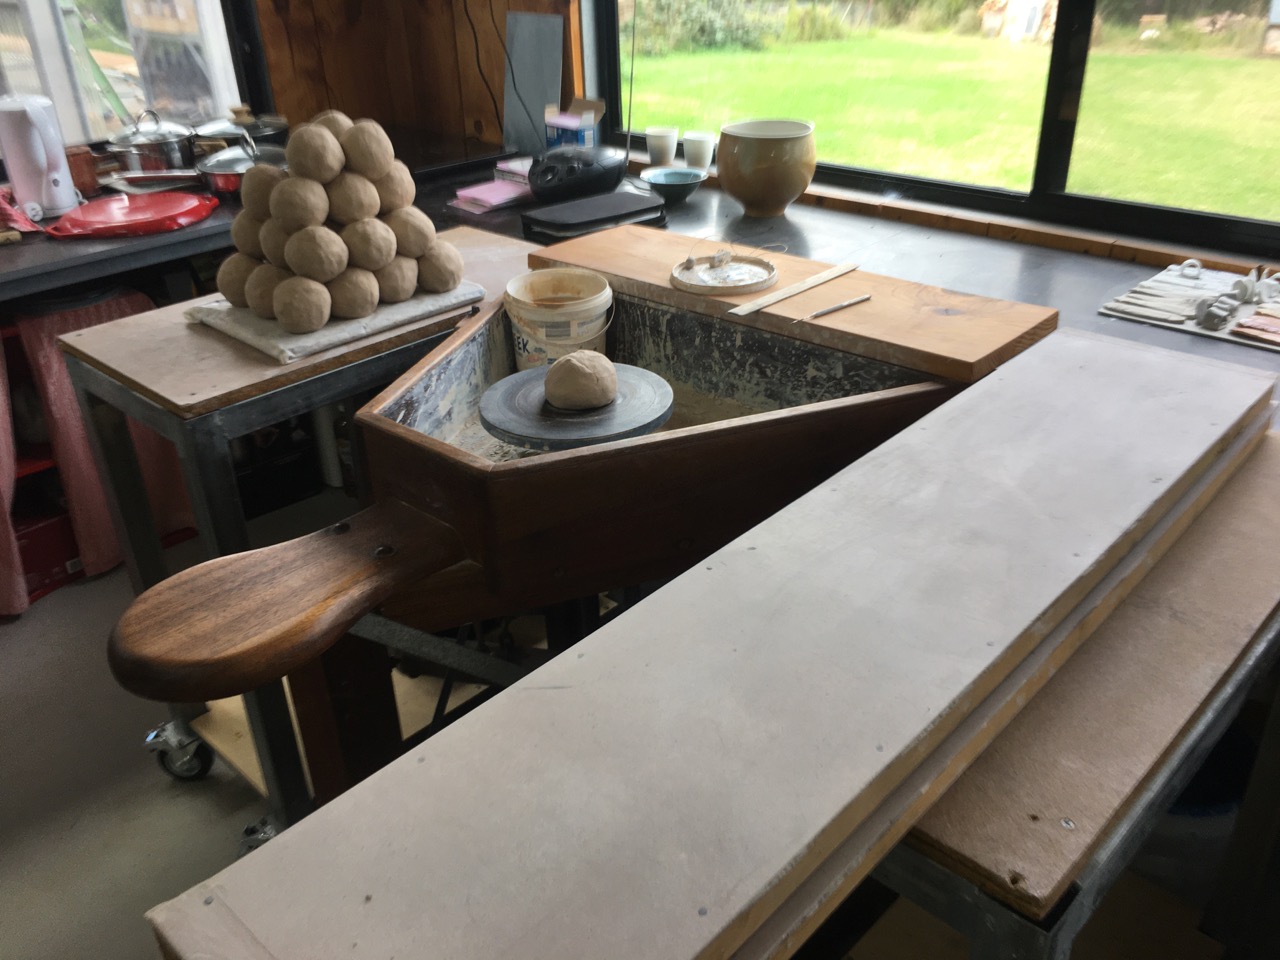
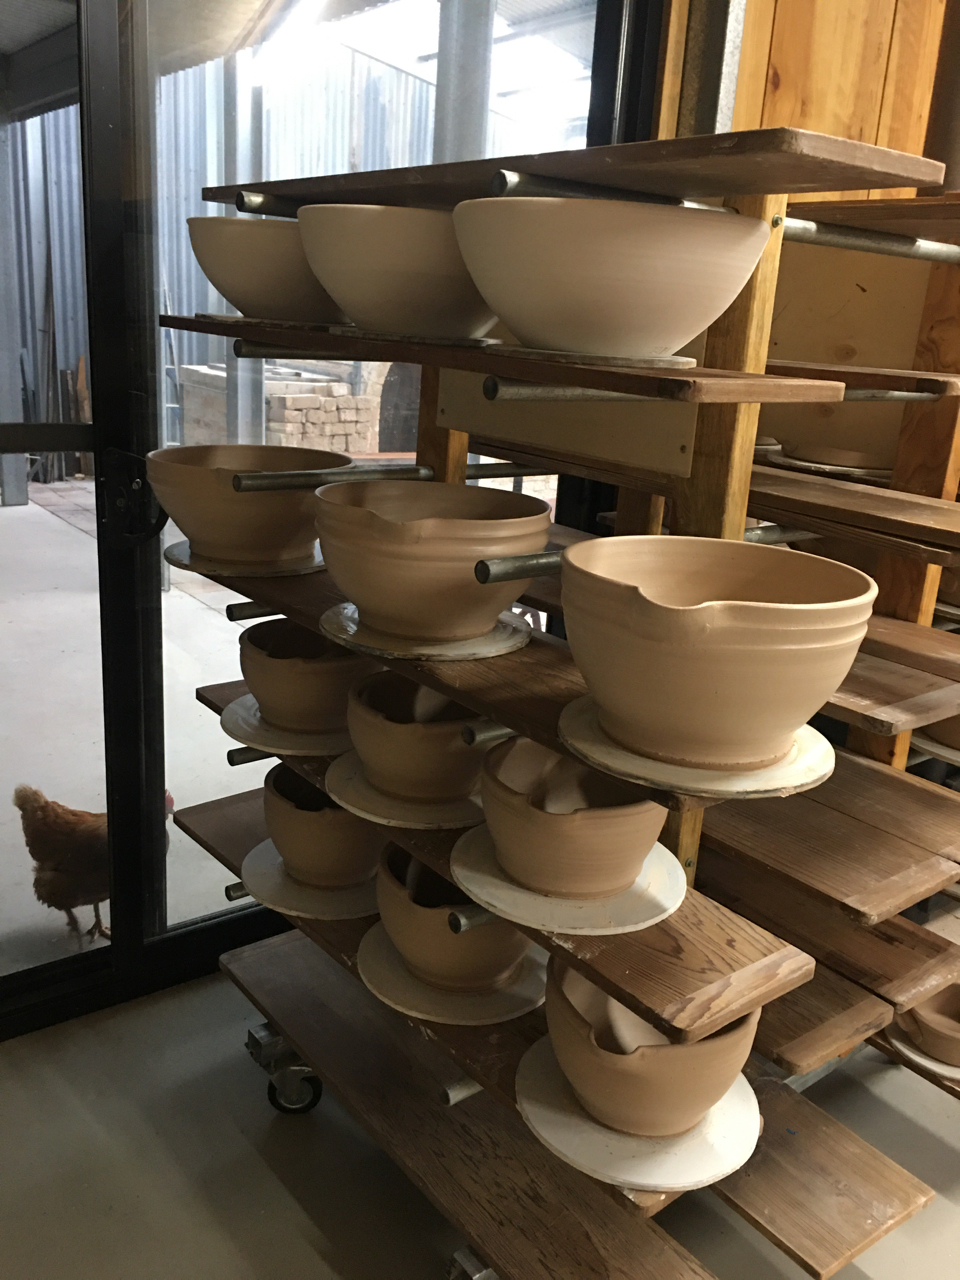
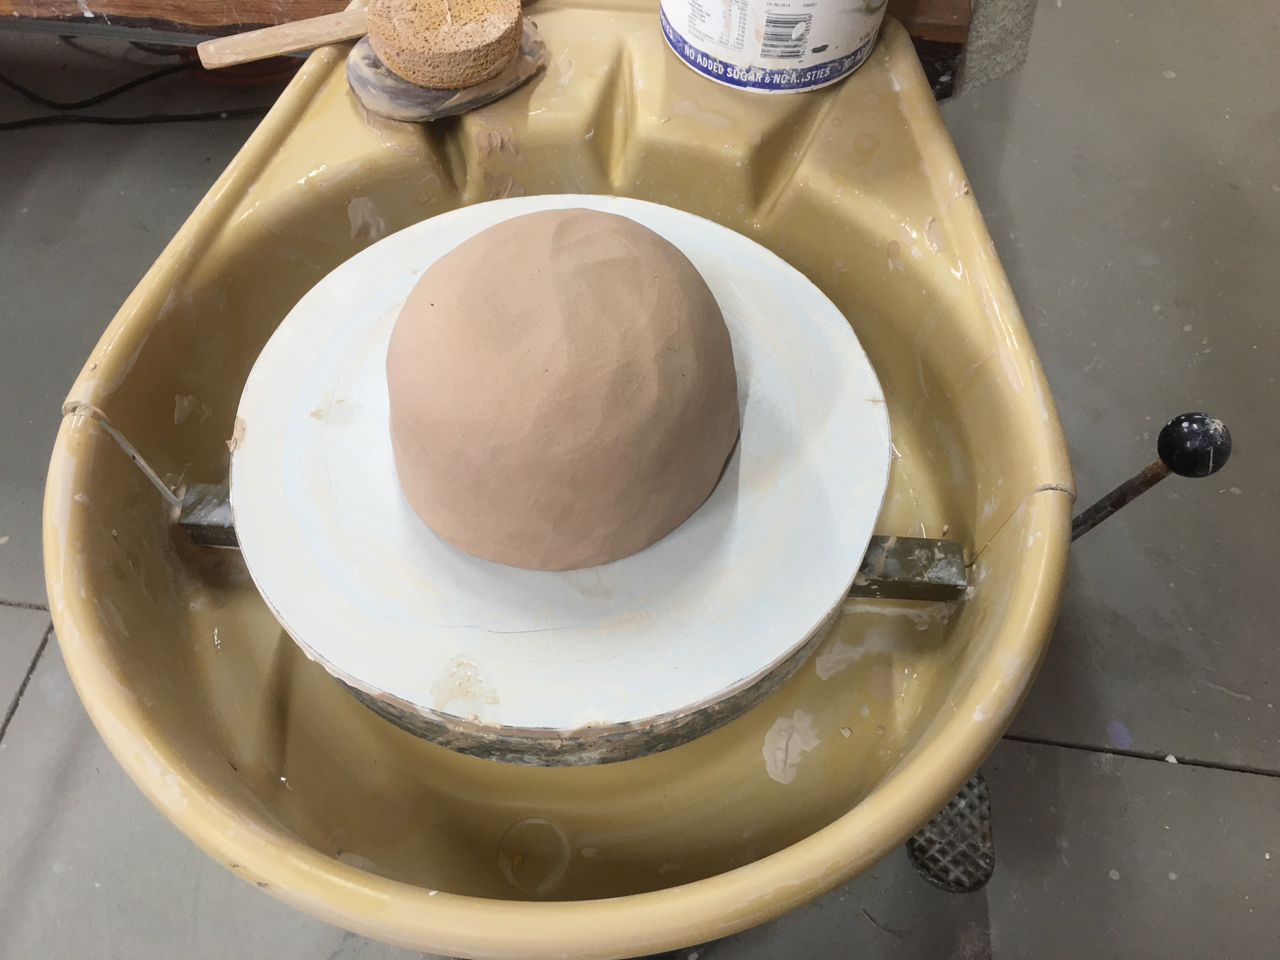
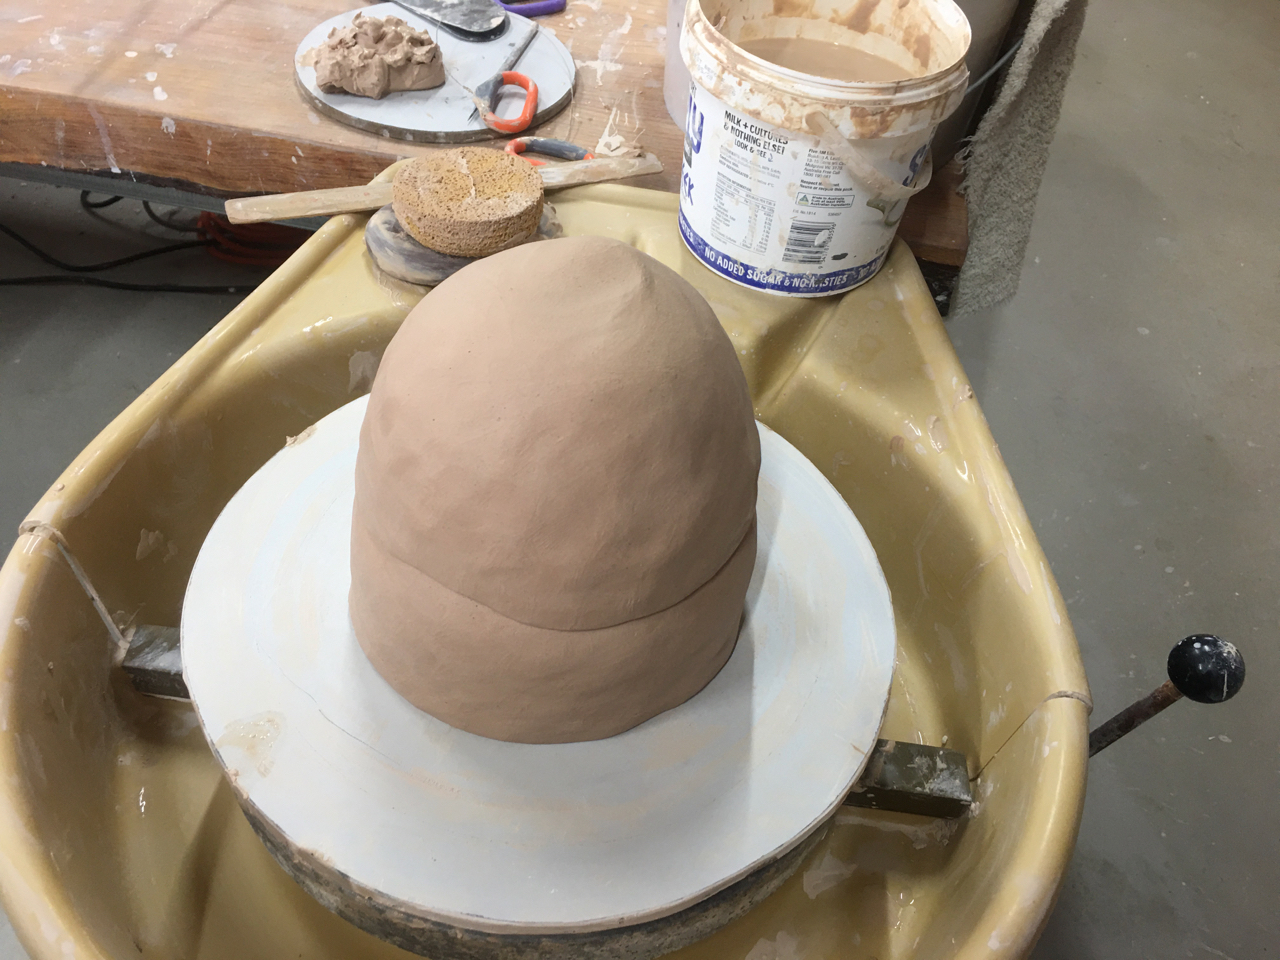
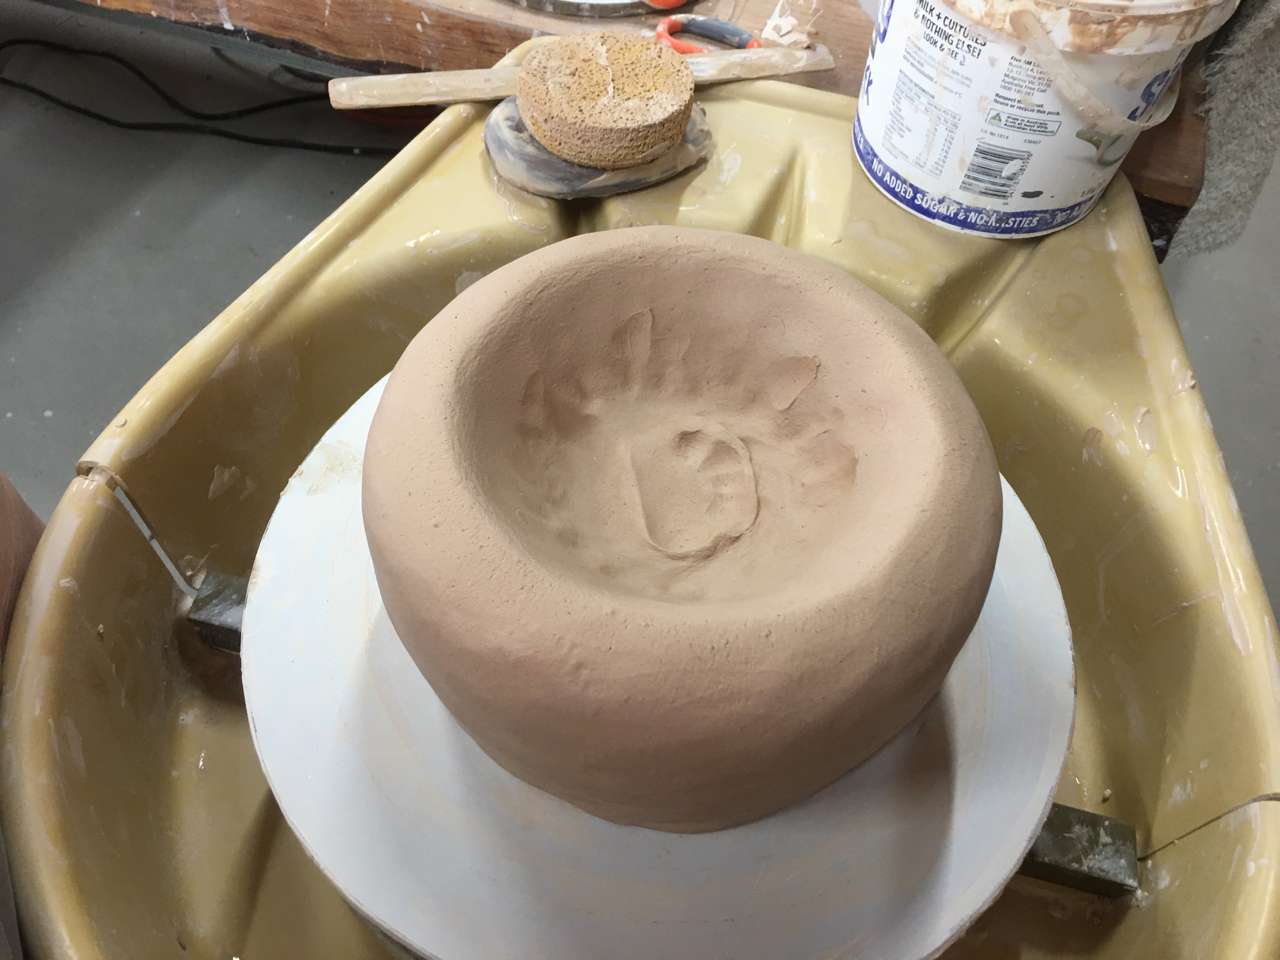
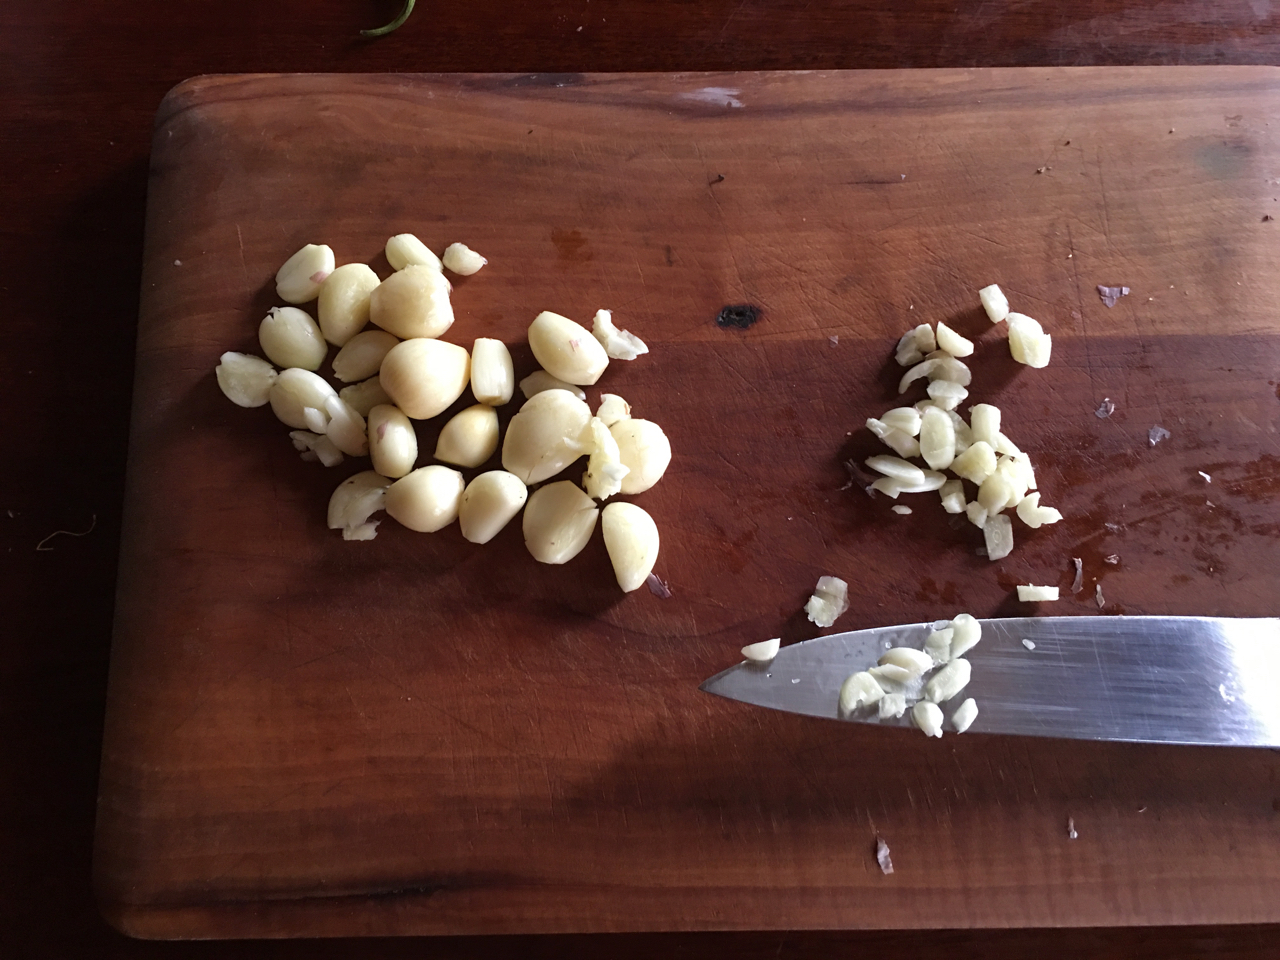
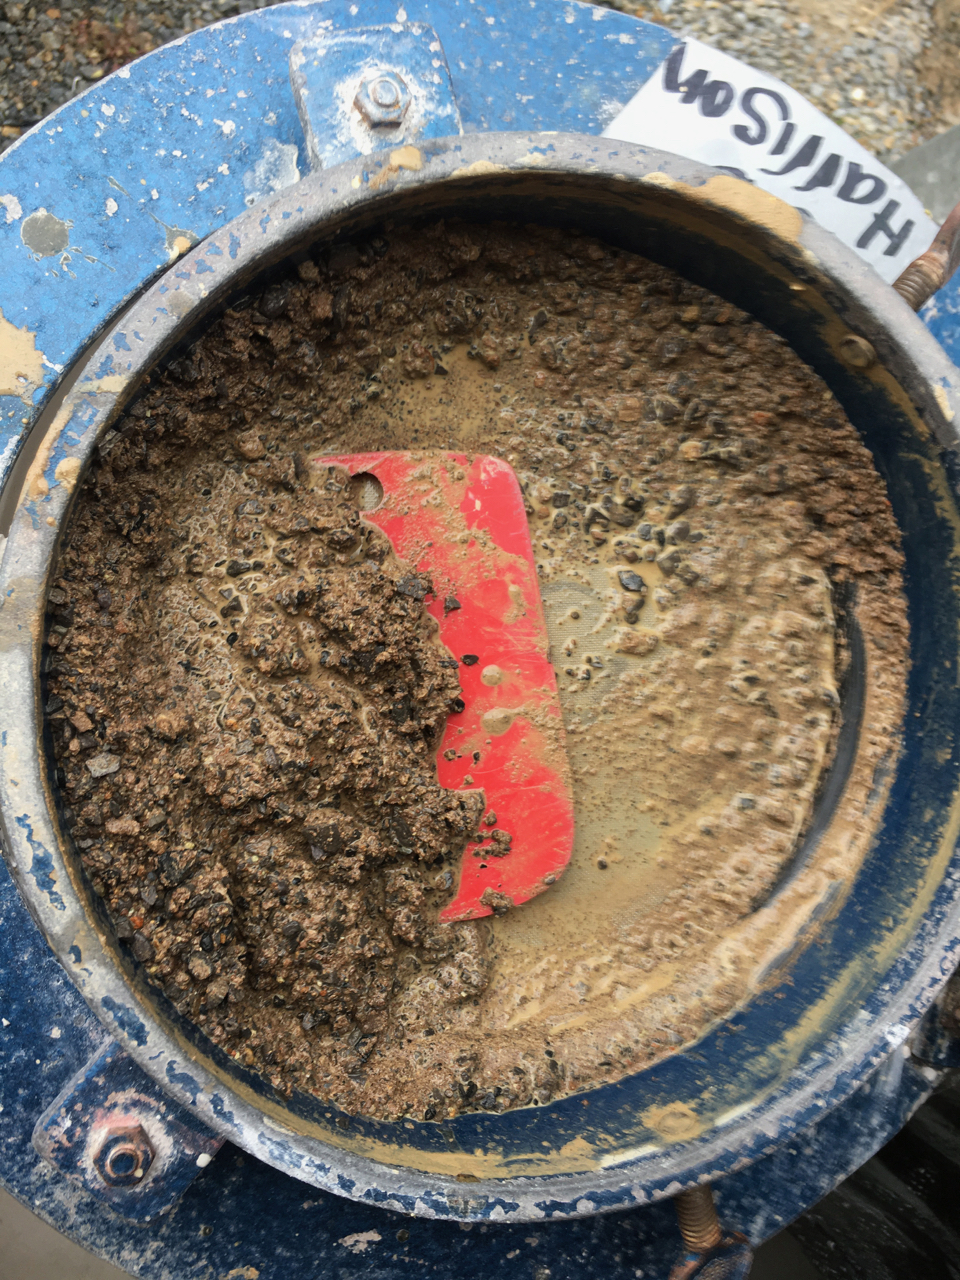
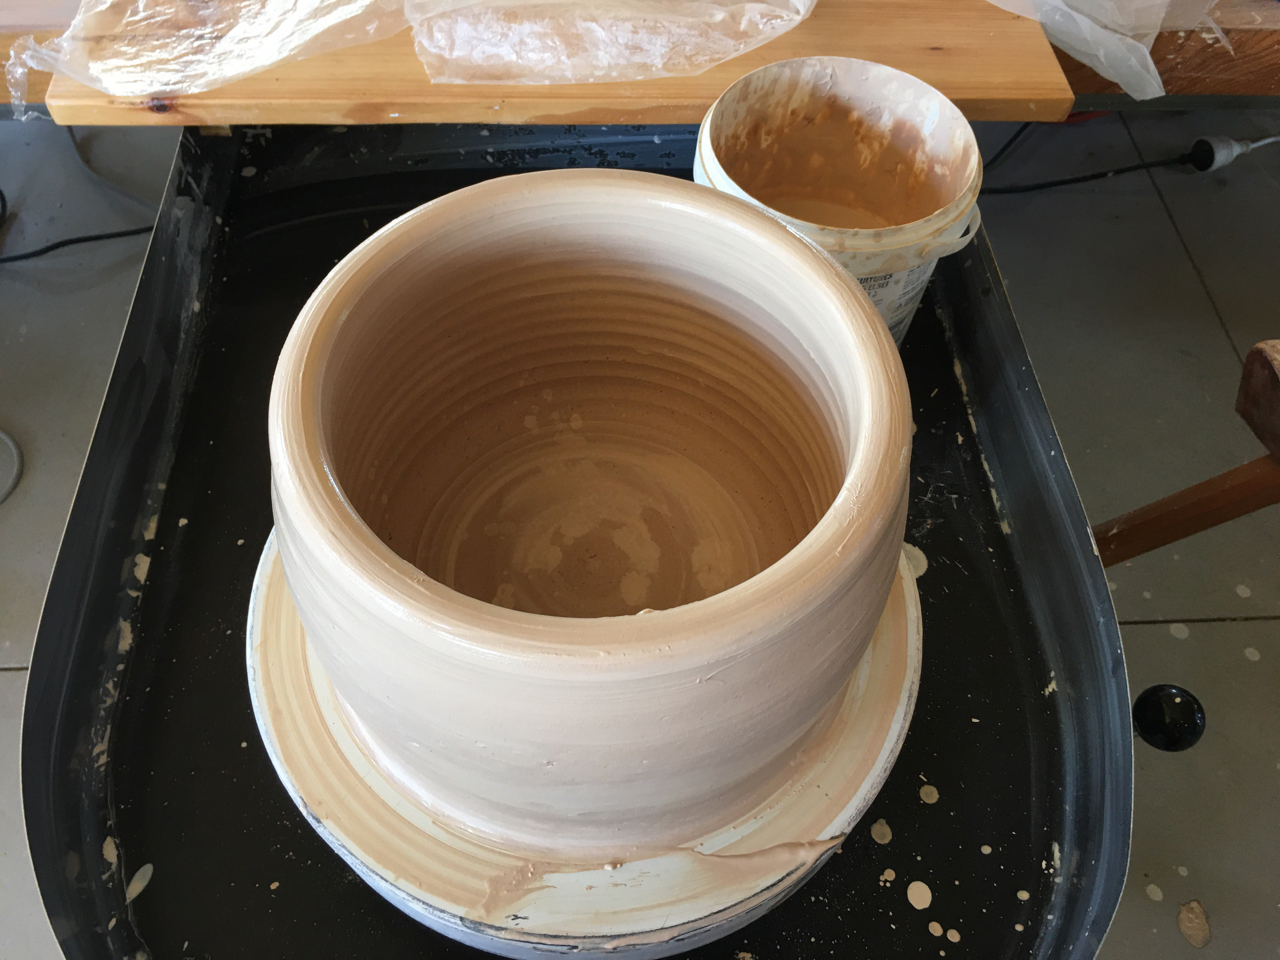
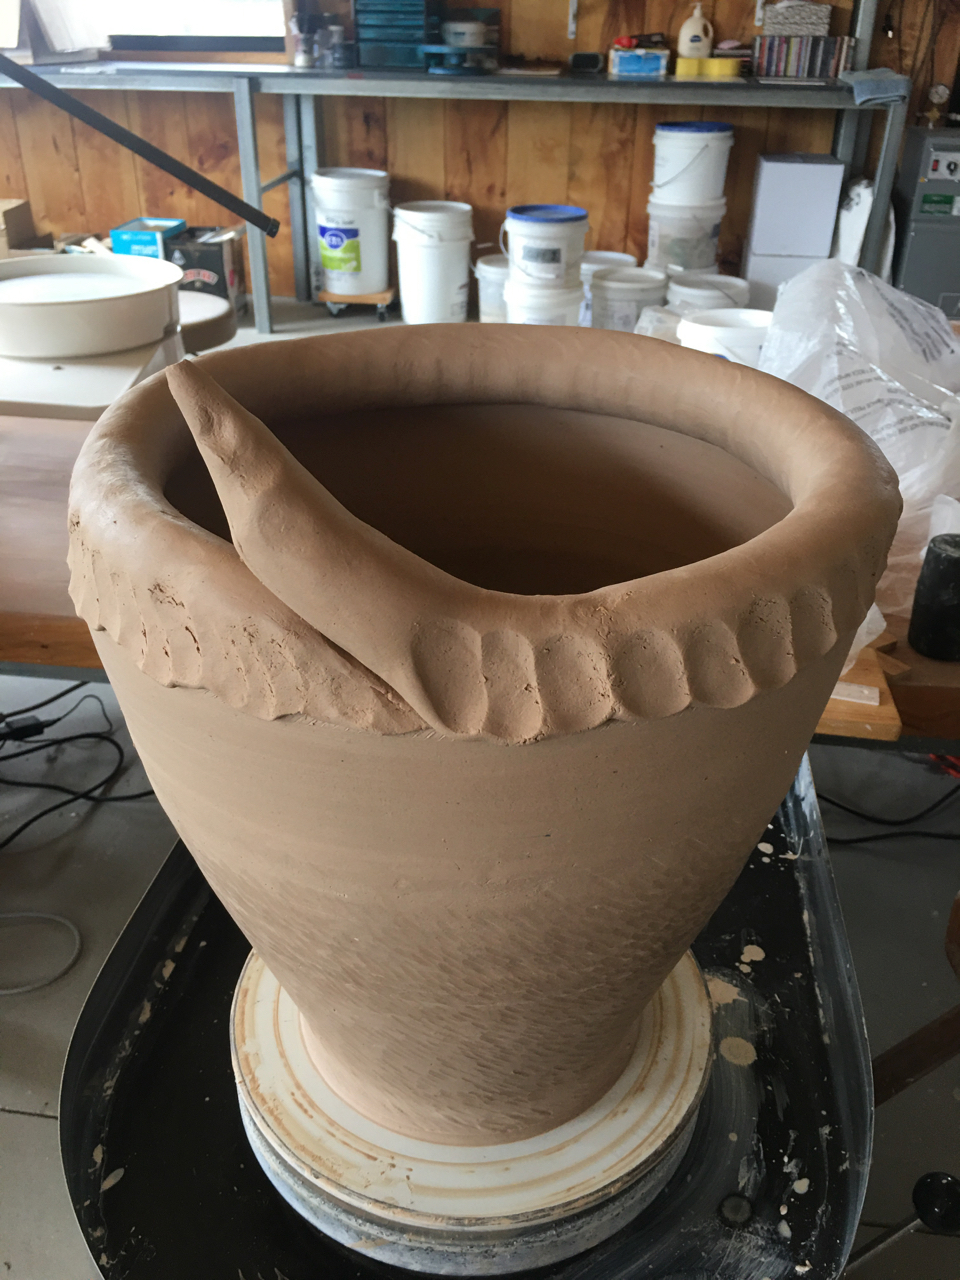
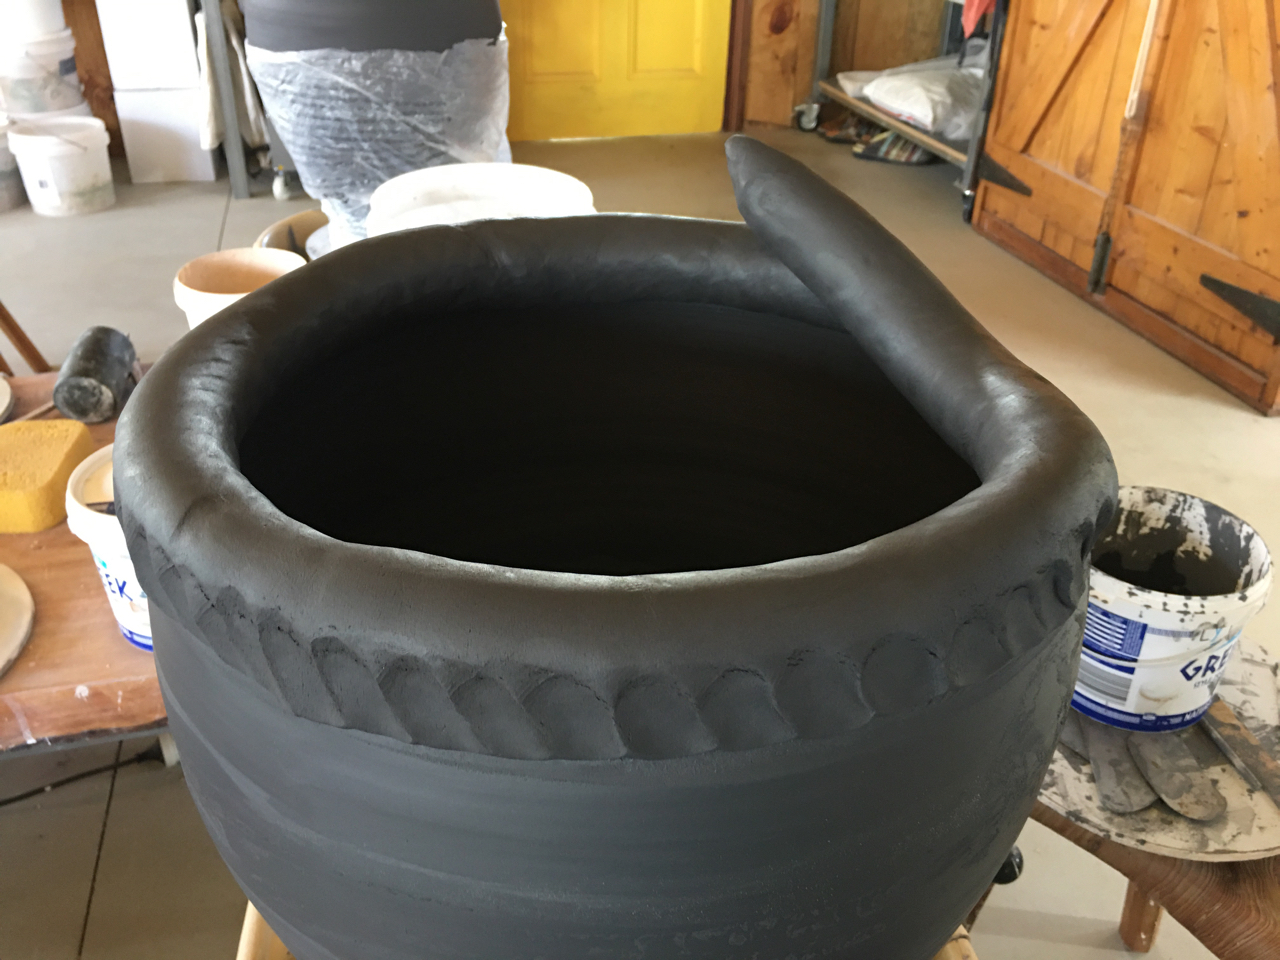
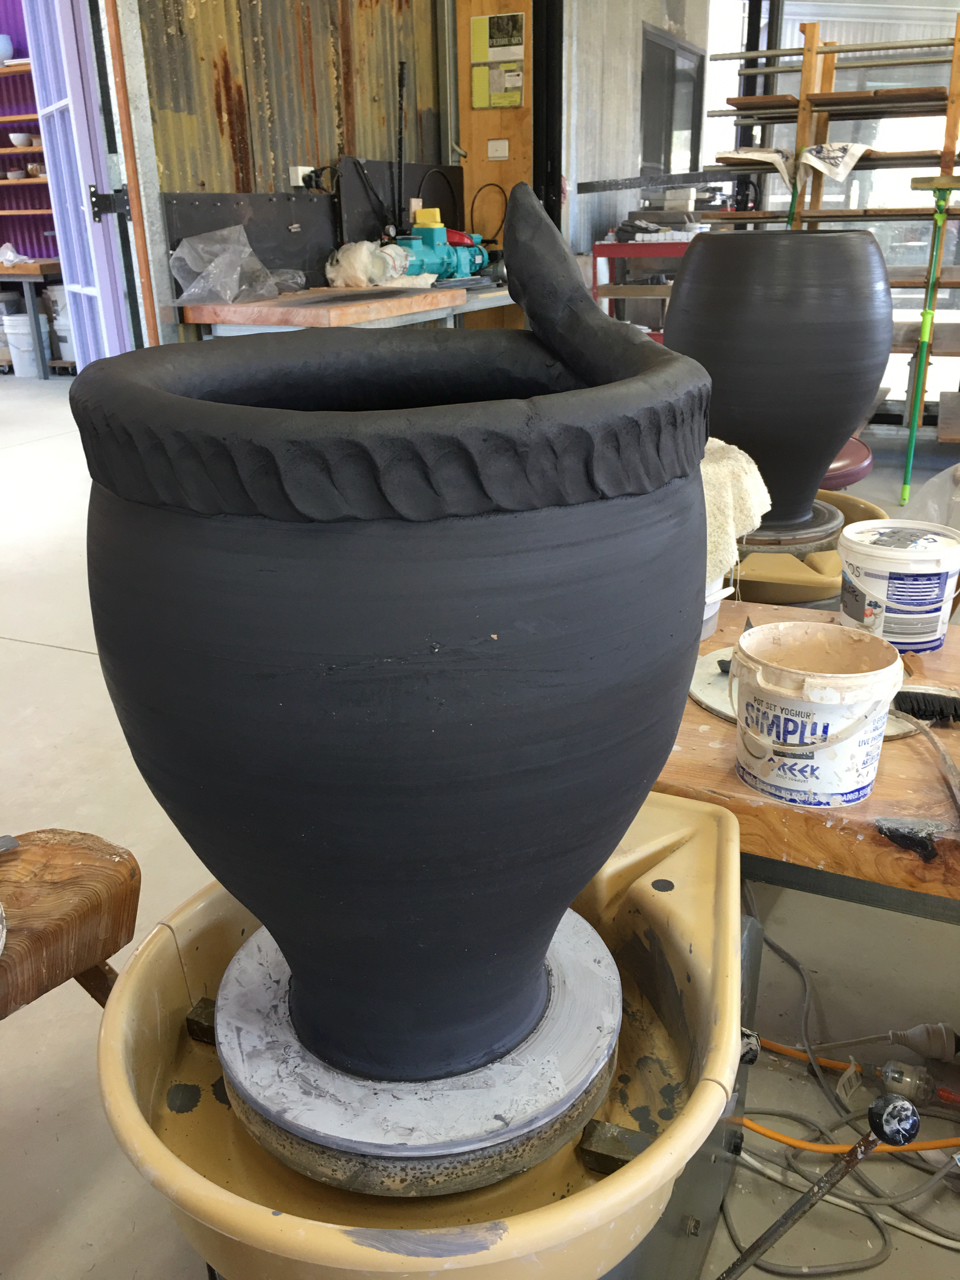
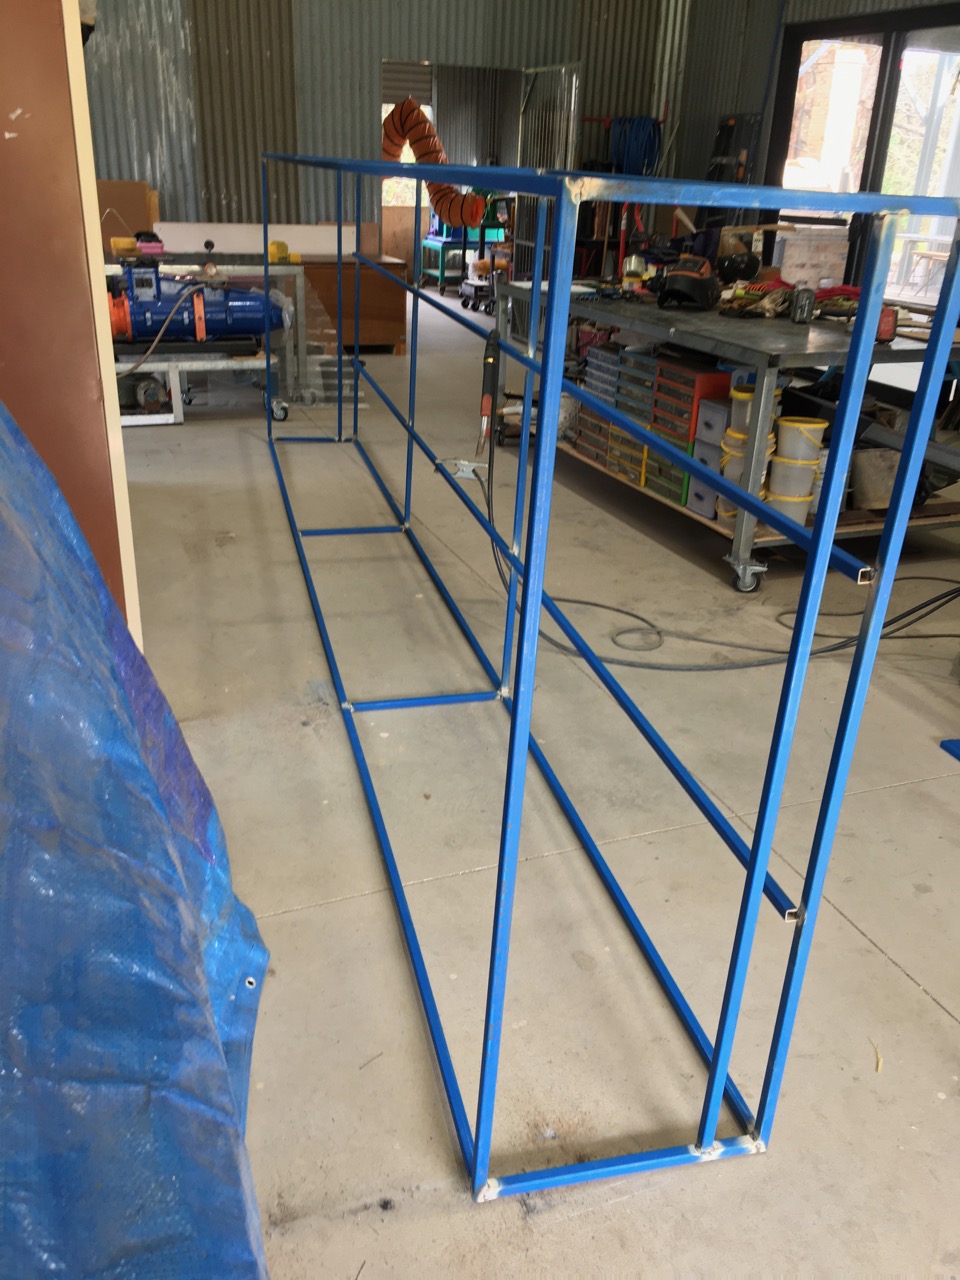
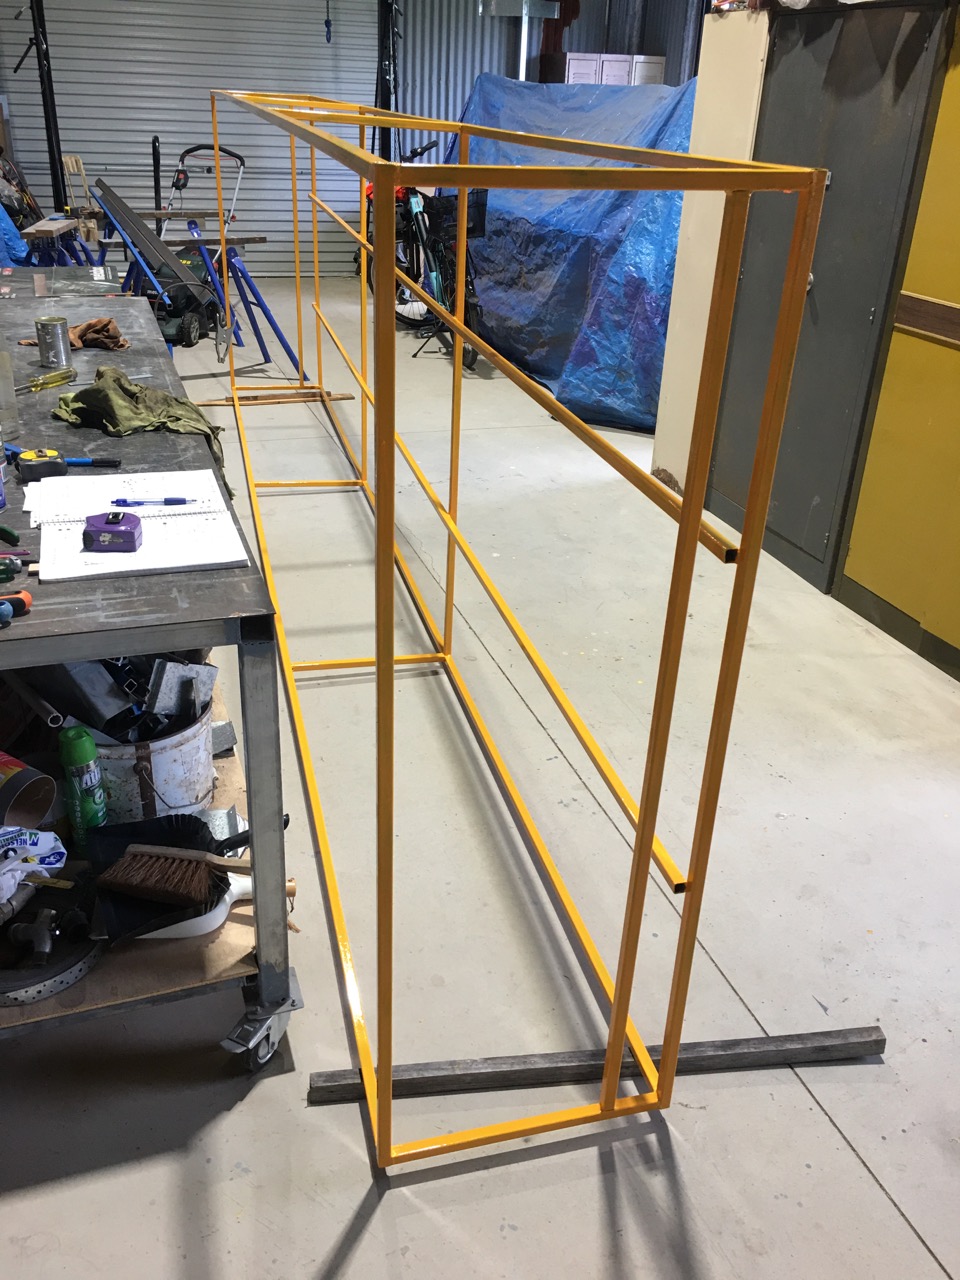
In the pottery, I have been making smaller pots that are quicker to dry, so that they will all be ready for a wood kiln firing after Easter. I’m not sure if my skin is getting thinner and less robust with age, or these recent clay body experiments are just more aggressive, but I’ve found that I’m wearing away the skin on my finger tips so much more readily than I used to when I’m turning.
I used to only wear rubber ‘finger stalls’ when turning rather dryish hard stone porcelain bodies. Now I find that I have to wear them all the time when turning.

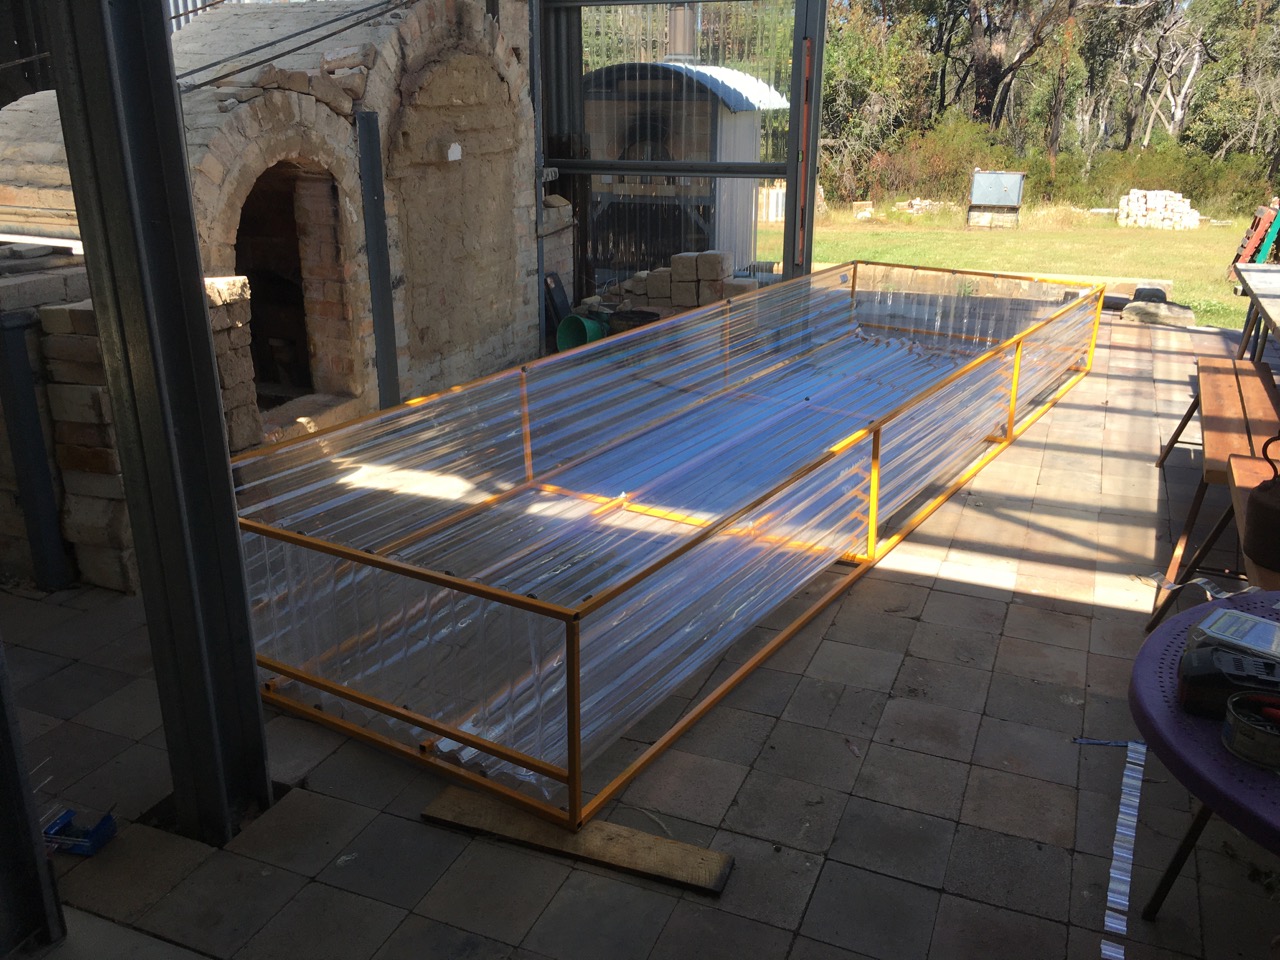
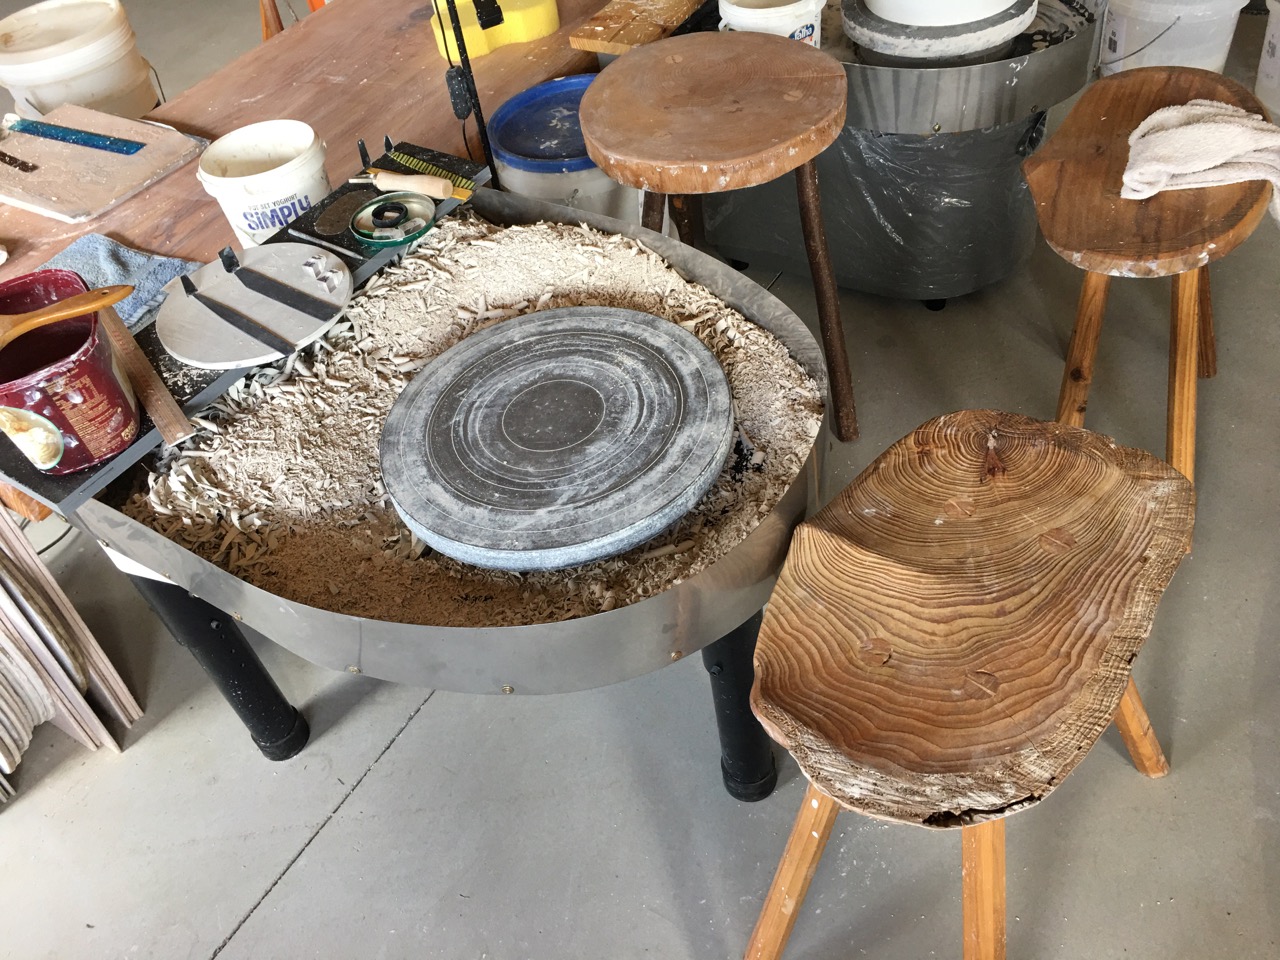
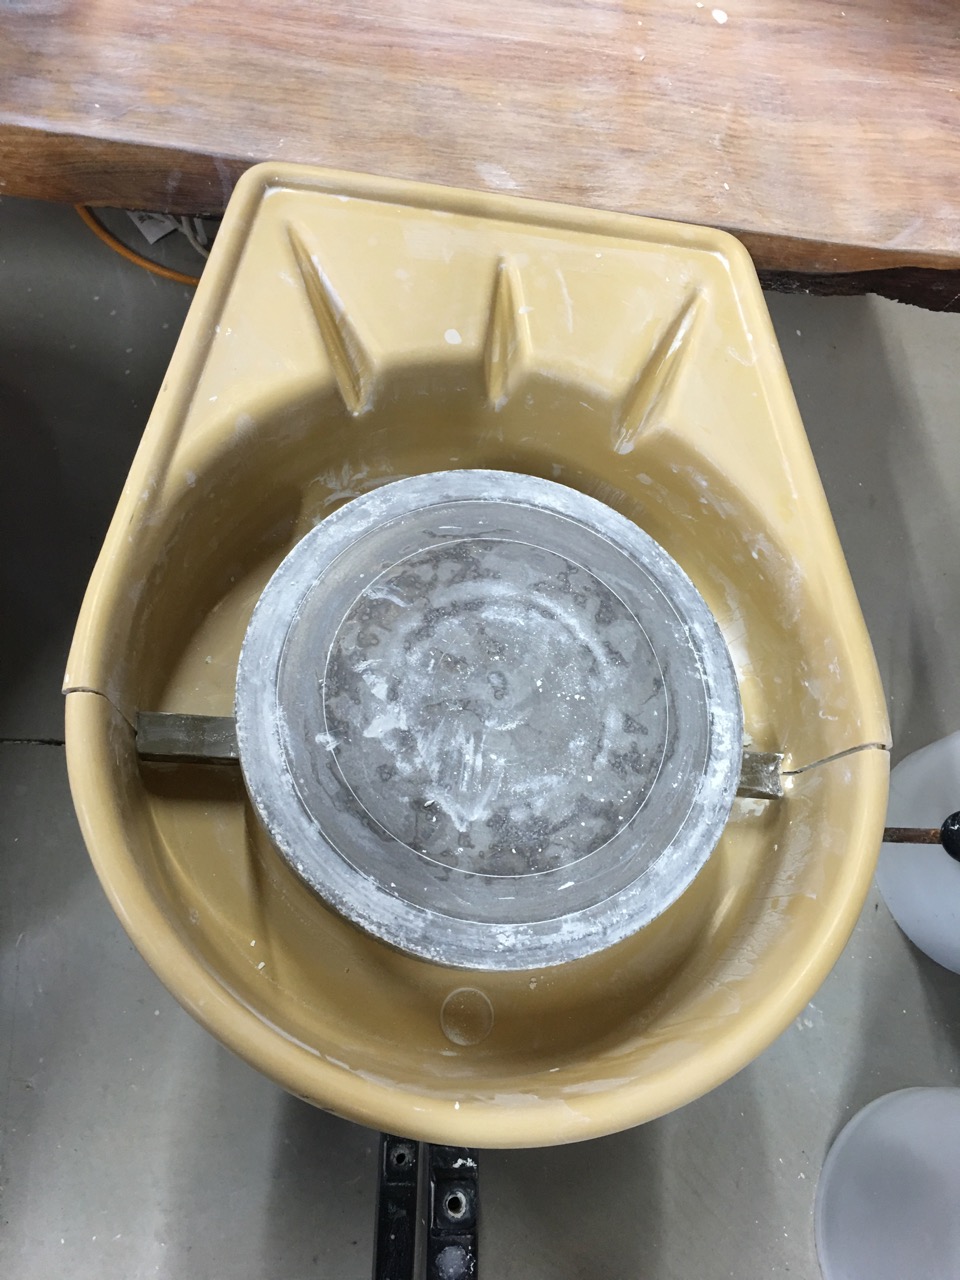
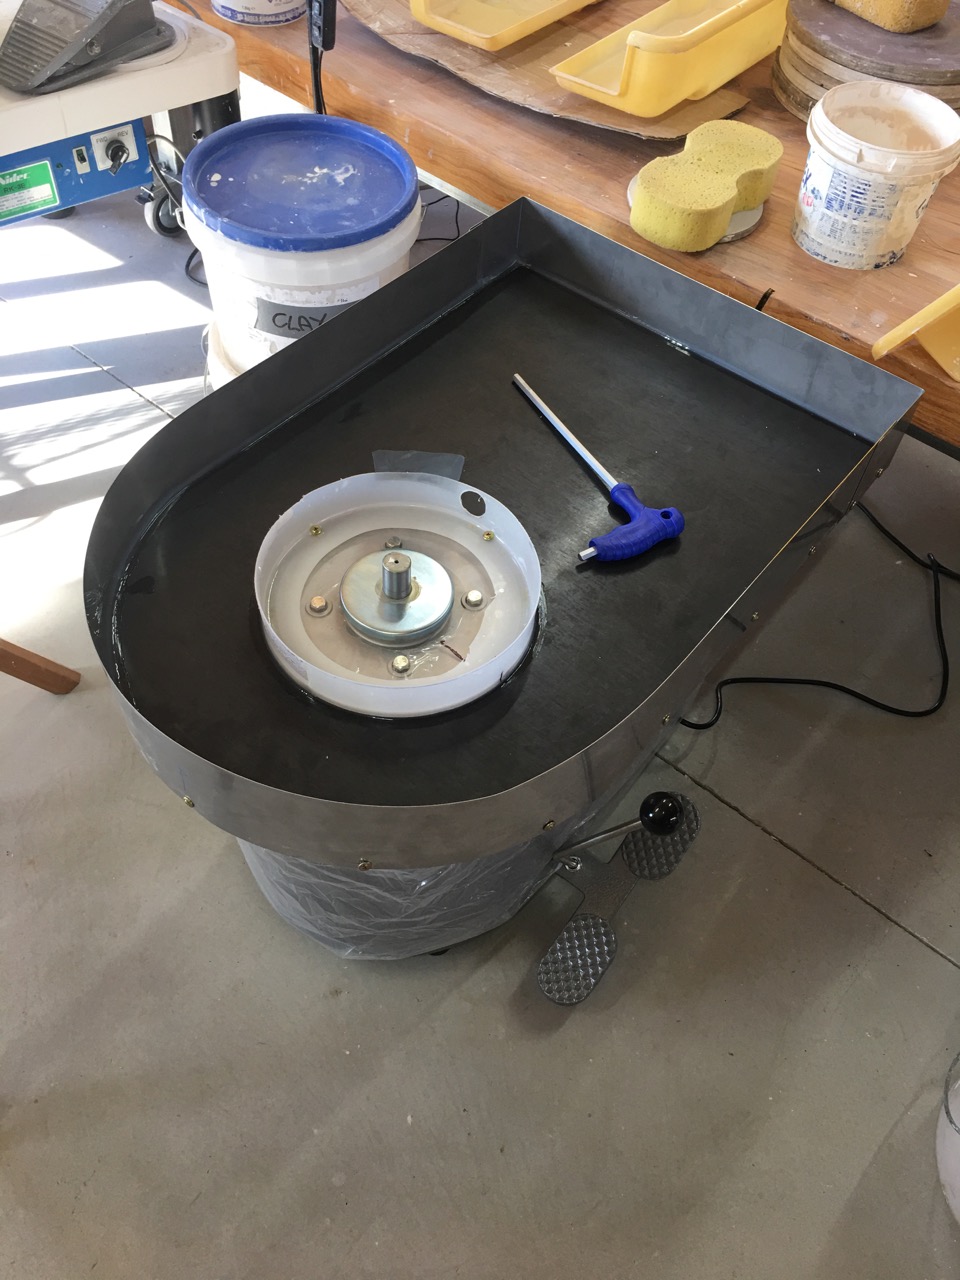
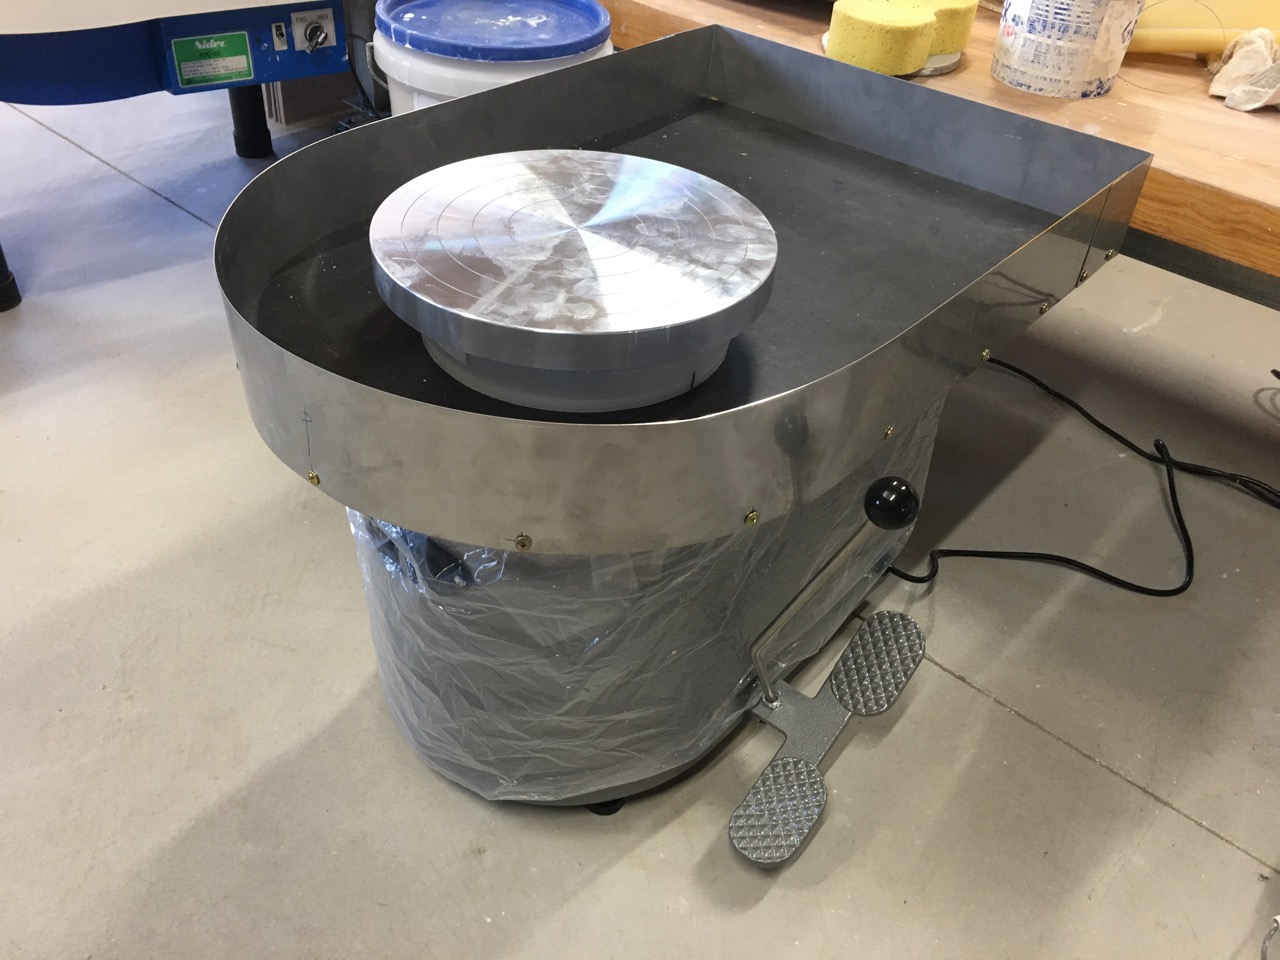
I’m really pleased with my home made larger format wheel trays that I built for the shimpo wheels. I can turn for an hour without filling them up. They hold 50 bowls worth of turnings.
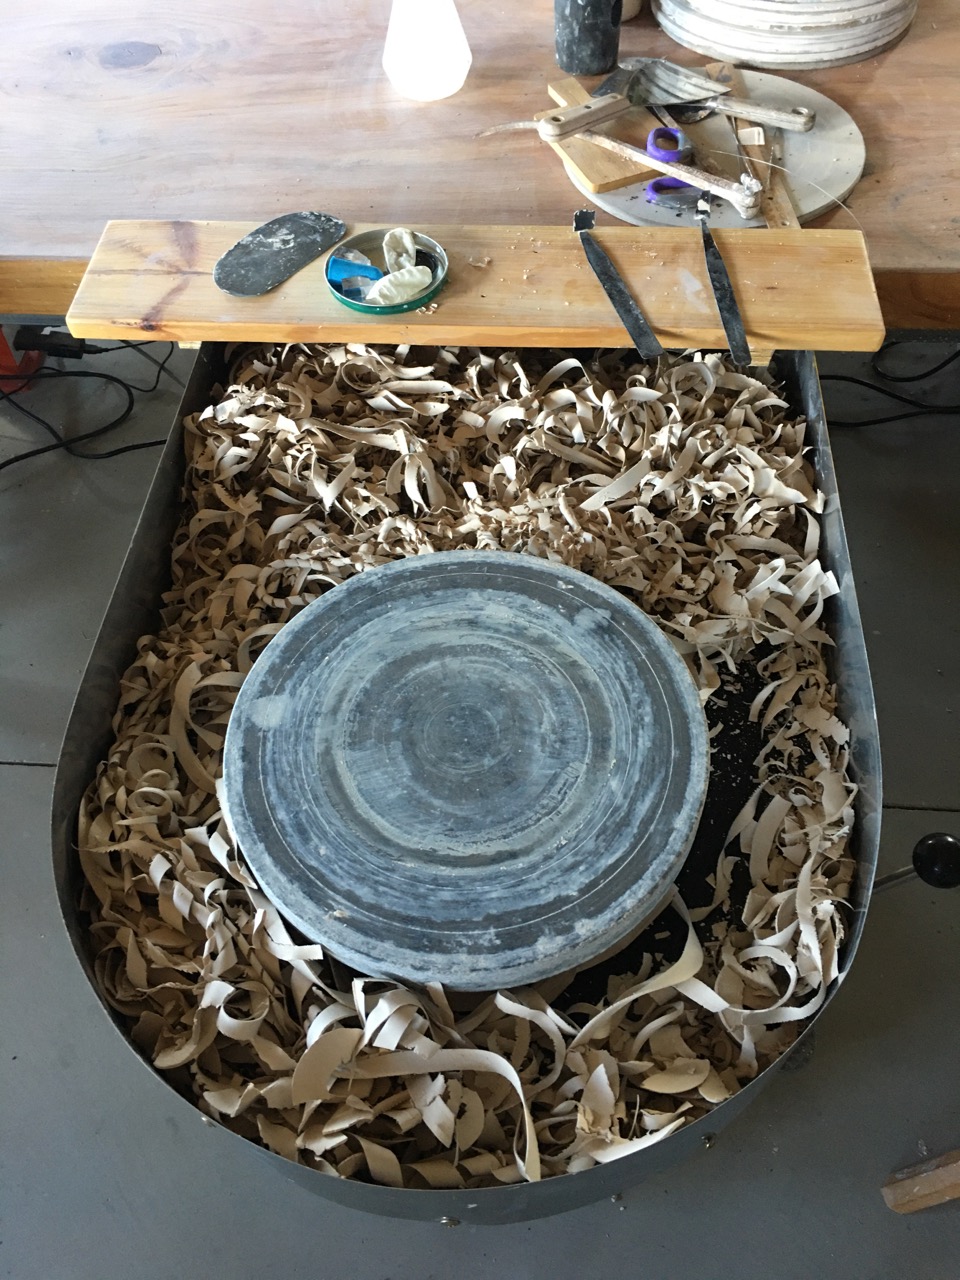
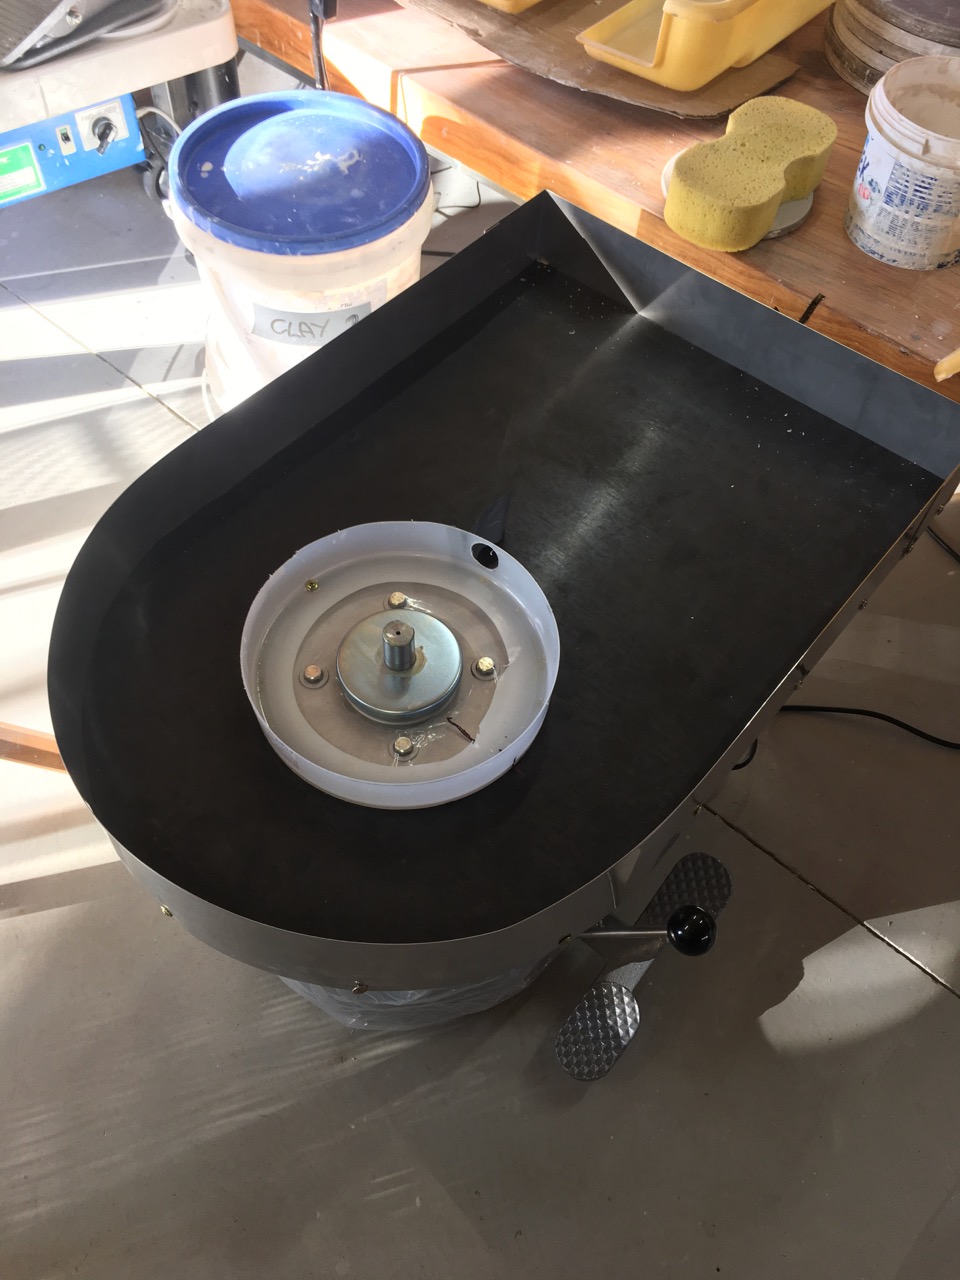
I have also been throwing on my kick wheel as well. It has a decent sized tray. I made 50 bowls on it yesterday. I started with a dry tray and ended with an almost dry tray. I have learnt to throw with a minimal amount of water. Just a few drips and splashes make their way off the wheel head.

Our local council is offering a bulky rubbish clean-up day this week. So the village has been dragging out it’s unwanted lumpy rubbish on to the side of the road to be taken away. Furniture, mattresses, electrical appliances, etc., it’s all piled up in clumps out in the street.
We have nothing to put out, But I make a point of riding my bike along the street to get a good look at everything that there is out there for the taking.
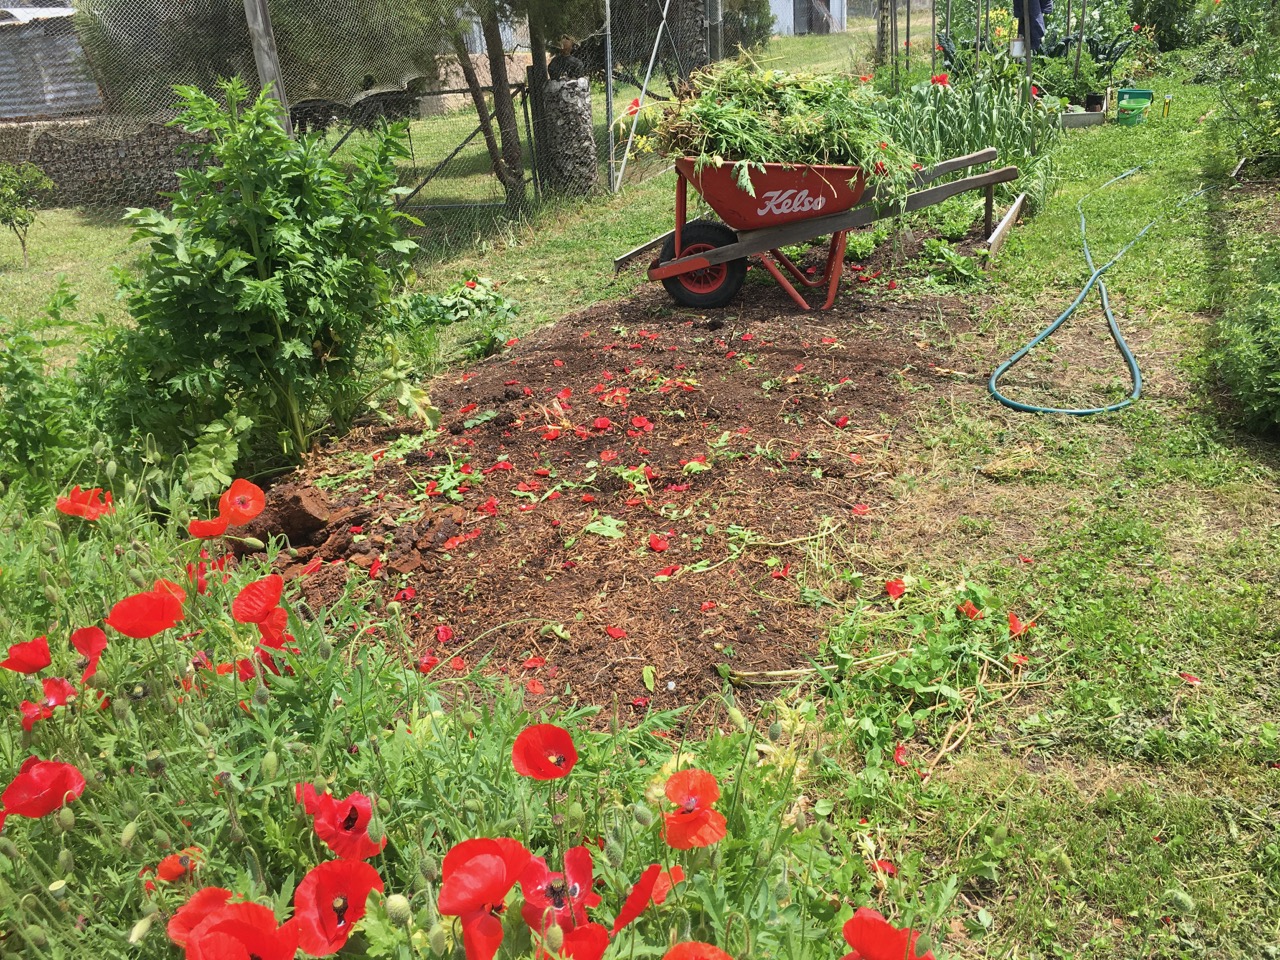
I went back with my truck and picked up 3 wheel barrows. One had a flat tyre and ruined wheel bearings. I pumped up the tyre and it held air over night, that was good, so I bought a pair of wheel barrow bearings for $6 each and in 15 mins, I have a perfect wheel barrow ready for work.

The 2nd one had a broken tray, but everything else was good, so off with the tray and back on the clean-up pile. A new replacement tray is $59, so I ordered one. The 3rd one is old and has been used for concrete, but works well. No issues there. Good to go.
Three wheel barrows for $70.
Reuse, repair, re-purpose and re-cycle. I’m happy.


You must be logged in to post a comment.