
The Southern highlands Arts Festival is upon us, and so are the Open Studio Weekends are starting this next weekend of the 5th and 6th of November and followed on the next weekend of the 12th and 13th.
 Two firings in 7 days
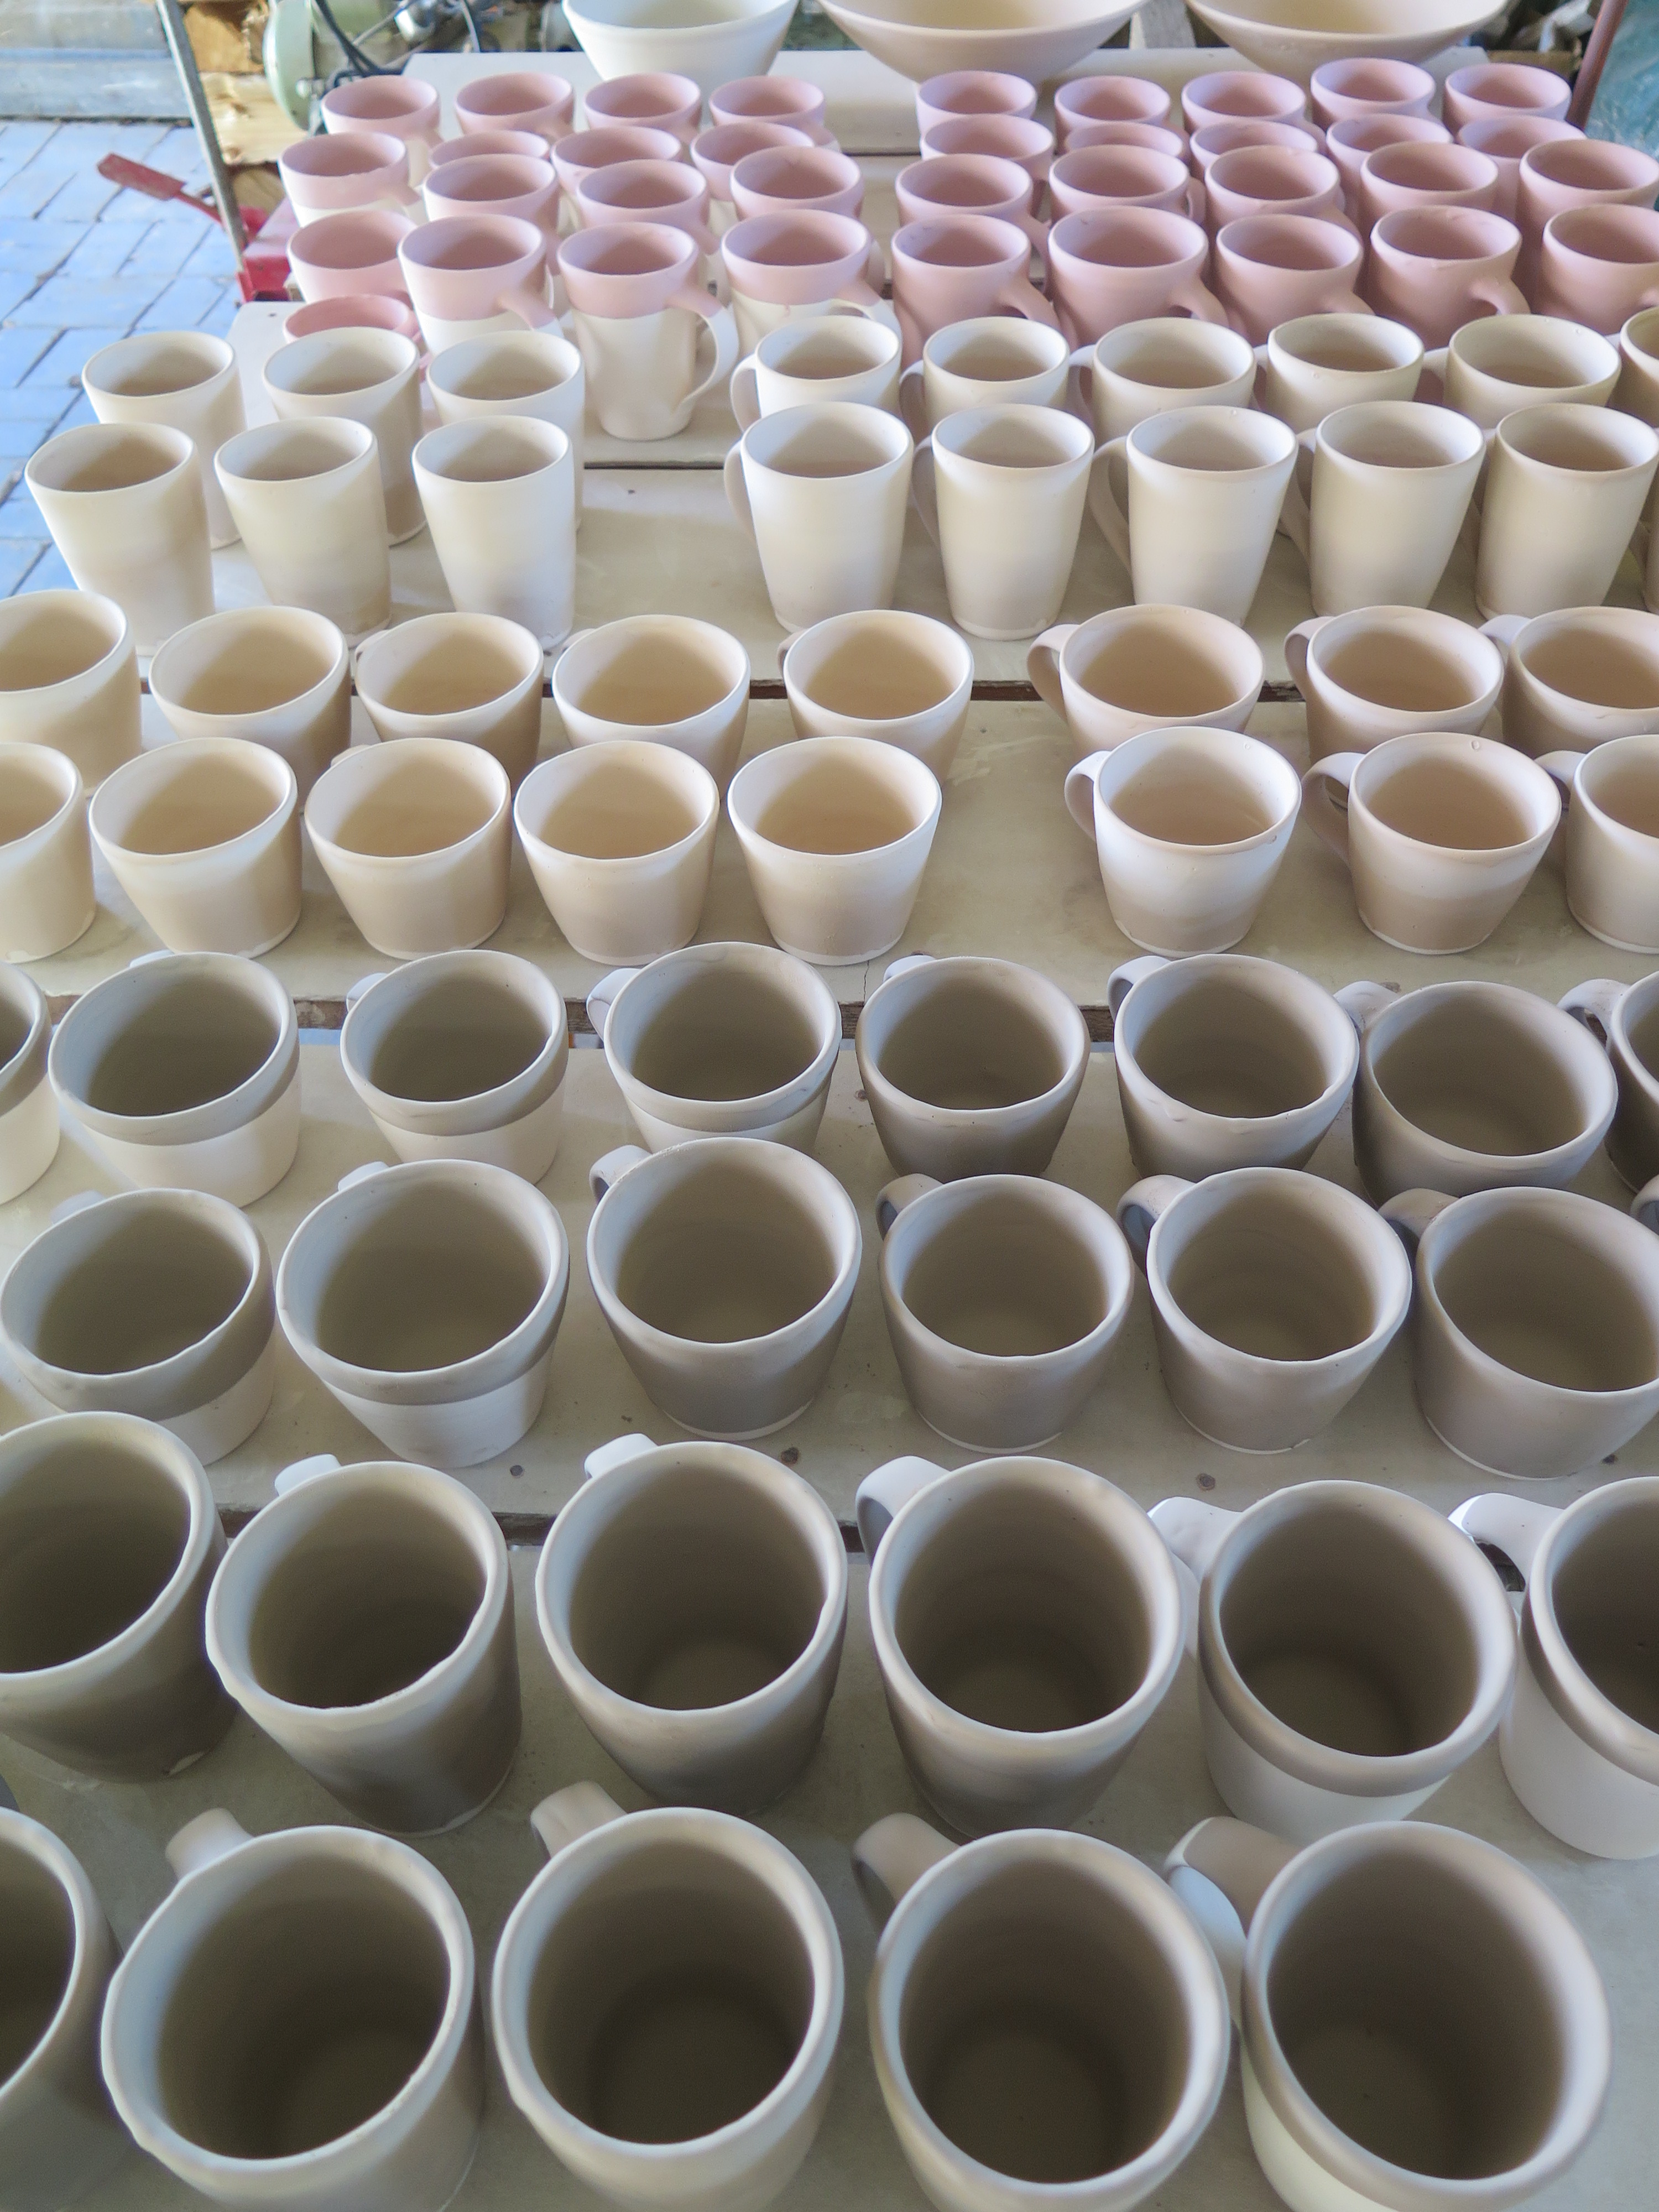
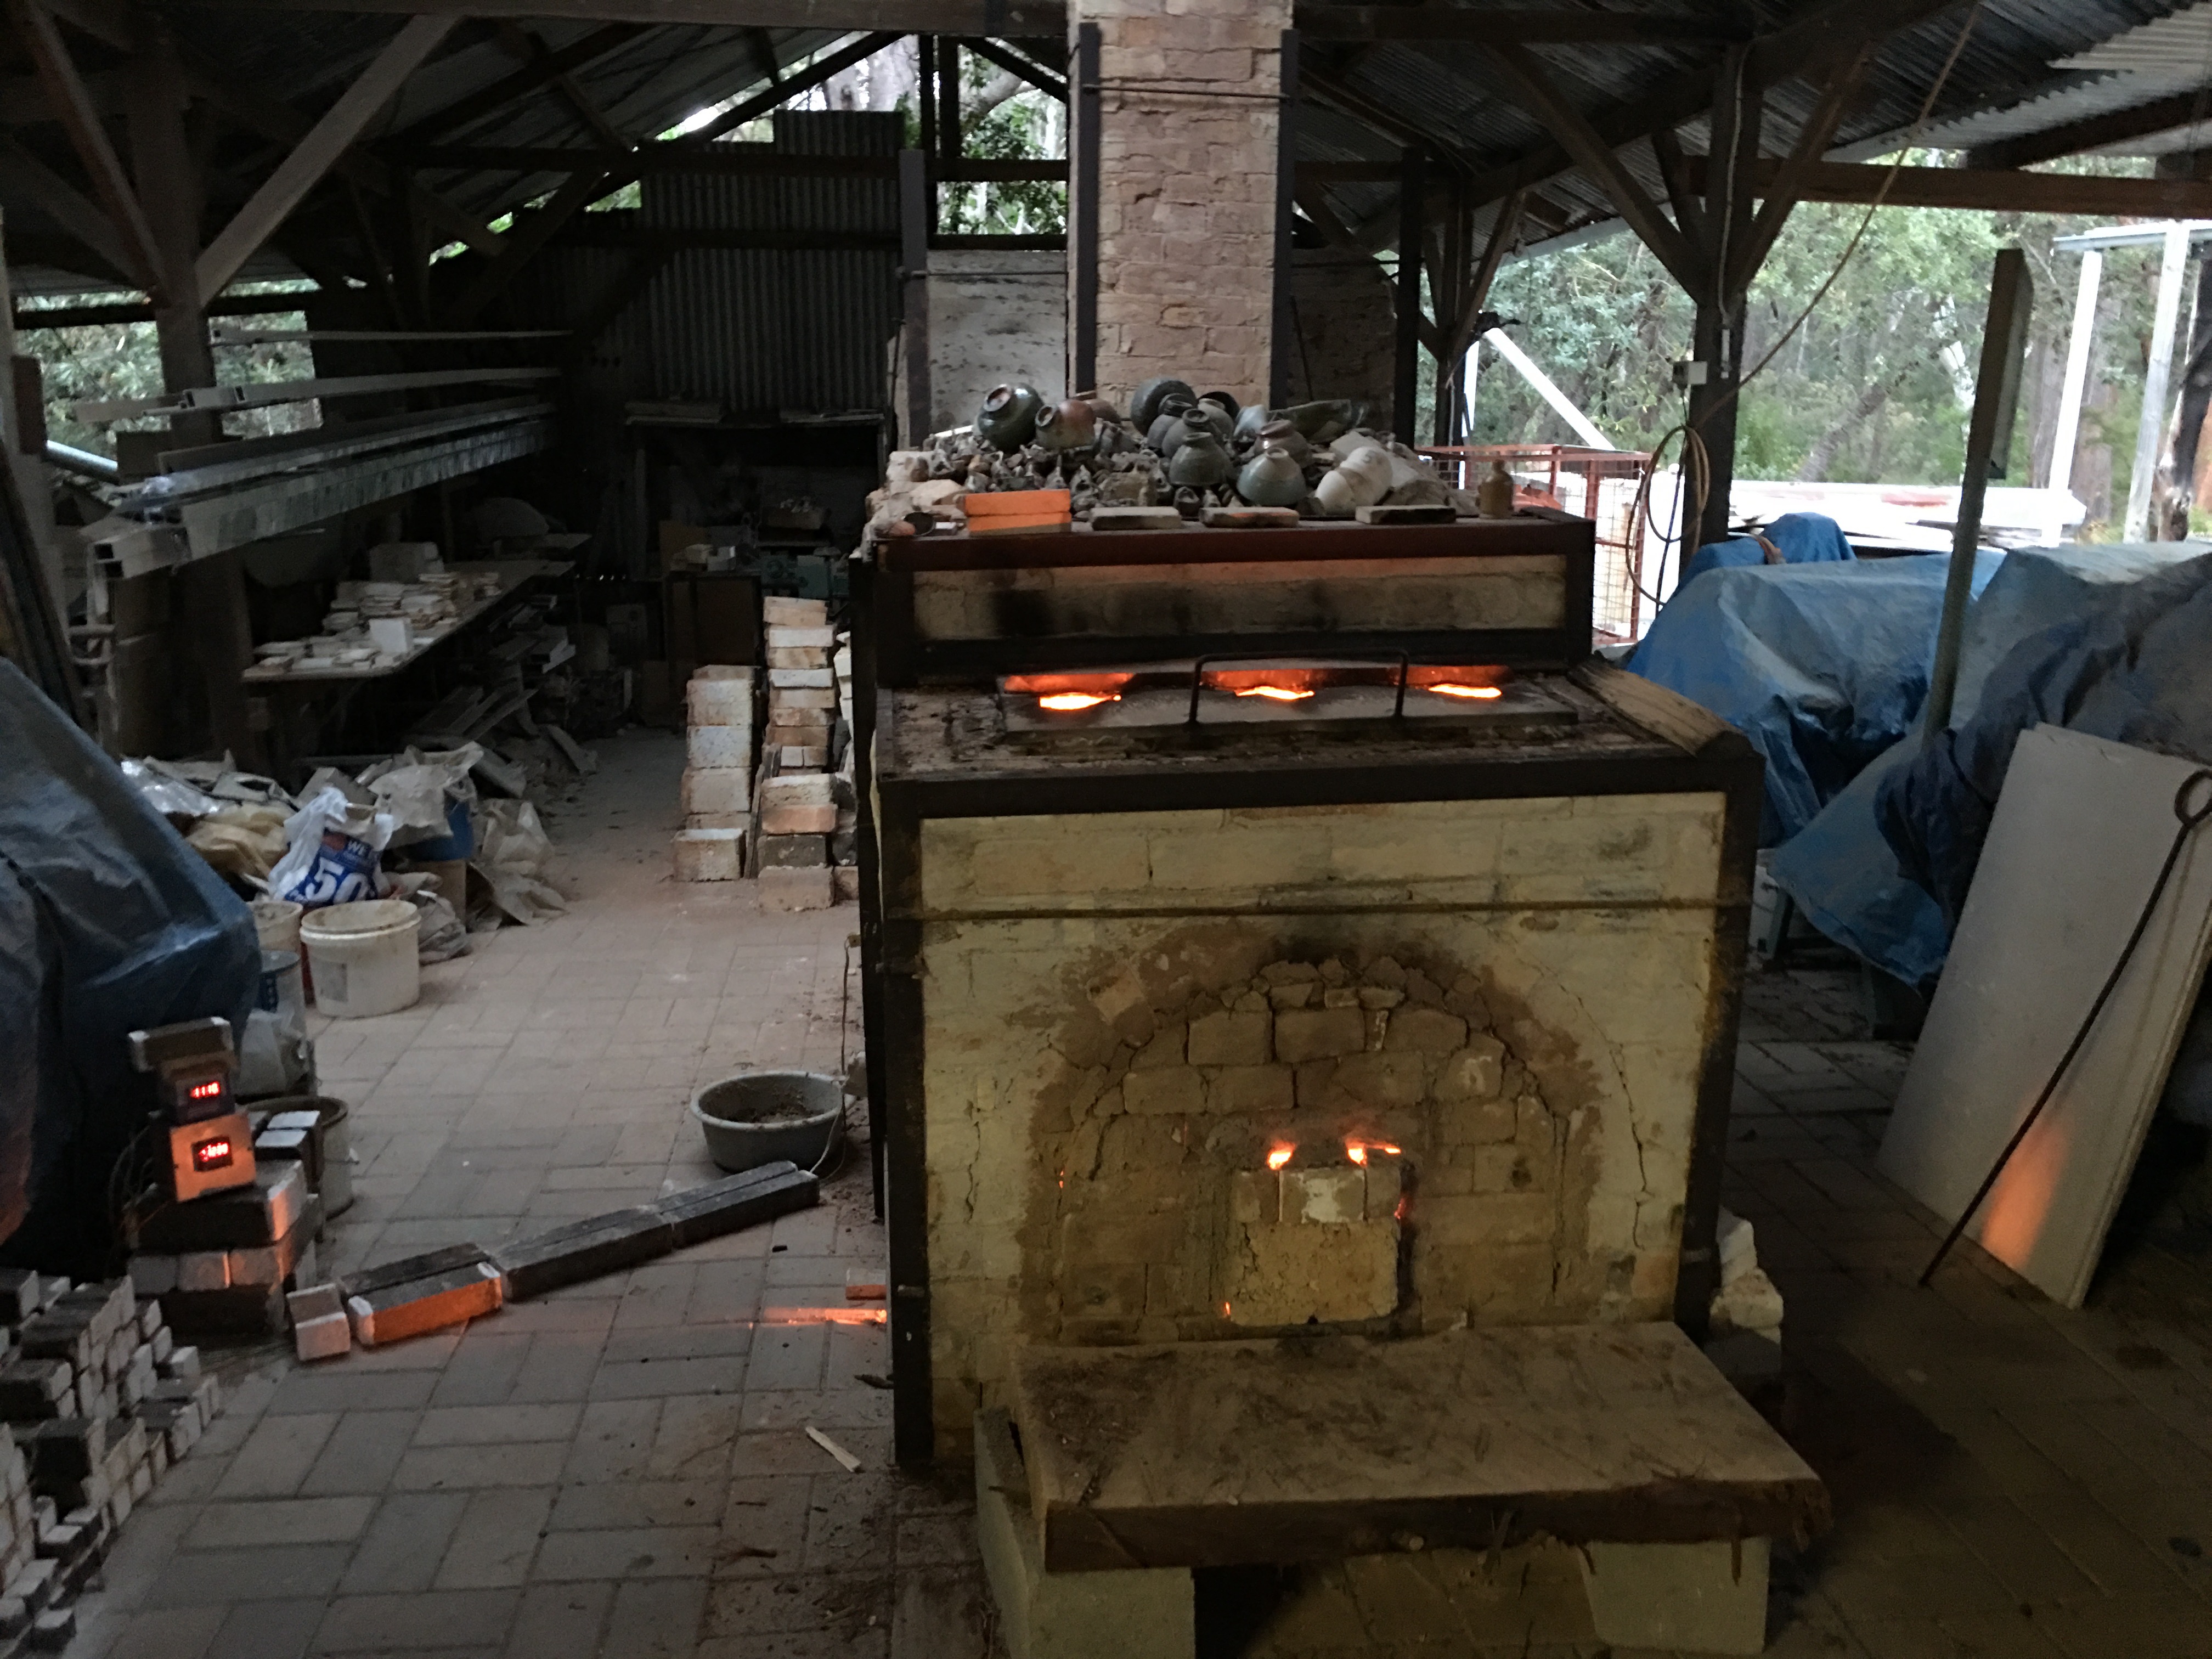
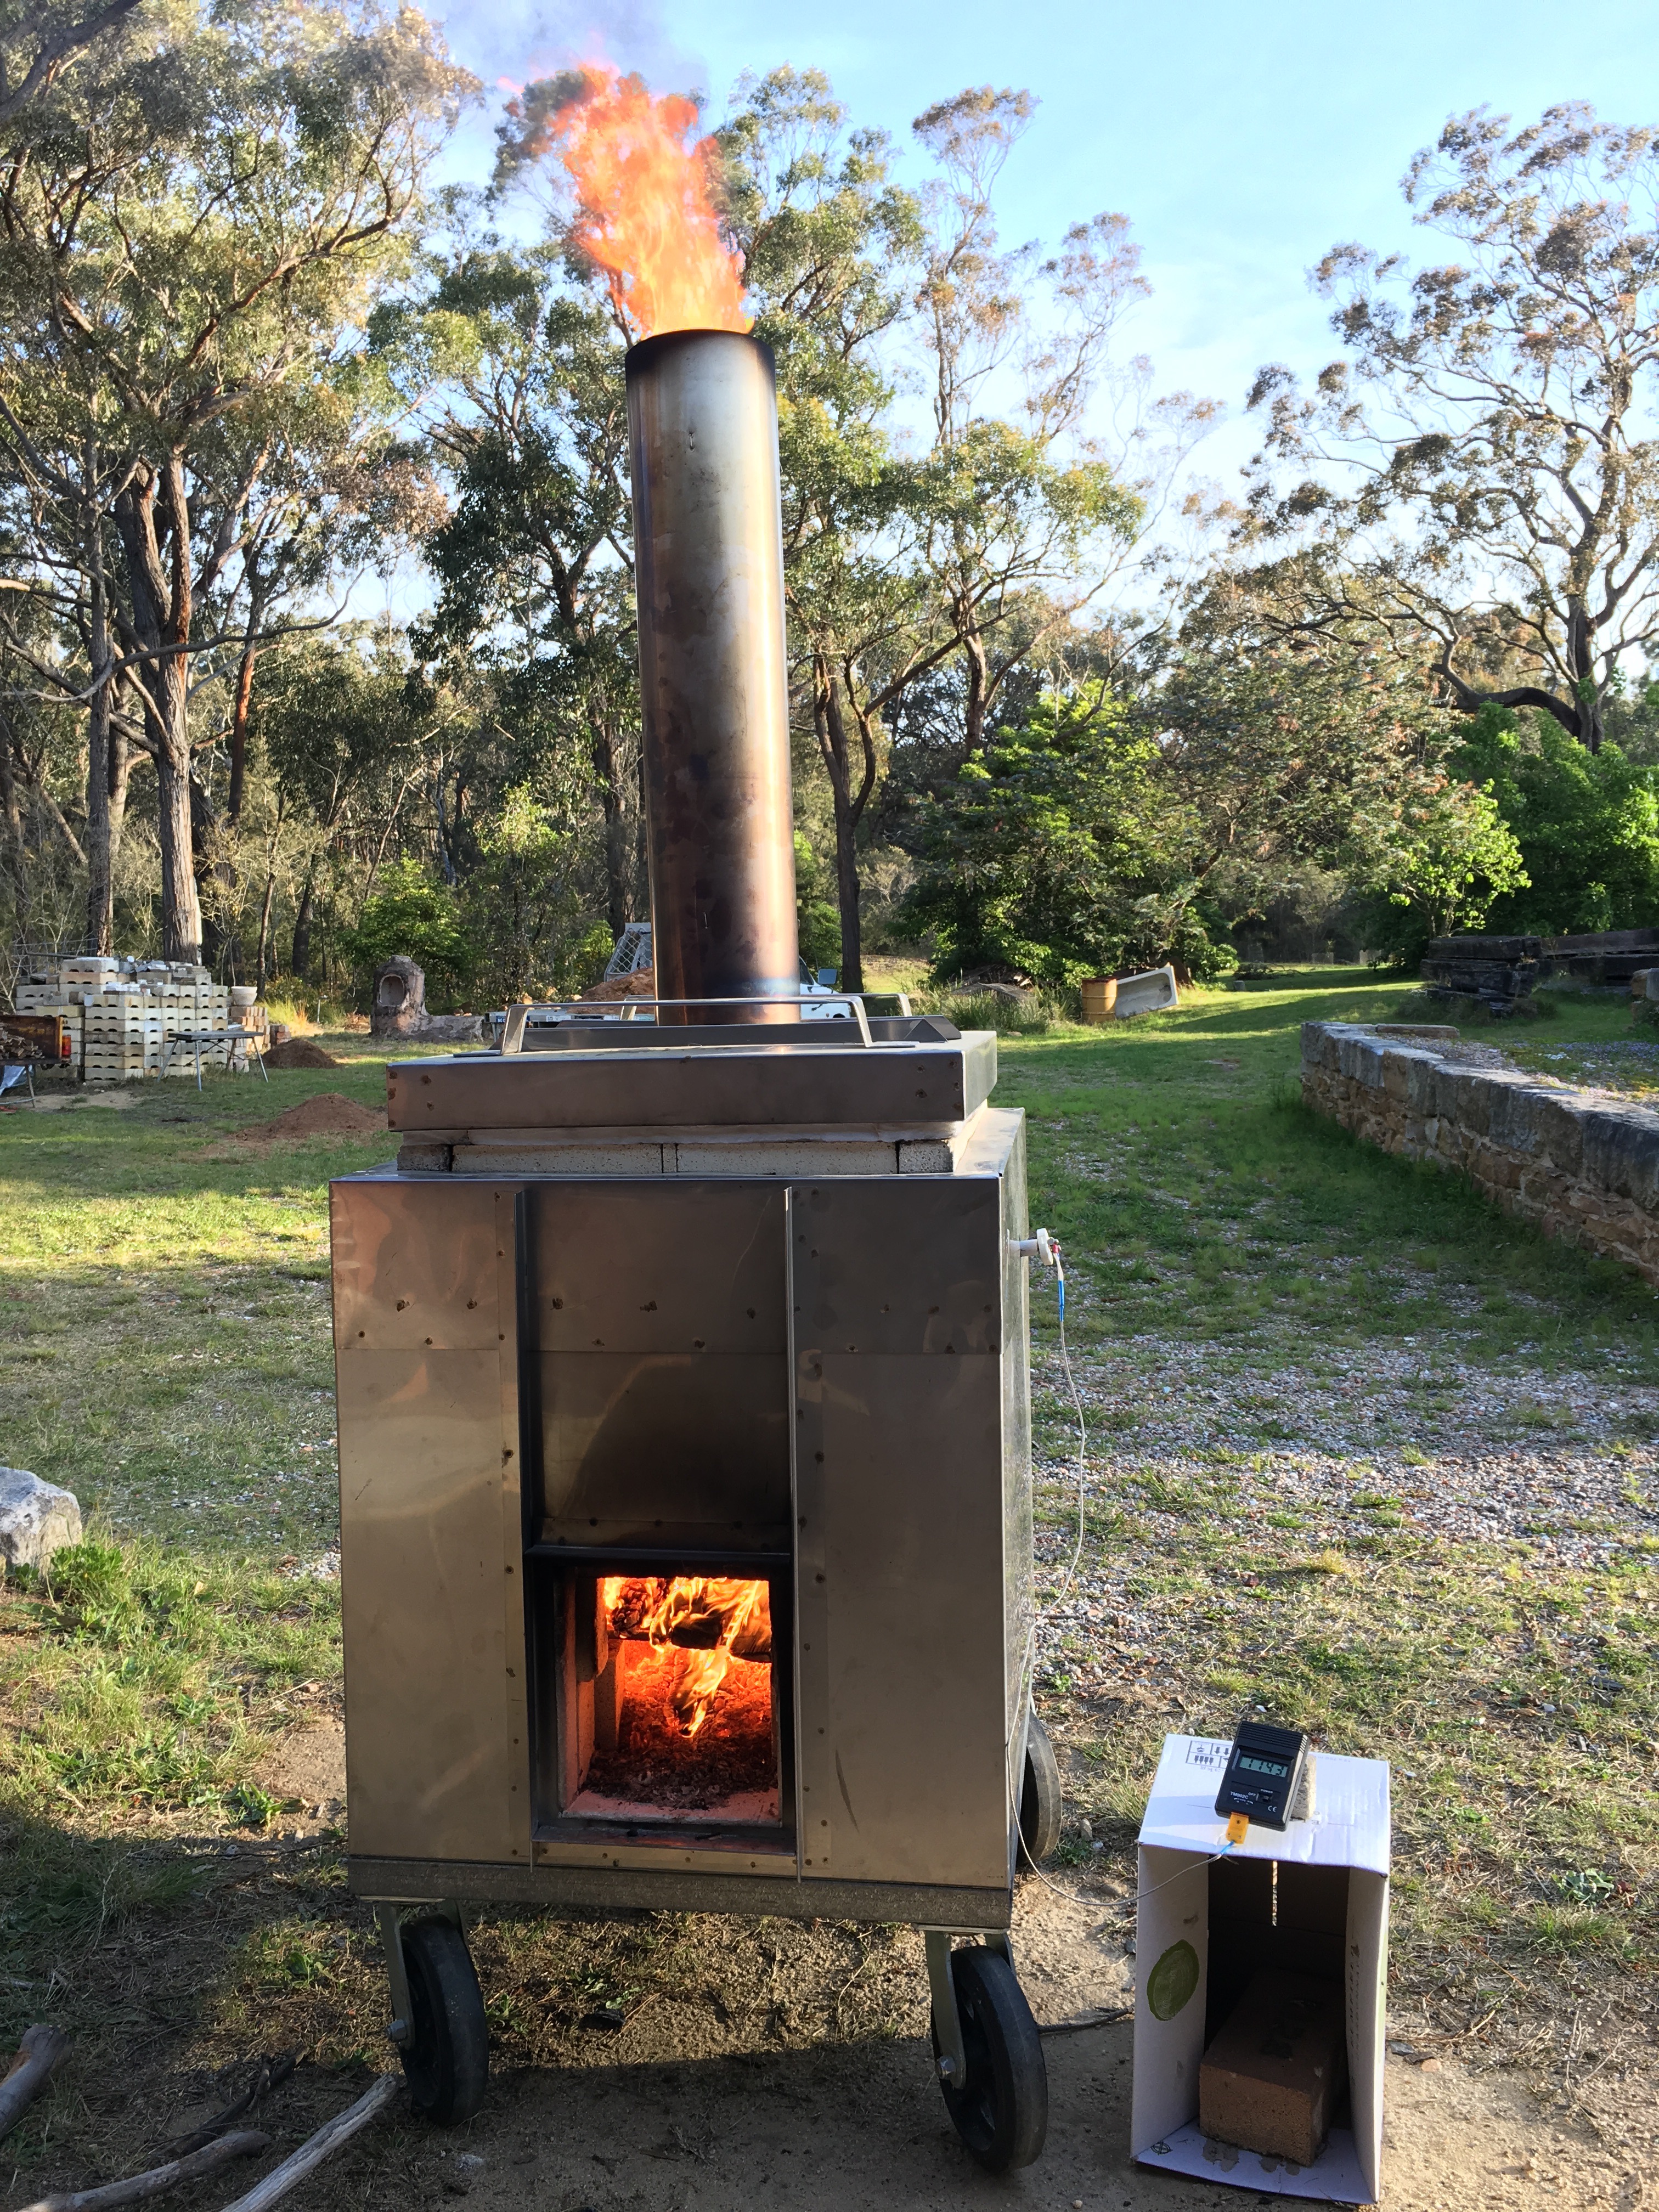
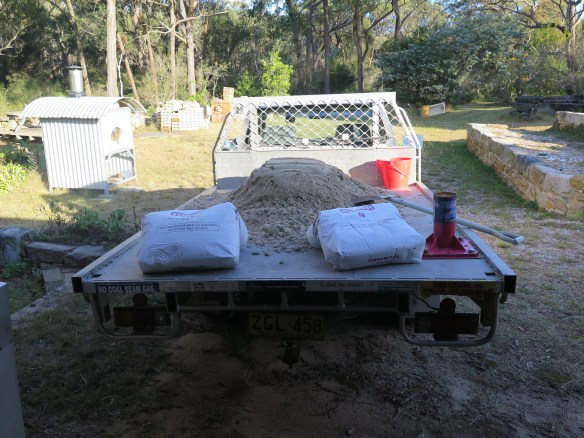
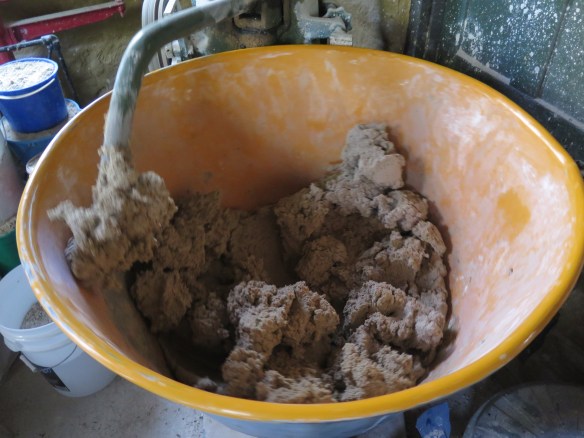
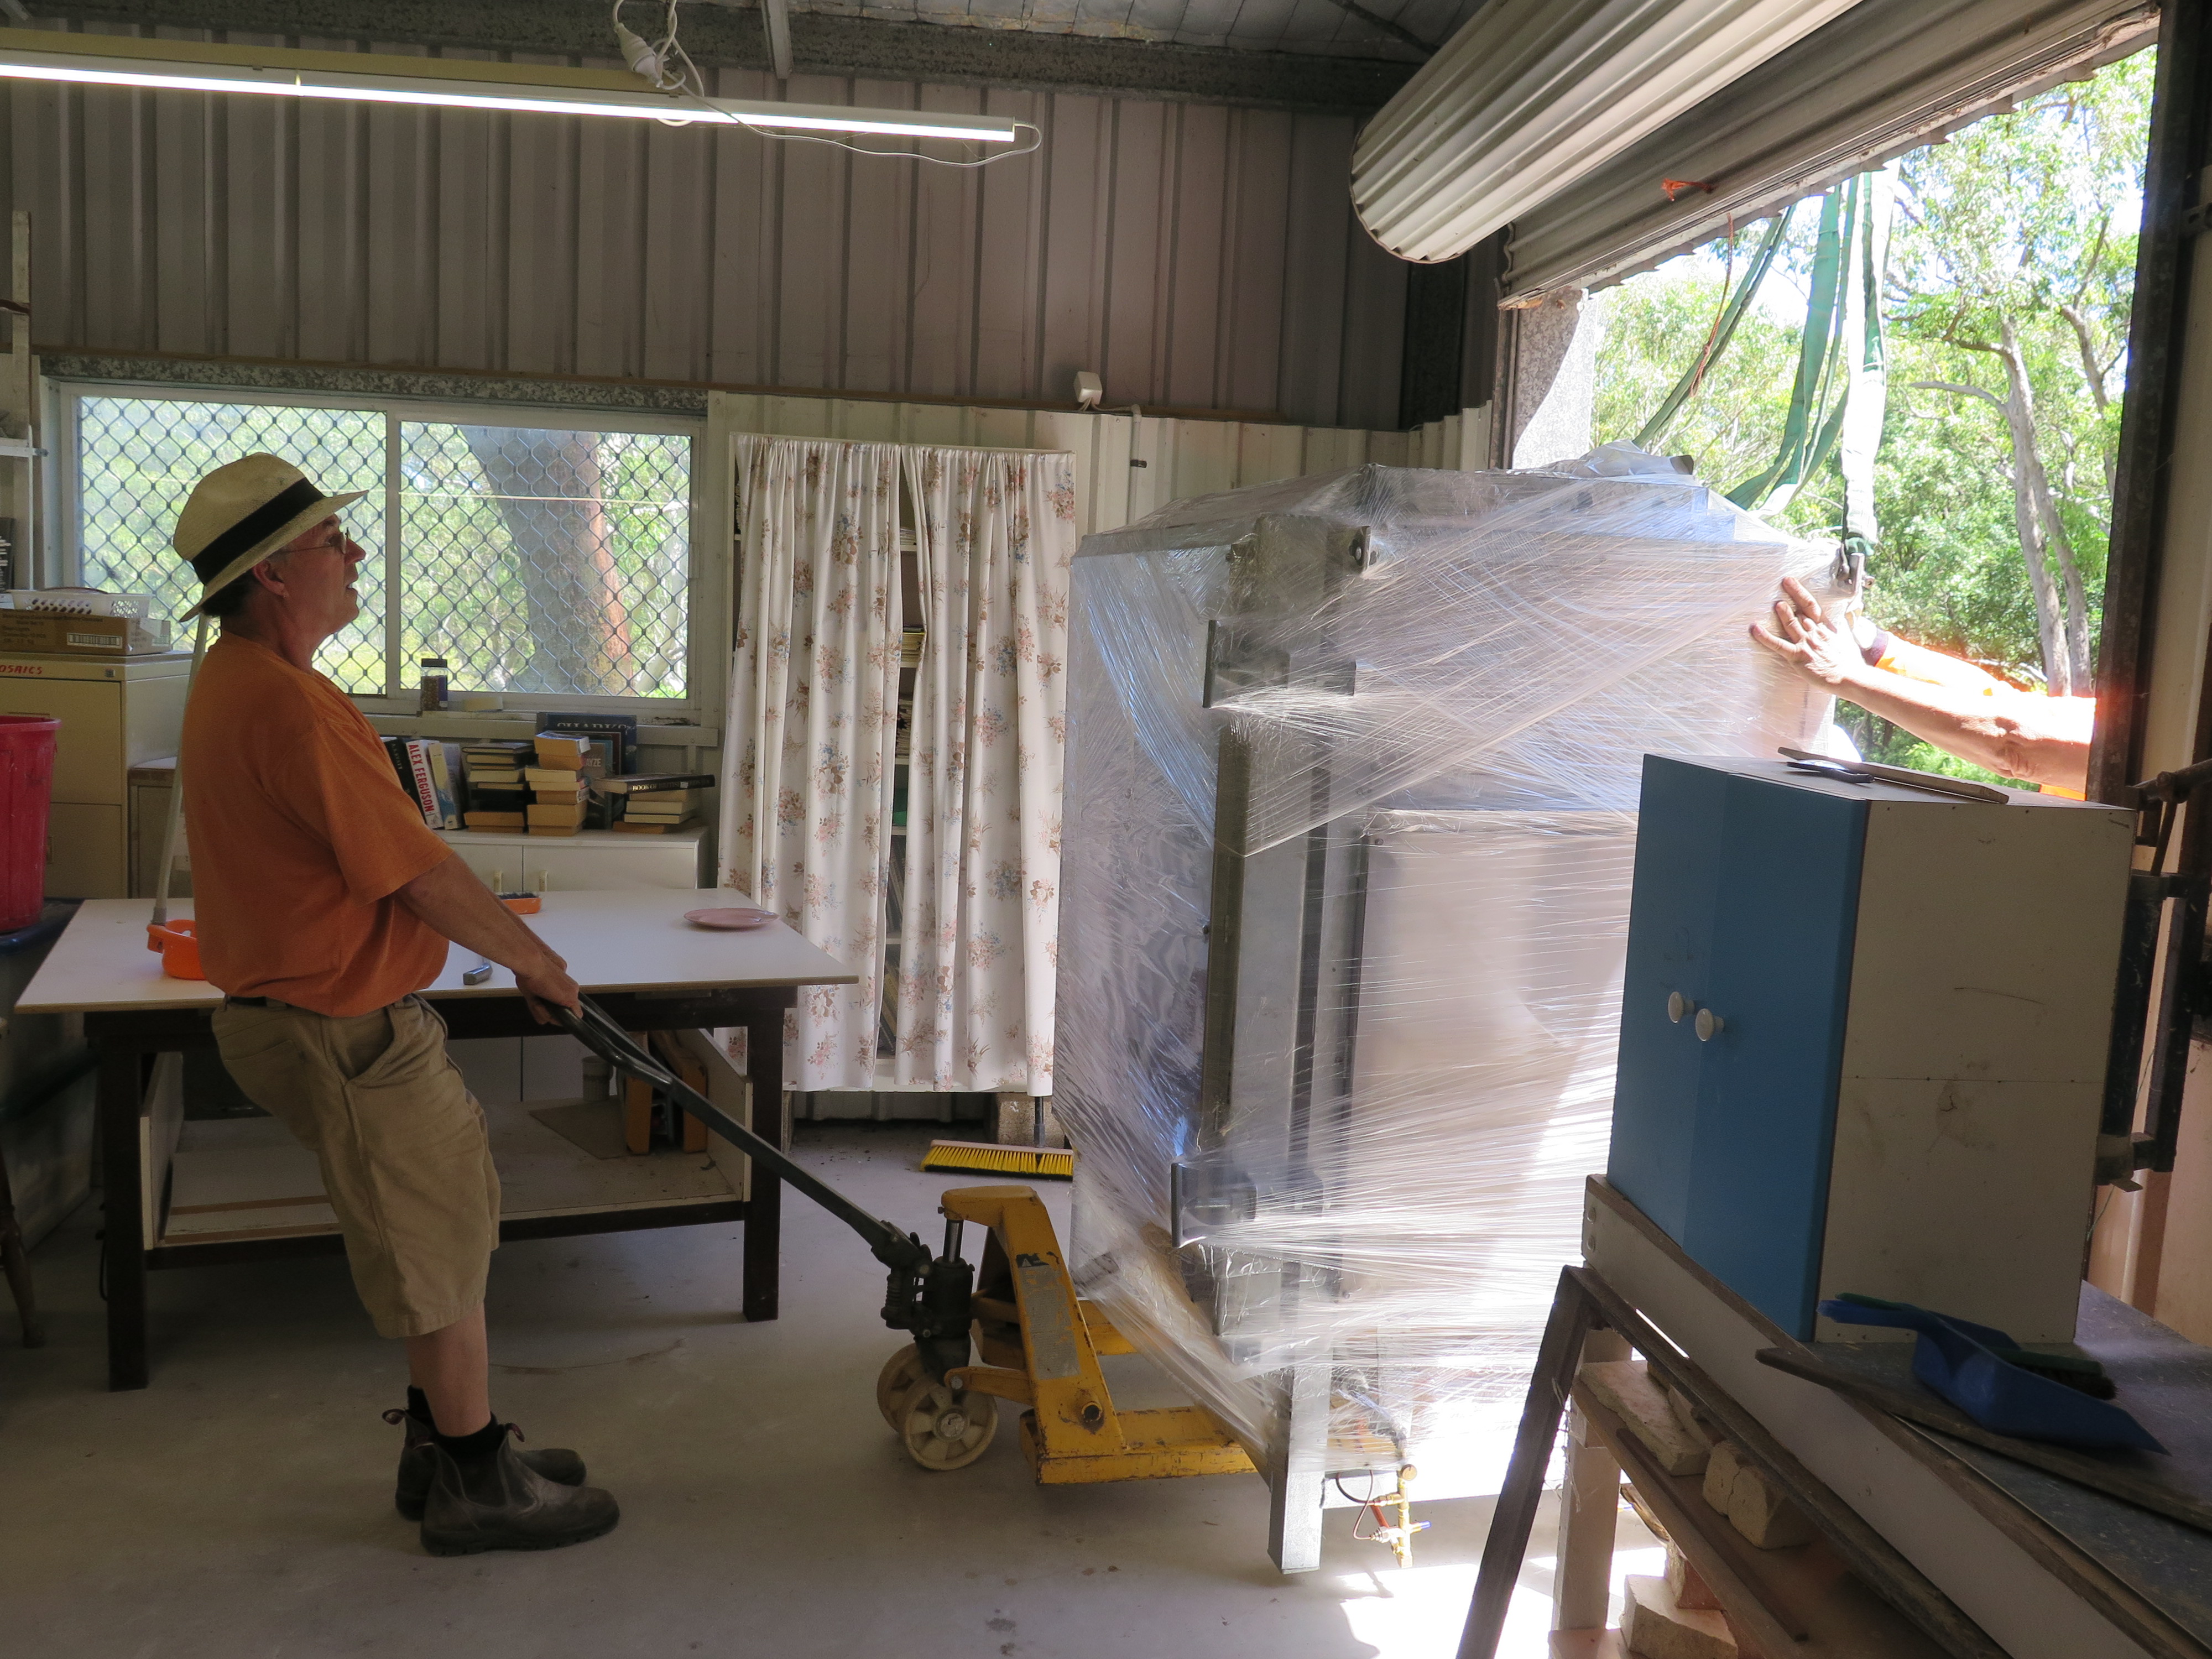
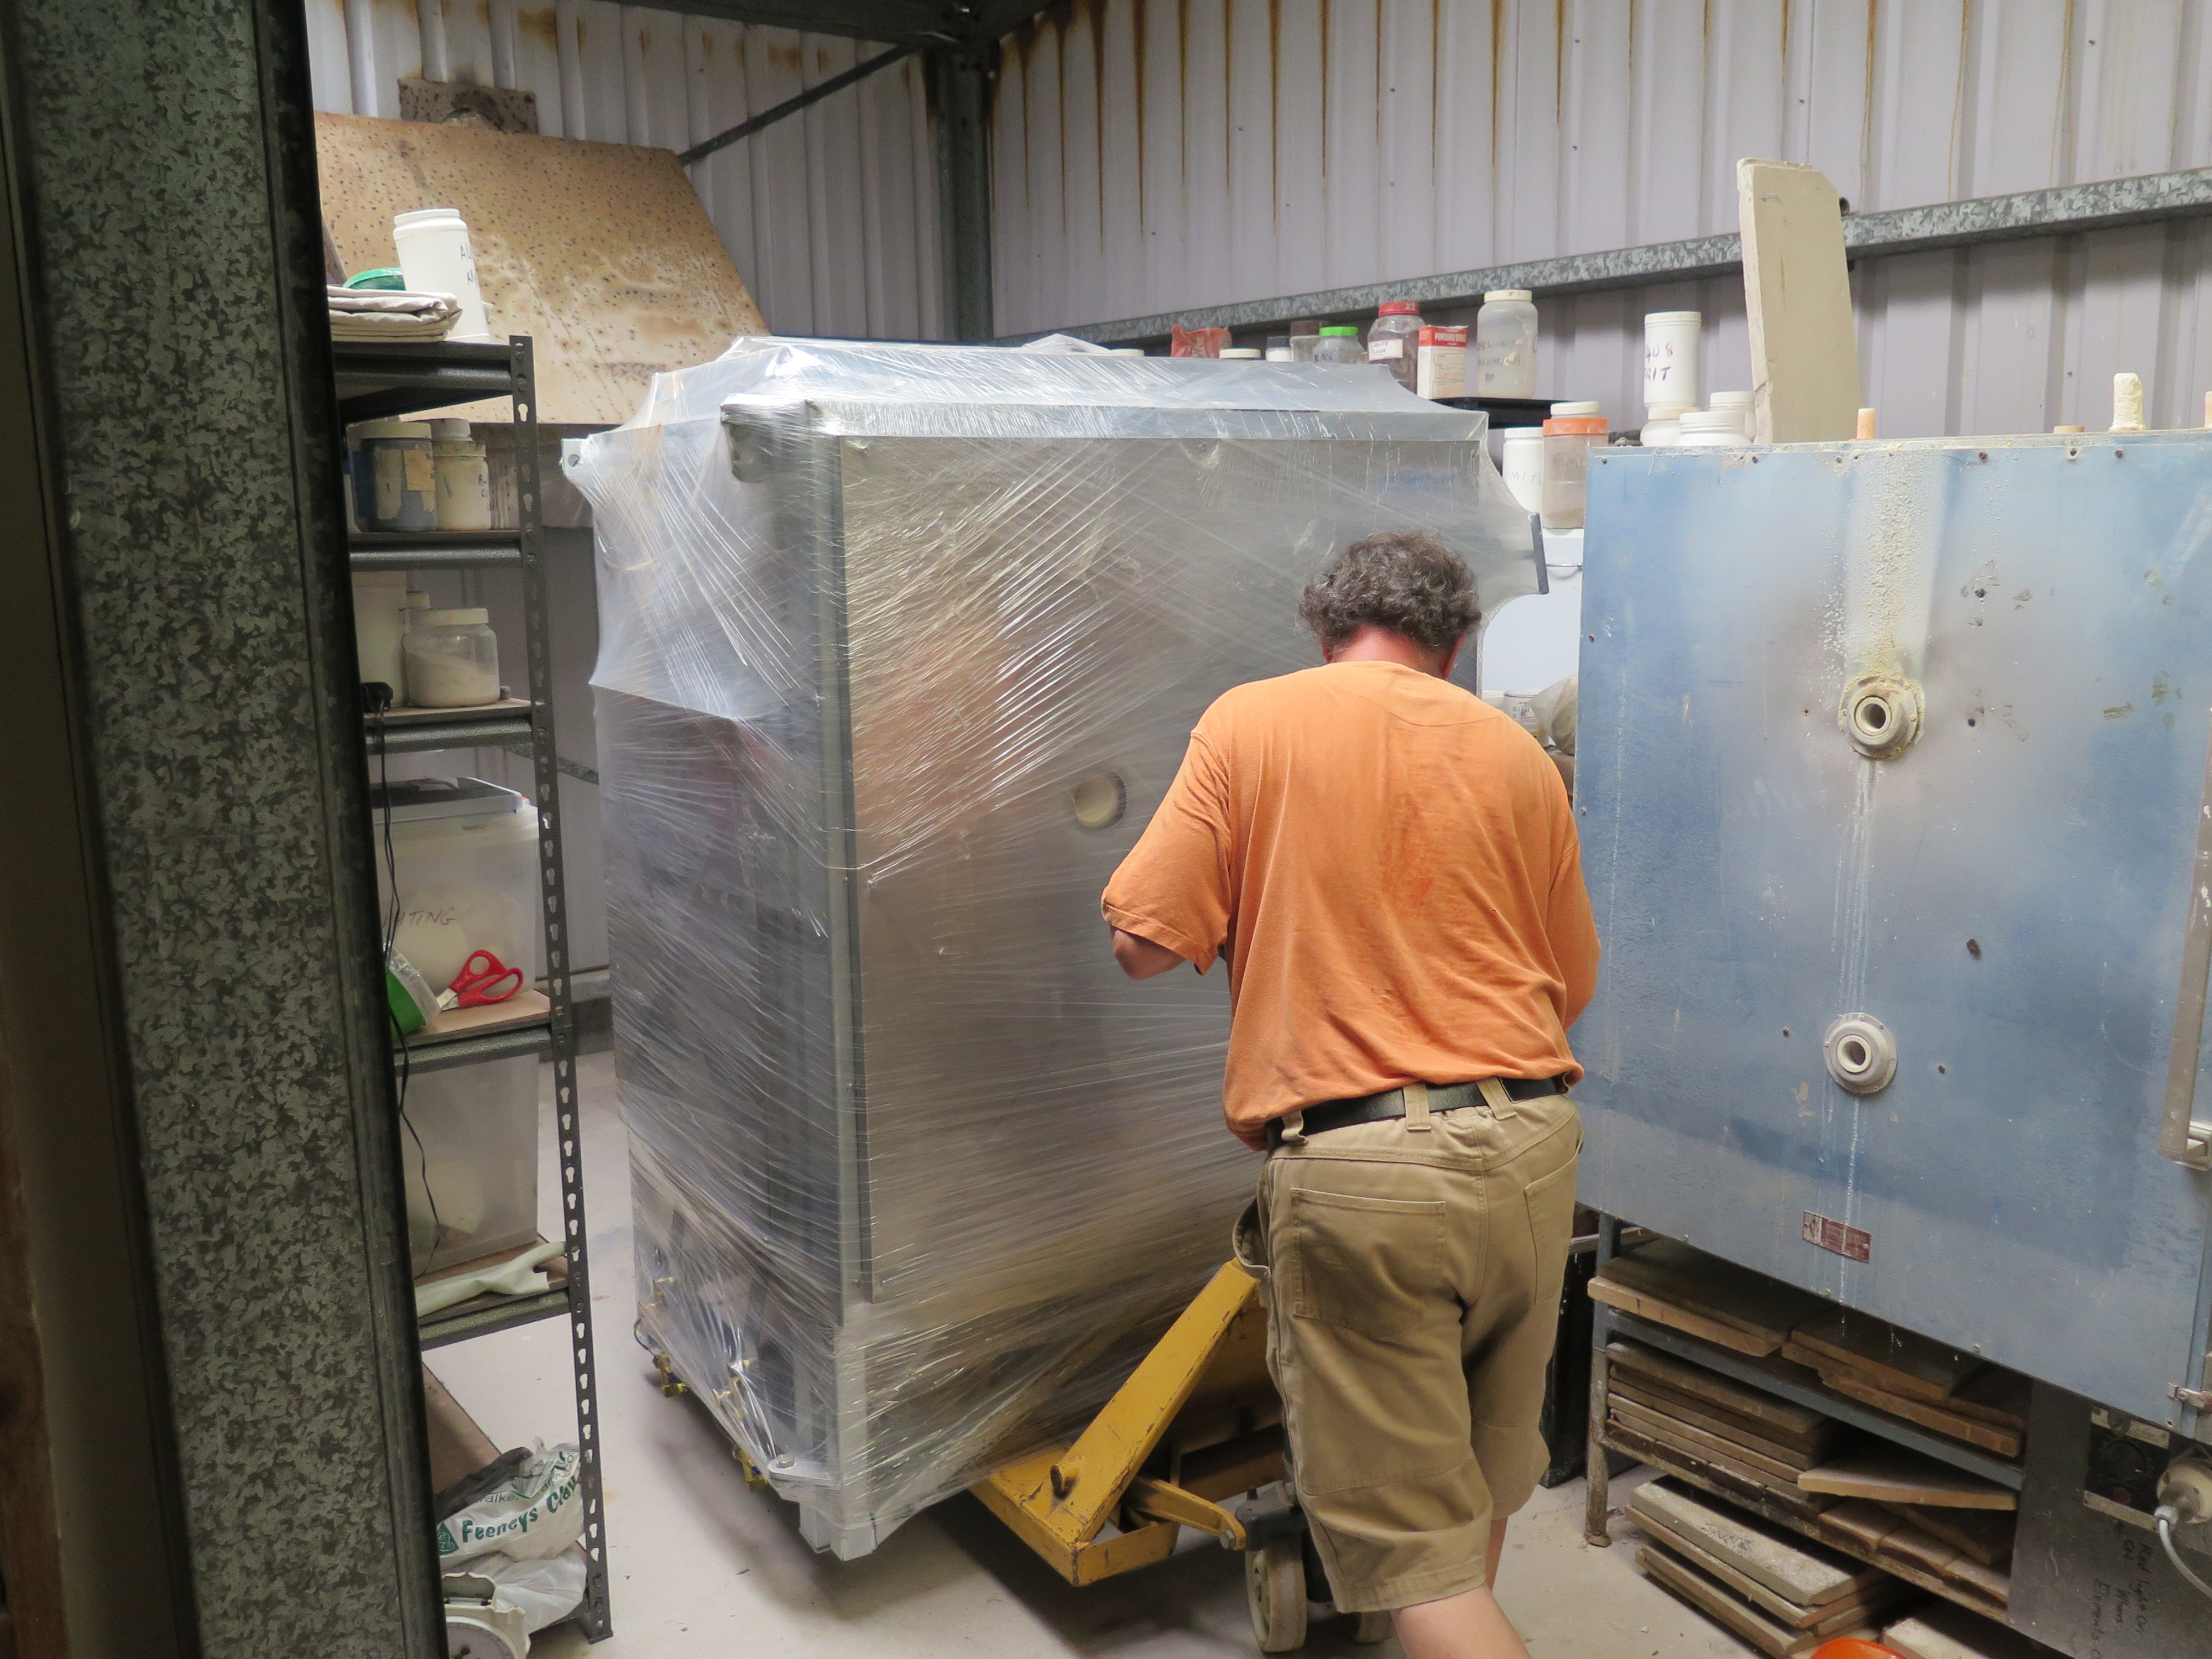
We have the kiln unpacked and re-packed and ready to fire in 5 days. This is only possible because I had all the pots made and bisque fired before I left to go to do my research in Korea. All we have to do now is glaze them and make sure that they are well dried before packing them into the kiln. I have learnt from experience that if I pack my thick felspathic glazes wet. They can just fall off from the outside of the pots. Especially from the underside of bowls.
It has been too hot and dry to fire for the past 2 days, so today has been forecast to be overcast and showery. I wake at 4.00am, just like clockwork. I amaze myself that I can do this, but it just happens. I read an article in ‘NewScientist’ magazine recently about our brains ability to track time accurately, even when supposedly asleep. The article maintained that only part of our brain sleeps. A lot of it stays well awake, and is a very good time-keeper. I know this as a fact for me and my brain, but I can’t speak for others. I thought that I had taught myself to do this as an art student. Waking up every two hours to turn up the gas pressure on the kiln. I could wake up just a minute or two before the alarm went off. I didn’t like the alarm, so I taught myself to pre-empt it by a minute or so to avoid its harsh reality. Apparently, I’m not at all special. Loads of people can do this with no effort. It’s apparently quite normal. Ho-hum! There goes my last claim to be able to do something ‘special’.
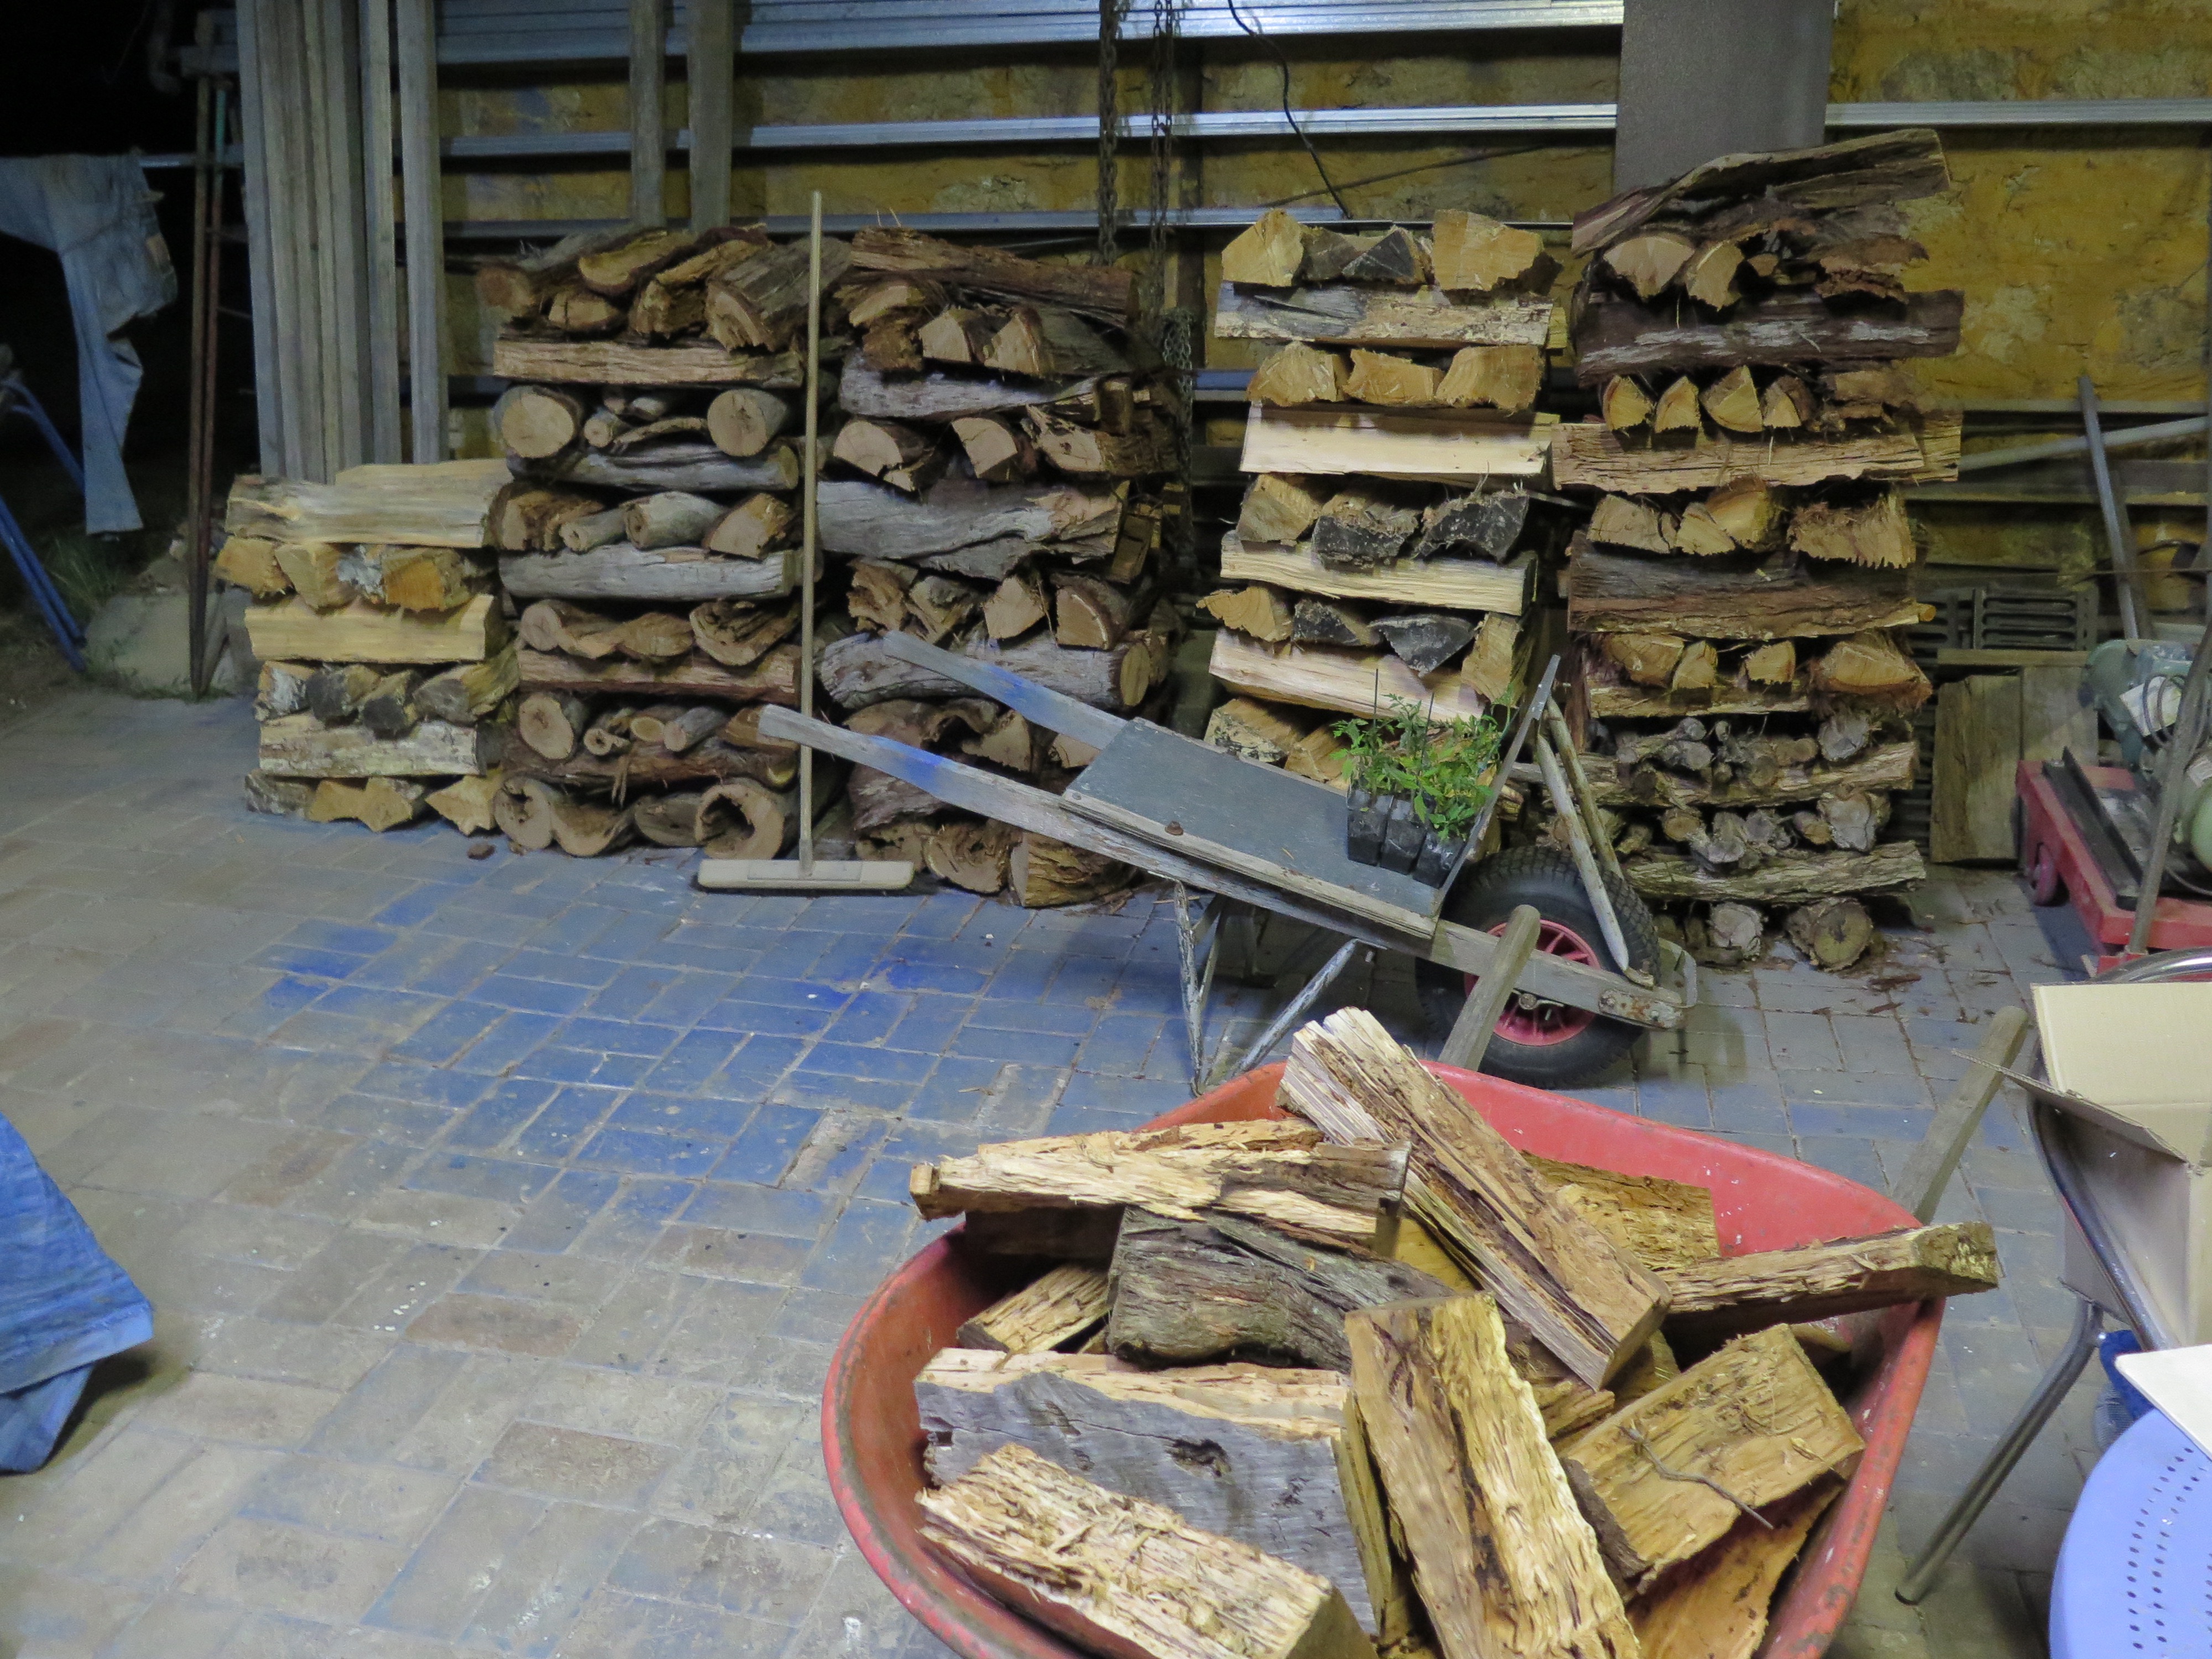
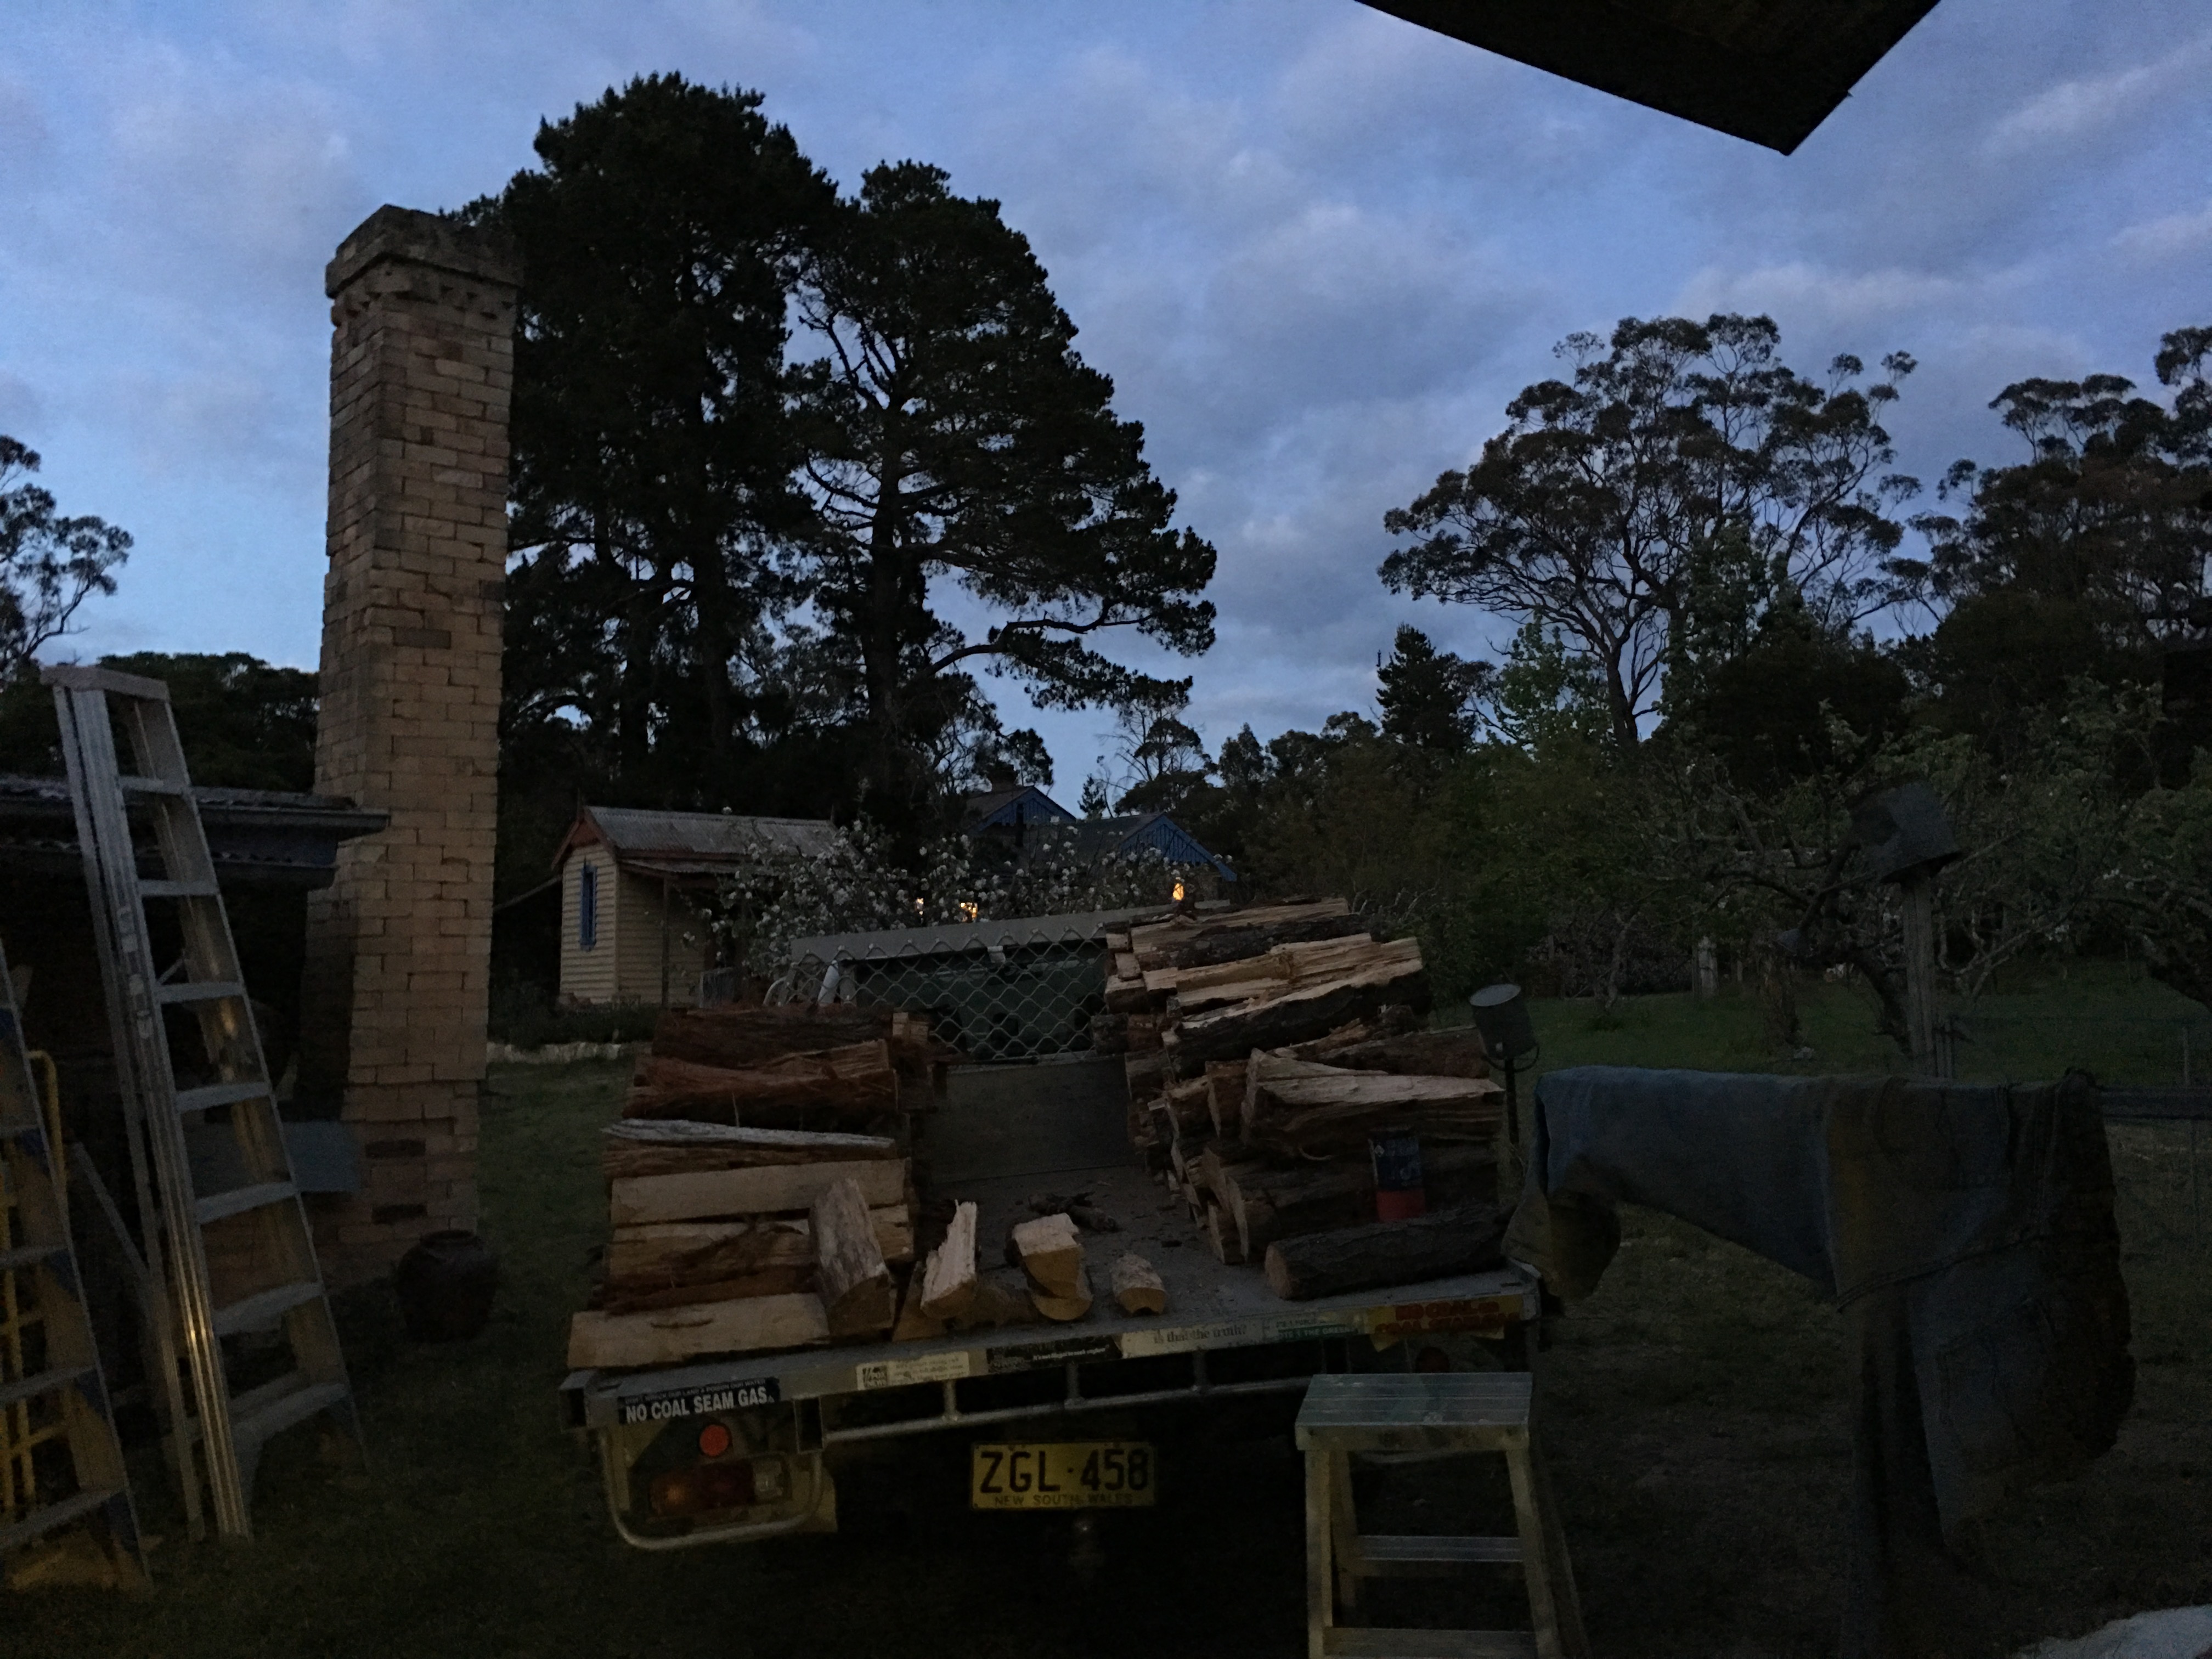
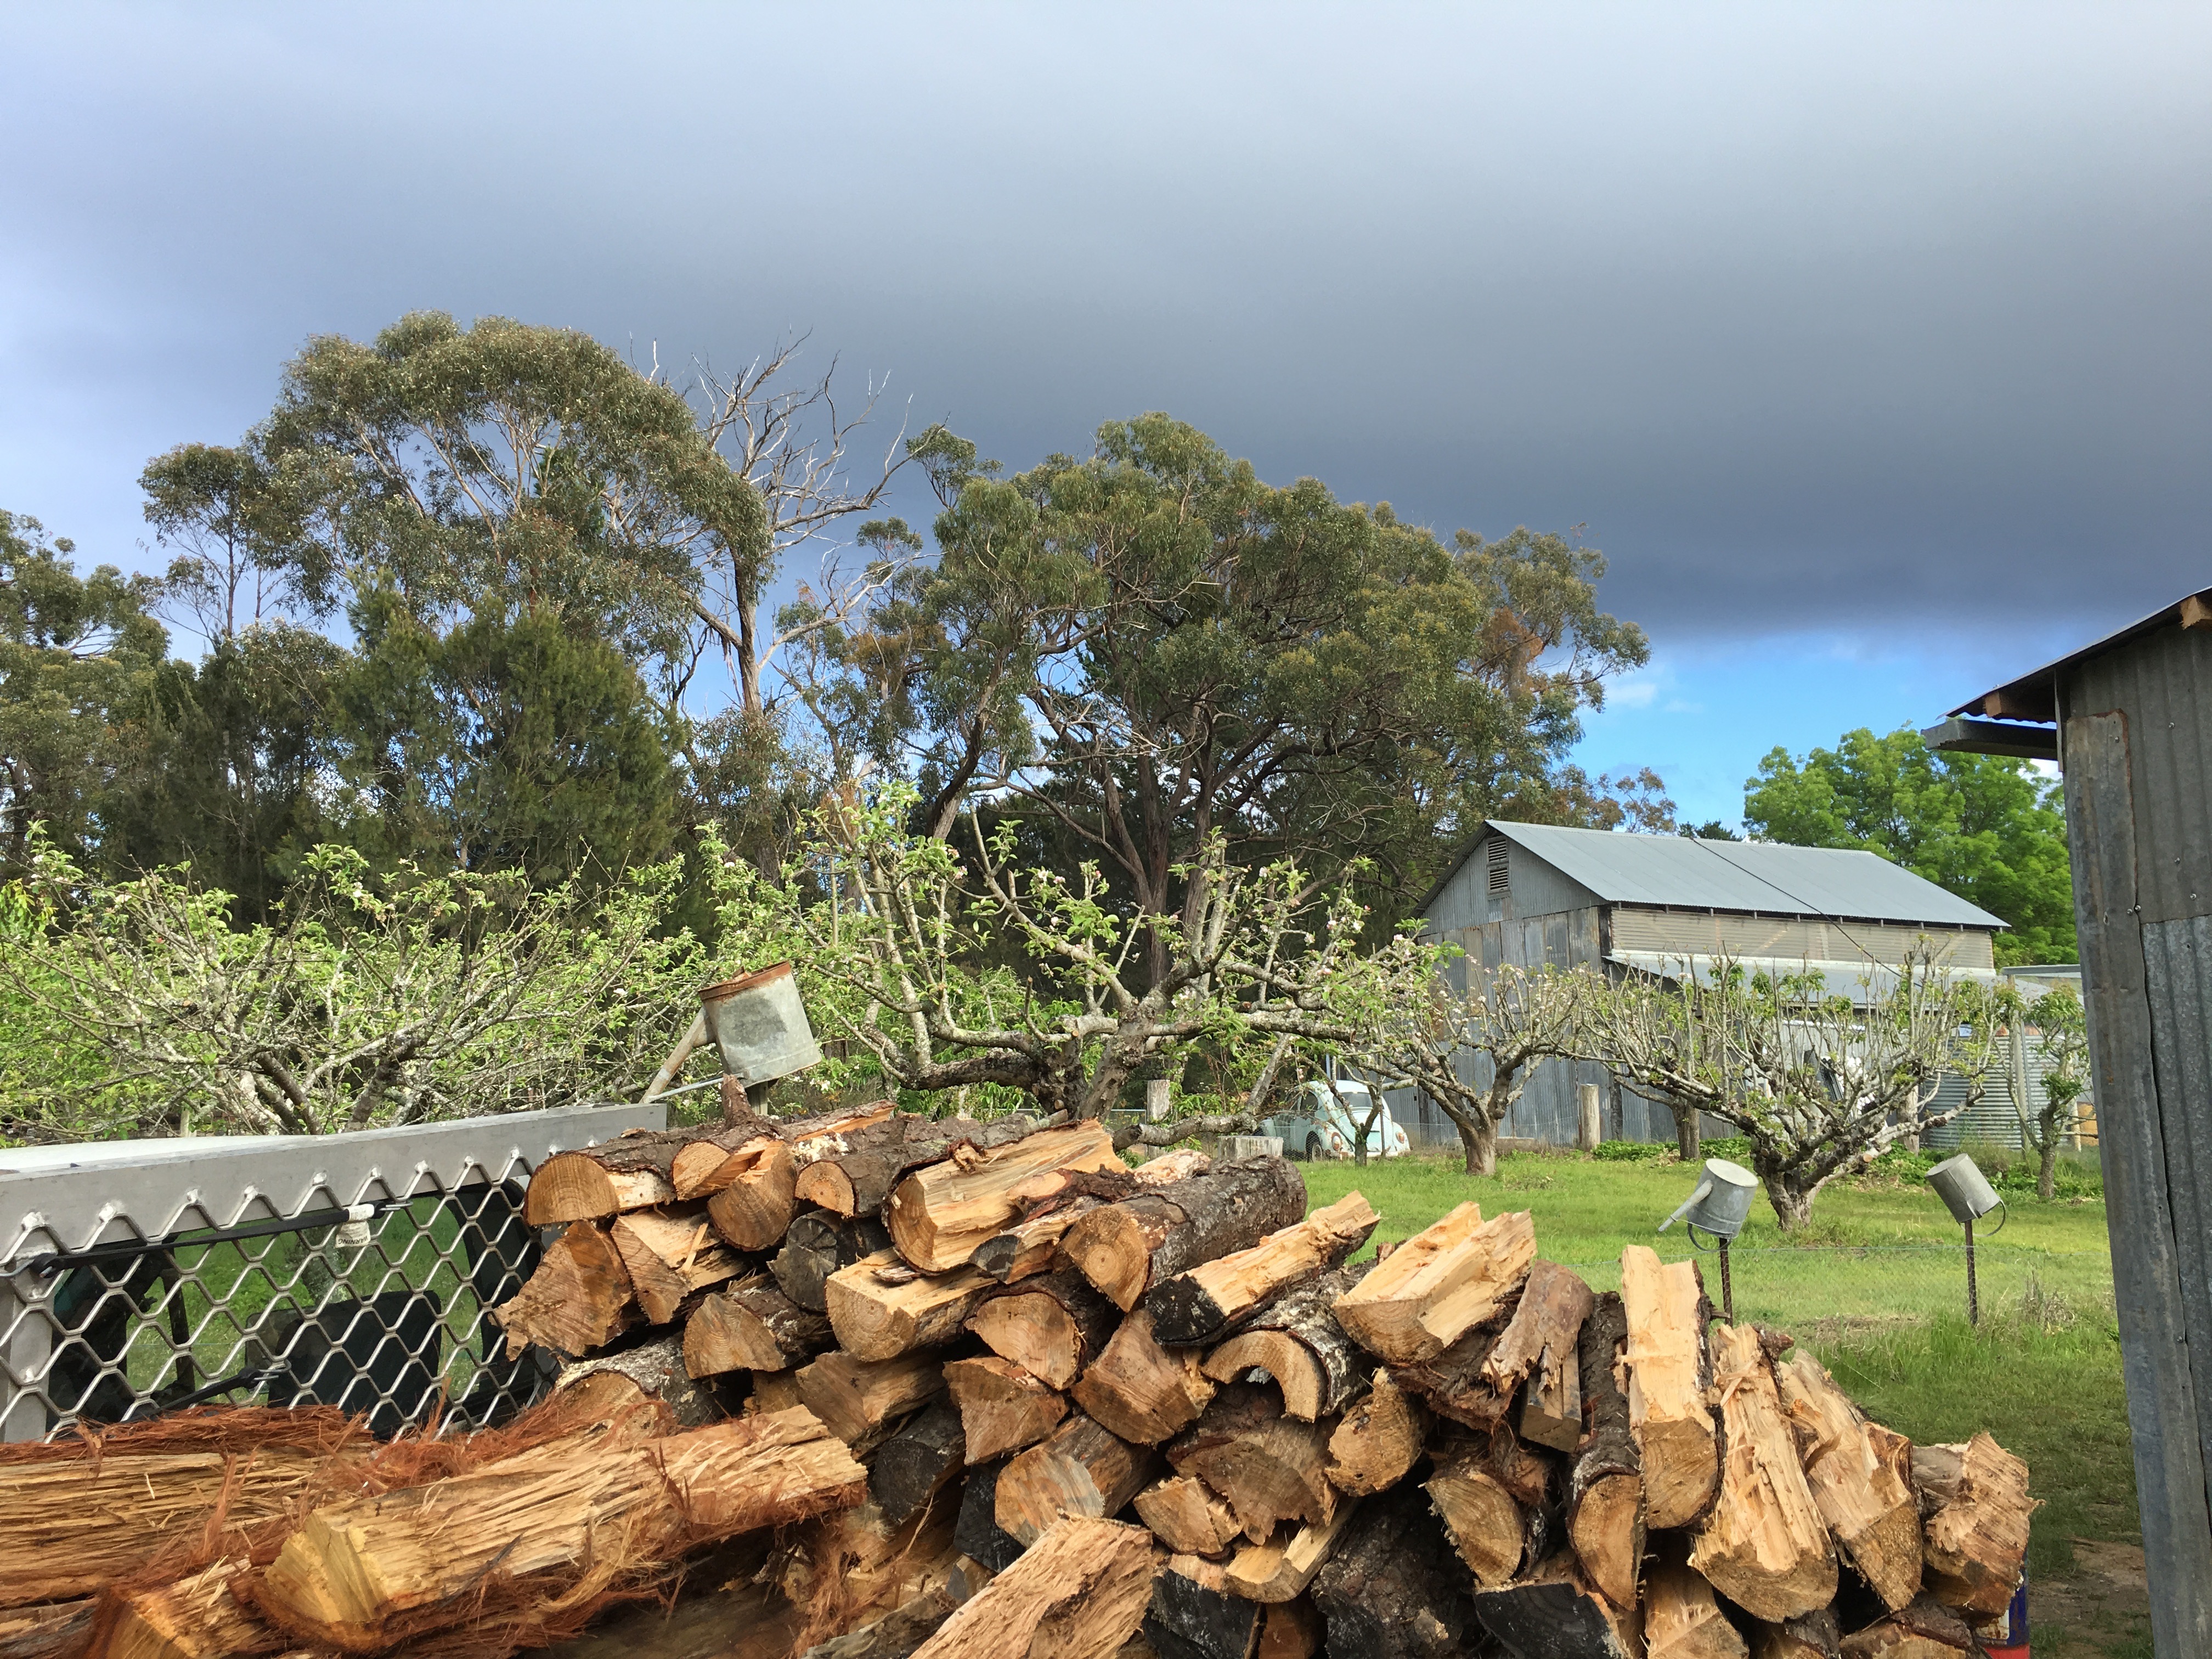
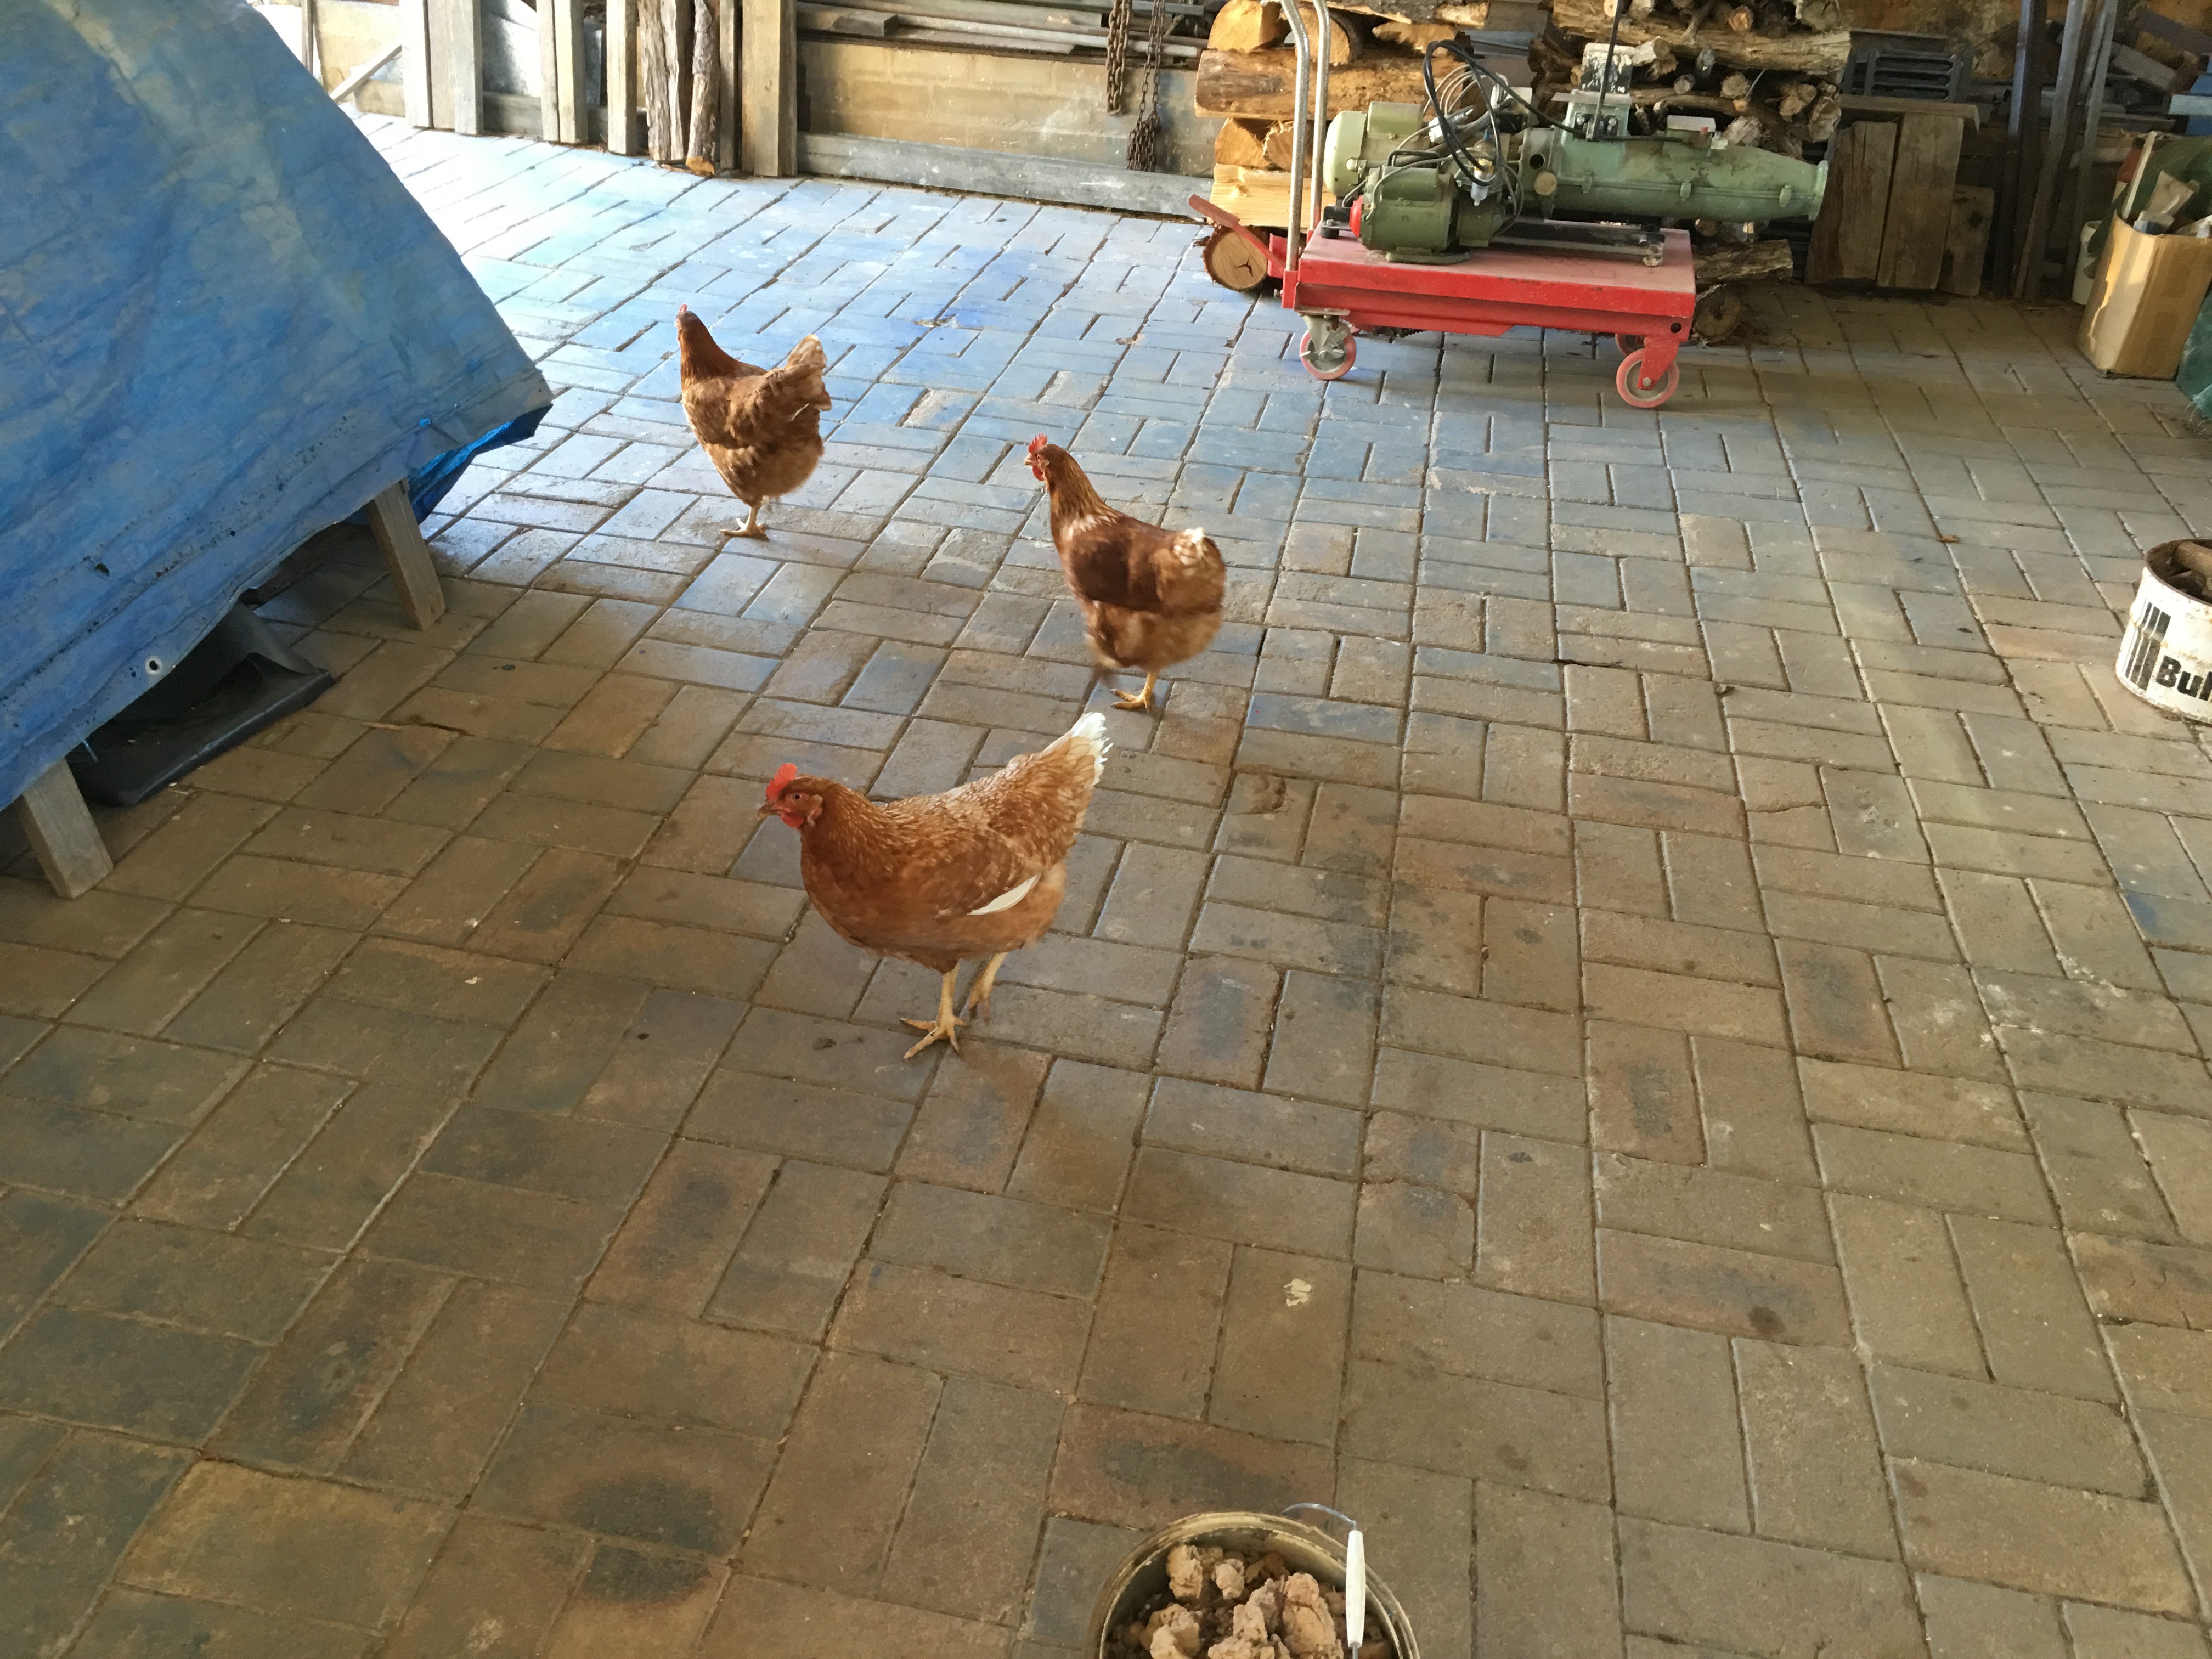
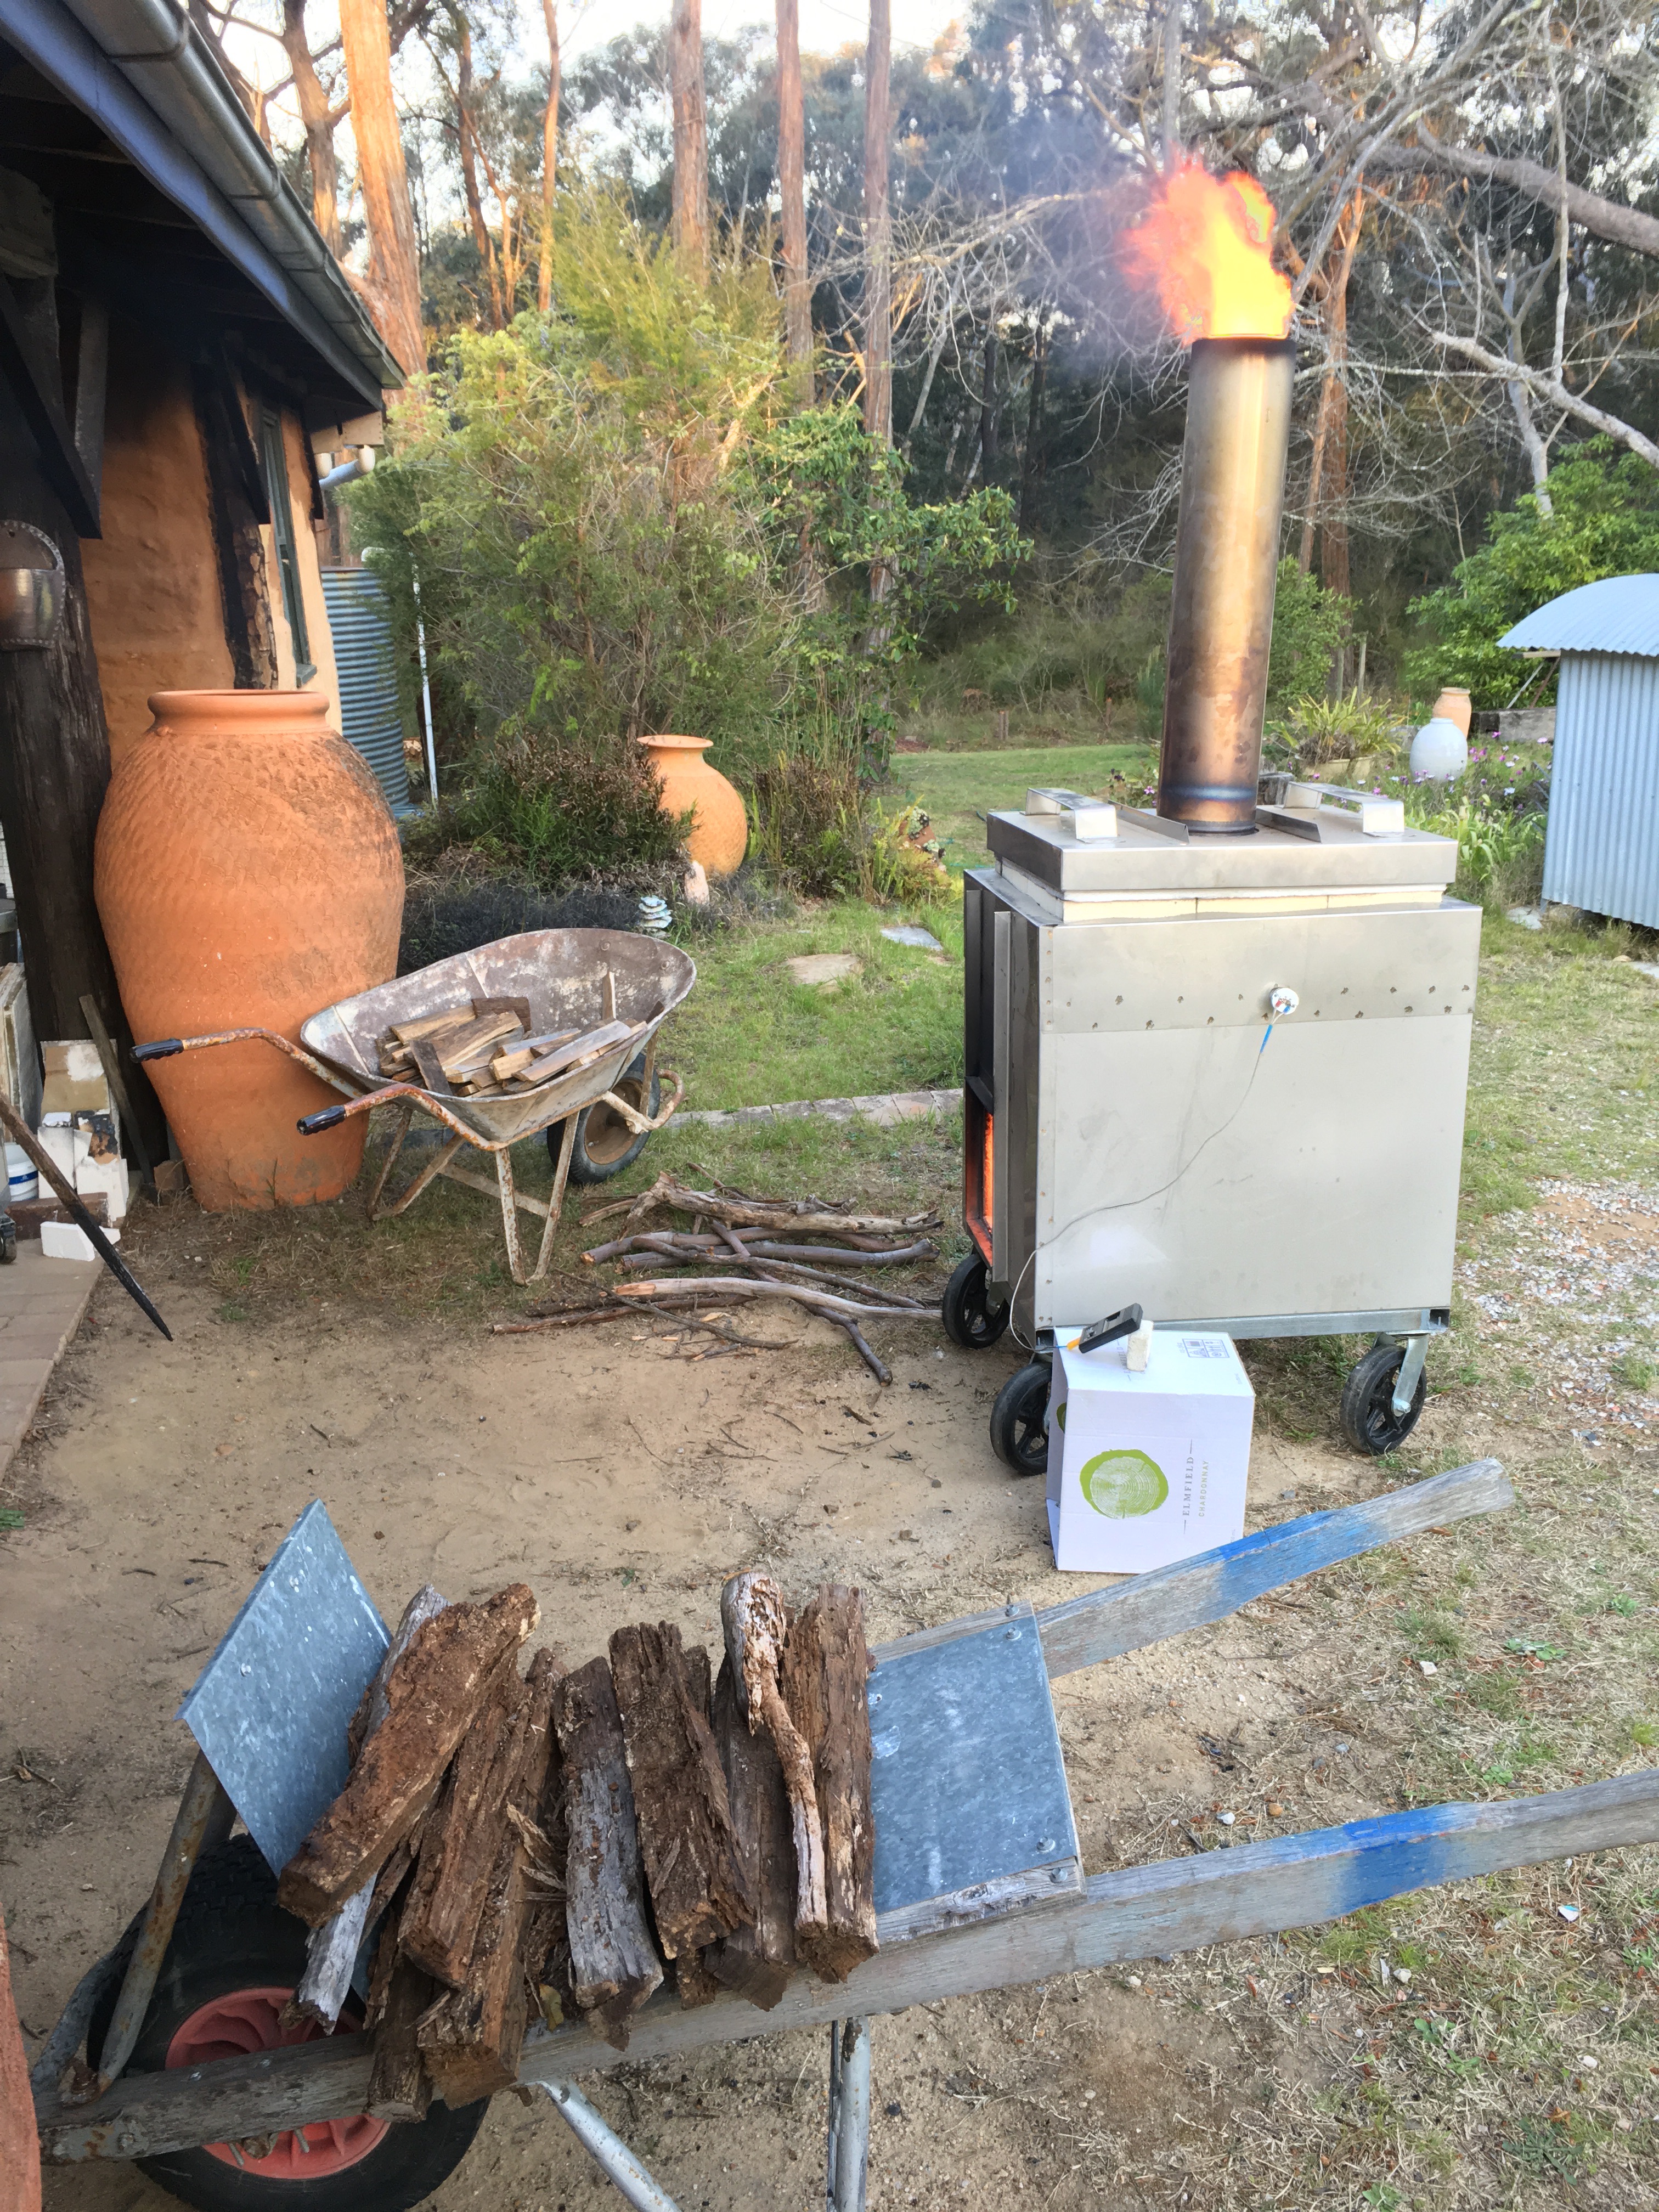
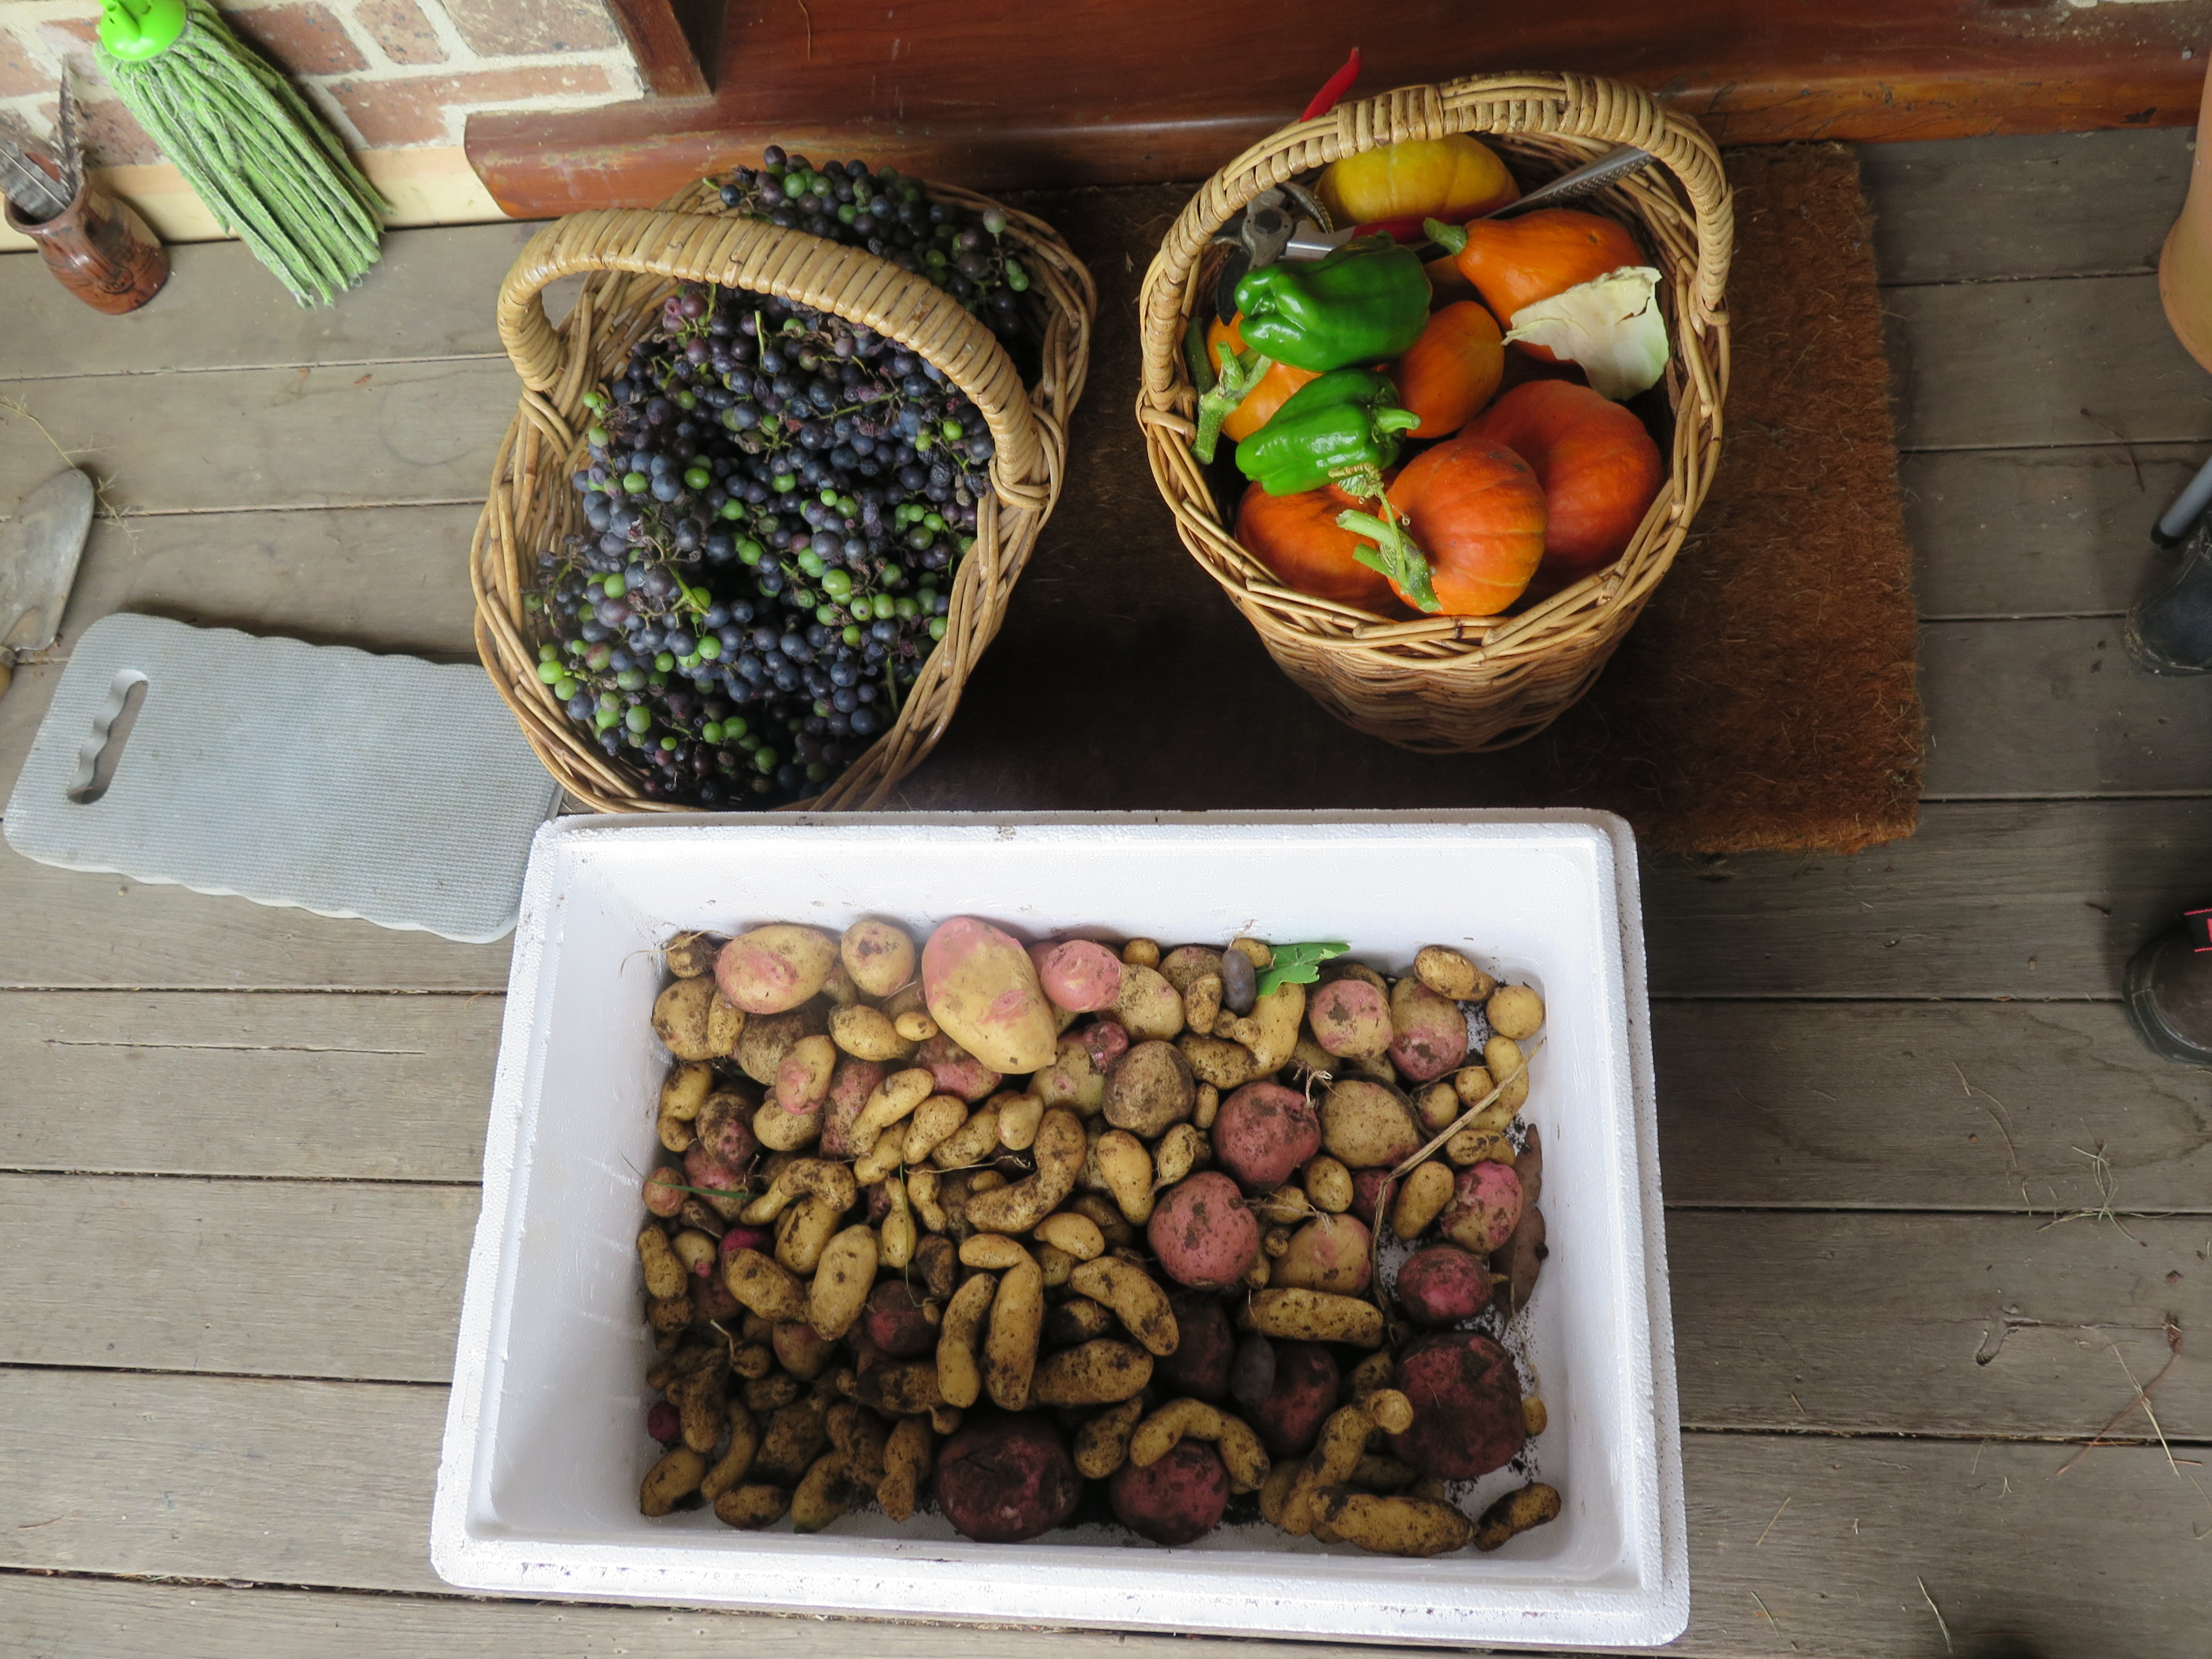
We have the wood all cut and dried, up in the wood shed, we have all the pots bisque fired and stacked in the pottery. All the stones have been ground up and powdered. All the ashes have been dry sieved and bagged. All the glazes are made up and tested. Nothing can go wrong now!
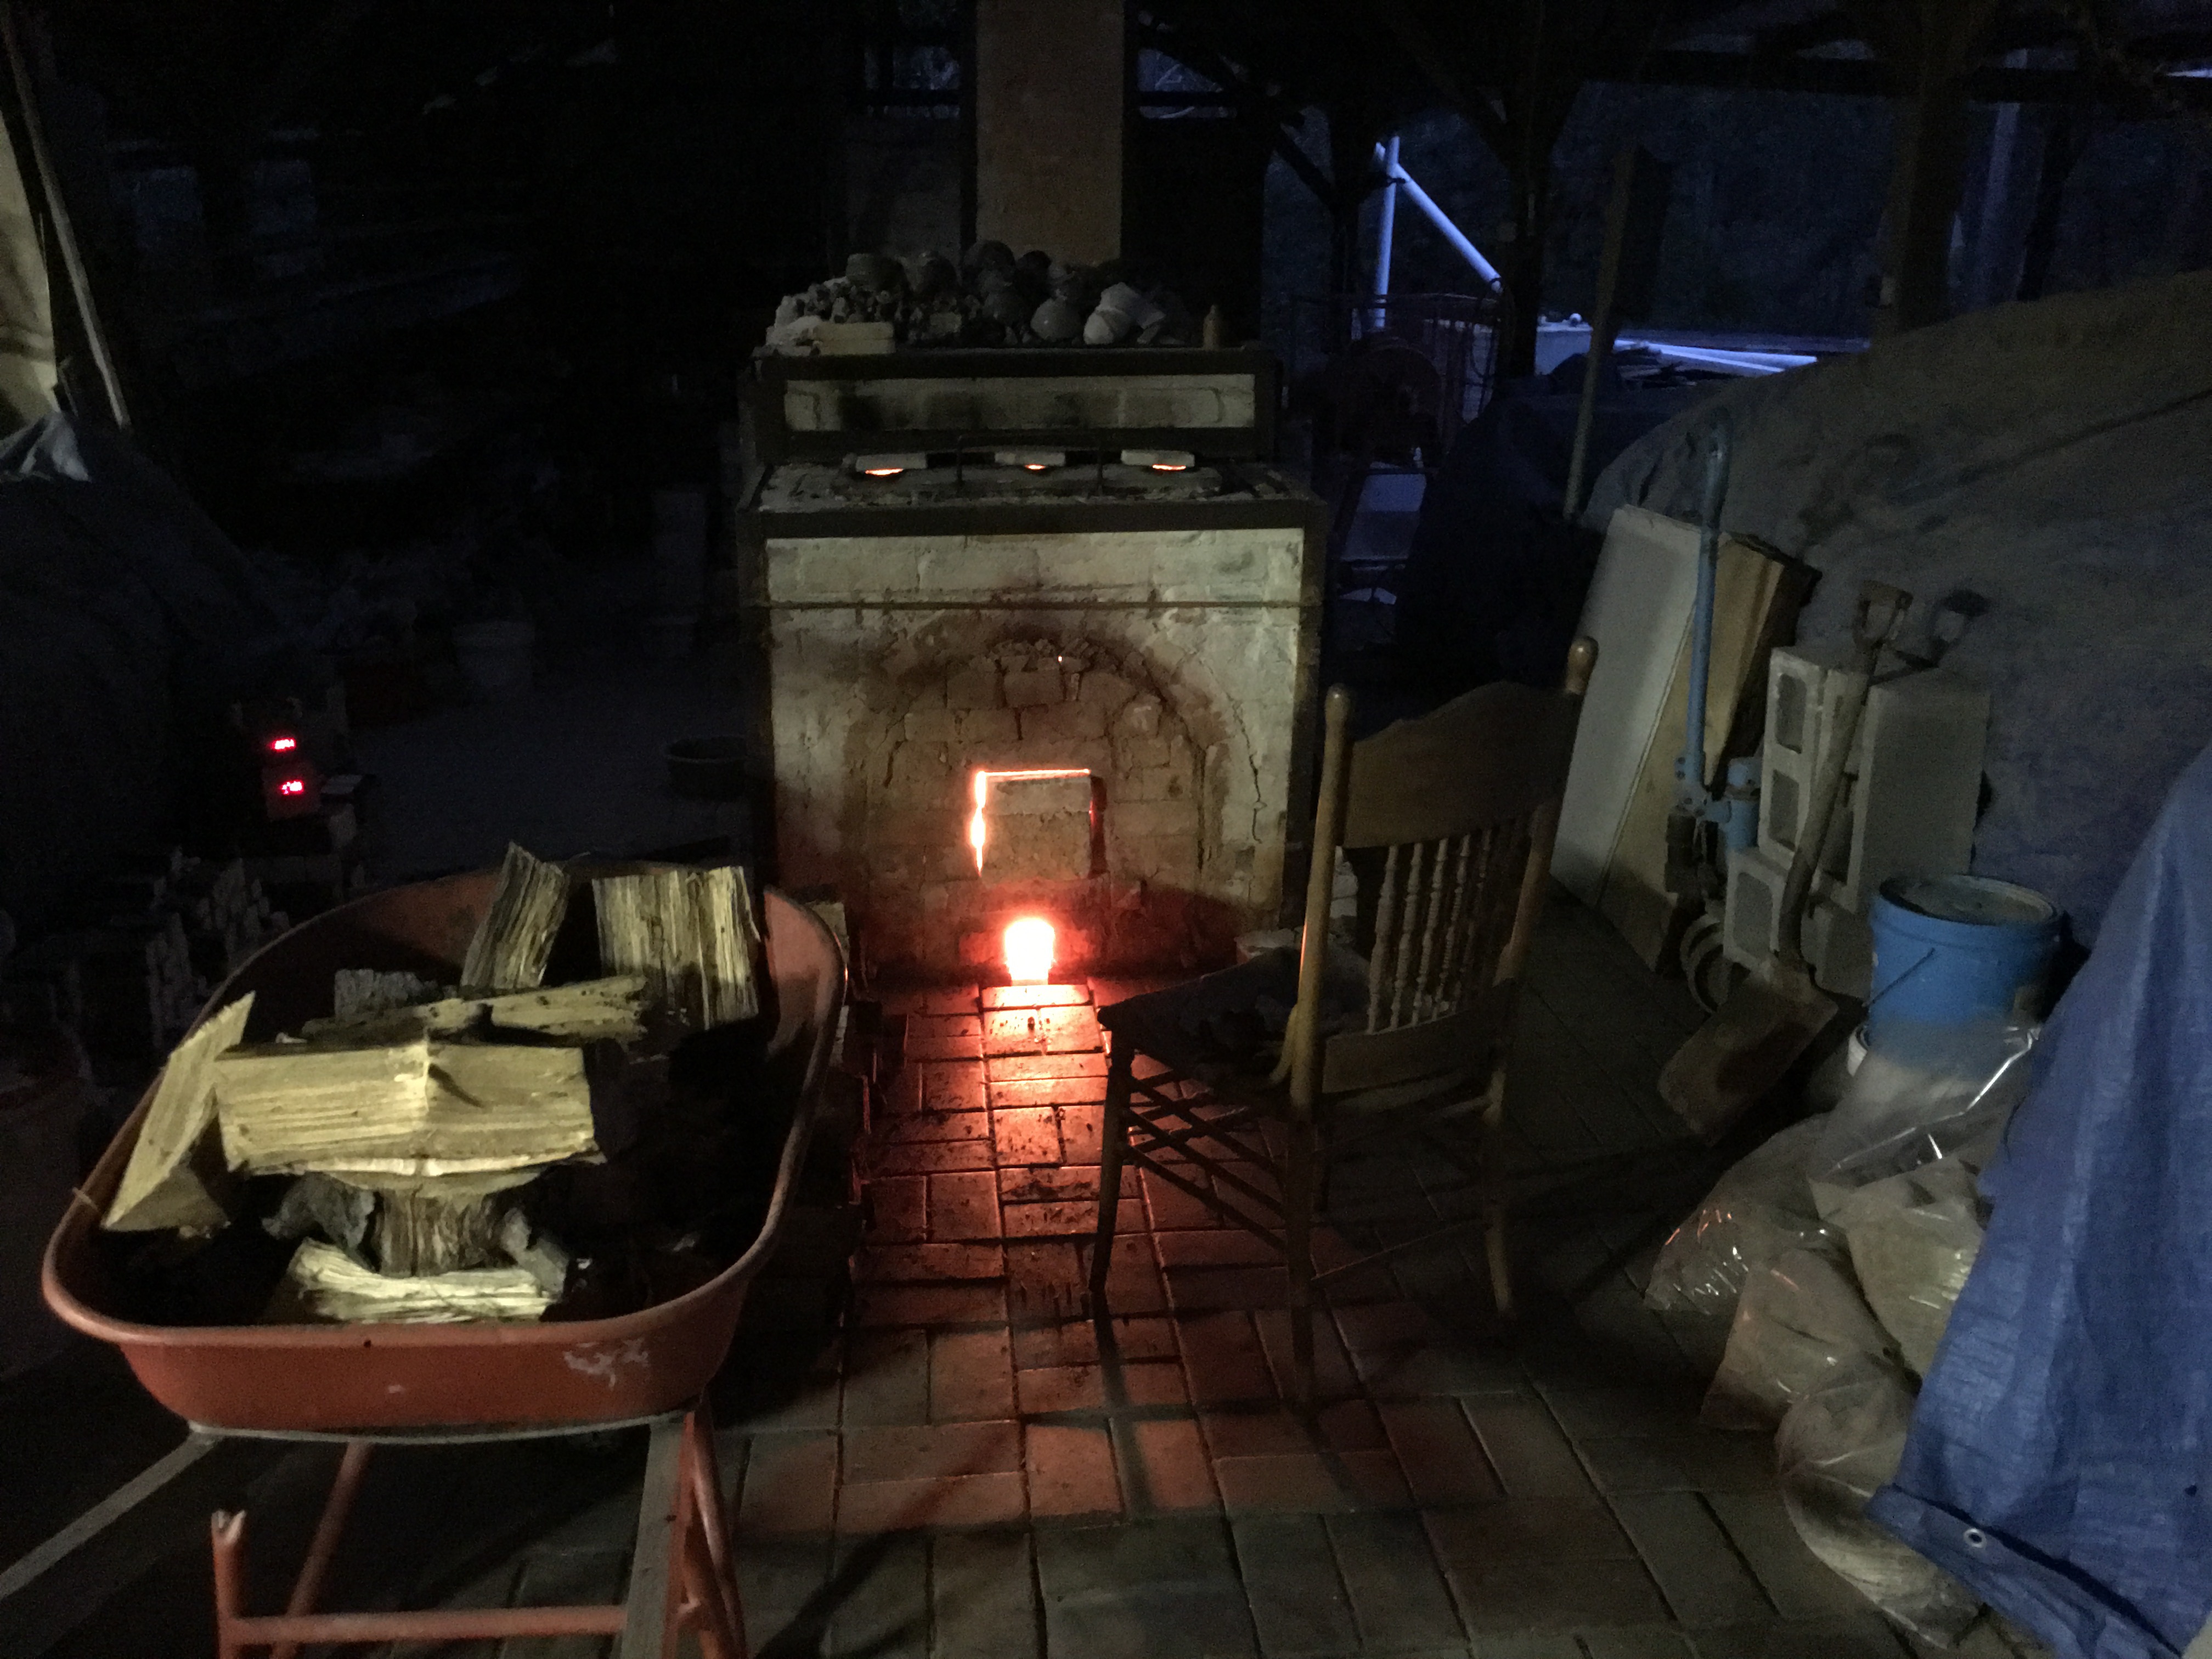
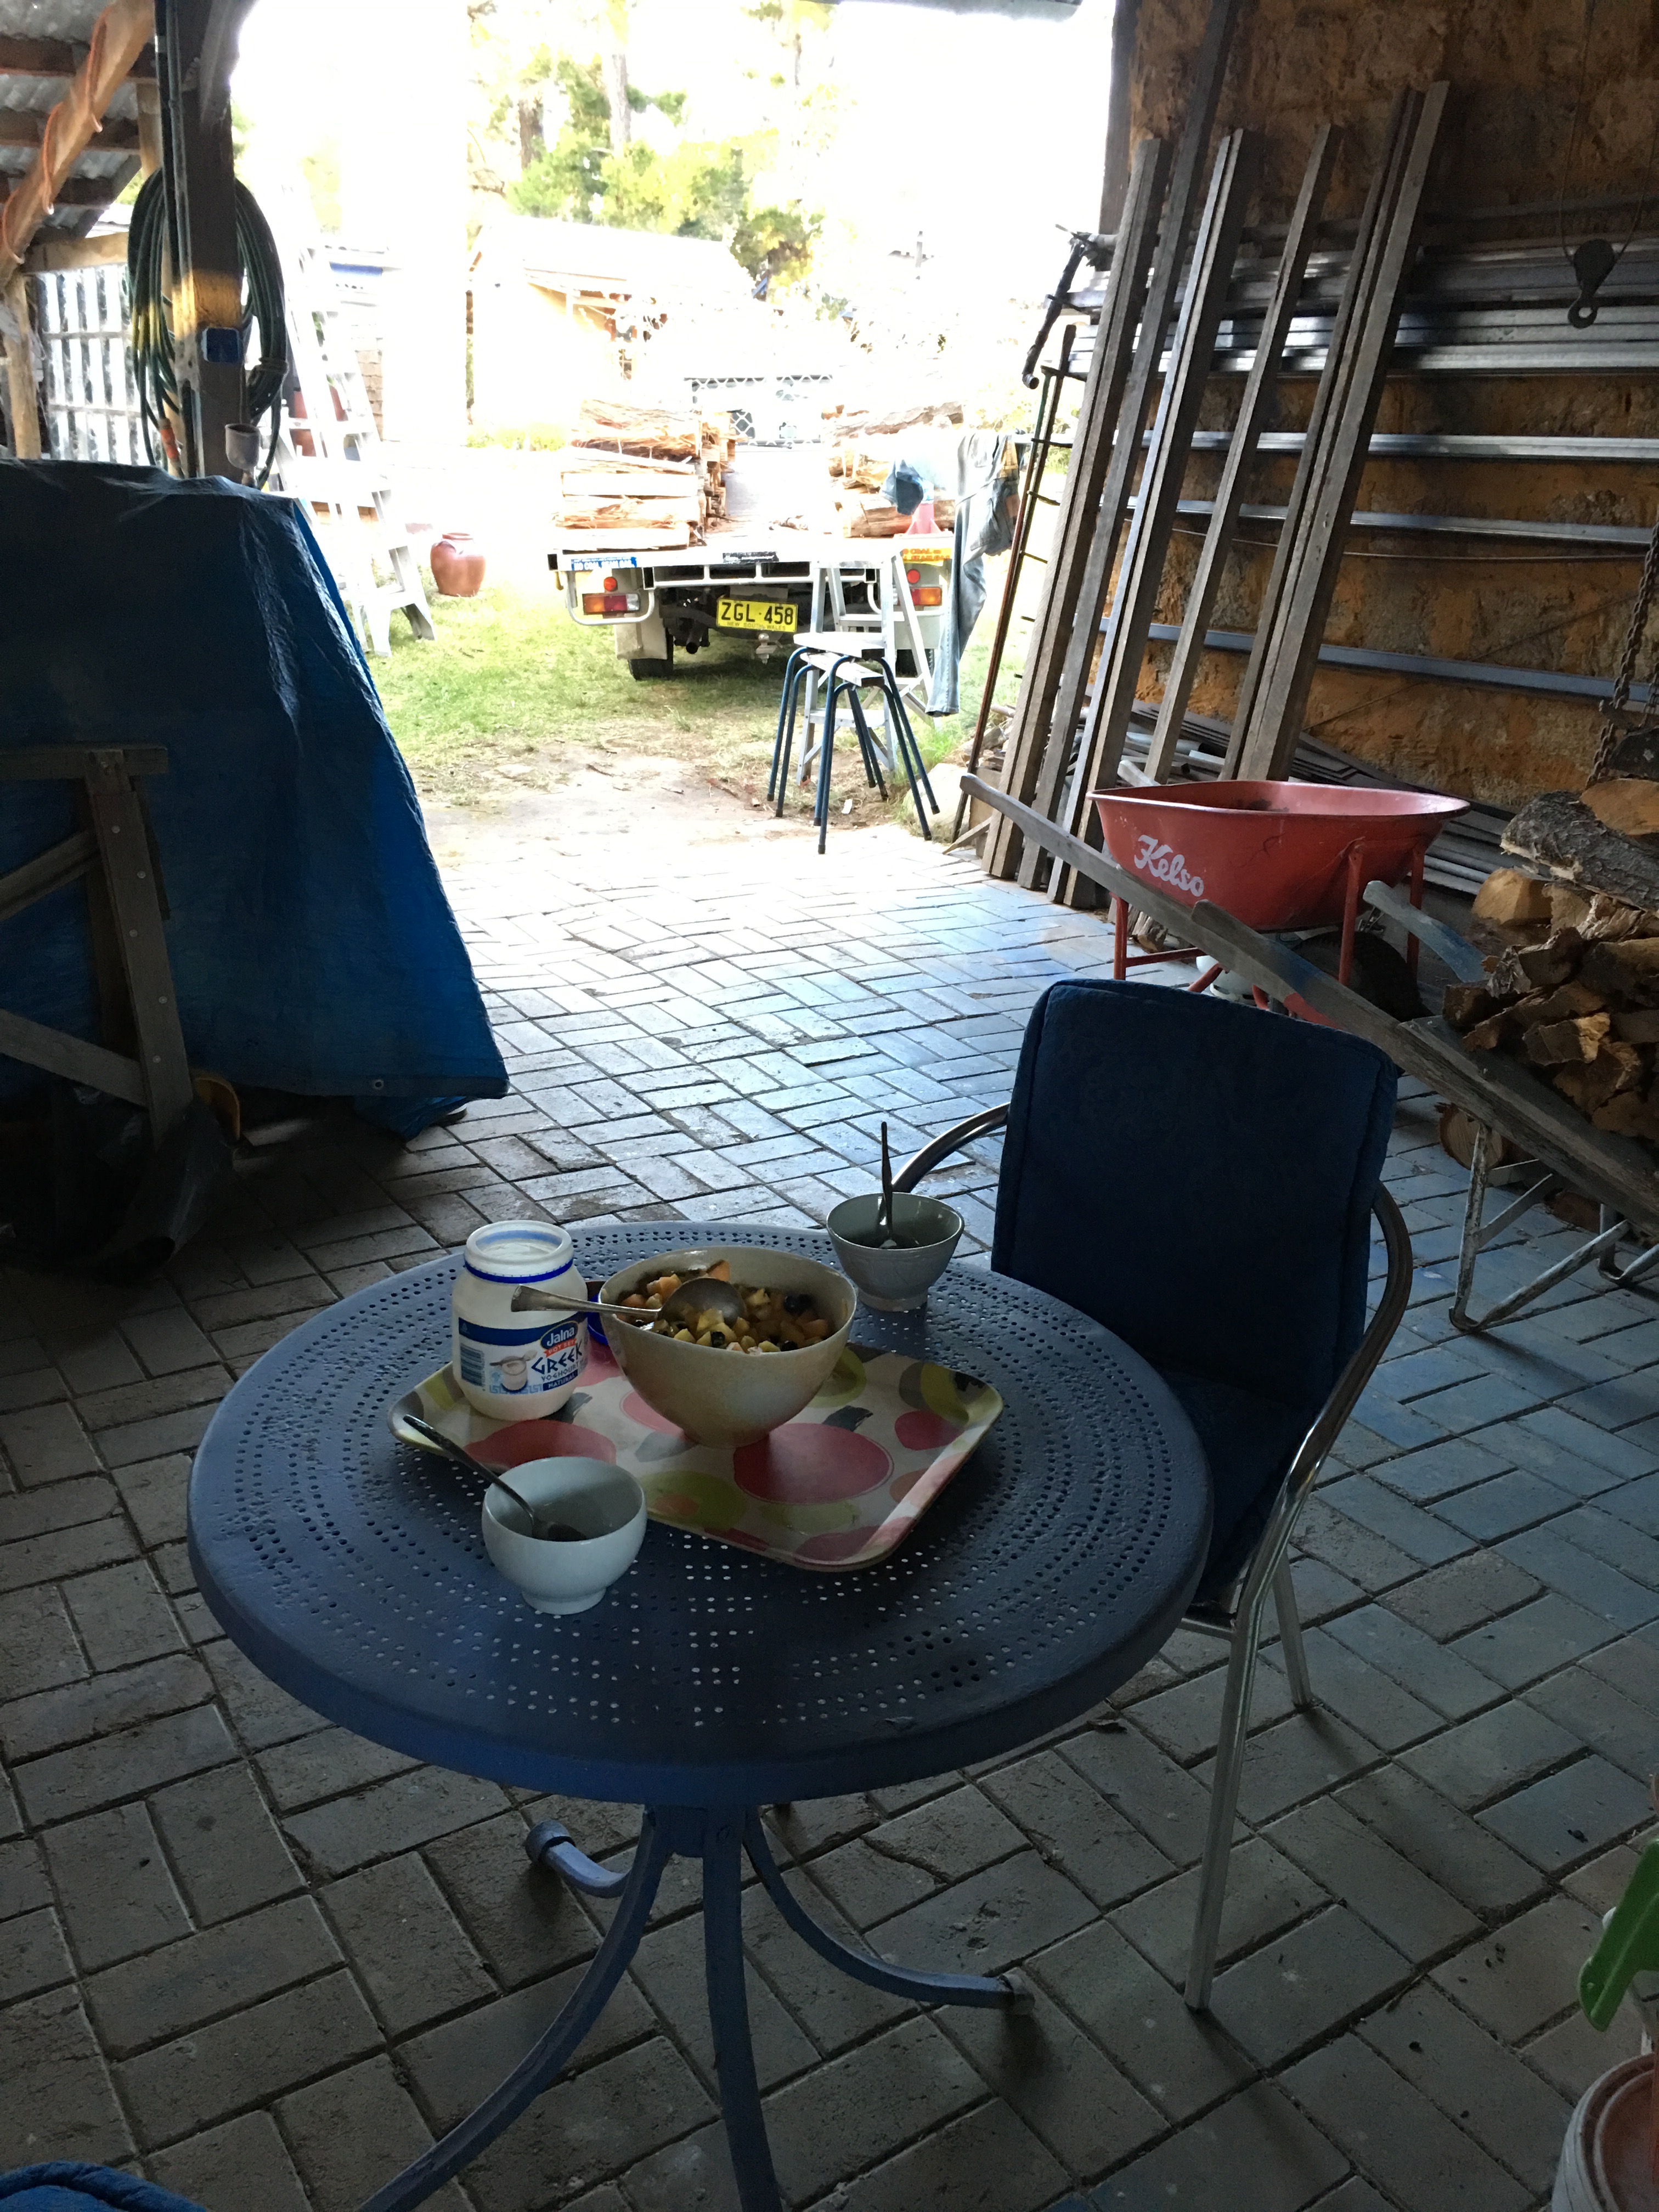
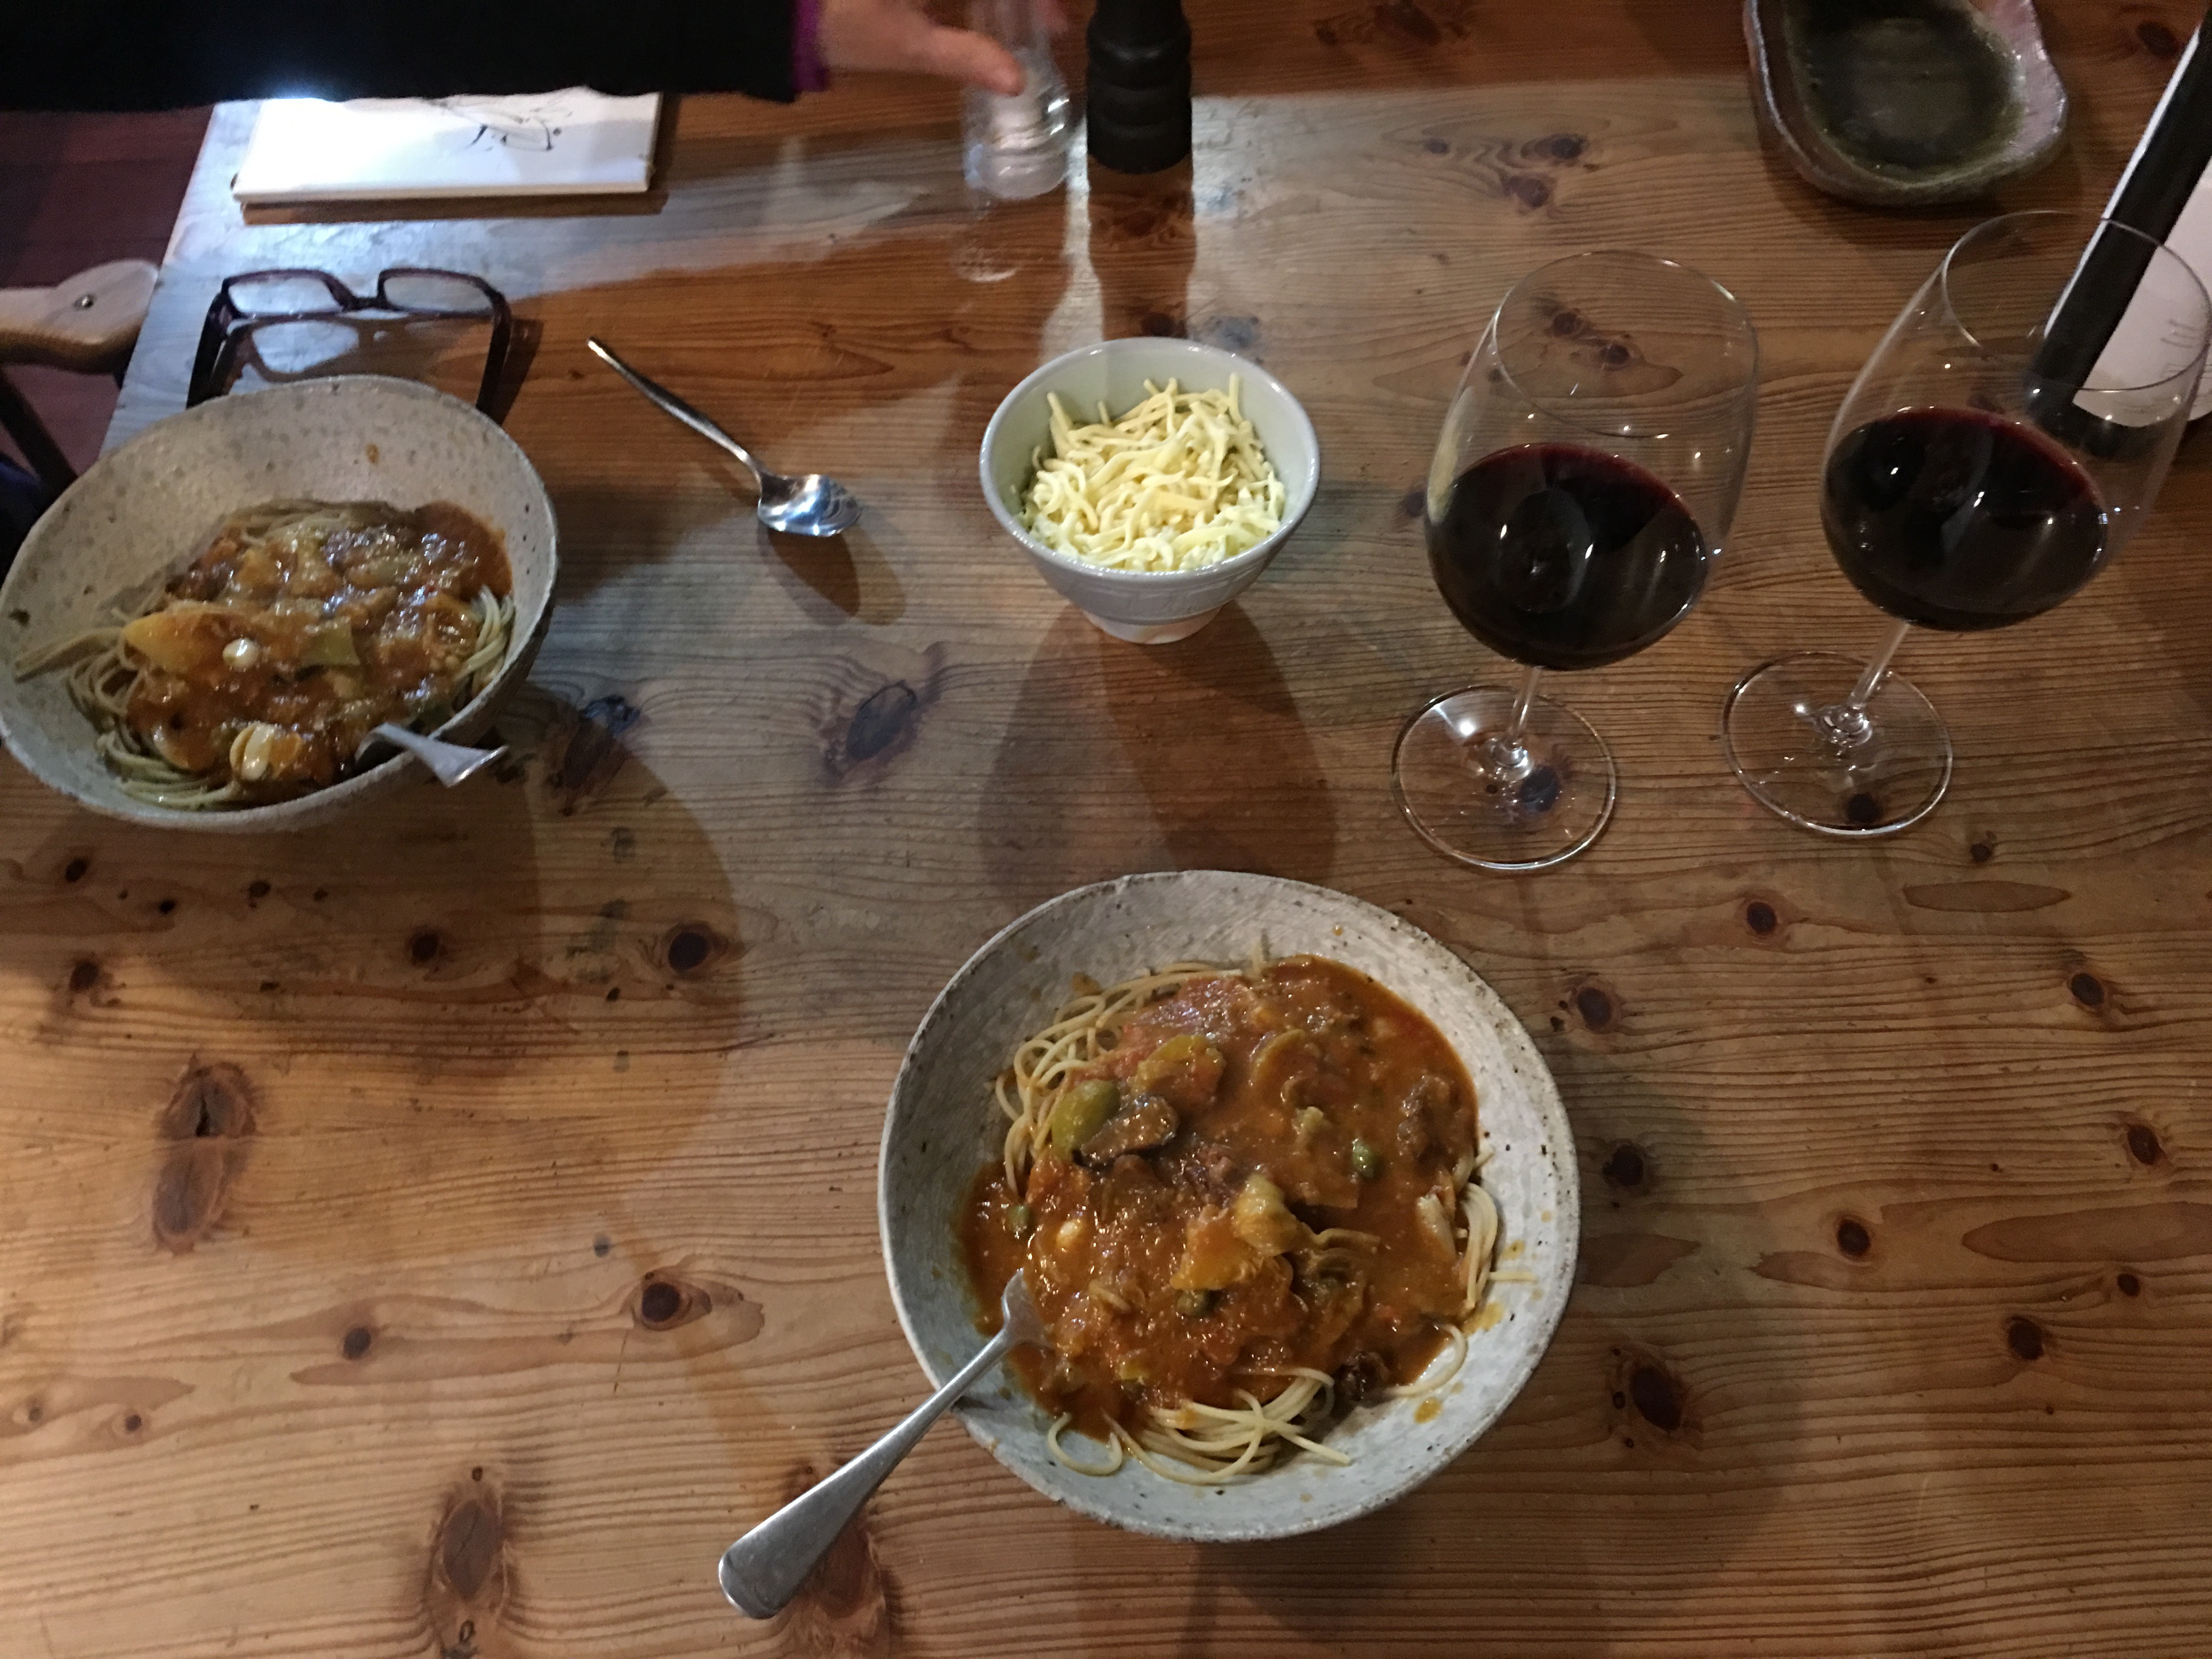
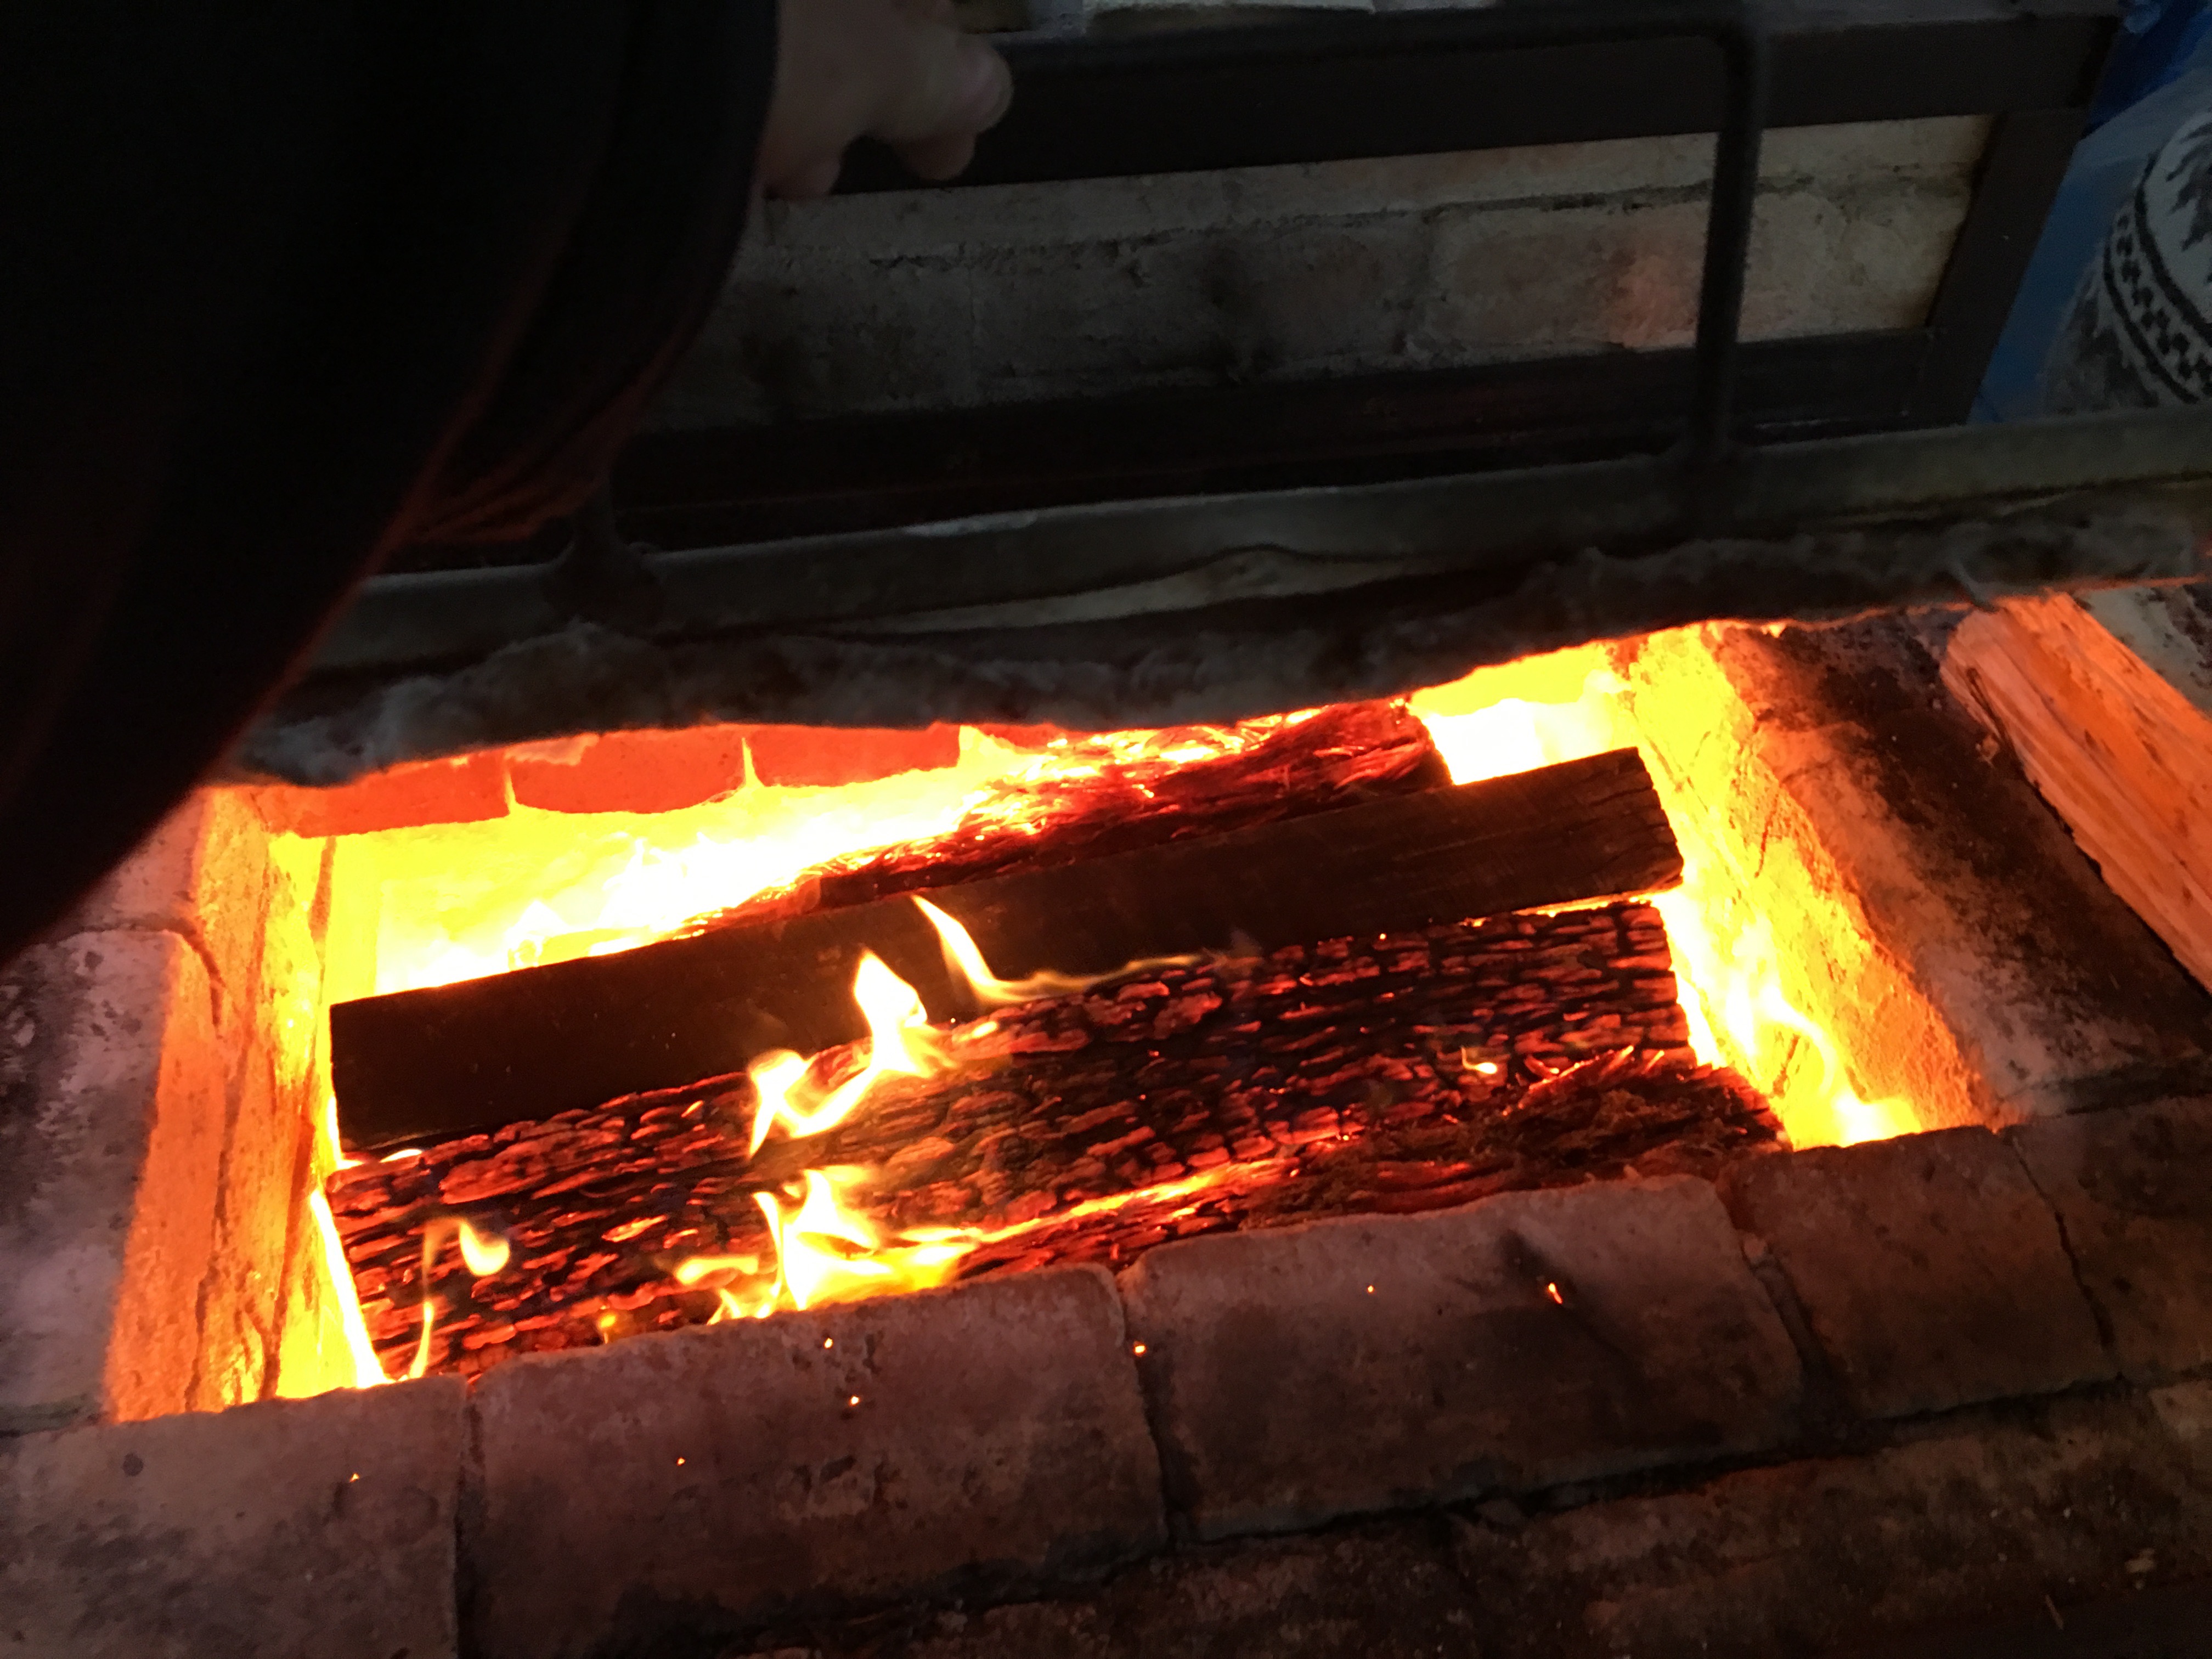
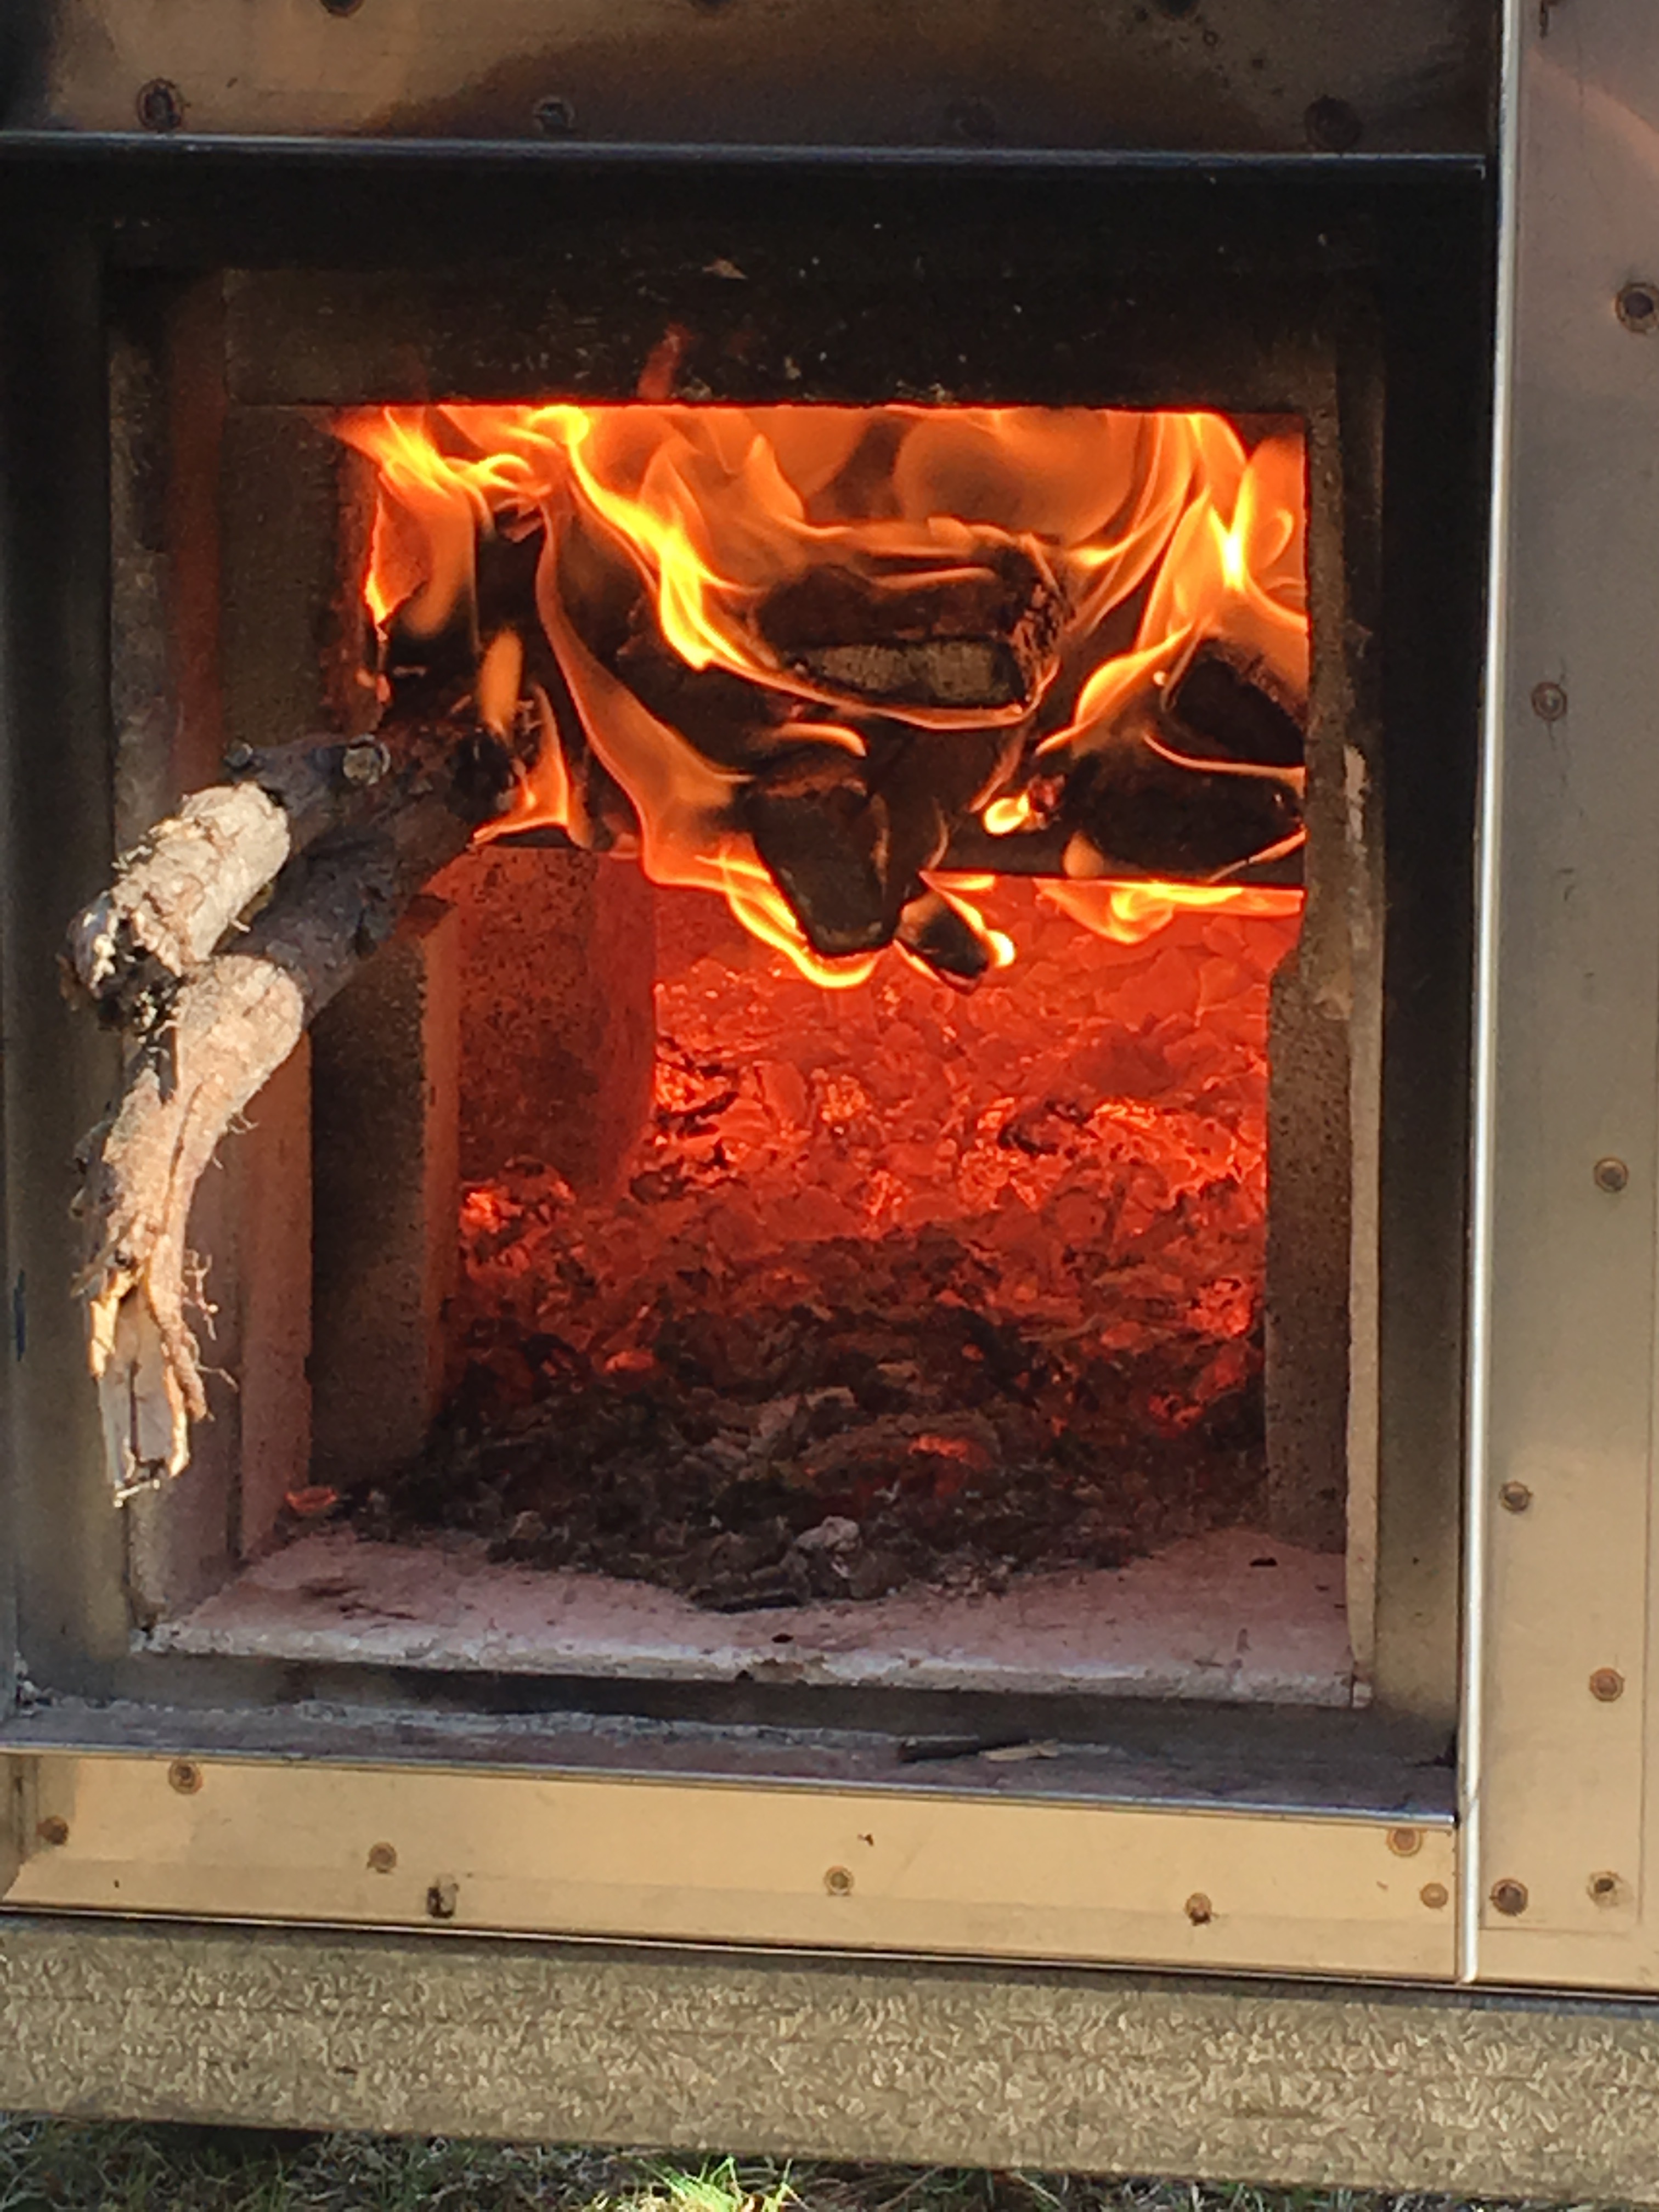
The firing proceeds well, very well. Just as it ought to after 48 years of learning. Starting in the quiet at 4.00 am and firing through into the night. I like the quiet of the very early morning. I can get a few minor things done while I’m confined here, once the kindling stage is over and I start to put big logs into the main firebox. I can steal a few minutes at a time to clean up my work bench and grind the bottoms of the pots that we just unpacked from the last firing. The Lovely wakes up with the light and brings me down some breakfast and a pot of freshly plunged coffee. We have fruit salad and marmalade from the pantry to put on our toast. It’s a nice quiet time together.
In the middle of the day I’m well into the reduction cycle and using quite large, heavy logs, that can burn for 40 to 50 mins. This gives me time to do other jobs that demand a bit more attention. I decide to repair the coffee cup from the last firing that caught a falling piece of kiln brick. I spend a bit of time on it, grinding and polishing the brick fragment away to nothing, then polishing the remnants of the glazed rim back to a fine finish. I decide that since I’ve spent so much time on it. I will keep it for myself to use in the kitchen. I decide to do some Japanese inspired ‘kintsugi’ repair on it. Janine takes over while I concentrate.


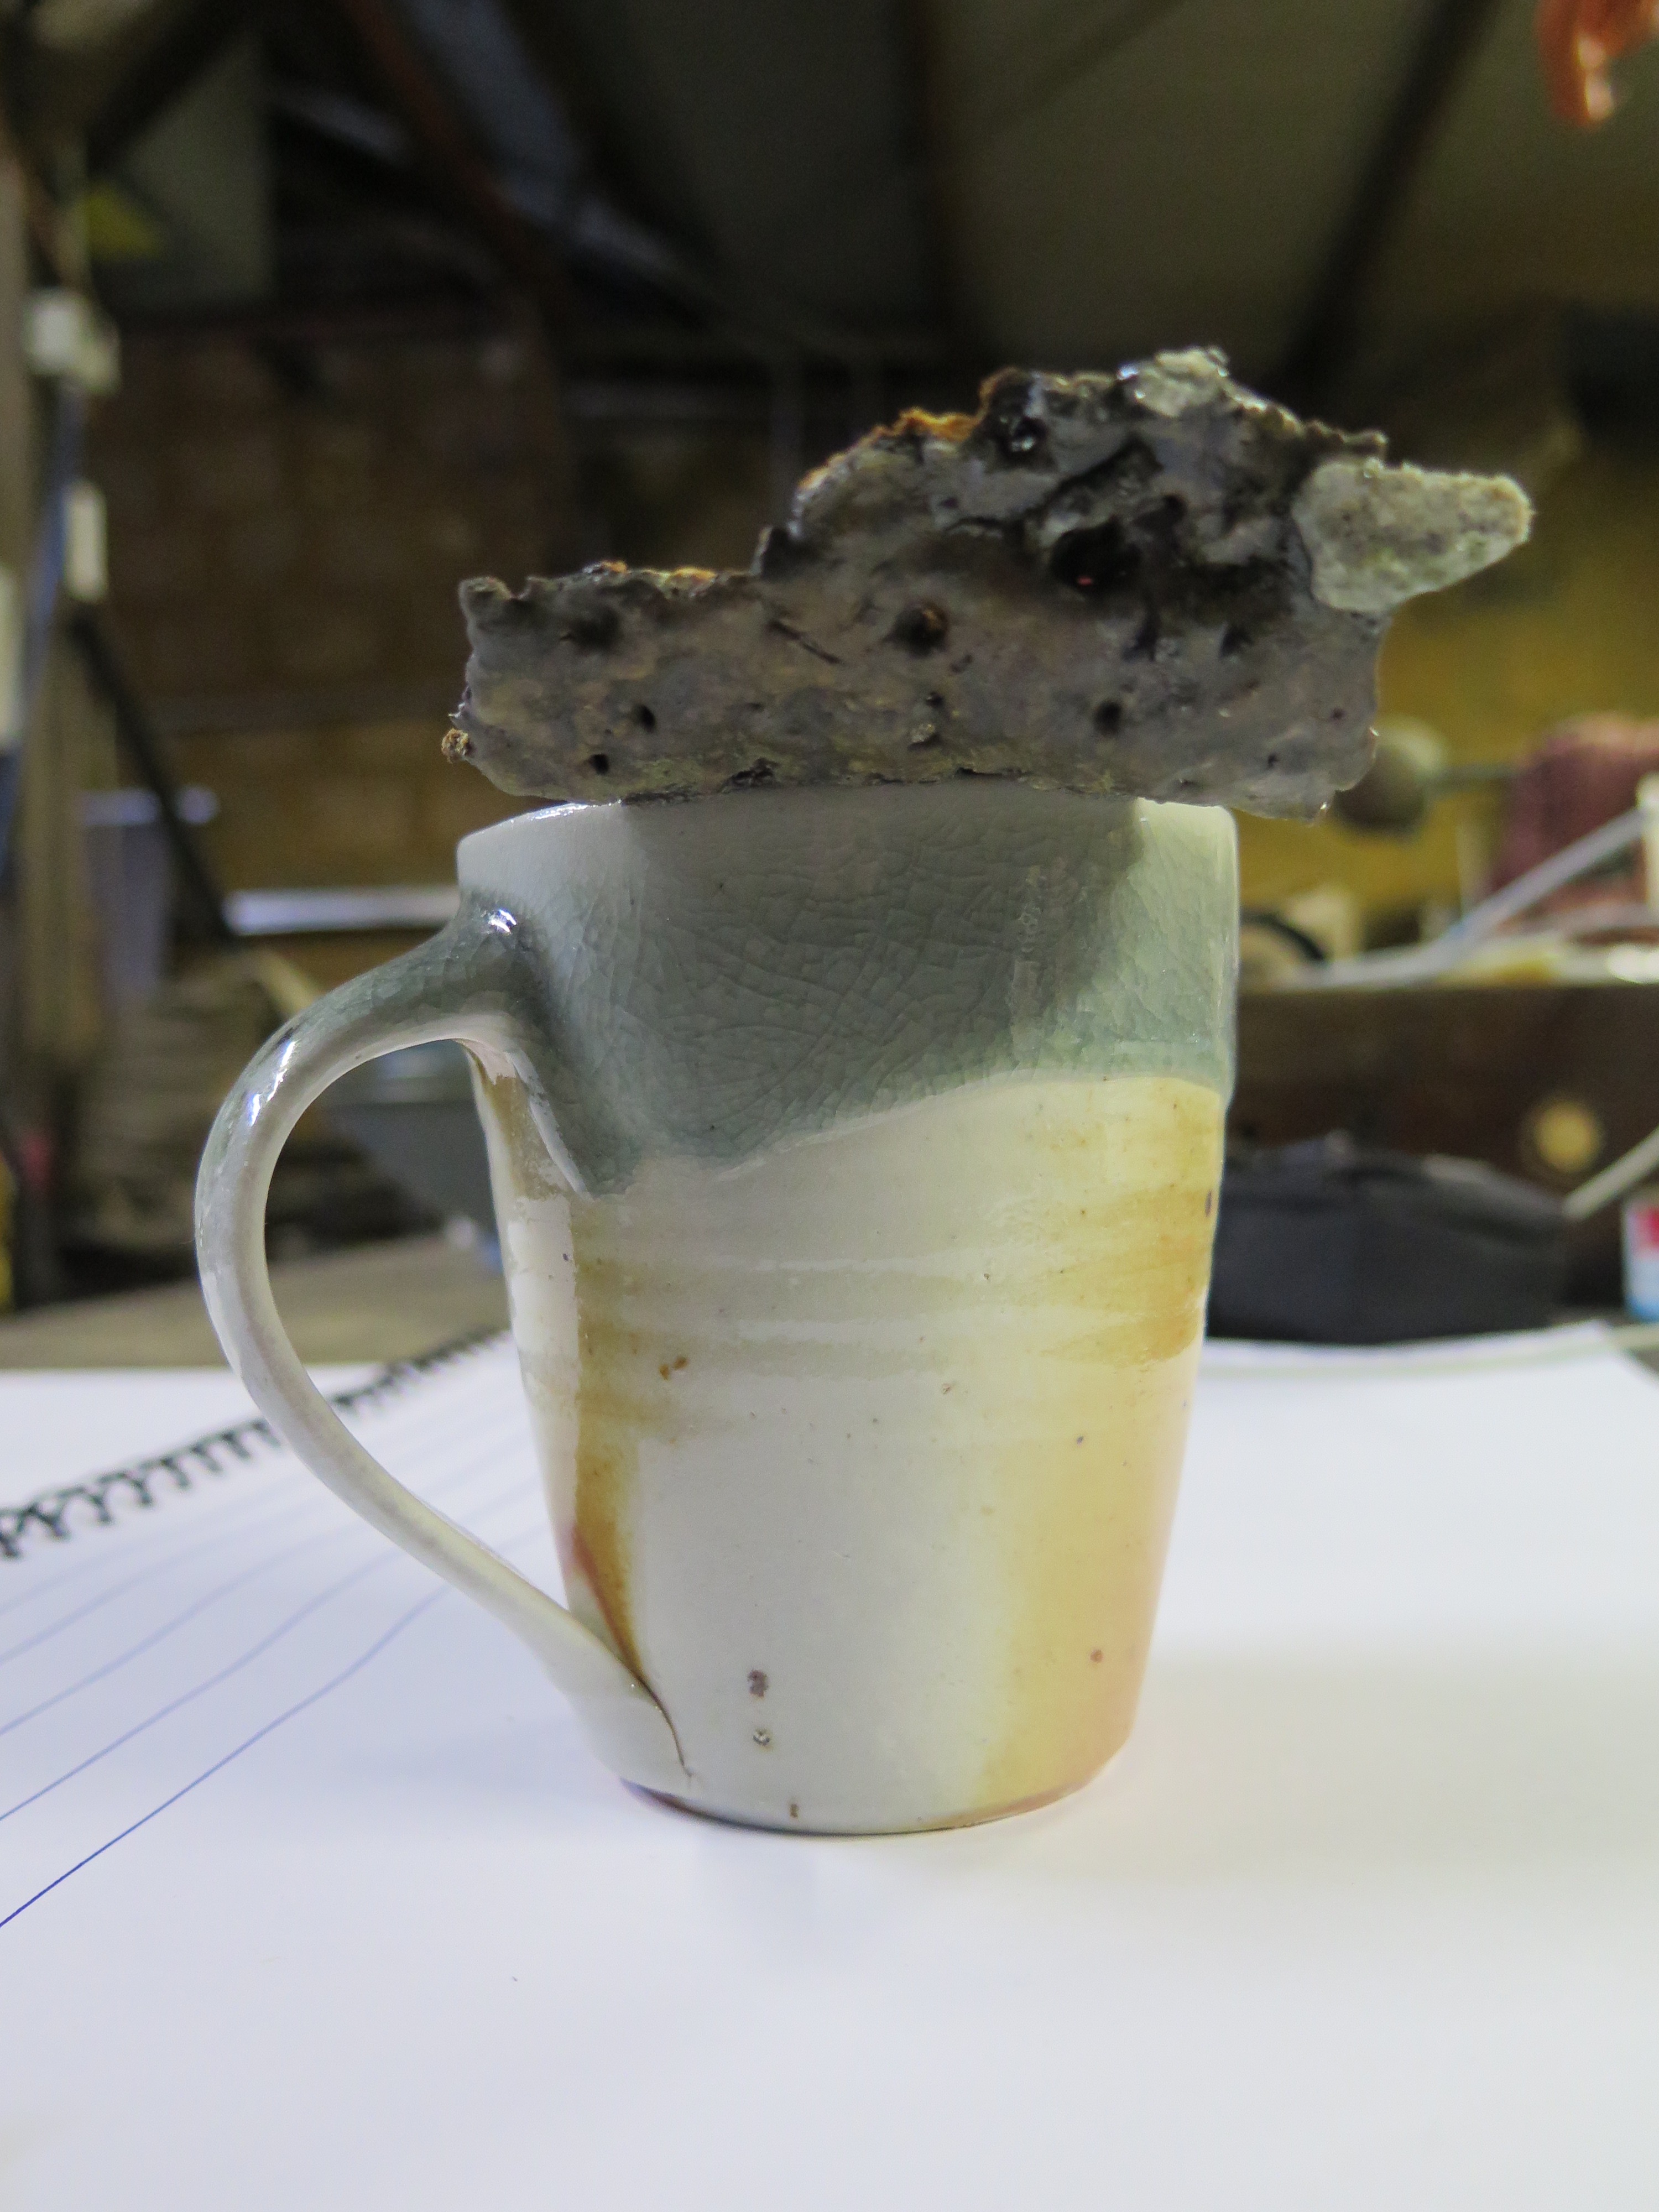
I rebuild the surface back to its original profile and then finish it with some 24 carat gold. This of course takes me several days, just a few minutes at a time, whenever I can fit it in. I do a batch of ‘less-than-perfect’ pots from the last firing. They all turn out OK. They are still ‘2nds’, but seconds that have been shown a bit of attention and care. Their ‘flawed’ surfaces turned to a thing of beauty, with some time, love and respect. Just as we do for each other. We shine when we are loved. These pots now glow in a simple honest way.


For some reason, I can’t help but think of dentistry!
Best wishes
Steve
Steve


You must be logged in to post a comment.