
I had to go to the service station yesterday.
I needed to put some more petrol in my car.
Because I only go to the petrol station once every 3 or 4 months to put a small amount of petrol in the plug-in electric hybrid car. I always forget where the switch is, to open the petrol cap cover.
In our old petrol powered car, I used to go the garage and get petrol almost every week, so I knew where the lever was. It was on the floor next to the drivers seat.
Now, because this car is so different — all electric everything. I have to remember to look for the special button to do the job.
Previously, I was only putting $20 in to last 3 months, but with the recent outbreak of war in Ukraine, the petrol company has been forced into ‘Putin’ the price up.
I put $30 in this time. I’ll see how long it lasts. This is only the 3rd time I’ve been to the petrol station this year. It remains a quaint and unusual event for me.
This electric car is beautiful to drive. So silent, but with heaps of torque. All you hear is some faint tyre noise, depending on the road surface. On the newer, smooth road surfaces, it is silent.
I’m pleased to be able to drive home and plug it in to the solar panels for a re-charge. If the sun isn’t shining, we still plug it in, and charge it off our Tesla battery. In this way we can use yesterdays stored-up sunshine.
I’m very pleased to say that even during winter, with shorter days and a lot of rain so far this year, we are still over 95% self powered. We can run our house, charge our car, plus run the pottery and even fire the small electric kiln on our 6 kW of solar PV.
So far this year, we have paid just $75 for electricity from the grid, and this was our first power bill in 16 years since we installed the first 3 kW of PV panels. This bill was largely due to the fact that the feed-in tariff has been reduced to just 7 cents per kW/hr this year, while the cost of green electricity has increased. The feed-in tariff won’t be going up any time soon, if ever. So we have to cut our cloth accordingly. Up until recently, we were getting 20 cents per kW/hr for our electricity, and getting the best part of $1,000 per year in rebates.
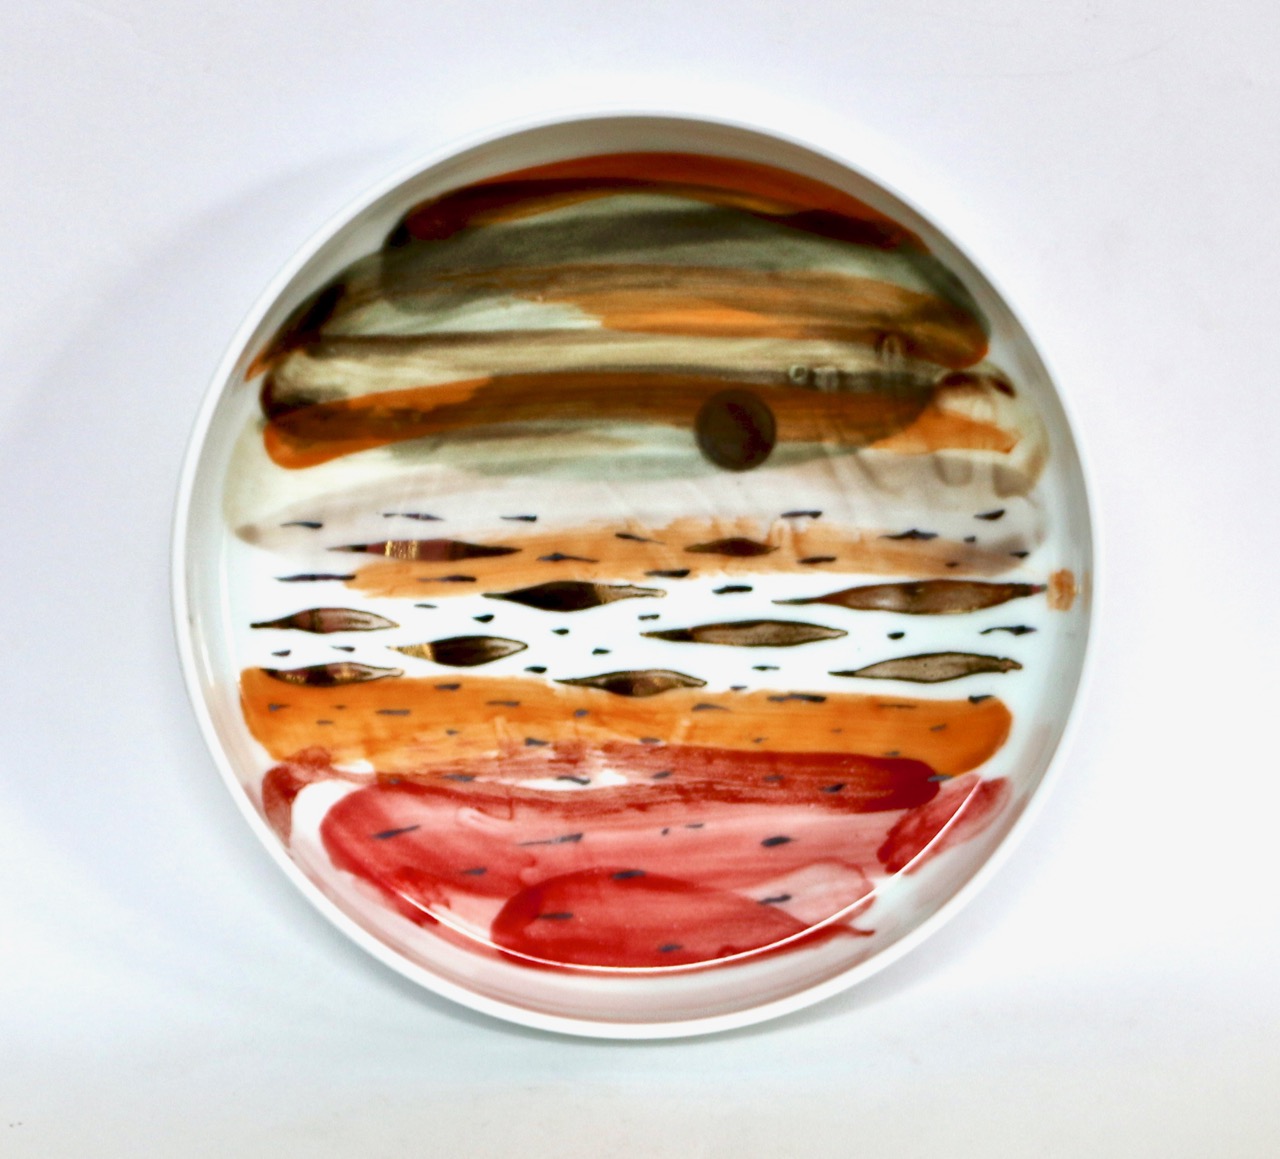
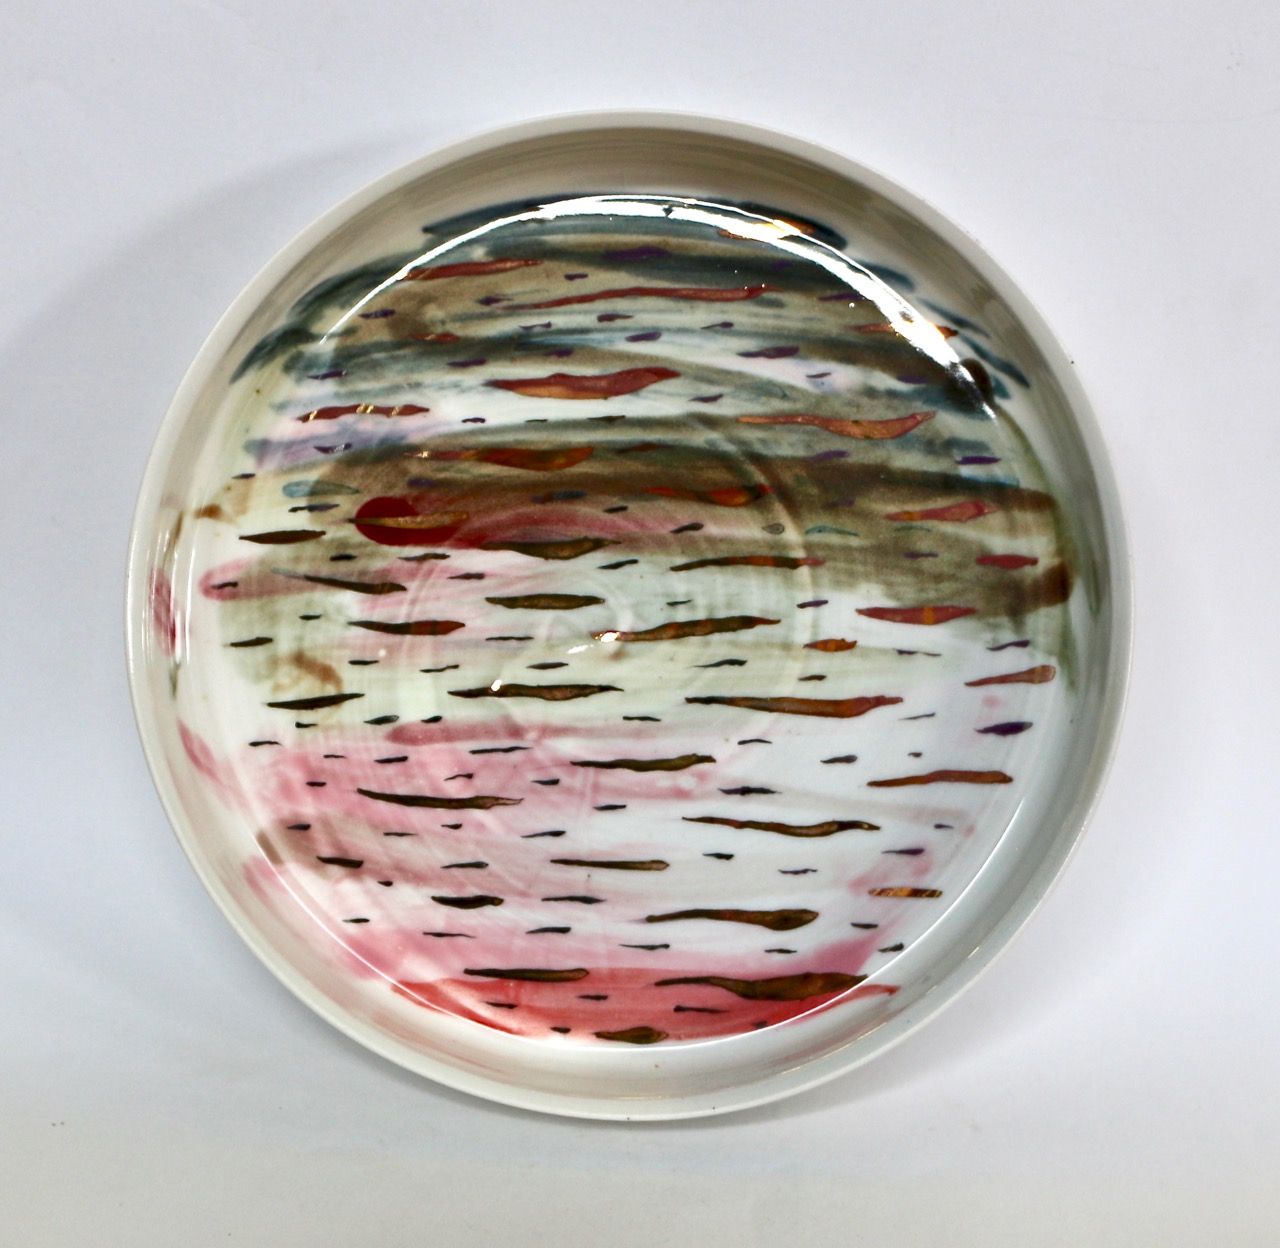
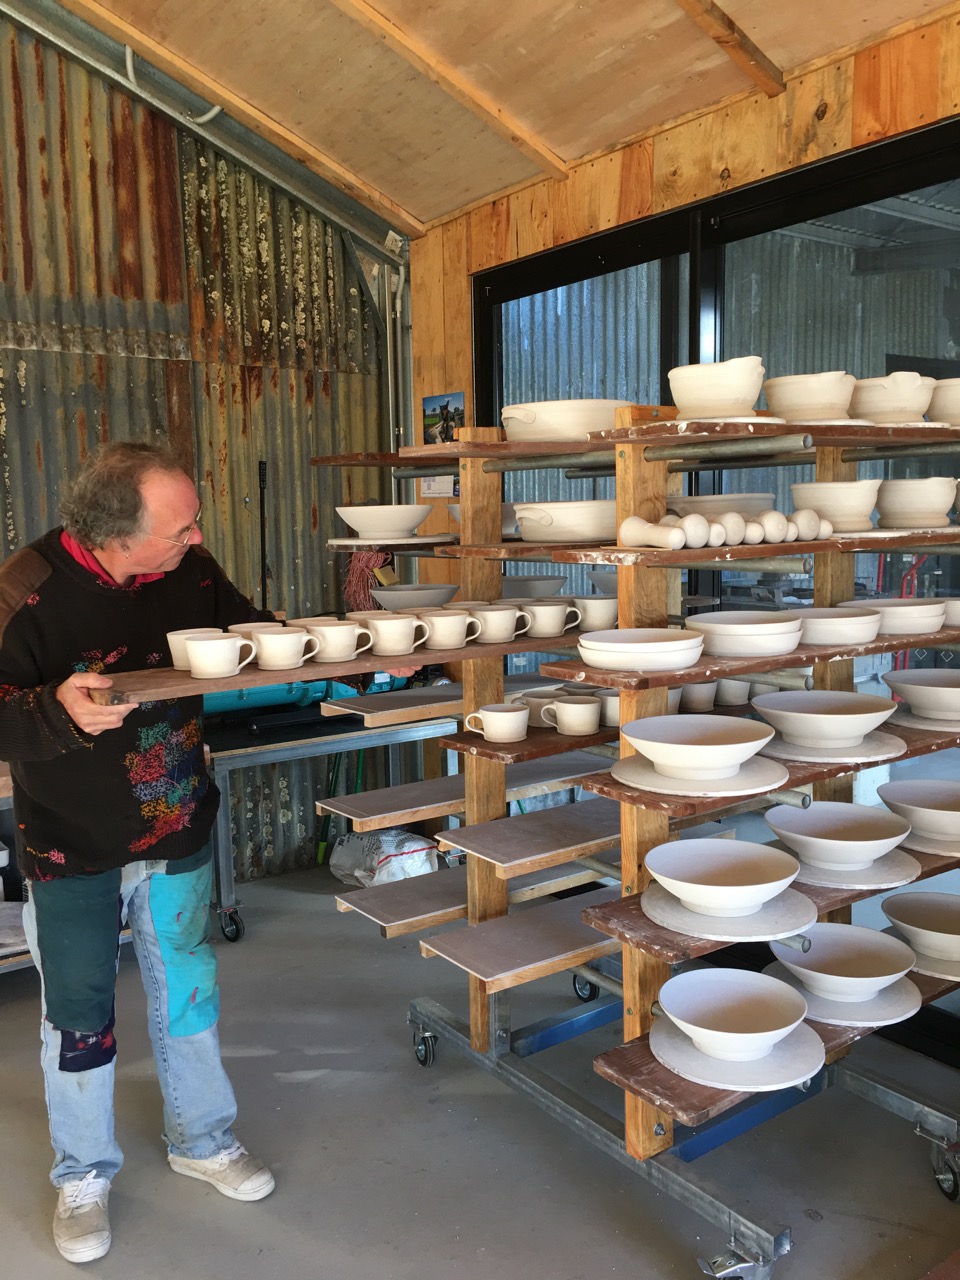
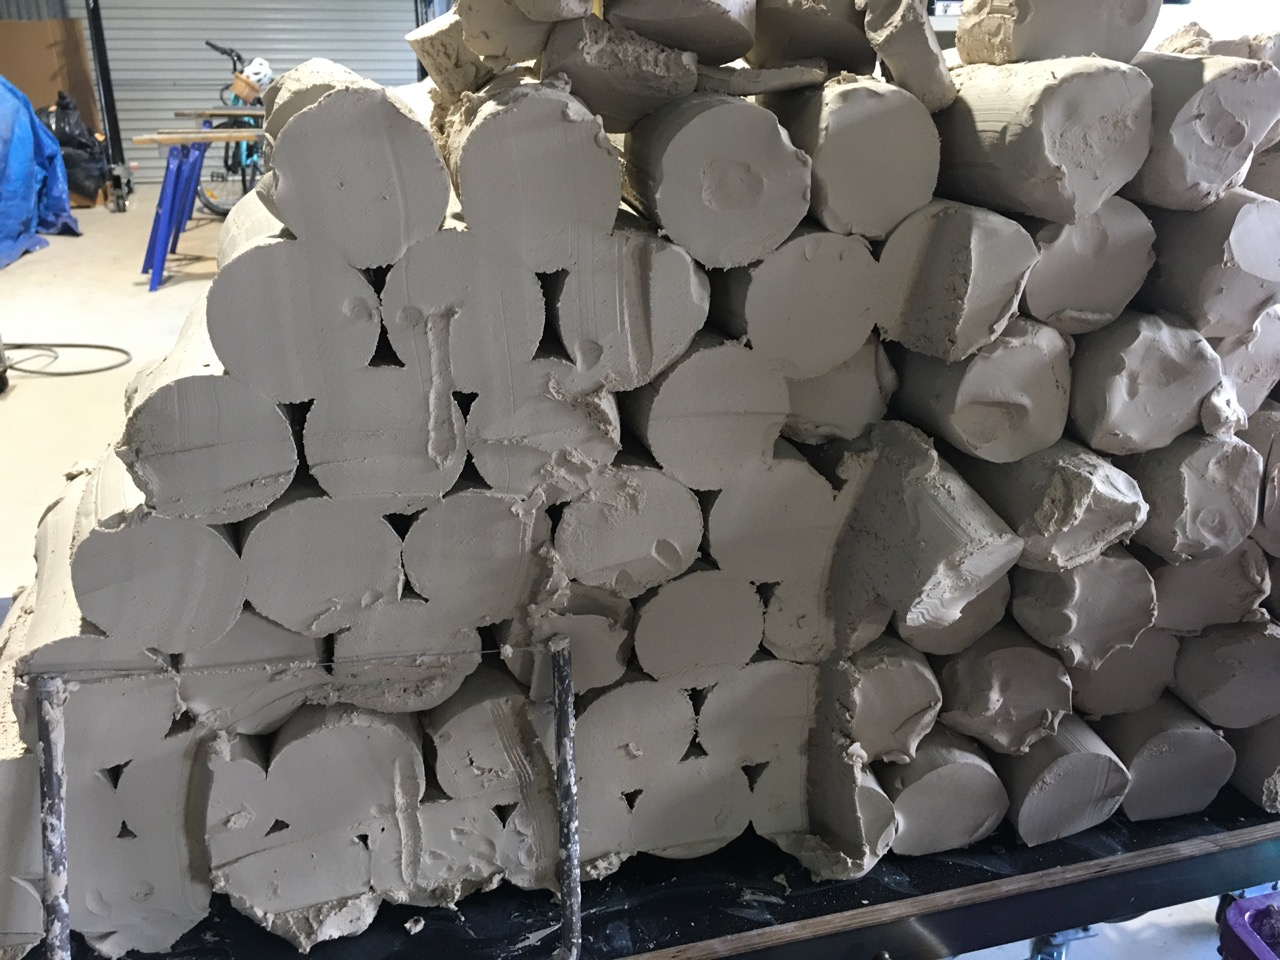
However, because I have been doing a lot of regular firings in our electric kiln, we have therefore used a lot more electricity than we normally would. This is becauseI have been working on my Show at the Sturt Gallery. It has taken a lot of research and testing to get this new body of work completed. I haven’t made pots like this before. I haven’t decorated my work with brushwork like this before, I haven’t used most of these clay bodies before and I haven’t fired this wood kiln before. Almost everything is new and therefore un-tried. It was a lot of work to get it all together in time, involving a massive amount of glaze and body testing and test firings. Hence the large power bill. So this is why it is so rewarding to realise that we were able to cover over 95% of it with our own self-generated power.
All this testing also has another more important purpose. I need to make the specially commissioned work as my part of The Willoughby Bequest for The PowerHouse Museum. My original idea all went up in the flames, so I have had to find a new approach, and this new work is my way into that place.
The show at Sturt gallery has been well received. It’s been open for a week now and they have sold 17 out of the 23 pieces. So that is a very good result and I’m very happy with that. I’m very happy with the work and I think that it stands up well. It expresses both my angst and trauma, but also the terrible beauty and energy of intense fire.


We have passed the shortest day, but the weather is still getting colder, as it does. There always seems to be a bit of a lag from the shortest day to the depth of winter. The reverse is also true for the longest day and the hottest weather. So it is now time to do the winter pruning of all the grape vines and deciduous fruit trees.
This was always such a big job in the past with all our stone fruit trees being over 40 years old. They had grown quite massive. Now, post fire, and all new dwarf fruit trees planted in the new orchard, it will not be such a big job, as the trees are still quite small and should remain that way. No more ladder work for pruning.
The first, earliest, peach tree has suddenly broken into flower. This is a strong reminder that I need to get on with it, stop lazing around, and get all that pruning done.


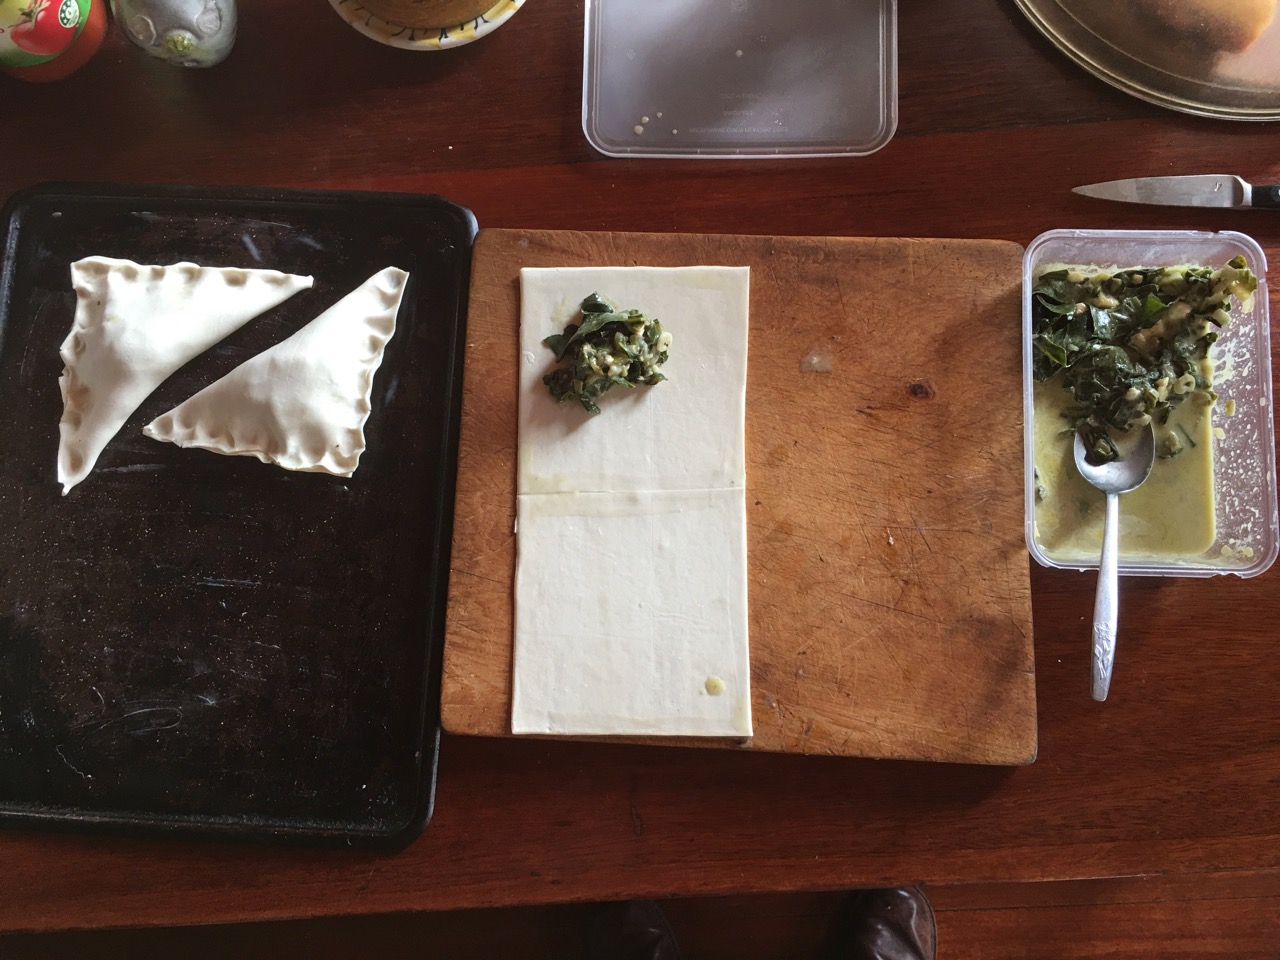
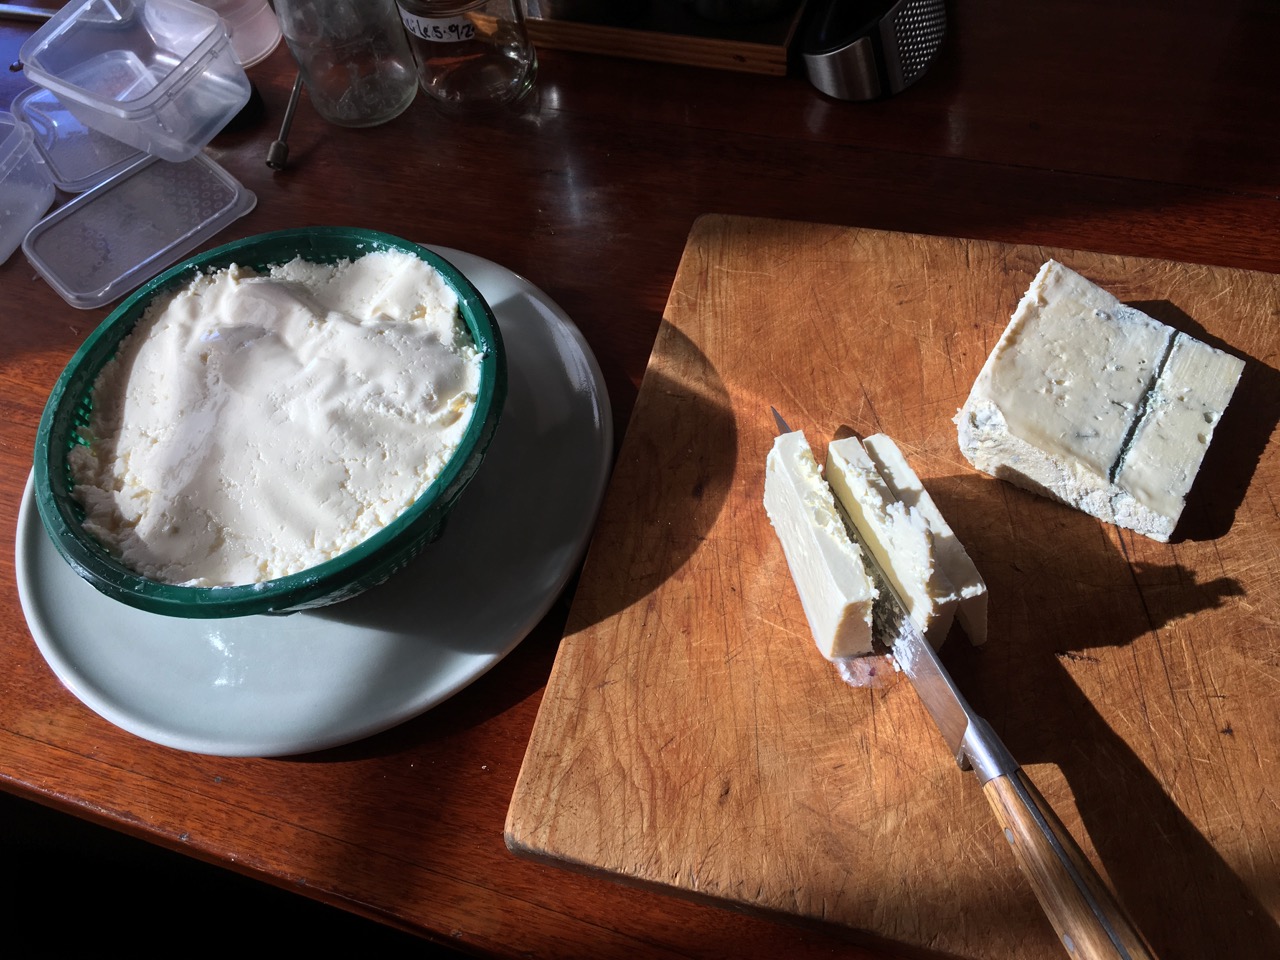
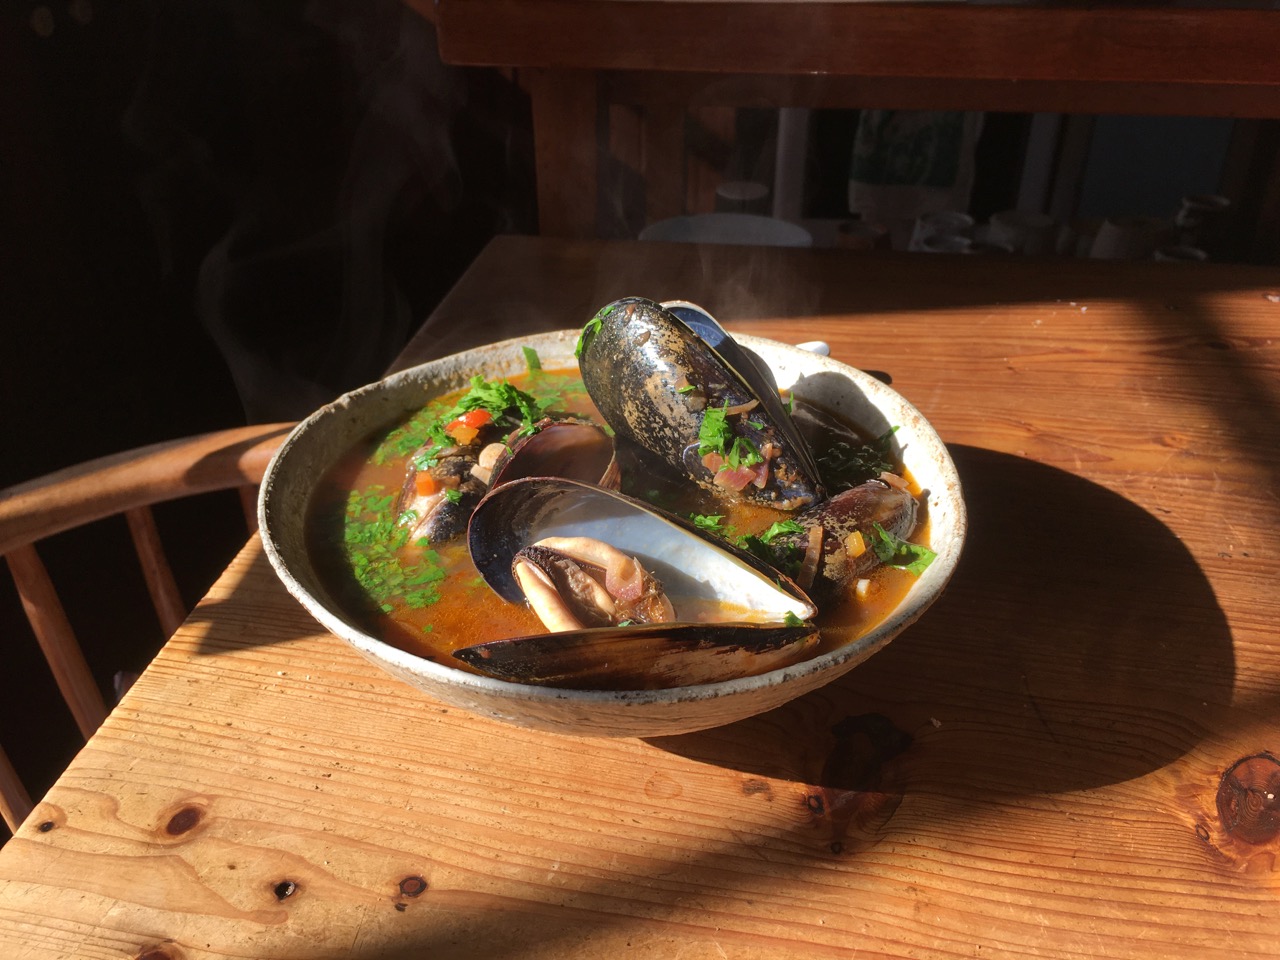
All this cold weather, frosty nights and chilly mornings has inclined me to make a few curries. They are a good comfort food, warming and filling, without being too bad for you. Veggie curries are great, I have been trying to use mostly what we have growing in the garden, which at this time of year must include broccoli, cabbage and even a few Brussel sprouts. I even managed to used most of our own spices.


This Asian influenced meal had the last 9 small tomatoes from the garden, our garlic, chilli, lime leaves, curry leaves, coriander and the last two small capsicums. All from the garden. I had bought a few pieces of fresh ginger, galangal and turmeric from the green grocer because we cant grow these plants in our garden here, even in summer. We had 3 curries over the week. Each one was slightly different, from Thai to Indian. Curry seems to be more warming than other meals.
Maybe it’s all that chilli?
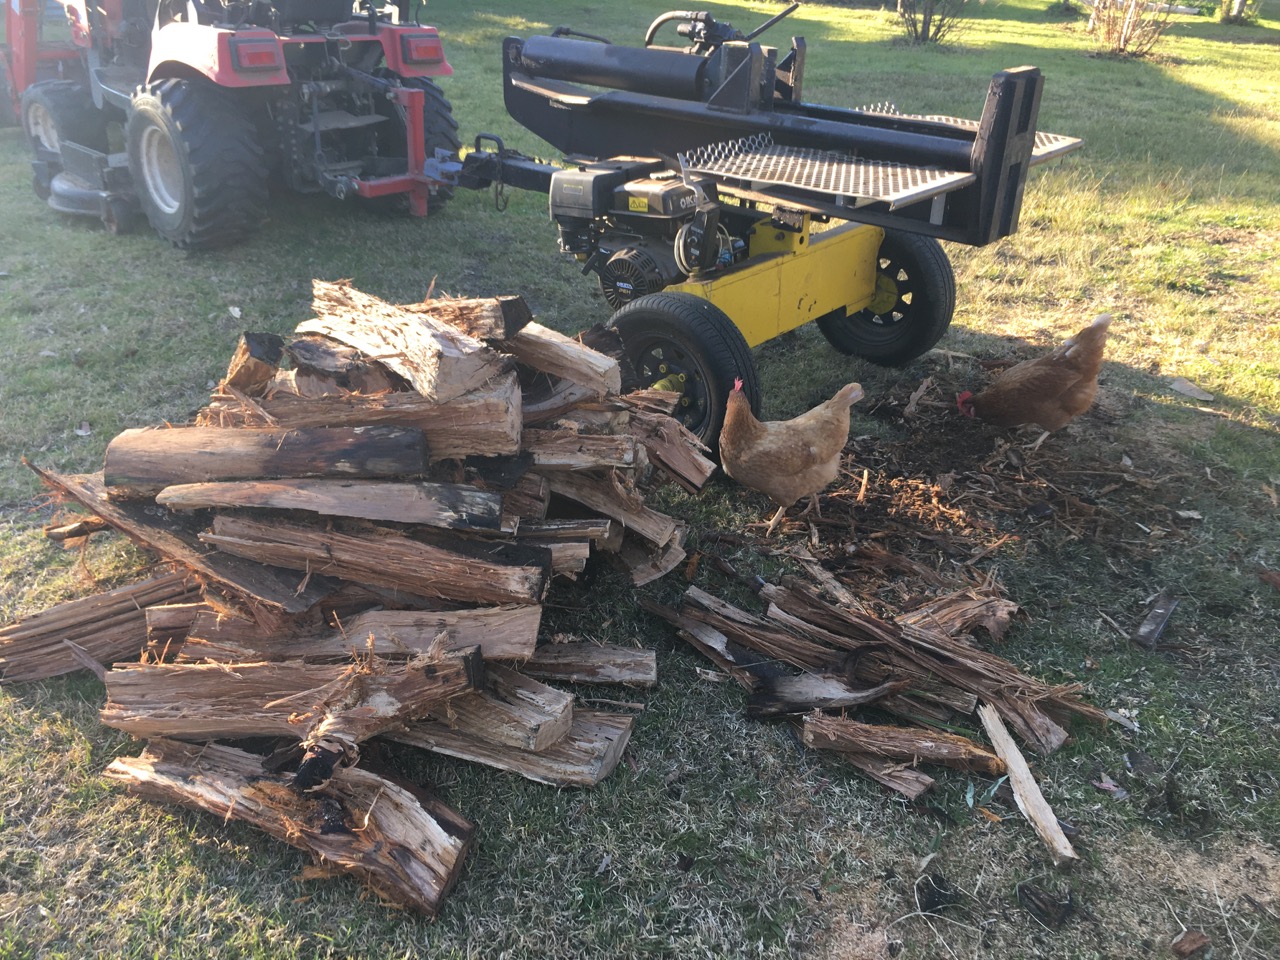
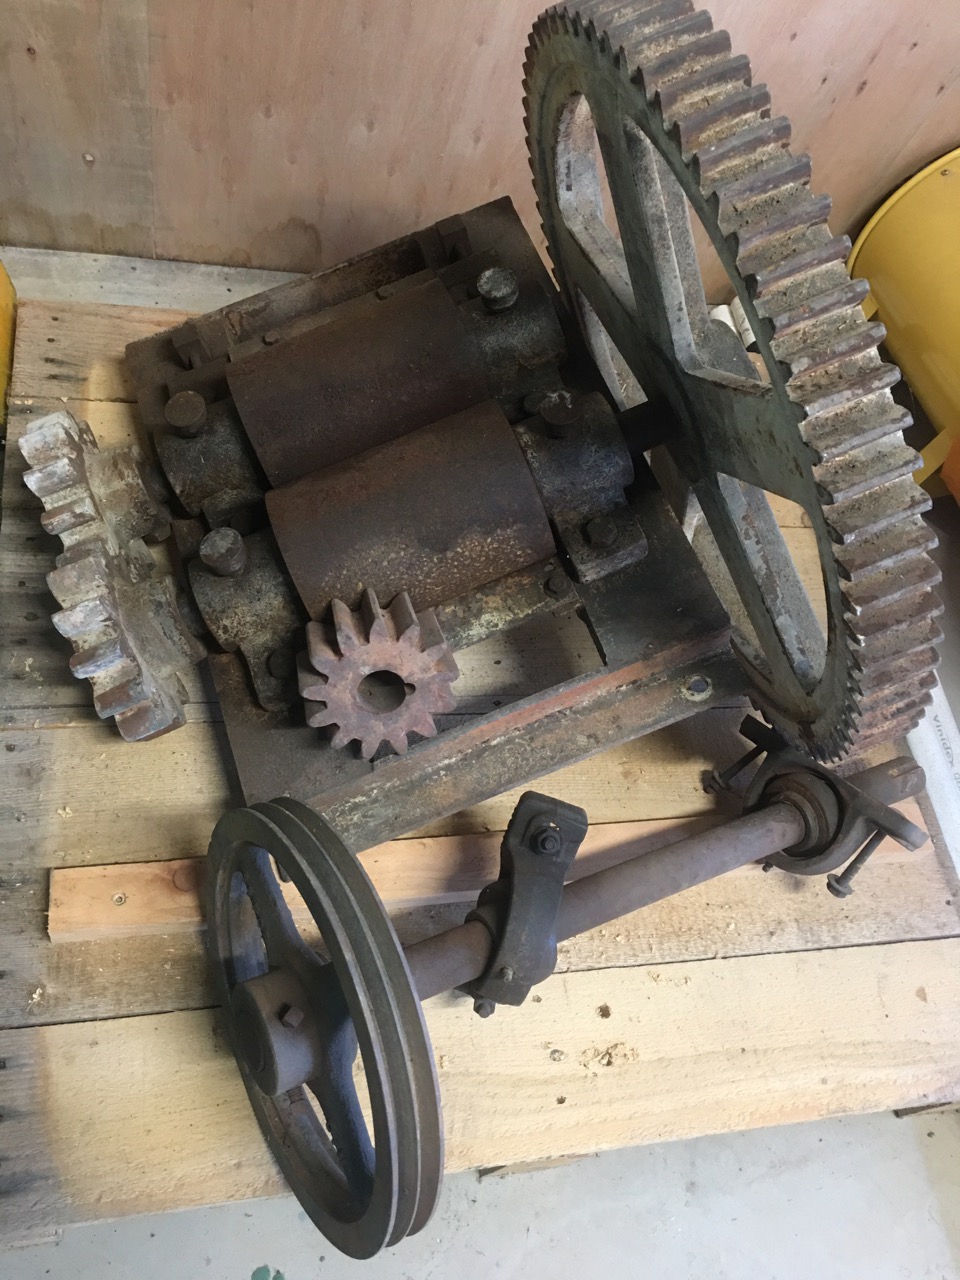
On Sunday I was up before dawn and drove up to the North side of Sydney, a few hours drive away. Up to Oxford Falls. A place where I used to live. I grew up and went to school there. I used to live at number 41 Oxford Falls Road. This time I went to the far opposite end of that long road to collect some old and rusted galvanised iron roofing so that I can rebuild my wood fired kiln’s wood shed and finally create a new and hopefully permanent home for the rebuilt big hydraulic wood splitter.

It was a really lovely sky at dawn with the horizon turning from grey to pink for those precious few minutes.
I had been given a tin roof off an old chicken farm shed. I was told about it a couple of years ago, when we were casting about looking for old re-cycled roofing iron to use as cladding on our new pottery shed. I wanted to use all old, grey, weathered and slightly rusty re-cycled gal sheeting on this new building to make it look more in keeping with all the other old buildings on our site. Our home is the Old School building from 1893 and we also have the old railway station built in 1881. I managed to save both of these buildings from the fire. We wanted to keep the heritage look and feel of the place and a brand new shiny corrugated iron pottery shed would stand out like dogs balls, I managed to find just enough old, weathered roofing to complete the job while I was still waiting for the roof to be taken off the Chicken shed in Oxford Falls.

That roof was finally replaced this year. Too late for me to use in the new pottery, but just in time for me to use to re-build the dedicated wood shed for all the large billets of timber that are required to be split, stacked and dried for use in the wood fired kiln. I’m quite fond of the old heritage buildings and their ‘settled-into-the-environment’ look, so it is appropriate for me to build the new wood shed out of old and slightly rusted stuff.
When I drove into Oxford Falls Road, the road I grew up on, but where I left to find my own way in life in 1972. I found some old memories flooding back. I remembered that we used to walk down the road a few miles to get to the creek at the bottom of the hill and go yabbying. A yabby is a fresh water crayfish. This time, instead of turning to go up the hill to where my parents old house was. I turned the opposite way and crossed over the ford just above the falls and went West.
I hadn’t been here since I was in my teens and used to drive the family truck down here with my grand father, to collect chicken manure from his friends egg farm. My Granddad was a very committed organic gardener, health food devotee, and a strict vegetarian. He brought my mother up that way, and she me. In fact, my grand parents lived behind our house. The two houses back to back, on different streets but with a common back yard joining them. This back yard was huge, as land sizes were very generous in those post (WW II), war days. That shared back yard was dedicated in the most part to a huge vegetable garden and a few fruit trees. And, of course two massive compost heaps.
It was a regular chore to go with granddad and shovel chicken manure from the deep litter floor of the chook sheds when there was a change over of birds and the various sheds were empty for a short while. We had to take it in turns either holding the bag open or digging the manure and wood shaving mixture into the hessian bags, then lugging them out and up onto the truck. I shared this job with my older brother for a few years until he eventually left home and I was old enough the get my drivers licence and took over the driving. Old man Rigby, who owned the farm and my granddad were great friends. They were about the same age and shared the same interest in ‘health foods’, as they were called back then. Old Mr Rigby baked his own bread. As did my grand mother and she taught my mum. She then taught me. I still make most of our bread, as well as grow my own organic vegetables. Family traditions are passed down in this way. Give me the boy till he is 7!

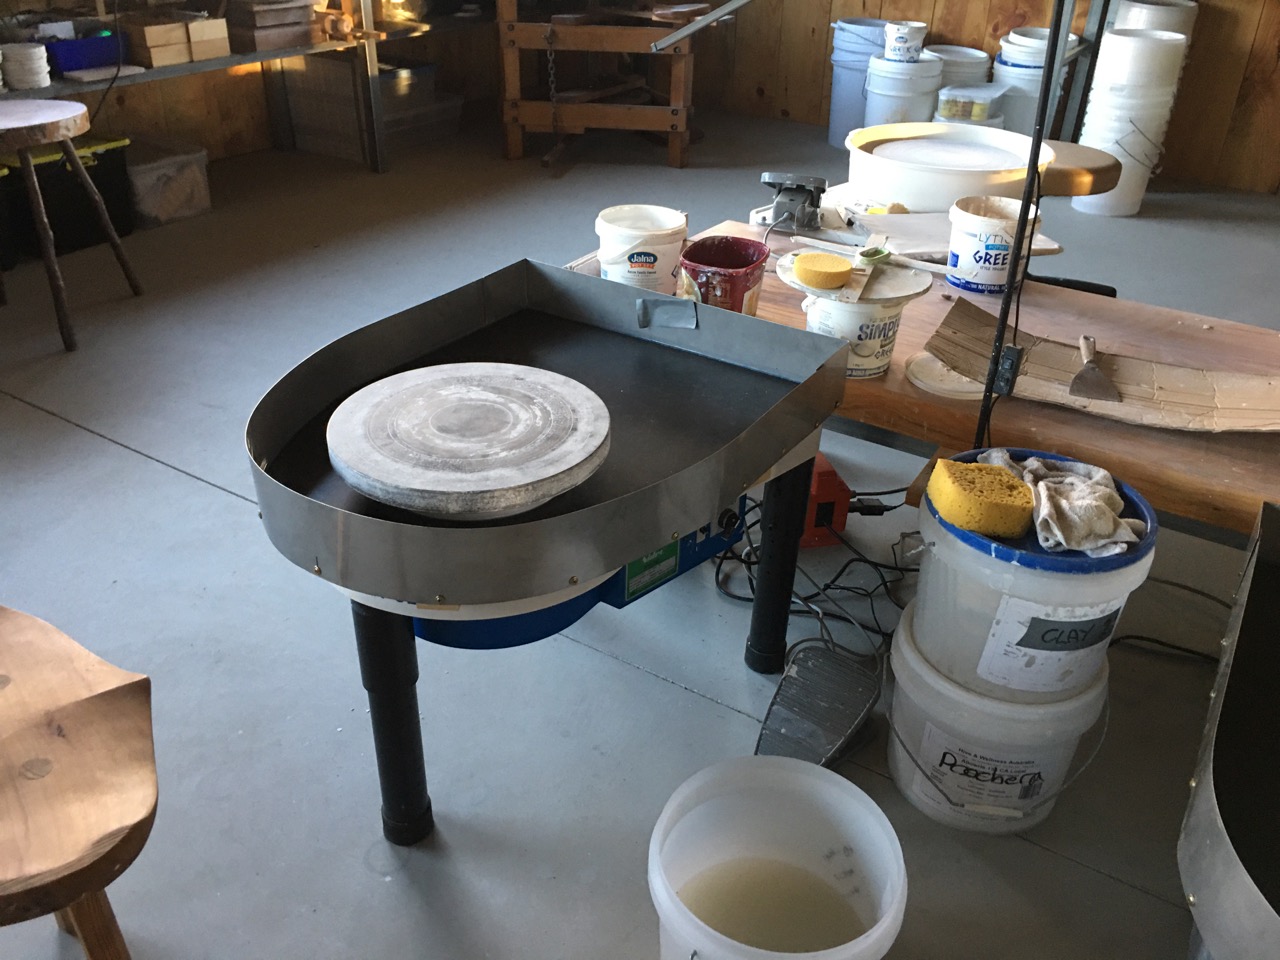
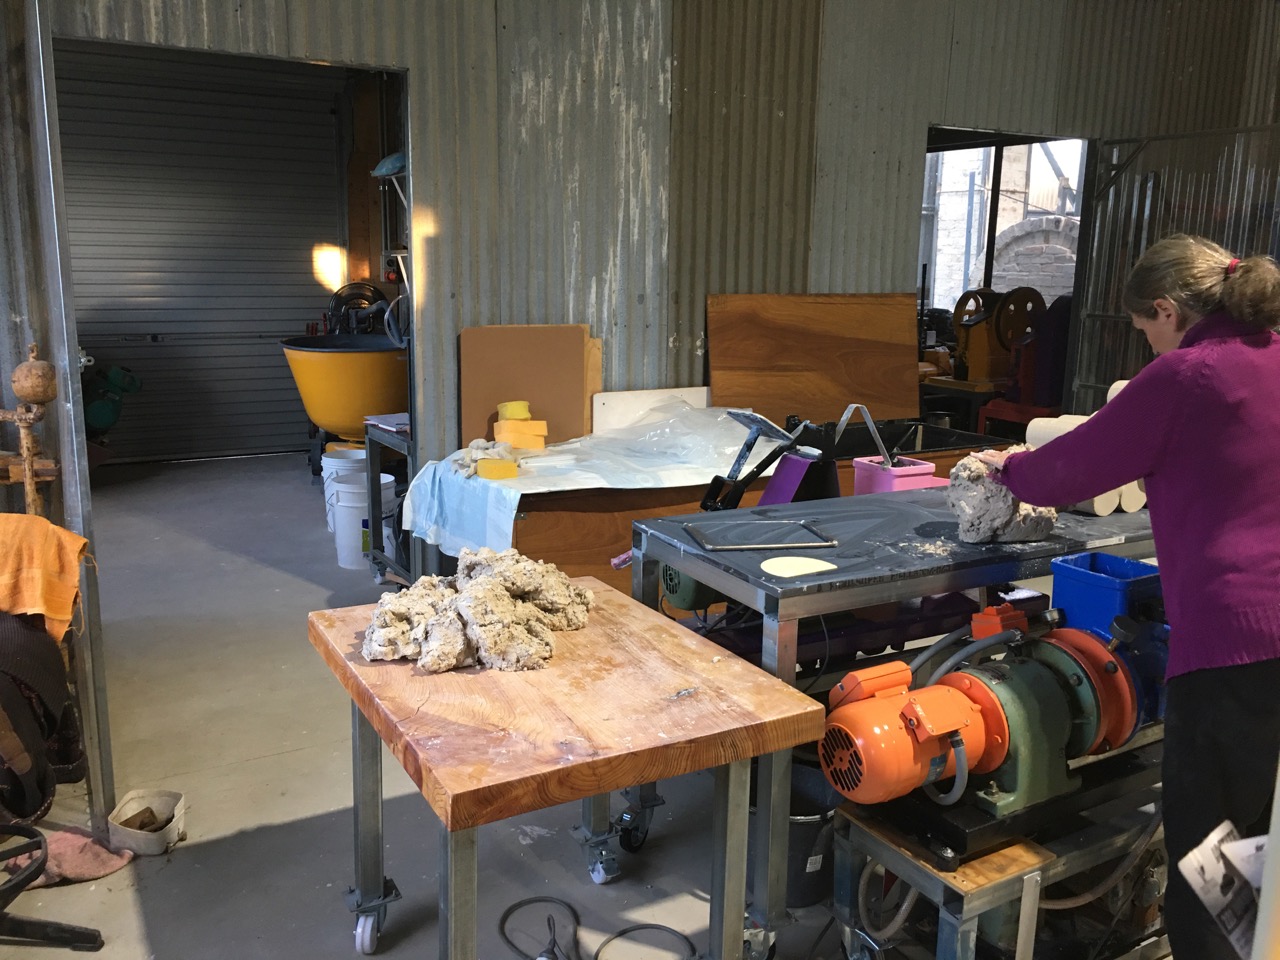
Well, you can image my surprise, when I turned into the driveway of the site to collect the old roofing iron to find that it all seemed strangely familiar. I recognised the old shed with the hand split stone walls. It all came flooding back. I’ve been here before. Almost everything is different now, but the old shed is the same, just more dilapidated, but I remember that Old Mr Rigby lived in there. The first room served as his kitchen and his office, it’s now the pottery studio. The remaining bigger part of the old shed was his machinery shed. It’s now got one of my wood fired kiln designs in there. Who could possibly imagine that !
I remember sitting in that room waiting while Mr Rigby and my Grand Father chatted on about compost and other organic gardening stuff. I was bored. I wanted to get going, so that I could go to the beach. I didn’t take sufficient interest in their healthy organic gardening and wholemeal bread baking chat. My Granddad was probably thinking…
Young People today!


You must be logged in to post a comment.