
e
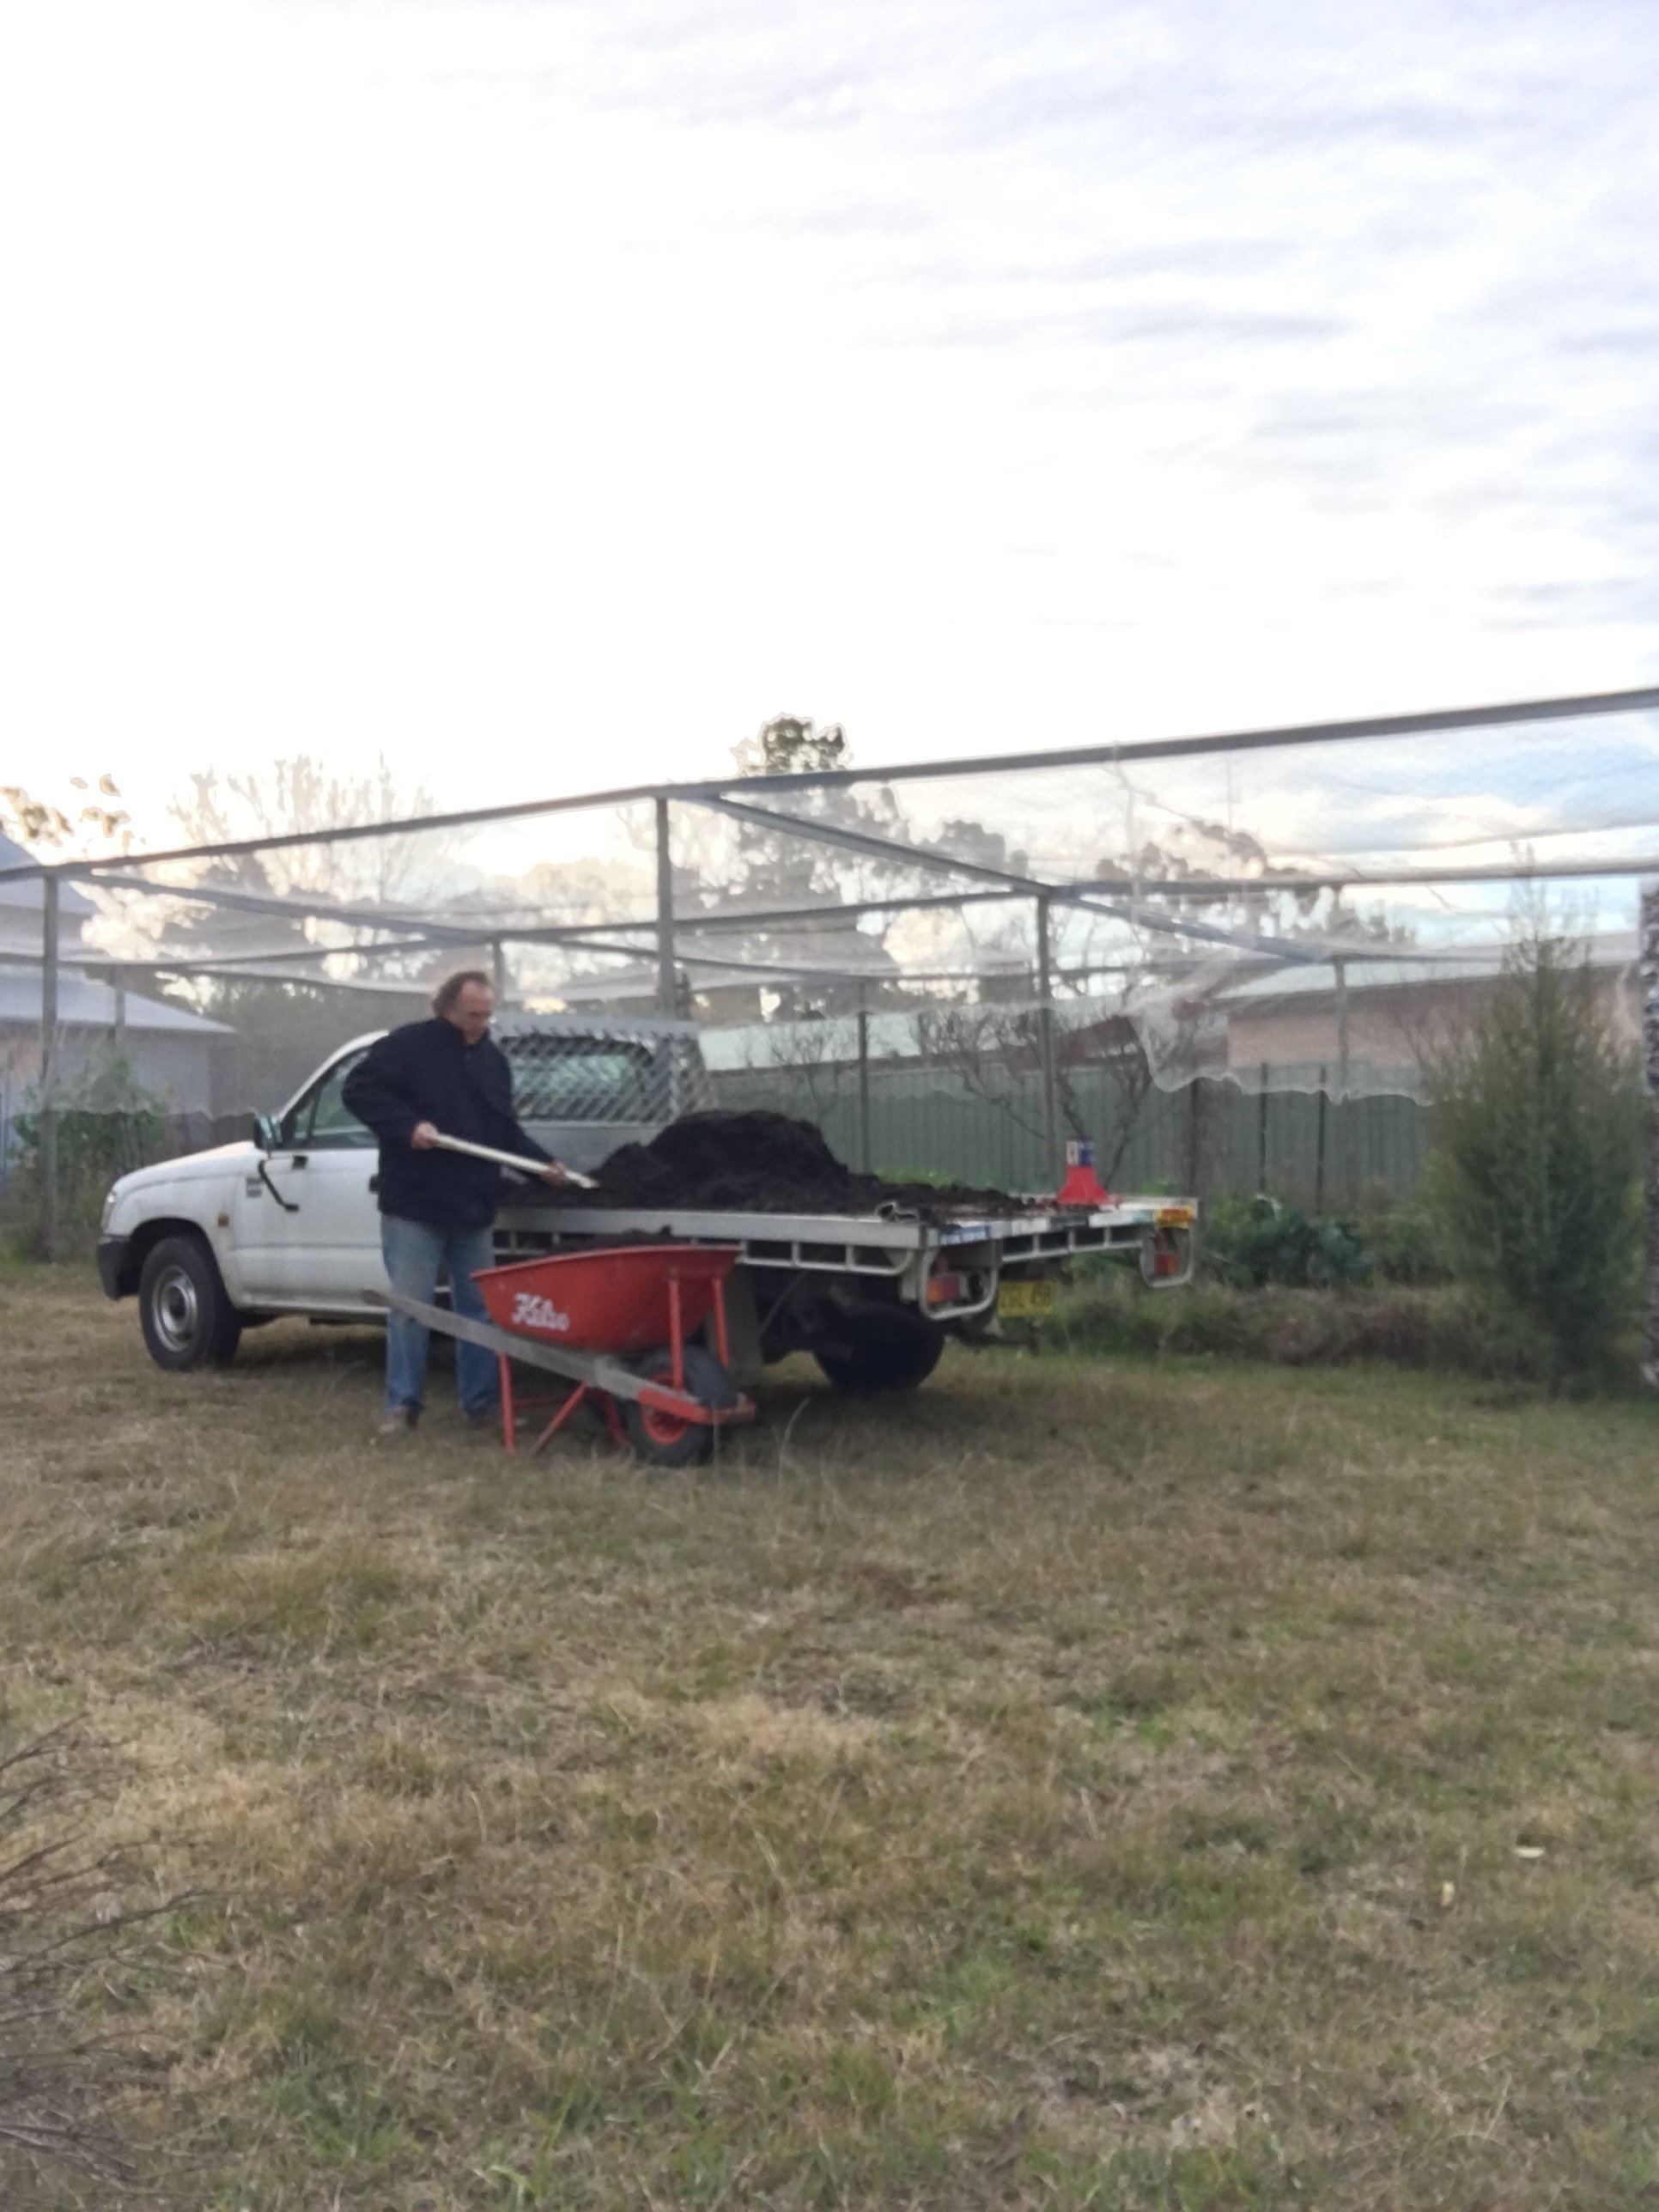
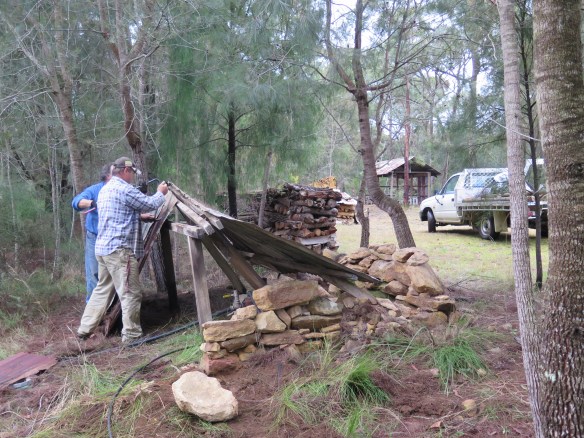
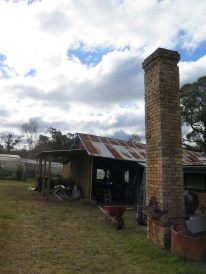
I am preparing for a new research exploration project, but while I plan and organise, we decide to take a week off from the pottery to catch up on a few outstanding jobs. The weather has been beautiful all this week. The best winter days are like this with frosty nights followed by sunny days with no wind. Glorious days for working out side. We breakfast on marmalade and toast with coffee, and then the Lovely spends couple of days burning off all the orchard fruit-tree prunings to make ash for glazes, while I start working on the new shed.


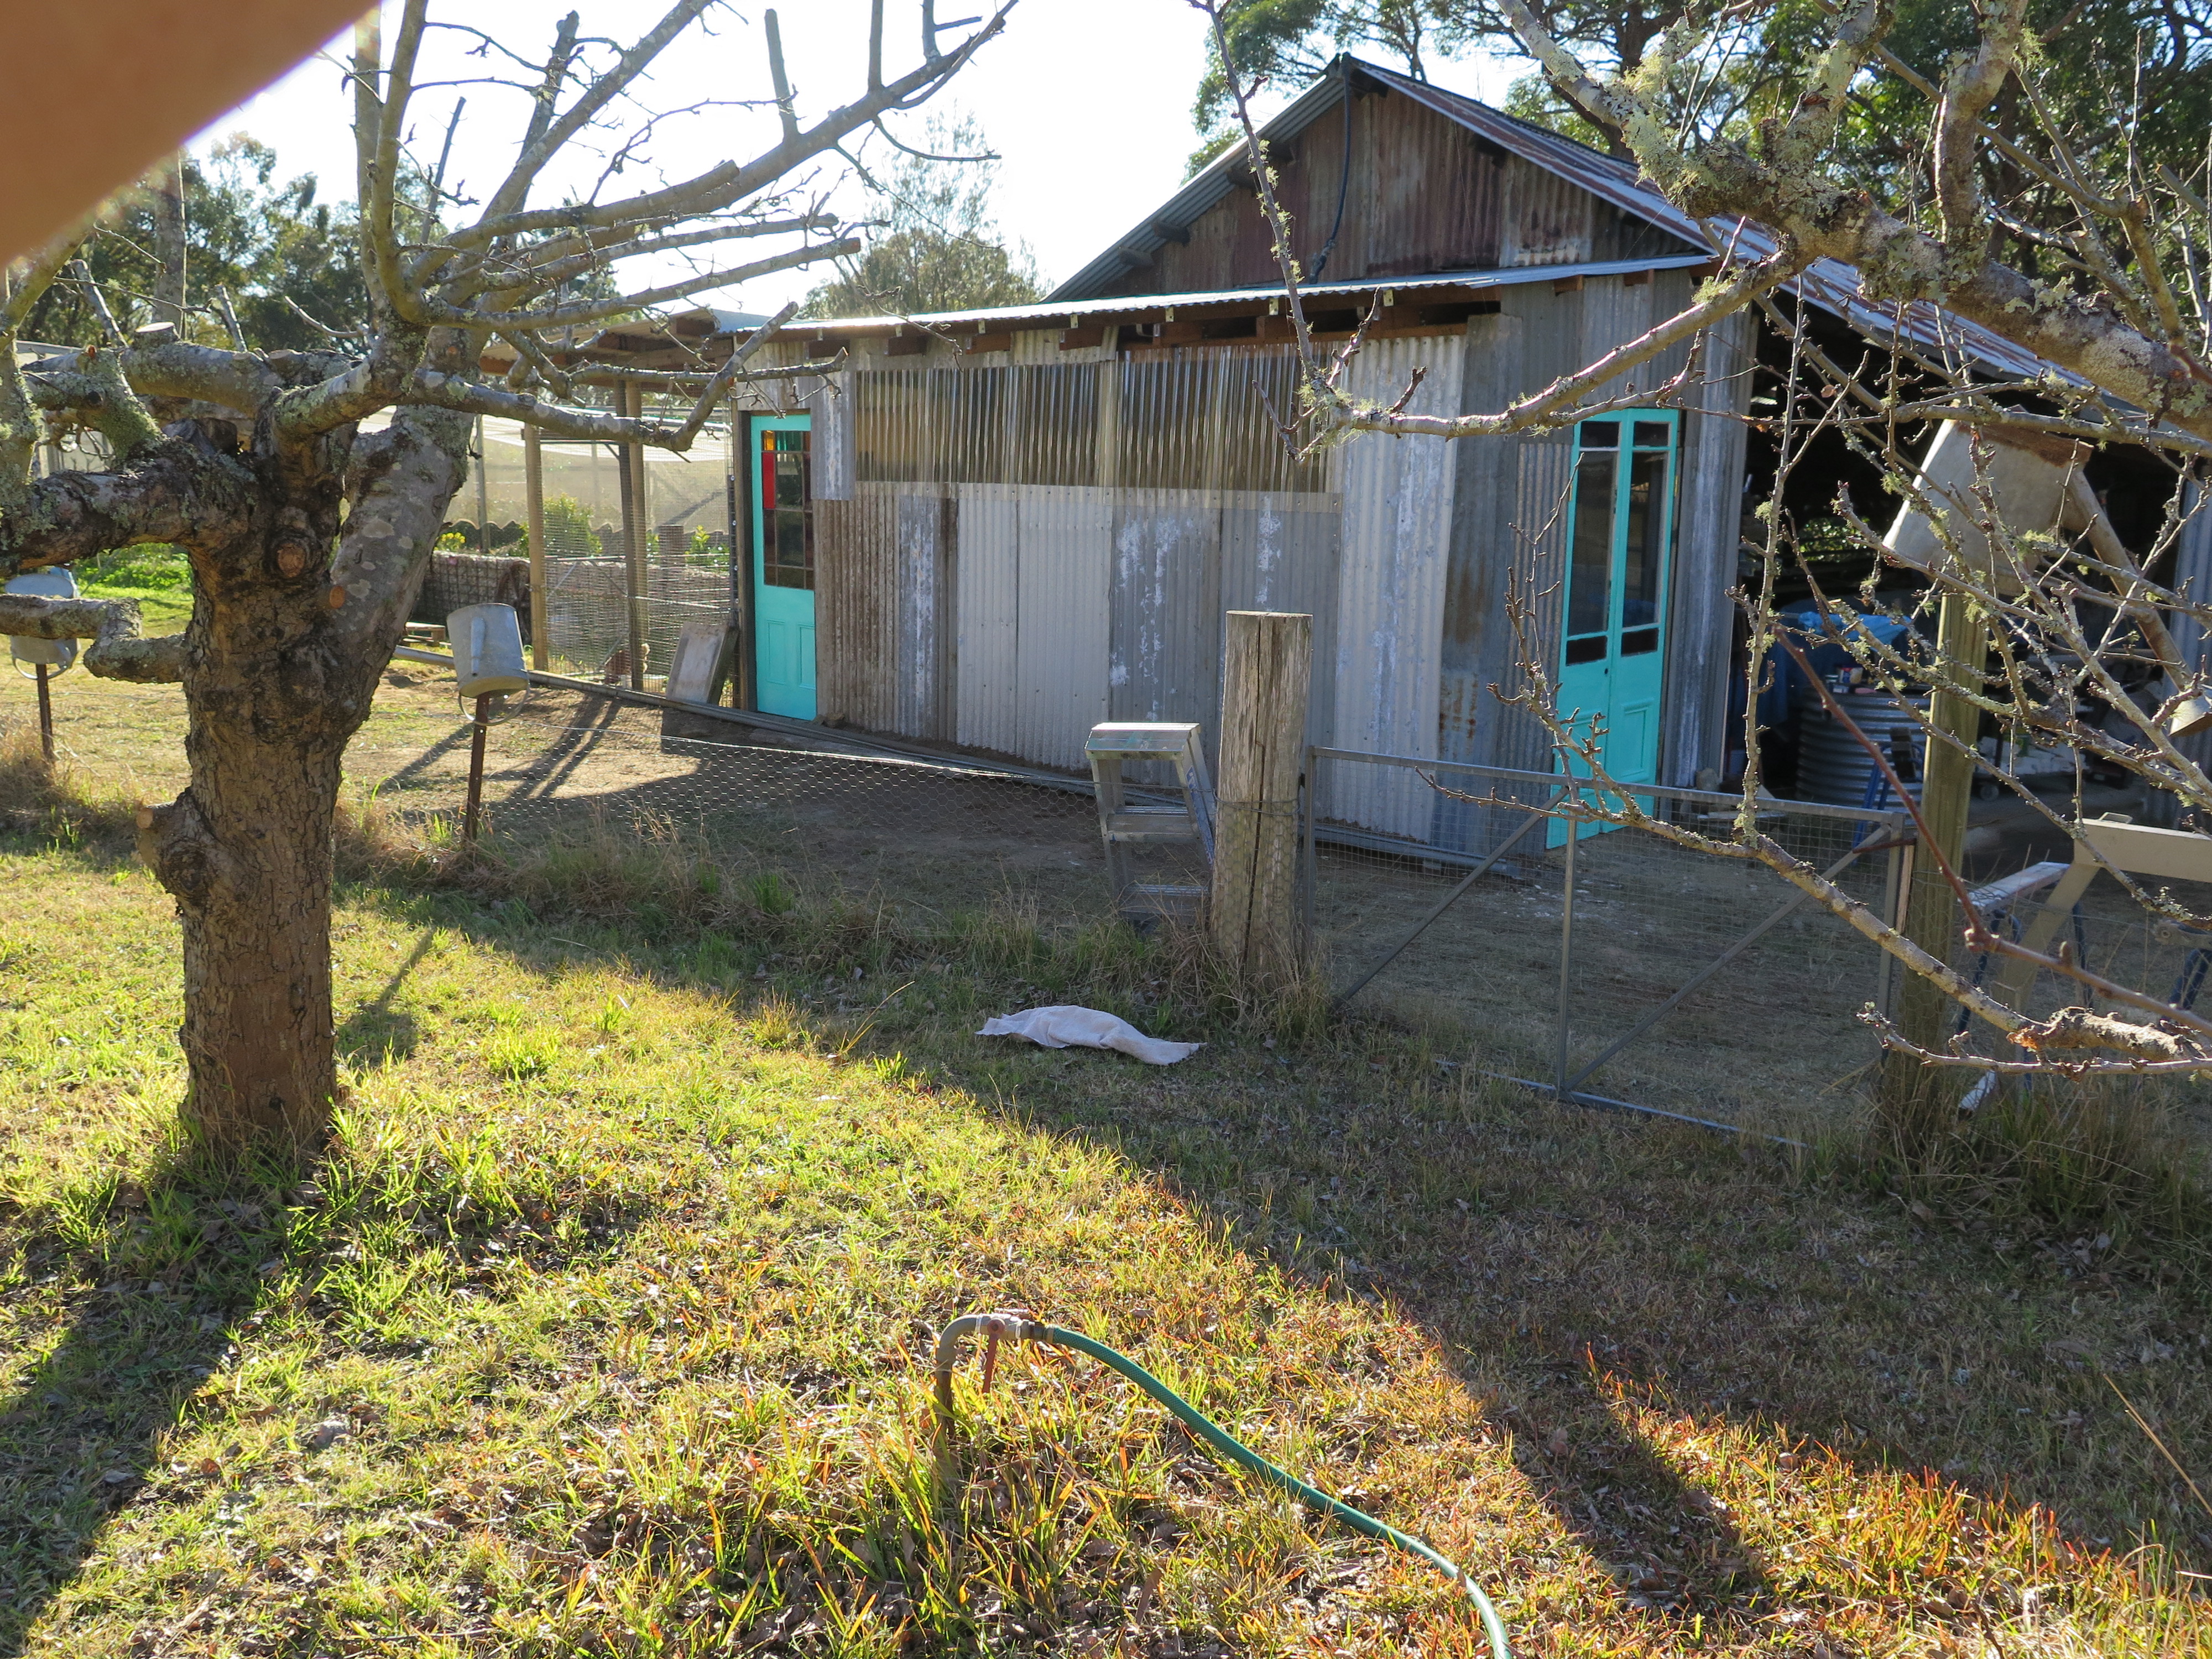
We decided to build an addition to the kiln shed to create some extra storage space, while at the same time it allows me to create some space for a new chicken coop. We raised chickens and ducks here for 25 years, but we had a rather traumatic event with a pack of local village dogs that killed almost all of our birds in one savage attack. The old chook shed was somewhat degraded over time and the wire somewhat rusted and frail. It offered no real protection from the frenzied pack of dogs. I decided that I wouldn’t get anymore chickens until I built a stronger, steel-reinforced chook run.
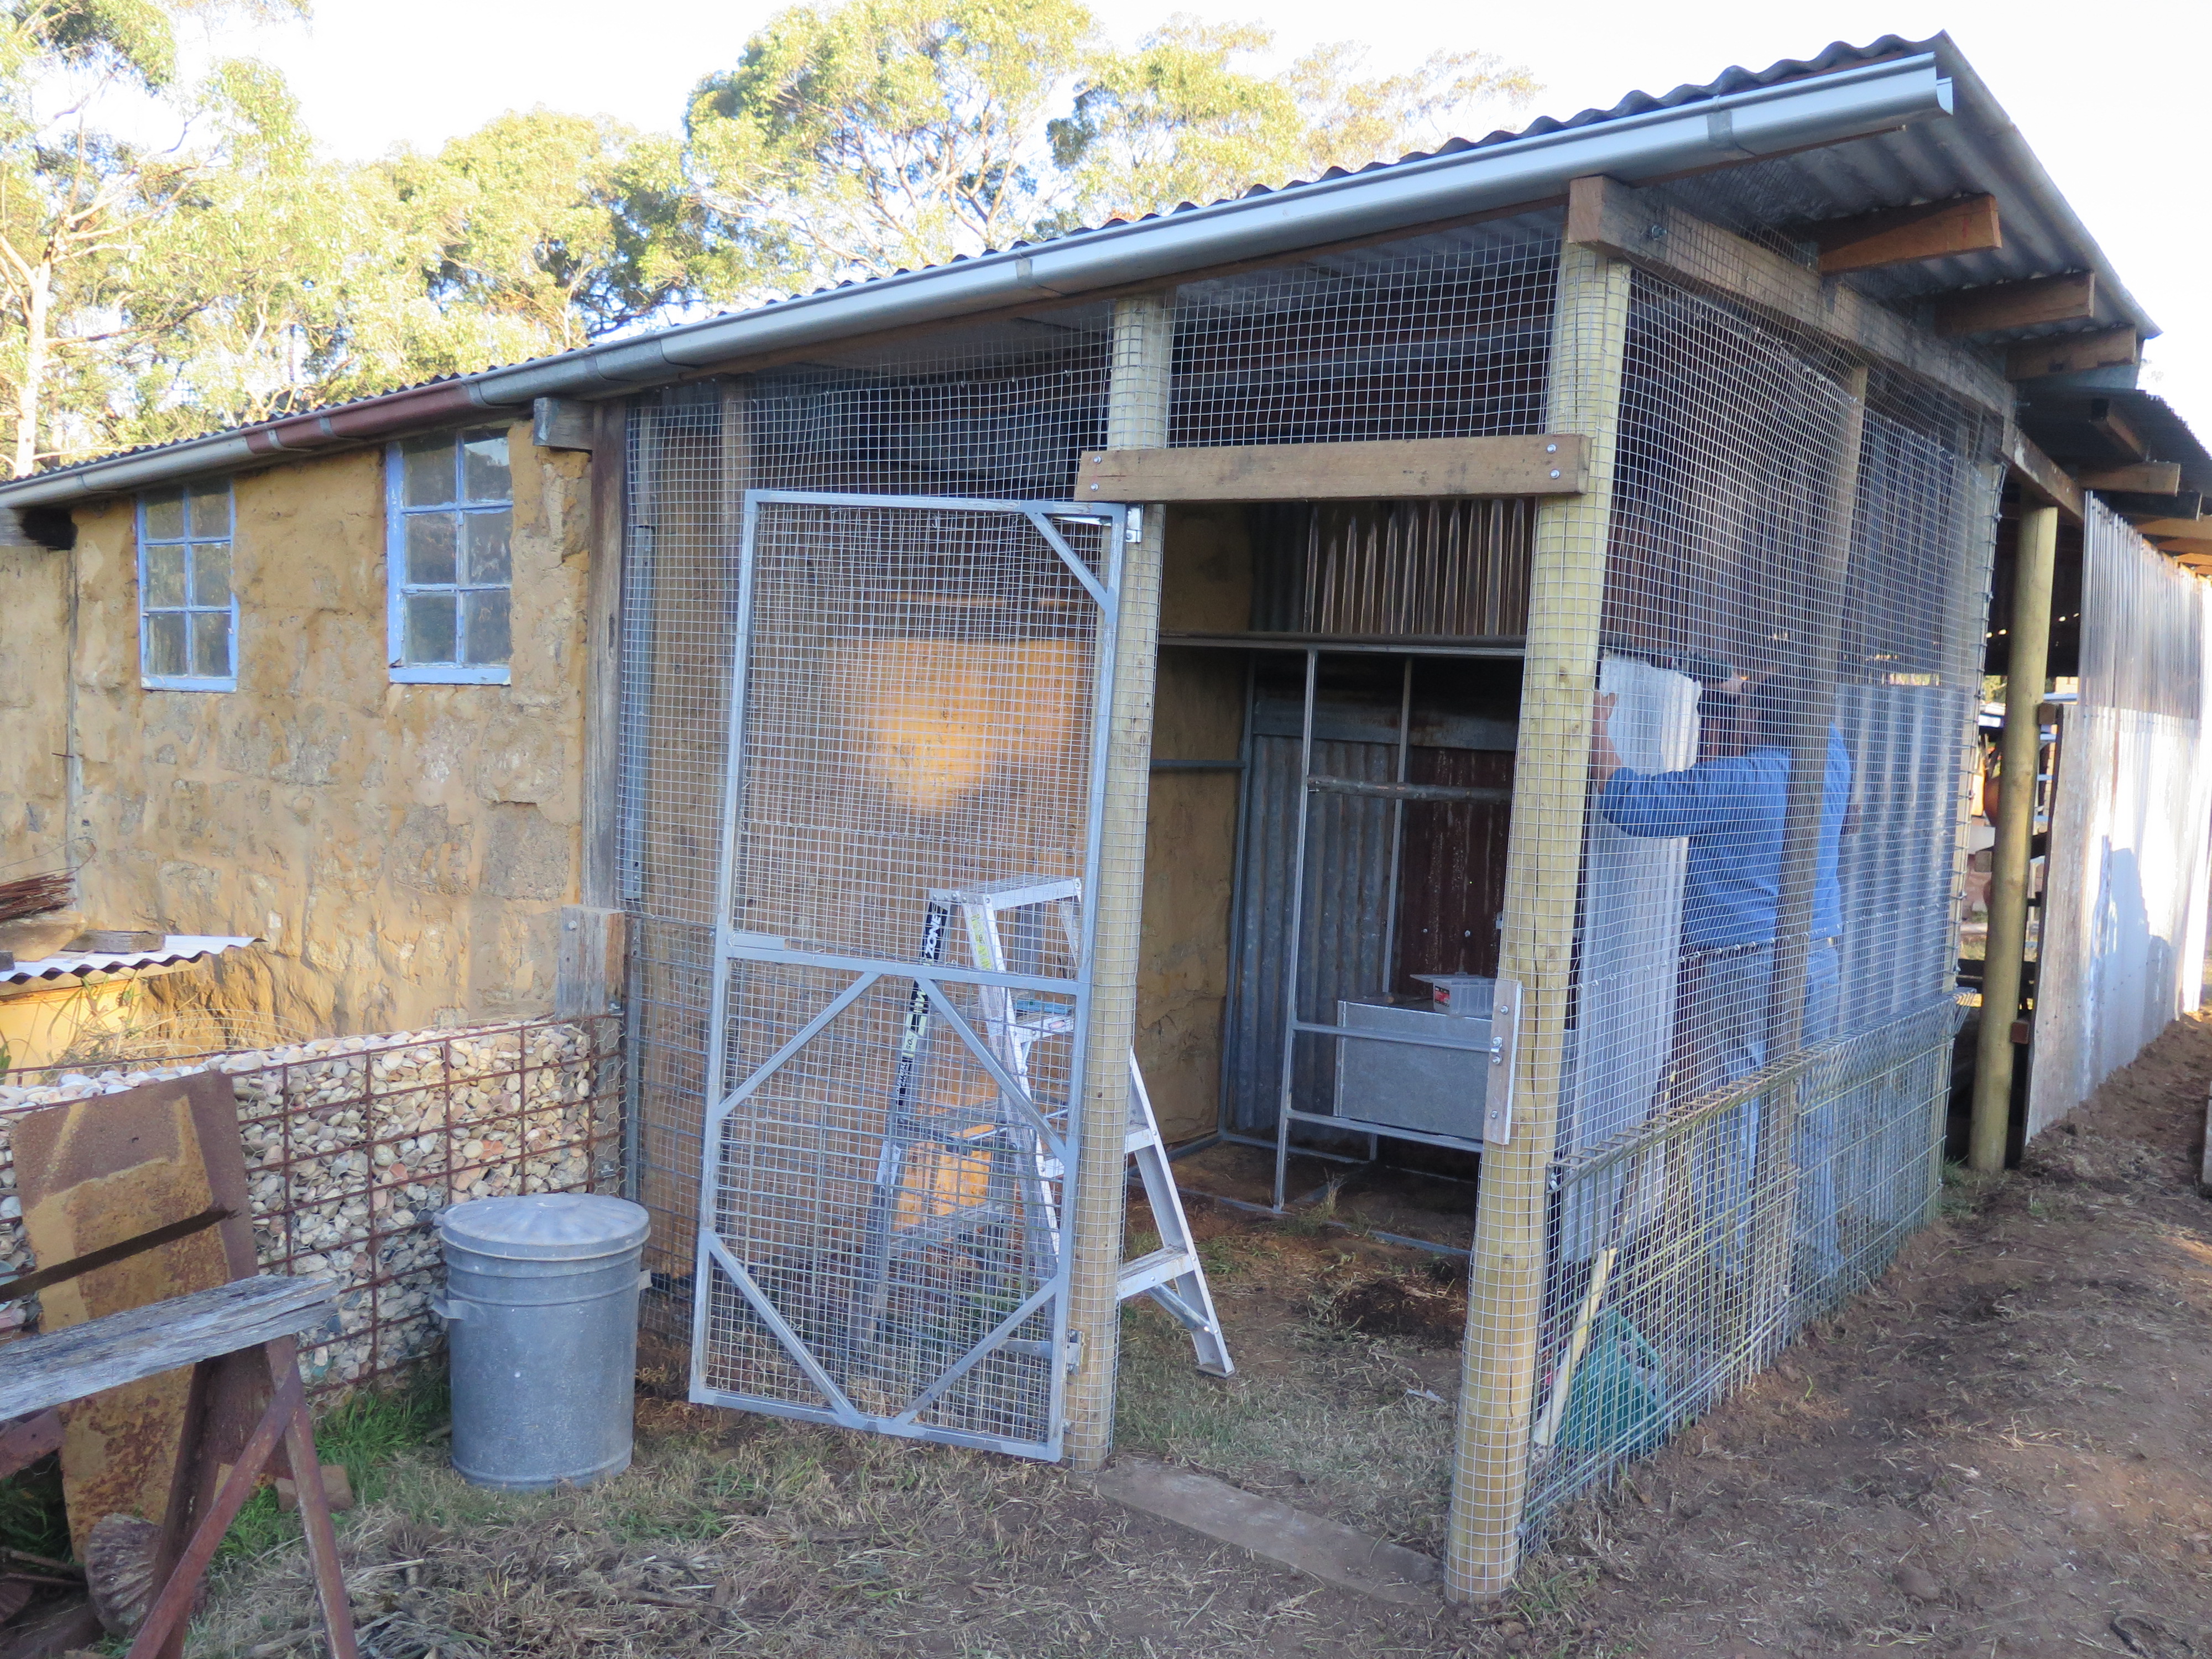

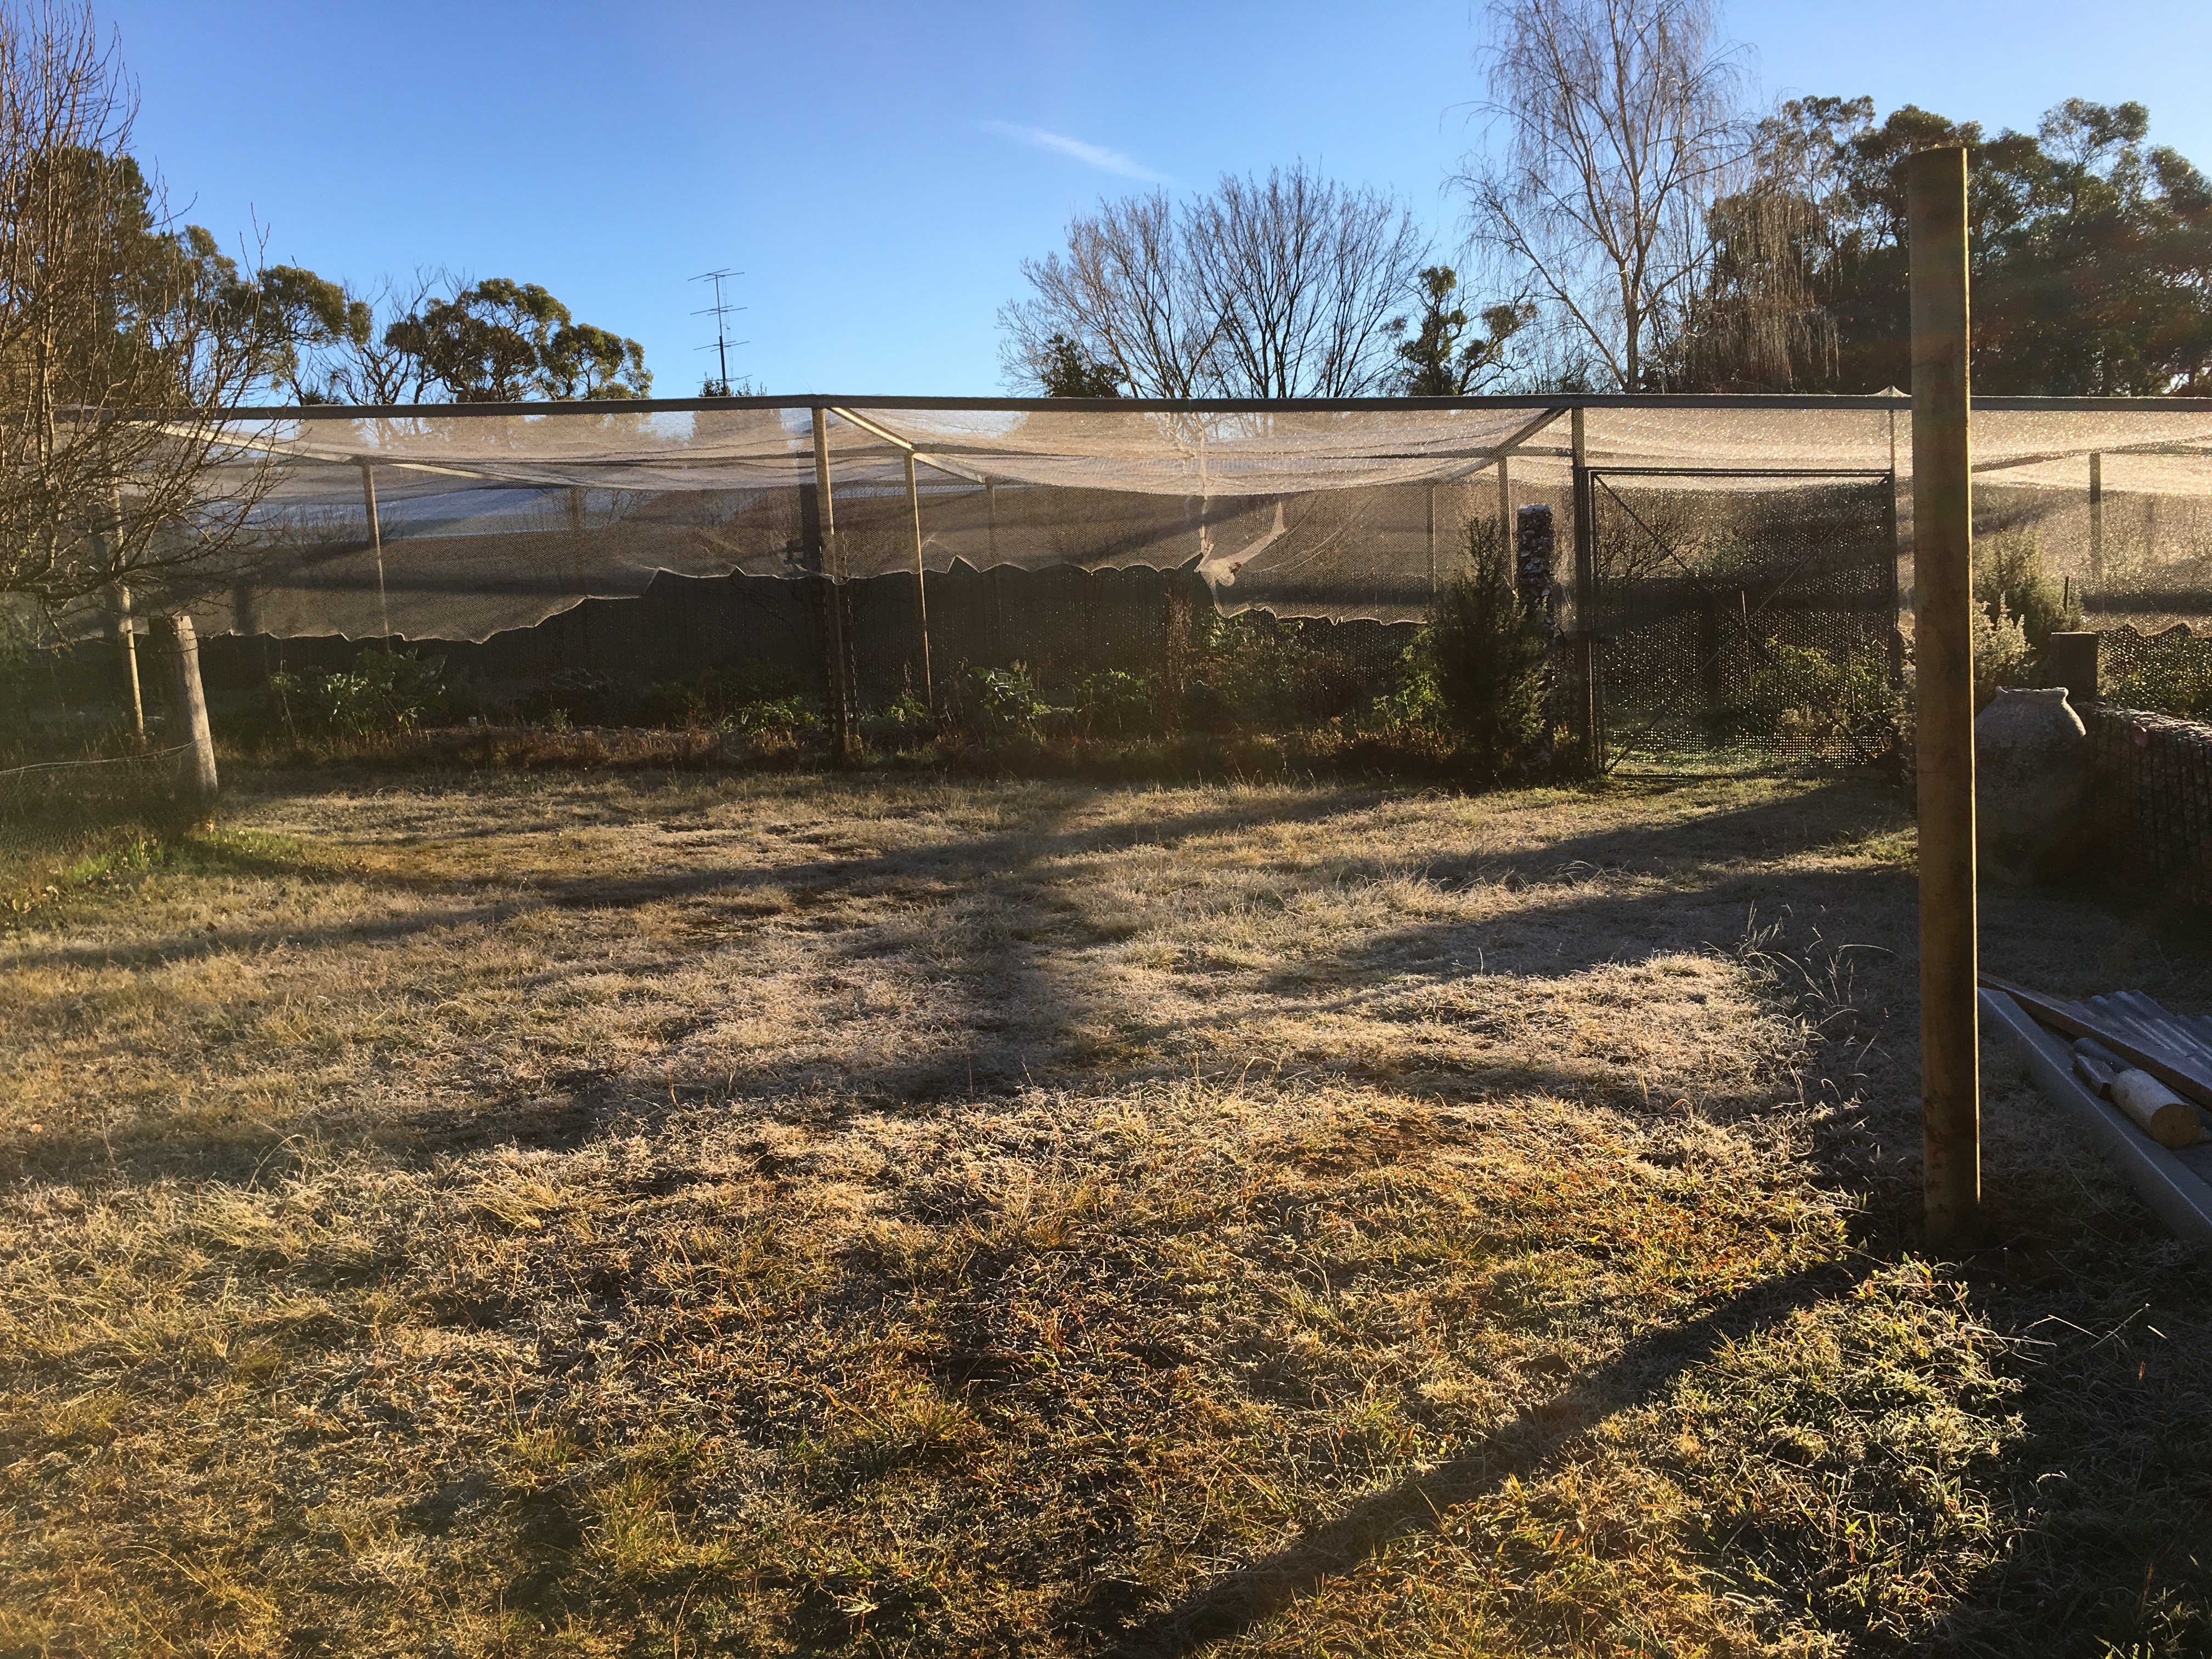
The time has come now and it is done. 25mm. square, welded wire mesh with 6mm dia steel weld mesh dug down into the ground 300 mm. We now have 3 brown chooks at point of lay and are looking forward to our own fresh organic eggs again. The chicken run is quite small, but we only want 3 hens. One or two chickens would be enough for us, but I’m told that a trio is a better number for their own comfort and companionship. Once they are settled in we will let them free range all day, just as we did in the past. Only locking them up at night to protect them from foxes. Chickens are very resourceful at finding their own living out in the orchards and paddocks. Only the vegetable garden is locked up and out of bounds to them. They can be very destructive in a garden, digging up seedlings and excavating large dust bath holes in the soft, moist composted soil.
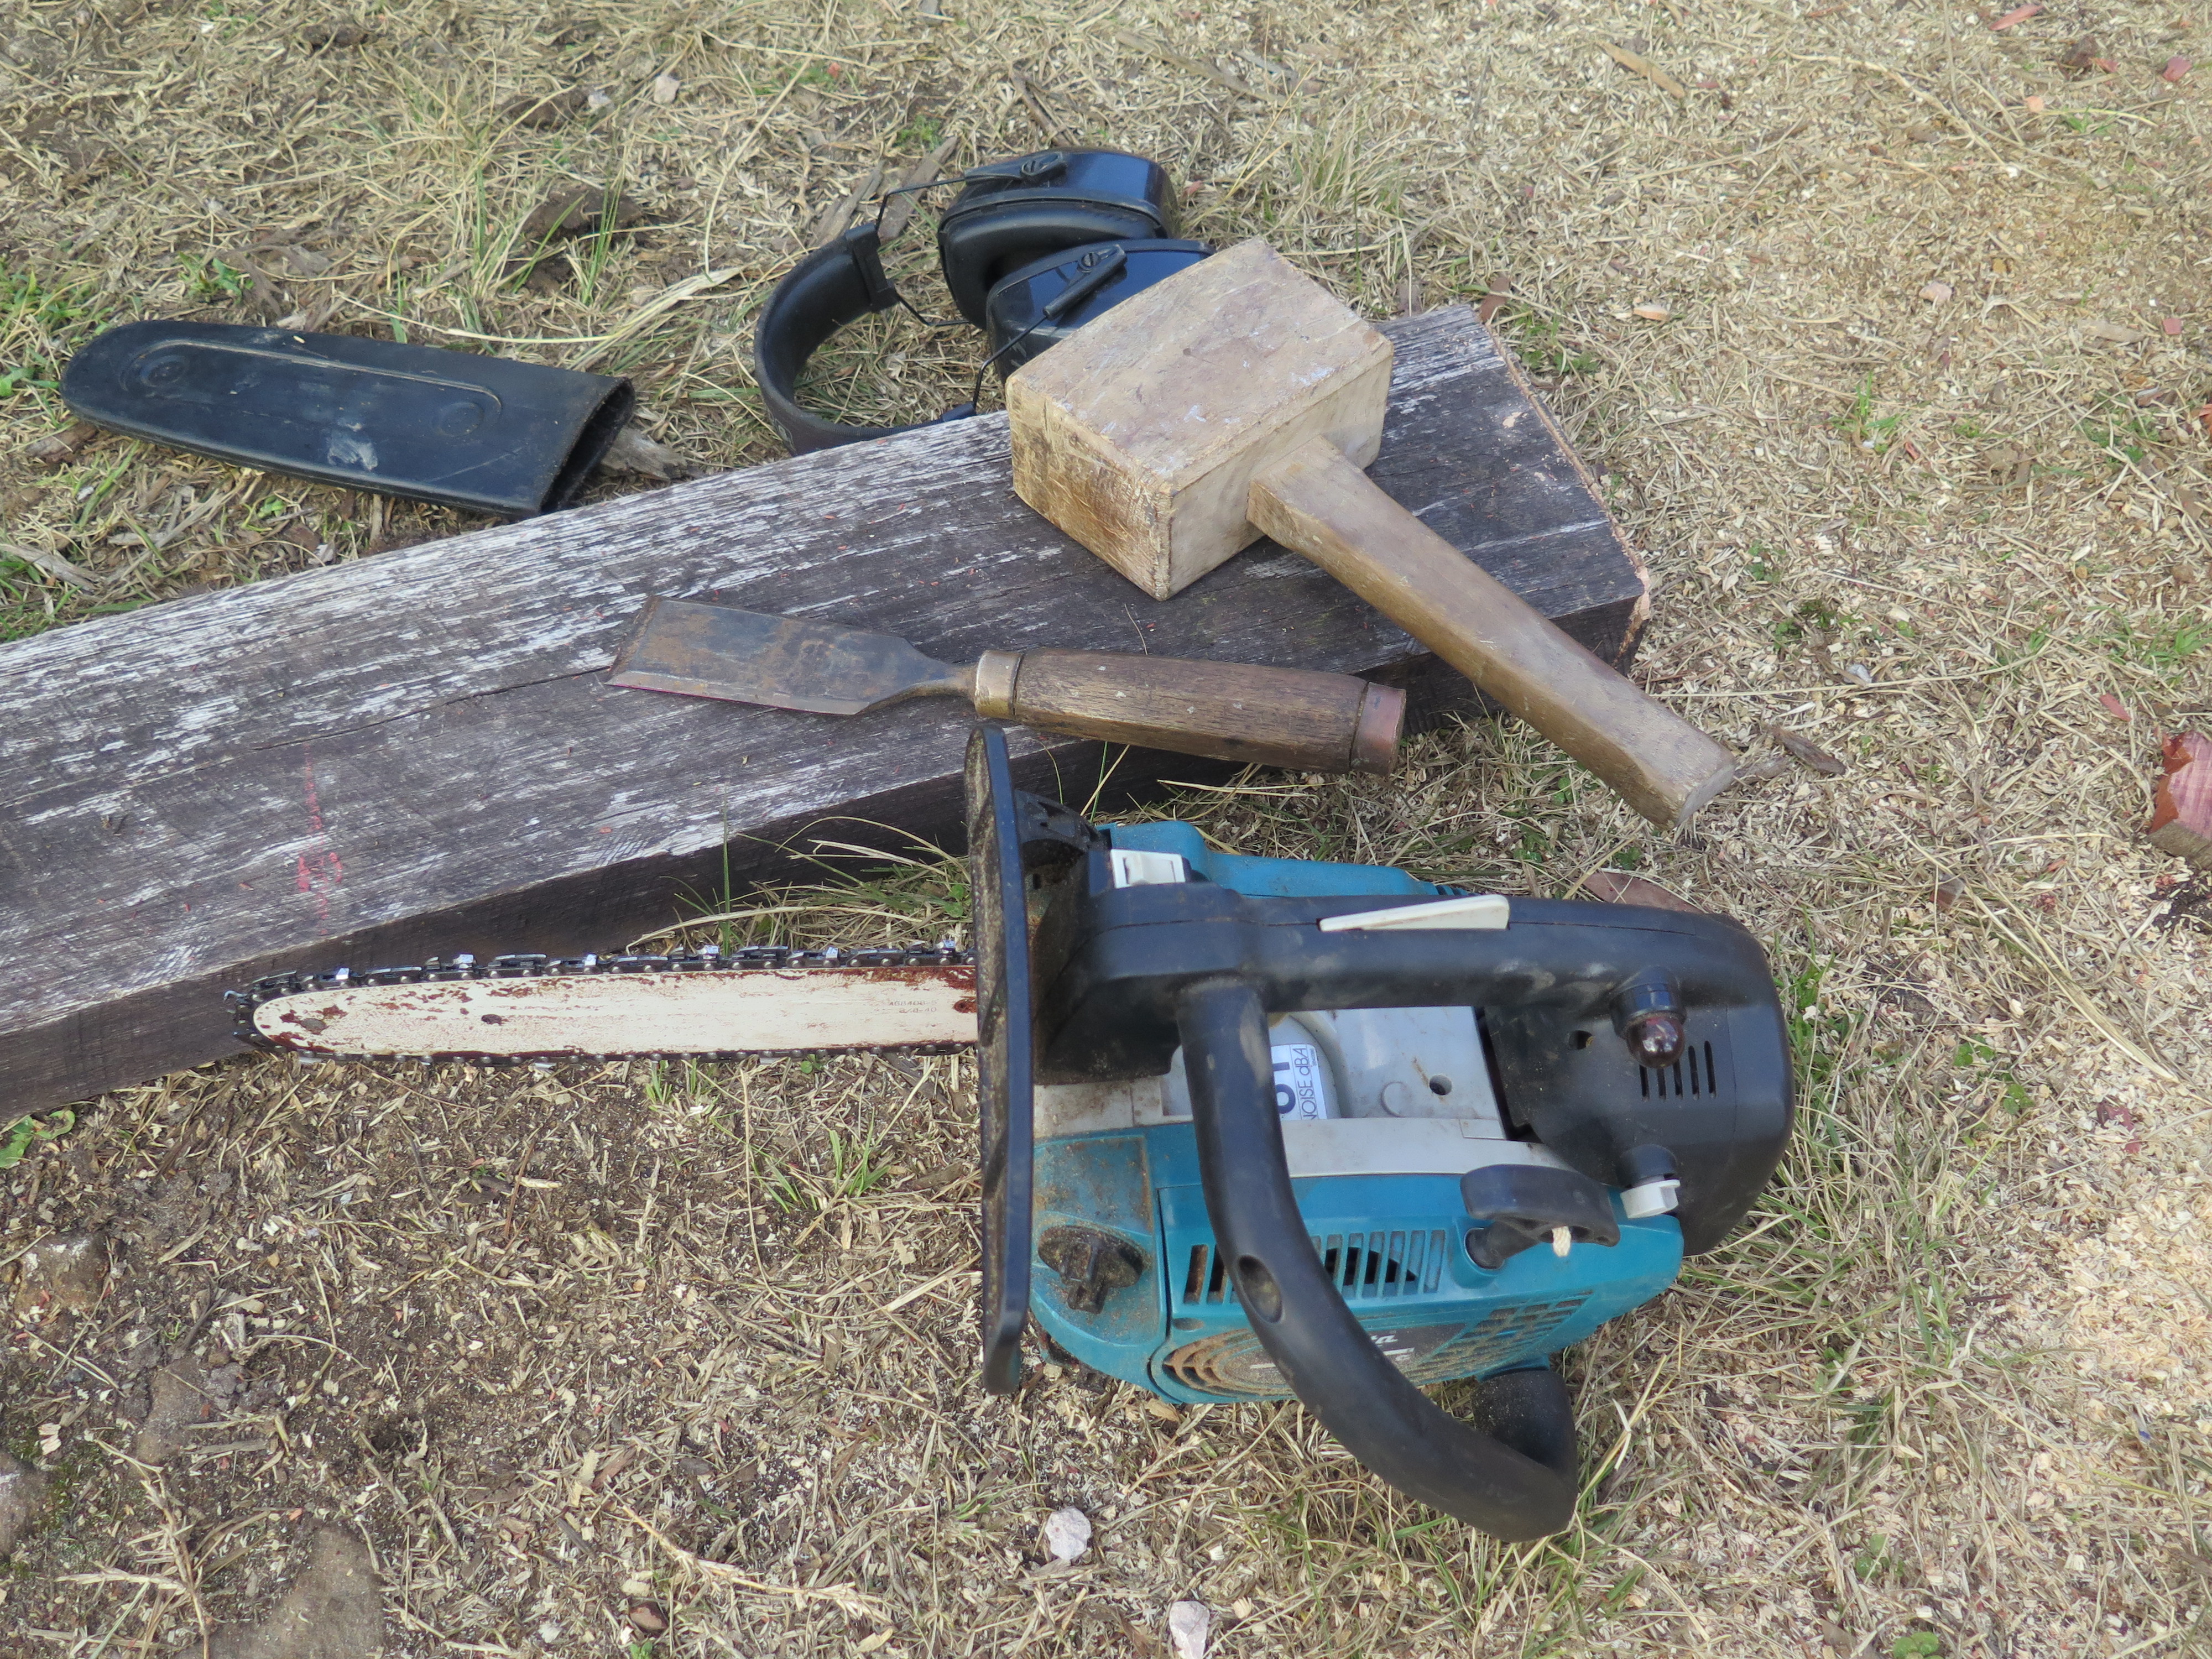
The other two thirds of the shed is a storage space for all the stainless steel sheets and other kiln building paraphernalia that I have to keep in stock, plus a small space for garden tools and the wheel barrow. We decide to pave the floor with bricks. This wasn’t in the original plan, but it seems the right thing to do to make the shed floor moisture proof and flat, so that I can wheel my brick cutting bench in and out easily.

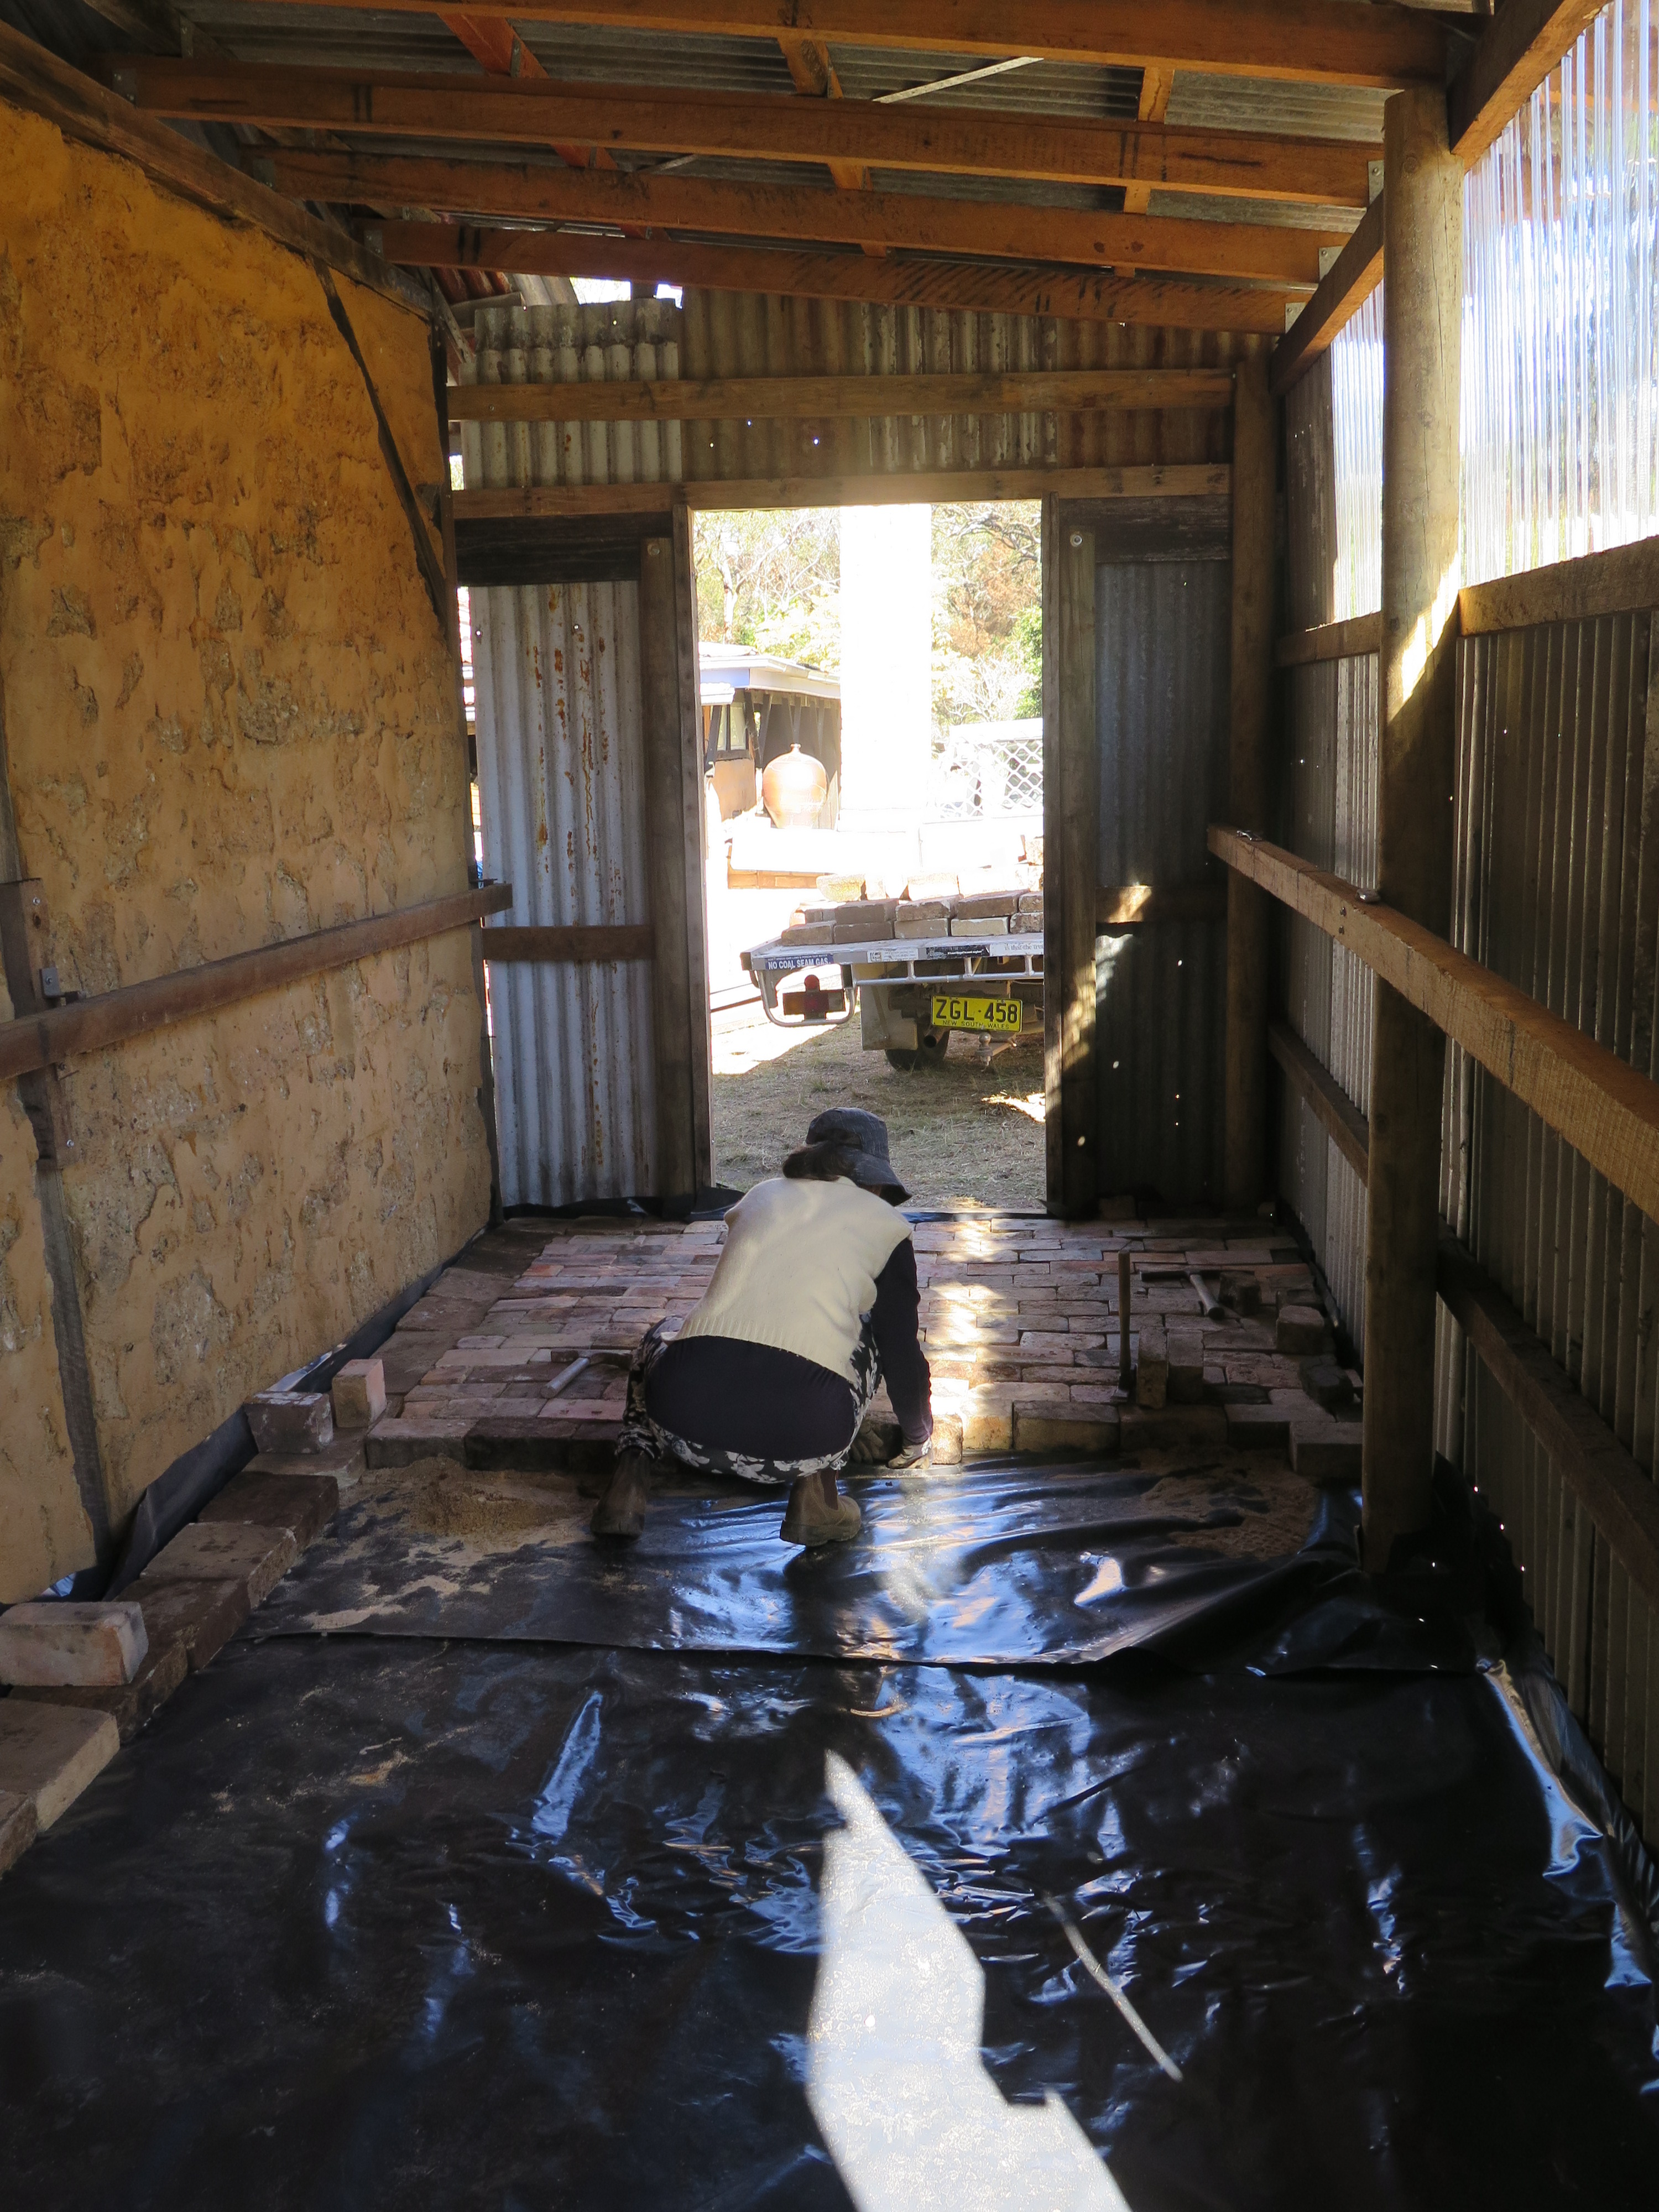
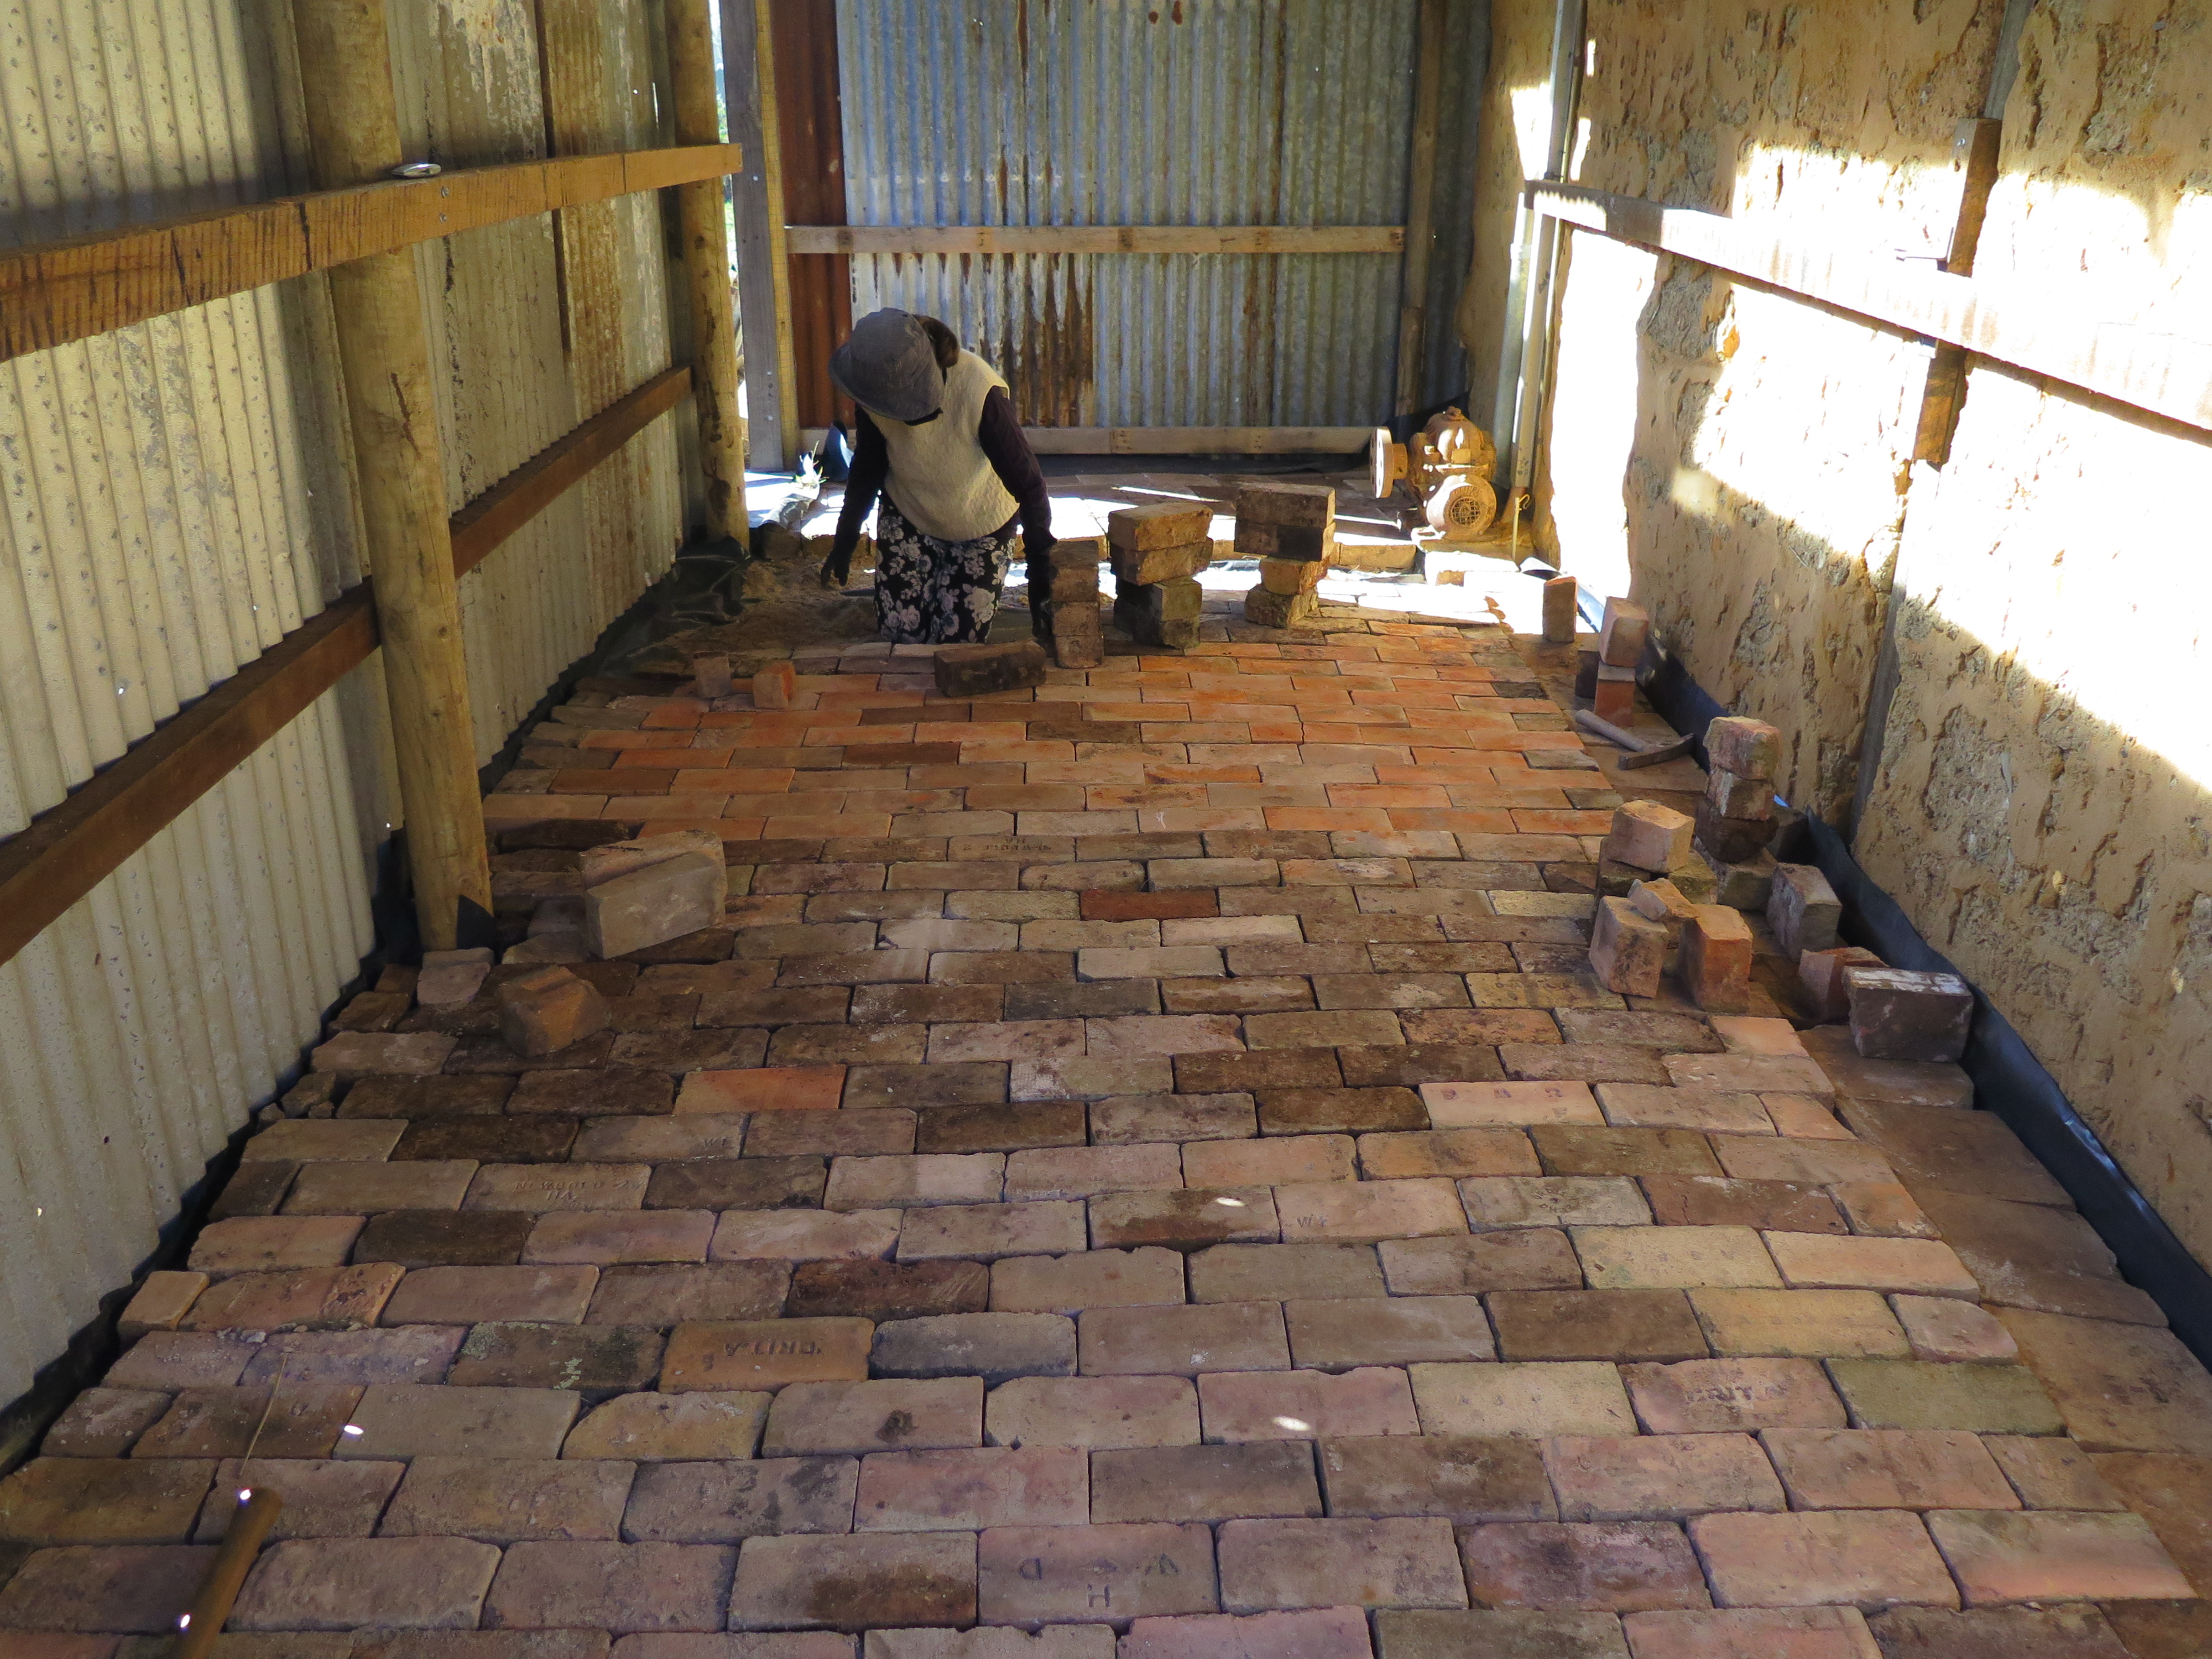

We dismantle a couple of old, early wood fired kilns that have been in the garden for over thirty five years and are no longer used. The used bricks have a lovely patina of use and age about them. We lay them over a sand and black builders-plastic membrane substrate to keep the shed dry. 500 bricks later, it all comes together rather well. A good days work to dismantle, clean, stack, transport and lay all these bricks in one day.
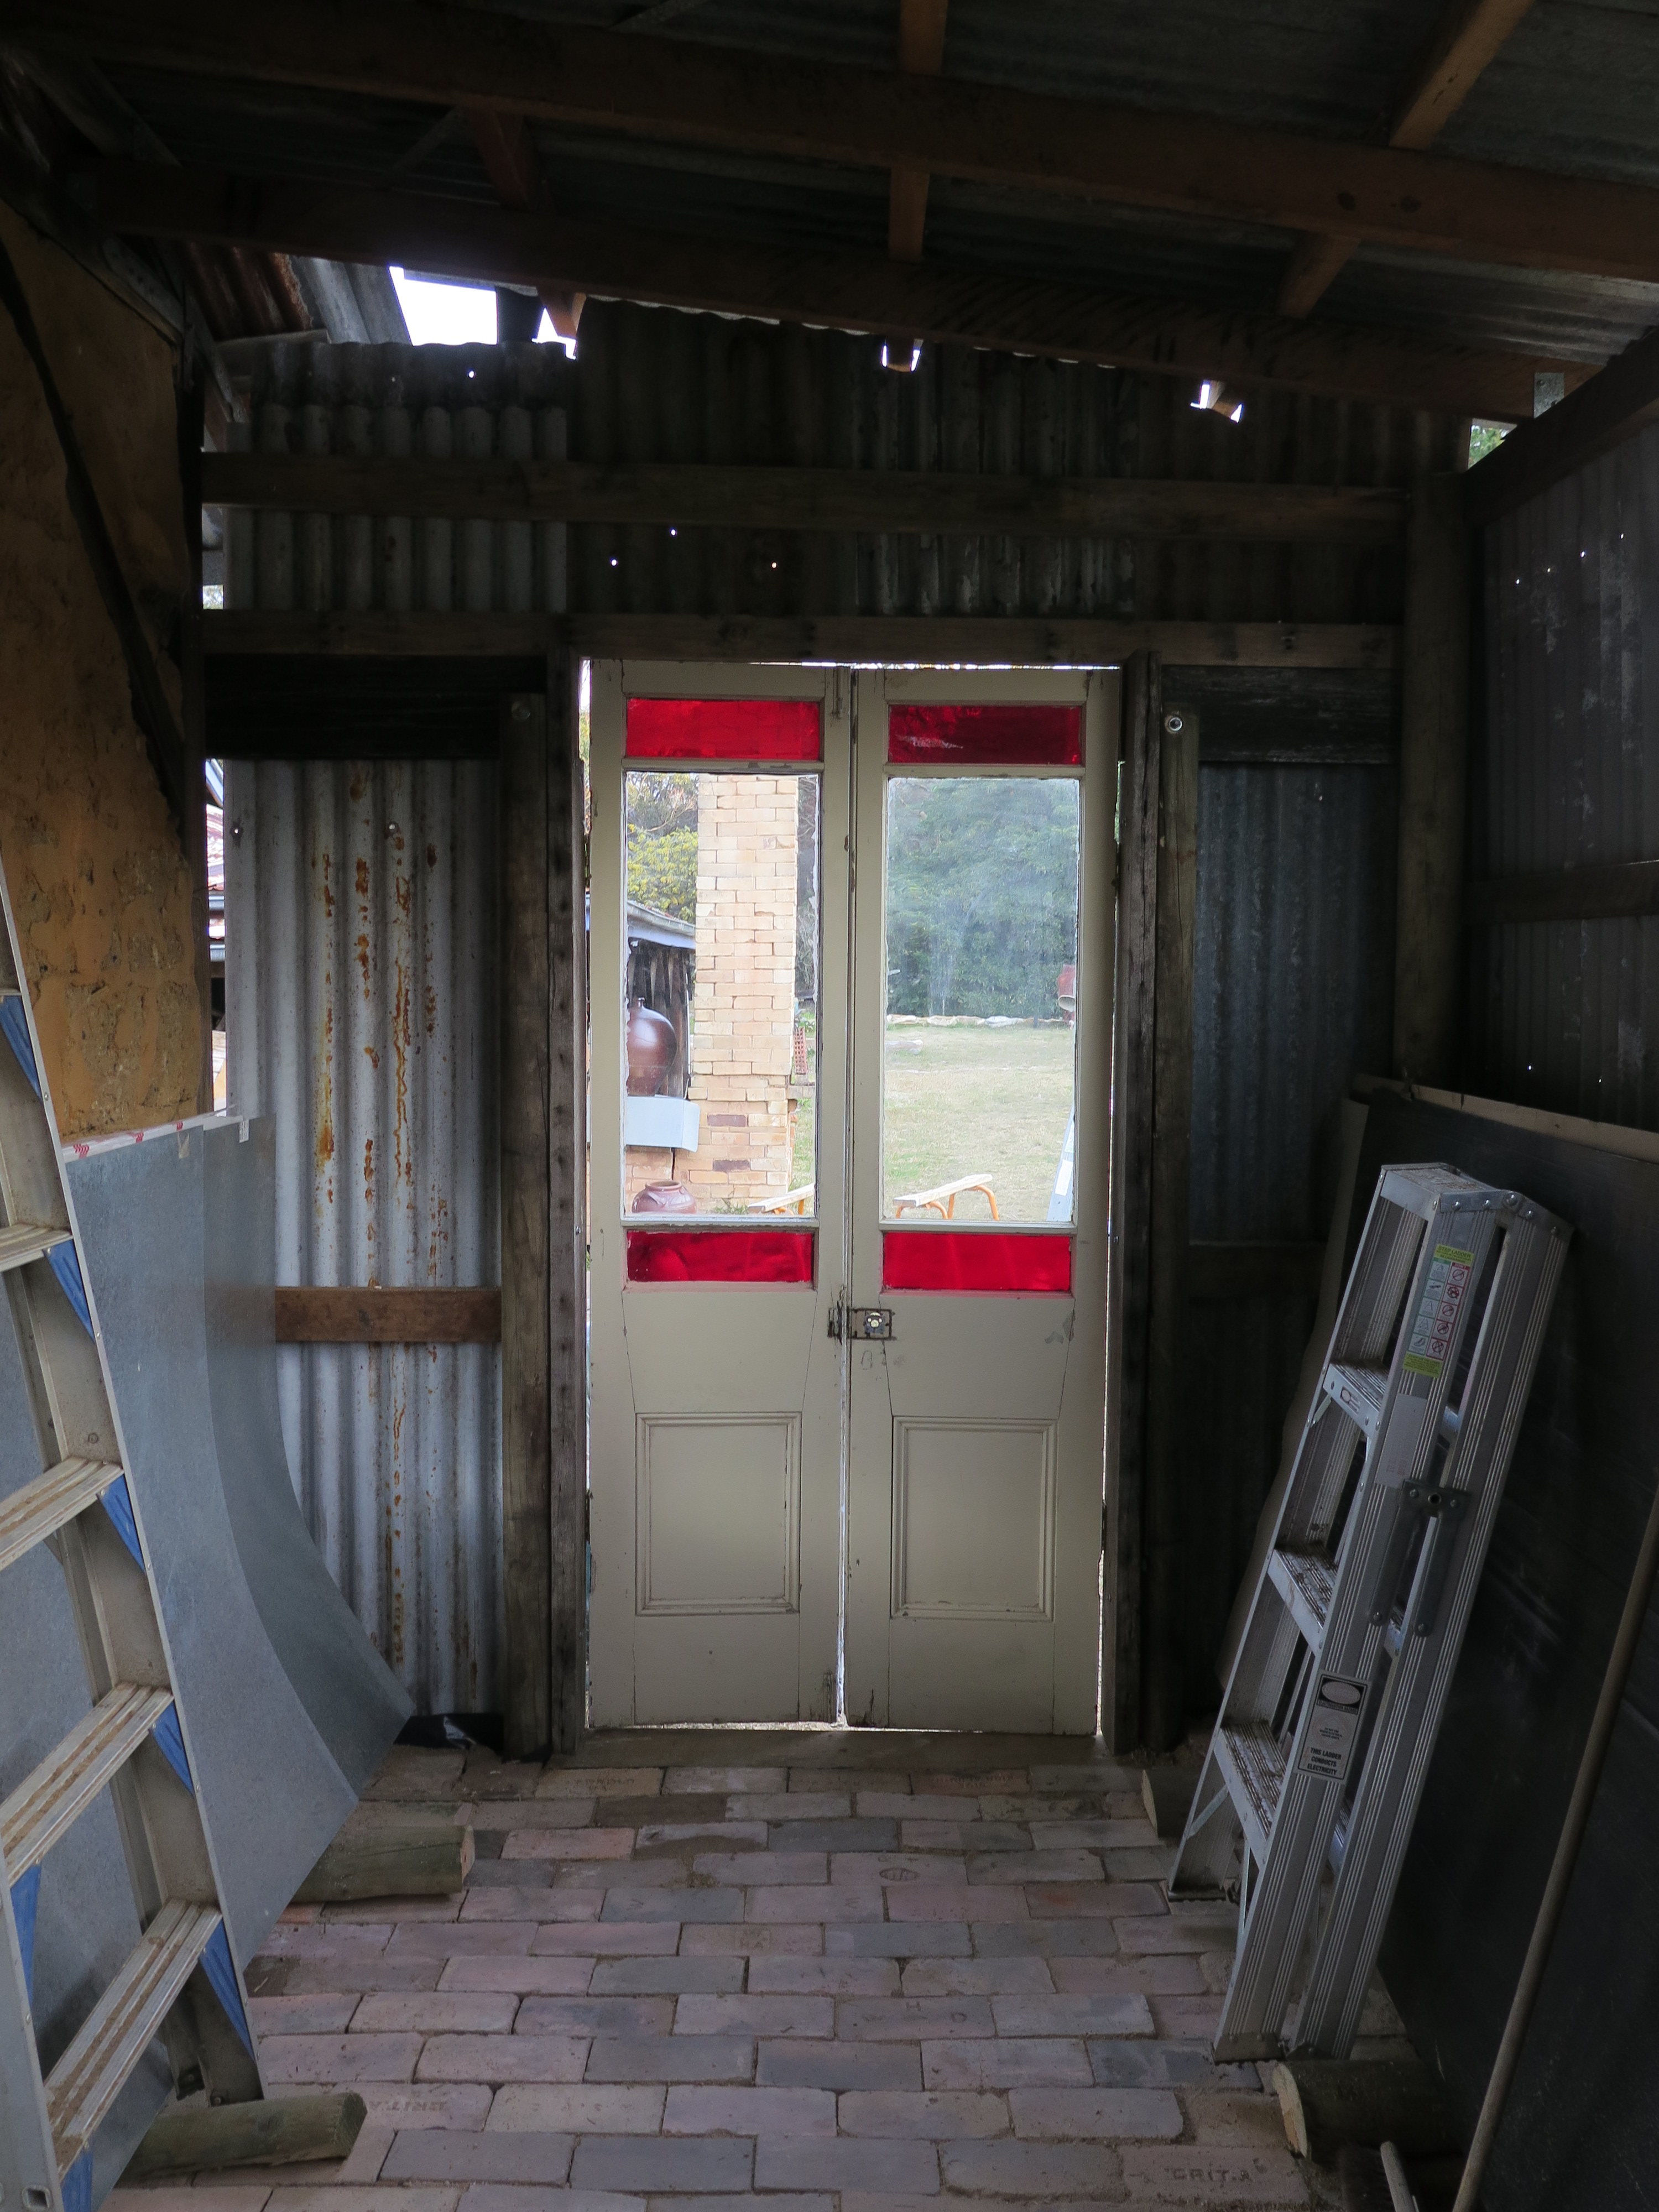
This shed is built from nearly all recycled materials. I only had to buy a few sticks of hardwood for the rafters, nearly all the green poles were recycled from vineyard trellises and the iron sheeting for the walls and roof were all given to us when friends re-roofed their house. To complete the build, Janine suggests that we use some french doors and a solid timber single door that a friend found on the side of the road at council clean-up day and delivered here to us thinking that we might be the kind of people that could find a use for them, and we have. We get stuck into it and don’t seem to be able to stop until it is really formally finished. We hadn’t planned for such a proper shed. It started out as just a lean-to roof to keep the rain off the mud brick wall and an excuse to re-build the chook shed.
5 days later we have a beautiful dry, flat, level and secure, well-lit shed. It’s a thrill and a novelty to be able to let an idea go for a walk and have it end up so beautifully. Just using what recycled ‘rubbish’ we have collected here from what others have thrown out. It is almost too good for just storage. I didn’t intend to do this project, this week. I have a lot of other things that I have to do, but here it is and I’m really pleased with how it has turned out.


We put a bit of effort into restoring the old doors. I need to replace a broken sheet of glass in one french door, which Janine organises and putties into place beautifully. There is one broken sheet of gold-red glass in the single door. We don’t even bother to get a quote on that. It will be too expensive to justify for a shed door, so I cut a small piece of perspex and we paint it with red poster colour – you can hardly tell. Once the doors are cleaned and painted, we end the week with a new/second-hand, recycled shed built for just a few hundred dollars and using a modern combination of old and new tools – because I can.
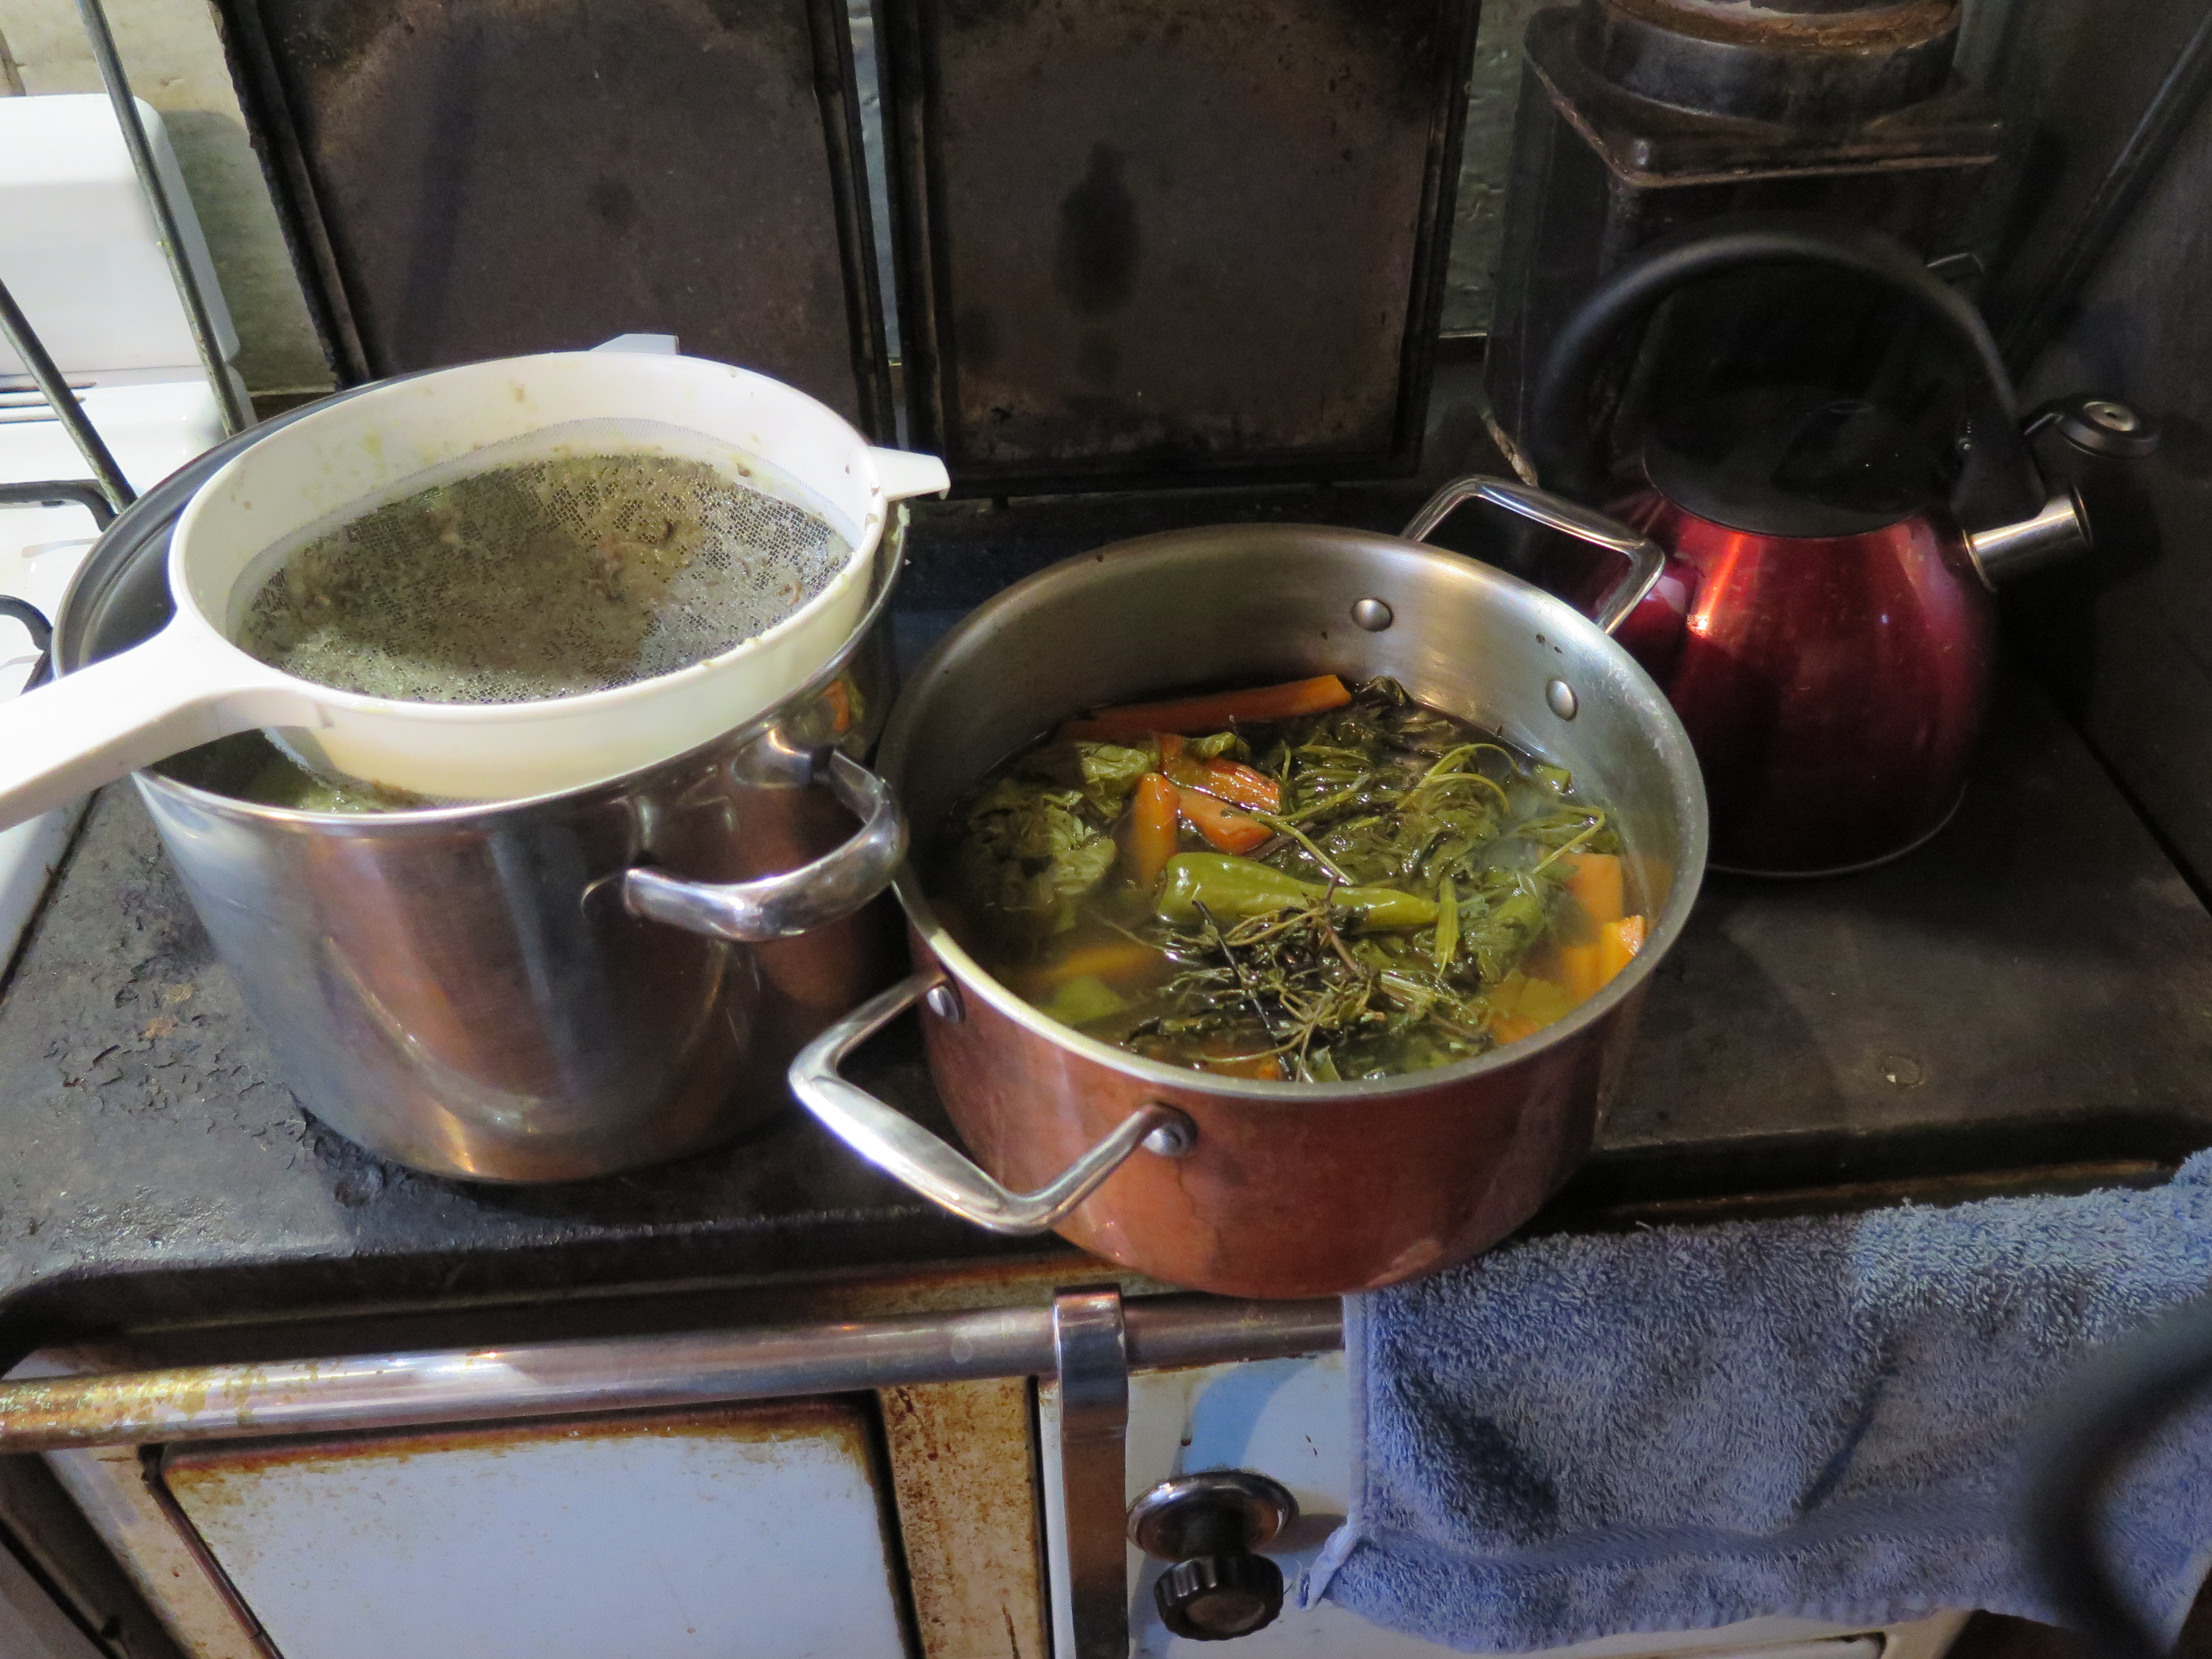
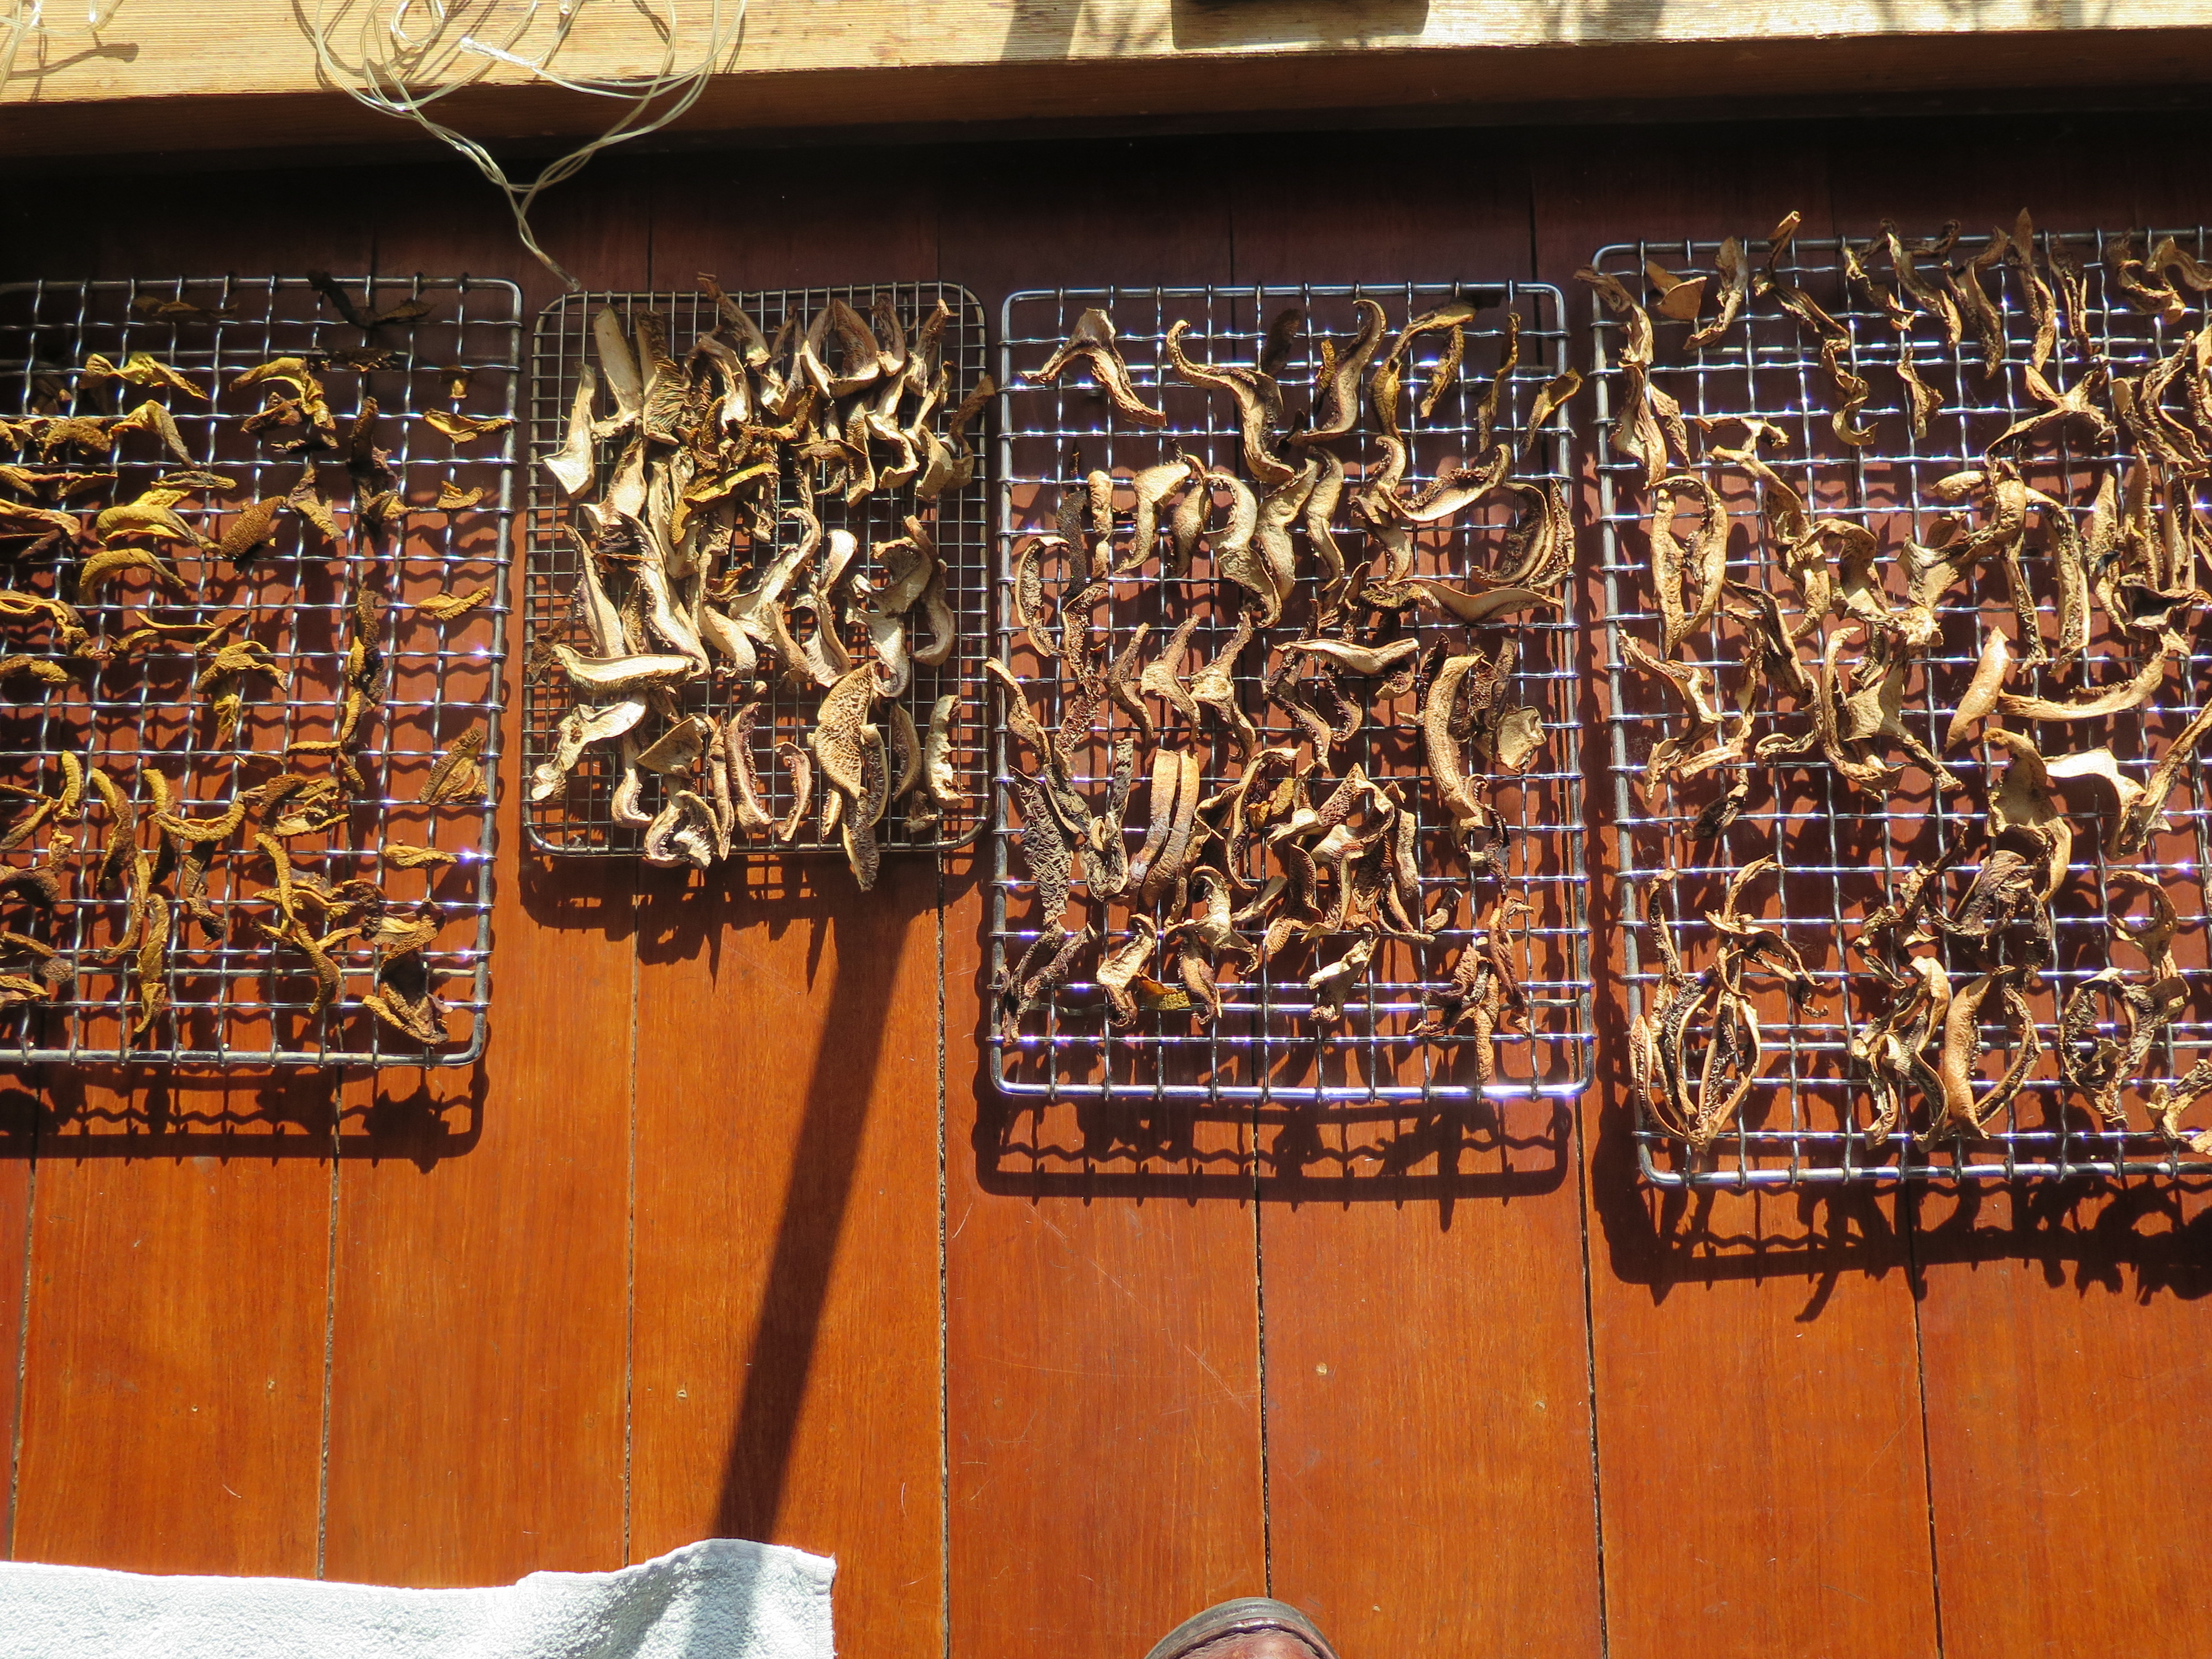
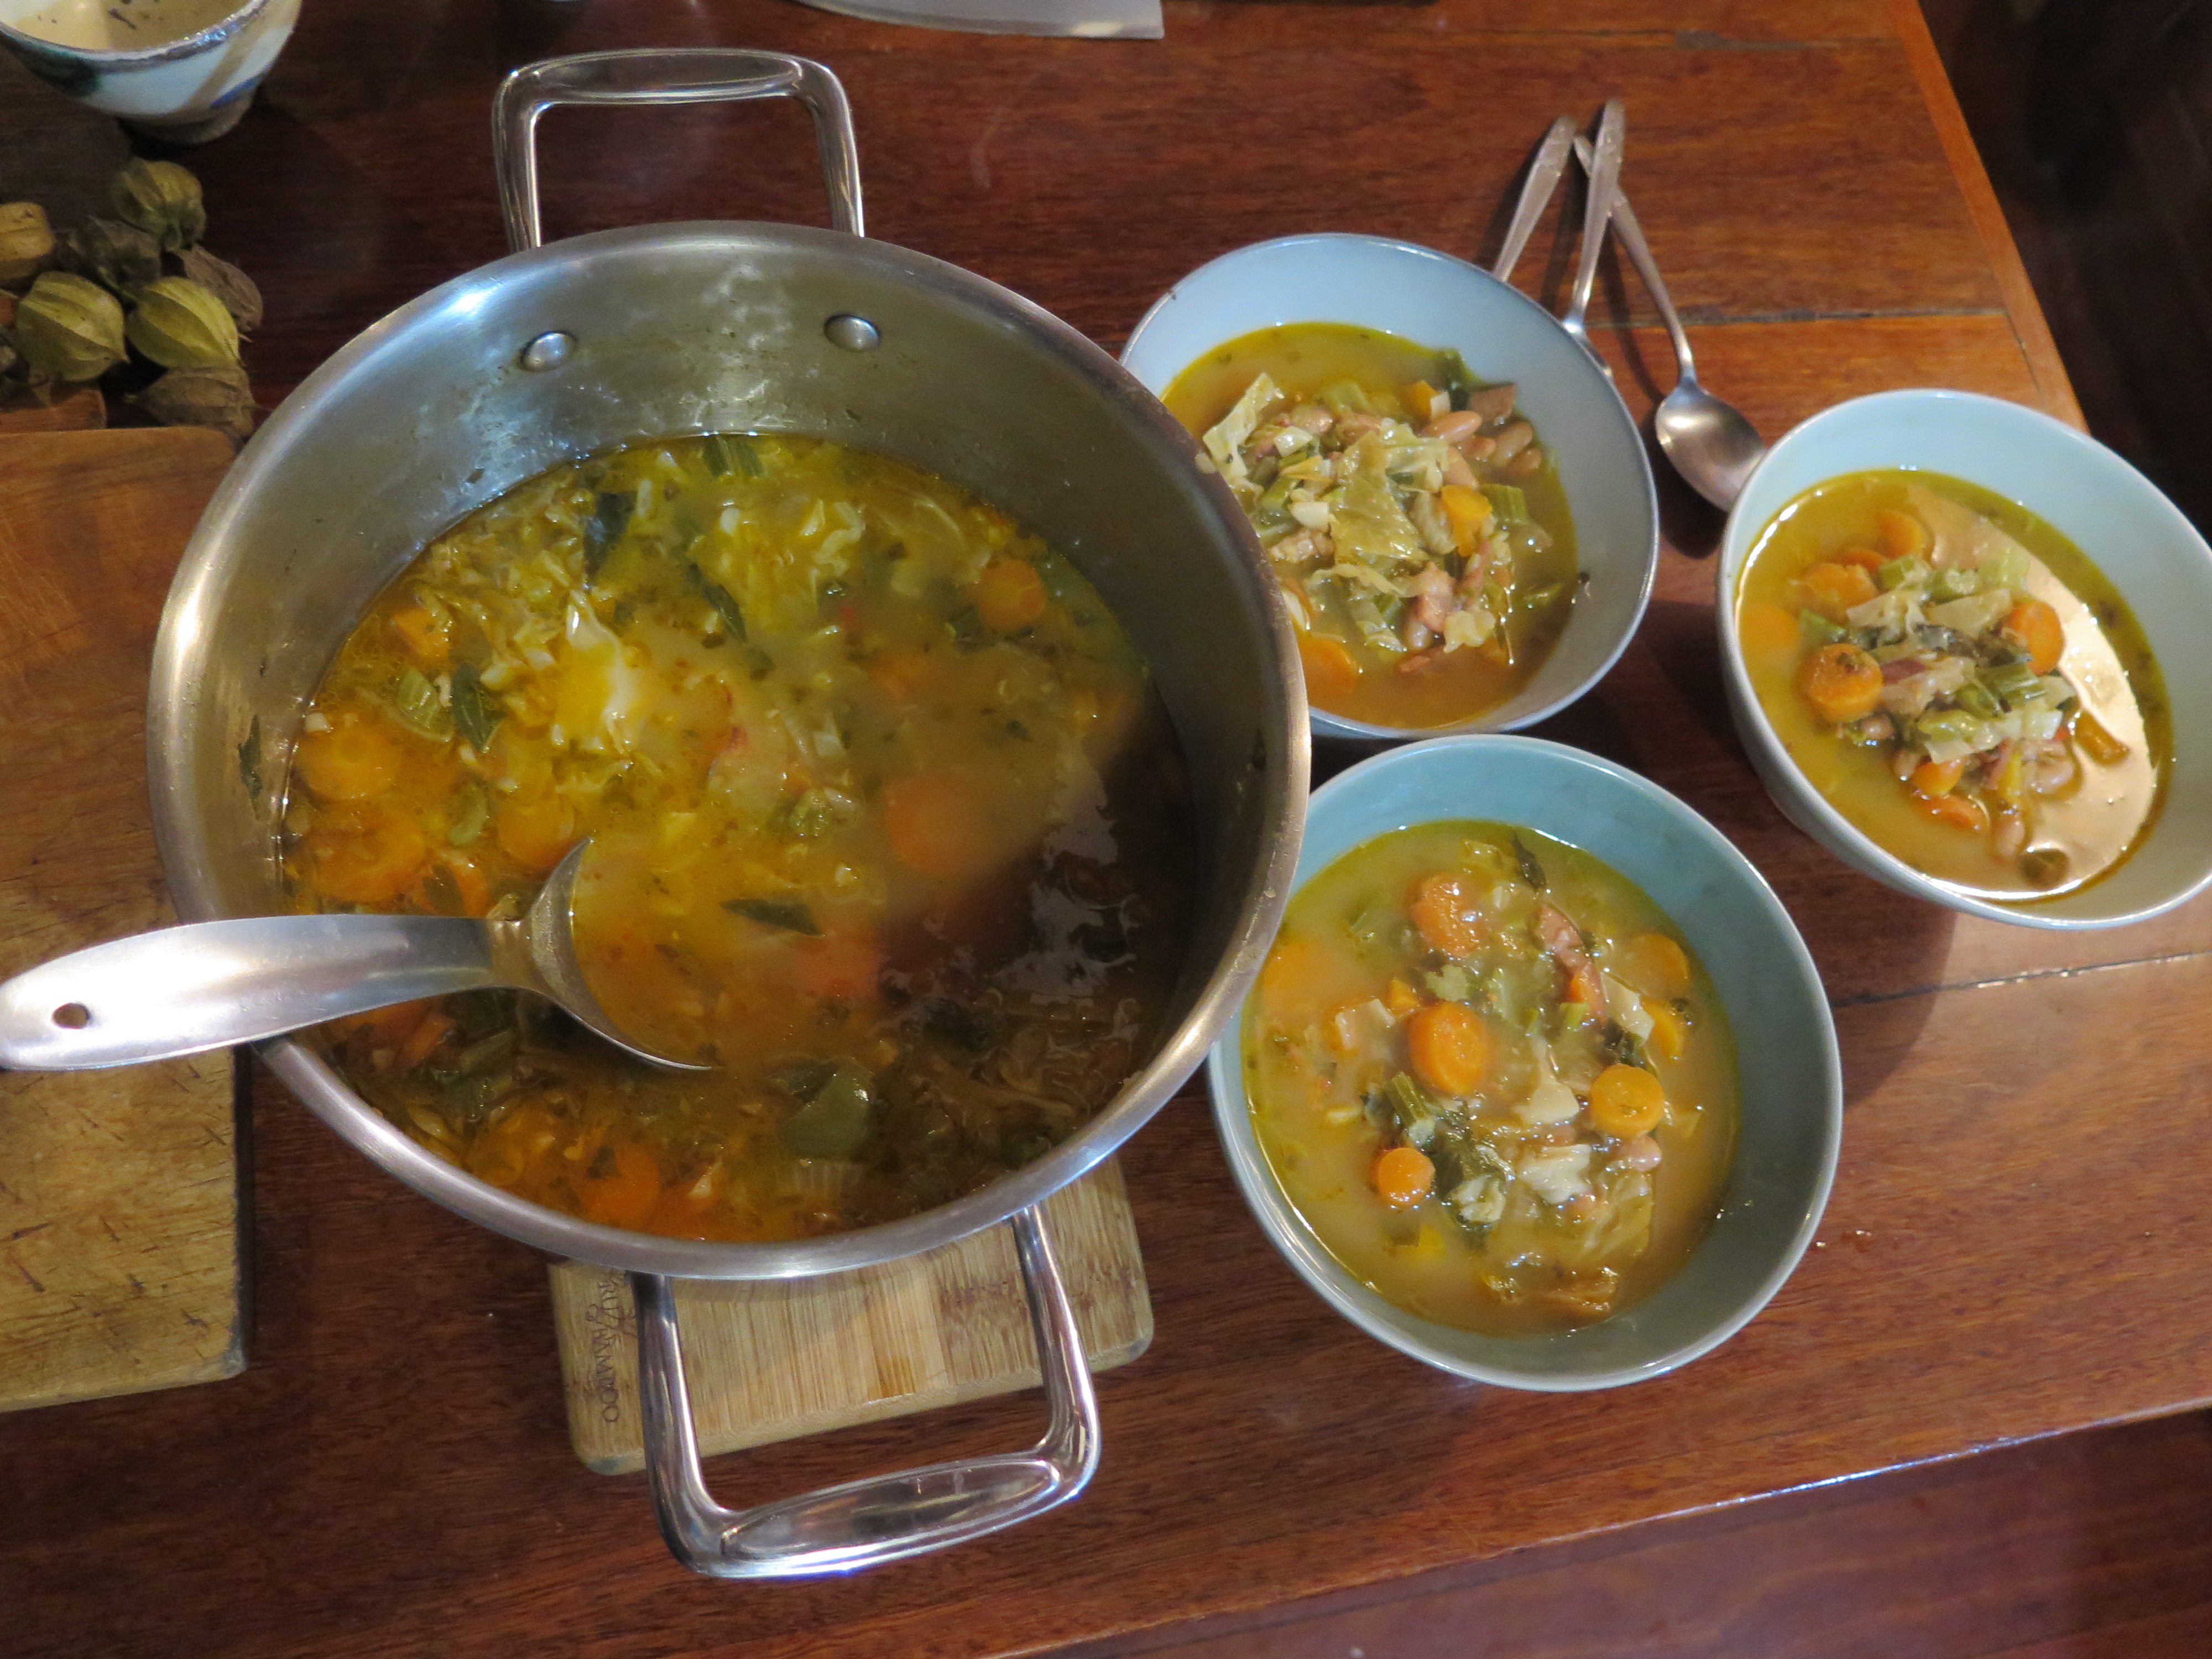
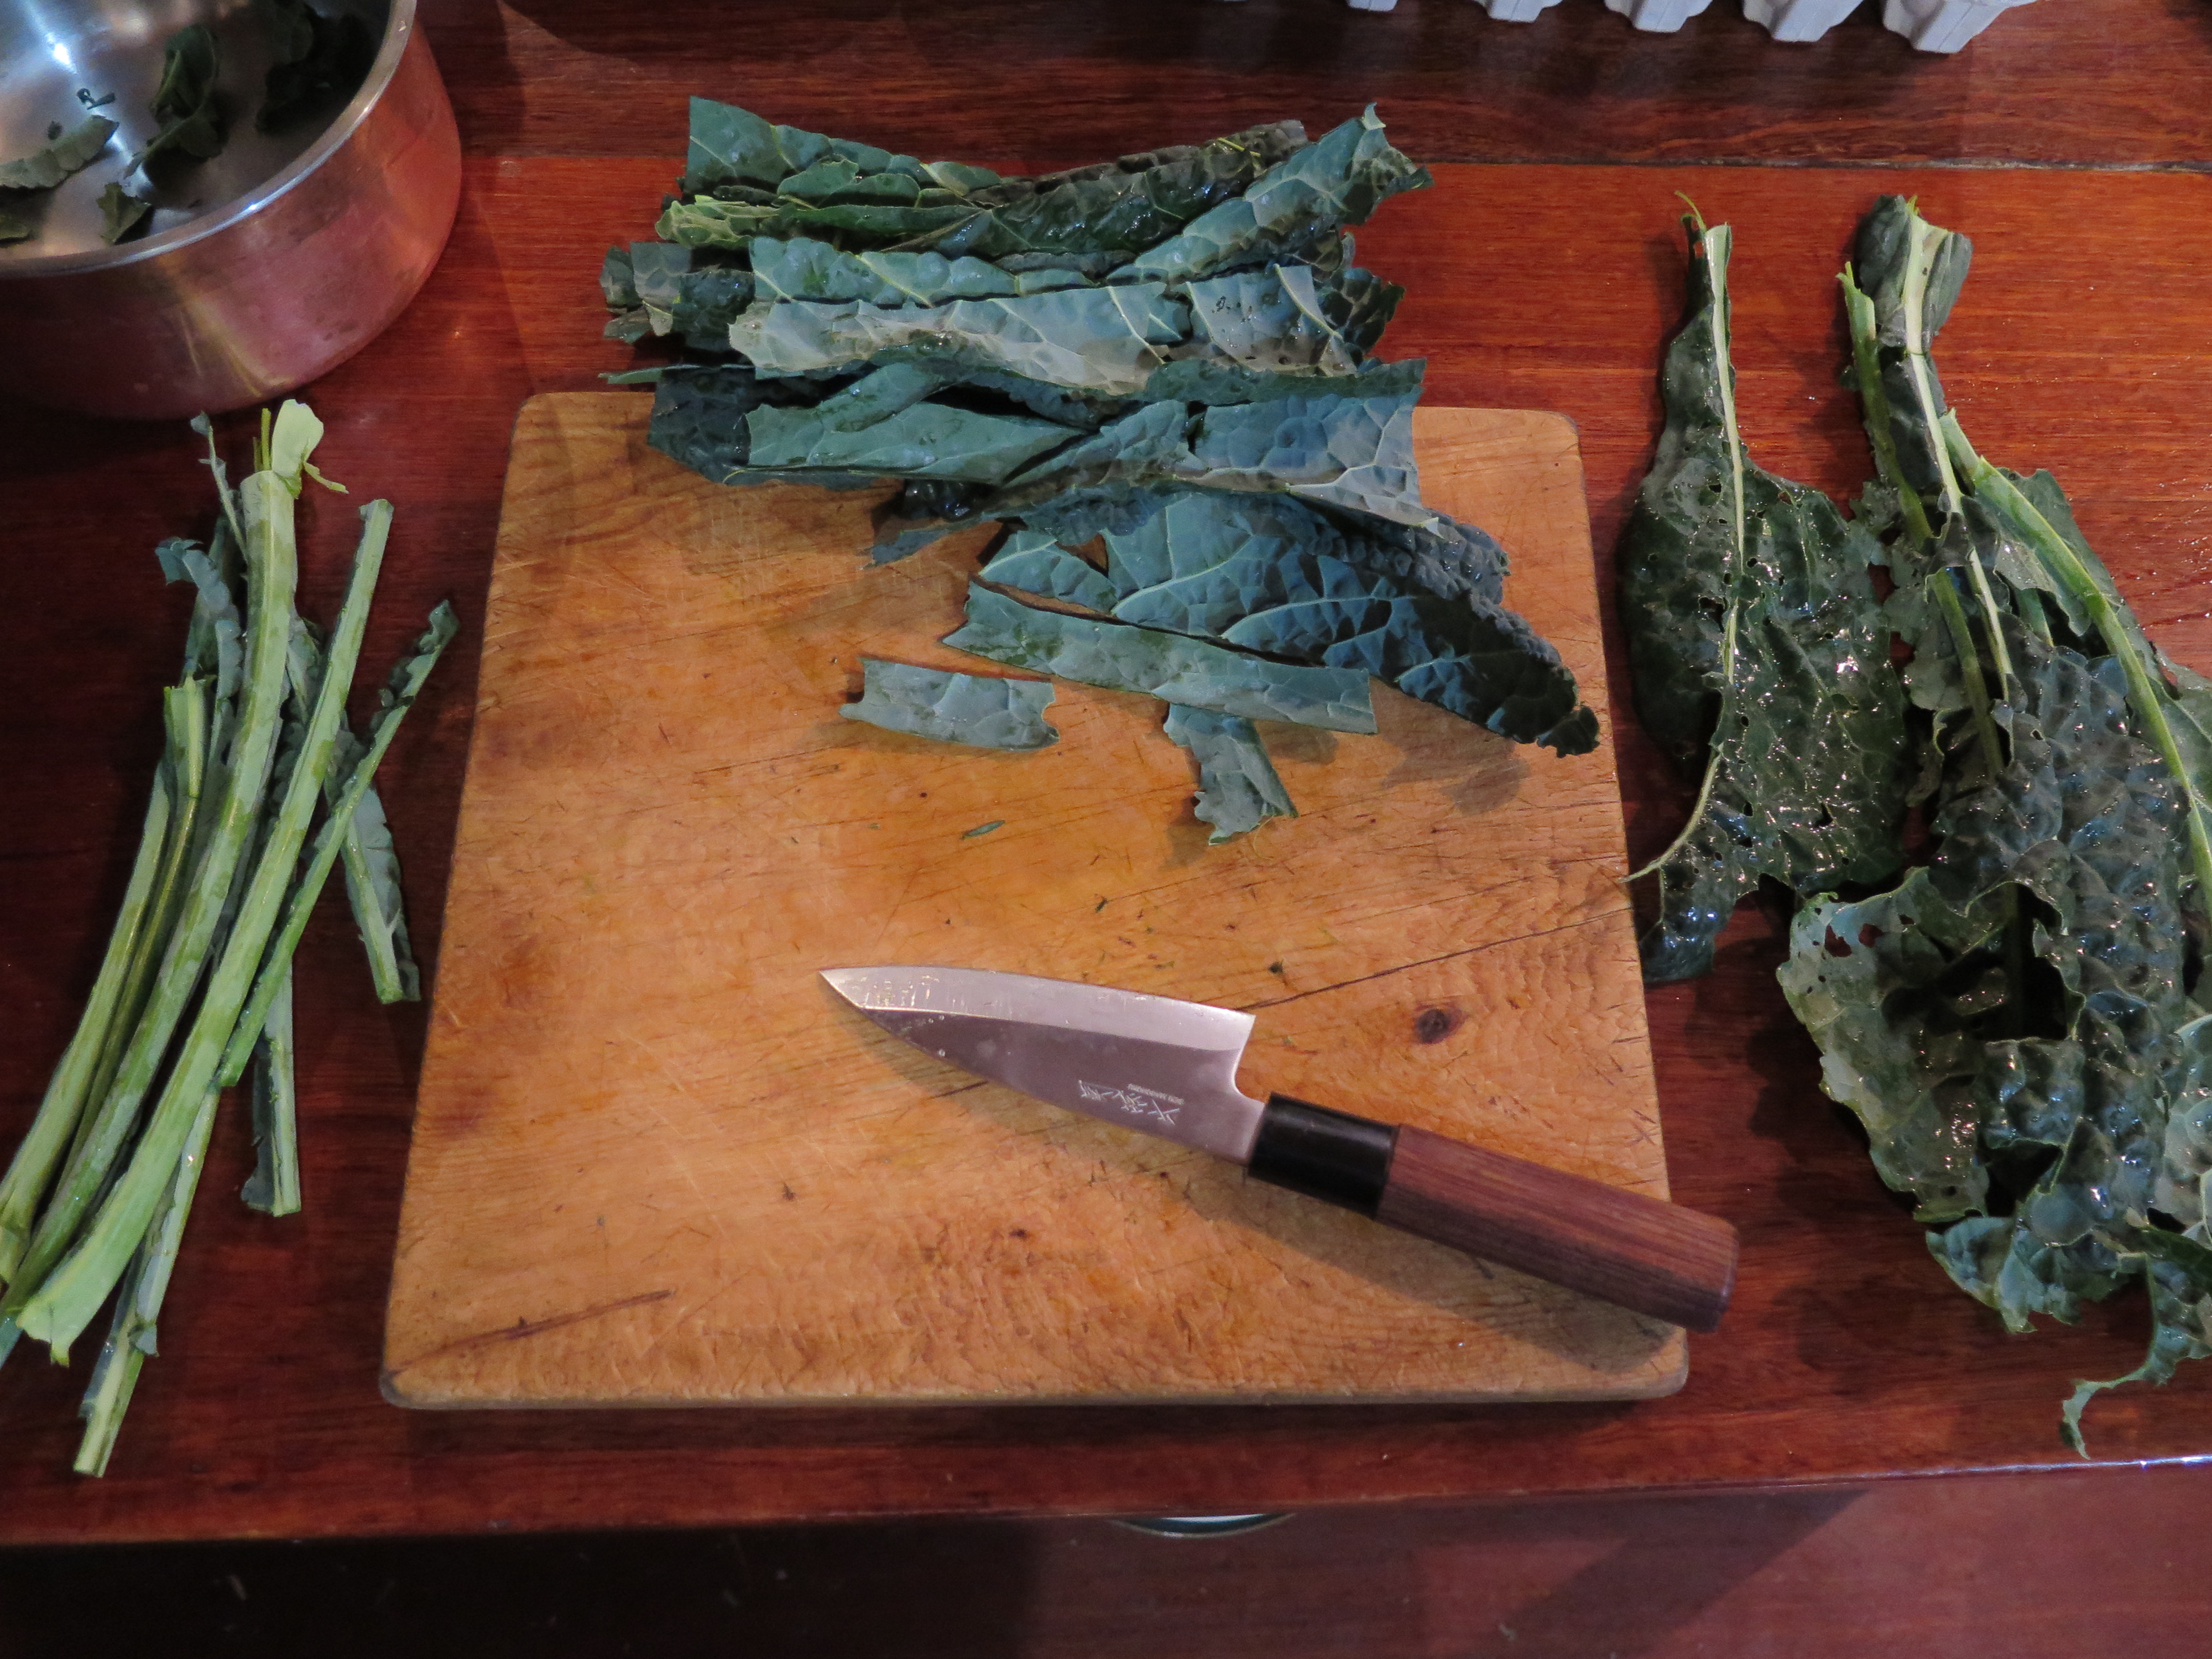
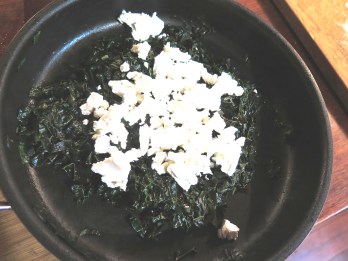
We dine on steamed kale from the garden with our own home dried tomatoes and mushrooms, all softened with a little ricotta and some diced feta for texture.


All suitably self-reliant for a hard-working couple of amateur builders.


You must be logged in to post a comment.