
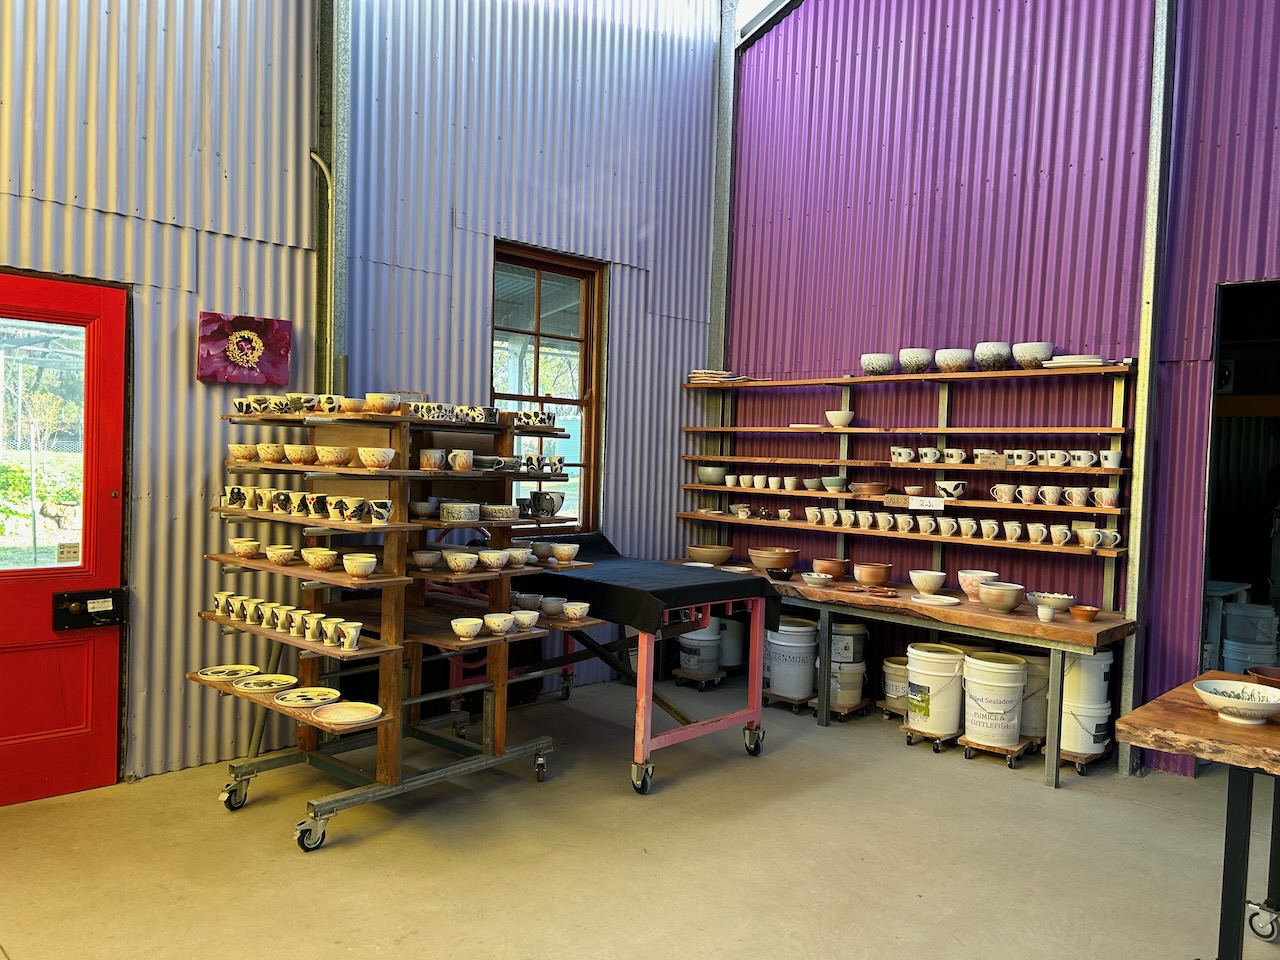
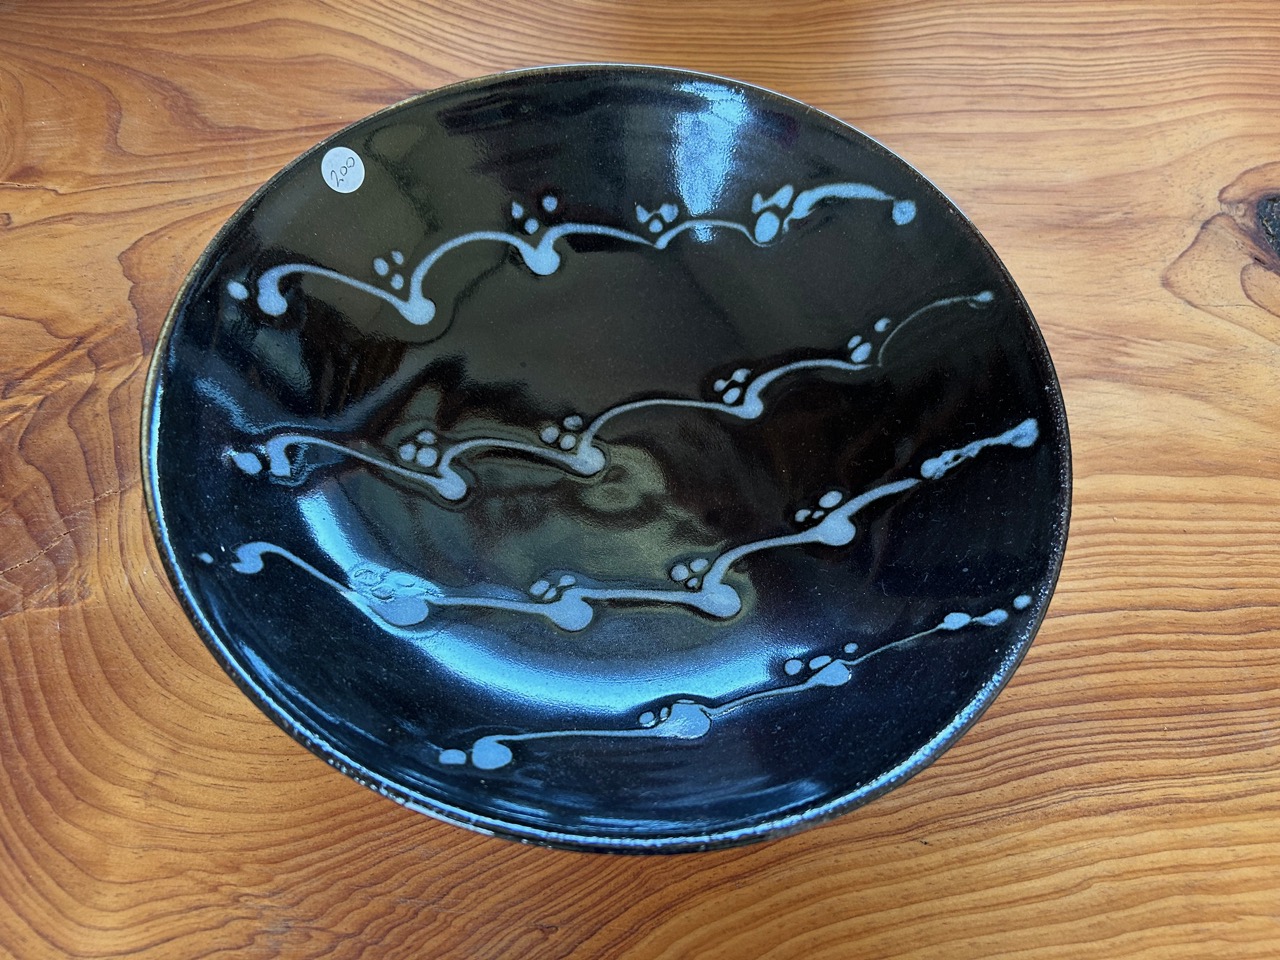
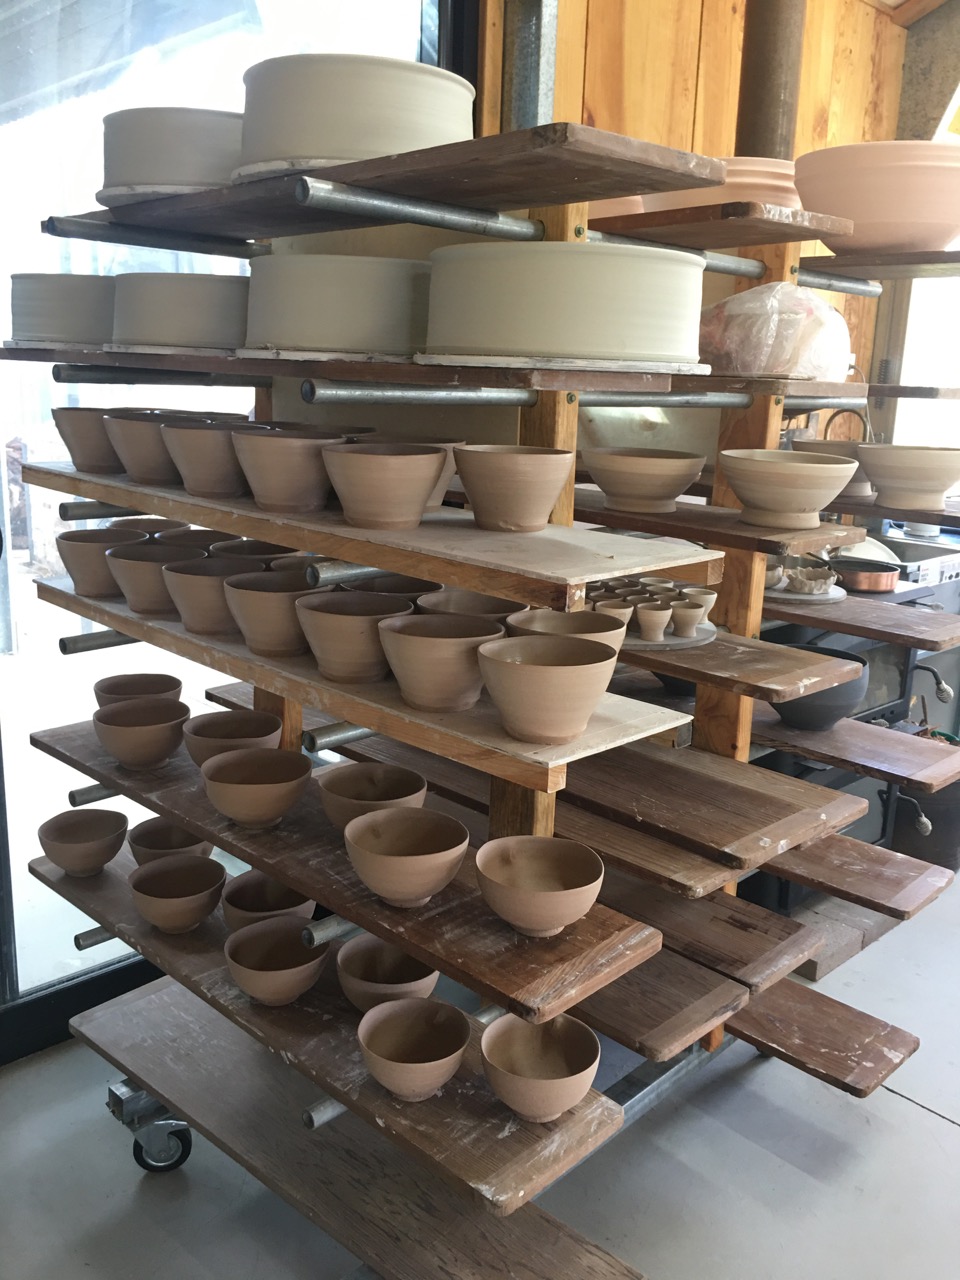
The pottery studio was all cleaned up and all the shelves were full for the recent Long Weekend Open Studio Arts Trail.


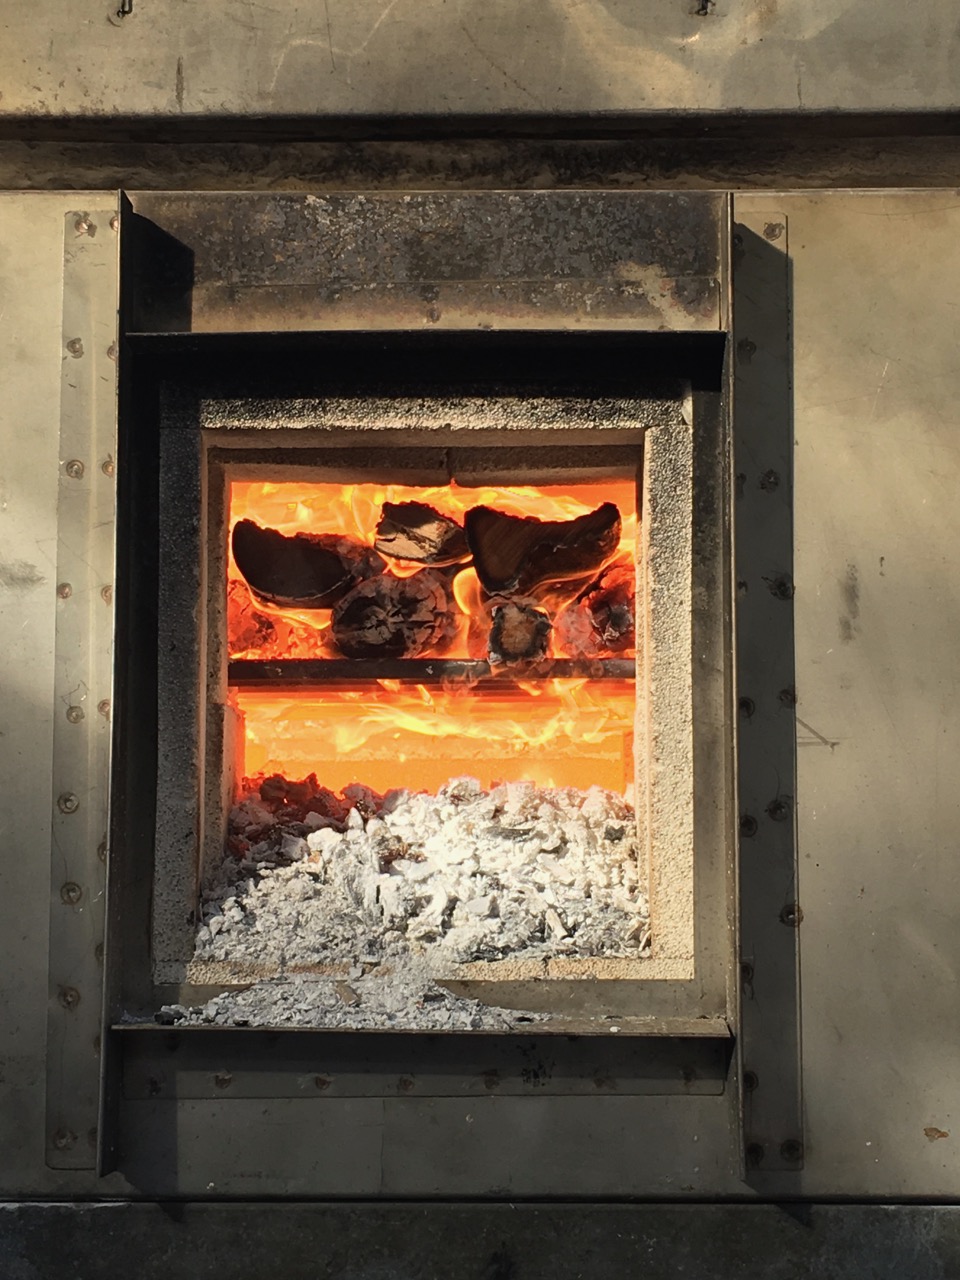
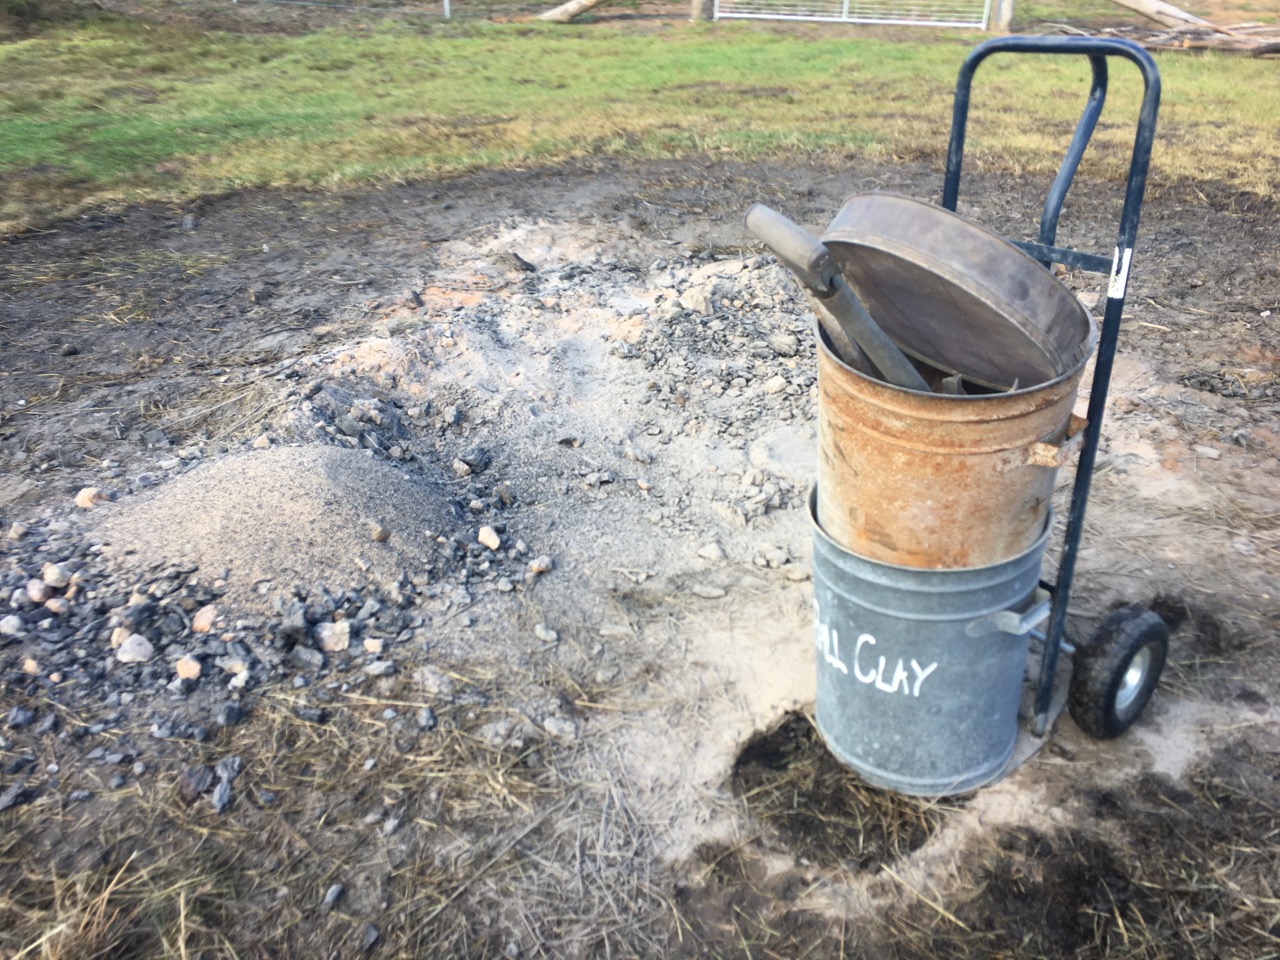
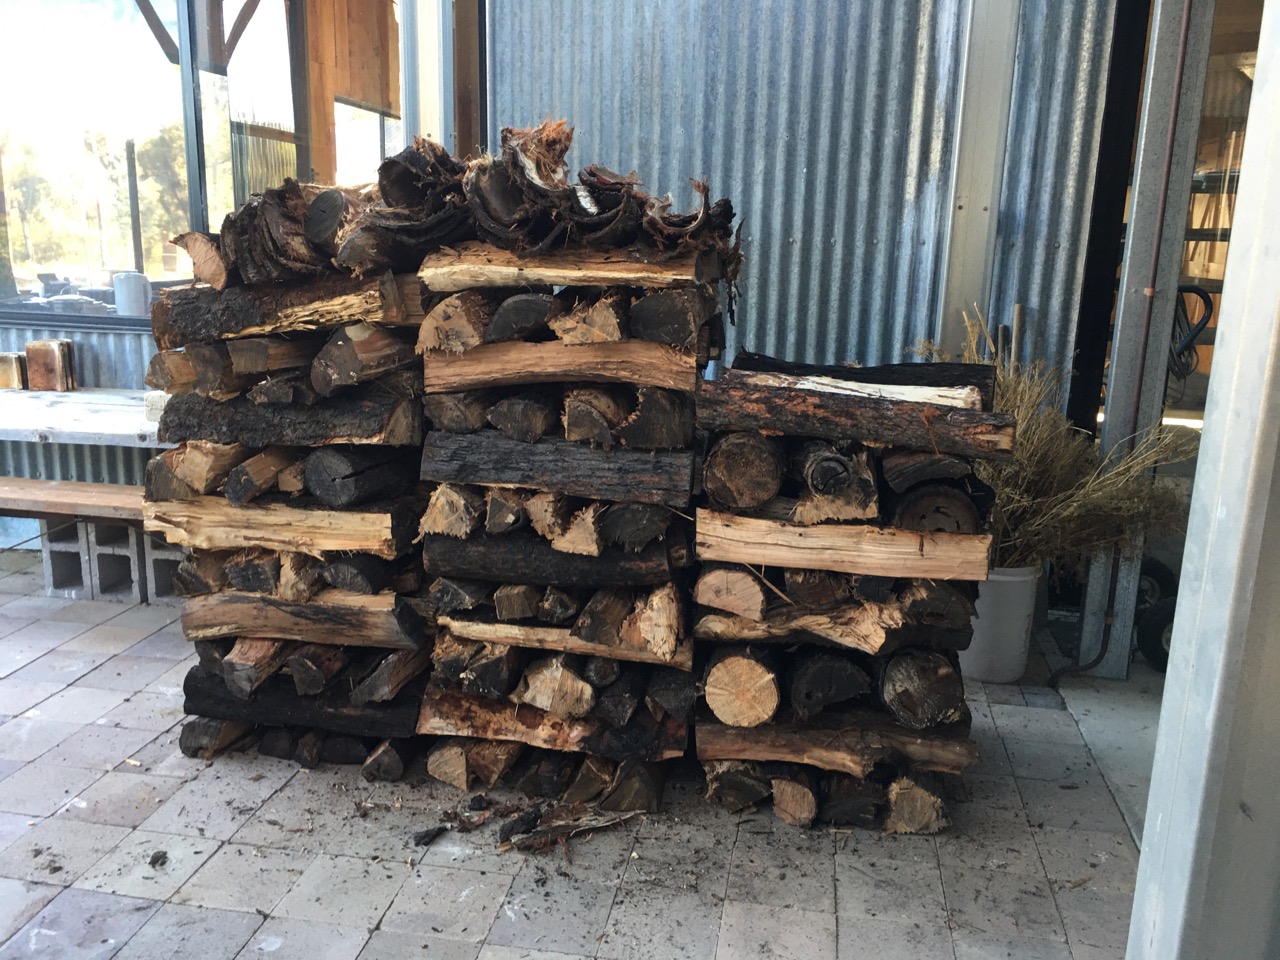
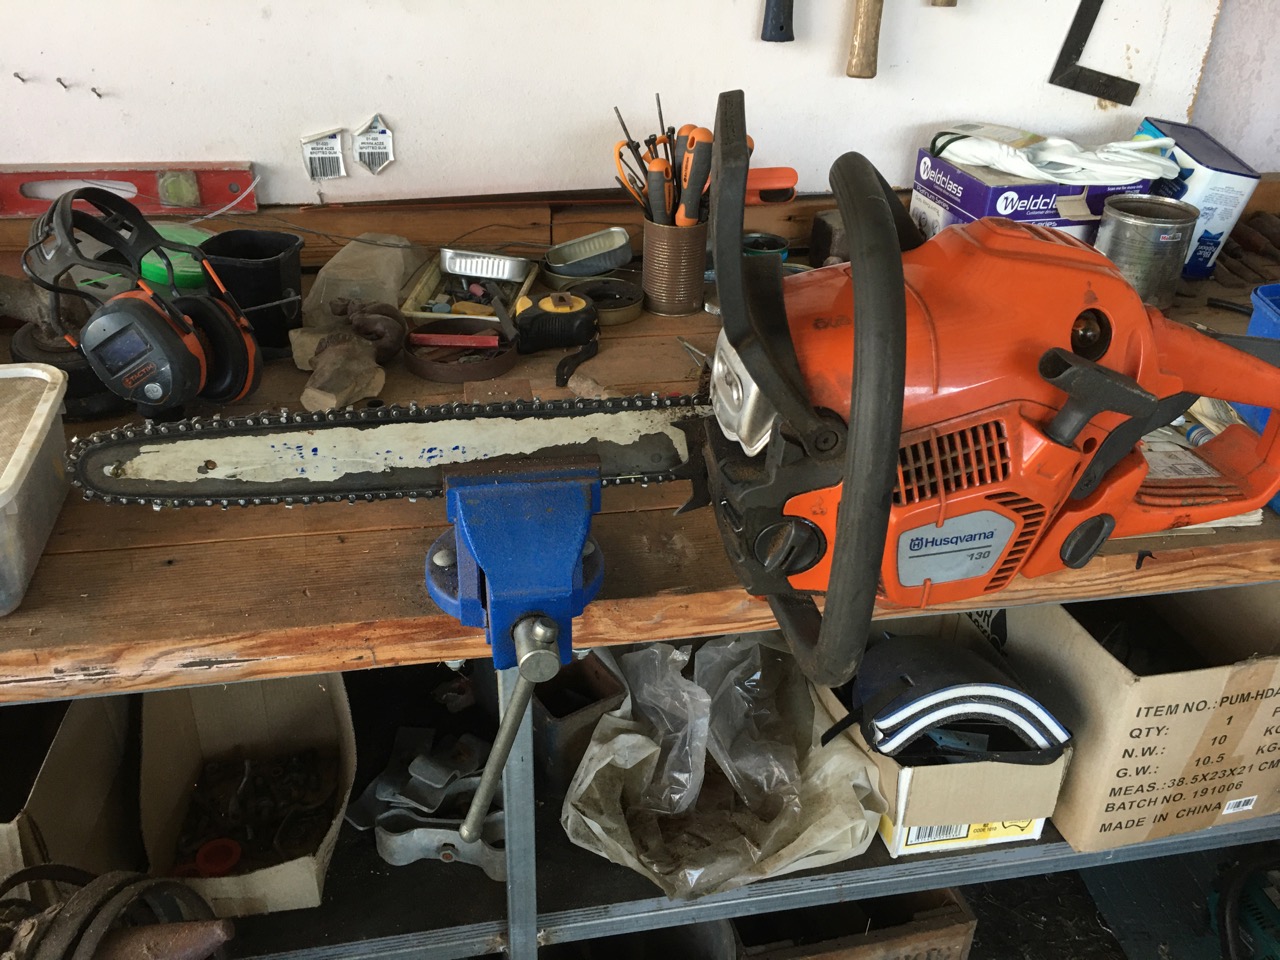
We are enjoying beautiful crisp and cold days here nowThe days are so much shorter and the nights correspondingly long. I light the fire in the lounge room almost every night. So that brings on the regular job of collecting, cutting, stacking and splitting fire wood. I use about one wheelbarrow of wood every two days. so I soon get through a pile. We are not short of wood. The catastrophic bush fire here 5 years ago killed hundreds of trees in our forest. The hard part is the dangerous job of felling them and then chain-sawing them up into suitable lengths. Fortunately, I have a good pile of sawn logs in hand and ready to split.
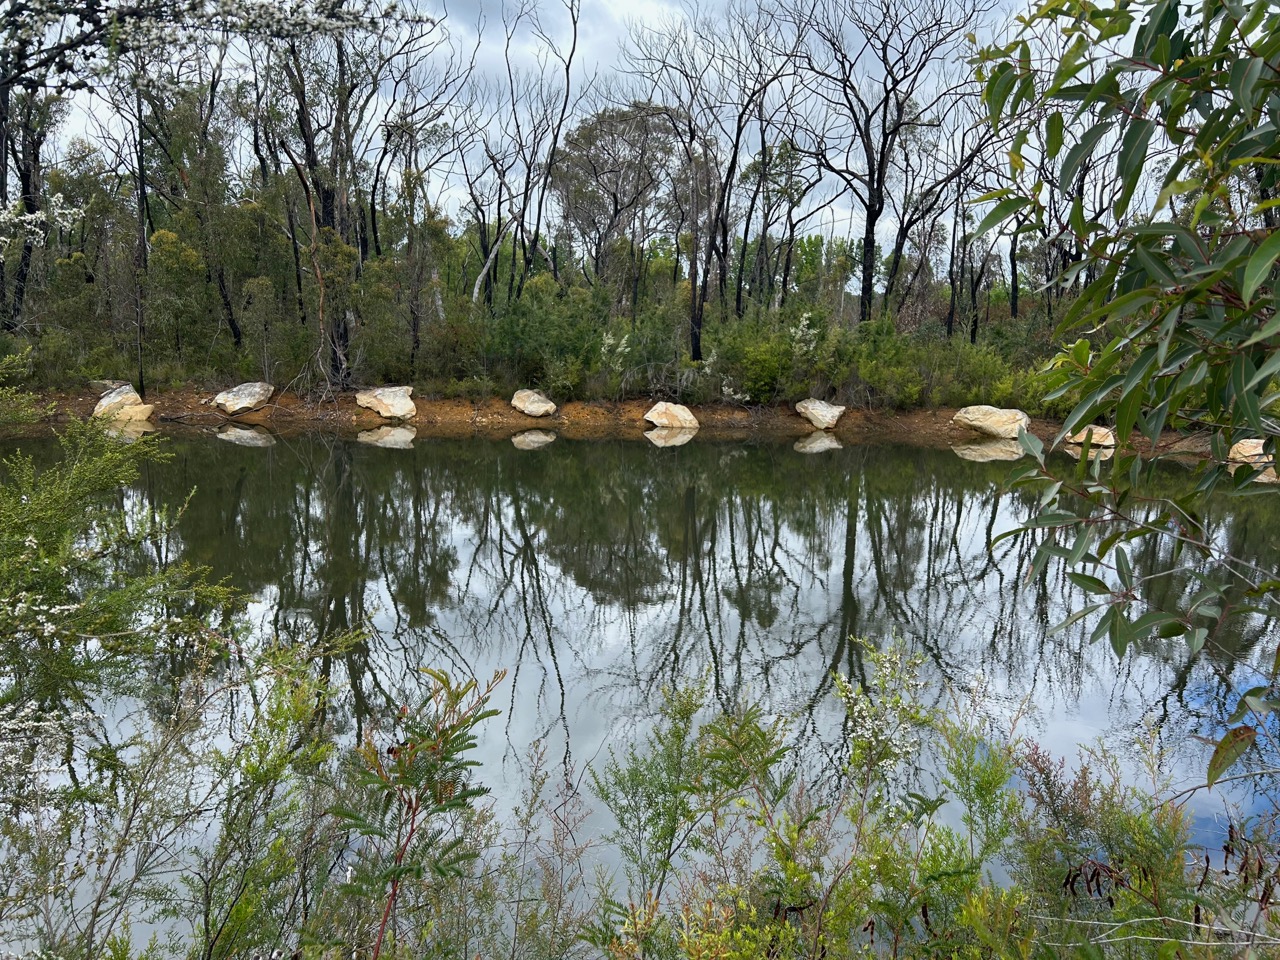
The overnight temperatures are getting down to 1 degree, tomorrow night is forecast to be zero oC but we are not getting regular hard frosts yet. In the 70’s when we came here, we used to get solid frosts starting in May and lasting 3 or 4 months. Those days are long gone, and with the crisis of global heating running rampant, I doubt that we shall see them again. It amazing to me that I still talk to a few die hards that seem to think that global heating is a media plot.
The disappearance of frosts here and the very early fruiting of our berry canes, up to 4 weeks earlier than they did in the 70’s are very obvious examples that we live with. The news that its the hottest year ever recorded. That record being broken year on year, the break-up of the ice sheets and the disappearance of the glaciers, yet one major party wants to withdraw from the Paris accord, presumably because they think that there are enough climate sceptic voters out there that will vote for the ‘fake news’ agenda? I wonder how bad it has to get before the penny drops?
I have done everything that I can think of, and can afford to do, to reduce my carbon footprint. It’s a huge undertaking to change your life around, but as I am a greenie, and always have been, I was brought up that way, long before the Greens were even thought of. I have been aware of the difficulty of addressing climate and environmental degradation for decades, so I started making the changes needed in my life slowly but surely over time. Replacing old worn out appliances one by one as they died. We started with a front loading washing machine that used much less water and power. I did my research and got one that didn’t need a heater, so we could use our own solar hot water. (most washing machines only have one cold water inlet hose.)
Next, in 1983 we replaced our 21 year old old VW beetle with a small 3 cylinder, 1 litre engine car. Very fuel efficient. We now have an electric car. In fact we have now replaced almost every petrol driven item in our life. Car, lawn mowers, chain saws, water pumps. The only petrol driven things that I can’t easily replace are the fire fighting pumps. They still need to be fuel driven to get the reliable independent high-power needed in an emergency. We have 17kW of Solar panels and 2 Tesla batteries. This is sufficient to run everything that we own including our 2 electric kilns and to charge the car.
It has taken 40 years to make these changes slowly, incrementally and painlessly. It would be wasteful to trash a functioning appliance with all its embedded energy while it still had life in it. If something isn’t completely worn out, it can at least be sold 2nd hand to someone who needs it, to keep it working and producing effectively until it is actually dead. One of the things that we have worn out is the hydraulic wood splitter. However, I took a chance and replaced the dead 5 HP petrol engine, after 10 years of hard work, with a single phase 3 HP electric motor – on a long extension cord. People said that it couldn’t be done. It wouldn’t have enough grunt. That was 20 years ago and that little single phase motor is still going strong, working well, and running on sunshine instead of petrol!


Where as a 4 stroke petrol engine has only one power stroke out of 4 revolutions. An electric motor has constant torque every revolution, so 3 Hp of electric motor is equal to 5 HP of petrol driven HP, or so it seems.
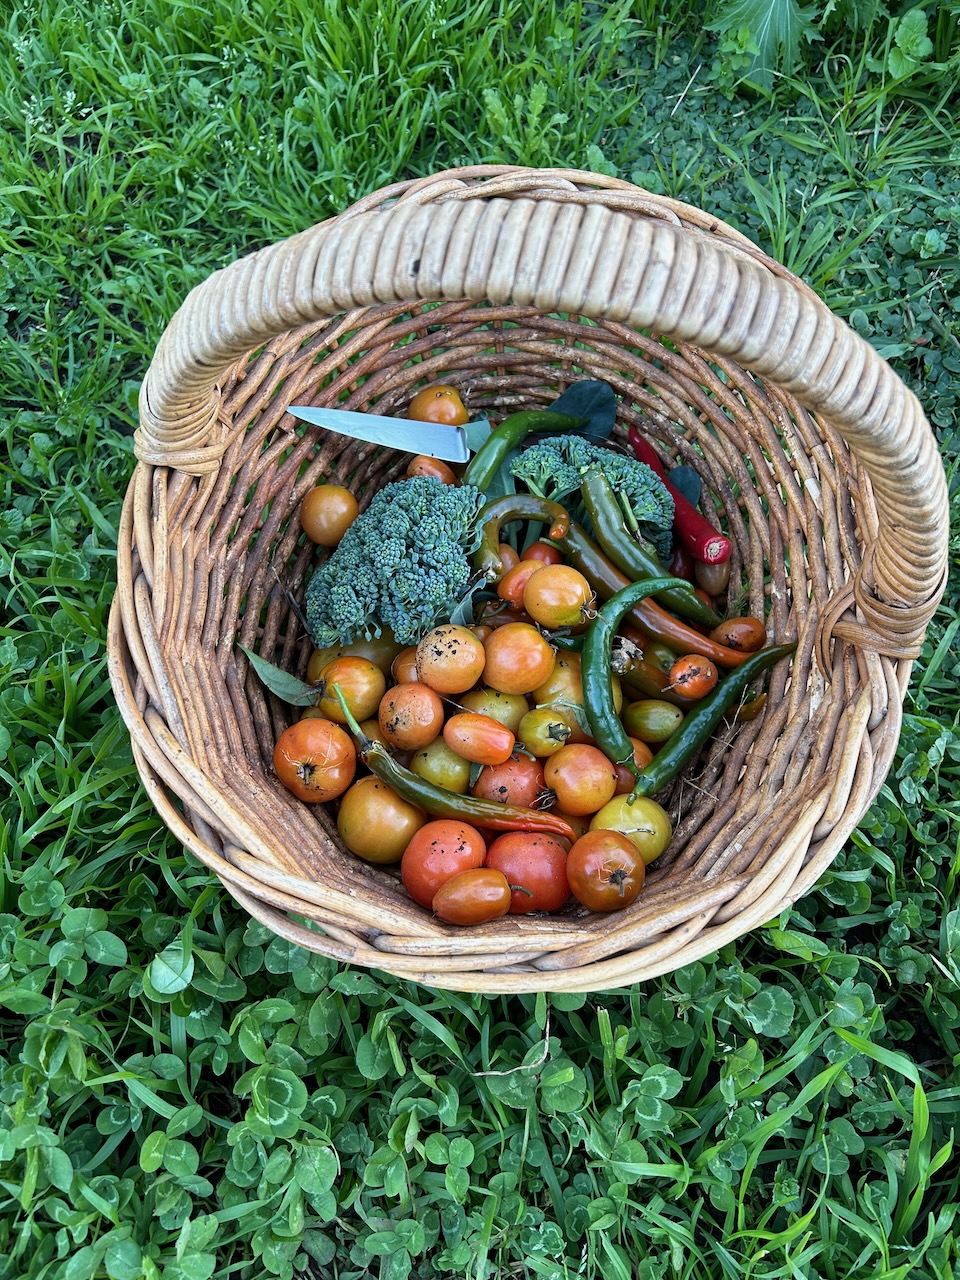
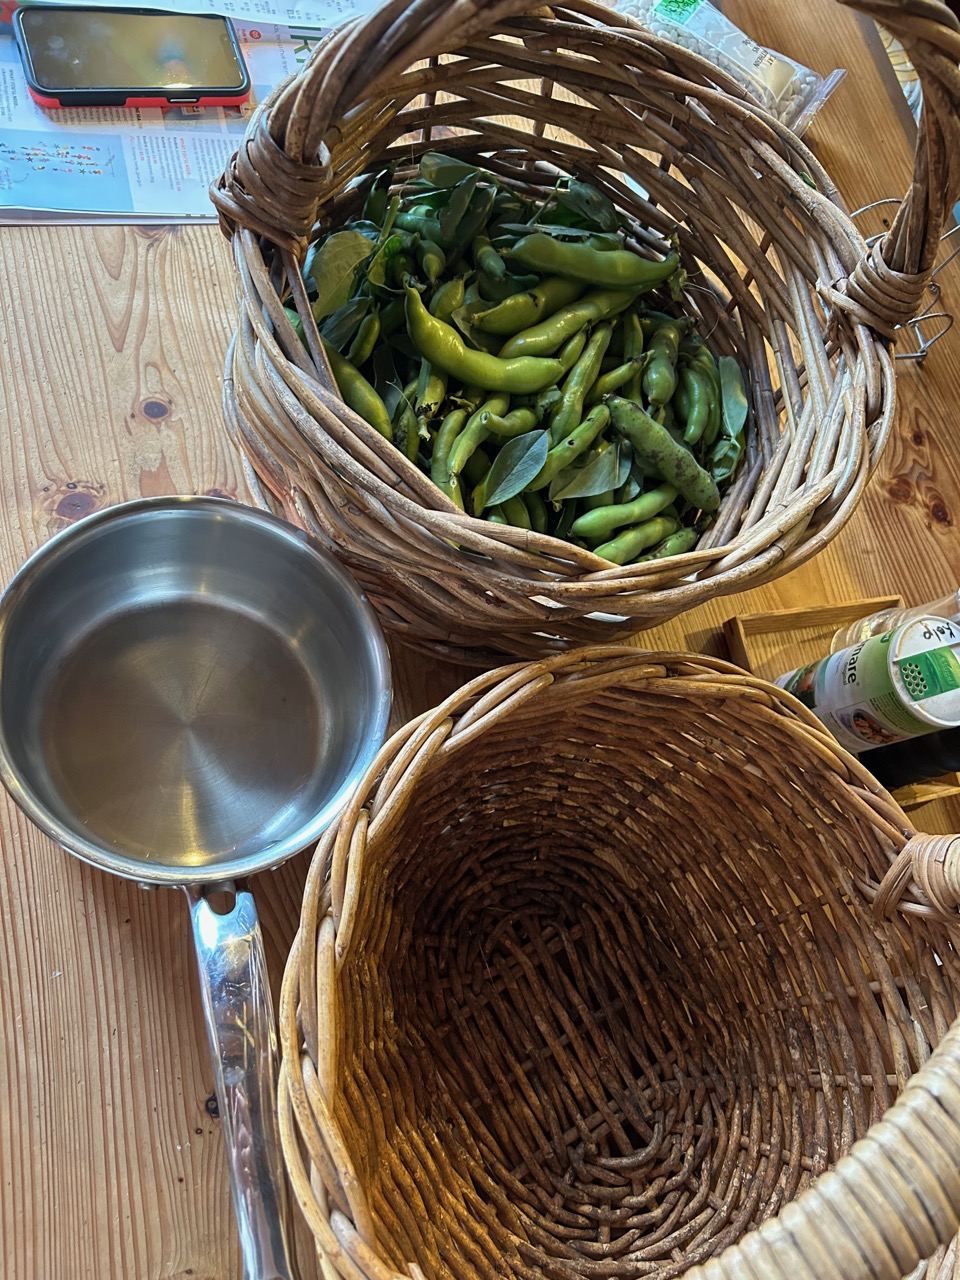
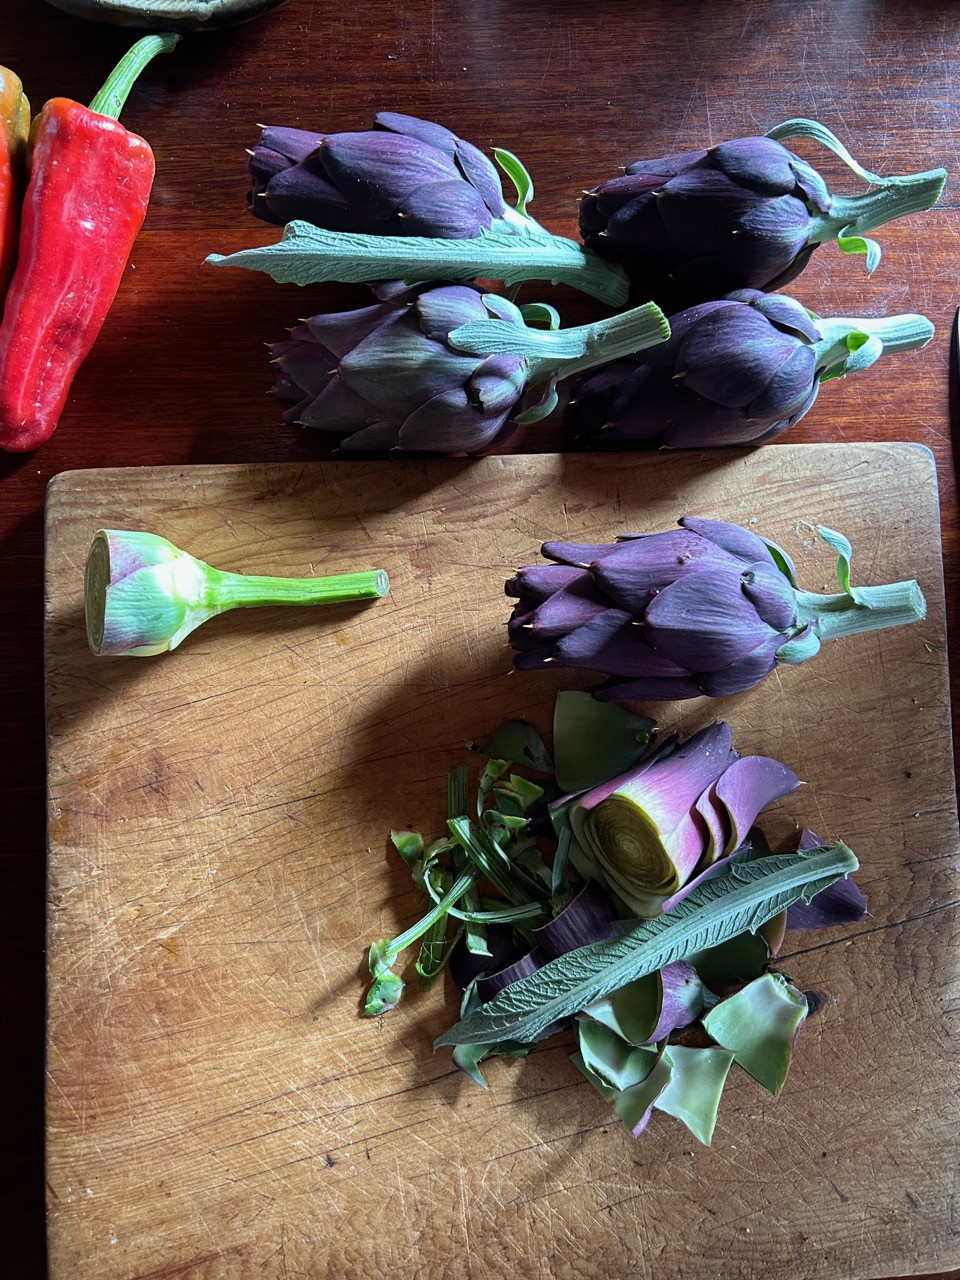
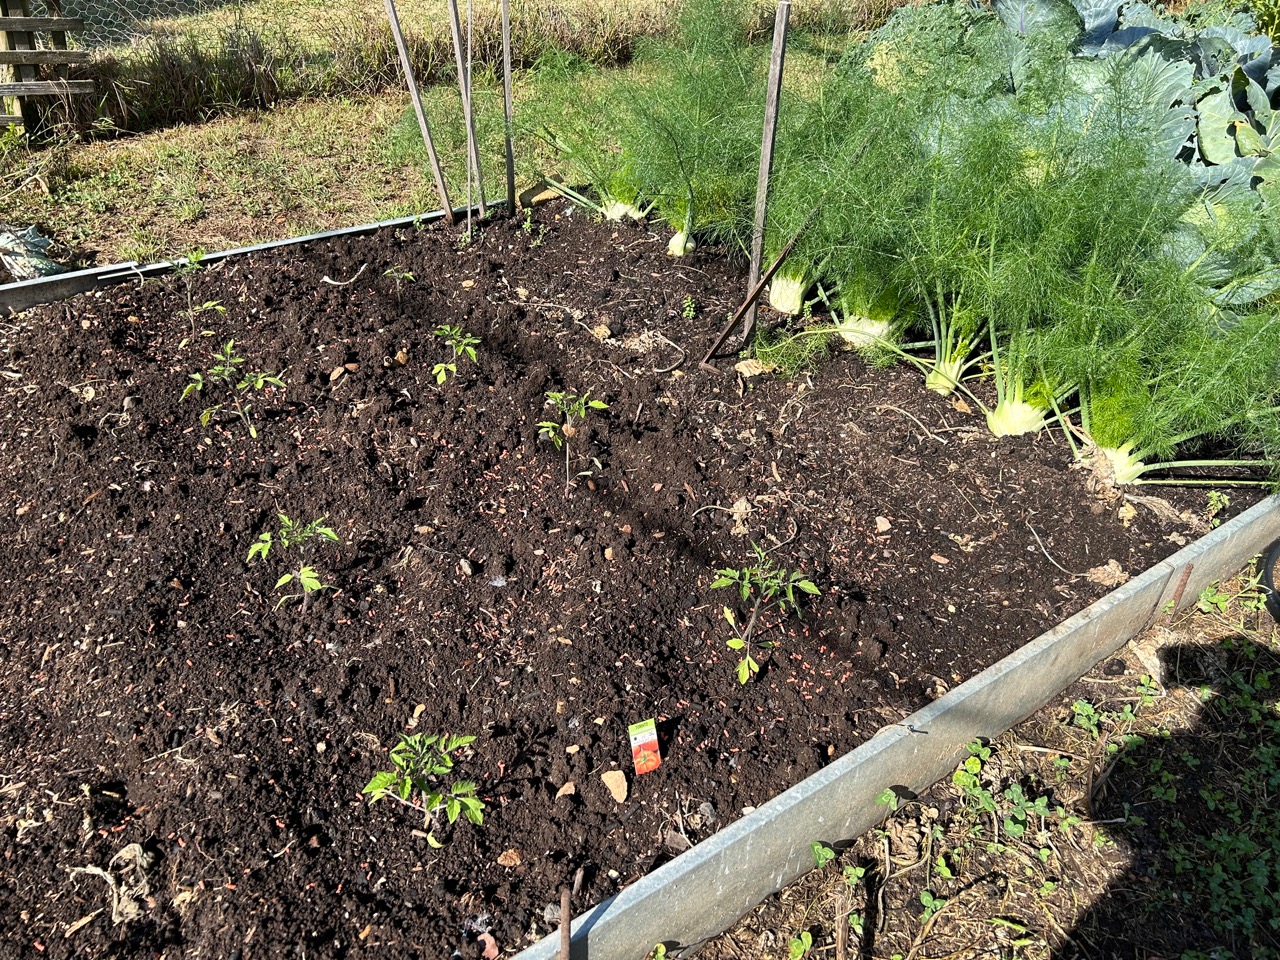
The garden is still feeding me with all the usual winter veggies.


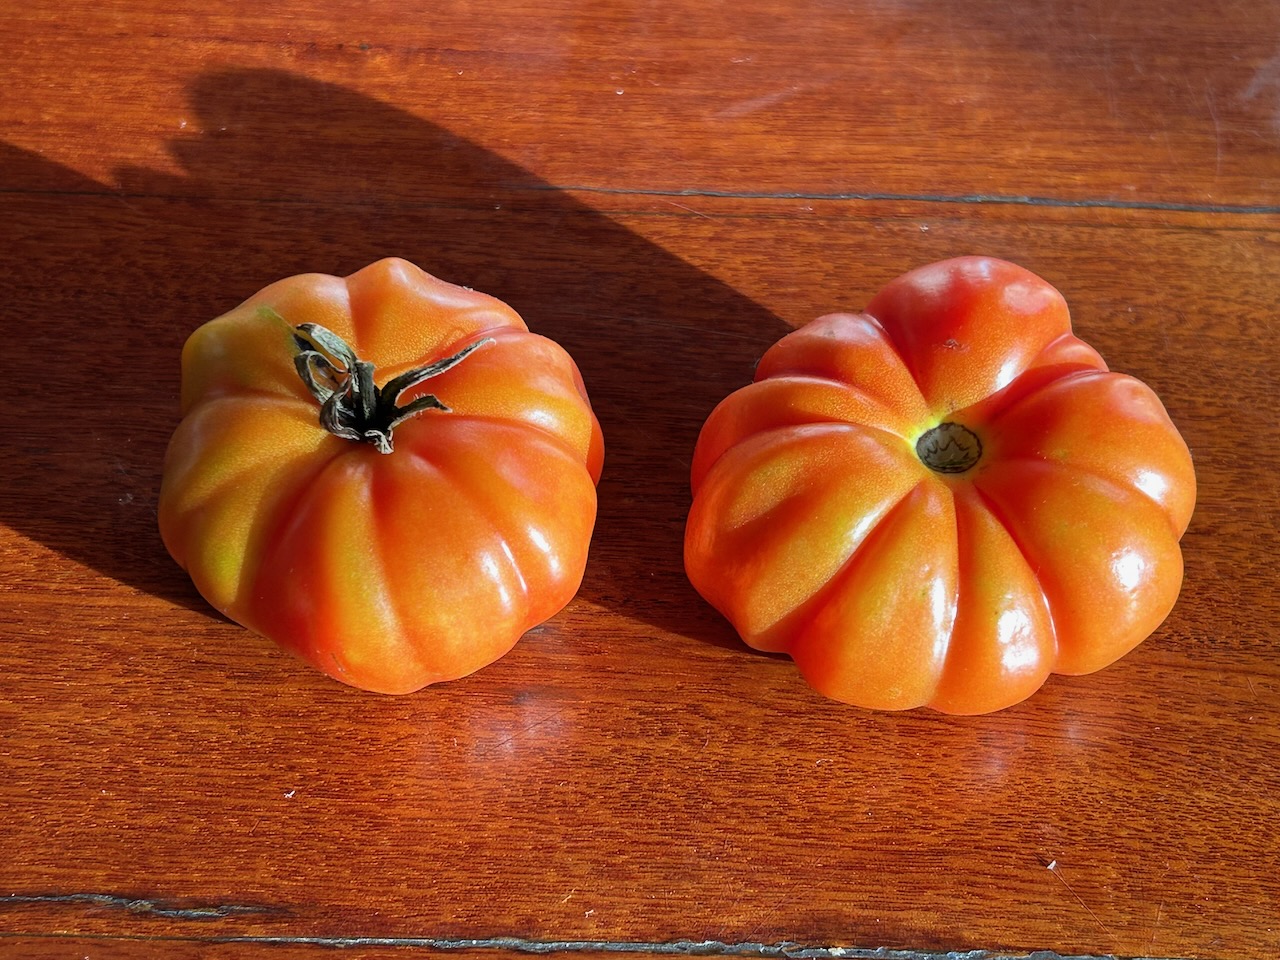
I have even just picked, what may be the last harvest of tomatoes. But I’ve learnt to expect a few more ripe red tomatoes in amongst the thicket of weeds and herbs where self sown plants do well in the cold weather, avoiding the extreme chill. I don’t always see the fruit until it turns red, but they keep turning up, just as they have done in years past. I have also picked some of the last hot chillies and dried them to be cut up into fine fragments to add a pinch of heat to winter dishes in the coming months.

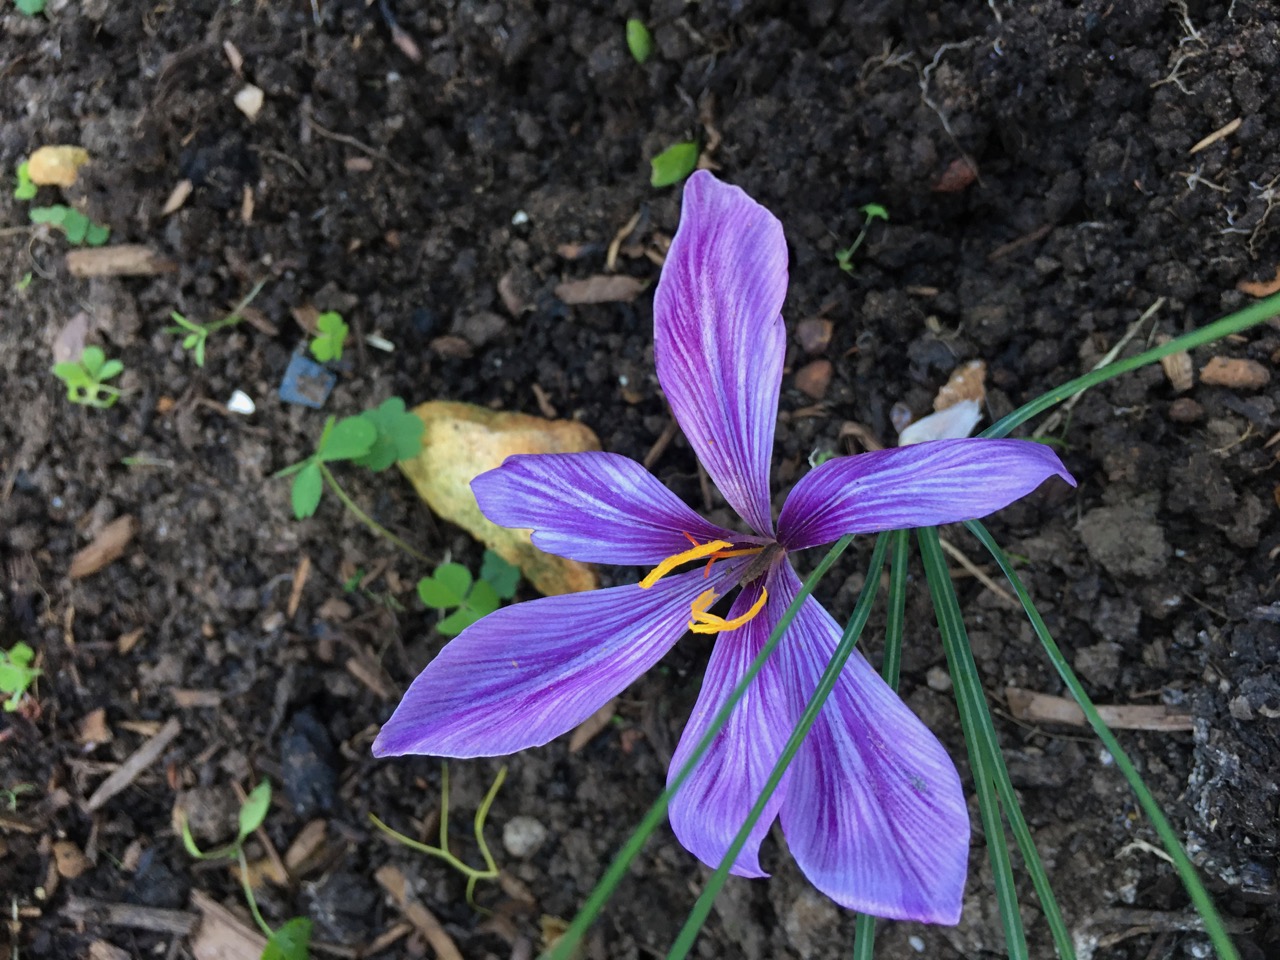
These cold short days remind me that is time to do the fruit tree pruning and spraying lime sulphur to deter leaf curl and shot hole fungus. some of the earliest fruit trees are already producing fruiting buds and the earliest blue berry bushes are already in flower, while others still have leaves on and are not yet deciduous.

Blueberry flowers in mid June.
Because I decided to live this ‘real’ hands-on life – as opposed to a virtual reality version of life. I am kept busy all the time with a series of activities that all need doing, one after the other, all through the year. Life has its cycles. I see them coming around ever quicker as I age. Tempus fujit indeed.
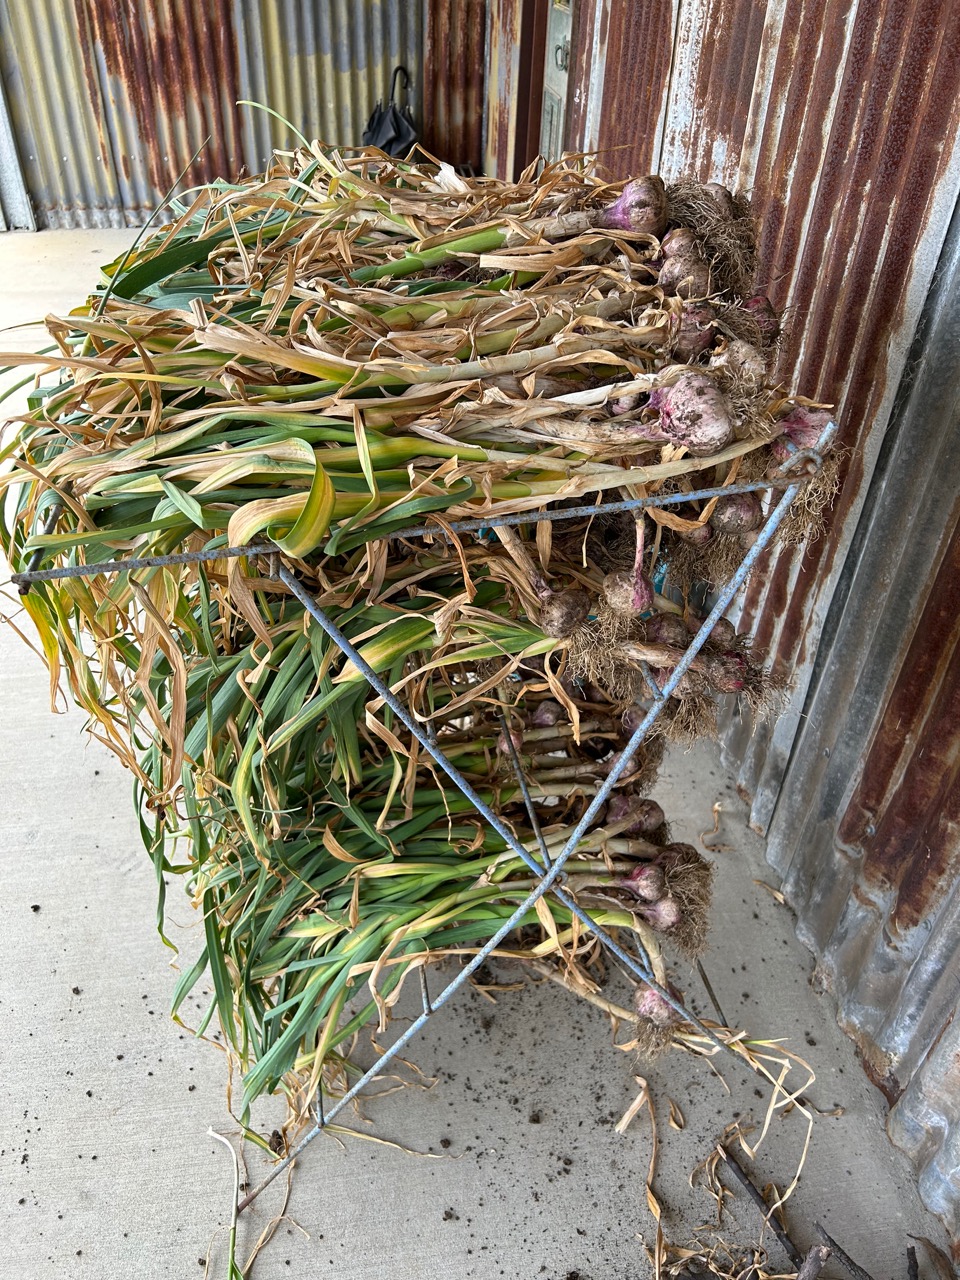
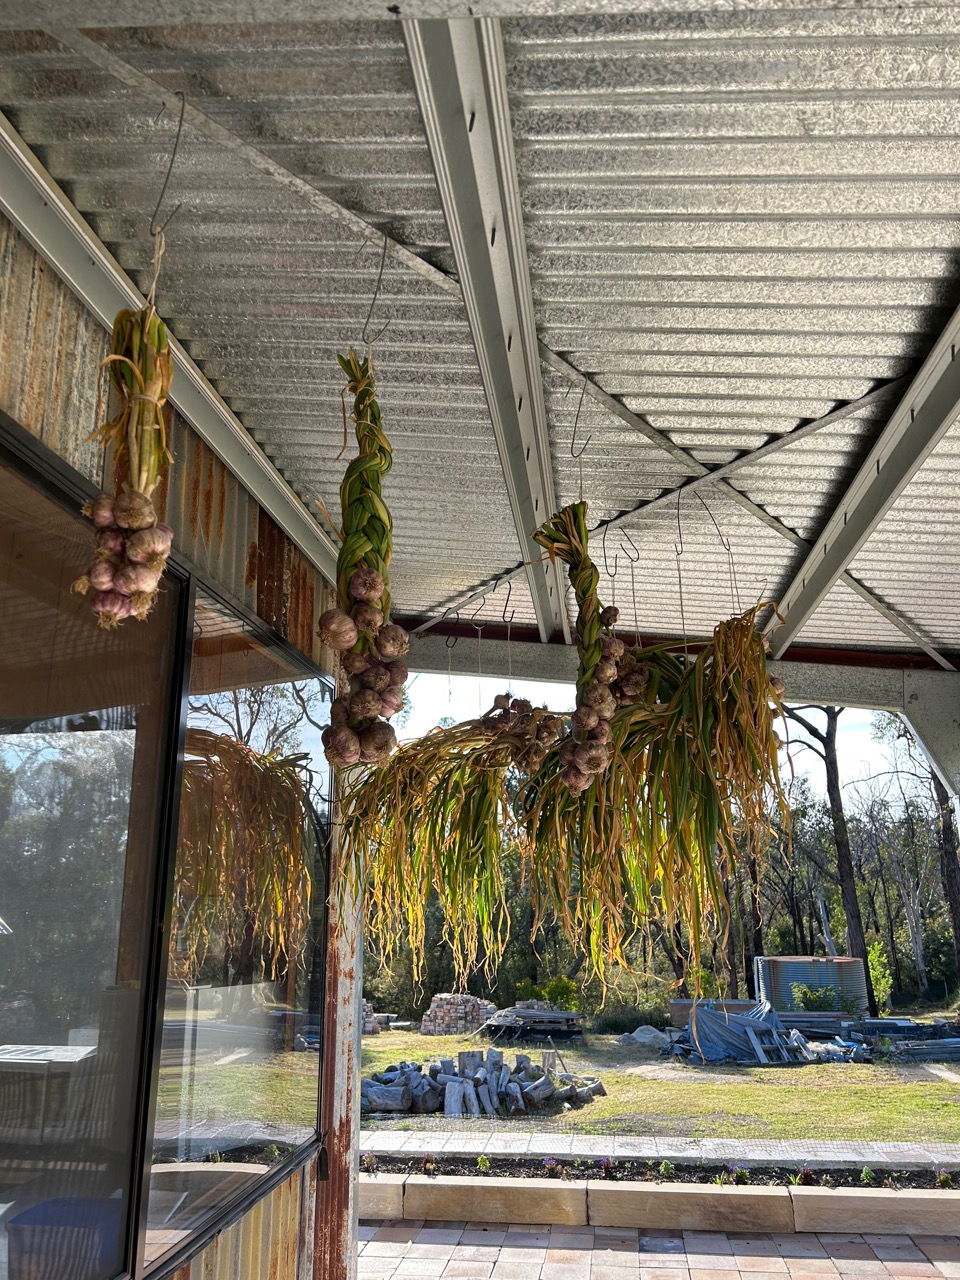
The garlic that I planted back in March is up and doing well, but is in need of its 3rd weeding session. Garlic doesn’t tolerate competition, so if I don’t keep the weeds under control, it wont prosper. I’m very fond of garlic. I eat a lot of it, so I need to grow a lot of it to keep up. I can’t bend down to do the weeding for hours at a time, so I just do the job in small bursts, a bit at a time, every few days.

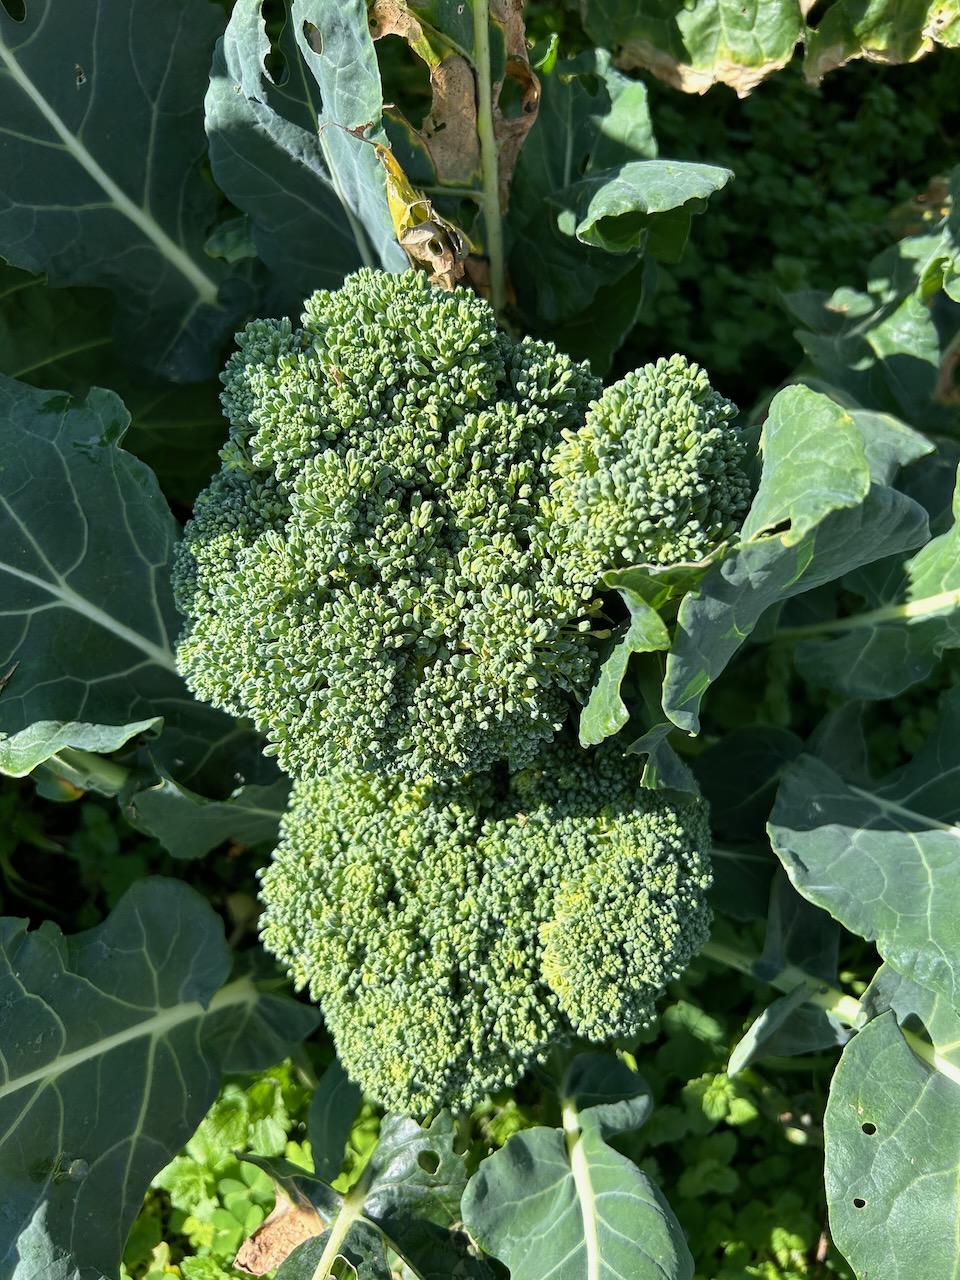
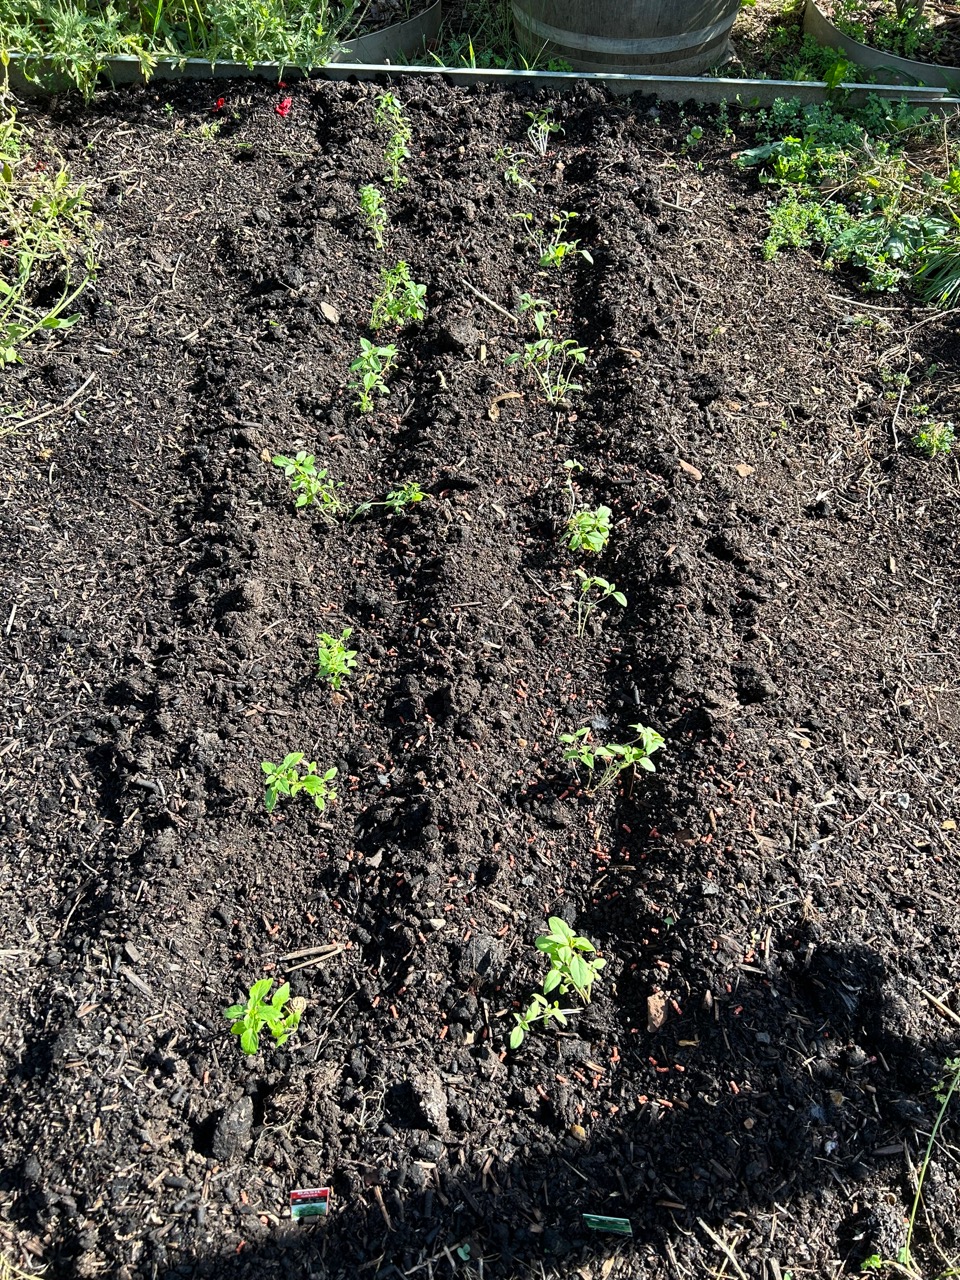
I’ve just dug over another part of the vegetable garden and planted the 3rd batch of brassicas. I have to keep popping in a few more of each type of brassica every so often to ensure a steady supply of winter greens. I read recently that brassicas have a long cultivated history, going back to the Greeks and Romans.
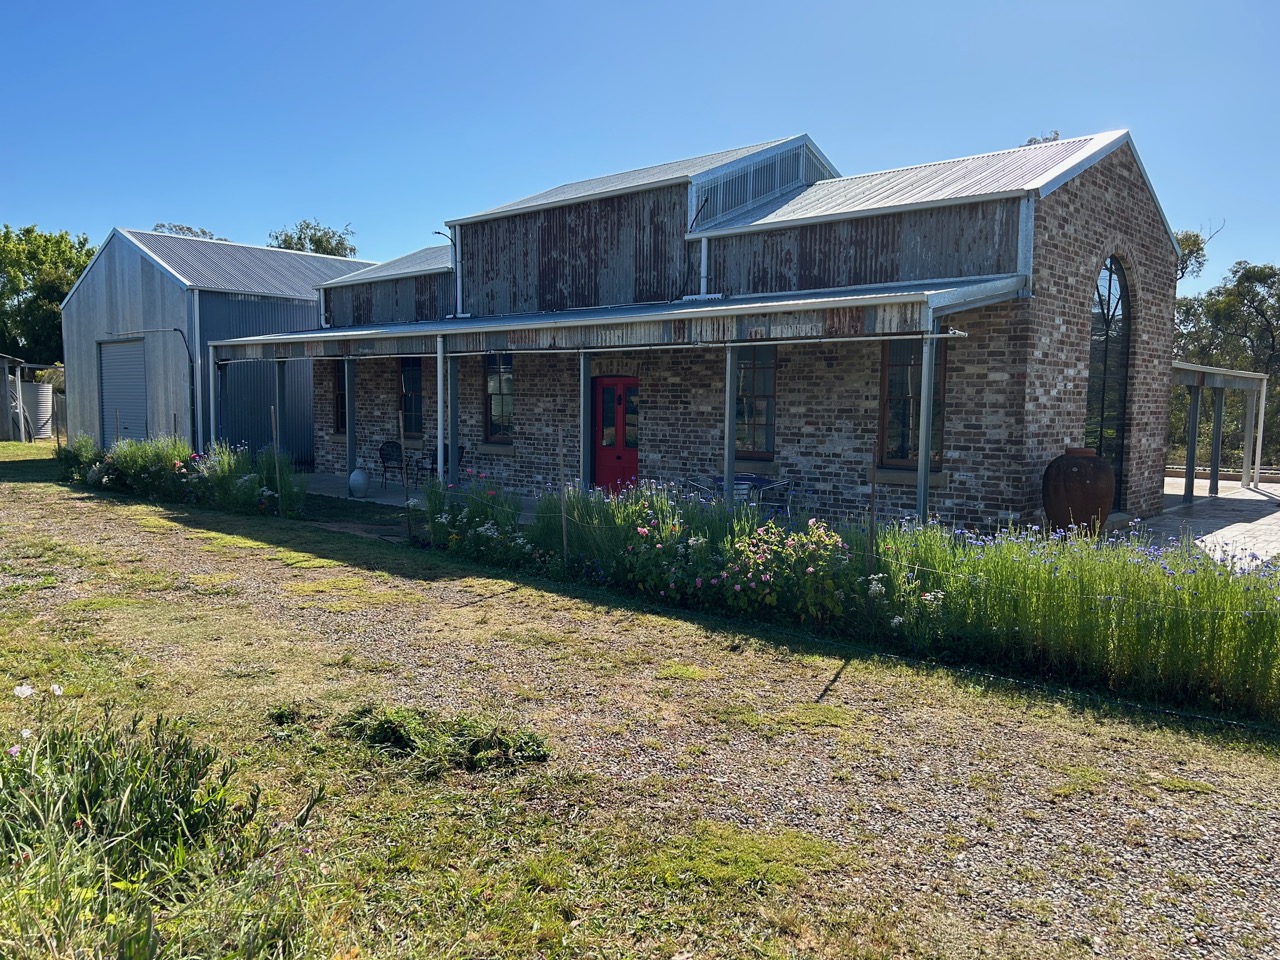
I grow my own food, I built my own house, I learnt to repair my own laptop, washing machine, lawn mower, and other appliances. I have always serviced my vehicles. These are gentle but radical acts of rebellion and defiance of a wasteful system that is designed to keep us all in debt and is filling the world with polluting waste dumps of superseded consumer items, filthy air, polluted water and an overheating climate. We all need to do better.


You must be logged in to post a comment.