New Small Wood Fired Kiln

The first of the figs are ripe and we savour it. It is just perfect, sweet and juicy. We wouldn’t have got it or any others if The Lovely Hardworking One, hadn’t been out there early and netted the branch a few weeks ago. If we don’t net the fruit trees or the most laden branches, the birds take everything.

There weren’t any fruit eating birds here in this bushy area when we arrived, but 40 years on and an enormous amount of work later, we have built 4 dams for a secure key-line water supply and open grassy areas between the orchards, with areas of understory native shrubbery. We left all the really big established trees and without knowing it, we created a perfect habitat for all sorts of native bird life, from the very small finches, through to bowerbirds and magpies. There is even a very large white owl, that we haven’t managed to see close-up, so we can’t identify it. It has taken frogs off the kitchen window at night, right in front of our eyes, but moves so quickly and so totally silently that it strikes and removes its prey, without actually touching the glass and is them gone is a flash of pale wings, before we can adjust our eyes to the scene. I’m constantly amazed at how clever our birds are at fossicking out a living from our little property. So the fruit trees have to be enclosed to protect some of the fruit for us. The vegetable garden is now totally enclosed in small (35mm.) hex gal wire and very fine nylon mesh. This keeps out most of the birds that we don’t want in there. Those are the fruit and veg eaters, but allows the little finches in to feed on bugs. It seems to work OK for us now, but has taken a lot of trial and error to work it all out – mostly error.

IMG_1913

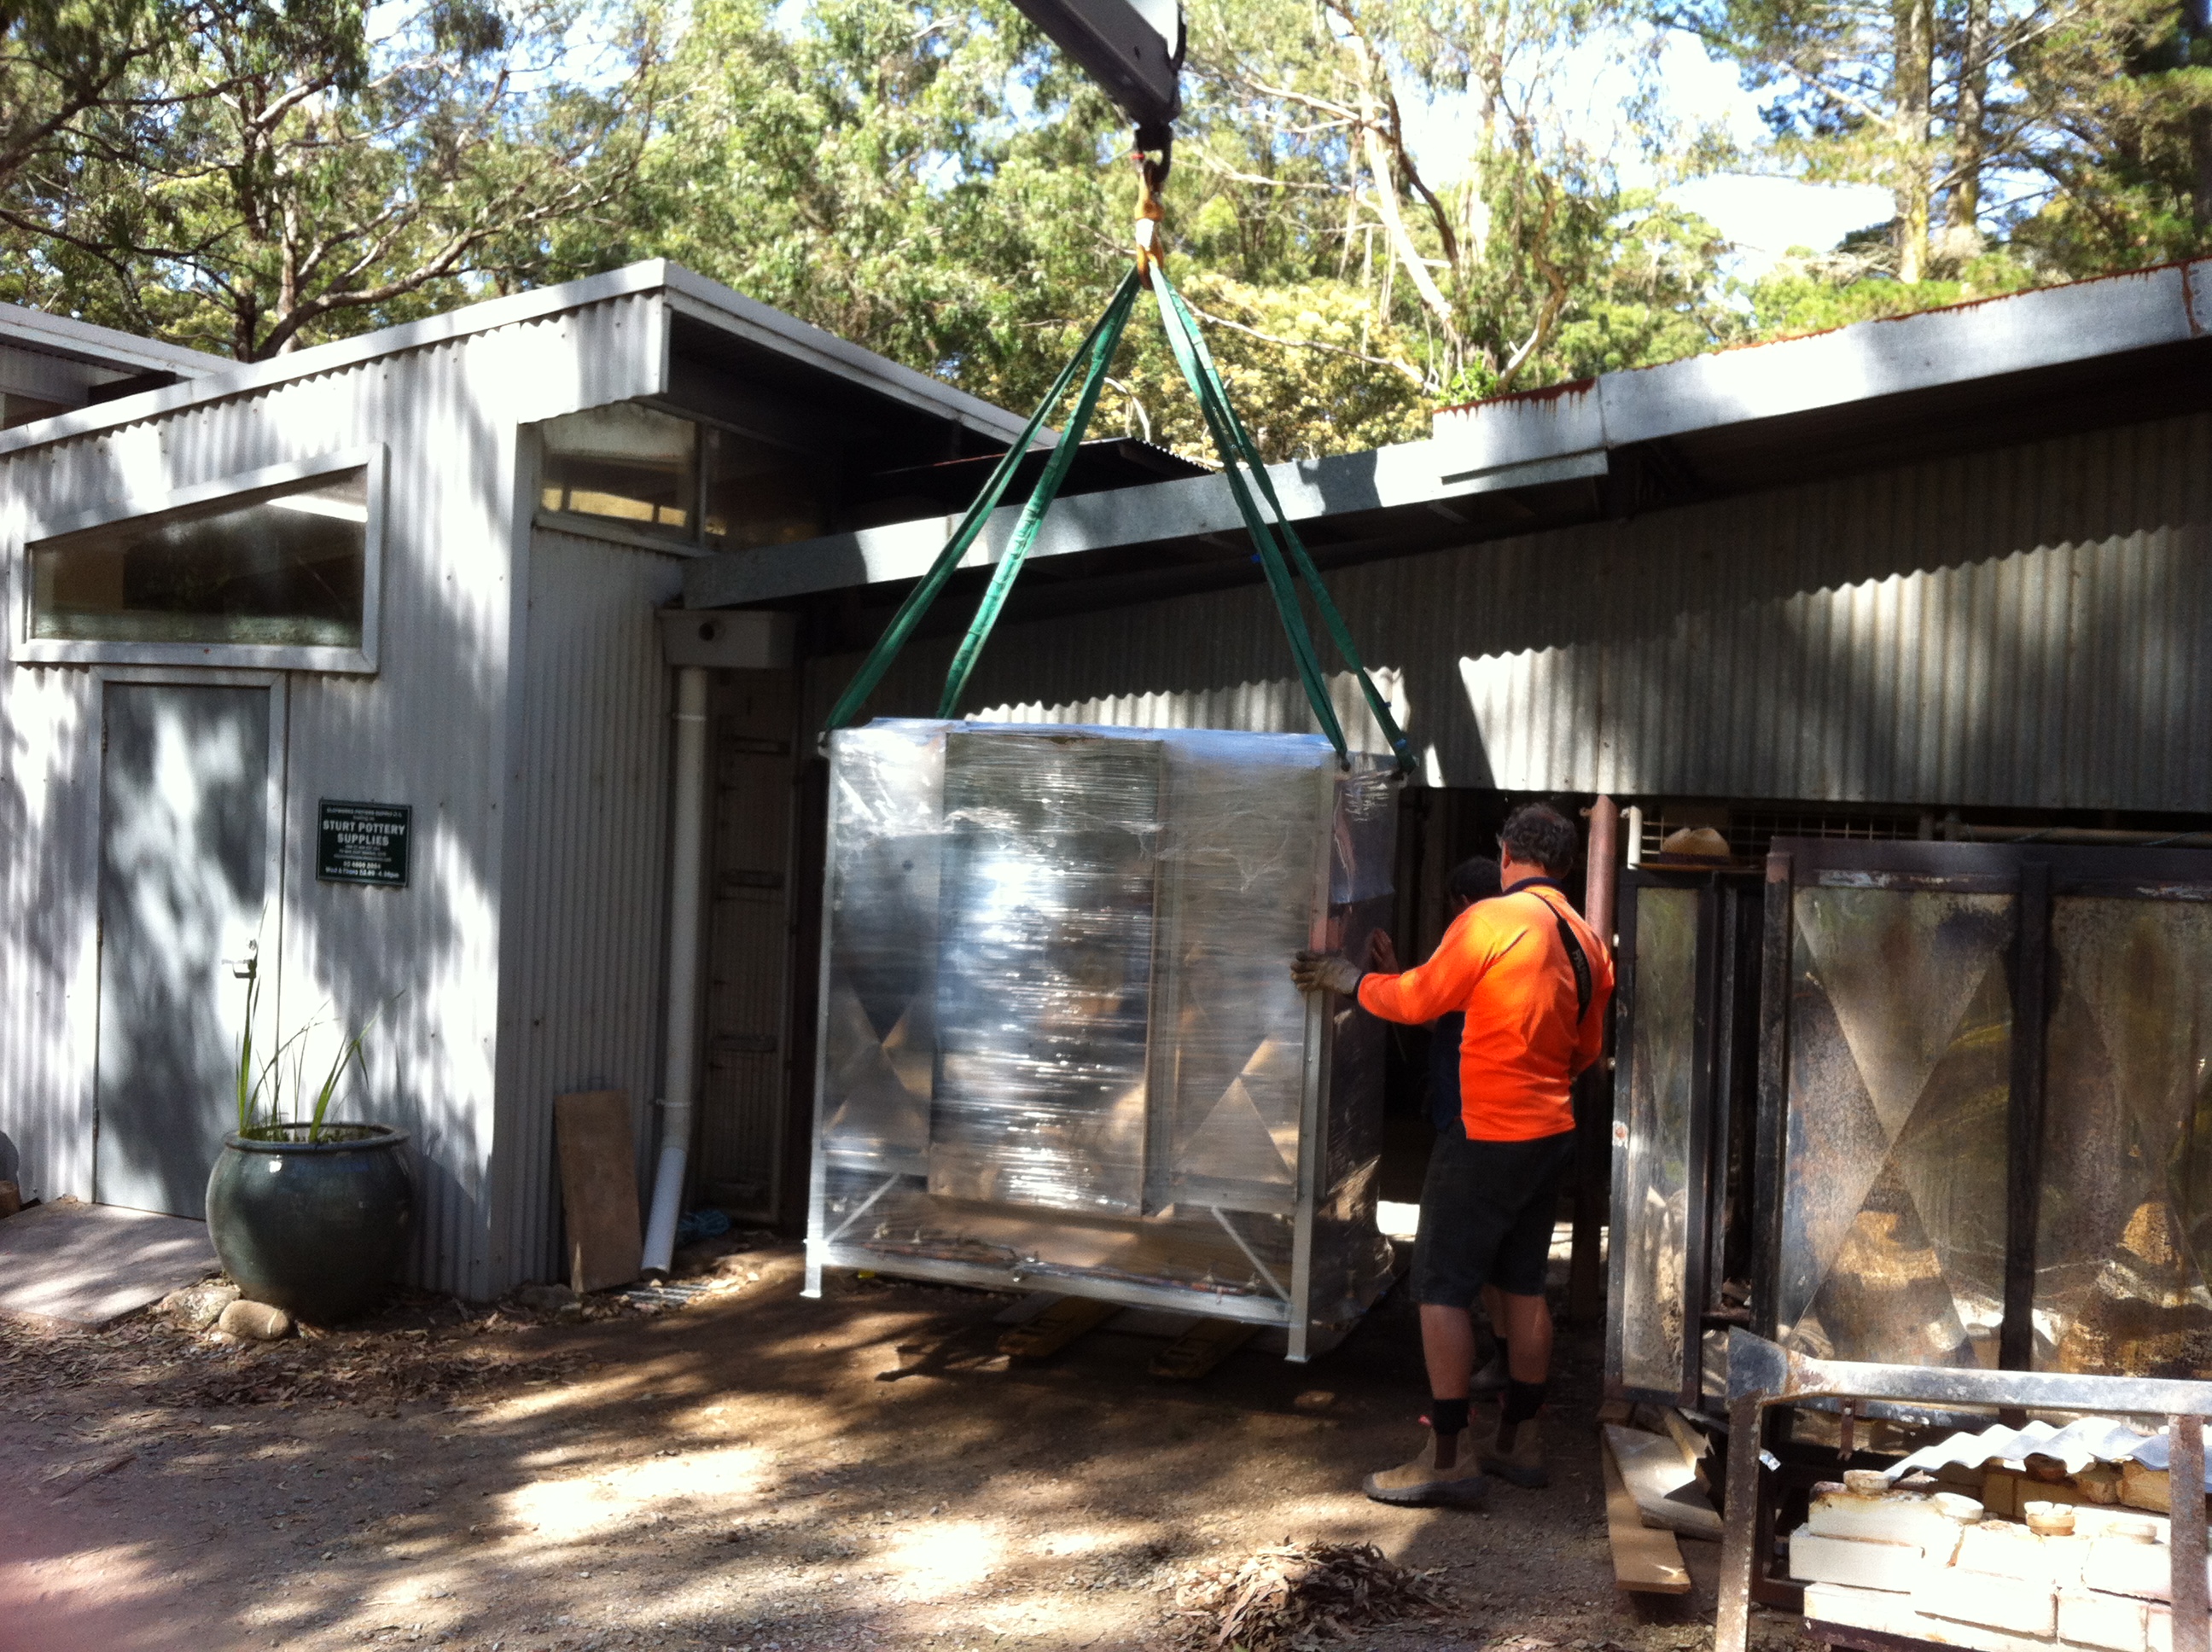
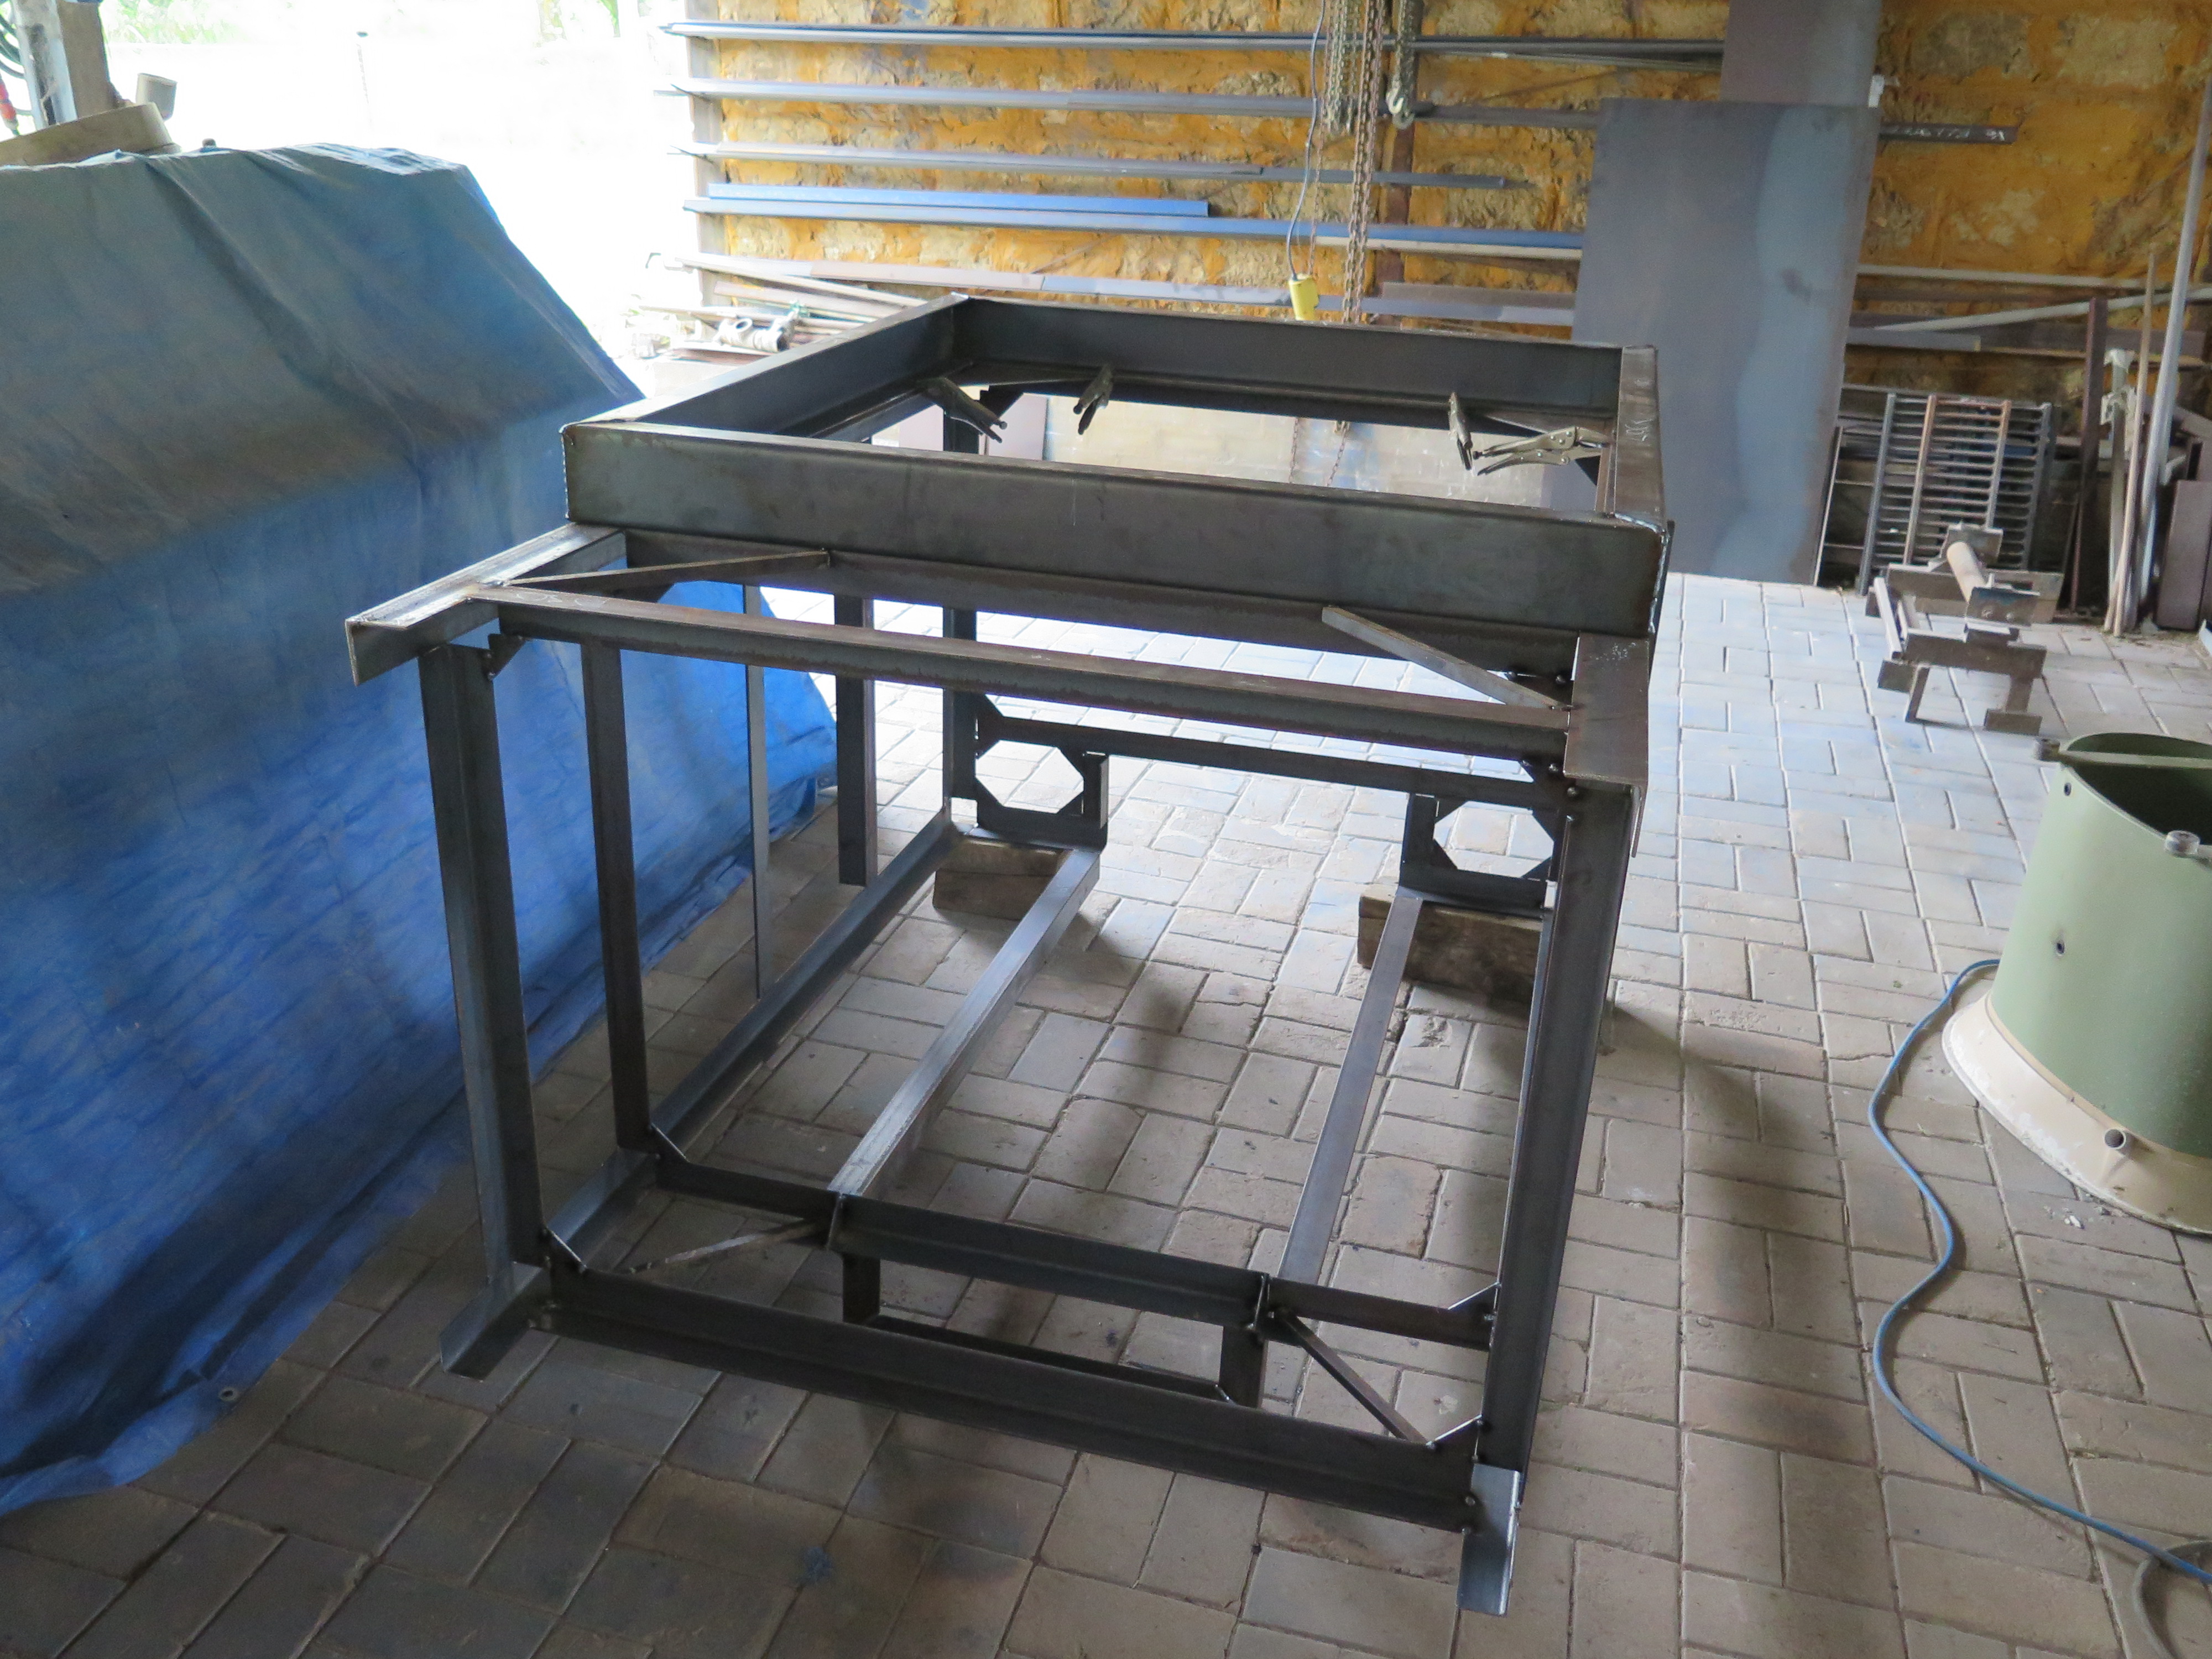
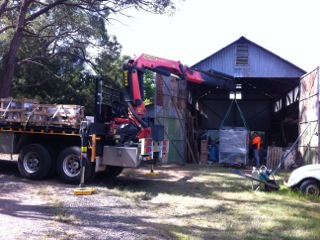
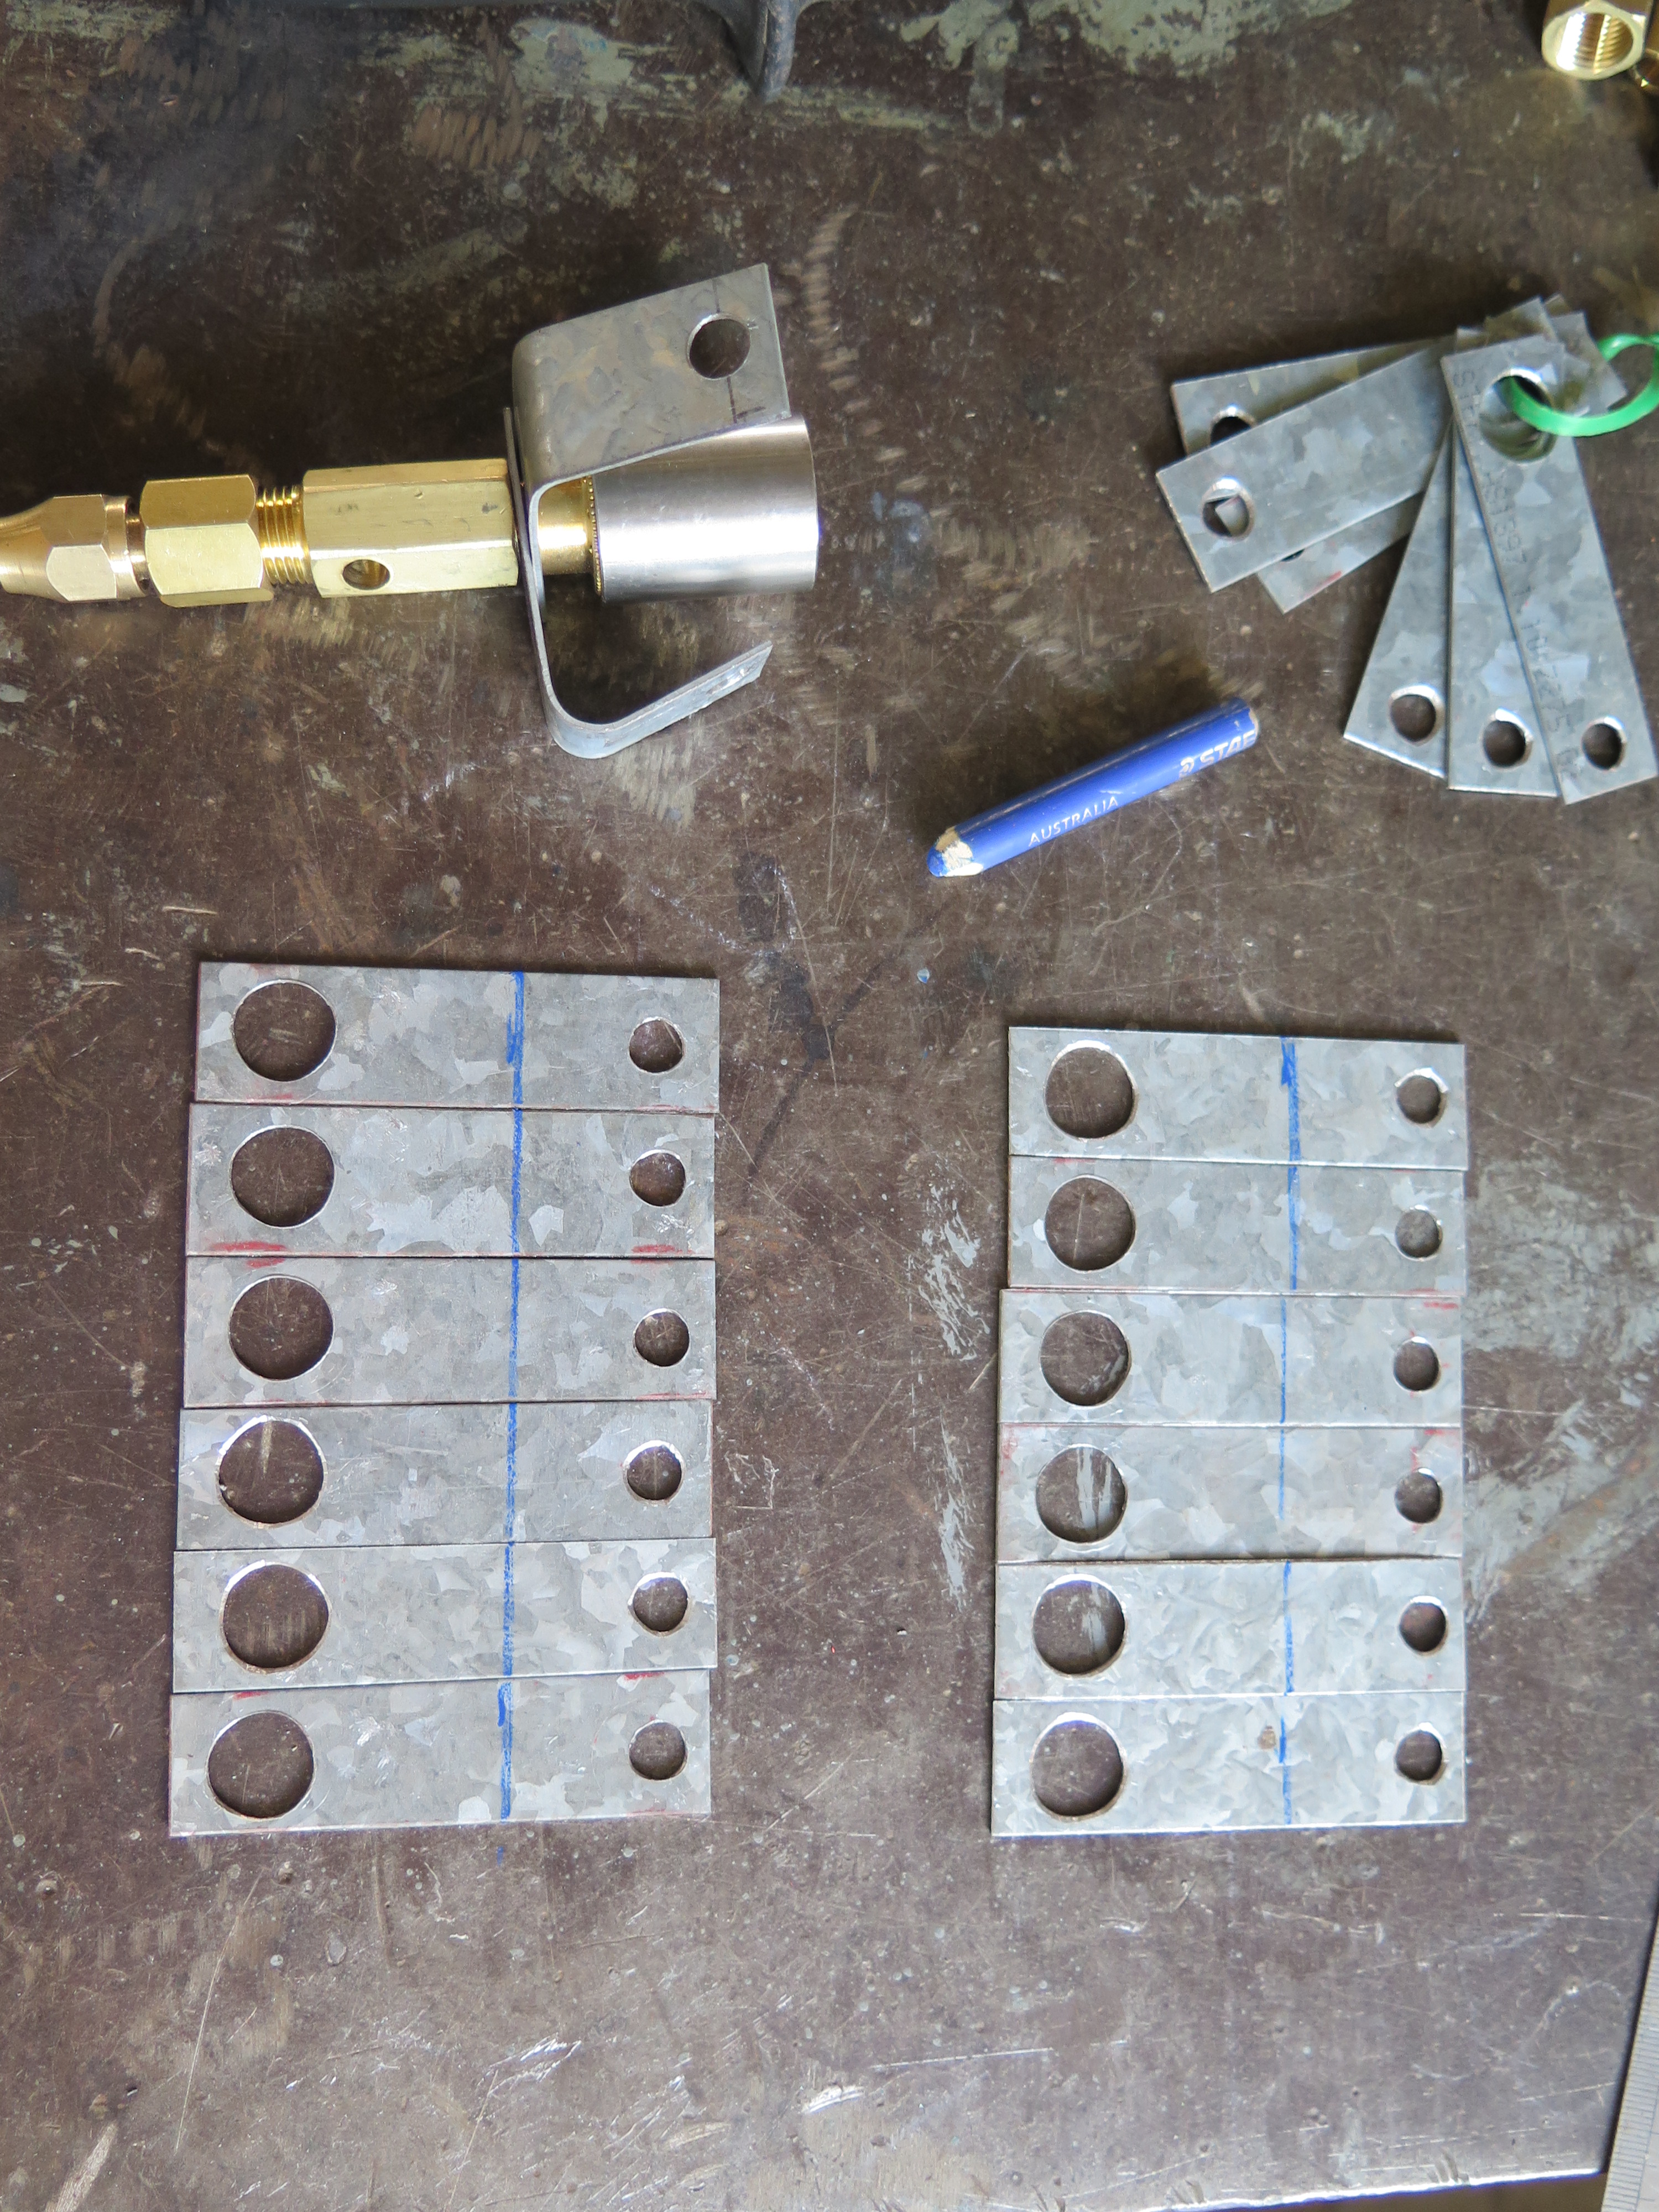
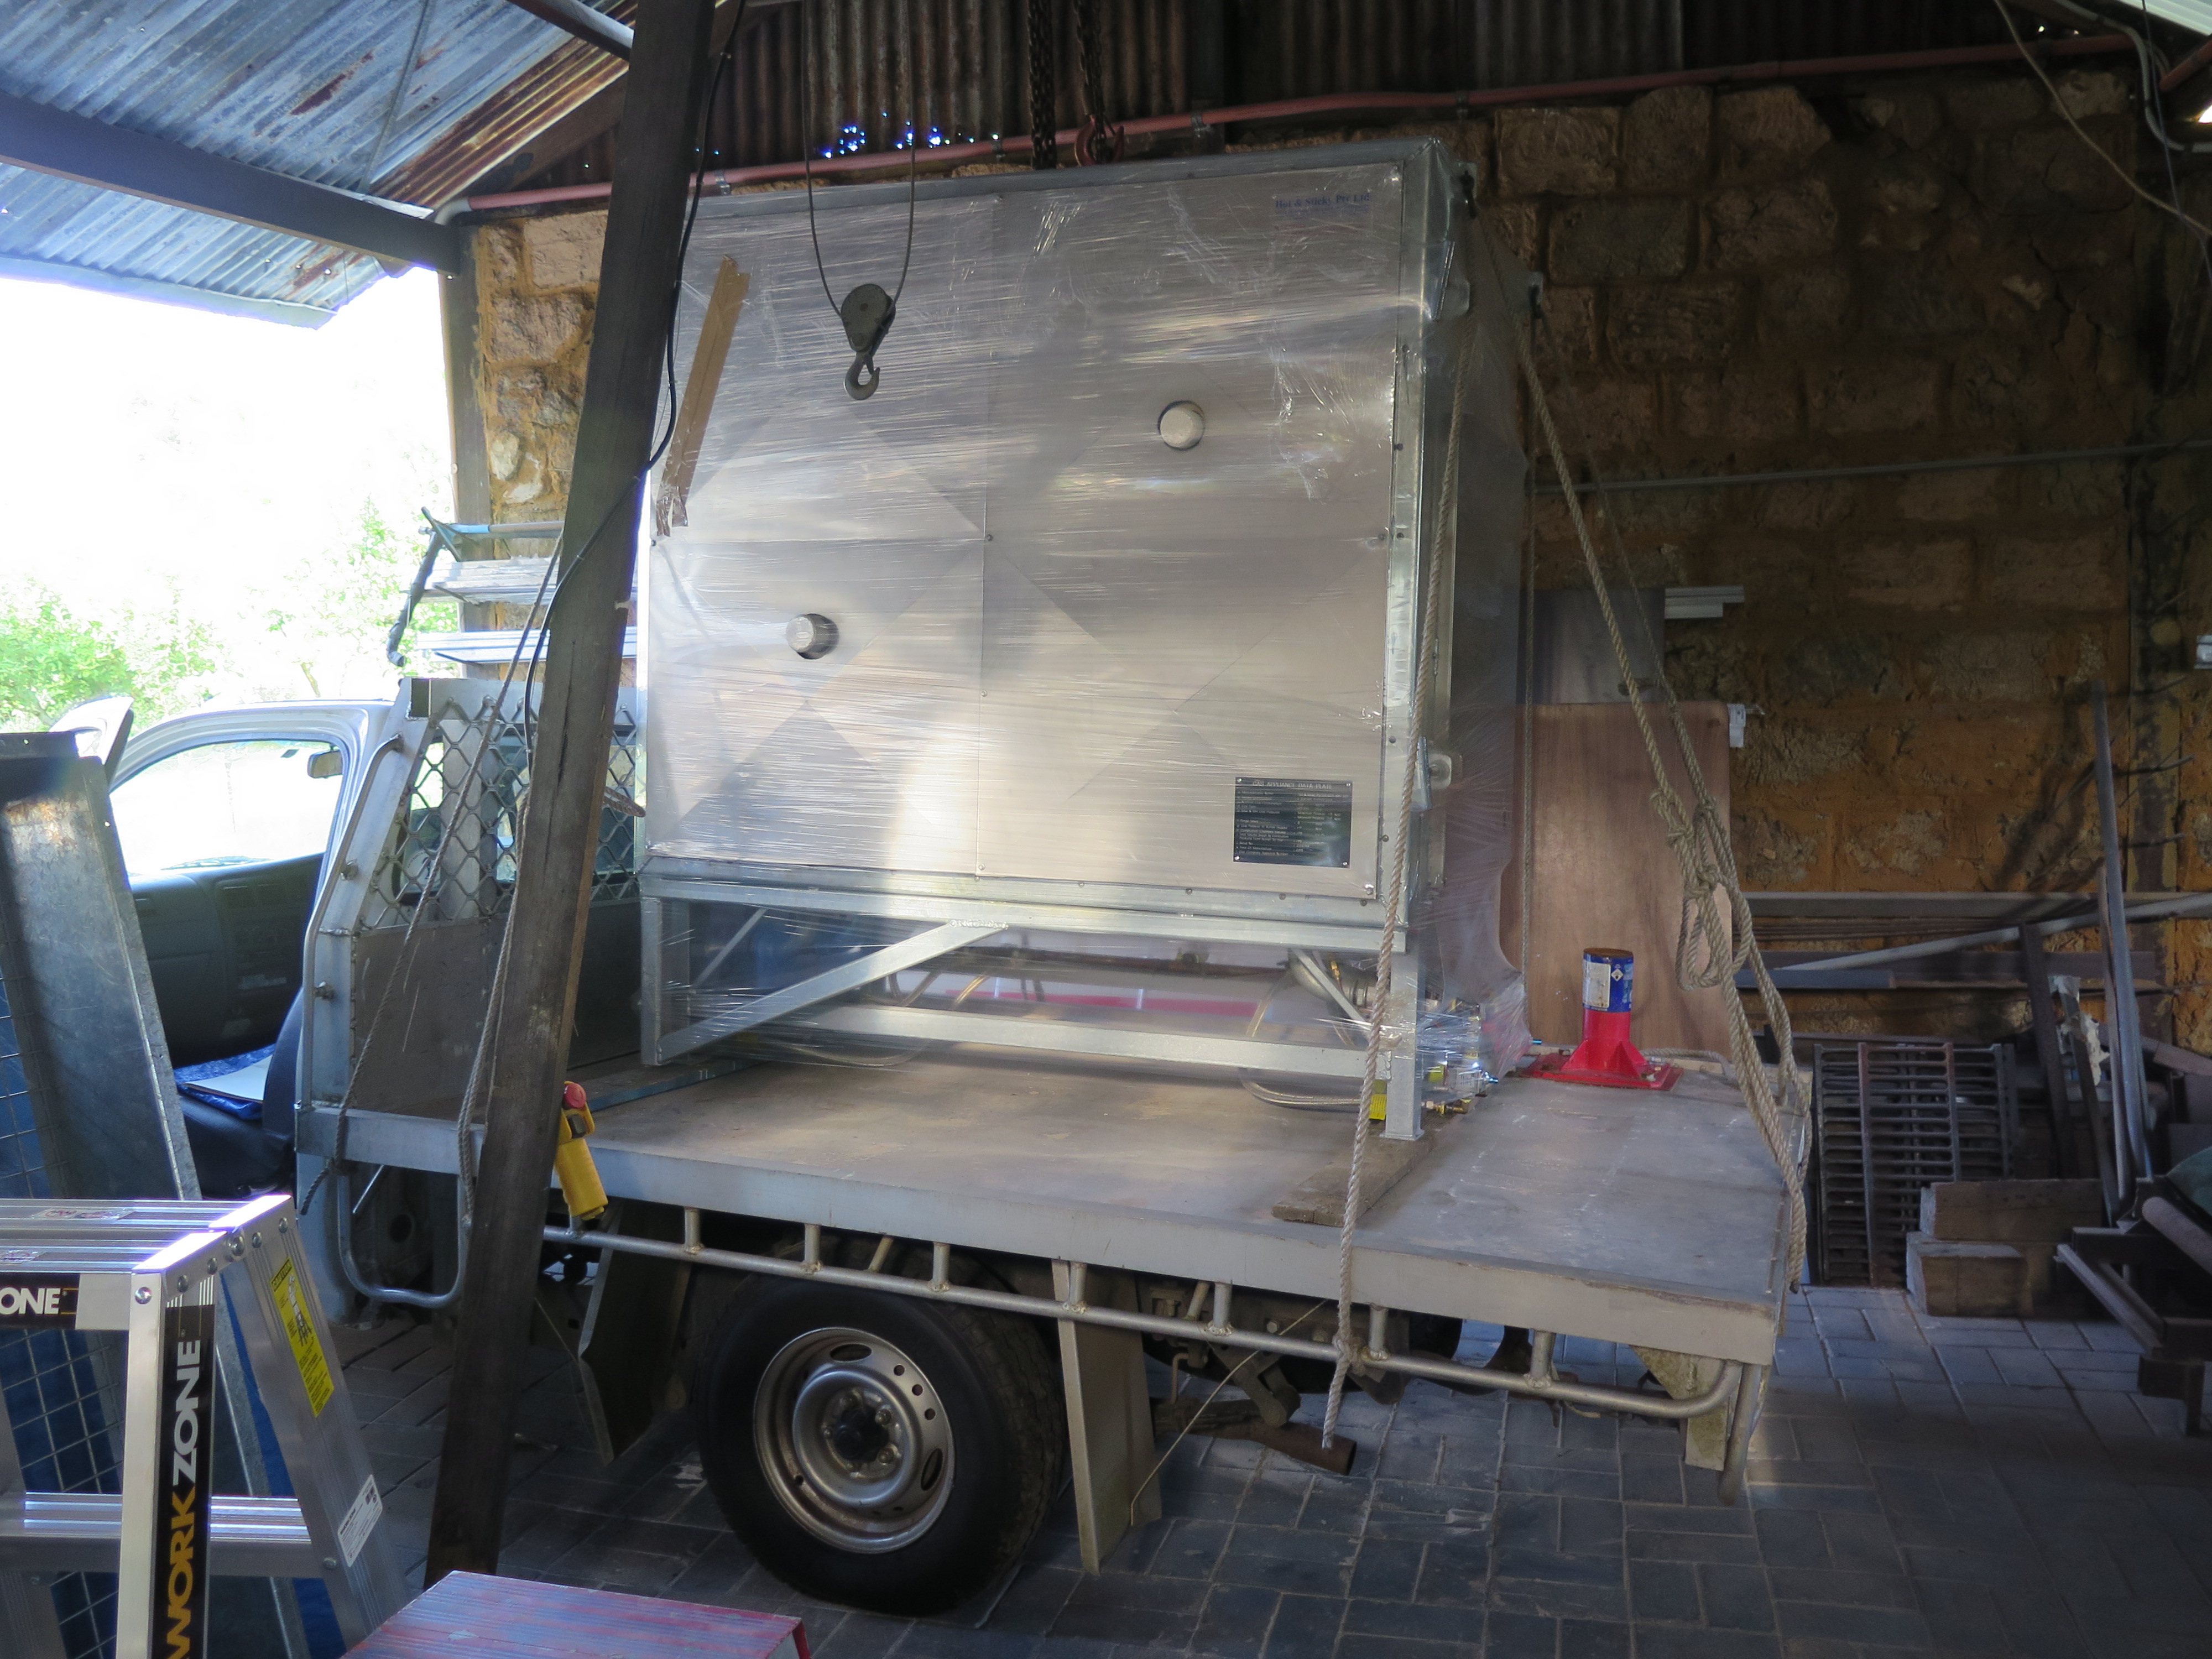
I have spent a little time over the summer break building another version of my portable stoneware wood fired kiln. These kilns are a direct response to seeing and working with Stefan Jakob’s ‘Ikea’ garbage bin raku kilns. Such a fun idea! And they work really well too, but only at the lower temperatures used for raku. It made me think about if it would be possible to make a reliable stoneware version of this kiln. Not in an Ikea bin, but in a custom made stainless steel monocoque box frame. The answer that I have been developing over the last half dozen years in my spare time is Yes!

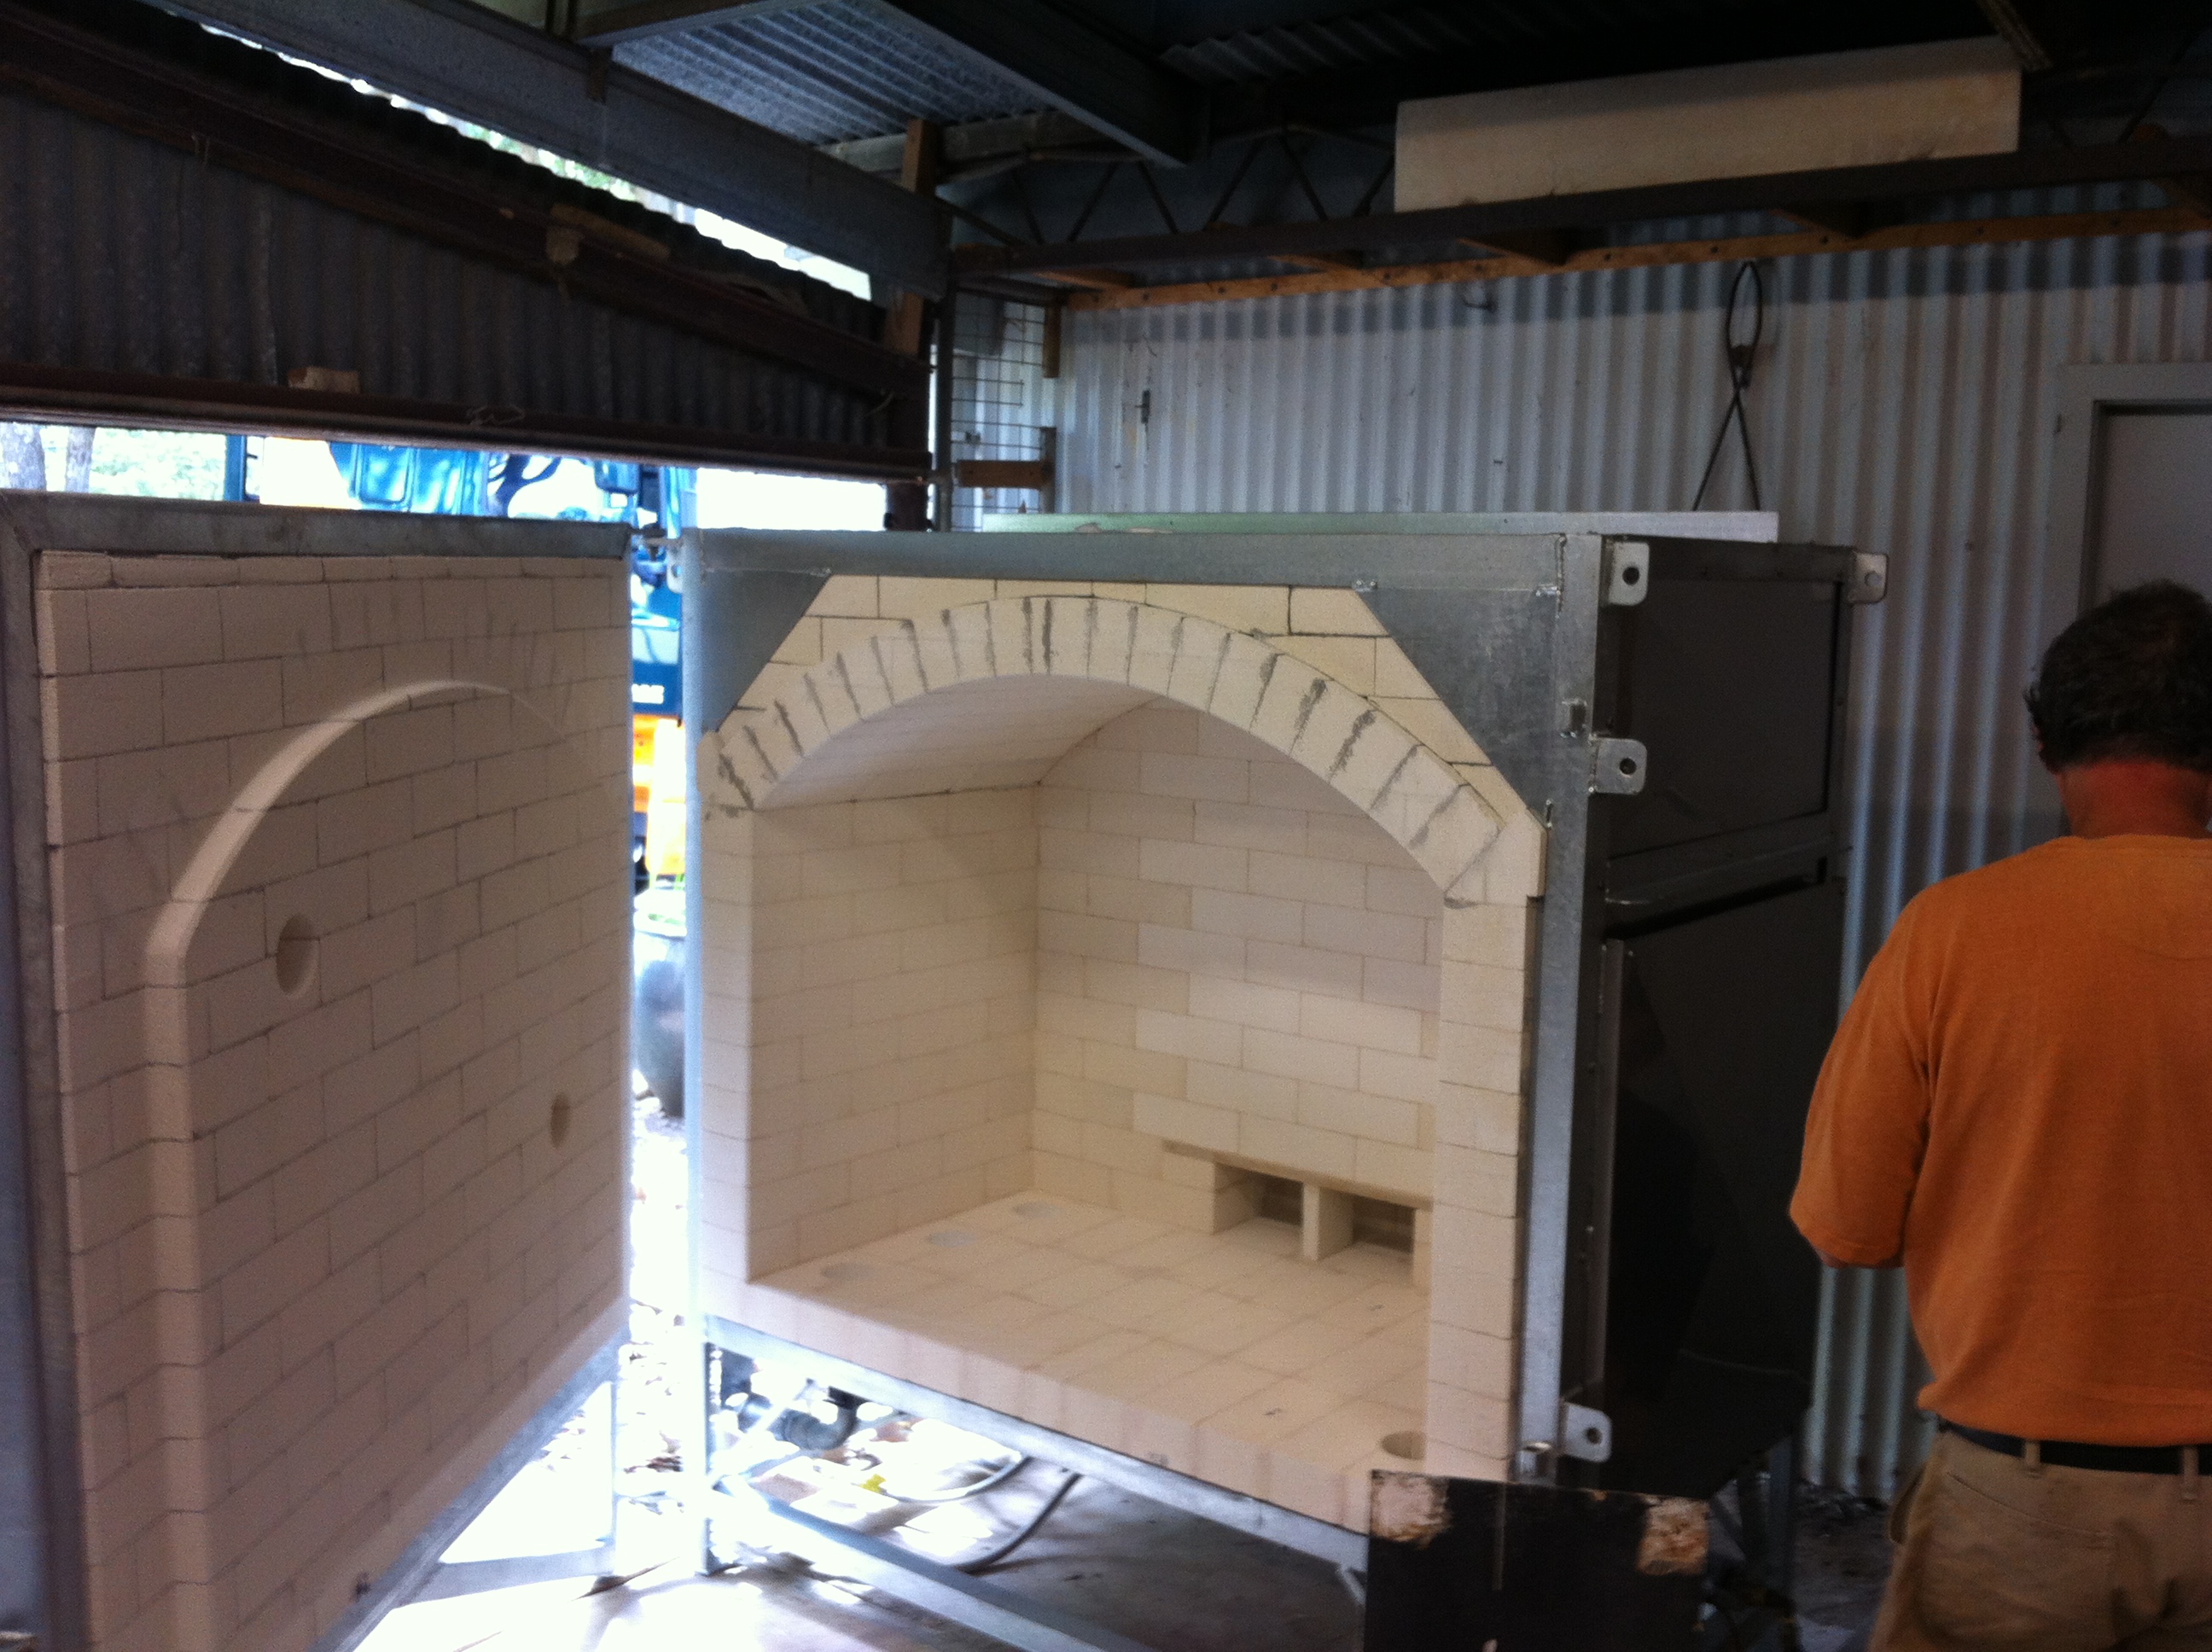
This one solves all the problems identified in the last version, that although it could get to stoneware, some of its components weren’t likely to have a long life. I abandoned the ceramic fibre lining, as it doesn’t last for extended periods of time at very high temperatures where there is a lot of wood ash. The fibre turns glassy and peels off, like glaze shelling off, exposing new fibre, which then dissolves, the ash glaze slowly eats its way through the lining in this way.

We first experimented with a ceramic fibre lined stoneware wood fired kiln back in the late 70’s and early 80’s (see Handbook for Australian Potters P289-291.) In that kiln I used the new material at that time called ‘saffil’ board, that was mostly composed of alumina fibre. A 10 mm. hot face lining of this material lasted 30 stoneware firings before it was eaten away in the hottest part. These new little kilns use light weight refractory insulating bricks as the lining.

I couldn’t allow myself to recommend or to sell anything that wasn’t up to scratch and capable of delivering a long working life, so the development has continued, designing out the apparent flaws as they made them selves known. So now the design is a little closer to completion. I have designed version 5, so I hope that after that is built and fired a few times, everything will be settled down and we will have a very long lived and reliable small portable kiln. I think that we could say that we are now moving from prototype to beta testing stage. Perhap there will be something that we can sell to other potters with like minds. Just like we do with the more substantial gas and electric kilns that we build here – only much cheaper.

The improvements in version 4 meant that we could fire it up to 1,000oC in one hour. This part of the firing could easily go very much faster, but we have cracked kiln shelves in the past by going too fast below red heat. We then took the firing from 1000 to 1280 in another hour, finally soaking at 1280oC to 1300oC for the last hour until cone 10 was over. We got very good reduction colour in the glazes in that time frame. I was amazed what a couple of extra hours could achieve, in terms of quality. After all it’s not all about intense speed. We can already do that. This is more about getting very good quality results with a minimum of expenditure of effort and fuel.

I spent a few days working out how to create this little wonder of a kiln, to enlarge it to use a 12” x 18”  (300mm. x 460mm.) kiln shelf in the setting, and still be able to cut the frame out of one sheet of Stainless steel with no or minimal wastage.

I’m sure that there are a number of potters who are with me and like minded in this regard, potters who are thinking just the same as me. How can I achieve lovely wood fired results without firing for days and creating loads of smokey pollution. I think that this sort of little fun kiln will be very good for potters with an interest in wood firing, but without the large work flow required to fill a larger anagama kiln, or a suitabe place where so much smoke can be created day after day. This little kiln is definately not smoke free, but the smoke is minimal.

As it turned out, this was a very relaxed and easy firing using dead brushwood and small, dead, fallen branches as fuel. There are always loads of eucalypt paddock falls all around our property from season to season. We collected 3 wheel barrow loads, one of kindling twigs and another two barrow loads of small thin branches, up to 50 mm in dia. We ended up using only 2 of them. We will fire it again for a little longer next time, slowing it down a little so that we can not only get the good reduction colour in the glazes but also some surface flashing in the bodies as well. I’m intrigued, what is the minimum length of firing time required to be able to get some pleasing wood fired effects on the surface of our pots?

When we fired up my pots in the first kiln, up to stoneware in just 1 hr. in reduction in the earliest version of this kiln, there was little reduction effect showing in the glazes. The pots looked pasty and palid, as if oxydised, but were in fact very pale grey, so they were reduced. It seemed that 30 minutes of reduction wasn’t enough to get a good response from the clay and glaze chemistry. This time, at 3 hrs. The results have shown very good reduced glaze colour effects, but only a very limited flashing colour on the exposed clay bodies. The work is starting to show some pink flash on the porcelain clay bodies with this slightly longer firing time, so we are getting close now. At least there is something there. The difference between one hour and 3 hours is dramatic. Perhaps the next firing of 4 or 5 hrs to S/W will do the trick and give results that I am better pleased with?

I want every thing now! I just don’t have the time to be able to do it all.

best wishes

from the multi-tasking S&J

Friday on my mind

Two weeks ago on Friday I delivered a kiln to Sturt Pottery and then spent the next week welding up another order and delivered it to the Galvanisers on the next Friday. That was last Friday. I spent this week welding up the next kiln order and delivered it to the galvanisers today – this Friday!

Kiln4 (11)Kiln6 (13)

While I was up there, I picked up last weeks kiln, that had been dropped off and dipped this time last week, all in the same trip. It’s good when things work out like that. After all, it’s a 3 or 4 hour round trip up to Sydney and back, so I like to make it pay.

IMG_1599IMG_1613

I swap this weeks black mild steel frame for last weeks shiny, newly galvanised one in the factory. I’m getting a head start on next years orders, so there won’t be any delay, as I know that I’m going to be very busy next year, with a lot of projects planned. So getting in early with all this intense work, is a way of banking time. So now I can take it a bit easier over Xmas and the new year, when we have a lot of guests planned to visit.

IMG_1644

In the mean time, I also picked up a trade-back kiln. One of my kilns that has not had a lot of use, so I will do it up and offer it for sale as a 2nd hand kiln, but with a 12 months, as-new, new kiln warranty. I’d really like two get this job done before Xmas too, if I can squeeze it in.

IMG_3893 IMG_3895

I’m starting to feel a bit tired after all this intense work. I need a couple of days in the garden to ground me and get the vegetables back up to scratch.

It’s been so hot recently, up in the high 30’s recently. We have had to water morning and night to keep everything looking pert. It’s all I can do with all this welding to keep things alive. All the grass has dried-off and started to turn brown now. We have been lucky to have had a green vista for so long. In past years, during the dry times. The grass was all burnt off dry brown and crunchy in late spring.

Yesterday, it was so hot, that I fuelled-up and commissioned the ‘house’ fire-fighting pump for the first time this summer, and used it to wet the roof of the house with rain water to cool the house down. It works like a charm and drops the temperature by 5 degrees inside the house within minutes. Nearly all the water is collected in the roof gutters and runs back into the water tank. It is a productive way to test out the fire fighting system early in the season, and get everything back up to scratch, before it is needed in an emergency, when there is no time to waste.

For dinner I steamed a fillet of taylor and served it with freshly harvested kipfler potatoes and multi-coloured zucchinis, green, black and yellow. This was accompanied with a Japanese inspired green salad of red and green Mizuma leaves, rocket, shiso, red coral lettuce and green spring onion. Dressed with a finely sliced, filaments of roasted nori paper and a shiso dressing. I also salted some sliced cucumber and after draining, dressed it with sesame oil and some lightly roasted sesame seeds.

IMG_1634 IMG_1635

It is all lightly aromatic, crunchy and goes well with freshly picked red French radishes. A multicultural Australian meal, perfect for summer.

All these ingredients fresh from the garden, except the fish and the nori paper. It’s a wonderful reward for our efforts.

It’s a Busy Time of Year

I have only just delivered the last kiln off the factory floor and now I’m back in there welding up the next one. I want to get into and out of the galvanisers before Xmas, so that I can work on it over the summer break, so as to get a head start on next years orders. The galvanisers shut down for a month over the summer as does the local steel supply yard, and many other businesses as well.

IMG_1600

I have the next frame all tacked up already. I can cut the sections and start to weld the bones of it together while the old faithful automatic hacksaw does it’s job, slowly and relentlessly.

IMG_1598

When I made my first kiln. I cut all the steel out with a hacksaw blade by hand. It took two days. I don’t think that I’ve been so bored in all my life. When that initial kiln was sold, the first thing that I did was to spend my profits on a 4″ angle grinder and this wonderful old ‘chug-a-lug’ cast iron automatic hacksaw. It has been the most important thing that I have ever bought, with the possible exception of my home. It has worked continuously and reliably for 35 years. All I have ever had to replace are the blades, about once a year. It is such a fantastic invention. It cuts while I weld. and the angle grinder cleans up the edges.

I don’t want to get caught with no options, so I’m getting in early, as early as I can and doing all the welding and ordering of parts now. Then I will have the luxury of setting my own agenda of work and relaxation over the summer. We have relatives visiting from inter state and also from overseas, so we’ll be busy relaxing as well as working.

There a lot of veggies starting to bolt in the sudden heat, so we are try to eat them as fast as we can. i made a risotto last night with lots of garden produce. I used leeks instead of onions because that is what we have plenty of just now, and loads of fresh veggies, so much so that the result wasn’t really a risotto, as it only contained half cup of carnaroli rice, but a large bowlful of carrots, zucchinis and some mushrooms.

Veggieotto, with a little rice added. Cooked in fish stock from the bones of our dinner from a few nights ago.

IMG_1583 IMG_1586IMG_1590

We are now picking from our 3rd tree of peaces. Well protected by plastic bird netting. We get all the fruit form these trees. they are the newer low chill varieties that we have been forced to grow now. These are the third generation of peach trees that we have grown here now over the 40 years of our Post Modern Peasant Enterprise. Modern varieties of peach trees seem to have a productive life here of 15 years. The Lovely decides to make a peach cobbler for desert to follow our veggieotto.

IMG_1576

IMG_1587

We have also made our first large pick of young berries. Up until now, we have been eating what we picked each day, but the season is suddenly in full swing now, so we get up very early and go out to do the harvesting before it gets too hot. We spend 3/4 of an hour and pick 7 kgs in one go. They are really coming on. The lovely Lady of Household Management, Ms Janine Beeton, can’t be beat’n when it comes to household frugality. She has them all sorted, cleaned, steamed and bottled by mid morning, while I’m cutting steel. The vector of post modern peasantry and petit-capitalism.

IMG_1573

IMG_1574

IMG_1579

It’s a busy time of year.

Kilns, what could possibly go wrong?

We end spring with a very warm day of 39oC. This is the start of Summer. Not as hot a it was last week at 42oC, but still hot enough for the beginning of the season. The vegetable garden needs to be watered twice a day at times like this, if we want all the small seedlings to survive and thrive.

IMG_1347

I have finished the big new gas kiln commissioned for the pottery at Sturt Workshops in Mittagong. I spent the last week making the burners and gas manifold, pressure testing and test firing. Then I had to disassemble some of it to get the height down, so that it would fit into its new home under the low wall beam access.

IMG_1336IMG_1334

IMG_1496IMG_1495

IMG_1543IMG_1544

Once it was shrink wrapped and onto my truck, I drove it up to the main drive way to meet up with Dave the truck driver. Mr. ‘Lift and Shift’, with the giant ‘palfinger’ crane. This amazing piece of technology can lift a kiln, or anything else, weighing up to 1  1/2 tonnes from a distance of up to 15 metres away!  All goes to plan. I am always relieved when things go right. They always should, I measure twice and do a lot of prep, but in anything that involves 1,000kgs, slings, chains, shackles and welded brackets, there is always the possibility for unseen eventualities.

Generally speaking, it always goes to plan, but that doesn’t stop me from being concerned, and taking every precaution to make sure that everything is right. There have been times when other forces have intervened and made the job a lot more difficult. See; Delivering a kiln, What could possibly go wrong?

Posted on 26/06/2015
We travel down to Mittagong without a hitch. Slowly and carefully, avoiding the pot holes and bumps, so that the kiln doesn’t get too shaken about. Dave skilfully manoeuvres the kiln into the exact position to fit on to the pallet lifter inside the building. It rolls into position without any problems. Nothing goes wrong!  It’s perfect, just the way it was planned.
IMG_1548
I take off the wrapping and look inside. It’s beautiful. It has travelled well, but there is just a small glitch. In transport, the bouncing and shaking on the truck has caused the brickwork to settle just a fraction of an inch, and now the arch has settled down a millimetre or two and just touches the door seal. I sand it down along a section of 50 mm x 1 mm. It’s perfect! If this this kiln turns out like all the other that i have built for potters, Art Schools and other institutions. It will last for 20 years or so without any major maintenance.
Cleaning the burners of spiders webs or dead insects, occasionally there are mud wasps that build their clay nest in there over the summer break. All small but annoying things that need minor attention. I once had a potter come to me with her burners that she had purchased from me for her own home made kiln. She told me.”These burners don’t work anymore. Not like they used too”. I told her to bring them to me and I would have a look at them. There is usually only one thing that can go wrong. The flame safety sensor gets pushed too far into the flame and gets damaged, then stops working all together, cutting off the supply of gas. I countered this by making a substantial Stainless steel bracket to hold the sensor firmly in place. However, this was not the problem on this occasion, as the gas was still working, but only just apparently.
When the burners arrived, I shook then upside down and lots of things came tumbling out, pieces of blown-up pots, wadding, some fresh and dry, others hard and fired, a bottle cap, even a 100 mm. ( 4″) length of snapped off ceramic pyrometer tube! I would have thought that when that broke off, for whatever reason. I would hear it break and go looking for where it landed. If it wasn’t on the floor of the kiln. I’d go looking elsewhere. I’m amazed that it could have gone straight down a burner flame nozzle and disappeared! Anyway, no matter! No wonder they weren’t producing a clear flame anymore. Simply fixed. It’s amazing what pushing a bottle scrubbing brush down a burner can achieve!
Kilns. What could possibly go wrong?