3rd Summer School completed, Feb 2025

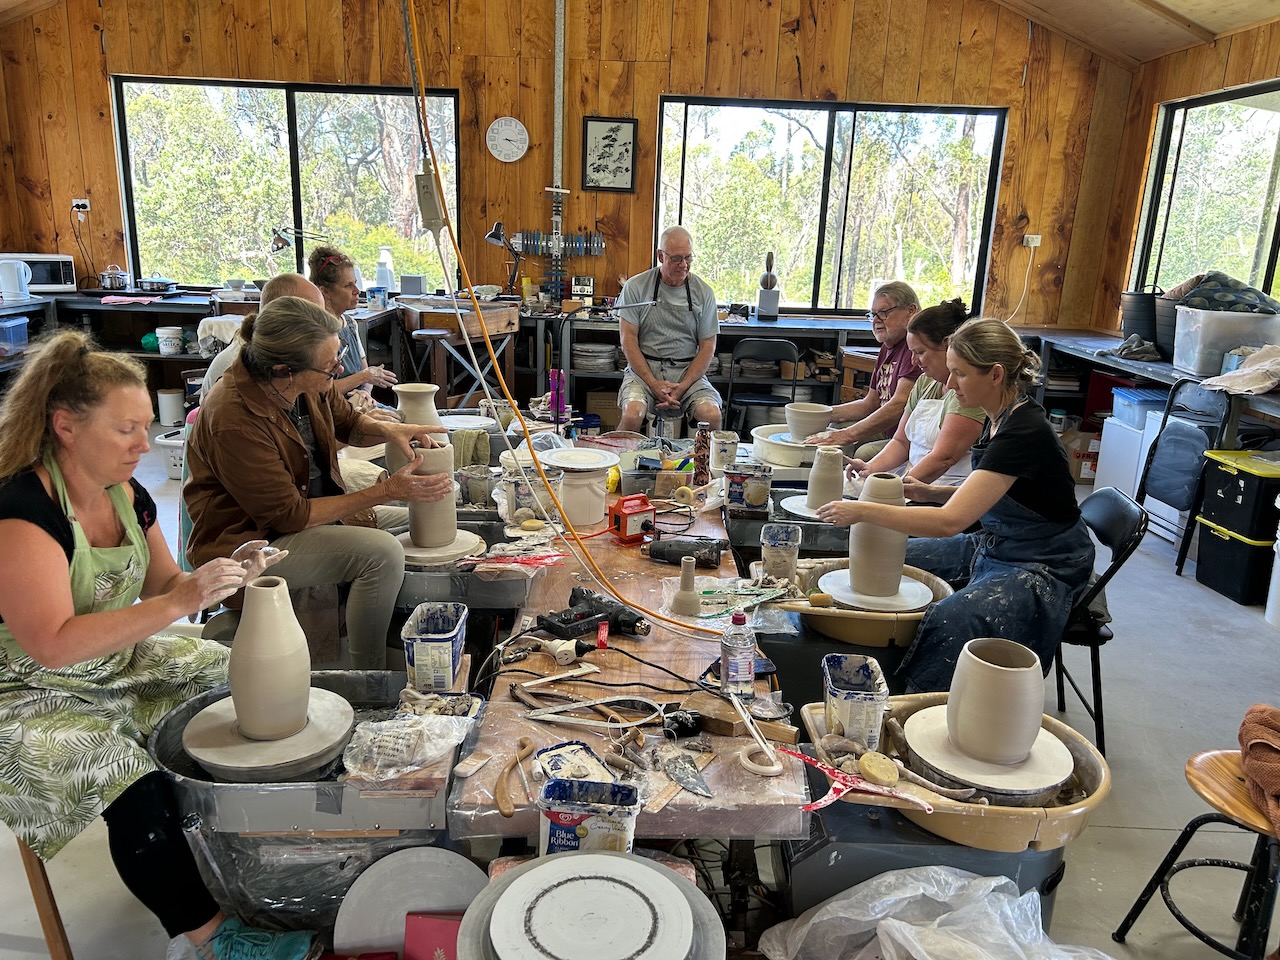
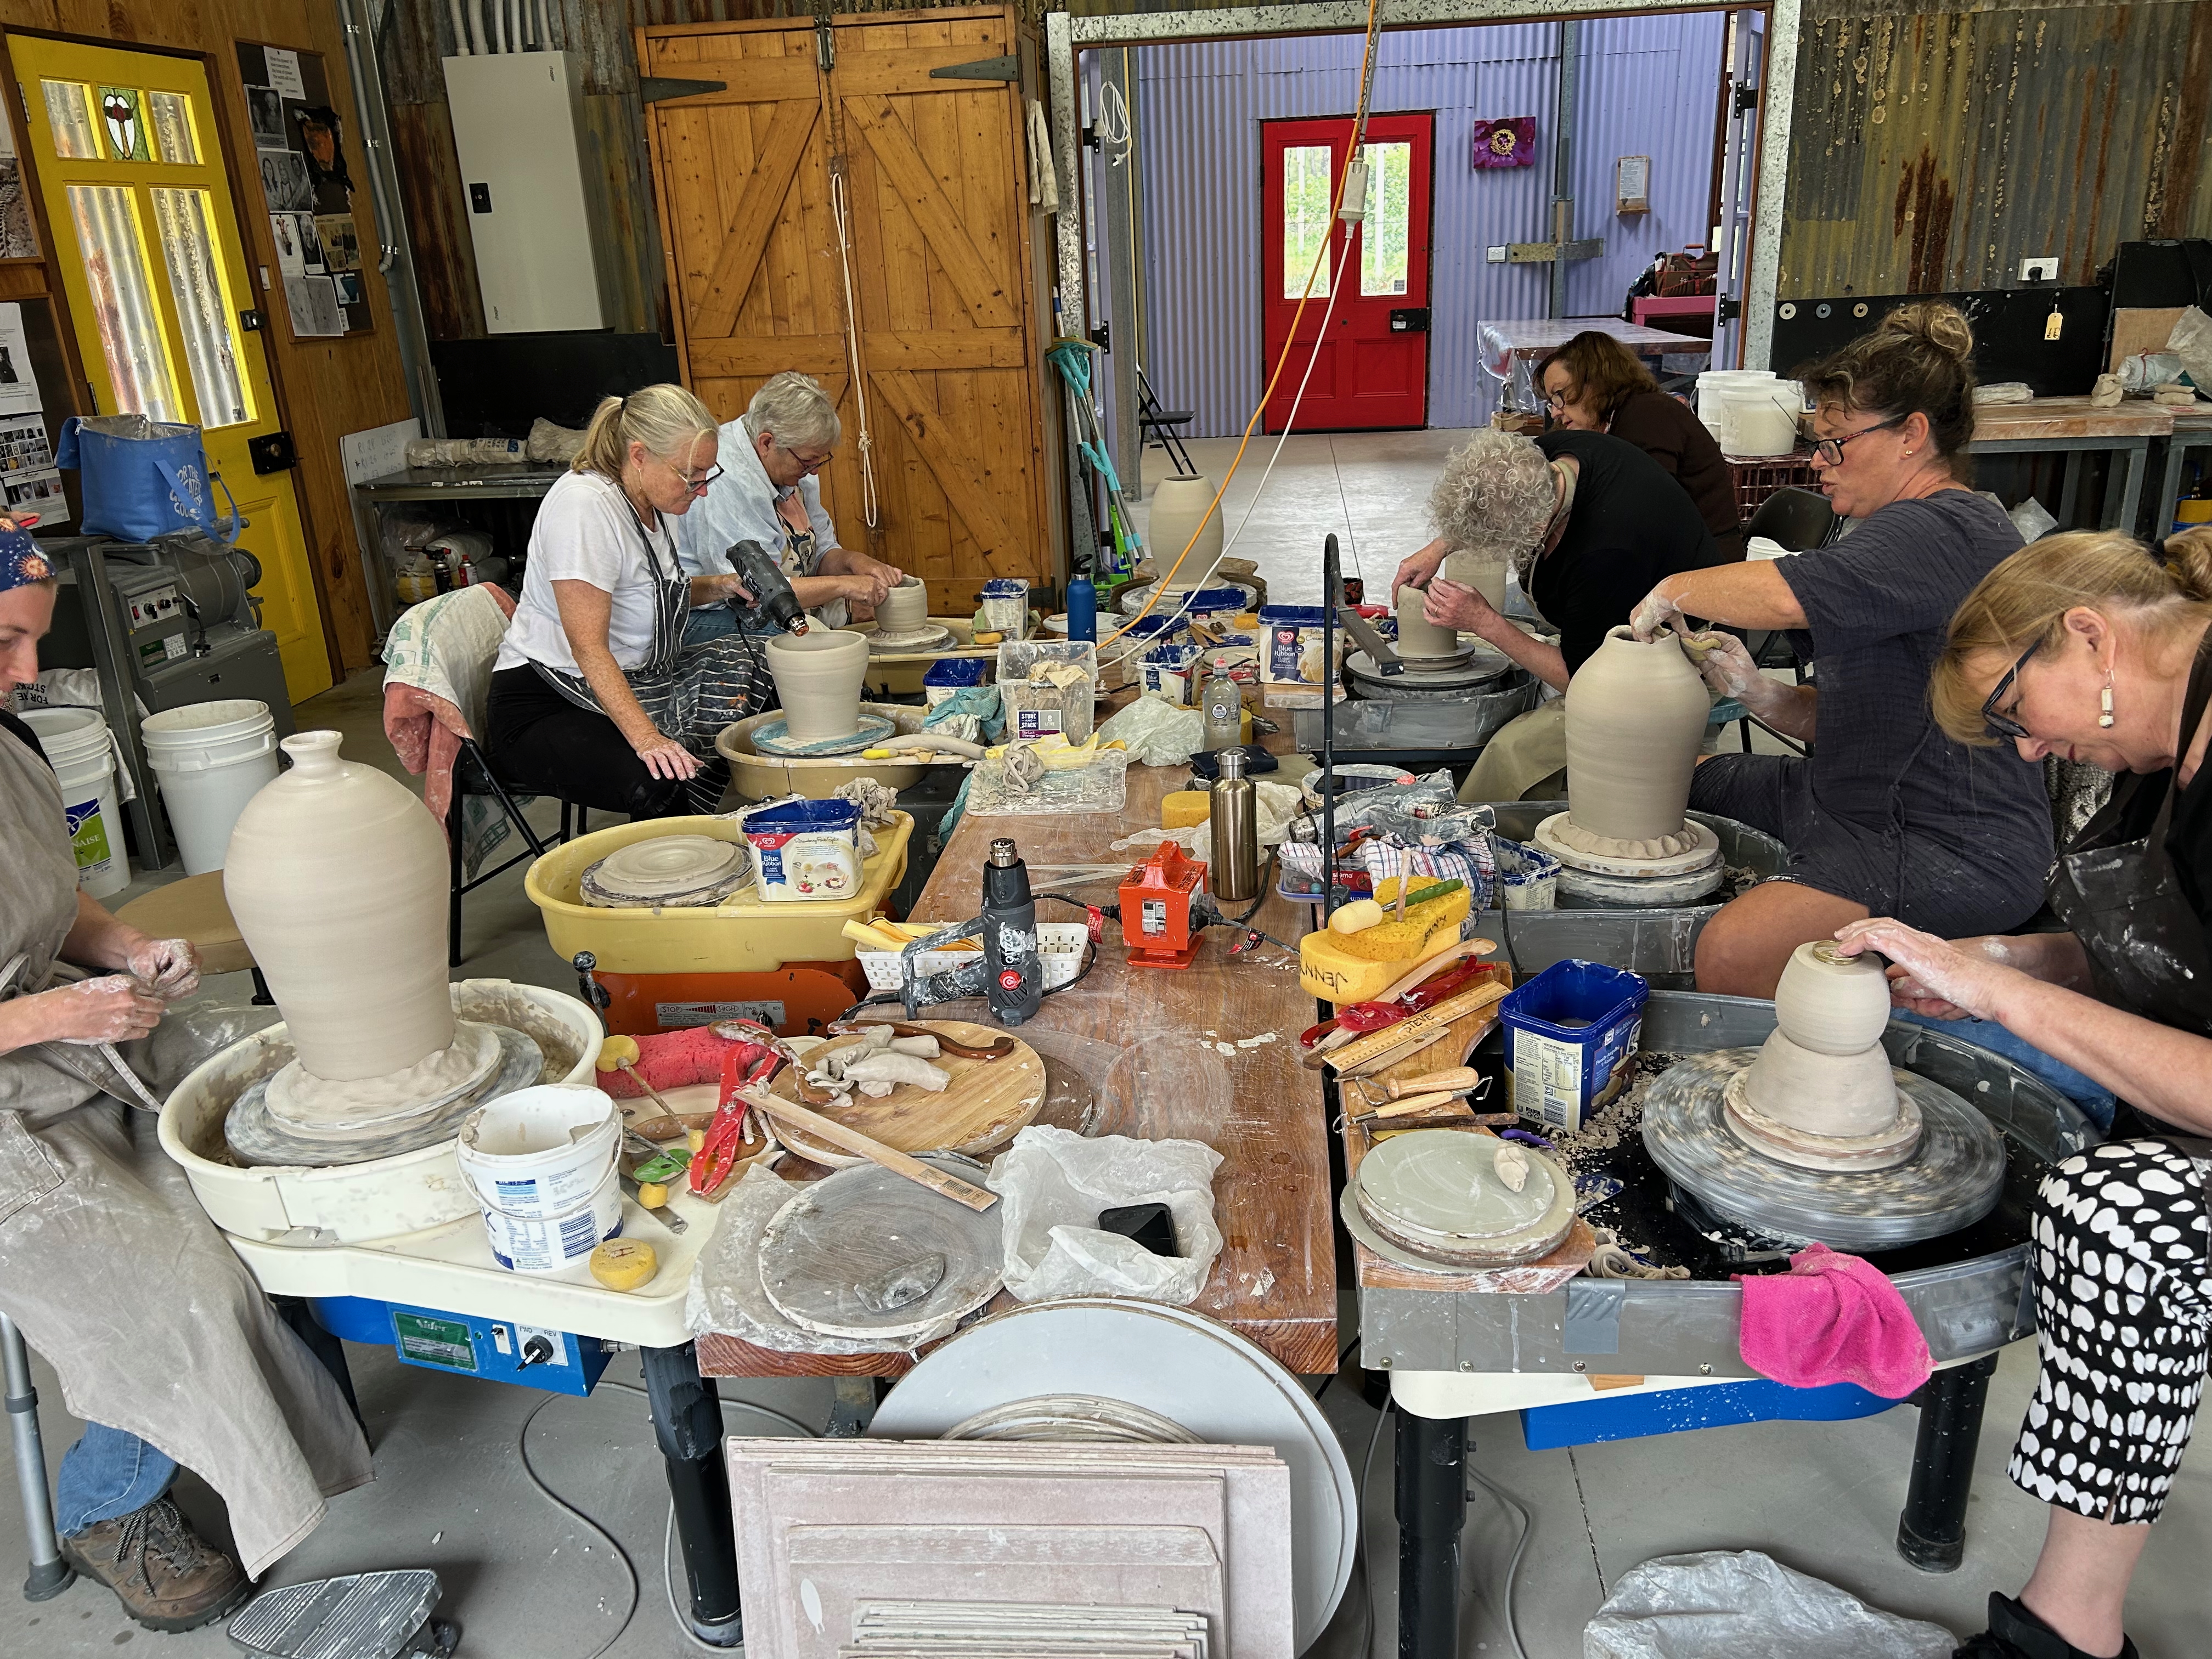
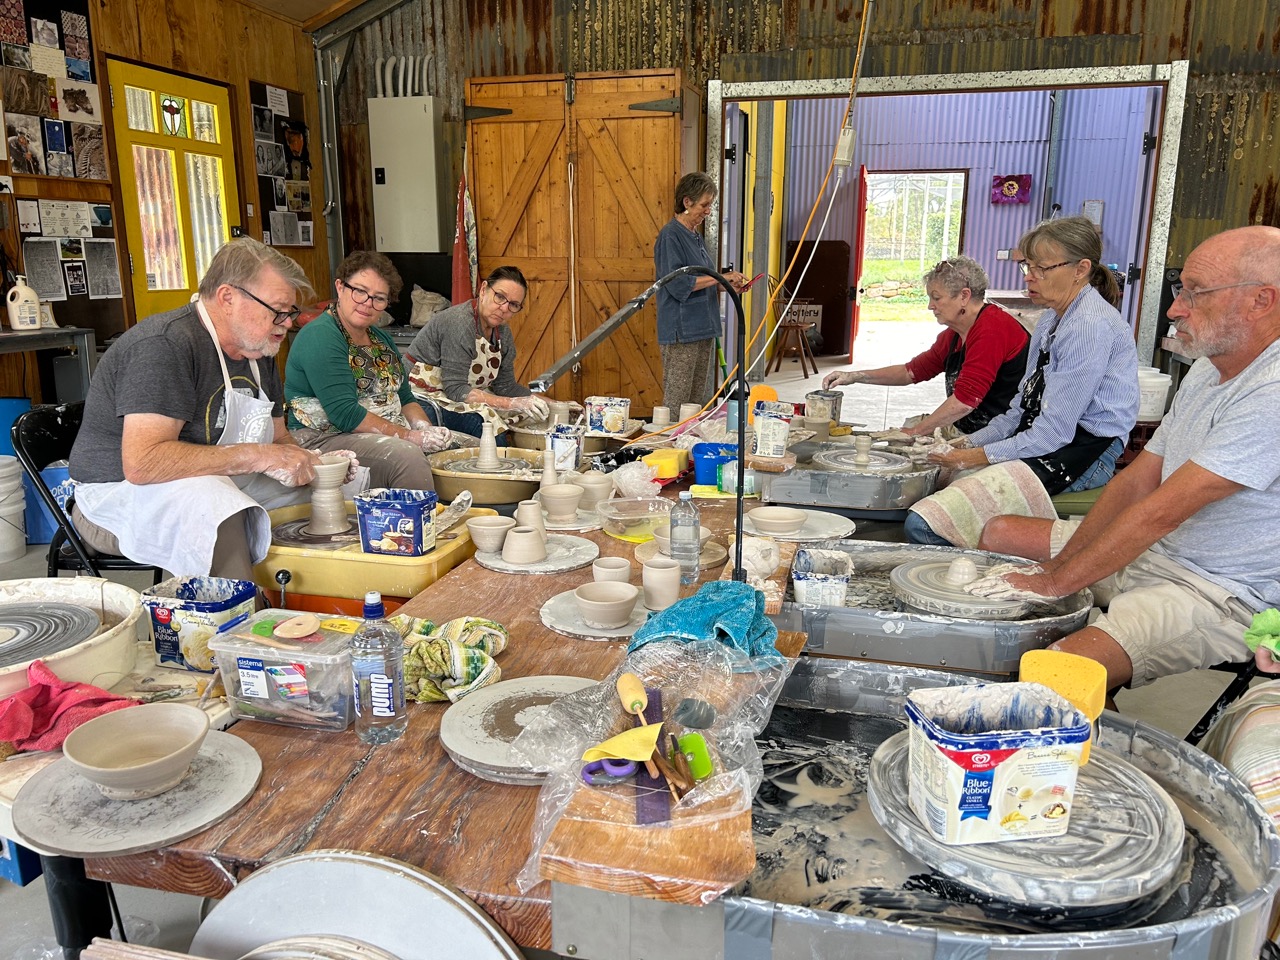
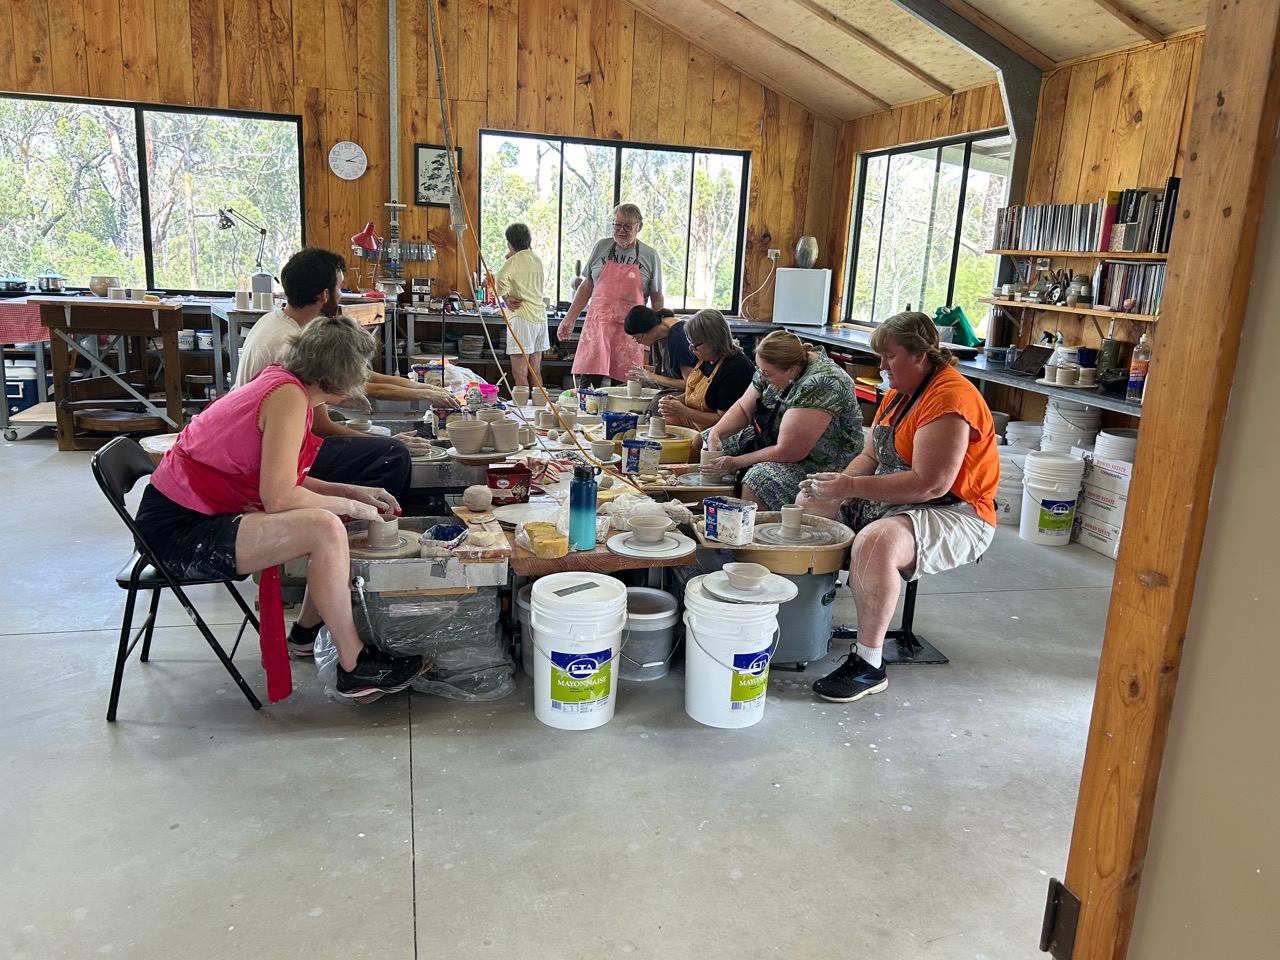
We have just completed the 3rd of our Jan/Feb summer school series. Just 1 to go, starting on Friday.

We have had 3 great classes with a bunch of wonderfully talented and enthusiastic students – as they all-ways are every time. It’s such a privilege to be able to work like this, passing on what we have learnt over our lifetime, to enthusiastic potters, keen to learn the techniques that we have accumulated during our careers, and to sample a bit of what we do here. Between us, Janine, Leonard and I have notched up a total of about 150 years of ceramic practice and experience.

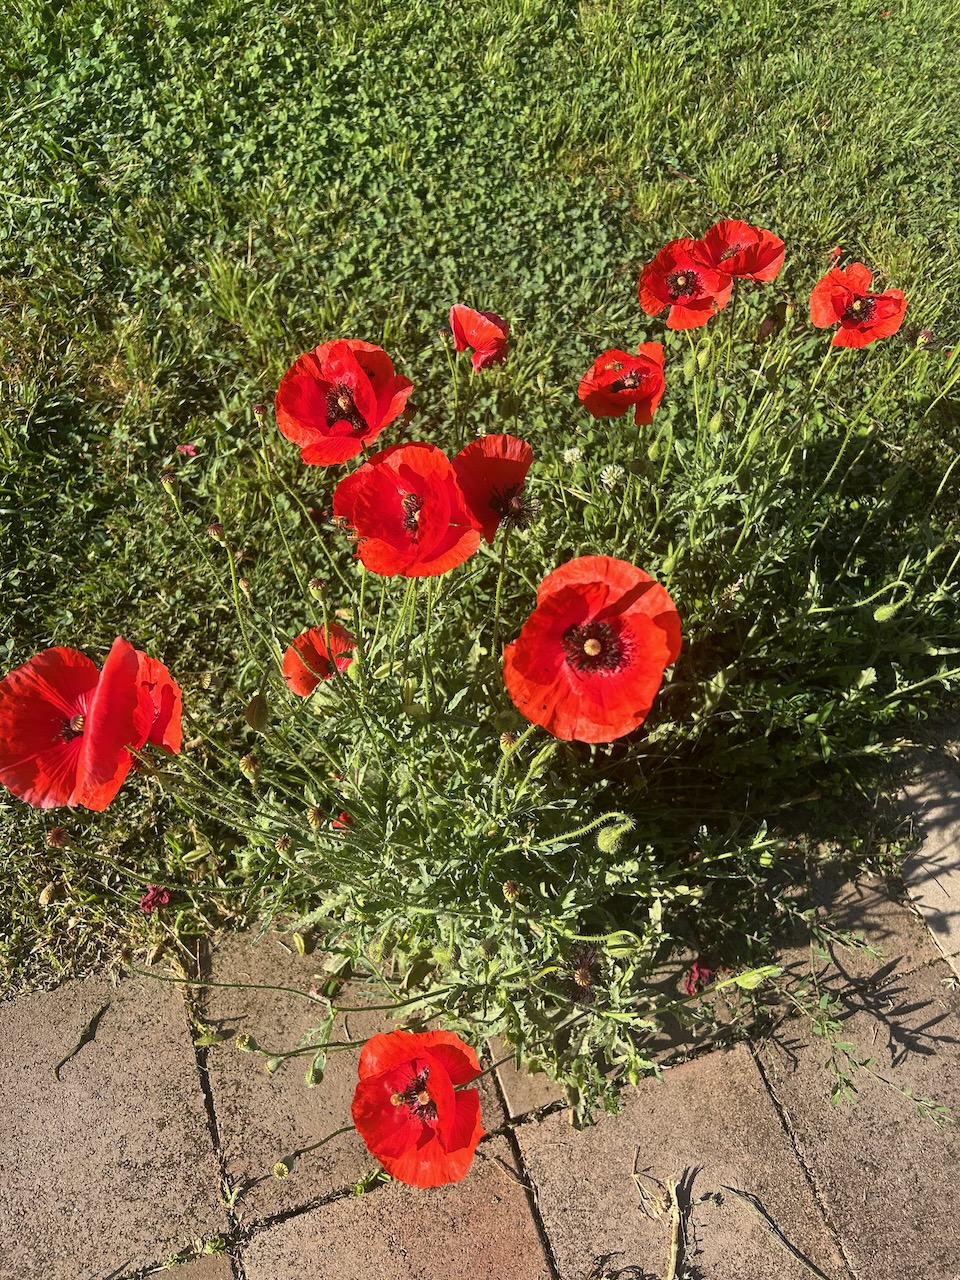
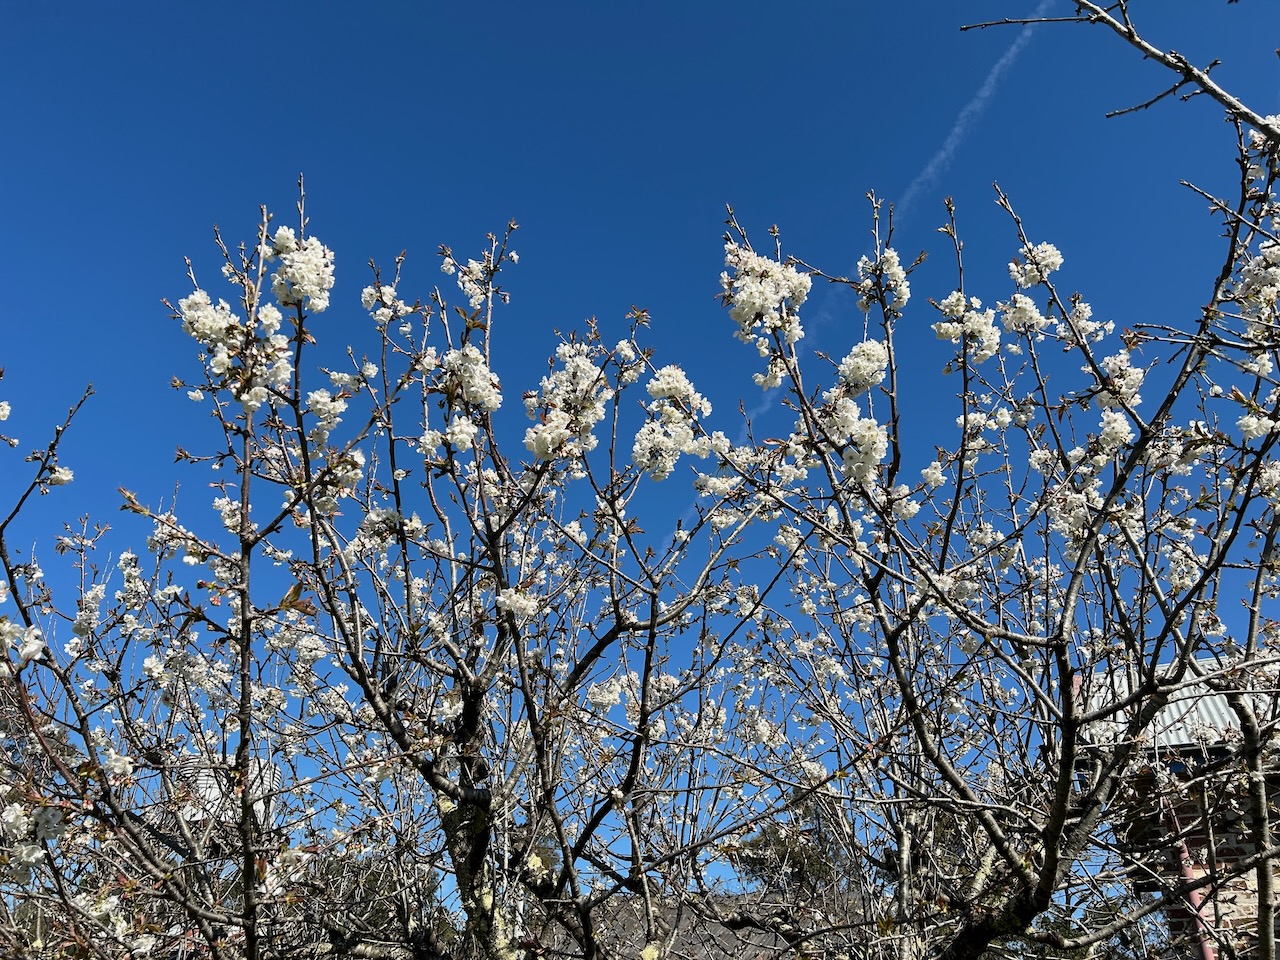
The last of the wild poppies are in their final fling of exuberant and cheerful rich red colour. These ones have come up, self sown, wild, in the cracks in the paving around the pottery.

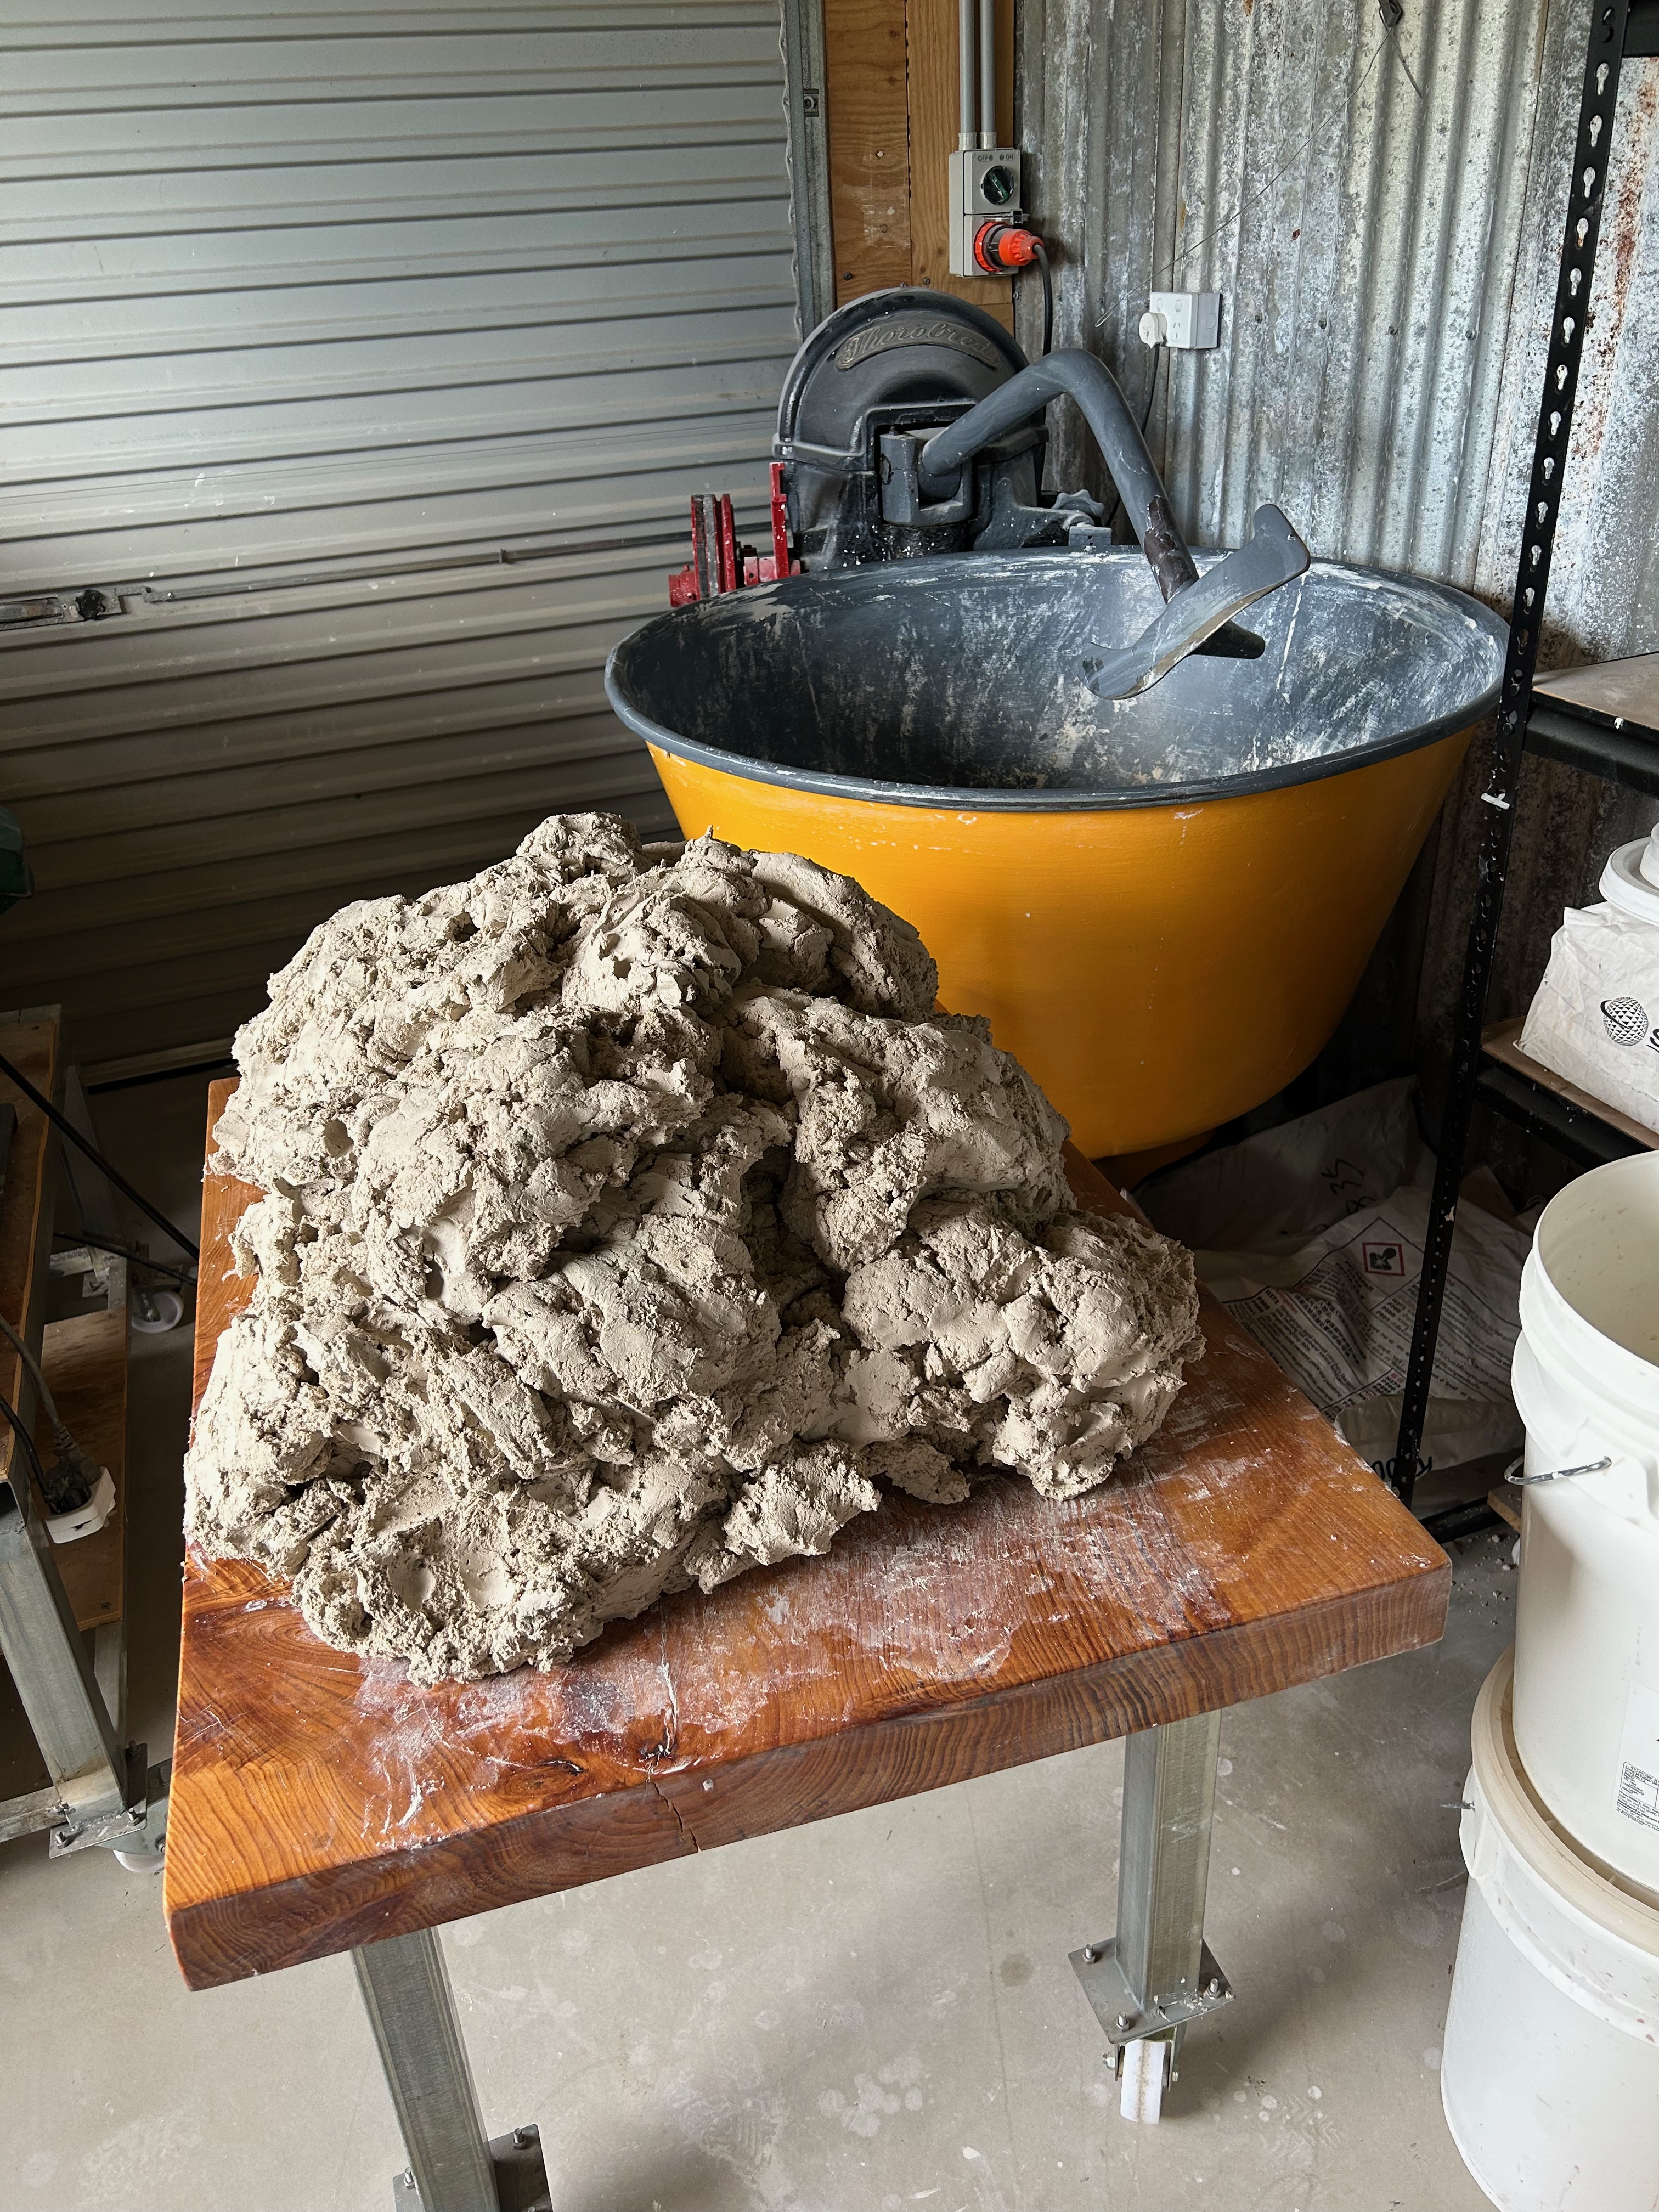
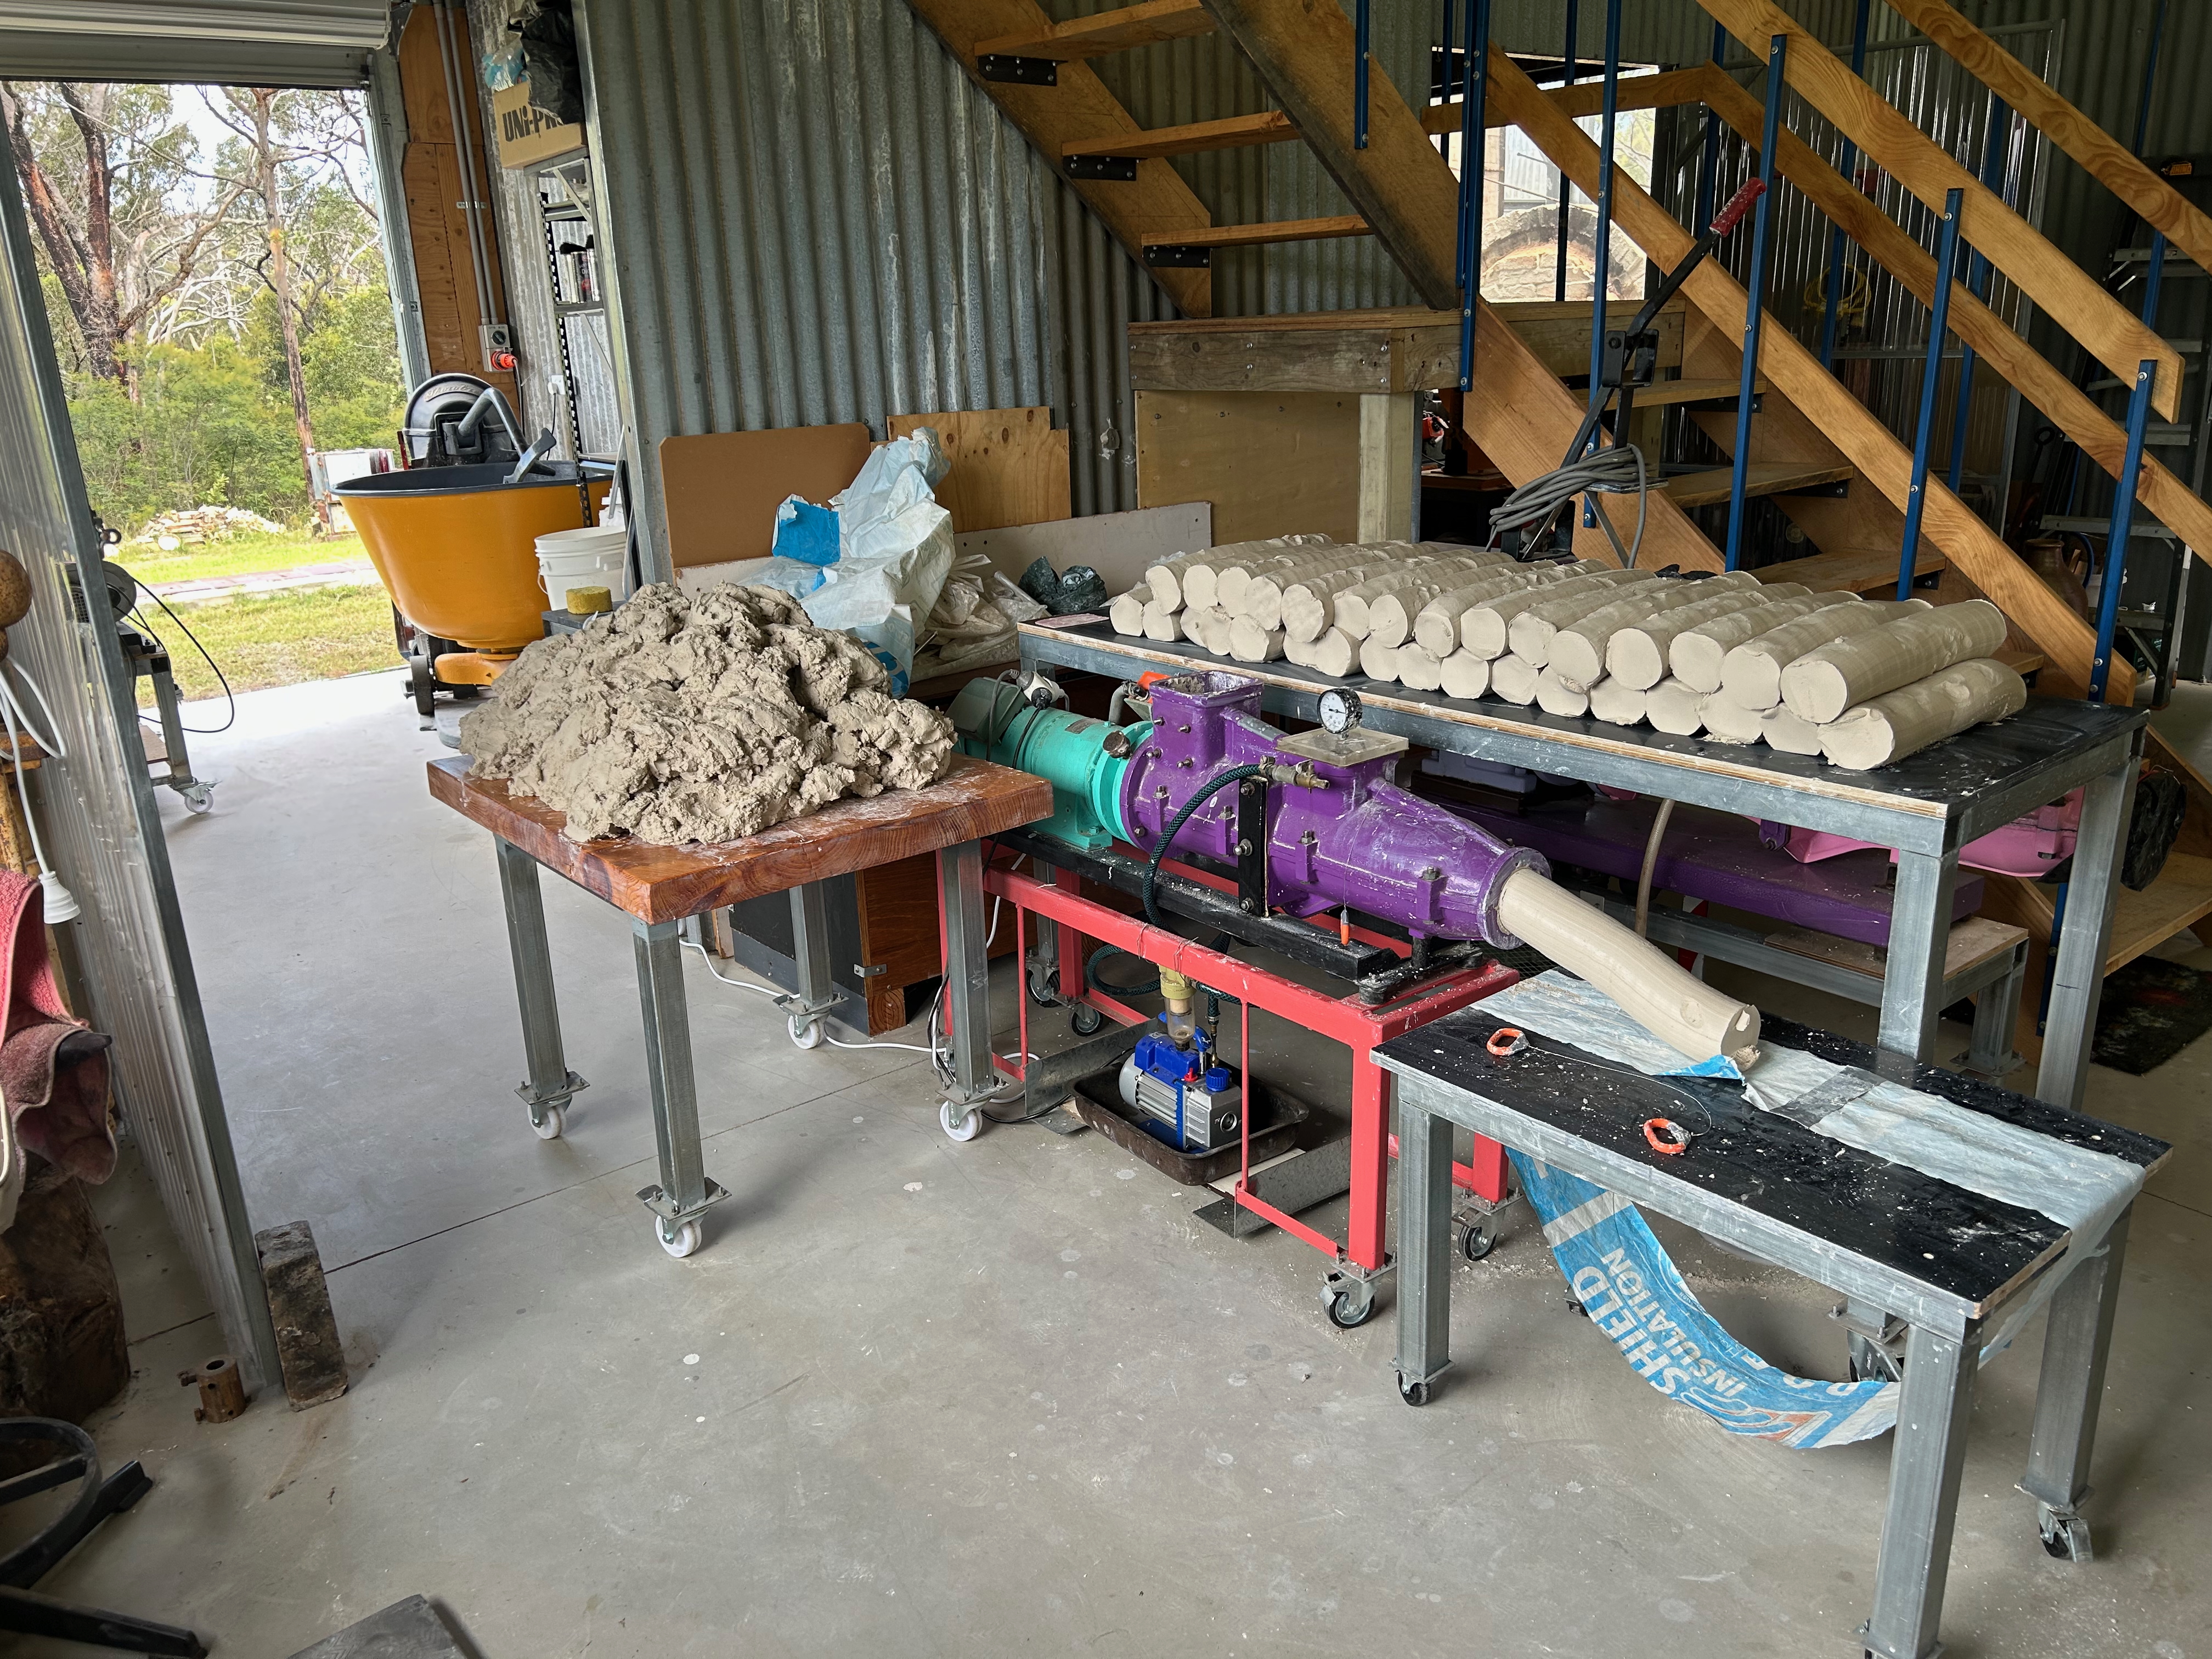
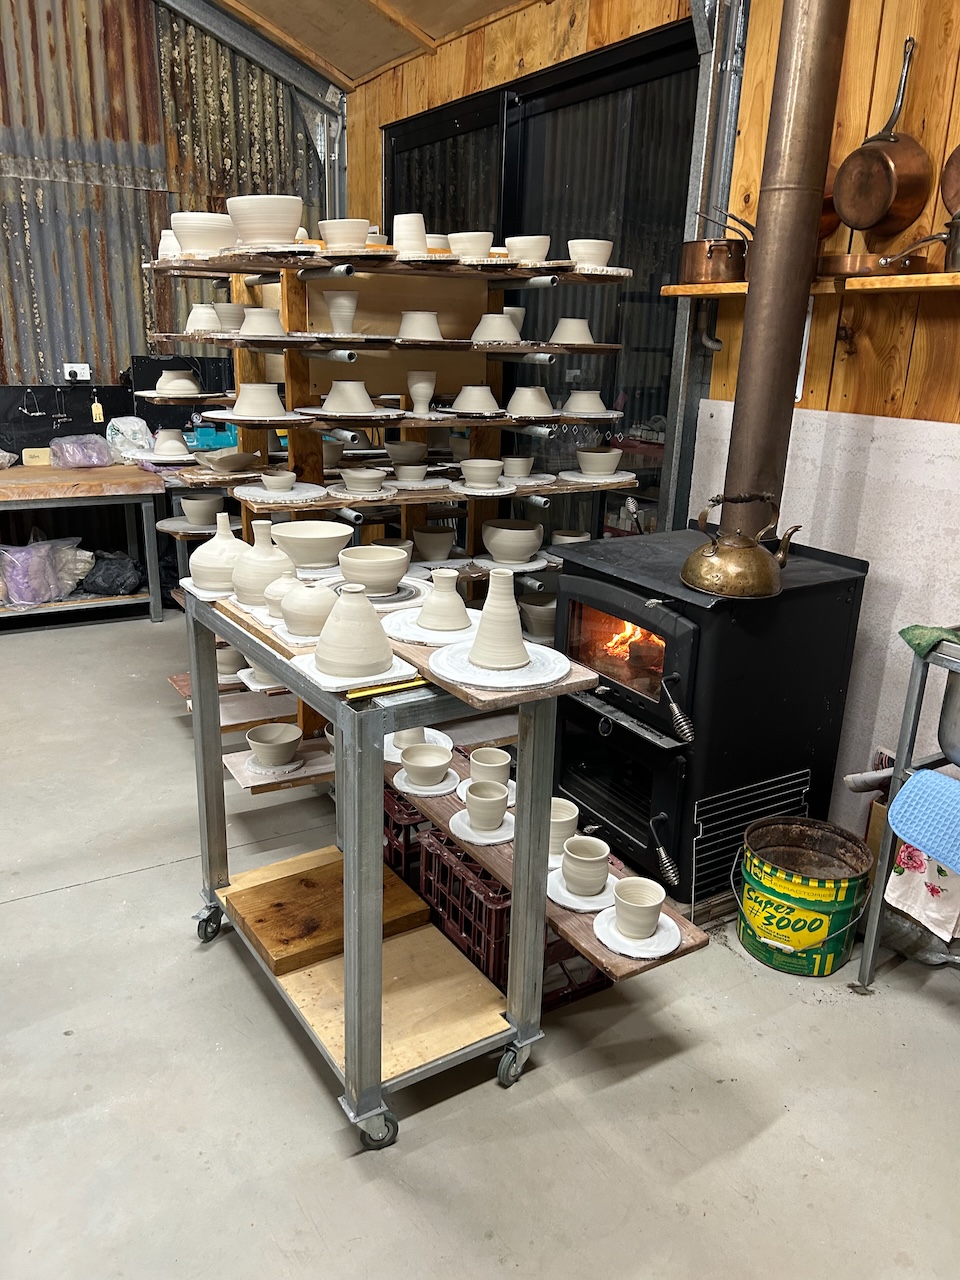
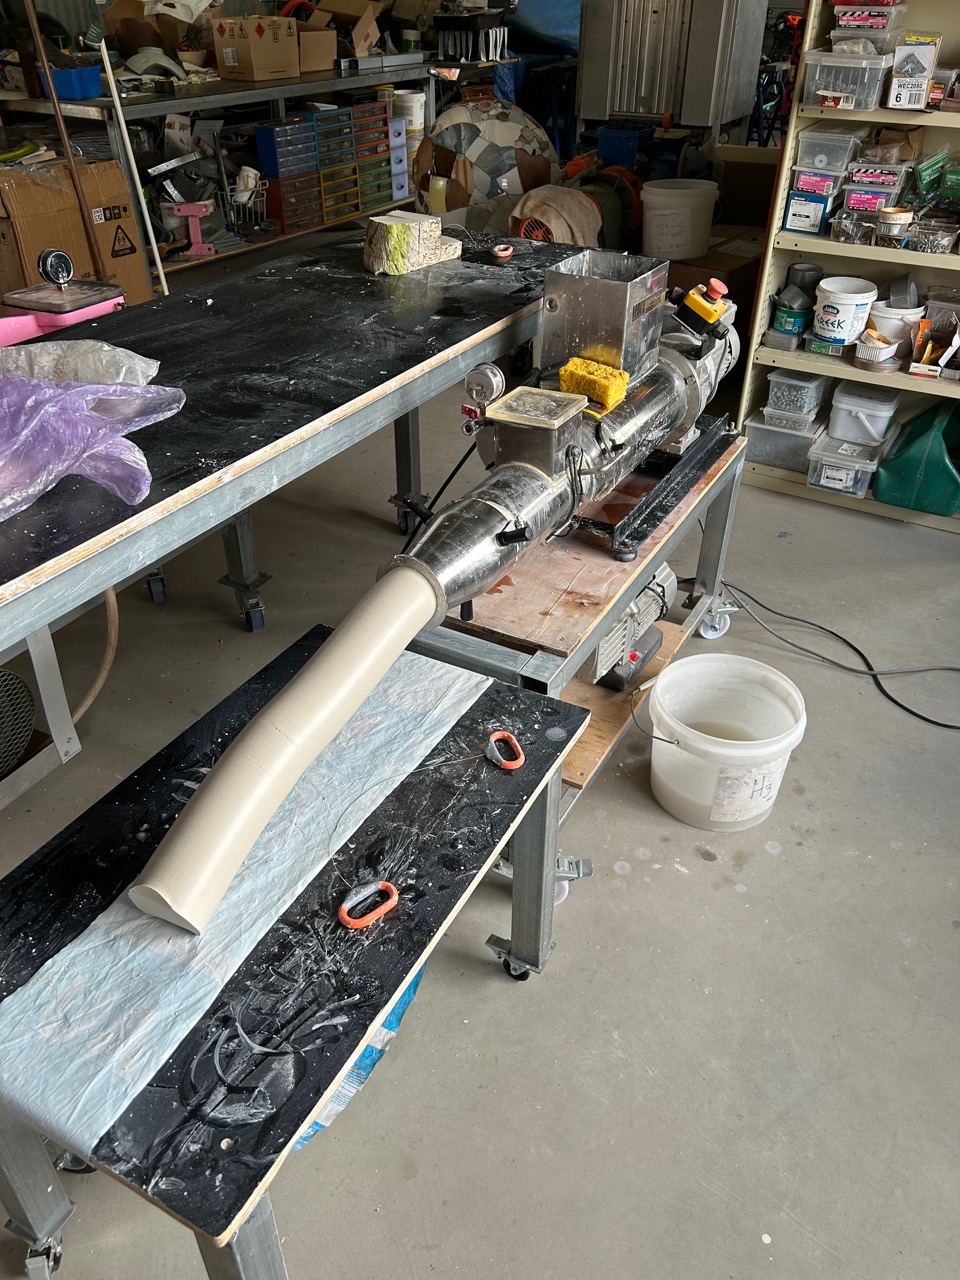
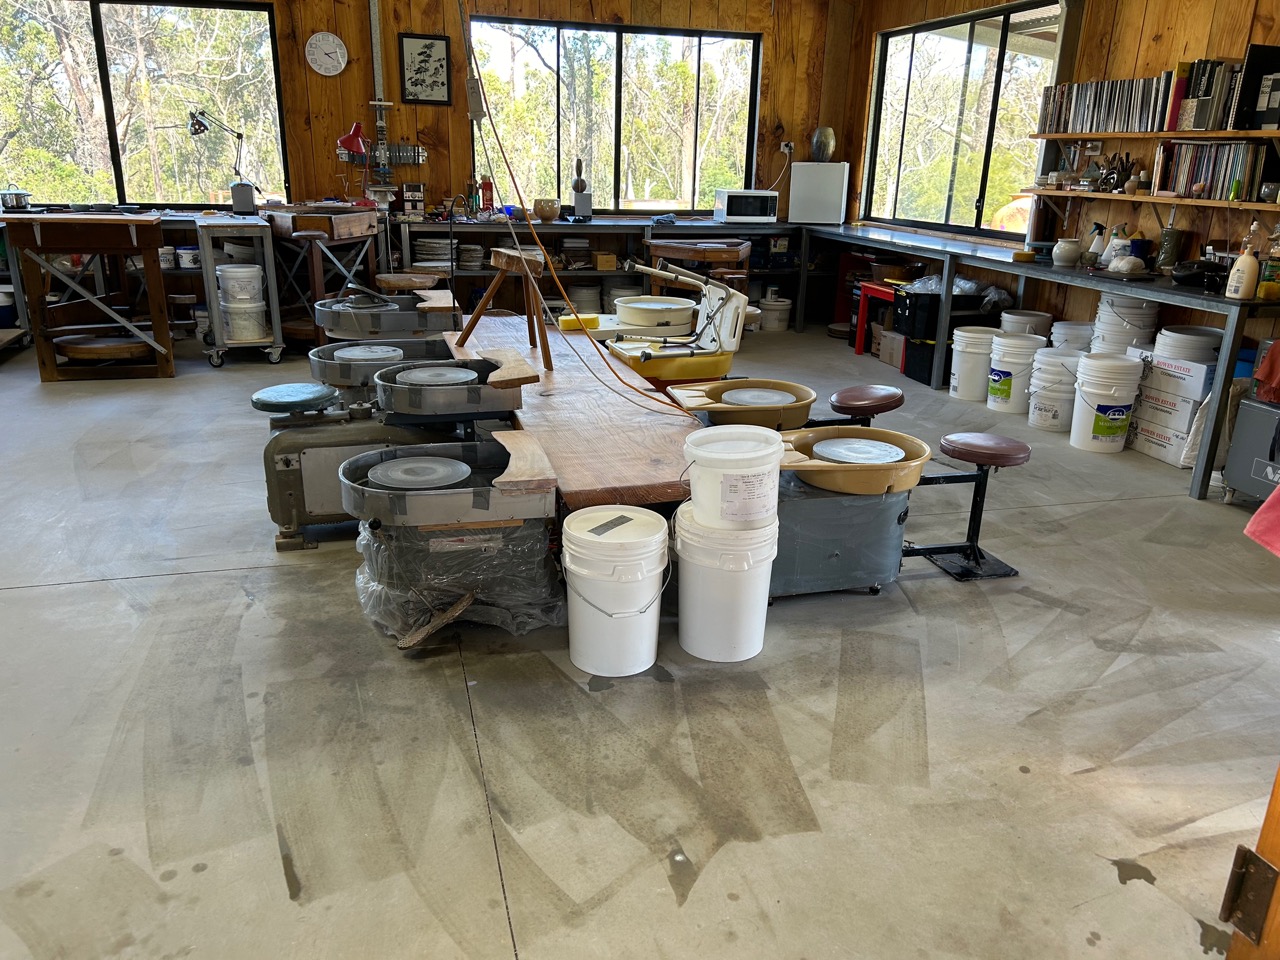
Even though everything is more of less completed around the pottery, it still takes us a day to set the studio up for a workshop, prep all the clay, clean the batts and pot boards etc, then do some cooking to share for our joint lunches. Afterwards, there is a day to recycle the abandoned pots, crushed and soaked in the left over throwing slip, and wash everything down. The next day, I transferred all the re-cycled clay slip/slop/slurry from the 20 litre buckets into the plaster batts in the clay room to stiffen-up for re-pugging. 

I have 5 big plaster tubs/batts on a shelf in front of the huge north-facing window in the clay room, they get baking hot in the sun and are almost always very dry and receptive to stiffen up our recycled clay slip/slop/slurry. 

However, 30 litres of fairly thin slurry does set them back a bit in the drying stakes.

Today I dug out all the very soft plastic mass, in its slightly stiffened, but still very wet plastic state and piled it up in lumps on the pugging table to air dry. Once the plaster is saturated, it keeps the clay damp, so best to get it out and get it air drying. This has proved tot be the fastest way to deal with so much slurry. I also need the plaster tubs dry again for Friday’s next onslaught of failed experiments from the last 3-day summer school.

Everything will be in order by the time the next class starts tomorrow.

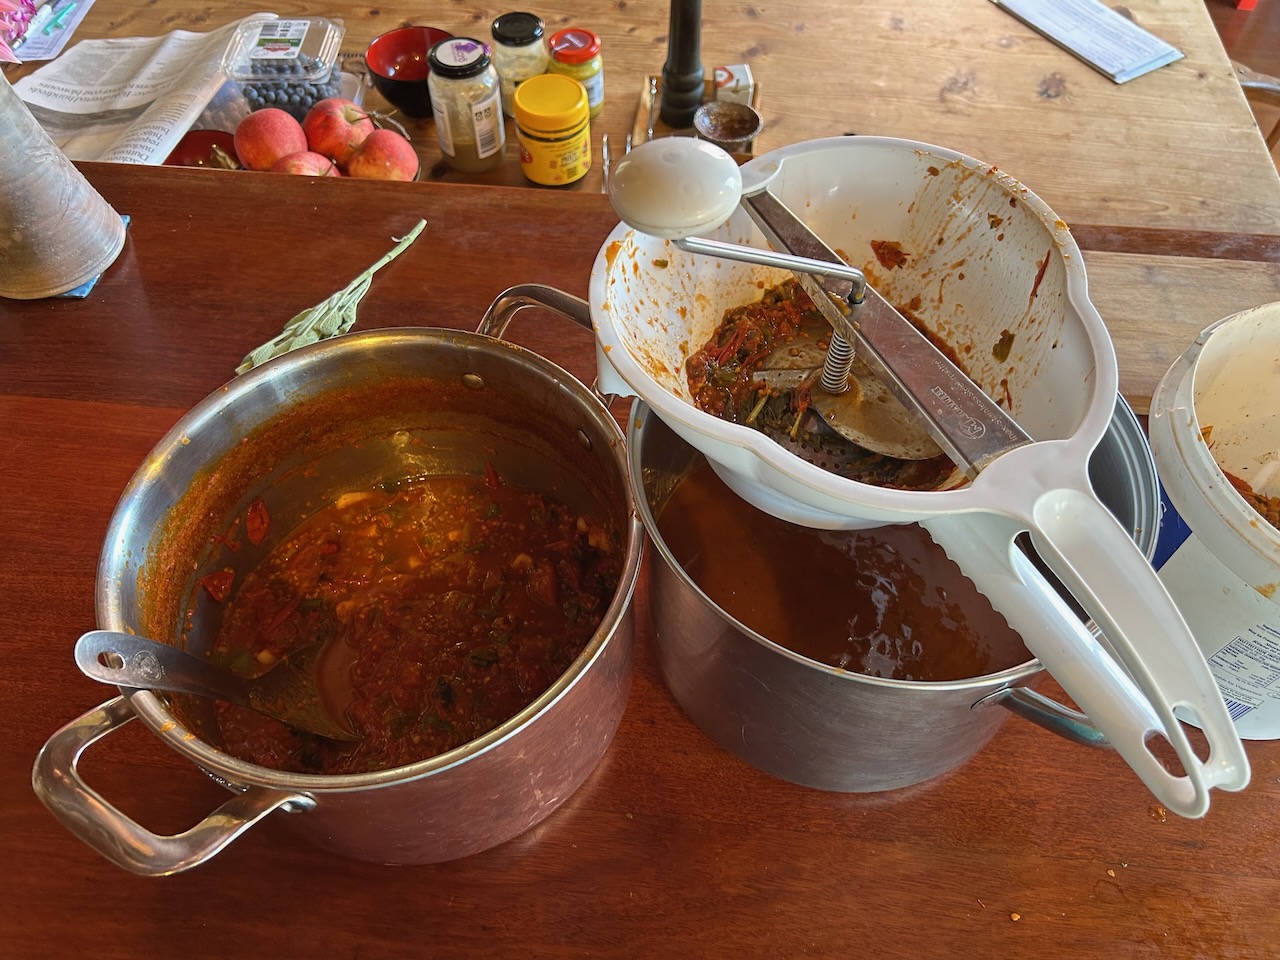
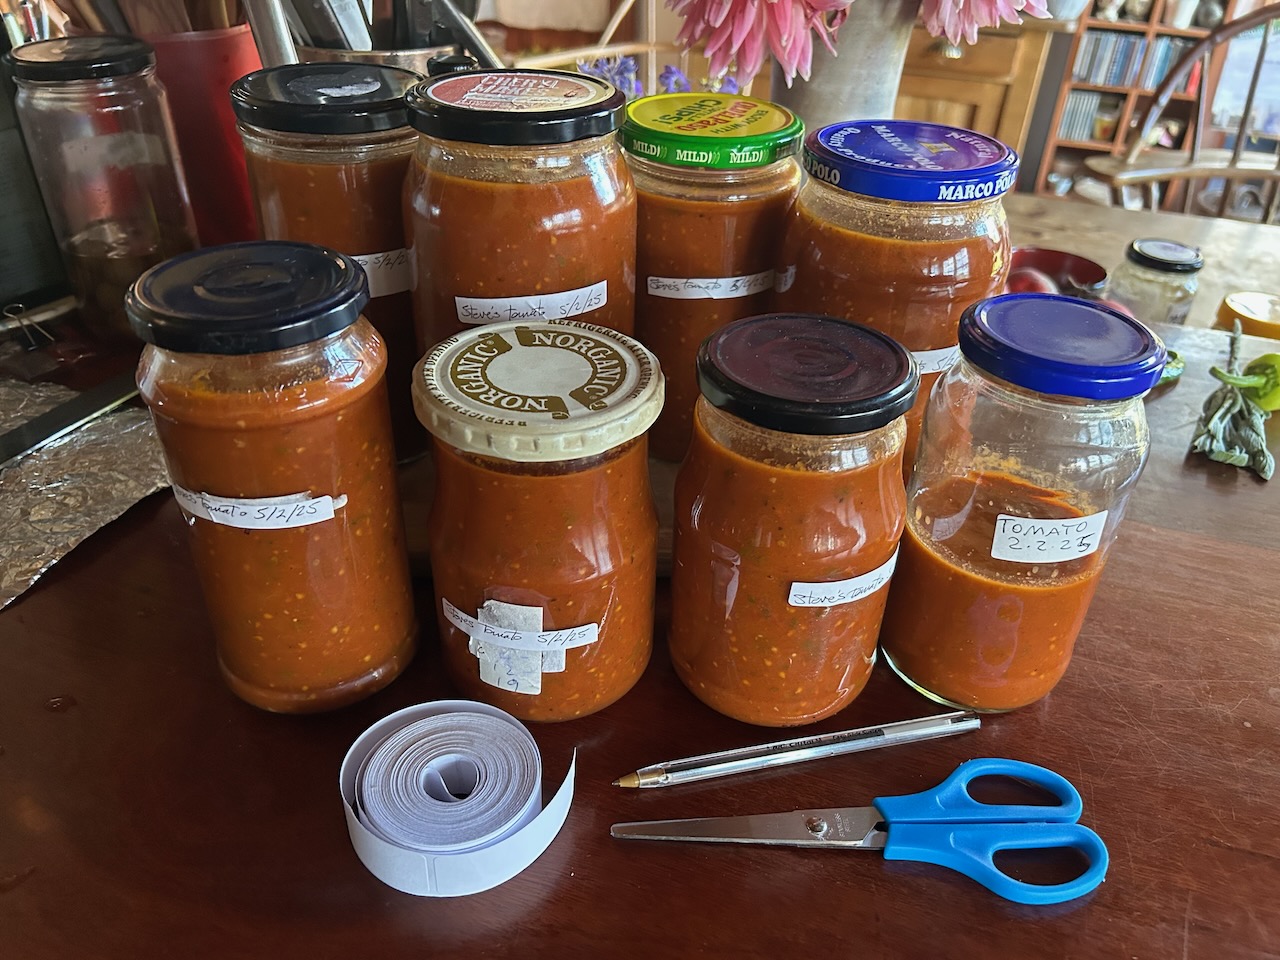
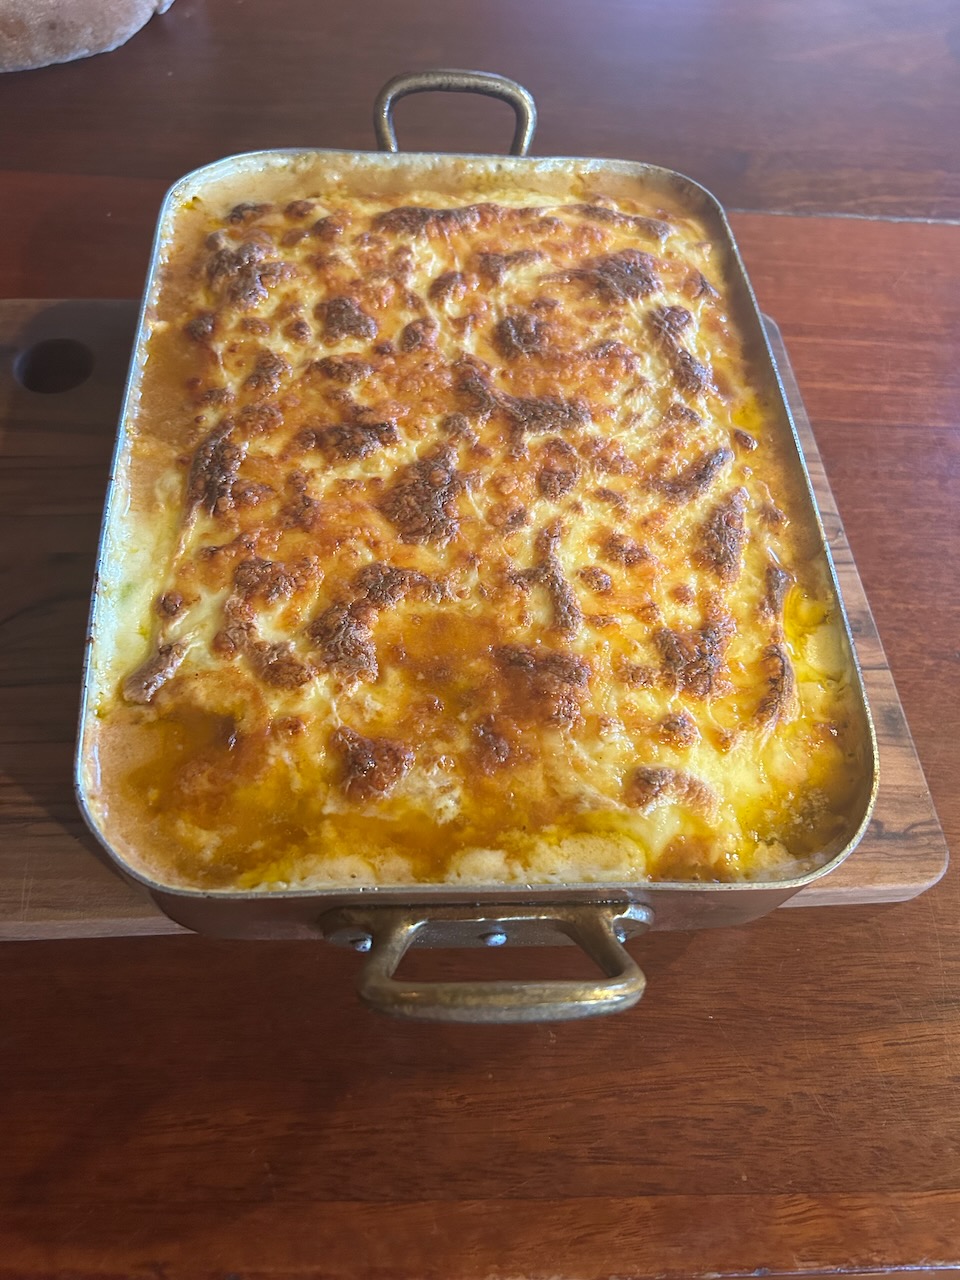
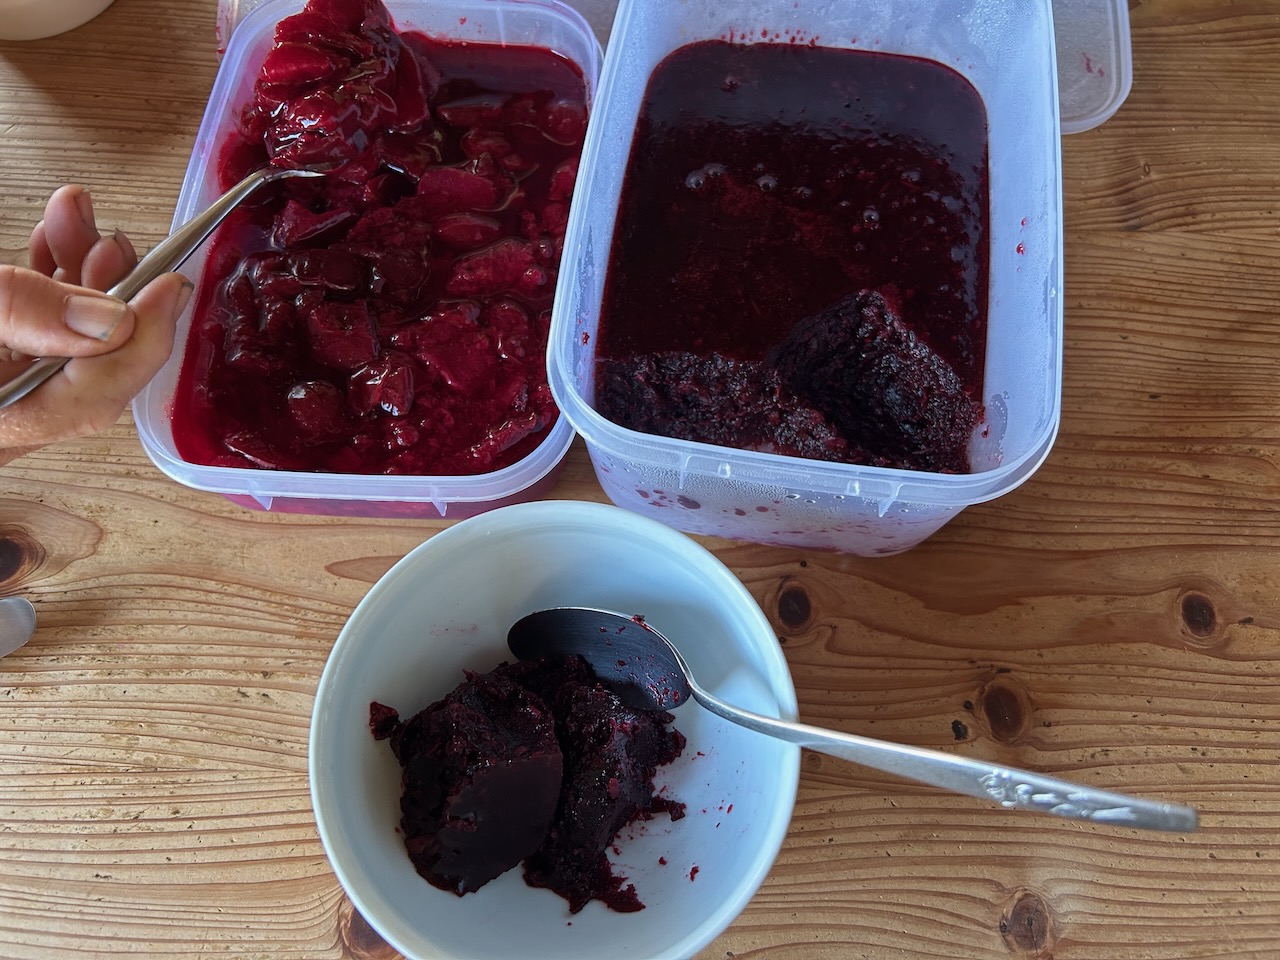
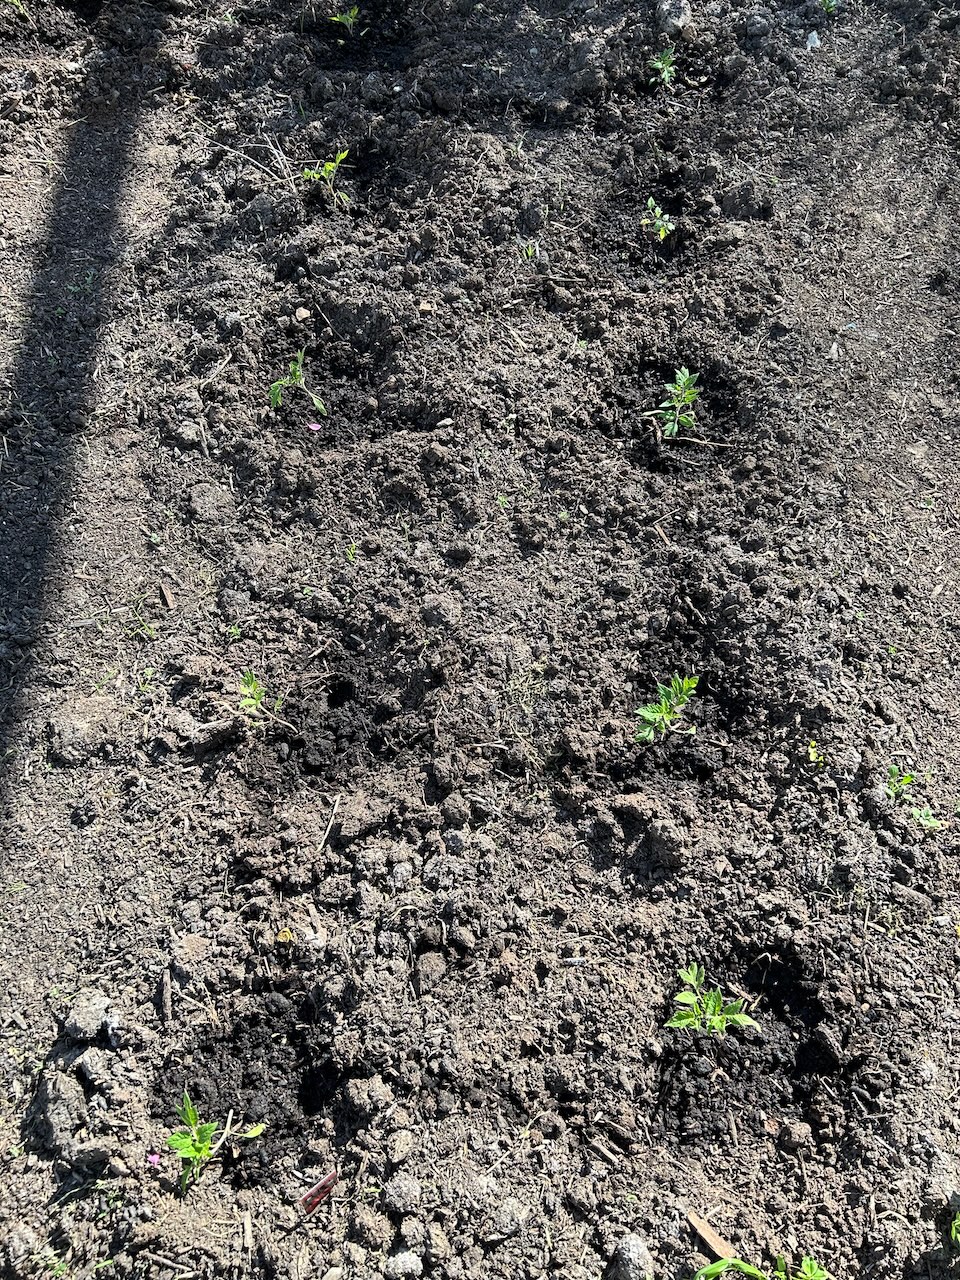
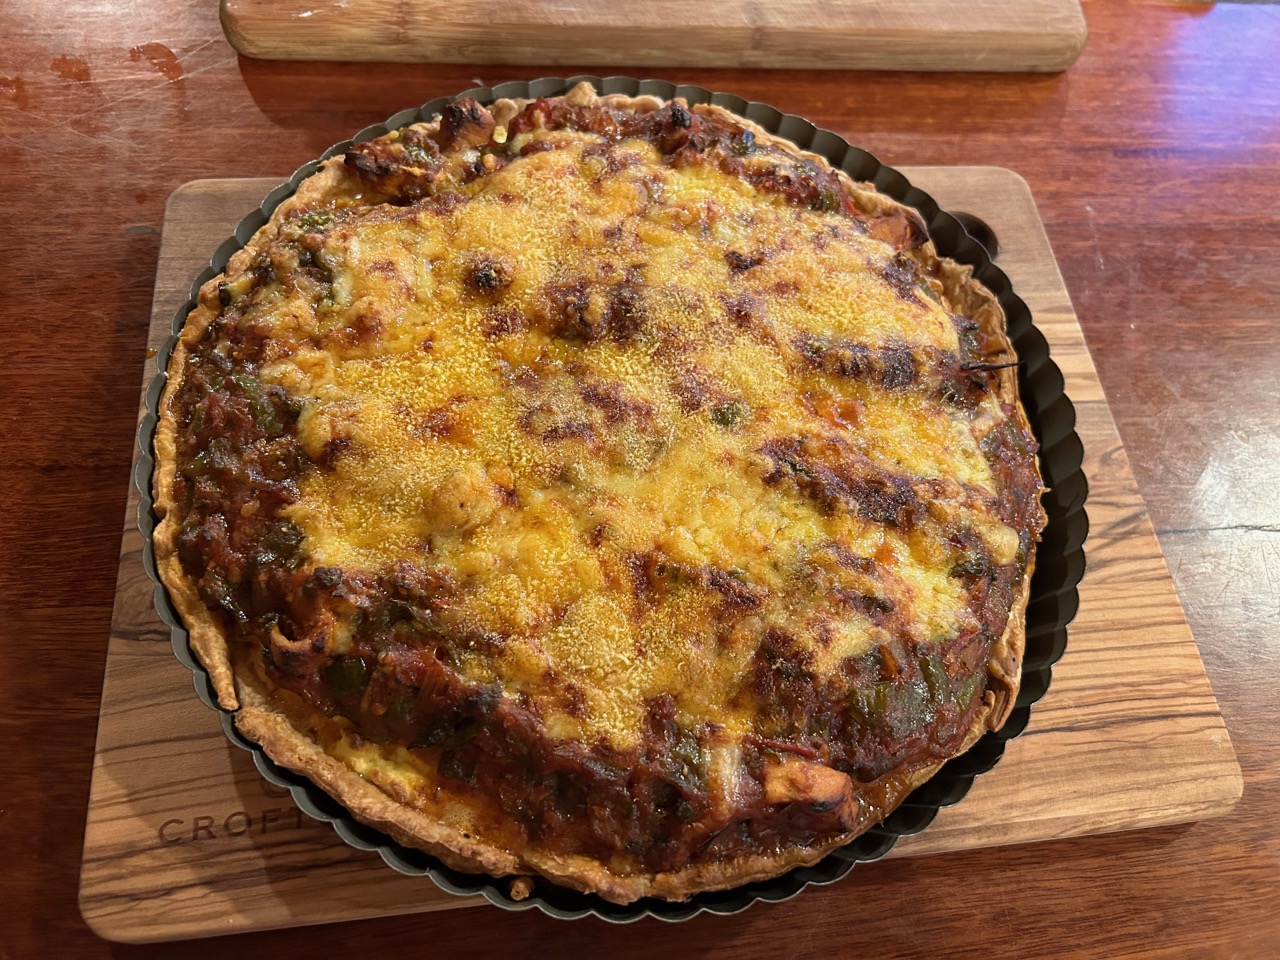
After the cleaning I baked another loaf of bread and cooked a potato dauphinoise for dinner finishing it off with a whole camembert sliced on top. The garden is revelling in all this warm weather and occasional storms. The self-sown tomatoes are small but prolific. I found the time in the evenings to make my first batch of tomato, garlic, capsicum and basil passata. 10 litres of sliced tomatoes boiled down in their own juice and then reduced by half to concentrate the flavour.

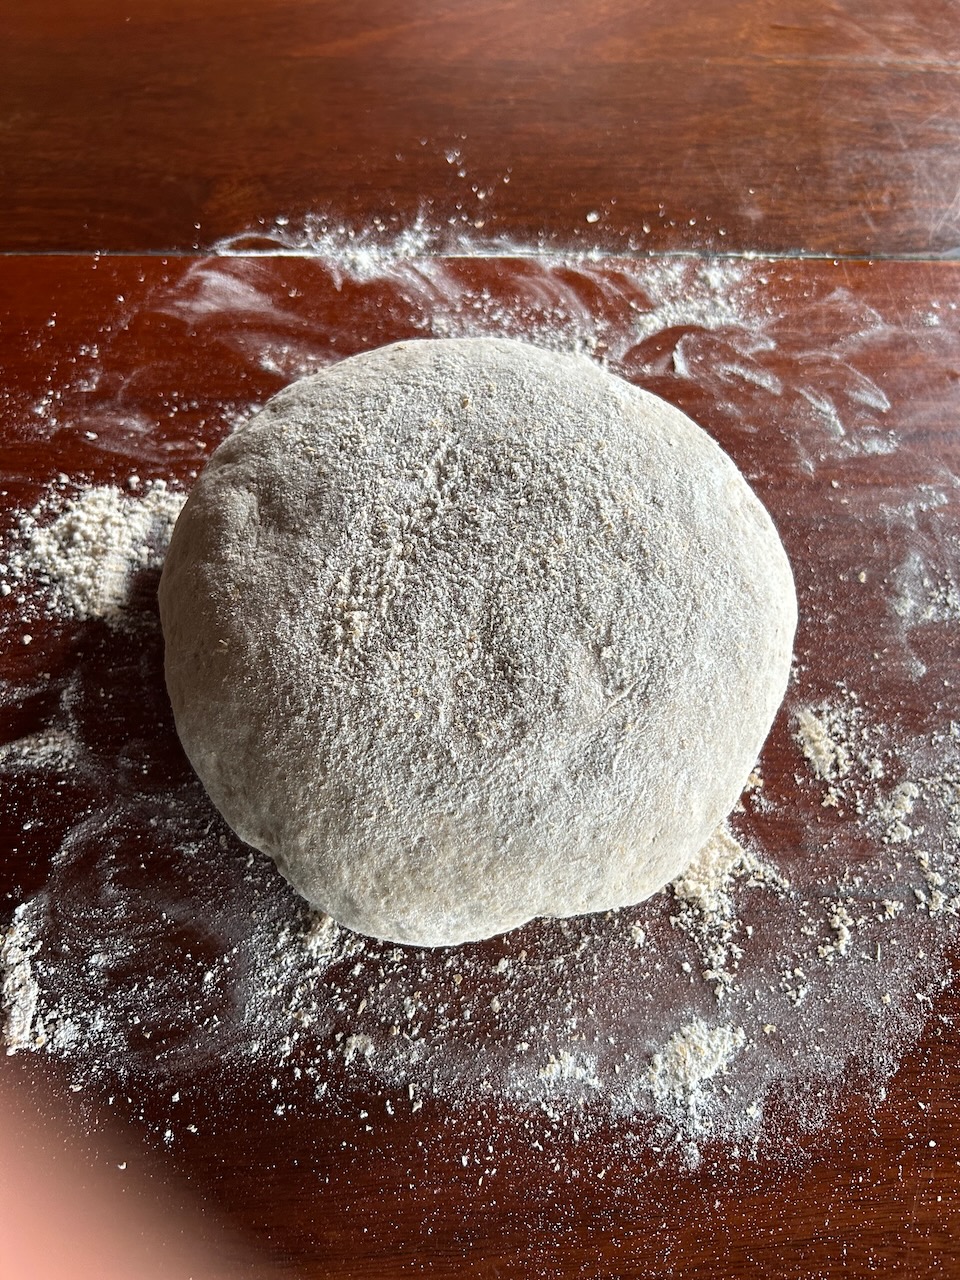
The bread turned out well – as usual. I’ve got it nailed now. Success every time. but I’m still trying variations, and different brands of flour. I’ve ended up with a 50/50 blend of wheat and organic stone ground rye flours.

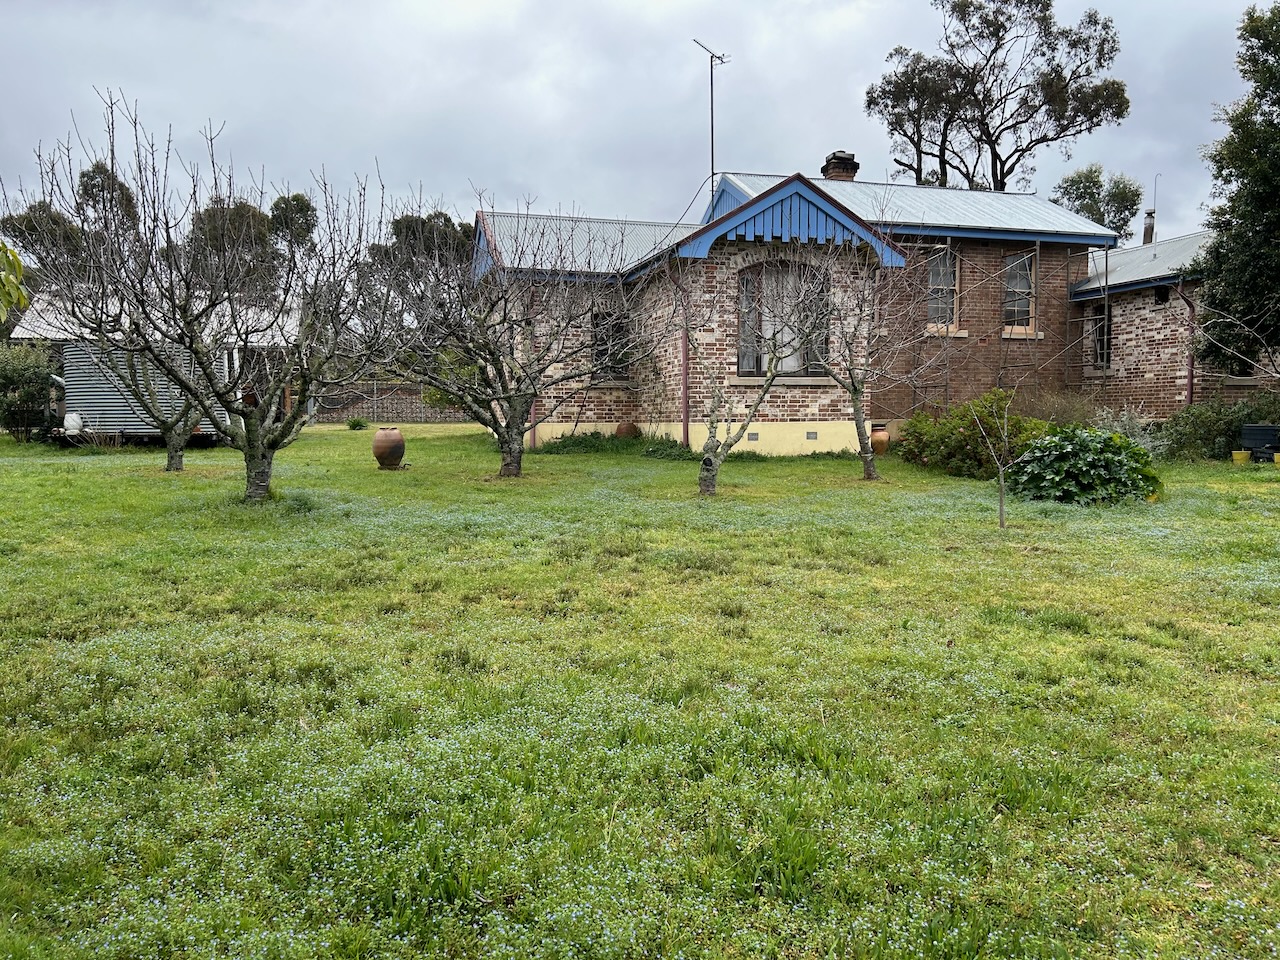
There are so many vegetables coming from the garden in summer, we give a lot away, and do a lot of preserving. We also eat as much as we can. 

Nina and I worked together to make a sort of Greek inspired moussaka dish. I did the tomato/meat sauce and Nina did the béchamel topping. Working together made it so much quicker. Everything from the garden, egg plants, zucchinis, garlic and last years passata.

It was so nice on a cool rainy evening, we’ll be doing it again.

We are continuing to cube and roast pumpkin with olive oil, garlic and a sprinkle of salt. Everything is working, we are well, although quite tired from the intensity of the work load with the workshops, added to the summer harvest work, which can’t be put off or delayed. After next weekend’s workshop, I might try and make some cider from the apple and pear crop that is peaking at the moment.

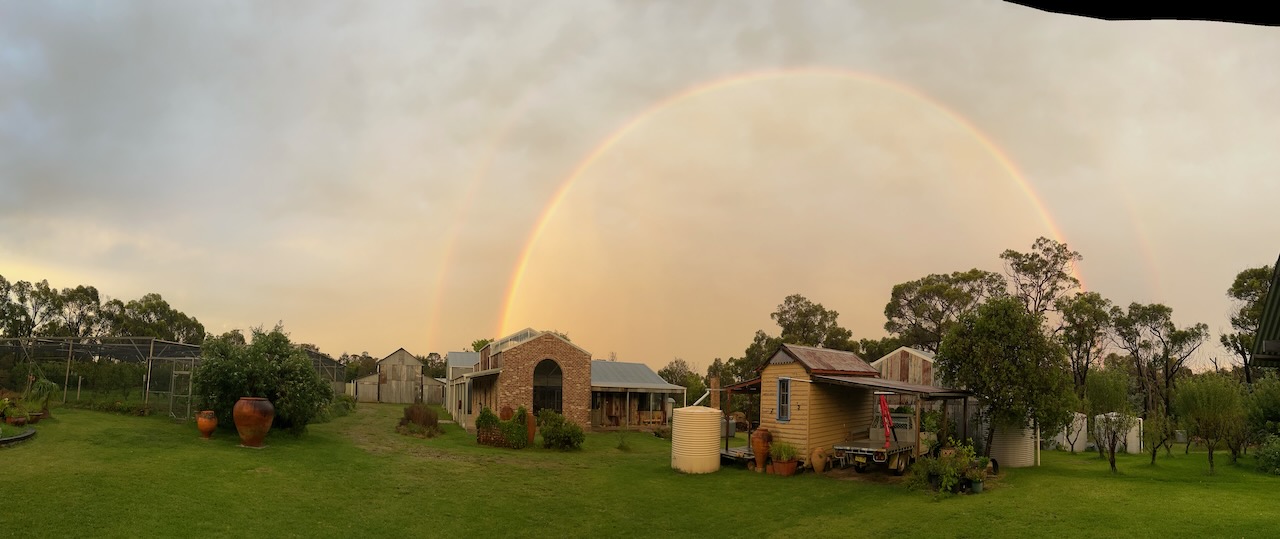
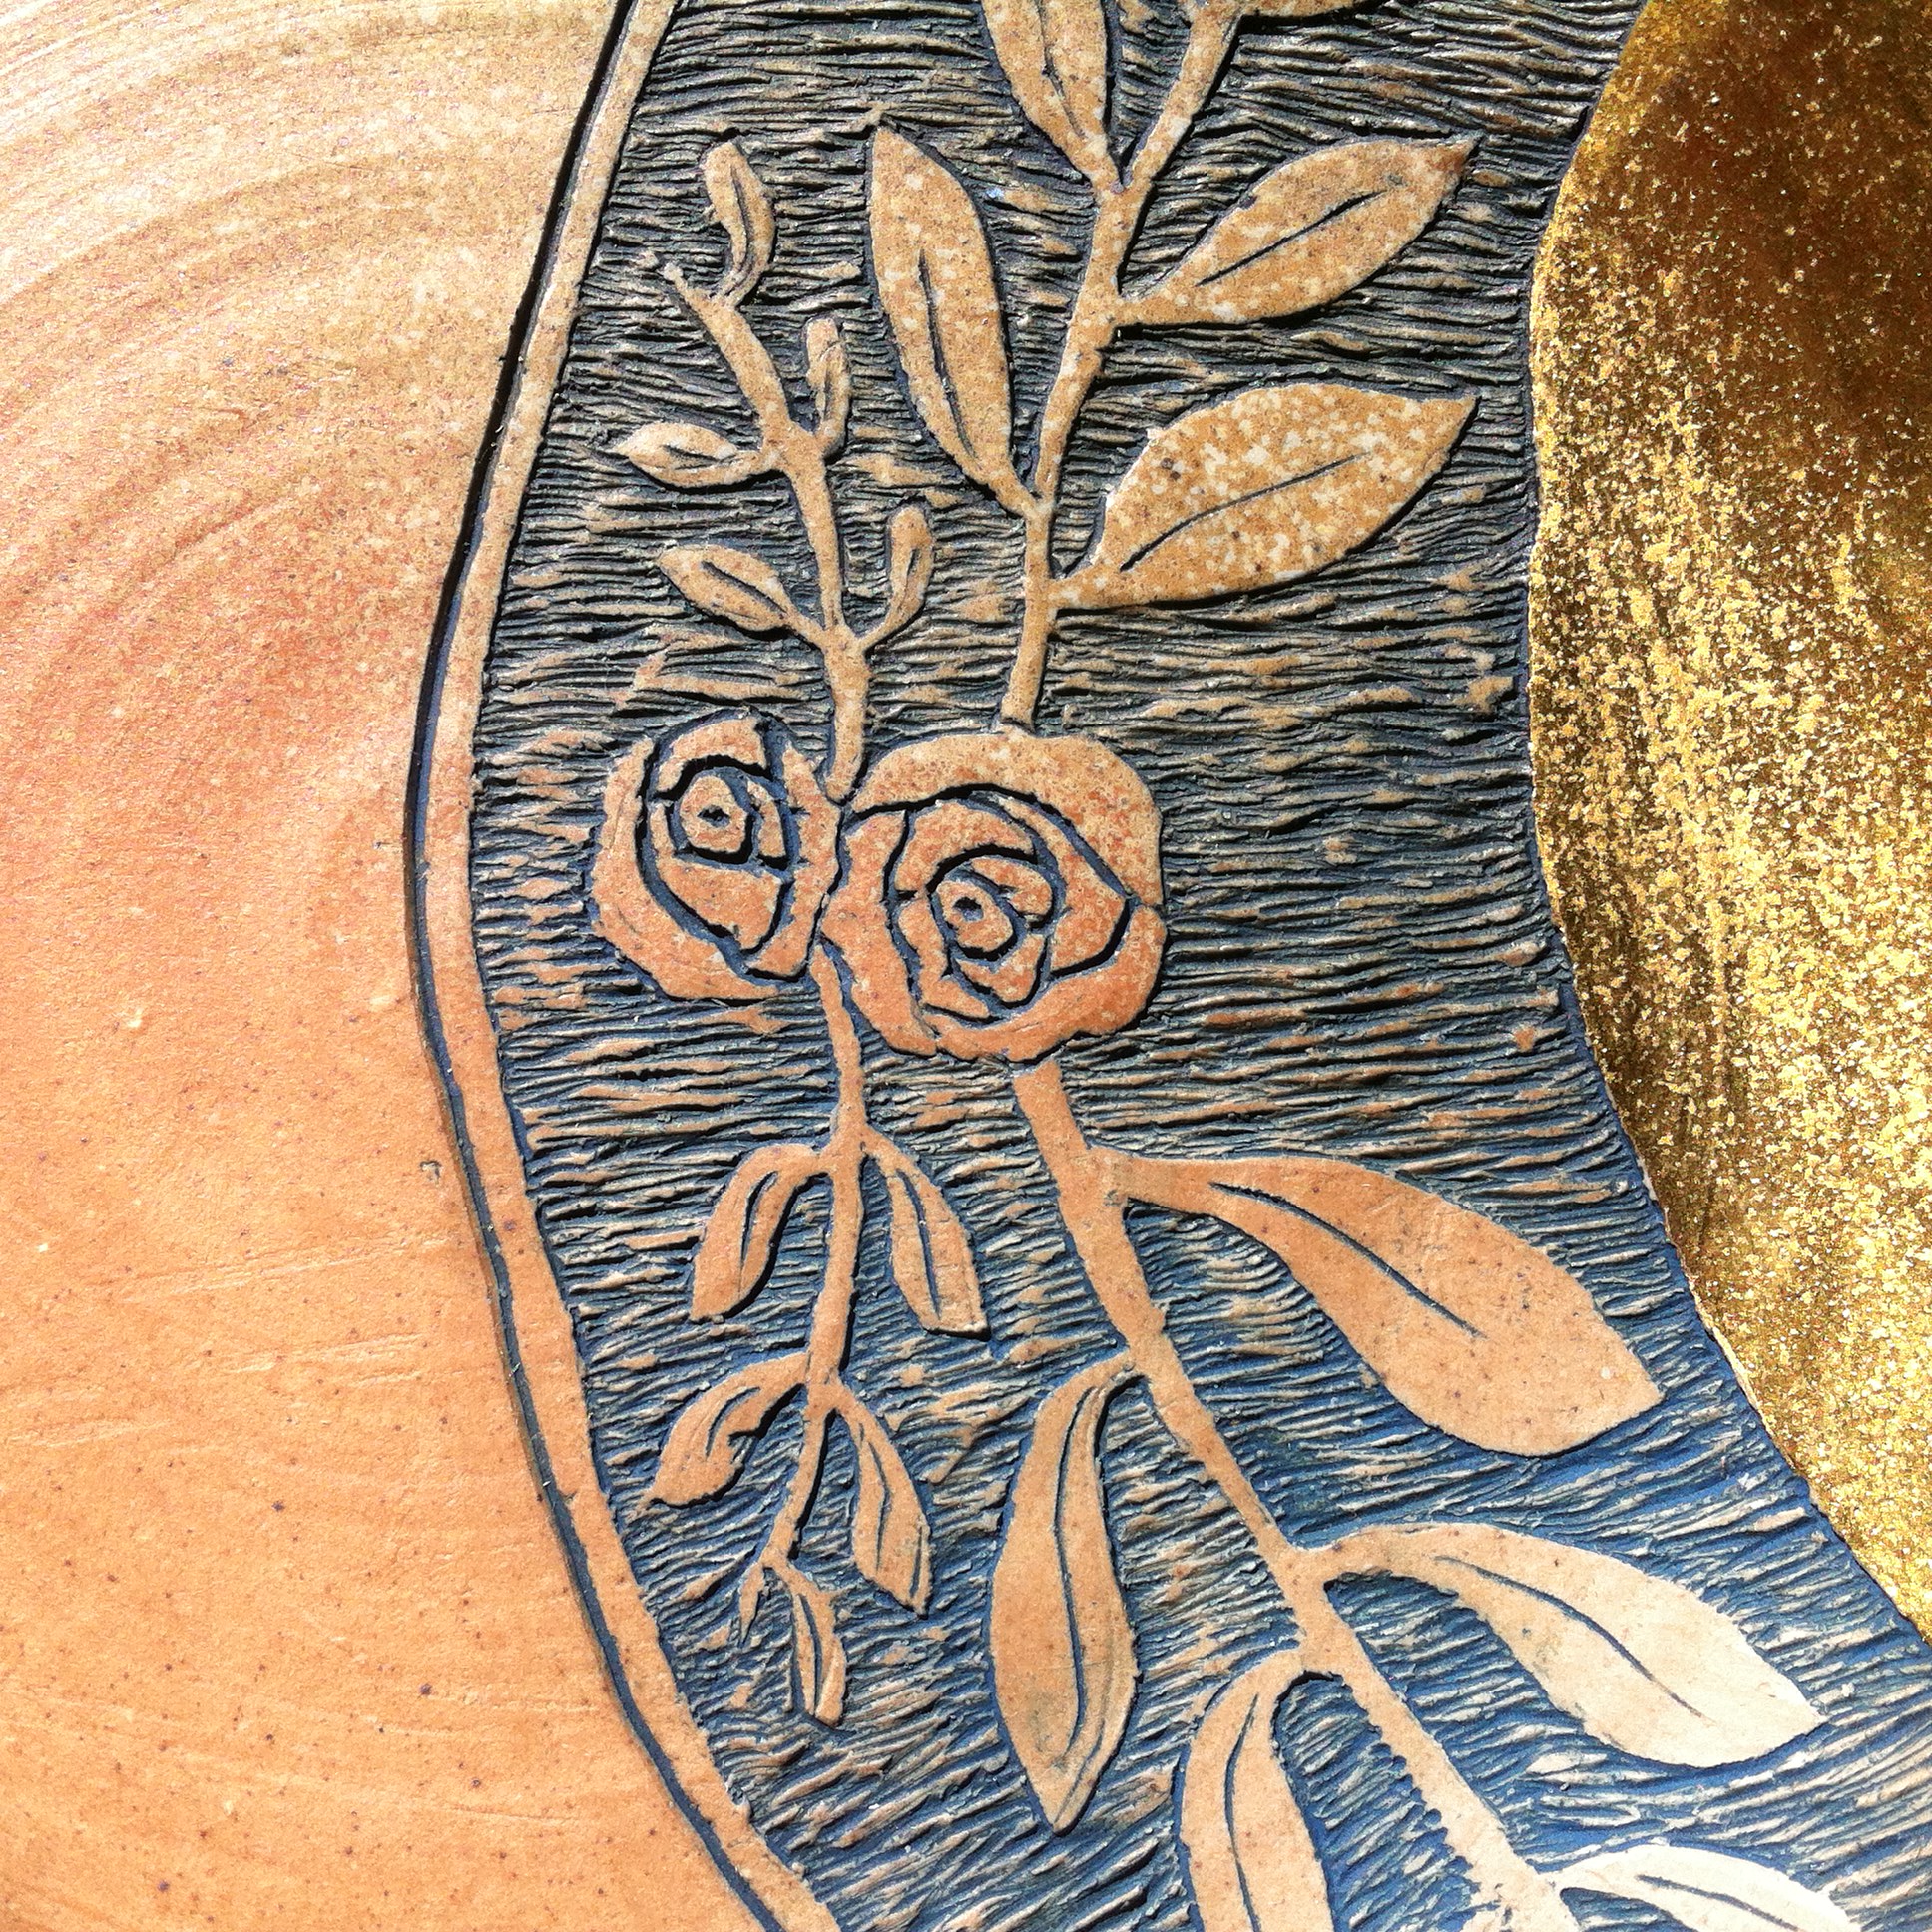
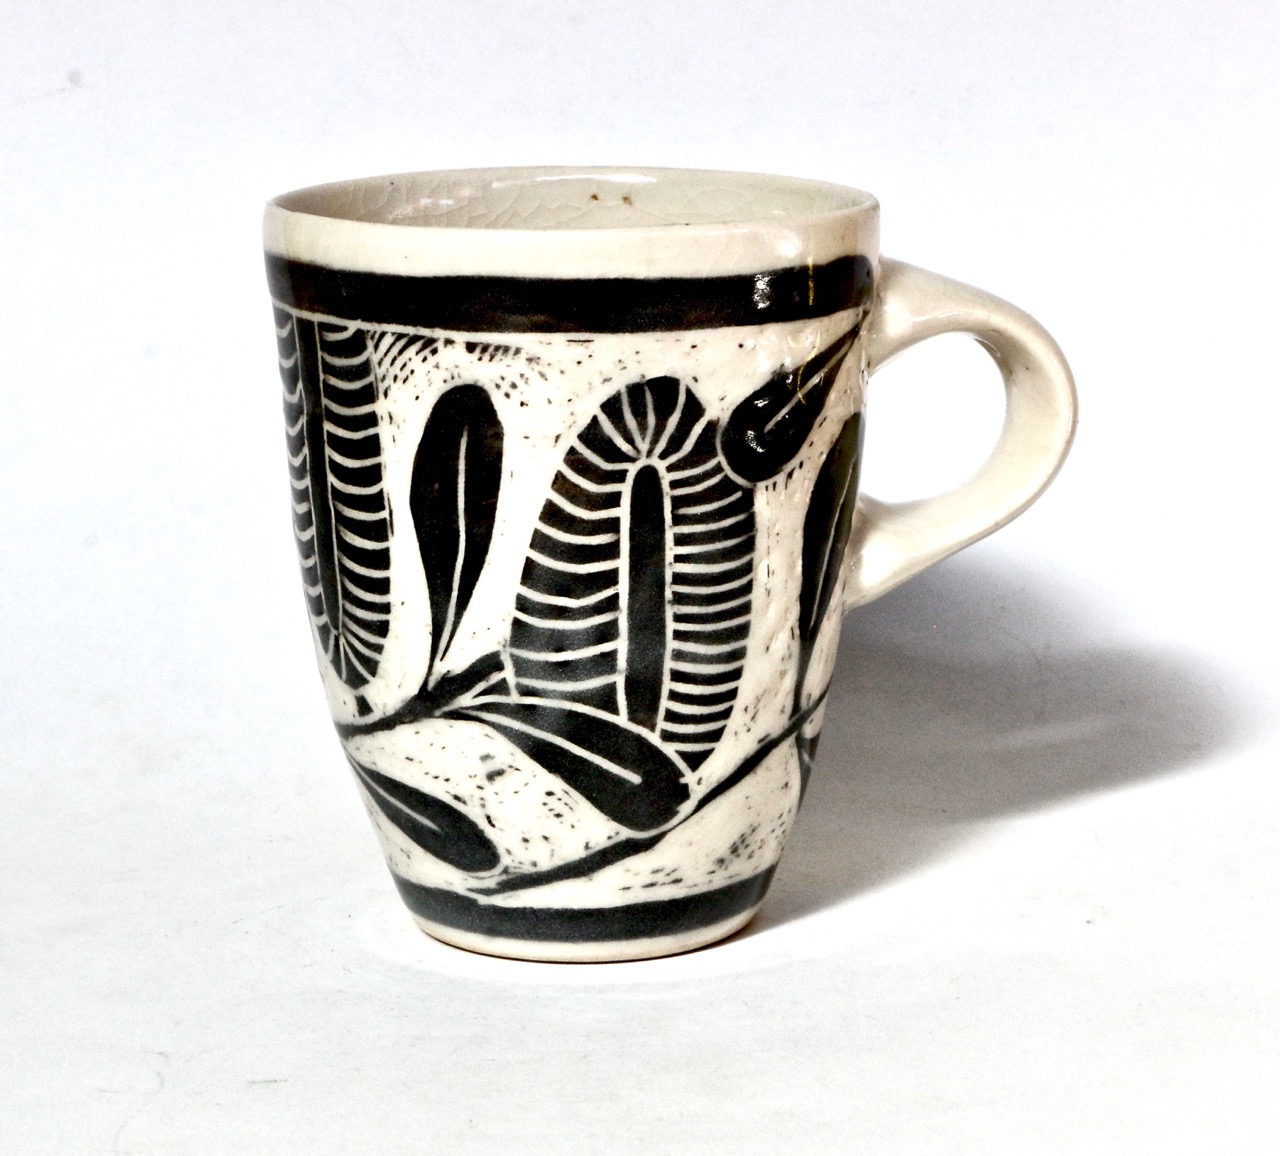
Is there a pot of gold at the end of the rainbow, in the new pottery? Hit by the end of the amazing double rainbow. I rushed down there to check it out. I went to the decorating cupboard where I keep all the pure gold leaf for use in kintsugi. But no pot of gold!

I could swear that I had a full fresh book of gold leaf in there, but NO! all gone.

I think that we got the wrong end of the rainbow. It sucked up all my gold and dropped it over the rainbow, somewhere else. Possibly in Kansas?

Bummer!

January in the Garden, Orchards and Pottery

We have been very busy with our summer schools since the beginning of January. I originally advertised one Summer School to teach the making of larger forms on the potters wheel by ‘top-hatting’ and ‘coil-&-throw’ techniques.  We got such a massive response to my add that we could program 4 summer schools of 3 days each, and lined them up with a few days in-between. Two in January and two more in February. We only have 8 potters wheels in our workshop, and we got over 30 replies so I had to run 4 schools and space them out.

Top-hatting is a technique of placing one thrown form on top of another to make a larger pot than you might otherwise be able to throw in one piece. It can involve the stacking of multiple forms to gain extra height. Coil and Throw technique involves throwing a substantial base for the pot and then adding a coil of clay to the top and throwing that coil up to become the wall of the pot, extending the height. This technique can be repeated several times to make a taller pot.

We got such a massive response to my add that we could program 4 summer schools of 3 days each, and lined them up with a few days in-between. 2 in January and 2 more in February. As we only have 8 potters wheels in our workshop, and we got over 30 replies, that meant staging 4 consecutive schools. 

I made up some clay specially designed for big pot throwing by joining techniques, slightly softer than usual and with added ‘tooth’ and ‘grit’ for structure and good drying and firing of the larger forms. I originally made 400kgs of clay, thinking that it would be sufficient for the 4 workshops, but I was way out in my estimations. The first two workshops used up nearly all of my stash, so I was back in the clay making shed the next day to make up another 400kgs for the next two in February. I like the clay to get a little age on it to improve its work-ability, 3 months would be good, 3 years even better, but needs as needs must. One month in this case will have to be enough.

Clay develops its plasticity by the intimate mixing of water molecules in-between the infinitesimally small clay particles. The best way to achieve this is to make a ‘slip’. A very watery mixture of clay and water, to get the water into, and in-between the clay crystals, which in their purest form are flat and hexagonal shapes. It takes a very long time for the water to penetrate the ‘pack of cards’ structure of the clay particles and individually flake off the crystals one at a time to get that intimate mixing of clay and water that is required to appreciate the very best potential of any particular clay.

I don’t have that luxury of time in this instance, so I am using powdered clay material that I bought in, in 25kg paper bags. I’m using a mixture of all Australian clays from Victoria, NSW and Qld. to get a good blend of the required properties that I need. It’s getting very difficult to buy Australian raw minerals and clays these days, as the multi-national mineral companies have bought up most of the clay mines and shut them down, forcing us to buy their imported products from overseas. We are not short of clay here, but we have been locked out of access to our own resources. Welcome to the future!

I mix the various minerals together in an old recycled bakery dough mixer. I have owned this machine for over 40 years. It has gone through 2 fires and been rebuilt each time. Luckily, it is very well made, mostly of cast iron frame, but the fabricated steel sheet bowl was very badly split and warped after the last fire and needed a lot of work to re build it, and get it back into action. see my blog post from 4/6/21  “Our Old Twice Burnt Dough Mixer Proves to be a ‘Phoenix’ mixer”.  I use a blend of recycled clay slip and the new powders to get the best outcome that I can from this compromise of speed, quality and efficiency. 

I use a few tricks of the trade to get the best possible result out of my available materials. I use water from the dam and rain water from the old pottery shed water tank that is full of gum leaves that creates a very useful tannic acid water that is ideal for making clay. It is a transparent pale grey and has a very low pH so that when mixed with white kaolin, it attaches to the clay particles and flocculates the clay mass, which settles tightly in the bucket leaving only crystal clear water on top. It is also ‘live’ as it has all sorts of microscopic organic matter and bacteria in there, which helps age the clay. City water that is full of chlorine is pretty much sterile and kills off any live matter that may help the clay mature and become more plastic and workable.

I have a ‘snorkel’ fitted to a fan in the wall that sucks all the fine dust out of the clay mixer room to keep me safe while I’m working in there, but I also wear protective gear as well. Afterwards, once the clay is all wetted, ‘plastic’ and ‘pugged’ into sausages. I cut all the ends off the stacked pugs and re-pug it all again to make sure that there is a consistent mix of all the 3 different batches of clay represented in each bag of finished clay body.

It is bagged and stacked to ‘age’ and the floor is wet mopped twice to collect all the clay dust off the floor and make the work space clean and safe again.

In the garden, we are picking the last of the blueberries, the first of the egg plants, and we are mid season for zucchinis. The tomatoes are coming on quite strong now and we have started to make our first batches of tomato passata for the summer. Every meal from now on will be some sort of variation of ratatouille in all its various forms. What else can we do when the garden is full to bursting with tomatoes, aubergines, zucchinis and basil? We try and give away as much as we can, but everyone in the village has an excess of tomatoes and zucchinis at this time of year.

Our breakfasts and deserts are mostly of fruit these days. November brings on the berries, December is the month of cherries and apricots, January for plums and peaches, February is all about apples and March for the last of the pears.

4th summer school announced

We have filled 3 summer school workshops of three days each, learning coil and throw, plus top-hatting techniques. It’s a kind of hybrid combination of of hand building on the wheel.

I have 4 more names on my waiting list, for a 4th workshop during the 2nd week of February, 7th, 8th and 9th of Feb.

If you are interested, there a still 4 places left. Please let us know if you are interested.

If we can get 8 names on the list, then we will run the 4th workshop. Then that will be it for the year as far as coil and throw technique is concerned. In March or April, we may do throwing flatware, dishes, plates and platters. Then possibly a glaze workshop concentrating locally sourced and collected stones, gravels and ashes.

Summer School Throwing Workshop Jan 6th to 8th – FULL

The second workshop on the 11th to the 13th of January is also now FULL

I have started a new waiting list for a third workshop for sometime early in February, yet to be determined. I already have 3 names, but need 8 to run the course.

Janine, Len Smith and I will be offering a 3 day throwing workshop over the summer break. Jan 6th to 8th.

We will be teaching throwing techniques for beginners and intermediate level, aimed at making larger forms.

This is NOT a Masterclass for advanced throwers. This workshop is aimed at beginner to intermediate level.

You will need to be able to center clay on the wheel, from there on we will help you make some larger forms, demonstrating exercises to give you confidence to tackle slightly larger projects. Progressing from whatever your current level of skill is.

I will be demonstrating a series of techniques such as top hatting and coil and throw building techniques. 

We will also be demonstrating construction techniques, assembling your thrown sections together to build slightly more complex or larger pieces. We will help you work at your own pace to gain confidence and increase the complexity of your forms, or the height and scale of your pots, as you choose.

The workshop runs for three days from 10 till 4pm on Monday 6th of January to Wednesday 8th of January.

Clay is provided, you will need to bring your throwing tools and lots of batts, a dozen or more. If you own an electrical heat gun, you can bring it along with your tools.

Tea and coffee are provided, please bring something to share for lunch.

Numbers are Limited, as we only have 8 wheels in the studio. First in best dressed.

Cost $375 for three days. Enrollment is confirmed after payment is made.

Bookings <hotnsticky@ozemail.com.au>

Spring is Here.

Here we are in the first week of spring and the hot weather was very welcome, but unseasonably hot for this time of year. Just more evidence of global heating and what’s in store for us in the future?

I have given the peaches, nectarines and almonds a 2nd spray of copper Bordeaux mix to try and minimise leaf curl and shot hole fungus spores. It needs to be done once a month during the growing season. Actually, the recommendation is for every 10 days, but who has the time? And too much copper spray drift can build up in the soil and become toxic over long periods of time. So I just do the minimum.

I don’t think that I can ever eliminate it here, just keep it under control to minimise the damage. The trees don’t seem to suffer from it too much later in the season. Perhaps it has a lot to do with the cold damp nights in early spring?

Because of the warm weather. I planted out tomatoes, zucchinis and cucumber seedlings. Plus peas, beans, sweet basil, lettuce and radish seeds. Then last night we had a cracking frost. The Weather Bureau only forecast 2 degrees for Bowral, our nearest town with a weather station, and we are usually one or two degrees warmer than that. But not so last night.  However, I checked the seedlings and they are all OK in the protective cocoon of the plastic bird netting frames that cover both the orchard and vegetable garden. Lucky!

The Flanders poppies have now started to open and will be with us for the next few months. They need disturbed soil to germinate, so do best in the vegetable garden, because the soil is regularly turned over while weeding and planting. I established them in the new orchard and they did well for the first year, but as I haven’t cultivated in there since, only mown, all their seeds are lying dormant in the soil, with no new plants germinating in there.

The Cherry trees are in full bloom now as is the avocado tree. Every thing is responding to the warmth. There is so much optimism in the air now. Life is returning to all the formally dormant plants. I took a picture of the lawn behind the house. I use the term ‘lawn’ very loosely. It is actually a stretch of self sown wild grasses and weeds that we keep mown. This stretch of mown weeds has just erupted on a blue haze of tiny flowers in huge swathes. The flowers are microscopic, but there are millions of them. I tired to photograph it, but the effect on the light out there just doesn’t show up a clearly in the image. Janine tells me that it is called ’Speedwell’, but our neighbour, John Meredith used to call it ’The blue pimpernel’. What ever it is, it’s very pretty on mass.

We have just completed the last of 5 in a row, weekend workshops. Quite a busy time for us. It’s nice to have a bit of ’spare’ time now, so I’m back in the garden, just in time for spring. The asparagus is just starting to pop up, just a few at a time, here and there. The real season is still a couple of weeks off as yet, but I’m picking the biggest ones to have with our breakfast eggs.

Now that I have just a smidgen of spare time, I have mended the old wheel barrow. We bought this wheel barrow in 1976 or ’77? More or less the first year that we arrived here. We had worn out two 2nd hand ones previously. Purchasing this one was a real statement of ‘We have arrived, and we intend to cultivate this derelict place’. The bottom got rather scratched over the years and had started to rust out, becoming wafer thin and flimsy. I hate to see waste, so I stepped in and made a new base plate for the tray and fitted new bearings into the wheel hub. It’s all good for another couple of years till the next part wears out. 

Repair, re-use, re-purpose.

Two Sericite Porcelain Workshops completed

We have just completed the 2nd of our sericite porcelain workshops.  They both went well and everyone seemed to get something out of it.

We advertised it as intermediate to advanced level, and everyone was suitably skilled to be able to handle the slightly more complex and difficult advanced techniques.

We were aiming to teach those advanced techniques, and everyone was keen to extend their skills.

The weather has cooled down a lot recently, so we had to light the stove to get the air a bit warmer in the studio over night to speed up the drying process. At the end of the first days throwing. I lit the fire and kept it going until after 10pm with the ceiling fan running all night. With this combination of warm air and moving air , we managed to get nearly all the pots dry enough to start turning on Sunday morning.

As my contribution to our shared lunchtime meals. I cooked a couple of tarts to be shared for our lunches. 

I made one savory home grown spinach and cheese tart from our garden with 3 cheeses. Ricotta, for the main filling with finely diced fetta for a little bit of texture, then some gorgonzola for a little of that tangy flavour that it imparts.

The other tart was sweet for after lunch, and made from our home grown and preserved quinces in an almond frangipane base.

Both made in blind baked puff pastry casings. They dissapeared pretty quickly. It’s a very good feeling to be able to share our preserved summer garden goodness and excess with others.

During the week inbetween the workshops, I continued to make and fire my sgraffito porcelain pieces that I have been working on for a while. 

It’s good to see more of them coming out of the kiln now, all shiny and transparent with the images of the bowerbirds stealing our cherries from the Chekov orchard.

I will be taking part in the ‘Pop-Up’ Southern Highlands Arts Trail Open Studios sale on the long weekend of 8th, 9th and 10th of June. Save the date!.

Another big wet and preping for the 1st. sericite Porcelain Workshop

Just like everybody else on the east coast of Australia just now, we have had a lot of rain.

Luckily, we only had 165mm. Some places had double that. But ours came all in a short sharp deluge over night. It fell onto saturated soil. 

So the water flowed freely across the ground and down the slope into our dams.

The dams soon filled and overflowed. We now have 3 new streams flowing across our land. They will not be permanent. All this water will soon drain away, but we will not be able to drive a vehicle, or even a ride on mower down there for a very long time.

Because we can’t work out side at the moment. I have been prepping for the up-coming sericite porcelain weekend workshop.

I stripped down the stainless steel twin auger pug mill and cleaned out the previous porcelain body mix. The Venco twin auger pug is very quiet and very fast at processing clay. I really like using it, but I don’t like having to clean it out! It is one of the slowest pugs to take to bits and clean out.

Twin auger design pugs are very good at mixing/puging. The sericite that I am working with now is 8 years old and although it was well wrapped, it had stiffened a little bit over time. An excellent feature of the twin auger design is that you can just dribble in extra water in with the stiff clay to soften it up. Normal single auger pugs that I have don’t handle this very well. I’ve tried it. The clay/water mix just slides around and no mixing takes place. However this is not the case with the twin auger design. One other very important feature of this pug mill is that it is entirely fabricated out of Stainless steel, so very suitable for use with porcelain bodies.

I spent half a day getting it working and puging the 1/4 of a tonne of porcelain, ready for the workshop next weekend.

I bought this pug mill 2nd hand after the fire. It came from a deceased estate. I was dying to own one of these stainless steel twin auger pug mills, and was lucky enough to find someone was dying, to sell it to me.

2nd Throwing Weekend Workshop Completed

We have completed the 2nd wheel throwing weekend workshop here in the new pottery.

We are recently returned from the Easter long weekend at the National Folk Festival in Canberra. Beautiful music, and a chance to catch up with old friends that we haven’t seem since last years festival.

Now it’s back to work in the pottery finishing off some sgraffito pots that I left unfinished in the pottery damp cupboard. It’s a great luxury to have a damp cupboard in the pottery. We managed to get by without one for the past 48 years here in Balmoral Village in all 3 of our previous potteries, where we lived and worked on earth floors. I am very grateful to my friend John Edye, who sold me his beautifully crafted wooden damp cupboard with a water bath in the floor. It looks good and works a treat. Thank you John.

I’m enjoying the sgraffito decorating technique that I learnt from my friend Warren Hogden a few months ago, when Warren and Janine taught a sgraffito slip decorating workshop here. I was the TA, assisting at that workshop. But I was really engaged and enthused, so have tried my hand at this lovely, gentle technique, and I’m really enjoying it.

Thank you Warren and Janine.

I’ve been engaged with the idea of the bower birds stealing cherries from the orchard.

1st. Weekend Workshop Throwing Class completed

We have just completed another weekend workshop. This time a throwing class. I advertised one and filled two weekends, so we will back in the studio again with the 2nd group next weekend for the 2nd one.

Everyone seemed to enjoy them selves and got something out of it. We had Len Smith here with us for the weekend to have 3 tutors for the 8 students. Len has so much teaching experience, it’s great for the students to have a third point of view. He’s also great company.

I spent the week pugging clay and prepping the throwing room, and during the time in-between, I kept on with my sgraffito decoration, and got a solar powered, stoneware glaze firing done.

These red and black cups are experiments in a combination of Sgraffito and inlay.

Just black slip inlay on these cups.

Just sgraffito on this bowl

In the evenings, I made another batch of tomato passata. I have now run out of our re-cycled ‘pop top’ jars and so I have started to use the old ‘Fowler’s’ vacuum jars with clip top lids. I made a 7 litre boiler full, and reduced it down to 5 litres, enough to fill 7 of our No.27 Fowler’s jars. I have no idea how Fowlers came up with their numbering system, but as they are so old, I suspect that it represents fluid ounces? 

I Googled it and 27 imperial fluid ounces = 770 mls. So that sounds like it ought to be right.

I also made this weeks loaf of rye bread.

For the workshop lunch, I made a flan or tart with a baked cottage cheese base and a ratatouille topping. That didn’t last very long.

The coming week will be more of the same as we repeat it all over again.

The workshop is all cleaned and mopped and ready to go.

The workshop looks beautiful tonight in the glow of the pink sunset.

This image of the workshop by Janine 

Make and scratch sgraffito Workshop

We have had a cancellation in the first ‘Make and Scratch’ sgraffito workshop on the 25th/26th of November. If you are inrterested in filing this place, please email me at <hotnsticky@ozemail.com.au>

The workshop is titled Make and Scratch, and will be a hands-on Making, throwing and decorating workshop concentrating on Sgraffito.

Janine and Warren will be leading the workshop and demonstrating their techniques of sgraffito decoration. I will be assisting with the throwing part of the process.

Over the weekend we will be demonstrating throwing and slab plate making techniques to be painted with coloured slip(s) then decorated using the ancient sgraffito technique of scratching back through the slip to reveal a contrasting clay body colour underneath.

Day 1.  This workshop is aimed at potters of beginner/intermediate level of experience. We will be beginning with a design exercise on paper to develop a graphic motif for you to carve into your pots. Please bring your design ideas portfolio with you. We will be throwing cylinder forms, then flatware forms that are suitable for sgraffito decoration. We will also be rolling out a few slab dishes so that everyone has a chance of getting a few suitable forms stiff enough for slip decoration and sgraffito on the second day.

Day 2.  We will be spending most of the 2nd day in decorating mode practicing our sgraffito decoration.

Wood fired and sgraffito’d work by Janine King

Slip and sgraffito piece by Janine King

Graphic sgraffito mugs by Warren Hogden

Overview.

Sgraffito can be elementally simple, just carving straight into the clay surface.  This is a very effective technique for pots that are destined to be wood fired, where the carving enhances and enriches the natural wood fired surface. Other glazing options are to carve into the surface and then glaze the pot with a celadon, or other transparent glaze. Celadon and other similar glazes pool in the crevices and get darker and richer with the carving.

Alternatively, a contrasting slip can be painted on the clay body and then carved through to reveal a contrasting decoration. We will be using our homemade Balmoral white stoneware clay body and homemade black slip. If you have a special interest in using a particular underglaze colour scheme, you are welcome to bring your own underglaze colours.

You will need to bring some design ideas, a sketch book, a 5B or 6B soft drawing pencil, your throwing tools and something simple to share for a communal lunch. Tea and coffee will be provided.

At the conclusion of the workshop. I will be offering to bisque fire 2 of your best pieces for you.

Cost $ 250  for the two day workshop.