
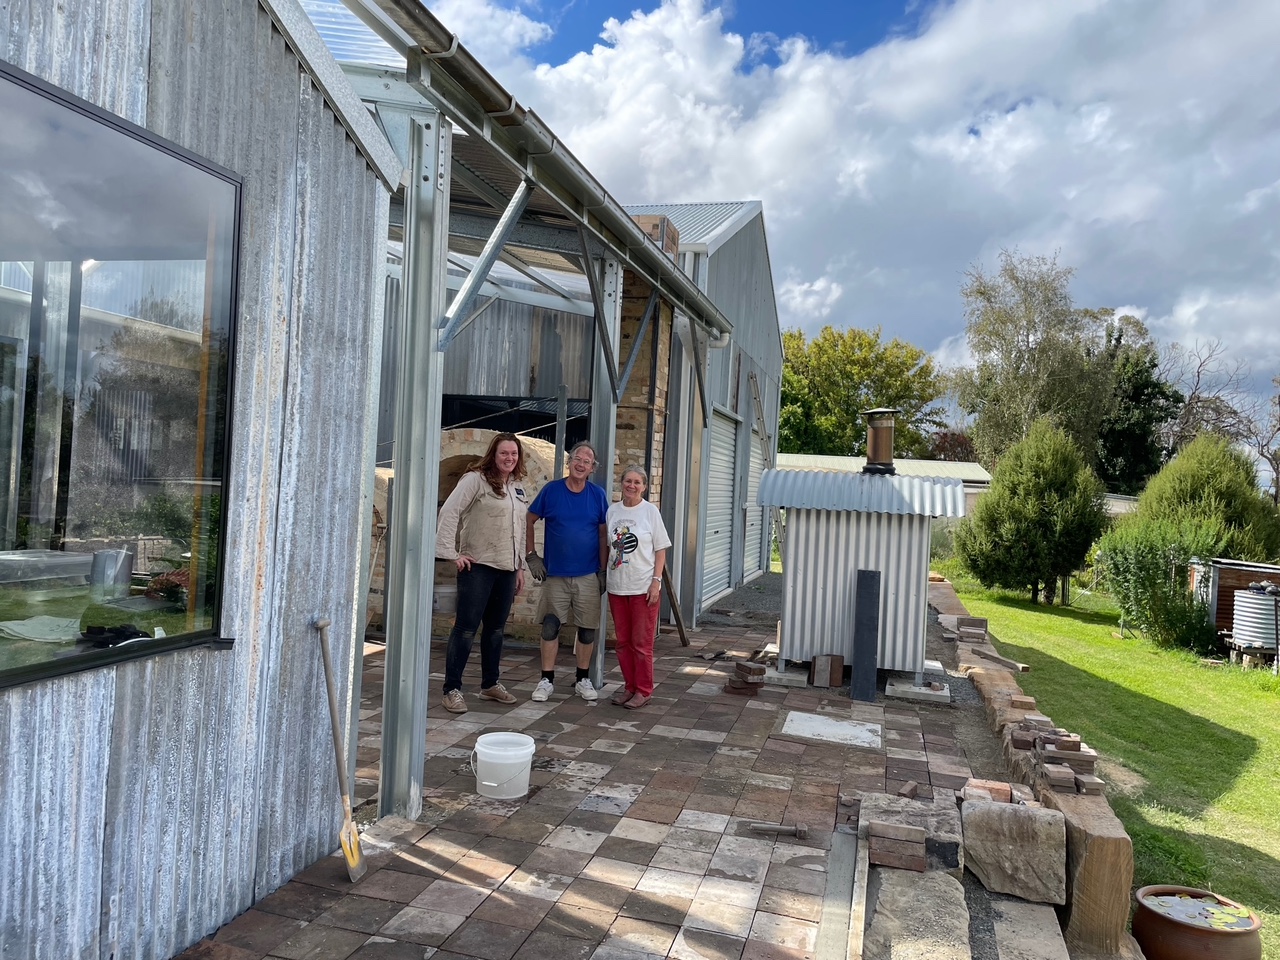
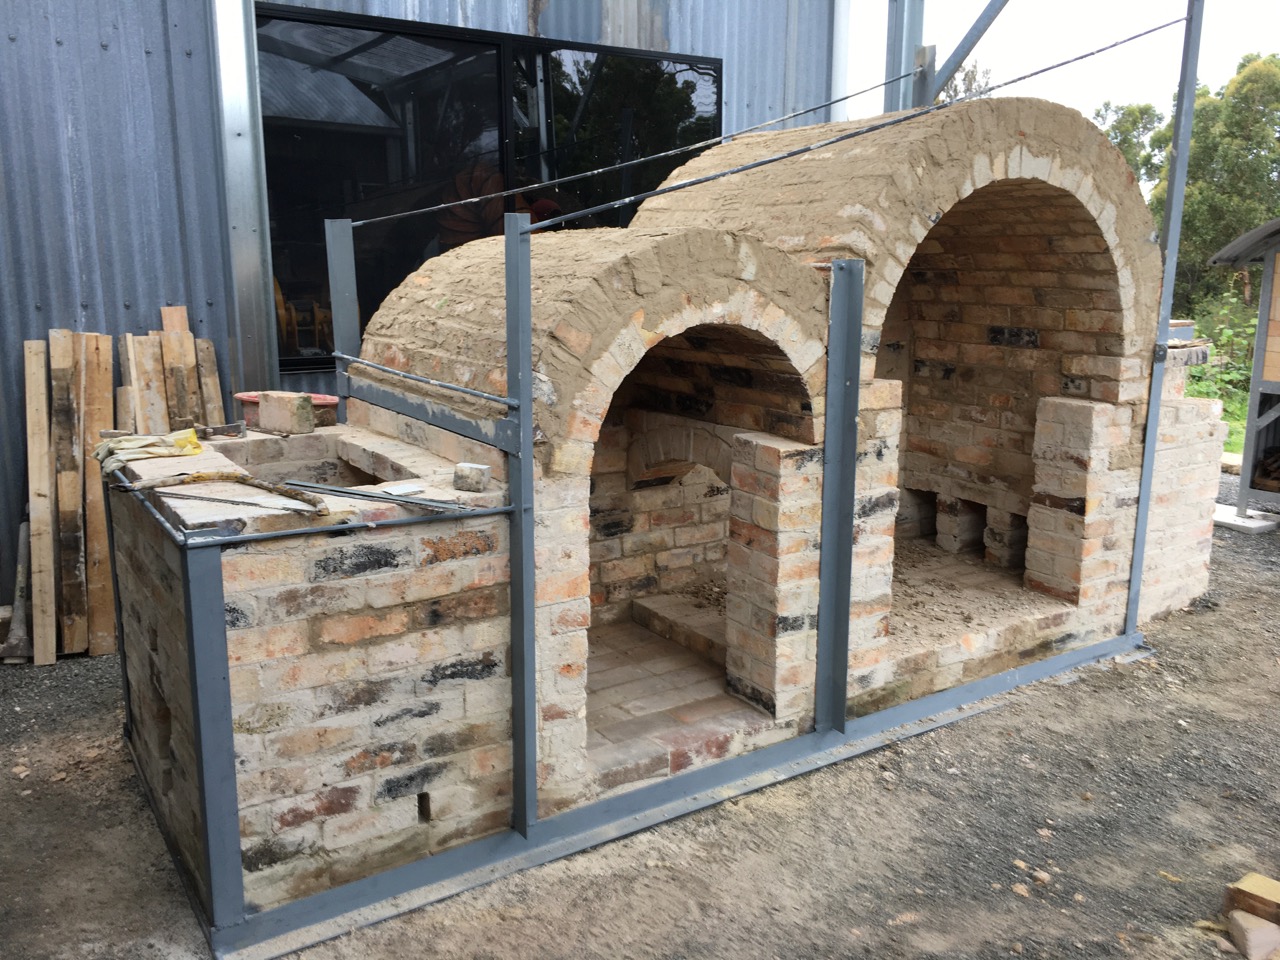
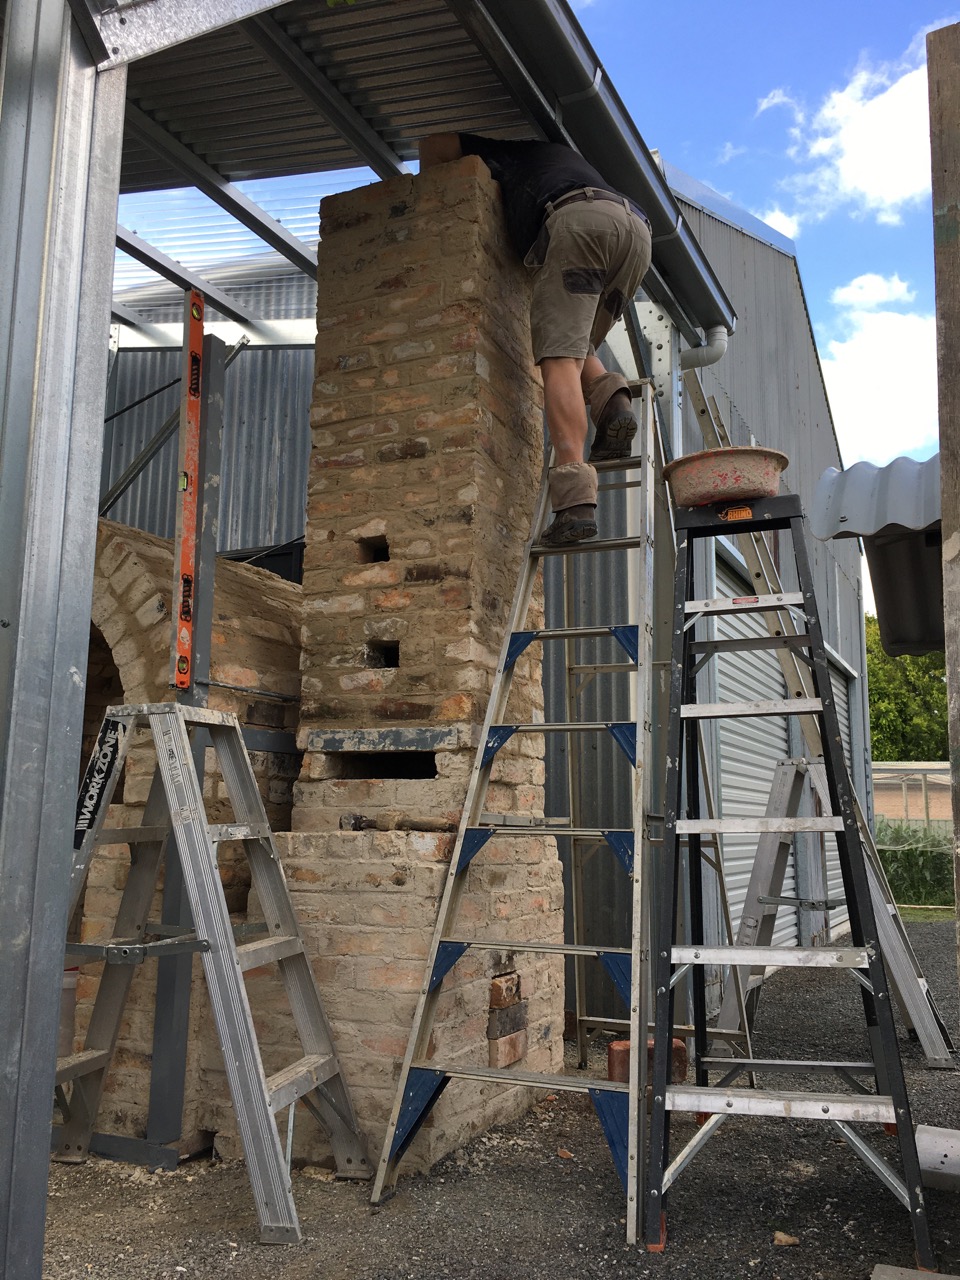
We were busy last weekend with a bunch of friends paving the court yard area around the new, almost finished, wood fired kiln.
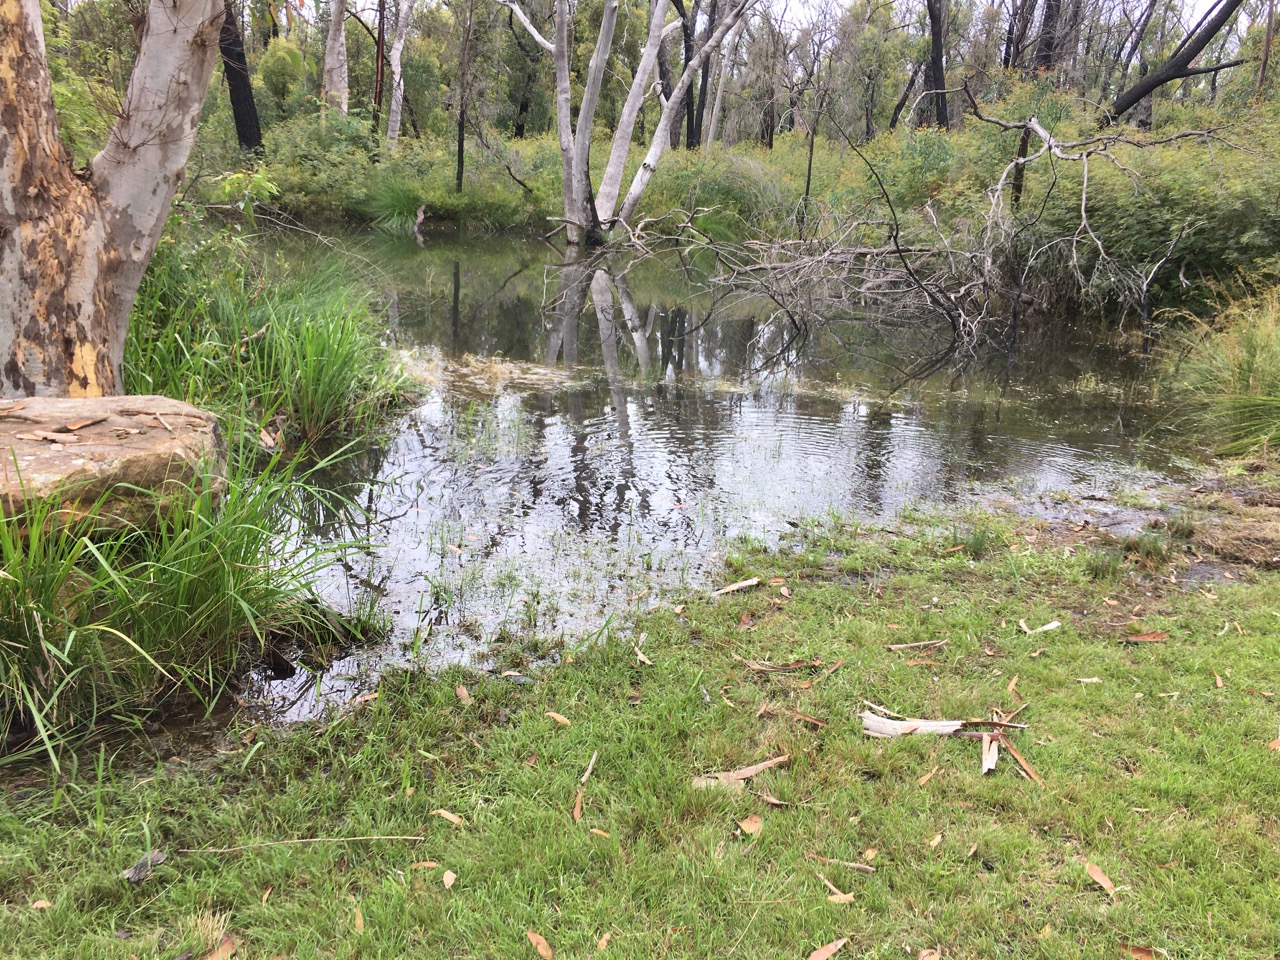
I still need to finish laying the last of the floor bricks in the chamber, I would have finished this small job a couple of weeks ago, but when the court yard flooded with 70mm of water sloshing around in there. It wasn’t very appealing to be kneeling done and doing the bricklaying. Then all that water was sucked up into the floor bricks like a wick and they became saturated so that any new mortar wouldn’t stick in place. Finally, they have now turned green with algae. I’m sure that they will dry out – eventually!
This severe weather event, although not life or property threatening for us, like it has been for our friends and relatives up on the North Coast. It has been a good warning and trial run for what we can expect in the future as Global Heating increases unchecked. No one in government seems to be taking this seriously, so what can we expect for the future? Well my guess is more of the same, only much worse. We’ve been warned.
So this extreme weather event has been a great warning to us as to what we can expect in the future. I have learned from it and and I’m taking actions now to limit the sort of damage that very heavy rain fall can cause. To start with we have paved the kiln area with a significant fall away from the kiln and out into the open. I have also ordered some more steel batons and some more poly carbonate roofing sheets to wall in half of the courtyard directly behind the kiln. With contour drainage to take the water to the edge of the retaining wall. Although the pottery didn’t flood, it has become obvious that we need to create a dish drain around the front of the building to carry all the excess ground water away from the front of the building, because another event will eventually be worse.
This is a start
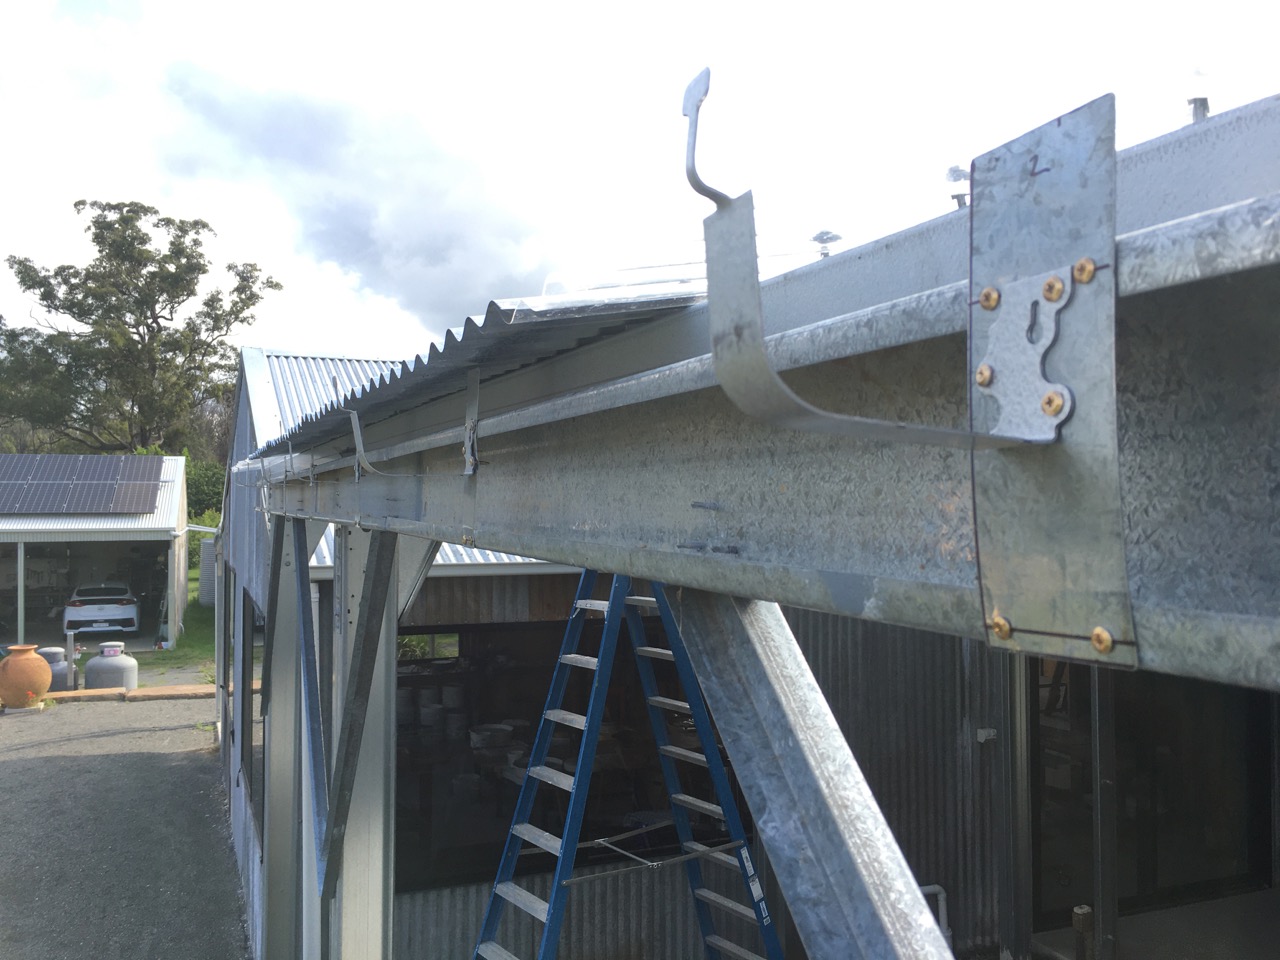
Back at the kiln, I also need to fabricate a stainless steel firebox lid and a stainless steel chimney flame tube incorporating a spark arrester. I planned to have started this job already, and 3 weeks ago, I ordered the Stainless steel sheets and some Stainless steel wire mesh for the spark arrester. The sheeting is here, but the couriers have lost the SS mesh. The supplier won’t replace it until he knows what has happened to the first order. The courier company won’t pay out to replace it until they know what has happened to it. So I’m stuck in a catch 22 situation. I can choose to wait it out until the original order is found and delivered, or buy a second sheet of stainless steel mesh and get on with it, but it’s not cheap stuff, so I’m waiting and continuing to write emails of enquiry.
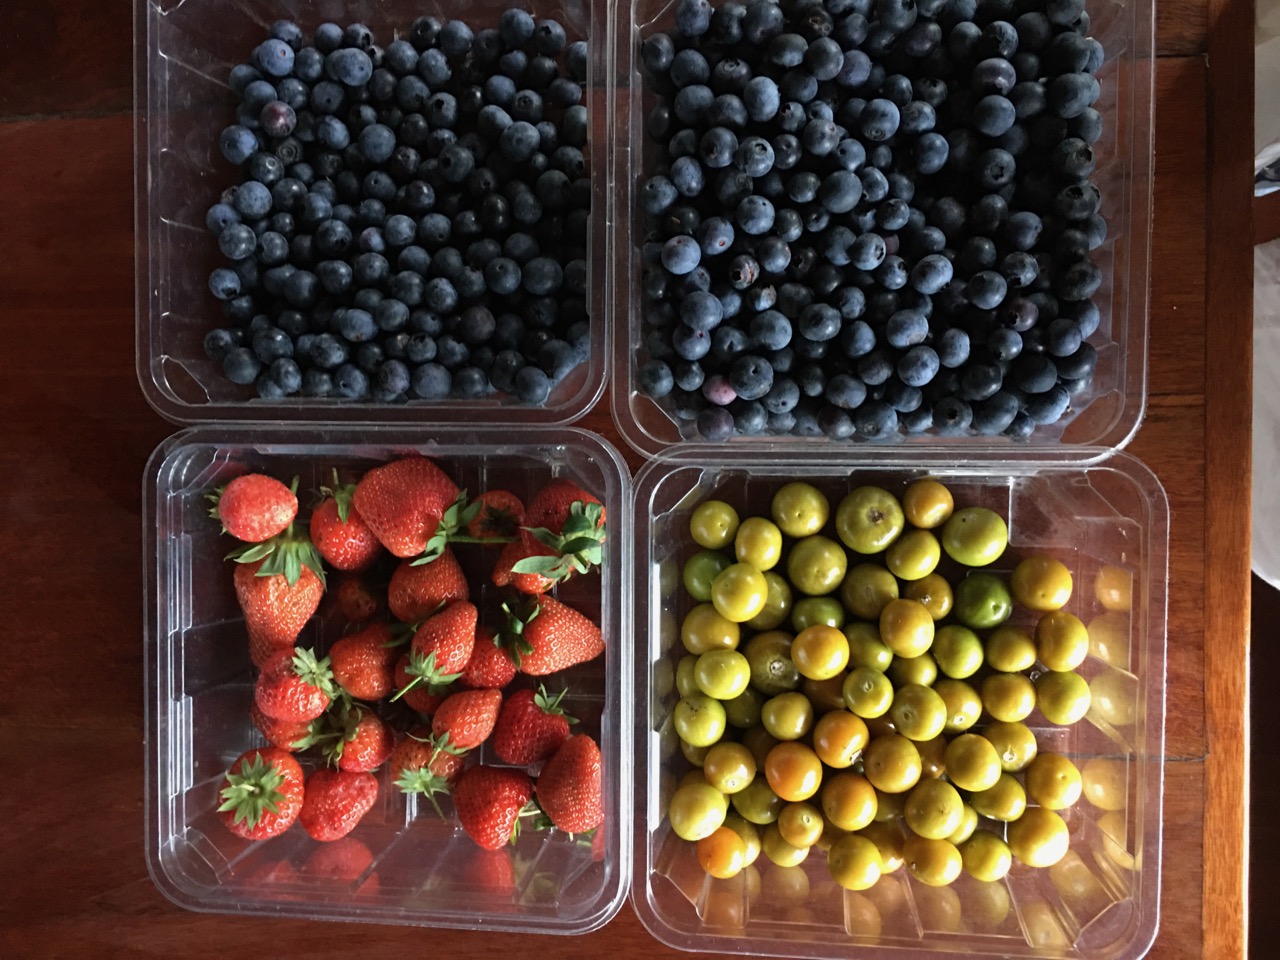
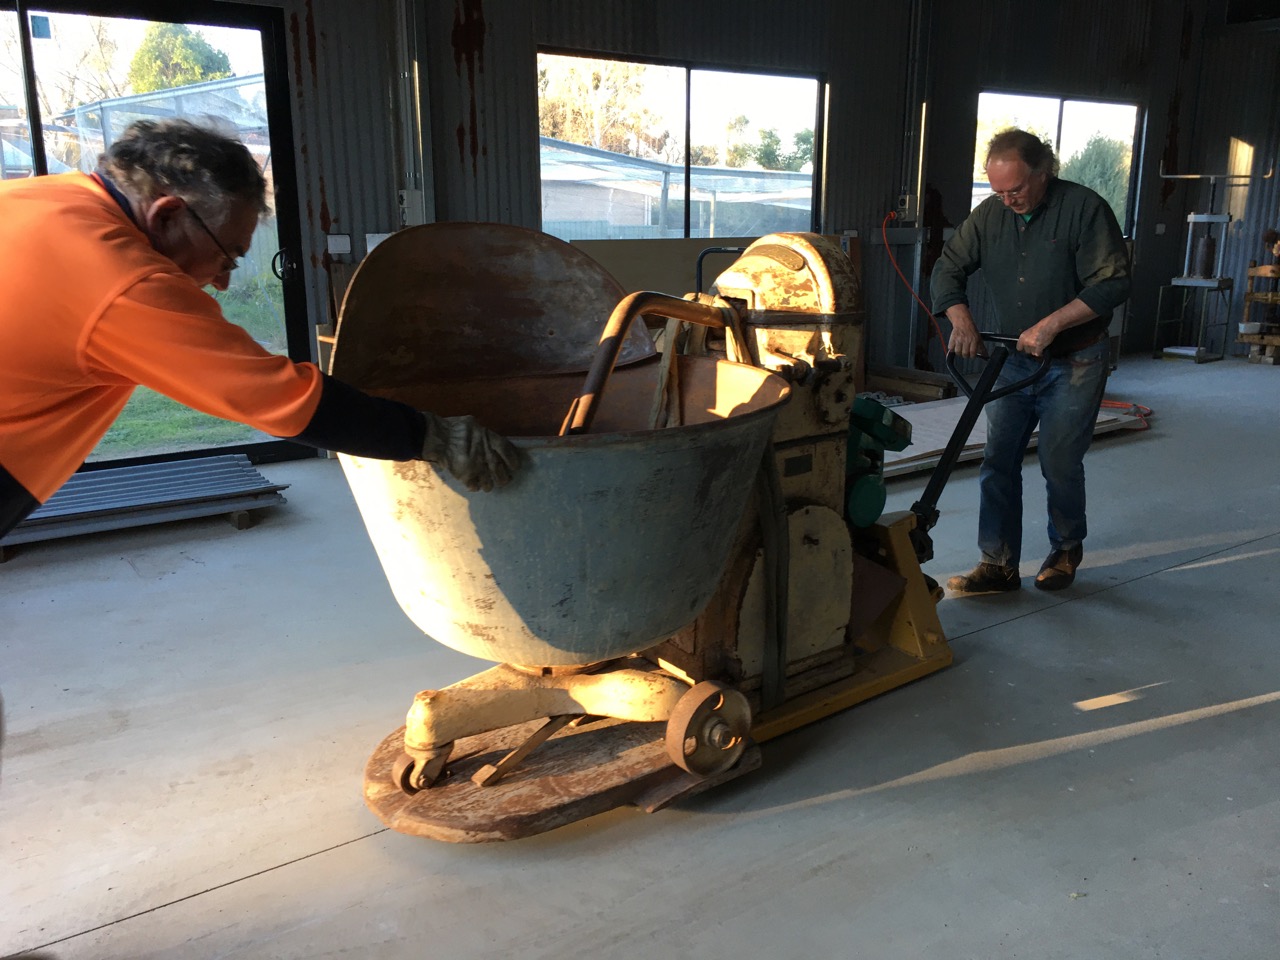
We had a great weekend with our friends laying the paving tiles. We also met two new people who volunteered and turned up all the way from Newcastle, who will surely become friends now. They were a great addition to the group. The stayed over night with us and we got to know each other over a home grown meal from the garden. I had previously made a big pot of tomato passata from the last of our tomatoes, so we had an easy meal of pasta. Dan and James are environmental campaigners and organisers, so we shared a lot in common. James took this image of Dan, Janine and me standing on the new paving.

This is all great progress and I’m really happy to see so much getting done.
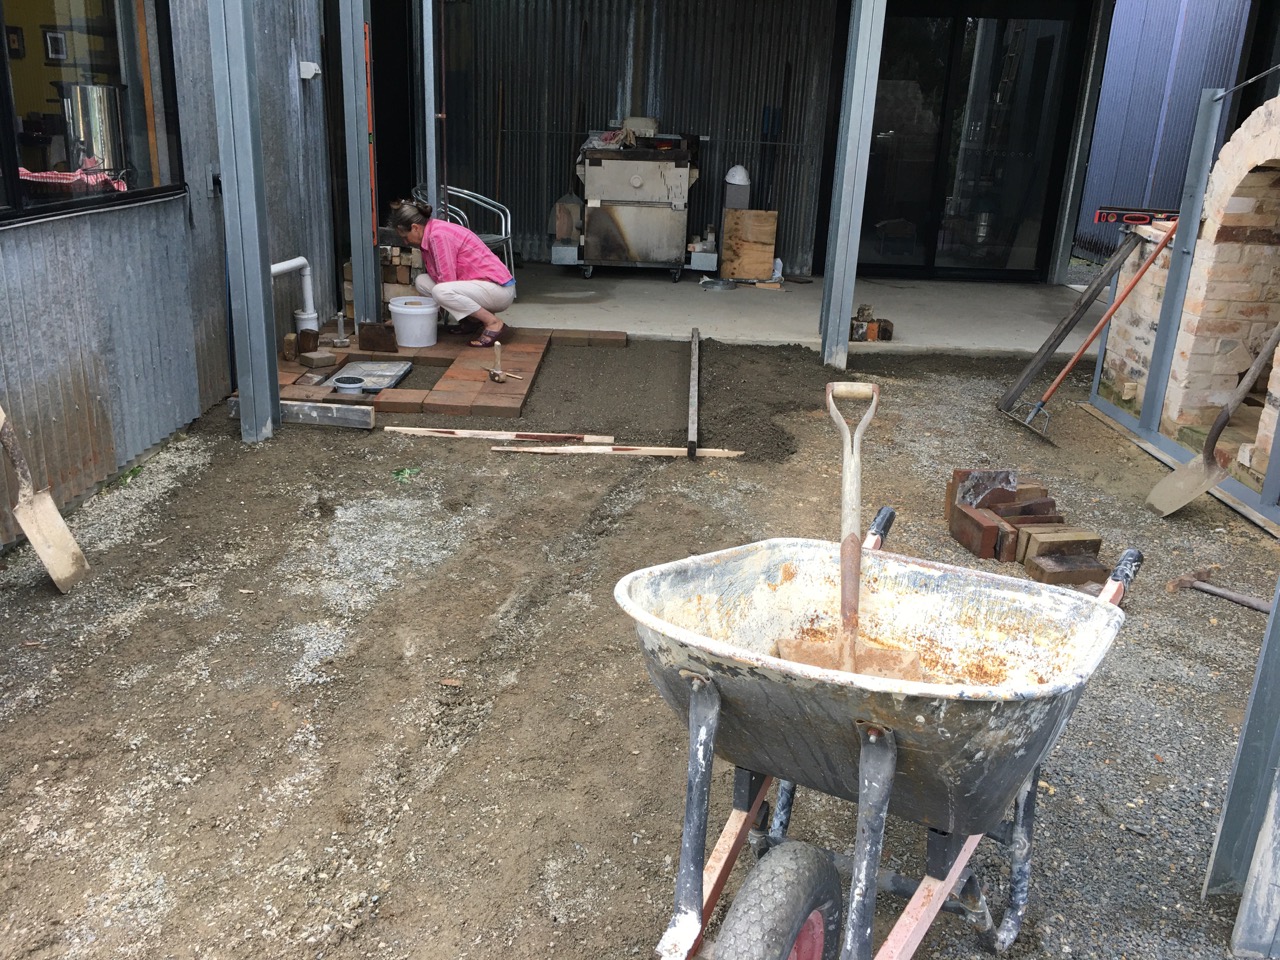
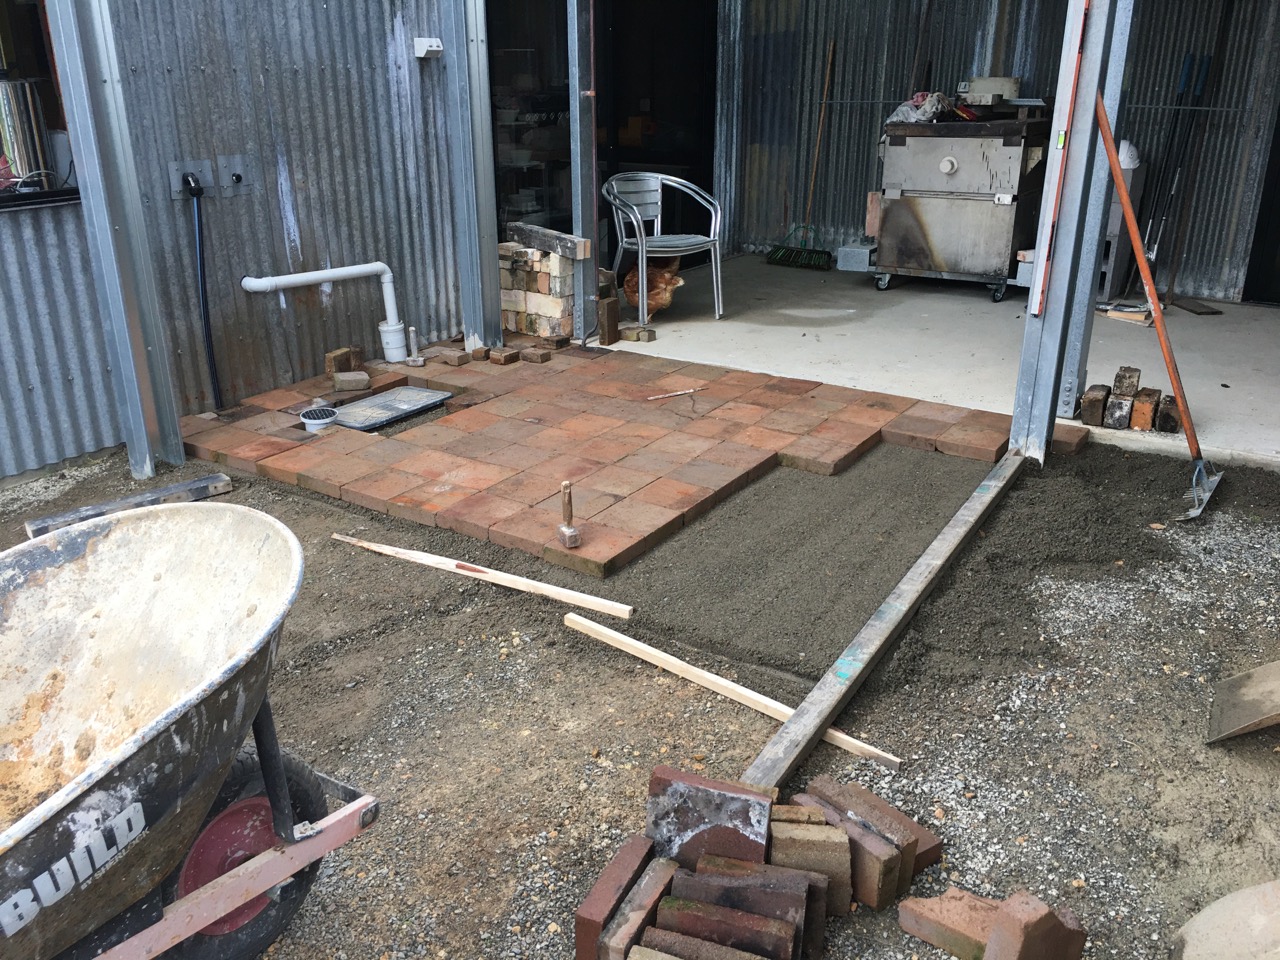
Janine and I started the levelling and paving earlier in the week. As a trial run, to make sure that everything would work out the way that I planned. As we haven’t done any paving since we built the last pottery shed in 1983, I’d completely forgotten what to do and had to re-educate myself and get my skills back up to date. It’s not rocket science, but does need concentration and quite a bit of back bending work. I decided that at my delicate age, I should not do so much bending and instead get the knee pads on and work down on my knees to keep my back straighter. This worked out much better. But then getting up became a bit of an issue.

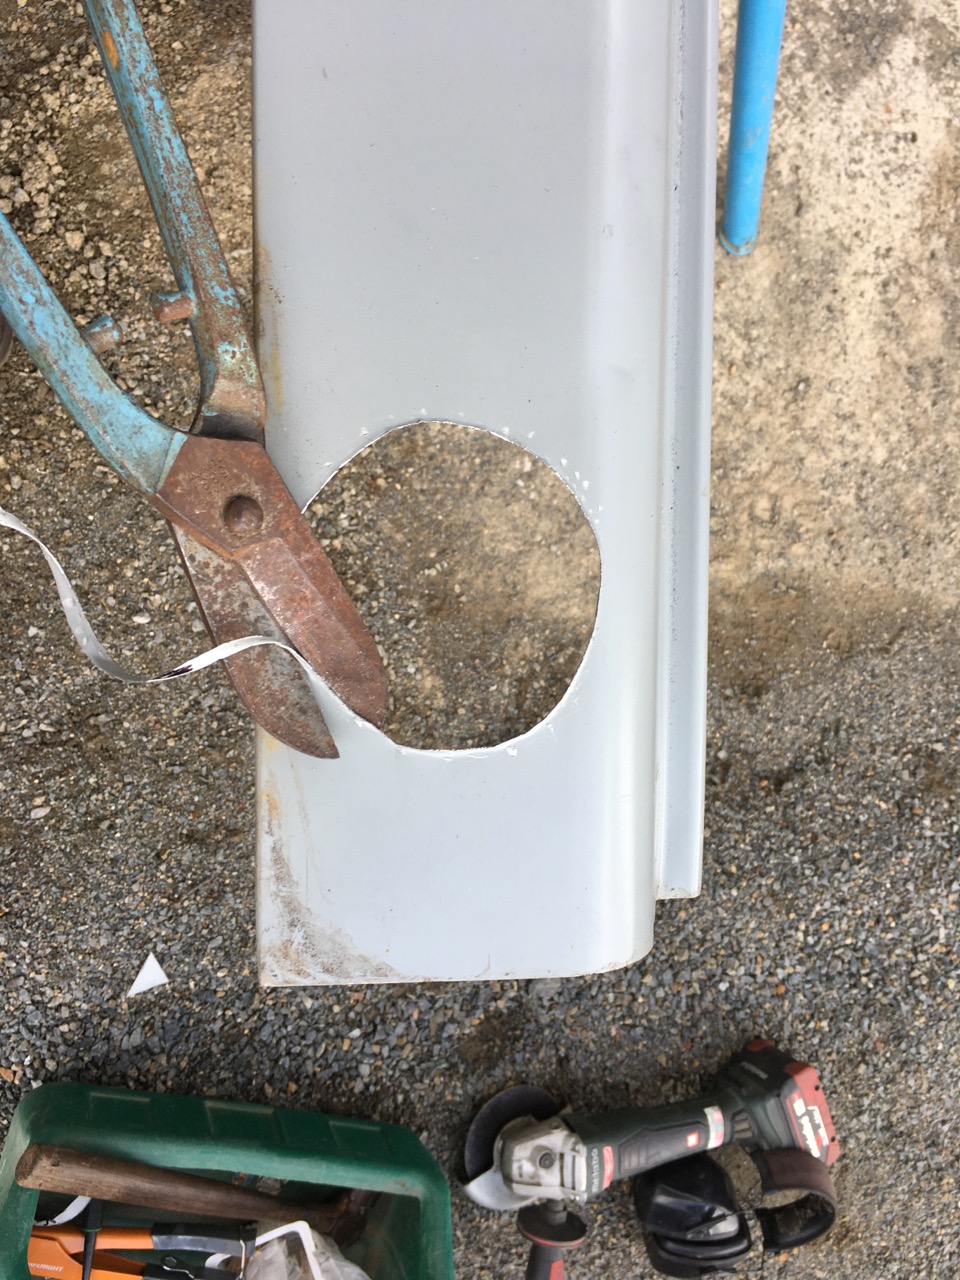
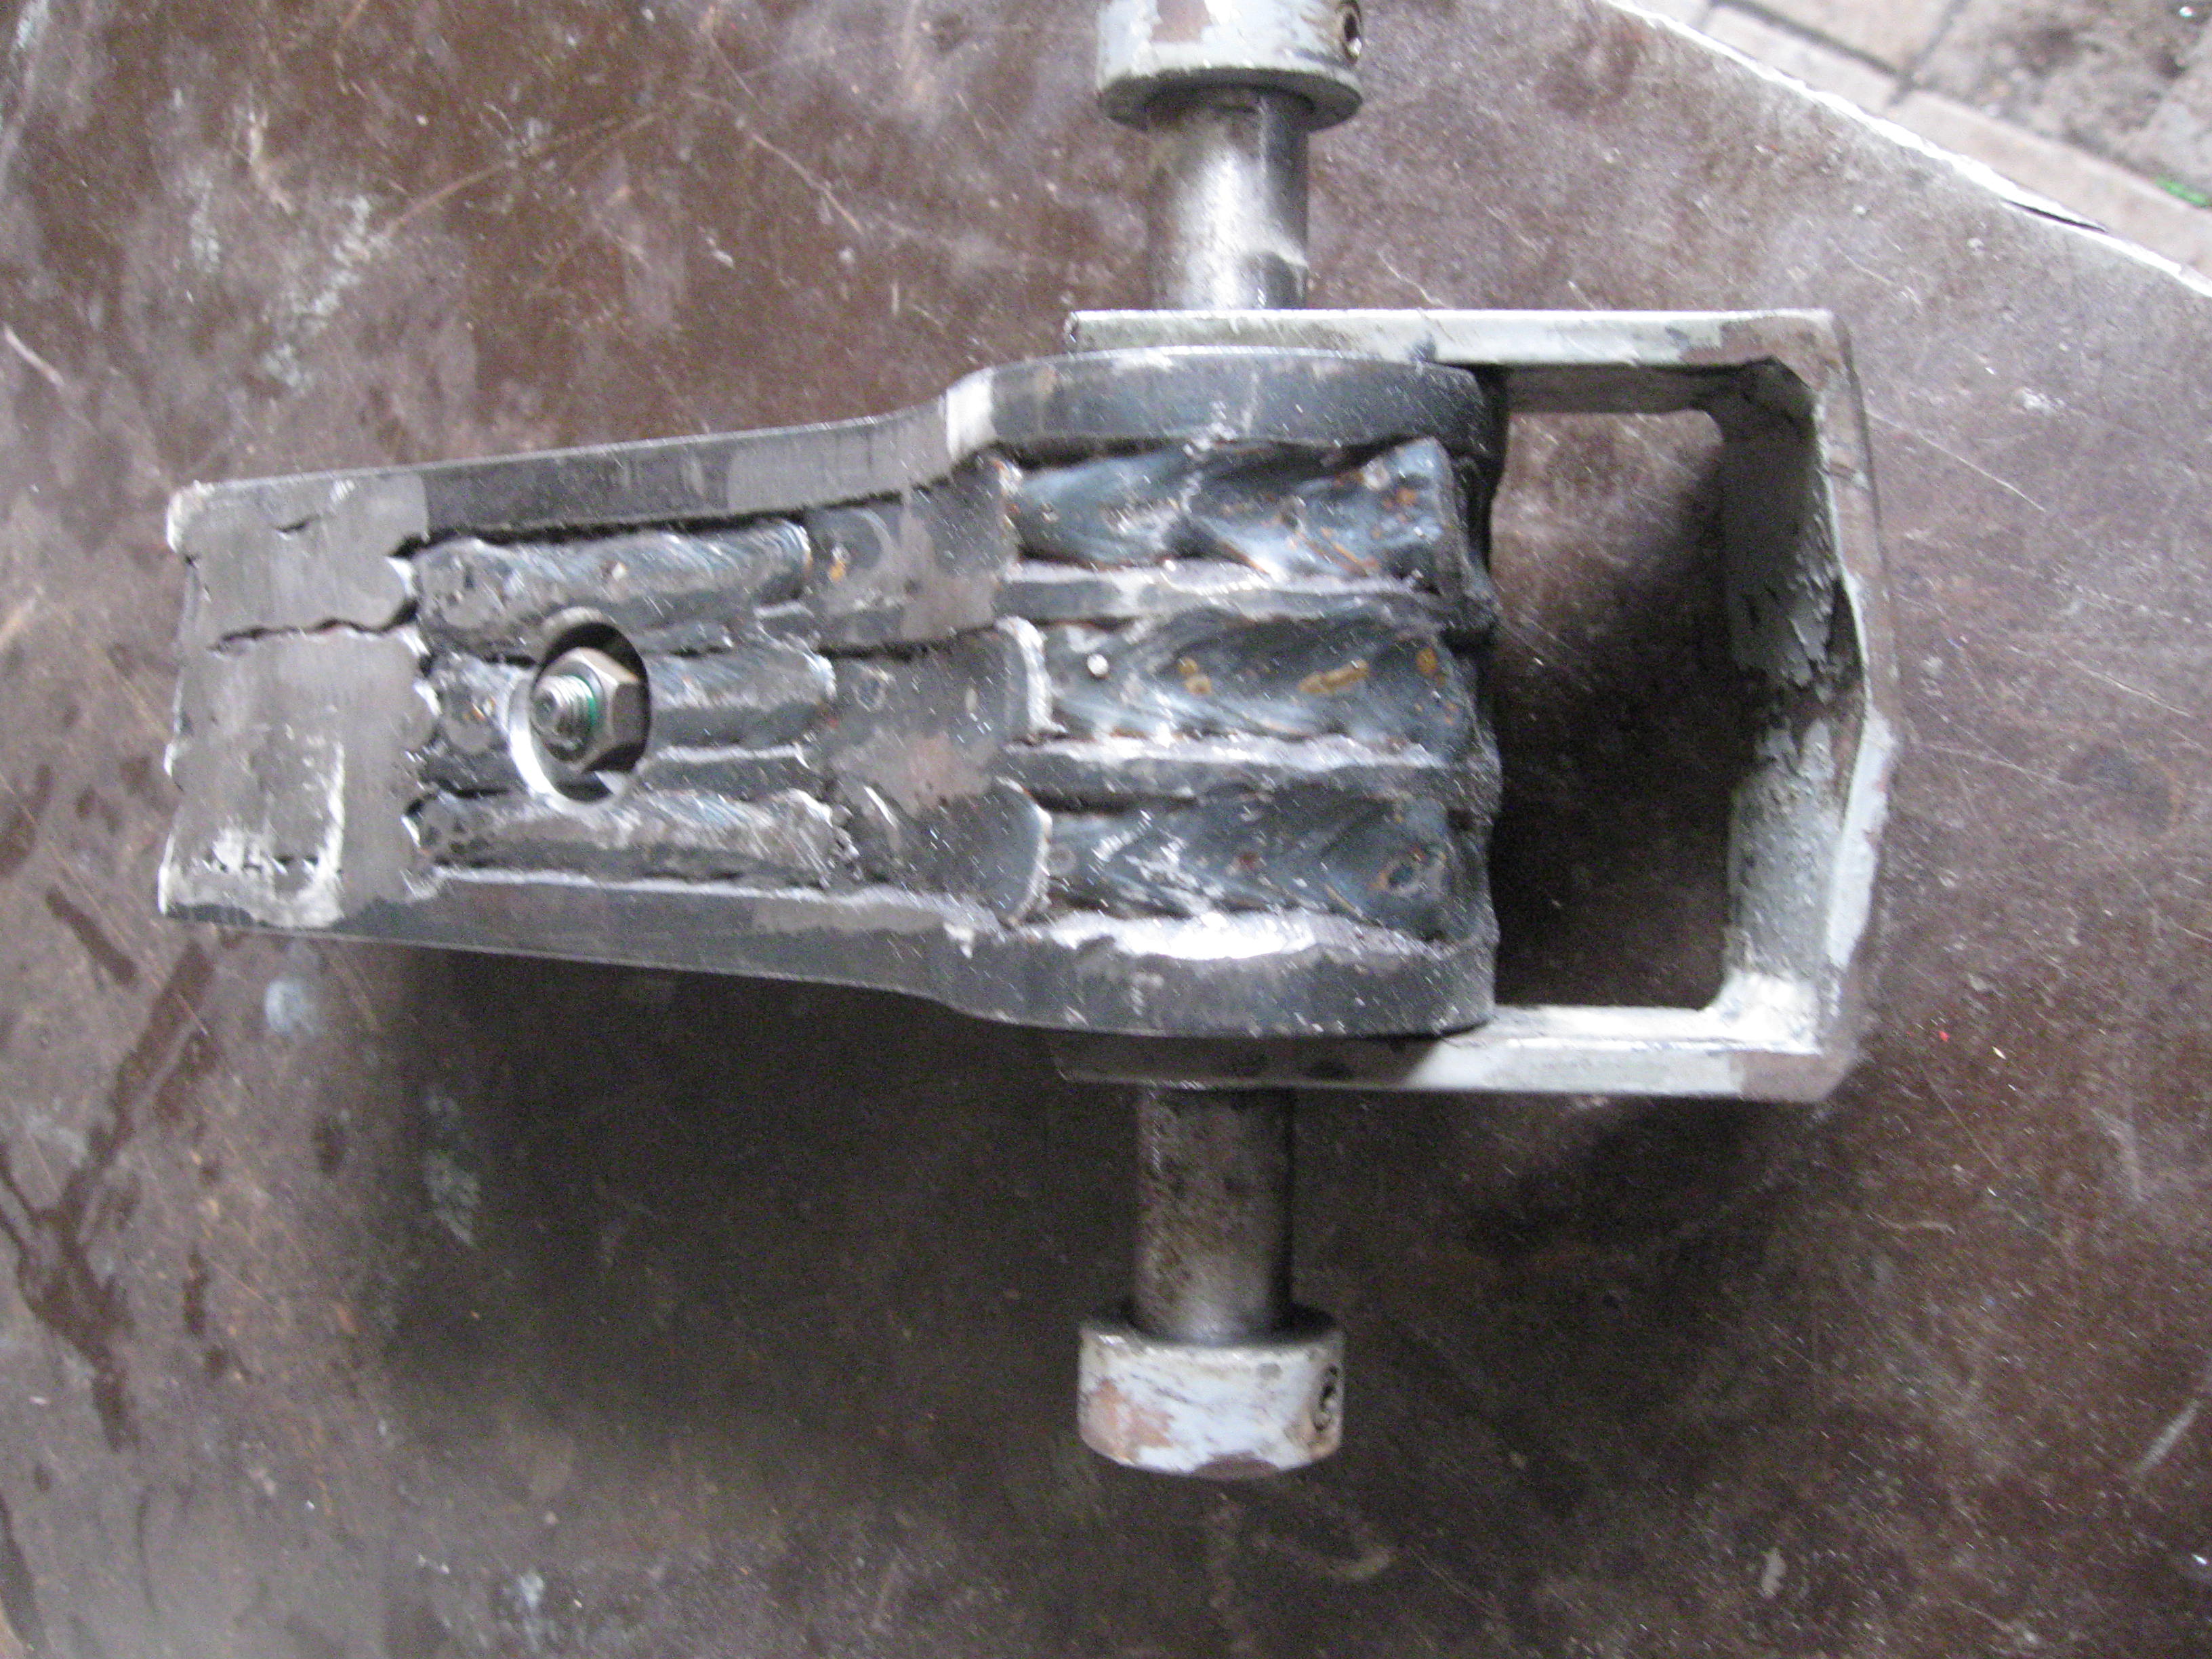
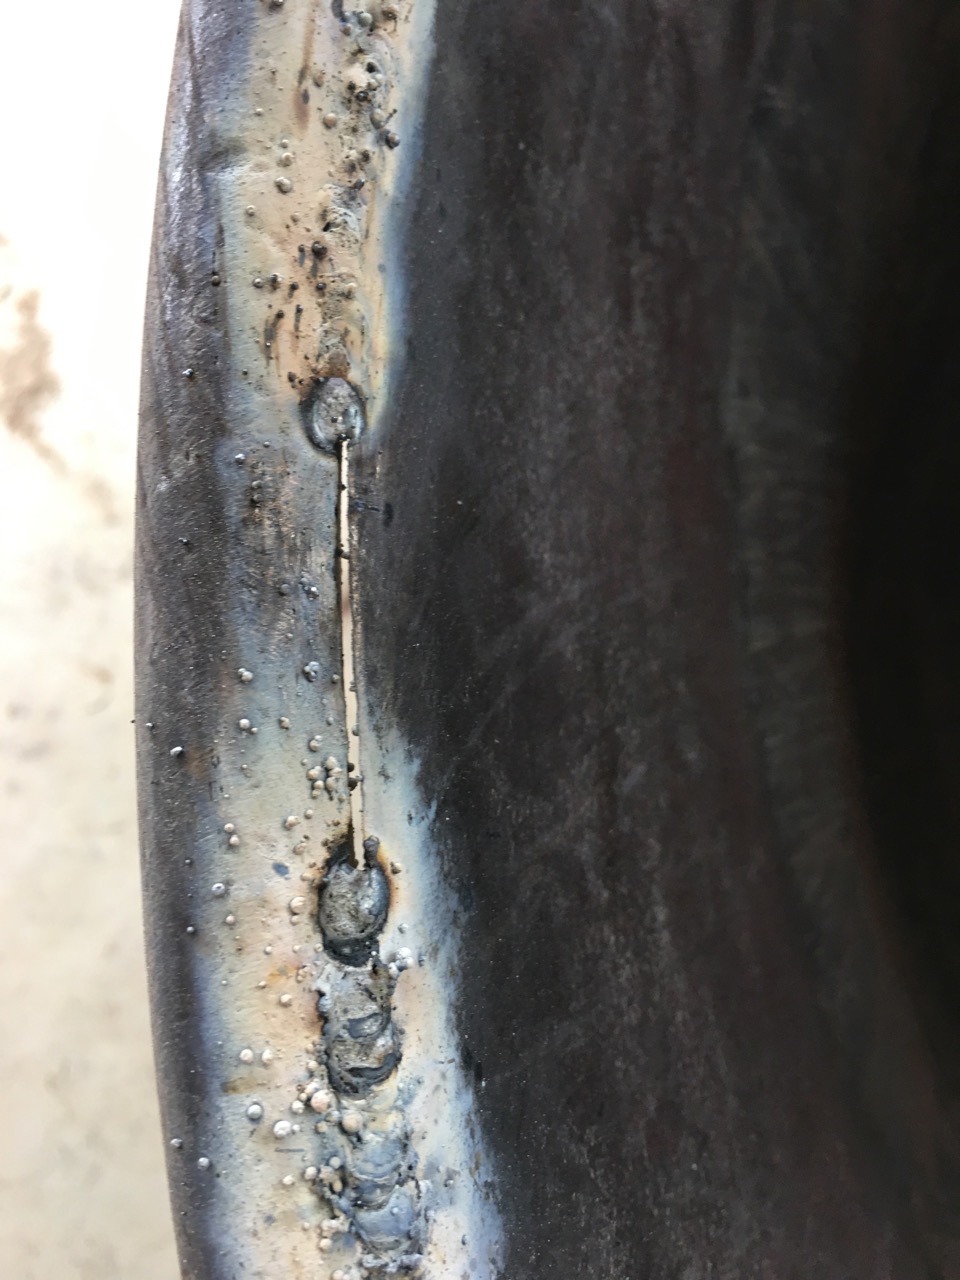
As we are in Autumn now and the weather is getting cooler and the days shorter, we have thought that we may need to light the fires in the kitchen and lounge room soon. The slow combustion heater in the lounge has started to wear through and rust out in the top fire box steel sheet. A crack started to appear at the end of last season, so I made a mental note to repair it once it cooled down, during the off-season, well that time is running out now, so it has to be dealt with as a matter of urgency. I decided to attack the problem by fabricating and new roof for the firebox out of a scrap piece of 2mm thick stainless steel sheet.


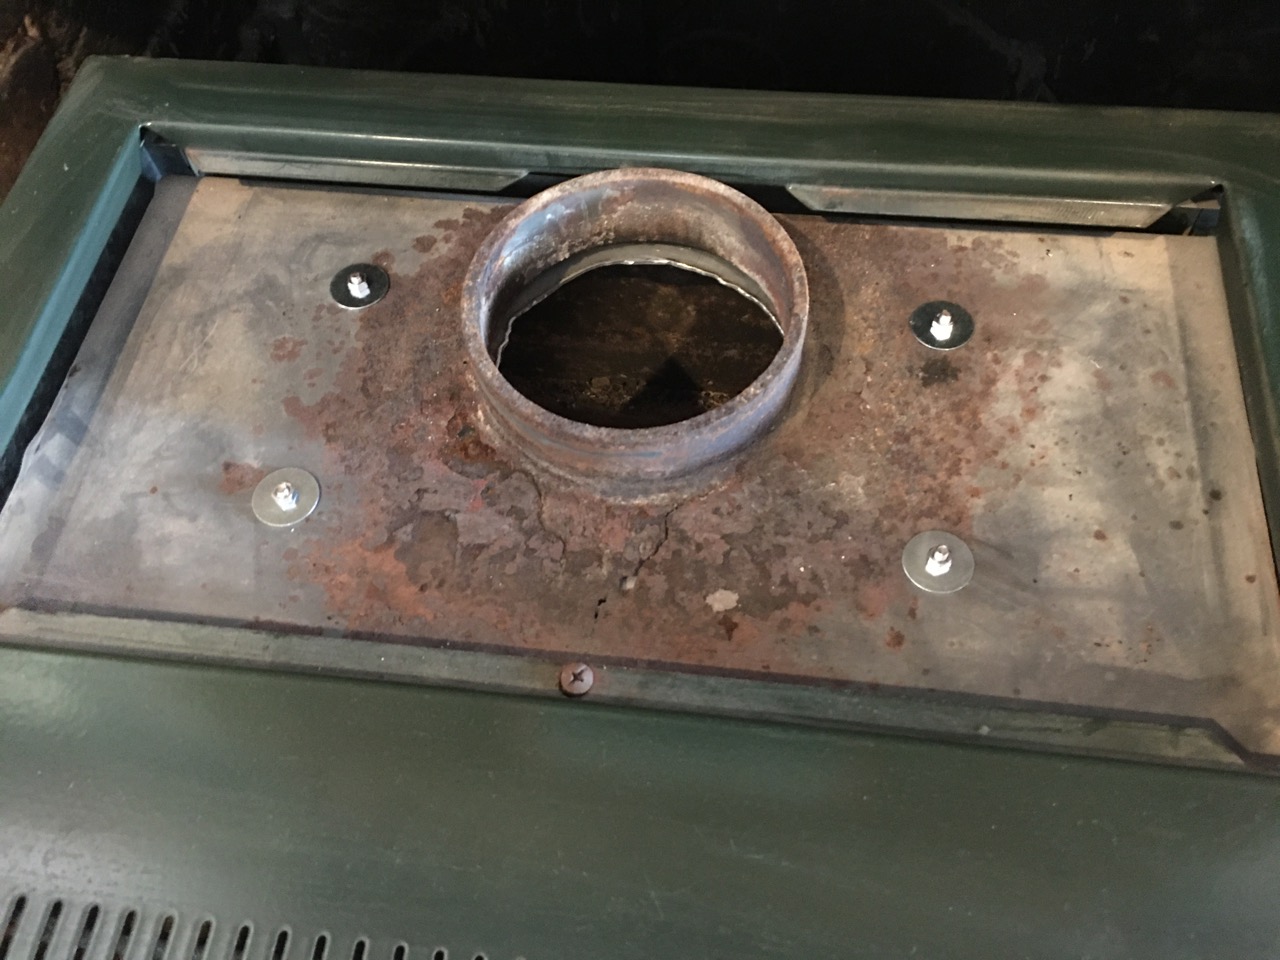

Rather than try and weld it in place, which wouldn’t really work very well , as stainless and mild steel have different rates of expansion and contraction. I decided to bolt it in place with stainless steel bolts through over size holes and oversize washers. This should allow for the differences in expansion. The 2mm thick stainless roof should last as long as the 4 mm mild steel walls and whats left of the old top sheet. Time will tell. The stove is about 30 years old, so it has proved it’s worth. I’ll continue to work on it and preserve its life for as long as I can. We bought our slow combustion kitchen cooker over 40 years ago now and it was 2nd hand then. I’ve managed to keep it going all this time with home made adaptations and ingenious improvised repairs. I’m proud of that achievement and I’m hoping to extend it to 50 years if I can.
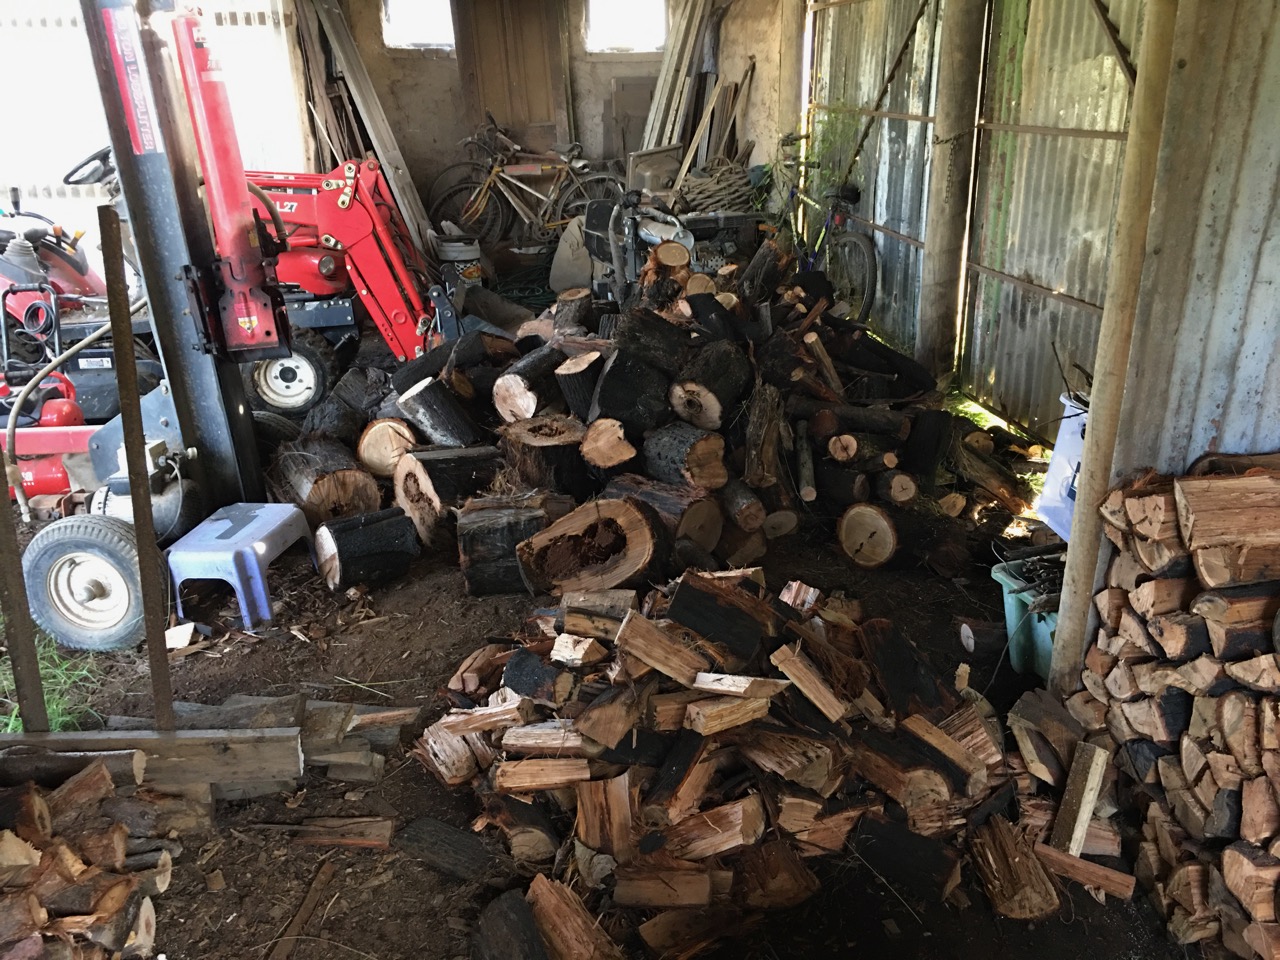
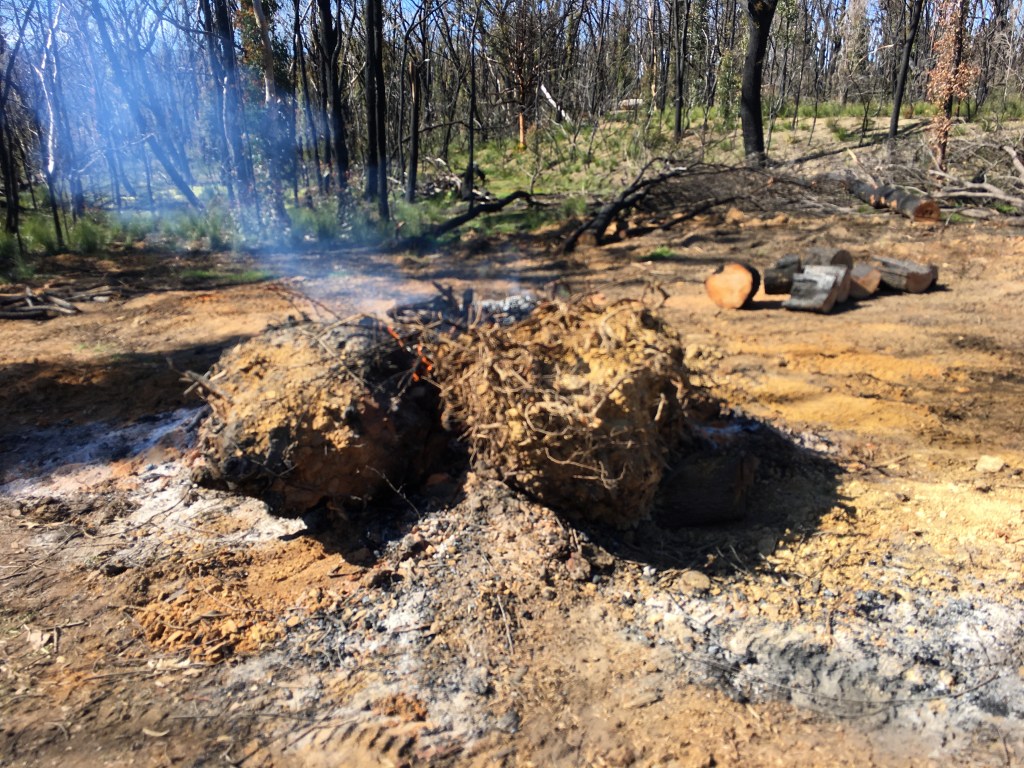
While I was at it, working on the lounge room heater. I also made a new front door frame seal. Afterwards, we went out into the paddock and spent an hour together with chainsaws cutting bushfire devastated and blackened logs. We cut them to stove lengths and stacked them in the wood shed ready for splitting. This will be about 1/4 to 1/3rd of the fire wood that we will get through the coming winter months.


You must be logged in to post a comment.