
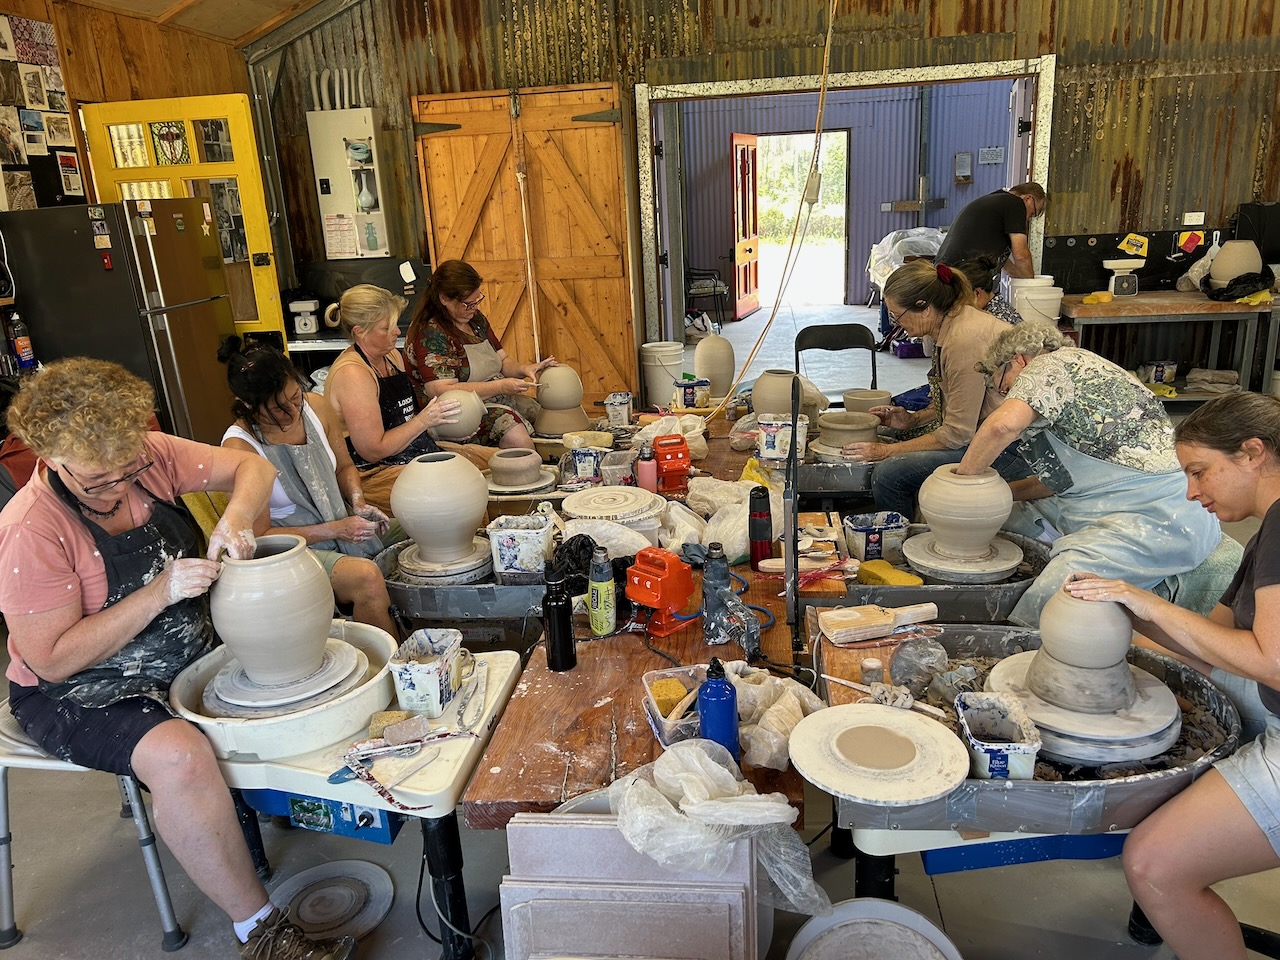
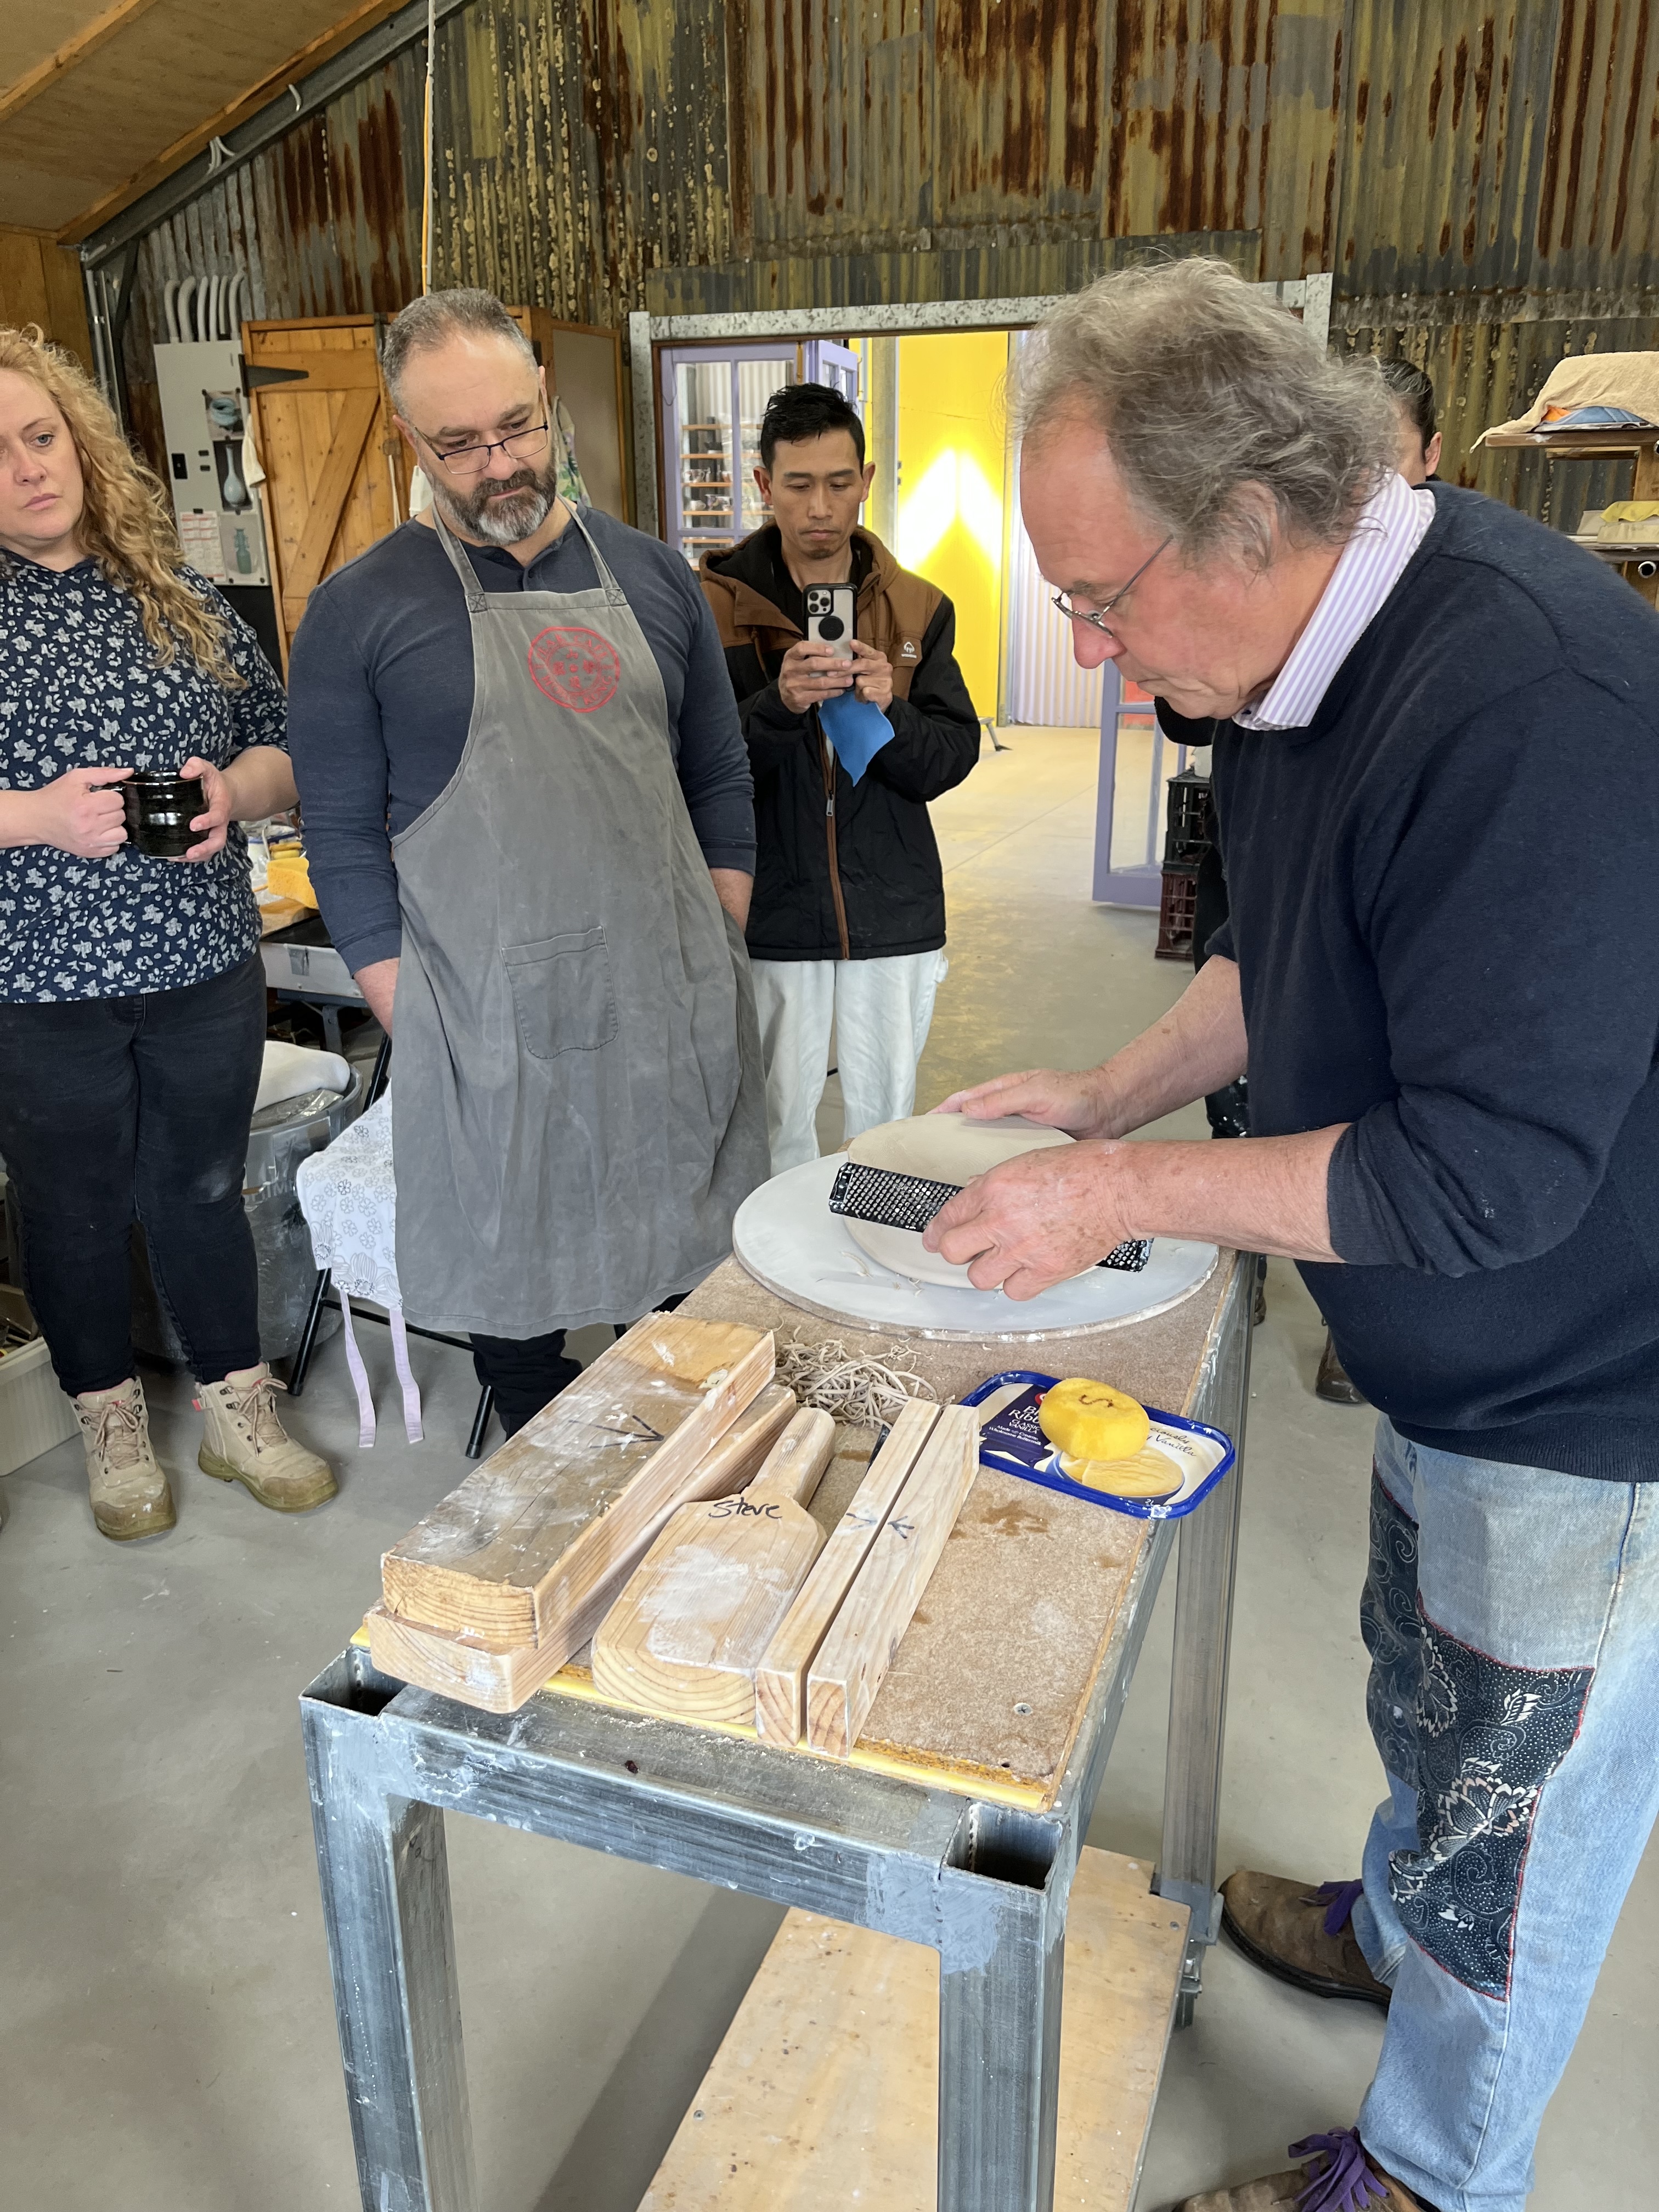
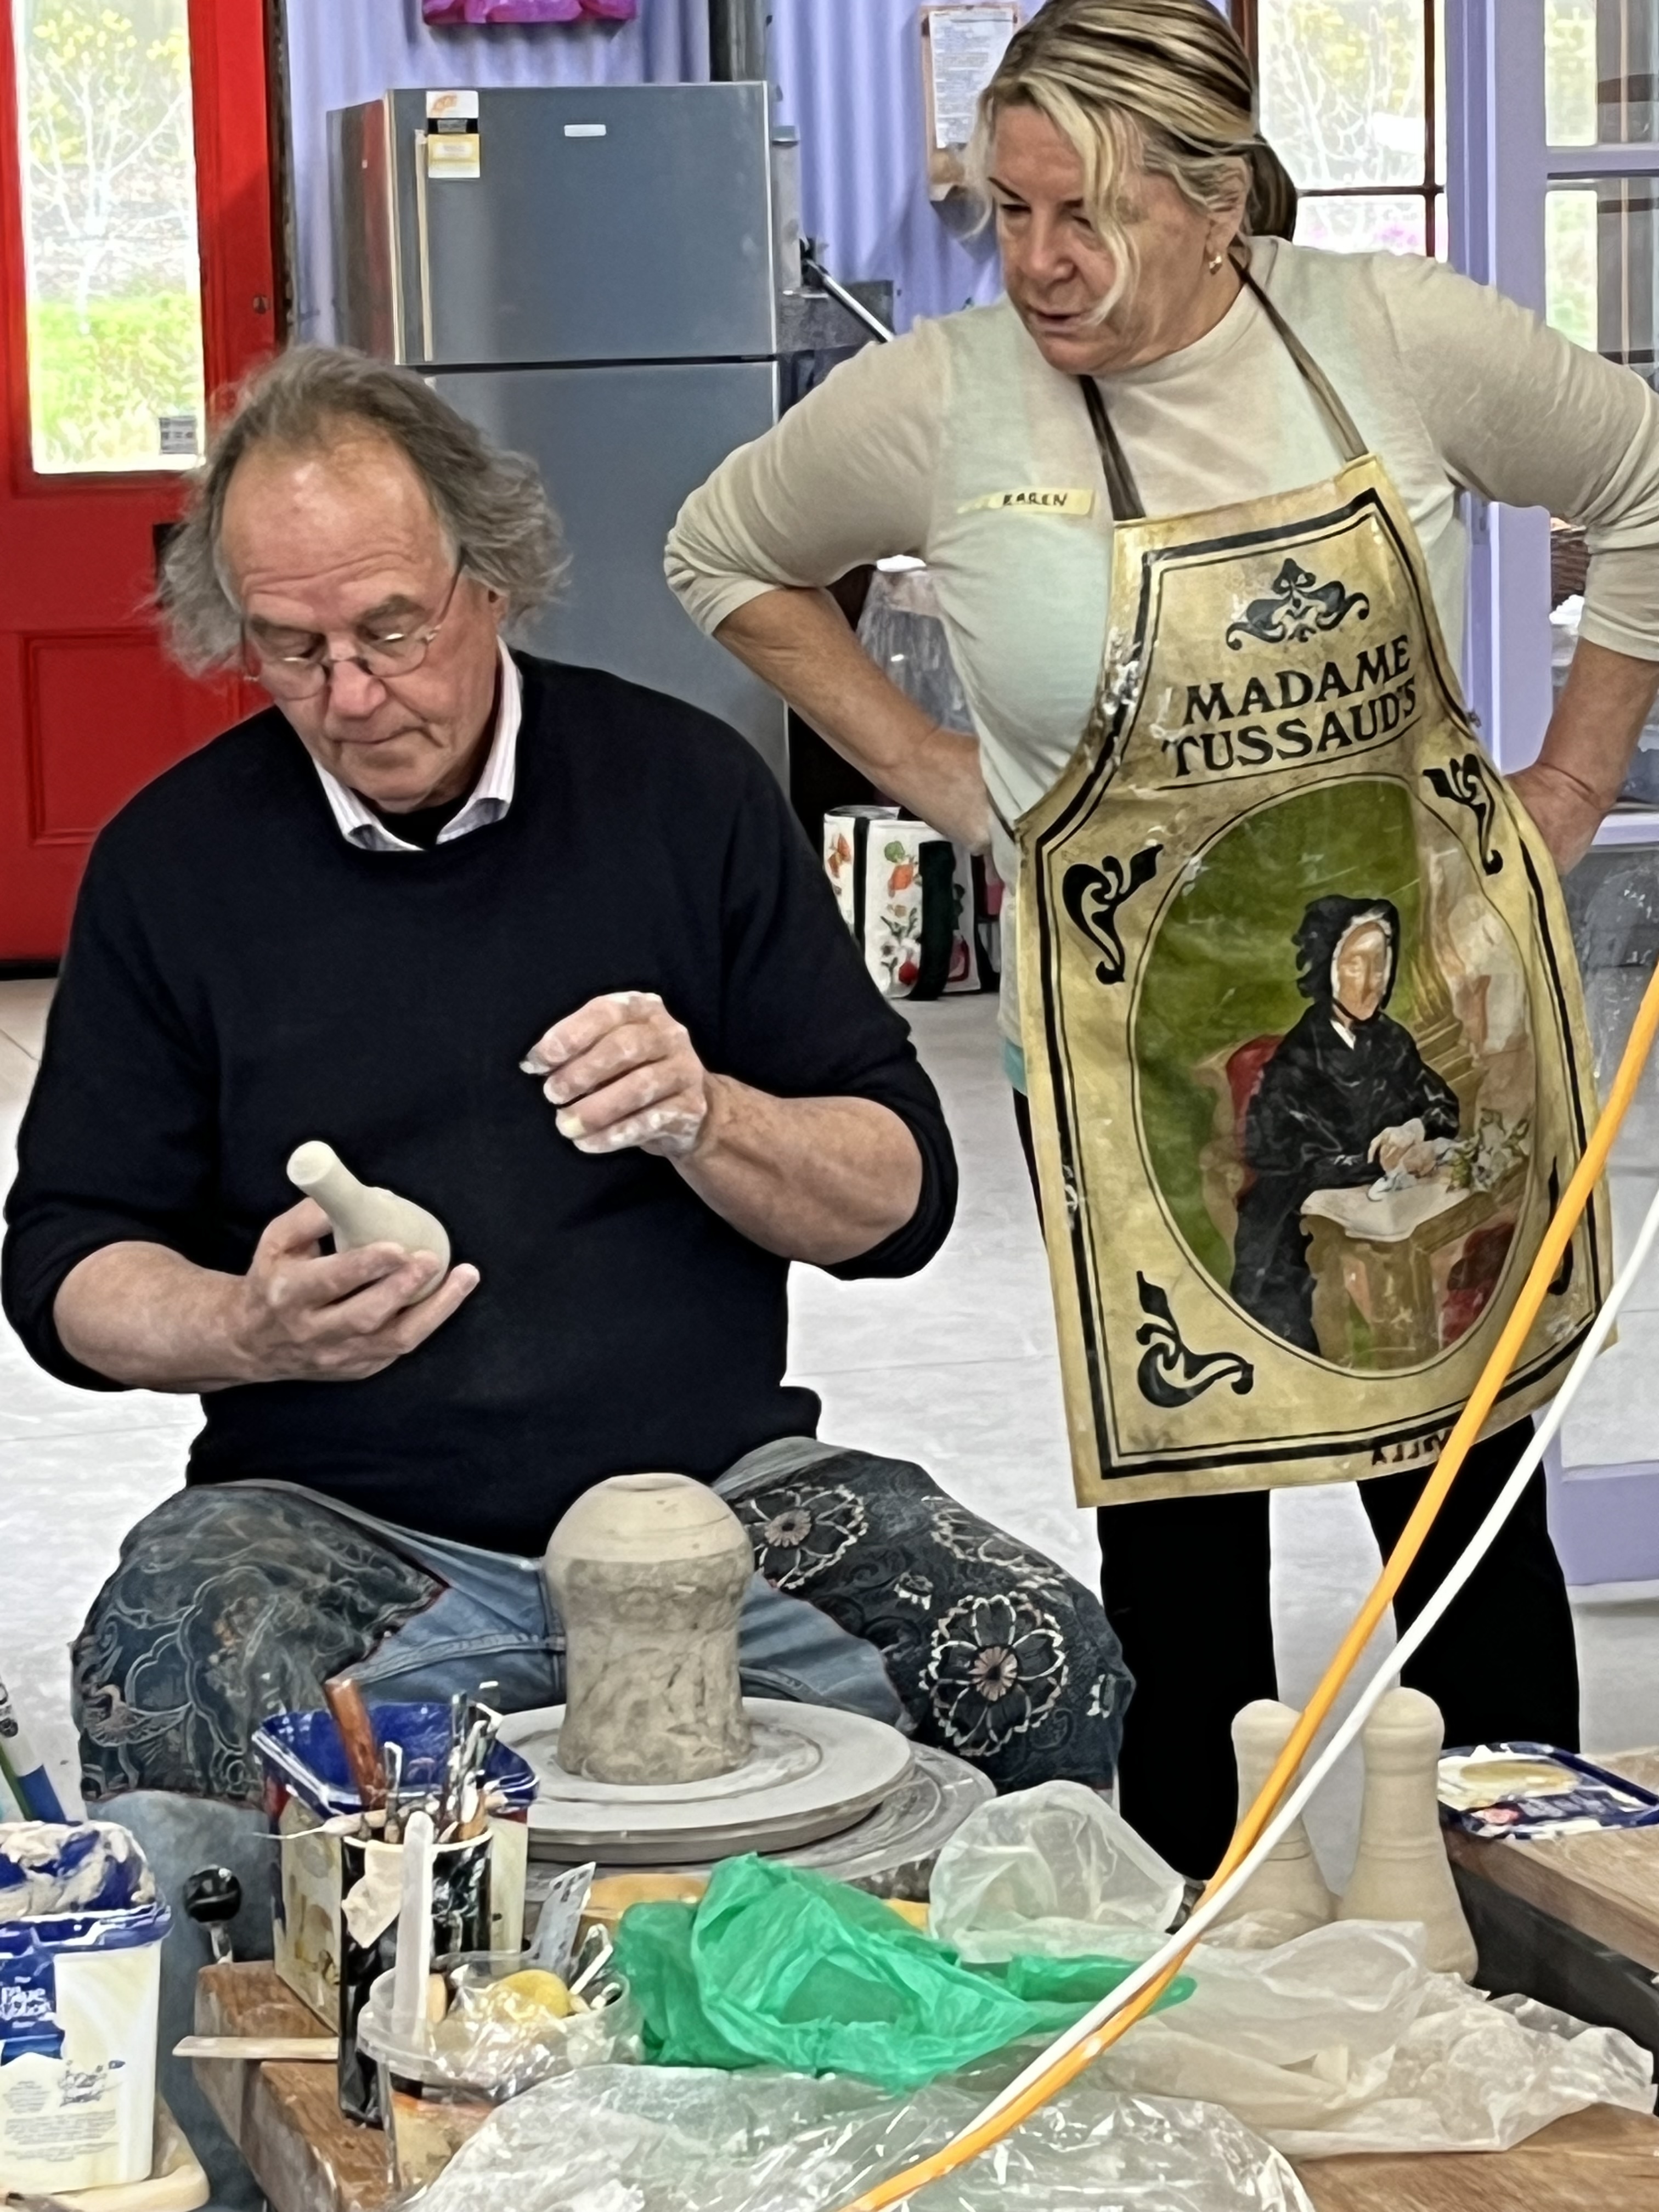
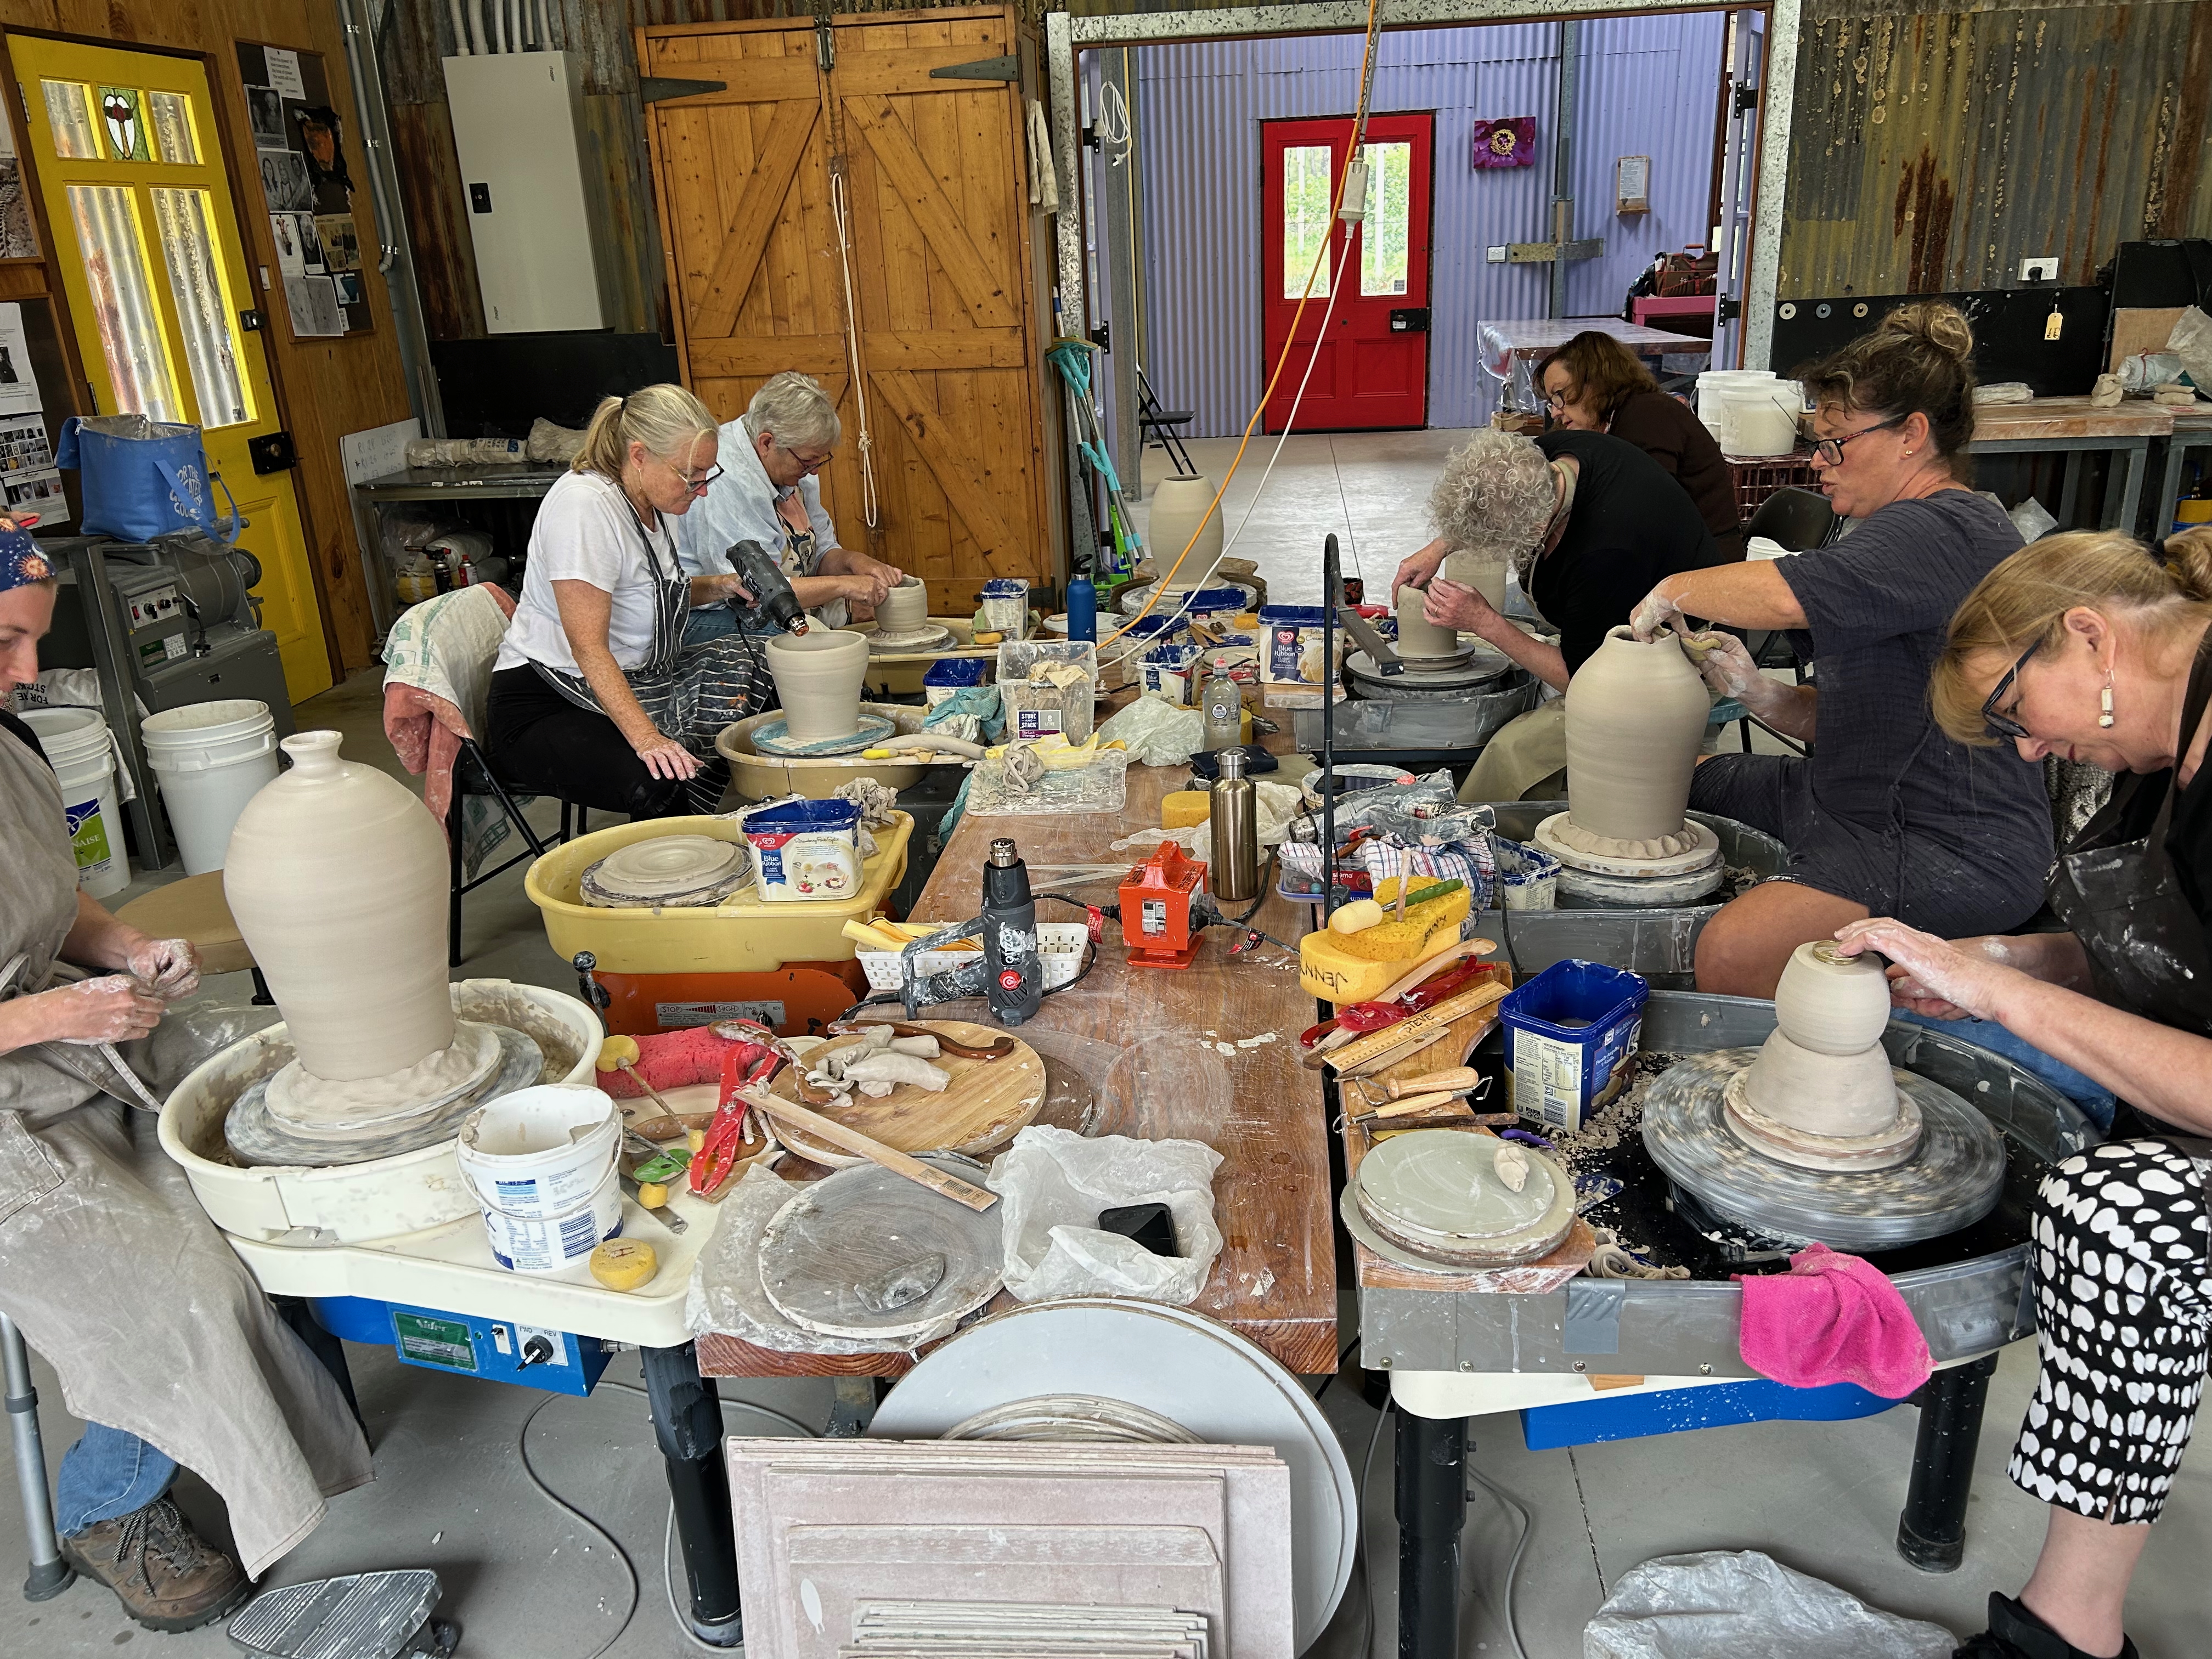
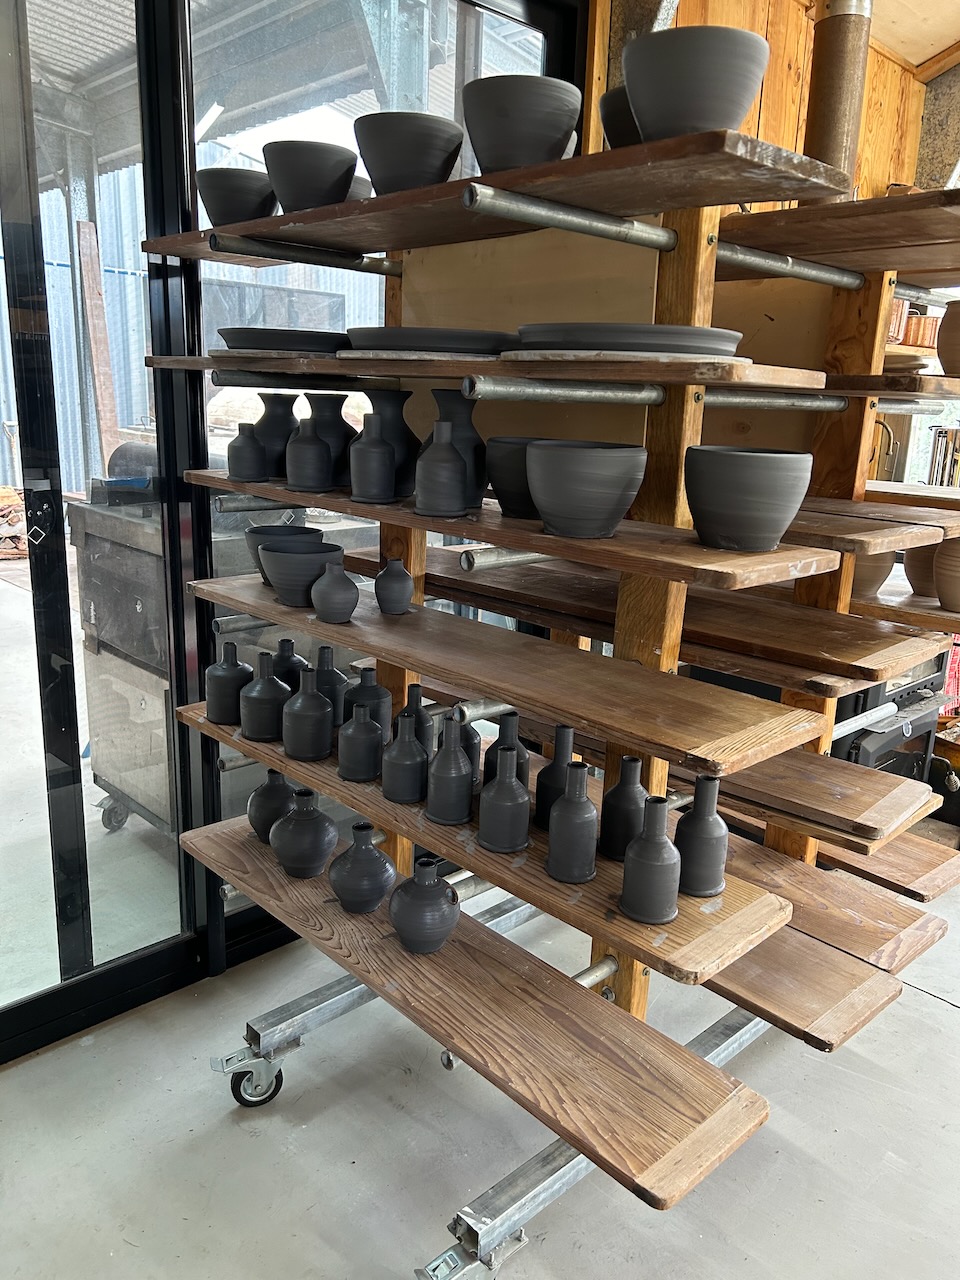
Janine and I taught a clay making workshop over the weekend. We all learnt a bit of clay theory, made some push-pull, coil-tests and shrinkage bar tests. We looked at Kaolins, Ball clays and Illites, we even dipped into Fire Clays and Bentonites. After lunch We tested Porcelains, Sericites and Halloysites – seriously white and pure kaolin-like clays that are very useful for blending and making porcelain bodies. We also investigated plasticisers, pH testing and beneficiation.
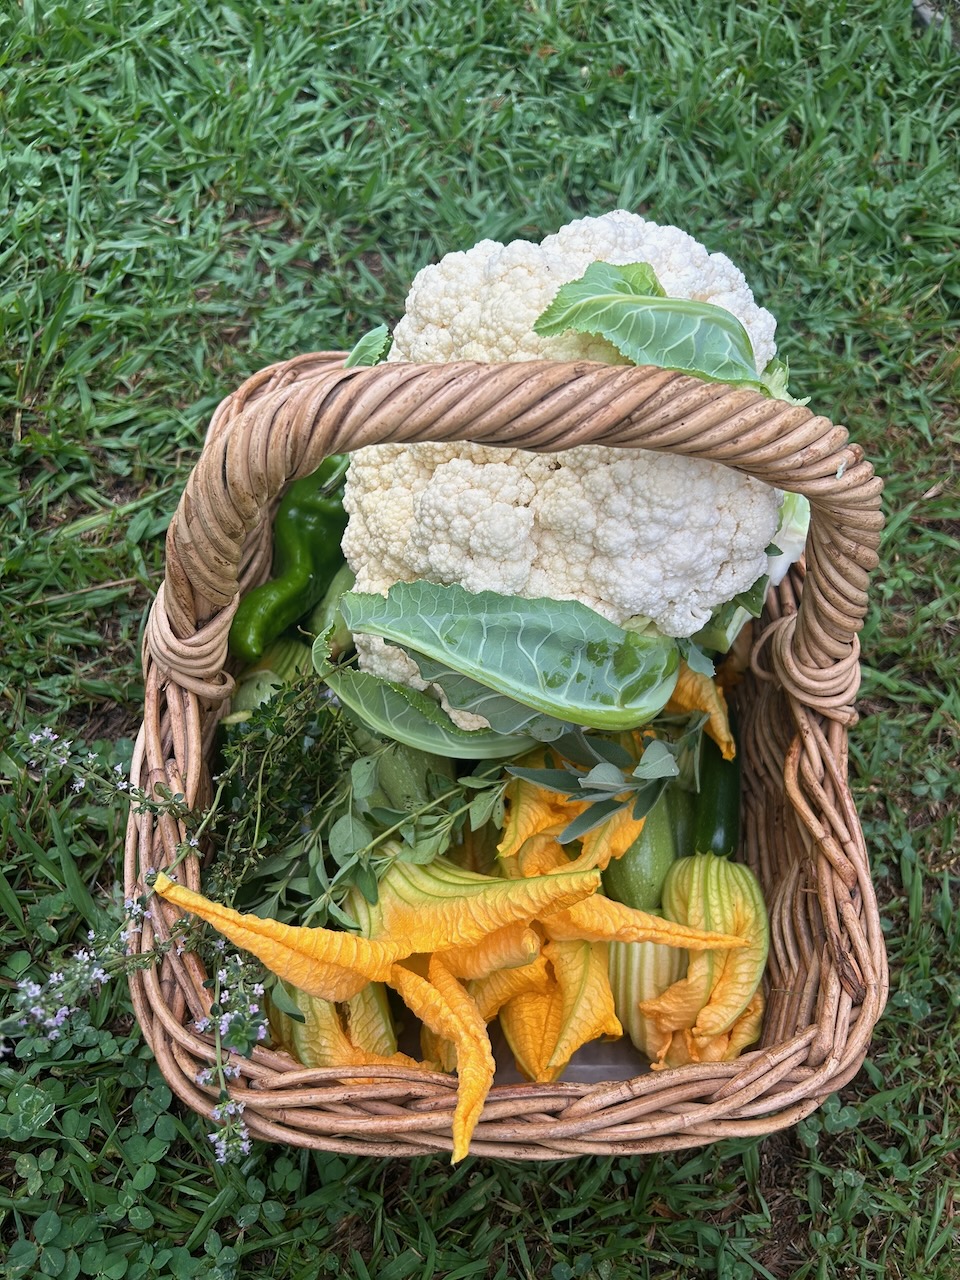
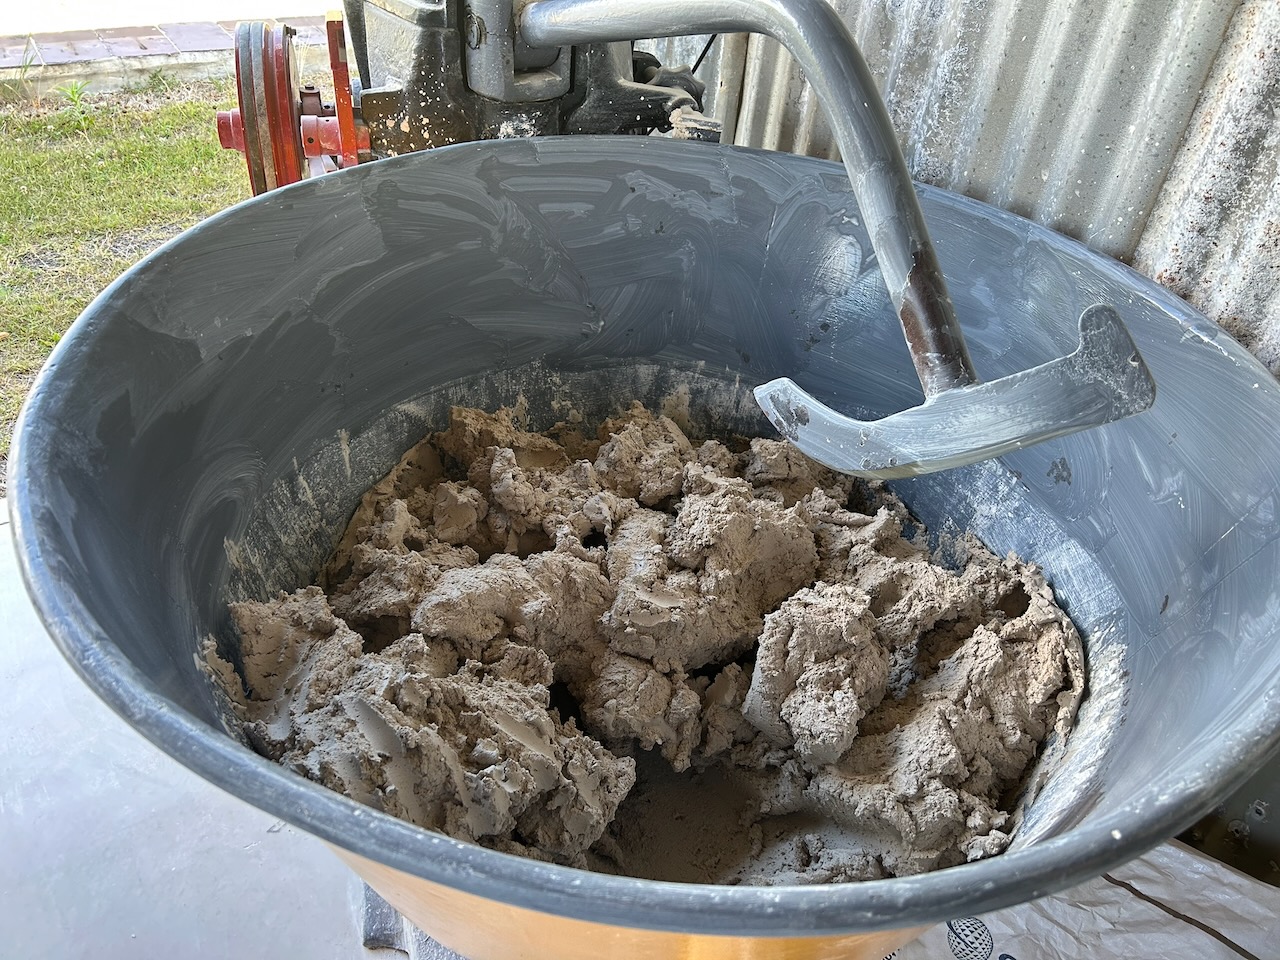
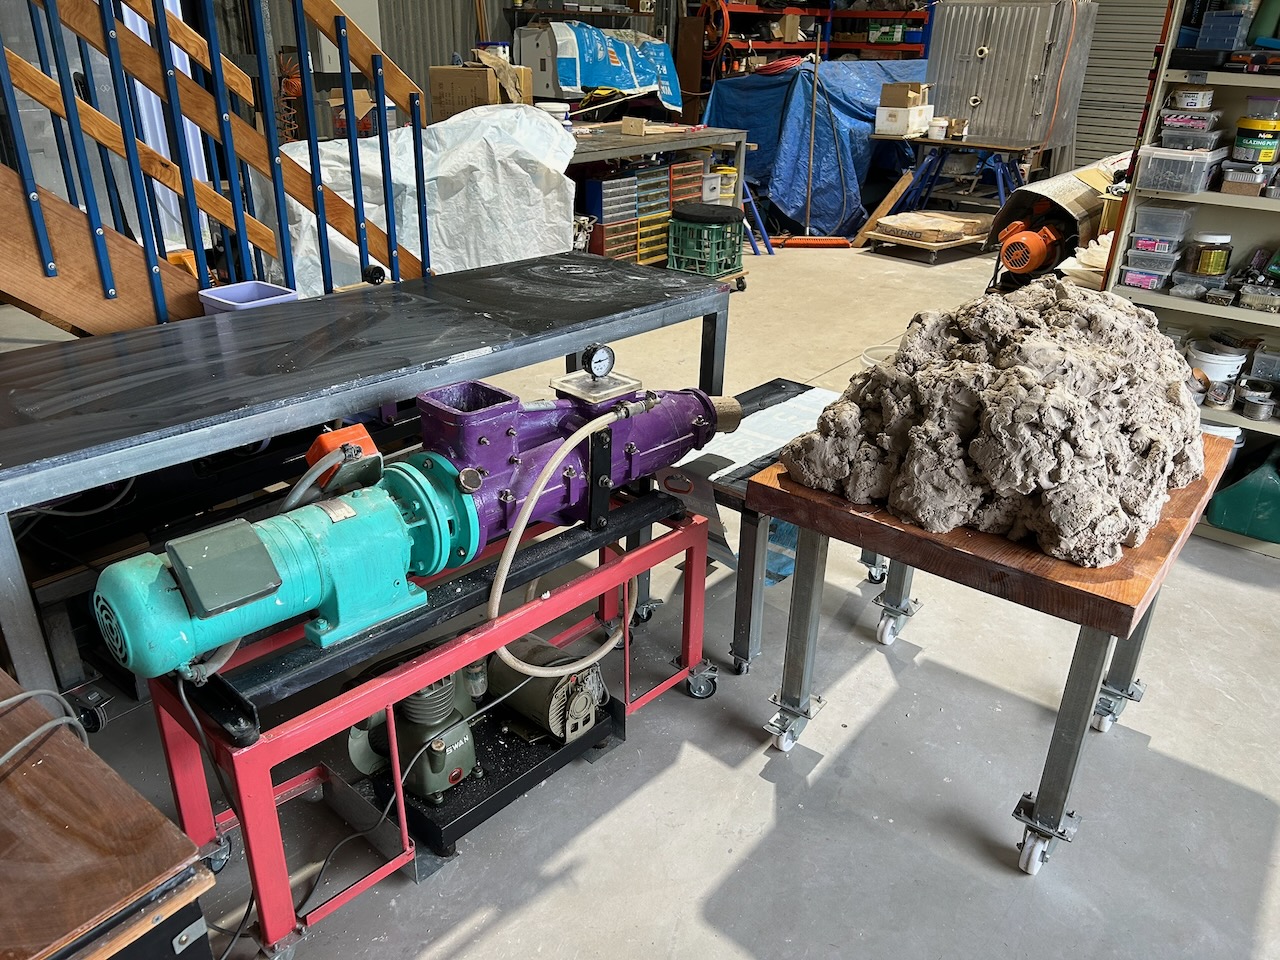
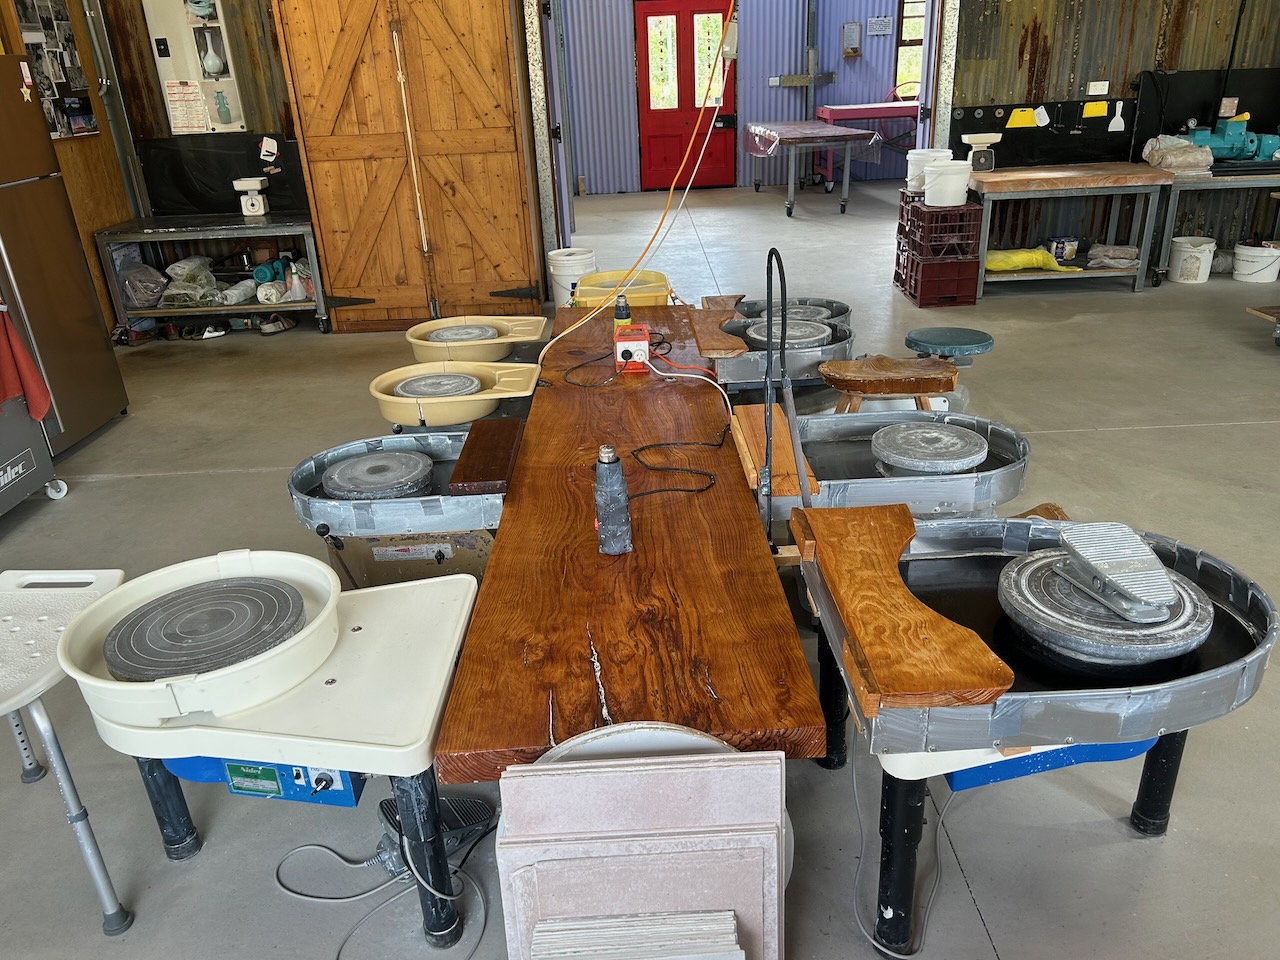
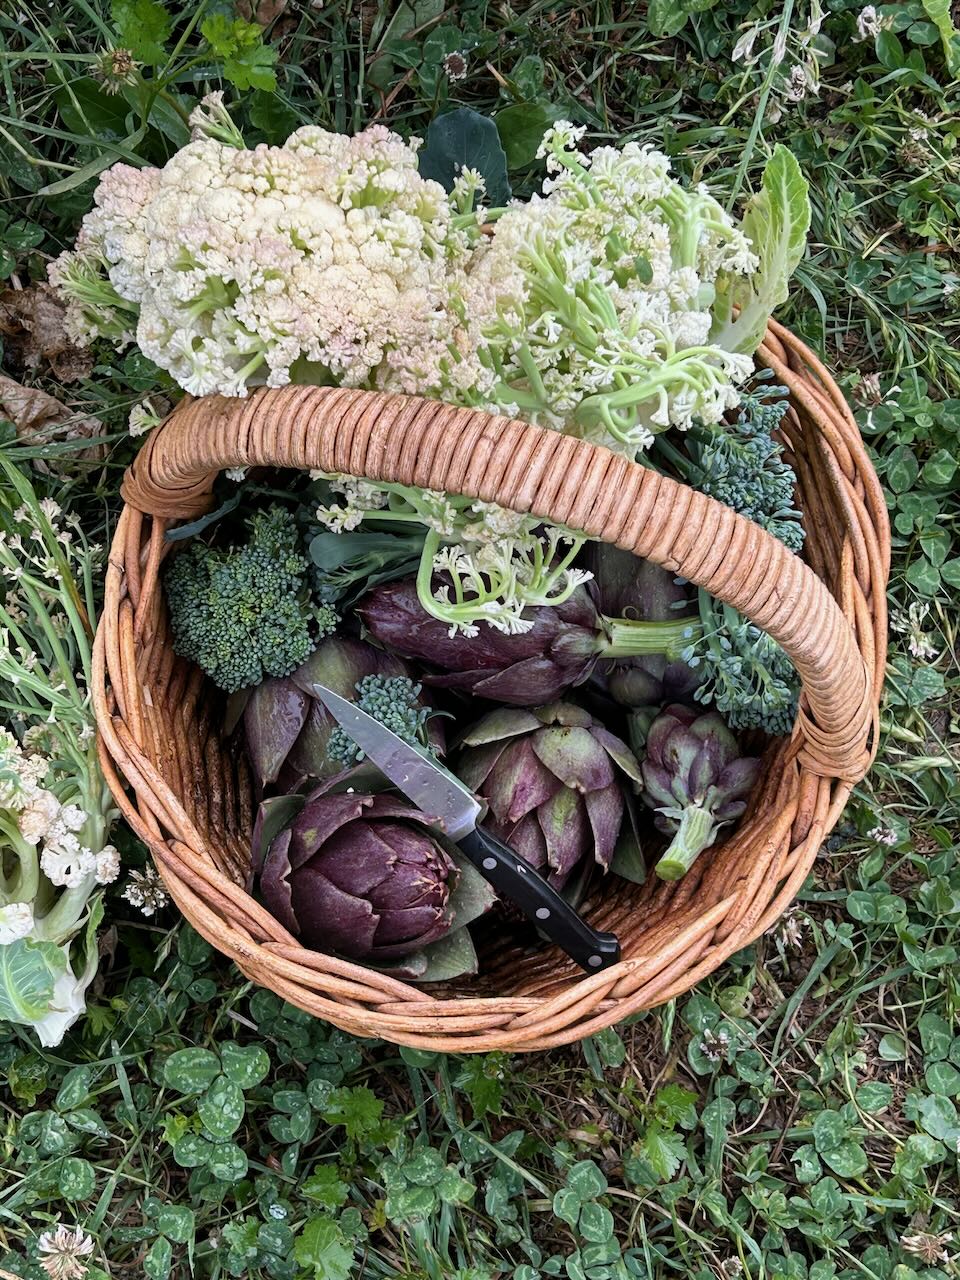
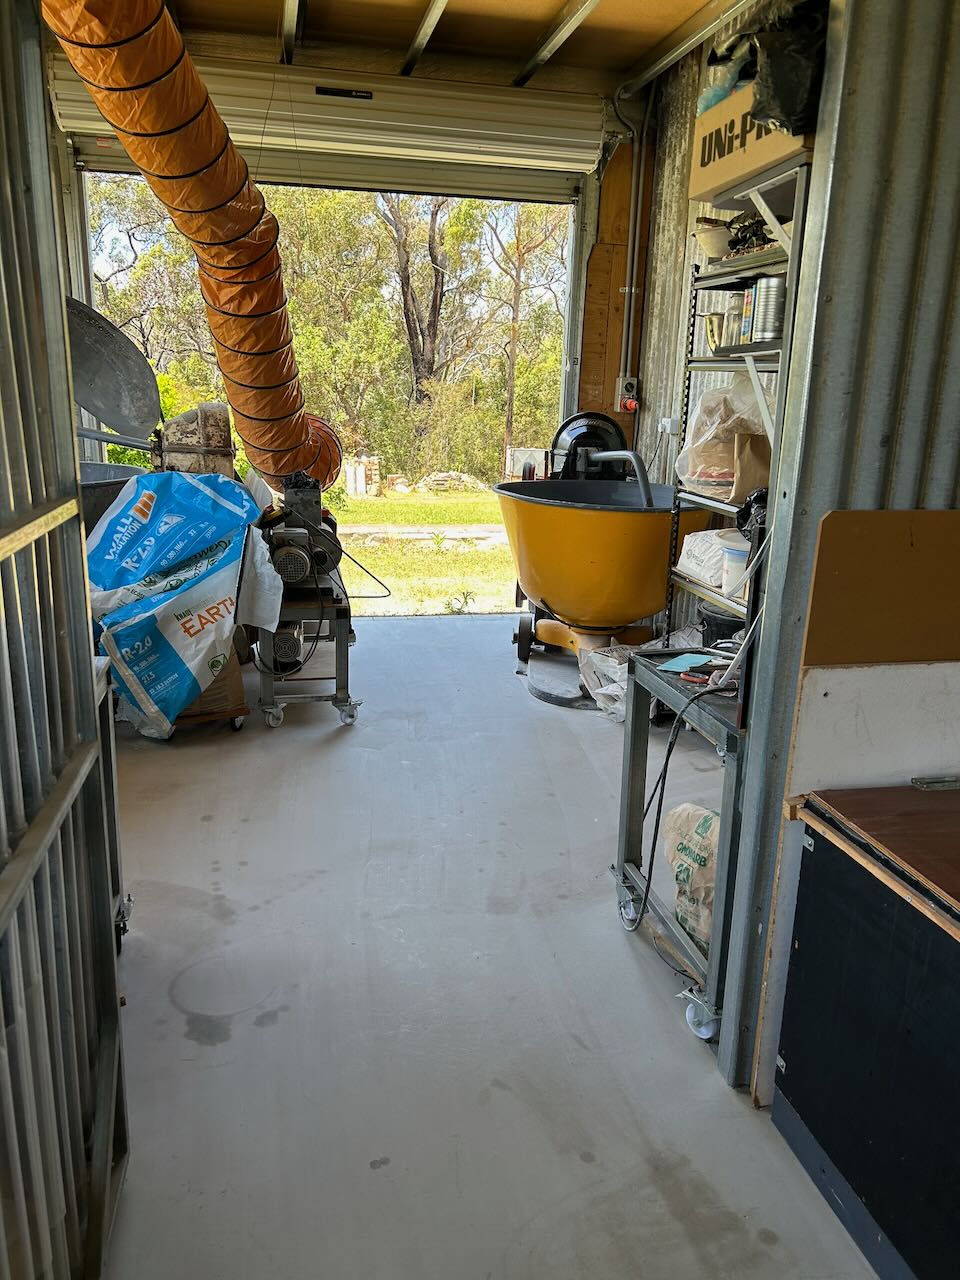
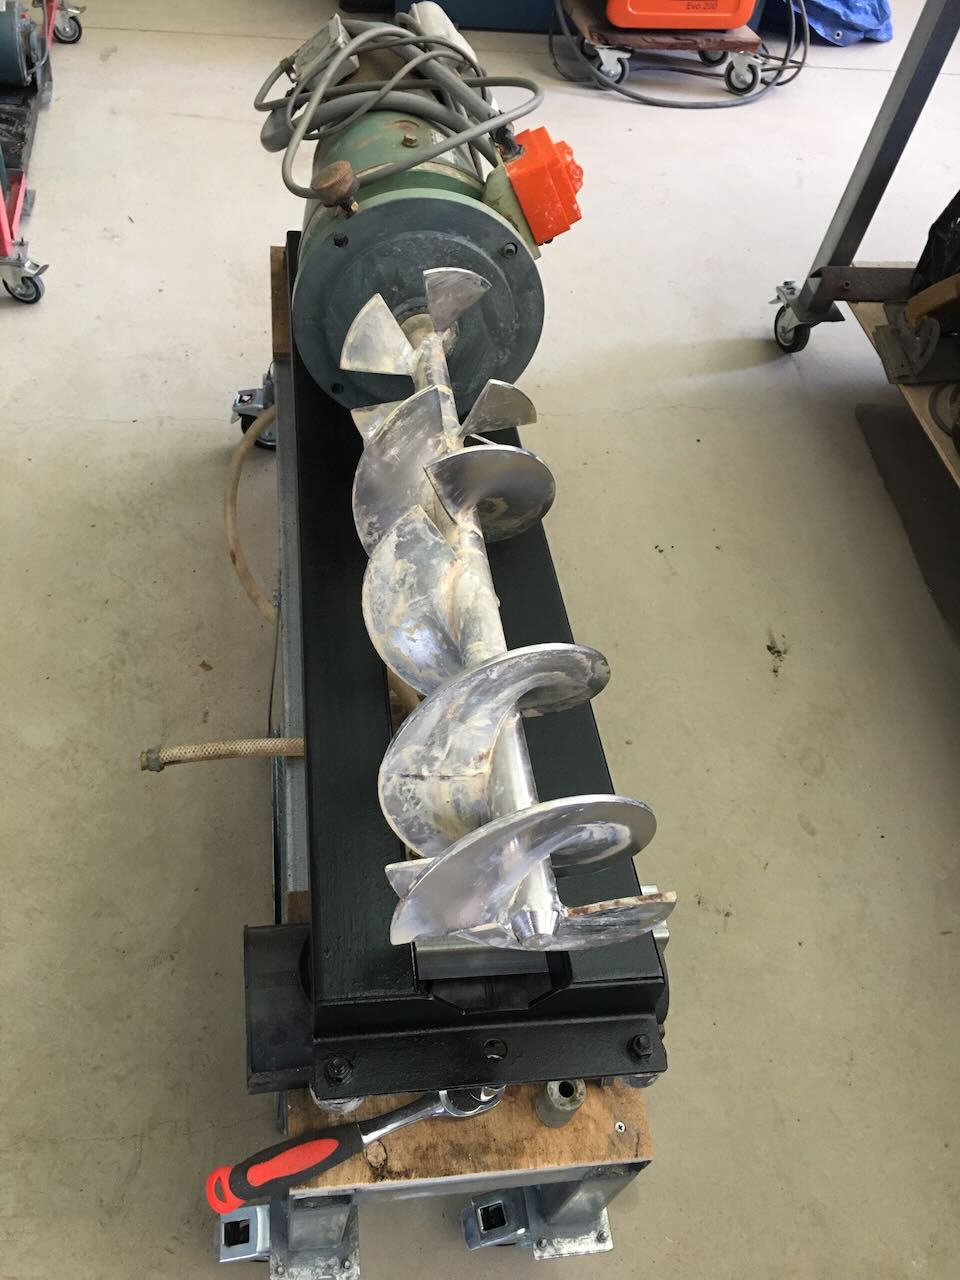
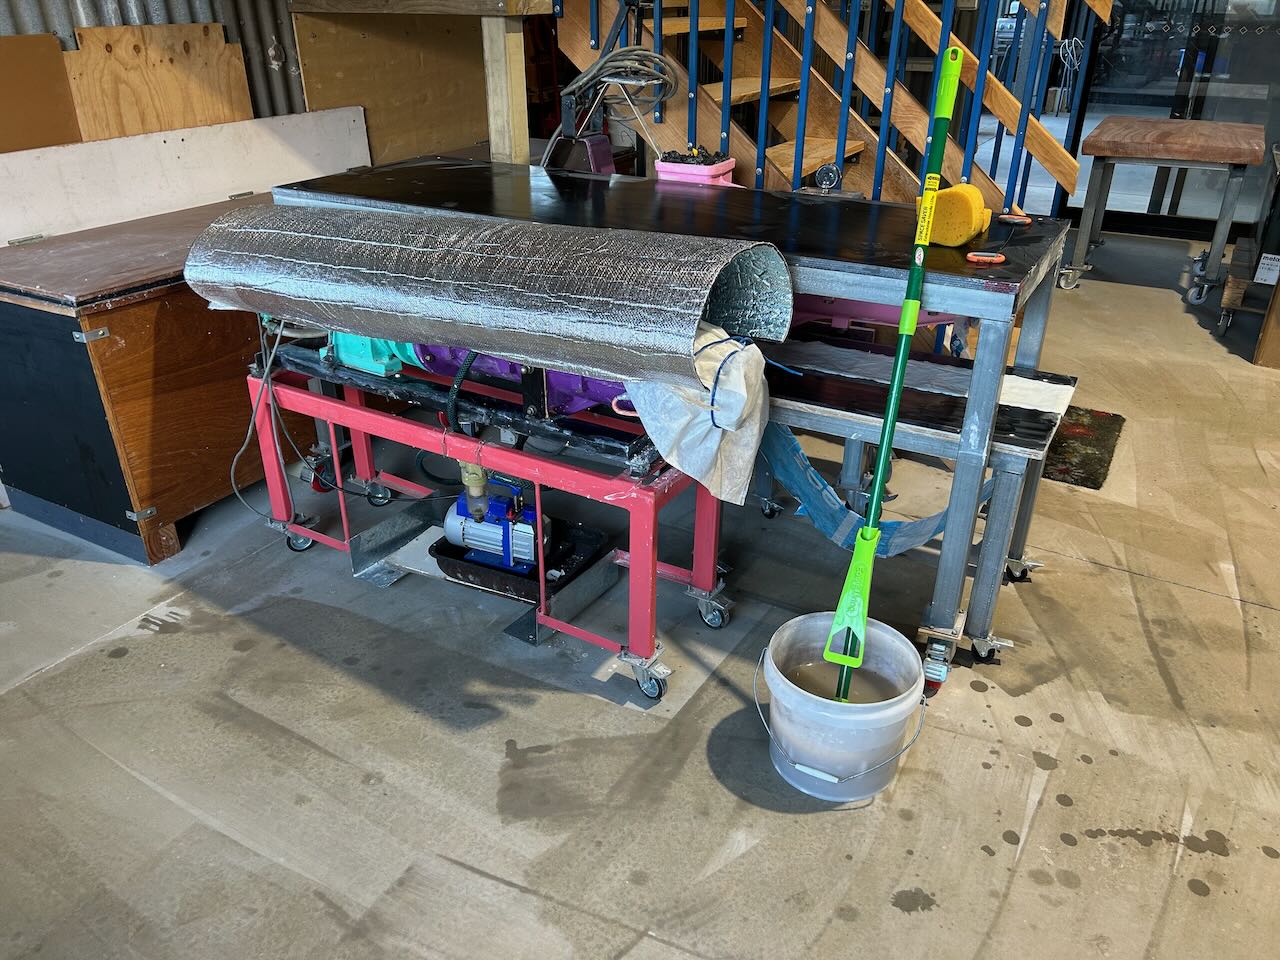
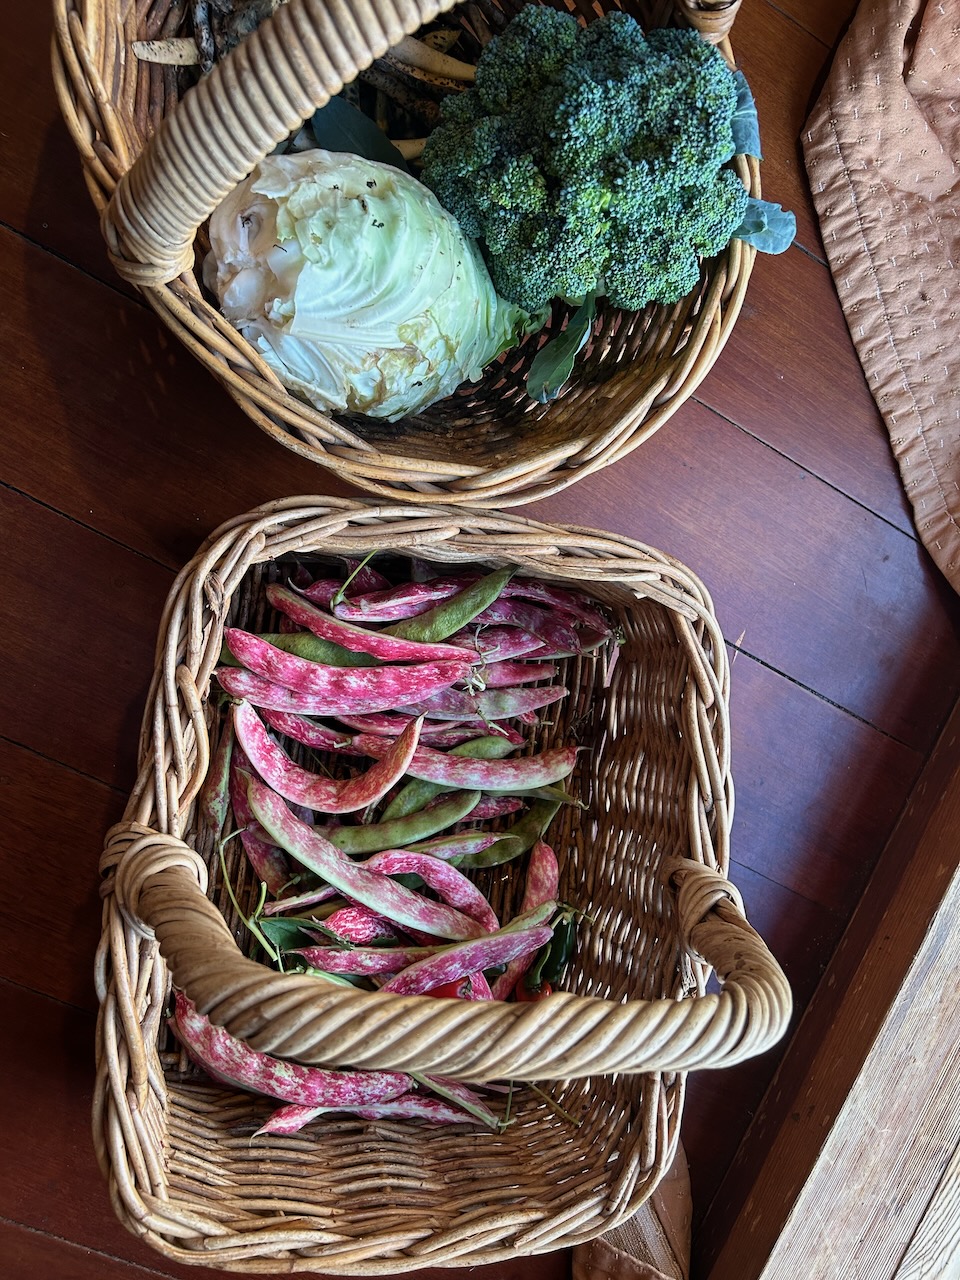
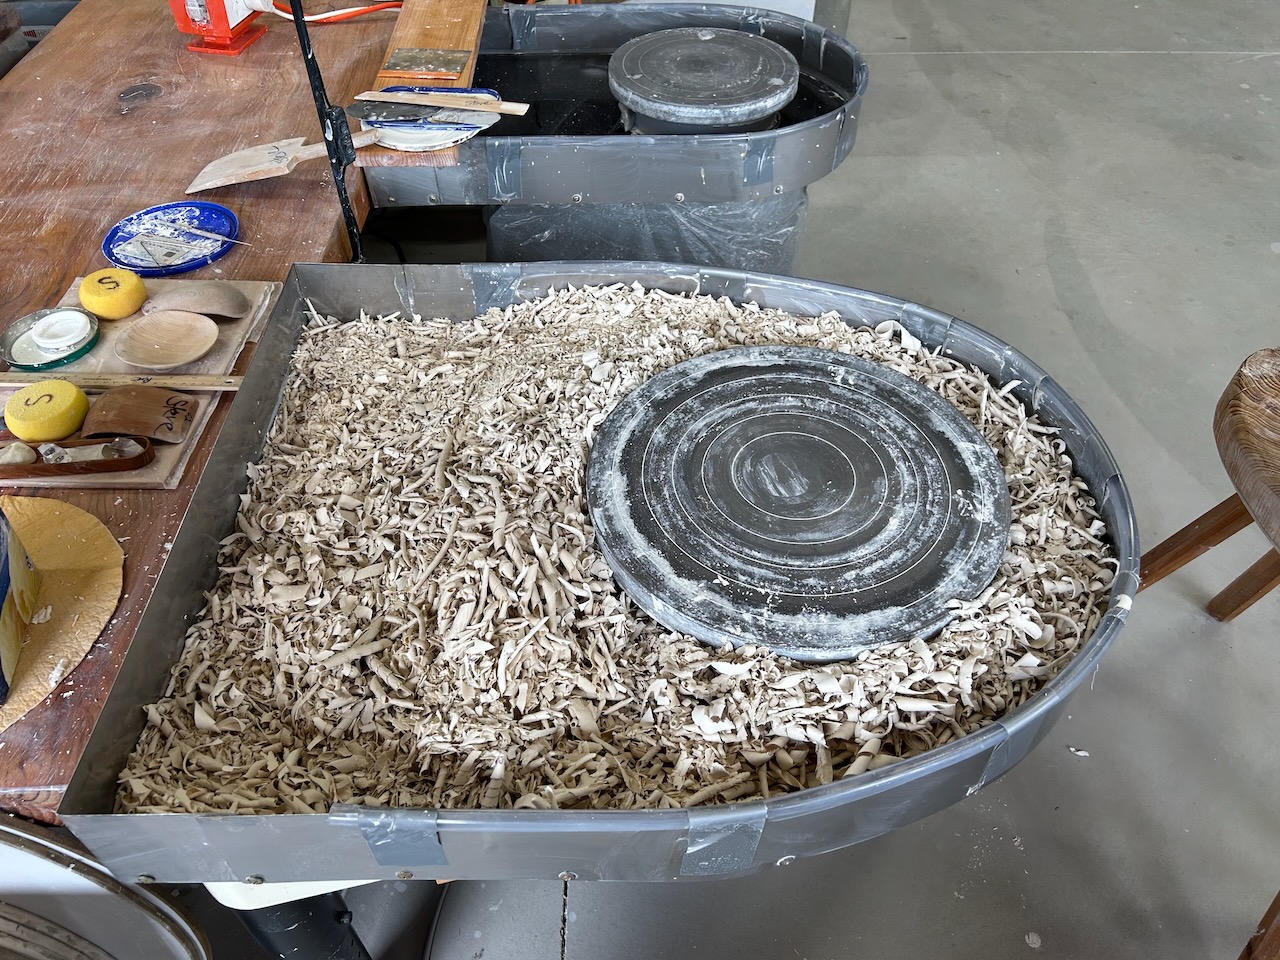
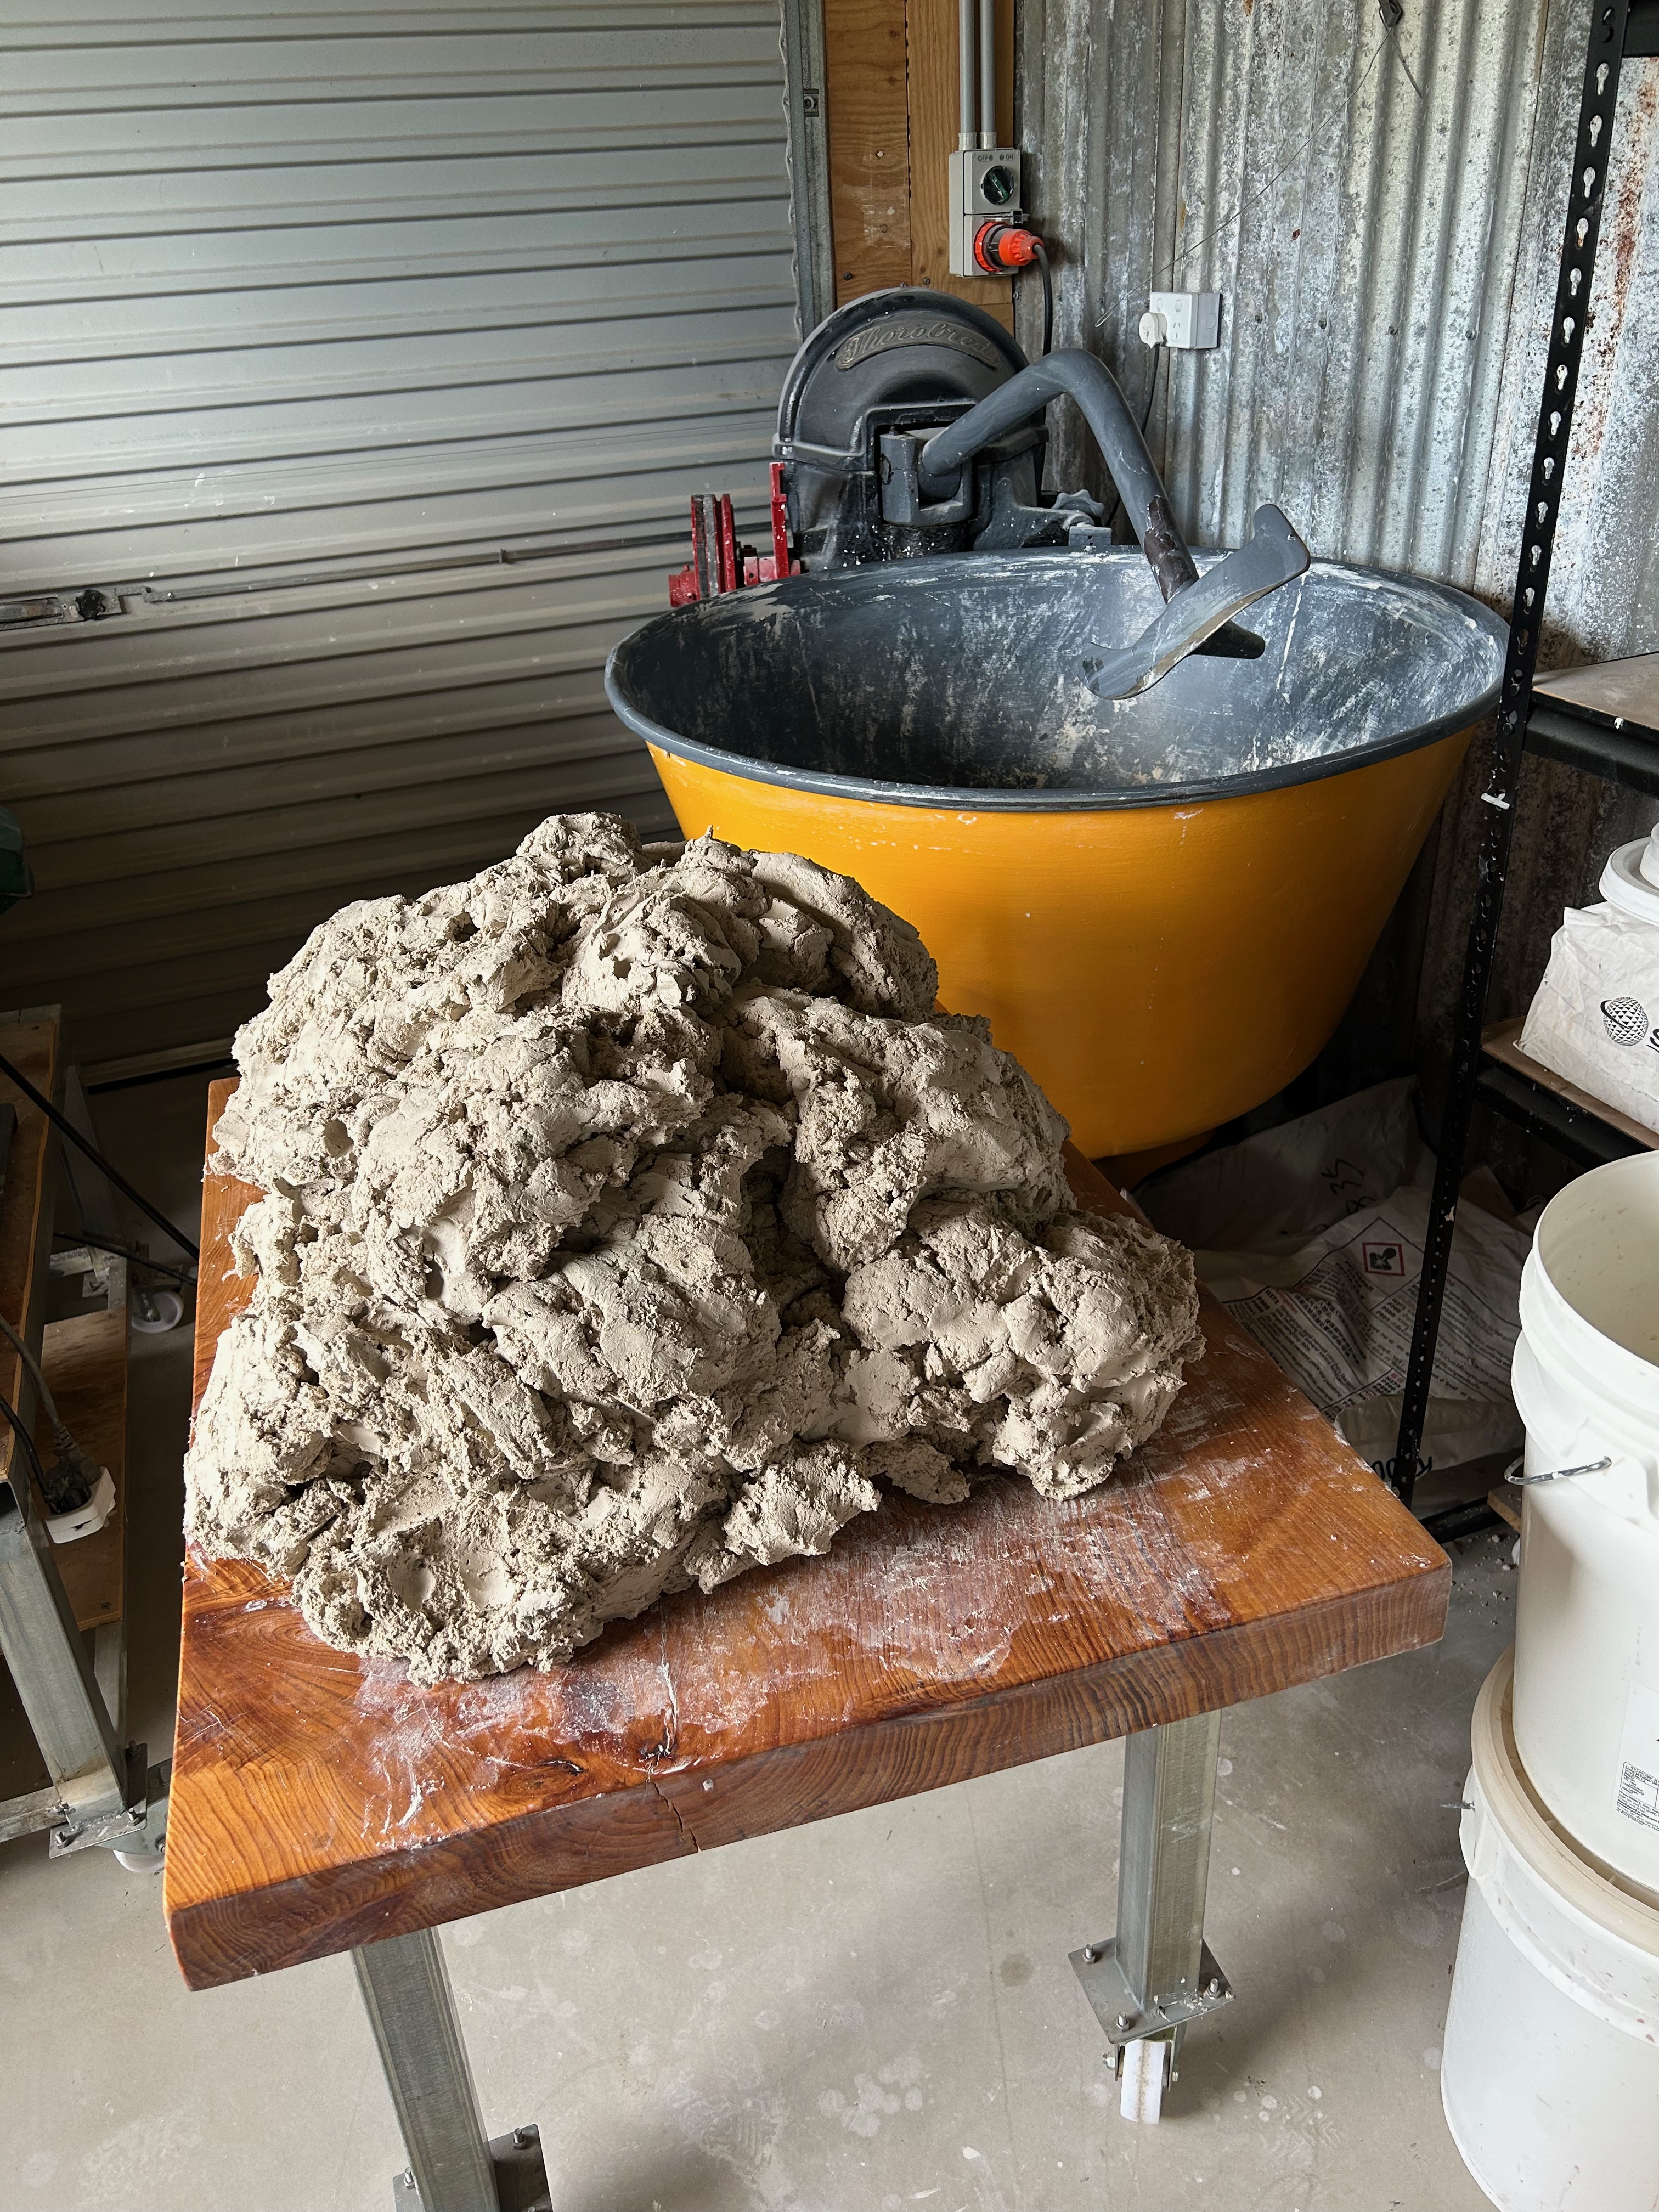
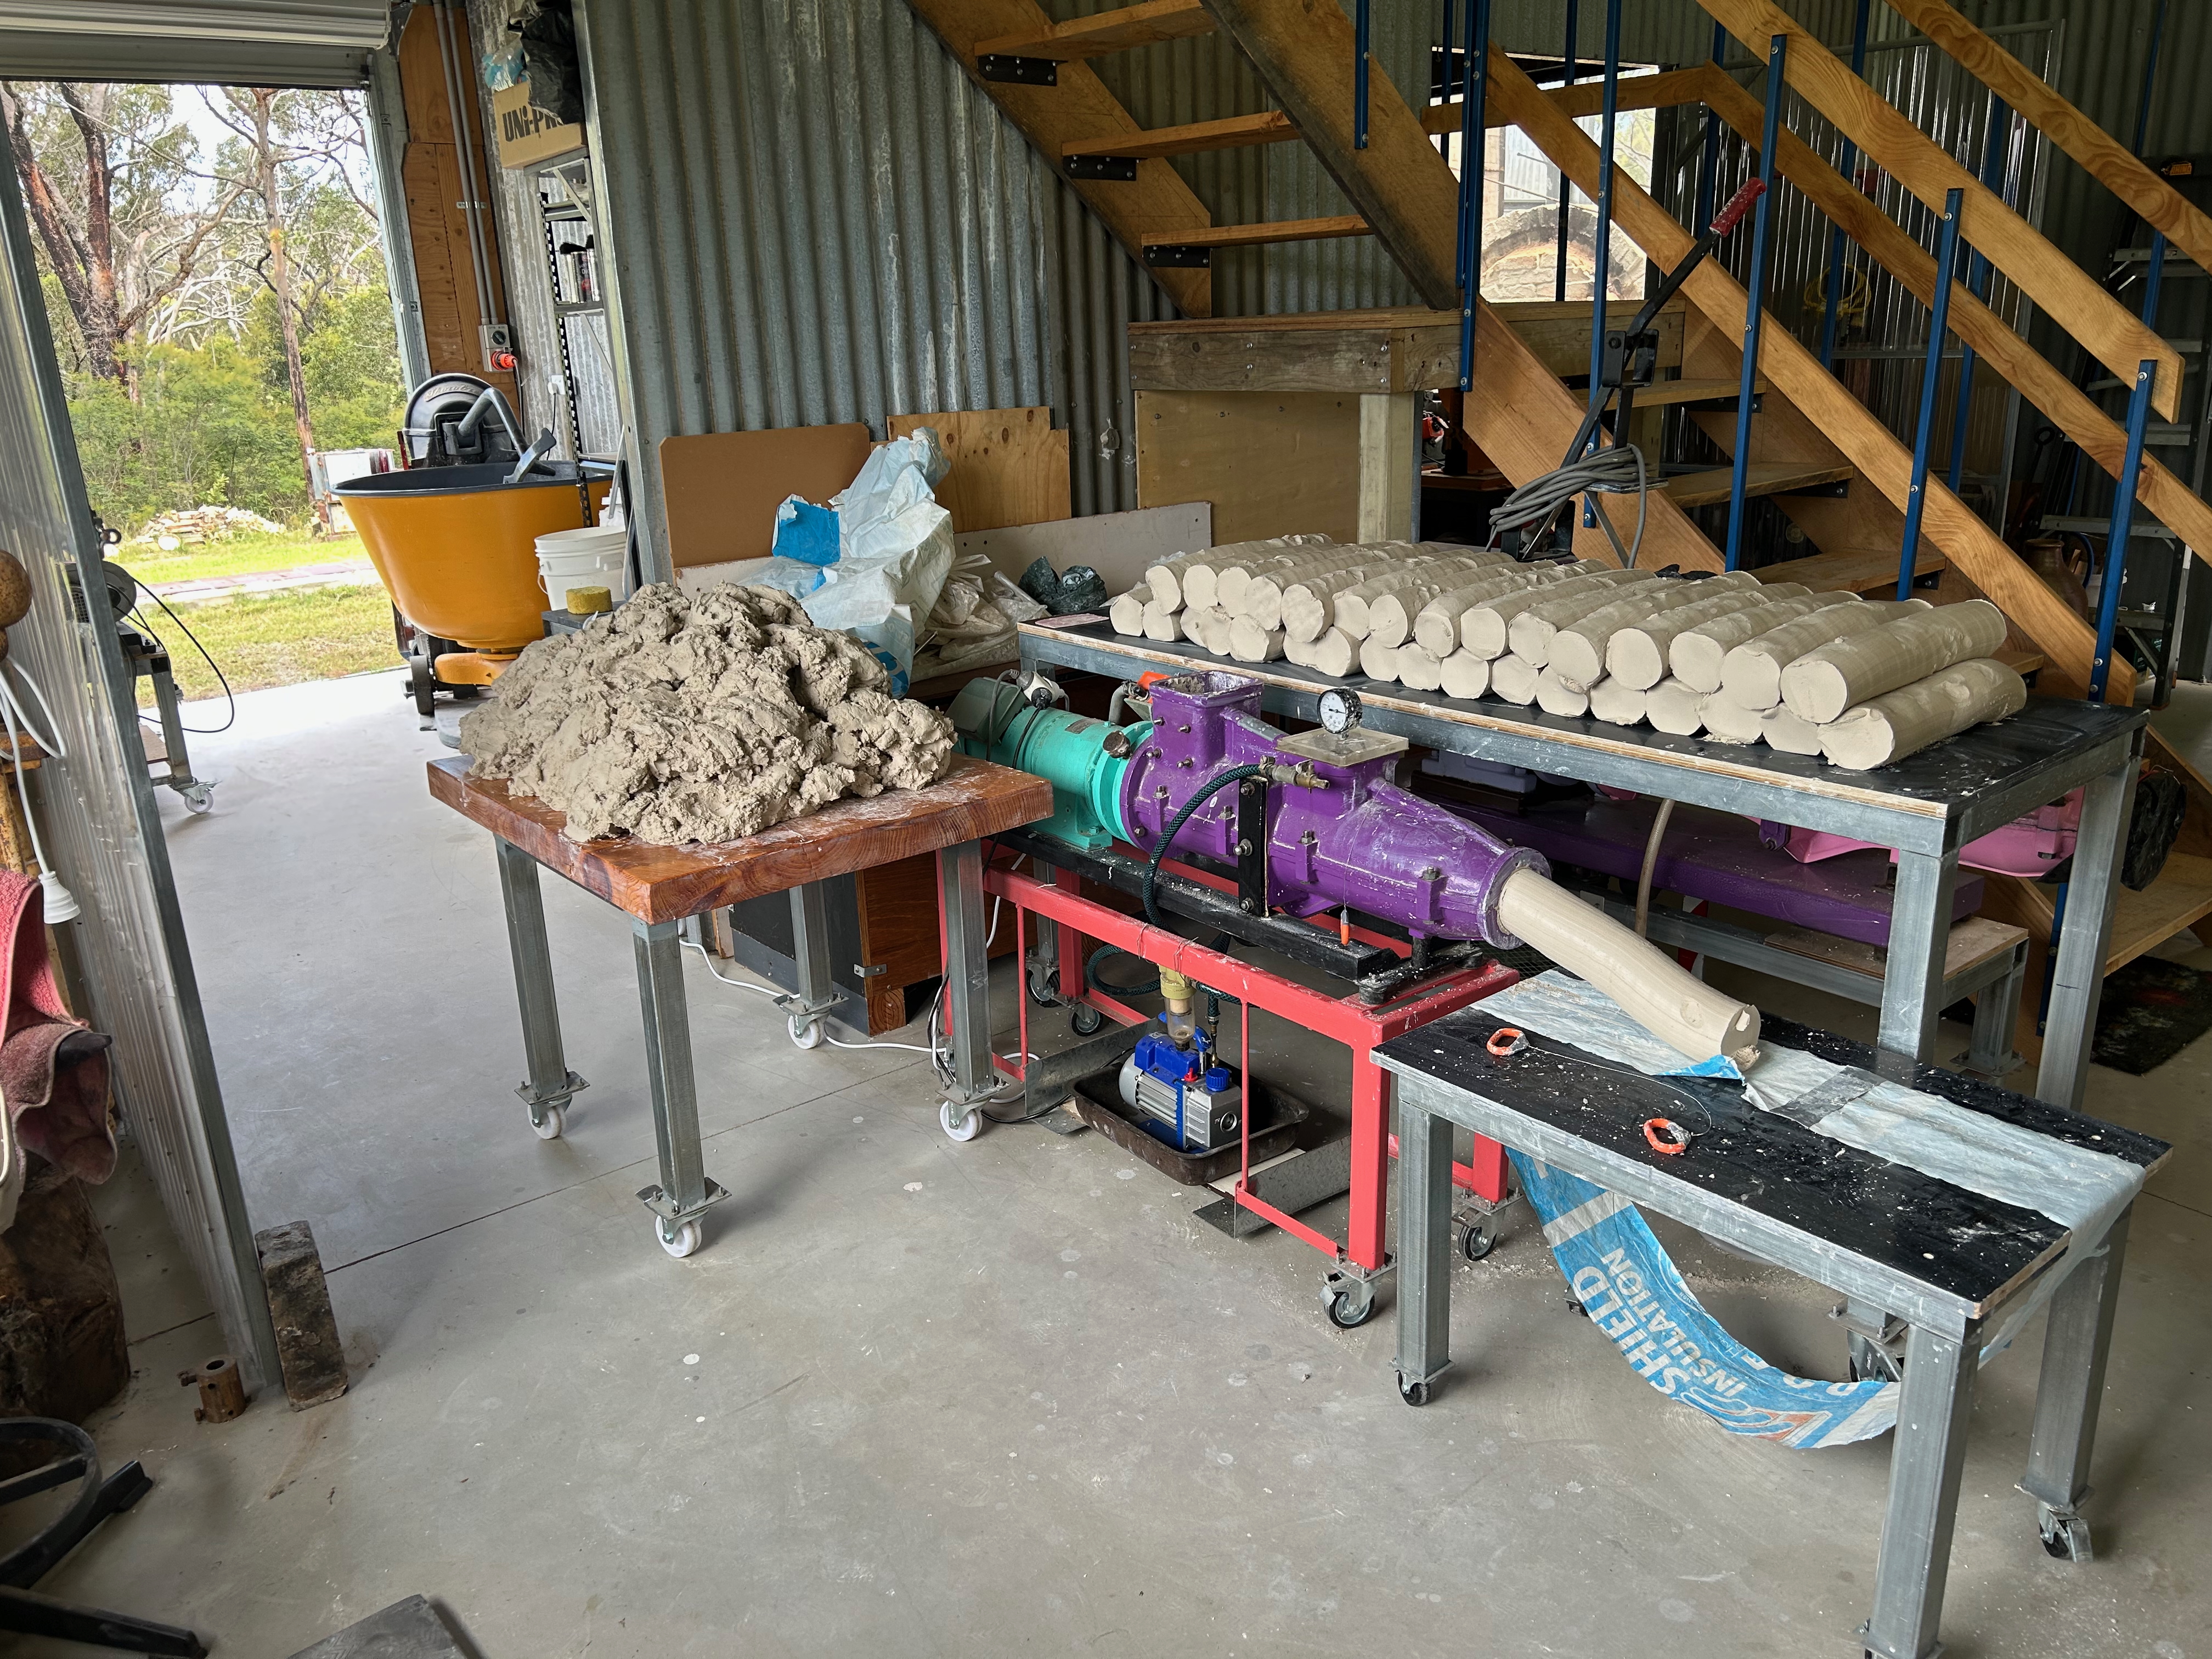
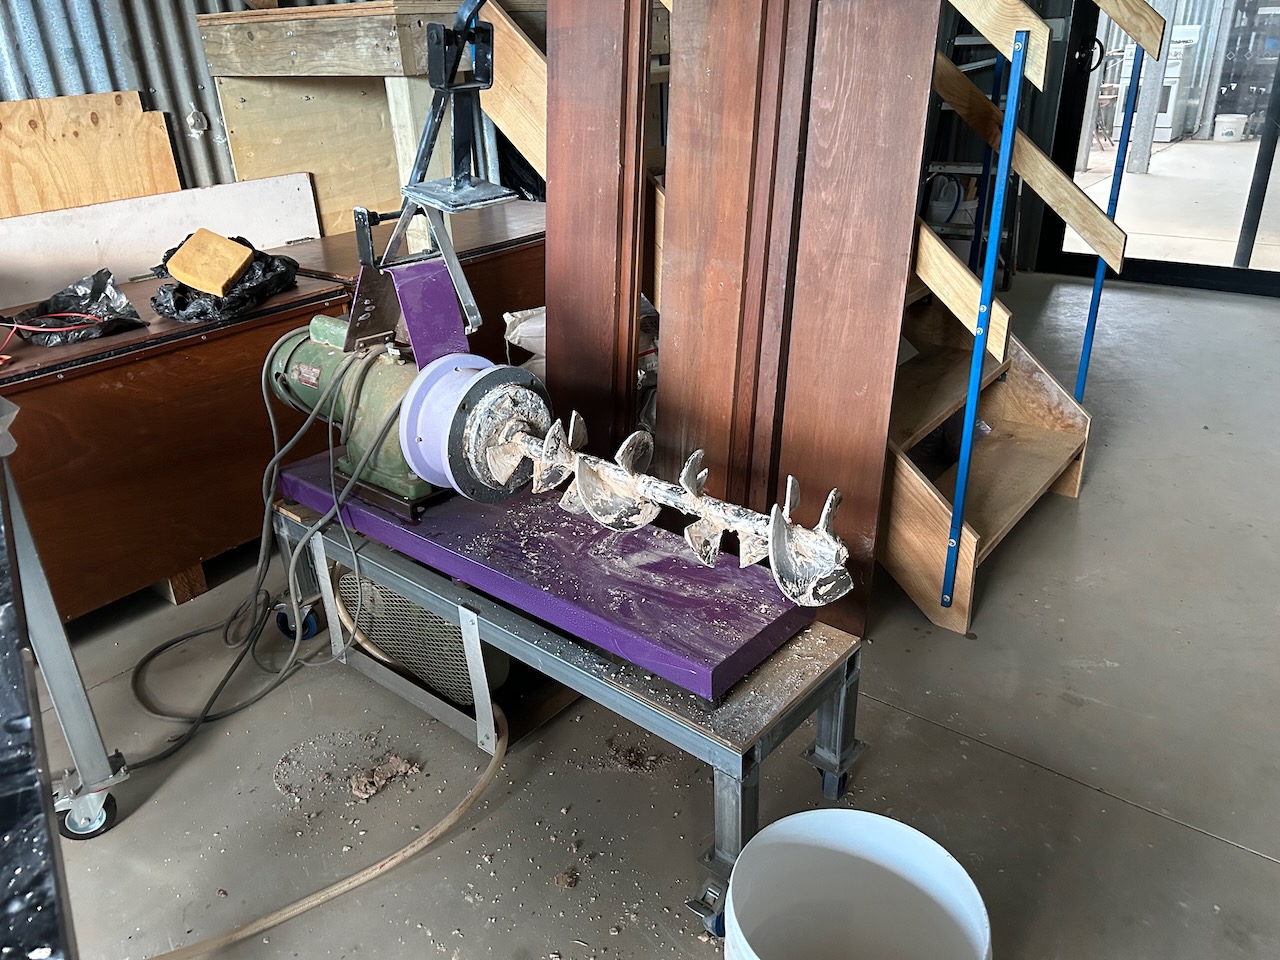
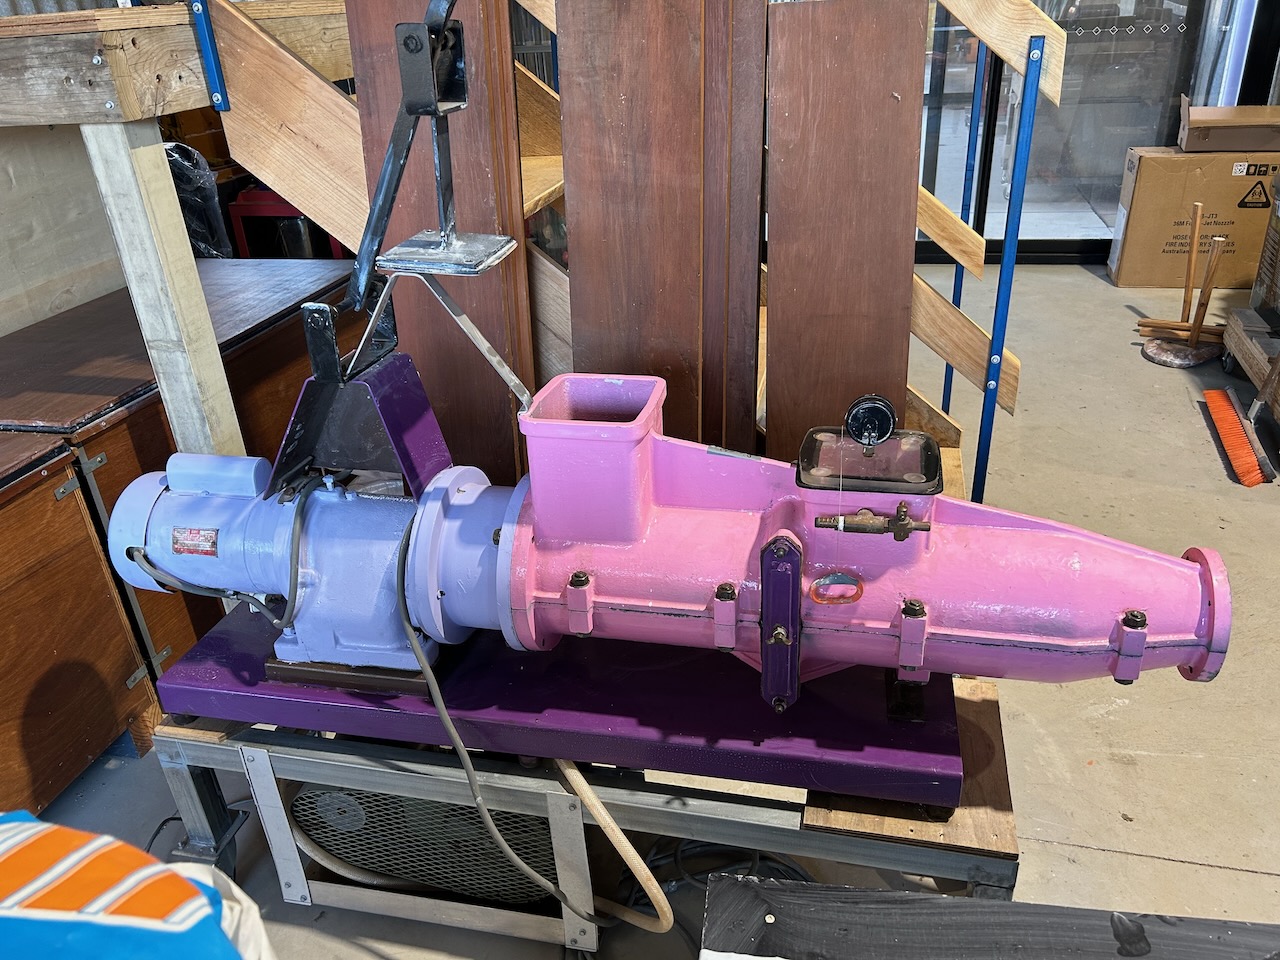
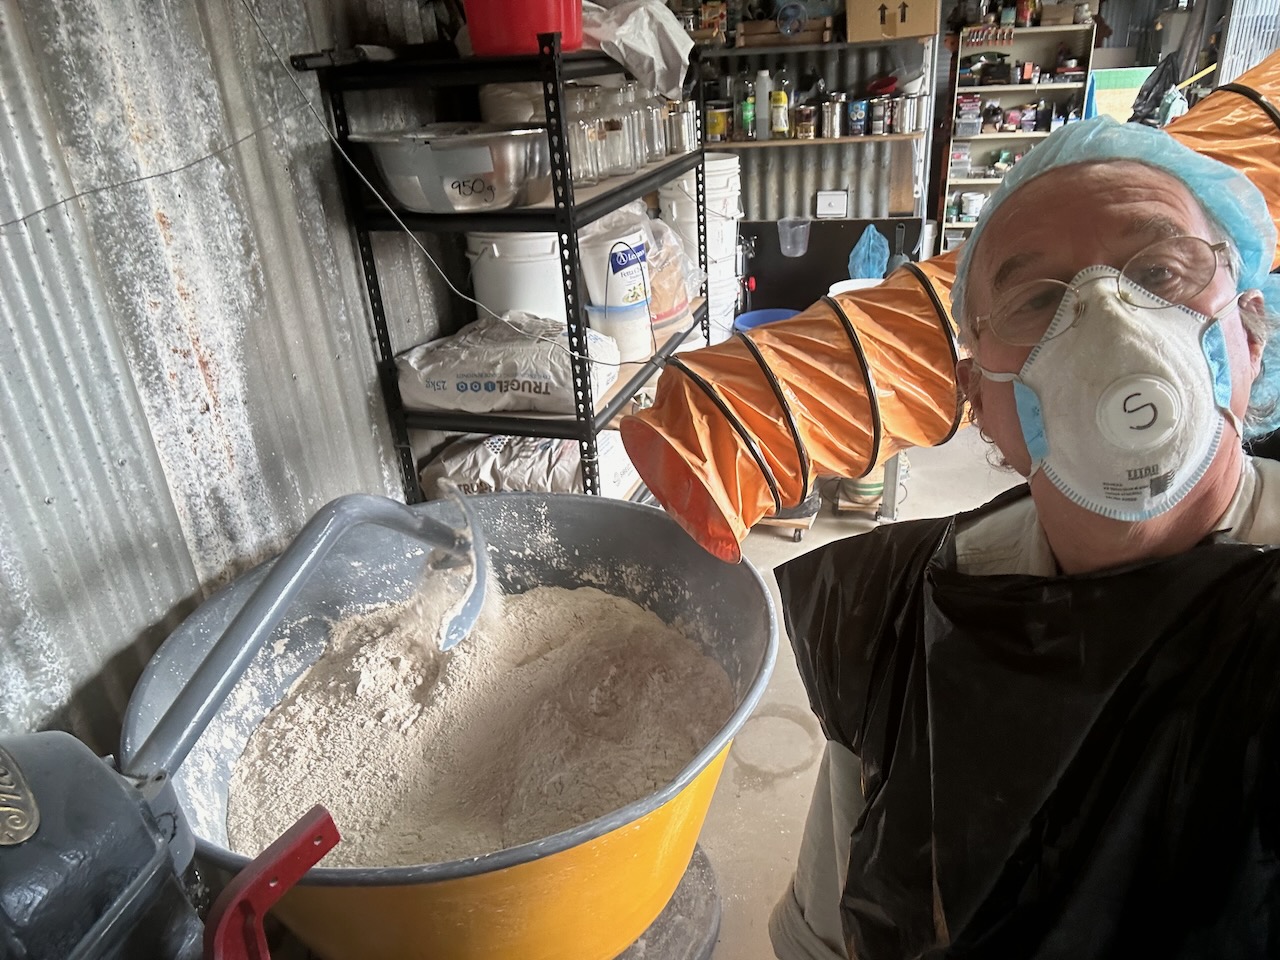
Lastly we went into the clay making room and loaded up the dough mixer with everything that we had learnt, a blend of clays that we had studied and tested in the morning, and proceeded to make 150 kgs of plastic stoneware clay body. We pugged it, bagged it, and then everyone got to take home a bag for their own use in their studio, as well as some fresh organic produce from the vegetable garden and orchards.
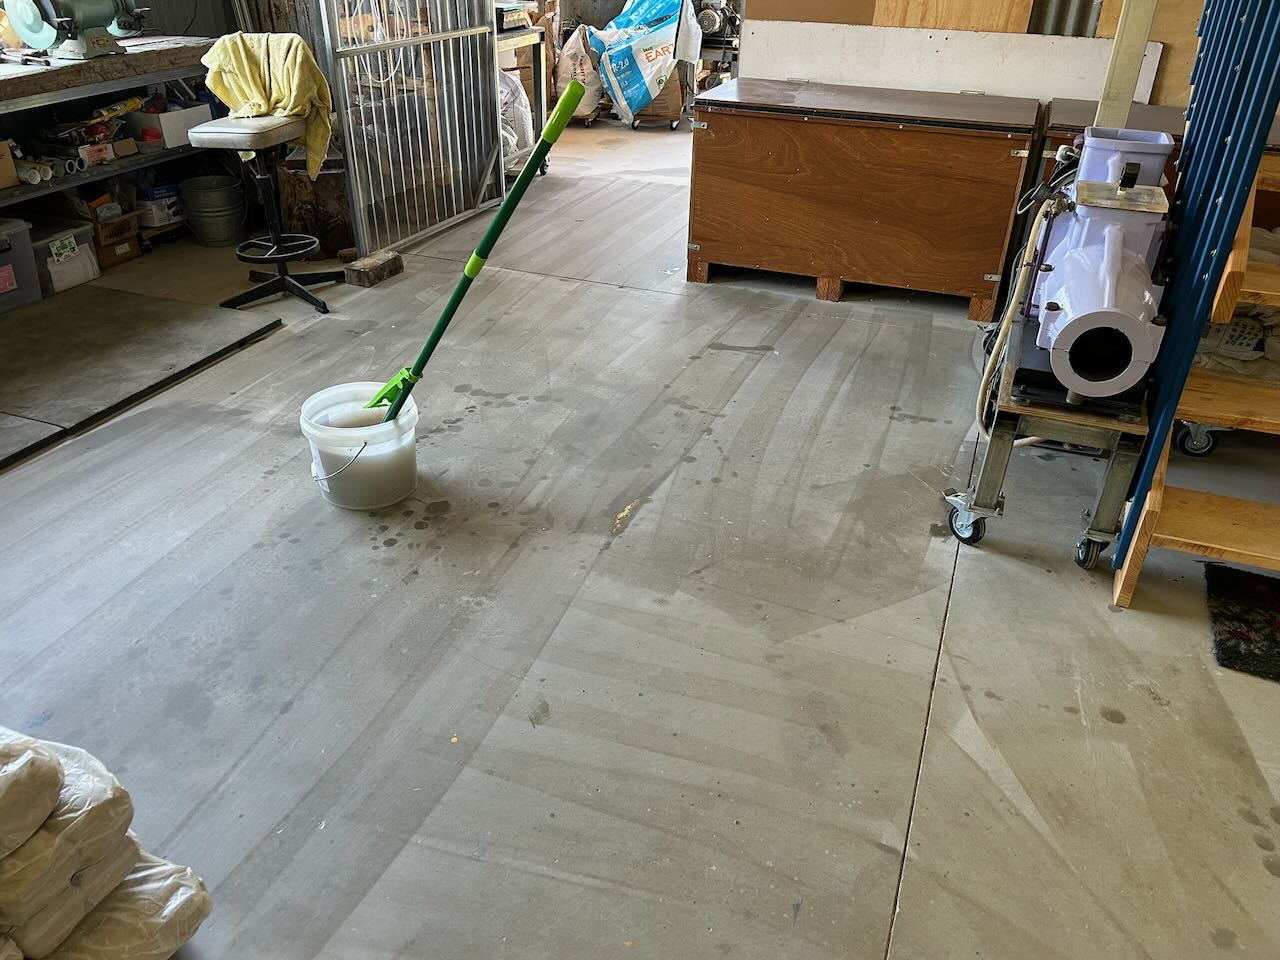
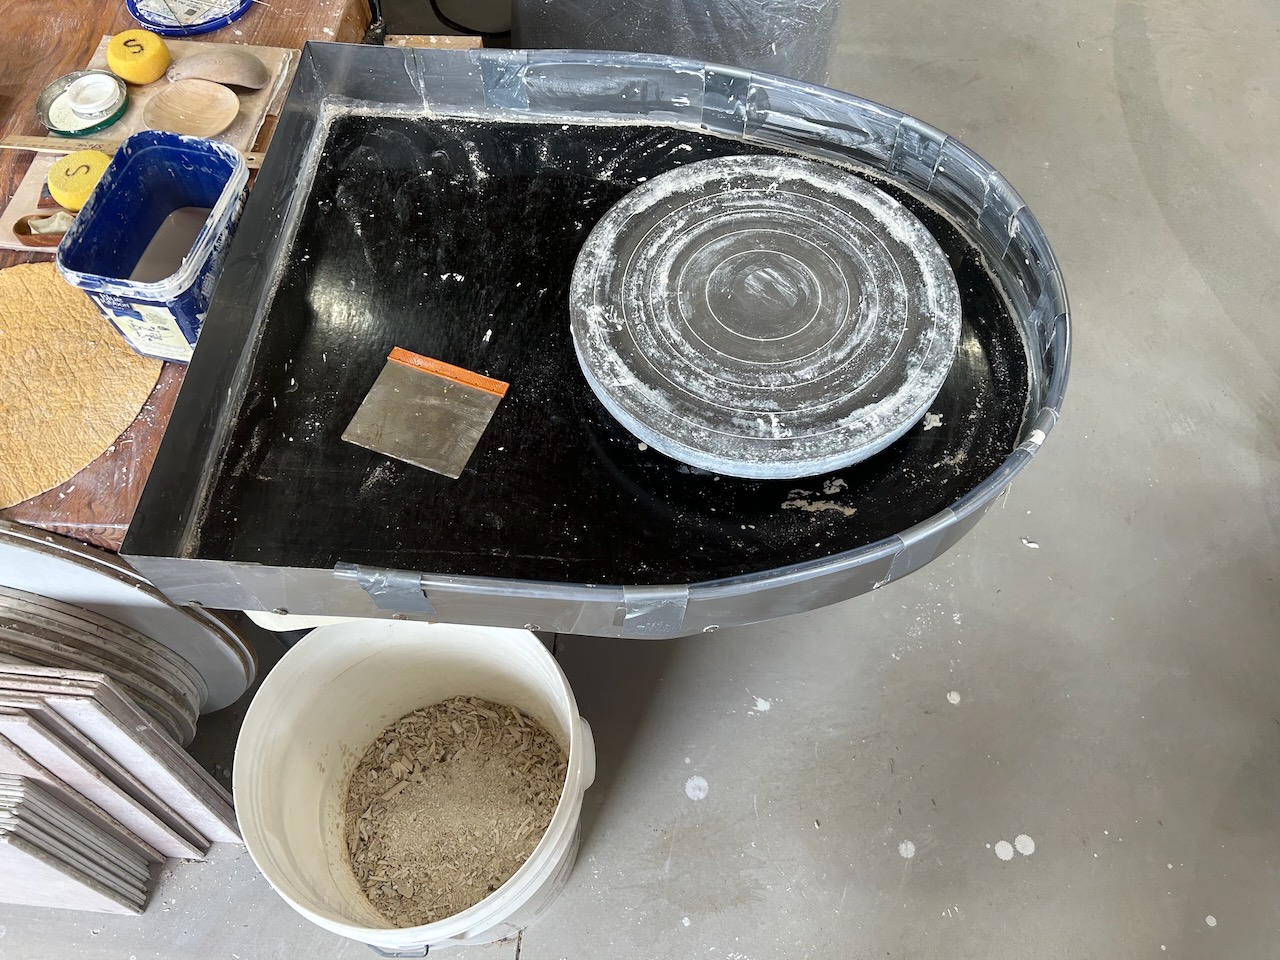
The last half hour was taken up with sweeping and mopping the workshop floor. Getting everything back to the way it was before we started.
I think that everyone learnt something over the course of the day. I handed out printed notes and lots of people took photos and videos of the materials, tests and the equipment.
I have spent some time over the past while collecting, sorting and collating together all my old notes, recipes and technical information that I have collected over my lifetime of teaching clay theory in Universities, TAFE colleges and Art Schools. I have up-dated all this experience and theoretical data into a new book called ‘Clays’.
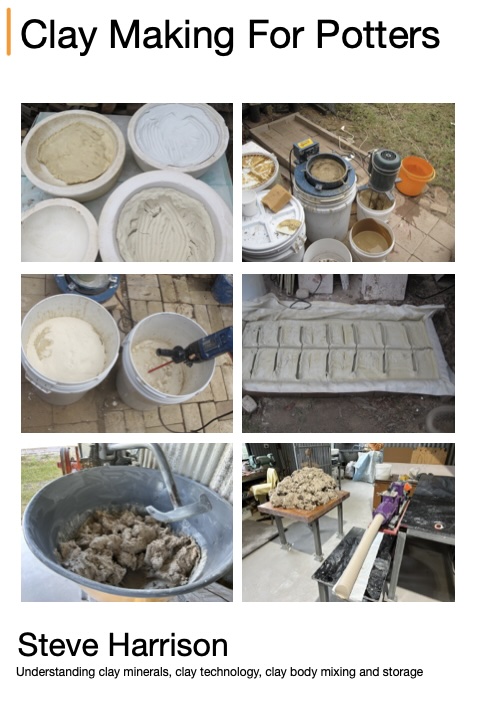
Available directly from me for $50 + pack and post.
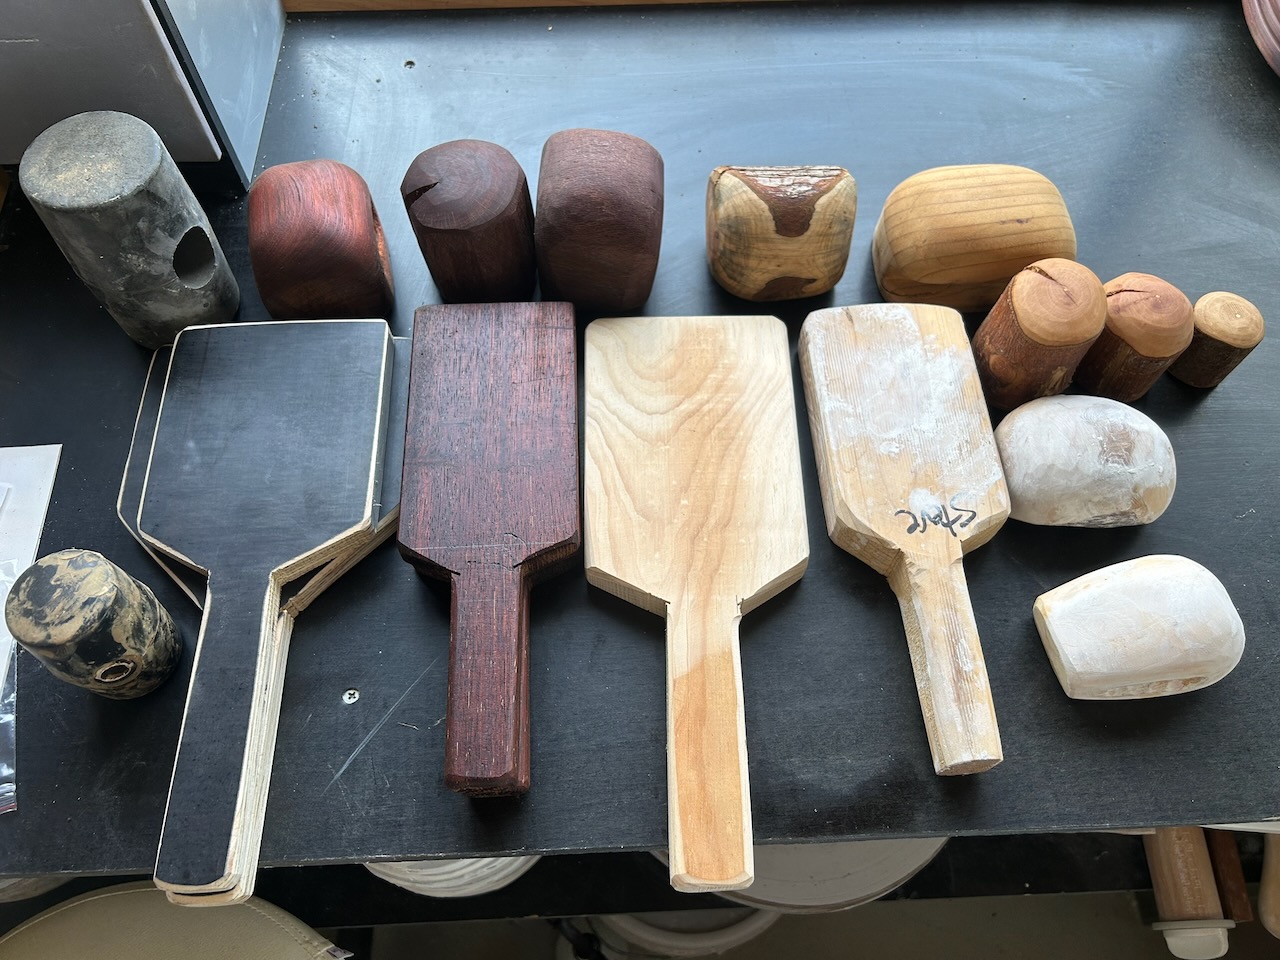
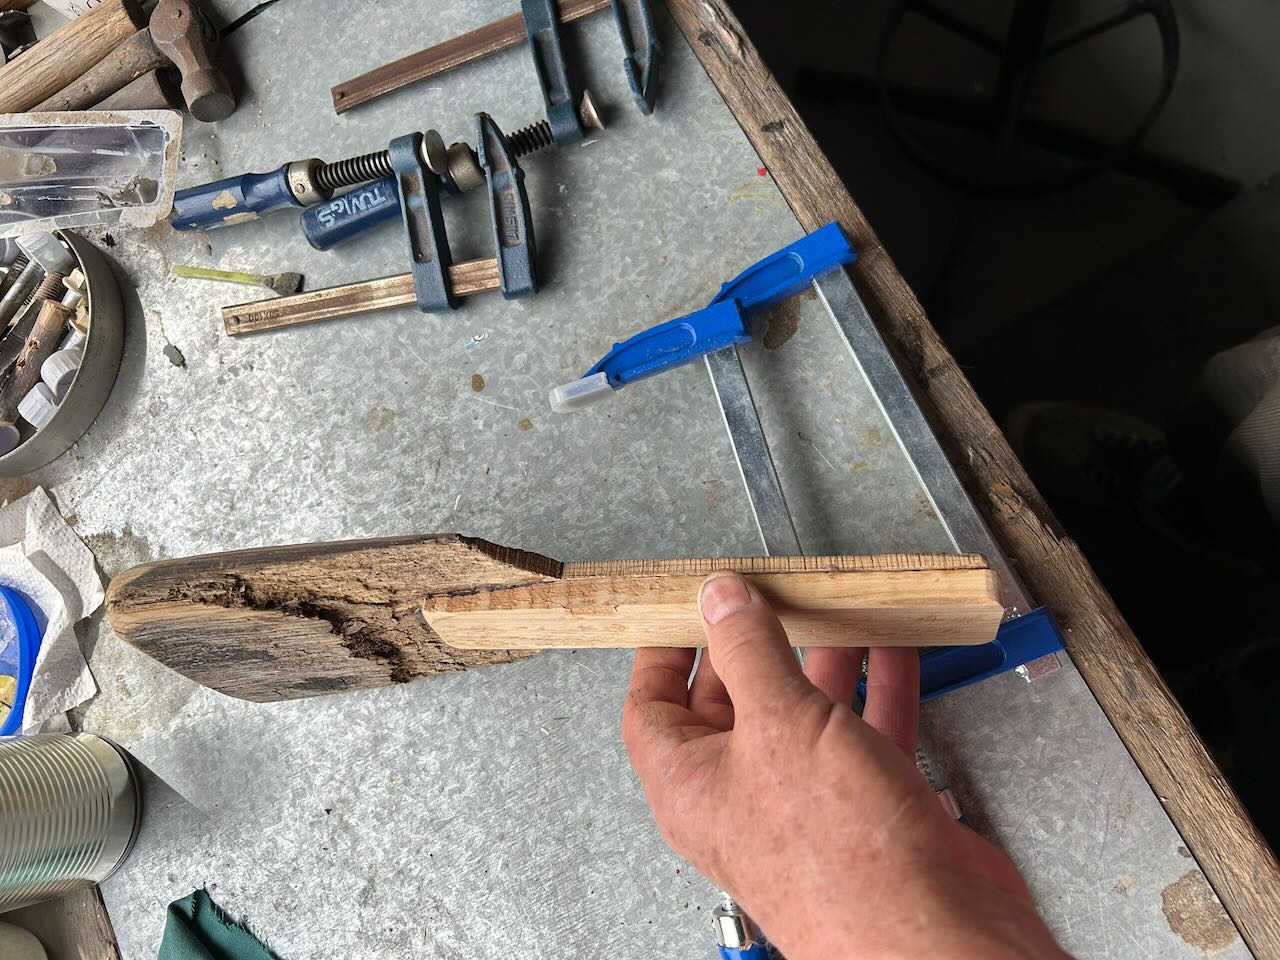
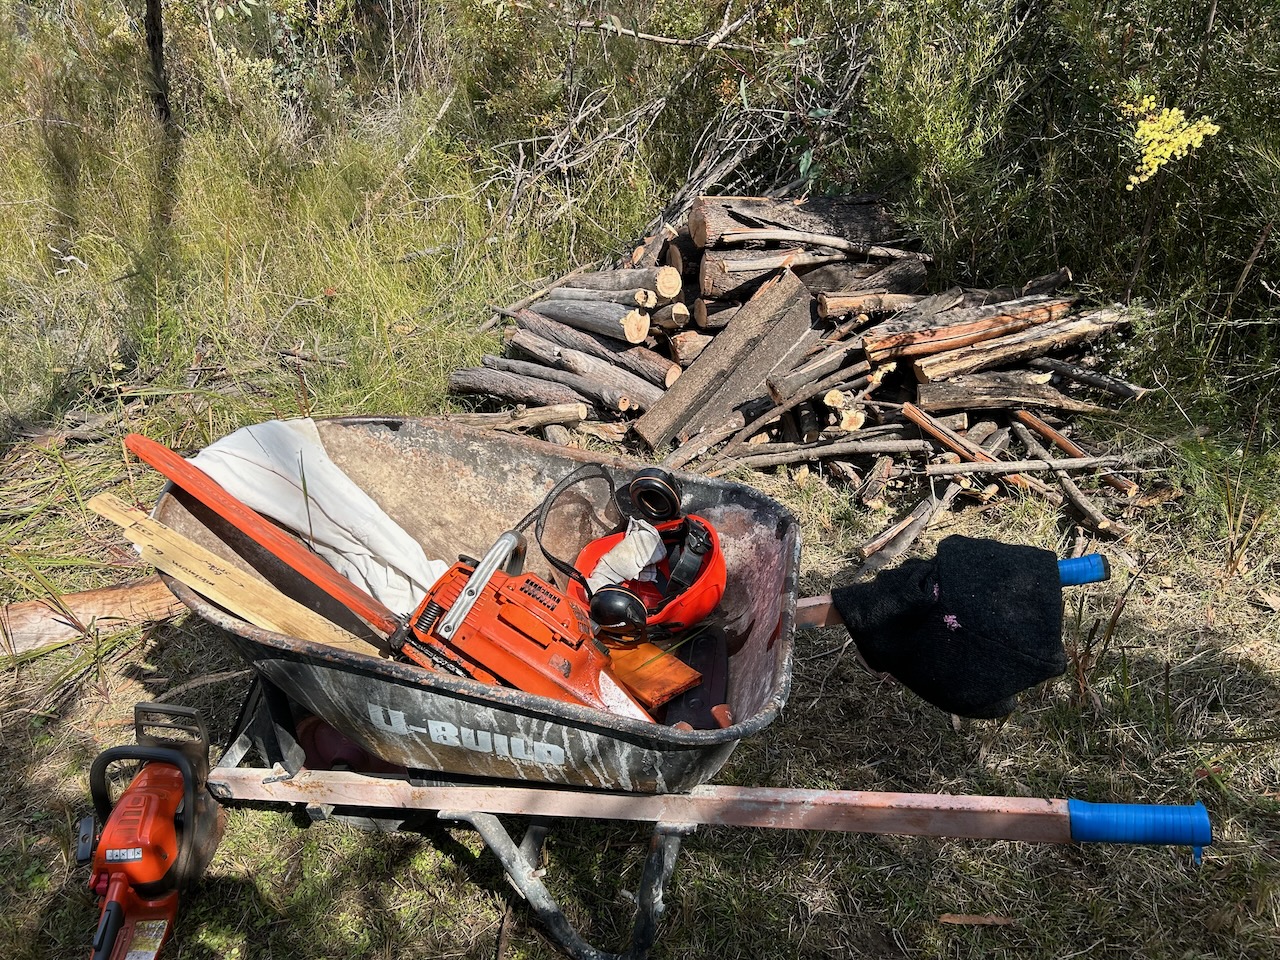
I still have places left in the tool making weekend workshop on the 14th of March. If anyone is interested.
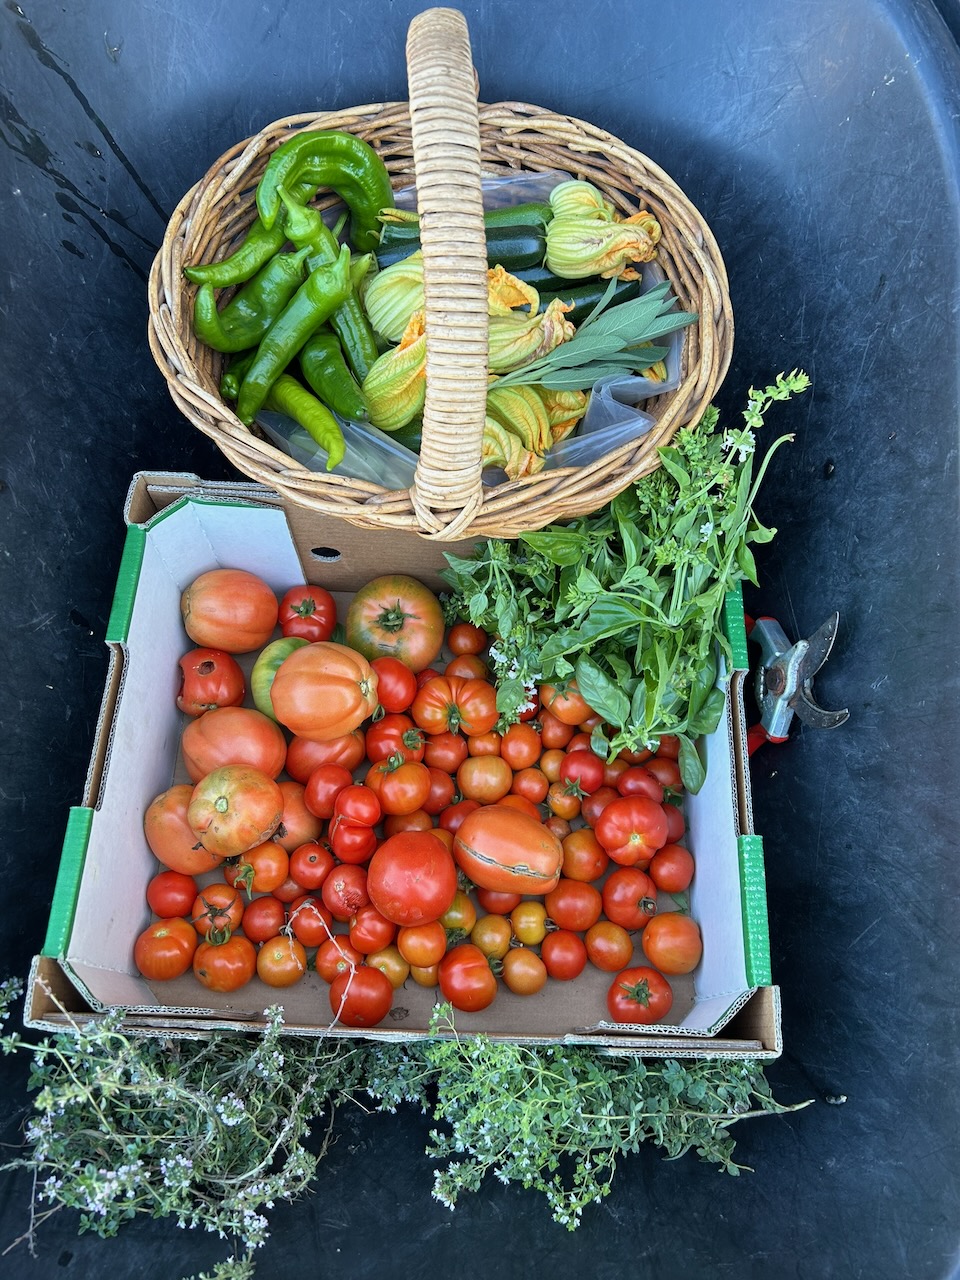
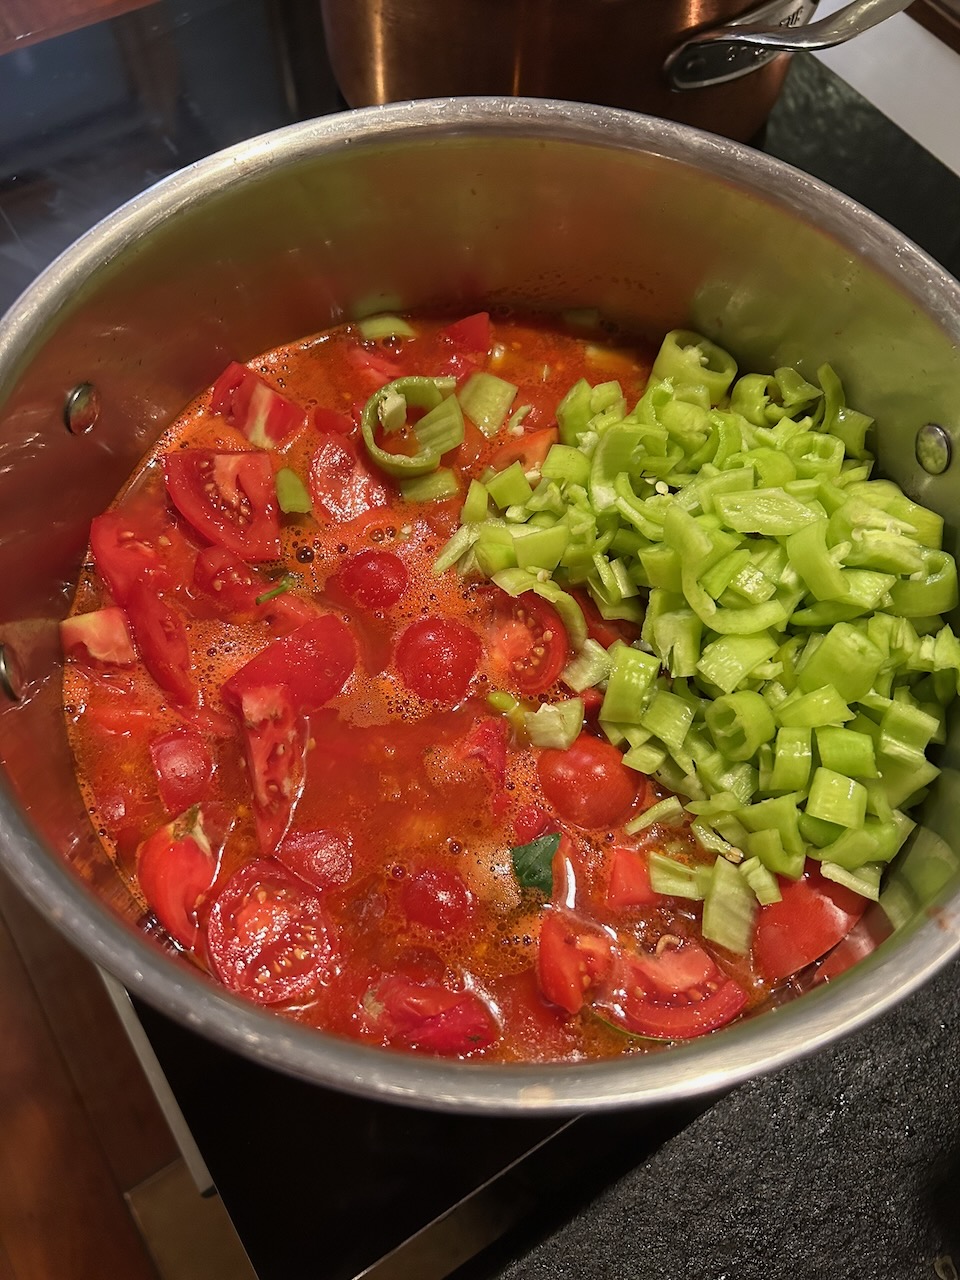
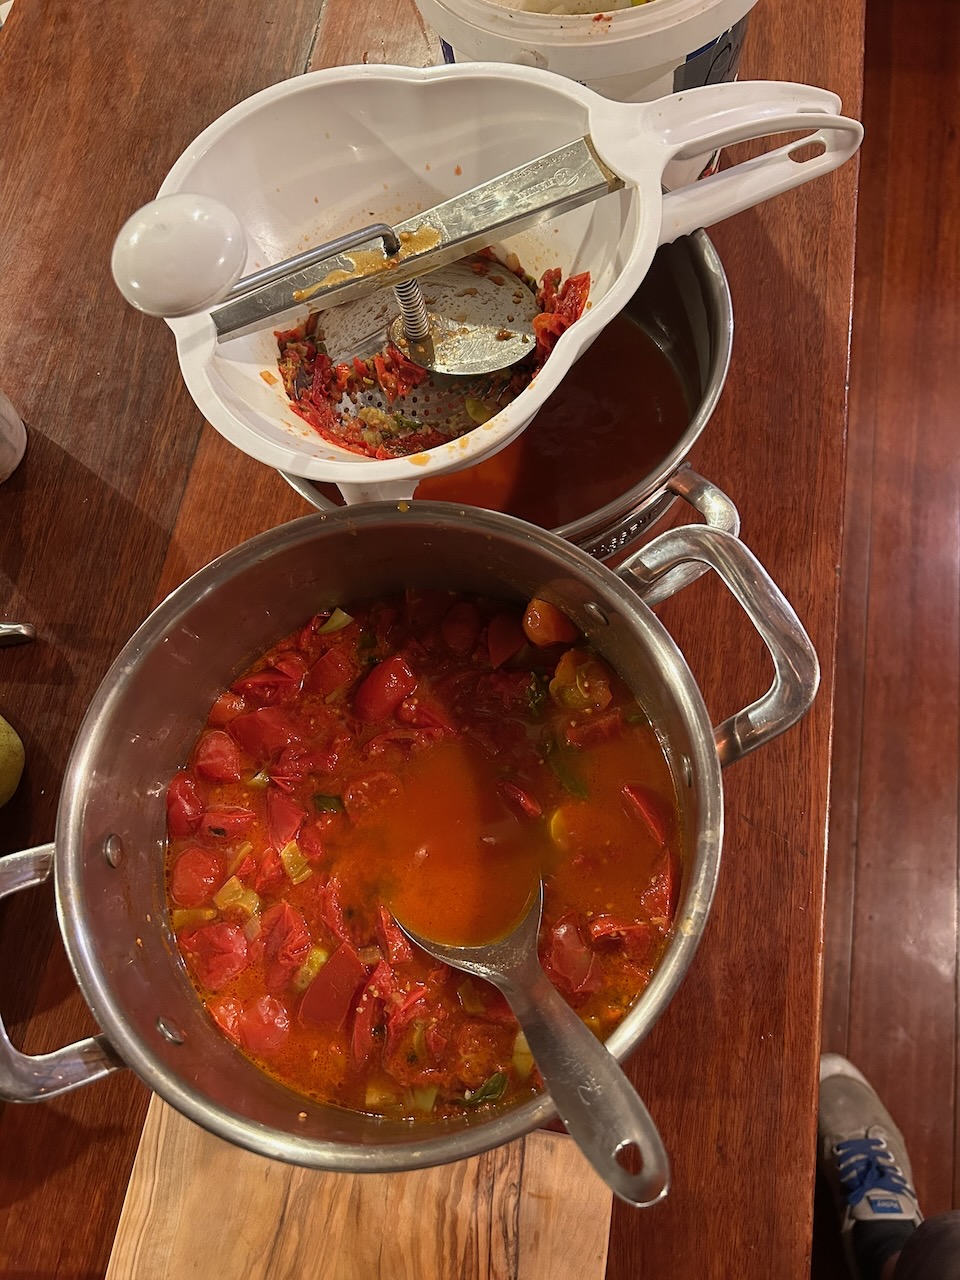
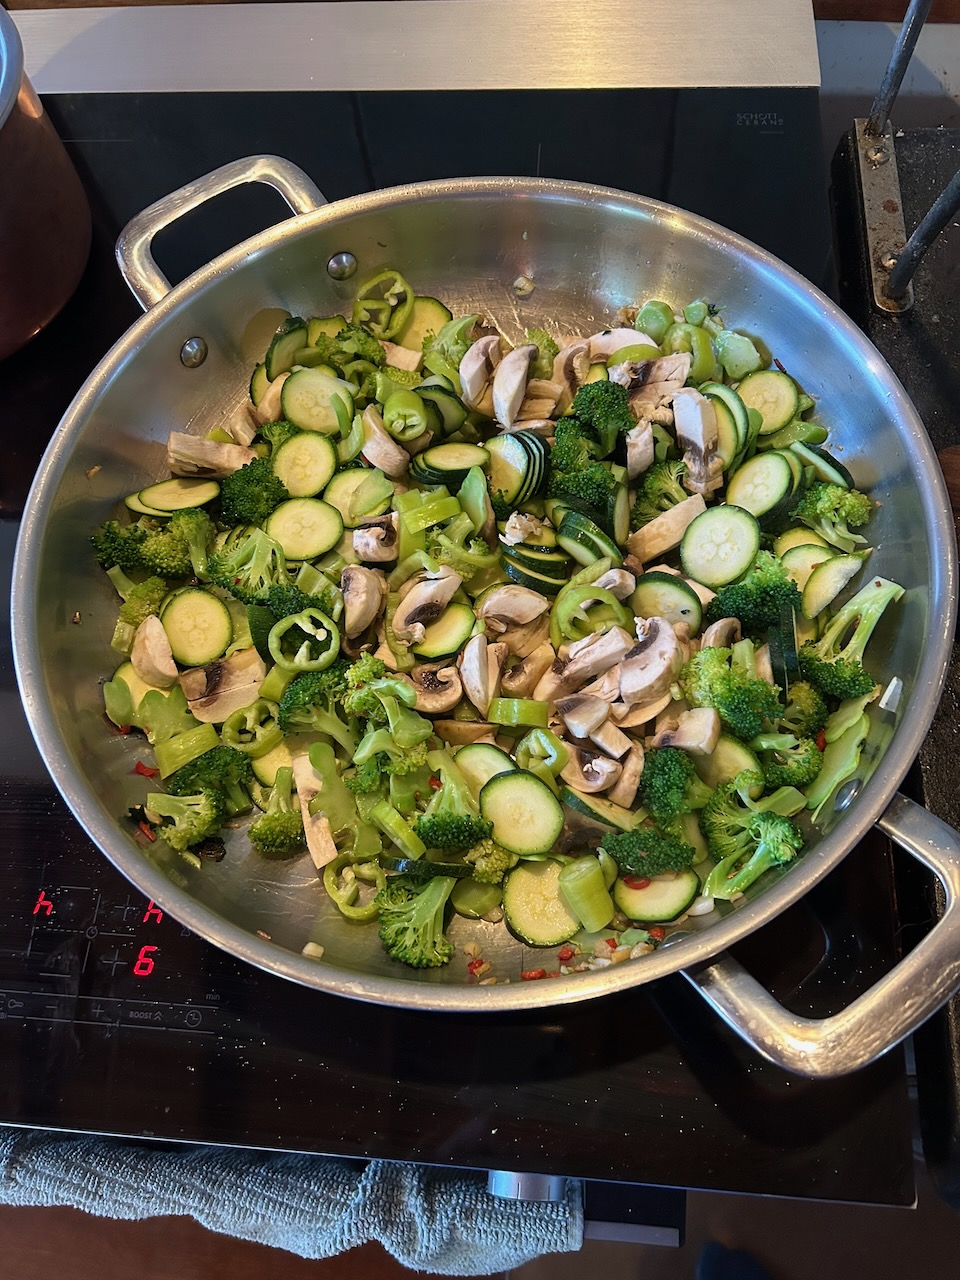
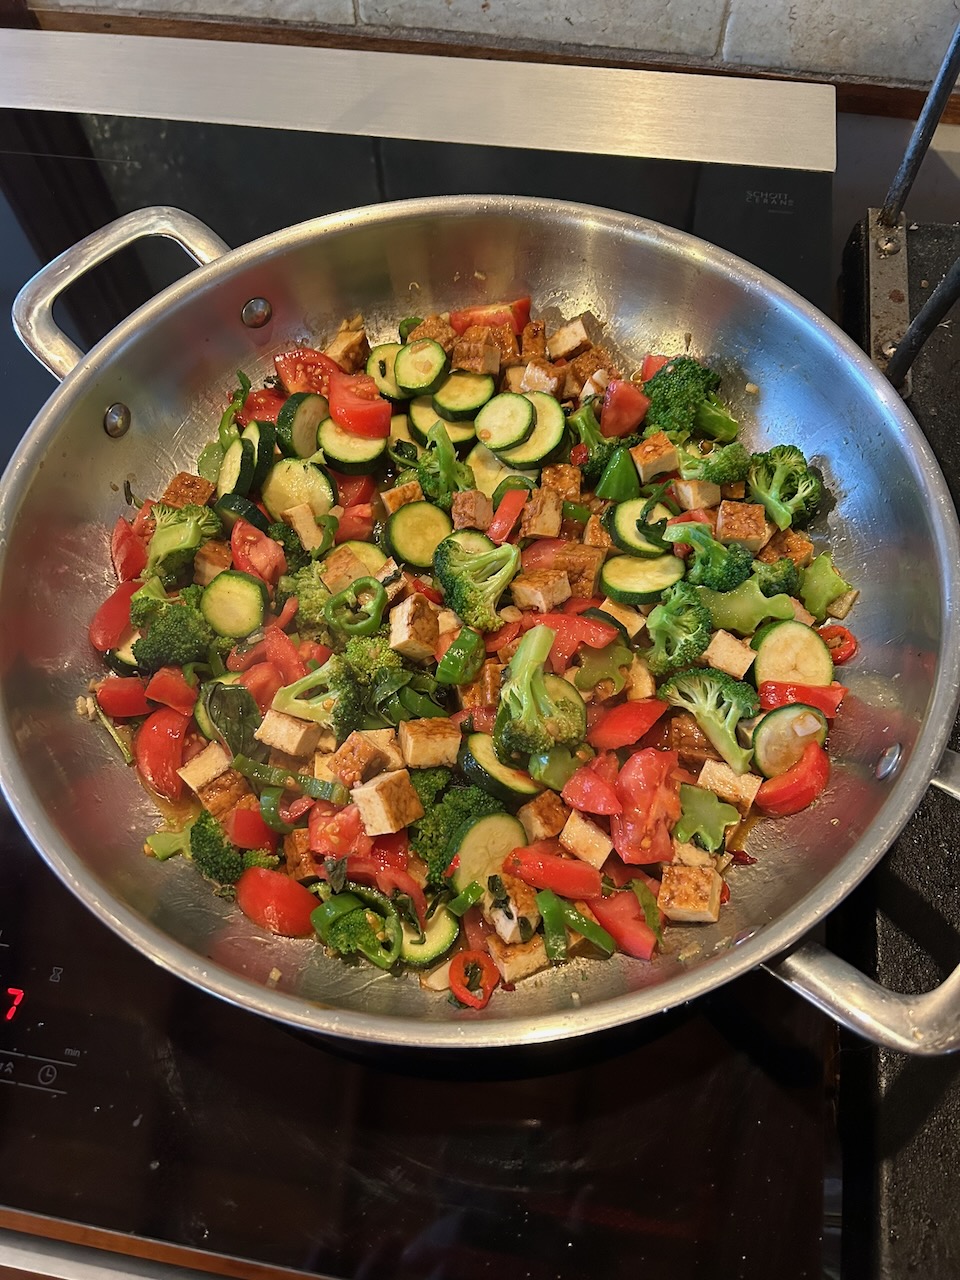
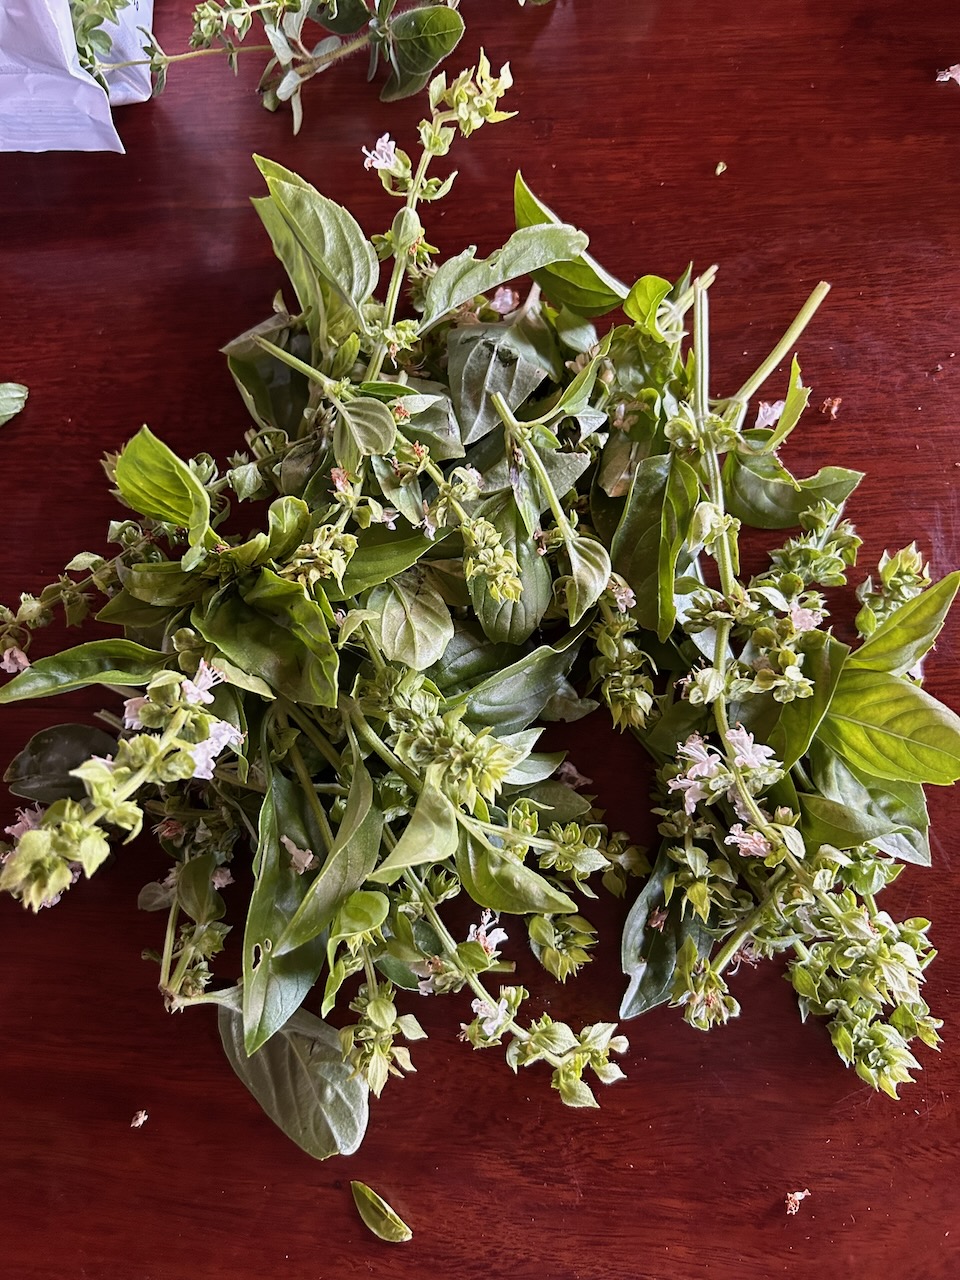
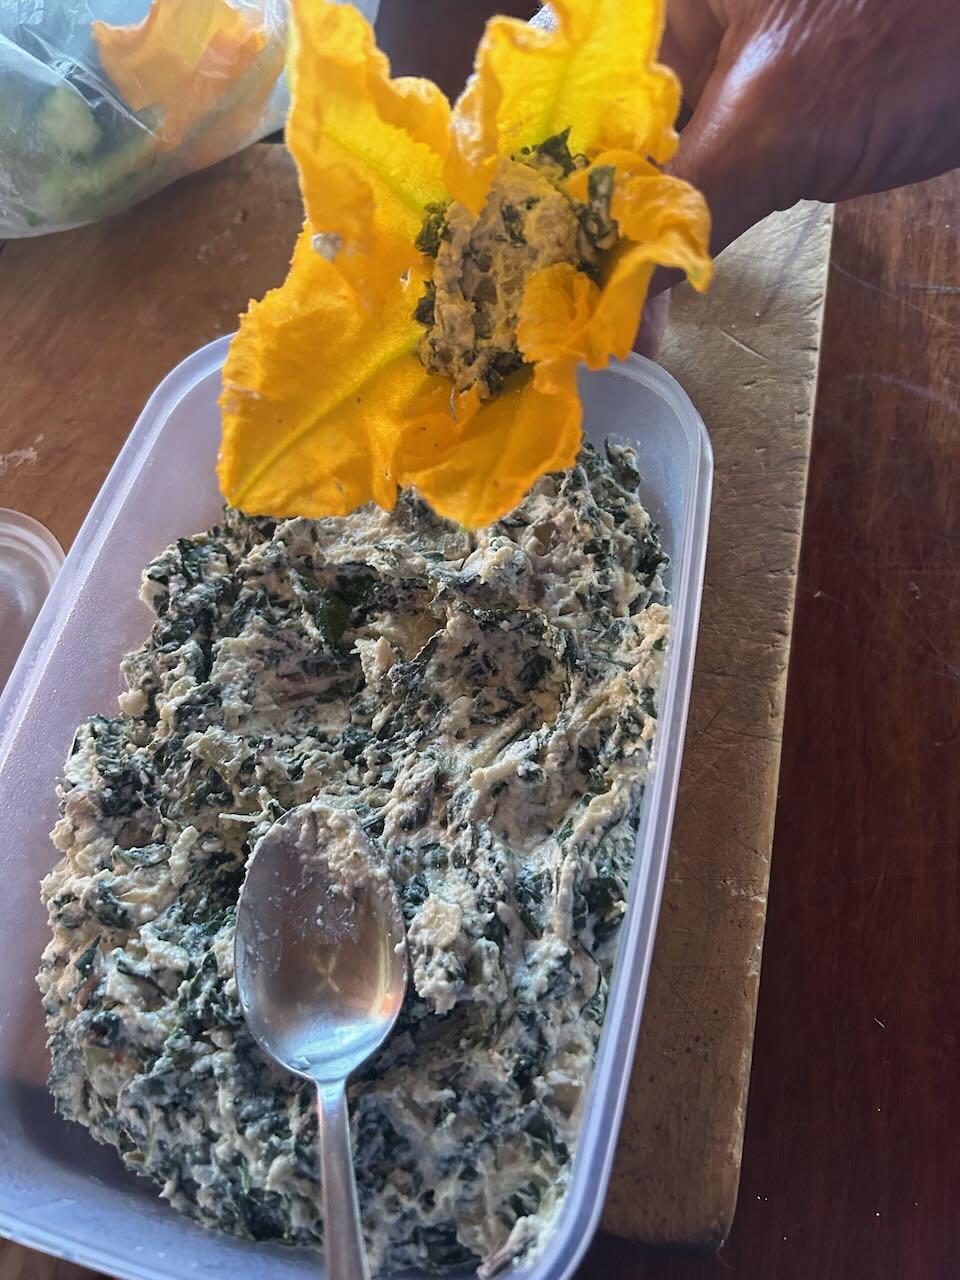
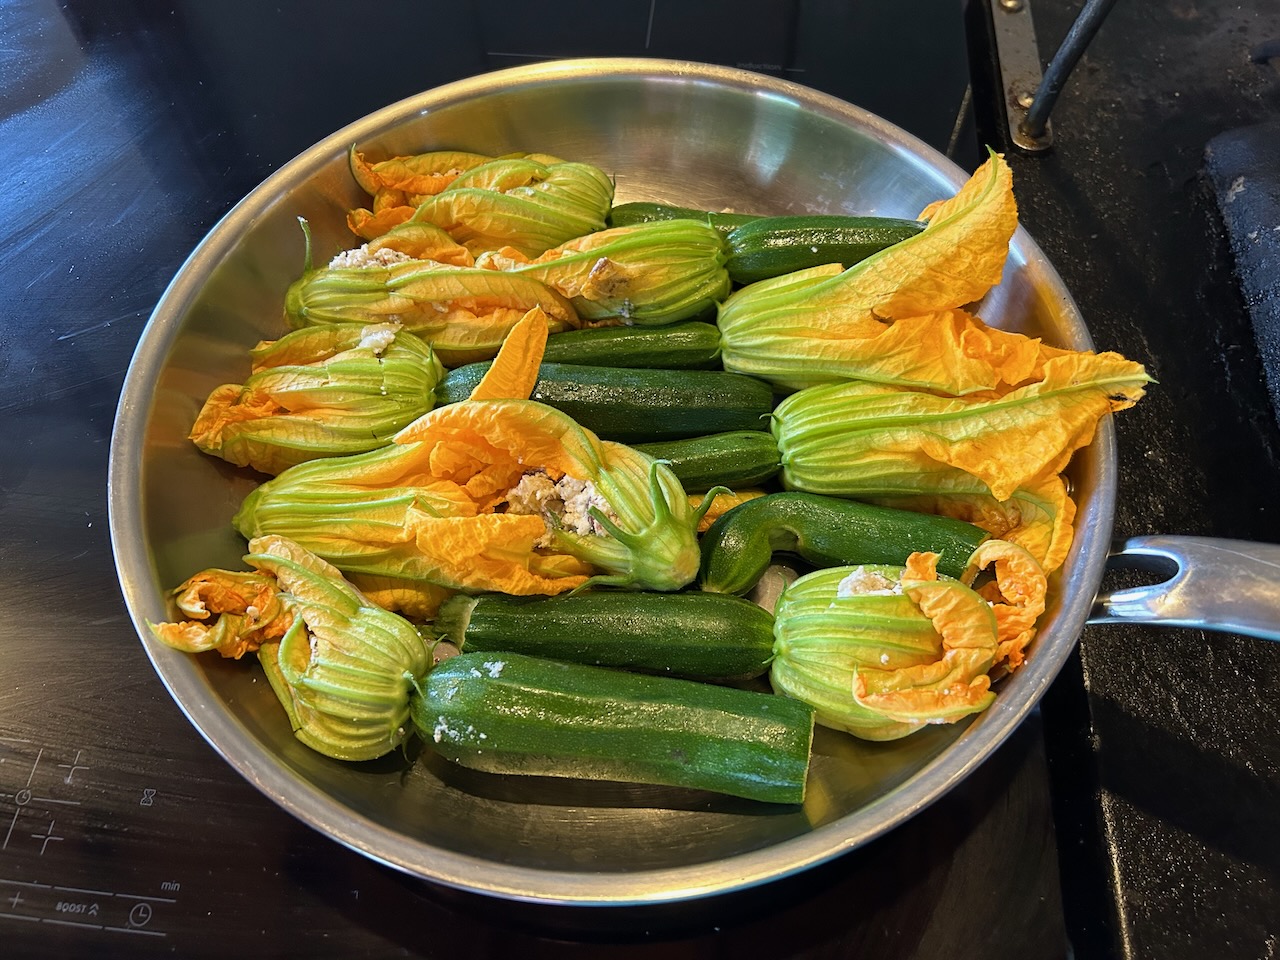
The vegetable garden is very prolific in late summer, the early tomatoes are finishing up and the later planted toms are just starting to ripen. Besides tomatoes, we have and abundance of egg plant/aubergines, potatoes, capsicums, zucchinis and cucumbers. So Passata making is always a weekly job.

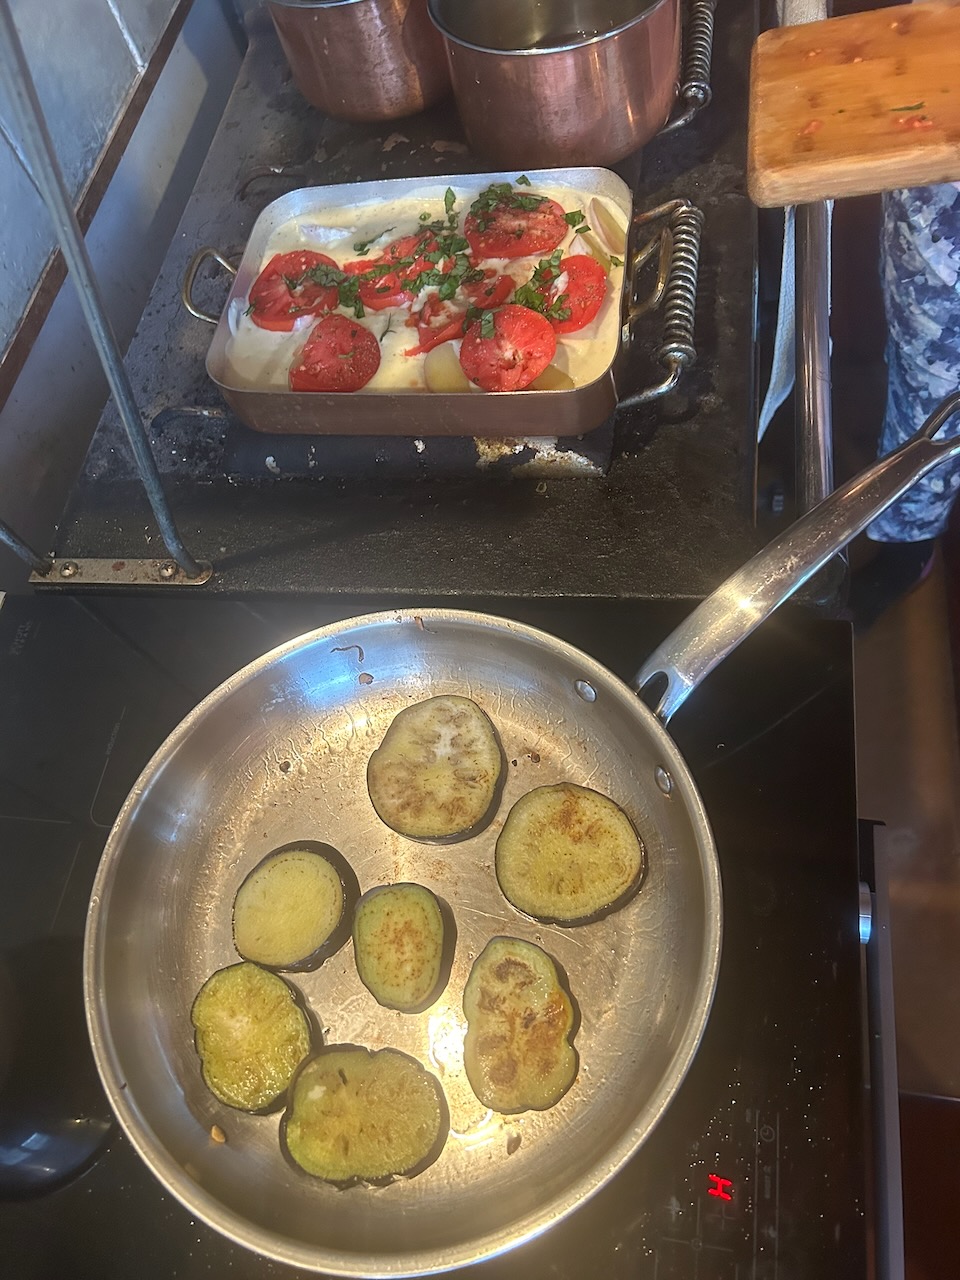
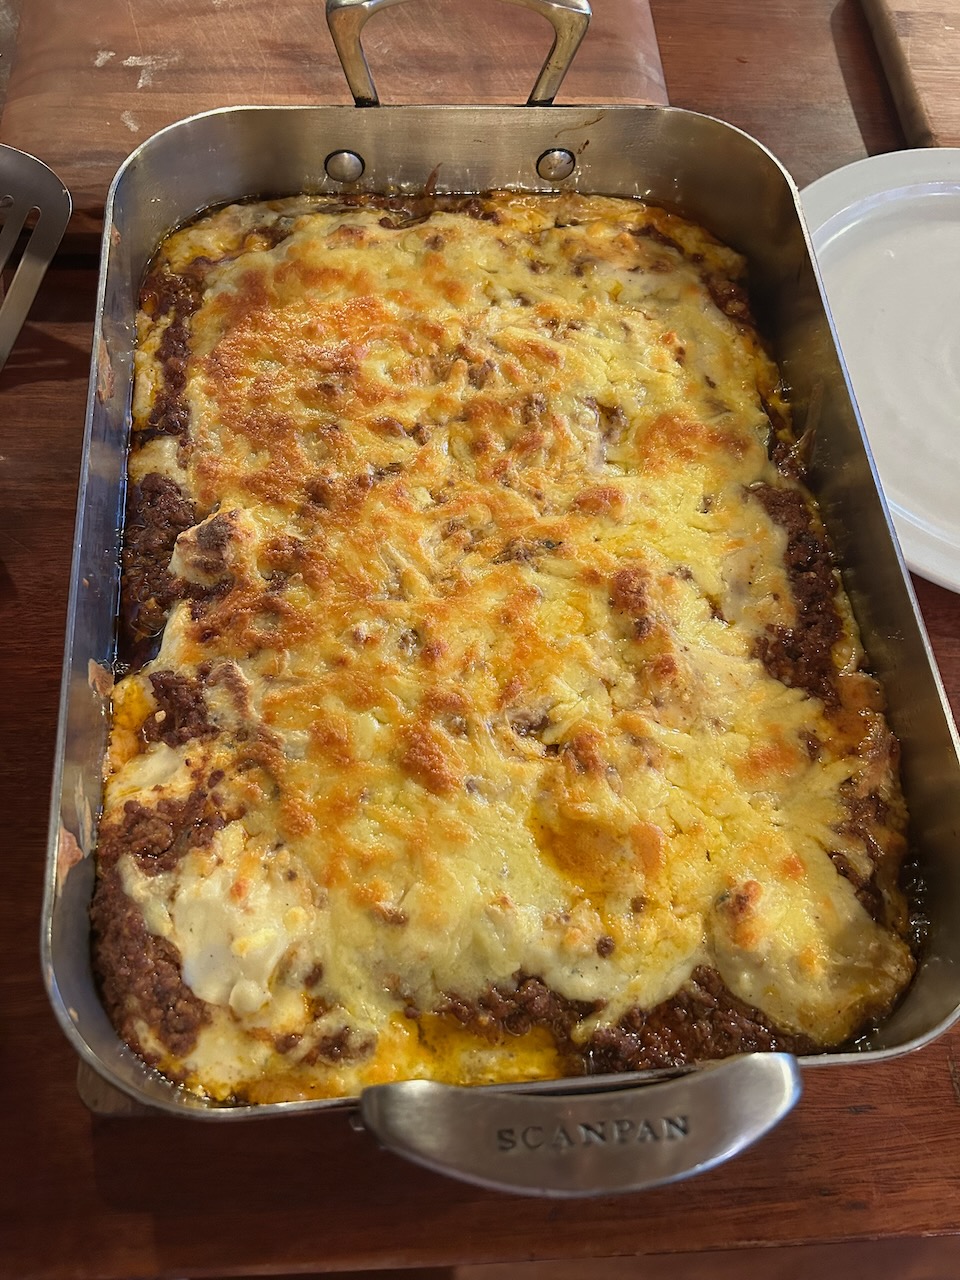
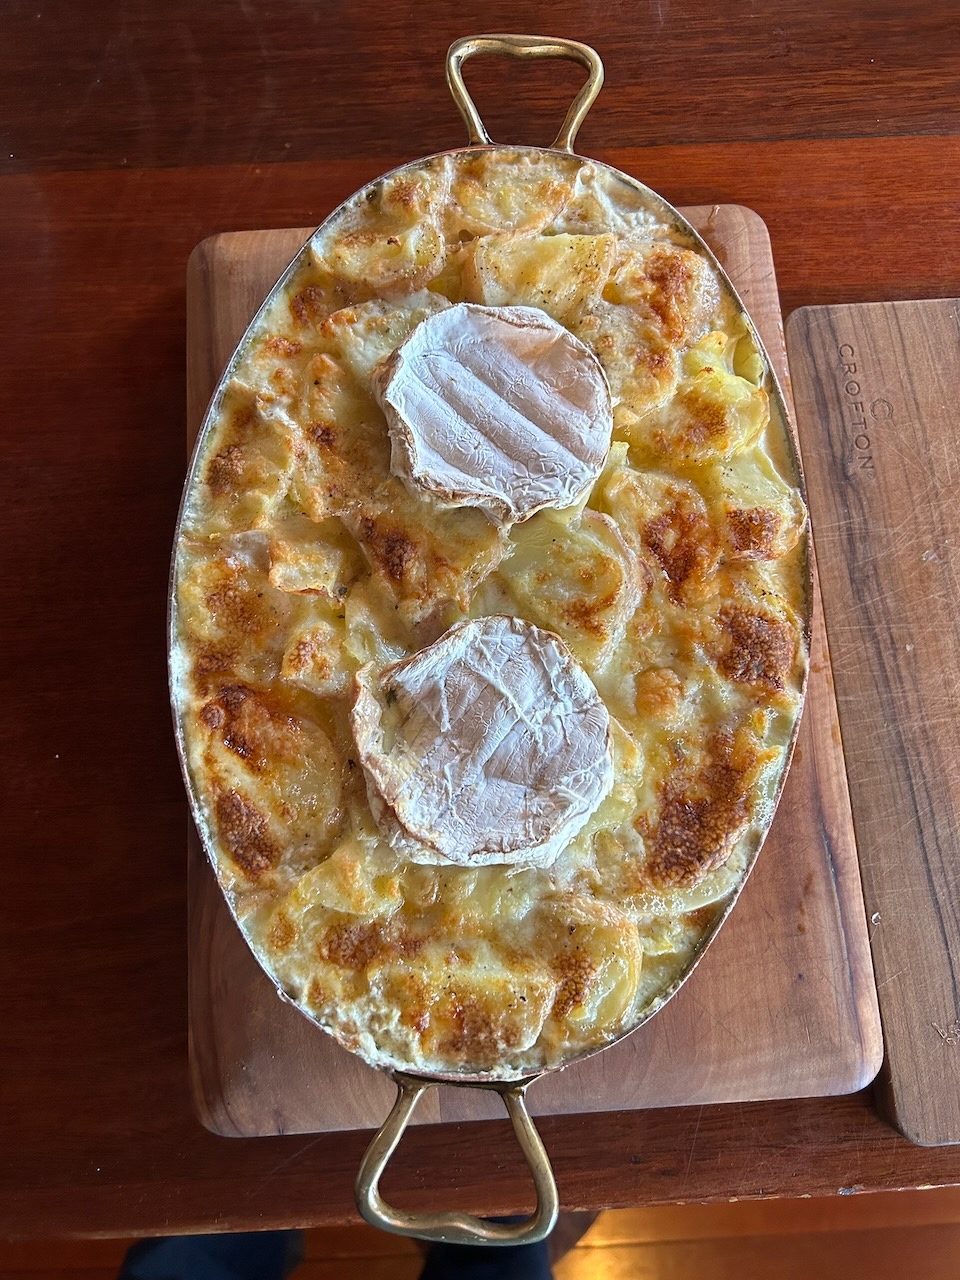
This last few weeks we have been thinking of ways of using up the super abundance of our glossy, purple aubergines. It’s turned out to be our best season yet for growing these plump, round, shiny fruit. Pan fired in a little olive oil, then lid on to steam the slices, is quick and simple as a side dish. A Greek style moussaka came next, I even bought some beef mince! A once a year extravagance. Then Janine made a potato, tomato, aubergine bake. All yummy.
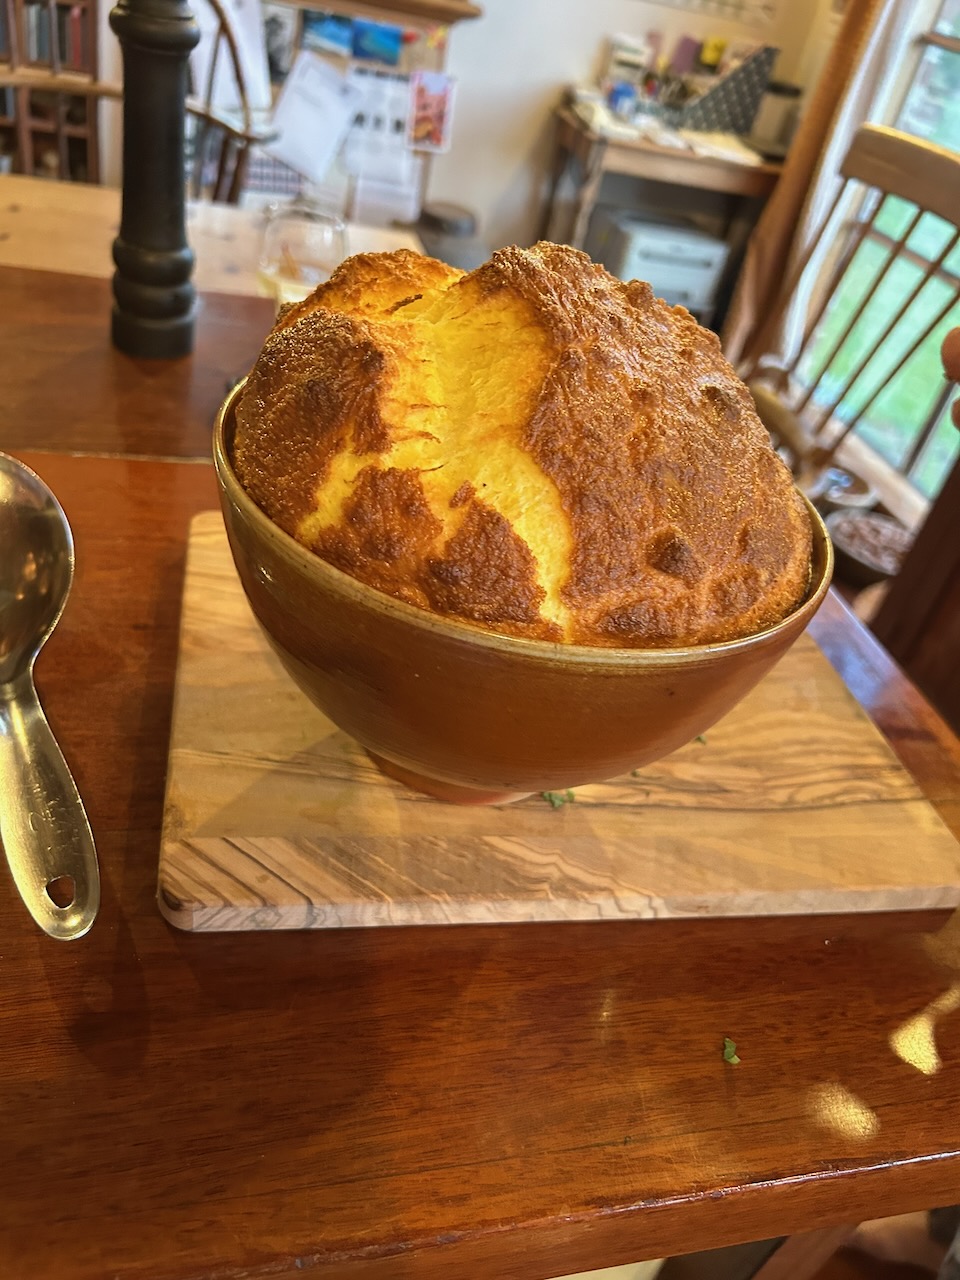
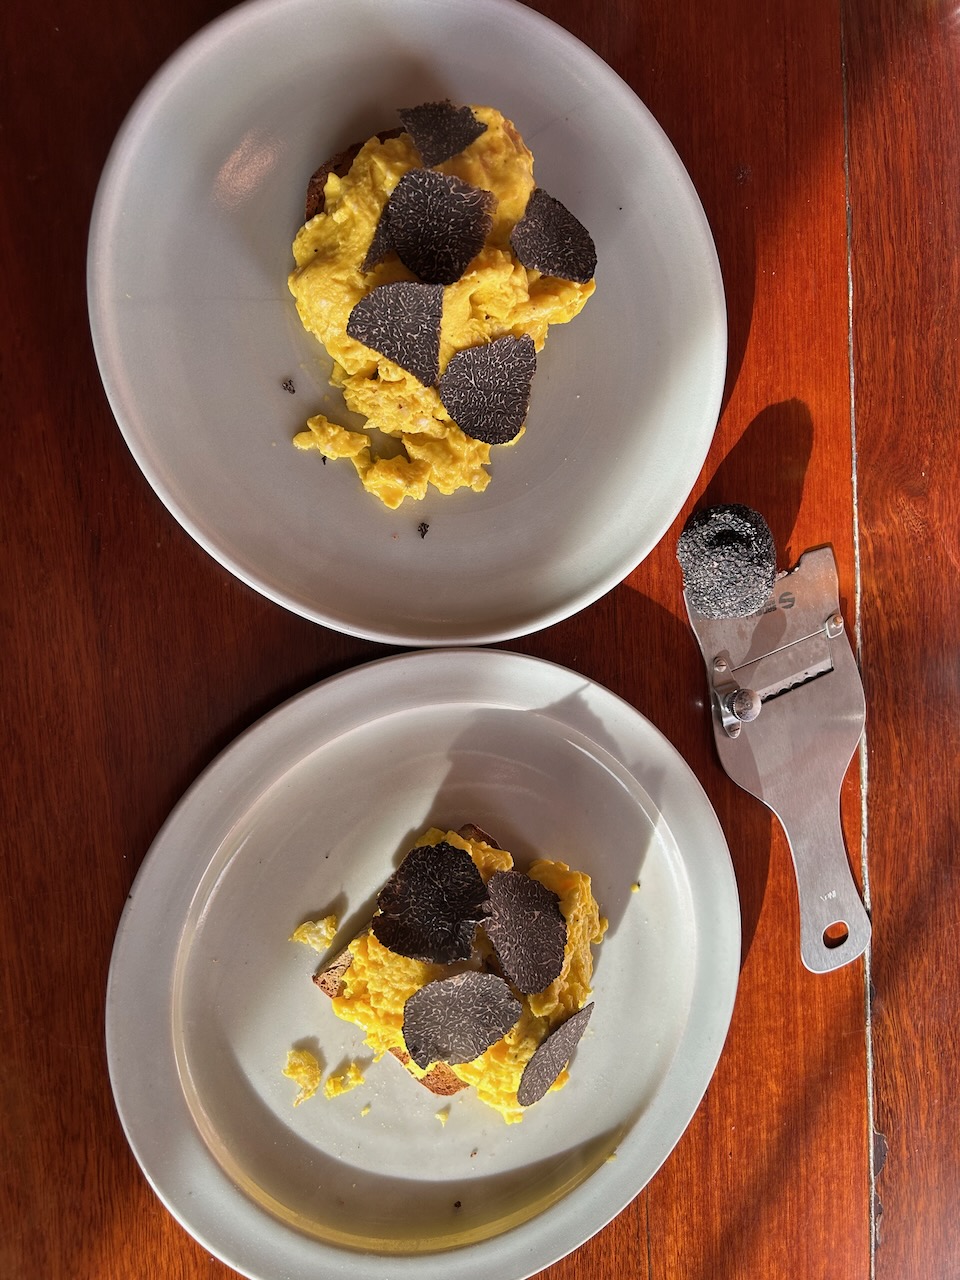
The new chickens are all settling in together pretty well now and the new trio of pullets are laying well. So we now have an abundant supply of eggs again. Janine made a stunning savoury soufflé for dinner. Spectacular and delicious. Eggs never tasted so good.
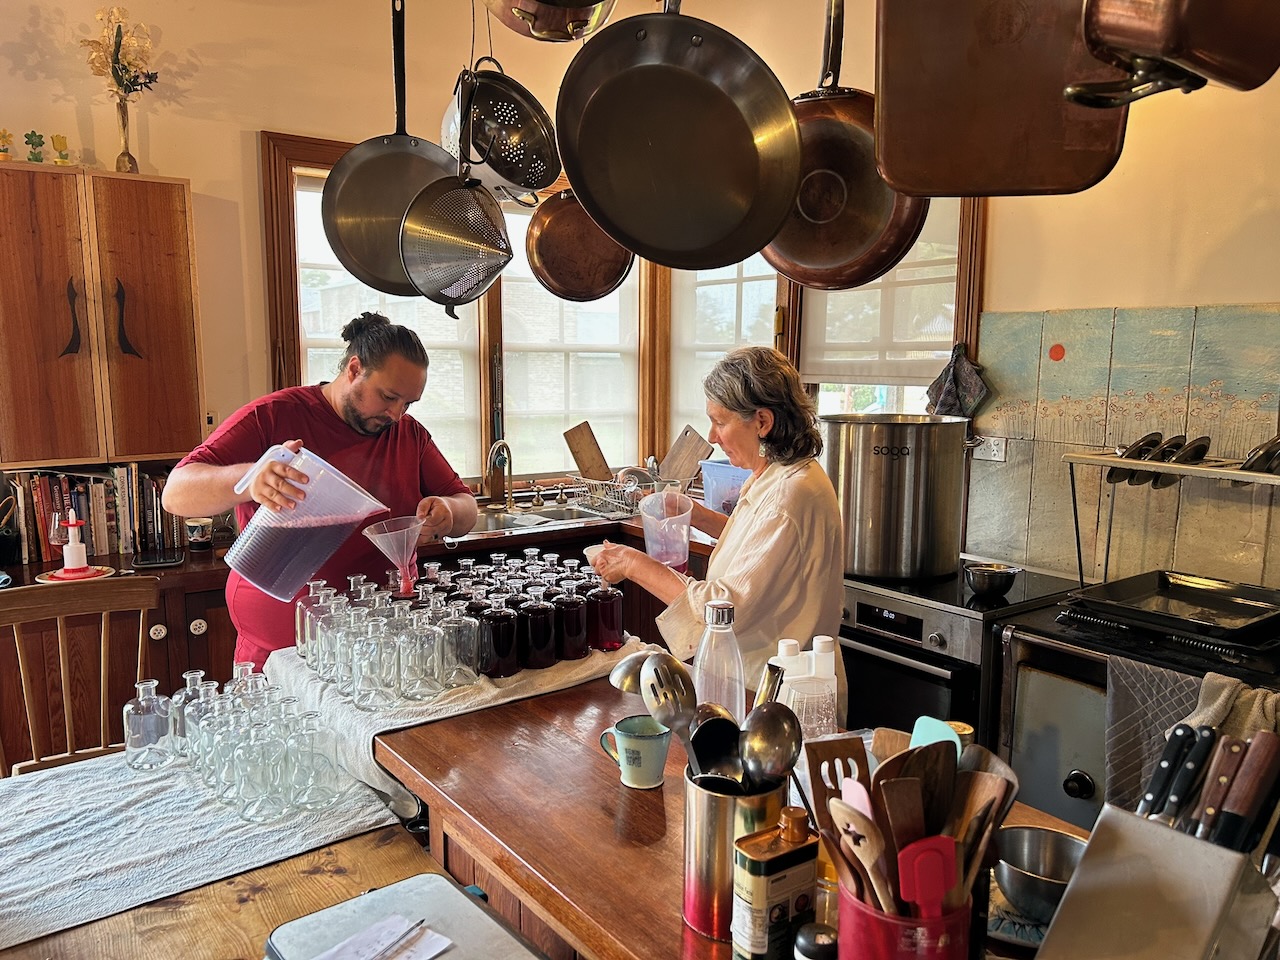
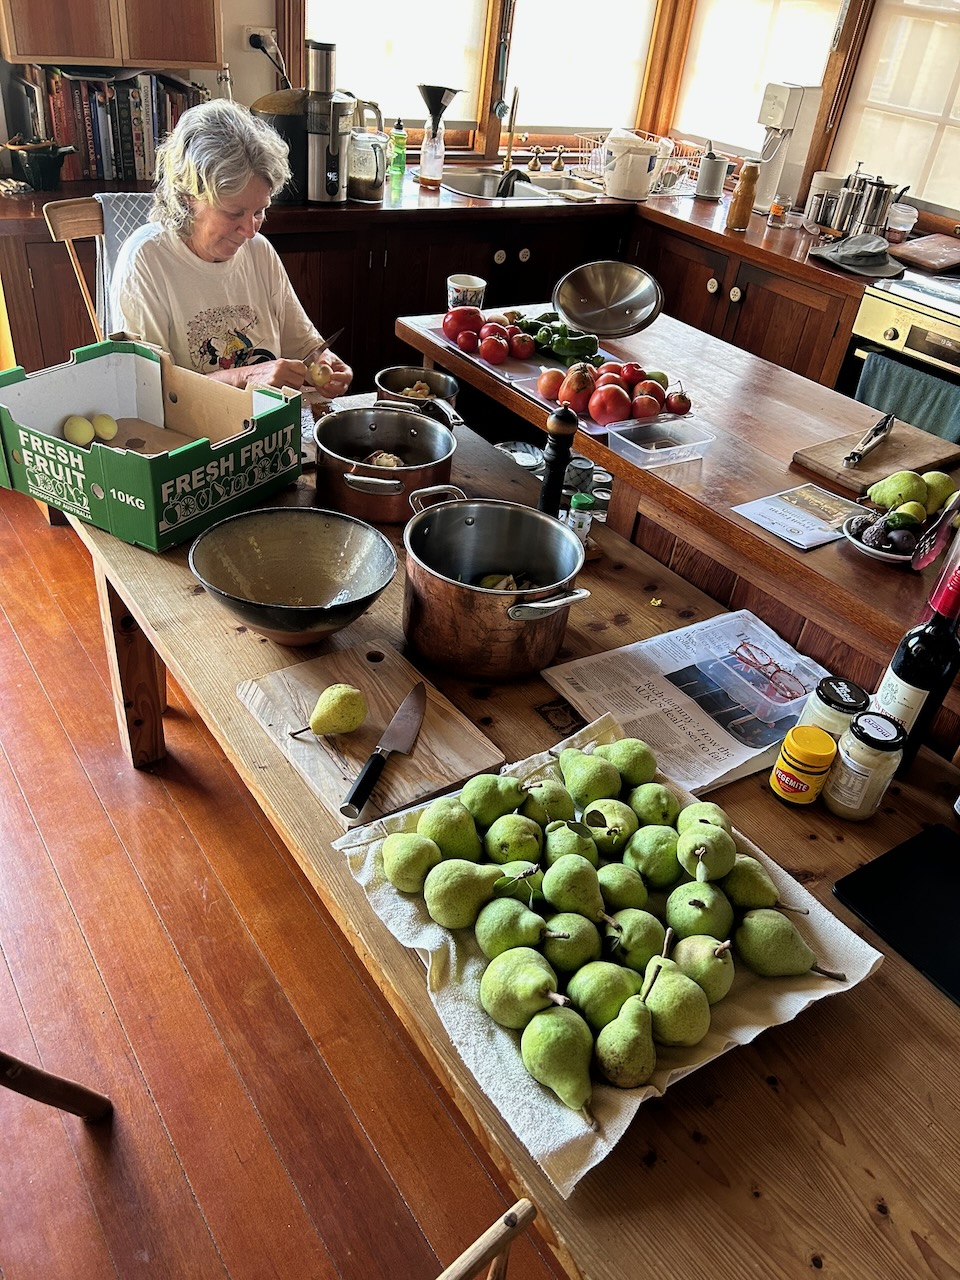
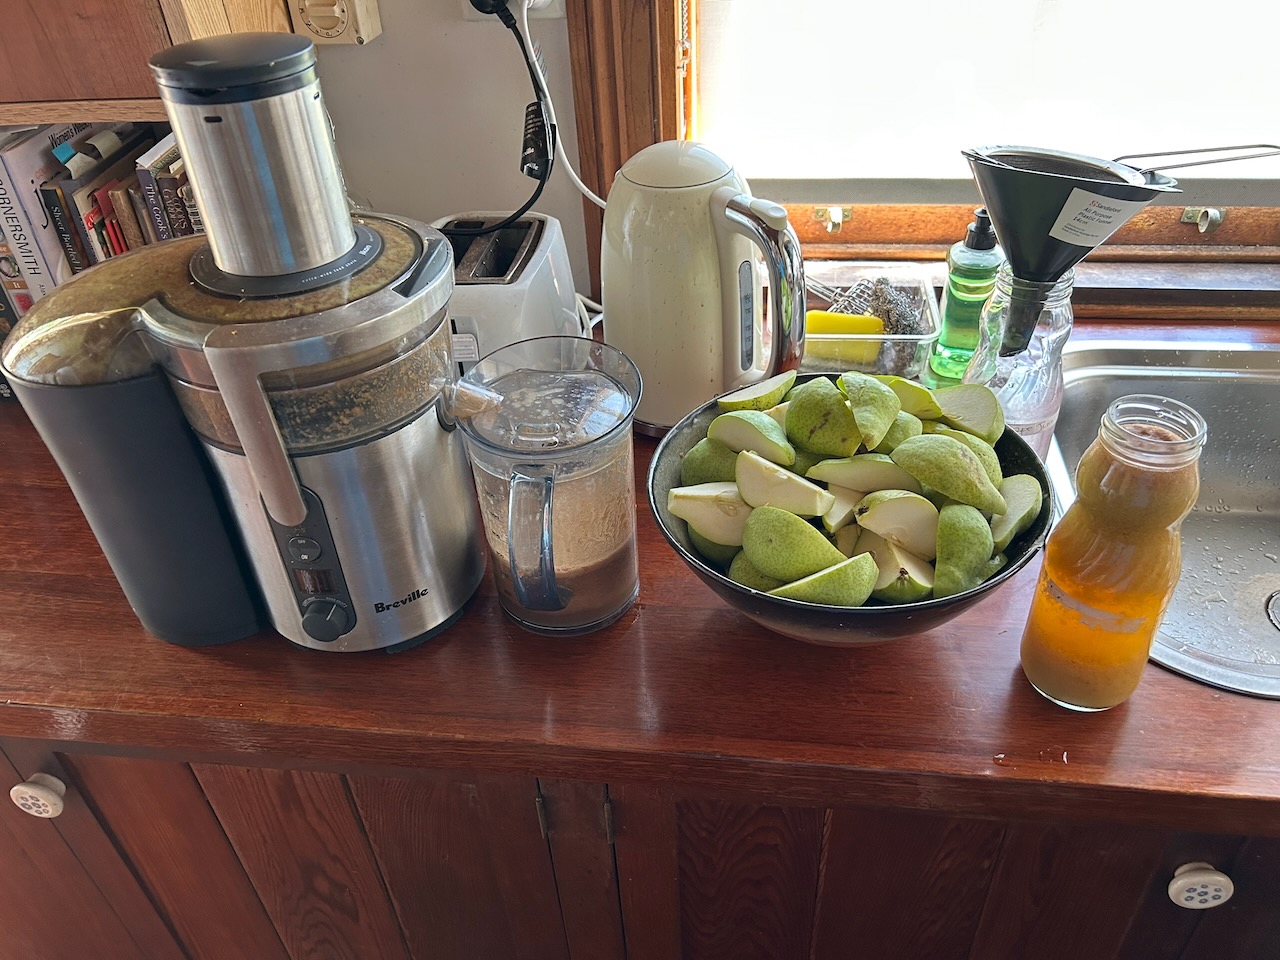
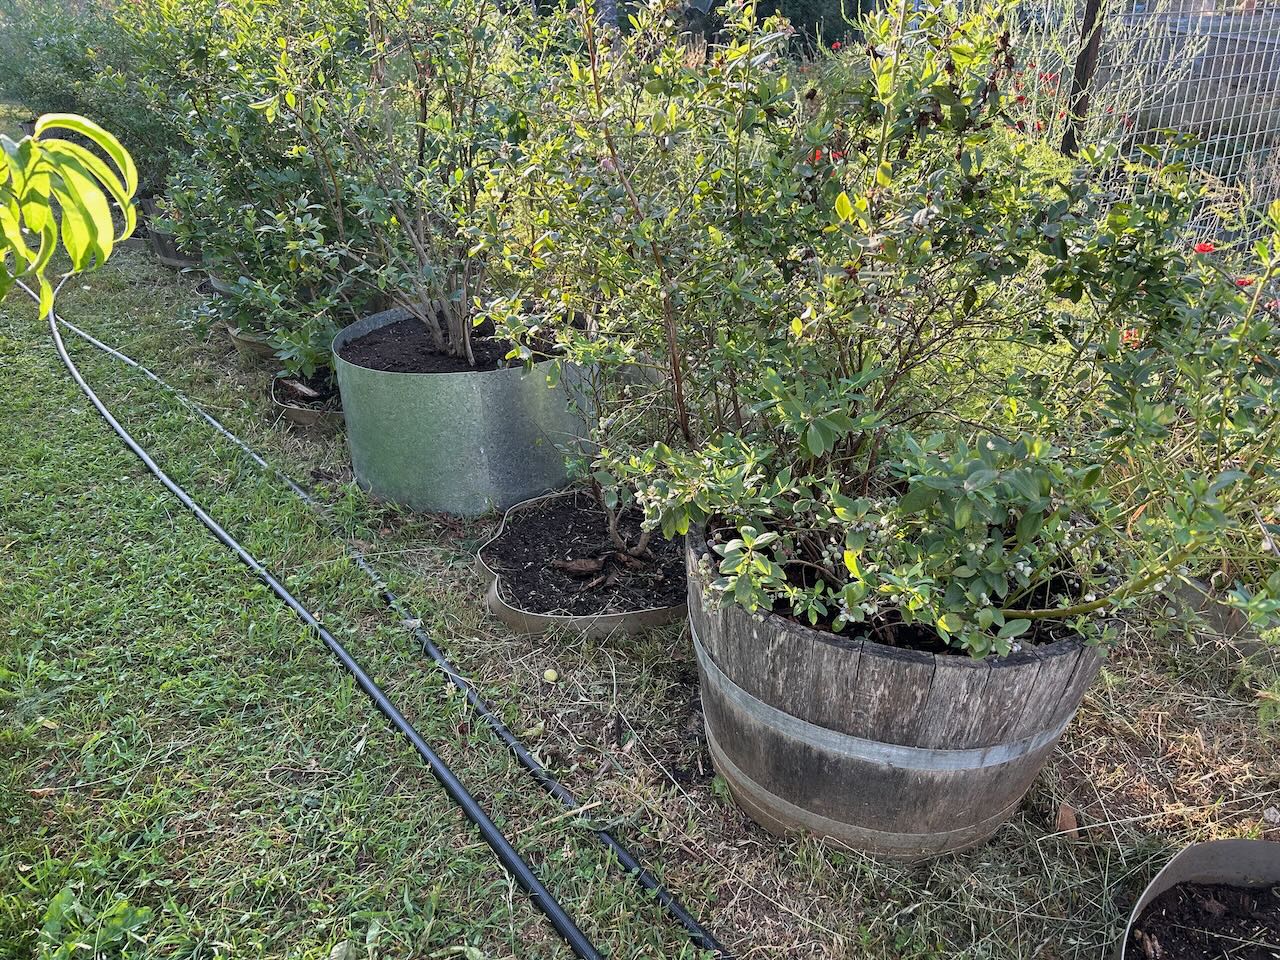
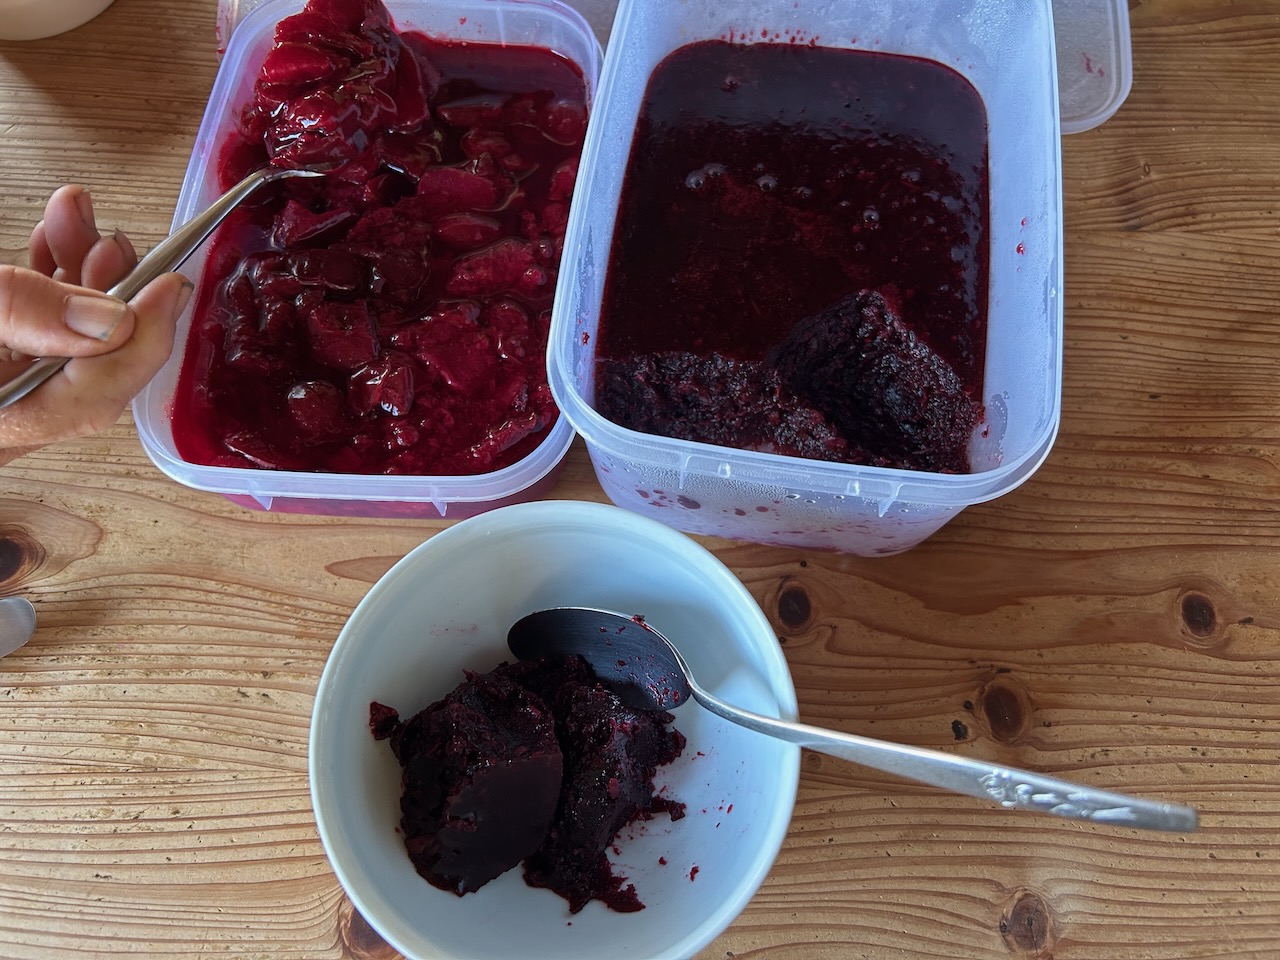
In our ‘spare’ time, we have been helping our son with his cordial making business. Everything is hand made here in our kitchen from fresh fruit, some of it from our garden and orchard, but we don’t grow enough to keep him in business, so he also collects fruit from our friends and neighbours orchards and gardens. Luckily, there is a very good family run commercial orchard just a few kms away, and they have discount priced sub-prime fruit that isn’t good enough to go to the markets, but is excellent for making fruit cordials.
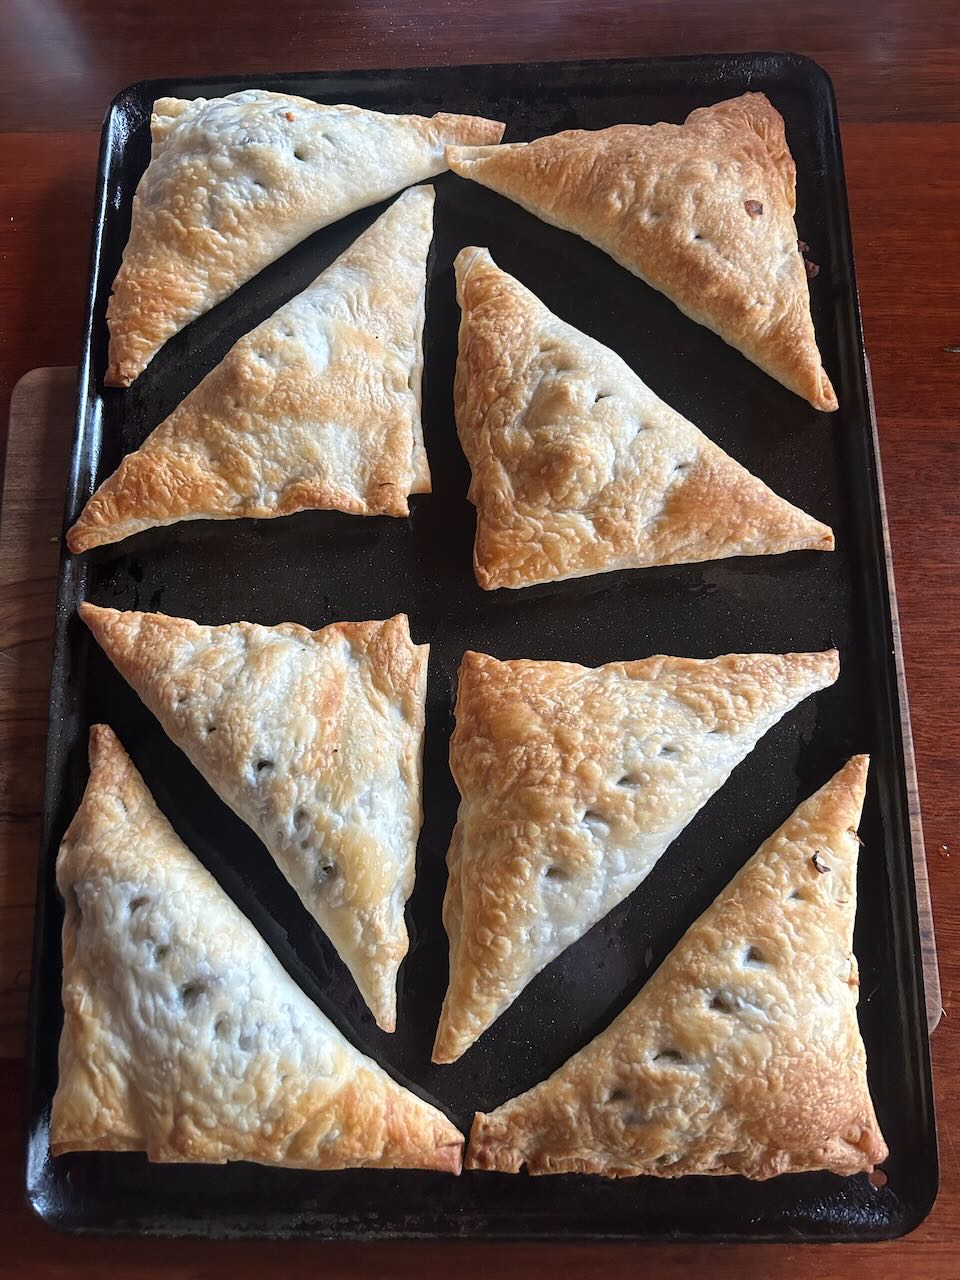
I made a rather nice fruit tart. A peach and almond frangipane. Nice!
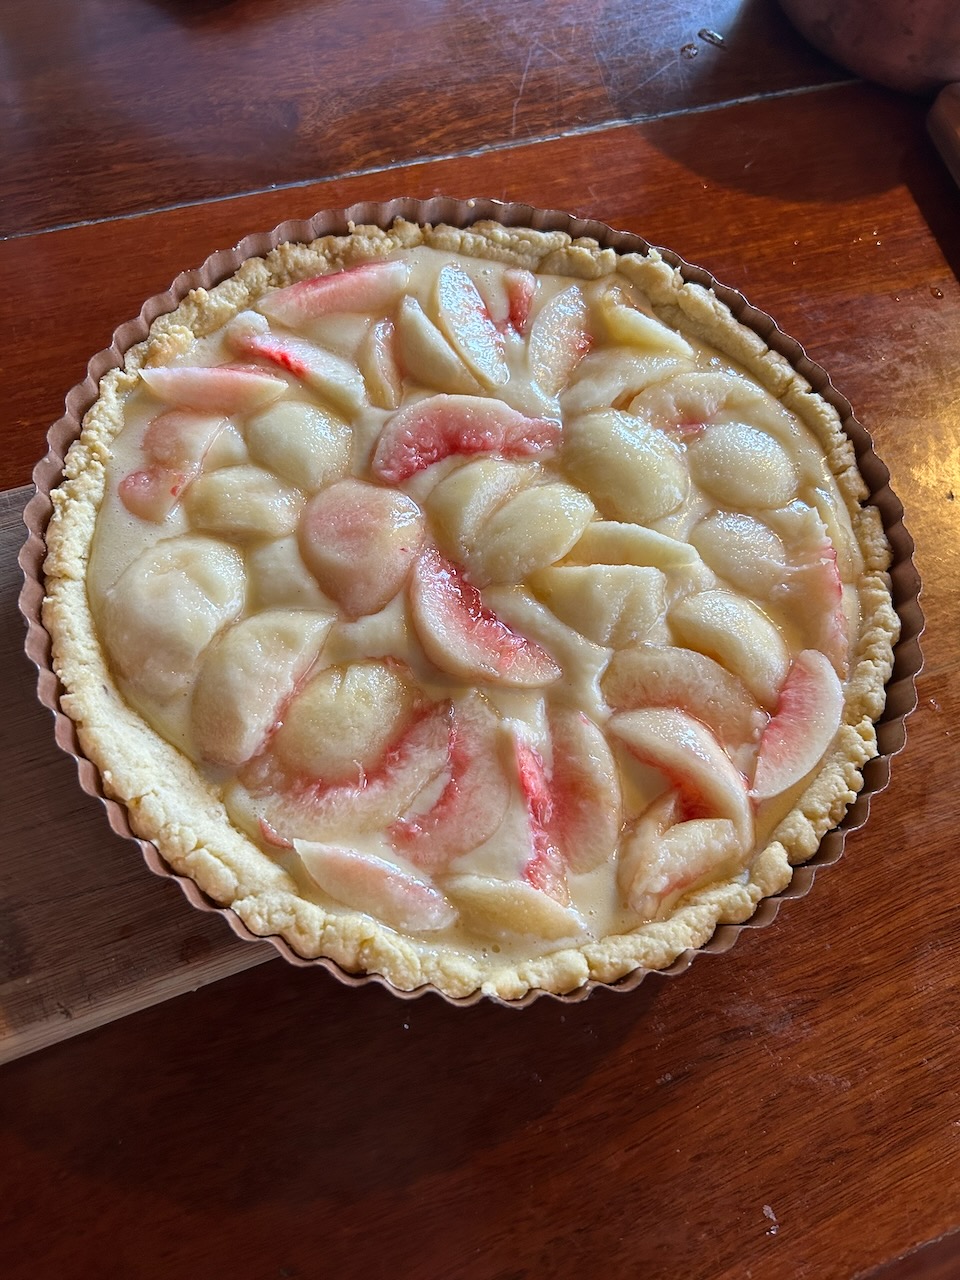
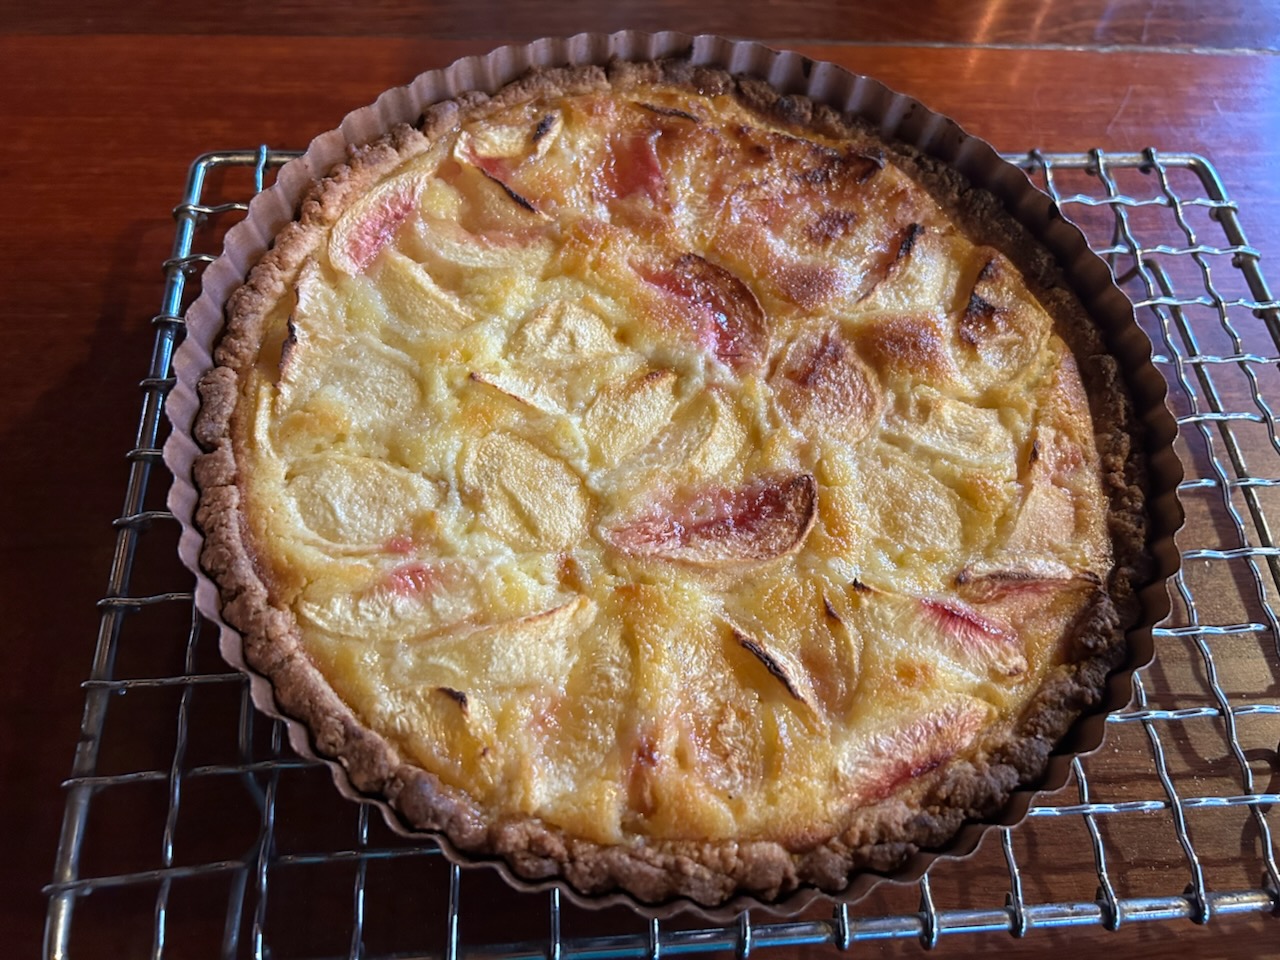
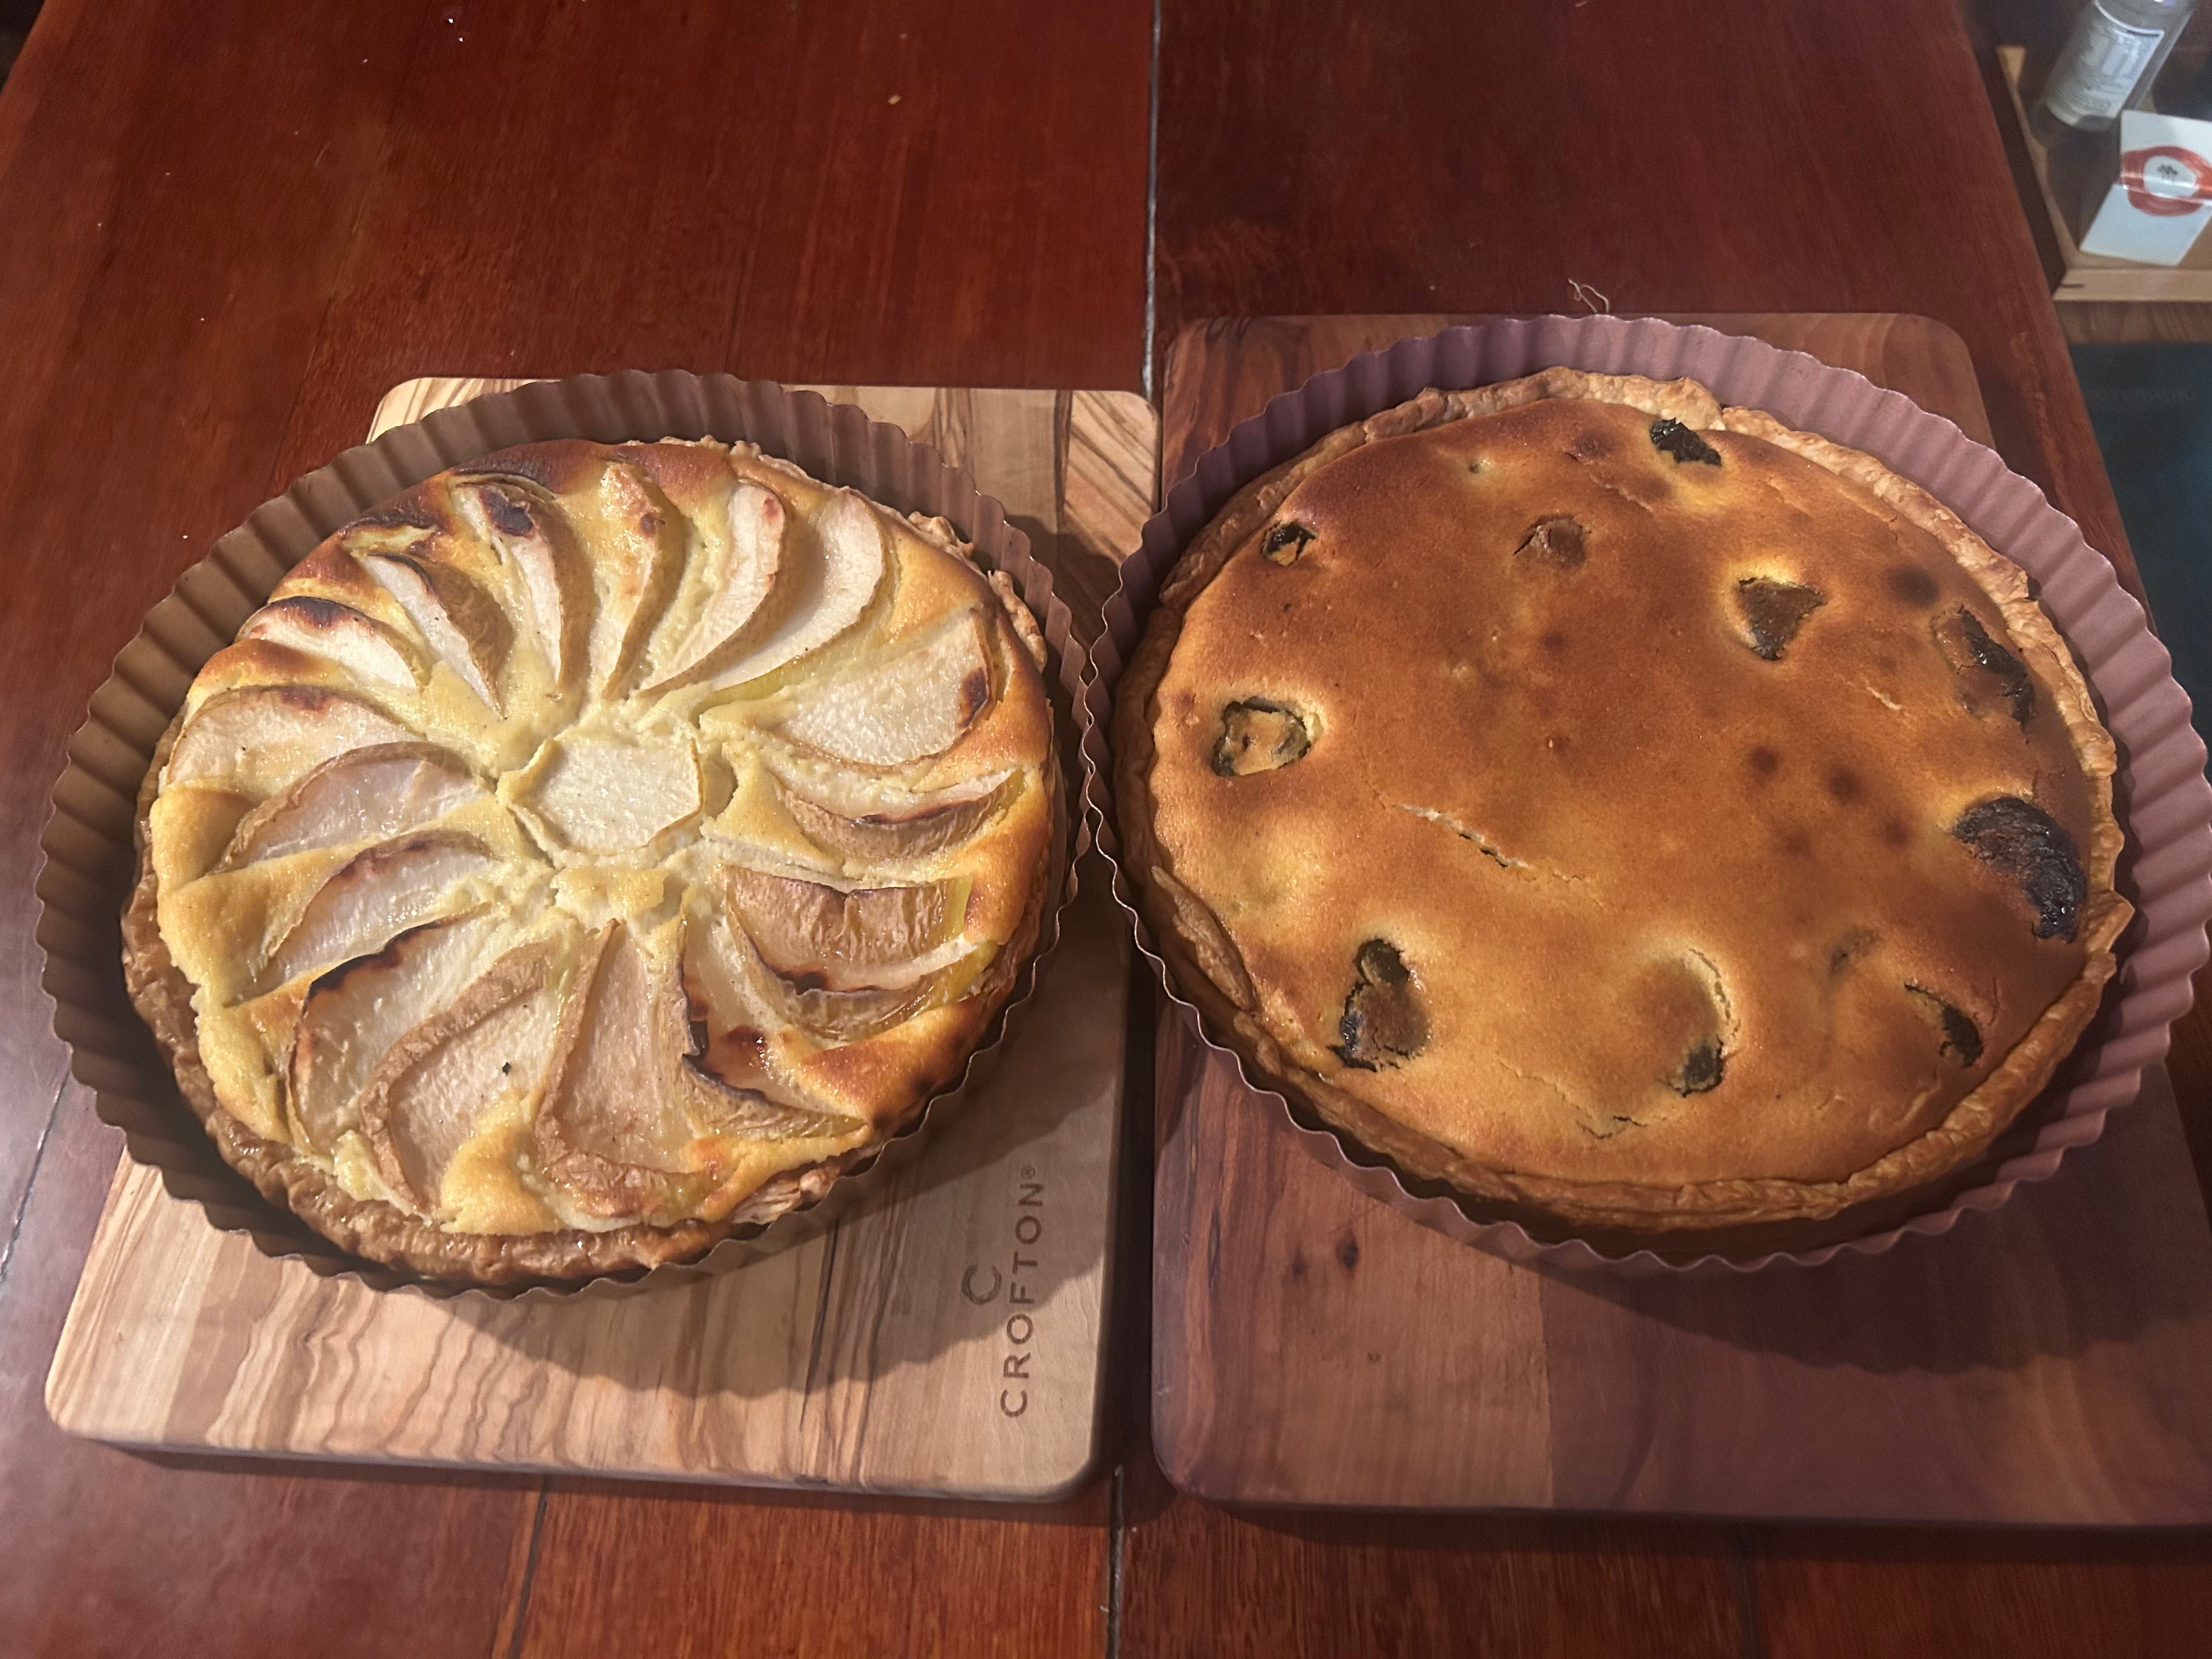
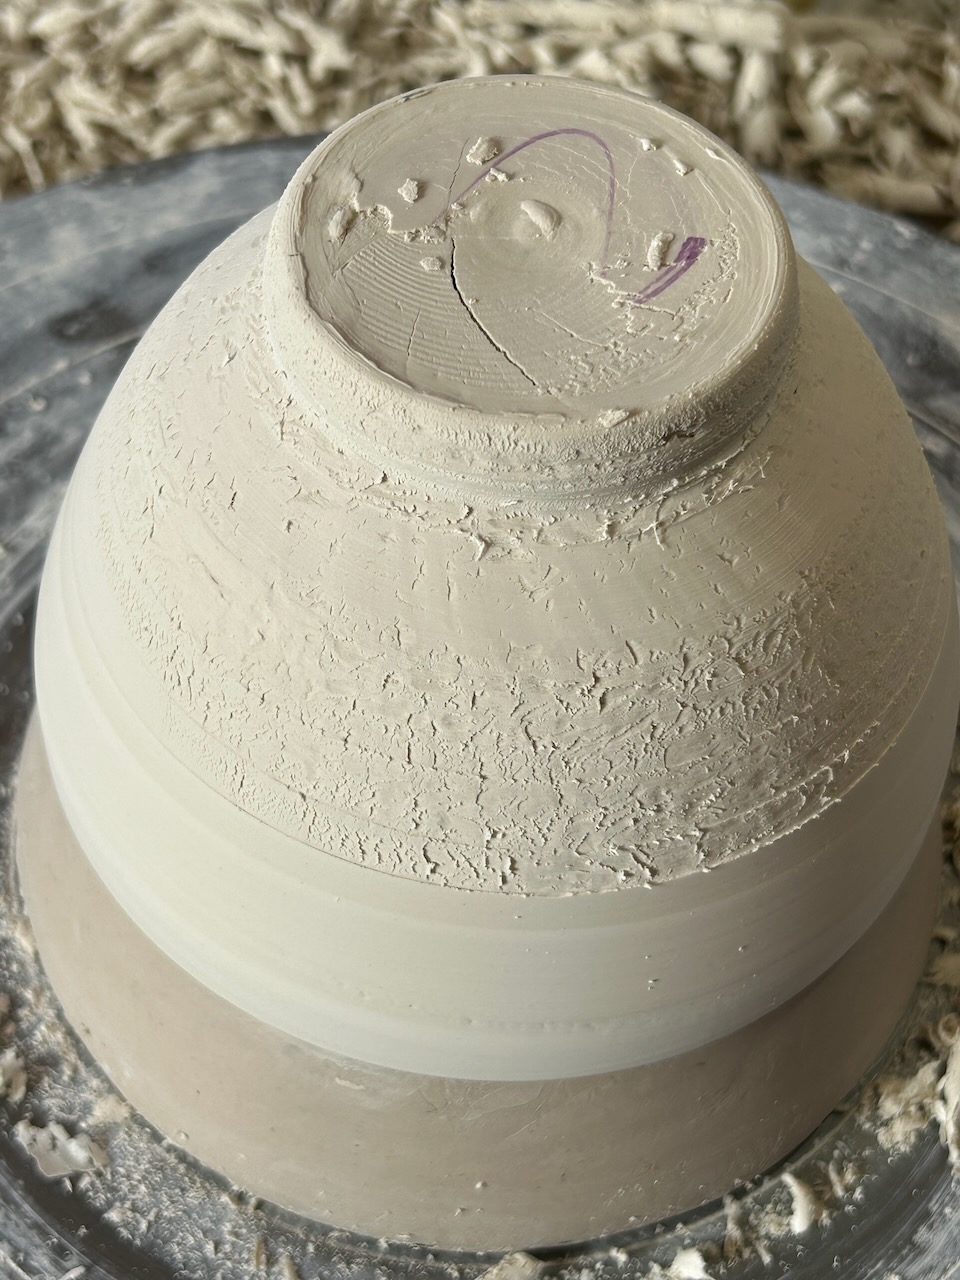
I even made a special sweet patisserie -style butter and almond, short pastry to bake it in. Impossible to work with! So short and crumbly. Luckily, I have spent 45 years working with porcelain, so I could manage! I was so chuffed with that one, I got busy and made another two with pears and prunes.
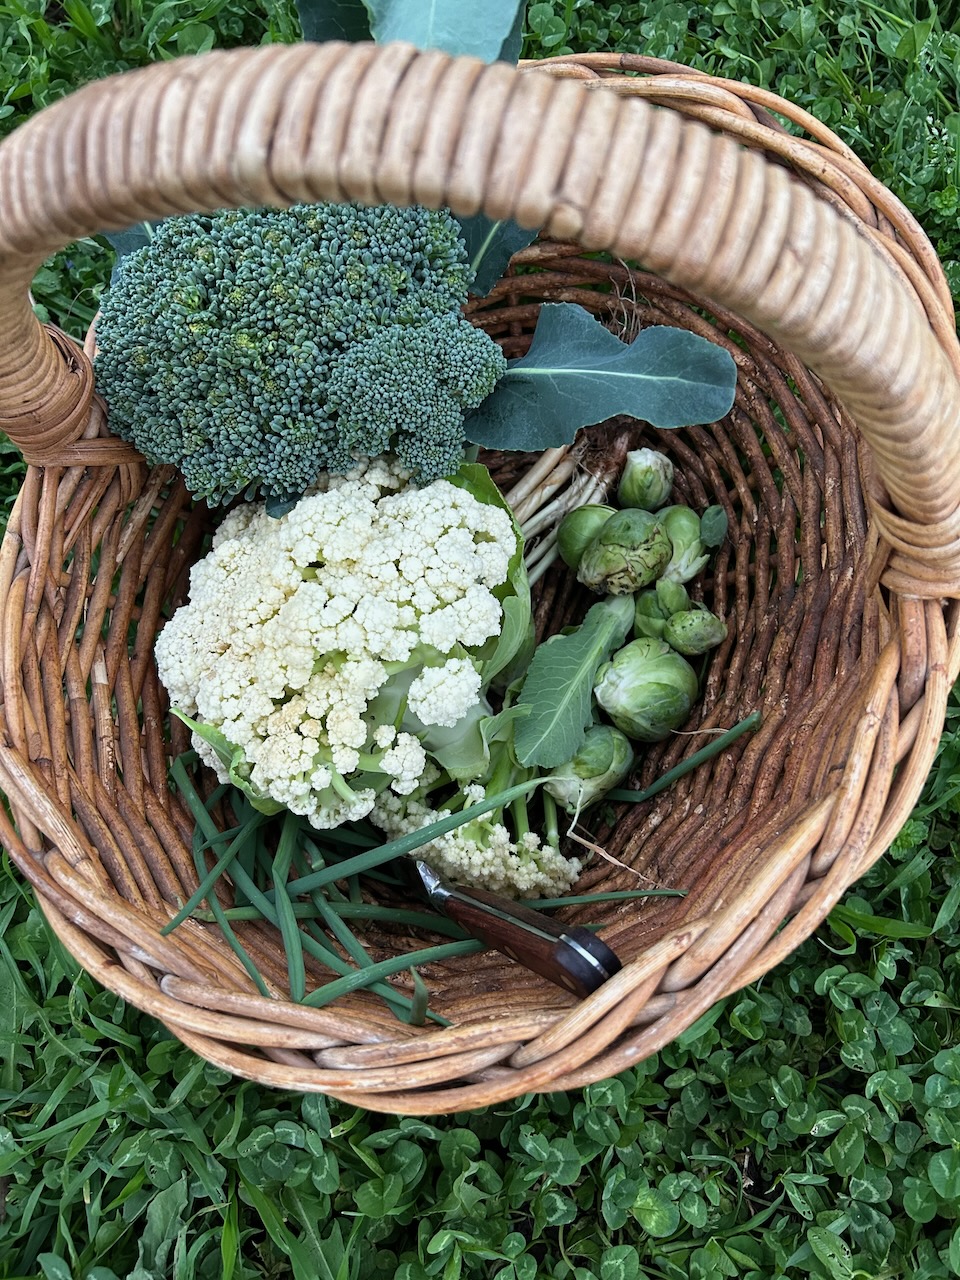
I got an early start on planting brassicas last year, so we have already finished the first flowering of cauliflowers, broccoli and cabbages. The second planting is now just ripening up to good sized heads.
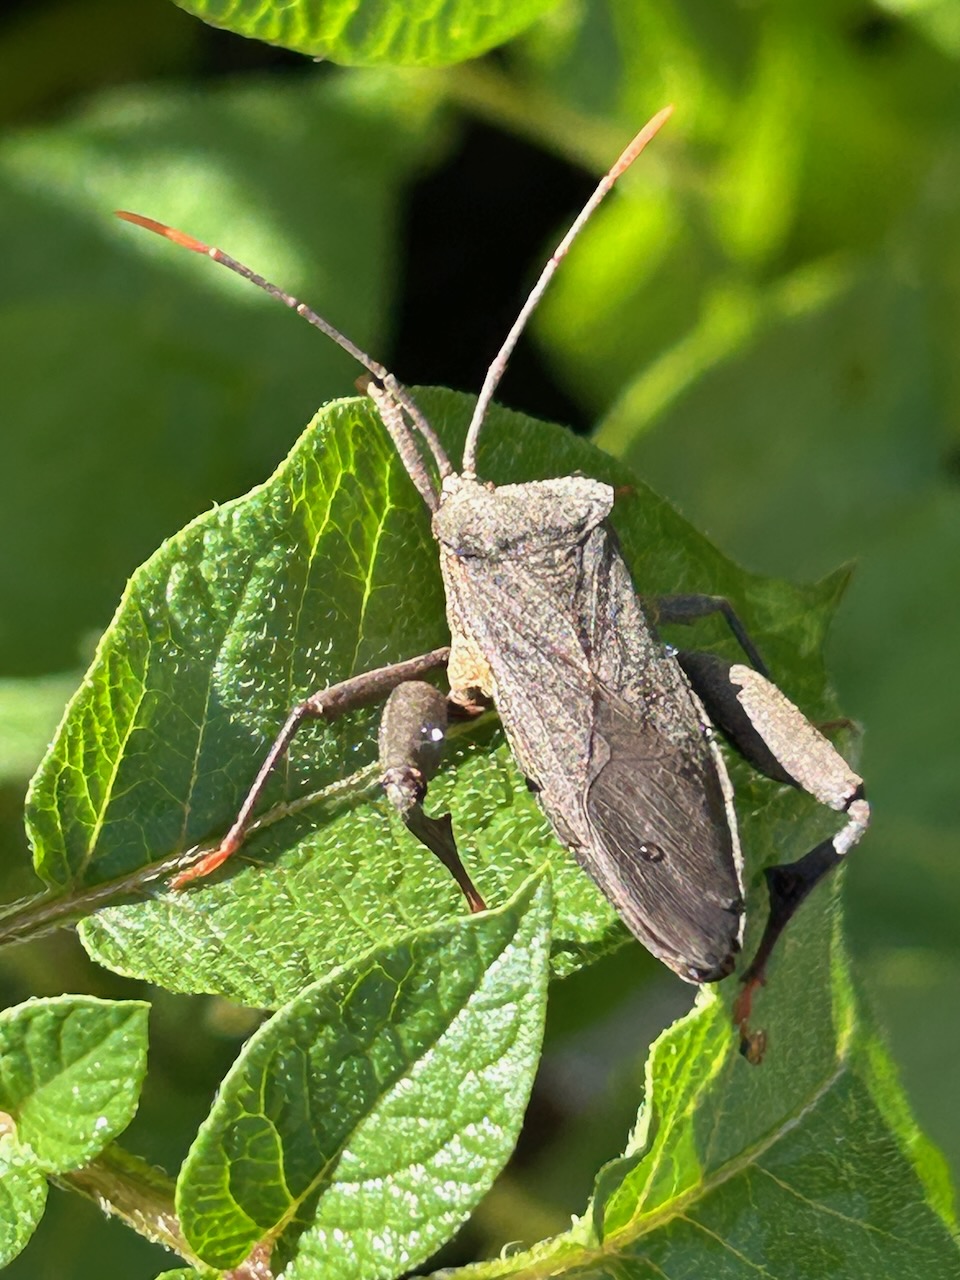
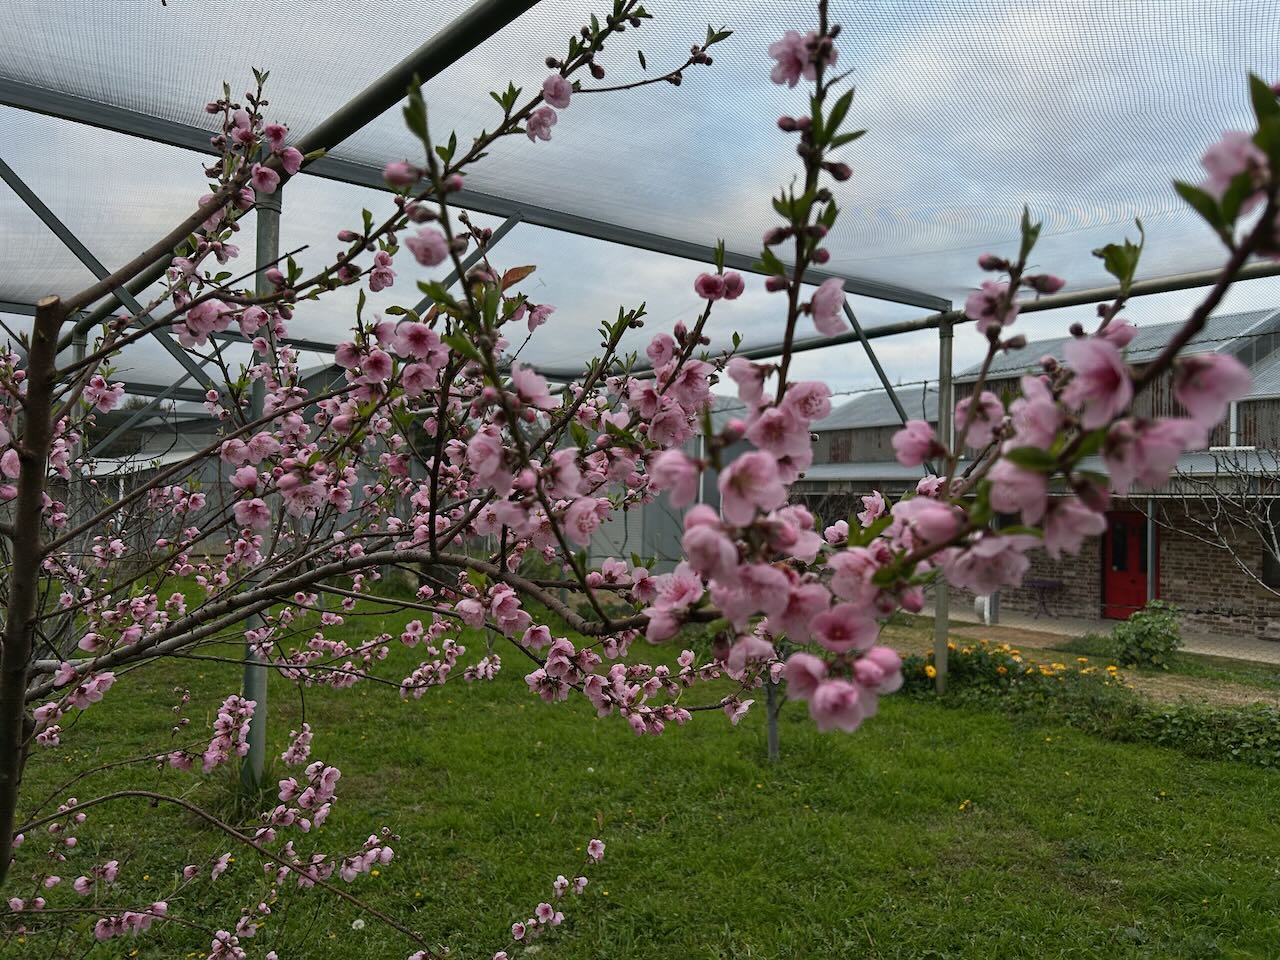
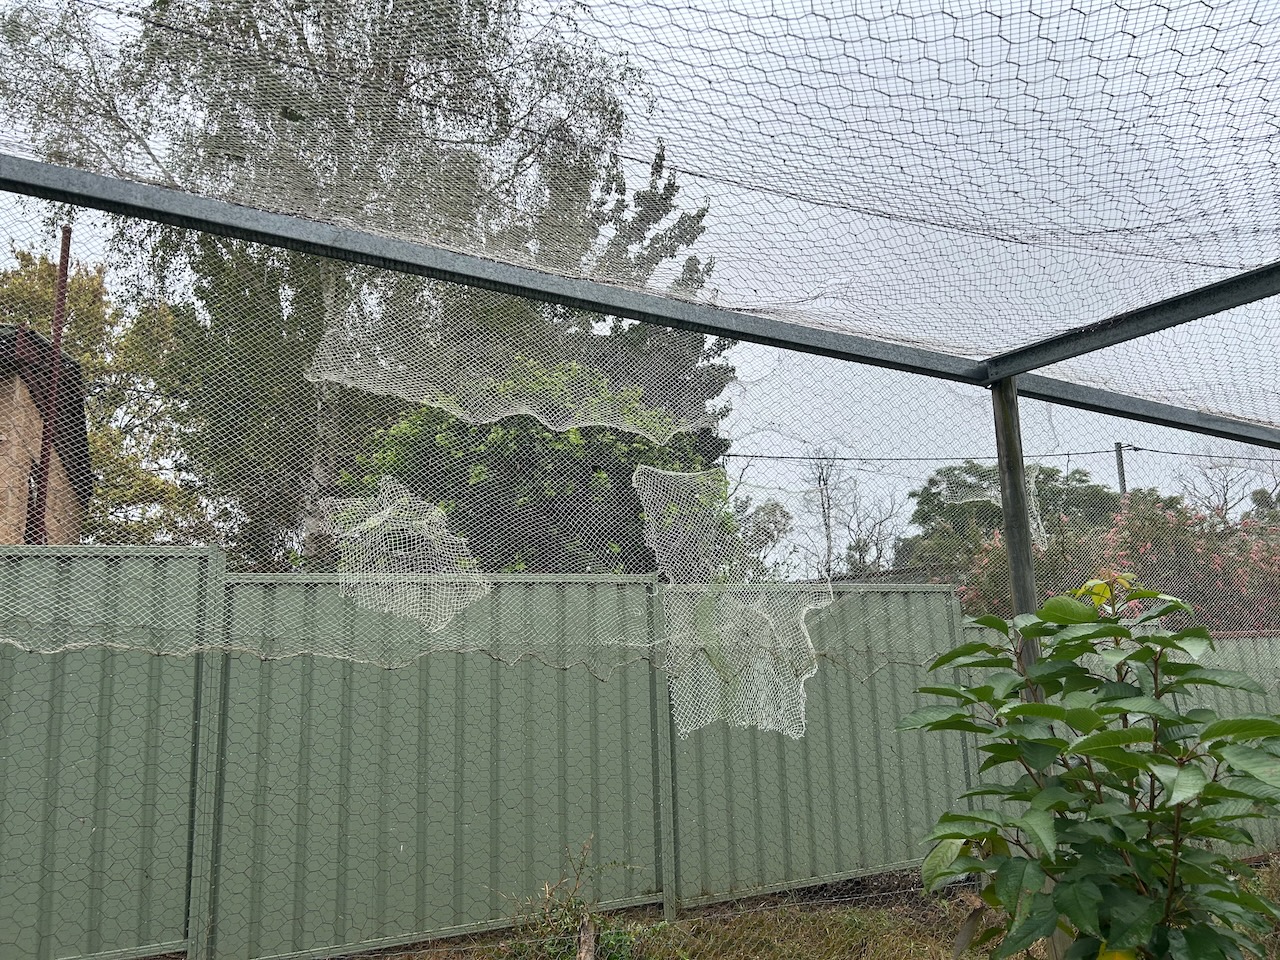
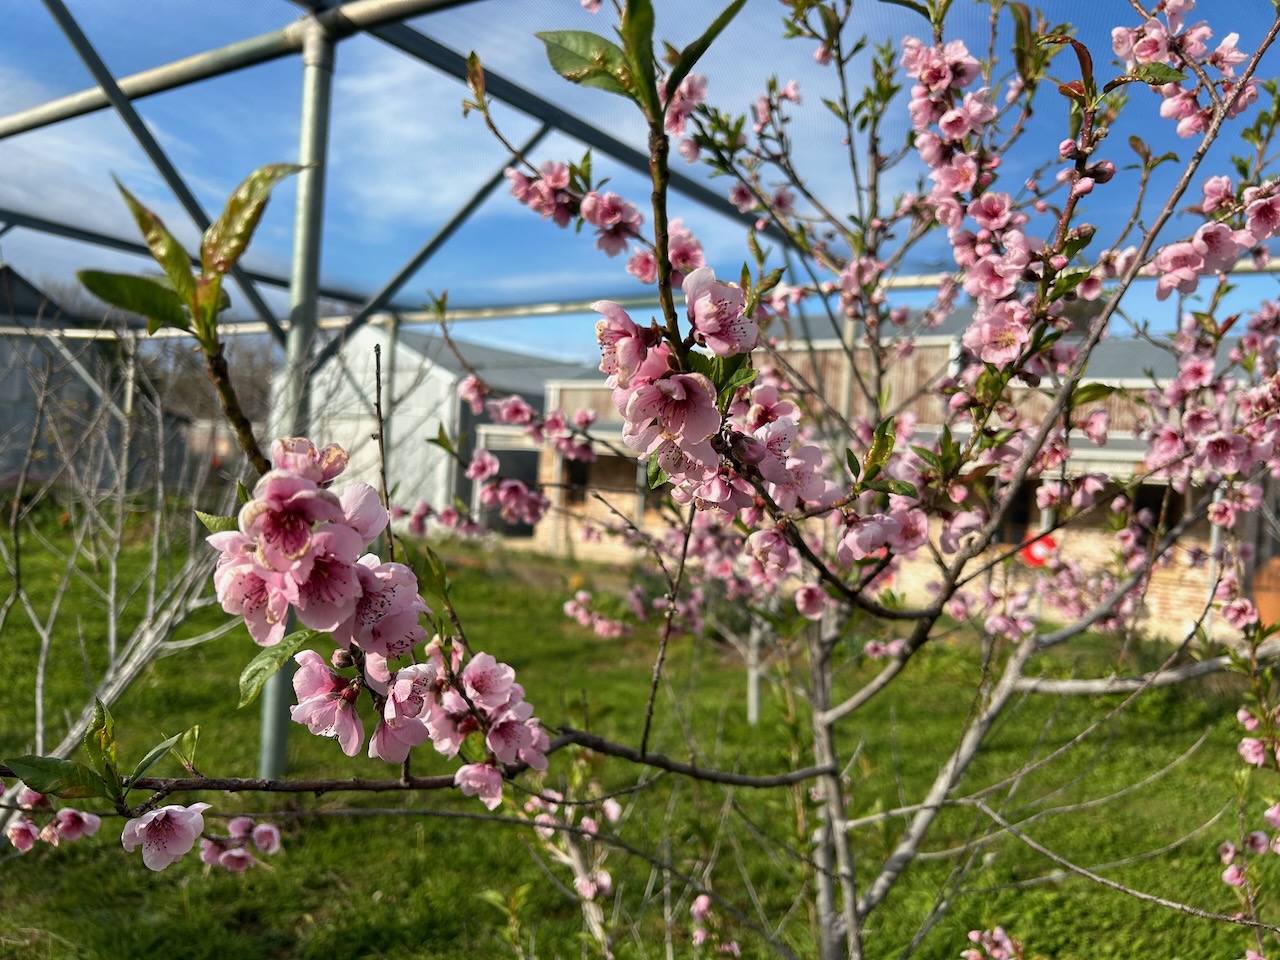
I have been having a pretty constant battle to keep blackbirds out of the garden. They squeeze in through the smallest of holes in the old plastic garden netting. I have spent hours going around patching the holes with spare pieces of netting. The little buggers get in and then can’t find the hole to get out again. I have to run them back and forth, up and down the garden until they fly out of the open gate. It’s frustrating. They love to get into the mulch and compost like chooks and scratch out worms and bugs, but they also scratch out all the little seedlings as well. I have taken to covering over new plantings of seeds with fine insect netting to protect them until they are big enough to survive the blackbird onslaught.
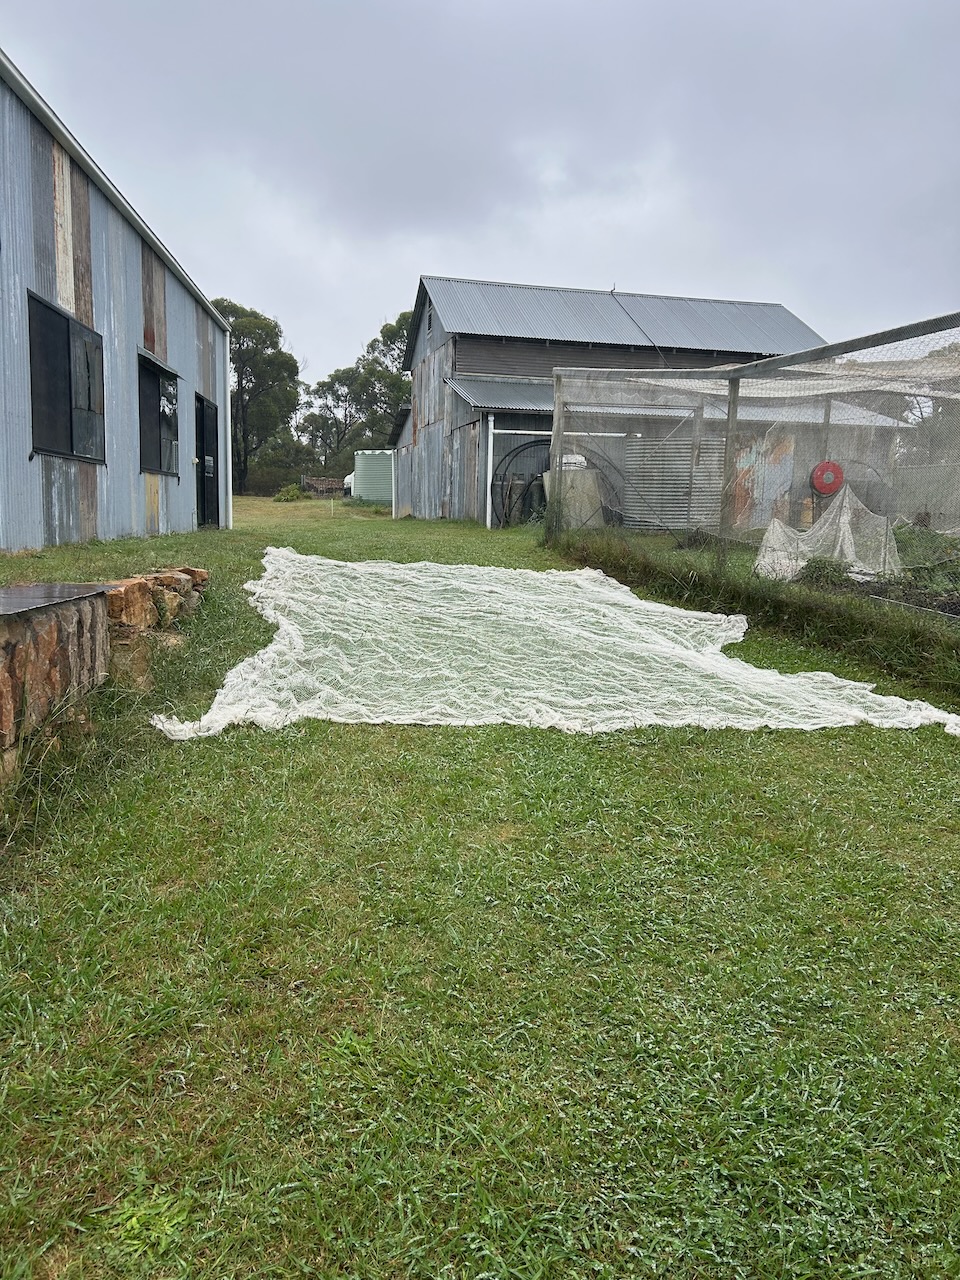
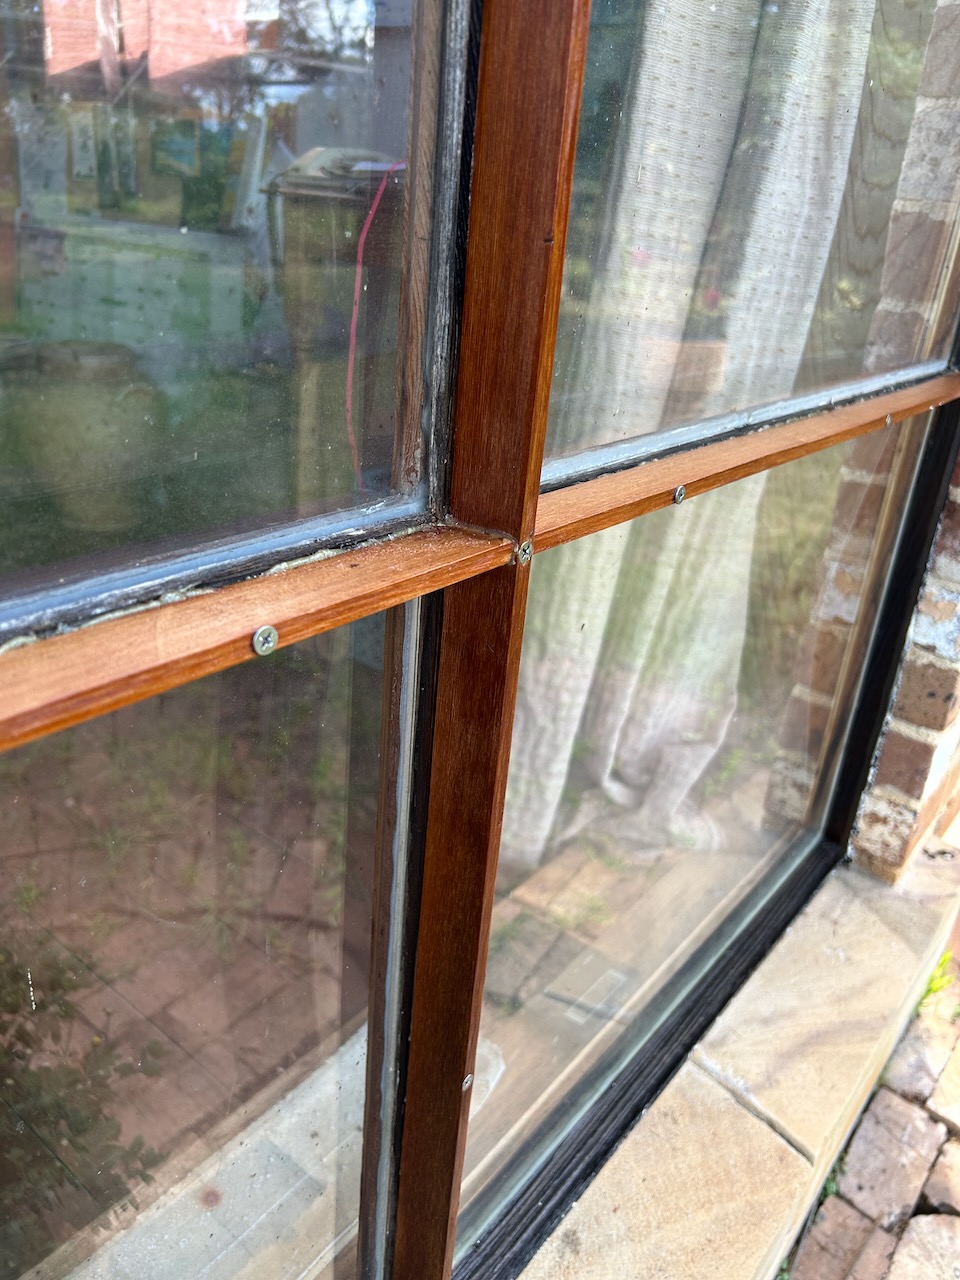
The main problem is that the plastic netting is almost 30 years old and is now very brittle, so tears very easily. Even a small birds beak seems to be able to break the filaments. The plastic bird netting was laid over the original galvanised ‘chook wire’ netting. That rusted out very early on. The solution is to take it all down and rebuild the whole thing. Frame and all, as the frame was built on ‘green’ poles in the ground. Several of these were burnt off at ground level in the bush fire in 2019. The fire also melted all the plastic mesh on the West and partially on the East. As well as random places on the roof and along the North and South walls. The whole thing only survived the inferno because it was built directly behind the big barn, which has fire fighting sprinklers on it, so was only partially burnt. It shielded most of the garden frame from the intense heat.
I repaired some of the old poles and replaced the melted netting, but it’s a mess of patches and wonkey pressed-metal rafters deformed by the heat.
We visited a beautiful garden nursery recently, where the owner had a fantastic metal framed veggie garden all brand new and perfect. The frame was built out of galvanised RHS steel section all welded together, with 12mm. sq. aviary netting. I was envious. I asked who build it and the cost. A local guy did it for $20,000, and its less than 1/6th of the size of our vegetable garden. So that was an easy choice!
Our garden is 36 metres by 12 metres. We wont be spending $100,000 on getting our netting frame rebuilt. I guess that I’ll be doing it myself, slowly, over time, just like everything else here. But I will need to start on it soon! As it will involve a lot of ladder work. I need to get it done before I turn 60! As I’m not allowed to climb ladders after that.
I’m 74 now, so must rush to get it done before 60 comes around again! Even doing it all myself, just the cost of buying the galvanised steel RHS tubing and galvanised Sq. netting will be eye watering!
But if it lasts another 30 years. It will see me out.


You must be logged in to post a comment.