Moon Jars, clay and 3rd Tool Making workshop announced

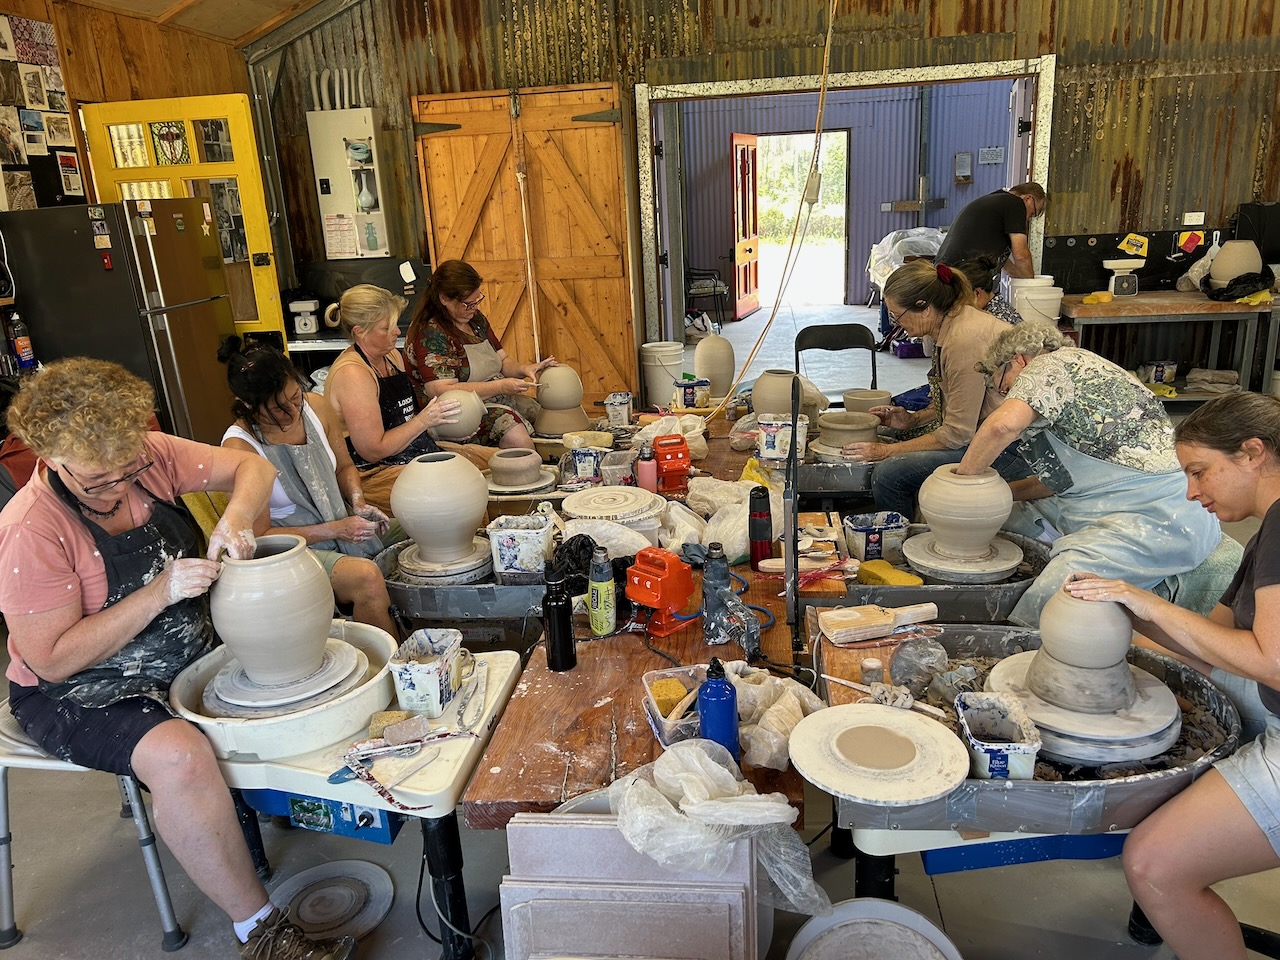
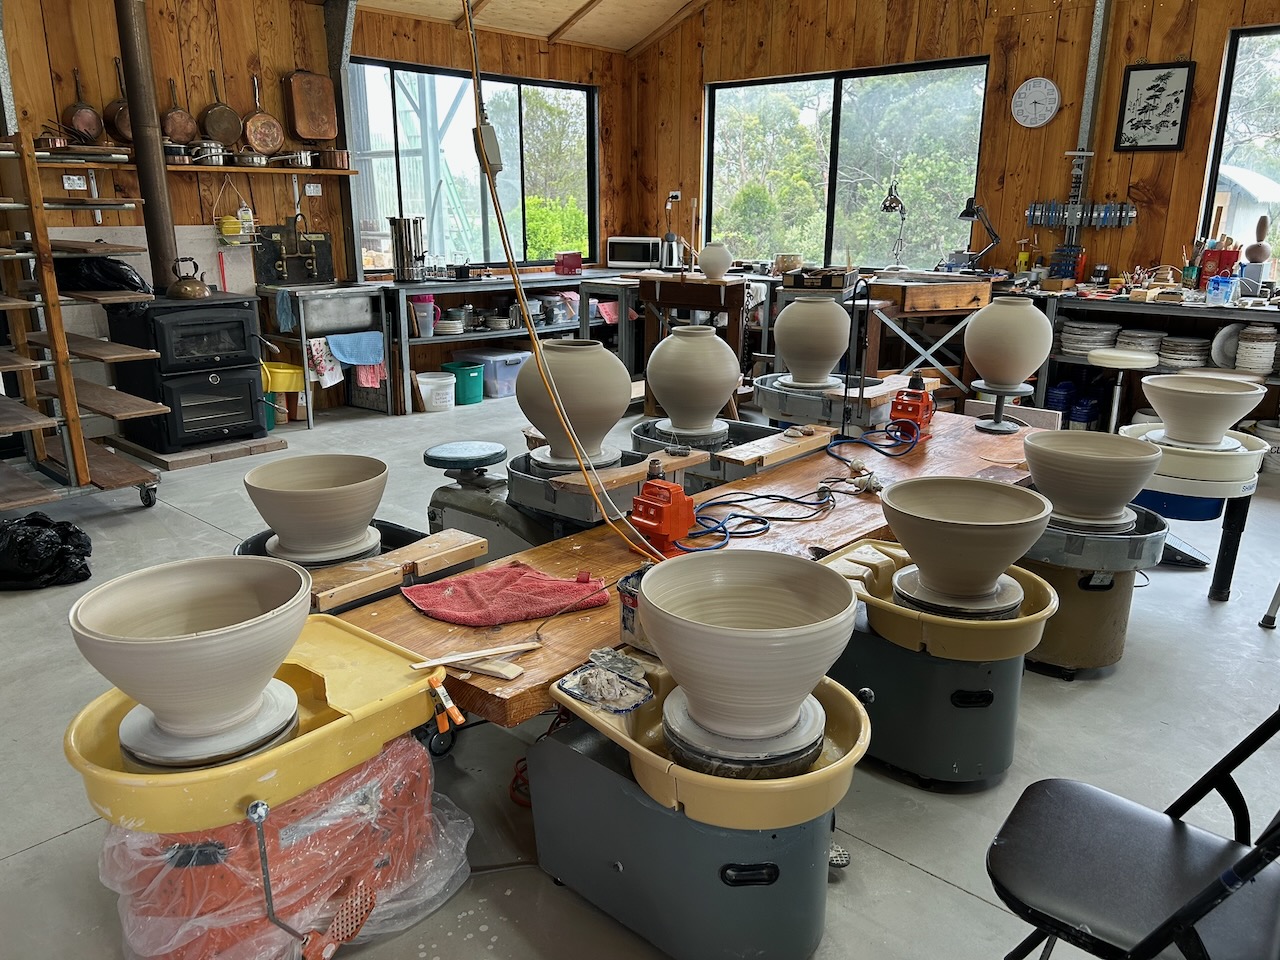
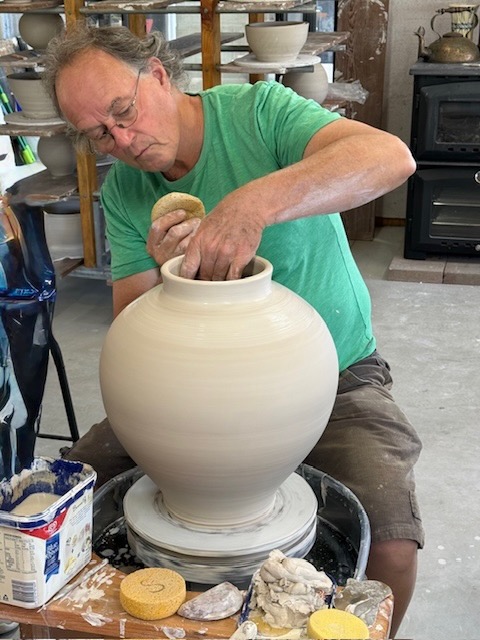
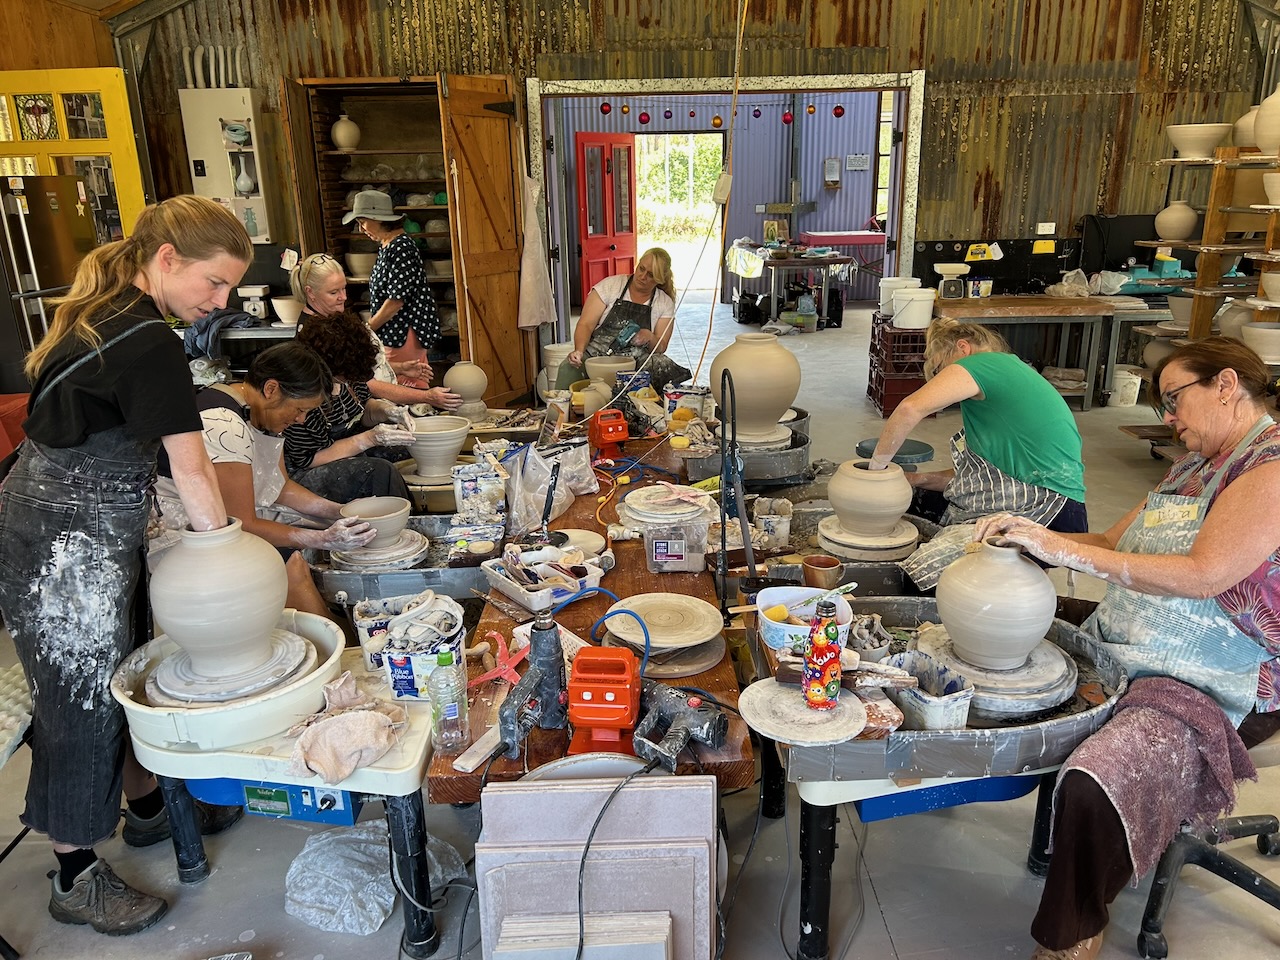
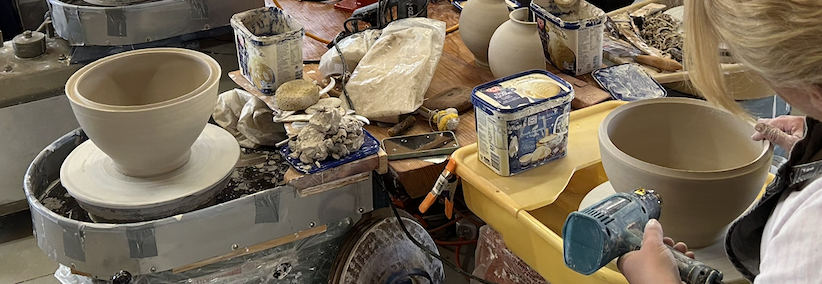
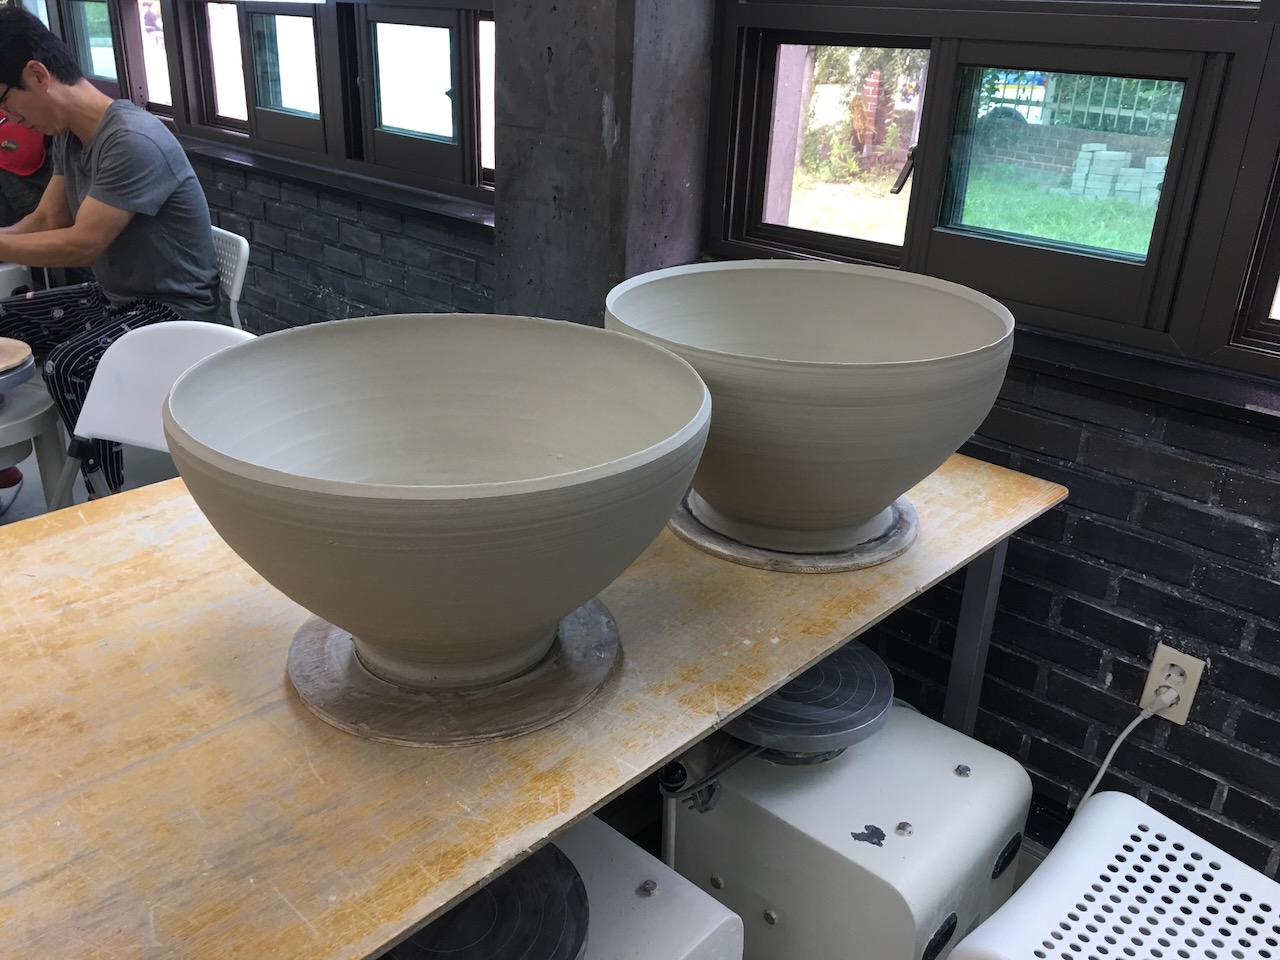
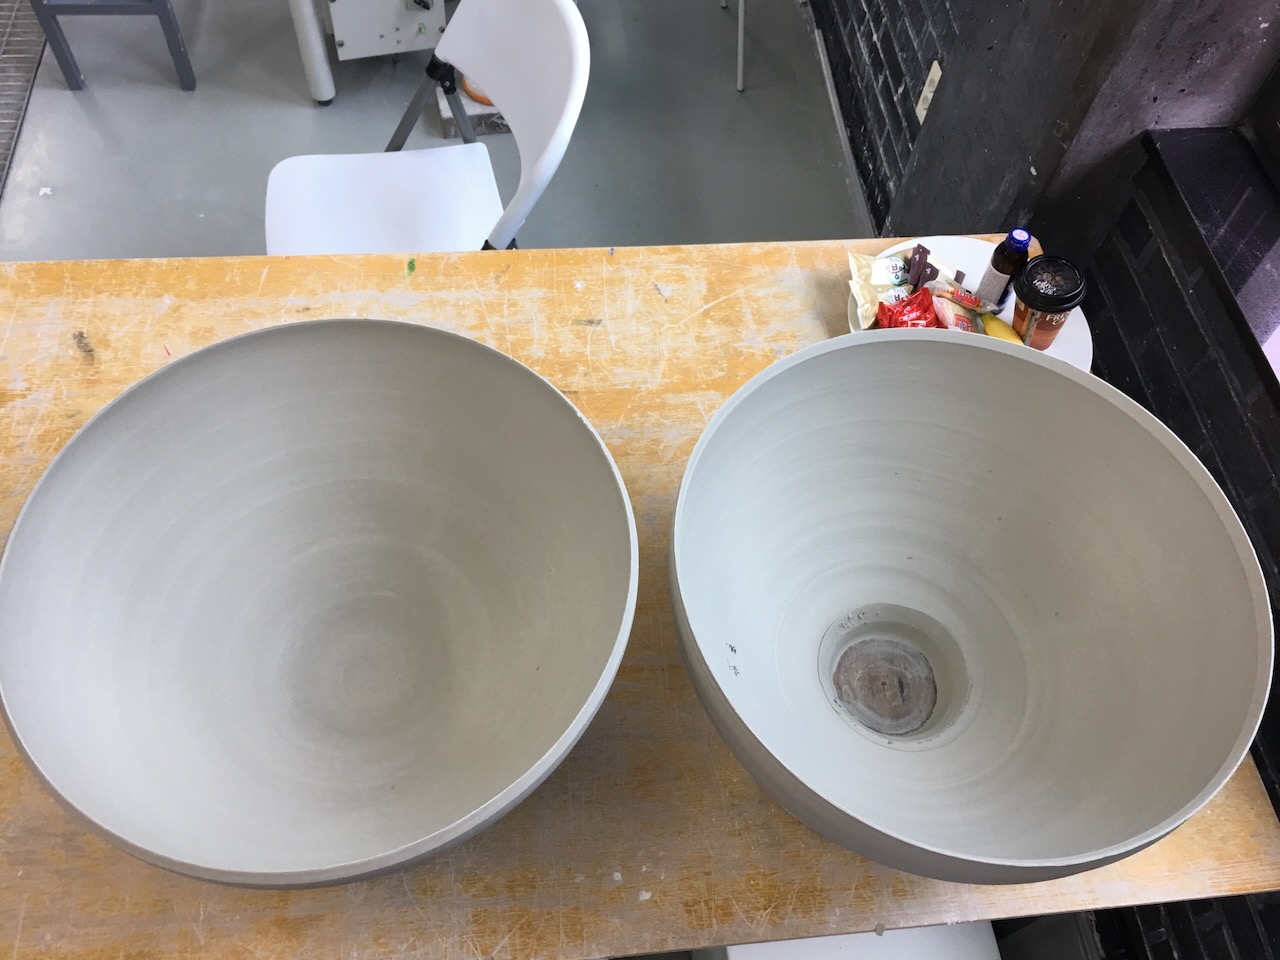
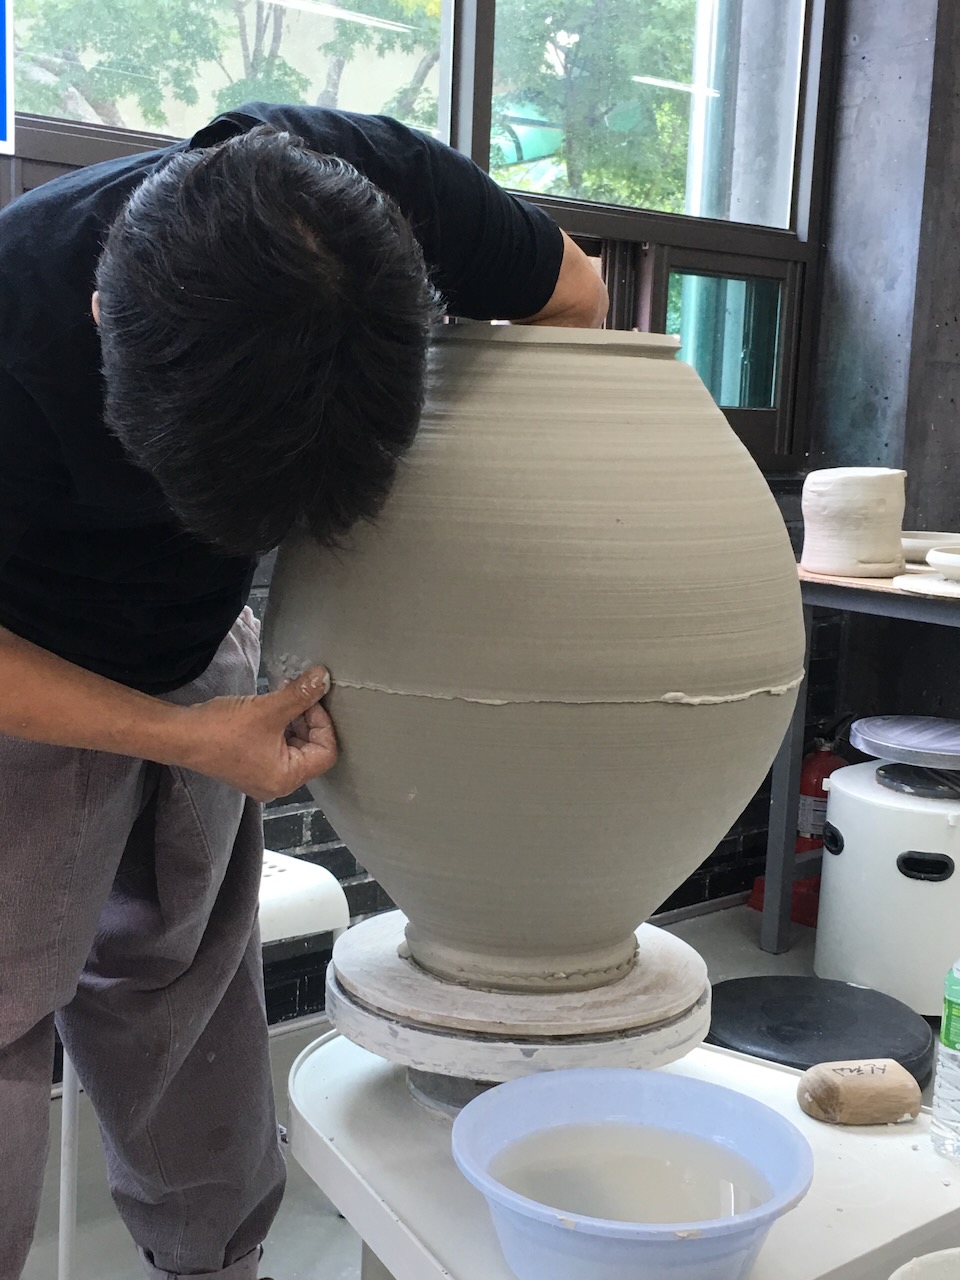
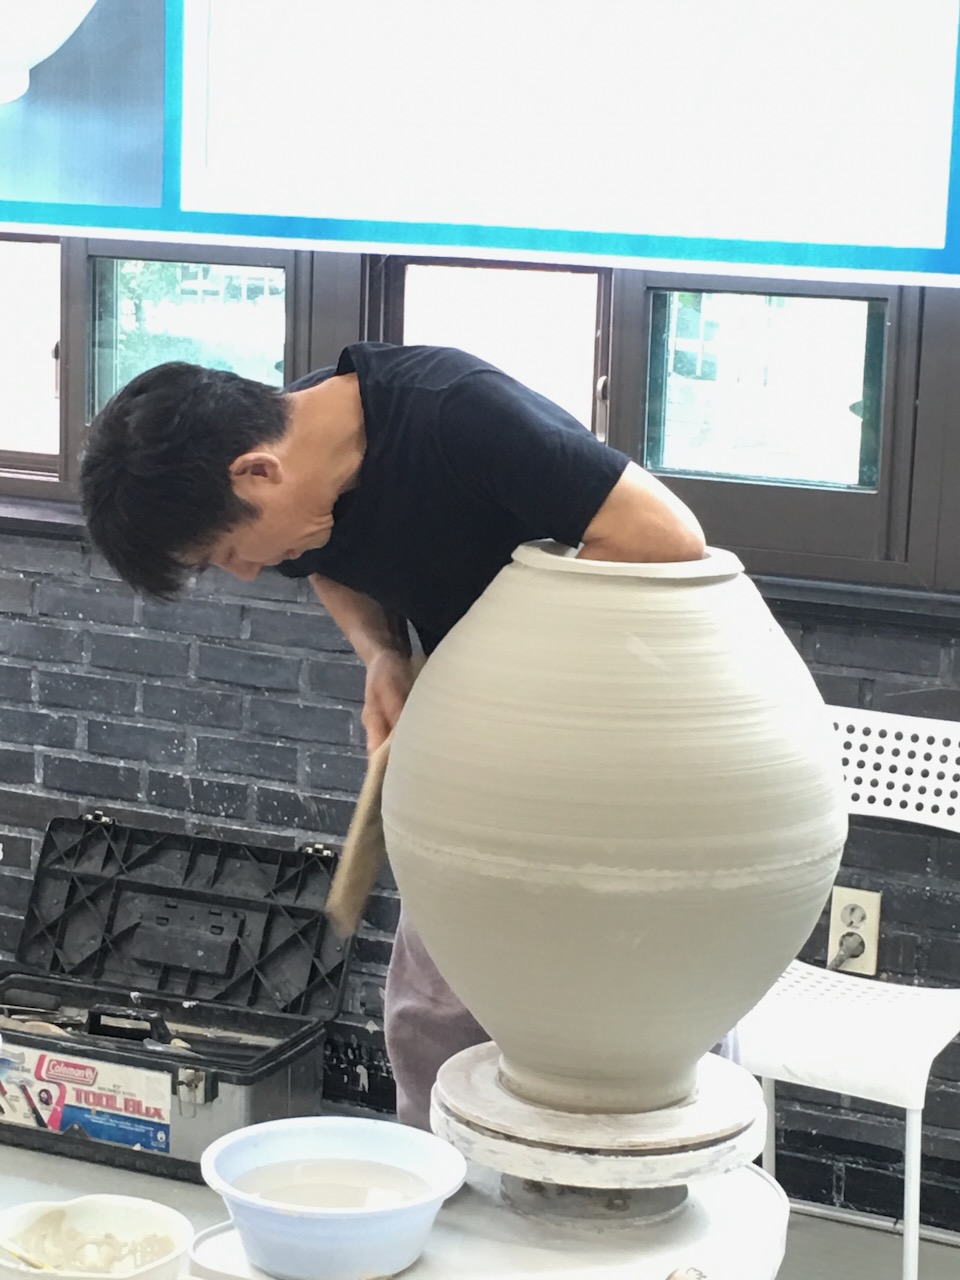
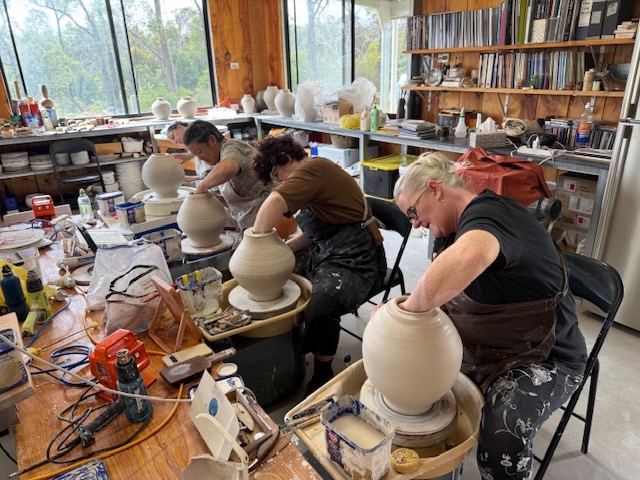
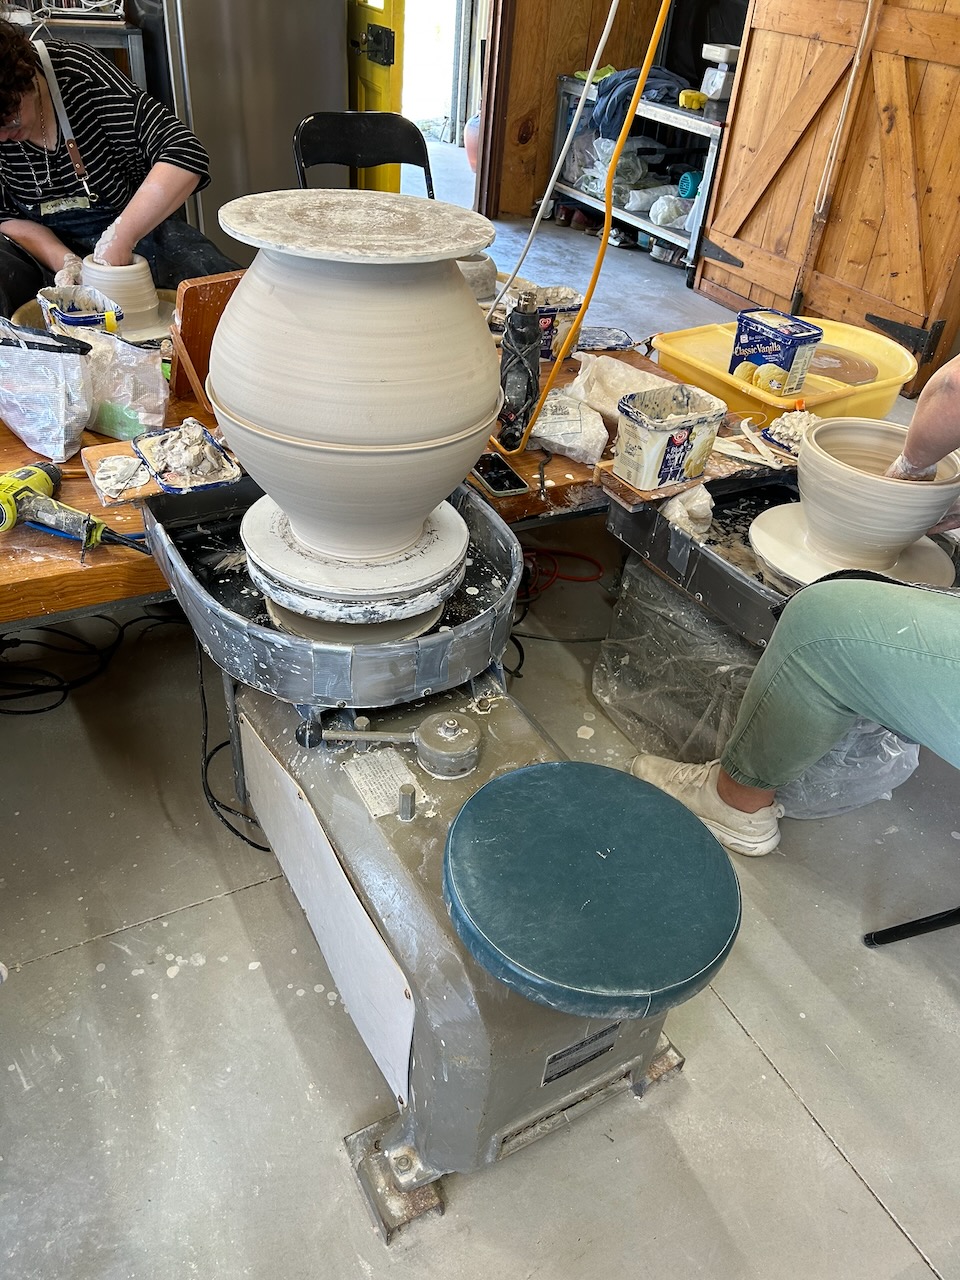
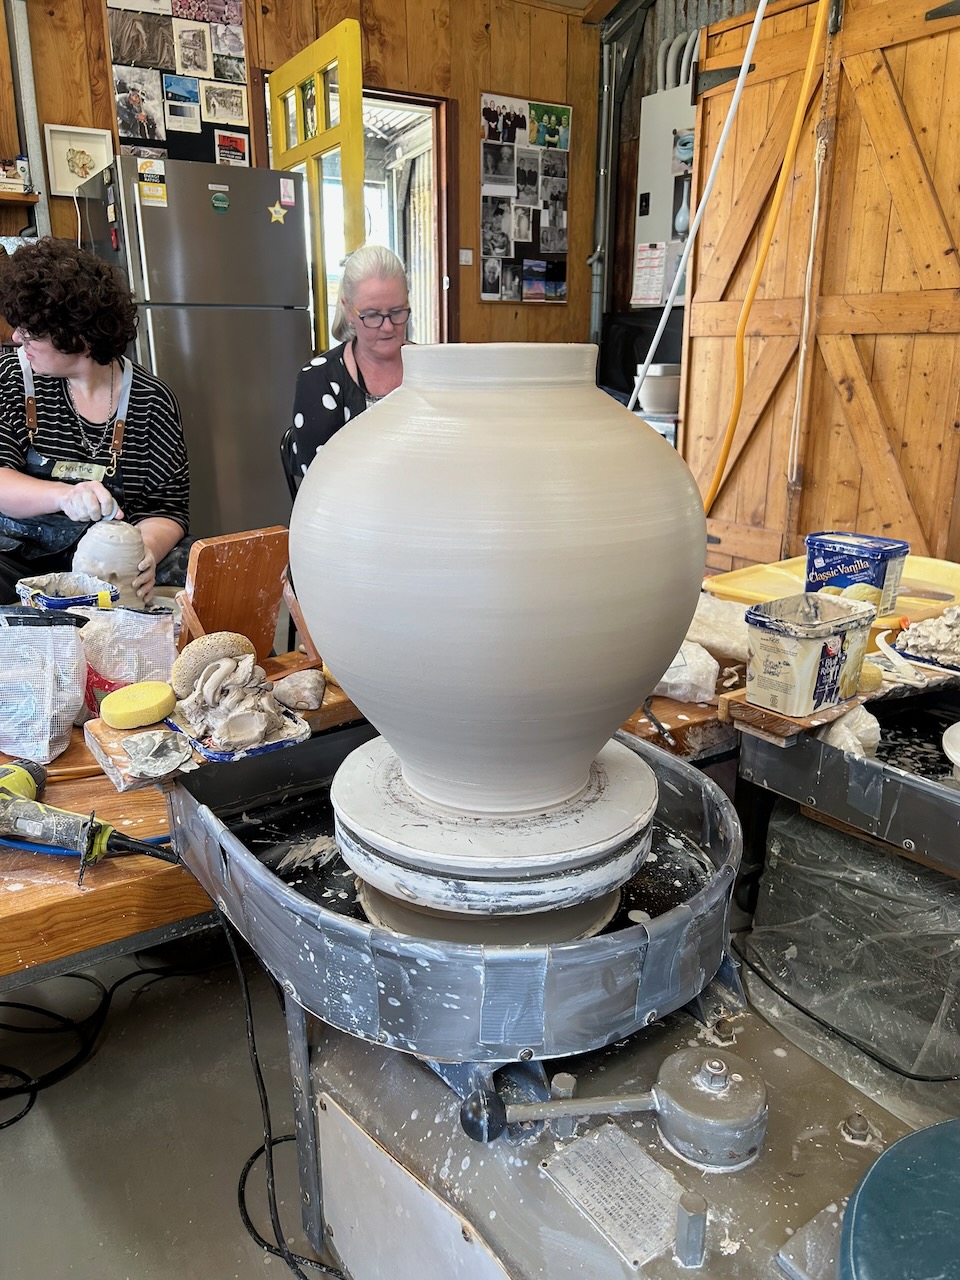
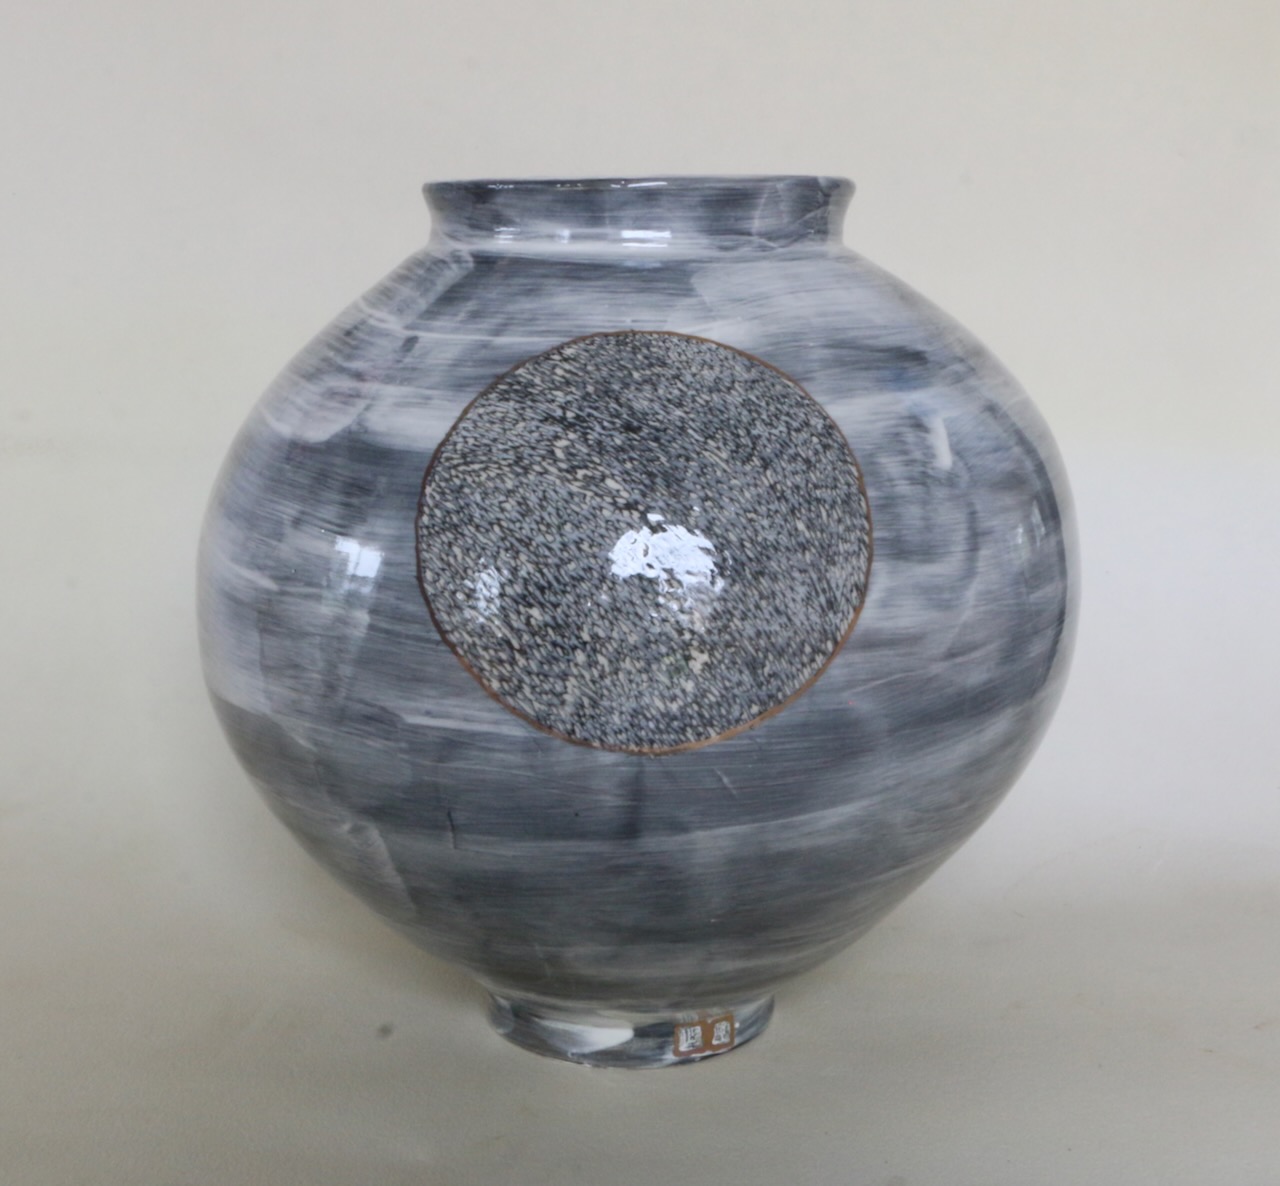
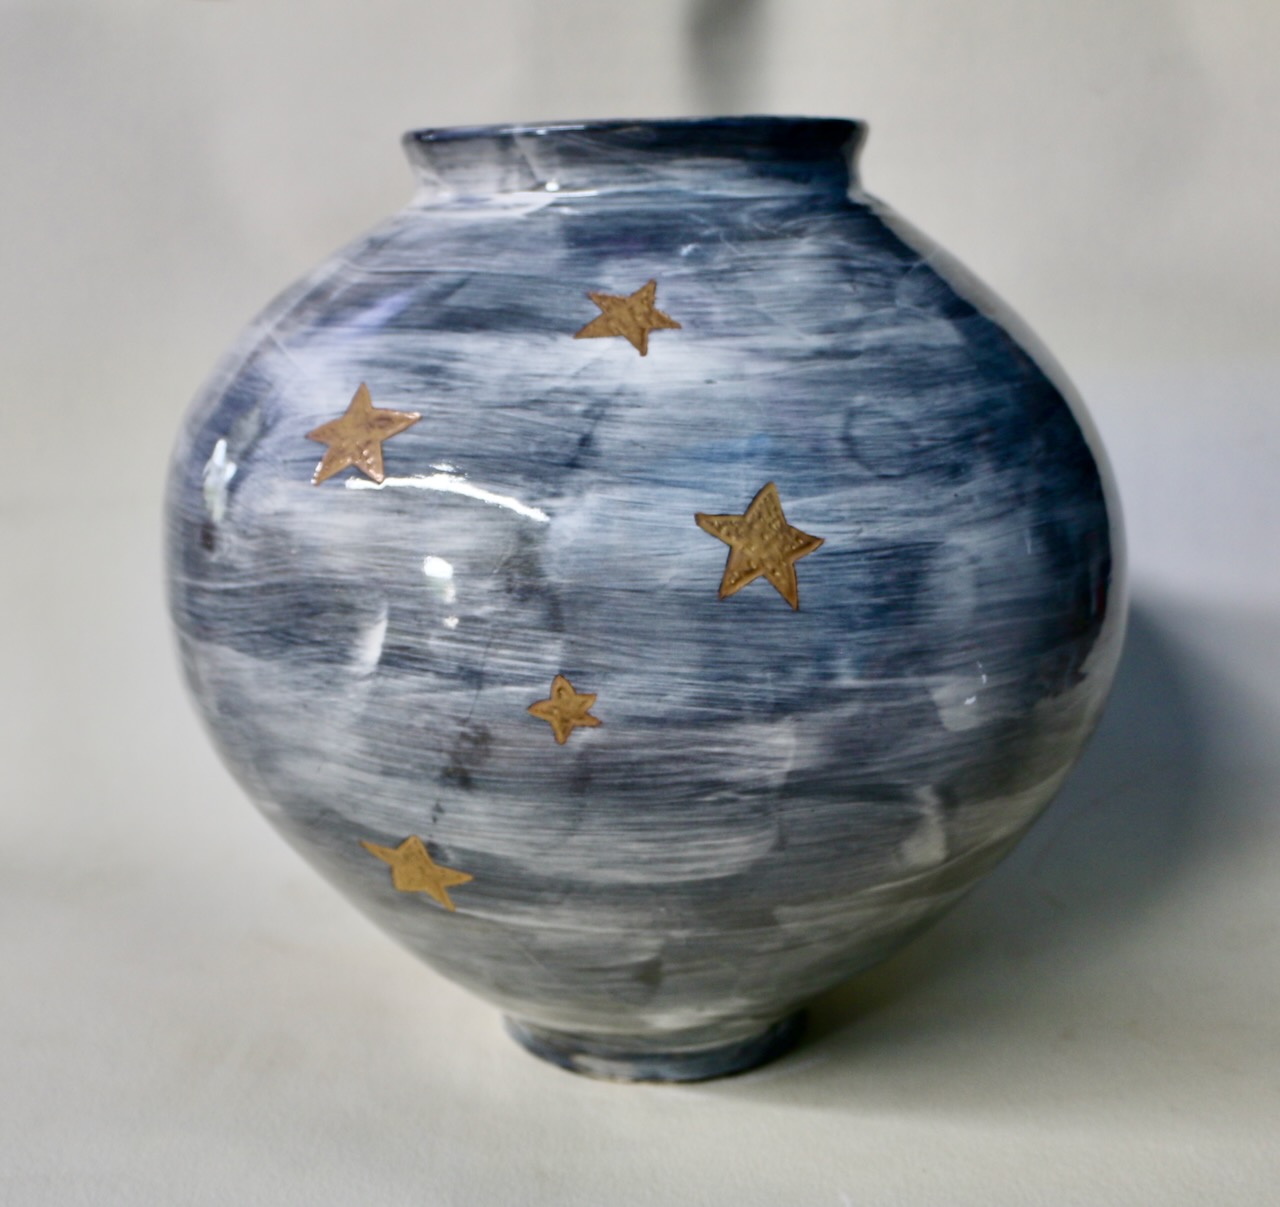
We have just completed the 2nd Moon Jar Making workshop, with the 3rd and last for this year going ahead next weekend. Great progress was made learning to throw and assemble the shapes that go to create a traditional, fully rounded, spherical shape pot on the potters wheel.

This morning our first job is to deal with a lot of fruit that has been falling off the trees during this last weekend of very hot weather.

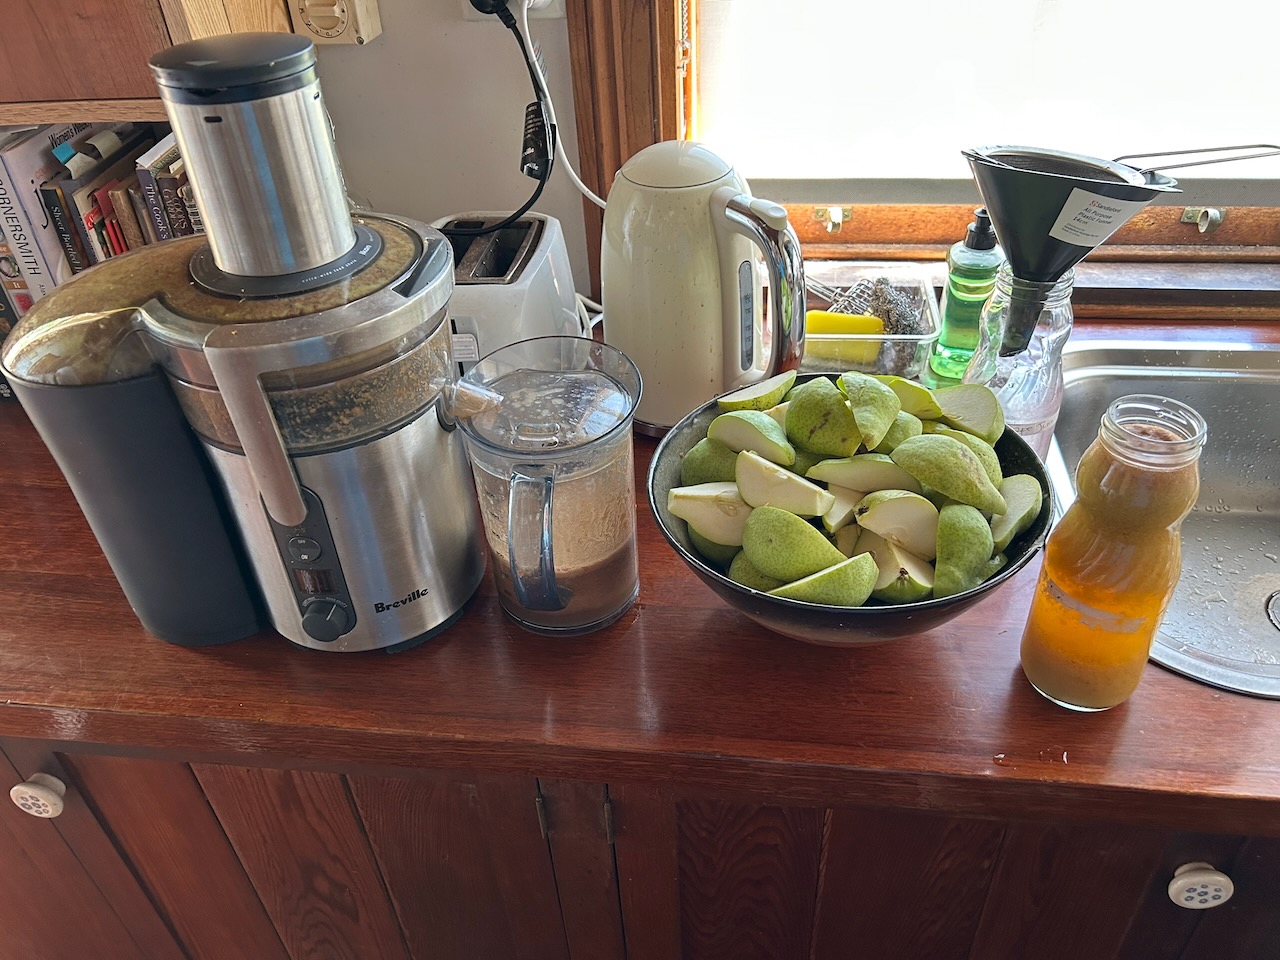
Janine dealt with the peaches and I decided to juice the pears.

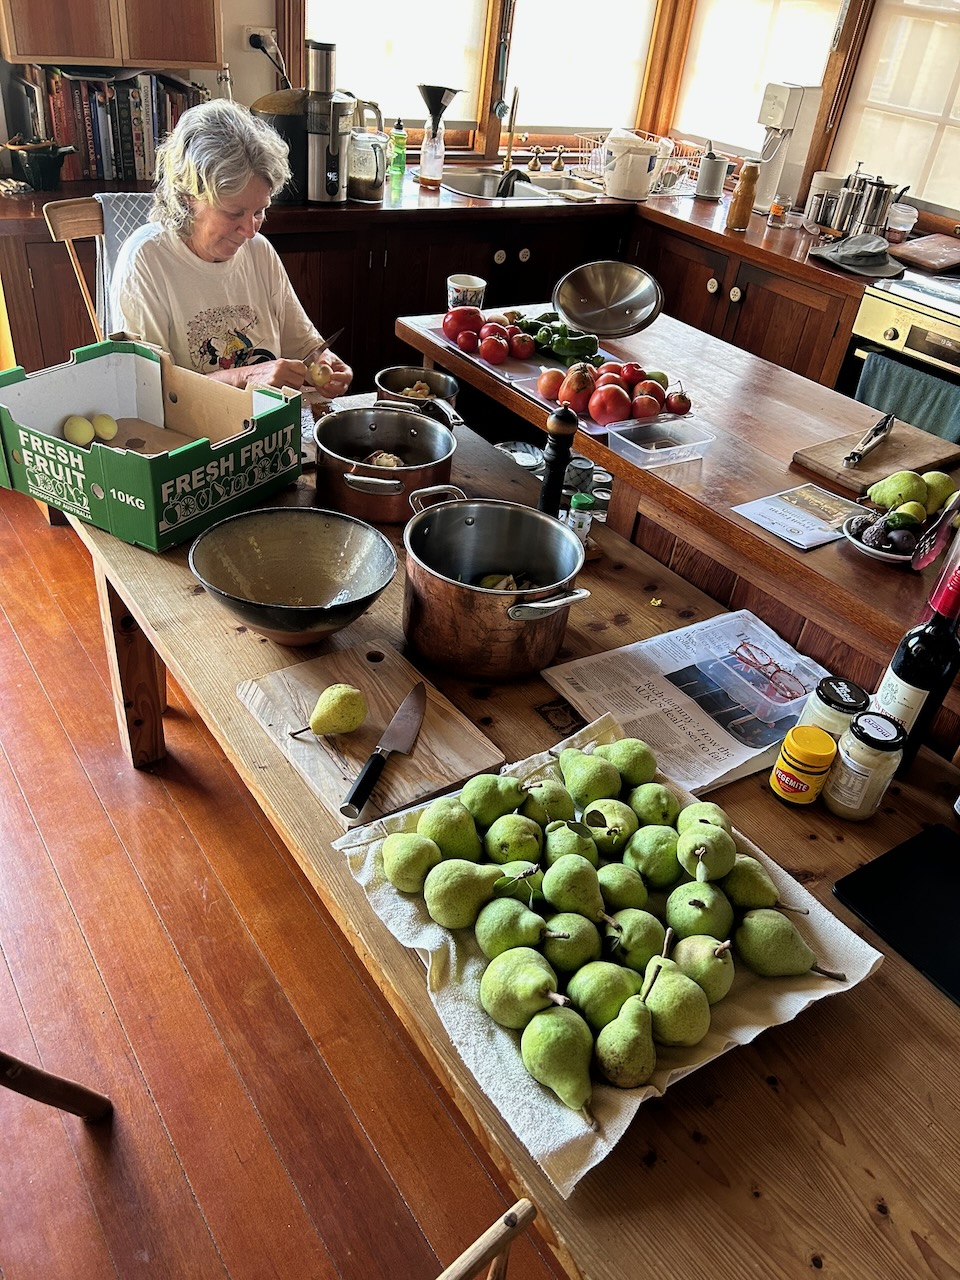
Summer is a busy time in the orchards and garden. Inadvertently, we grow more than we can eat in real time. so we cook, preserve, stew and bottle the excess, but also share the largess with the students that come to the workshops and give more away to our friends and neighbors.

I have a few people on my waiting list wanting to do a tool making workshop. If I can get two more takers, then it will go ahead on the 14th of March. Please reply if you are interested. Otherwise it will roll over to next year.

Tomorrow, I’ll be making clay again, as these last couple of workshops and the one already booked out for next weekend, will pretty much exhaust most of my remaining stock of aged plastic clay.

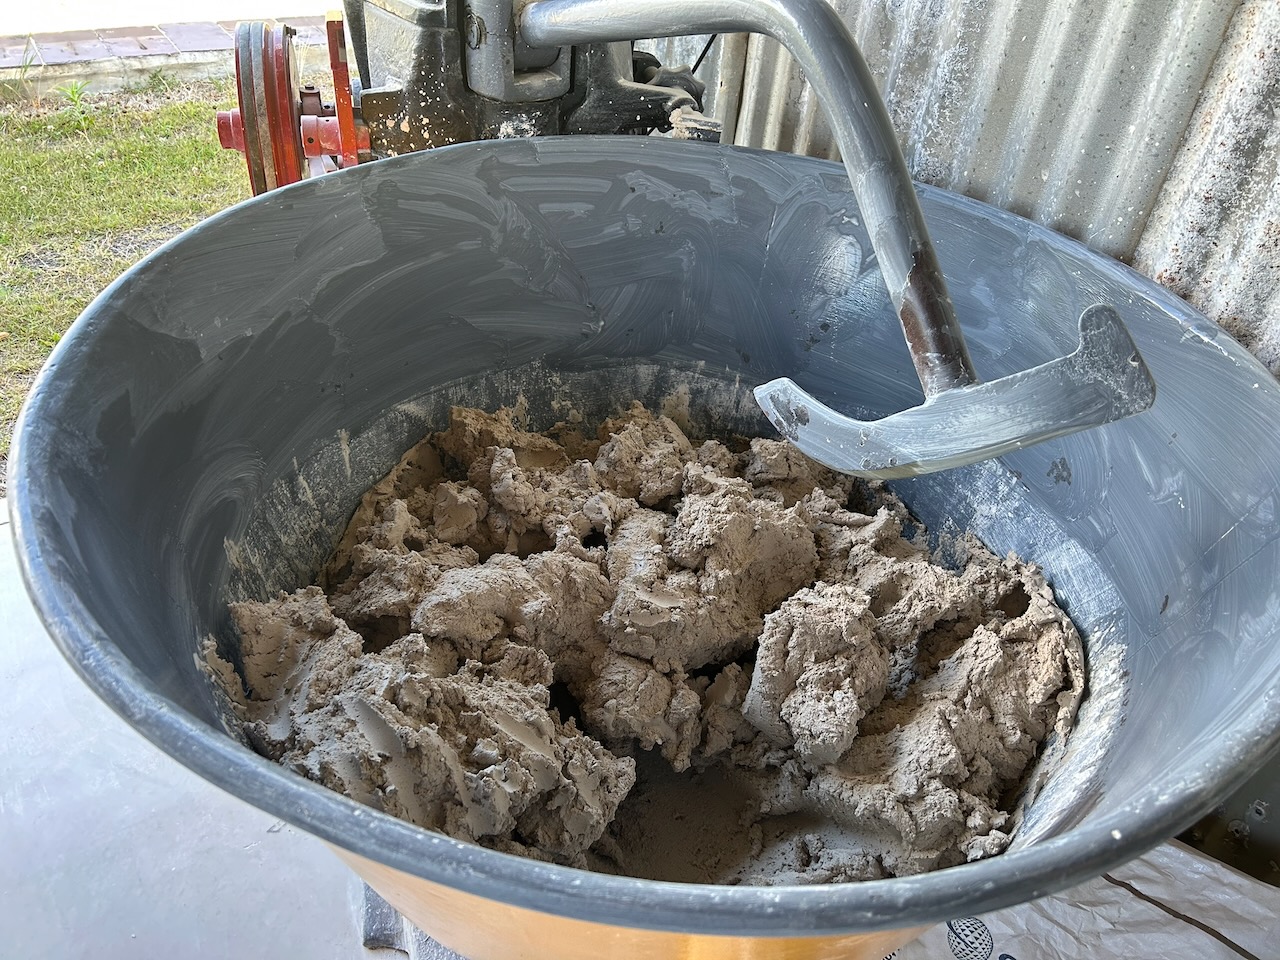
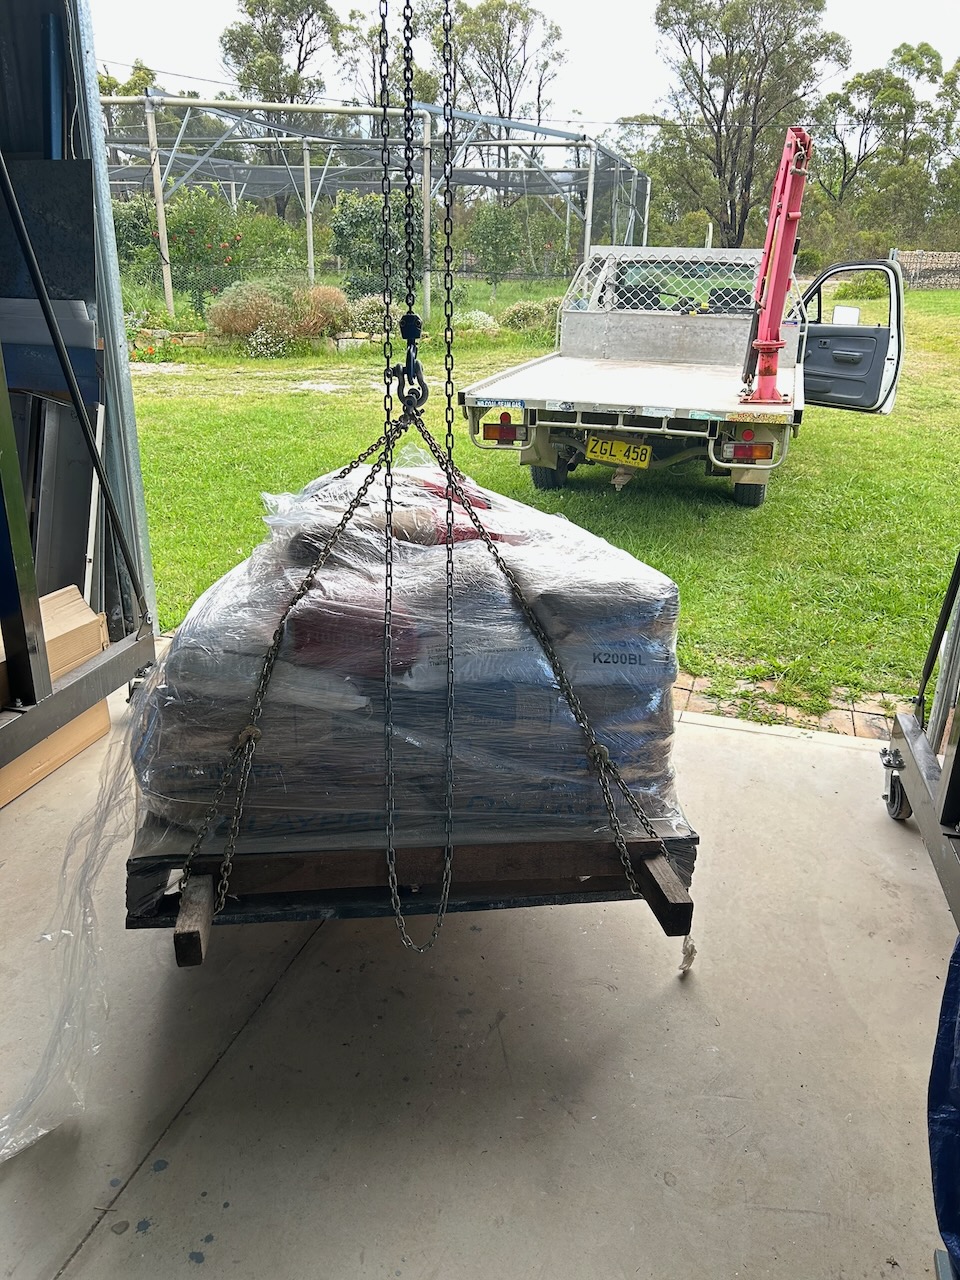
One thing flows into another at this busy time of year. I went up to Sydney and bought a pallet of raw materials to enable me to keep making clay into the coming year. There is $1,000 worth of clay body material on that pallet. By the time that I’ve processed it, paying my self a very modest wage, my clay costs $2.50 per kilo. If I were to add on some sort of margin to allow for running a business, insurance, wear and tear, electricity etc. Then the clay would cost $4.00 a kilo. $40.00 for a 10kg bag. Which is more or less what you pay at the craft shop.

It seems like such a lot of money, but this is the reality of modern life and business. Things keep going up all the time. Janine and I live mostly in a fantasy world of our own creation. Being so self sufficient and self reliant here, it’s easy to loose track of the price of things. The once a year purchase of materials, like this, apart from being shocked by the price, it is also a lesson in international trade and the actions of multi-national corporations’ cut throat policies. 

Ceramic materials that were once readily available locally, have nearly all been bought-out and closed down, with imported similar materials brought in to replace them, always from the 3rd world. I have to keep testing the new stuff to make sure what it is that I’m getting. You can’t just expect to do a simple substitution in your old recipe. I try very hard to use Australian raw materials for my workshop clay body. I buy in clays from Victoria, Southern NSW and Queensland to get a reliable consistent mix that is sufficiently plastic for wheel work. Regrettably, the fantastic plastic secondary kaolins from Gulgong are no longer mined. They are still there under the ground. But the sites are all locked up and then imported, very much more expensive materials are offered in their place. I used to buy the Gulgong kaolins at $400 a tonne. Now I’m asked to pay $100 for a 25 kg bag of the American kaolin that is the new substituted material. I don’t buy it. That’s a 10 times increase in price.

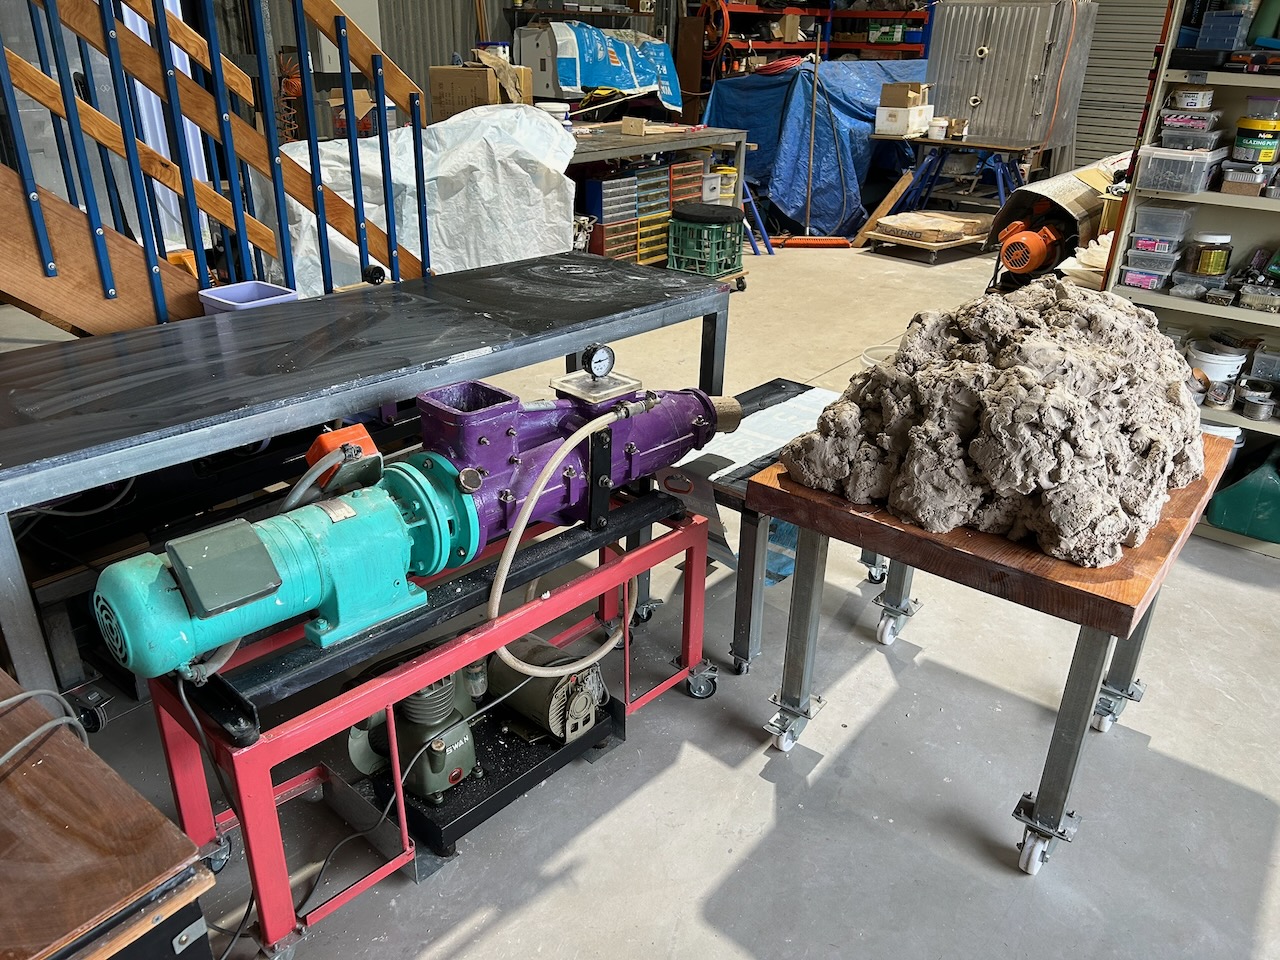
After tomorrows clay making session. I will have made up, mixed and twice pugged 2,000 kilos (2 tonnes) of clay in the past 12 months – and then given most of it away! Because I don’t charge for clay at my workshops, but I’m thinking that I might have to start. Maybe – First bag free, then $20 per pack after that?

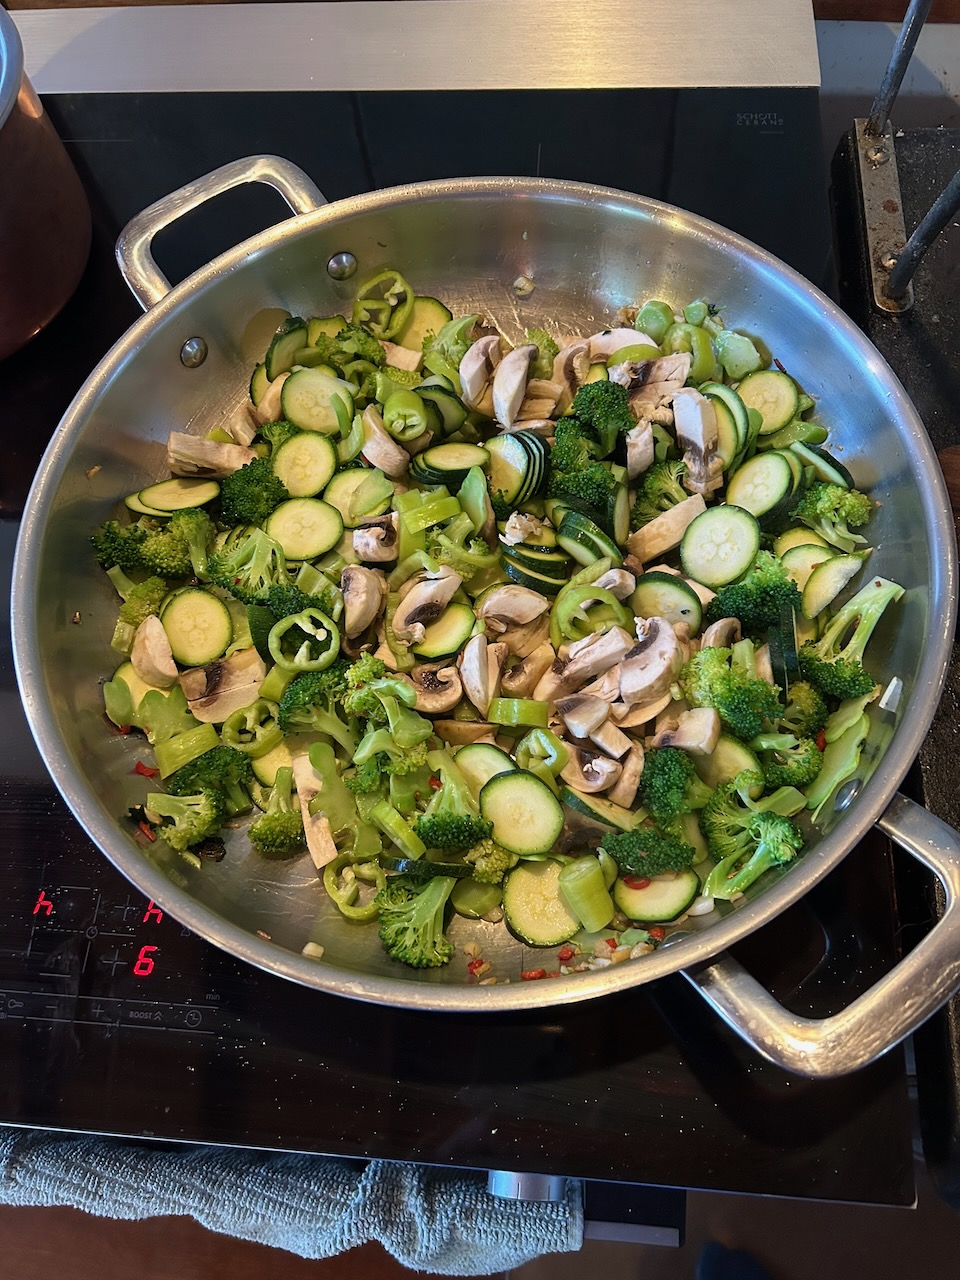
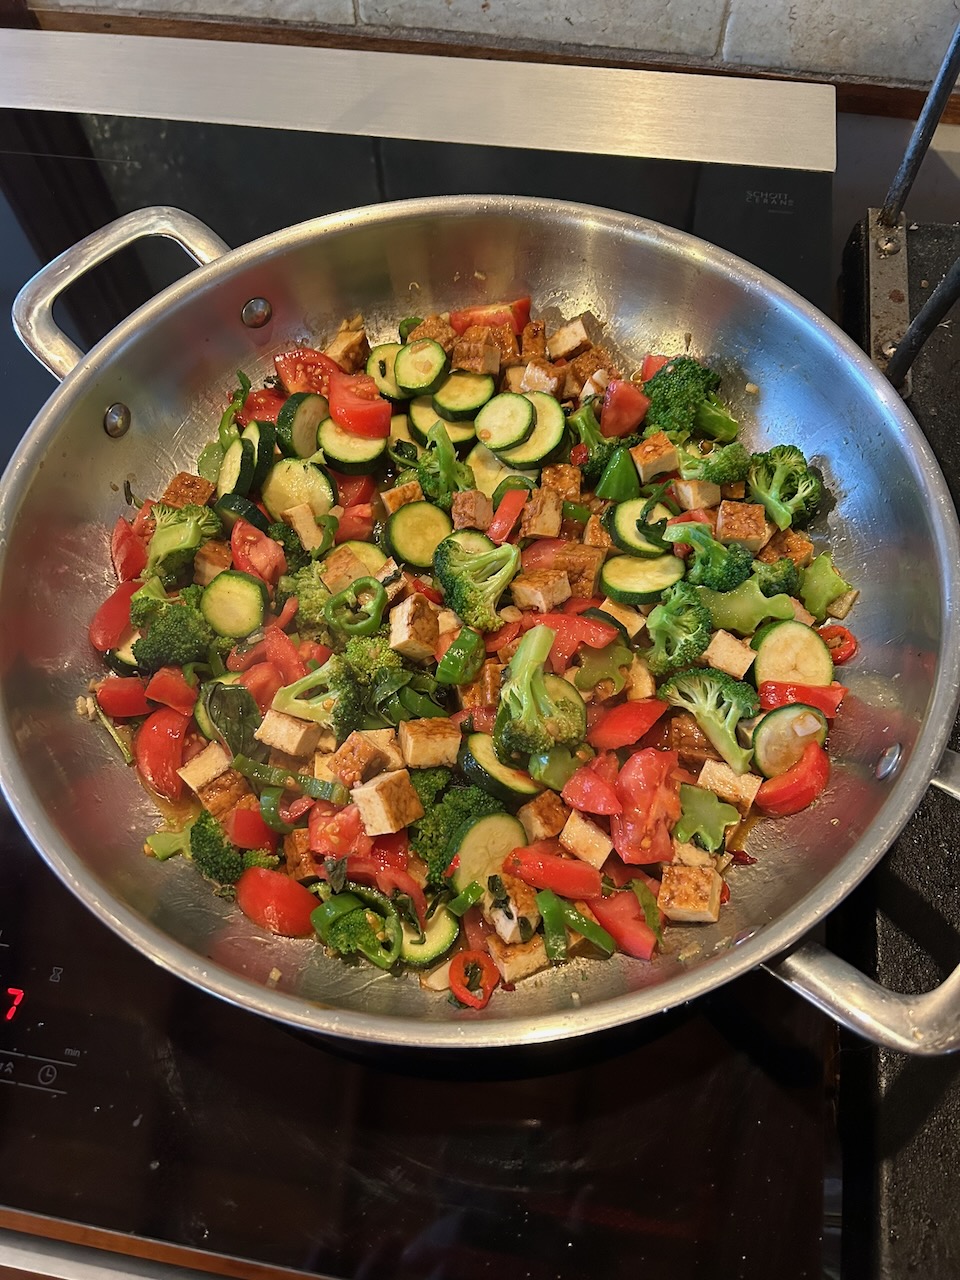
I go into town once a week to do some shopping, mostly to buy protein. Usually milk, fish, tofu and then sometimes either chicken or pork. Always organic and free range where that is an option. It is the most expensive part of any meal, but we buy very little of it.  Everything else we manage to do for our selves. We make do with what we can grow. This leads to a bit of monotony at times, so I put a bit of effort into varying our meals. At this time of year, every meal is a variation on ratatouille. Tomatoes, egg plant, capsicum, zucchini, broccoli and celery. I have to mix it up a bit, one night with tomato, the next without, sometimes with tofu, another night with mushrooms. Always with fresh garden herbs, which at this time of year nearly always includes either sweet basil or pesto, but I keep it varied, sometimes with a Thai basil, coriander, lemon grass and lime juice with fish sauce. Another time with Middle Eastern spices. The next with an East Asian flavour of oyster sauce, fresh ginger, always with loads of garlic and alternately fried off good olive oil or sesame oil.

There is always something going on here. We seem to be able to keep ourselves busy.

I’m keen to pass on some of the skills that I have learnt over my life. There is more or less nil ceramic technical skills content being taught in the few remaining ceramic courses being offered here these days. It’s all part of the lobotomisation of education, combined with the enshitification of everything else. 

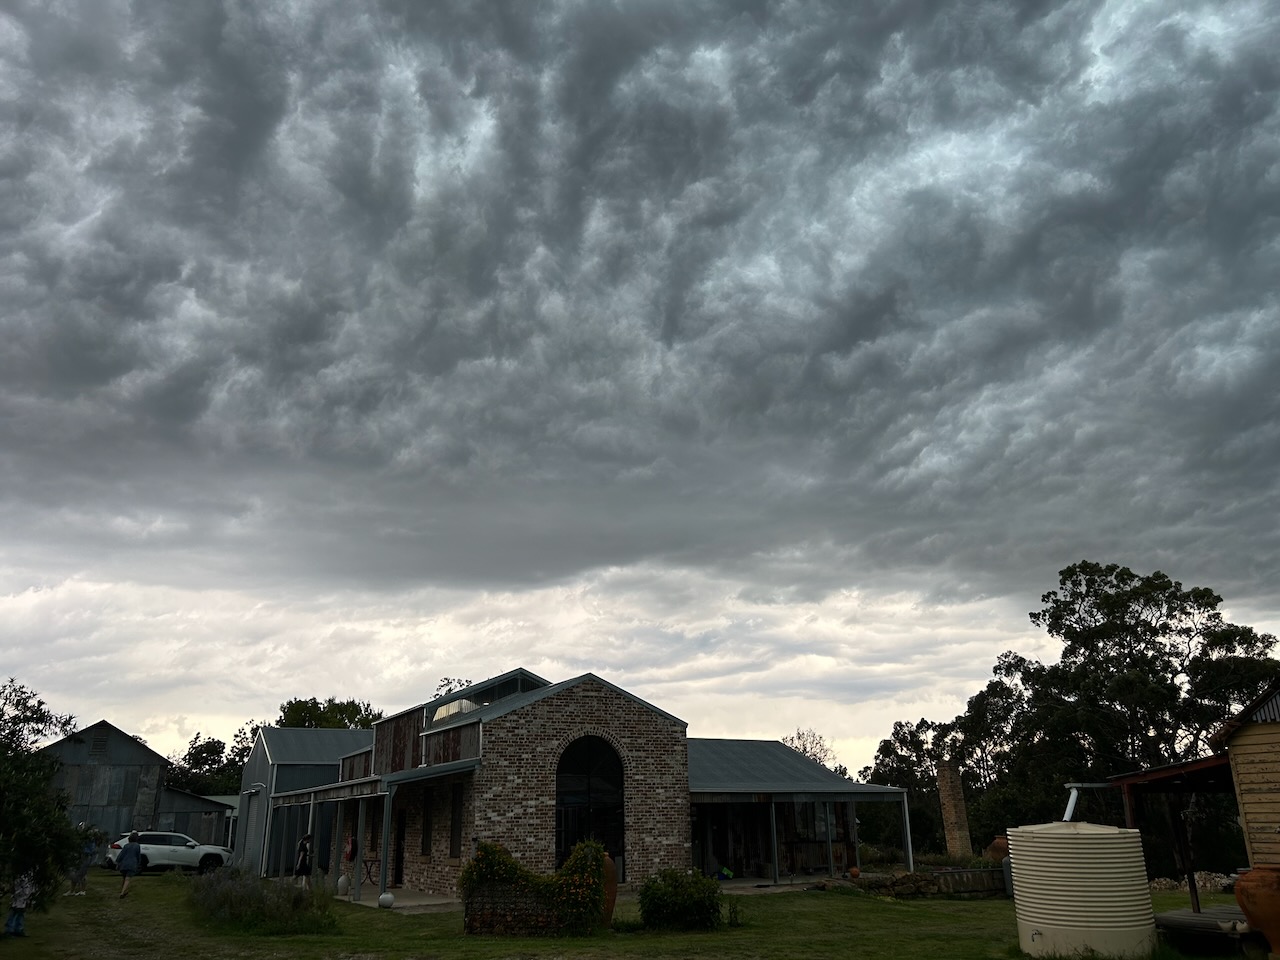
We offer a brief, small, quiet experience of information/skills transfer in a creative environment. It’s a beautiful learning space, well lit and airy. I like to tell myself that the staff are alright too!

Nothing is ever finished, nothing is perfect and nothing lasts.

Enjoy the moment.

Cancellation in the 3rd Moon Jar Workshop

I have a cancellation in the 3rd Moon Jar Workshop on the 31st Jan/1st Feb. If you are interested in the spot. Please contact me.  $300 all clay provided. 

I have been making use of the empty workshop for the last week, and have been making Moon Jars for myself. I love them to bits. They are so round and fat and gorgeous. I get such a good feeling as they come together and appear on the wheel as I assemble them, then adjust the form.

The trick is to make the correct shape bowl form to begin with. Practice makes perfect. I’m still learning, and enjoying every minute of it. I’m not a master thrower, more of a hard working slogger. I keep at it until I get something that I can live with. 

Of course not everyone of my jars work out the way that I hope and imagine. The pug mill is my best quality control tool. Clay is endlessly recyclable until it is fired. So I practice ’non-attachment’. If it isn’t up to scratch, then it gets pugged. It’s much better to have a number of attempts to get the pre-curser bowl forms right. than to persevere with something that isn’t going to reward you at the end.

I’ll be there to assist and guide you as you experiment and learn.

Moon Jar Summer School completed

We have just completed our four day summer school, learning some of the techniques involved in the making of Korean Moon Jars. We made moon jars at the time of the full moon! Inspiration.

Moon Jars aren’t easy.

To make these big, round, full shapes, we practiced making the spherical forms in two pieces, which is the most common technique used in Korea for this difficult shape. There are a few virtuoso throwers who can make such a shape in one piece on the wheel, but very few. I’m certainly not one of them. All the workshops that I attended in Korea over the years, all made their Moon Jar forms in two pieces. Even the 14th generation, National Treasure, Moon Jar master, whose workshop I visited, had a throwing room full of thrown 1/2 pieces – bowl forms – stiffening up, ready for assembly the next day.

So I decided to teach this two part technique. We started with 1 kg to 1.5kg, then added another kilo each day, ending up with 4 kg. The object wasn’t to make full size Moon Jars. The purpose was to learn the technique of throwing and joining fat round forms. Repetition is very important in learning. We practised ’non-attachment’, if the pot wasn’t going well, then it is best to put the clay back through the pug mill and start another one. Some of these students came here last year to learn to make tall joined forms, so were familiar with the workshop and one of the joining techniques.

There are at least 3 common ways to construct the joint when assembling the 2 bowl-shaped halves used to make a Moon Jar. Each with its own level of difficulty. The easiest to throw and assemble is the flat top joint. We studied this in last years Summer School here, where we threw and assembled complex forms in 2, 3 or even 4 pieces. We were working fast and wet, so the flat top joint works very well. The two surfaces meld into each other perfectly. It also allows for some sloppiness in the measuring and sizing. The two pieces can be easily massaged into shape and it is a great way to learn a lot quickly. However, It works best on the more vertical forms. 

That said, it is the technique taught in Korea’s prestige ceramic university ‘Dangook’ university. I have watched the technique of the master thrower – Professor of Moon Jar making – teaching a throwing class using this technique. As long as you get everything level, concentric and perfectly aligned, it is the easiest to master. He made the two half-pots one day and assembled them the next. So that they were slightly stiffened. He used thick throwing slip slurry on the joint.

The next level of difficulty is the tongue and groove ‘V’ joint, where the rims of the two halves are thrown with a ‘V’ shaped hollow in the base section rim. The female part?, and the other half, the top section, is thrown with a ‘V’ shaped pointed top on the rim. The male part? These two complimentary sections fit together perfectly(hopefully), and marry up to make a very sturdy joint. But! Only if they are well formed and accurately measured.  The ‘top hat’ technique is used to join the two bowl forms. The base is firmly secured to the wheel head, then the other half is picked up by the batt on which it was thrown and quickly inverted and placed on the bottom half. Remember not to cut the top half bowl off its batt until it is inverted and placed on the lower half!

Taking the time to measure accurately is of the essence. It is also necessary to ensure that both ‘bowls’ are perfectly round. If they are thrown with a slightly oval kink in them, then a single measurement of one place on the diameter won’t be accurate. This joint requires patience and accuracy in the measuring. However, If you find that there is a slight difference in the two diameters when placing them together, as long as it is only minor – 5 to 8 mm.. You can cut off the top batt and place your hand inside the top bowl, then gently massage the ‘positive’ rim into the ’negative’ groove until it fits exactly. This will ensure a sound fit and secure joint, but may result in a slight wobble in the overall form. Probably not terminal though.

The beauty of this technique is that you can ’stiffen’ the bottom section by heating it a little. But make sure to measure it first. Then you can invert the top section straight away and continue throwing. This means that the form is still ‘fluid’ and can be reshaped slightly to make sure that you have a unified overall form. It is quite forgiving, but only up to a point. Don’t over do it, or you’ll loose the lot. Apart from being unattached to the pots that you are making, the other lesson of the week is to know when to stop.

The most difficult joining technique involves throwing the rim of each half with a 45o degree complimentary bevel on the rim of each bowl, such that they fit together perfectly. The great difficulty comes when inverting the top half and placing it onto the bottom half. Unless the pots are perfectly round, and exactly measured. They wont fit and there is no way to recover them. Also. If you miss match them slightly, there is a risk that the top half will slide down over the edge of the base. There is nothing ‘flat’ to rest on. Nothing to stop it sliding. The 45 degree surfaces slide past each other freely. Only the perfect accuracy of the fit will hold it in place. I saw this technique demonstrated by a master Moon Jar maker from Incheon, near Seoul. He also made both halves the day before and let them stiffen beforehand, then used thick slip in the joint. With the two stiffened version of this technique, both halves must be thrown to the exact shape that you require to make the full round form complete once married together. There is no possibility of ‘correcting’ the form on the wheel once assembled.

The great virtue of using 2 stiffened forms like this, is that they hold their full, round, ballon-like shape well without collapsing. So you must know exactly what you are doing right from he start. As I pointed out at the beginning of this letter, Moon Jars aren’t easy. But as you start to ‘get’ the form right, and it all starts to come together for you. They are really rewarding.

It doesn’t matter which way that you do it, as long as it sticks together and doesn’t split apart when finishing off the throwing, cracking during drying, or dunting in the firing.

The bottom half is thrown with an more vigorous and upward inflection to the curve, while the top half is a fully rounded form. It takes practice to get the balance right.

Once the pot is assembled, the foot section of the top bowl is opened up and the joint is pinched together with fingers from inside and out. If necessary, the joint can be compressed from the outside using a ‘paddle’ against a solid little round ‘anvil’ block (see previous post on tool making) on the inside to counter the pressure and compress the joint. The final action is to throw the rim up from the shoulder using the excess of clay that was in the base of the bowl.

On the second day of the workshop, we had a massive storm with loads of thunder and lightning, followed by some intense rain. Then in the afternoon, we had the most beautiful double rainbow!

Moon Jar with full Moon

Moon Jar with Southern Cross

I will be offering another Moon Jar making workshop in the coming year, so if you are interested, drop us a line. The next workshop will be on the weekend of the last day of Jan and the first day of Feb.