Summer jobs and cooking up some delicious fun

Those first two big-pot throwing summer schools took all of our time and effort to start the year. Since we finished them, a couple of weeks ago, we have had time ‘off’, playing catch-up in the garden and orchards. 

We have been mowing, watering and harvesting, for the past two weeks. We have been dealing with that harvest since then, picking fruit, bottling tomatoes, making passata, roasting pumpkin cubes, bottling pears and making pear and apple juice, then picking and drying prunes. 

Diced pumpkin cubes, roasted with olive oil, garlic, salt and pepper.

Everything comes on in earnest in January. There is a lot to deal with all at once, so we are eating very well. I really look forward to that first ripe pear. Just like I do that first ripe tomato of the season. The kitchen is a busy place every day. We spaced out the gap between the two pairs of workshops to give us time to do all this ’self-sufficiency’ work. I had also booked in a couple of other jobs that were needing to be done. So our two  weeks off, has really been ‘full-on’!

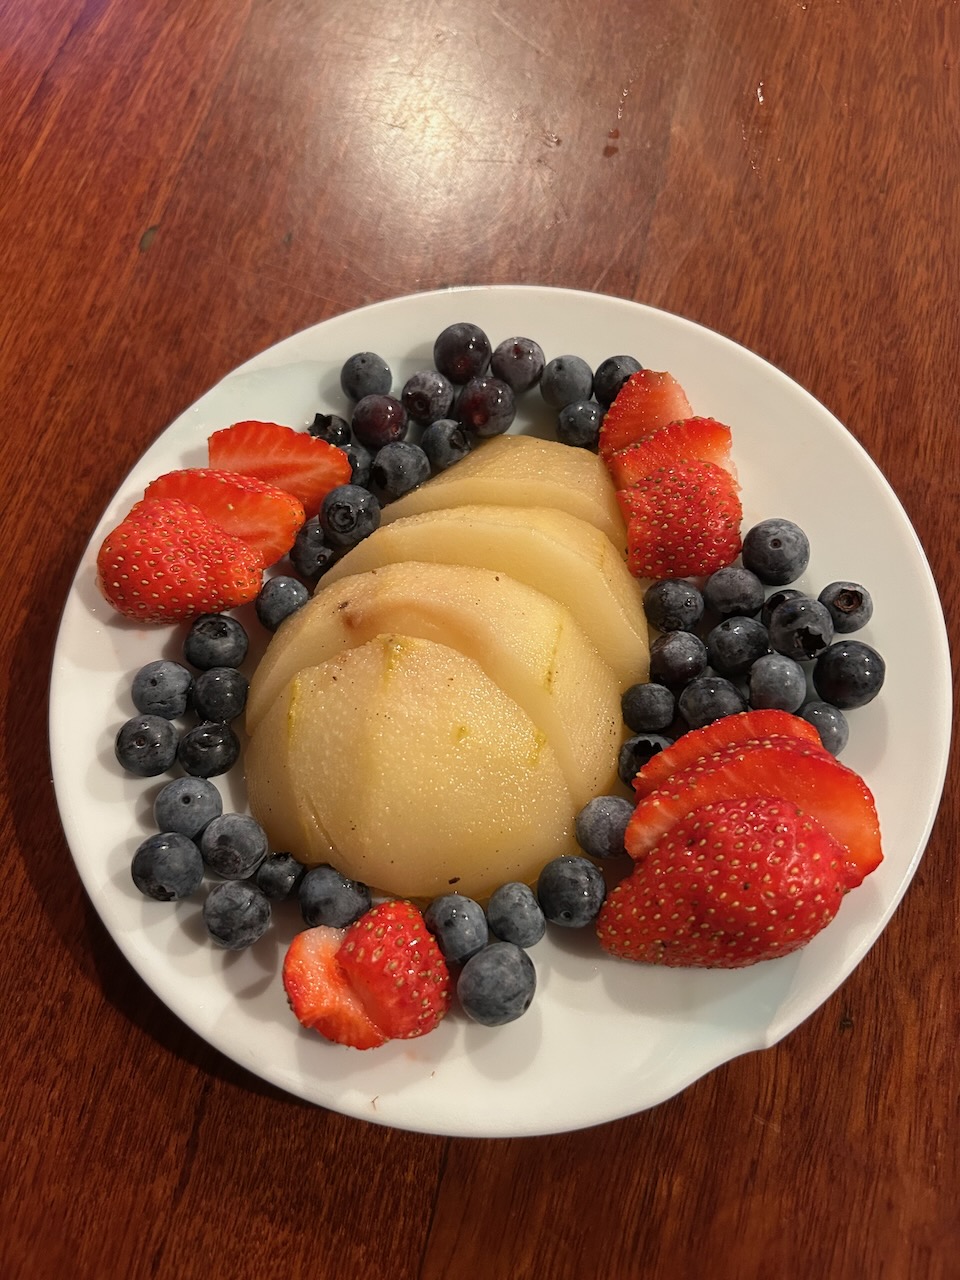
Pears poached in a little white wine, cinnamon and sugar, served with fresh picked passionfruit and a little ice cream. These are the tangible benefits of self-reliant living and gardening. 50 years in the planning, execution and nurturing. 5 minutes in the eating.

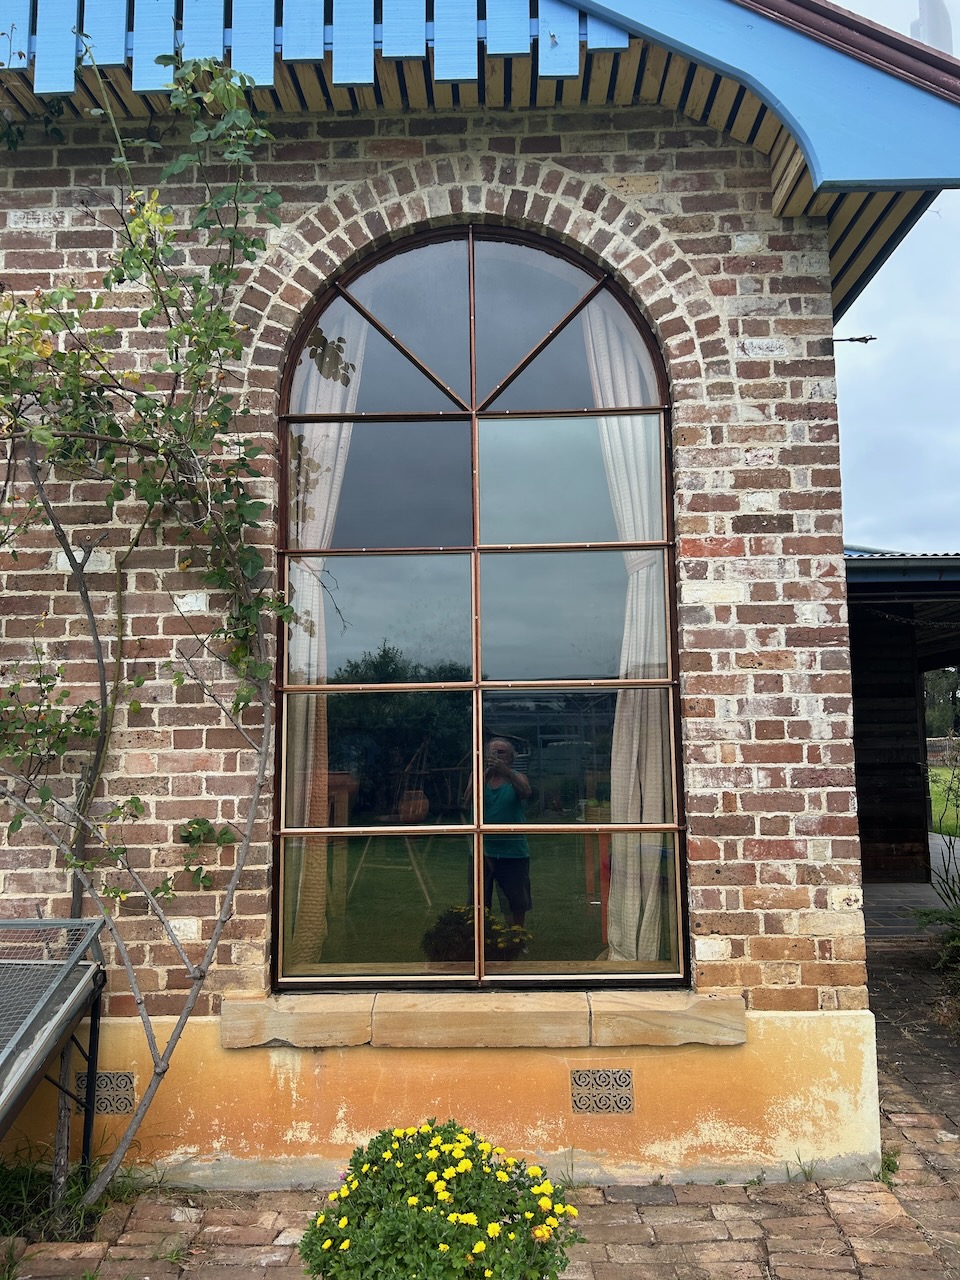
I ordered some double glazed, argon filled, metal coated, low energy, toughened, window panes to replace the 3mm. plain glass that is in our big arch window in the house. That fancy energy efficient glass arrived just before Xmas. The big window has been working well, letting light in, but keeping the rain out for almost 40 years, since I built it, and glazed it myself all those years ago. At the time, I tried to find double glazed glass for it, but to no avail. I also tried to buy special ‘stick-on’ glass coating mentioned by Amery Lovins, when he was here giving a lecture tour back then. But no one seemed to be aware of any such product here in Australia, not even ‘3M’ who I was told made it.

So we just lived with it as it was, eventually adding a huge sheet of thin perspex to the inside to create a semi-sealed air gap, but although that did work to some extent. There was room for improvement, and the unsealed gap always fogged up in wet weather, causing the wooden sill to get very wet and start to rot on the surface, so something had to be done.

Luckily, there is now a factory in town, that makes these fancy window panes. There was a one month wait while they were made to order. Back in December, I spent time rebuilding the structure of the glazing bars to make them deeper in preparation. We have managed to install 7 of the new double glazed panes so far. 5 to go. Interestingly, I have spent over $200 just on special window glazing silicon and wooden glazing beading to complete the job.

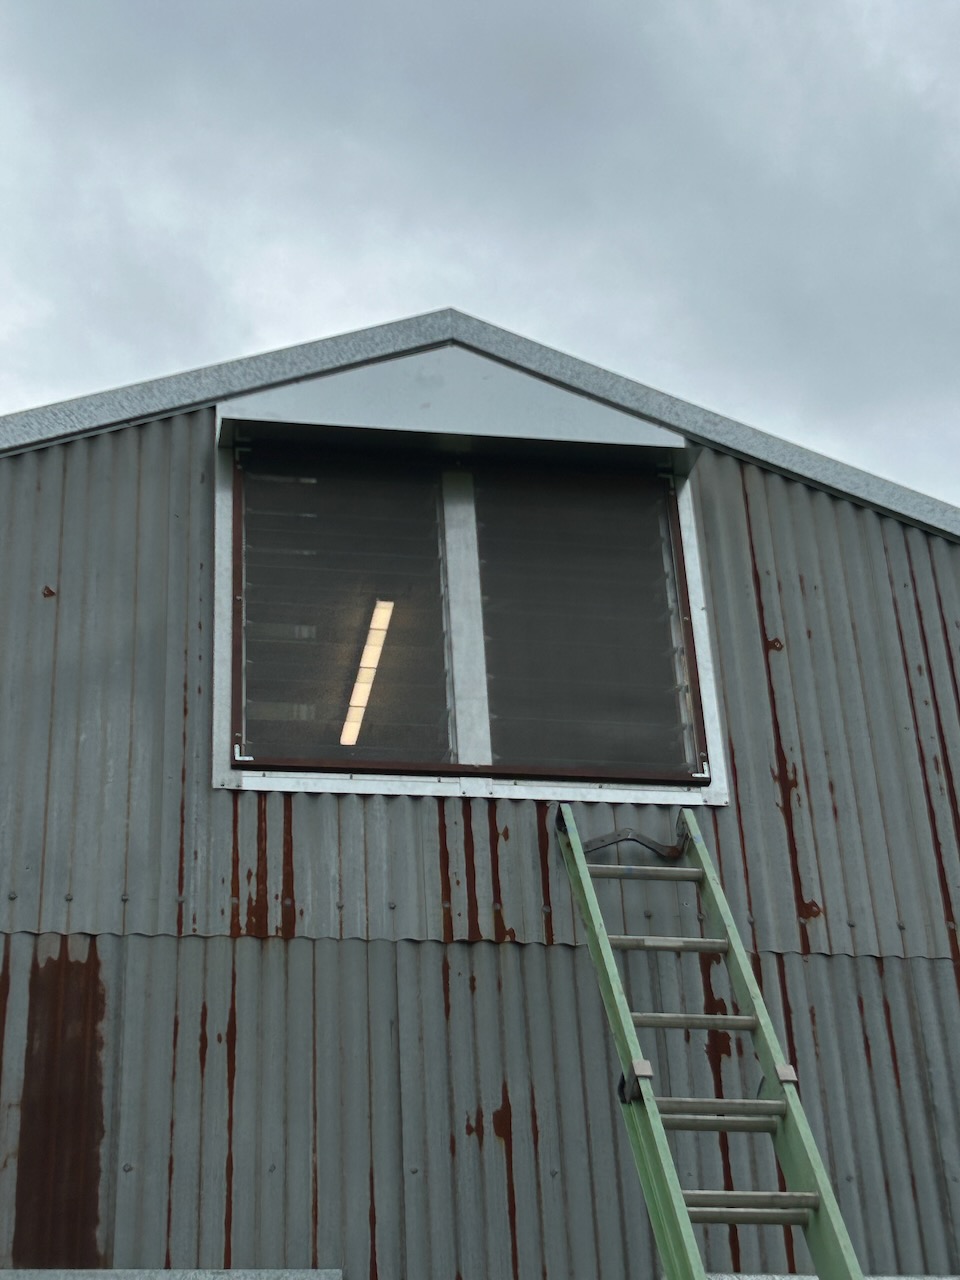
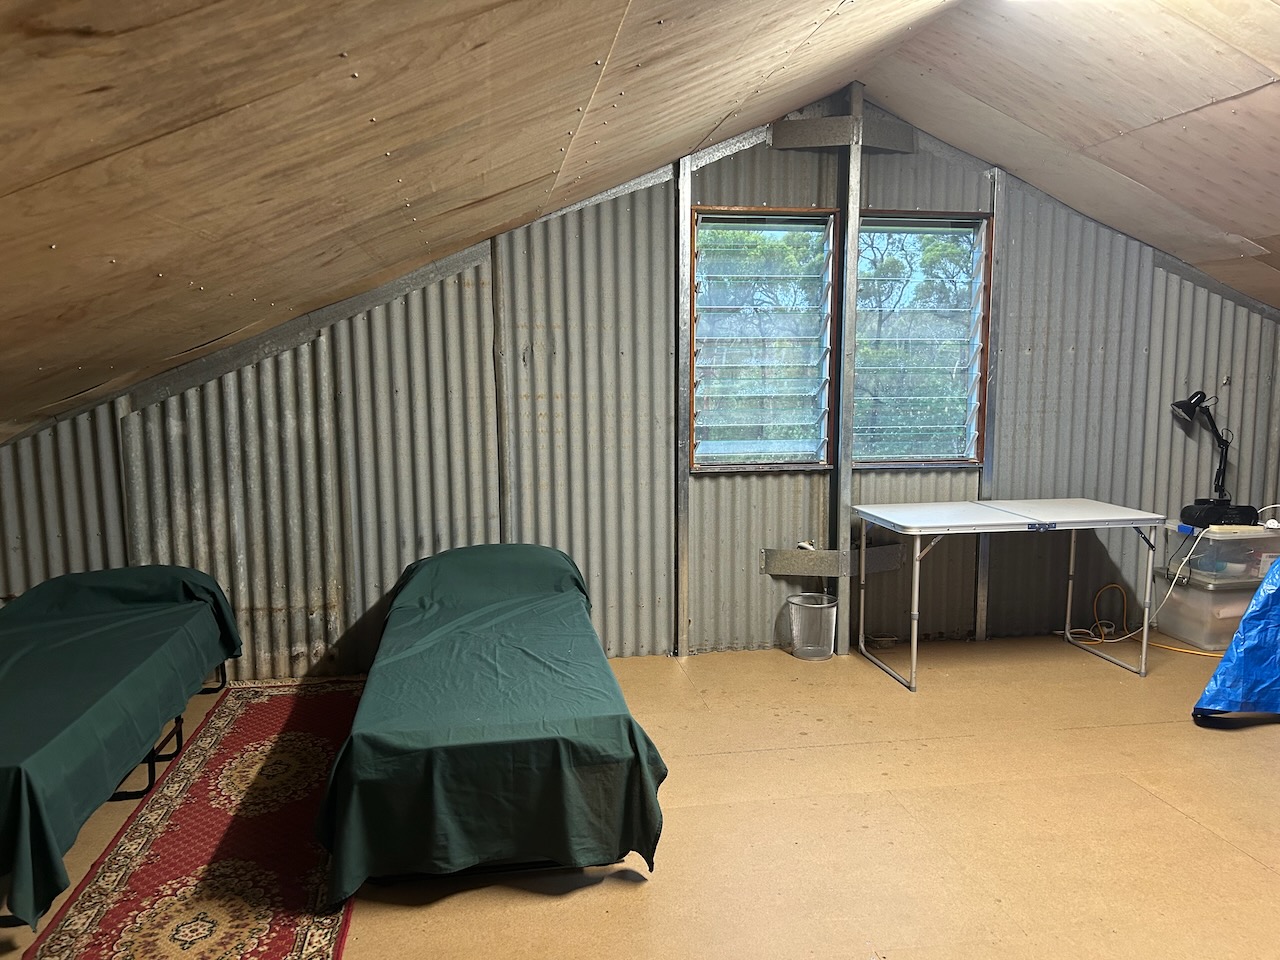
I booked a few days of help from my friend Andy, who is a local architect and environmentally conscientious builder. A rare breed! He has been very kind in offering us loads of assistance since the fire. He also offers good council and advice on environmental/building matters. I asked Andy to help me install two louvre windows up  in the big pottery shed loft. I bought some louvre mechanisms and the ground glass panes online, then I built a couple of hard wood window frames to mount them in. I also made all the custom flashings to go around them. Andy did all the outside ladder work on the day, cutting the hole in the wall and we installed them without too much trouble. It gives plenty of ventilation up there to take the heat out of the loft, but also brings in so much light and the view is good too.

We haven’t quite finished setting it up again yet, but it has been transformed into a lovely, light and airy, comfortable place now.

I have to ‘fix’ a kiln for a friend, even though I am retired, this is a special favour, then it will be back into the workshop for the next two summer schools. I’m looking forward to getting back into making pots for myself again. I have a few batches of experimental clay bodies that have been ageing for some months now. I’m keen to try them out. Especially to see how they will look in the wood fired kiln.

January in the Garden, Orchards and Pottery

We have been very busy with our summer schools since the beginning of January. I originally advertised one Summer School to teach the making of larger forms on the potters wheel by ‘top-hatting’ and ‘coil-&-throw’ techniques.  We got such a massive response to my add that we could program 4 summer schools of 3 days each, and lined them up with a few days in-between. Two in January and two more in February. We only have 8 potters wheels in our workshop, and we got over 30 replies so I had to run 4 schools and space them out.

Top-hatting is a technique of placing one thrown form on top of another to make a larger pot than you might otherwise be able to throw in one piece. It can involve the stacking of multiple forms to gain extra height. Coil and Throw technique involves throwing a substantial base for the pot and then adding a coil of clay to the top and throwing that coil up to become the wall of the pot, extending the height. This technique can be repeated several times to make a taller pot.

We got such a massive response to my add that we could program 4 summer schools of 3 days each, and lined them up with a few days in-between. 2 in January and 2 more in February. As we only have 8 potters wheels in our workshop, and we got over 30 replies, that meant staging 4 consecutive schools. 

I made up some clay specially designed for big pot throwing by joining techniques, slightly softer than usual and with added ‘tooth’ and ‘grit’ for structure and good drying and firing of the larger forms. I originally made 400kgs of clay, thinking that it would be sufficient for the 4 workshops, but I was way out in my estimations. The first two workshops used up nearly all of my stash, so I was back in the clay making shed the next day to make up another 400kgs for the next two in February. I like the clay to get a little age on it to improve its work-ability, 3 months would be good, 3 years even better, but needs as needs must. One month in this case will have to be enough.

Clay develops its plasticity by the intimate mixing of water molecules in-between the infinitesimally small clay particles. The best way to achieve this is to make a ‘slip’. A very watery mixture of clay and water, to get the water into, and in-between the clay crystals, which in their purest form are flat and hexagonal shapes. It takes a very long time for the water to penetrate the ‘pack of cards’ structure of the clay particles and individually flake off the crystals one at a time to get that intimate mixing of clay and water that is required to appreciate the very best potential of any particular clay.

I don’t have that luxury of time in this instance, so I am using powdered clay material that I bought in, in 25kg paper bags. I’m using a mixture of all Australian clays from Victoria, NSW and Qld. to get a good blend of the required properties that I need. It’s getting very difficult to buy Australian raw minerals and clays these days, as the multi-national mineral companies have bought up most of the clay mines and shut them down, forcing us to buy their imported products from overseas. We are not short of clay here, but we have been locked out of access to our own resources. Welcome to the future!

I mix the various minerals together in an old recycled bakery dough mixer. I have owned this machine for over 40 years. It has gone through 2 fires and been rebuilt each time. Luckily, it is very well made, mostly of cast iron frame, but the fabricated steel sheet bowl was very badly split and warped after the last fire and needed a lot of work to re build it, and get it back into action. see my blog post from 4/6/21  “Our Old Twice Burnt Dough Mixer Proves to be a ‘Phoenix’ mixer”.  I use a blend of recycled clay slip and the new powders to get the best outcome that I can from this compromise of speed, quality and efficiency. 

I use a few tricks of the trade to get the best possible result out of my available materials. I use water from the dam and rain water from the old pottery shed water tank that is full of gum leaves that creates a very useful tannic acid water that is ideal for making clay. It is a transparent pale grey and has a very low pH so that when mixed with white kaolin, it attaches to the clay particles and flocculates the clay mass, which settles tightly in the bucket leaving only crystal clear water on top. It is also ‘live’ as it has all sorts of microscopic organic matter and bacteria in there, which helps age the clay. City water that is full of chlorine is pretty much sterile and kills off any live matter that may help the clay mature and become more plastic and workable.

I have a ‘snorkel’ fitted to a fan in the wall that sucks all the fine dust out of the clay mixer room to keep me safe while I’m working in there, but I also wear protective gear as well. Afterwards, once the clay is all wetted, ‘plastic’ and ‘pugged’ into sausages. I cut all the ends off the stacked pugs and re-pug it all again to make sure that there is a consistent mix of all the 3 different batches of clay represented in each bag of finished clay body.

It is bagged and stacked to ‘age’ and the floor is wet mopped twice to collect all the clay dust off the floor and make the work space clean and safe again.

In the garden, we are picking the last of the blueberries, the first of the egg plants, and we are mid season for zucchinis. The tomatoes are coming on quite strong now and we have started to make our first batches of tomato passata for the summer. Every meal from now on will be some sort of variation of ratatouille in all its various forms. What else can we do when the garden is full to bursting with tomatoes, aubergines, zucchinis and basil? We try and give away as much as we can, but everyone in the village has an excess of tomatoes and zucchinis at this time of year.

Our breakfasts and deserts are mostly of fruit these days. November brings on the berries, December is the month of cherries and apricots, January for plums and peaches, February is all about apples and March for the last of the pears.