
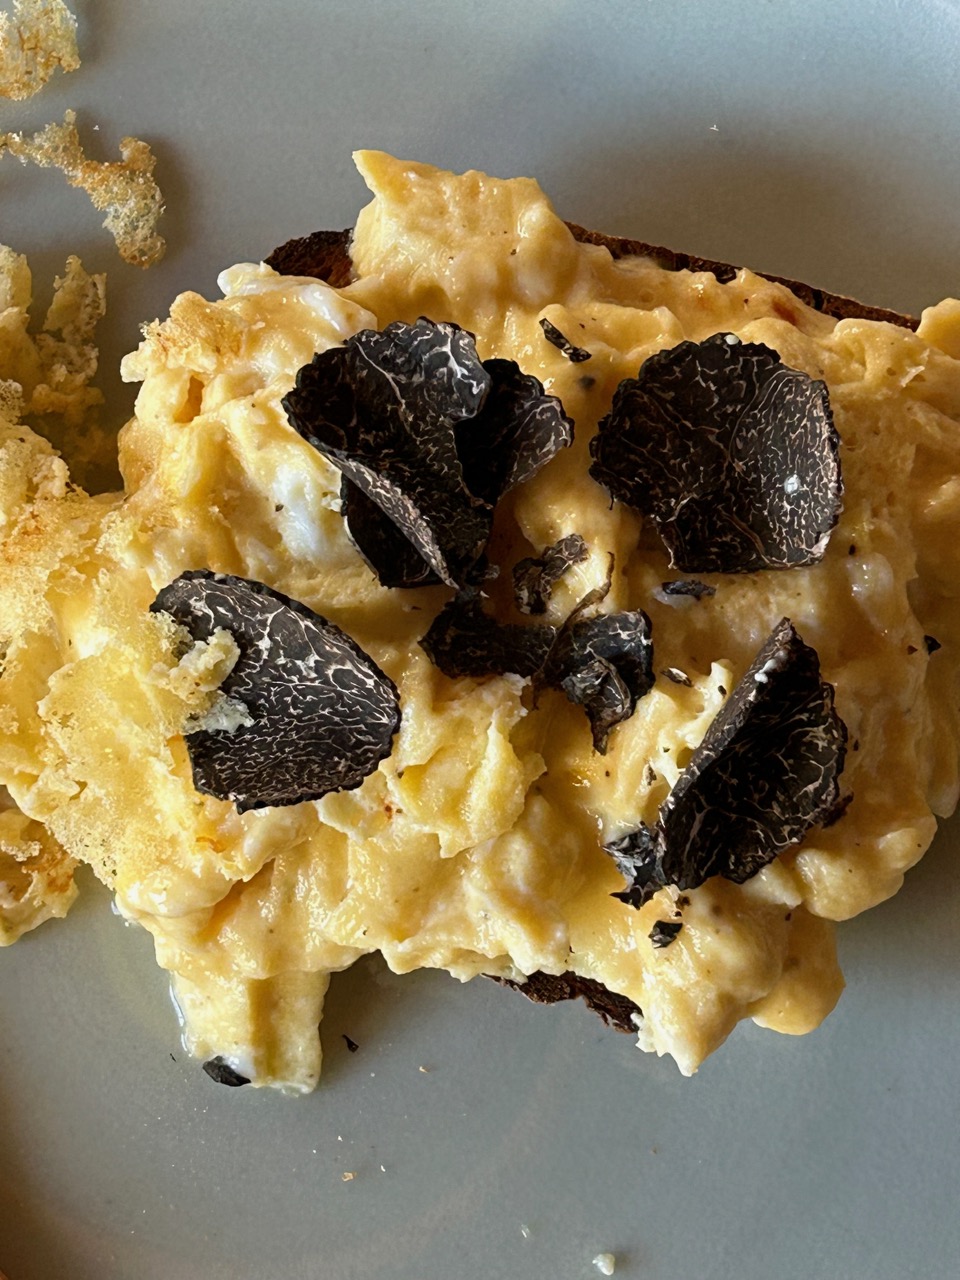
Today we finished off the last truffle of the season. It was romantic, mysterious, fragrant, exotic and delectable. It really elevates the humble scrambled egg into something special without taking anything away, just adding loads of romance and aroma. The warmth of the freshly cooked eggs releases so many aromatic oils and esters from the tiny black fungus. It fills my nostrils as I bend over doing the shaving. It’s a good thing that we only get to eat these delicious little morsels in the winter months, otherwise we may become somewhat blasé about it all. As it is, they are still a very special seasonal treat, If somewhat expensive. We can only afford to live this decadent gourmet lifestyle on our frugal budget because we have a son in the industry.

We are also probably making our last batch of marmalade too, as we have picked most of the Seville oranges now and eaten nearly all of the other citrus fruit. Although this is the beginning of spring, it is also the end of winter in another way, so it’s the end of the winter crops like citrus. We try and live with the seasons, so that’s it for the big citrus splurge in our diet.
It is one of the blessings of living in the Southern Highlands, that we have 4 distinct seasons. For instance, this morning we had another frost. This might possibly be our last really cold morning, but you never know with the climate emergency developing as it is, anything could happen.


I peel off the thin yellow layer of the skin without taking too much of the pith. I want the pith off! With my pile of curly peels, I end up with what can only be called ‘bitter and twisted’ .
Janine removes the pith and cuts up the juicy centre to add to the pan. The first pan is on for 30 mins. before we get the 2nd pan on the stove and the difference in colour is dramatic, it gets richer and deeper as it cooks. We try to use as little sugar as possible, while not making it too bitter and acidic, we also need enough sugar to make it ’set’. It takes about an hour of steady simmer to get it to thicken sufficiently. It’s worth all the effort, it tastes delicious, with just the right consistency. Seville oranges aren’t all that nice on their own. They are OK, but they really come into their own when it comes to making marmalade.

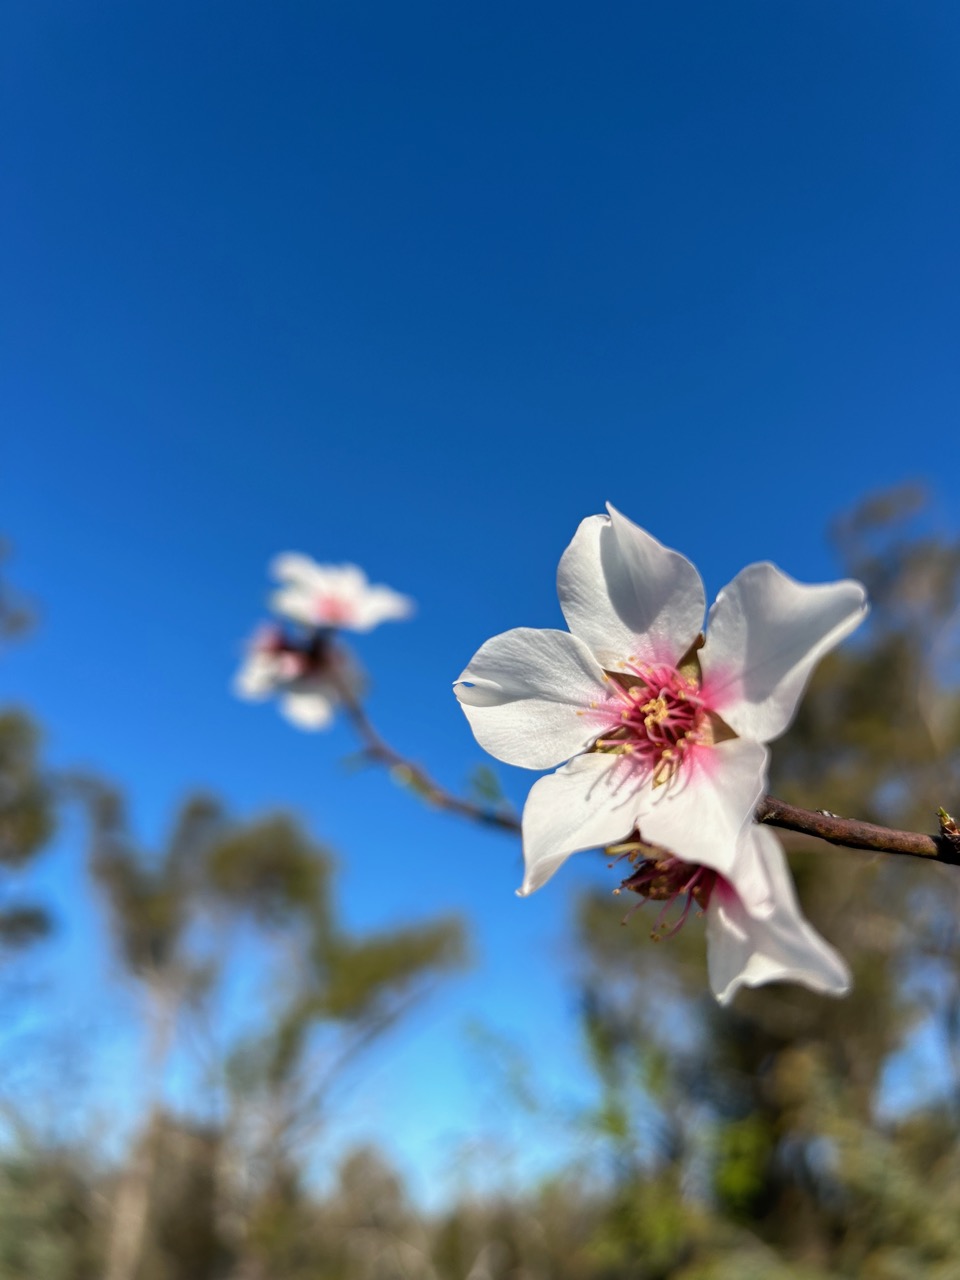
The stone fruit orchard is growing up well. This is its 3rd year and the trees are starting to look a lot more settled and established, with thicker trunks. I have been pruning them into open vase shapes where possible, but some of them have a very narrow vertical habit. They are all grafted onto ‘dwarf’ rootstocks, so they are keeping to a compact size. Most of them are now about 1.5 to 1.8 metres high, with an expected total height of 2.5 metres eventually. But I am well aware that plants can’t read their own labels! So there are bound to be variations.

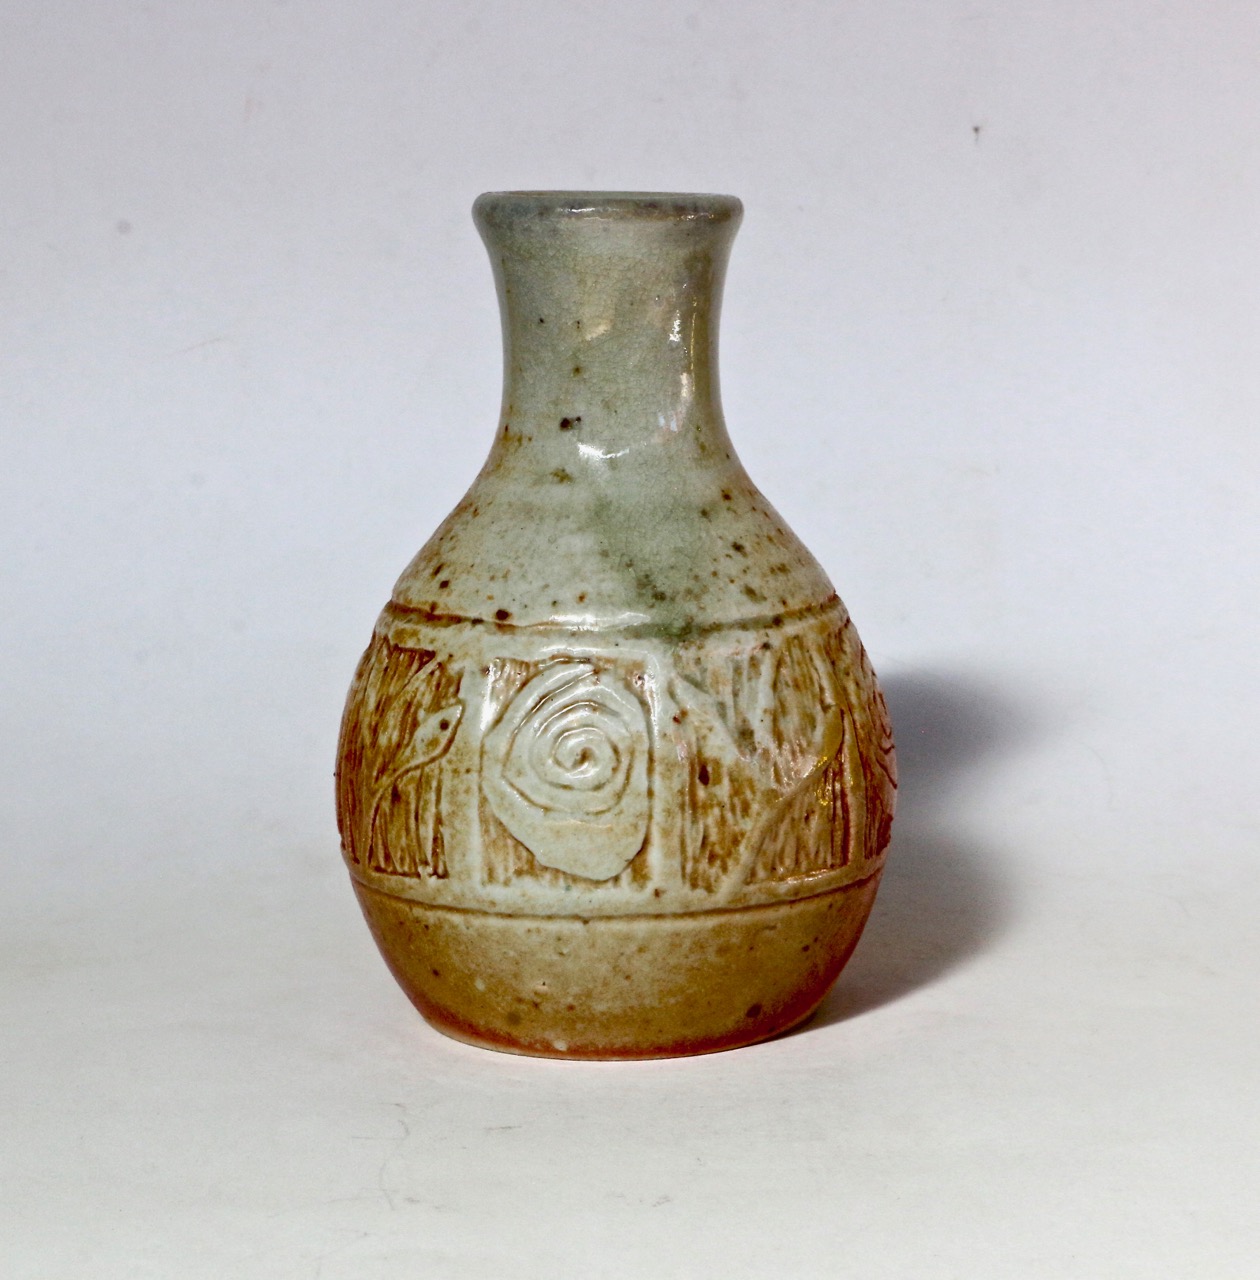
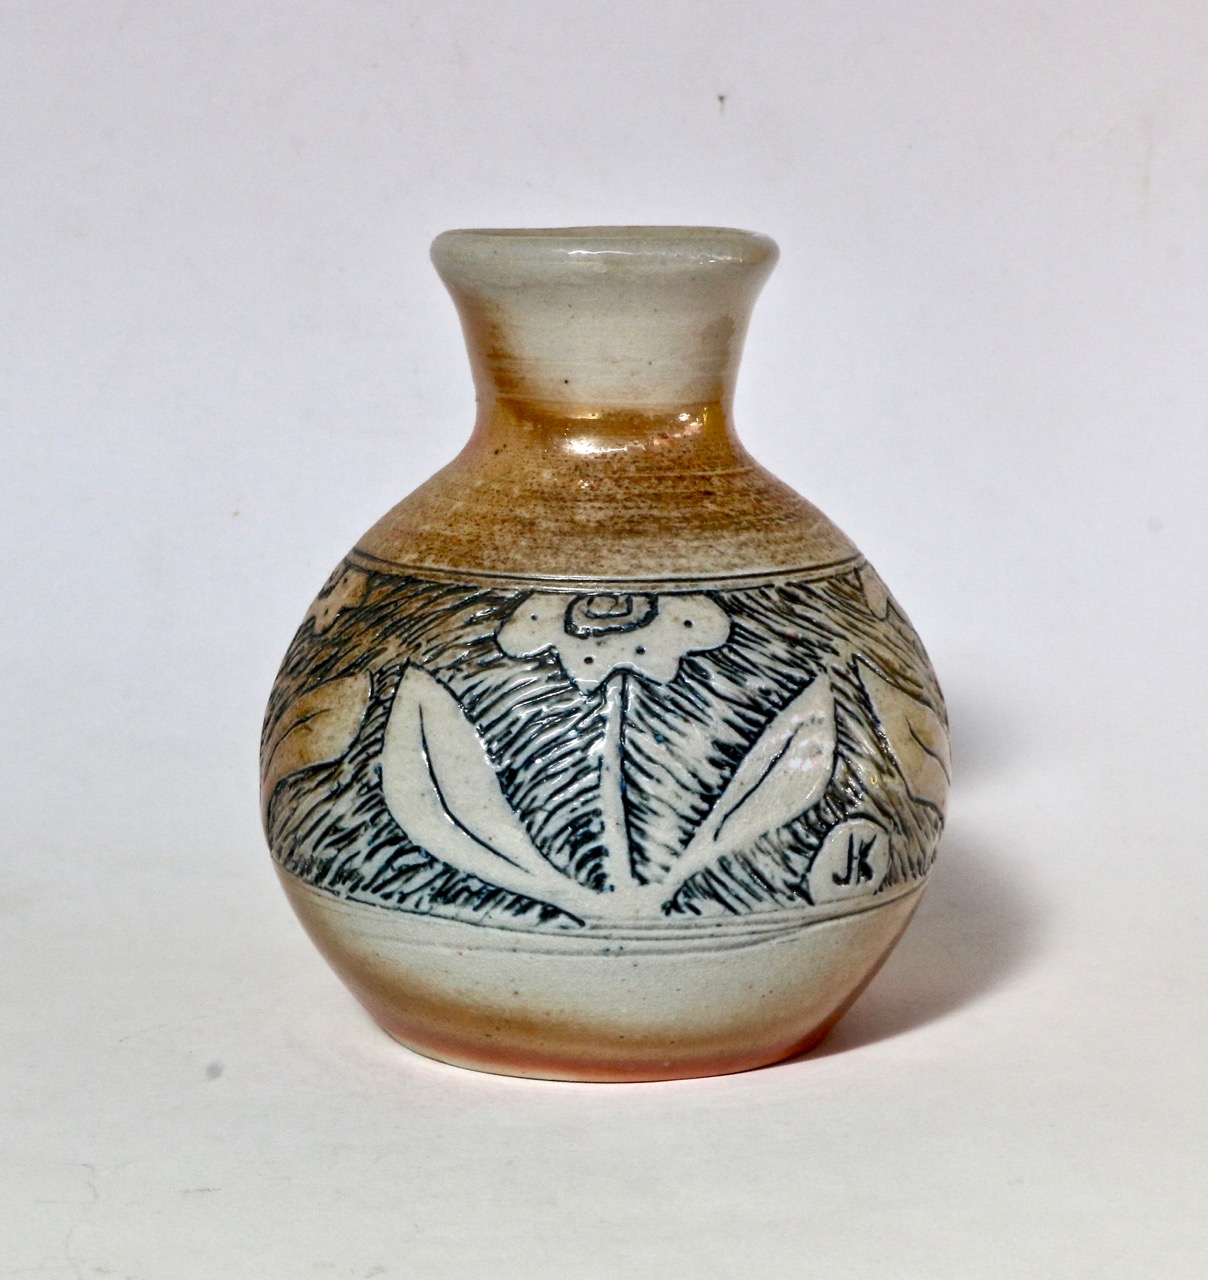
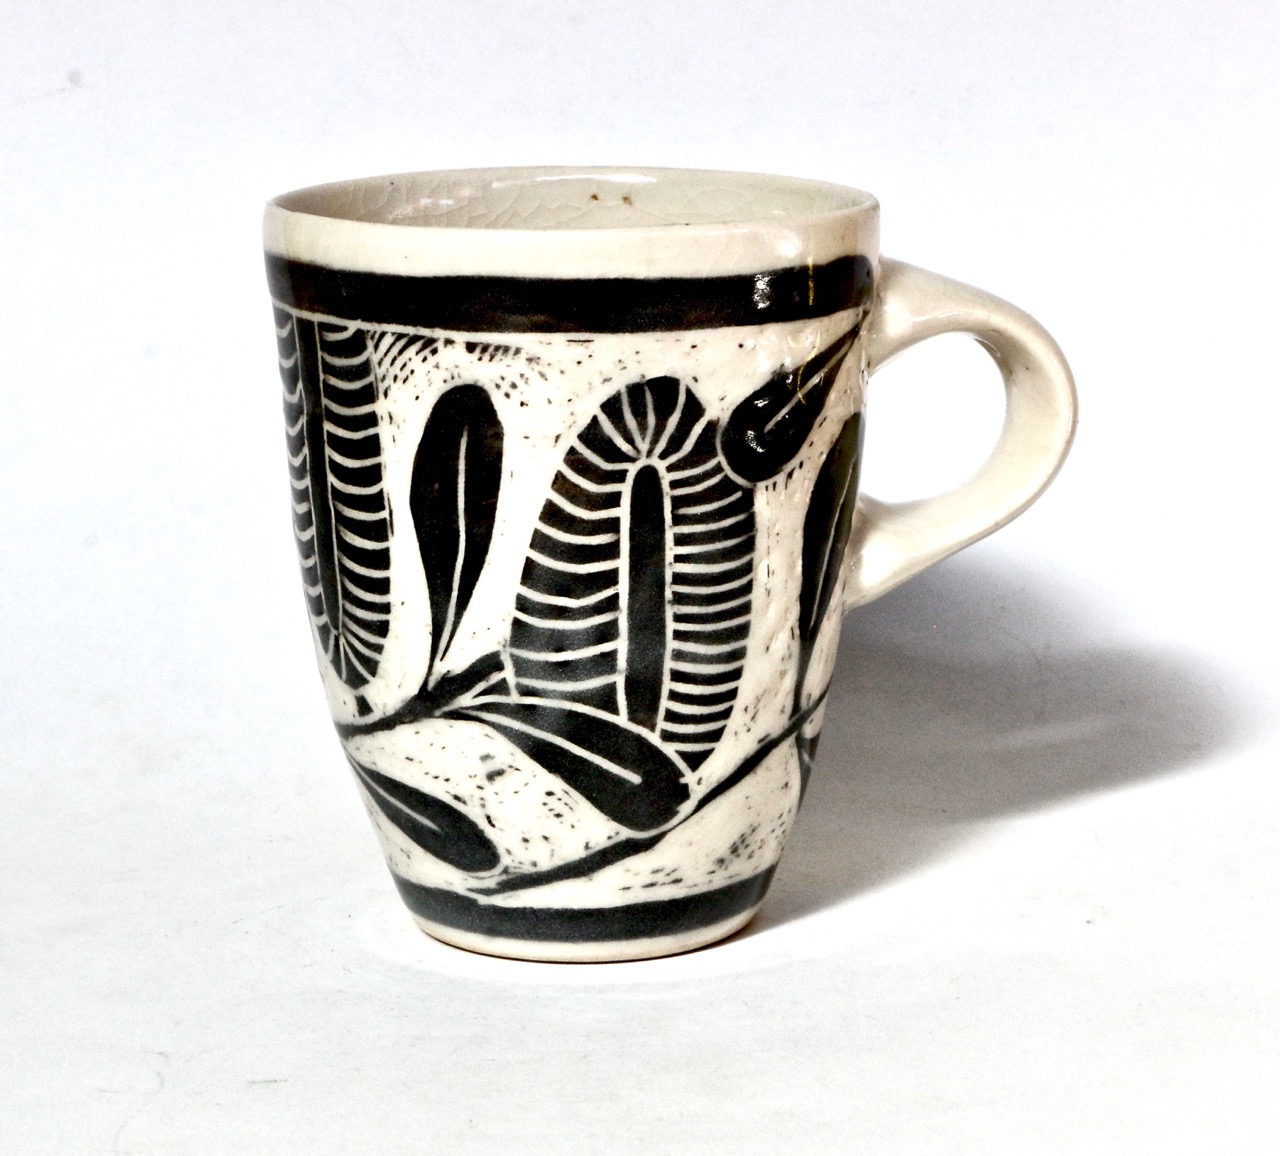
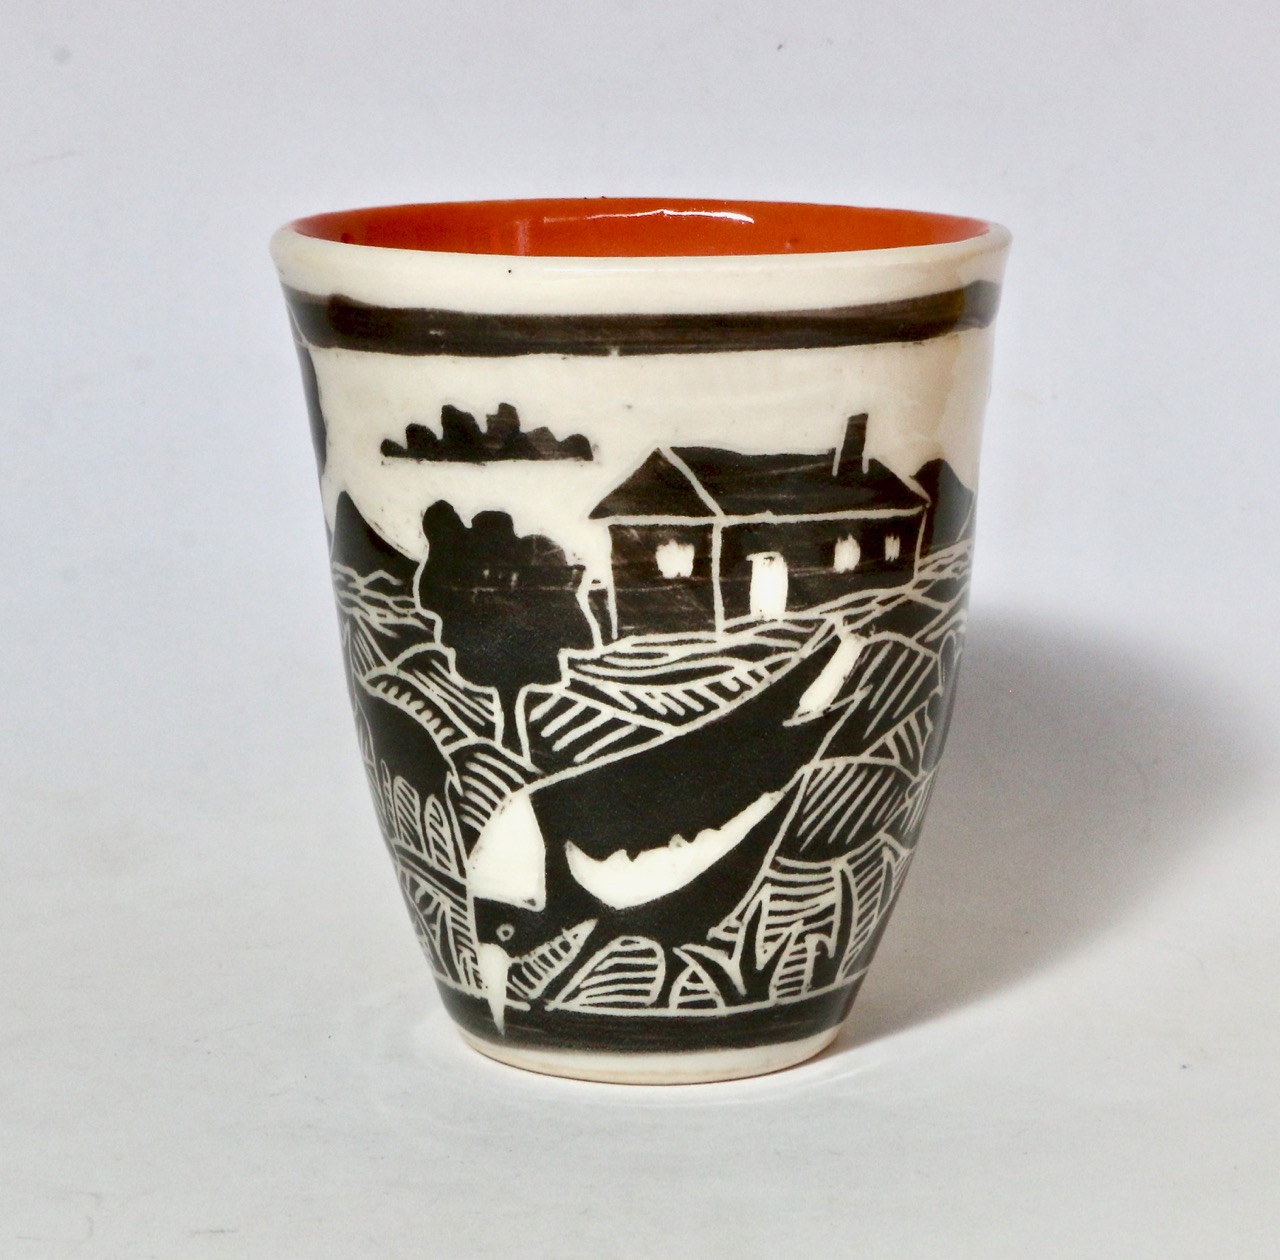
We had a really great 1st Weekend workshop in the new pottery. It worked very well. The new studio is a great space to teach in. The light is good and the layout works ergonomically for 10 people, 8 students and 2 teachers. After everyone left I got stuck in and started making more pots for myself. The Open Studios, Arts Trail is coming up at the end of the year, so I need to get back to work making pots for that. I started back at it by making 30 straight sided mugs.


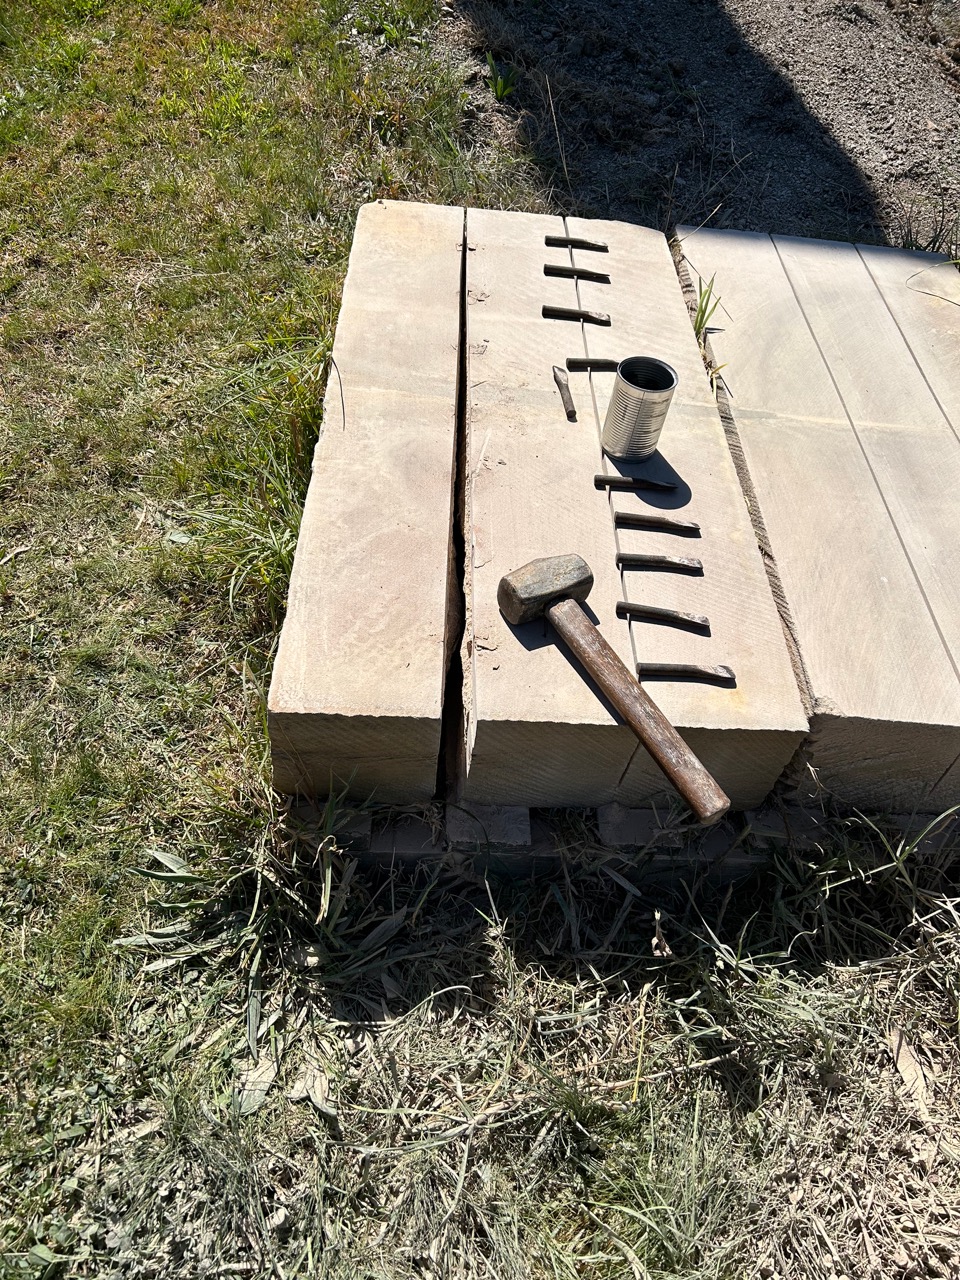
I spent a few days since the recent weekend workshop, in the afternoons, in my spare time, splitting and dressing sandstone blocks, to make some garden bed edging along the recently finished slate capping on the big sandstone retaining wall around the new pottery. It’s just another one of those jobs that has been in the offing and waiting for the ‘right’ time. I chose this ‘right’ time from what is left of my other time! Once the little wall was in place I shoveled in a load of top soil and planted seeds and a few seedlings to make the edging look a bit more settled and finished. I sprinkled in a packet of English Cottage Garden seed mix for good measure and 30 caper seeds, one every 600mm. Capers need an elevated, well drained, sun baked, dry, harsh environment to thrive. They take 2 years to establish, then persist for many more as long as they are cut back and pruned hard in the winter to stimulate good growth in the spring and summer, as flowers and fruit are produced on the new years growth. The elevated and exposed wall seemed like a pretty good place to try them out. I have read in a few books that they thrive on top of stone walls in the Med’s dry summers. I have no expectations, but if something comes of it, I’ll be pleased. If not, then I’ll chalk it down to another one of life’s enriching experiences. The stones look nice anyway, regardless of whether the plants grow or not!


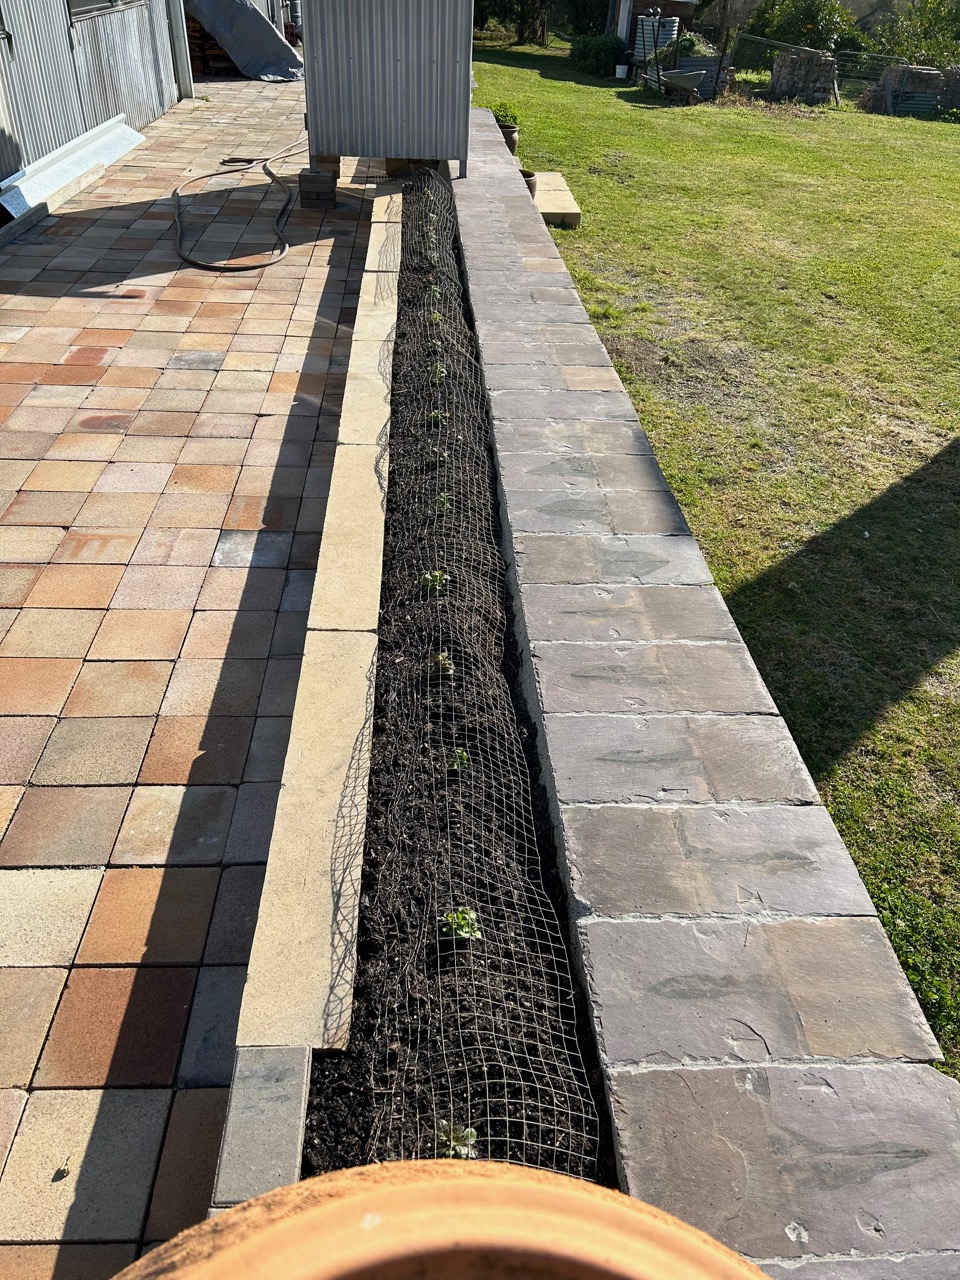
After the soil was shoveled into the new beds, Edna the chicken, who had been helping me all day, came along and decided to help me some more by scratching a lot of it out again. I had to make some impromptu wire covers to protect the small seedlings from being excavated!
I’m happy with the result. 3 days work and $50 bucks goes a long way. I’m hoping that it will look greener in time for the November Arts Trail, Open Studios event.


You must be logged in to post a comment.