Our first weekend workshop in the new pottery

We have just completed the first weekend workshop in the new pottery.

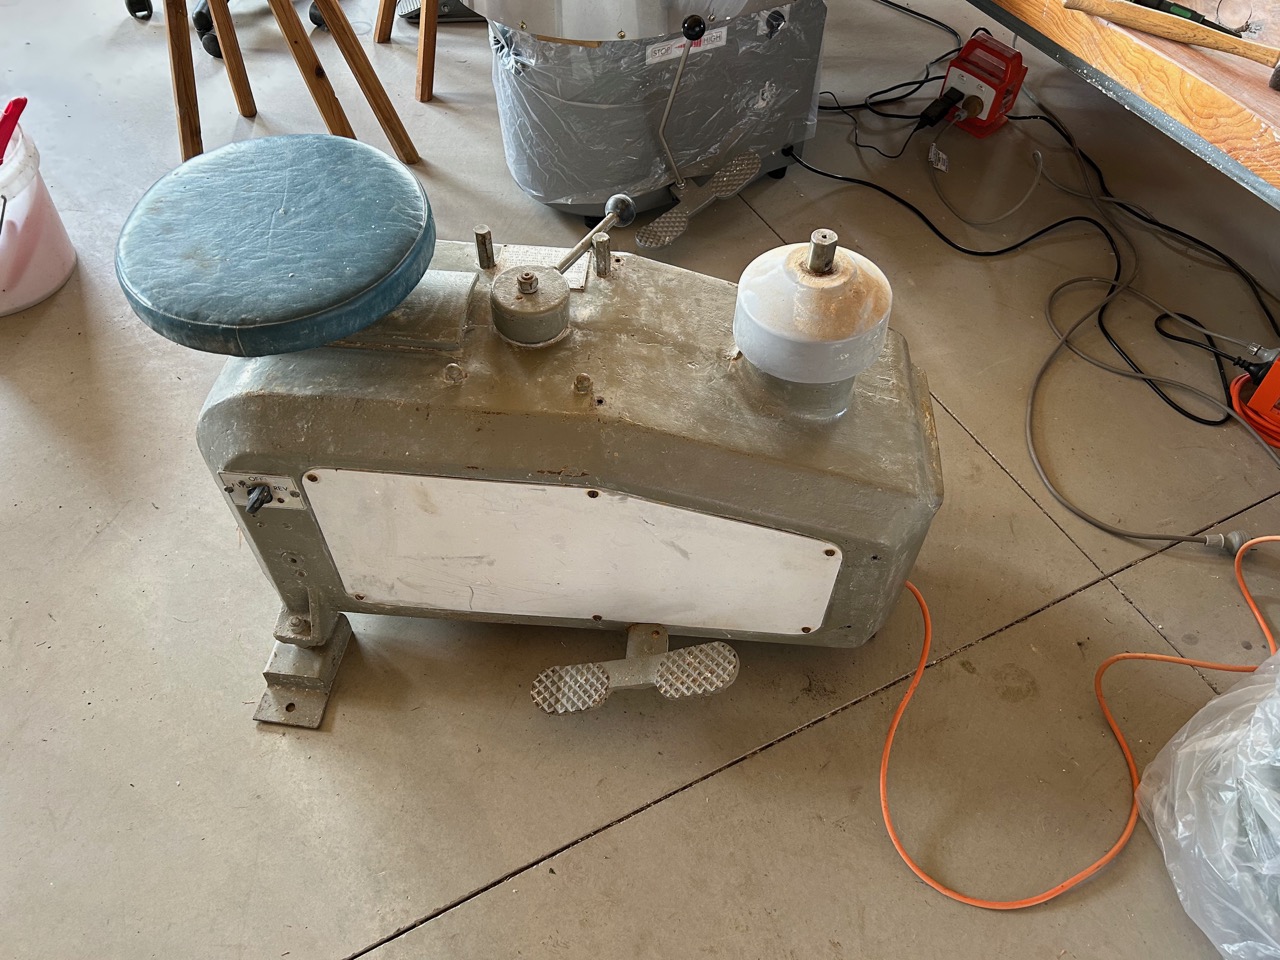
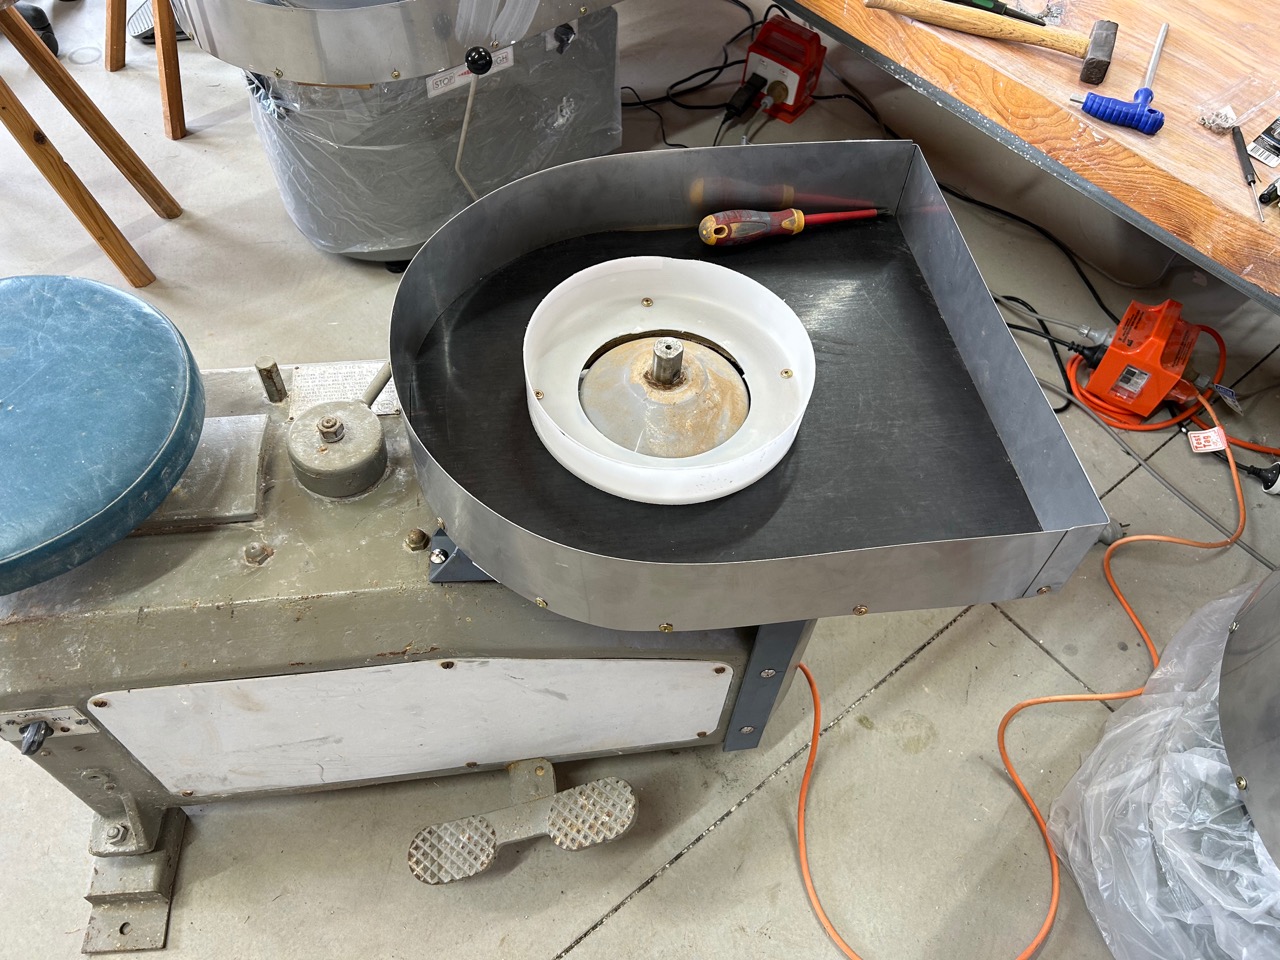
We invited the potters and ex-students who had helped us clean up the mess from the catastrophic fire that cleaned us out in November 2019. We only have 8 potters wheels in the new throwing room, so our numbers were limited to the first 8 potters to get in touch with us.

Regrettably, we had to turn a few lovely people away. However, there will be other workshops coming along in the pipeline. I’ll be announcing them here on the blog as they become reality and when we have set firm dates. This first workshop was a ‘freebie’ as our thank you to those volunteers.

To help us out on this first workshop we invited or friend and collaborator Warren Hogden to join us. We started off with throwing mugs, cups and beakers.

The pottery was buzzing, with every one being busy. Janine, Warren and I all gave a demo of our throwing techniques, so everyone got 3 different approaches demonstrated, so that they could choose something to concentrate on for the day. 

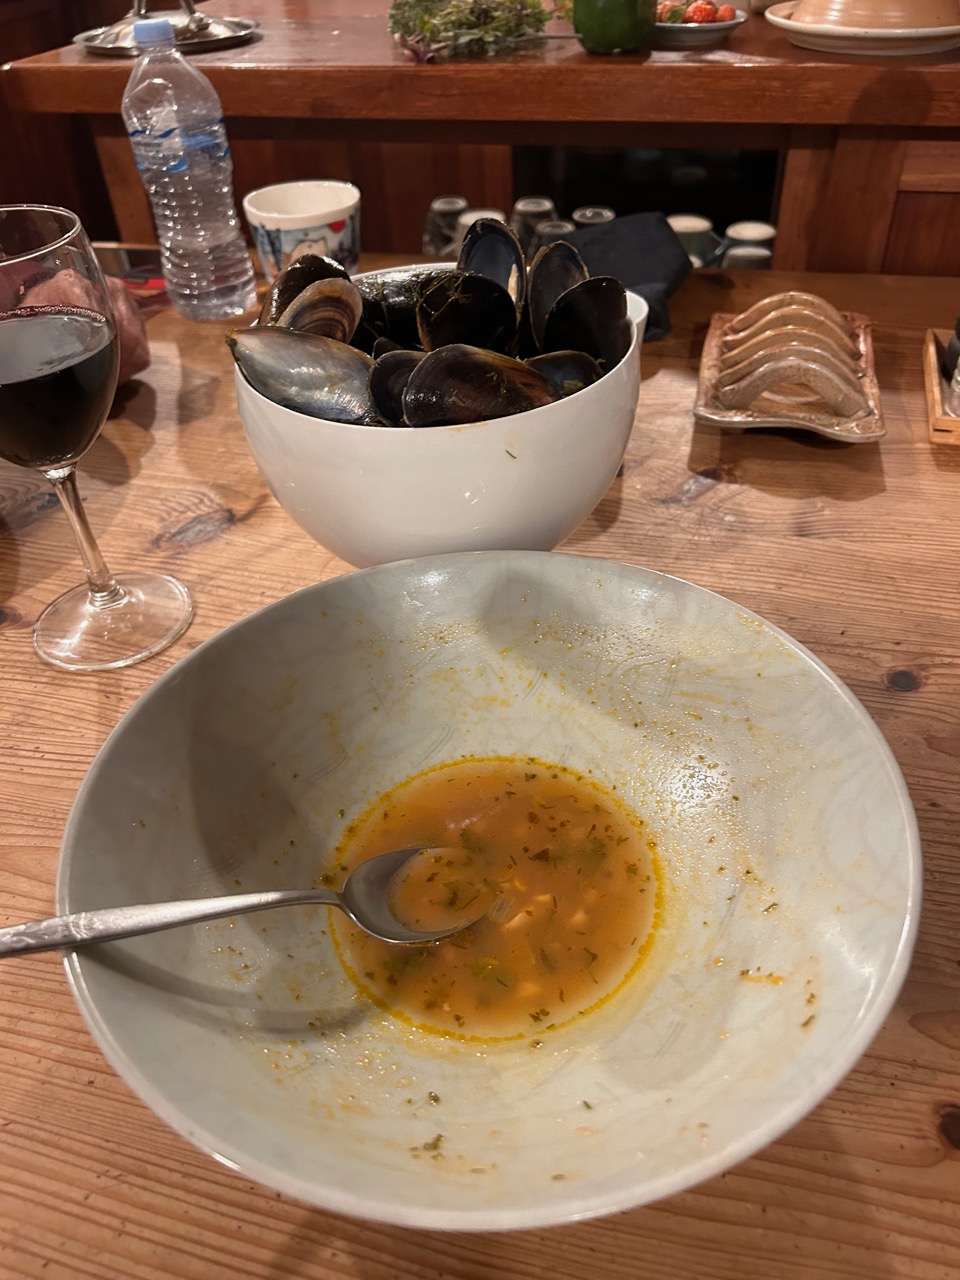
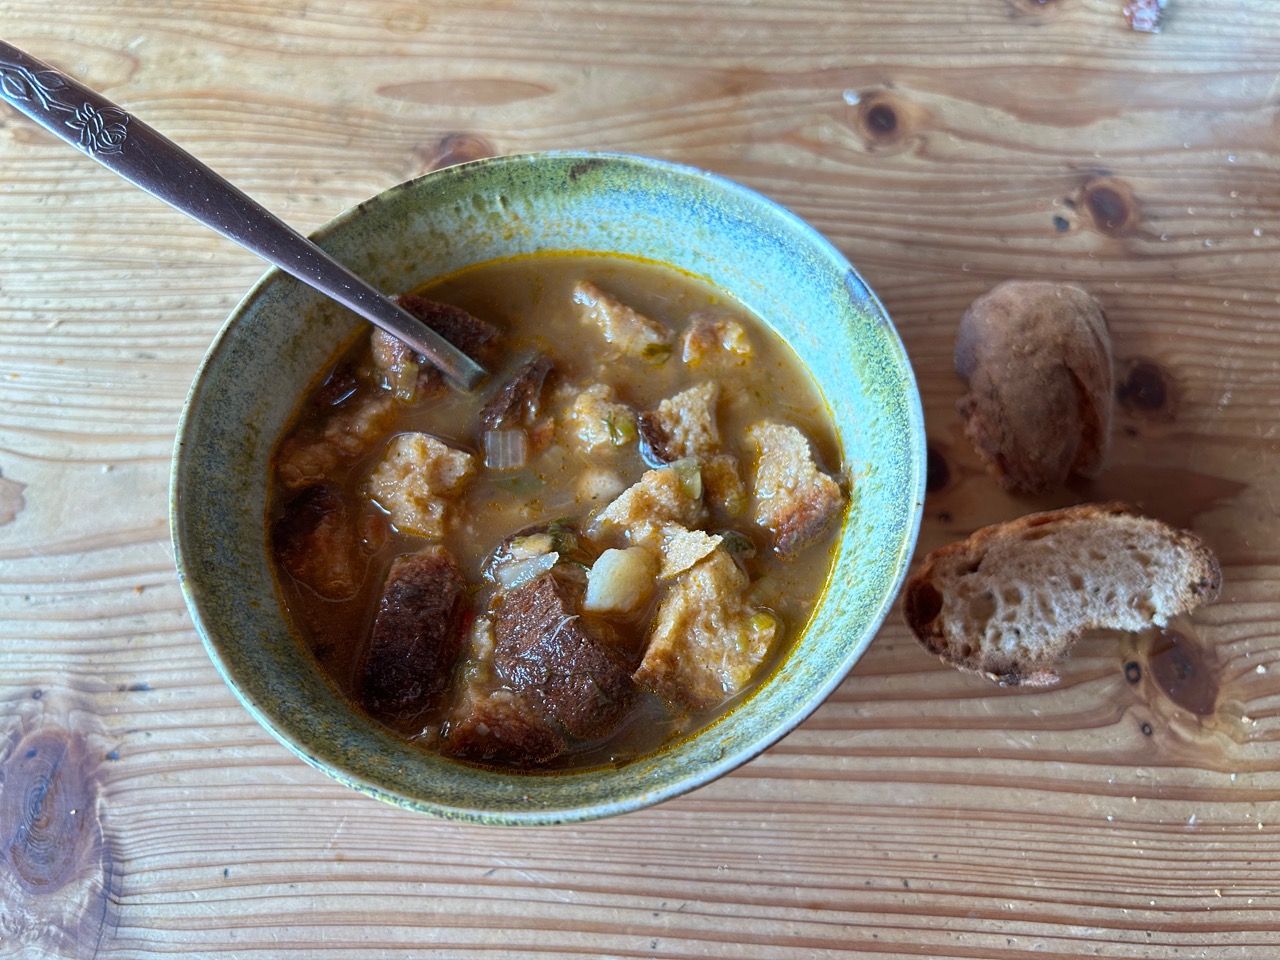
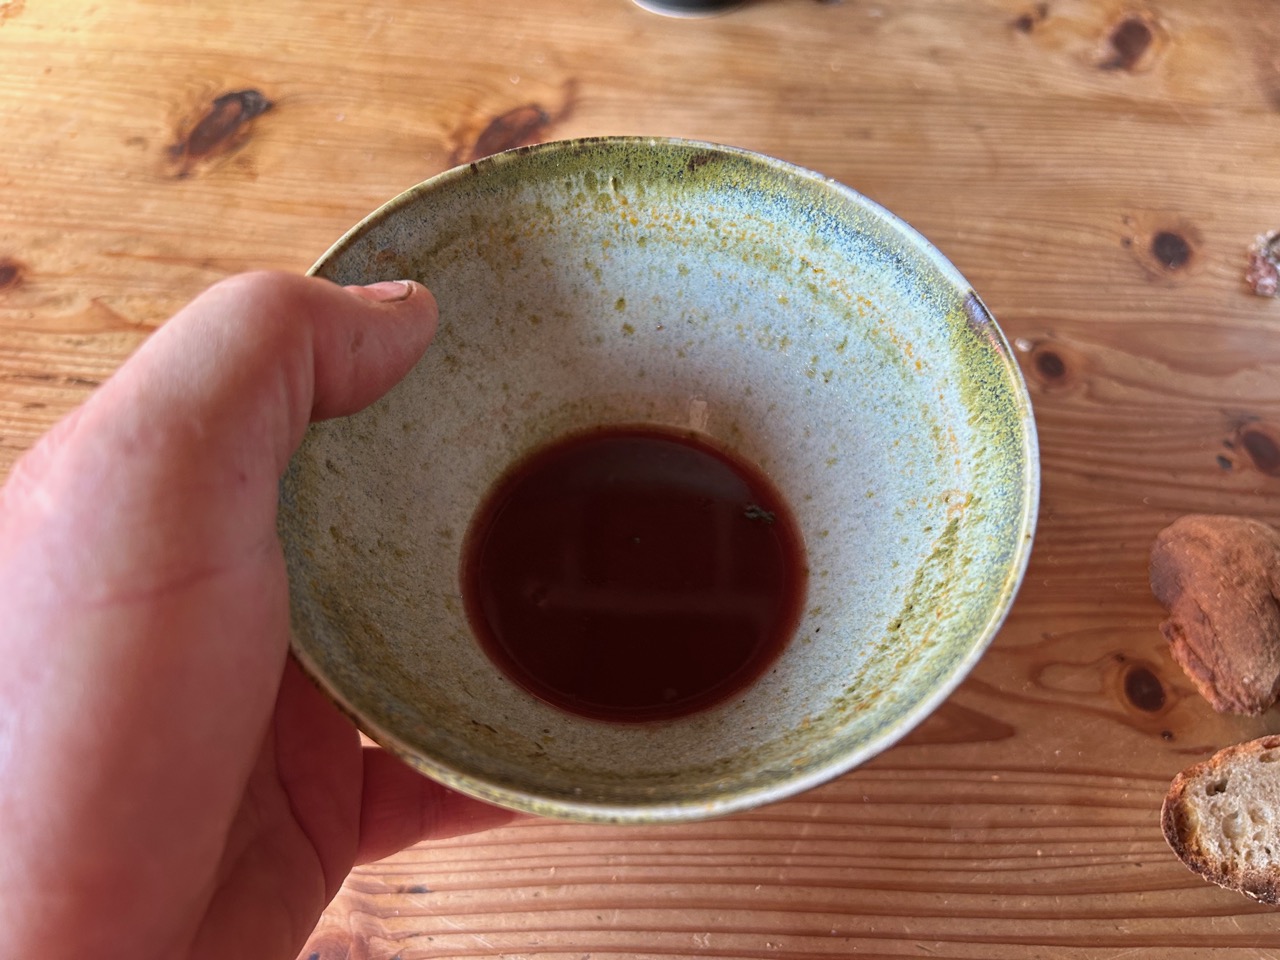
Each lunch time, we asked our son Geordie, who is a ‘hatted’ chef, to come in and cook lunch for us – a very special treat.

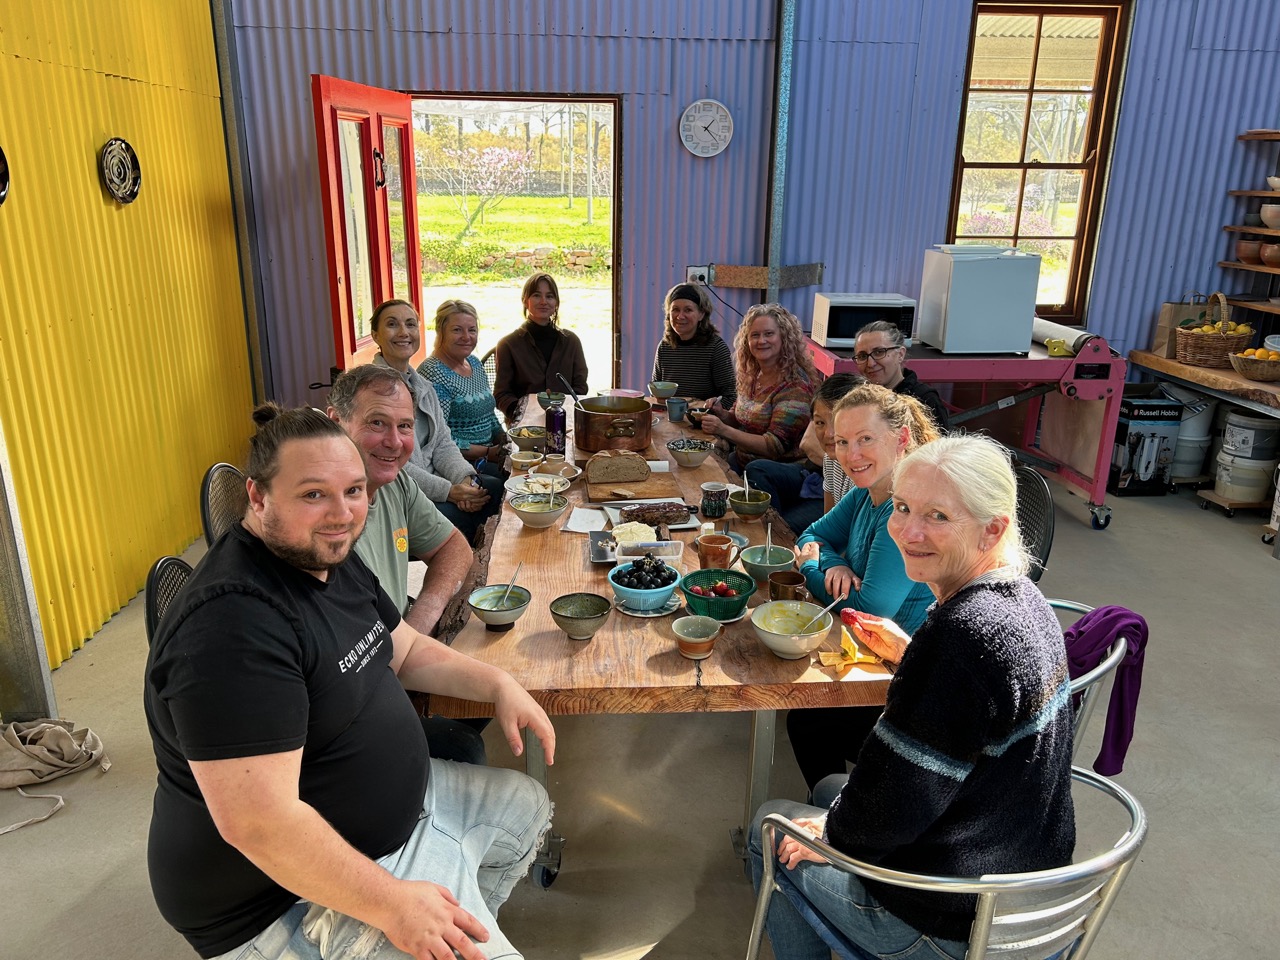
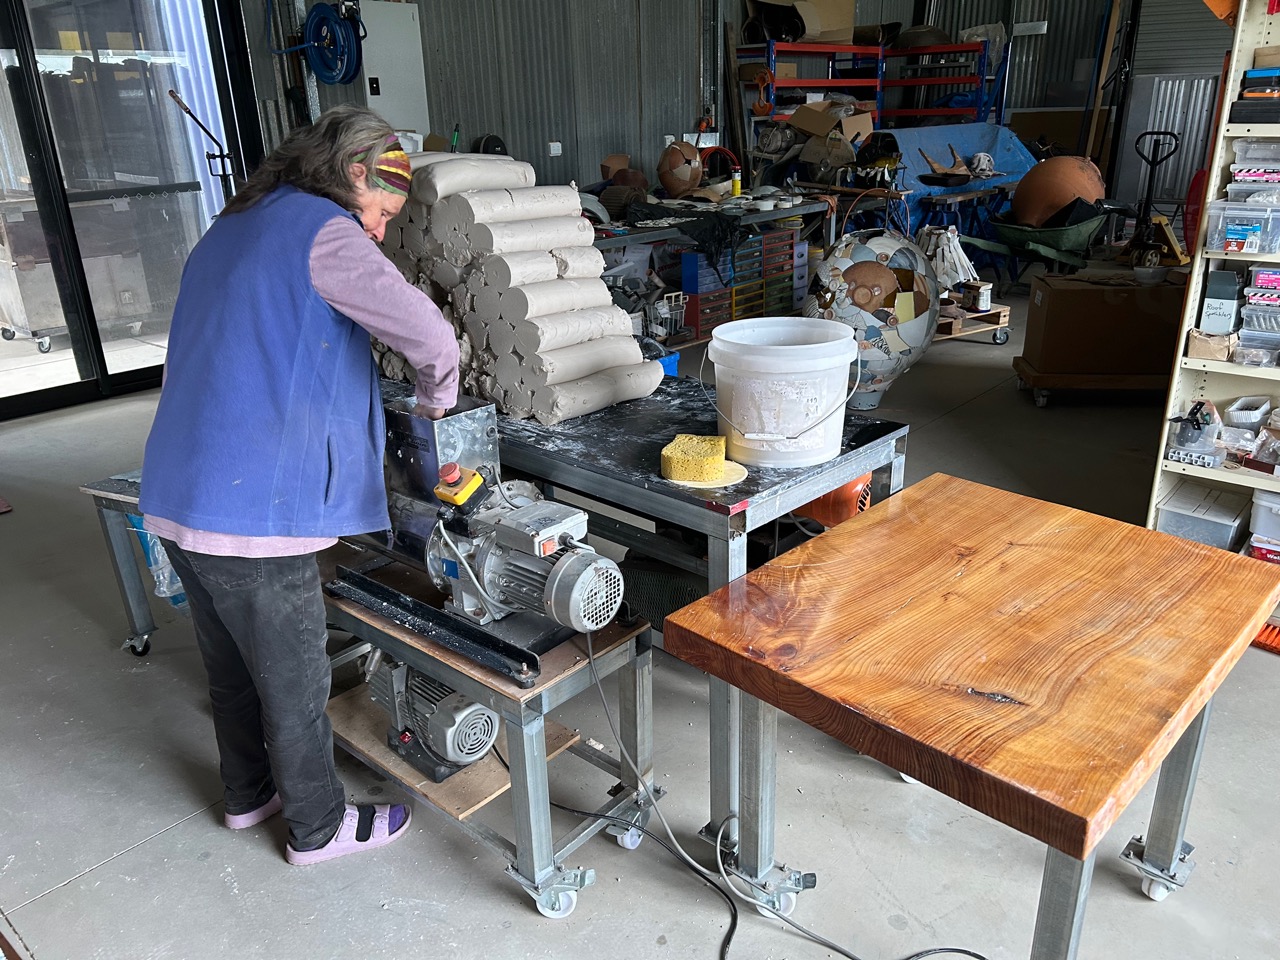
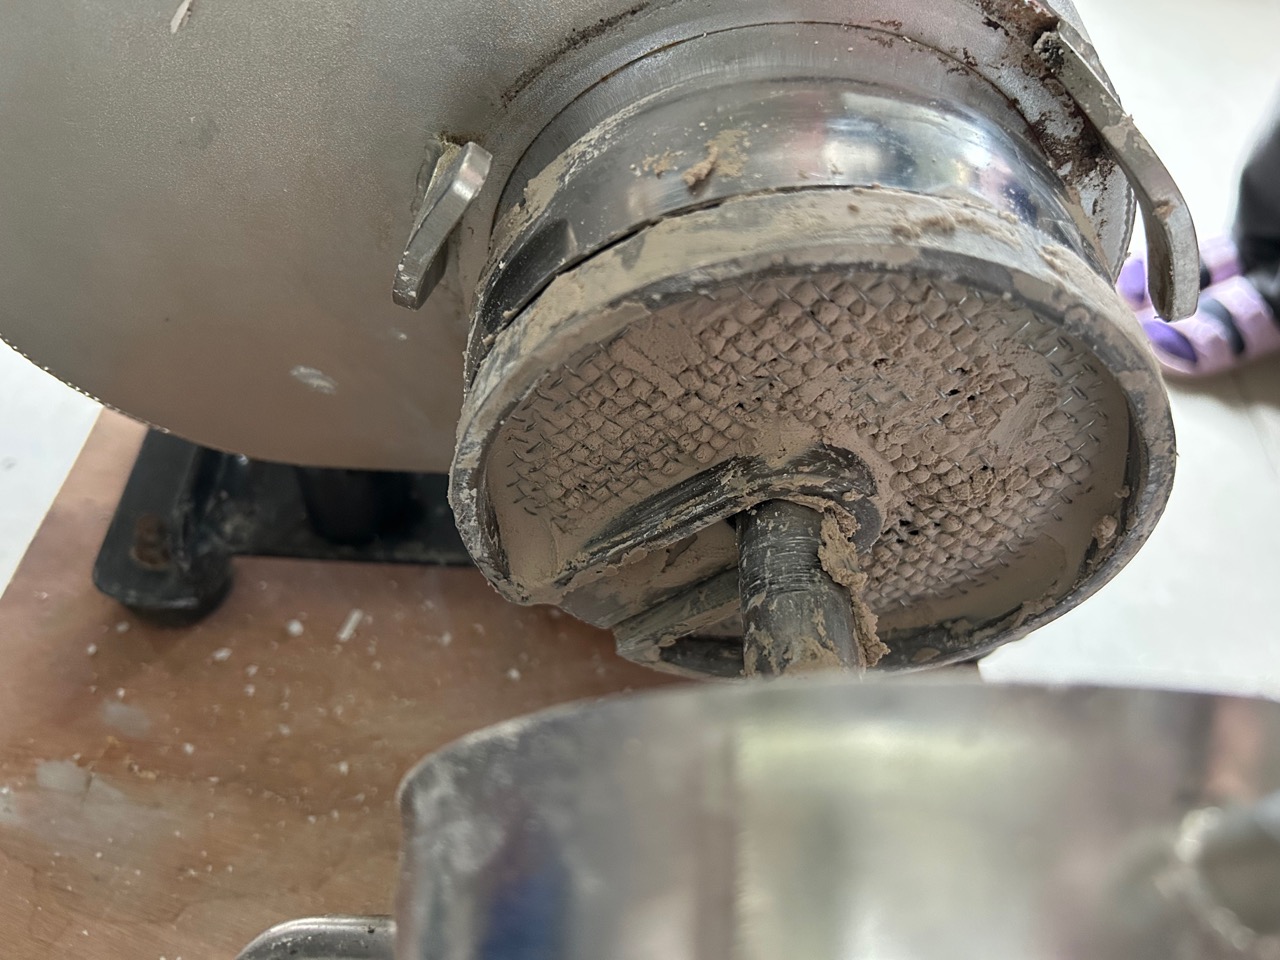
We set up the hand-building room as our lunch room, I made a table out of a very large slab of wood from one of our trees that was killed by the fire. And rather than waste it. I couldn’t bear to see it bull-dozed, chopped up and burnt, so I hired a portable sawmill for 3 days and we milled the trees into all the planks and slabs that we needed to build the new pottery.

This solid table is one big slab of timber that can seat 12. We use this room for functions, dinner parties and openings. Our house is small, so if we need to sit more than 6 guests, we move out into the pottery where we can seat 12 to 14 at a pinch. It’s a large bright, well lit room with loads of practical, flexible space, so it has become an extension to our house in some ways.

On the 2nd day we all demonstrated turning our pots, then making and applying handles. We kept everyone busy all day for both days.

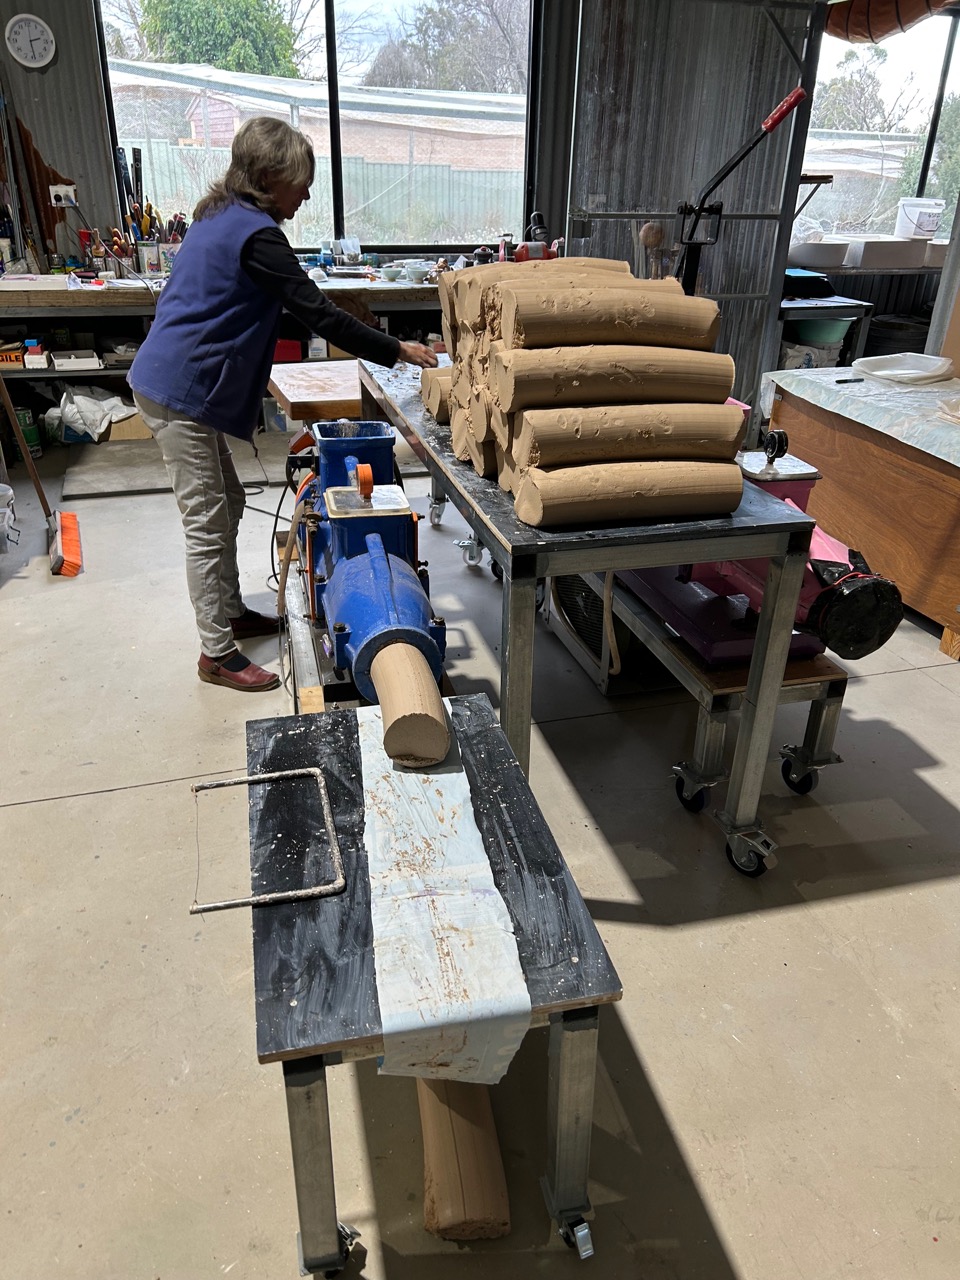
I demonstrated pulling handles from simple hand rolled coils, as well as my somewhat crude, but easily made, twisted-wire handle ‘blank’ extruder.

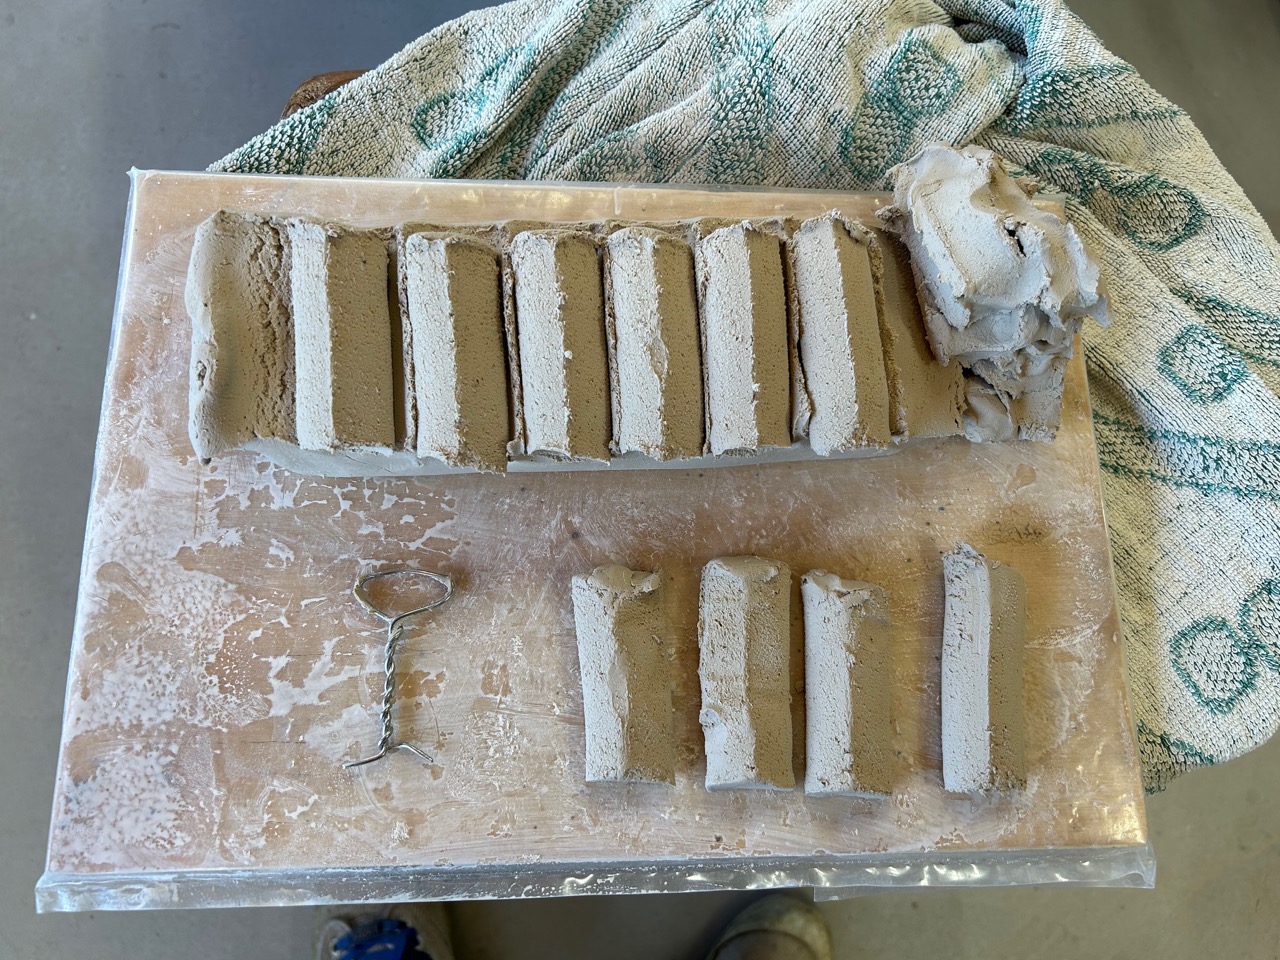
These ‘blank’ billets of proto-handles are applied to the pot and then ‘pulled’ in the traditional way to make an elegant, smooth, curved handle.

Janine demonstrated turning the base of her pots on a leather-hard clay ‘chuck’.

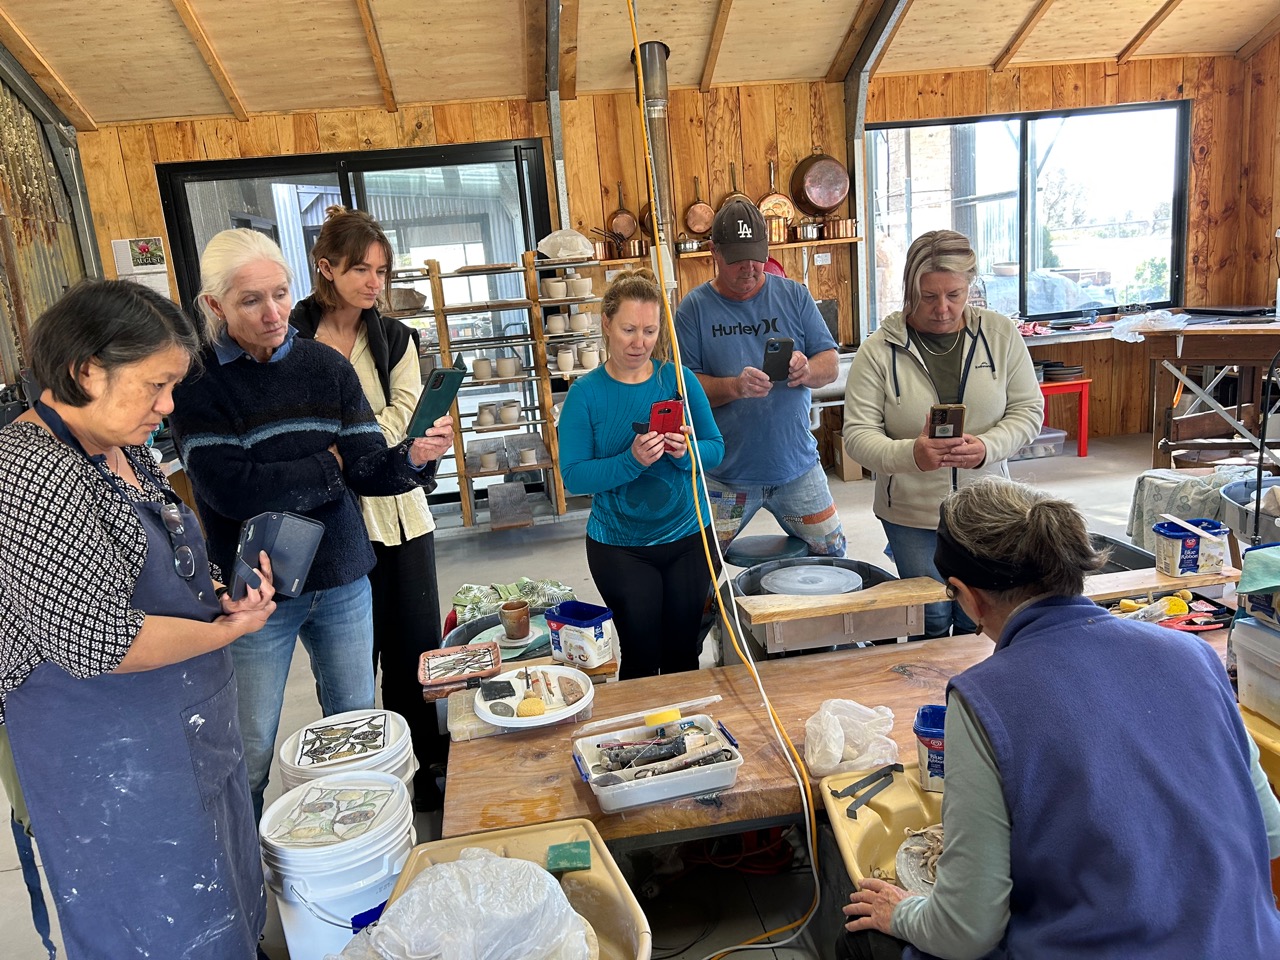
I couldn’t help by notice how things have changed over the years. These days everything is videoed on mobile phone for later reference.

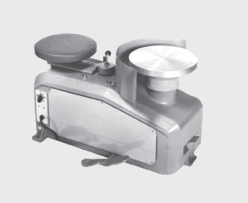
Warren demonstrated the use of a ‘caulking’ gun to extrude the basic handle shape. He also demo’d the use of a plaster mould to press mound handles.

Everyone appeared to enjoy them selves. It was certainly an intensively productive 2 days.

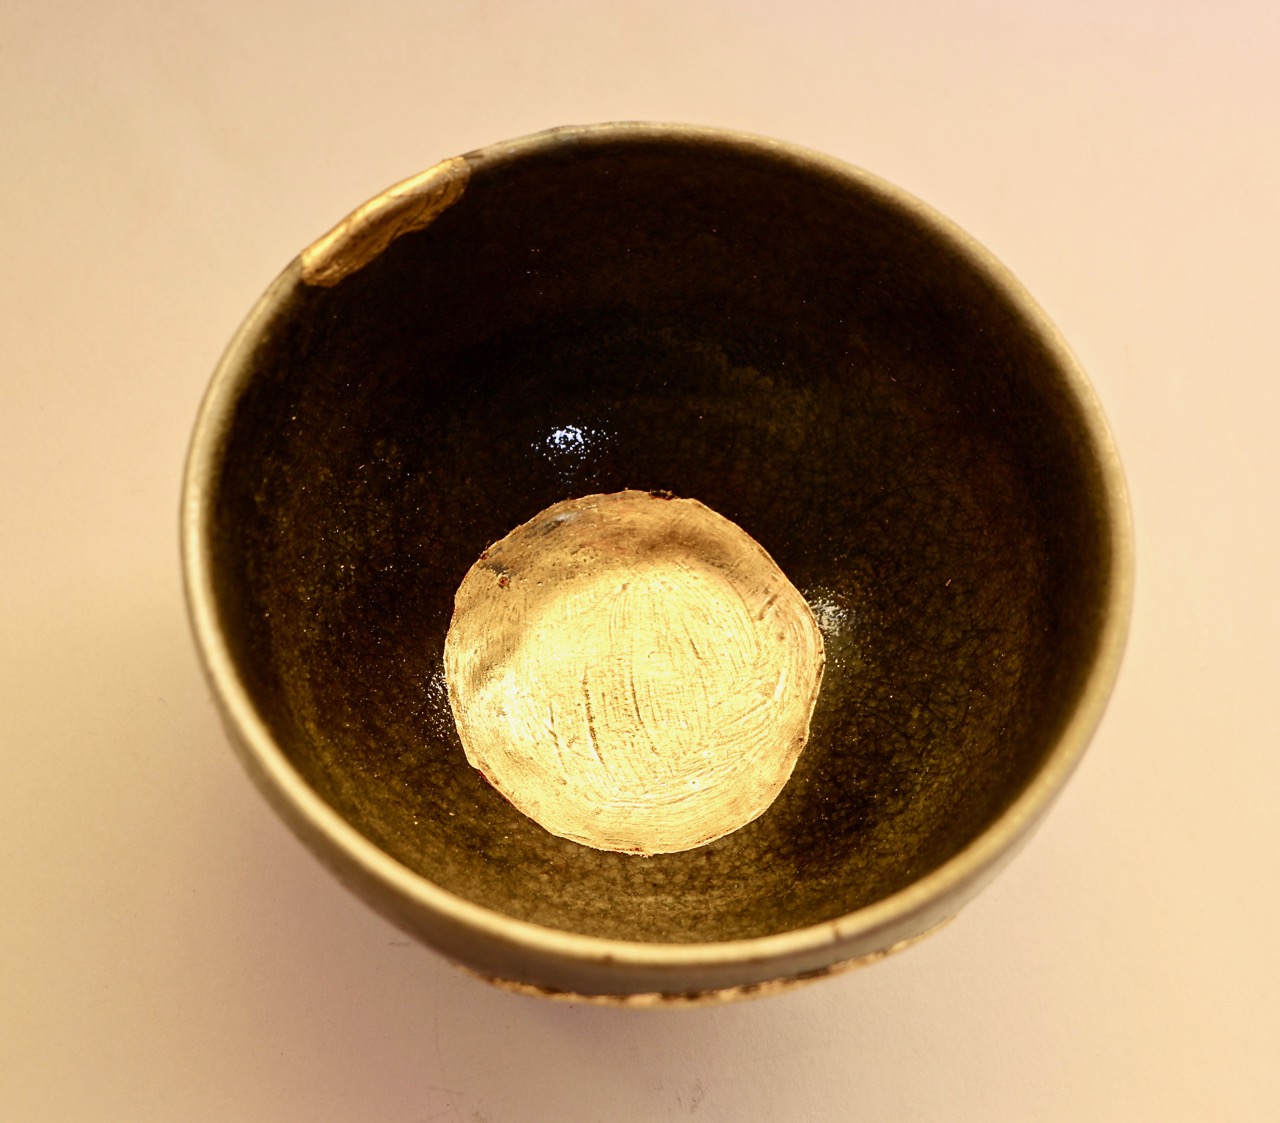
We farewelled everyone with a very tiny taste of Geordie’s latest venture as the head distiller at ‘Renegade gin’ in Mittagong.

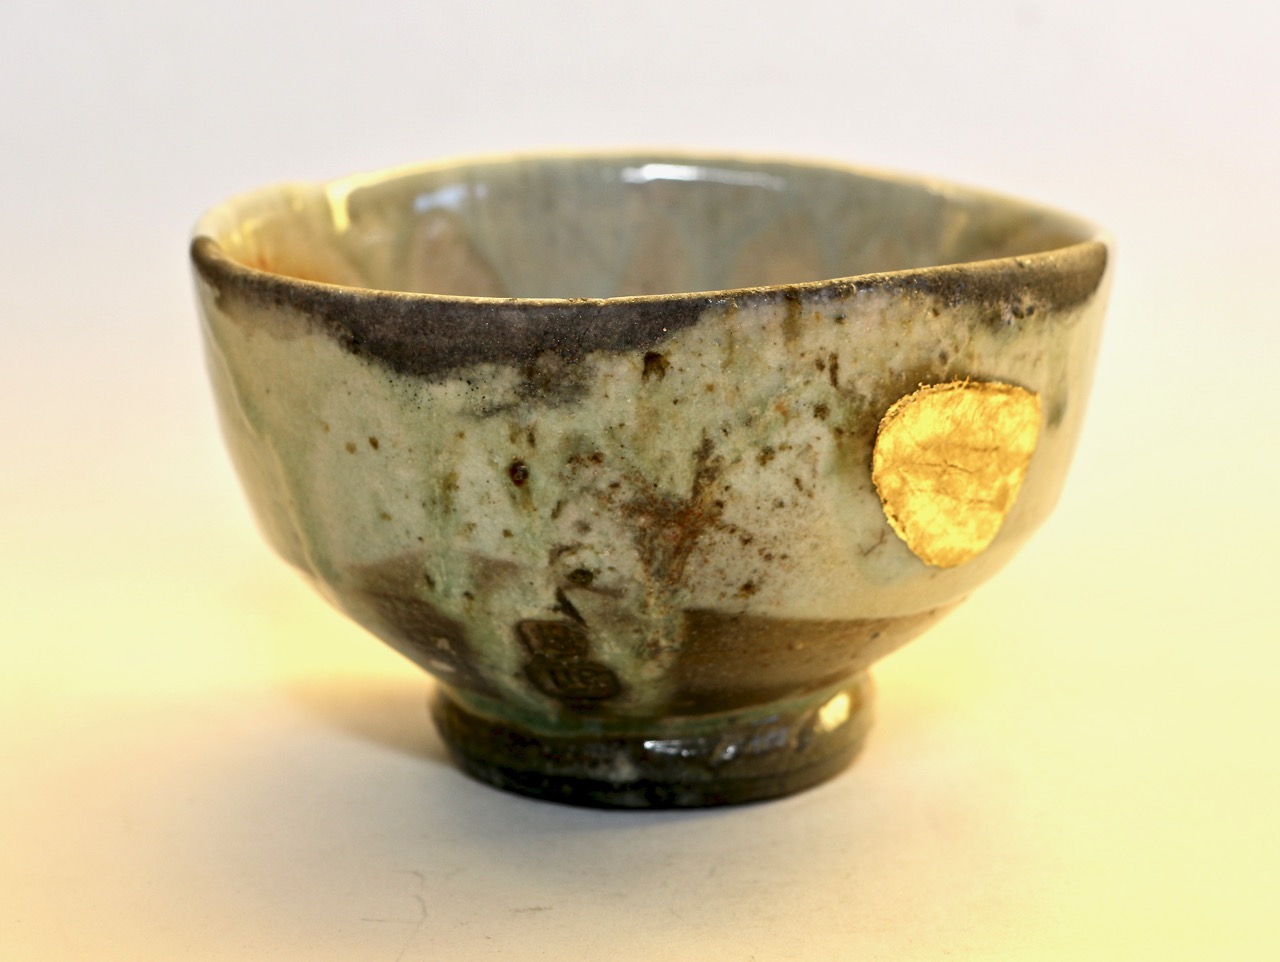
We had a bottle of his Australian Native Plum Gin. I served it in very petite antique Japanese porcelain sake cups. I didn’t want any one to get booked on the way home, so just 1 or 2 mls. It’s really delicious stuff. So intense, fruity and concentrated, just superb!

Old Shimpo RK1 potters wheel

I recently bought an old Shimpo RK1 potters wheel from a friend.

It probably dates to the 70’s. These wheels were manufactured from 1958, probably up to the late 70’s or very early 80’s? 

The smaller RK2 wheel was released in 1967 and became the standard wheel from that time on. The RK2 was smaller, lighter, more portable and cheaper than the RK1. 

These larger and very much heavier RK1 wheels were built on a cast iron shell, making it quite stable, but very, very heavy. The RK1 has a kind of gearbox to increase torque when making very large pots, and the torque is finely adjustable using a handle on top of the casing to make the subtle changes needed, without stopping the wheel.

It’s a bit of a dinosaur. In fact I have only ever seen 3 of them in Australia. Les Blakeborough had one in the Sturt pottery workshop in Mittagong when I worked there in 1972. He had a special extra-large copper tray custom made for it. I’ve never seen anything else like it. My teacher Shigao Shiga had one in his studio when I was his apprentice in 1973, and Peter Rushforth had one in his later studio in Shipley. This one could possibly have been Shiga’s old one passed on to him, as they were close friends.

I missed out on getting my hands on all of these wheels when they changed hands, so I was pleased to see this one come up for sale recently.

I don’t think that it has had too much use, as it’s in good mechanical condition for such an old wheel. They were originally supplied with only a small splash guard in front of the wheel head, as were the original RK2 wheels in the 60’s. It was another 10 years before they started producing wheels with plastic trays – probably for the hobby market? All Japanese pottery studios in the early years had the wheel set down under the floor, and the potter sat cross-legged on the floor and bent forward to lean over the wheel head at floor level. Hence the arm bolted onto the foot pedal to reach up to floor level to control the speed. I had to learn to sit cross-legged just like this when I was an apprentice. As a 21 year old, it was a bit of a shock, and my legs went numb quite quickly. It took me months to get used to it. As I wasn’t accustomed to sitting cross legged on any floor, at any time. If I dangled my legs down into the wheel enclosure, they would get saturated with throwing water/slip. So I quickly learnt to throw with a minimal amount of water/slip. To this day, I still throw with almost no water.

The splash guard and it’s mountings were missing from this wheel when I bought it. This type of potters wheel is meant to be mounted in an enclosure to catch all the slip spray and turnings. I had two such enclosures in the old pottery, one for each of the smaller, more compact RK2 shimpo models that I owned back then. RK2 and RK2 super.

The good side was that you could work all week and the turnings would just pile up around the machine. Friday afternoon was the time to clean out the enclosure. The bad side was that you couldn’t change clays very easily. I use a lot of different clays/porcelain stone pastes these days and need to keep all the turnings and slip separate. So a full tray suits me better. Unfortunately, the plastic ones usually supplied with modern shimpo wheels a tediously small and so cramped that I can’t fit my fingers down into the gap to clean out the turnings. So I am forced to have to dismantle the tray to remove the turnings every few minutes, it’s so tedious. 

The marketing picture of the original RK1 from their website shows the wheel with its wheel head splash guard.

I have built new custom built trays for half of my Shimpos so far. It’s just one of those jobs that is on-going and a work in progress. I’ll get them all done in due course.

There was no easy way to fit a tray onto this old RK1 wheel with its sloping frame casting. So I had to weld up a support frame and drill and tap threaded holes into the cast iron casting to fix the new tray securely in place.

I siliconed all around the edges of the tray where the waterproof ply meets the stainless steel wall, and then glued on a strip of clear poly tubing all around the top of the steel edge to make it more comfortable for the user.  I also used the base of a plastic bucket to make a protective guard around the shaft to keep water and turnings  away from the bearings I screwed this down and siliconed it to the base as well. All good.

I made a wooden tool shelf for the end of the tray with an arc cut out to match the wheel head to allow for big batts when throwing platters.

The finished product in place and working. We now have 8 wheels up and running in time, ready for the first weekend throwing workshop, this coming weekend. This workshop was organised by invitation only, for those potters who came and helped us clean up after the fire. This one is free, as my thank you gift to those helpers. The next workshops will be advertised here to allow anyone who wants to, to apply. I’ve asked around and made a few enquiries. I’ve decided to charge a fee that is at the lower end of the current market price. I’ll be charging $125 per person per day. 

I see these proposed intermittent workshops, spread out throughout the year, as being my part-time job in retirement.

I’ll be teaching other workshops as well as throwing in the coming year; 

There will be throwing for wood firing, using my specially developed clay bodies.

Weekend wood kiln firings. Spread over two weekends, first weekend for packing and firing, then the following Sunday to unpack and debrief on the work.

One day geological field trip to collect samples followed by rock glaze testing and firing

Glaze theory and testing. + plus other topics as they appear appropriate or are requested.

Janine and I have acquired a lot of experience and skills over the years. We were trained in the 70’s when everything was done the old fashioned way and skills and theory were taught in greater detail than is done today. We are keen to pass on some of these skills before we expire.

The modern pottery workshop access classes, or potters wheel experience classes, don’t tend to teach much, if any, theory these days. We hope to fill part of that need.

Pugging Clay

We’ve been busy in the clay making shed loading up the dough mixer with more clay mixtures for the coming throwing weekend workshops booked for the 26th and 27th of this month.  This time I made up a single batch each of vitreous white stoneware/porcelaneous body and a batch of coarse, wood firing, stoneware body using local rough crushed shale with both pale and brown kaolin powders.

We use the stainless steel twin auger Venco pug mill that I bought 2nd hand. It’s only small with a  3”, or 75mm dia, extrusion, but it is so quick, very quiet and self feeding. 

We started by recycling all the slaked and stiffened turnings from the last batch that had been sitting in the clay box ageing and waiting for the next pugging session.

Over the few months since I used it last, the clay had dried out a little in places in the barrel. Which was a little bit strange, as I had the pug mill pretty well sealed at both ends, but some of the clay dried out enough to be too firm to pass through the vacuum screen. It jammed in the screen mesh and slowed down the pugging significantly, so I had to pull the pug to bits and clean the screen. No problem! The beautiful feature of this pug mill, is that it only takes 60 seconds to rotate and un-clip the barrel, then lift it off to get to the screen. It’s so quick and easy with no bolts or spanners required. I scraped the screen clean and replaced it in 2 mins and back in business. Amazing!

The next batch of coarse textured wood firing clay was put through the dough mixer and the Venco 4” or 100 mm. dia. vacuum pug mill. This pug mill is fitted with coarse mesh vacuum screens, specifically for making clay bodies like this.

We start off by pugging all the recycled turnings from the last throwing session. These have been wet processed, bagged and then stored in the clay boxes waiting for the next pugging session with this mill. By having different pug mills for each different clay body. It saves so much time in not having to clean out the pug mill before changing clays. The recycled turnings also benefit by the time spent ageing in the clay box, increasing in plasticity over time. The new batch of clay is loaded onto the mobile clay table and wheeled out of the isolated and dust extracted mixer room, then wheeled out to the pug mill area. Janine can then start to pug the clay in a clean, dust free environment, while I return to the clay mixer room and start another batch.

The recycled clay and the new batch are then pugged together to get a good mix. But most importantly, all the pugged clay is stacked in a long stack on the pug mill bench and when full, all the ends of every pug of clay are all cut off and mixed together, and fed back through the pug mill, so that there is a little bit of every part of the new batch and all the turnings all aggregated in the new sausage of clay as it comes from the pug. This thrice pugged and well blended clay is then bagged and back into the clay store ready for use. This double processing and blending eliminates any variation between the first and last pugs of clay from that mix.

It doesn’t eliminate any mistakes in the weighing out or the dough mixing, but it minimizes the possibilities. Life is what it is.

Nothing is perfect, nothing is ever finished and nothing lasts for ever.

All the machines are built on trollies or castors, so that once all the clay is bagged and stored away, I can then wheel all the machinery out of the way and mop the floor clean of any spilt fragments of clay, dropped while pugging. The whole area is opened up to a through breeze, and thoroughly wet cleaned and mopped, then allowed to dry, before the machinery is wheeled back into place.

It’s not perfect, nothing is, but it is very good and the best that I can do at the moment using the machines that I could get my hands on 2nd hand at the time, and others donated from friends. You know who you are! I thank you from the bottom of my heart for your support and thoughtful kindness!

Faire Chabrot

As the weather has been cold. We decided to have a baked dinner. This months meat meal is a very small piece of fillet steak.

Baked with a load of vegetables from the winter garden, and of course, a Yorkshire pudding in the old fashioned tradition of using all the meat juices from the baking pan. The proper way! After baking, the meat is placed in the warming oven to rest, while the baking dish is then reused to bake the ‘pudding’. 

Non of those shop bought, frozen, pissy little cup cake things, masquerading as Yorkshire pudding, to be microwaved to a perfection of stogy, doughy sog.

The batter for proper Yorkshire pudding has to be made up and hour or so at least before hand. It’s the first thing that you have to do before starting to get a baked dinner ready. Even before washing and prepping the veggies, or spiking the meat with cloves of garlic. It has to be mixed and left to rest, then stirred occasionally throughout the baking time, so as to get a light and fluffy pudding with a thin crispy top.

recipe;

2 table spoons full of plain flour

1/2 a cup of milk

2 eggs

(See previous blog post 17/08/2014. ‘Don’t get to know the farm animals too well’)

Janine learnt this method from my Yorkshire mother, who learnt it from her mother etc.

She was a good student and makes a very nice Yorkshire pudding. My mother would approve.

It ends up being a huge meal, but we have been working hard, cutting and splitting fire wood all day, so it’s very tasty and easy to eat.

I also made a lovely mussel soup this week. I used a lot of fresh herbs from the garden, some white wine and a bottle of our preserved tomato passata from last summer.

It was very good with the mussels, and with a lot left over in the pan, made a warming lunch time soup the next day.

After eating all of the mussels, there was a little soup left in the bowl, so I was inclined to engage in the ancient French tradition of ‘faire Chabrol’. 

By pouring a little of my red wine into the bowl and drinking the mixture straight from the bowl.

I’m warned that this is not a practice to engage in, in polite society. It’s strictly for peasants. Welcome to the home of the Post Modern Peasant.

It’s catching!

The next day at lunch, we had the same broth, sans mussels. But in another very old tradition, I added broken pieces of old bread into the soup to fill out the meal. And, in keeping with the tradition, I finished with a little red wine. Faire chabrot!

Itadakimasu!

Fire and Ash Exhibition

Janine and I have work in the ‘Fire and Ash’ exhibition at the ‘Lowe and Lee Gallery’ in Sydney. The show opened last Friday.

I have a few wood fired bowls that had minor damage during the firing, and I repaired them with gold. If I was Japanese, or working in Japan using traditional materials. This work would be called ‘kintsugi’.

However, as I’m in Australia and using very westernized hybrid techniques, methods and materials. I choose to call these bowls ‘gold repair’ pieces. The only common material is the 23 karat gold.

I did a course on kintsugi repair when I was in Japan, but the uniquely Japanese materials like the sap of the Rhus tree are not readily available here in Australia, or not that I know of.

Also, it is worth noting that the sap of the Rhus tree is highly toxic and not to be used without extreme caution PPE. It causes Toxicodendron dermatitis.

So I have invented my own hybrid methods that incorporates locally available materials, like 5 minute epoxy glue instead. I make up my own blend of high strength filler putty, and I also make my own grinding and polishing discs to buff the surfaces up to a fine finish.

After a bit of work, they are greatly improved and given a new life. By selecting them as special and showing them some respect by repairing them. They are made even more beautiful, even with their scars, chips and cracks.