
Following on from our beautiful shoulder of lamb a couple of weeks ago. We decide to reduce the load in the fridge and have a leg this week. Two red meat meals in a month – what will become of us?
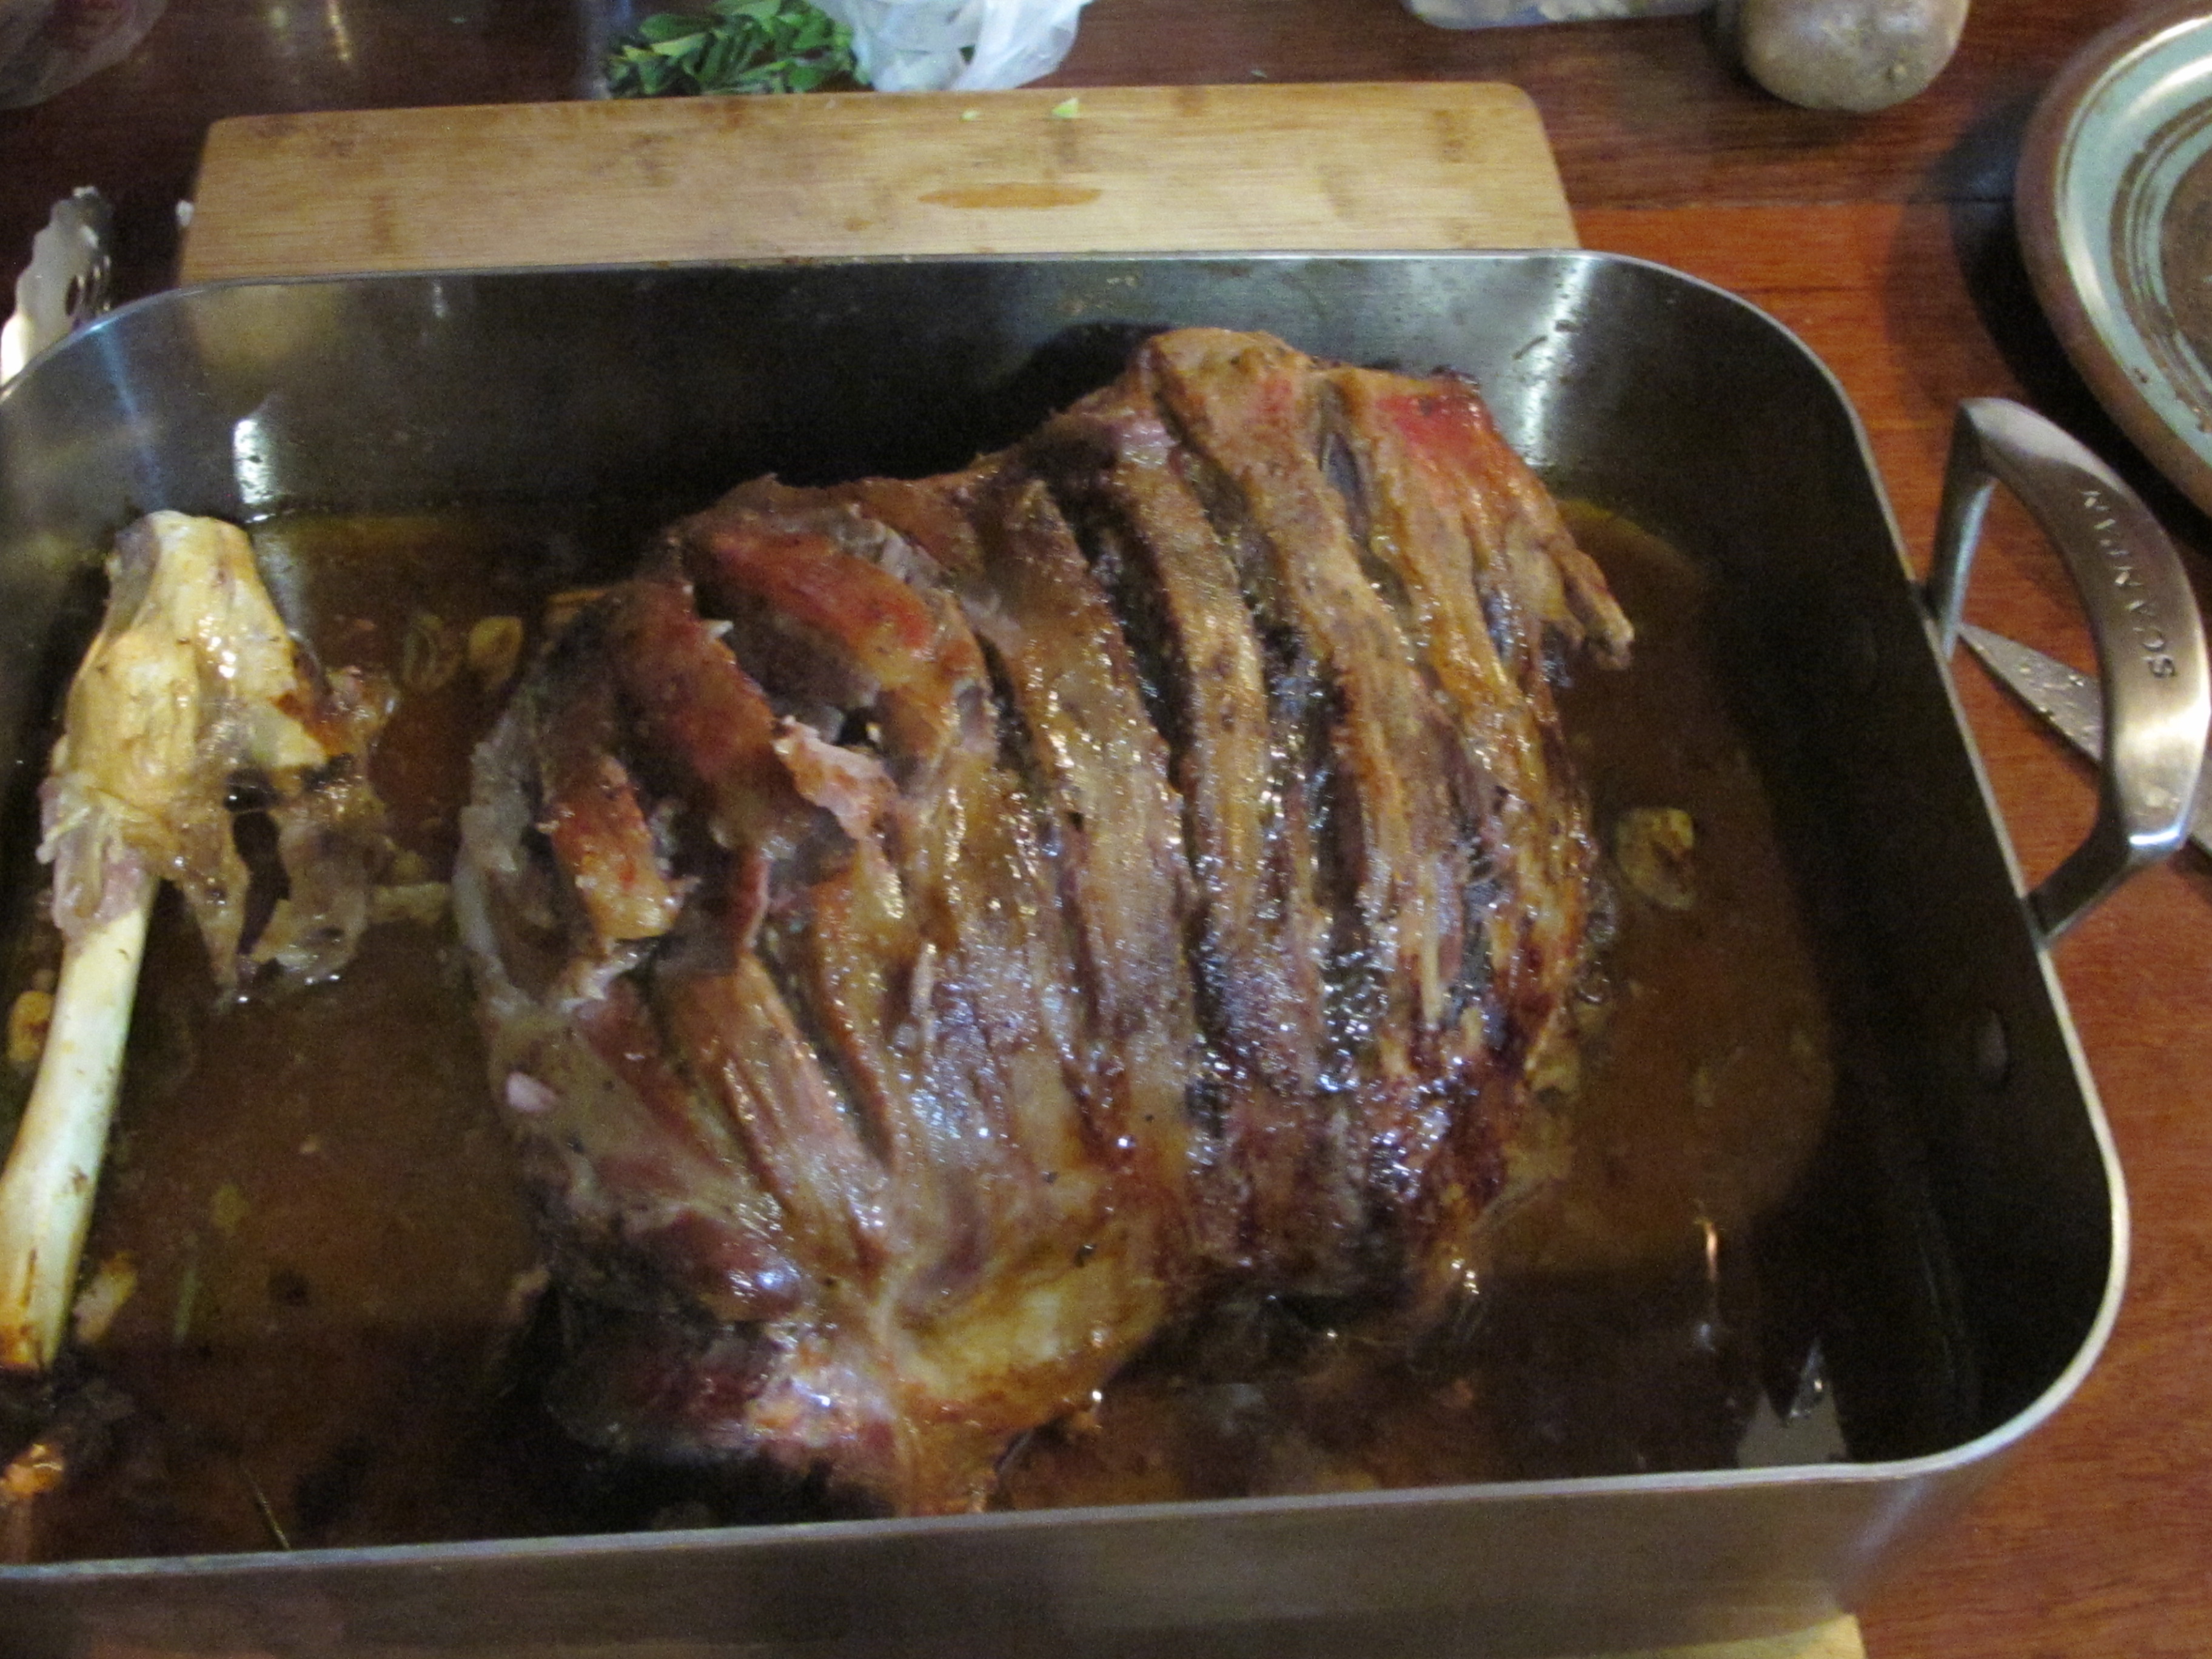
I decide to do a very slow bake. The leg is quite large and won’t fit in our baking tray. The wood fired kitchen stove only has a small oven. I have to go down to the workshop and bring up the hack saw and shorten the leg. Now it fits. I pour just a little olive oil into the pan and some sliced onions. I brown the leg all over as best I can. It’s lunch time and Janine has only just lit the wood fire in the stove. It is just getting hot enough to brown the leg. Janine prepared it by rubbing some of Geordie’s special seasoning mix well into the skin a few hours ago. I pour a cup of water into the baking tray and cover it well, then slide it into the oven. The oven thermometer, reads just 60 oC as it goes in. That’s not unusual, as we have only just lit the stove. It is going to stay in there well covered for the next 6 hours as the oven temperature slowly rises.
By 6 pm it’s 180oC and I un-cover it and let it finish un-coverd so that it will caramelise somewhat in the dry heat.
When it comes out it is crispy on top and looks succulent and juicy. It smells terrific. We really enjoy the tender, melt-in-our-mouths lean meat.
We have it with some of our new harvest broccoli.

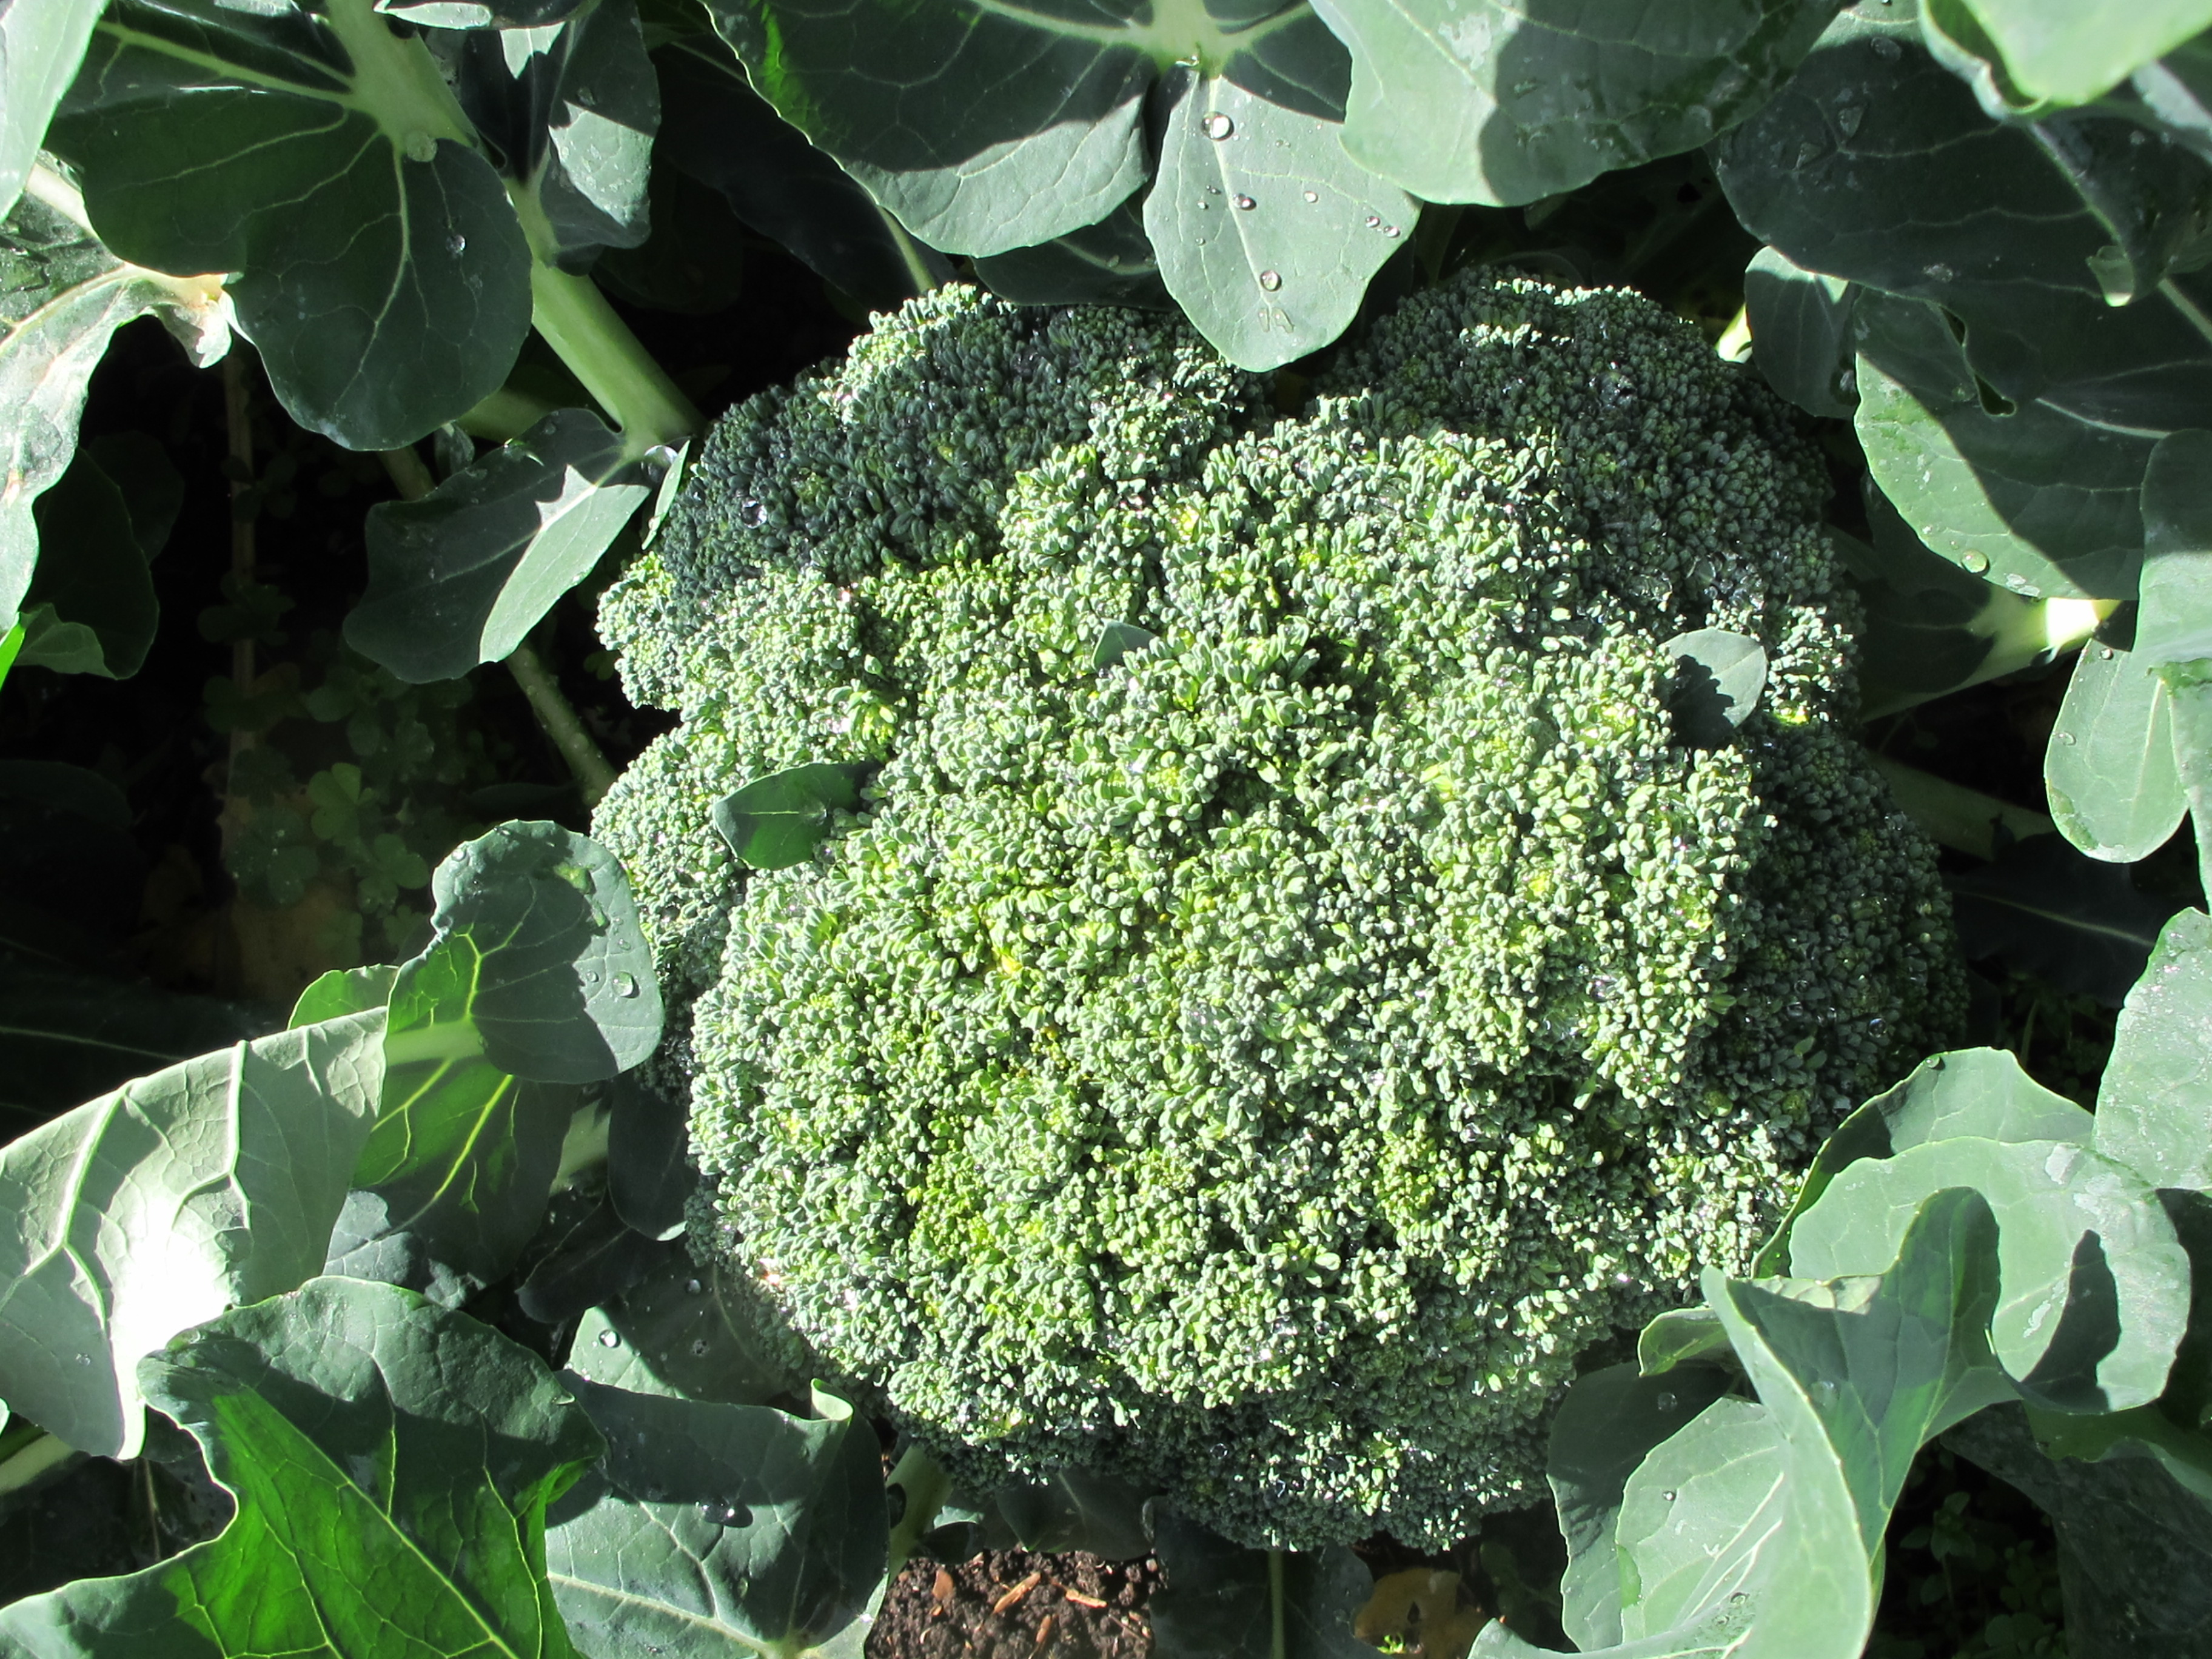
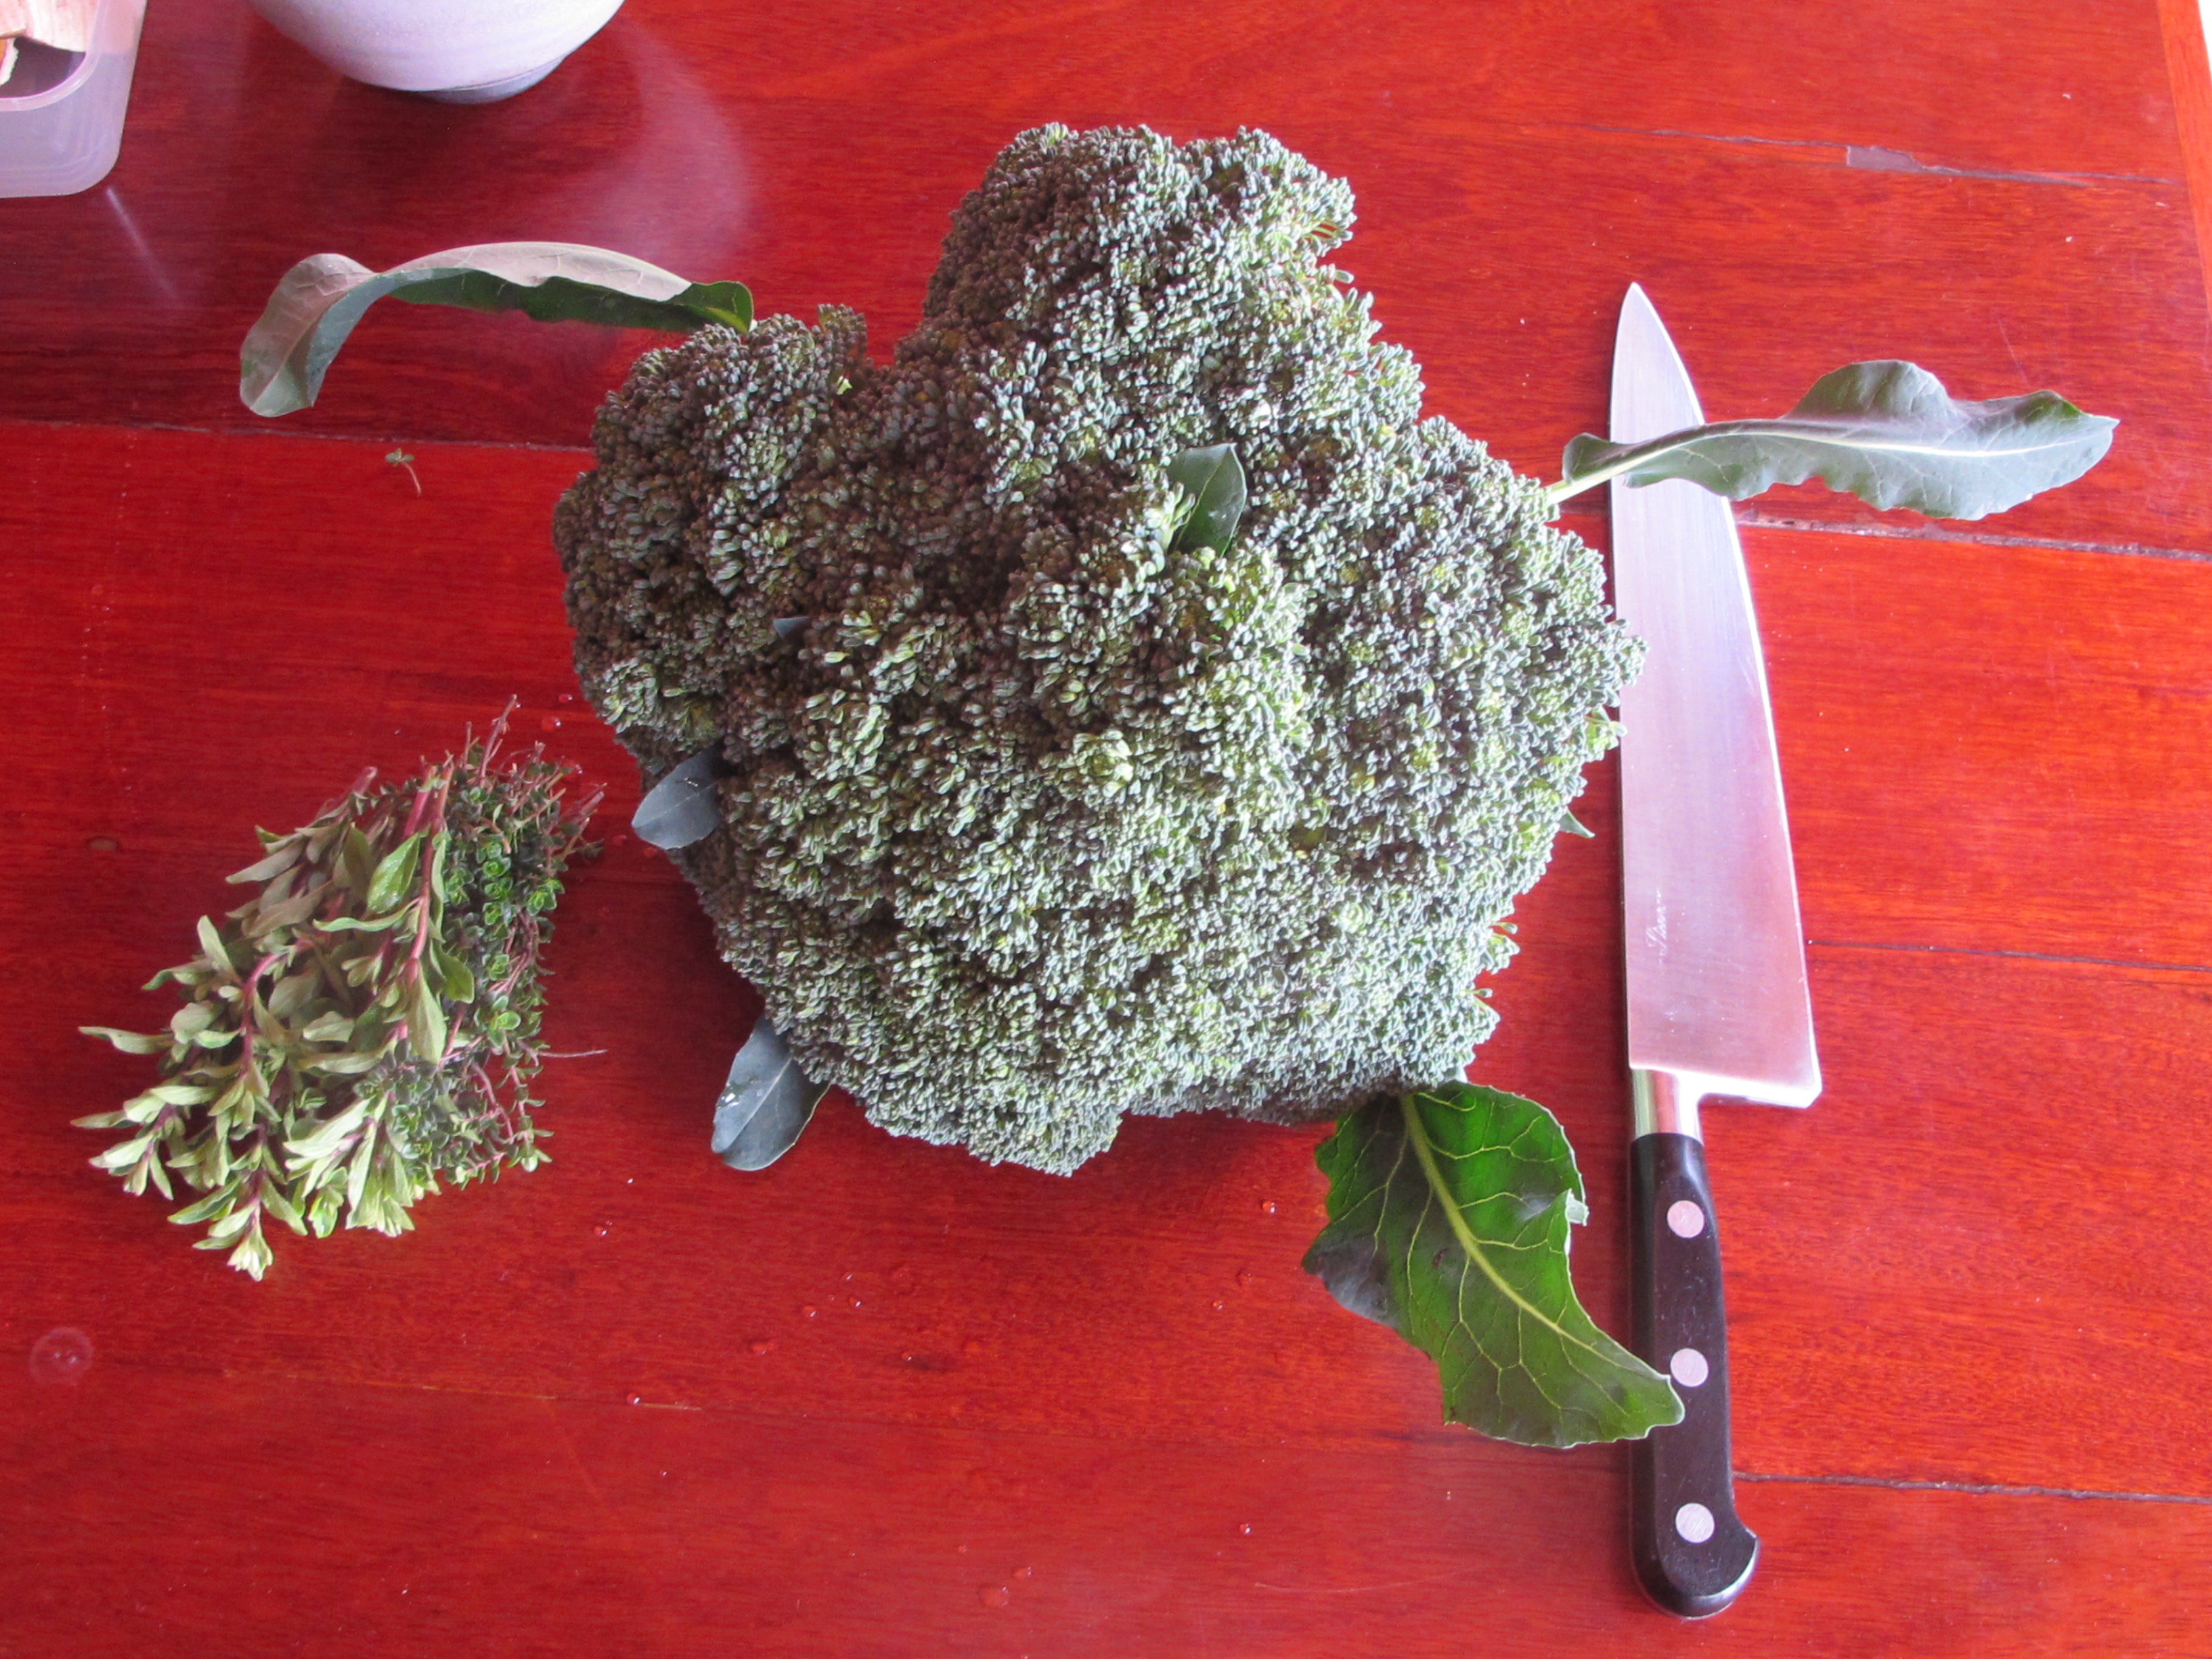
This head of broccoli, is so big that it exceeds the size of my large chef’s knife blade.

After the long slow covered baking, the baking pan is a-wash with meaty pan juices. It hasn’t dried out at all and is swimming in marrow bone jelly and cooking fat from the leg, plus some olive oil. I slice the meat and preserve the juices. The next day, we re-heat the pan and pour off the marrow bone jelly and fat through a sieve into a jar. We chill it overnight and scrape off the cloudy opaque white fat. The clarified jelly is there calling out for us to use it in something very special.
We took our time getting through all the meat on the leg. We had our first meal hot, as a baked dinner and then a few cold cut lunches. Tonight The Lovely has used the remaining slices to make a luscious ragu. The meat is sliced up fine, with the clarified marrow-bone jelly from the jar added back into the pan and a glass vacuum-preserving jar of summer’s tomato passata, preserved from the summer excess. It cooks down into something special. ‘The Lovely’ adds some green split peas and lets it simmer.

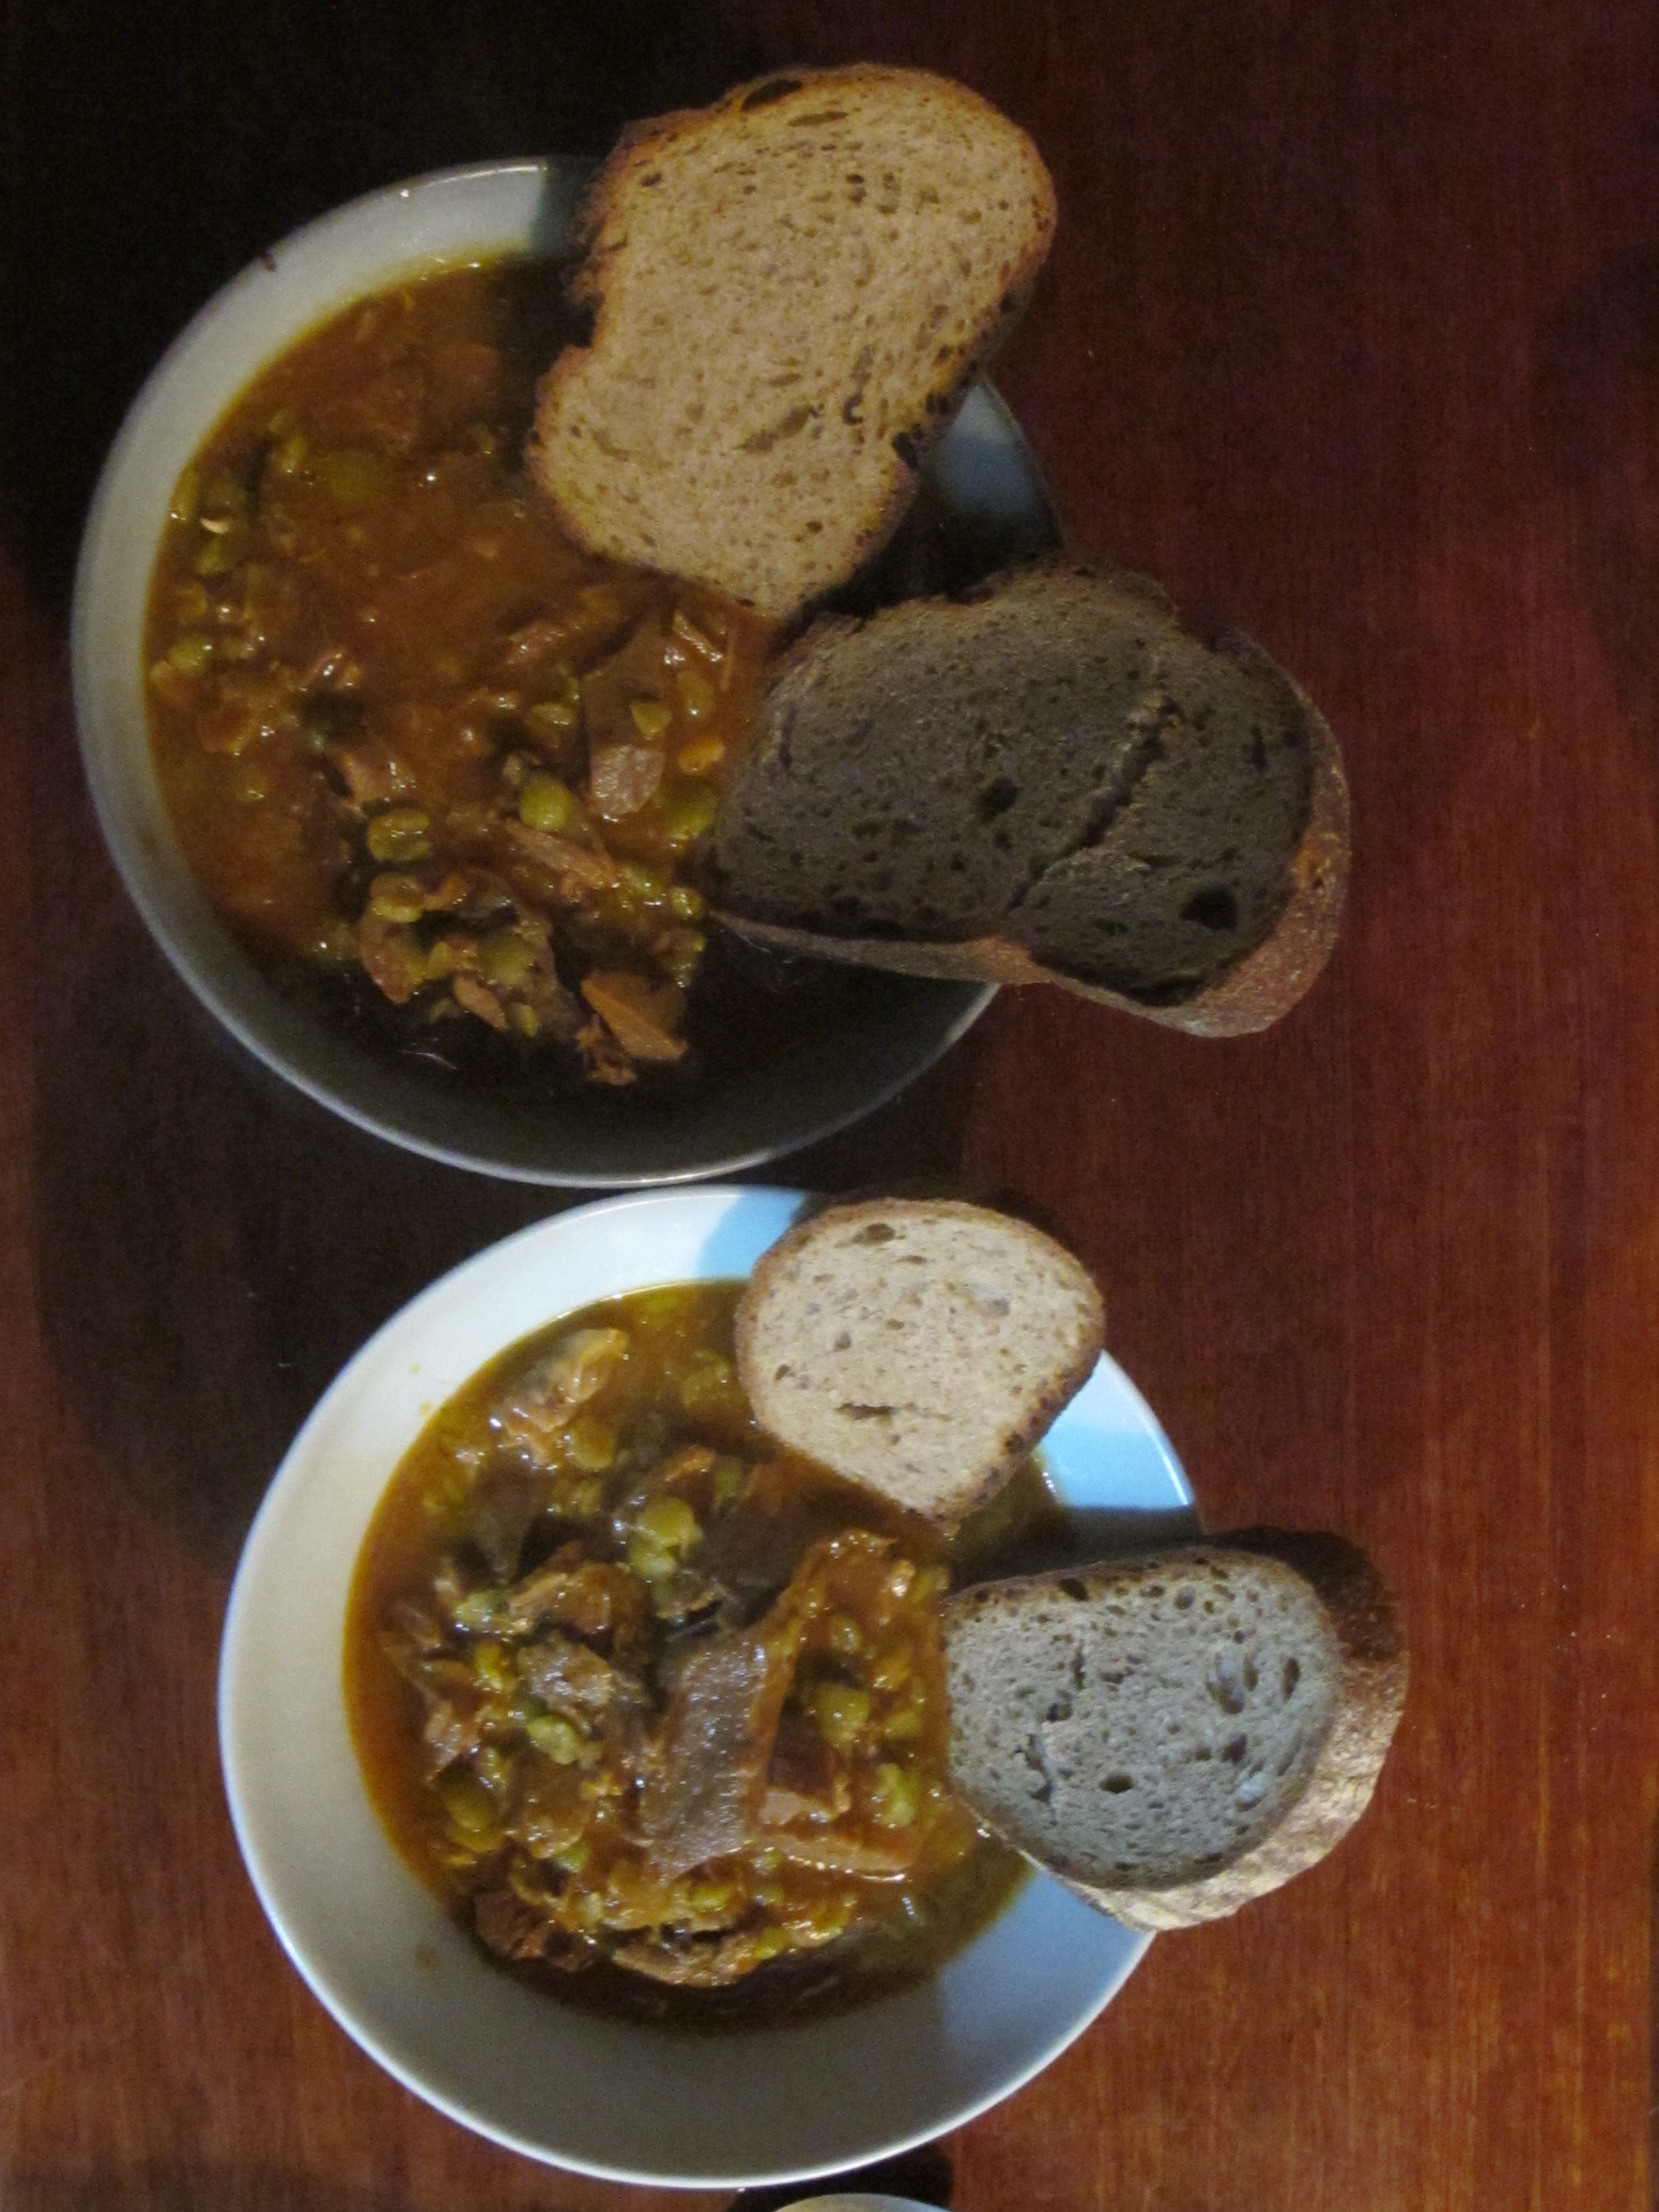
You can’t believe that something this simple could be this tasty and wholesome. It’s just so easy, but I suspect that most families don’t bother to do it anymore. Several meals from one roast, and so tasty and flavoursome. There is hardly anything in there, a few slices of cold meat, some clarified marrow-bone jelly, all tawny/claret-red and exploding with flavour. A jar of preserved summer garden tomato purée, and a hand full of dried peas. Wow!
Just a little extra effort to clarify the roasting pan juices and hey presto! It was so worth that little extra effort. She, the Reigning Monarch of Ragu serves it with a couple of small slices of organic rye sour dough.
It’s so good, I have two helpings.
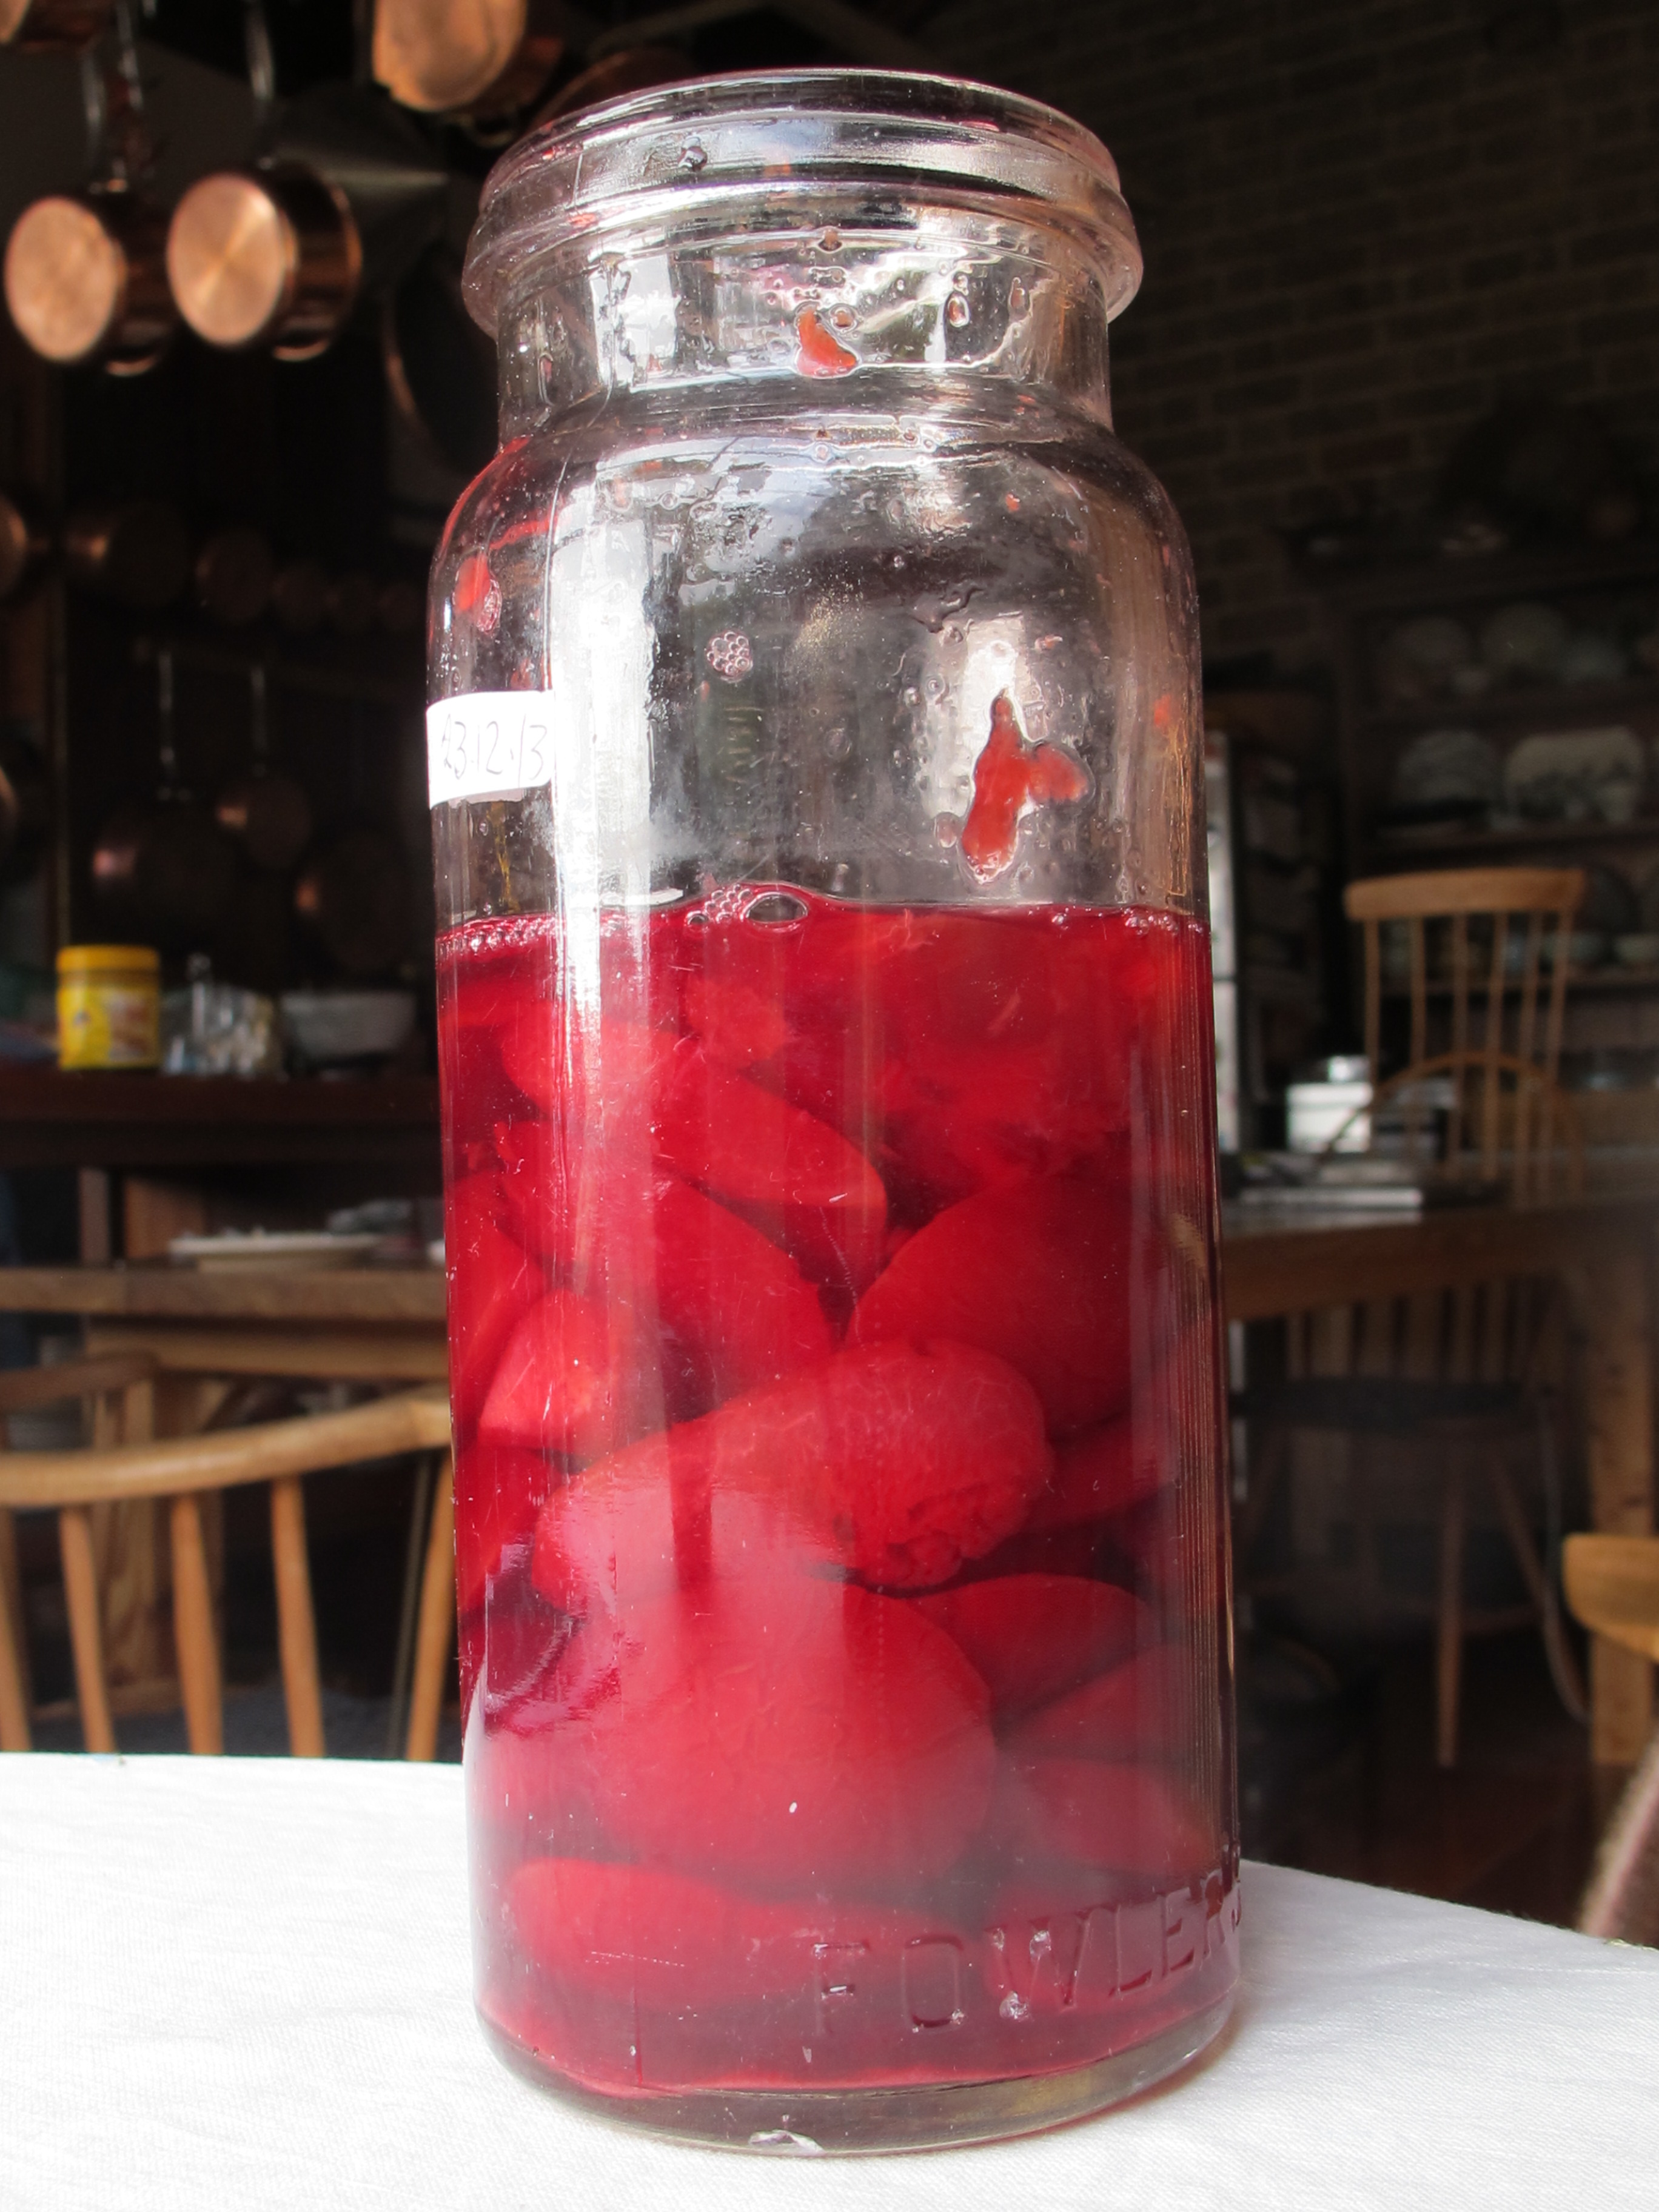
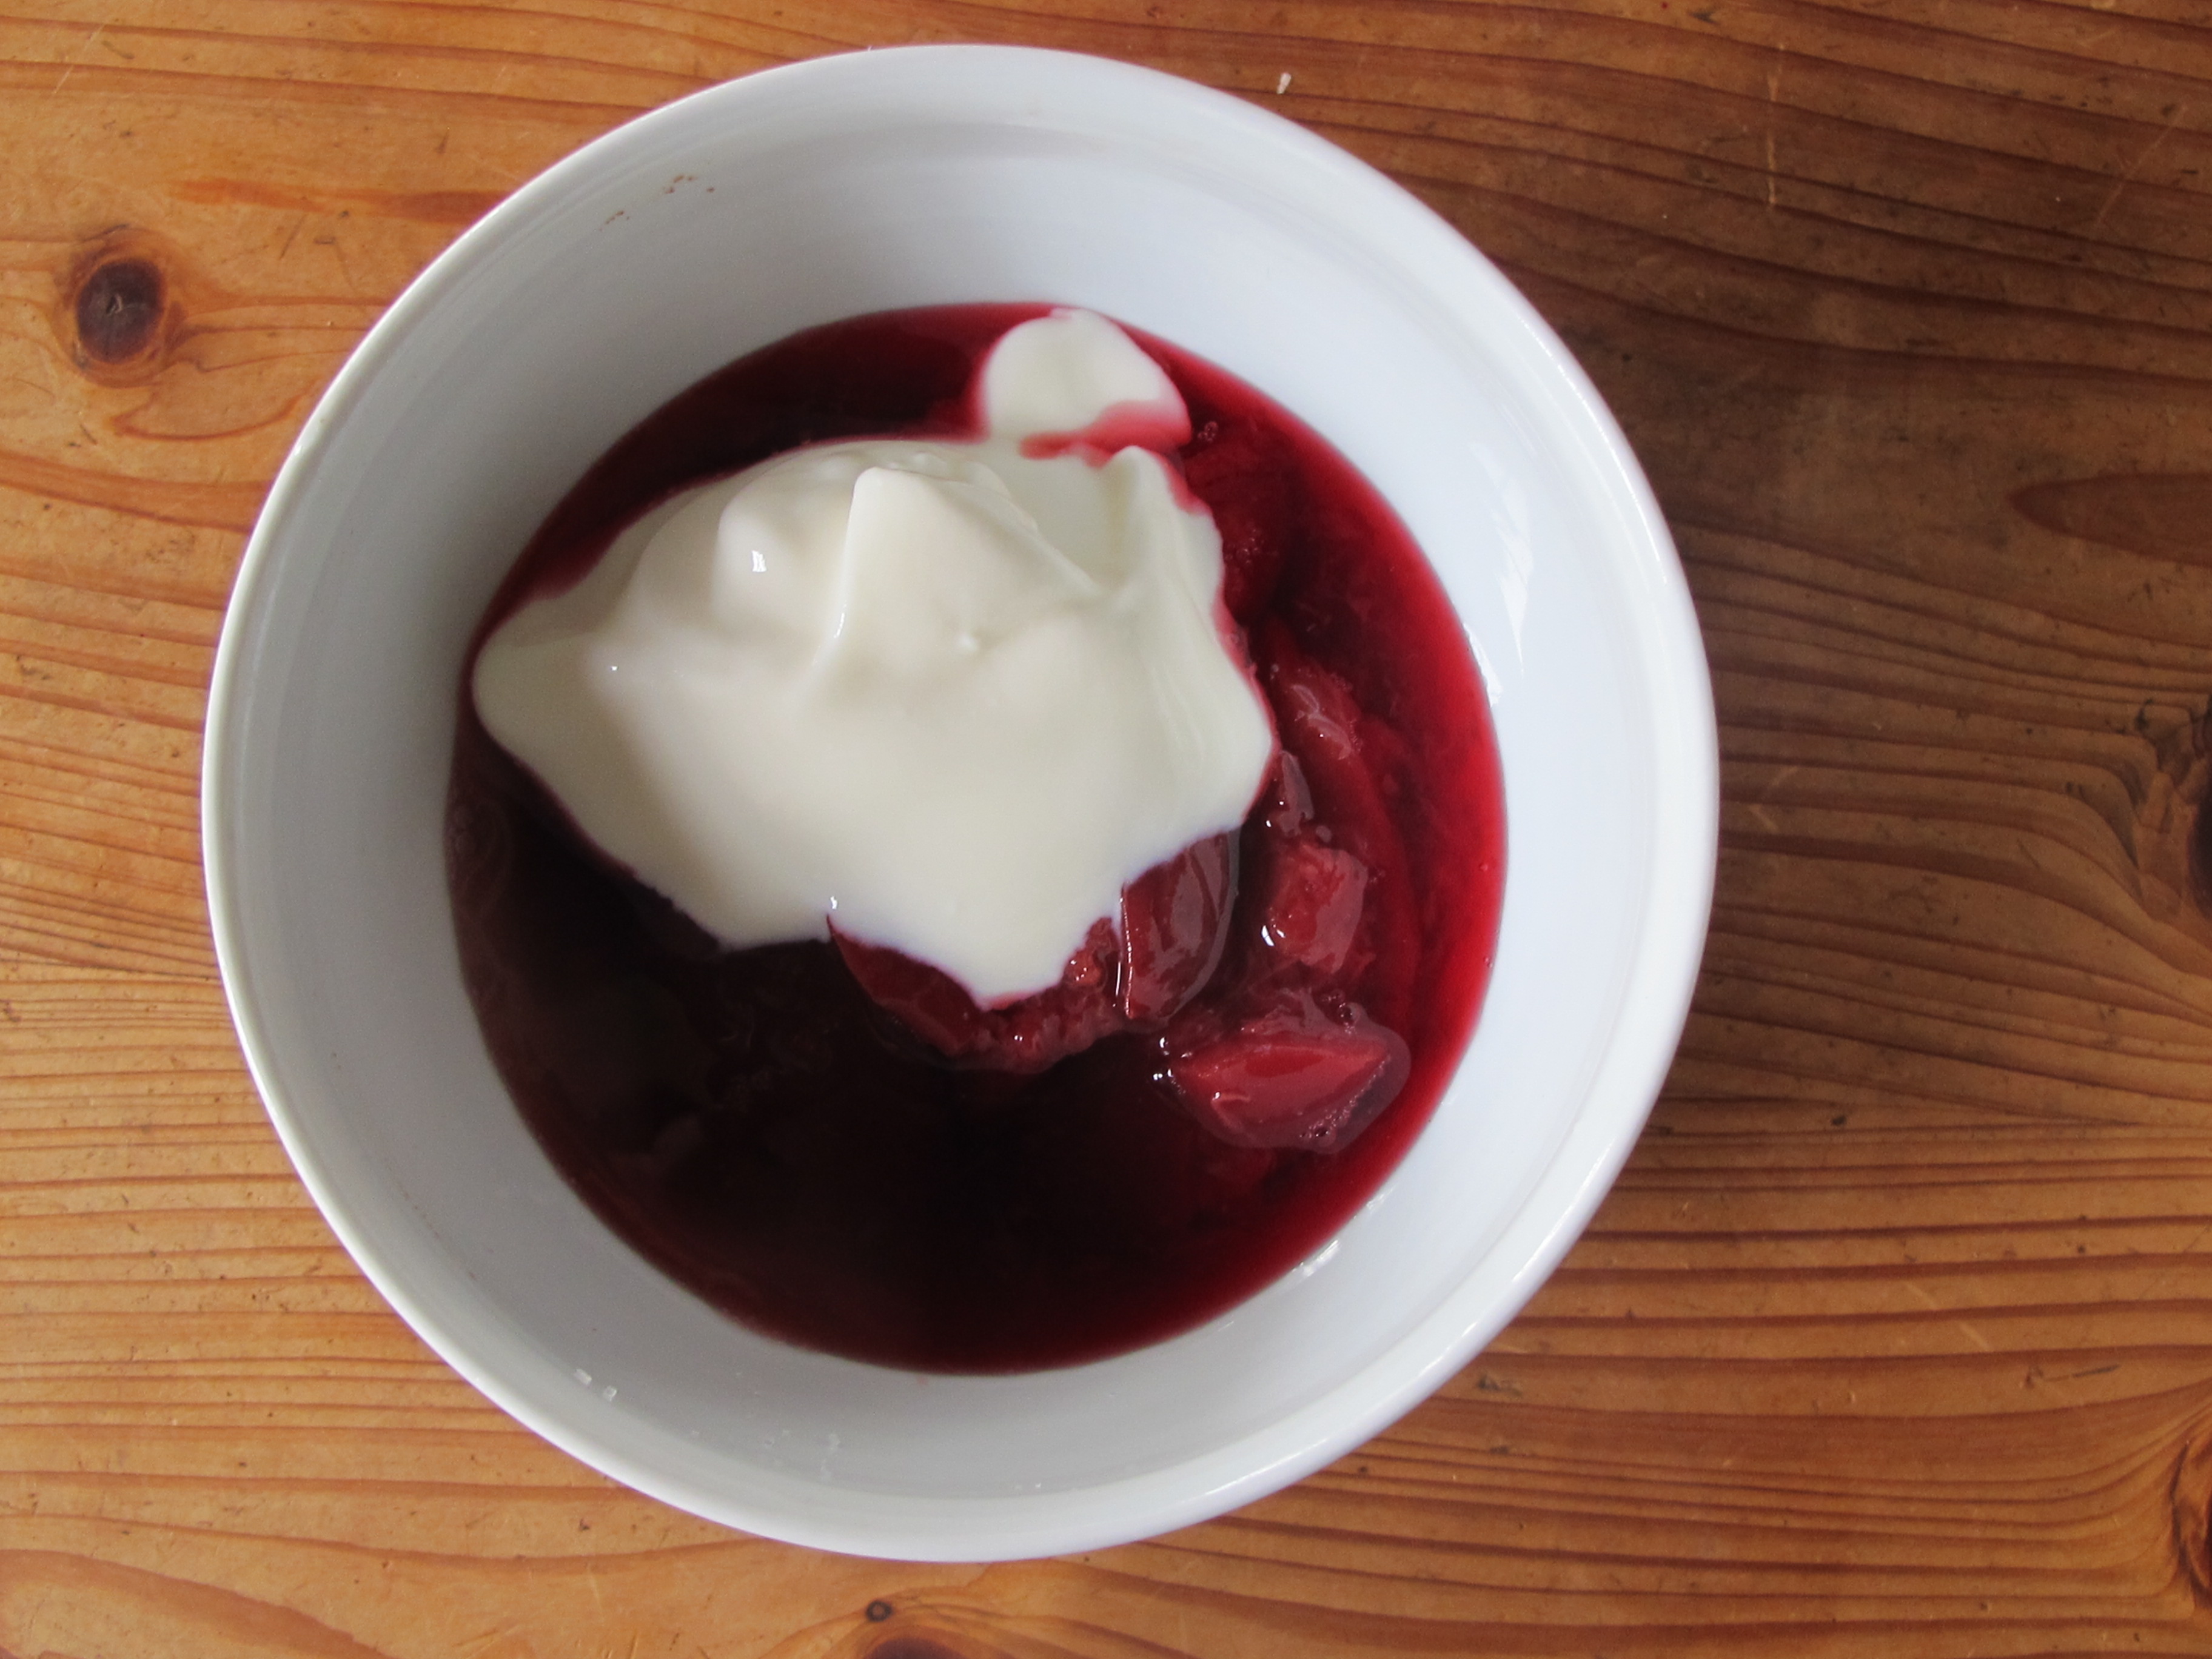
For desert there are preserved plums from the summer served with yoghurt. It’s a pleasure and a thrill to be able to eat our excess summer produce in the cold wet days of winter.

I’m so fortified that we go right back out there and make some fire bricks to replace the current door bricks on the wood kiln. The door of the kiln has to be bricked up each time that it is fired. There is a bit of effort involved in laying so many bricks each firing. There are about 140 bricks used to brick up the door of the kiln at the moment.

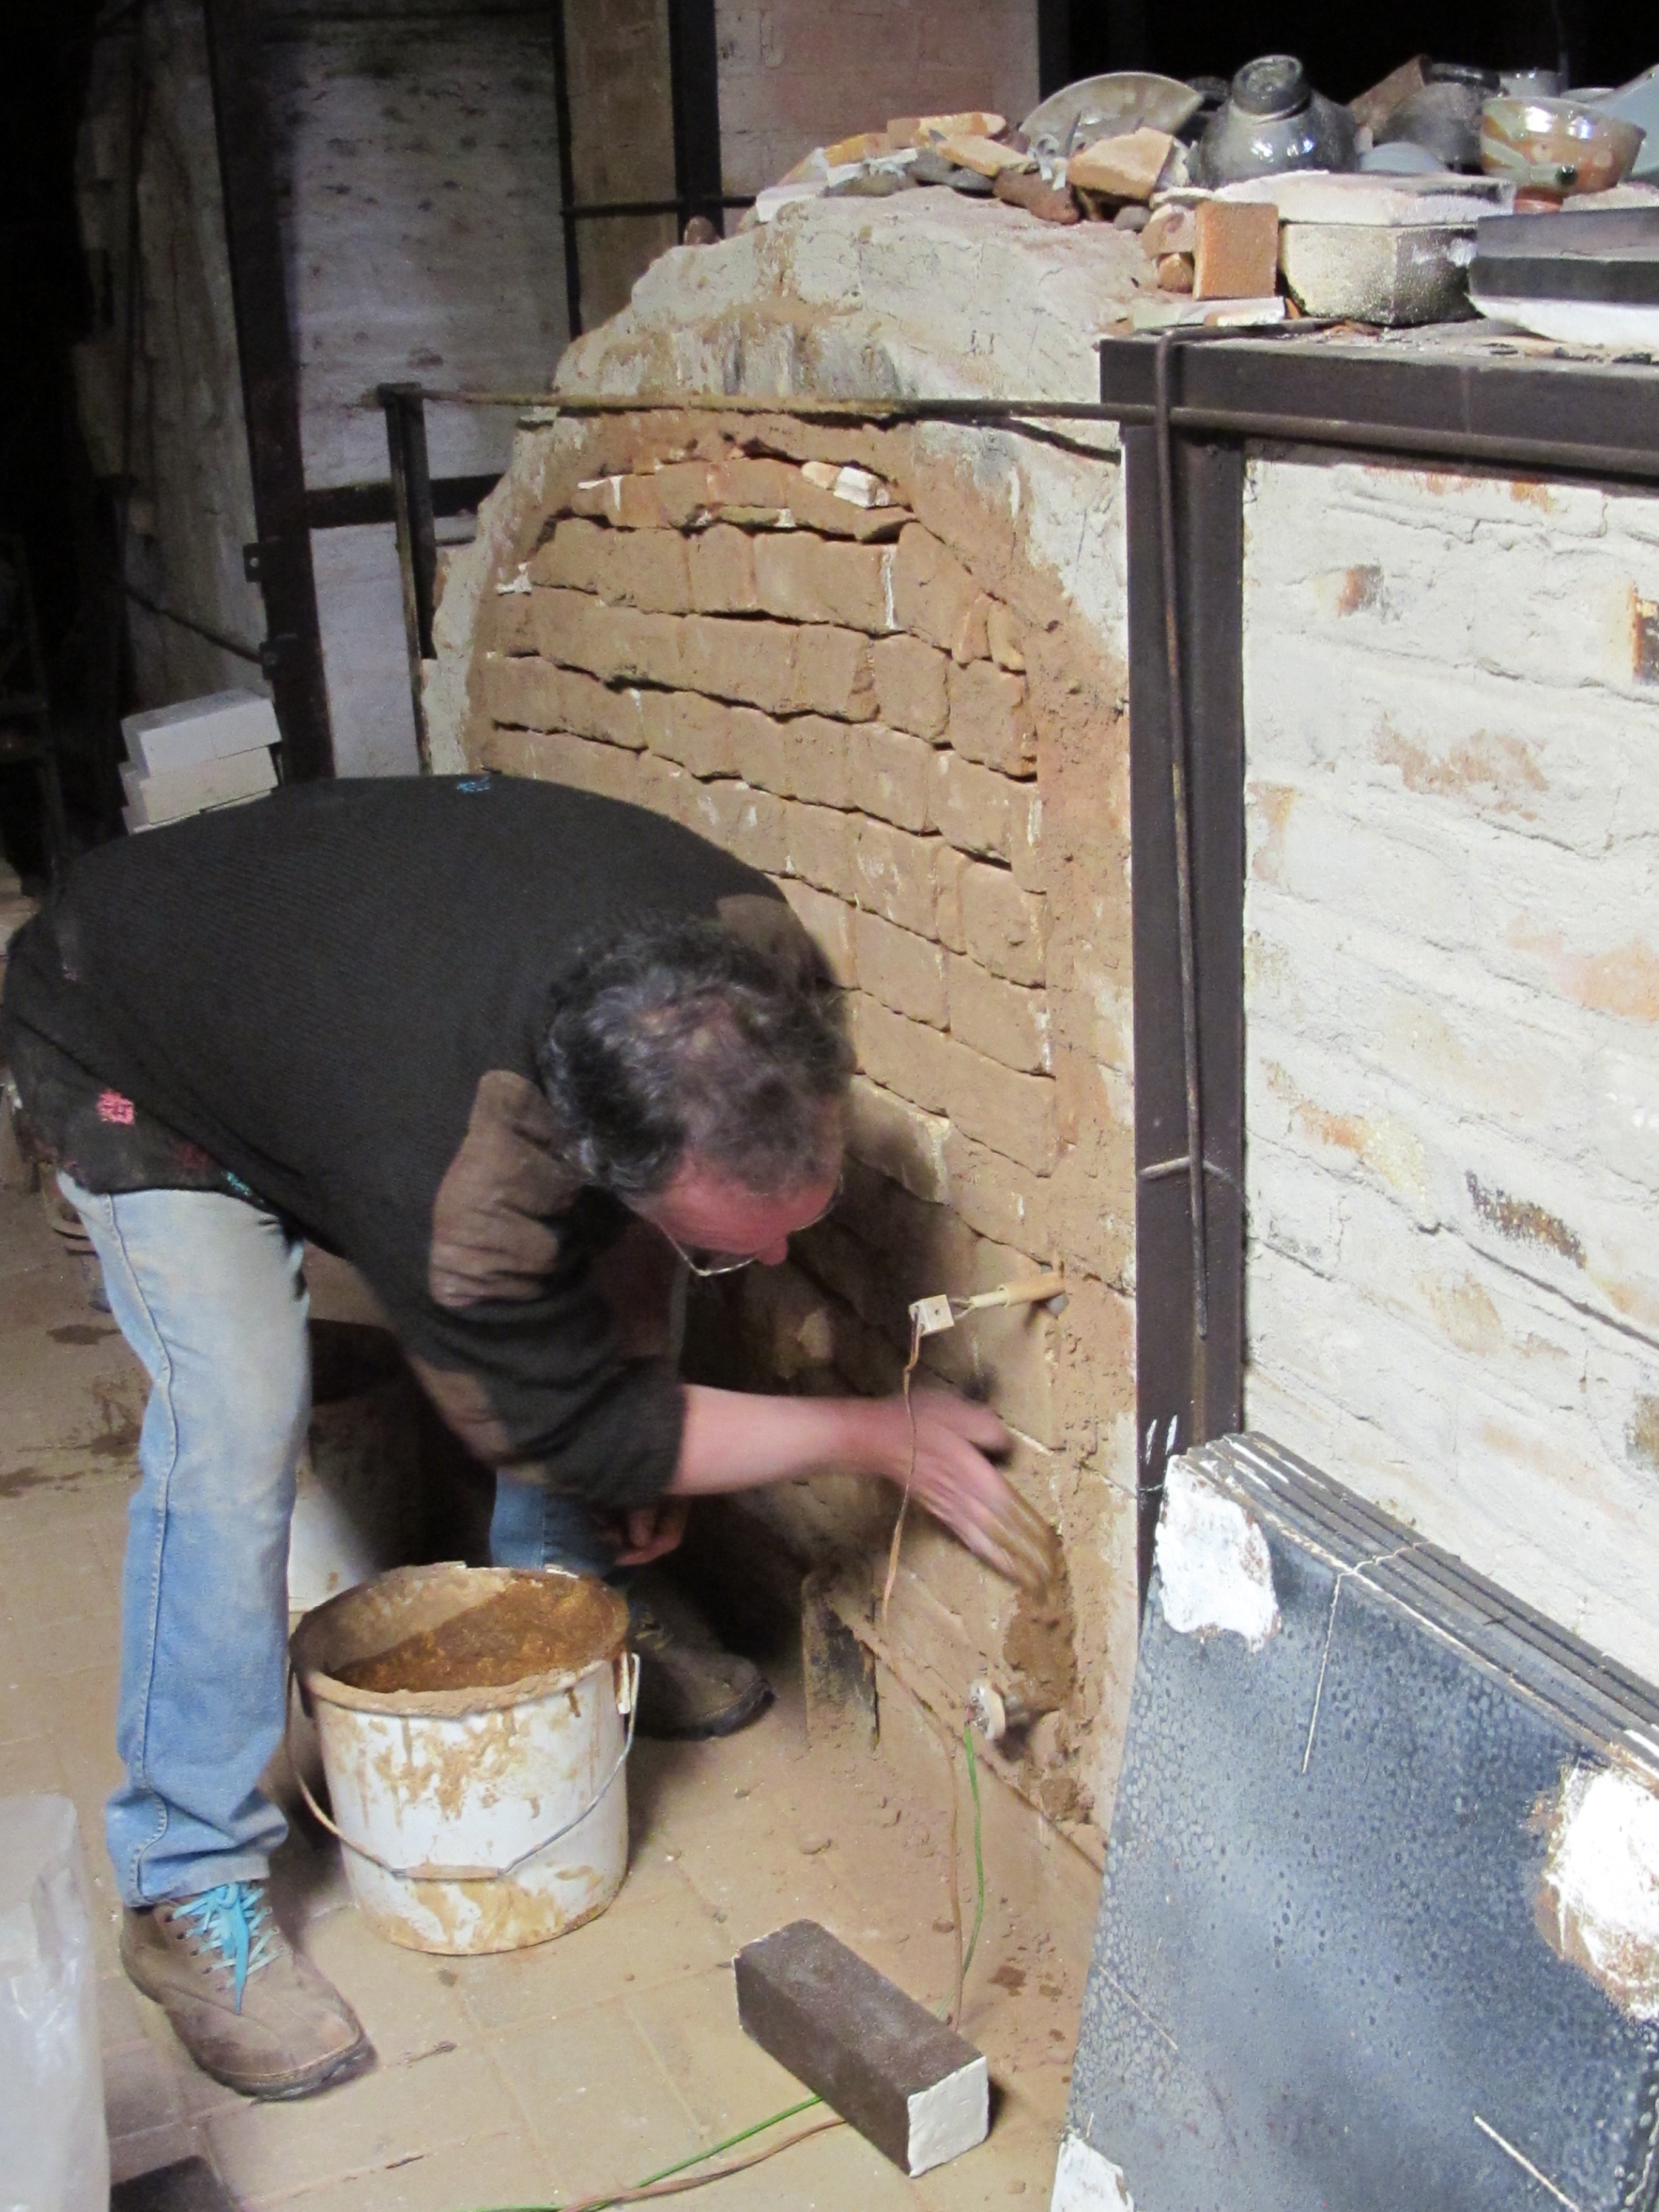
I have been making my own kiln shelves and props for my kiln since 1974. I made all the firebricks for this kiln by hand about ten years ago and have continued to make all my own firebricks ever since. This current kiln is the second one made from hand crafted bricks on this site. Now I decide to make some new larger format door blocks. This time in a larger block size, 150 x 150 x 230mm, equal to about 3 full bricks in one go. It will make the bricking-up of the kiln door much faster. It’s a lot of work to make fire bricks by hand, but we are not scarred of hard work and I am fully committed to being as self-reliant as possible. This is a simple example of what we do to achieve this self-reliance on a low budget and maintaining a small carbon foot print. These firebricks are not the best in the world, but they are hand-made, cost effective and have very low embedded energy. I try to do so many things, that I end up being not very good at any of them, but it gets things done frugally. I’m determined to live below my means.
Making things like this ourselves saves energy and transport costs, as nearly all firebricks on sale in Australia at the current time come from China. We are also maximising our use of recycling, as the grog and the coffee grounds are both recycled commercial waste. These bricks will be fired in the wood kiln, at the back of the stack, 20 at a time over several firings. They are made on-site from re-cycled, mostly local materials and will be fired using our own self-grown and harvested wood from our own property. All the carbon in these trees has come from the air and when burnt, will go back to the air. No additional carbon will be involved. No trans-global shipping costs bringing in product from China. It’s simple and effective. It just takes energy and commitment. We get our personal energy mostly from the vegetables that we grow in our garden. Finally, the residual ash from the fire box after the firing will be used either to make glazes or used as fertiliser in the garden to help fuel us.
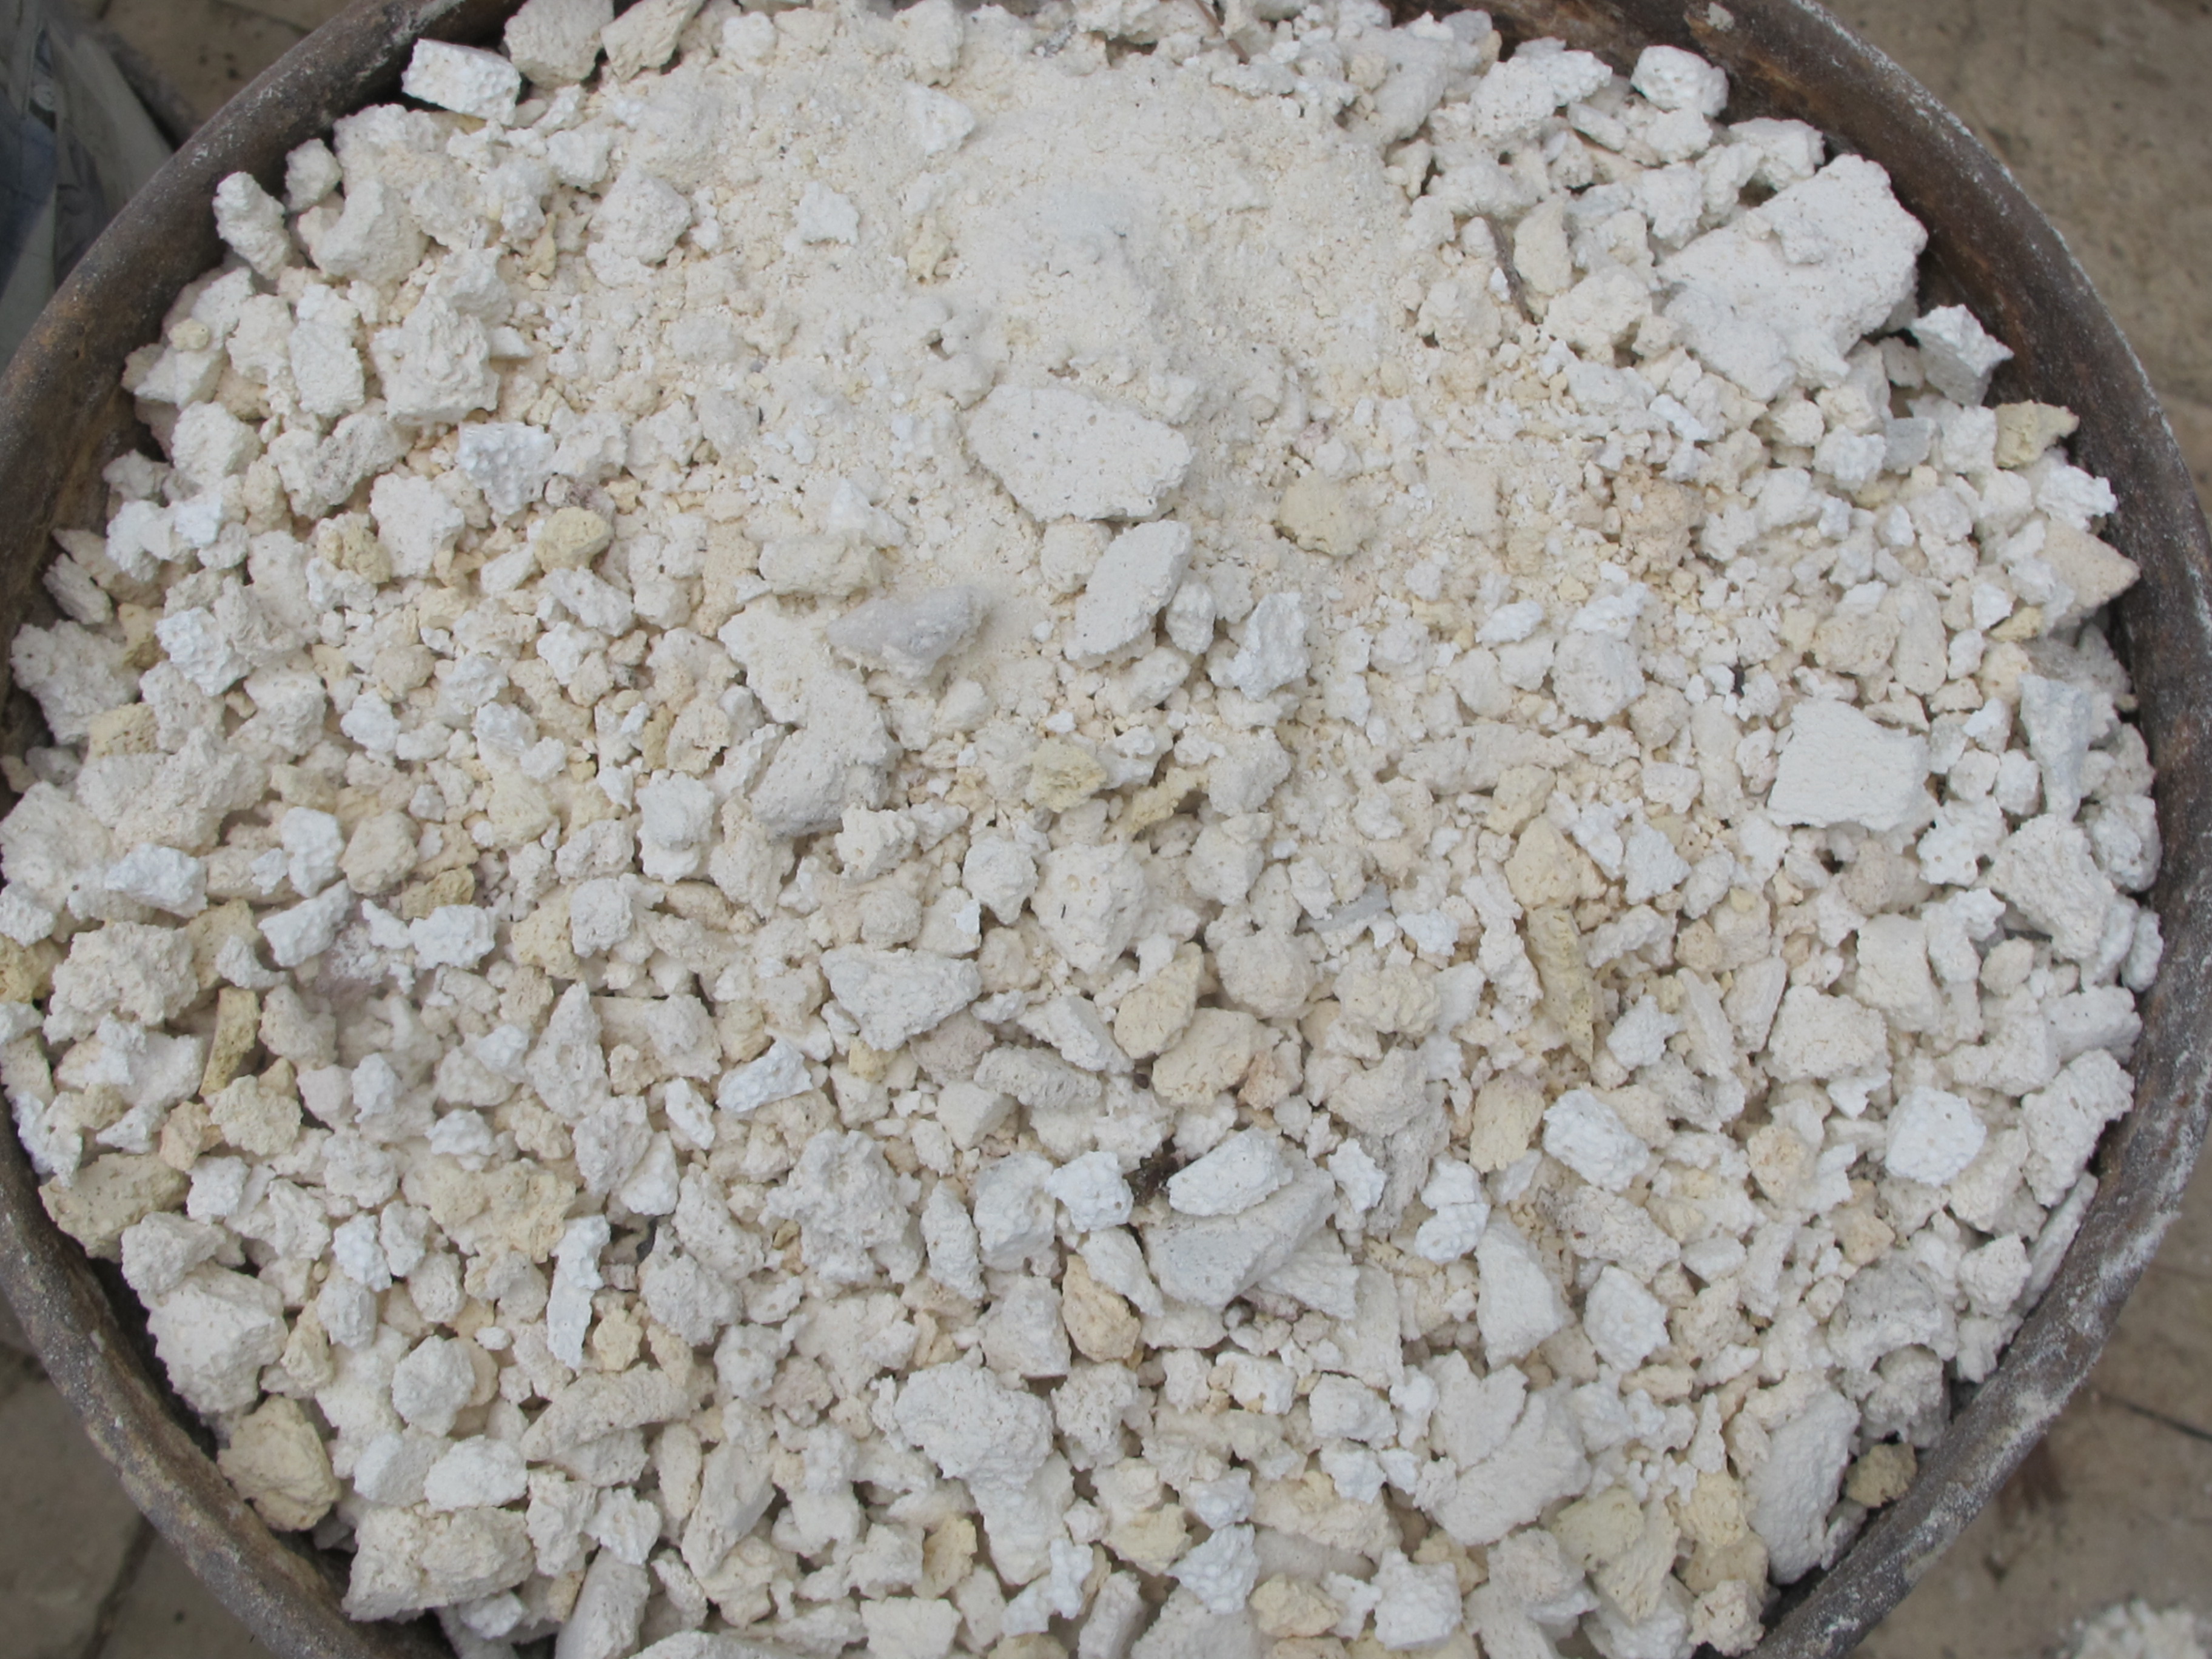
I use coffee grounds and crushed firebrick grog.

All mixed in the dough mixer


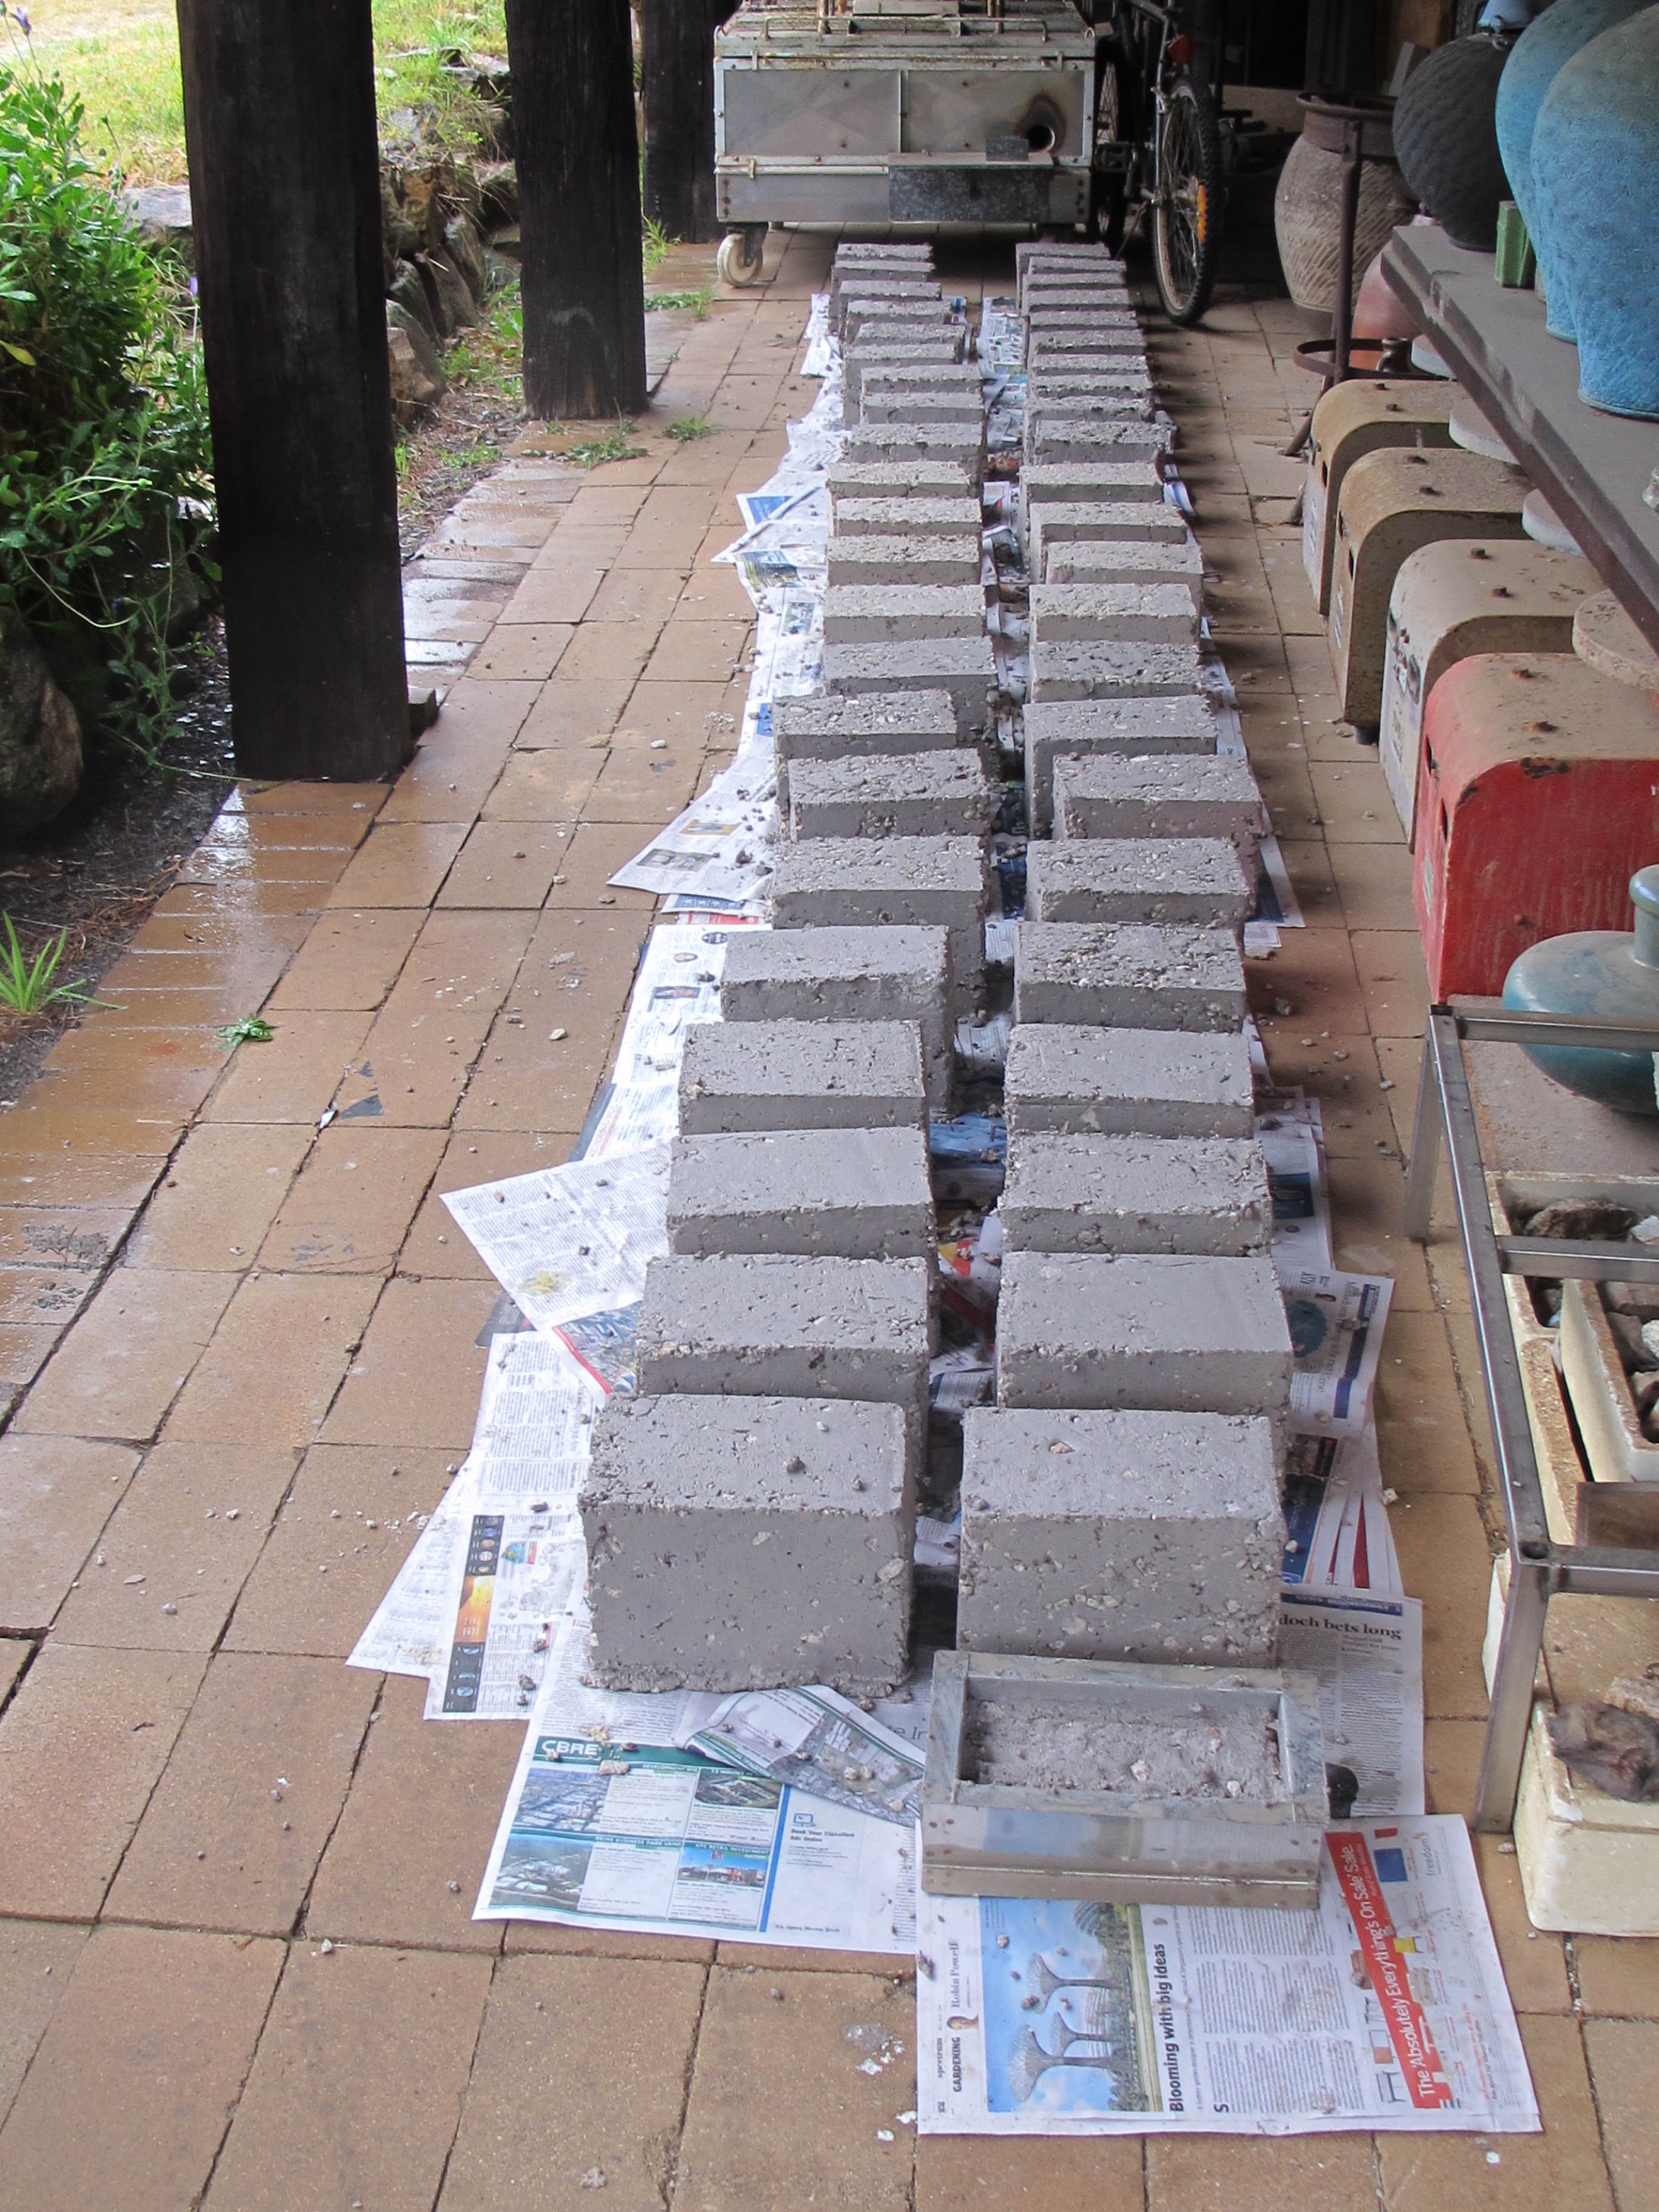
We make 50 of these large blocks with the help of our dear friend Warren. We originally planned to do some orchard pruning together over the weekend, but the weather has turned quite wet and gusty, so we make bricks instead. We end up getting 6″ or 150mm of rain. It’s just what the trees need just now at this critical time of the year. It couldn’t be better for us and the trees.
We make our fire bricks from more or less equal parts of or own grog, crushed, re-cycled broken fire bricks and kaolin. I also add in a good measure of coffee grounds collected from our friend Cathy’s local cafe espresso machine used ‘shots’ tray. Cathy very kindly kept all of the used shots for me all week, so that I could collect them for my research. The coffee grounds will burn out from the fired bricks and leave little air pockets that will act as insulation. This will make the kiln more fuel-efficient. I collected the coffee grounds some years ago, dried them and stored them away, preserved as dry powder in the kiln shed. What I didn’t use back then to make all the bricks to build the new kiln, are being used now for these new bricks.

with love from the well preserved Dr. and his fresh and radiantly blooming Ms.

You must be logged in to post a comment.