
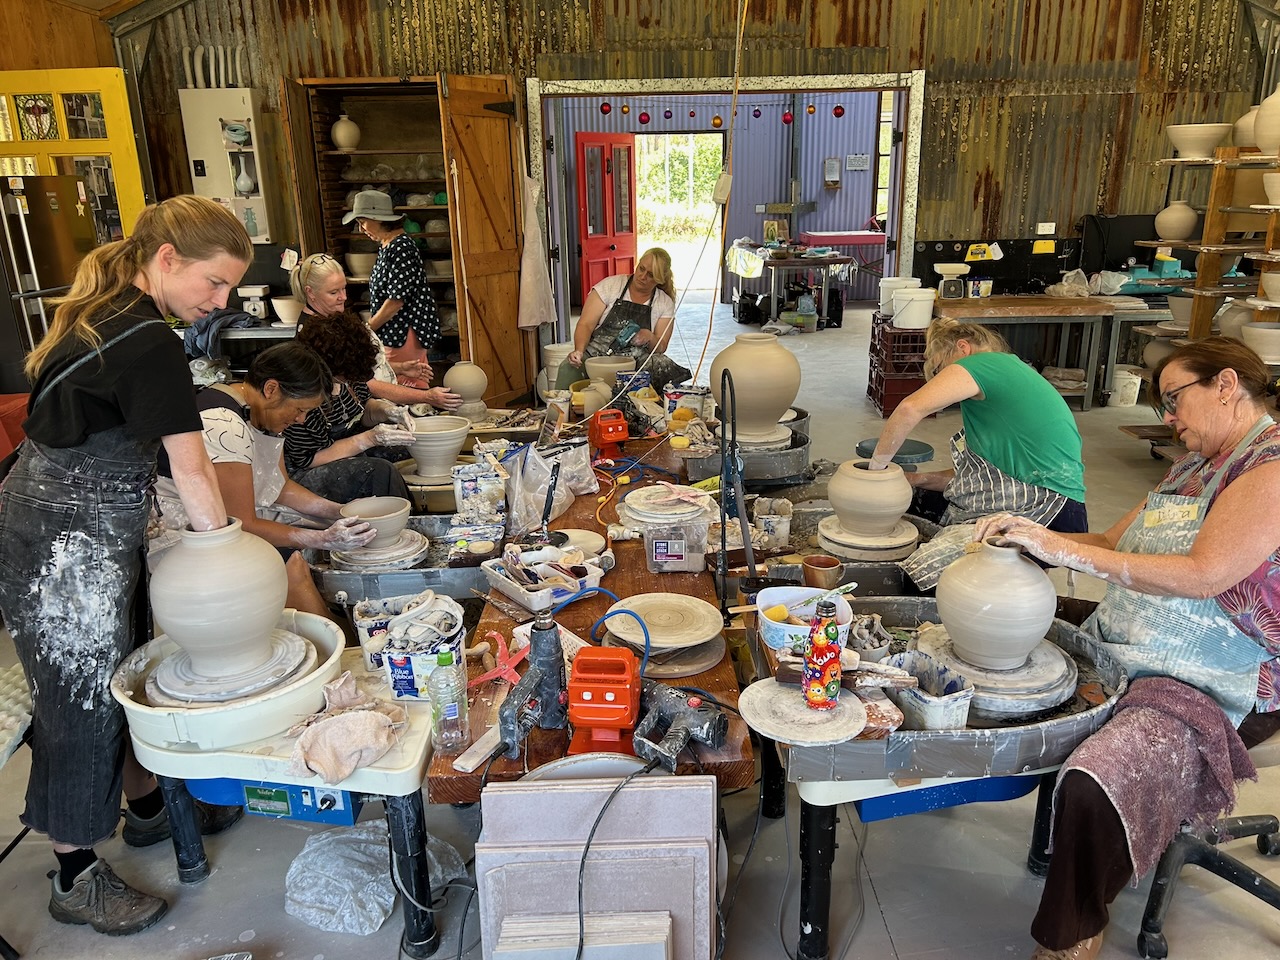
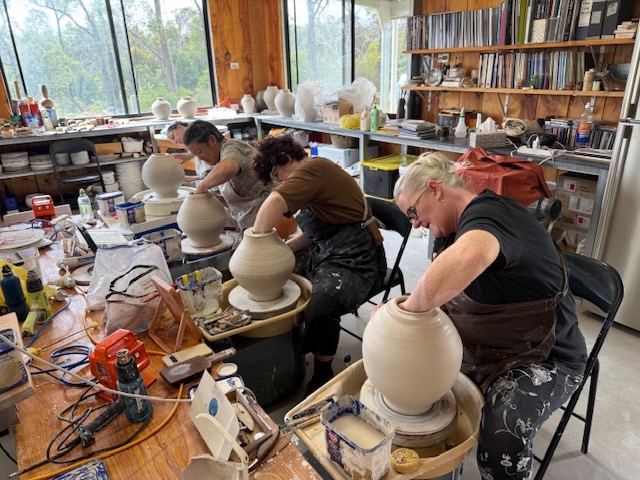
We have just completed our four day summer school, learning some of the techniques involved in the making of Korean Moon Jars. We made moon jars at the time of the full moon! Inspiration.
Moon Jars aren’t easy.
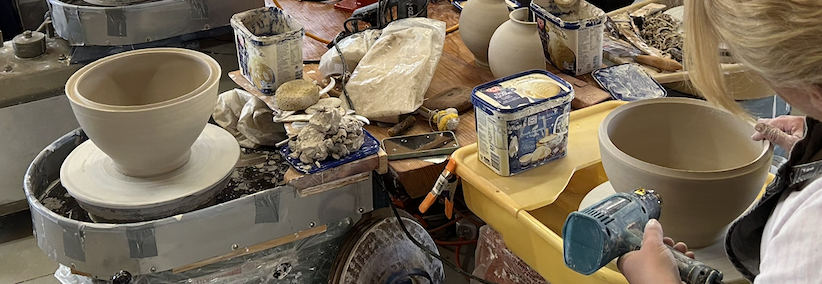
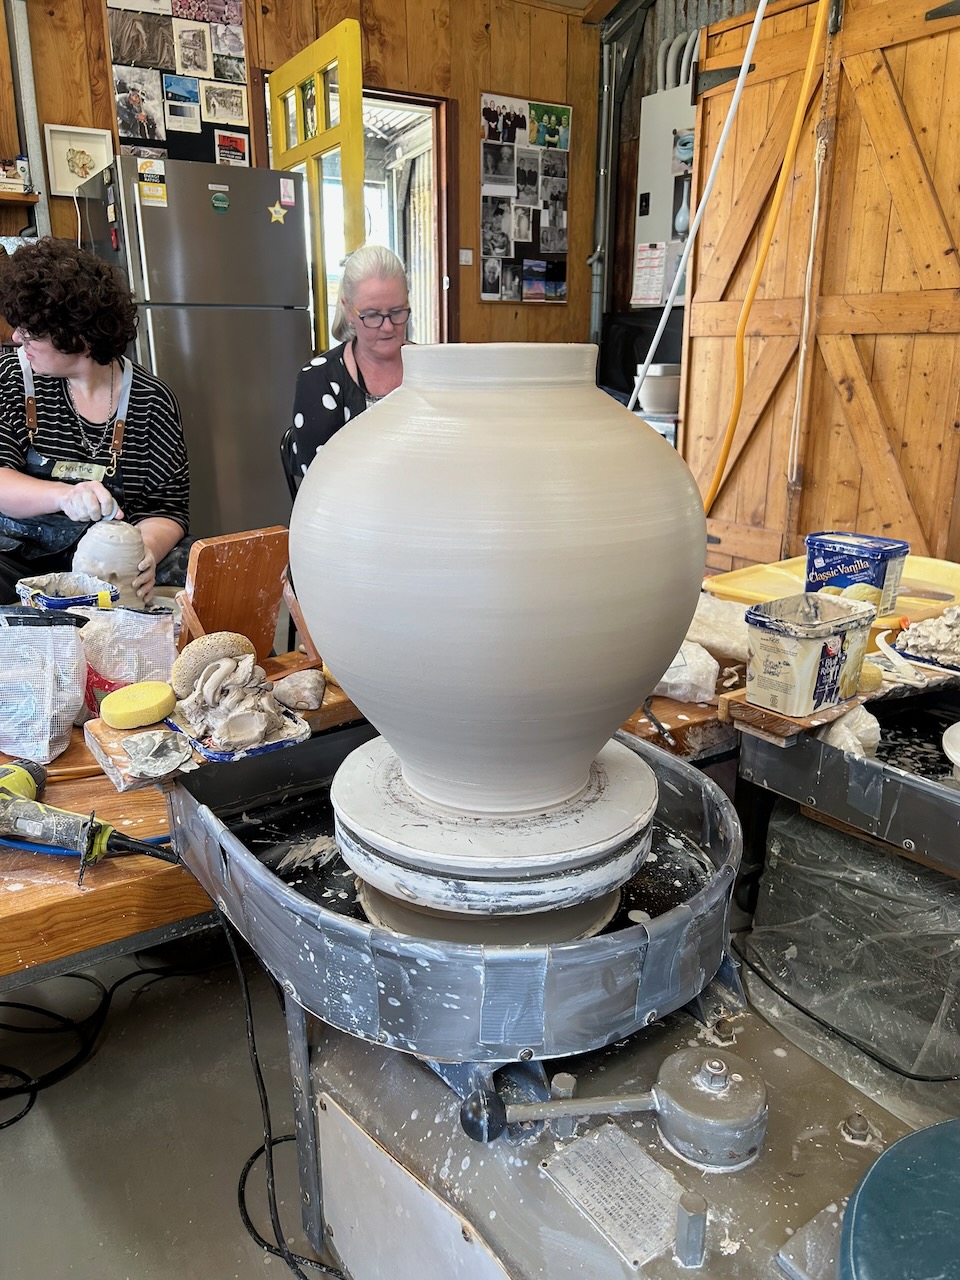
To make these big, round, full shapes, we practiced making the spherical forms in two pieces, which is the most common technique used in Korea for this difficult shape. There are a few virtuoso throwers who can make such a shape in one piece on the wheel, but very few. I’m certainly not one of them. All the workshops that I attended in Korea over the years, all made their Moon Jar forms in two pieces. Even the 14th generation, National Treasure, Moon Jar master, whose workshop I visited, had a throwing room full of thrown 1/2 pieces – bowl forms – stiffening up, ready for assembly the next day.
So I decided to teach this two part technique. We started with 1 kg to 1.5kg, then added another kilo each day, ending up with 4 kg. The object wasn’t to make full size Moon Jars. The purpose was to learn the technique of throwing and joining fat round forms. Repetition is very important in learning. We practised ’non-attachment’, if the pot wasn’t going well, then it is best to put the clay back through the pug mill and start another one. Some of these students came here last year to learn to make tall joined forms, so were familiar with the workshop and one of the joining techniques.
There are at least 3 common ways to construct the joint when assembling the 2 bowl-shaped halves used to make a Moon Jar. Each with its own level of difficulty. The easiest to throw and assemble is the flat top joint. We studied this in last years Summer School here, where we threw and assembled complex forms in 2, 3 or even 4 pieces. We were working fast and wet, so the flat top joint works very well. The two surfaces meld into each other perfectly. It also allows for some sloppiness in the measuring and sizing. The two pieces can be easily massaged into shape and it is a great way to learn a lot quickly. However, It works best on the more vertical forms.
That said, it is the technique taught in Korea’s prestige ceramic university ‘Dangook’ university. I have watched the technique of the master thrower – Professor of Moon Jar making – teaching a throwing class using this technique. As long as you get everything level, concentric and perfectly aligned, it is the easiest to master. He made the two half-pots one day and assembled them the next. So that they were slightly stiffened. He used thick throwing slip slurry on the joint.
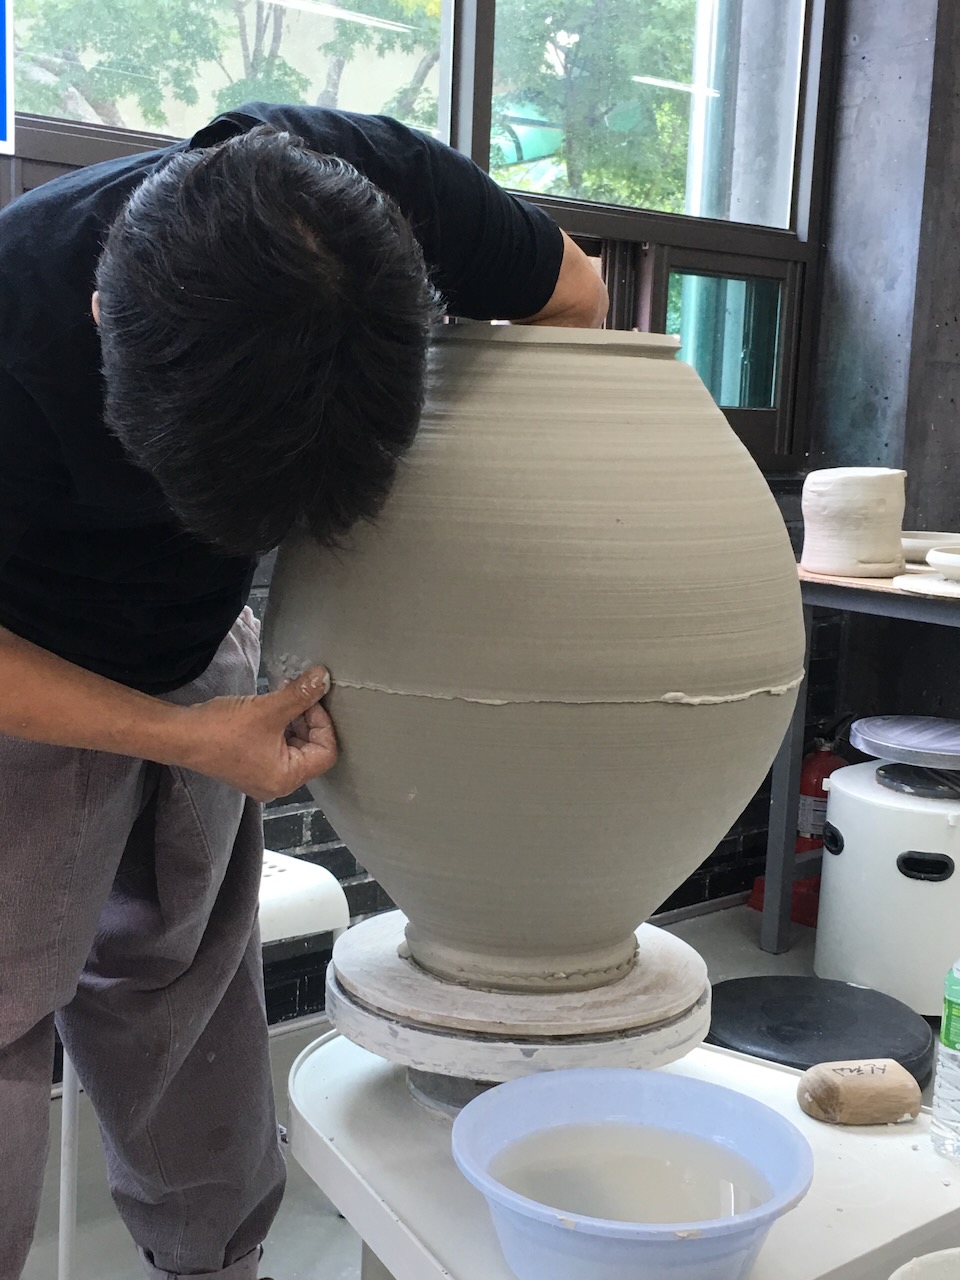
The next level of difficulty is the tongue and groove ‘V’ joint, where the rims of the two halves are thrown with a ‘V’ shaped hollow in the base section rim. The female part?, and the other half, the top section, is thrown with a ‘V’ shaped pointed top on the rim. The male part? These two complimentary sections fit together perfectly(hopefully), and marry up to make a very sturdy joint. But! Only if they are well formed and accurately measured. The ‘top hat’ technique is used to join the two bowl forms. The base is firmly secured to the wheel head, then the other half is picked up by the batt on which it was thrown and quickly inverted and placed on the bottom half. Remember not to cut the top half bowl off its batt until it is inverted and placed on the lower half!
Taking the time to measure accurately is of the essence. It is also necessary to ensure that both ‘bowls’ are perfectly round. If they are thrown with a slightly oval kink in them, then a single measurement of one place on the diameter won’t be accurate. This joint requires patience and accuracy in the measuring. However, If you find that there is a slight difference in the two diameters when placing them together, as long as it is only minor – 5 to 8 mm.. You can cut off the top batt and place your hand inside the top bowl, then gently massage the ‘positive’ rim into the ’negative’ groove until it fits exactly. This will ensure a sound fit and secure joint, but may result in a slight wobble in the overall form. Probably not terminal though.
The beauty of this technique is that you can ’stiffen’ the bottom section by heating it a little. But make sure to measure it first. Then you can invert the top section straight away and continue throwing. This means that the form is still ‘fluid’ and can be reshaped slightly to make sure that you have a unified overall form. It is quite forgiving, but only up to a point. Don’t over do it, or you’ll loose the lot. Apart from being unattached to the pots that you are making, the other lesson of the week is to know when to stop.
The most difficult joining technique involves throwing the rim of each half with a 45o degree complimentary bevel on the rim of each bowl, such that they fit together perfectly. The great difficulty comes when inverting the top half and placing it onto the bottom half. Unless the pots are perfectly round, and exactly measured. They wont fit and there is no way to recover them. Also. If you miss match them slightly, there is a risk that the top half will slide down over the edge of the base. There is nothing ‘flat’ to rest on. Nothing to stop it sliding. The 45 degree surfaces slide past each other freely. Only the perfect accuracy of the fit will hold it in place. I saw this technique demonstrated by a master Moon Jar maker from Incheon, near Seoul. He also made both halves the day before and let them stiffen beforehand, then used thick slip in the joint. With the two stiffened version of this technique, both halves must be thrown to the exact shape that you require to make the full round form complete once married together. There is no possibility of ‘correcting’ the form on the wheel once assembled.
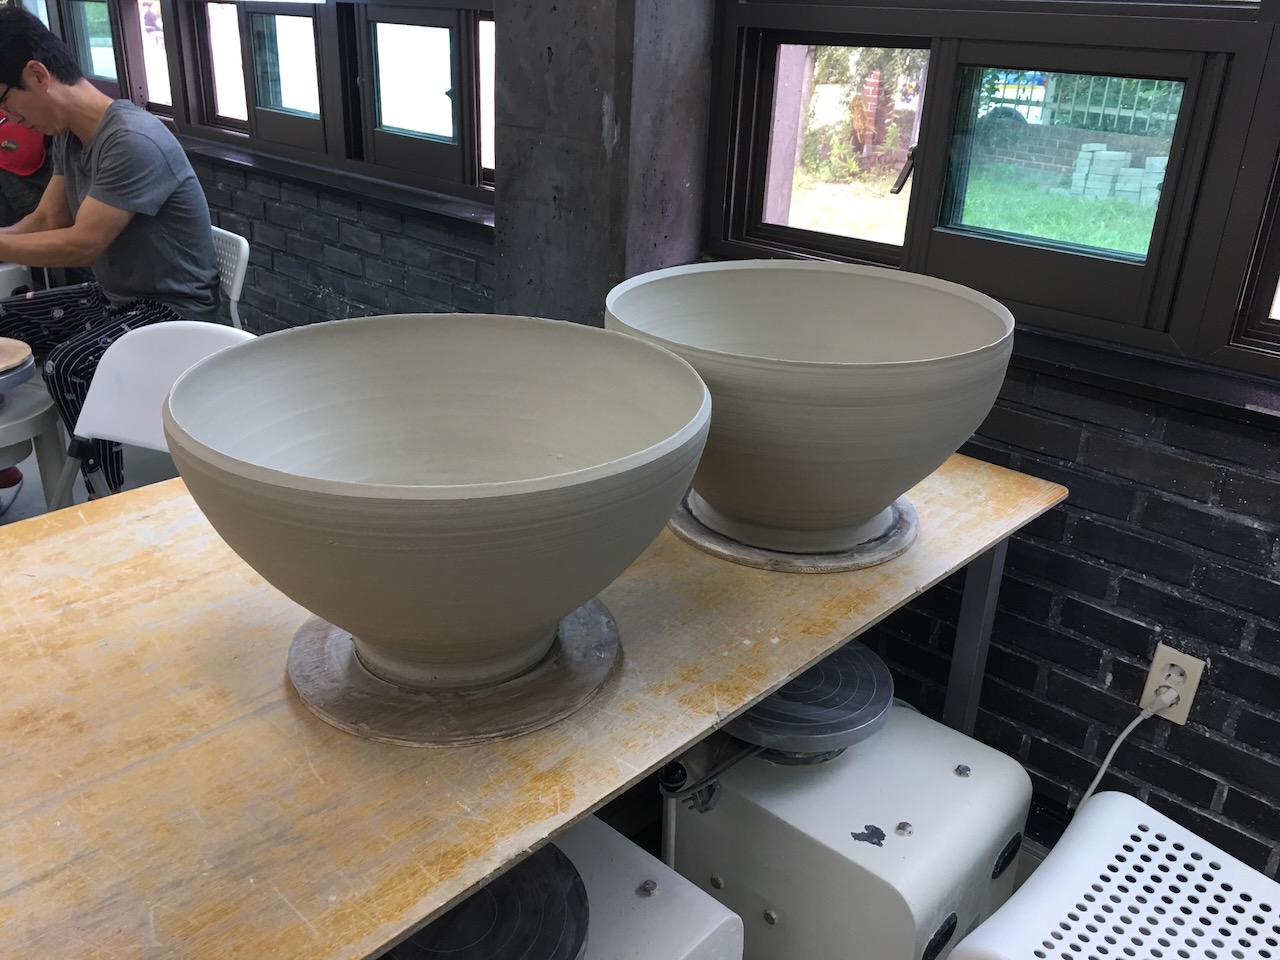
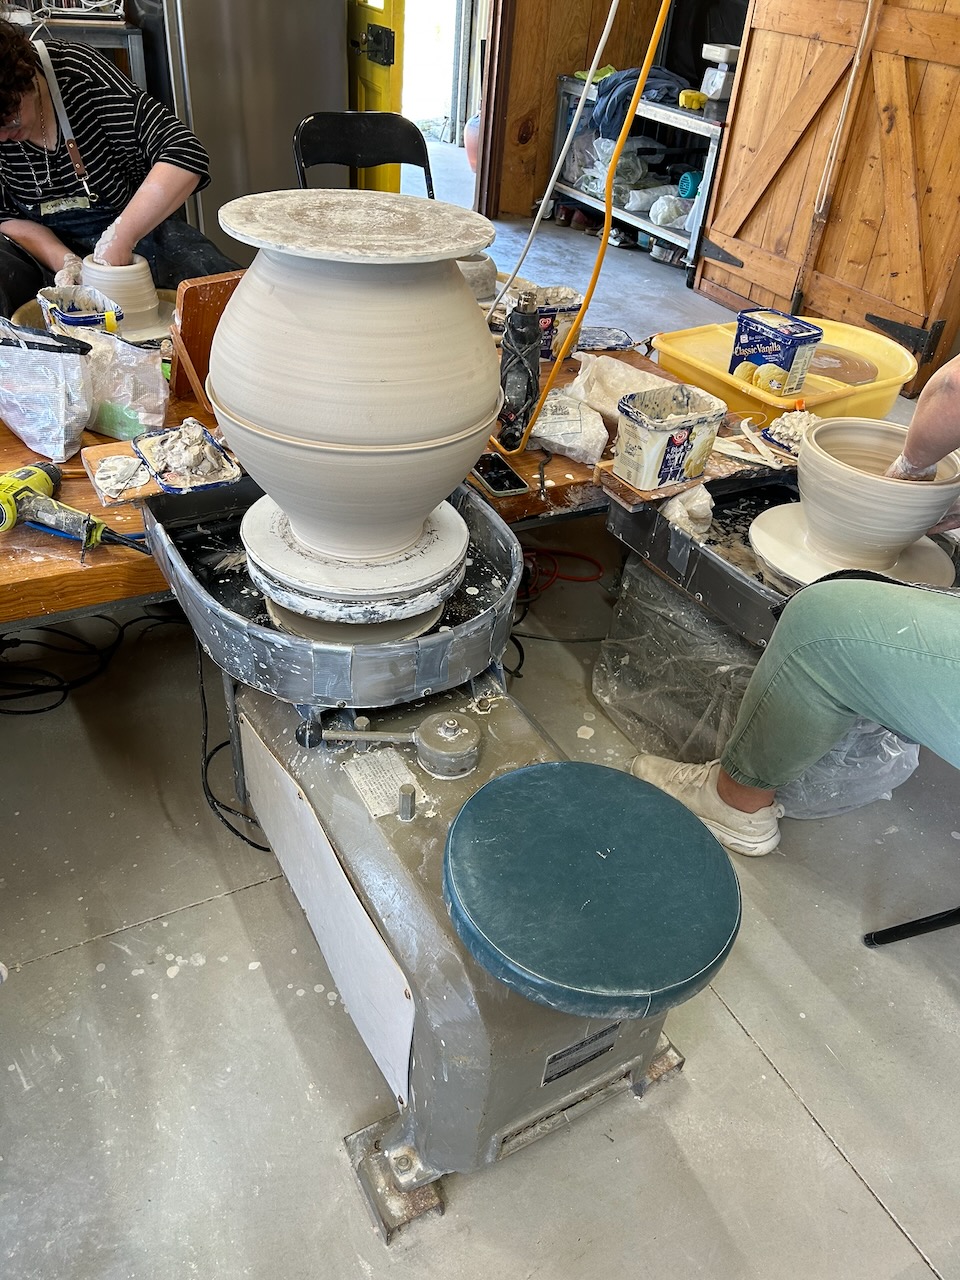
The great virtue of using 2 stiffened forms like this, is that they hold their full, round, ballon-like shape well without collapsing. So you must know exactly what you are doing right from he start. As I pointed out at the beginning of this letter, Moon Jars aren’t easy. But as you start to ‘get’ the form right, and it all starts to come together for you. They are really rewarding.
It doesn’t matter which way that you do it, as long as it sticks together and doesn’t split apart when finishing off the throwing, cracking during drying, or dunting in the firing.
The bottom half is thrown with an more vigorous and upward inflection to the curve, while the top half is a fully rounded form. It takes practice to get the balance right.
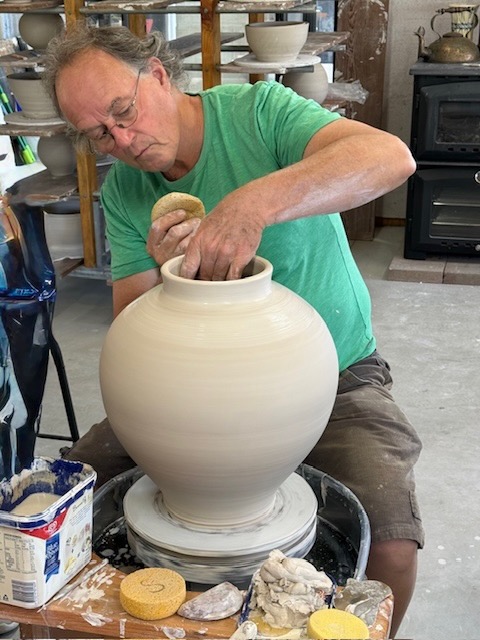
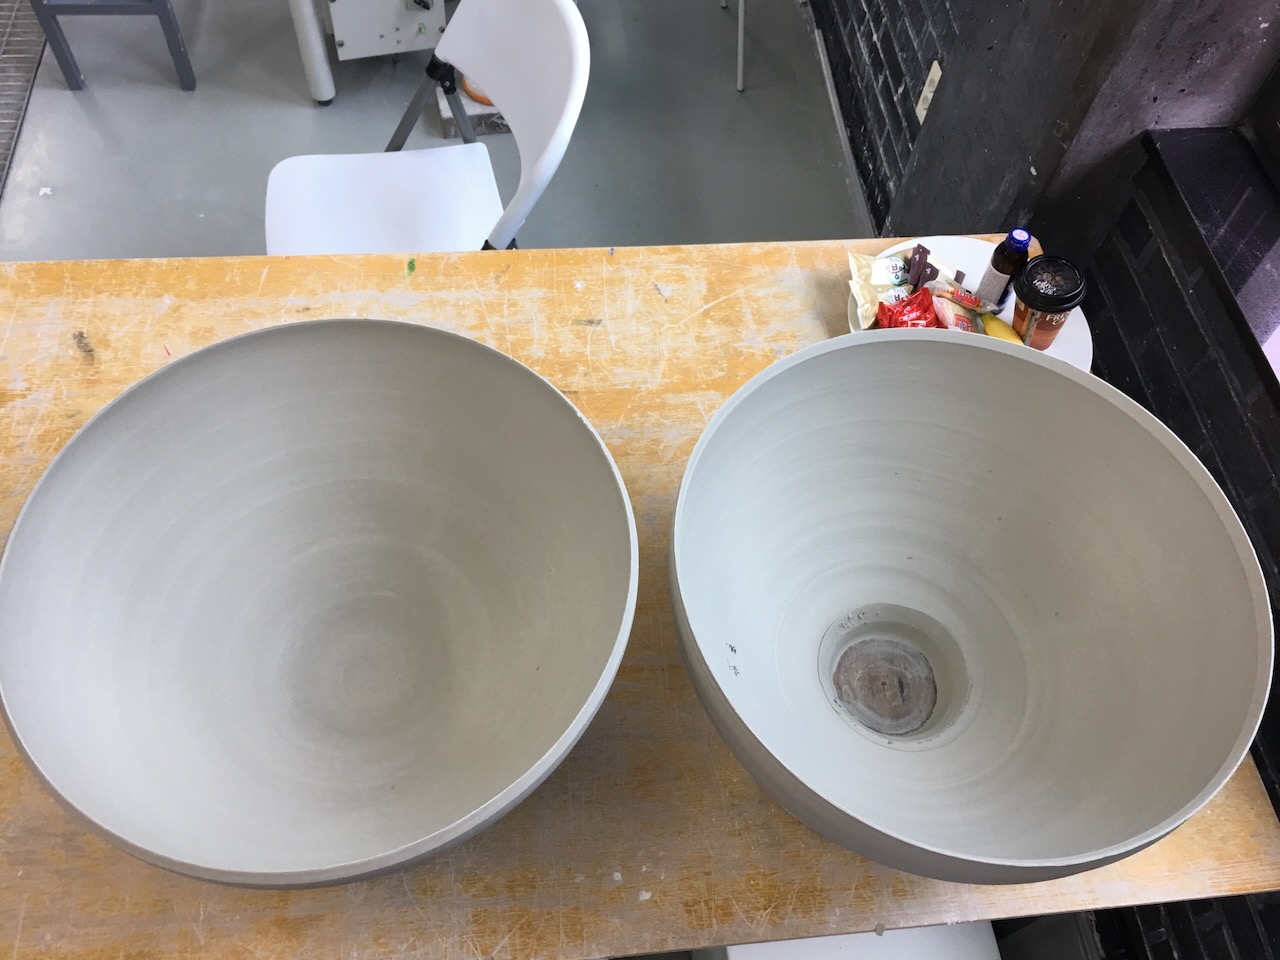
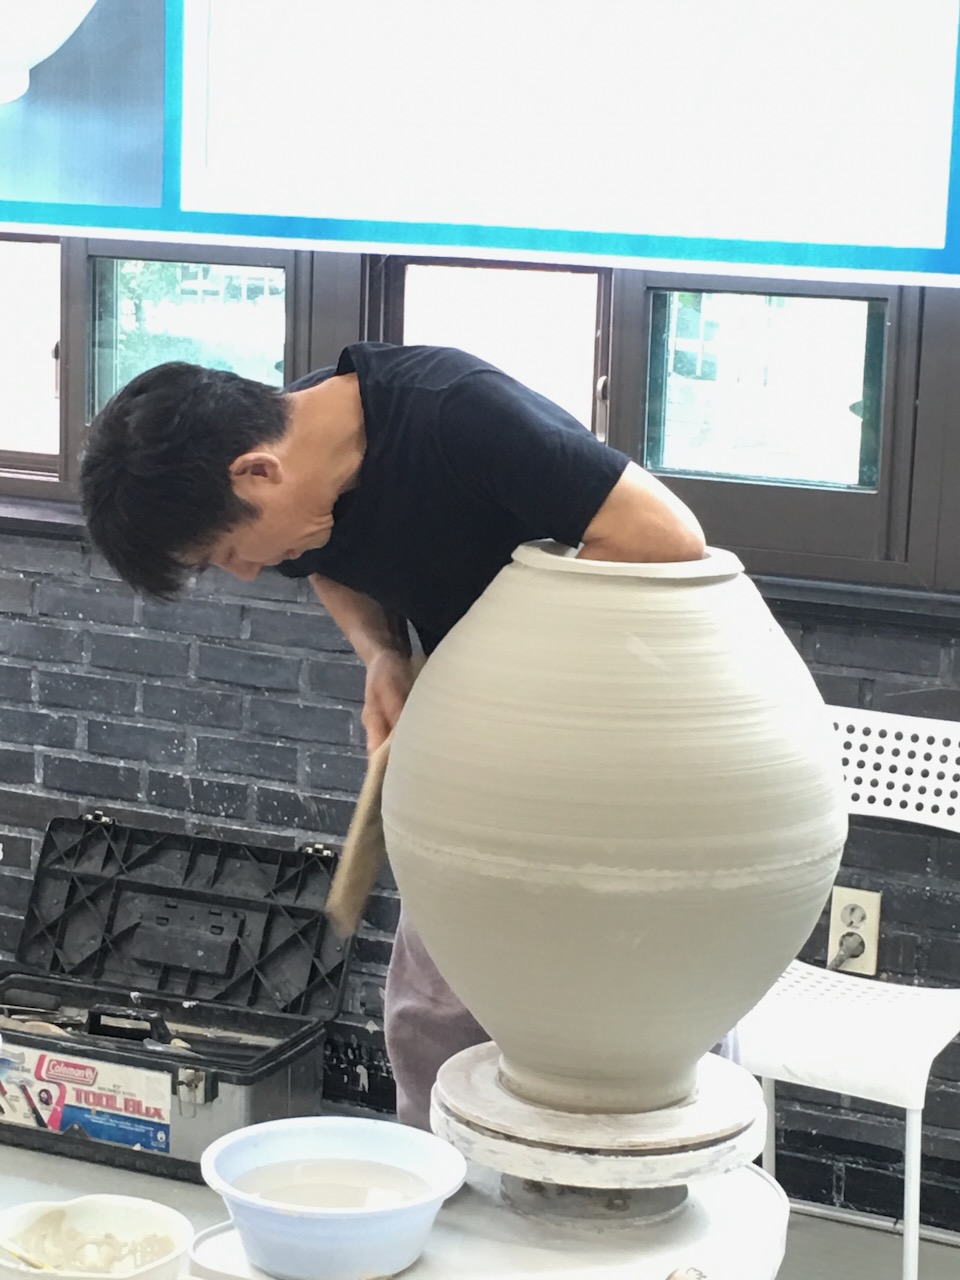
Once the pot is assembled, the foot section of the top bowl is opened up and the joint is pinched together with fingers from inside and out. If necessary, the joint can be compressed from the outside using a ‘paddle’ against a solid little round ‘anvil’ block (see previous post on tool making) on the inside to counter the pressure and compress the joint. The final action is to throw the rim up from the shoulder using the excess of clay that was in the base of the bowl.
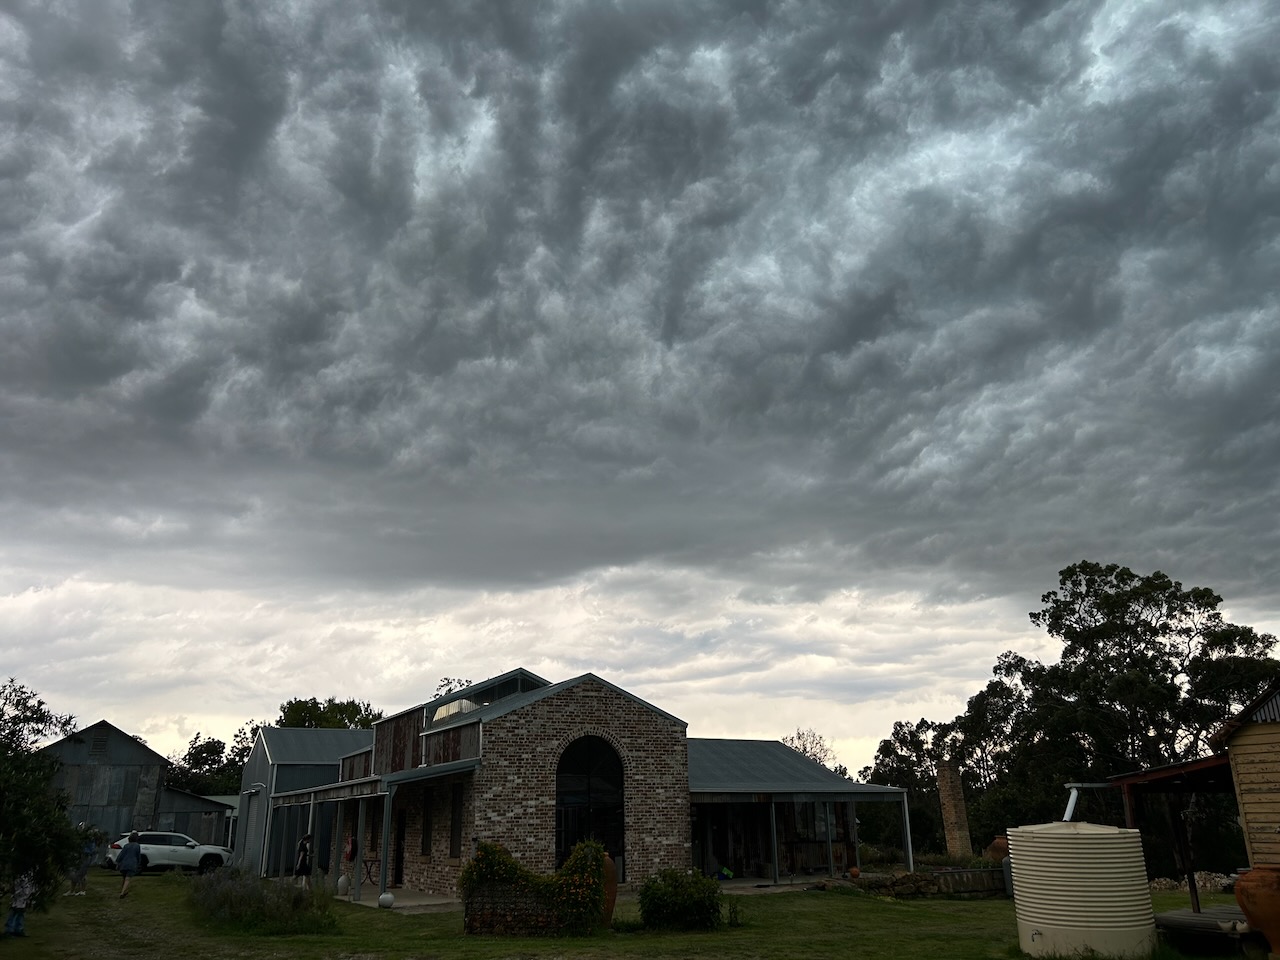
On the second day of the workshop, we had a massive storm with loads of thunder and lightning, followed by some intense rain. Then in the afternoon, we had the most beautiful double rainbow!

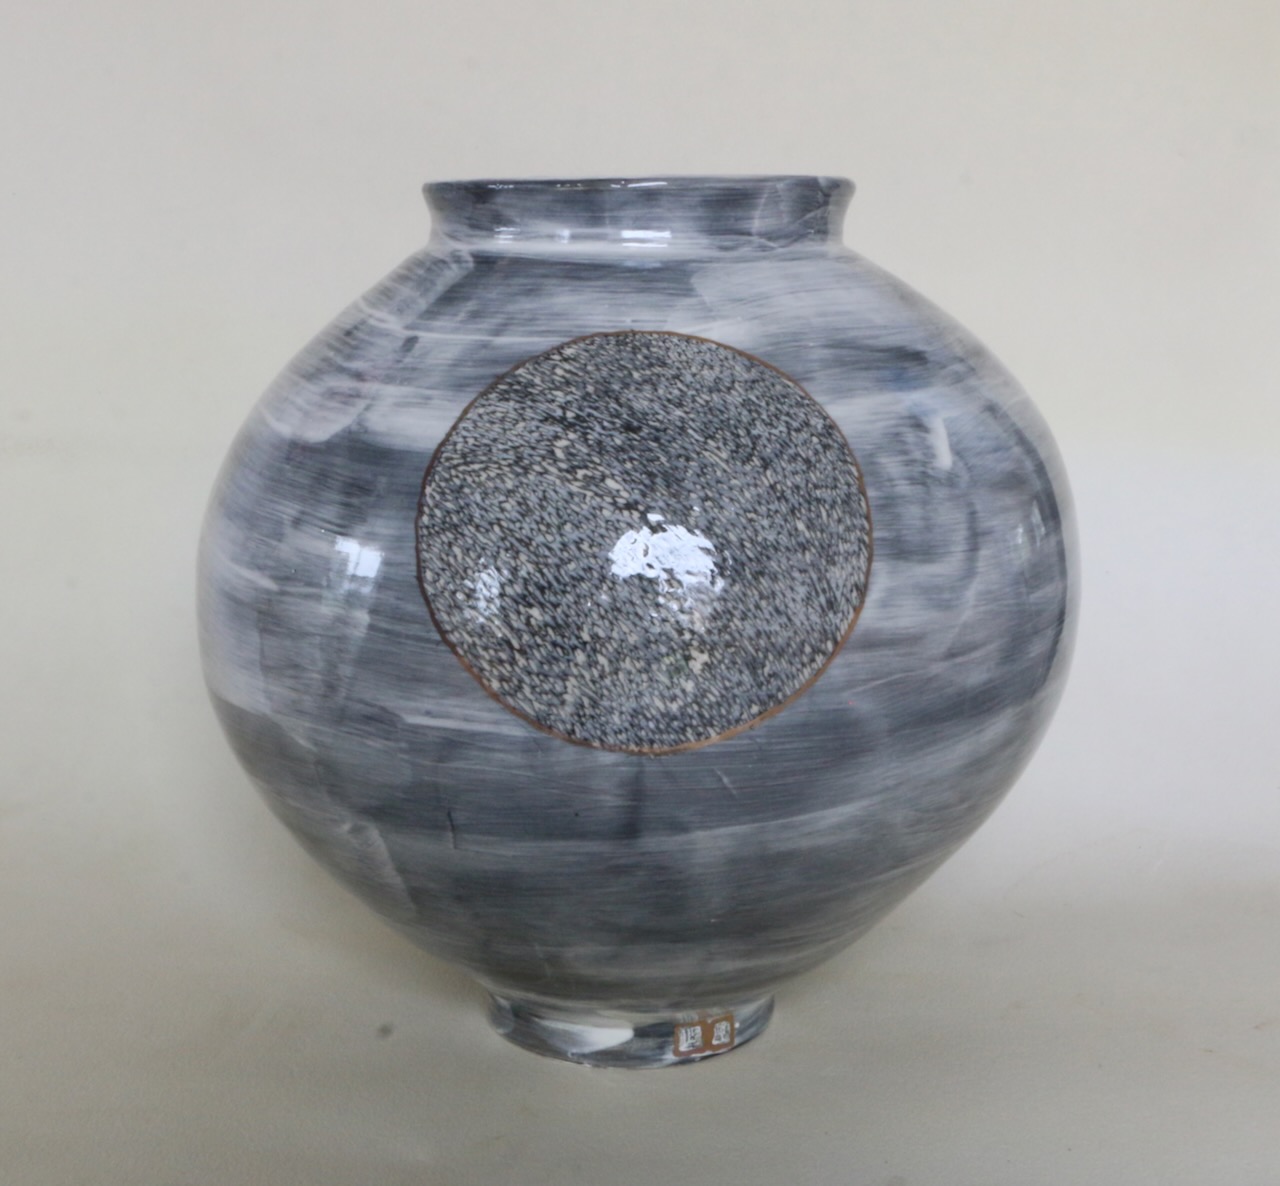
Moon Jar with full Moon
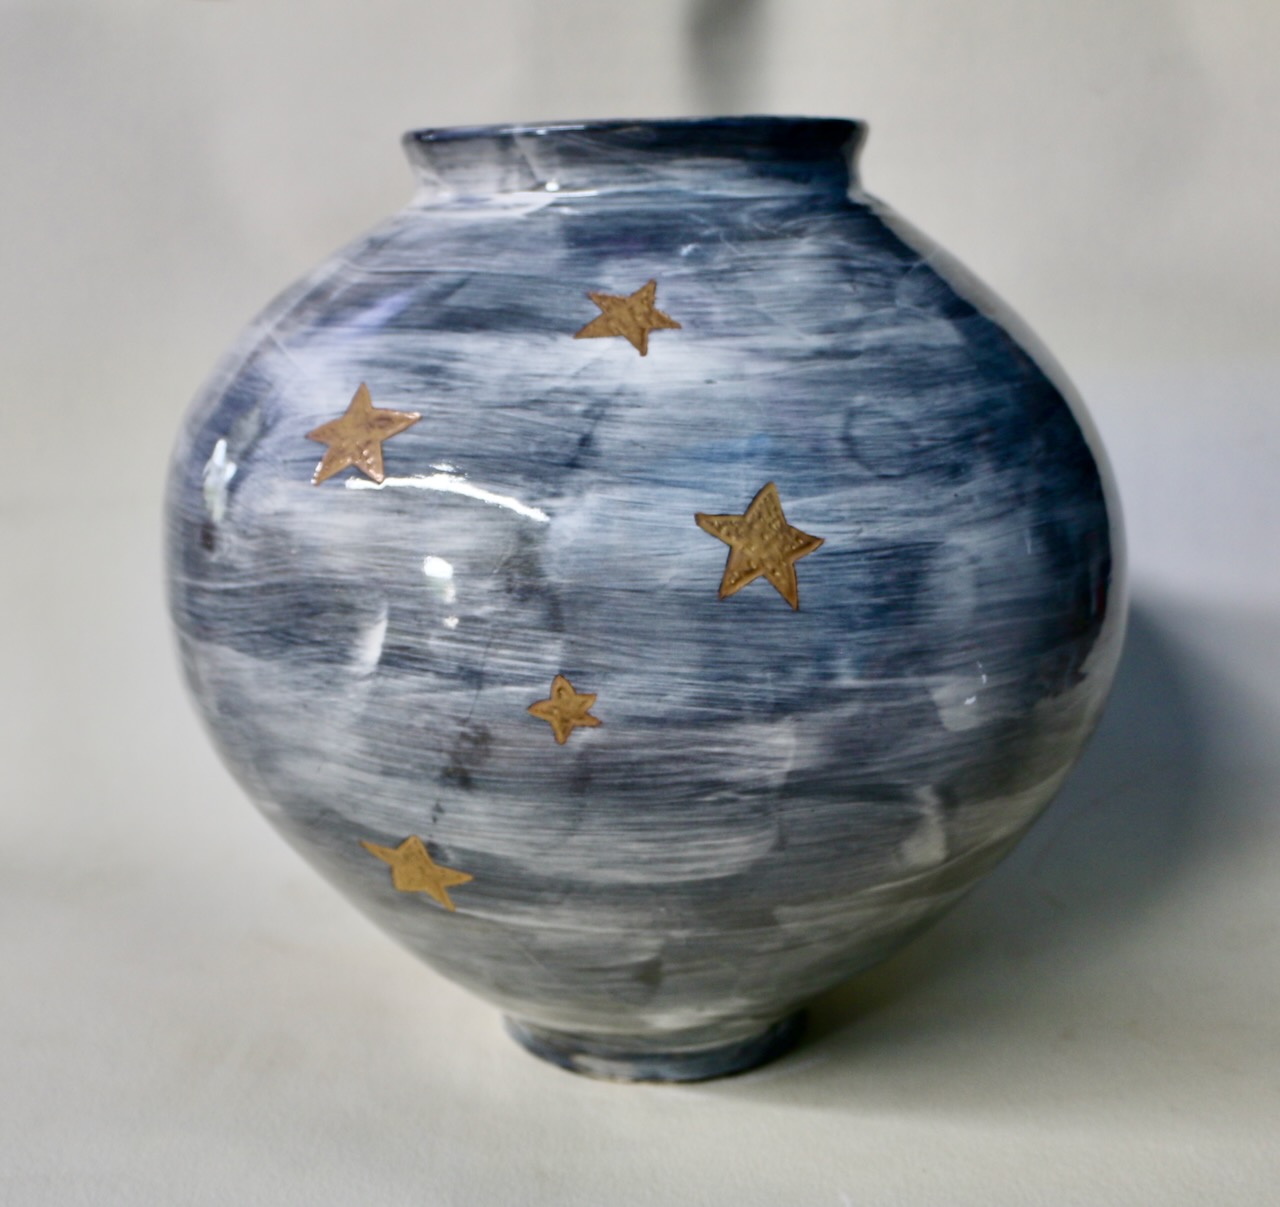
Moon Jar with Southern Cross
I will be offering another Moon Jar making workshop in the coming year, so if you are interested, drop us a line. The next workshop will be on the weekend of the last day of Jan and the first day of Feb.

You must be logged in to post a comment.