
I’ve just completed the first firing in the new version of the small portable wood fired kiln that I have built for a friend.
This kiln is a little bit different from the ones that I used to build for a living before the fire.
In this case, I’m building it as a favour for an old friend. To repay an old debt. No money is changing hands.
I’m also using up a lot of old refractory bricks and fibre that I had in stock before the fire, and which subsequently got burnt, but were largely unaffected by the fire, as they are ‘refractory’ after all. They are scorched black in places and impregnated with a lot of soot and carbon, where the cardboard packaging burnt off.
I’m confident that they will be fine. This first test firing will burn off all the carbon and return them to pristine white, albeit with a little bit of flashing and wood ash decoration.
The purpose of the test firing is to make sure that the kiln will get to stoneware temperature easily, just like all the others that I used to build. In this current kiln, I have made changes that allowed me to use up a lot of the left over materials, this makes the kiln just a little bit different in dimensions, so testing is required.
I sharpened my designers pencil and had a good long think about how I could use up what I had to the best advantage, and still have much the same outcome. As the old saying goes. There is more than one way to skin a cat. Who’d want to skin a cat anyway! weird! Anyway, this kiln looks pretty much the same as all the others, superficially at least, but all the critical dimensions are kept in the same relationship, so it ought to work OK.
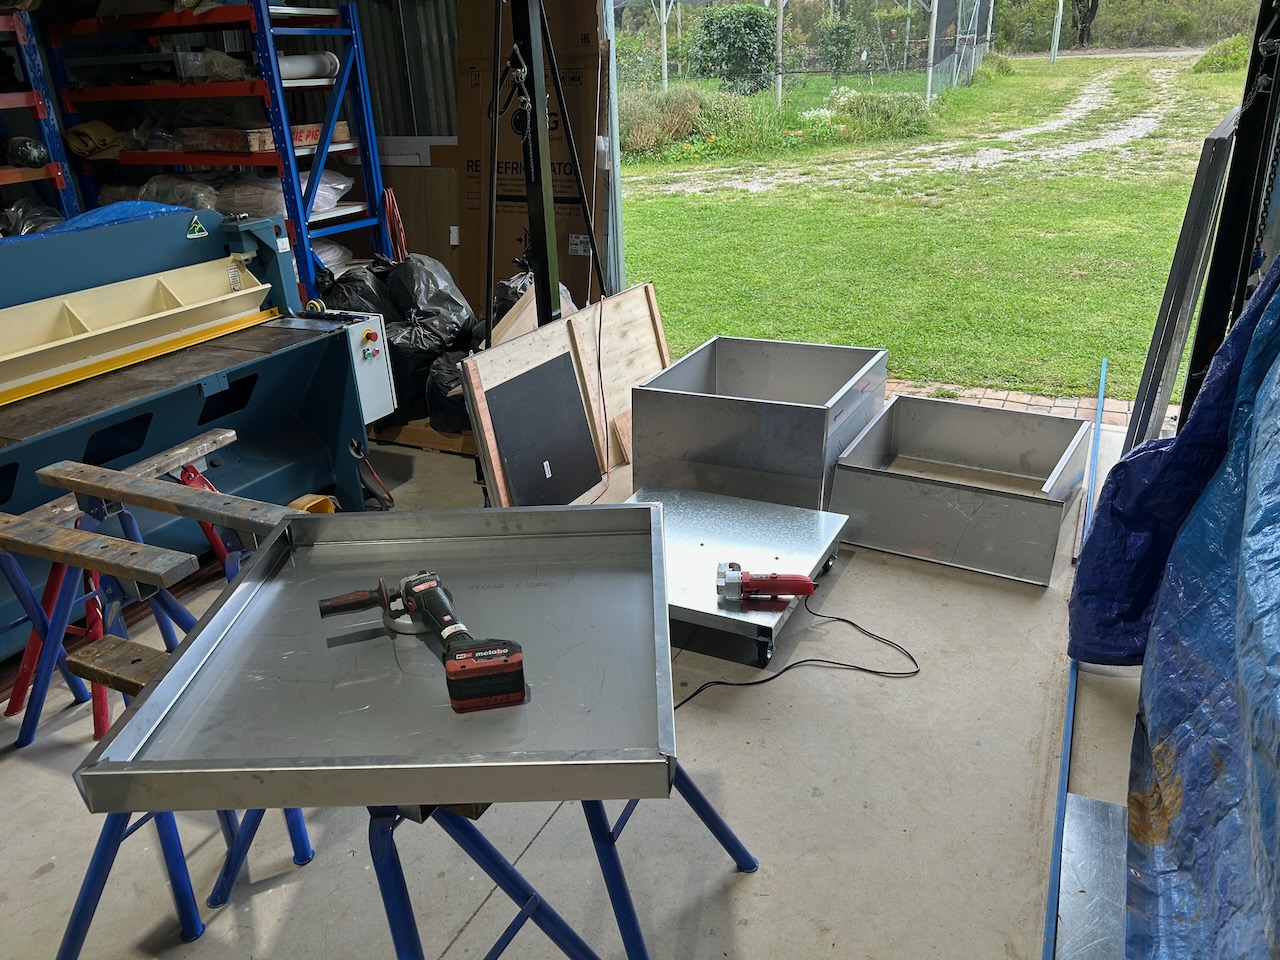
I started by redesigning how I cut the frame out from the standard 2440 x 1220 mm sheets of Stainless steel. I thought it through and started from the out side measurements of the sheets and worked back inwards. In this way, I was able to use every last millimetre of the material, with minimal leftover off-cuts. I am still using the same 450 x 450 size kiln shelf as the setting and the height is still more or less 450 mm high in the setting. Only I can see where the changes are, and I’ve done a work-around so that it doesn’t matter or affect the outcome too much. Or, at least that is what I thought, hence the need for a test firing. I’m actually a little bit pleased with myself, if I do say so myself.
I hate wasting precious material like stainless steel. Of course, I always managed to use up all the off-cuts from the previous kilns in subtle ways, right down to making throwing tools out of the smallest little pieces. So no more stainless steel throwing tools for sale or give-aways anymore.
This cunning use of everything made me re-design the handles, reinforcing angle brackets and support lugs etc that I have on the kiln. They don’t look so different, but still do their job effectively.

All the bricks look a bit ‘dirty’ but are brand new. These are the equivalent of RI 23 insulating refractories. Good for firing to stoneware in fast firings. They are not very suitable for long, high temperature firings, as they would shrink a bit. but not so in this fast firing kiln.
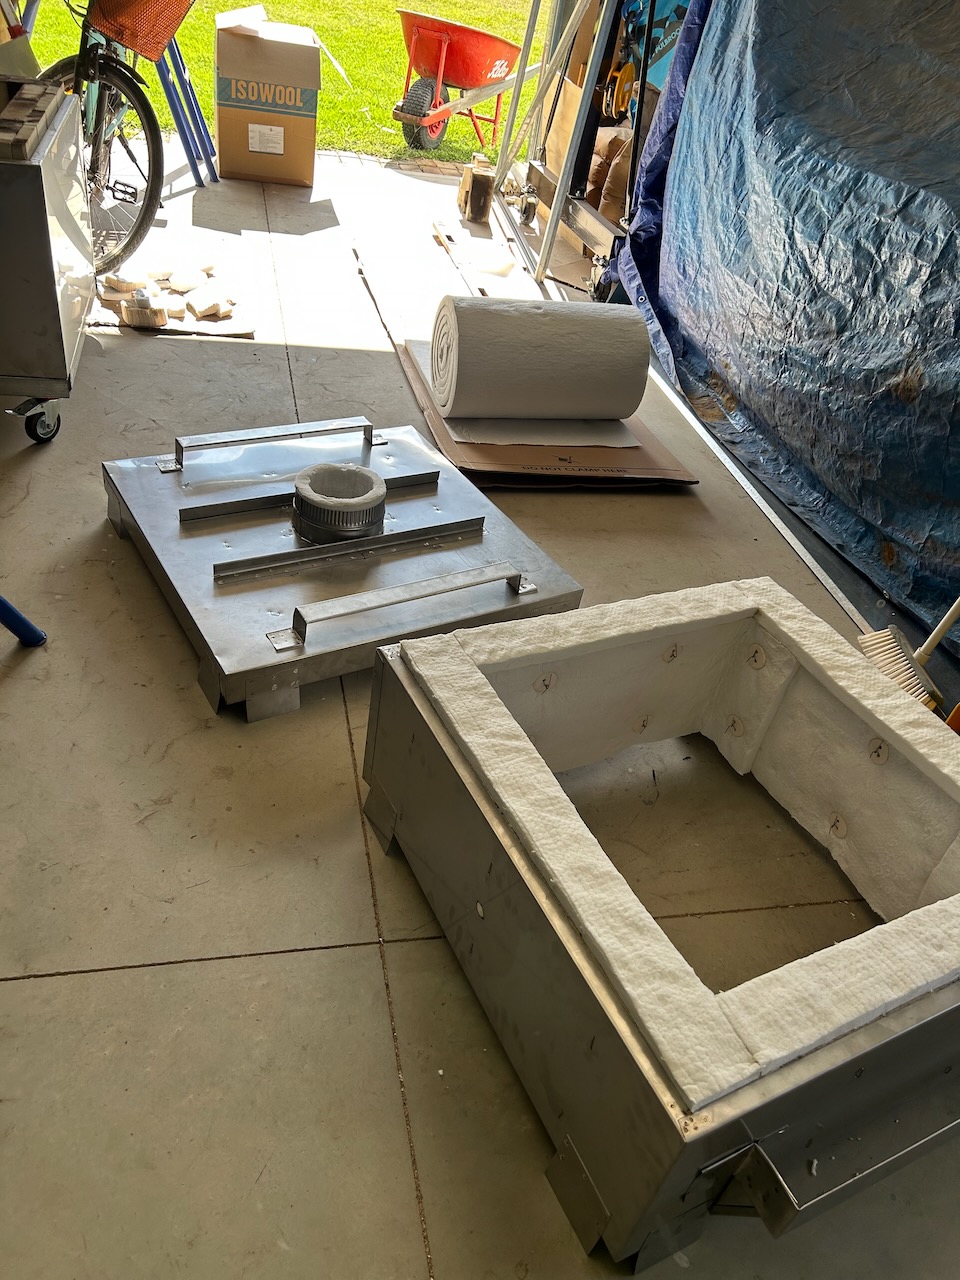

I made some more ceramic buttons to keep the fibre in place. I also made a new stainless steel grate from old burnt stainless steel rod that was in the pottery when it burnt down. It looks a bit rusty, but it would look very black and rusty after the first firing anyway.


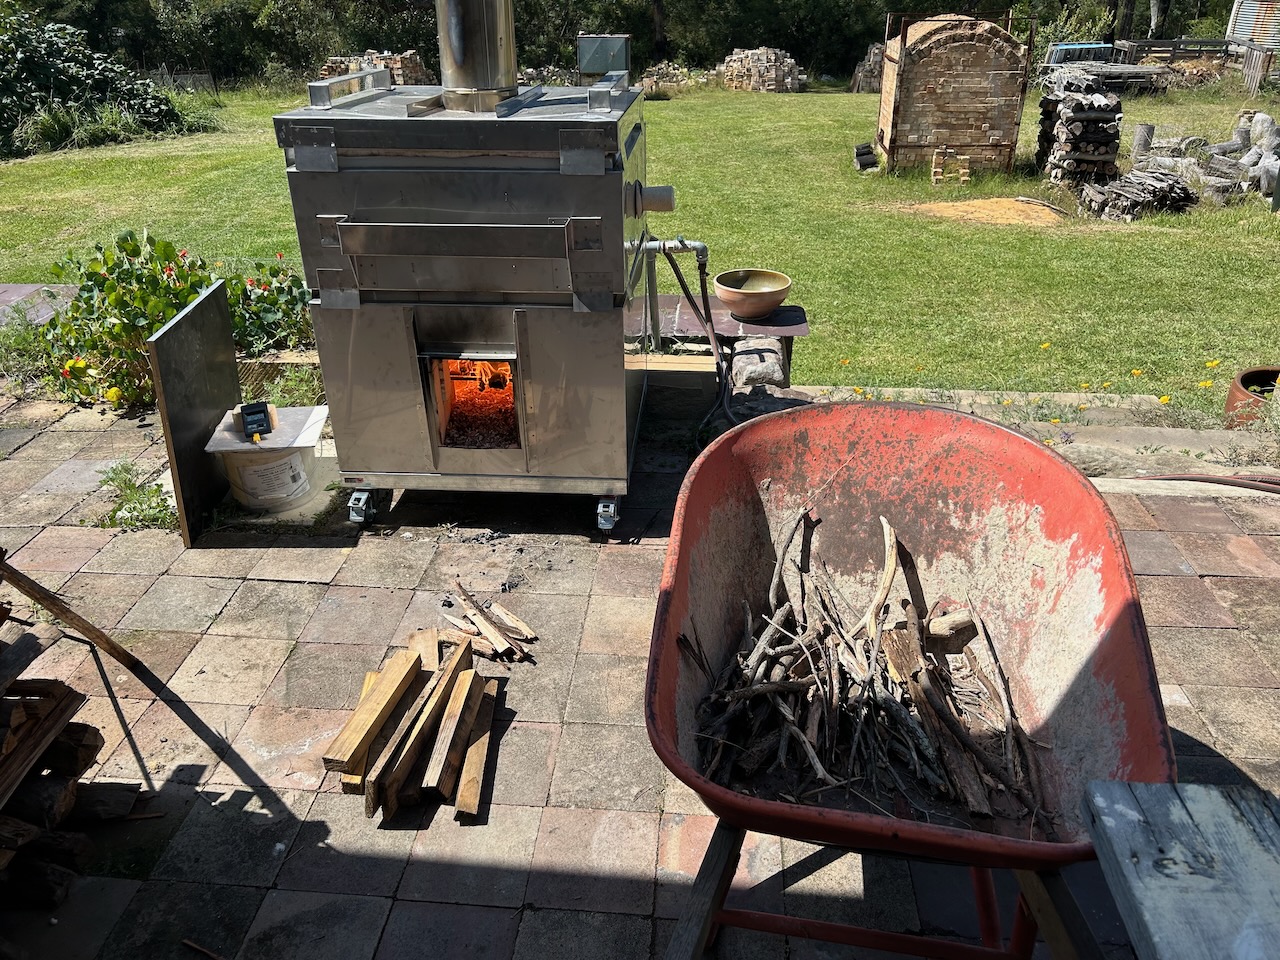
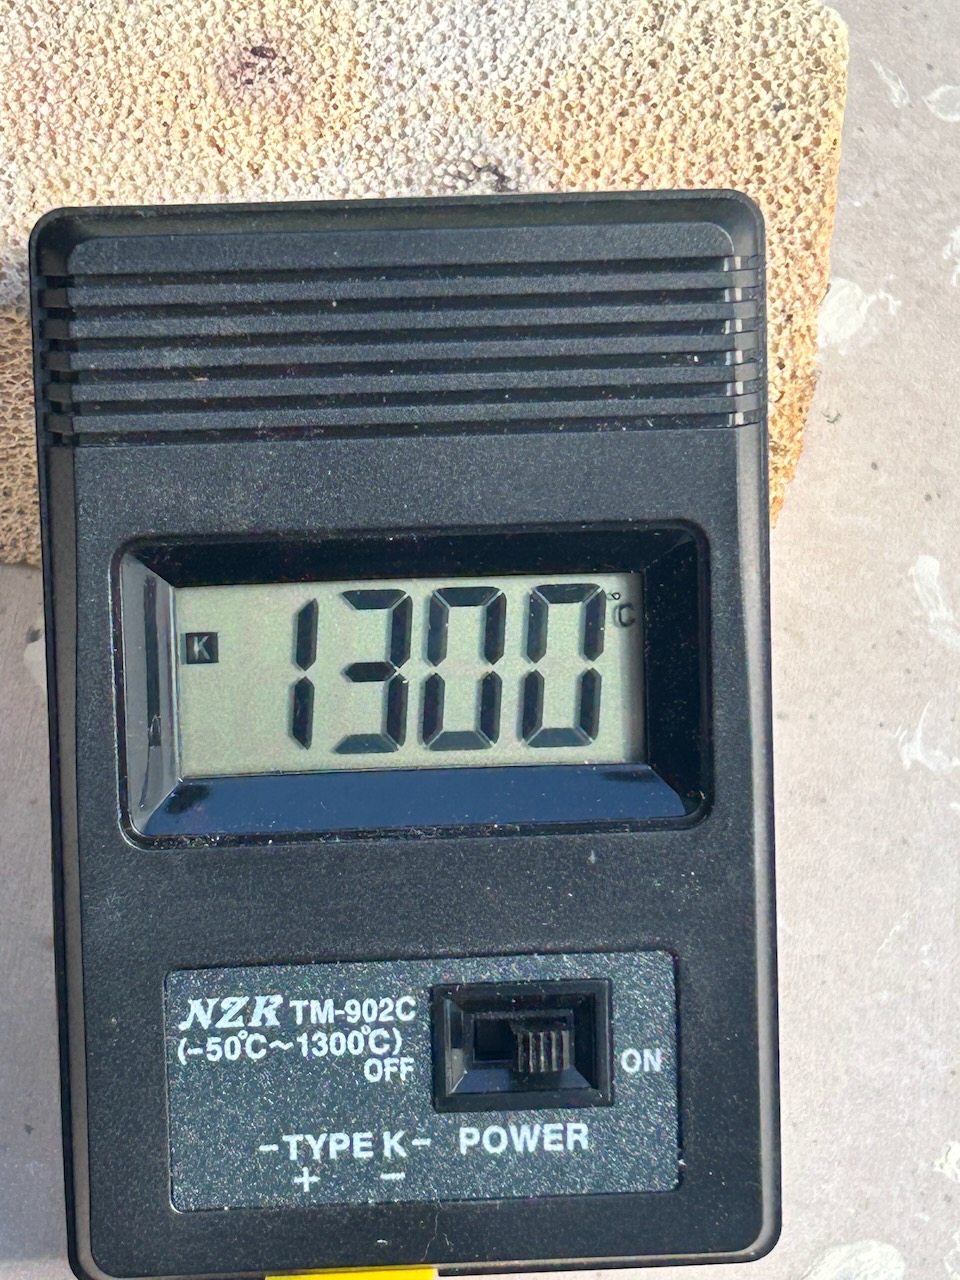
The test firing went very well. I got it up to 1300 in just over 3 hours and 15 mins. I used 2 wheel barrow loads of wood to get it up to temperature.
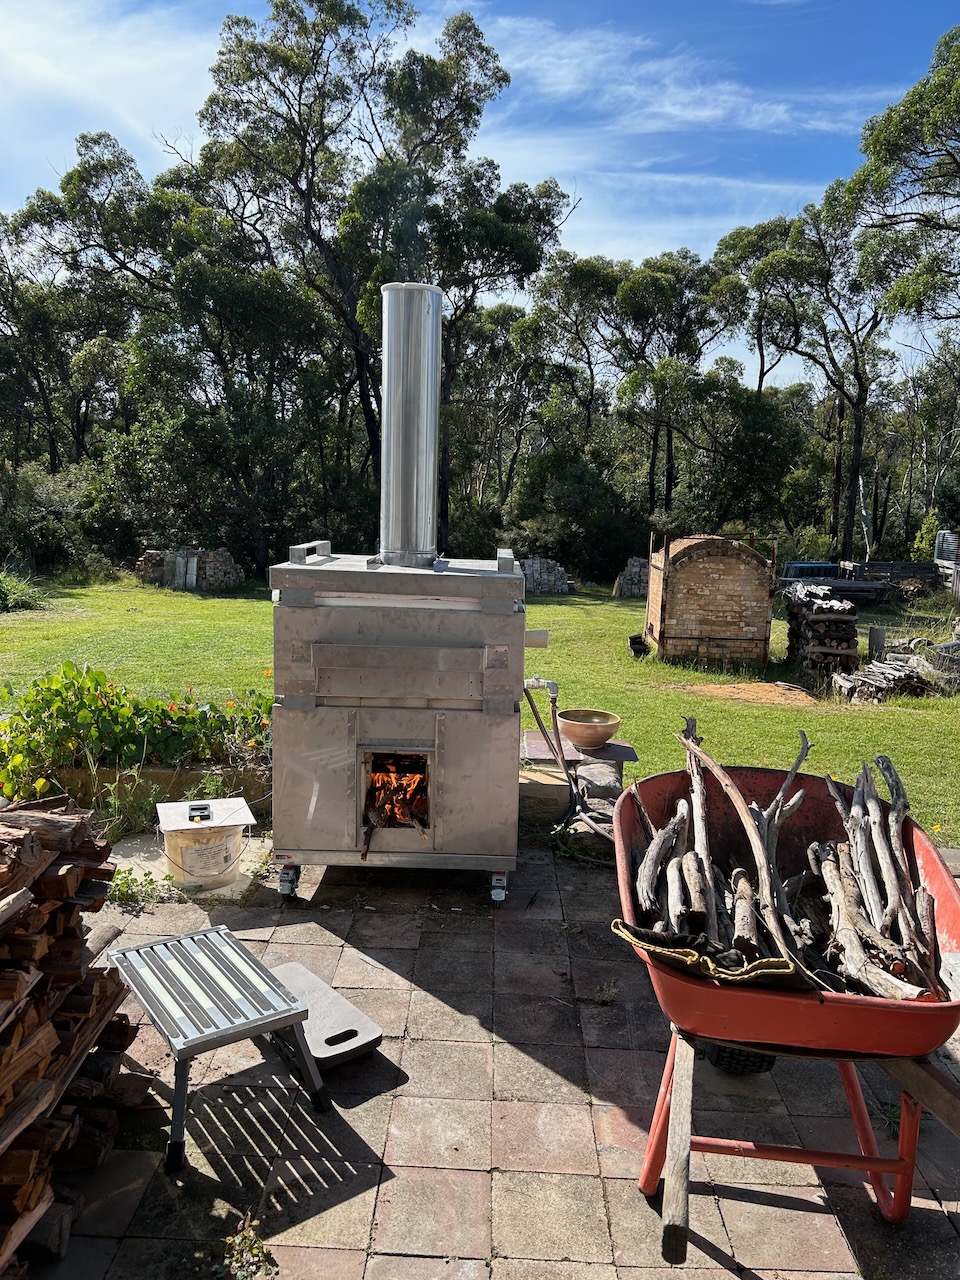
Just a few skerricks of wood left at the end of the firing. A lucky guess !
A nice resolution for an example of necessity being the mother of invention. This new design variation will be my new standard design.
If I ever make another one!
Good thing that I don’t have many friends 🙂
Nothing is ever finished, nothing is perfect and nothing lasts.

You must be logged in to post a comment.